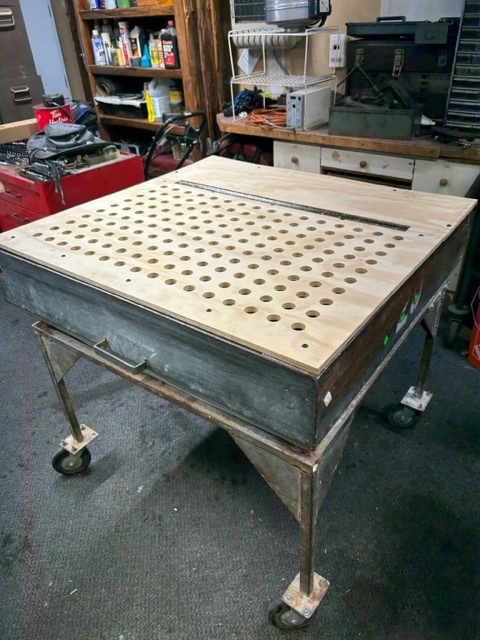
I realized I needed more ventilation when working in my small garage. Especially when staining. At my “day-job” we use these down-draft tables when grinding and sanding and this gave me an Idea. So I picked up a 25 gallon hopper at an industrial surplus warehouse. Then used my Pro XXL to router out the top. High-five to the person who came up with the array feature in Carbide Create. saved me a ton of time. Then used some aluminum channels for supports. Next, I will be venting it outside with the assist of a blower.
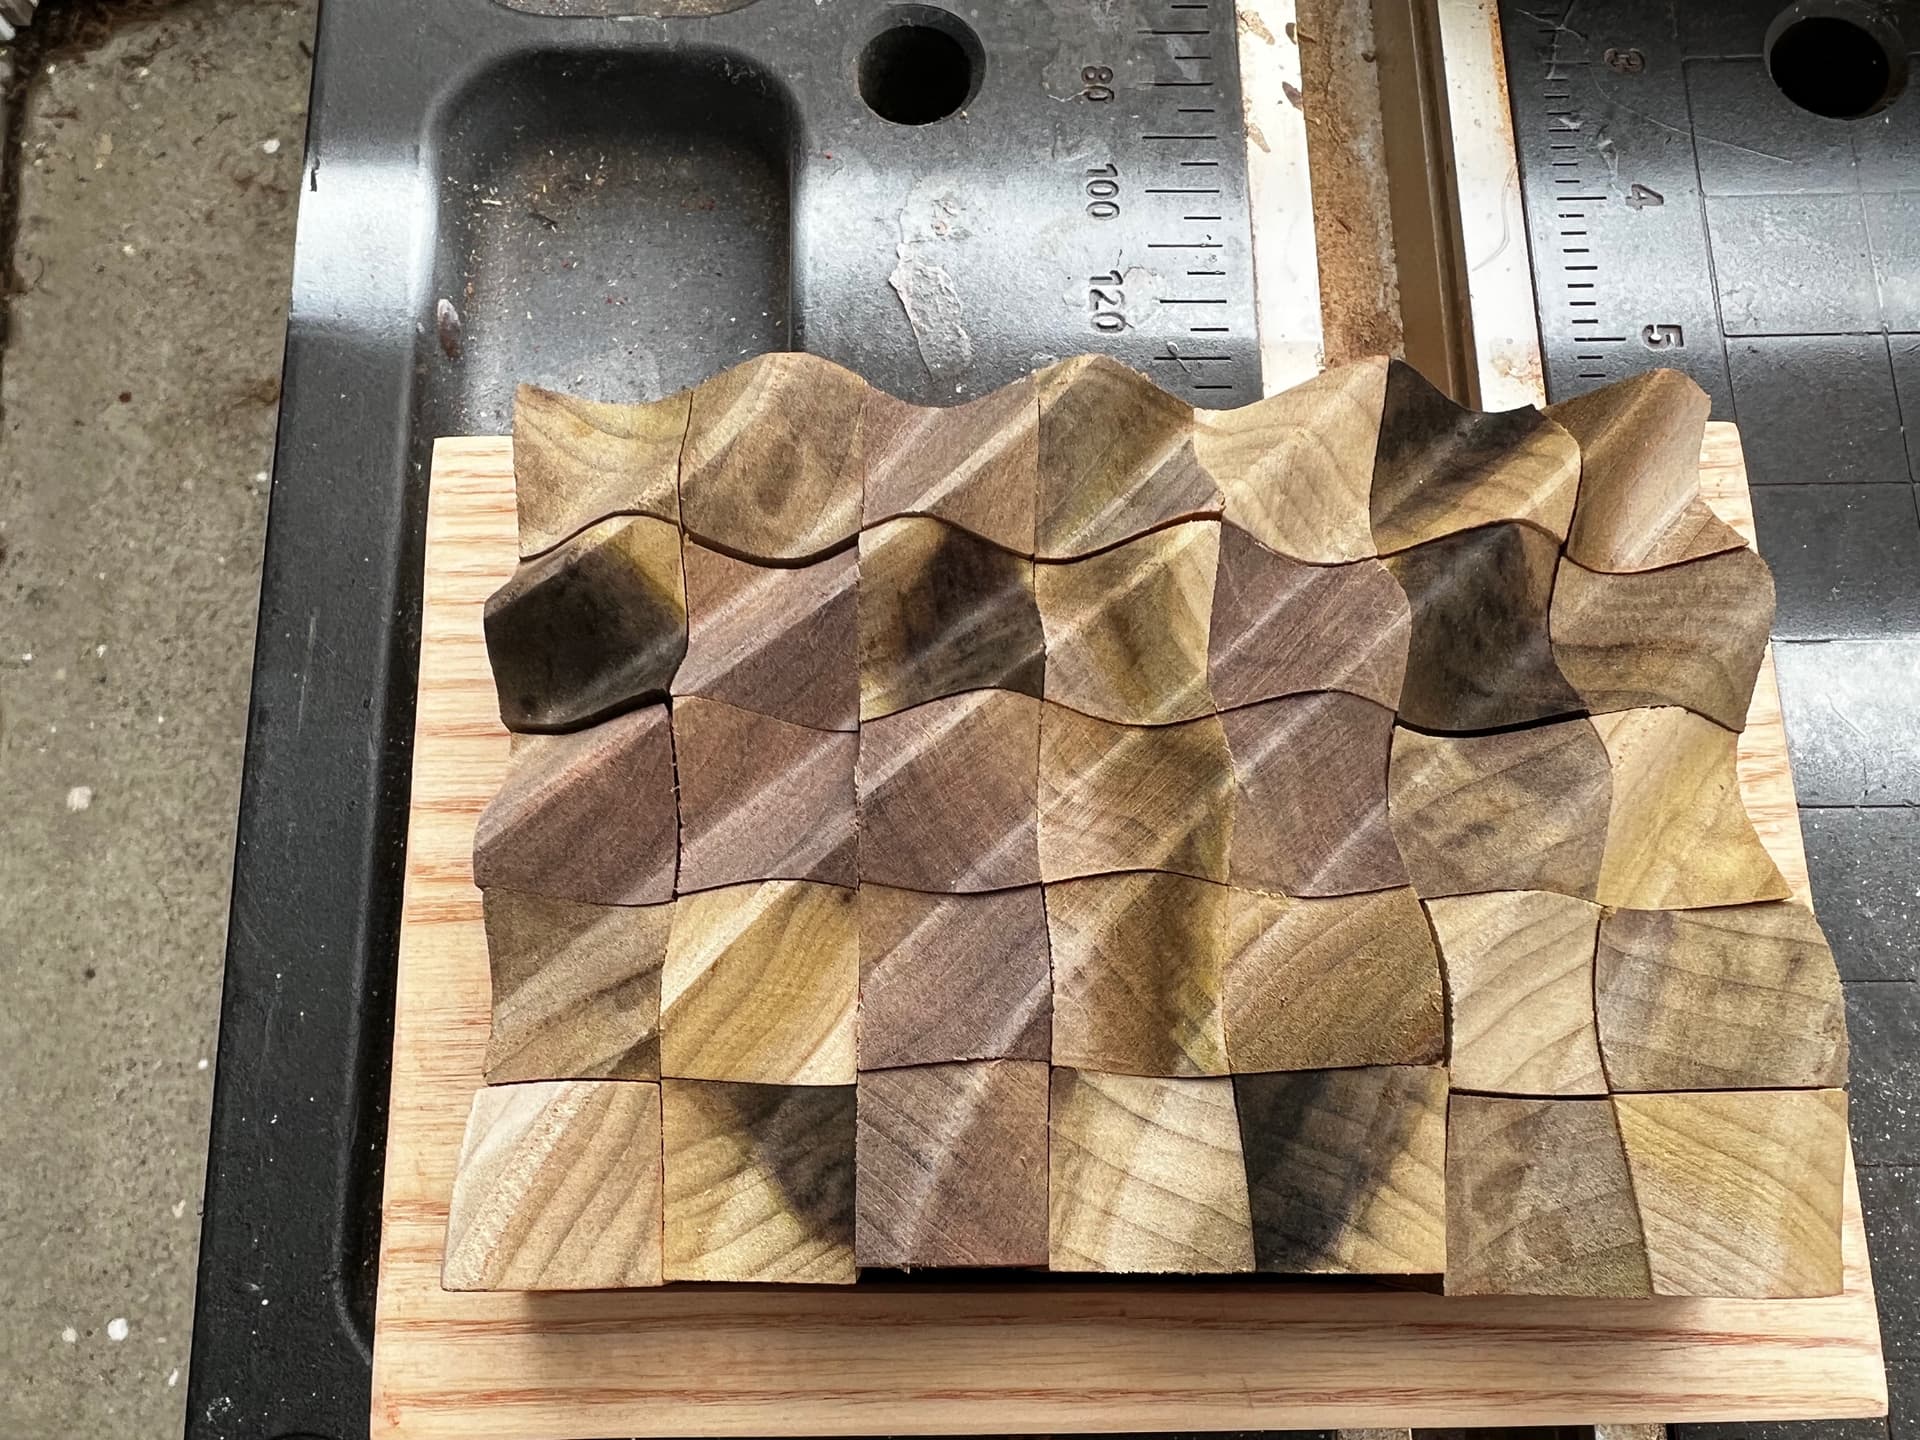
So I’ve had this idea for a while, and finally made one. Making the second one will be better. it’s a 3d wave pattern puzzle.
What you see here are 35 3/4 x 3/4 x 2in pieces. I clamped them together and carved a wave pattern on the ends. Lesson learned: Next time, put double-stick tape between the rows–the original set was 7x7, but some of them were loose in the grid, and they walked up during carving and had to be sacrificed.
I’ve been extremely paranoid about mixing them up during finishing… don’t know how hard/easy it will be.
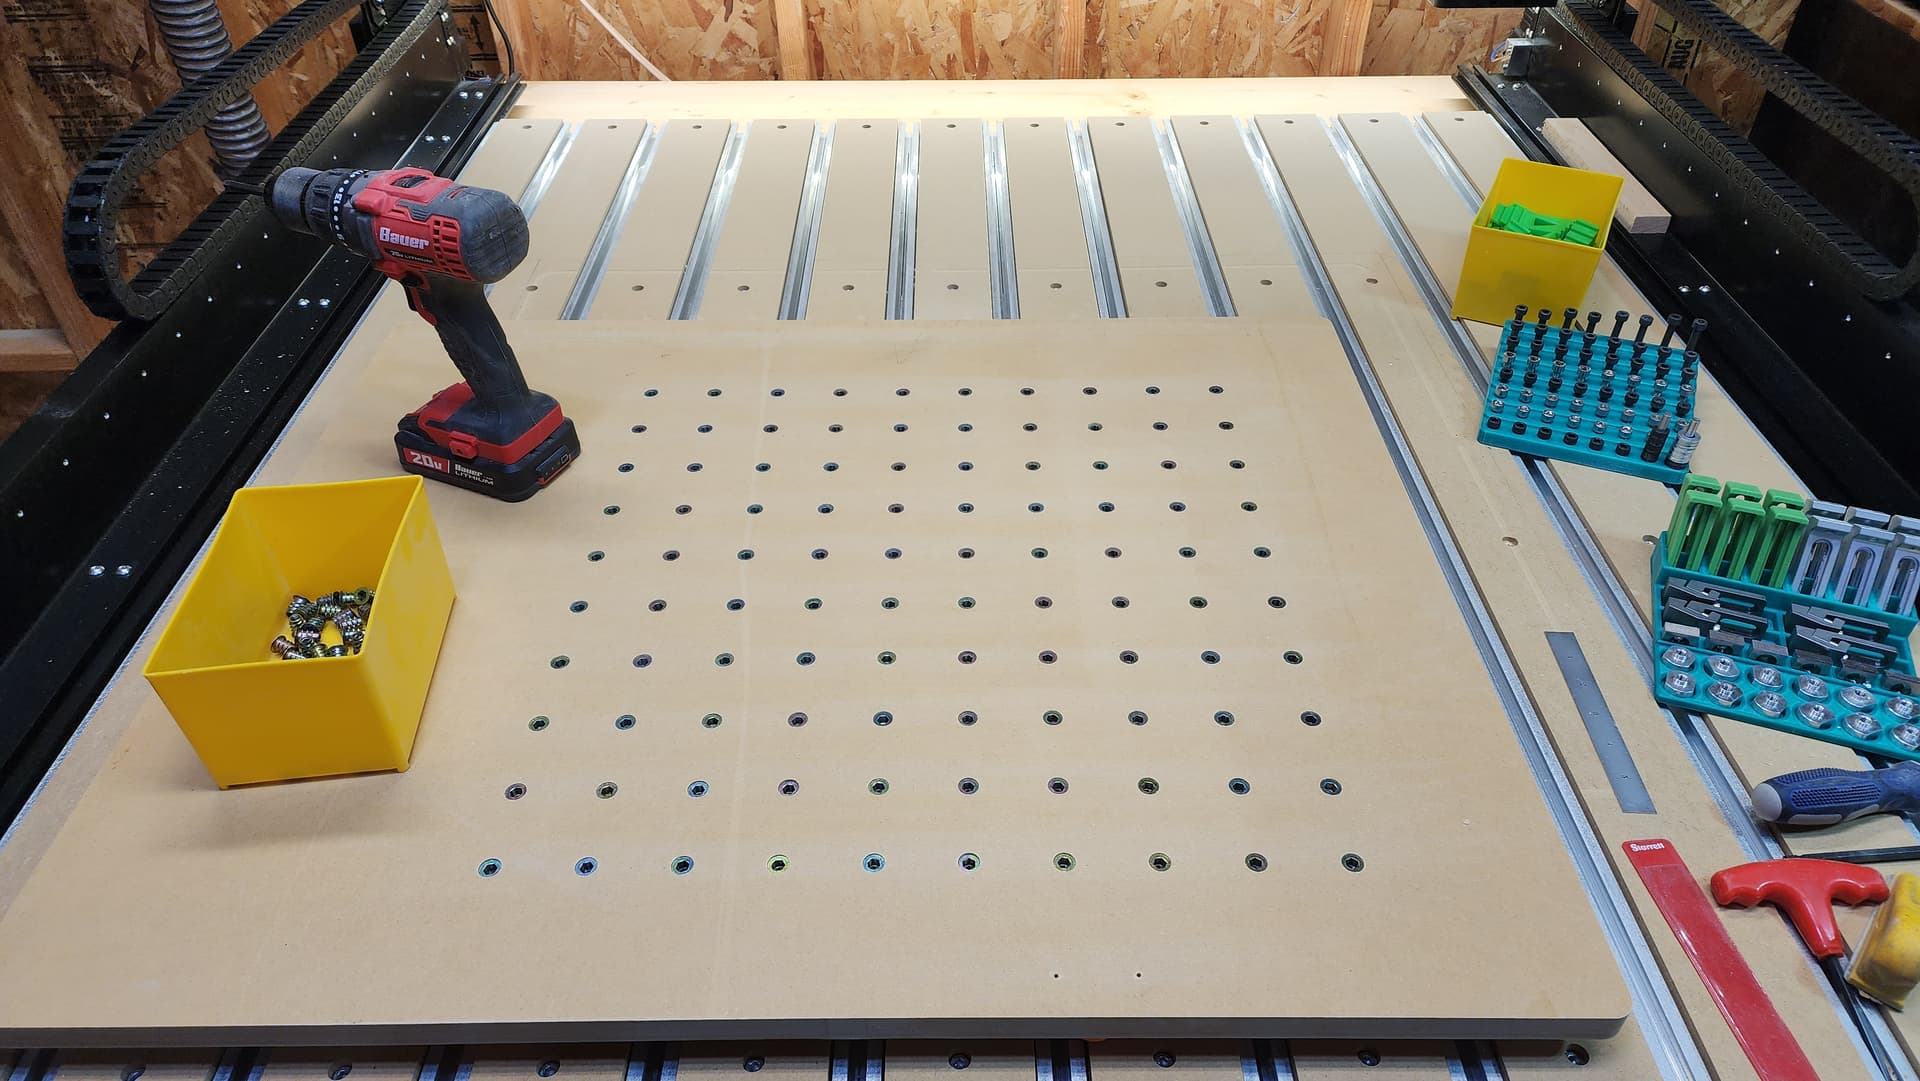
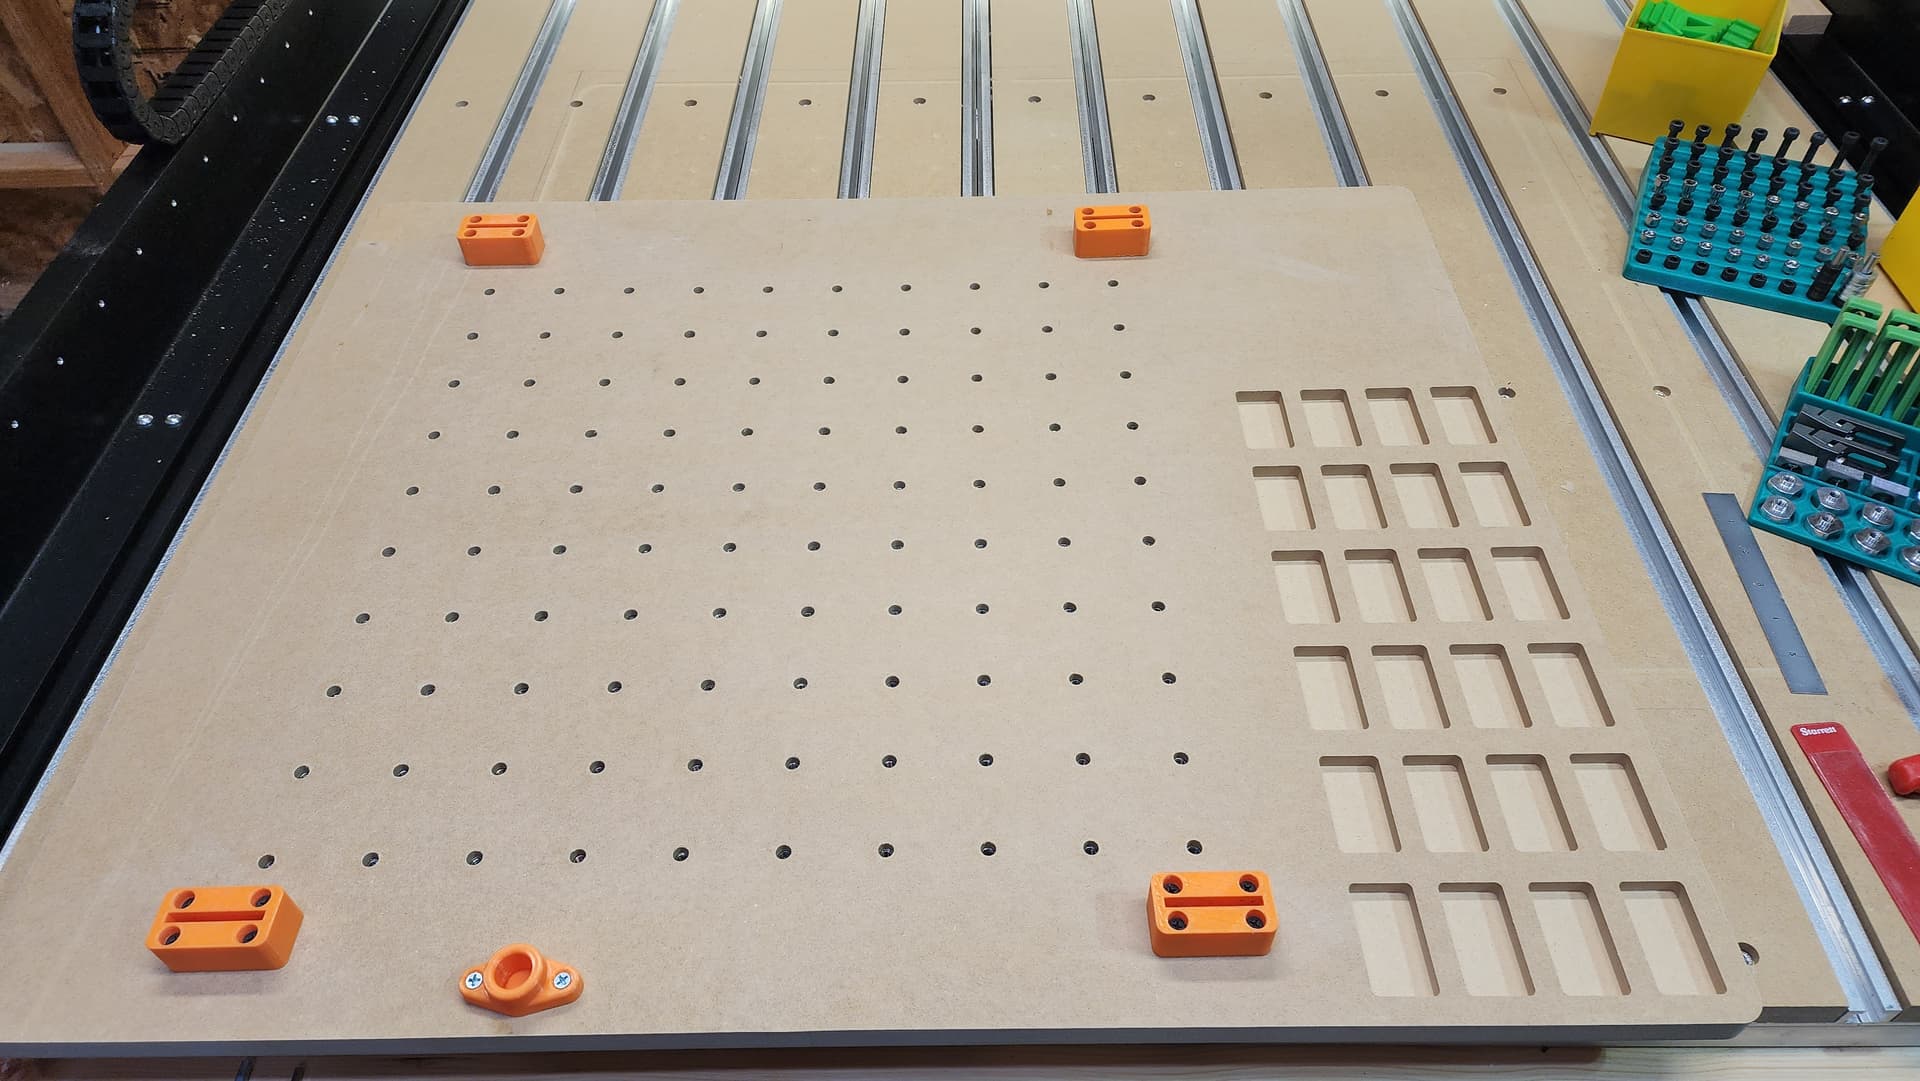
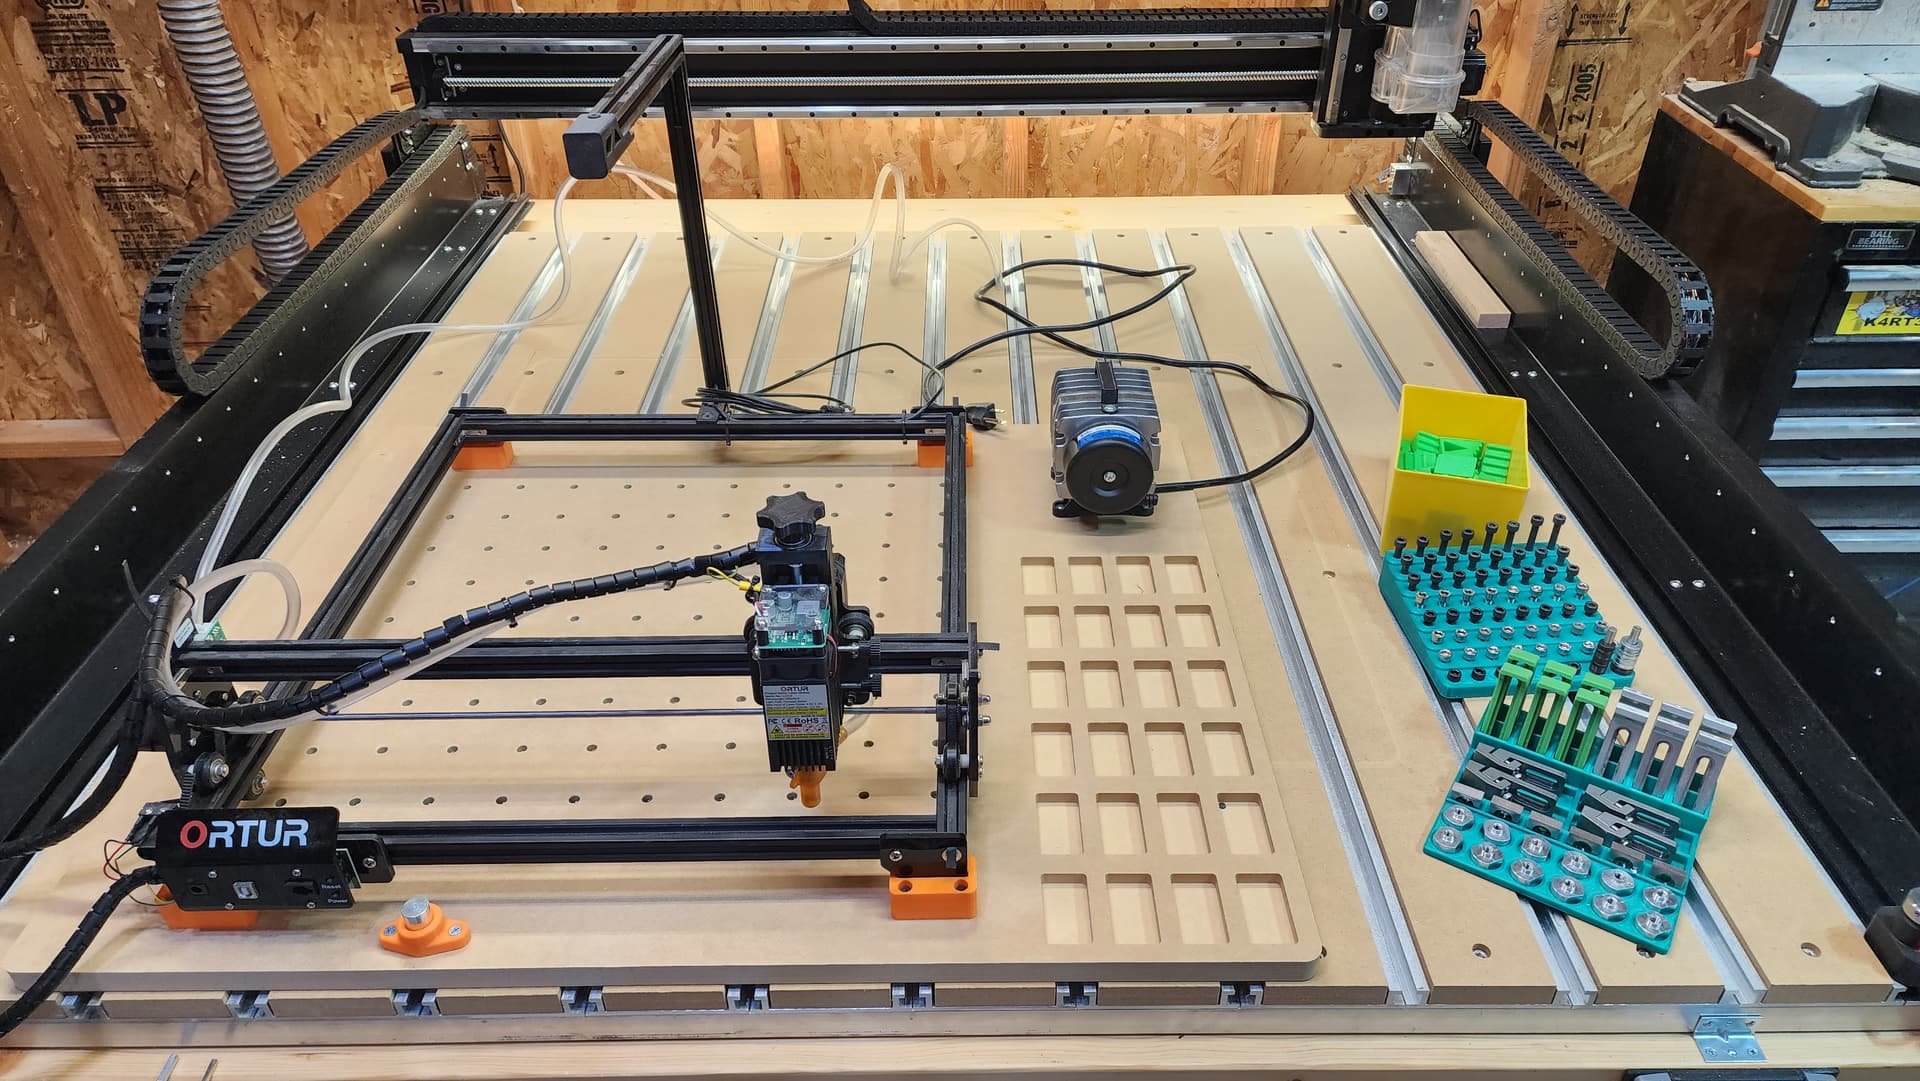
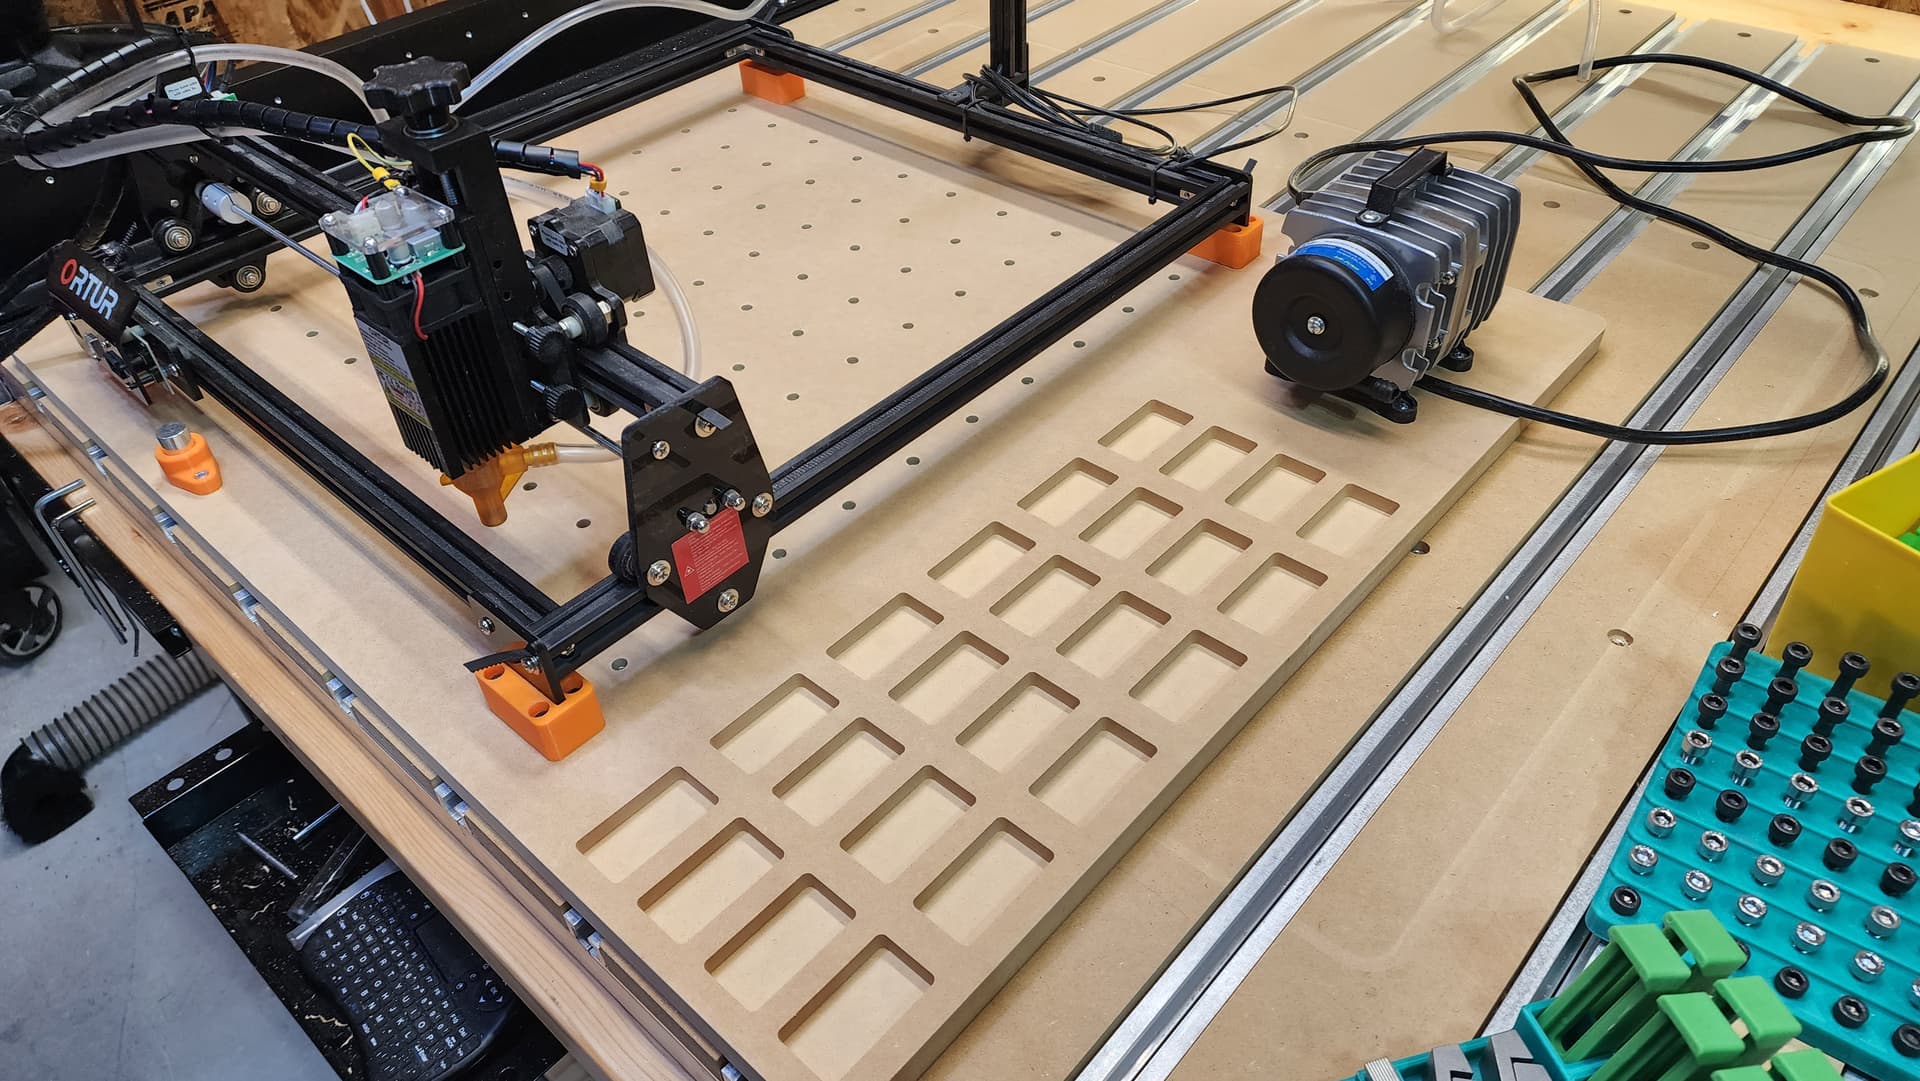
MDF bed for my Ortur laser engraver.
Easy 2 sided work.
1/4-20 threaded inserts for extra utility.
Recesses for risers as the 3D printed feet are screwed in place and that allows it to accept thick pieces, or the rotary attachment.
I’ll engrave a grid on it for quick alignment.
Your tool organizing racks look interesting; did you print them?
Also, if it’s a newer Ortur then what are your thoughts on it?
The promise of higher power and tighter beam appeal.
I did design/print them. I have one for workholding, one for organizing bolts by length, and one for bits/setting zeros/collets/wrenches. All in a 6"x6" form factor. I’ll release the files once I’m happy with them.
Mine is a couple models back Ortur Laser Master 2. It’s a “20W” model with a single 5W output diode. I bought it barely used from a friend (has a SO4Pro himself) to test the waters. I’m happy with if for the intended purpose of surface engraving.
Nice! I have and in-line exhaust blower for 4" pipe. It’s rated at 150CFM. I will be venting it out the side of my garage where an exhaust fan was at one time.
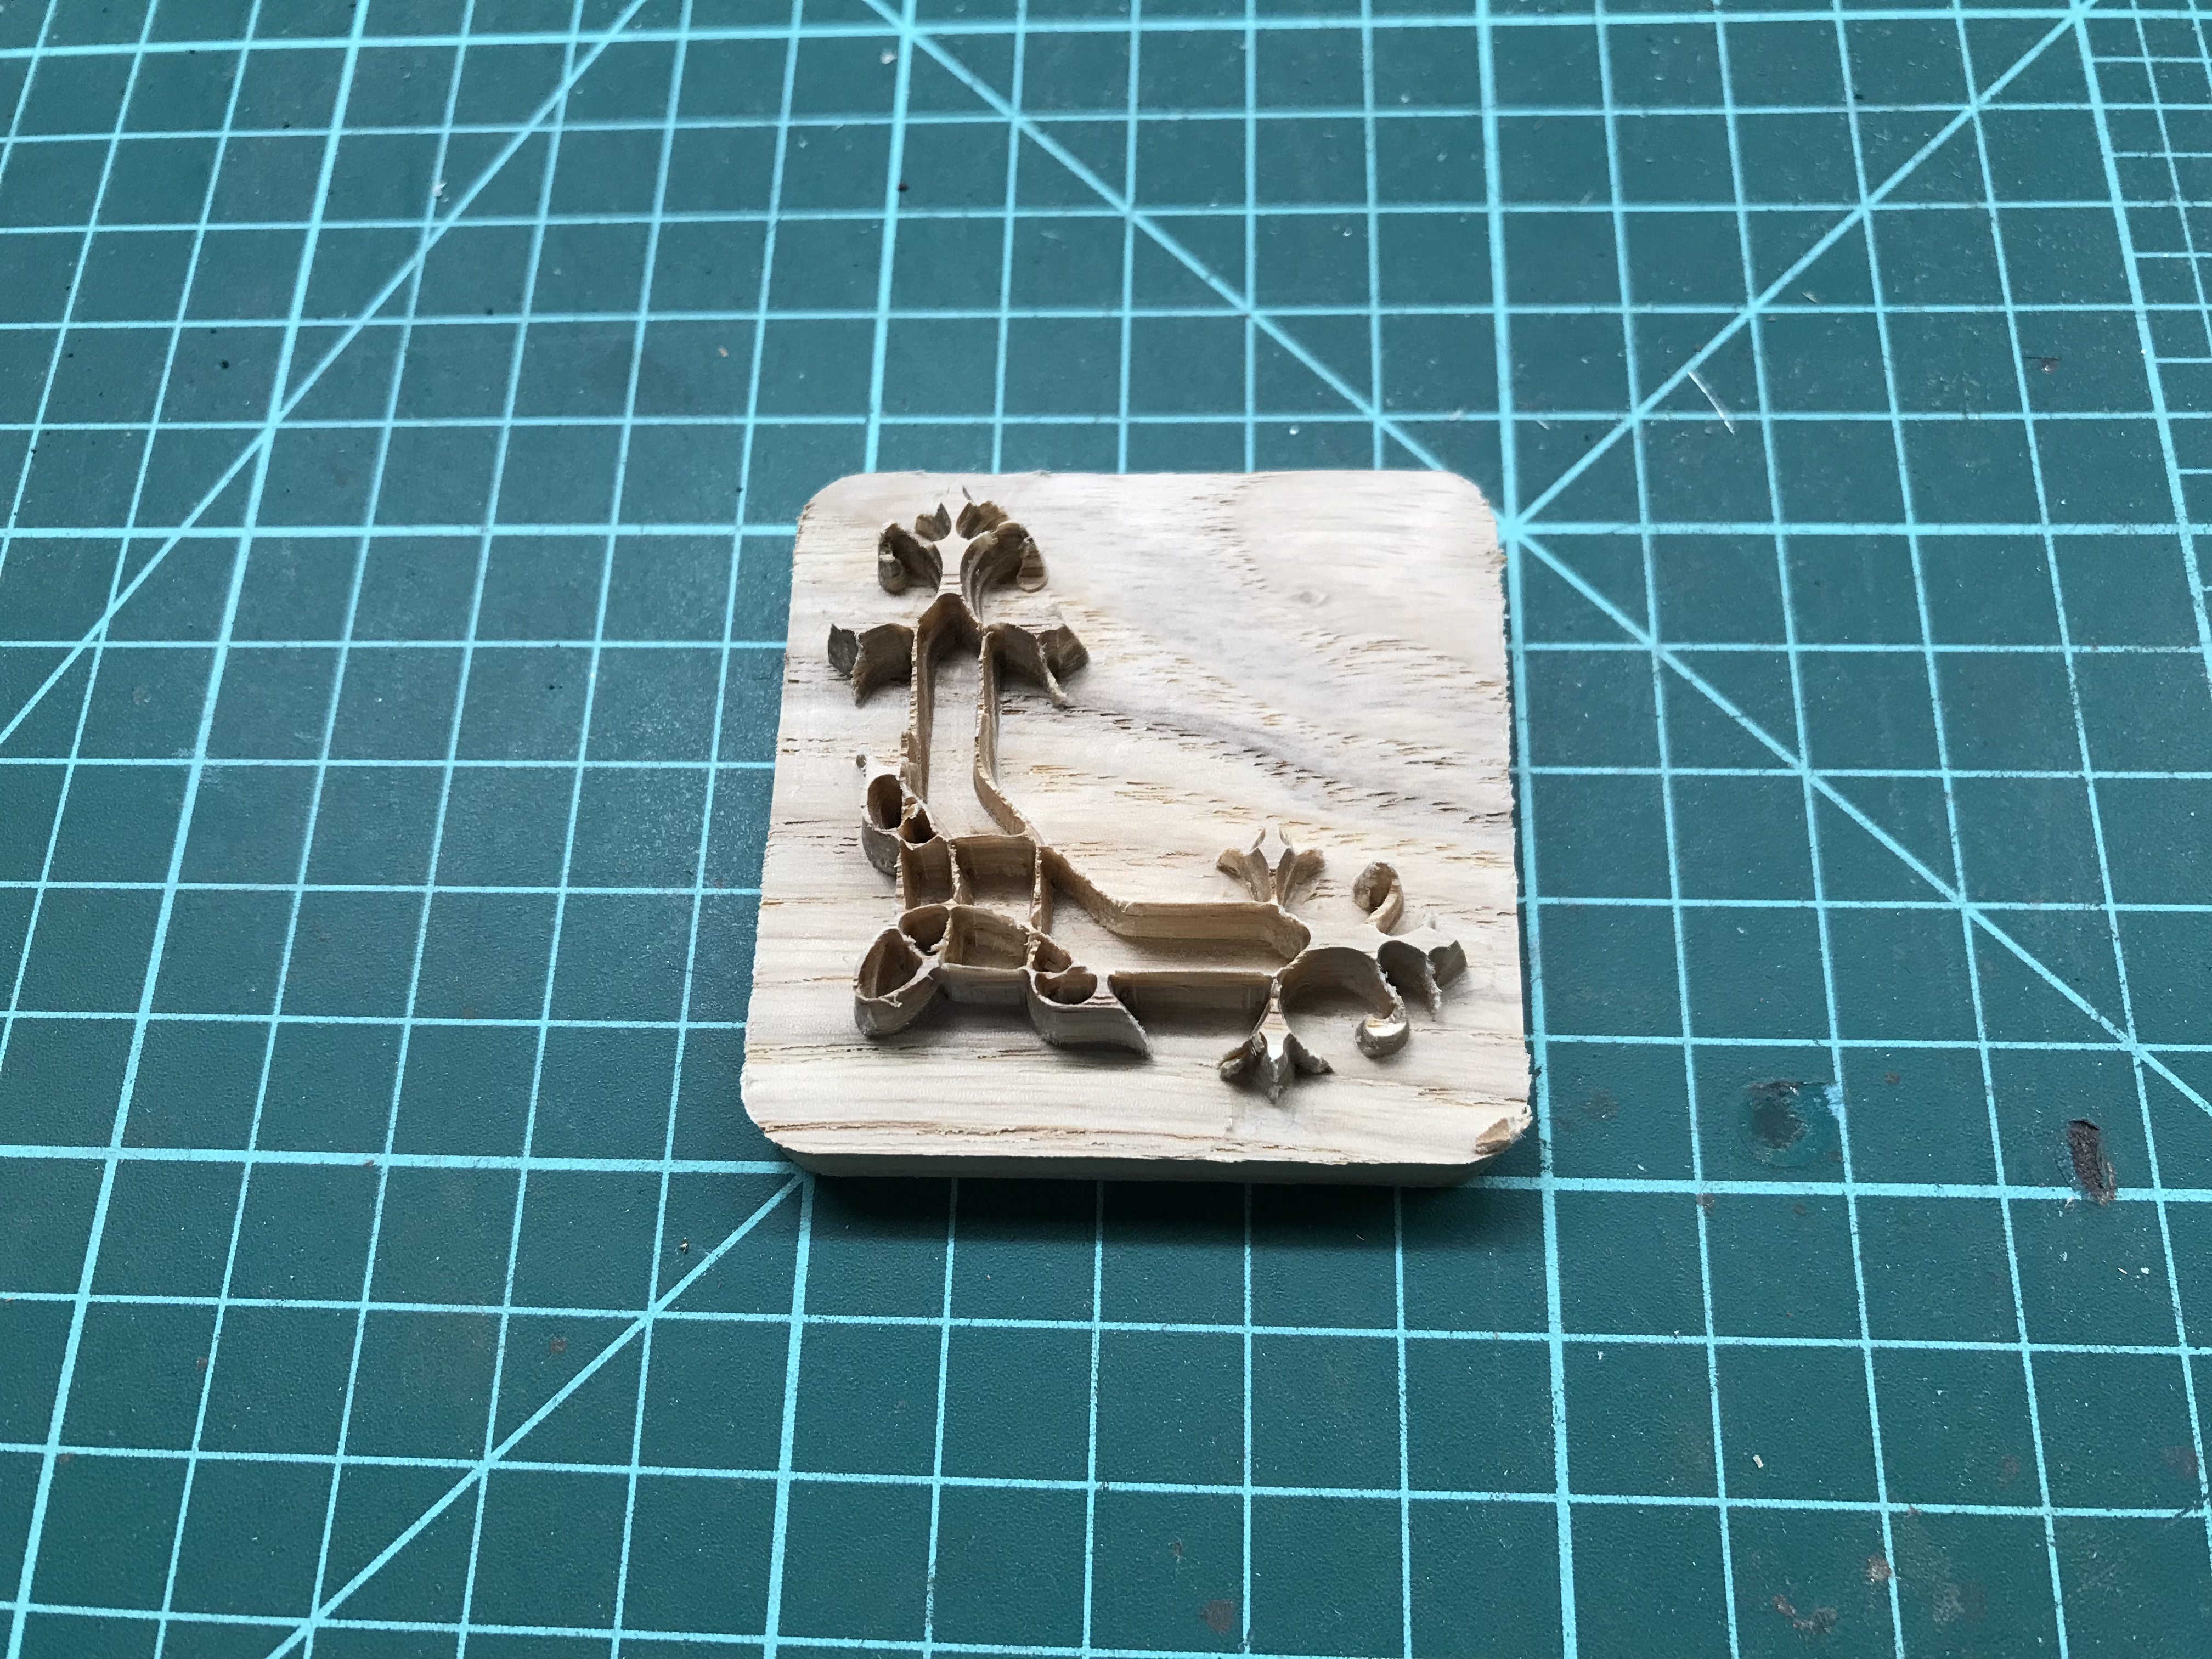
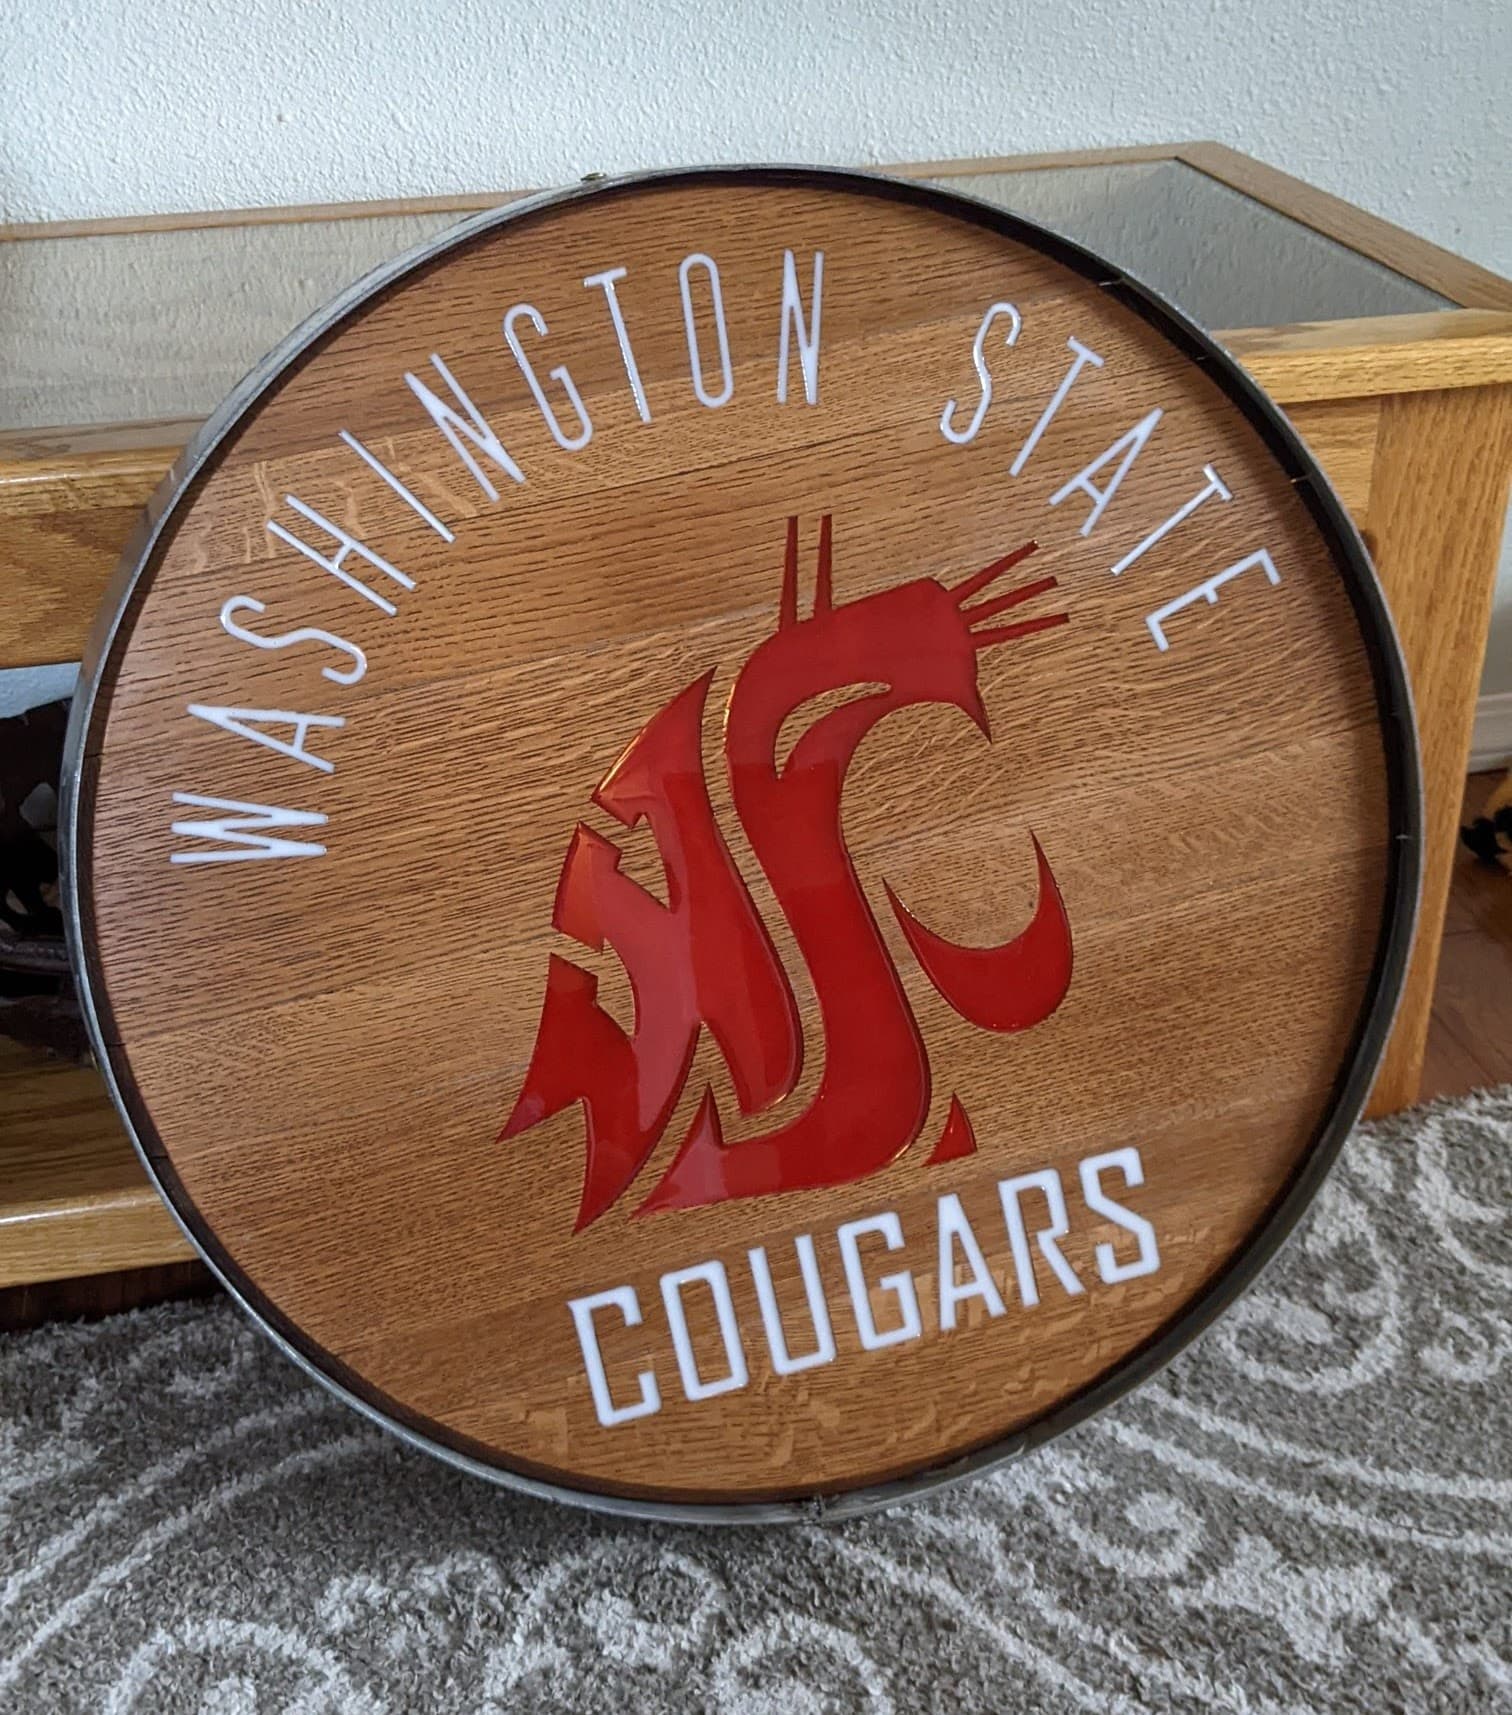
Here is a WSU logo on a wine barrel end. The wine barrel ring diameter has to be shortened by cutting at the seam, shortening, and then welding. In order to do the epoxy all the wood seams needed to be sealed so the epoxy wouldn’t drain. This is going to be an auction item for a school fundraiser.
Sometimes you cannot see the forest for all the trees. When I first looked at the logo I though that looks like a snail or sea serpent. Then finally I could see the WSU. Dooooh!!