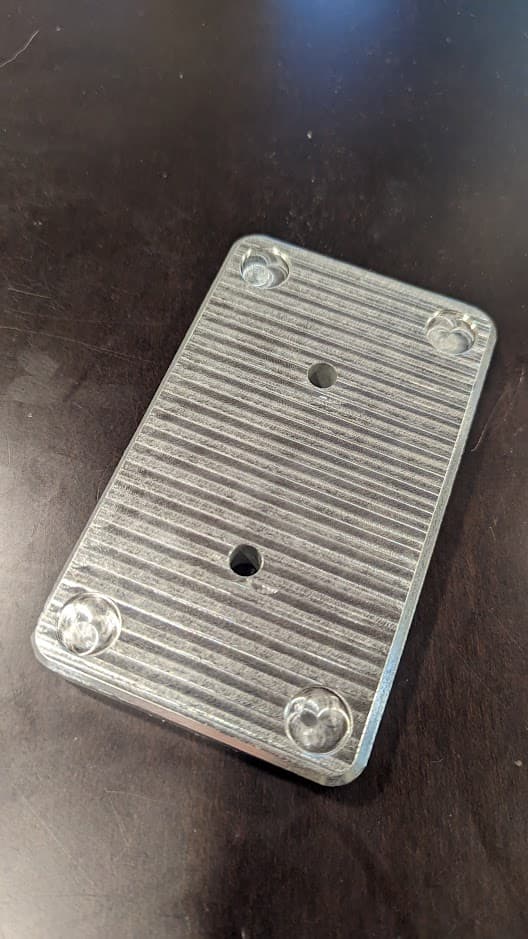
tested some 1/4" single flute toolpaths on this piece of scrap aluminum I had kicking about.
facing recipe: 1016mm/min | 0.2m DOC | 2.5mm WOC | 22k RPM on my Nomad 3
the helix ramp for those holes sounded pretty terrible, (not using the same recipe for facing dont do that, it will probably be awful) but left a good surface finish in the end. in all honesty, I probably will just switch to a 1/8" endmill in the future for operations like that anyways.
this will end up being an ashtray for my father-in-law who enjoys cigars. probably save it for a christmas present or birthday present or something.
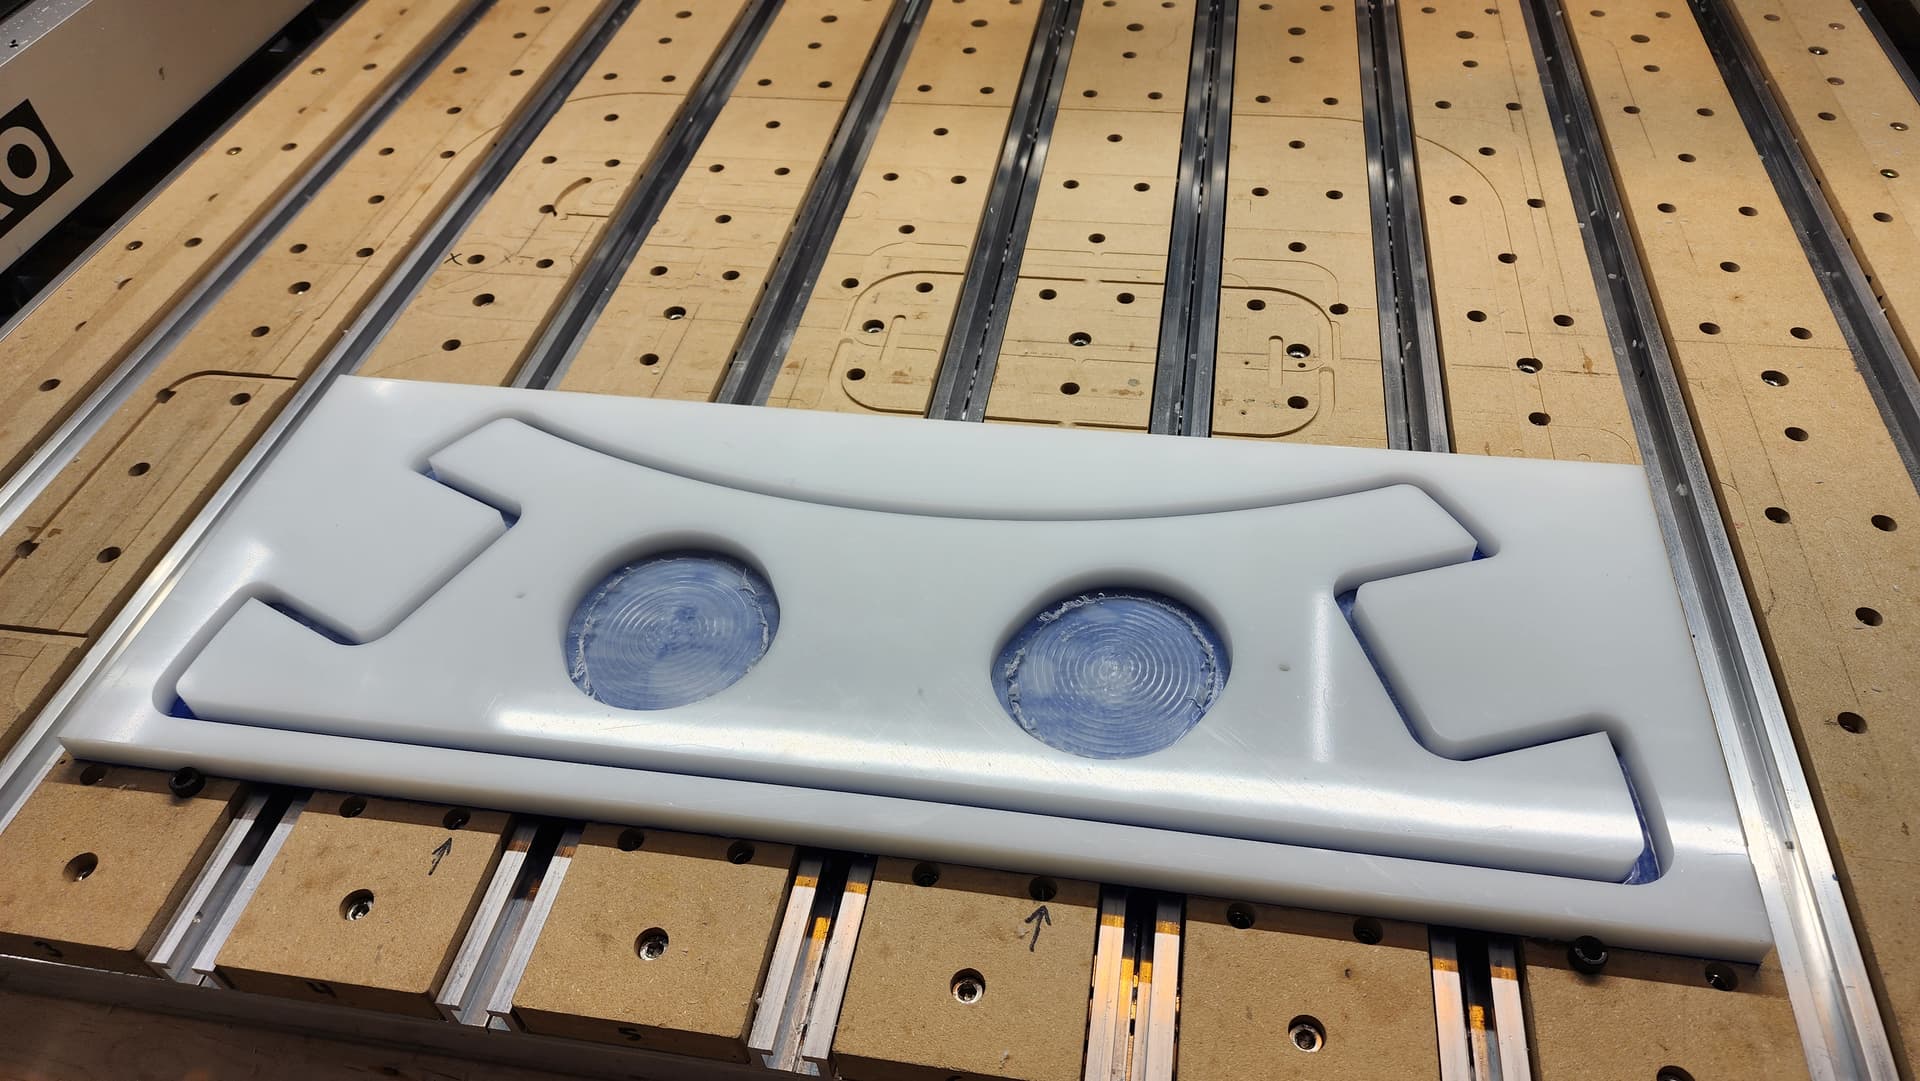
Our SO4 Pro at work is cranking out scientific experiment components and medical equipment replacement parts. This mix of a SO4 Pro cut HDPE plate and PETG 3D printed parts is saving the cancer center a ton of money.
In the picture with multiple parts is the broken fiberglass part we replicated for replacement.
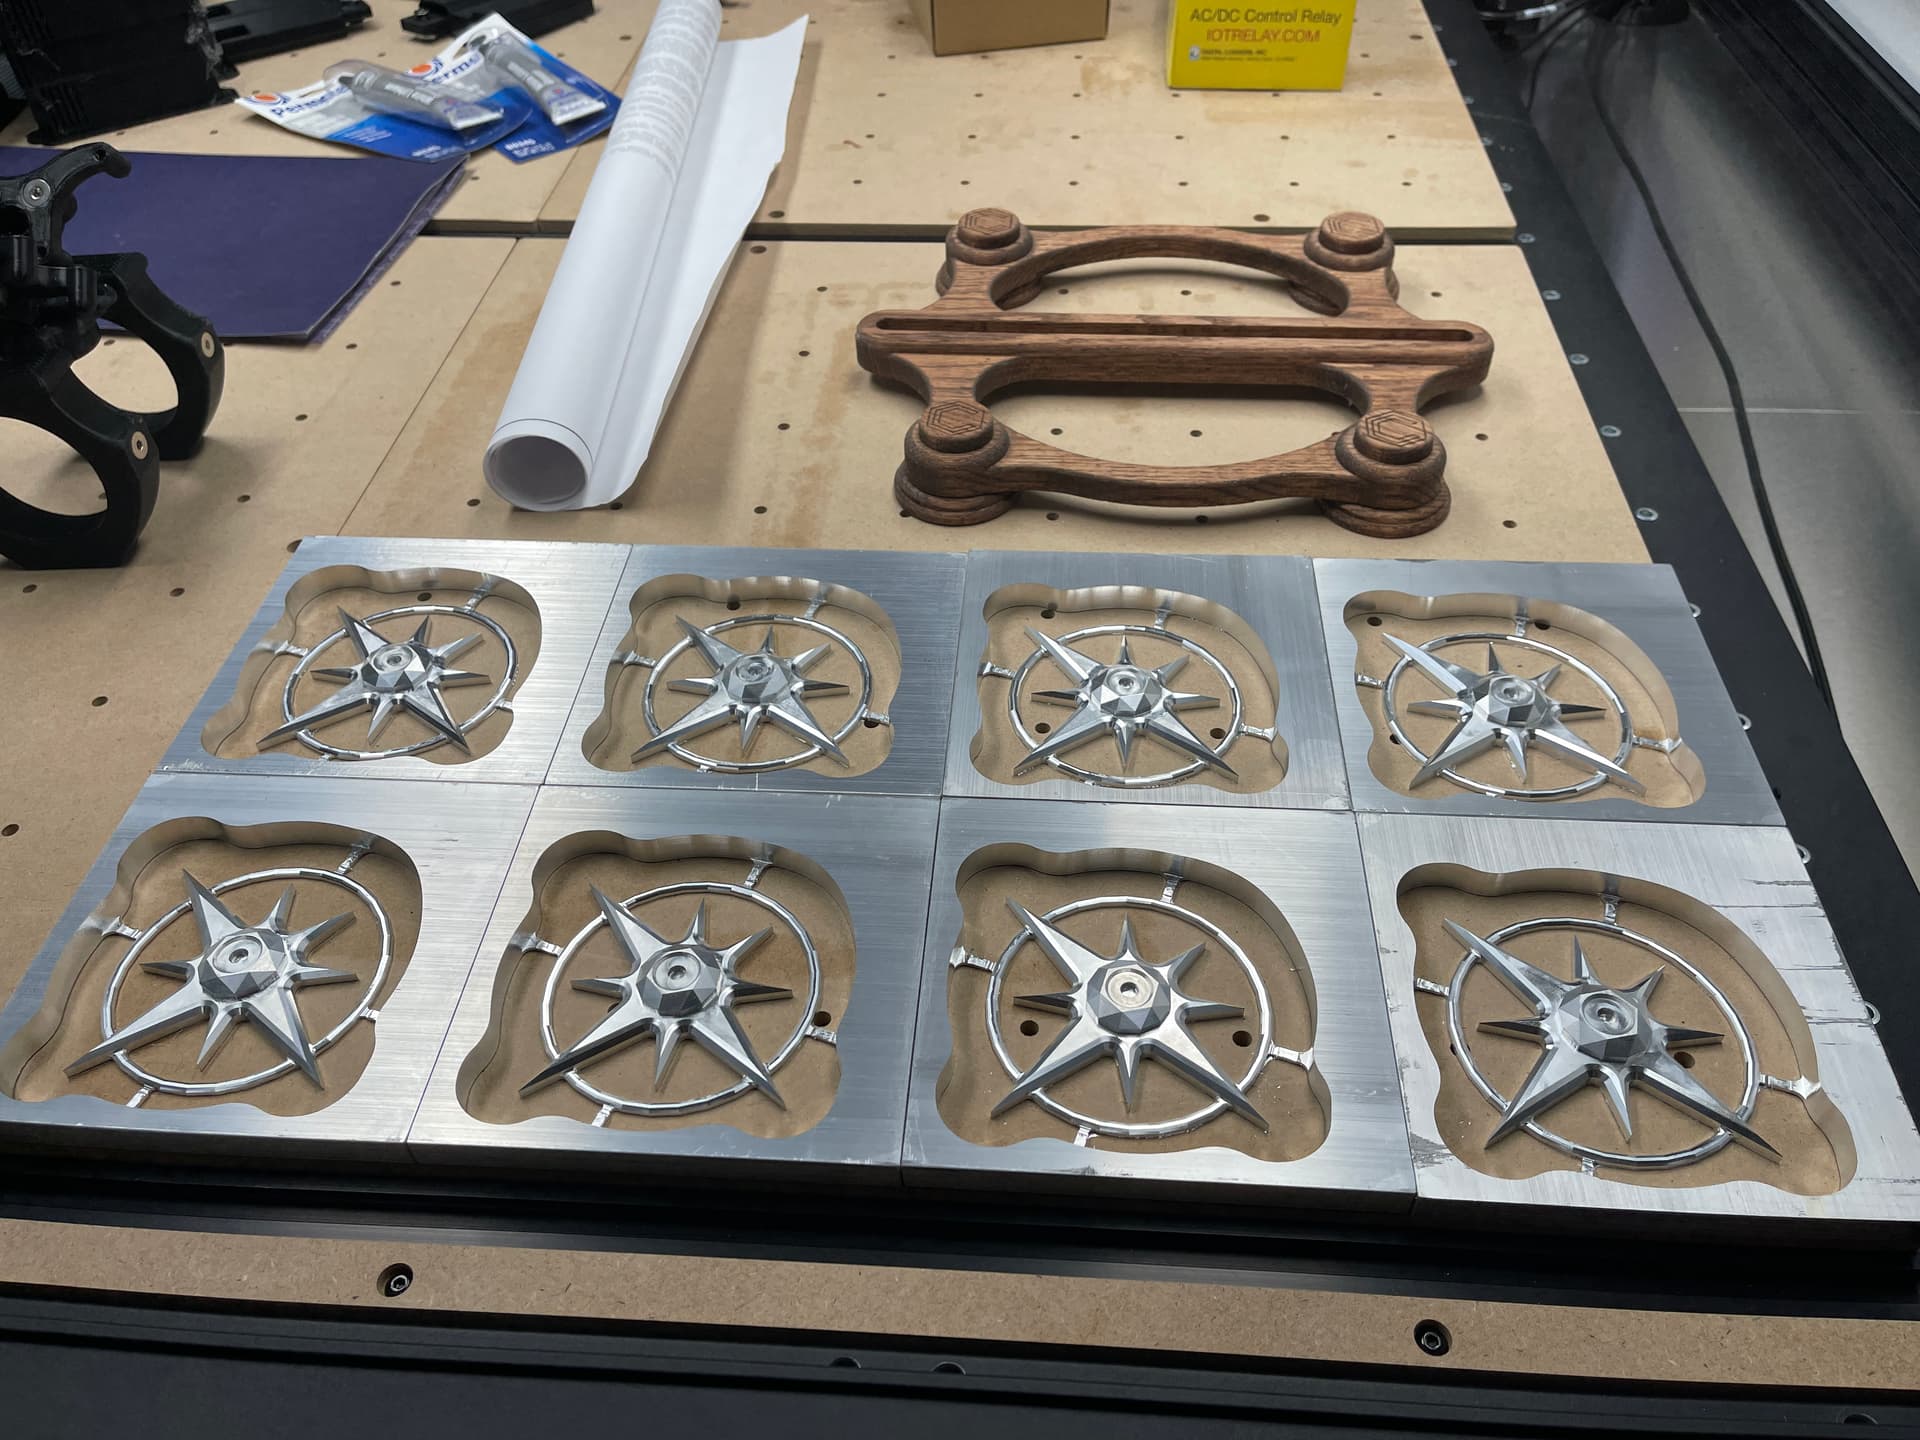
I made a prototype to sell to a cigar store in Nacgodoches. I used a big hunk of oak. The cigar stand has a place for a nice whiskey glass. A half pipe to put your new cigar and an ash tray and a place to lay a burning cigar. Maybe your father inlaw would like some thing like this. The ritual of sitting down pouring an adult beverage and smoke a cigar is a great one. I know it is bad for you but nobody gets out alive in the end. Enjoy the ride.
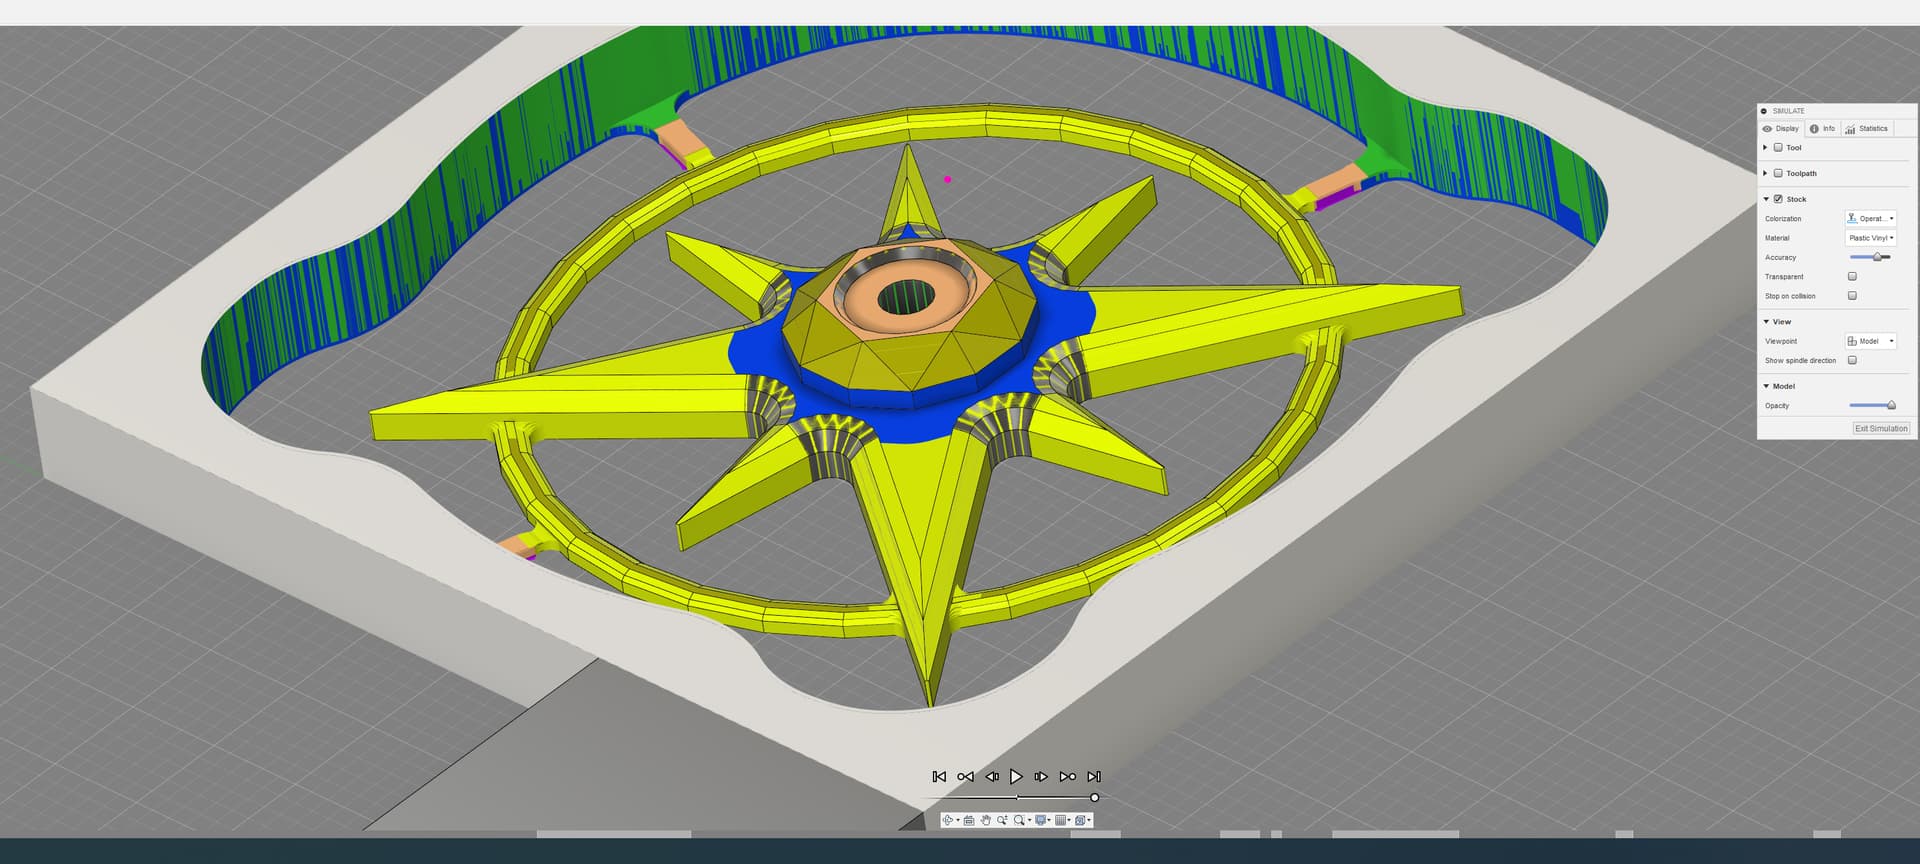
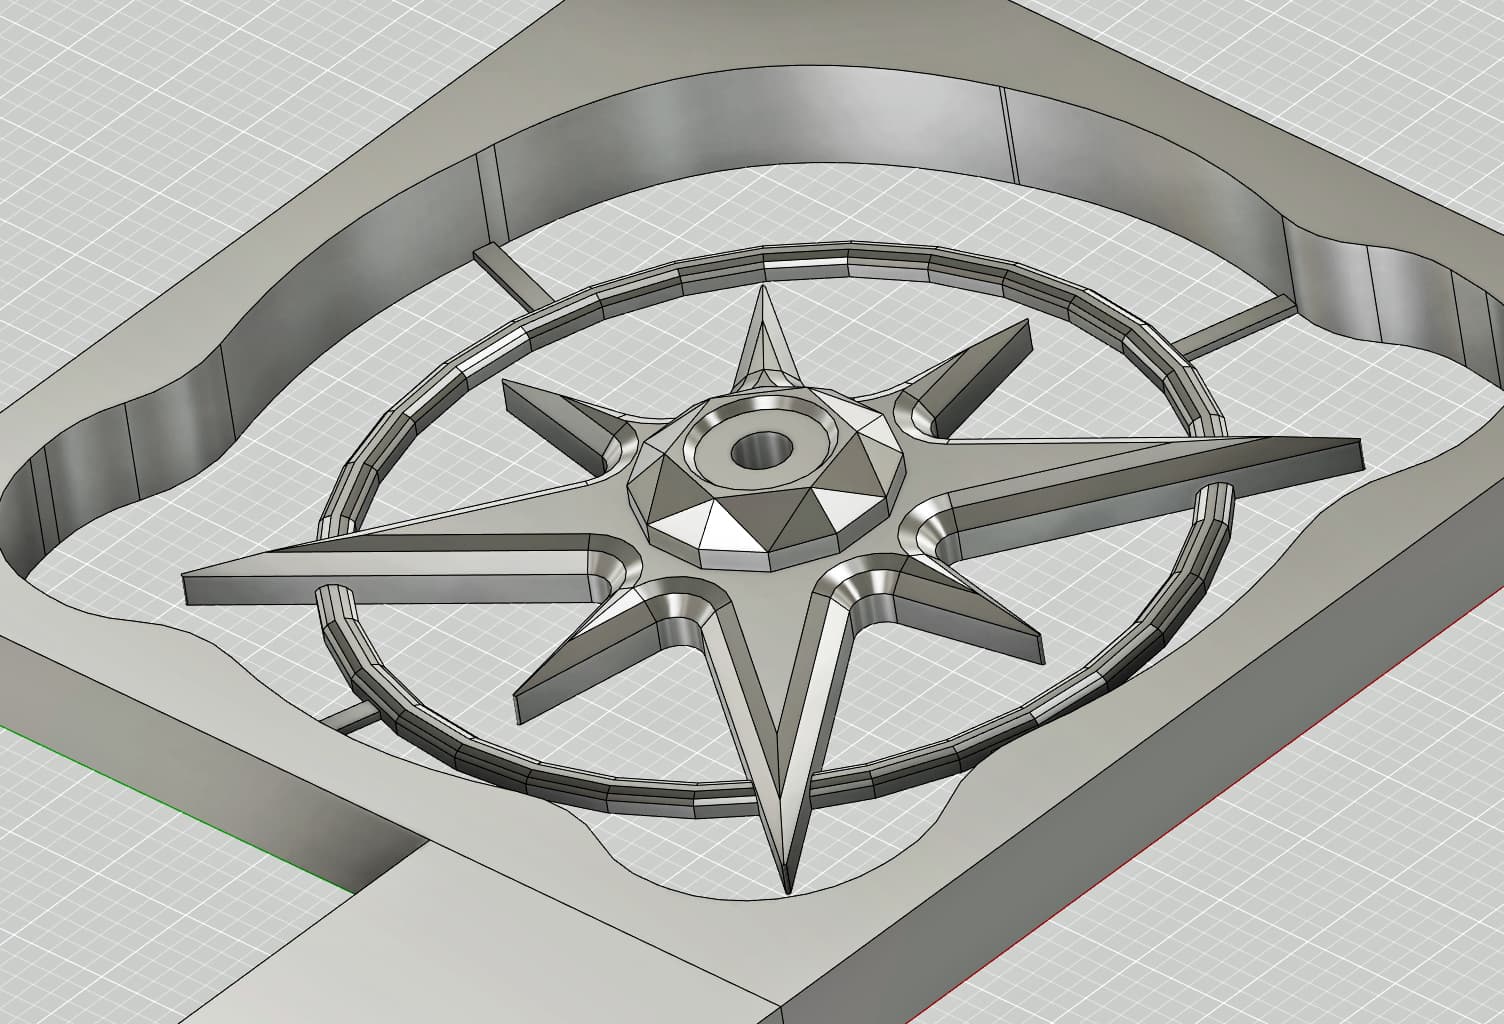
I modeled the half pipes in Carbide Create Pro. I need to go back and refine the tool path. I have enough to make 4 of these out of thick cherry. I just need to get to it. I guess I am lucky that I have more ideas than time.
Edit: In the top picture the black square are ice cube trays to make the skulls to put in your adult beverage.
We all have speech patterns we use over and over. Humans are repetative by nature. So super cool you use what you think. That phrase shows me you are upbeat in nature
Keep it up. The glass should always be half full.
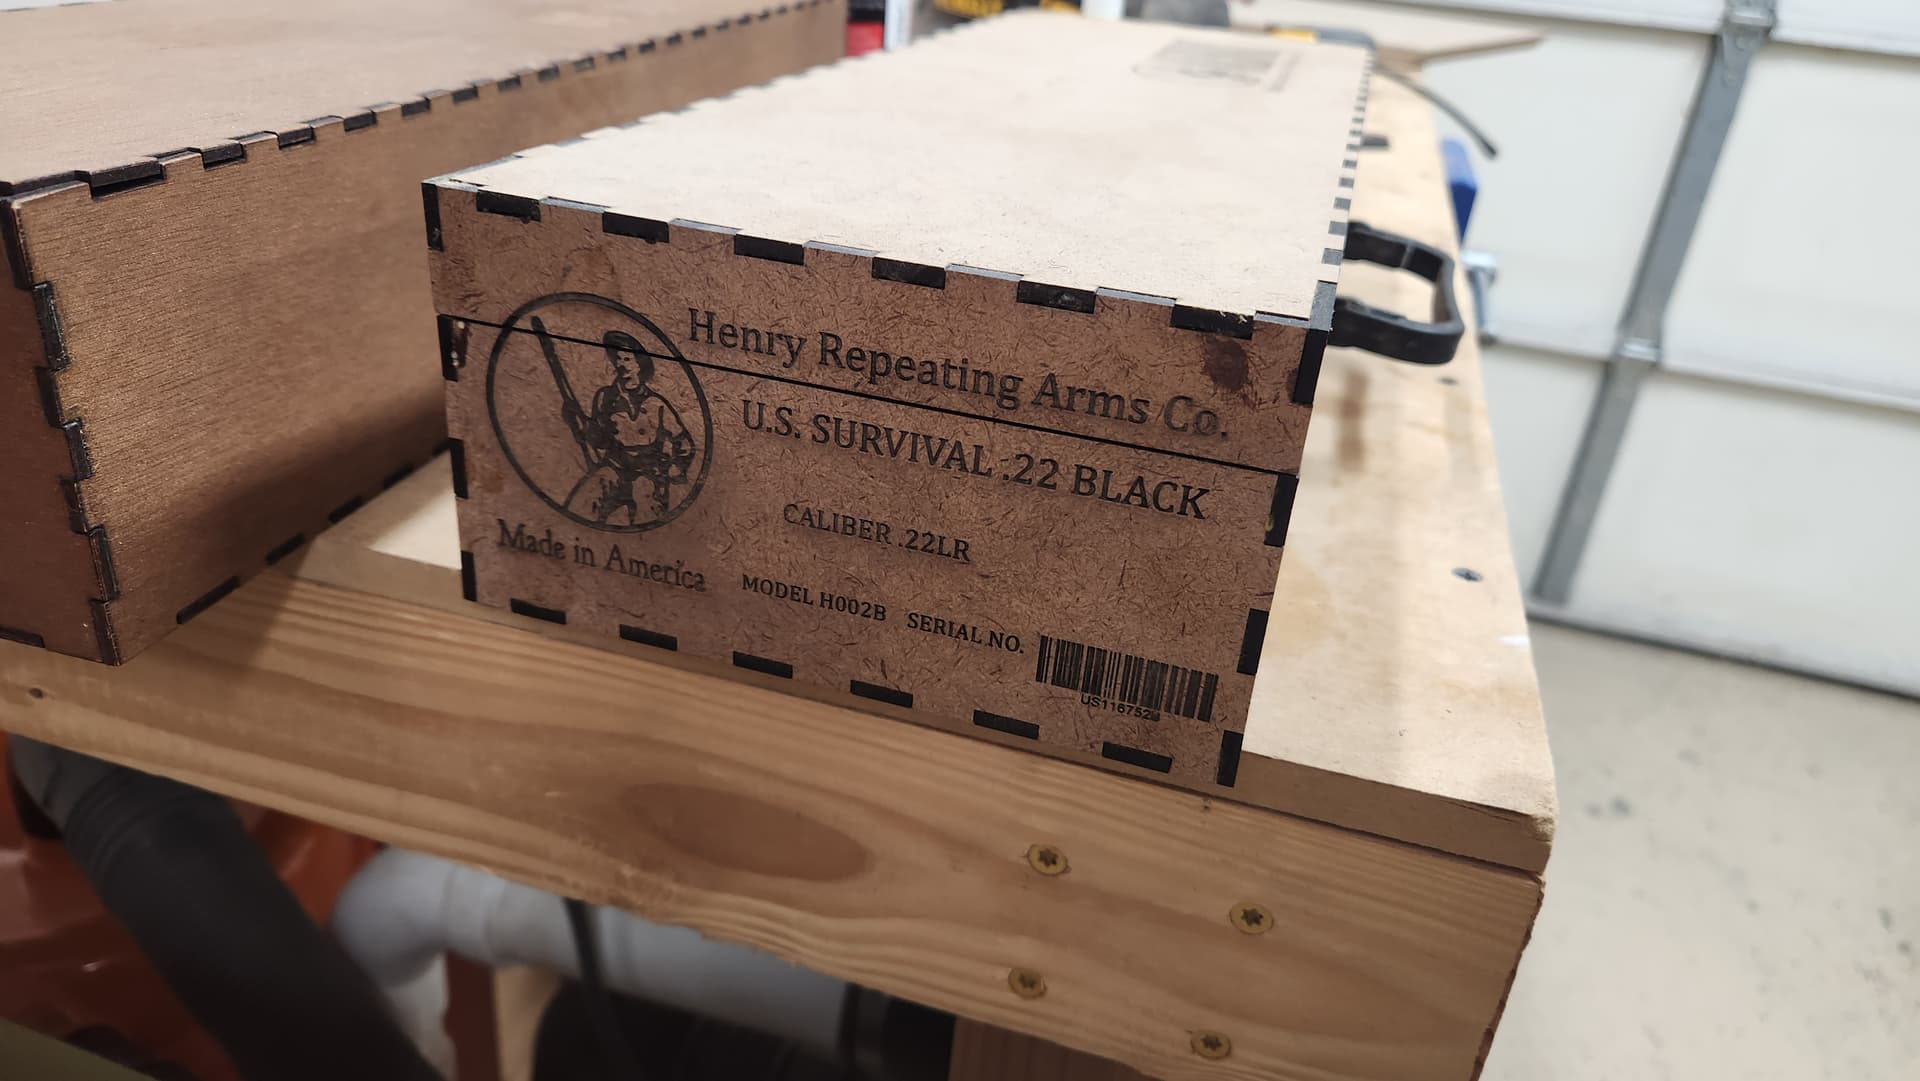
Would you share your file. I have one and need a case. Looks quite thick are you storing ammo inside. Is the gun assembled or disassembled? Do you have a scope on it?
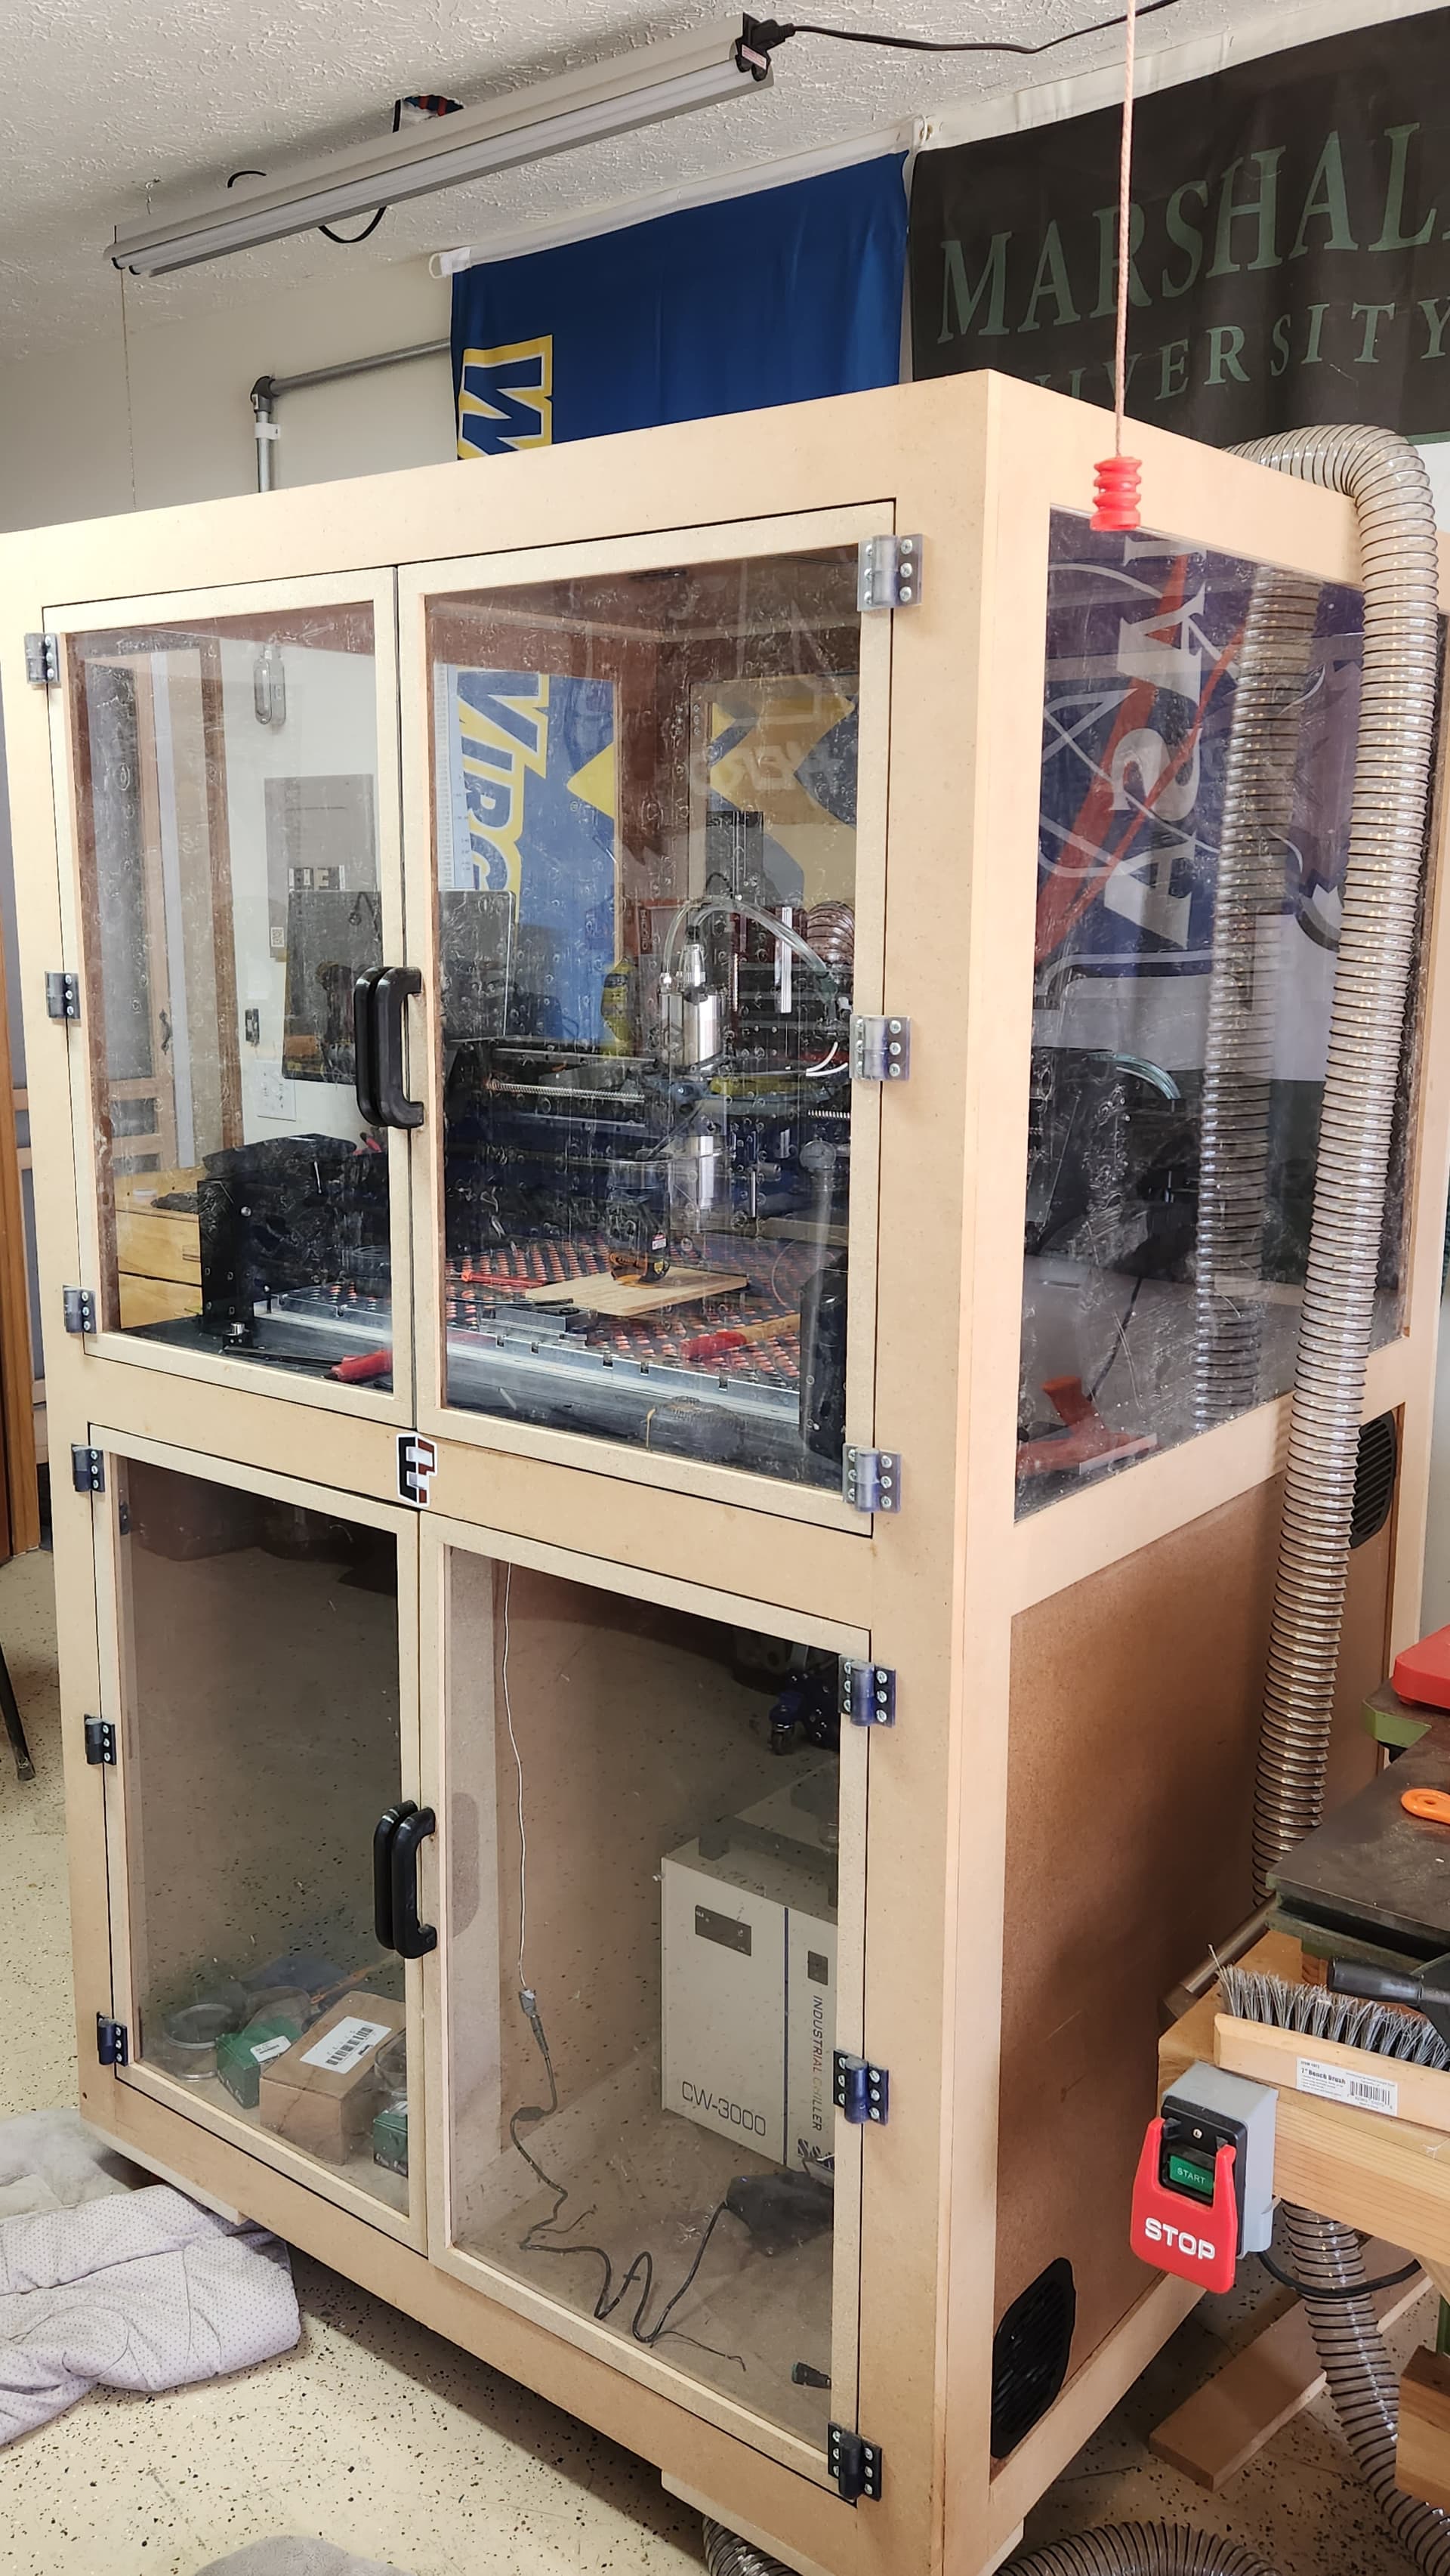
As always, terrific work. I love the enclosures also. Could you ballpark how much you have in parts for your HDM enclosure? I built a similar style out of .750" MDF and plexiglass and ended up costing around $600.
Your enclosure is amazing and at a fraction of the cost of 8020. Very nice work! One of the nicest I have seen. No feeling like having your own little house for your beloved machine haha, for me anyway…
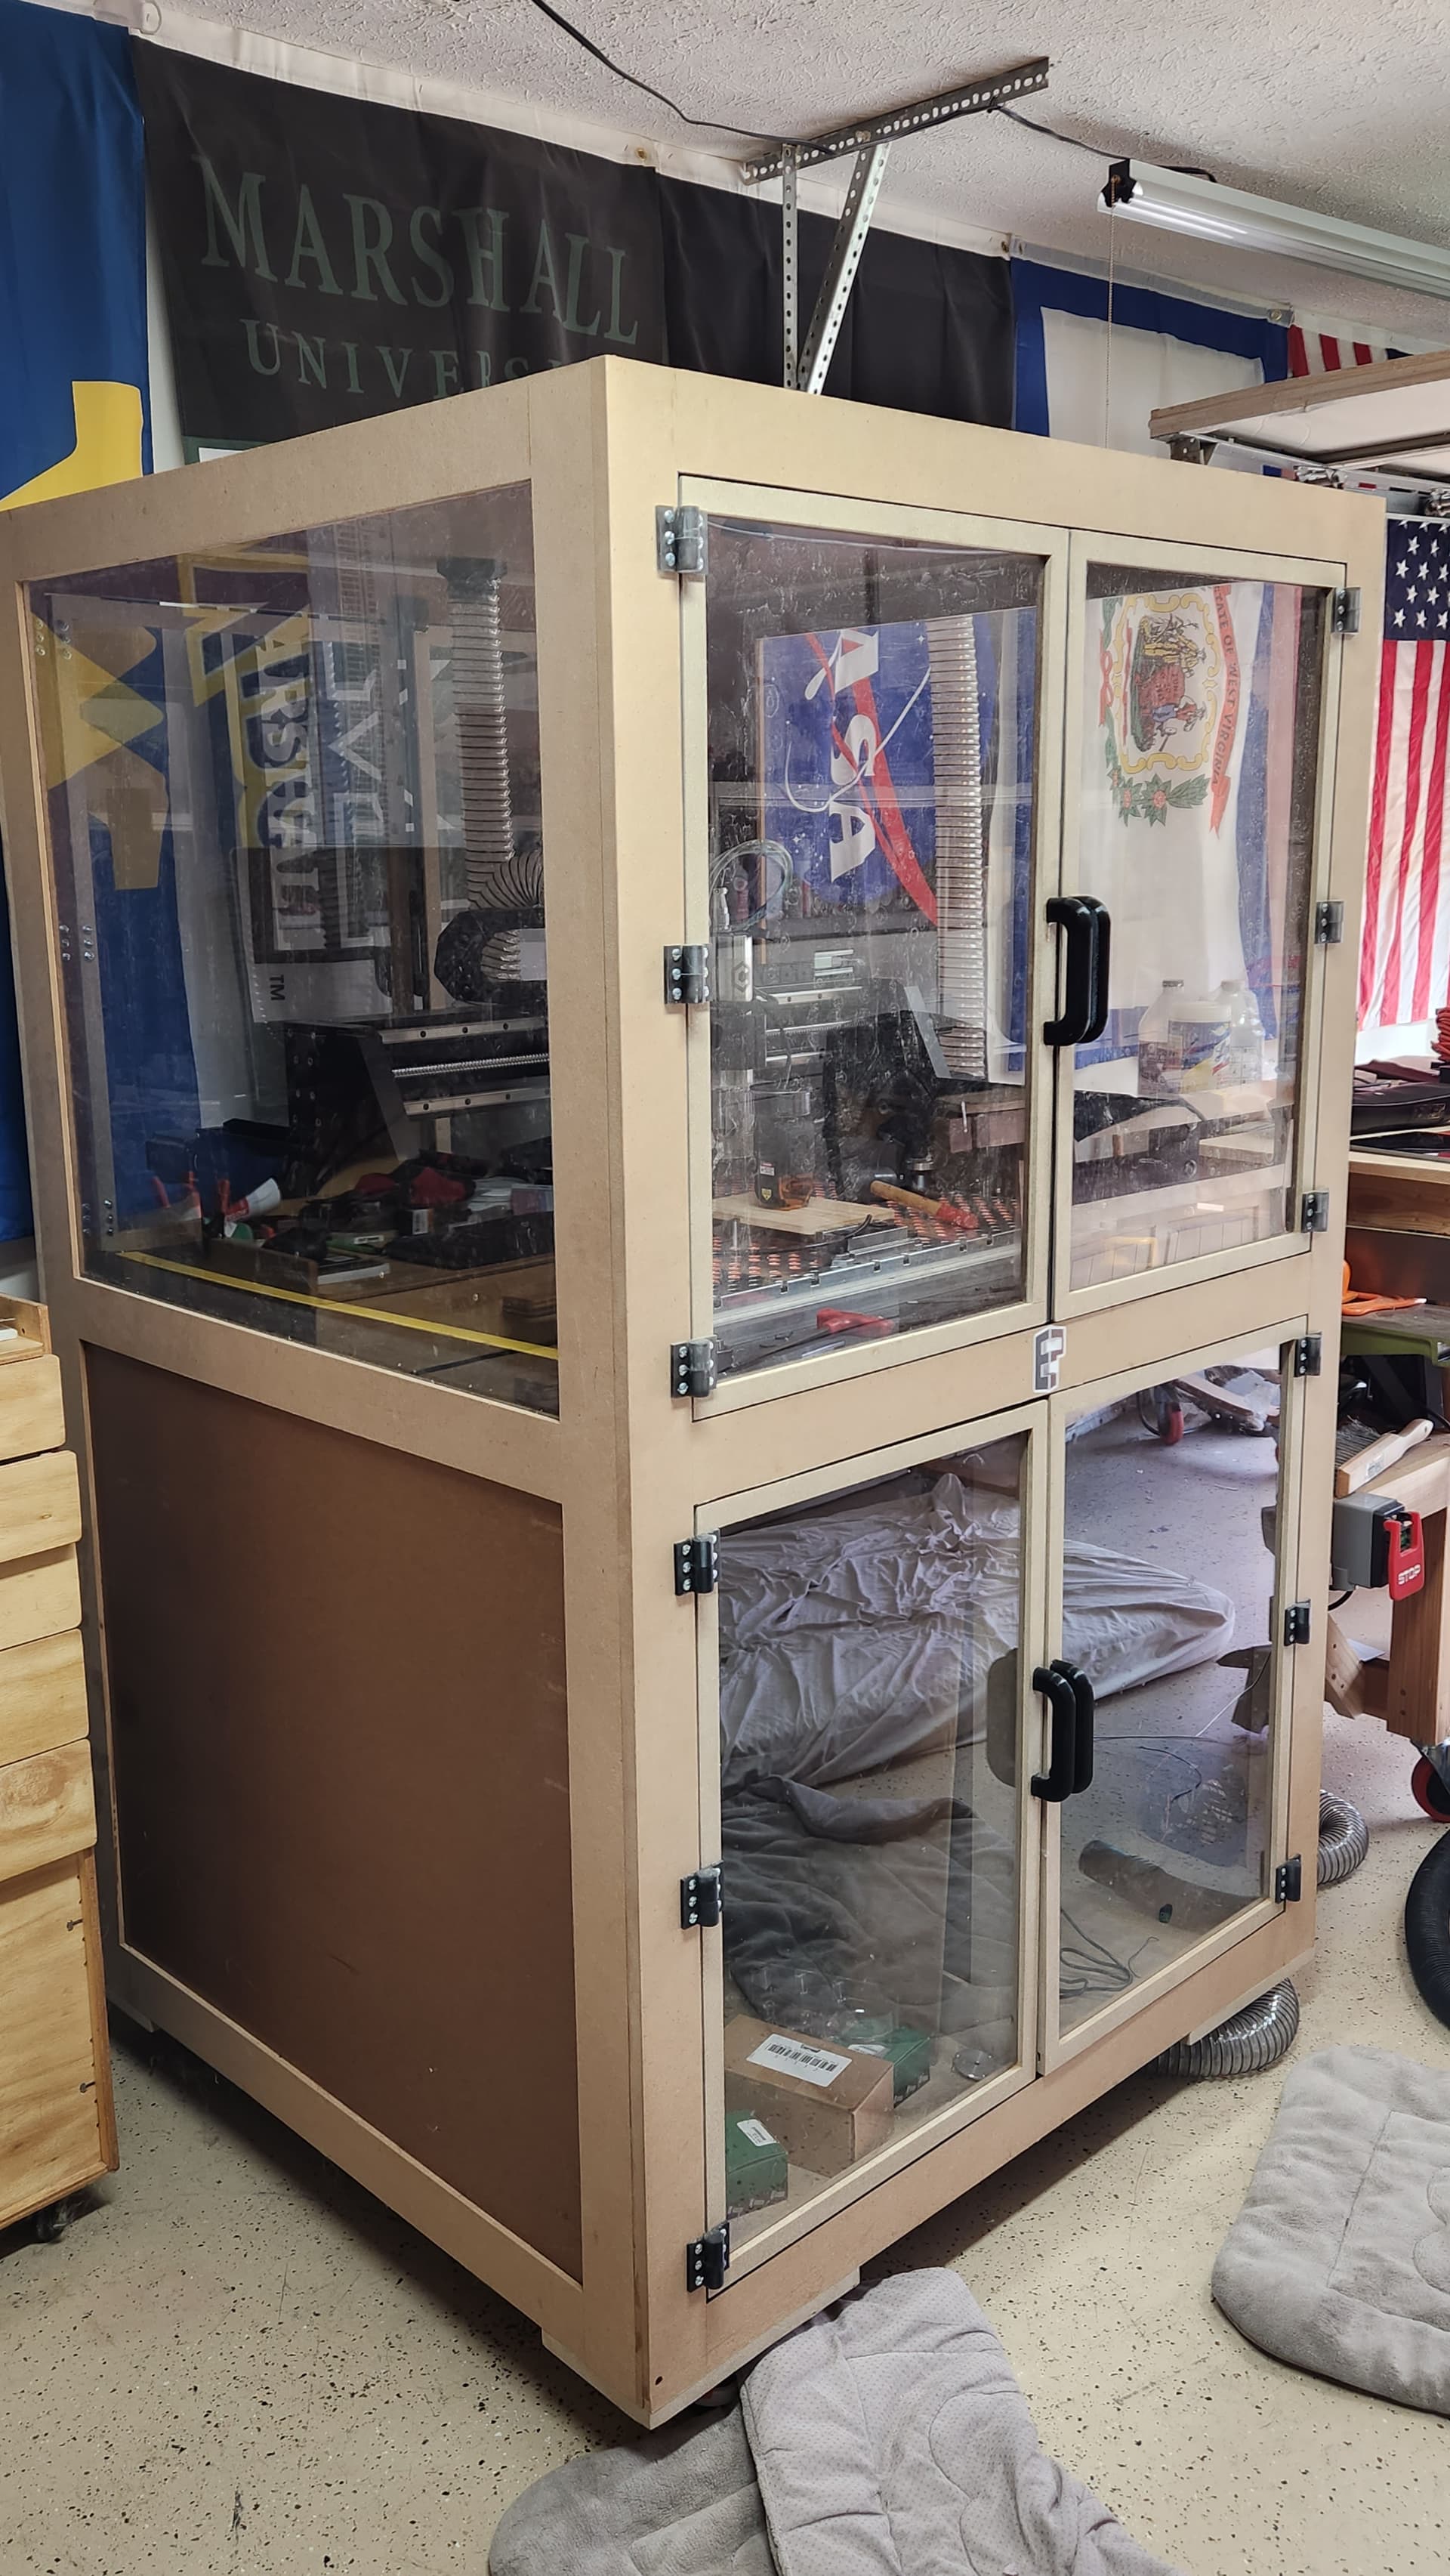
My HDM enclosure was built post pandemic so prices went way up. I would estimate around 7,500 total cost just for extrusion, hardware and panels. For an example I added side doors as an after thought, to be able to maintenance the ball screws and rails easier. Cost was over 1700 with extrusion and fasteners and hinges not including the panels.
A lot of other add on’s like the Surface pro tablet, lighting, casters, 3d parts and trim, 18 gauge brushed stainless sheet for the deck, SMW spoilboard etc. bring it way over 10k not including the machine…
Amazing work on yours and thanks for the kind words. I’d like to redo mine eventually with lessons learned during the build and since but I’m pleased with it.
Thanks for the file. The inside corners are going to be round. Did you use a chisel to square them up or was there enough room to assemble. I made a toolpath with 1/16" bit so the round will be small. I assume the blue line is the cut off line to remove the top of the box from the bottom?
What application did you generate the dxf file with?
I just bought a used JTech 7W laser and will try the Henry Logo with that.
Waiting for the paint to dry before putting on some finish, what would be the best thing to put over this as a good finish that doesn’t change color or anything
Since you have multi levels I would use spray poly acrylic from Minwax. There are other brands. Just do light coats. The Minwax dries quickly and you can put multiple coats on in a day. Just dont spray too much at once or it will run and pool. Spray in one direction on coat 1, then the opposite direction on coat 2. If it required coat 3 and 4 do those from the ends. Just do light coats and I use a 3m white finishing pad to remove dust nibs between each coat.