This other fella did it too: ![]()
$15 tops and you can pick up the 5V on the Shapeoko controller to avoid the use of batteries (but admittedly, routing a wire from the controller to the laser pointer is more work)
This other fella did it too: ![]()
$15 tops and you can pick up the 5V on the Shapeoko controller to avoid the use of batteries (but admittedly, routing a wire from the controller to the laser pointer is more work)
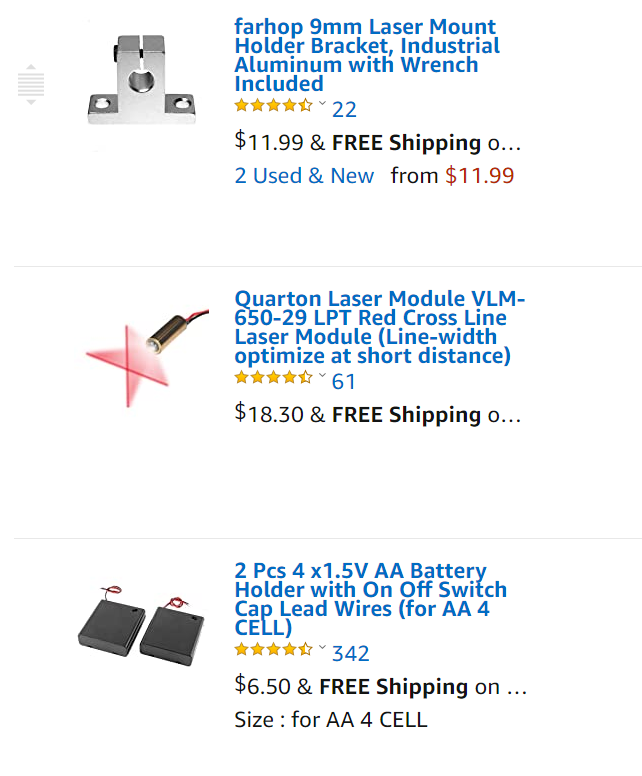
I figured a 4 battery pack with an on/off switch would last a while considering you only use for a minute at most at a time.
Still $40 for the laser, Holder and Battery pack is not a bad deal.
Someone probably already explored this but it would be a DIY project using the Raspberry Pi with the gamepad control boards such as this and there are examples of these boards with Bluetooth support for wireless.
With Carbide Motion running on a Raspberry Pi I can see integrating one of these boards with a joystick/d-pad and only use up the buttons you need to implement the Z + and - and maybe a few more for changing jog speed, etc… to build your very own custom control panel.
A couple of folks have done various implementations long those lines — I find it more straight-forward (on Windows) to just connect a gamepad and remap the buttons:
(but it’s not wireless — fwiw, I really don’t need another battery to manage the charging of in my life)
I know I may be late to this but I found an inexpensive option to just be a wireless usb number keypad and mouse combo on Amazon. https://www.amazon.com/Wireless-TRELC-Financial-Accounting-Extensions/dp/B07PJMSBLX
But I think my most enjoyable upgrade for easier machine use has been this touchscreen monitor for a little over $50 on eBay. Mimo Monitor Capacitive Touch Screen High Resolution 10" USB Display UM-1080C-G 783555157039 | eBay
Combined it makes for a nice work flow and easy functionality for under $70.
Do you have enough monitors?
Why is your work set back so far on the table?
The work is that far back because it is the first of what will be four user defined work spaces I intend to have. One on each corner to allow for two sided milling using the same corner on the work piece, mill the front in the back left, flip material to back right, mill the backside. All while using the same xy datum on the work piece. Same will go for the front of the machine. As for monitors, the laptop is for actual drawing and creating. The one on the machine is a touch screen monitor which facilitates operation of the machine. The one above the machine allows me to see progress of the machine cut as I am often working on other things in my shop at a distance. Also it works well for football in the fall.
I only use the small one when I am zeroing things. It is really handy to have a one handed keyboard for the X, Y and Z movements. Having a full size for everything else is definitely important but you can have both connected at once and the small Rii is awesome for those movements close to the machine.
Great setup! Go Colts! (sorry couldn’t resist) I’m not even a sports fan. ![]()
![]()
![]()
![]()
I use a $10.00 mini keyboard from Amazon.