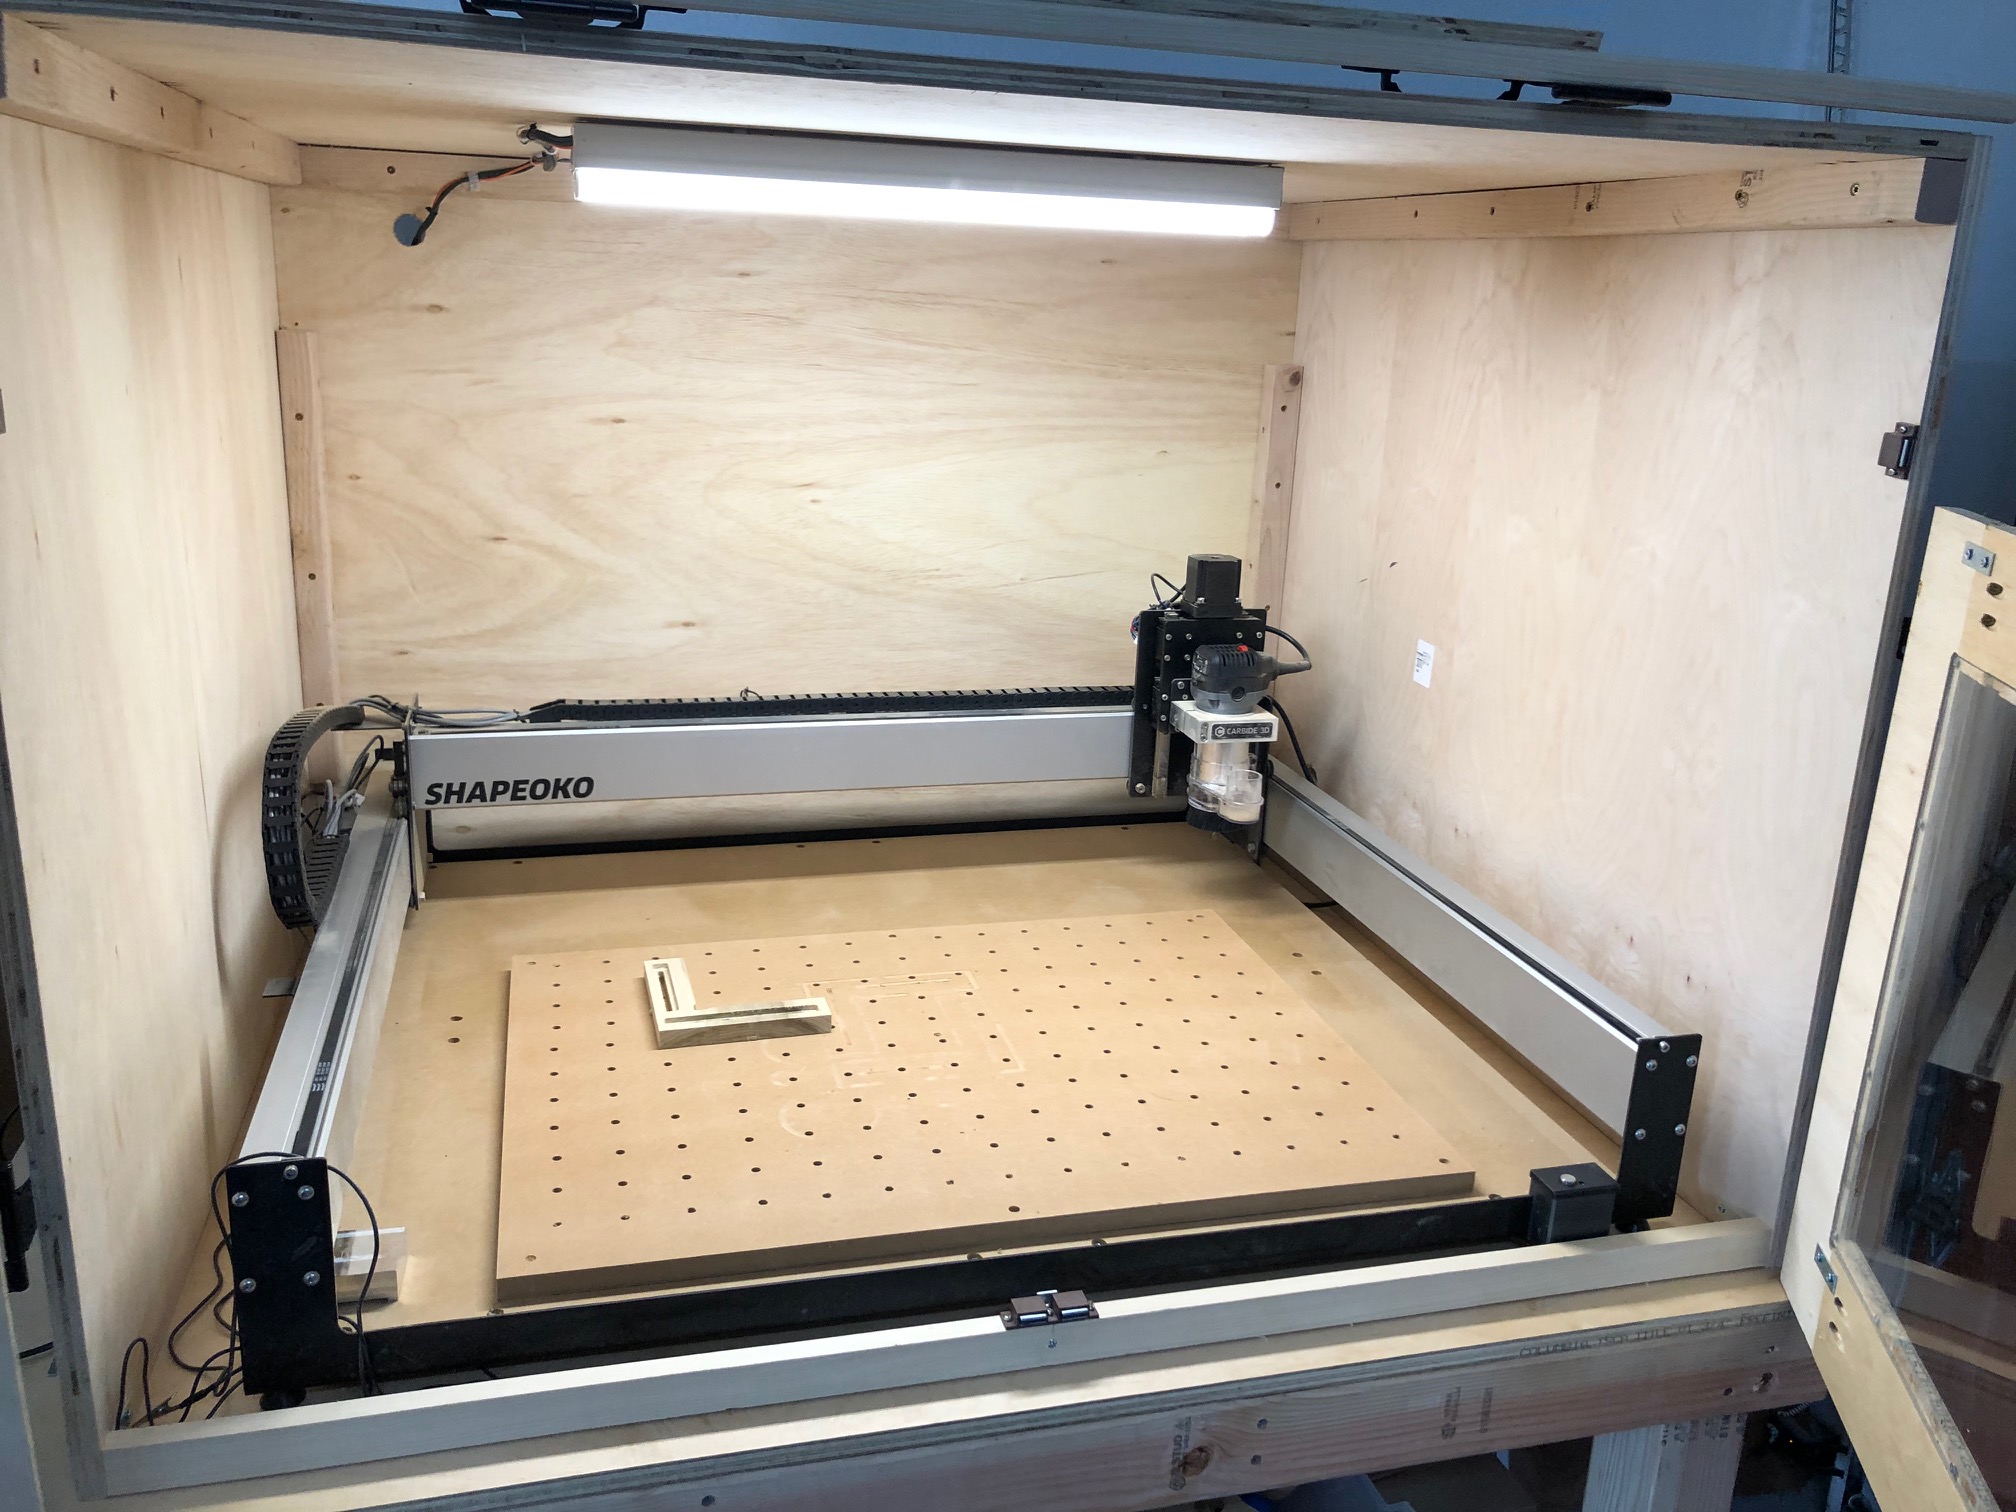
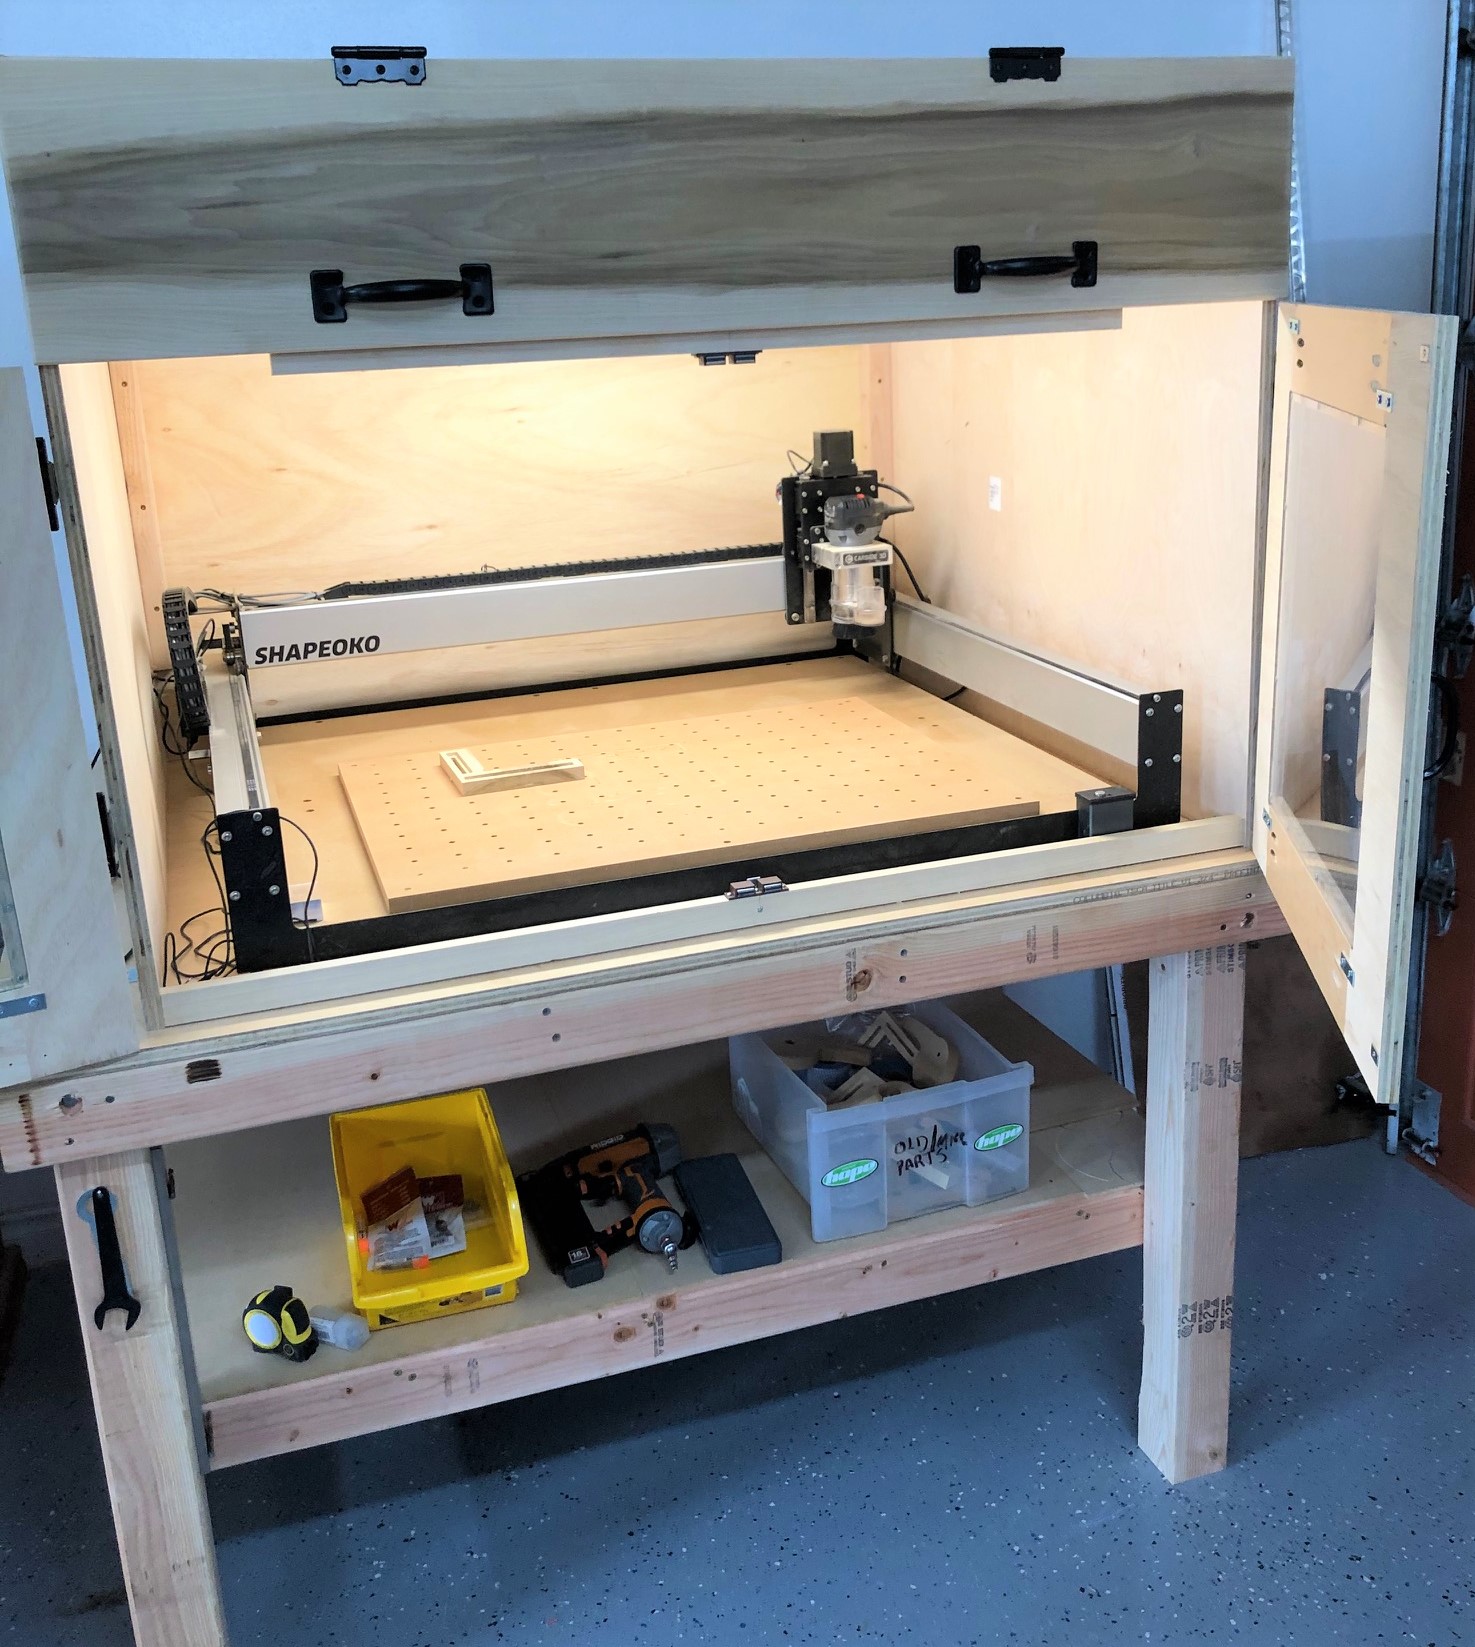
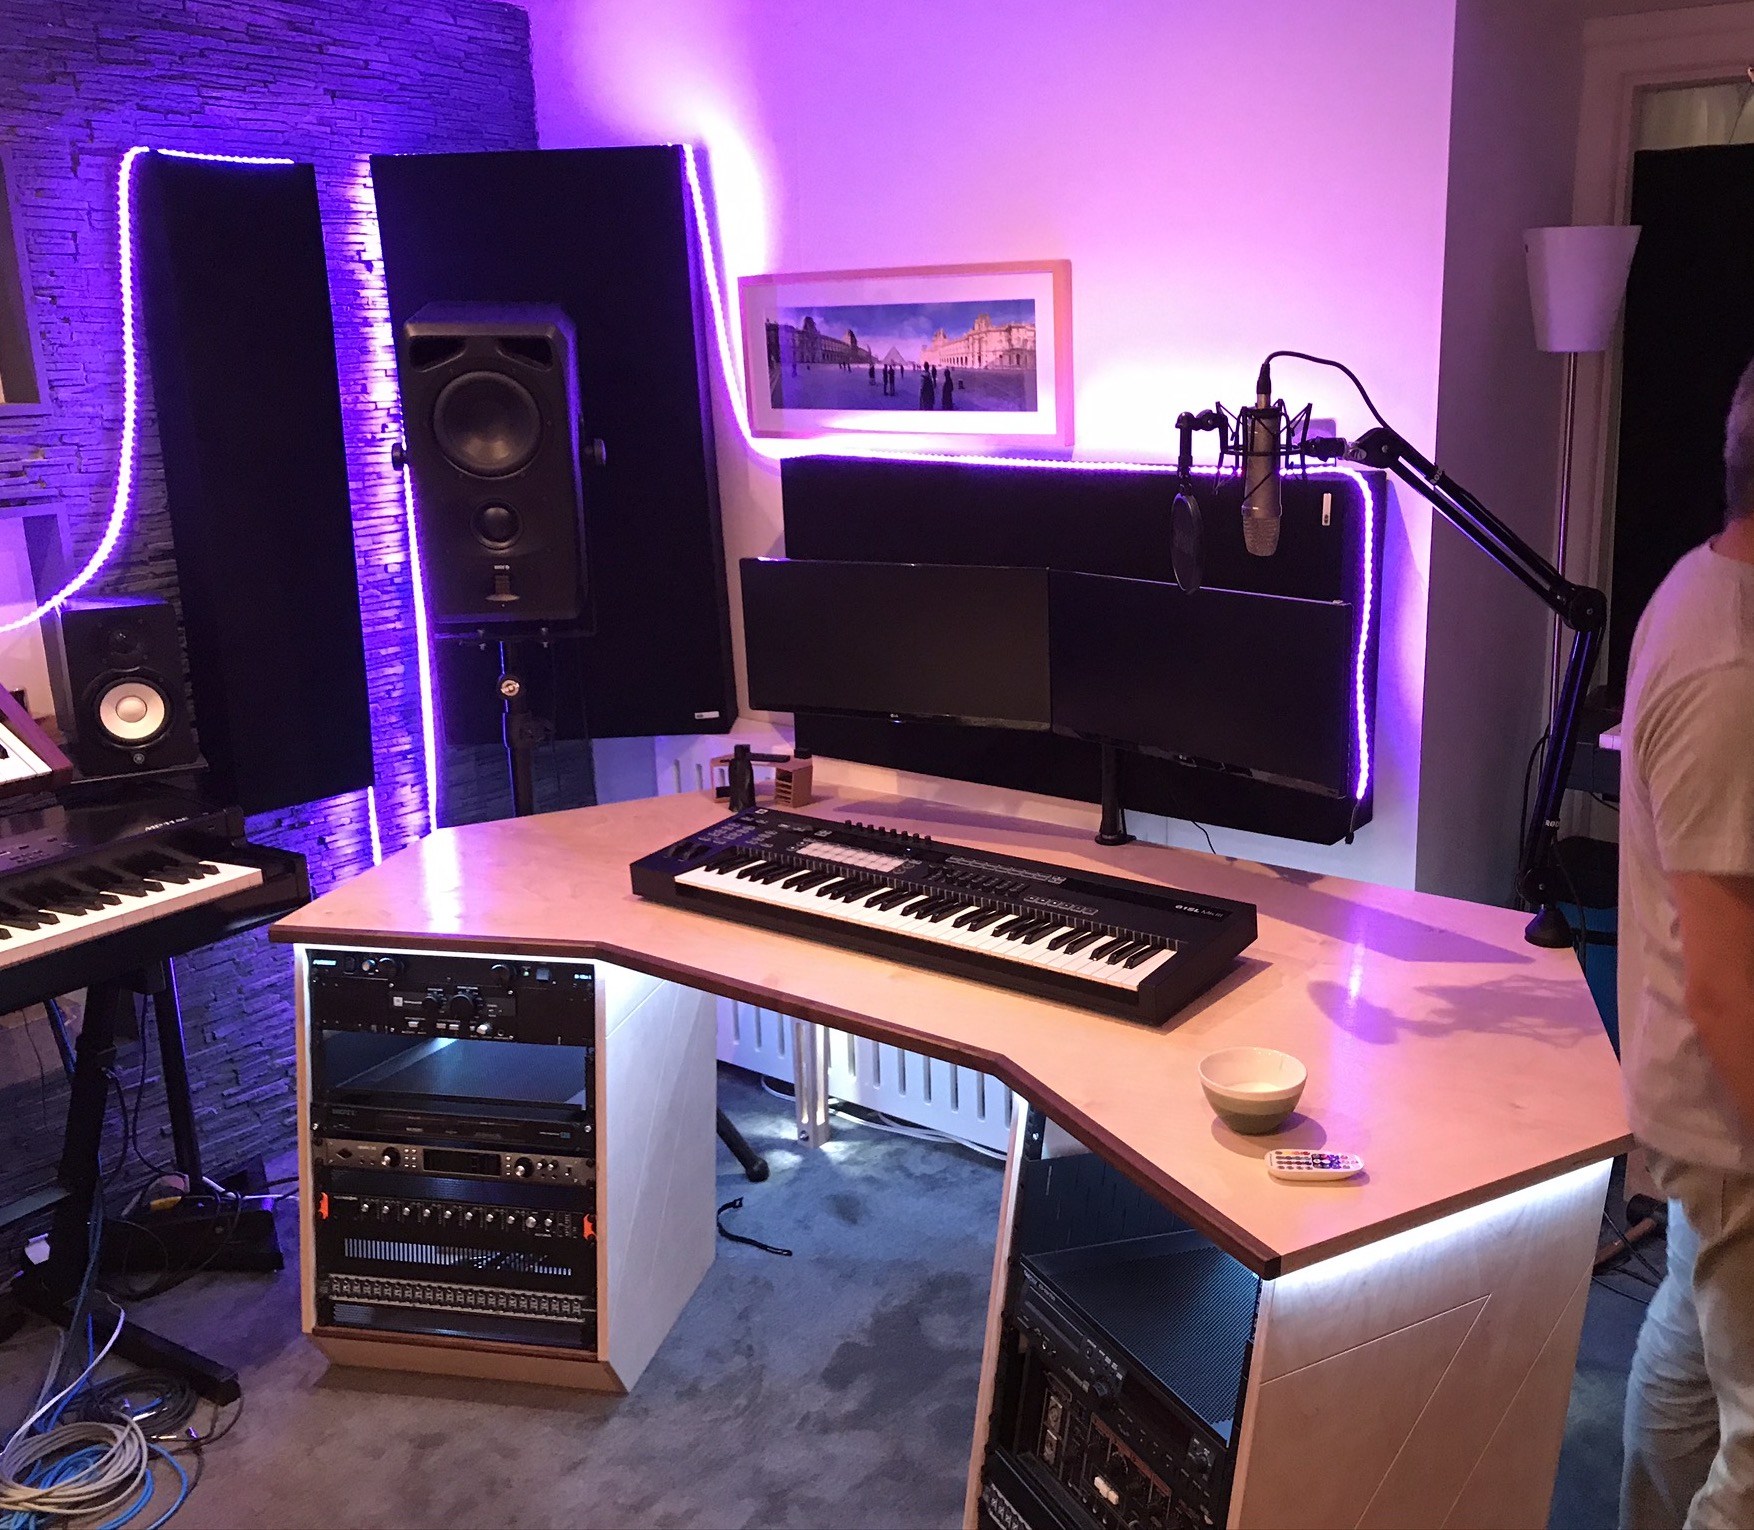
I got the new XXL in its’ home, resting peacefully after some initial trials. I will add a drawer and maybe an access door near the controller in case needed, but overall, that is it.
It is tall - nearly 36", so I made a 2-part door system. Mostly because that’s the lumber and plexiglass ($$$) I had left but also to avoid the main doors from being too wobbly. I like the height for being able to stick my head in and reach deep into the machine. This was my 1st eve build of anything like this, took me a day and 1/2, but I kinda like it.
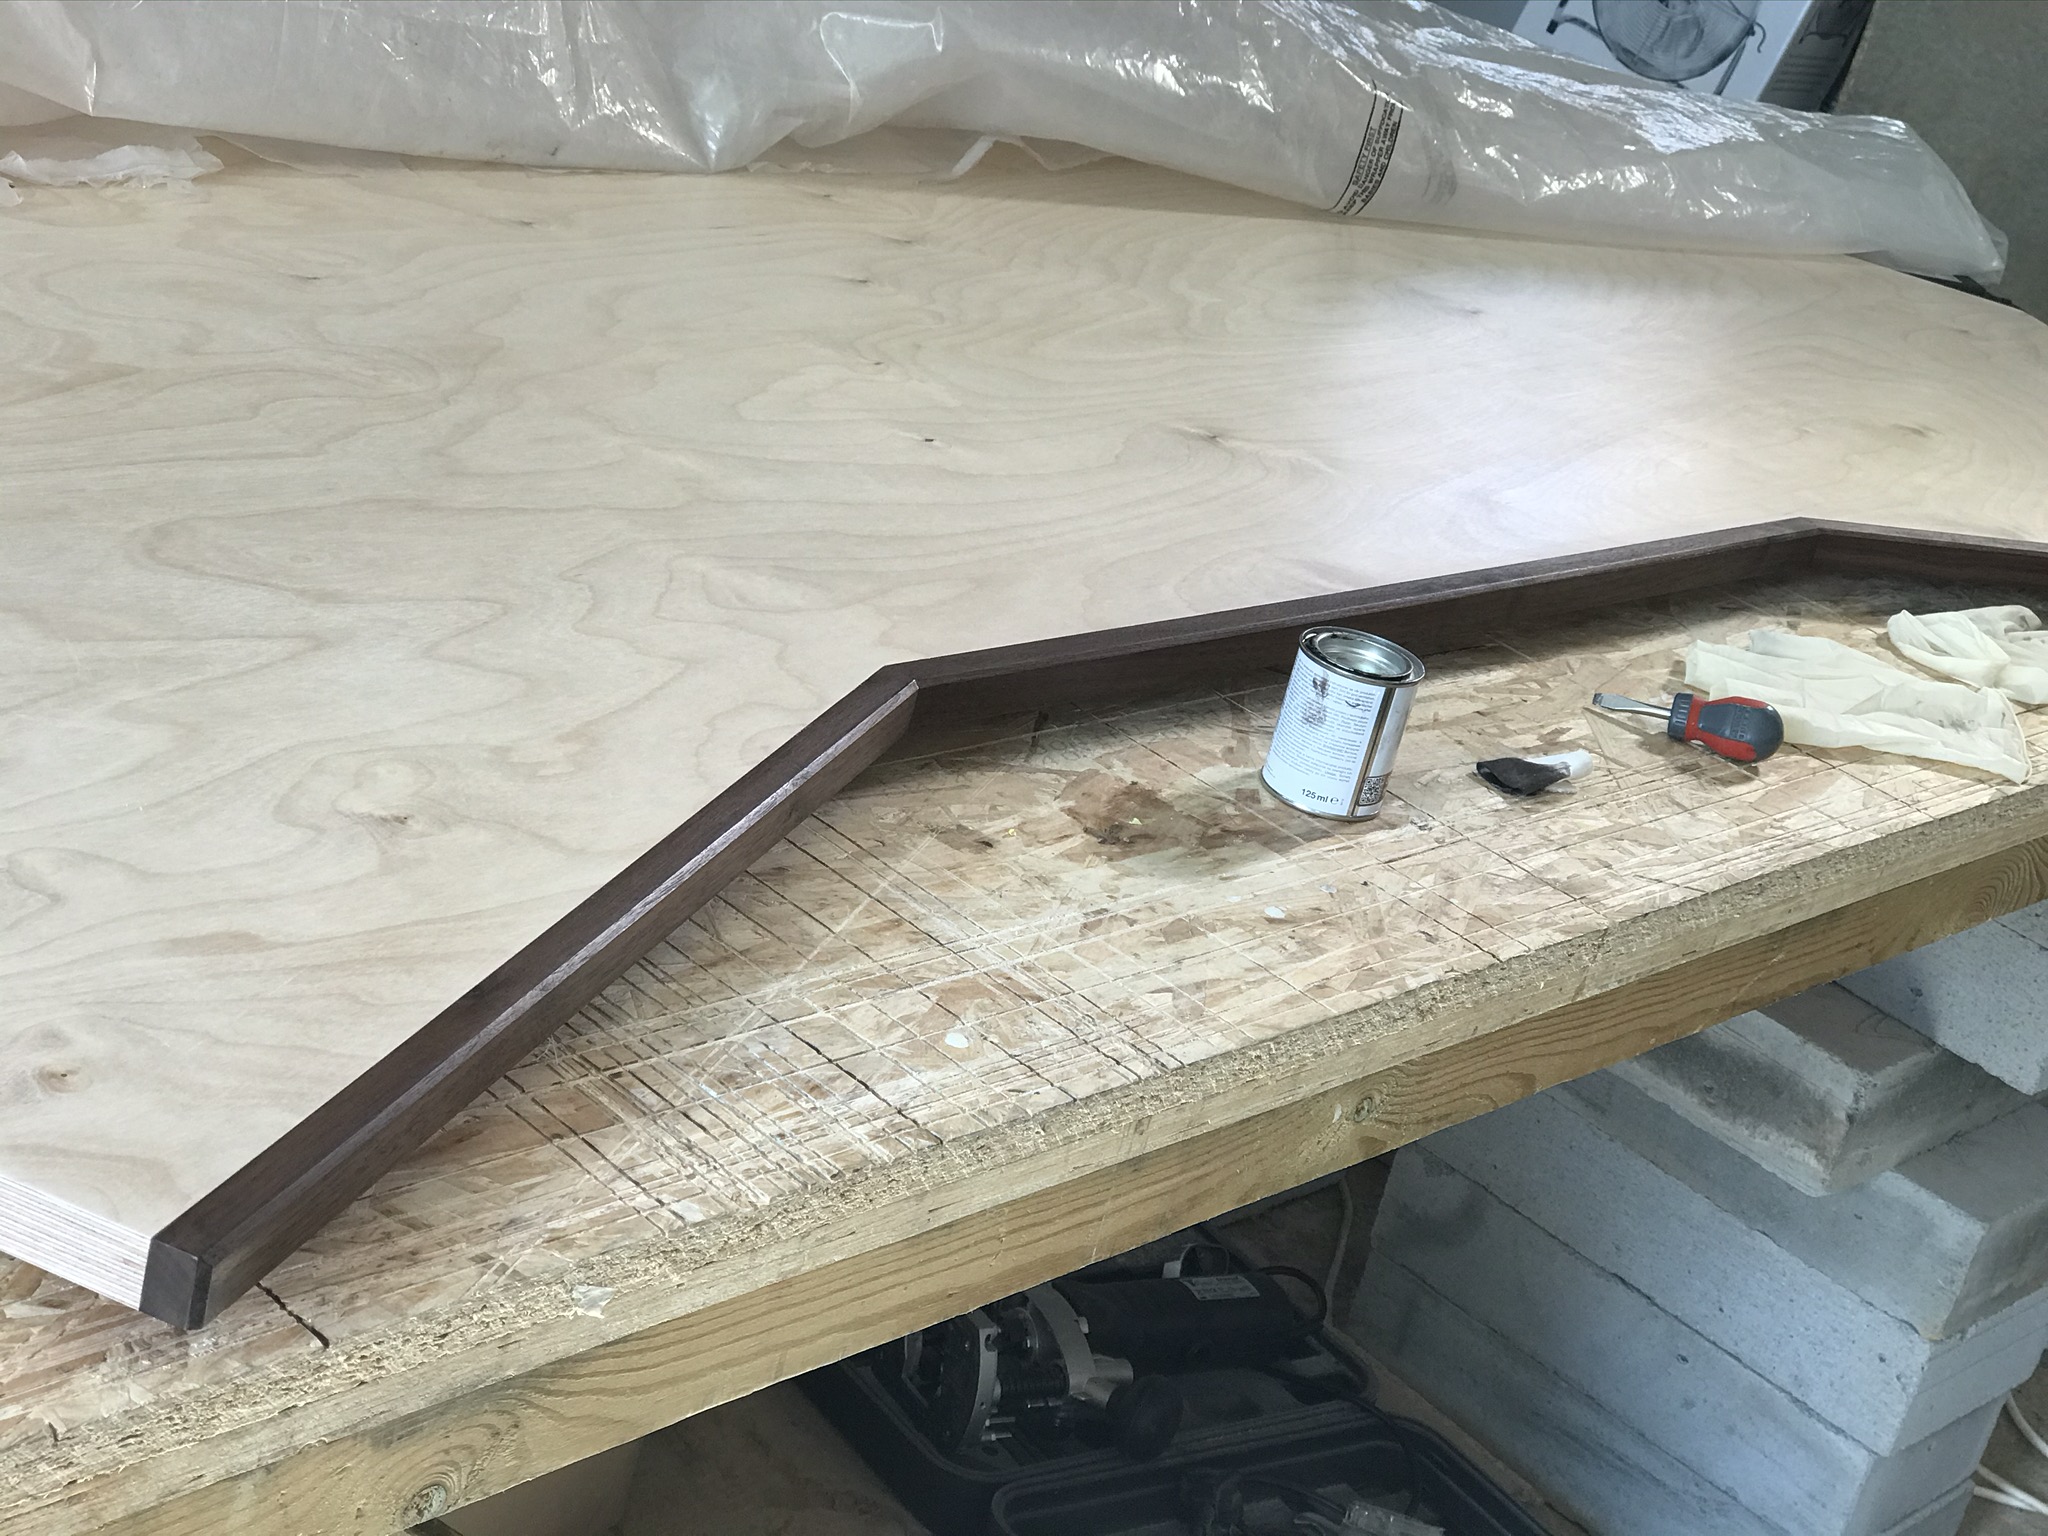
Should I finish/stain the birch plywood??

6 Likes
Nice Shapeoko home you built there. Good call on making it tall, I made the mistake of making mine “just tall enough” initially, and had to rebuild it taller not once but TWICE.
Probably not ![]()
Dust collection is next?
I wouldn’t bother, but to each his own. I would consider adding sound dampening material on the walls maybe ?
2 Likes
True that - I need dust collection and I considered some foam repurposed from dog beds. I thought I’d run it for a while to see how the sound is. Currently, not too bad as is.
Dust collection…for sure…need to do that somehow 
1 Like
if anything paint the inside white so that the light reflects more?
4 Likes
I wouldn’t stain it, but birch looks really nice with a few coats of wipe-on poly, if you’re so inclined.
2 Likes
Or some Osmo Polyx Oil.
3 Likes
Nice work and very good luck dear
Now that’s a clever solution for the door(s)!
As for finish, I’ve come to an appreciation of shellac. Kind of a warm glow to it.
I’m in the process of designing my third enclosure in 4+ years of SO3 use. Always like to see what others have done.
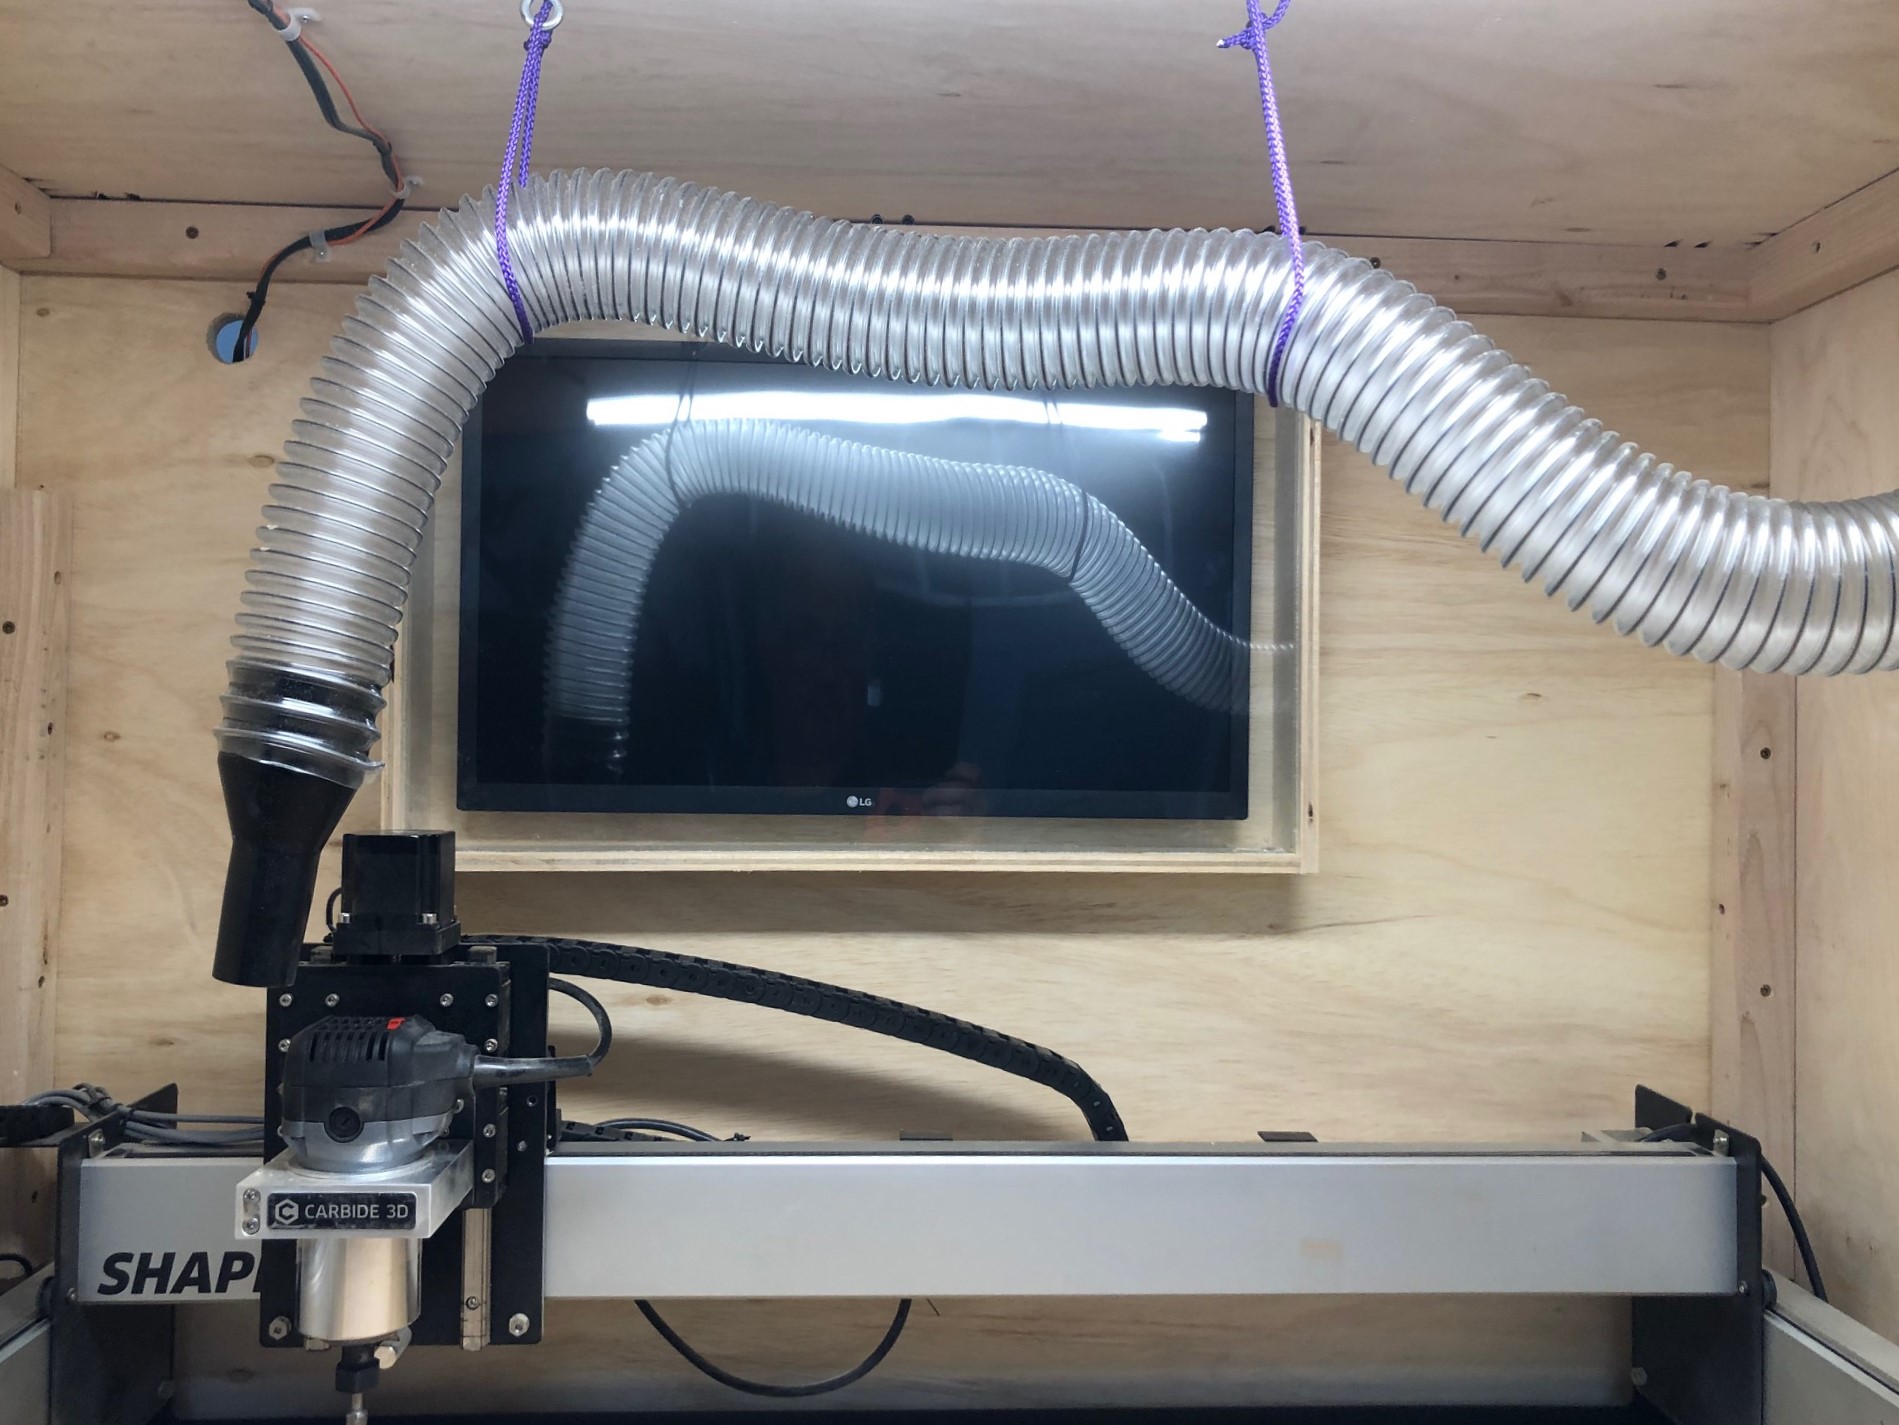
For dust collection my preference remains hose through the top of the enclosure, highly recommend it.
I’m with you on height, mines pretty high now but I can’t count the number of times I’ve clonked the old noodle on the top. In fact, it’s the main reason I’m moving on to Rev3. I’ll also be including a door on the back side too.
4 Likes
That looks interesting, I am not familiar with it. Google says a German product, an oil/wax combination. I’ll root around and see if I can find a US distributor.
It’s a really nice finish on furniture, I used it on baltic birch ply for the desk I built for my friend;
https://www.instagram.com/eikarumba/?hl=en
You just wipe it on and buff it off, a couple of coats and you get a dry, satin, tactile finish. It still feels like real wood and there’s just enough sheen to look finished, you need to catch the angle right to get any reflection though.
If you use it on BB ply, when they say sparingly and spread it thin, they really mean it, really really thin, just enough to wet the surface and no more as it absorbs into the wood and ply is only one ply thick before you hit the epoxy layer. I used a rag to put it on, a strong light to see the shine where it was wetted and then about 20 mins later buffed it smooth, basically their instructions for how to finish a floor with it.
On hardwoods like walnut it soaks right in (and there’s a nice dark colour for american black walnut).
6 Likes
I also think Osmo wood oils are excellent. I use their door oils for non-door-related projects and am very happy with the results.
2 Likes
Now that’s a nice enclosure, @JHartland.
I’m disappointed about two things, though:
- Why didn’t you publish this before I started mine and,
- Only a day and a half? I’m just finishing mine and it took me almost four weeks!
Just kidding (but not about the four weeks!)
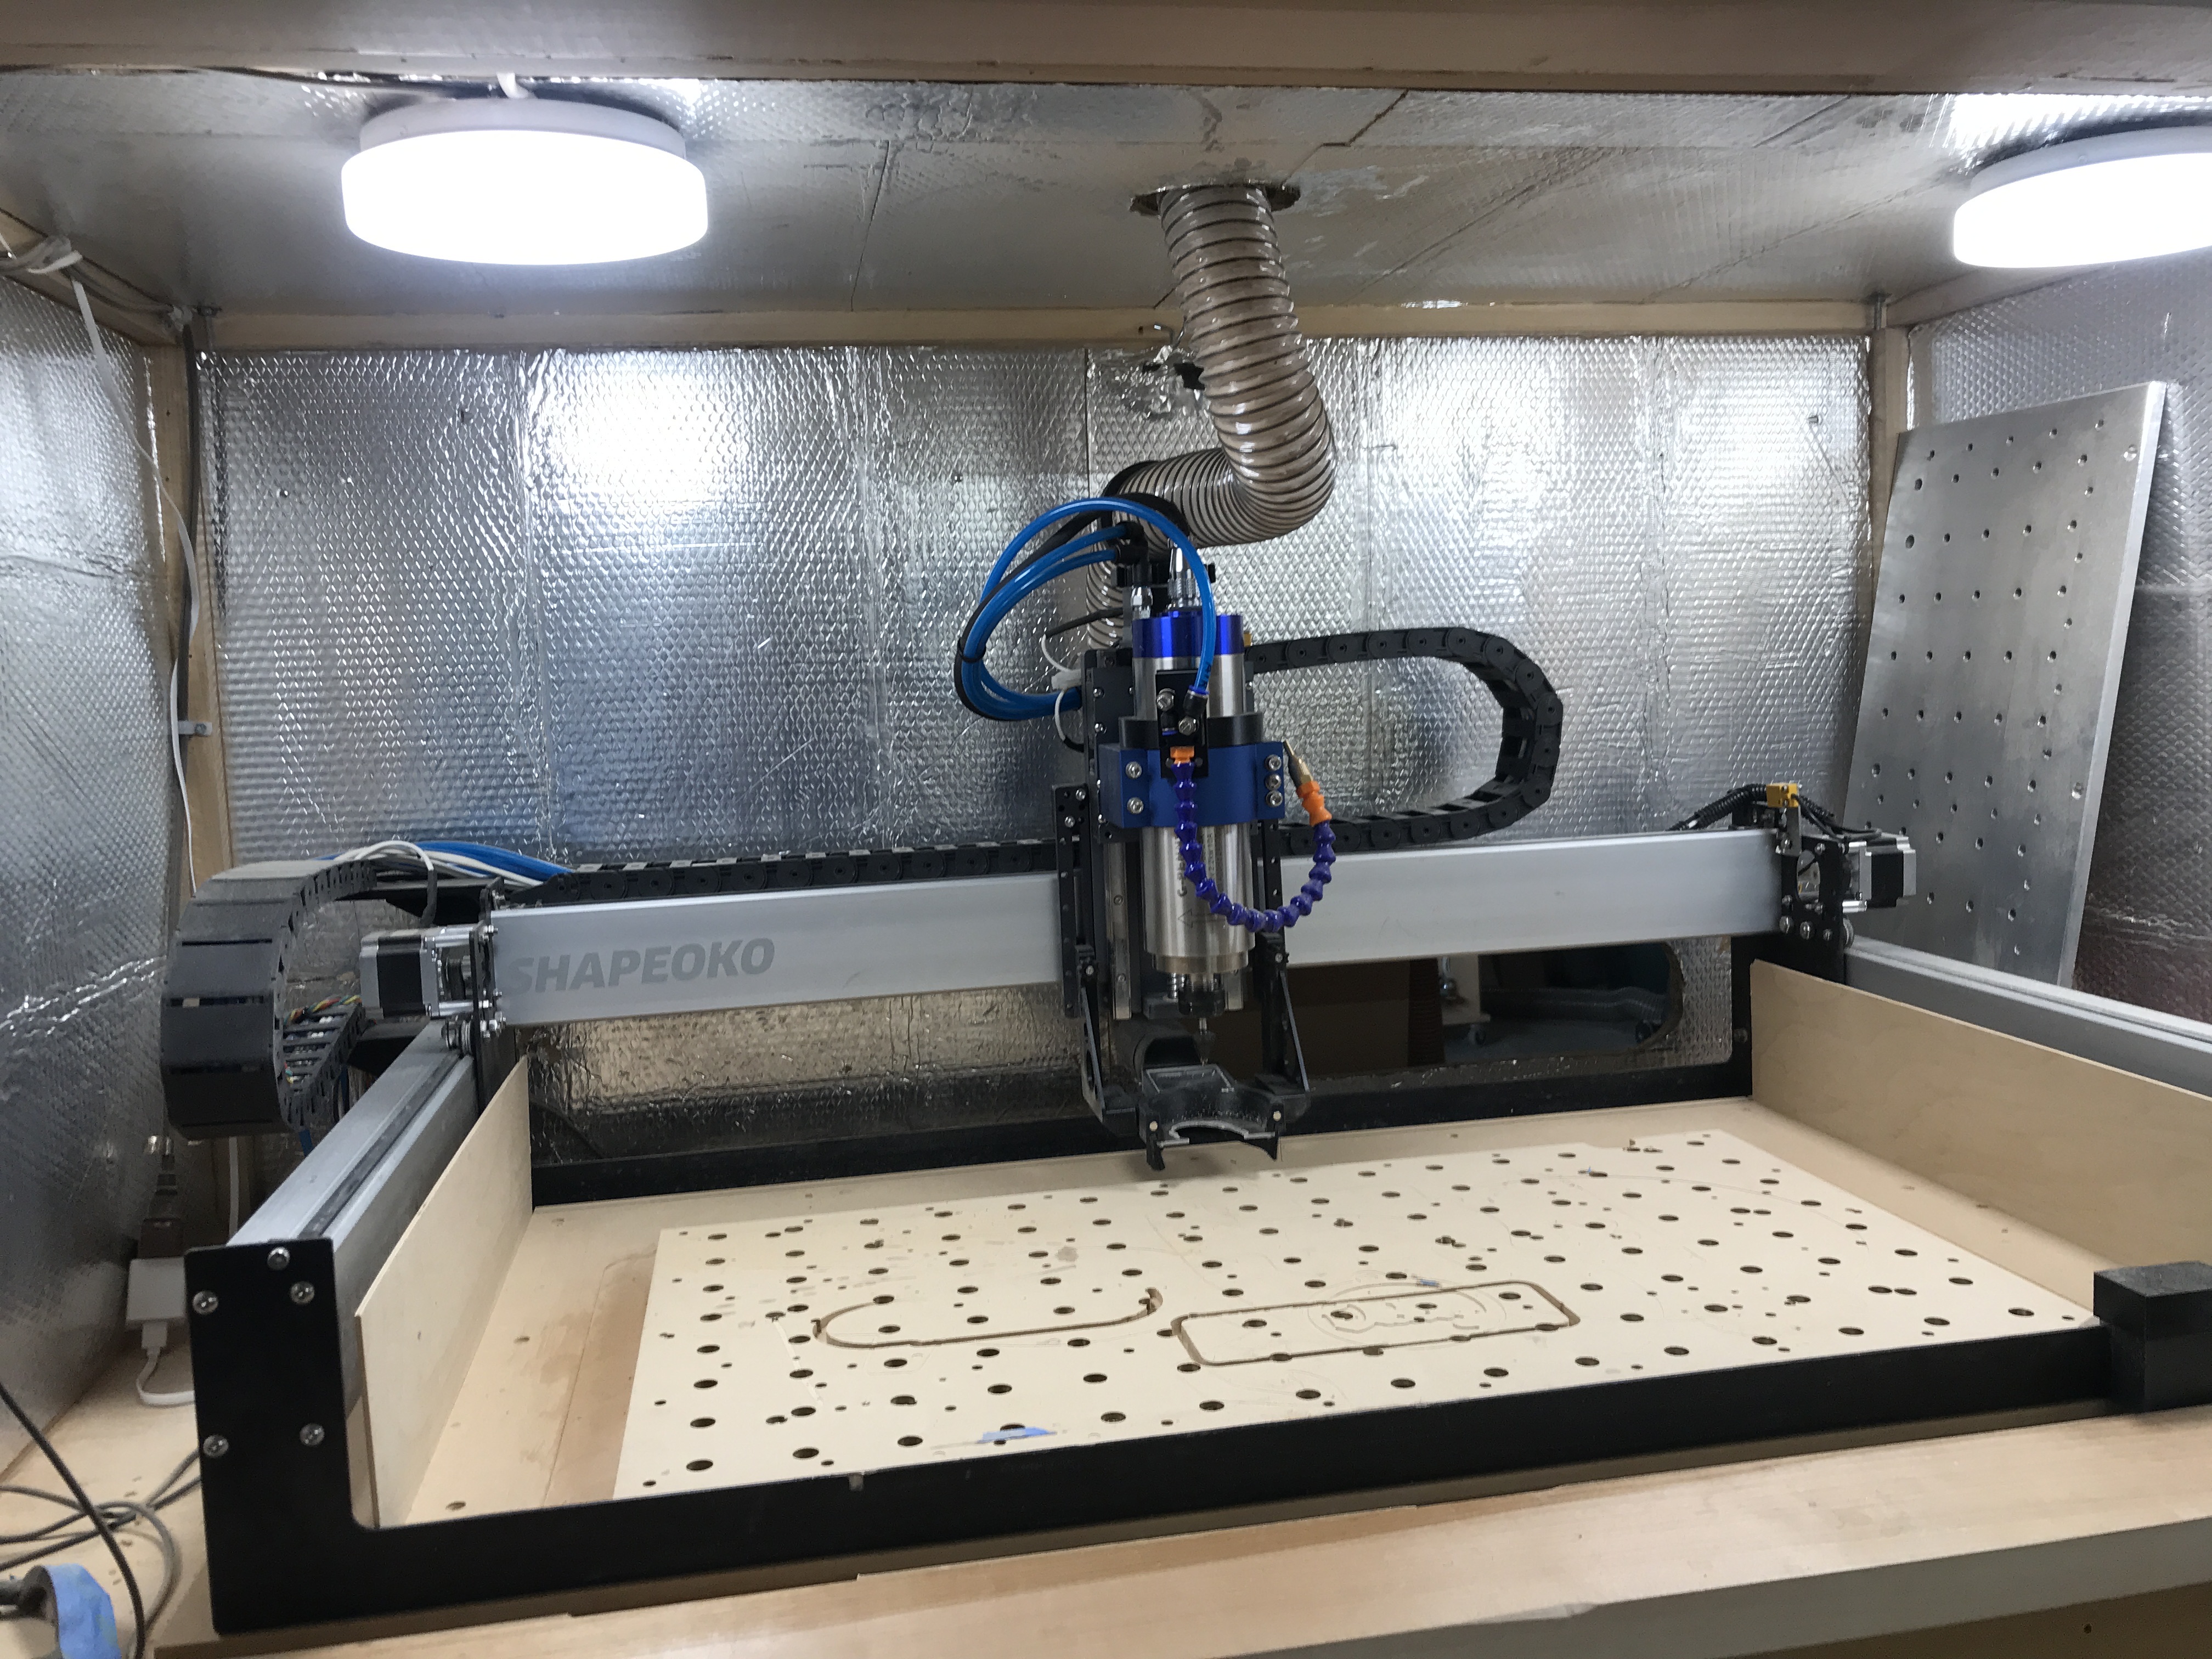
I’ll post images in due course, but I went for dust extraction from the top and lighting similar to yours.
I didn’t make the cabinet high enough, so I suffer from a bit of head-banging from time to time - and it’s nothing to do with music.
3 Likes
LOL…to be fair, I planned the cabinet in advance and was excited, so I spent 12 hours on day one in the garage. So, total time of planing, getting materials, etc…, ok, maybe a couple hours to plan, 2 hours to run to the Depot and then build. But the actual build/assembly time was not too bad since the enclosure is essentially 4 sides + doors.
I will admit, if I forget to open the top door I bang my head, so not 100% sure if I was too cheeky with that design. I need to add top mounted dust - maybe this weekend.
Thanks for all the notes - I can tell this community will be cool.
OK, so I saw an open box monitor today for sale at Best Buy and it inspired me to build a little scrappy enclosure and see if it works. I had the plywood and thin plexiglass, so all I needed was a monitor and a cable. The cable runs under the cnc table up front to a drawer where I put the laptop. This way the laptop lid can stay closed and safe from me dropping stuff on it.
Oh, I added dust removal as well.
3 Likes
Are you also using a numeric keypad for jogging?
A further refinement (which I find less confusing is a gamepad with remapped keyboard shortcuts):
or get the wonderfully clicky:
1 Like
Wow - nice job! All of these in this thread are super cool. Starting on my build soon. SOOO many options.
1 Like
I am not using a game pad - I need to look into that. I like the screen (perhaps in addition to a keypad) because I can tweak settings in CC and/or CM for subsequent tool paths. Being new I often break up tool paths to see how path #1 goes and adapt others as needed…aka…if I screw up. Like, recently, I made some topo 3D test coasters…I went back in and changed the toolpath angle on the finish toolpath after I saw how the roughing was cutting in relation to grain. So, having the monitor allowed me to multi-task a little. But, yes, I might get a controller…still learning how to make all the keys work :).
1 Like