I have been successfully making many wood and now aluminum parts with my PRO XXL , but lately I am getting really frustrated with the Y Axis moving off if the program stops and I re-home. Then the next cut zero moves sometimes 2mm sometimes only 0.5mm but either it ruins an hour or two of machining and material. Because I am zeroing on the corner of the stock that is then removed with Fusion Adaptive CAM, I can not exactly match the intended Zero.
If a stepper slips would the Zero location change after re-home? I assumed that process would reset to a known location and then Zero would stay put?
I was wondering how accurate/consistent the homing switches would be as I have some upcoming projects that I’ll have to separate into multiple jobs/sessions. As there may be a %error or variance in the homing switches I’m thinking I’ll probably machine a jig/holder that the bitzero fits snugly into and have it secured to the machines hybrid table on my Shapeoko Pro. The thought/strategy is when I go to start a new session I zero on the bitzero in the jig/holder and then move the machine to a recorded offset being the projects zero location. This way if I mill away the stock that I zeroed on I still have a know reference point being the location of the bitzero in the jig/holder. That said I’ll have to test and see if/what the %error or variance is on multiple bitzero probes and see how much it shifts if at all.
After suffering from some periodic inconsistencies in the homing zero on my SO3 XXL I now never machine away the zero position on the stock (or use a jig), always Z zero off the spoilboard (or jig) and try very hard not to hit “Stop” during a job.
I find I can re-zero with my wobbler in the spindle considerably more accurately than the machine can find ‘home’.
Will, I’ve done all the maintenance items and checked everything. On the Pro do the wheels need to be tightened? With the linear rails I assume that isn’t an issue? I also noticed on a round part that on the flip it wandered about 1mm from zero to get off center. It’s maddening really, I assumed it may have been the hole procedure but that must not be it??? What else can I check?
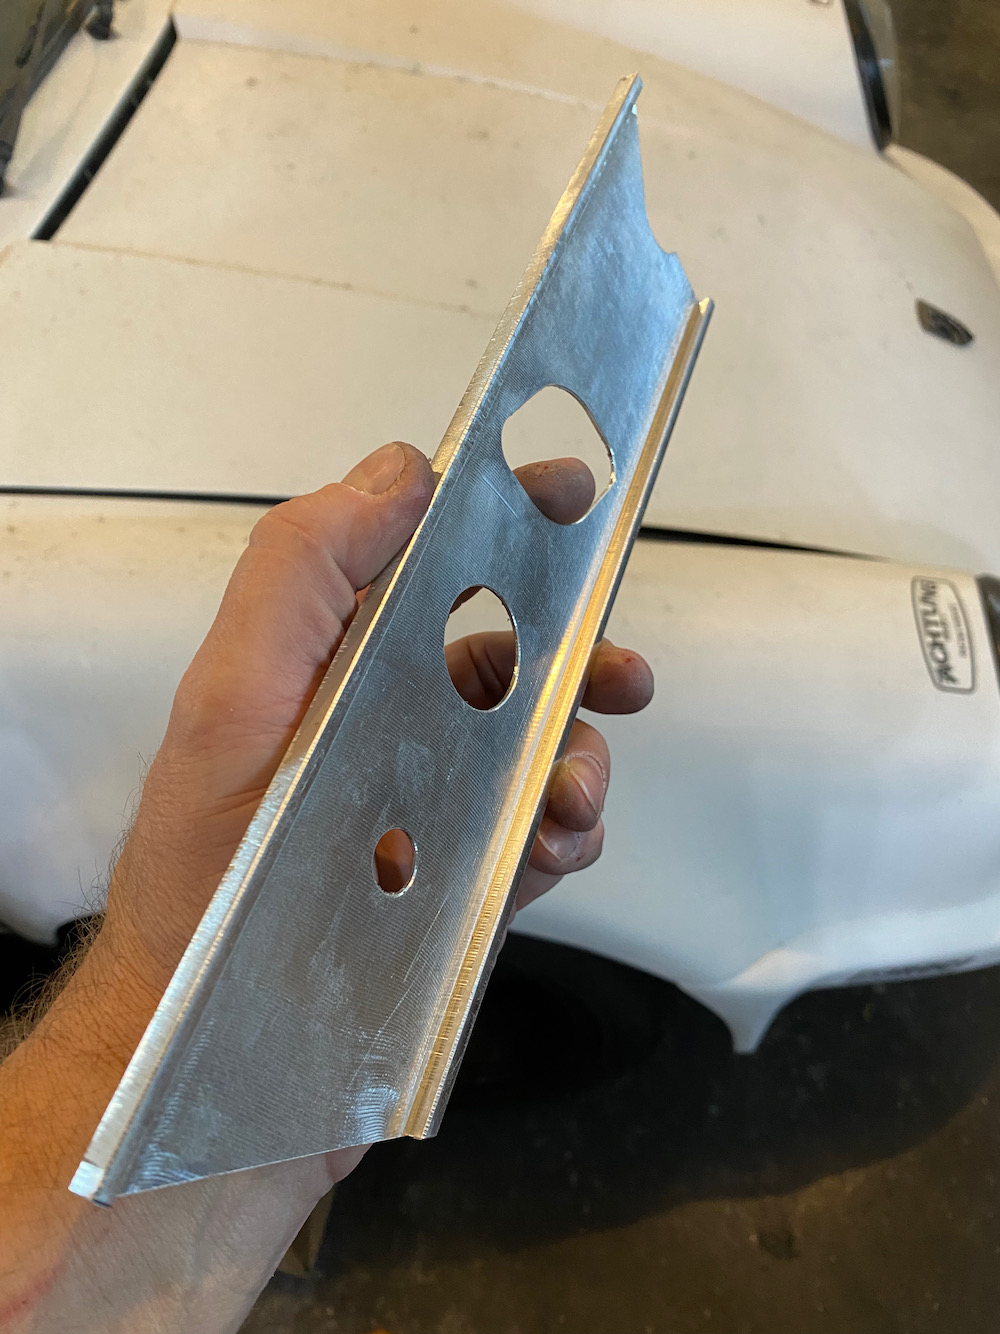
This turned out perfect in between two that moved off zero…
Please write in to support@carbide3d.com and let us know what you’ve checked and the specifics of the difficulty you are having and we will do our best to sort this out w/ you.
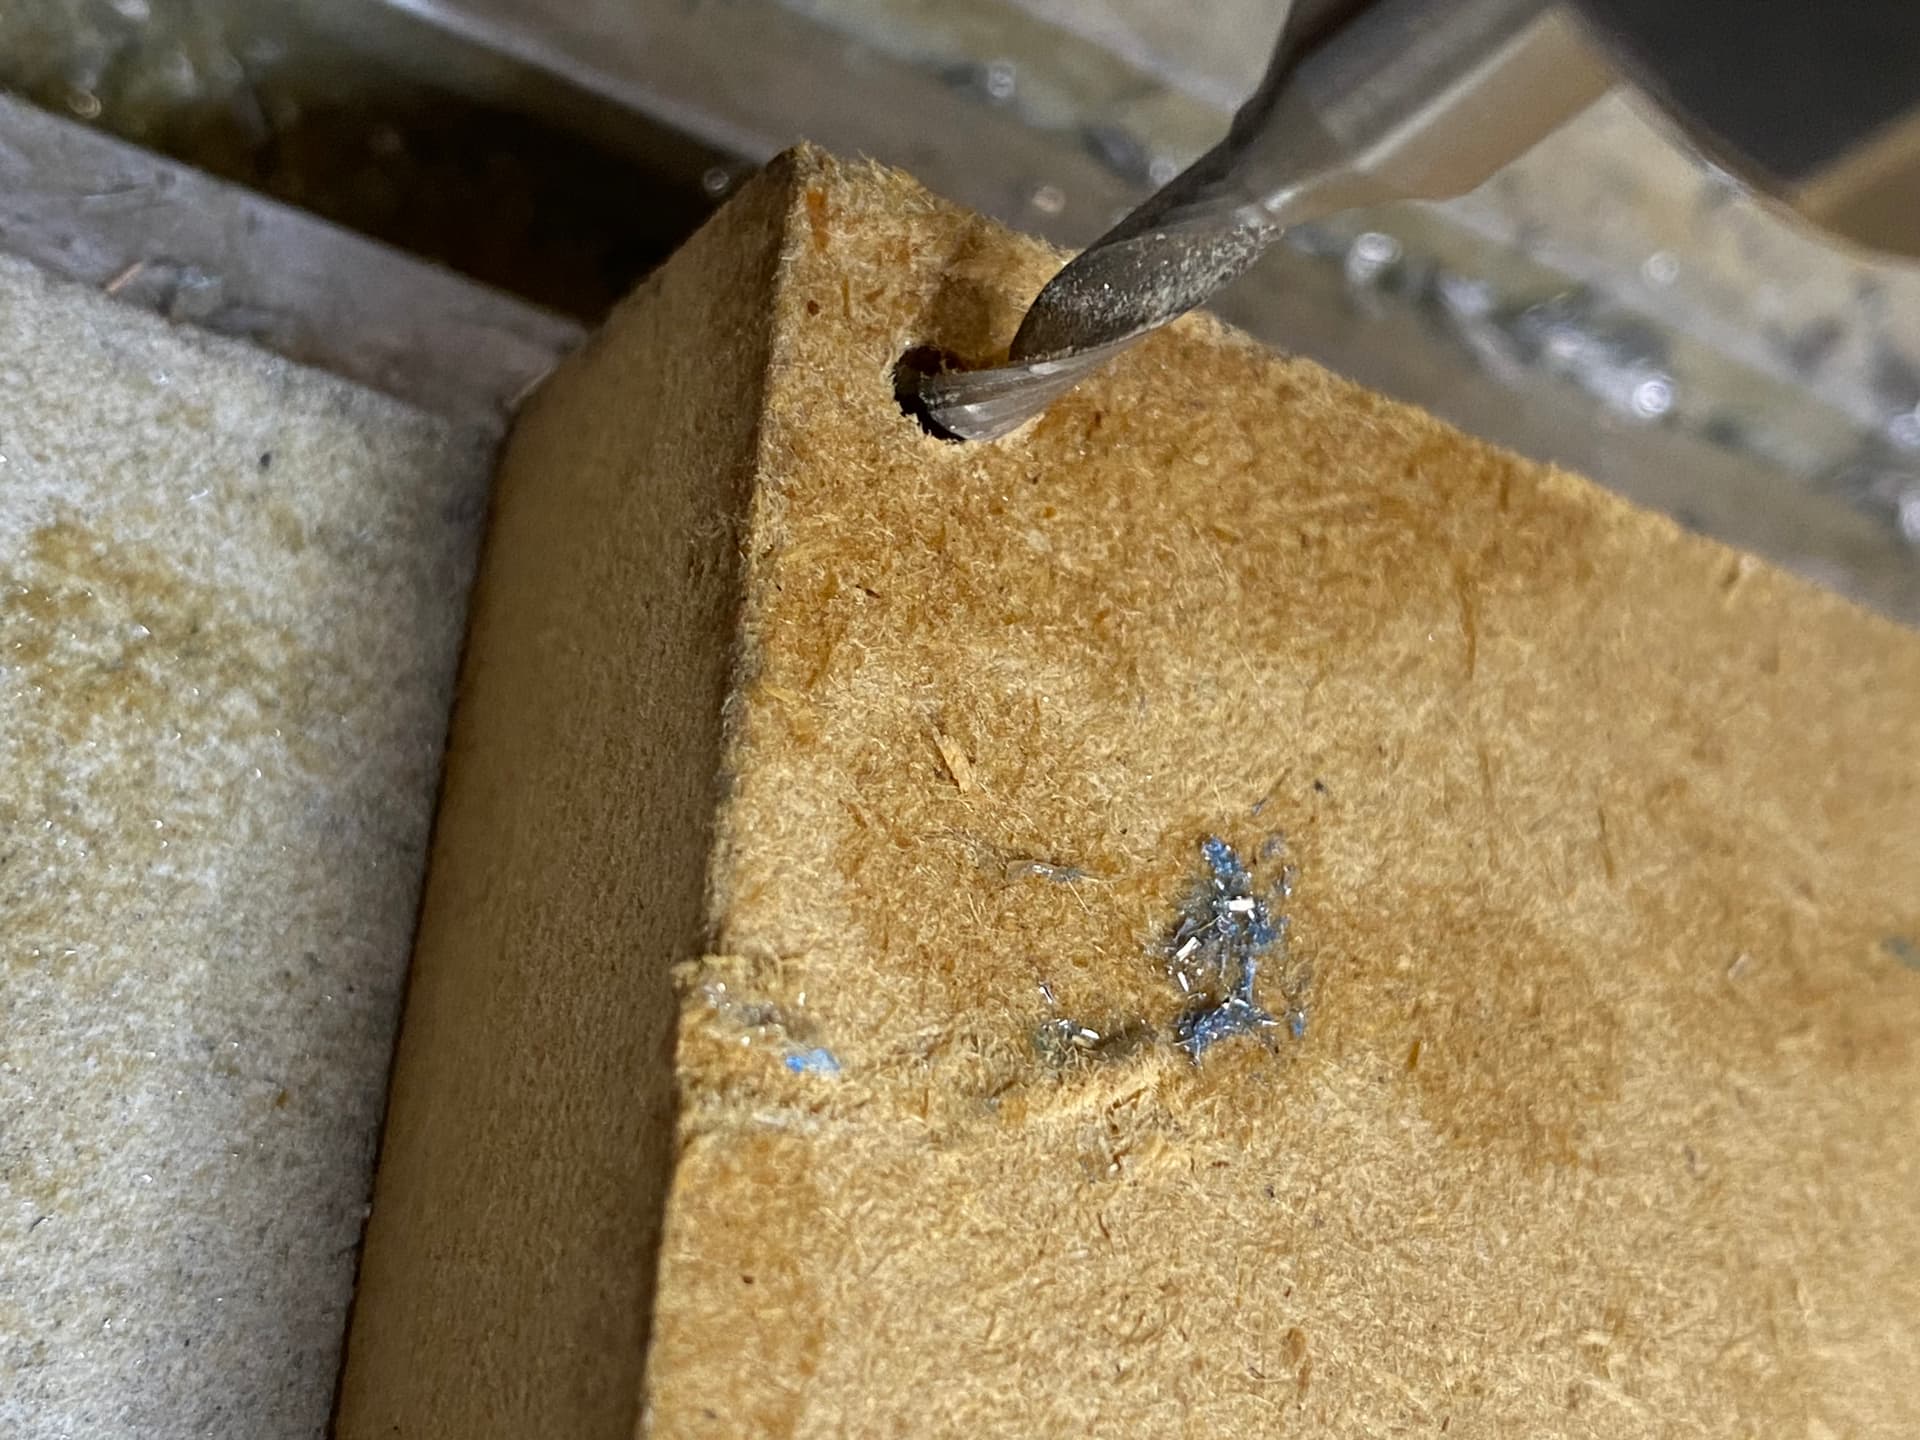
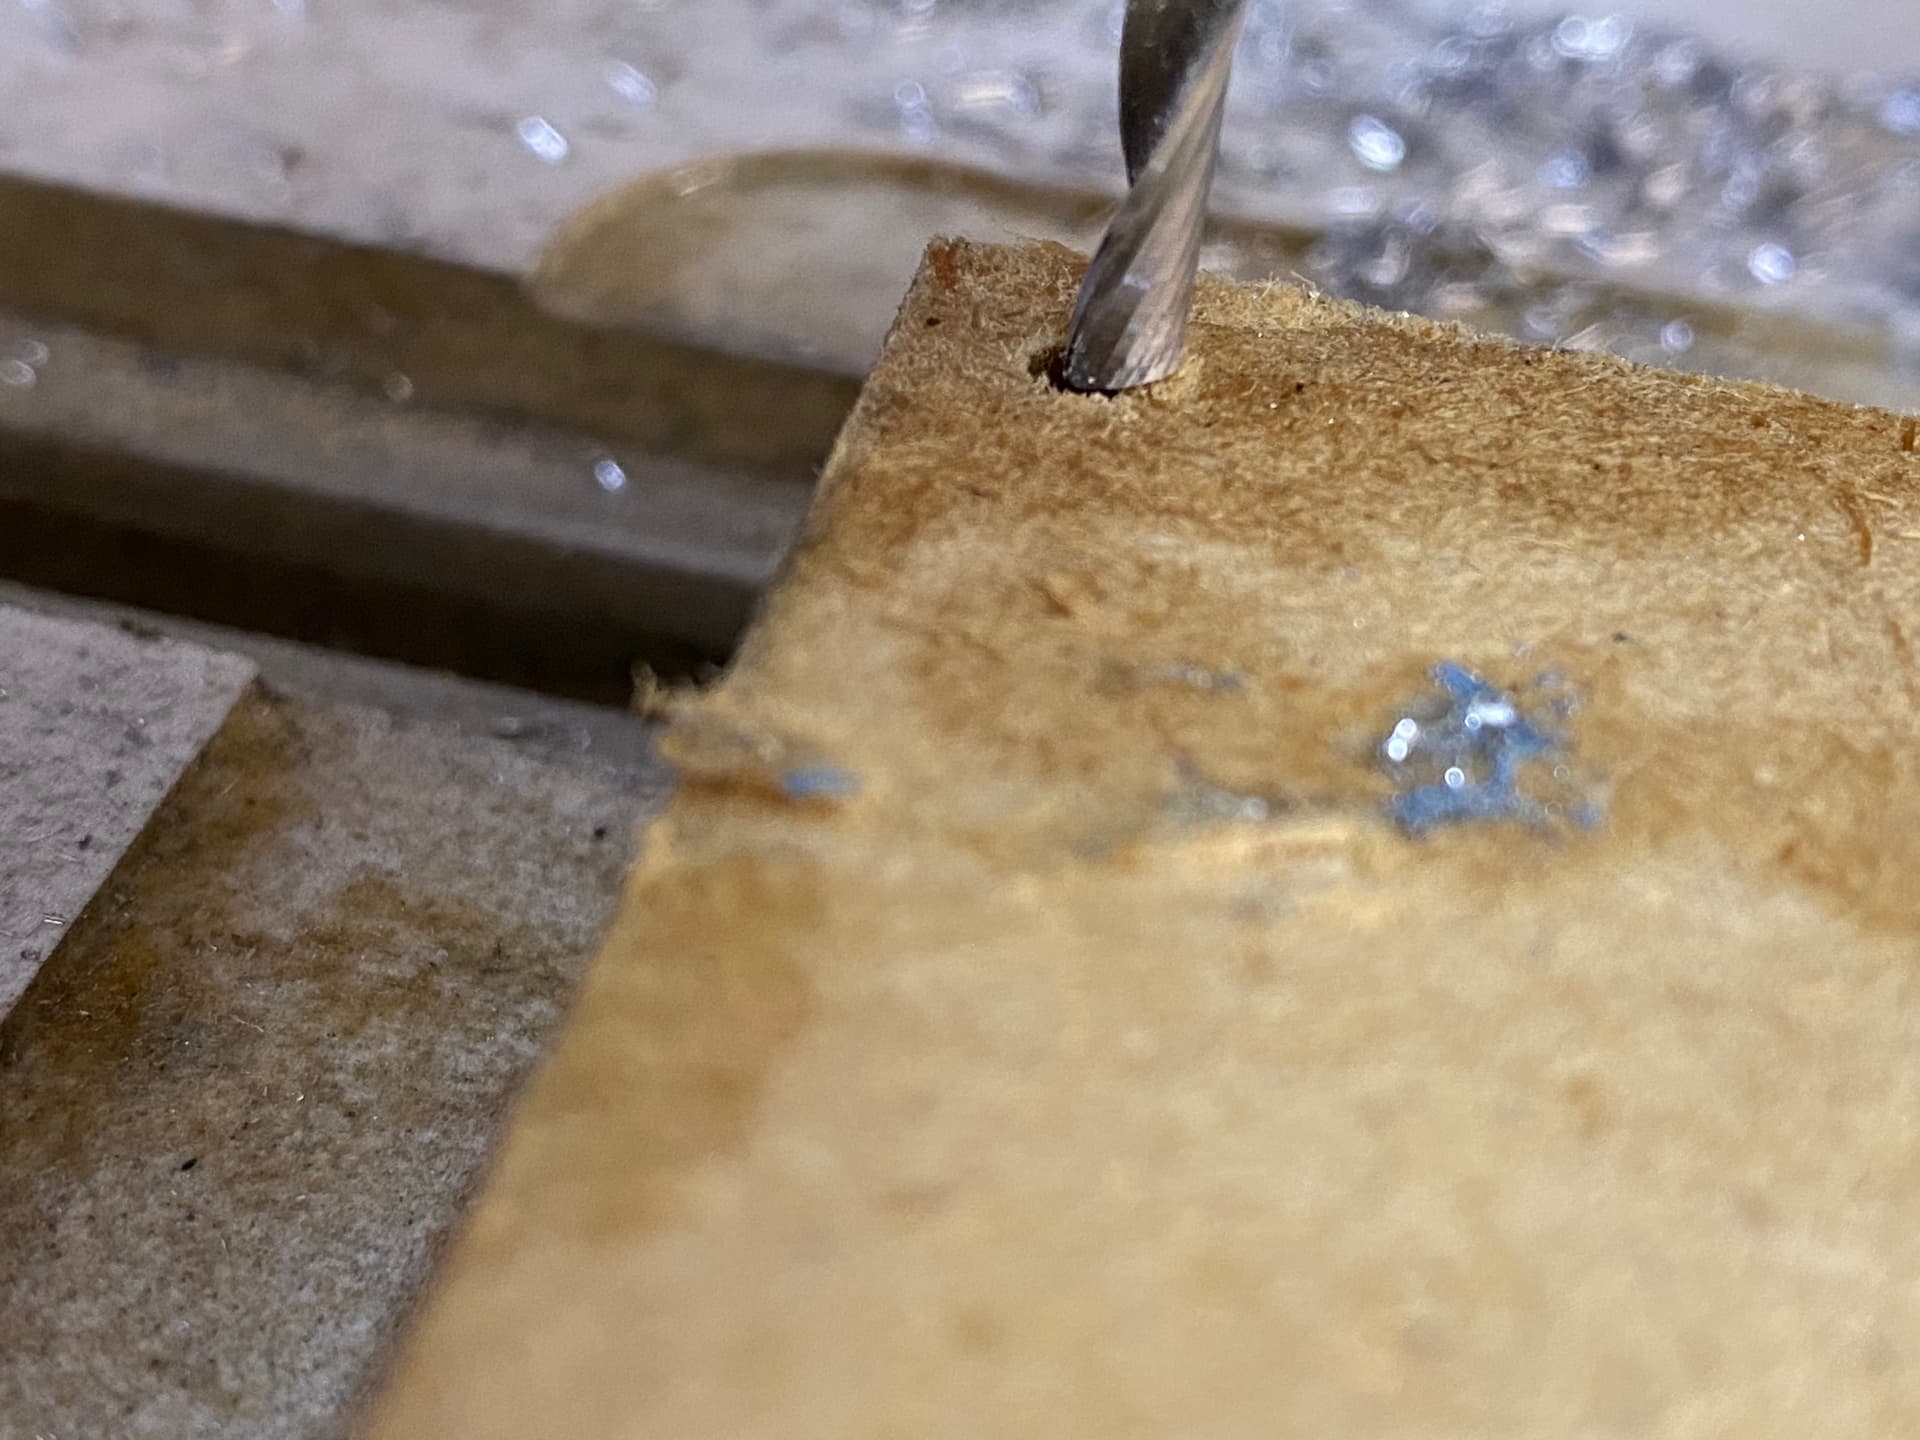
I like to double-check my zeroes by having the machine drill a shallow hole the diameter of whatever endmill I am using for the job, somewhere on the stock that I know will be left alone (similar to what Liam mentioned), or even anywhere on the wasteboard. After setting job zeroes, that is. I will make a written note of the absolute coordinates of the zeroes, and the absolute coordinates of that reference hole.
The next day when I need to resume work where I left off, I’ll initialize/home the machine, and manually jog to the hole coordinates I noted, and manually (and slowly) jog down the (same) endmill down that hole. If the zeroes have shifted due to the re-homing, it will be immediately visible once the tip of the endmill comes close to the opening of the hole. If it is visually ok, I’ll jog down the hole a bit to confirm. It helps confirming that the X/Y zeroes are still where they need to be. And if not for whatever reason, then manually jog X/Y until you can lower the endmill into the hole, and reset X/Y values accordindly. Of course, this method is not great when milling aluminium and the reference hole is in the aluminium stock too, there is a chance of damaging the endmill. So using a dowel pin would be better in that case.
That said, I hardly ever have to re-adjust zeroes after re-homing. A 1mm shift like you mentioned is strange and you should be able to tell visually before running the job, if you made a note of the absolute coordinates of any reference part of your setup and jog back to that location as a check.
I do that as often as I can too since the machine has made me crazy, on many parts it removes the material I do the hole in or on the flip the reference is machined away. I hope Carbide can help, it’s maddening doing production parts and ruining them after 3 hours
Quite understandable. I think support will walk you through the troubleshooting, but you may want to check homing repeatability on your machine, to figure out if this it or something else completely.
Zero somewhere, home/initialize, and jog back to X0/Y0. Is it always spot on when you do this, multiple times?
Yeah every time I do the testing it seems to be right on. I am going to try a short program and do some analysis step by step, it seems that there is a bug from my experience, but could be just one thing off
Could you clarify what you mean by a y axis miss step please?
Have you noticed the machine actually missing steps during cutting?
One possible issue if you are missing steps on Y is that only one side of the Y misses a step or two, then the X beam is off straight until the next power-down and restart. There is only a single Y home sensor, if this test is on the other side of the machine that may be a clue.
It mainly does this if we have a missed step when the machine is moving. I have “tested” it by stoping the X or y like if the machine did it. The X stays dead on, the y is what moves. The process is:
1: Move the machine position after zero is set.
2: Hold the Y or X to get it to move, like if the machine skipped
3: Turn off and re-initilize turn on. This rehomes the machine.
4: Always off by at least the .5mm on any are on the machne. X stays spot on
This seems to be the issue I have had when I run jobs broken into 2+ NC files. After the 1st run, the machine rehomes and then it is off ZERO on the next run. If I have all the bit changes in one run, then it stays tru because the rehoming isn’t happening.
@Brasch, to elaborate on @LiamN’s idea, one way to test that hypothesis would be to:
With the machine turned off, manually (and very slowly) bring the gantry all the way to the front plates, hold it there making sure both the left and right side contact the front plates, then turn on the machine, and initialize.
then do the same “forced skip” procedure you describe
power off the machine
again manually (and very slowly) bring the gantry back all the way to the front plates, hold it there making sure both the left and right side contact the front plates, then turn on the machine, and initialize.
Is there zero still off then ? If it isn’t, Liam’s guess is probably the right one
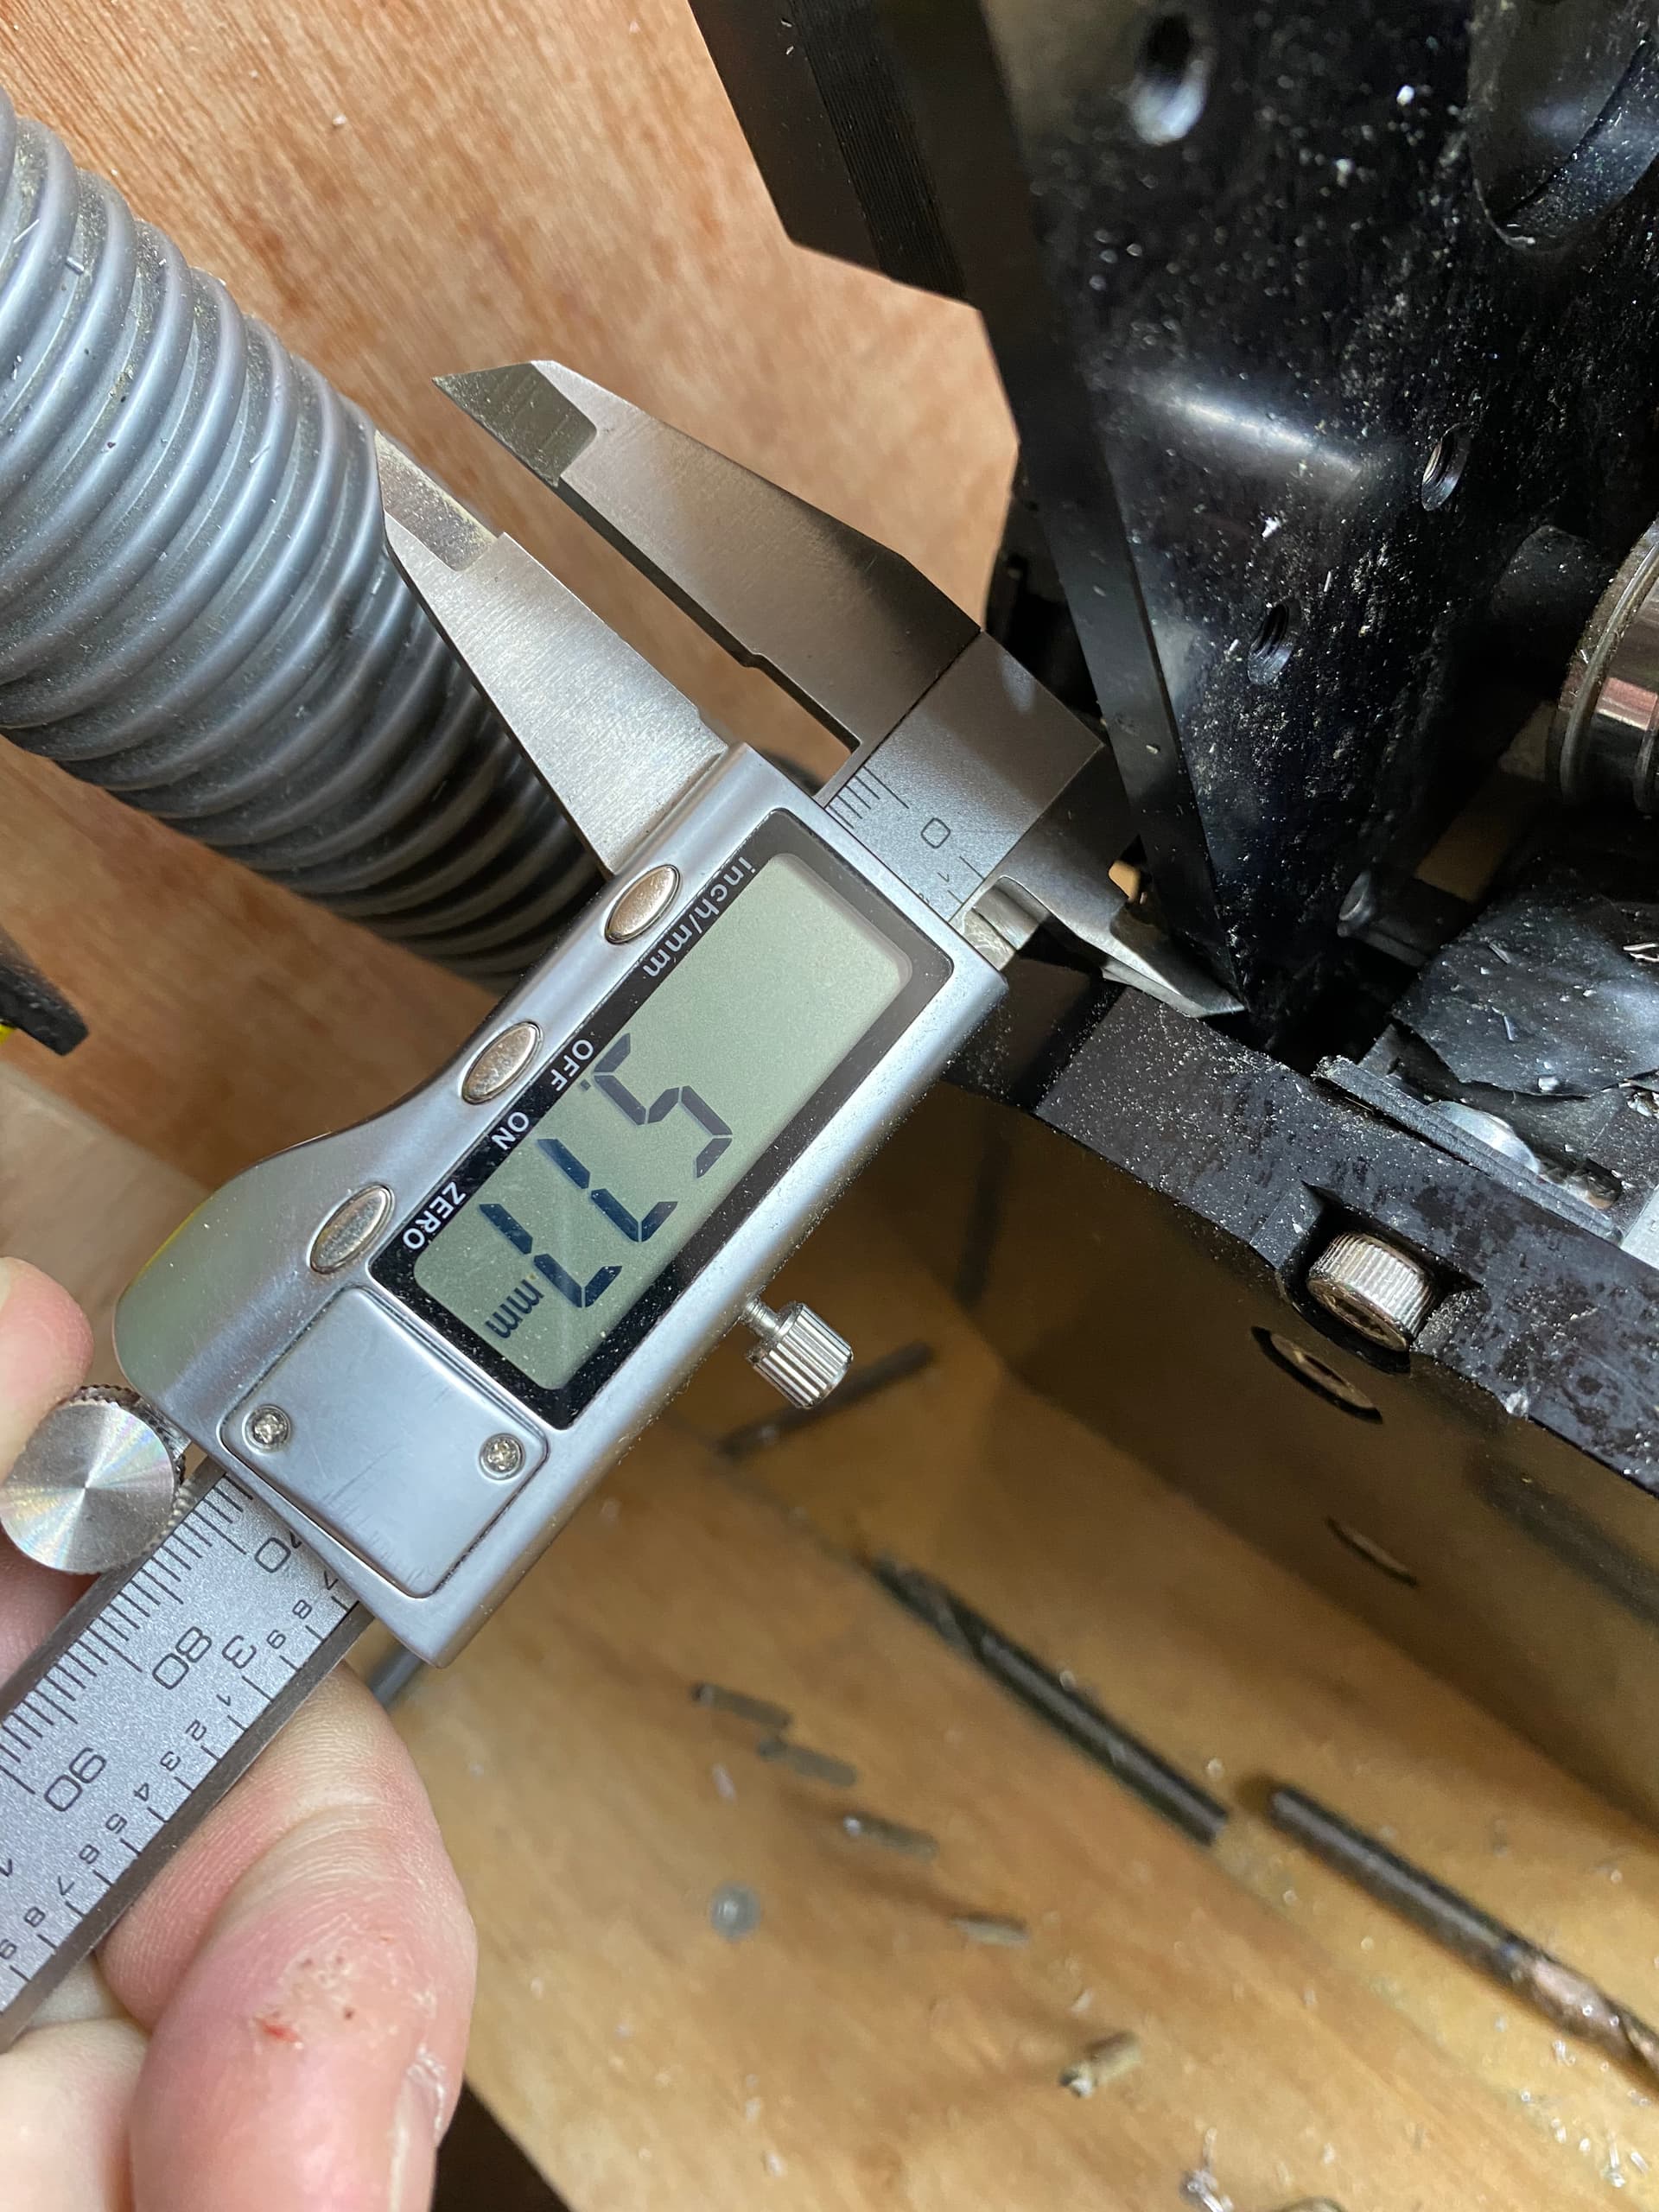
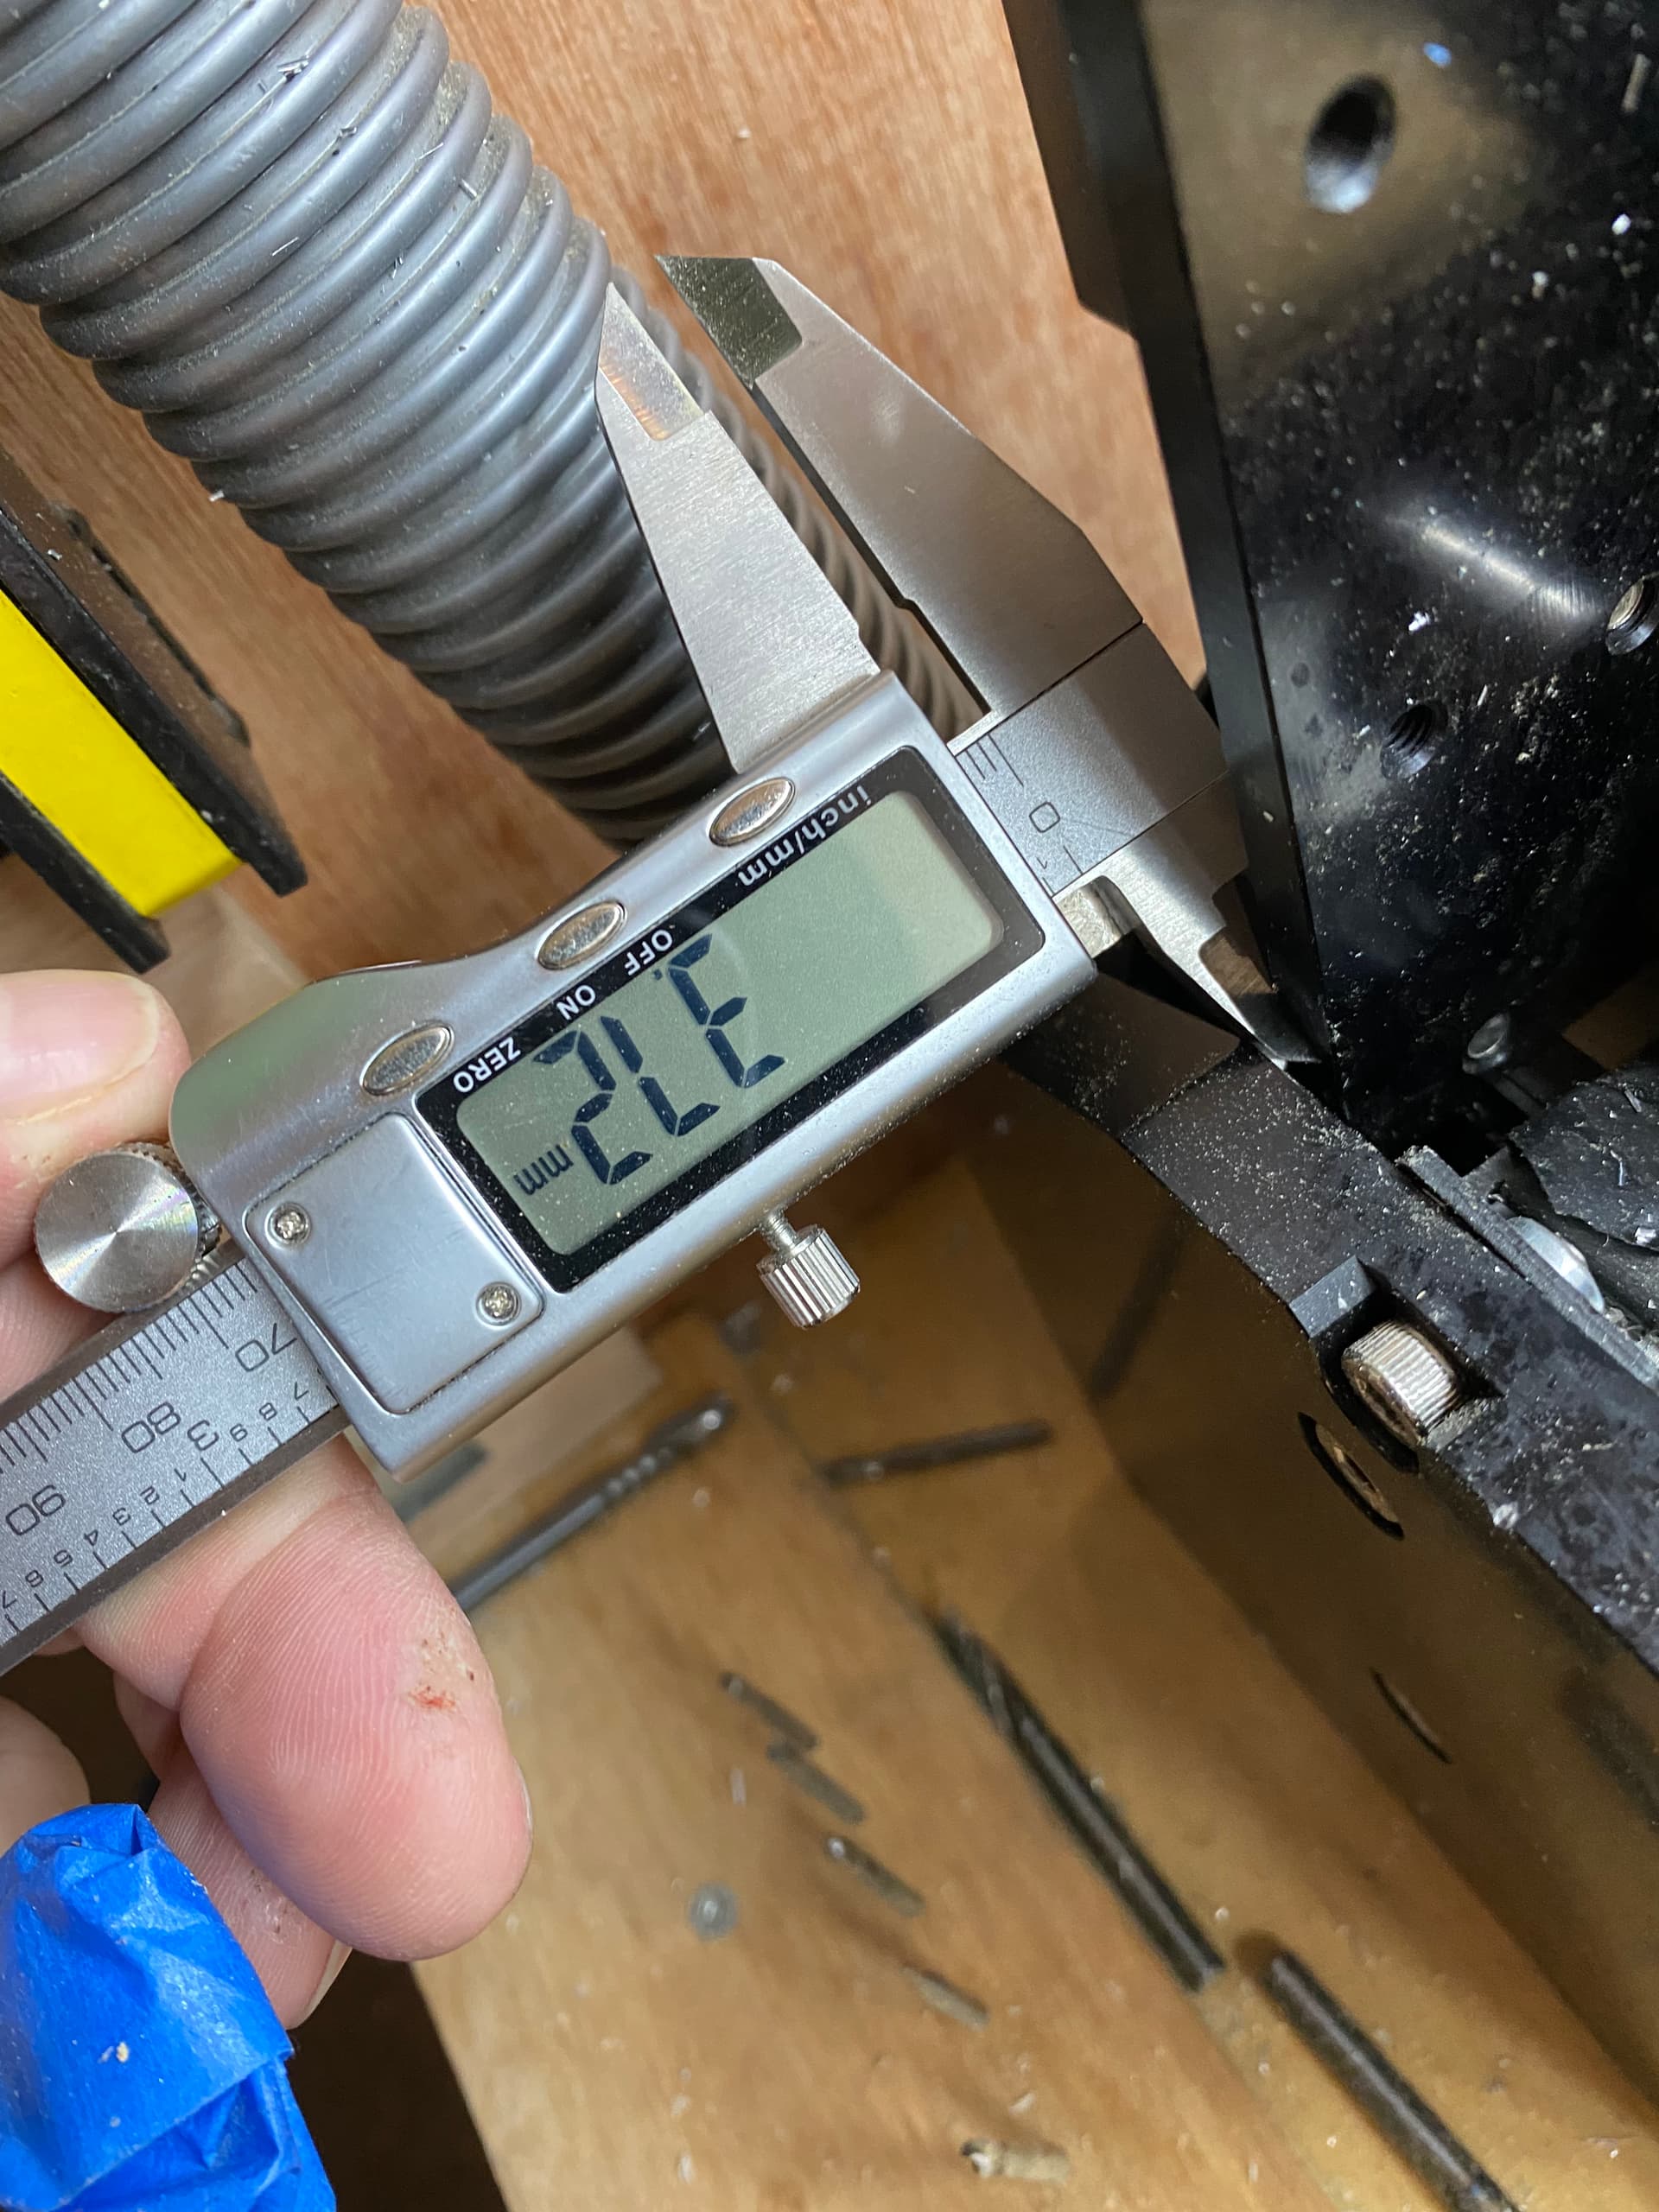
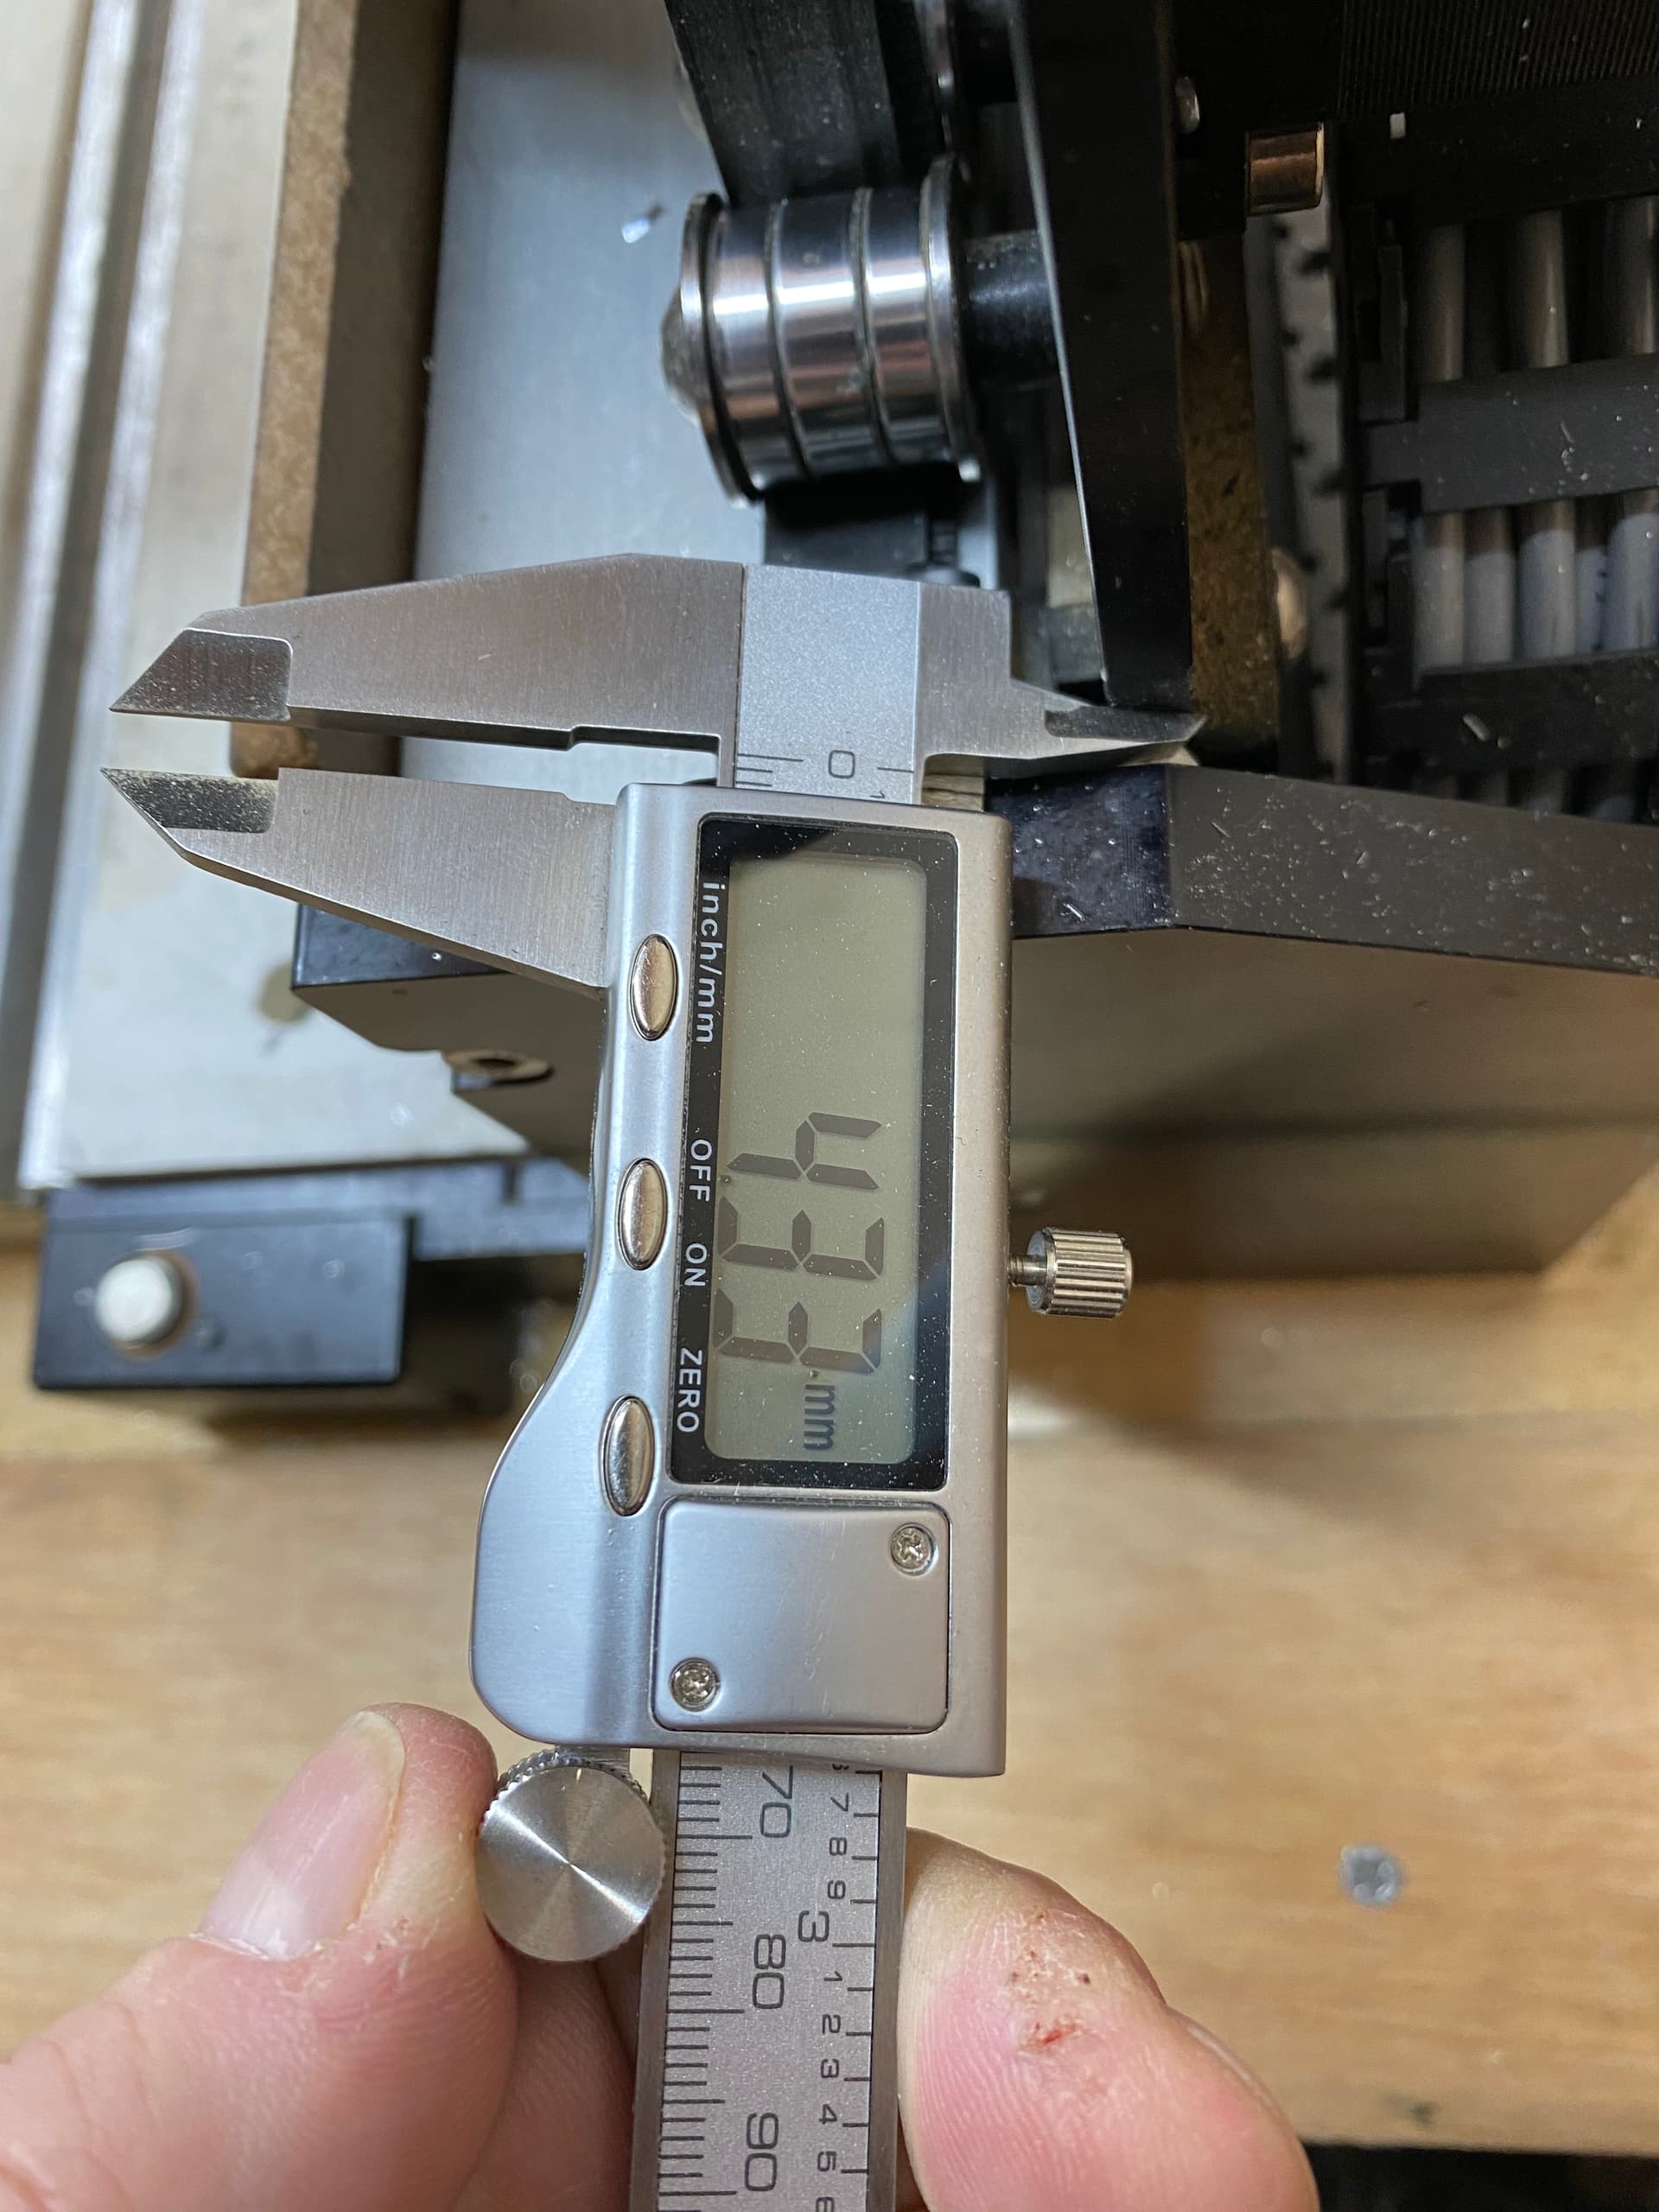
The far left side is way off, I shit down, slid it forward to contact the front, restarted to get the home process and the zero was dead on, but the left side is still off, but now closer than the right side which looks to be pretty consistent , see below
Which I guess means that the squaring of your machine is not as good as it could be. When you did the squaring part during assembly, did you already have a gap on either the left or right side, when the gantry is pulled to the front ?
No it is square when pulled forward, its like the steppers seem to be running at different rates?
How can I recheck the square process, I need to find the setup videos I guess to start
Diagnostics are pointing us toward possible culprits.
So, if the machine is square when all the way forward but when you jog it to the back it is no longer square, that suggests that the two Y belts have unequal tension, see this post for more info. The belts tension by being stretched so unequal tension would mean unequal steps / mm which would mean the machine could only be square at one Y position.
I’d suggest checking the tension of both Y belts, if they’re the same and you still have the problem, it may be that one is starting to fail, replace both if so.
After cutting, filing and shimming the ends of my X beam straight I found that there is more than enough slack in the V wheels to start up off square, I always gently push my X beam into the rear stops before powering up (on my machine this does not over-compress the homing switch) which gives me a consistent X-Y angle and consistent positioning. I still have a repeatability problem on one of the homing switches and as soon as there is stock at Robotshop I’ll try the inductive ones instead.