Is anyone here using an 80mm spindle and a Jtech laser? I have ordered a spindle (1.5kW - 80mm) and have already received an 80mm mount from Carbide 3D. The issue I see is that the mount is so much bigger than the stock mount. The Jtech mount snaps over the standard spindle mount but no way will it go over the 80mm mount. If you’re using both, how did you solve this issue? Is there a bigger mount available or did you make something?
1 Like
I did this:
2 Likes
Julien, thanks for the design, that looks like it’ll work great! What material did you use to print that? Is it just plain PLA or did you go with something stronger like ABS or PETG? I have a printer and I’m going to shamelessly steal your design, but I want to make sure I make it strong enough.
1 Like
Plain PLA. There is not going to be any mechanical stress on that part anyway (the laser is so light).
I just checked what print settings I used, and it turns out I did not even bother using a lot of infill, mine was printed at 0.2mm / 20% infill
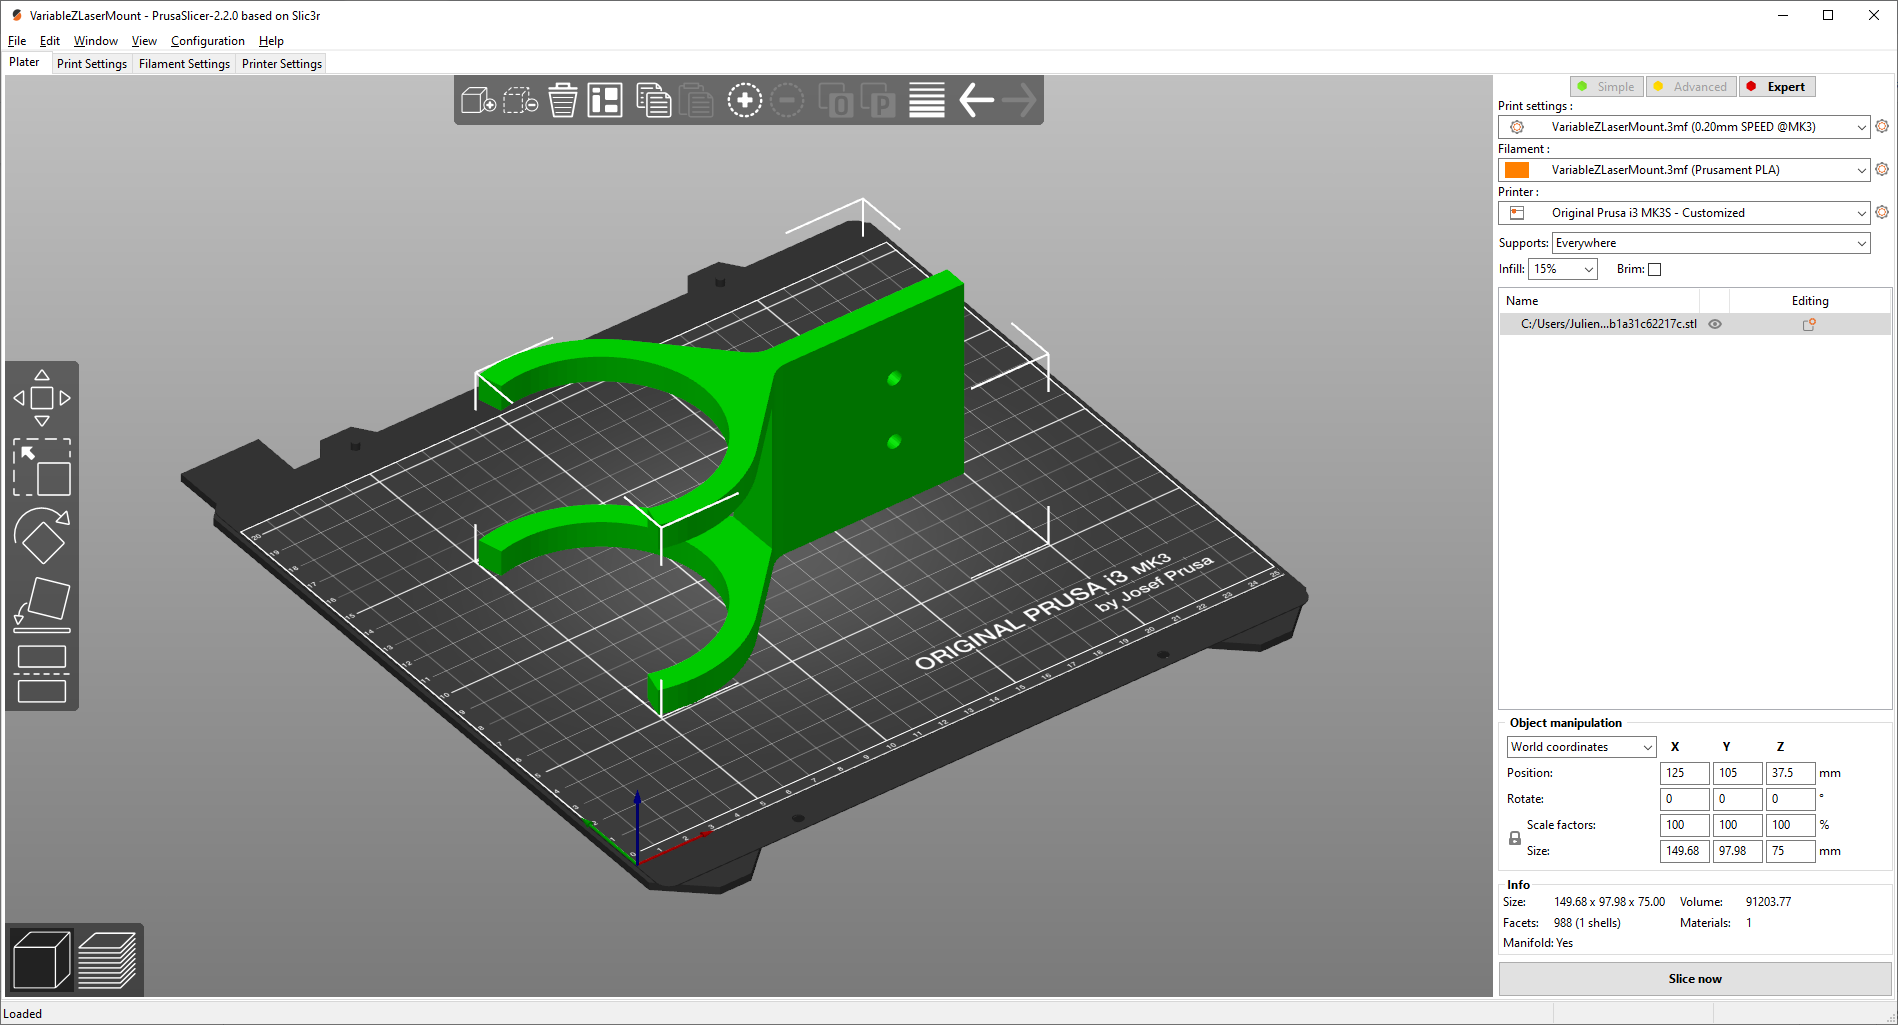
Double-check the dimensions in the Fusion model though, I designed mine for the “Blue” 80mm spindle, pre-C3D BeaverCNC era. I suspect the C3D grey 80mm mount is identical, but I have no way to check that.
Also note that this was a prototype, and whilst it worked out fine for me little surface lasering project, I did not bother finetuning it, it is possible that it’s not rigid enough for lasering very small features with high accels (a topic I discussed in that thread, when I was using a different laser mount)
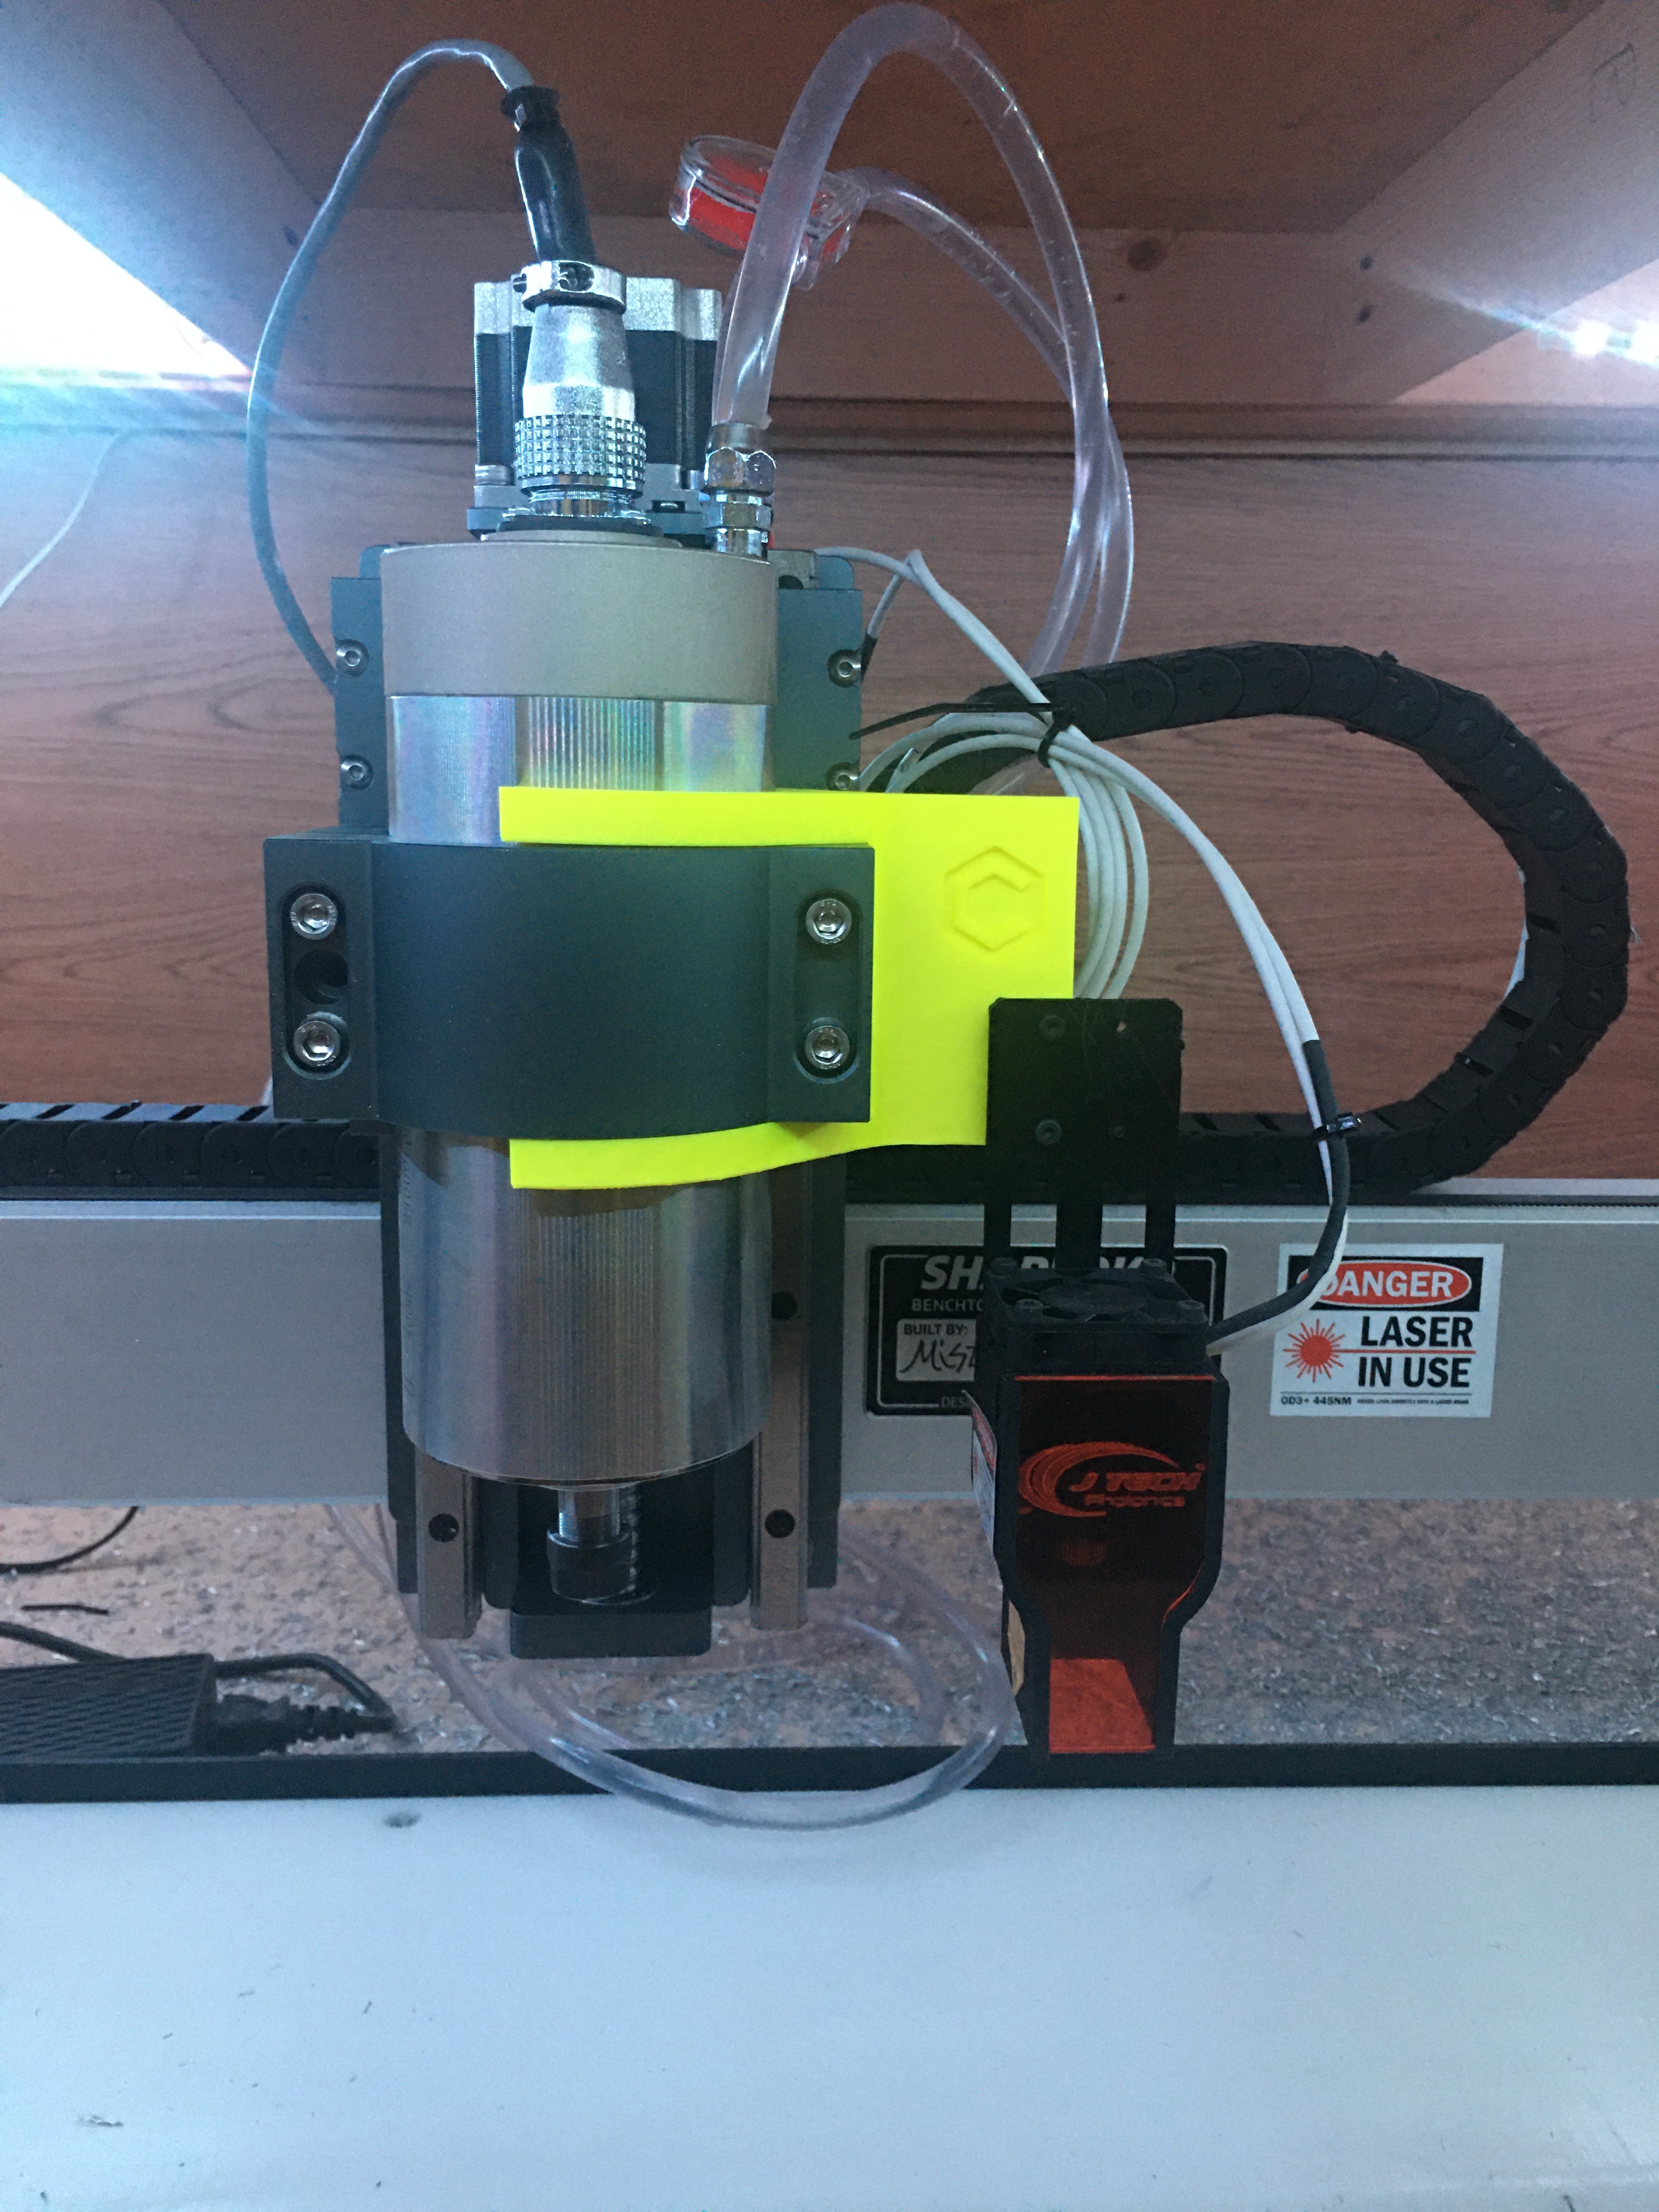
EDIT: oh and I realized that in addition to this bracket you would also need to print that other part, that is intended to have magnets, that I designed to match the JTech laser magnet positions:

That also would need to be double-checked, maybe different JTech models use different mounts.
3 Likes
This topic was automatically closed 30 days after the last reply. New replies are no longer allowed.
Thanks @Julien for sharing your designs and files!
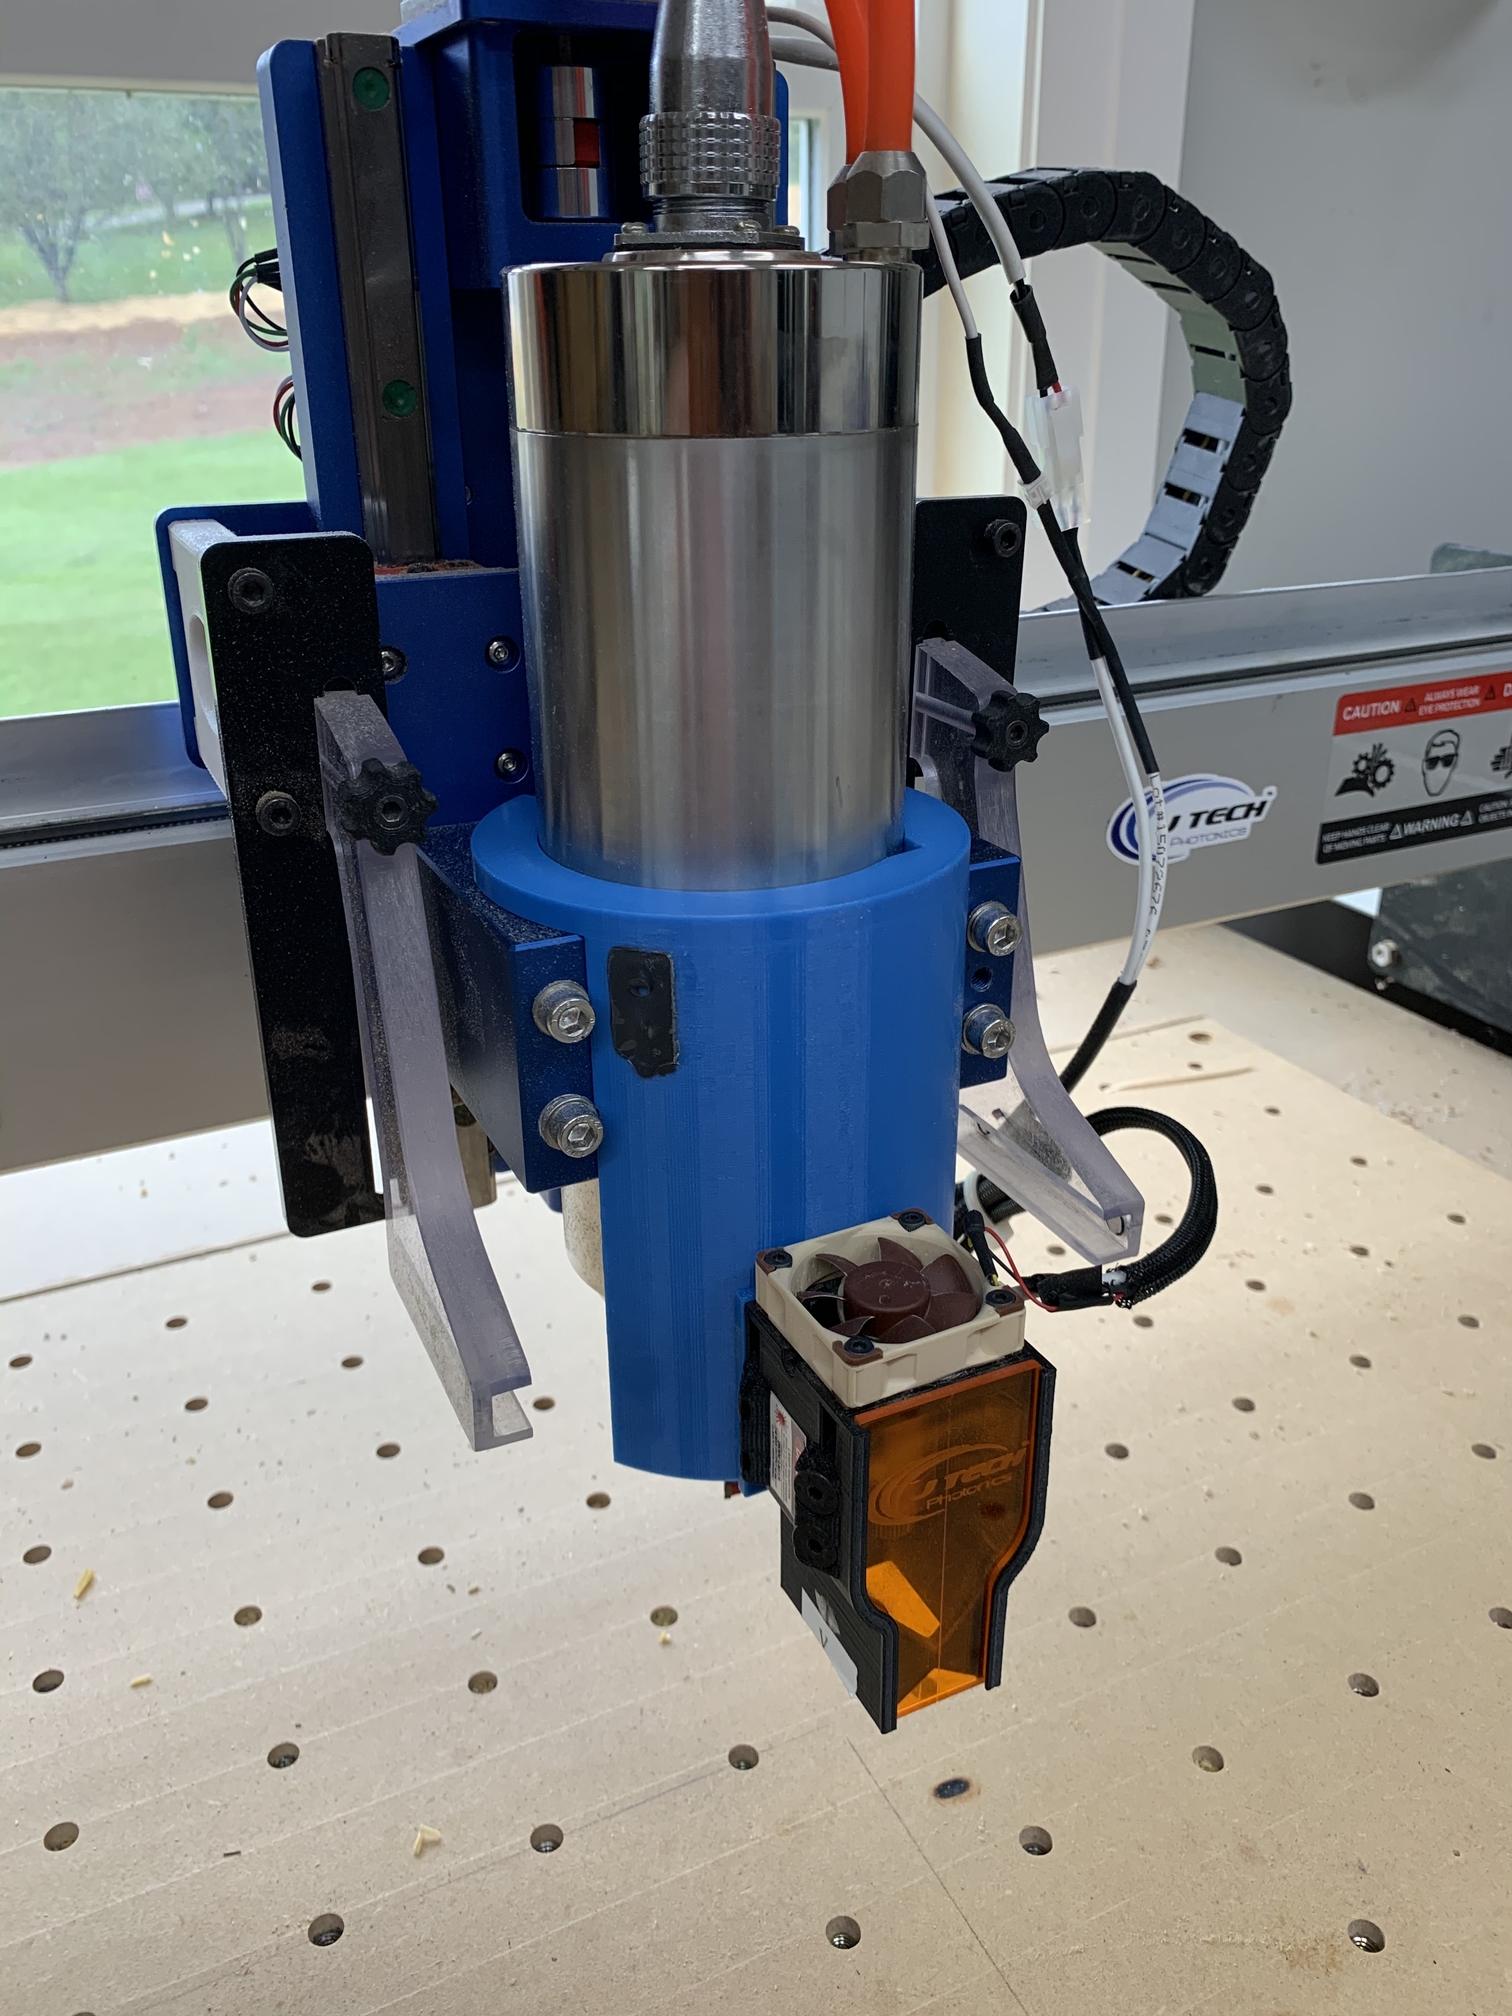
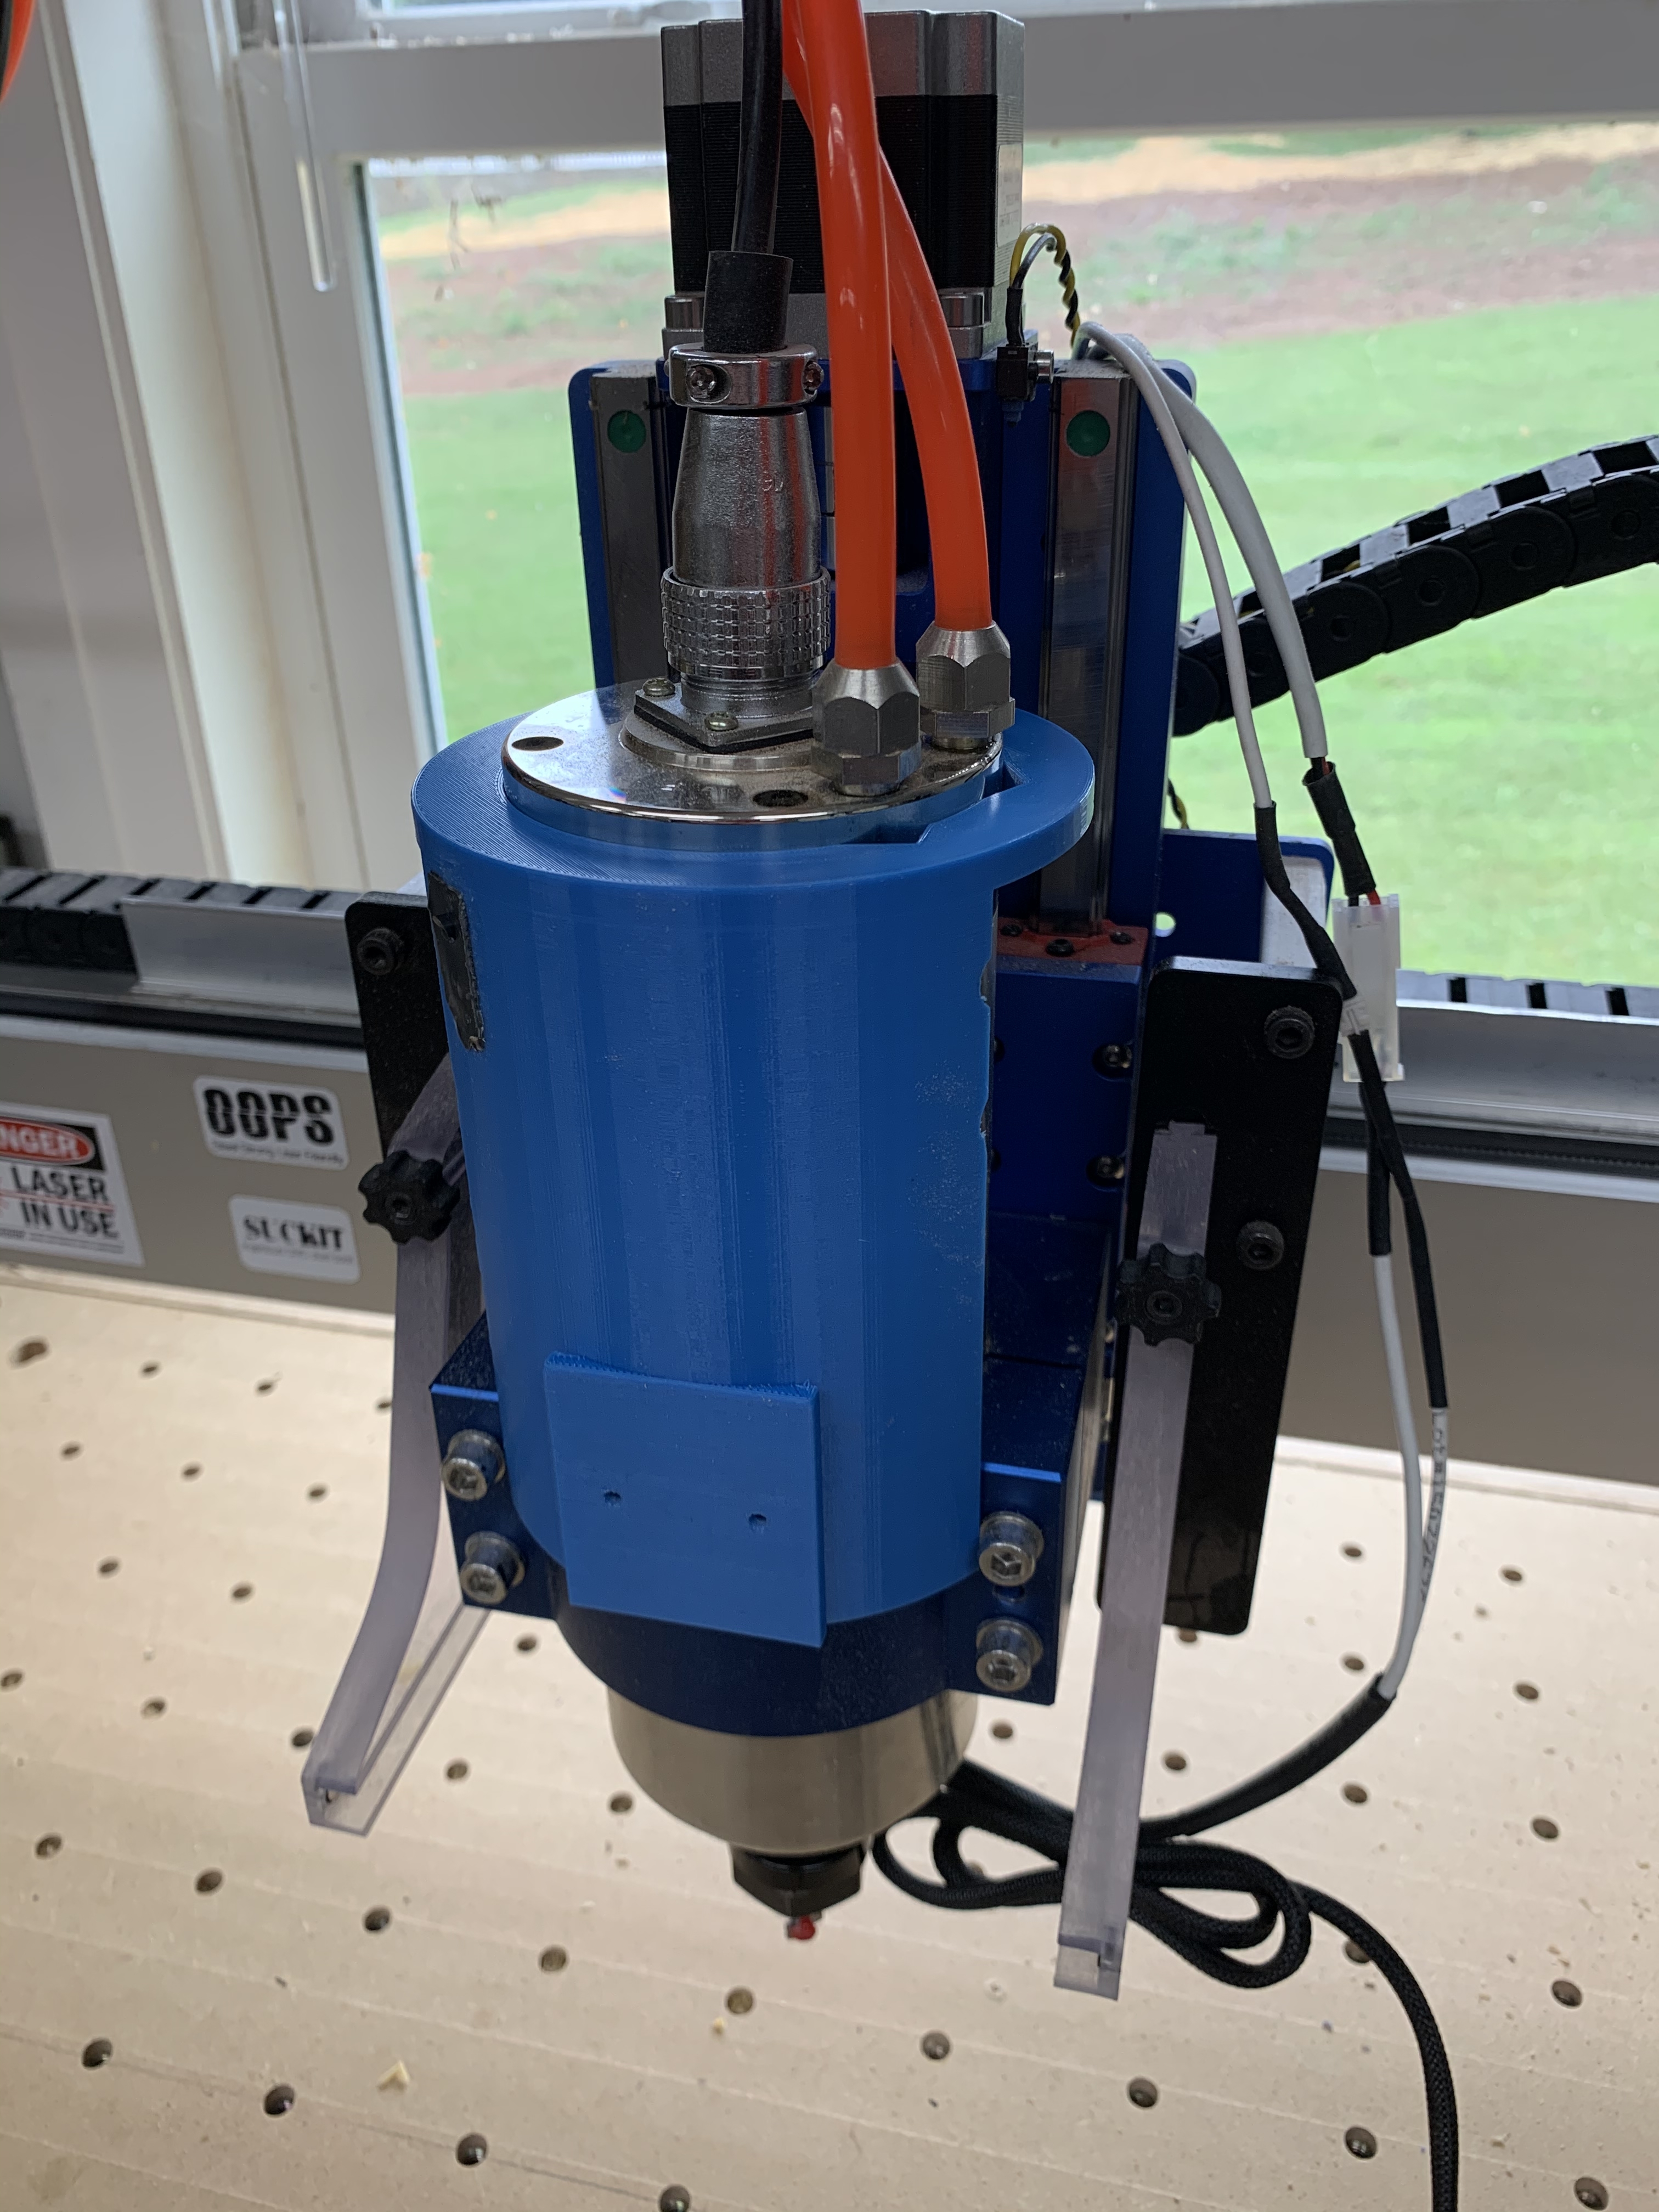
@ctdodge I tweaked Julien’s design so I could use the magnetic arm that was attached to the JTech laser mount for the SO3 router mount w/ Suckit dust boot.
I have to move the holes a little then I’ll post the CAD file. I might make a version that hugs the spindle a little more, but I made this with the plan of leaving room for Julien’s dust shoe frame. I also think a front mounted one has its merits too. Anyways, pictures!

I used a 3mm x .5 drill/tap bit - they are really convenient. I used existing hardware.
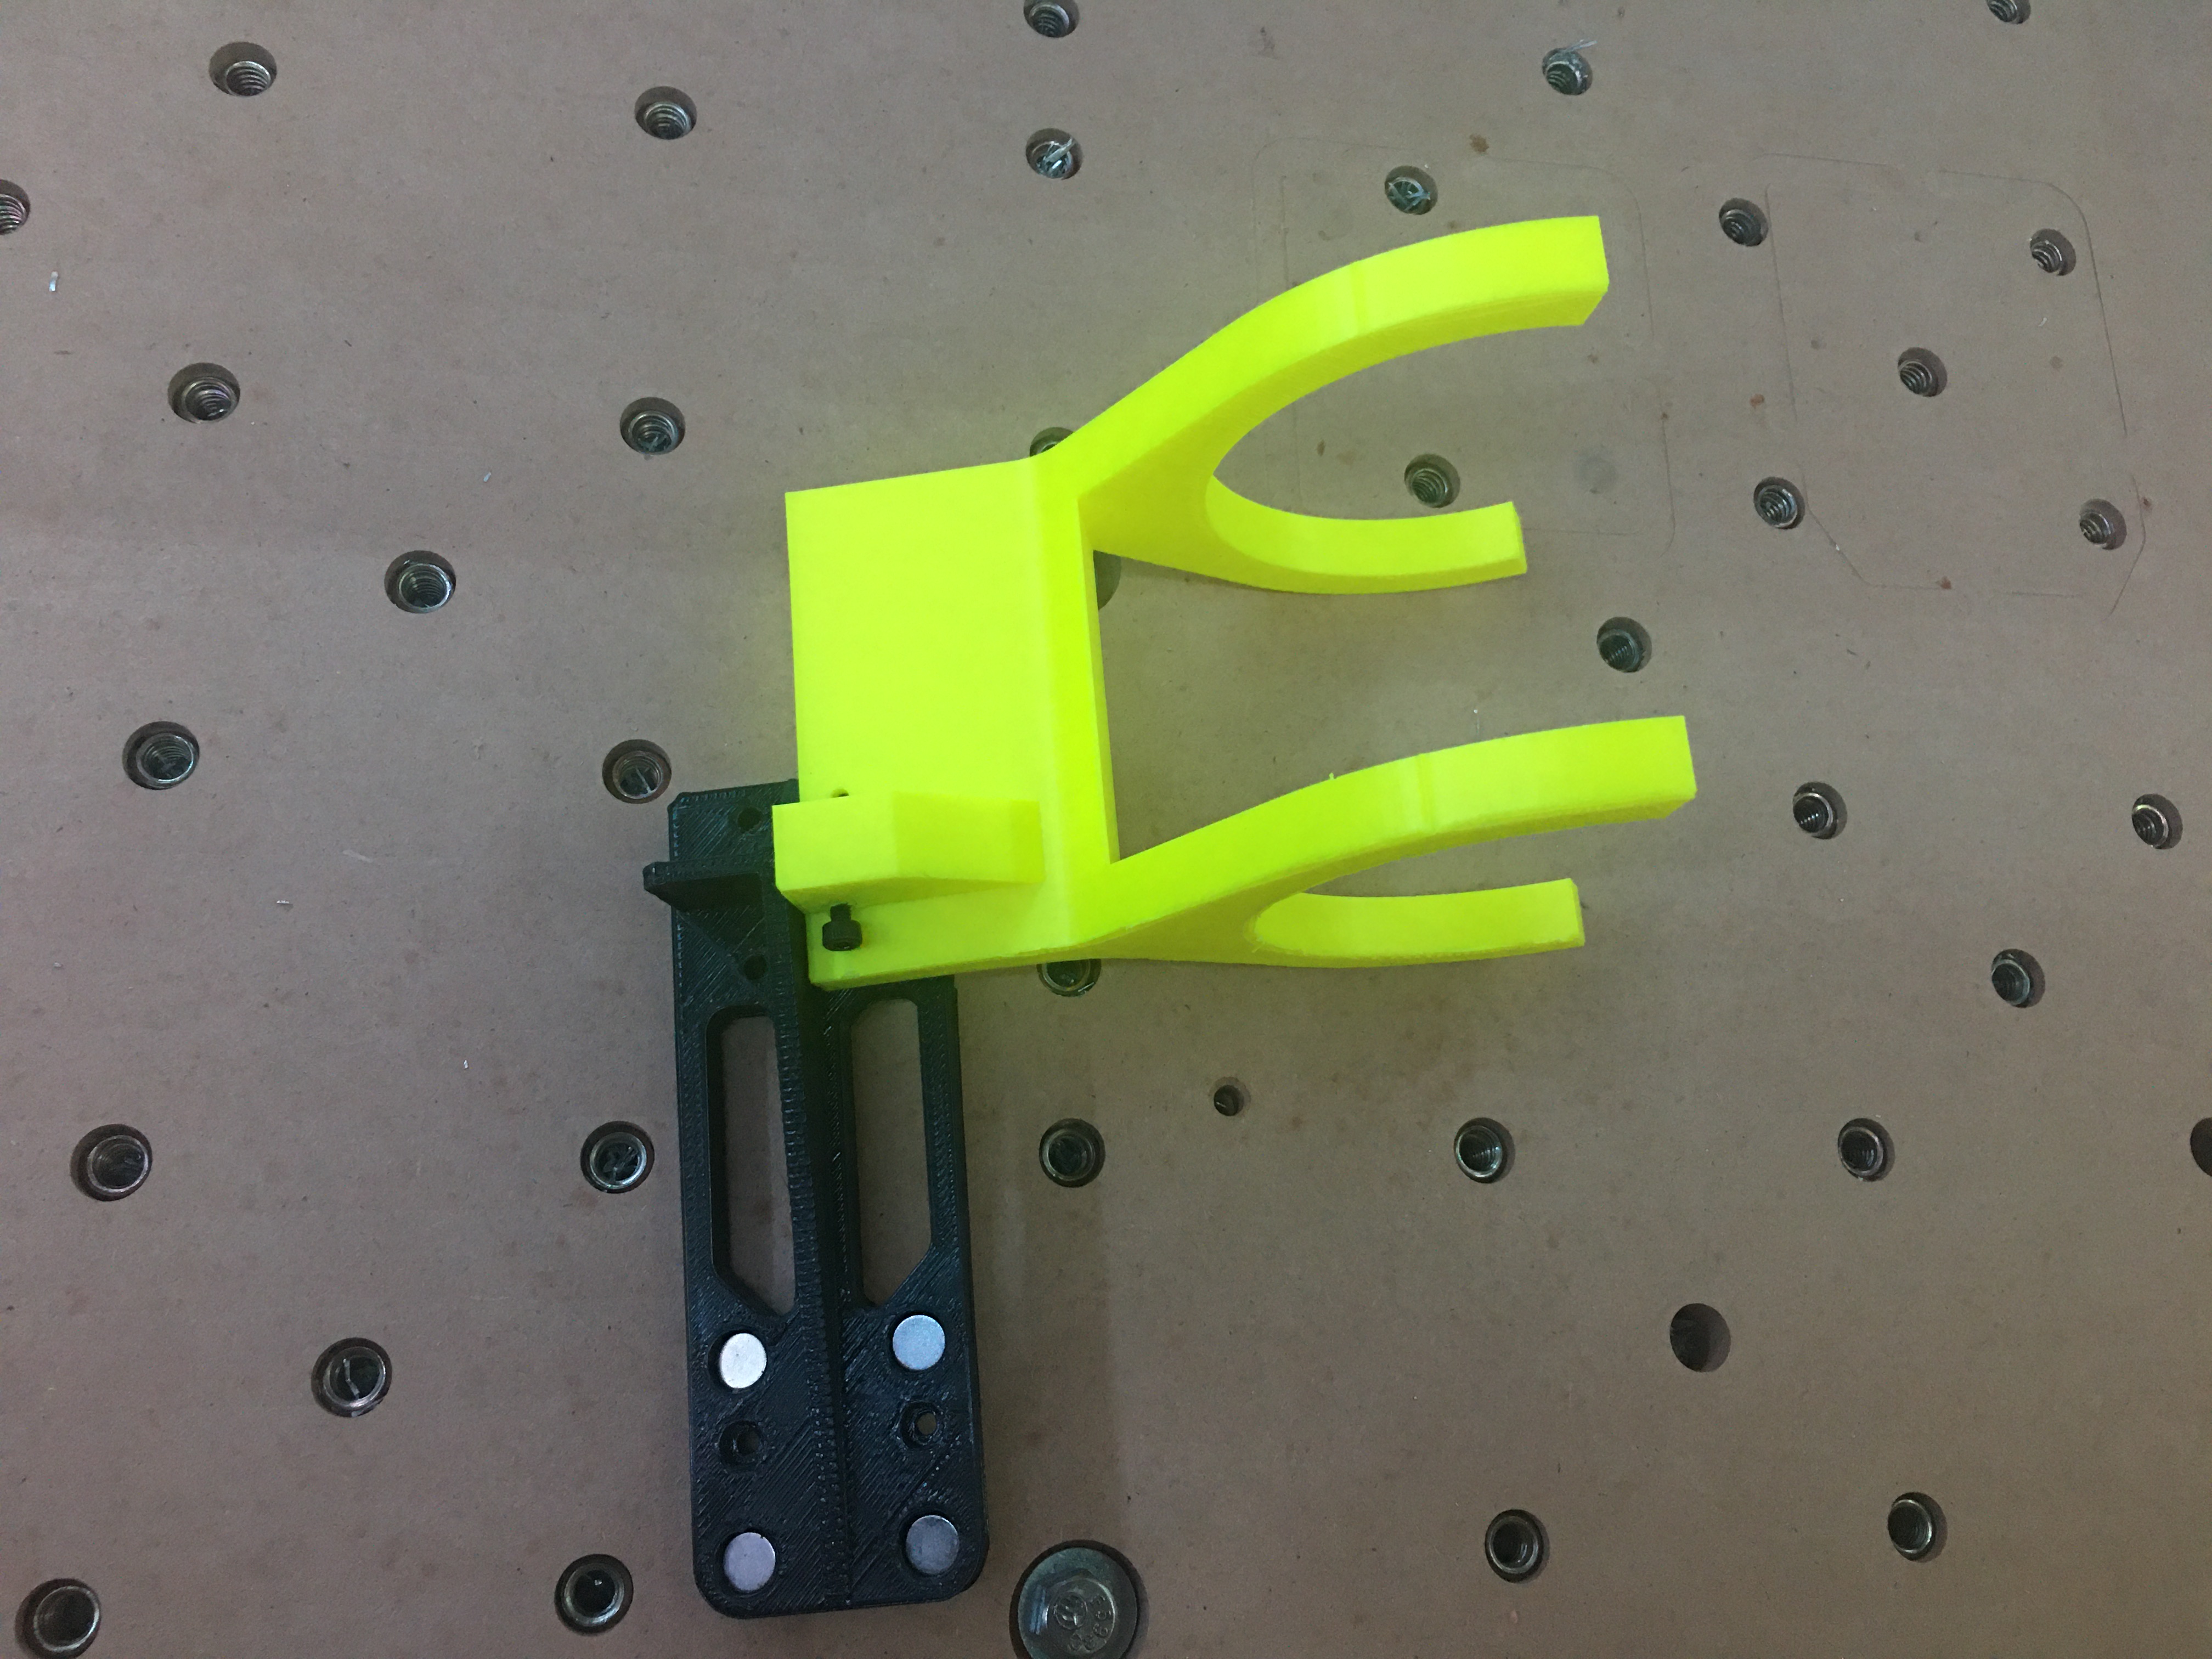
The back screw hole is better off with the more conventional drilling then tapping due to the space constraints, but I have to circle back around to that.
Nice fit; I didn’t make any changes to the design left of the cantilevered piece, so C3D and Beaver mounts seem to be similar if not the same dimensionally.
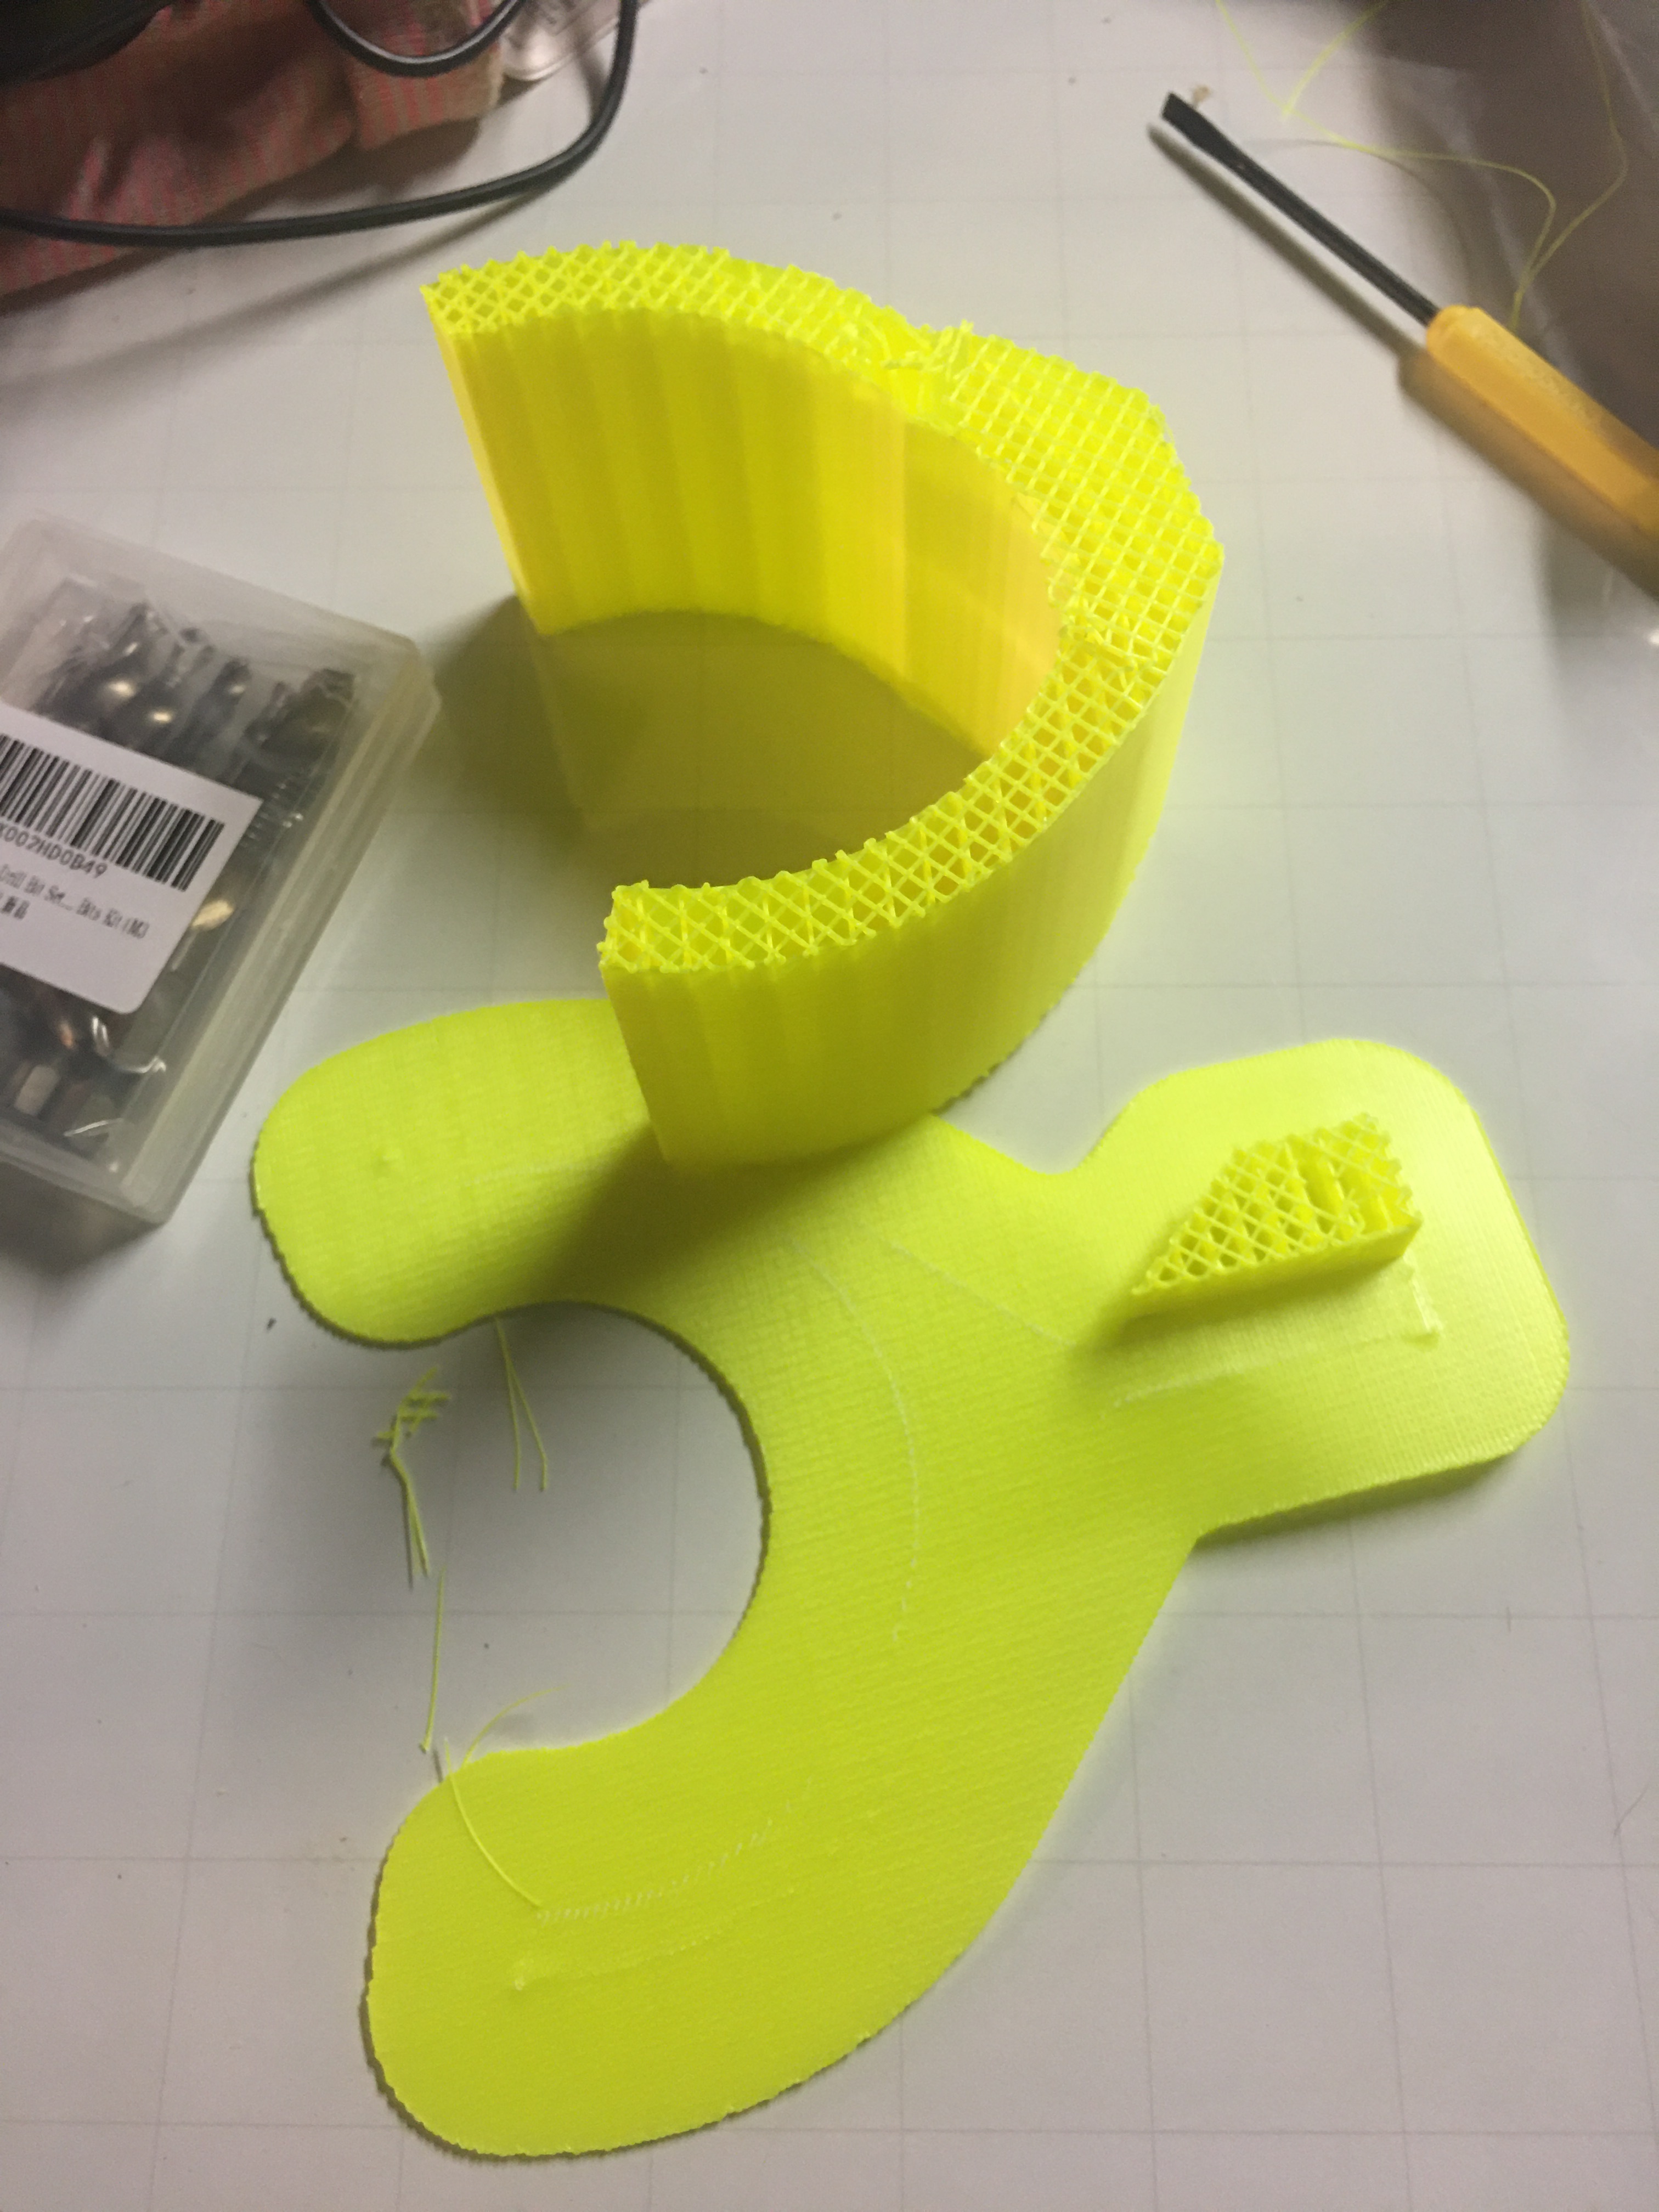
I printed with my Ender 3 with 10% infill supports and 20% infill on the part with PLA.
4 Likes
Nice! I need to get me some of that filament color, to contrast with the black PLA I’ve been using.
2 Likes
I like the added Carbide3D logo.
Mr. Julien, is this a good printer? I will be buying it just to print your HDZ rap around part, I think it will cov3er the size. Please, let me know if this printer is worth it, thank you.
If you’re buying the printer with the intent of getting into 3D printers, my son says there are a lot of better choices (I know nothing myself). If you just want this part, why not pay someone from the site to print it for you?
3 Likes
Between me and my kids, we have 7 3d printers. None of these printers have a large build volume. The large build volume is the reason I’m looking at one of these two, and I think I will be getting the CR-10. It’s a great value for $379, and it can be upgraded to match or even pass the new version of it which sells for $525.
I’m sure you’ll be happy with it. He’s looking at number of filaments, types of stock, speed, heat, etc. I don’t pretend to understand any of it. For now, I’ll stick with removing stock!
2 Likes
Hi @ispot,
I don’t have a great answer for you as I never heard of that first model, and the second one (CR-10) sounds like a popular choice in that price range but I have no hands-on experience with it. Both have a work area that is plenty large enough to print the parts in this thread (I used a Prusa with a 250x220mm bed area).
In case you have not ordered yet, maybe take a look at Ender models also ? @wmoy bought one recently, and all previous 3D-printer threads on the forum had good things to say about them for that price range. The Ender 5 pro work area is smaller than those two models you referenced (but large enough to print that HDZ frame, and it seems to be on sale)
Anyway, all those choices should work, I just tend to go with the flow when it comes to buying a 3D printer, i.e. buy the one that everyone has, if only because the quality of the support and the community is quite important when things go south. I would of course highly recommend the Prusa, for a no-hassle-it-just-works experience, but I acknowledge that it’s in a different price range, so not a very relevant recommendation compared to those Creality models you pre-selected.
I am using the original spindel mount that came with the machine with the back plate that they supplie .Wath kind of 80mm spindel are you using I have the 80mm spindel mount with the new HDZ and looking to buy a 80 mm spindel and can you use a 1/2 inch shaft in yours??
This is so cool seeing how 3D printing is allowing us to tackle challenges like this on our own. Here is what I came up with.
Uploading: 2020-09-29 10.03.11.jpg… Uploading: 2020-09-29 10.03.30.jpg…
3 Likes
This topic was automatically closed after 30 days. New replies are no longer allowed.