I spent a couple of evenings cutting acrylic, I have multiple feeds and speeds recipes that give me good (roughing) cuts, but where I struggle is getting a perfect surface finish on walls, with the intent to NOT have to do any sanding/torching (just because).
And specifically, on curvy walls.
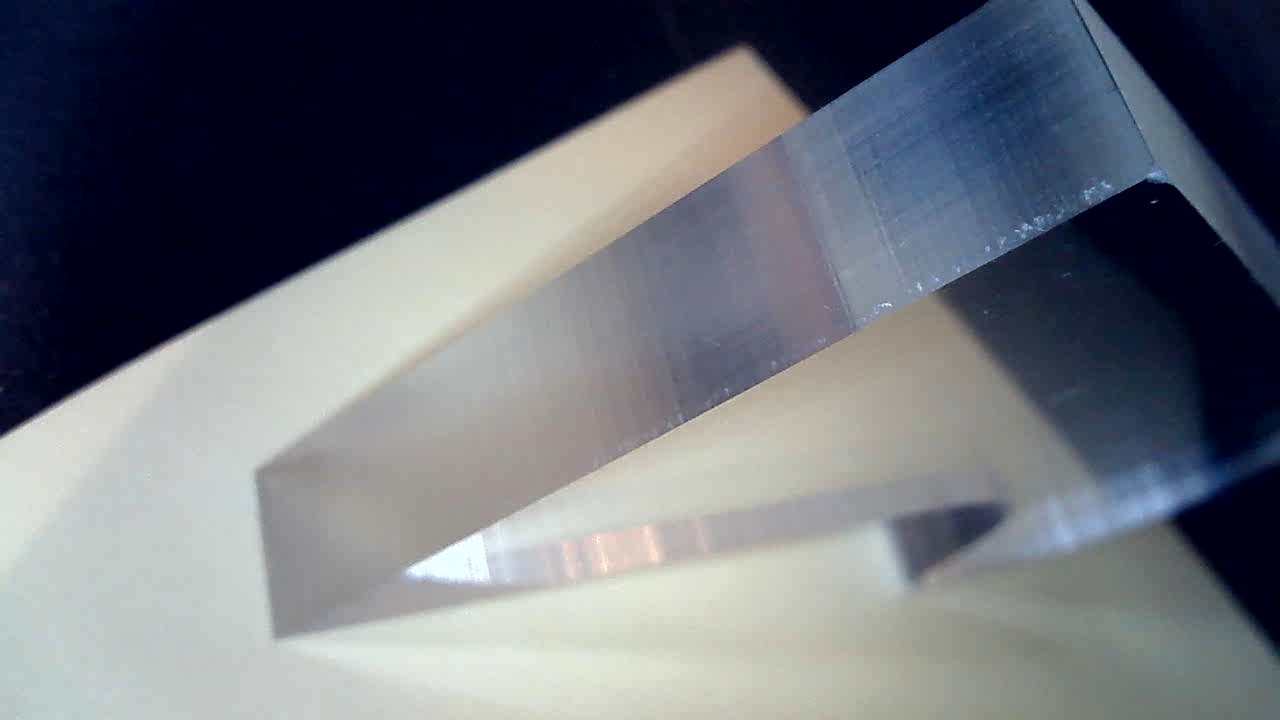
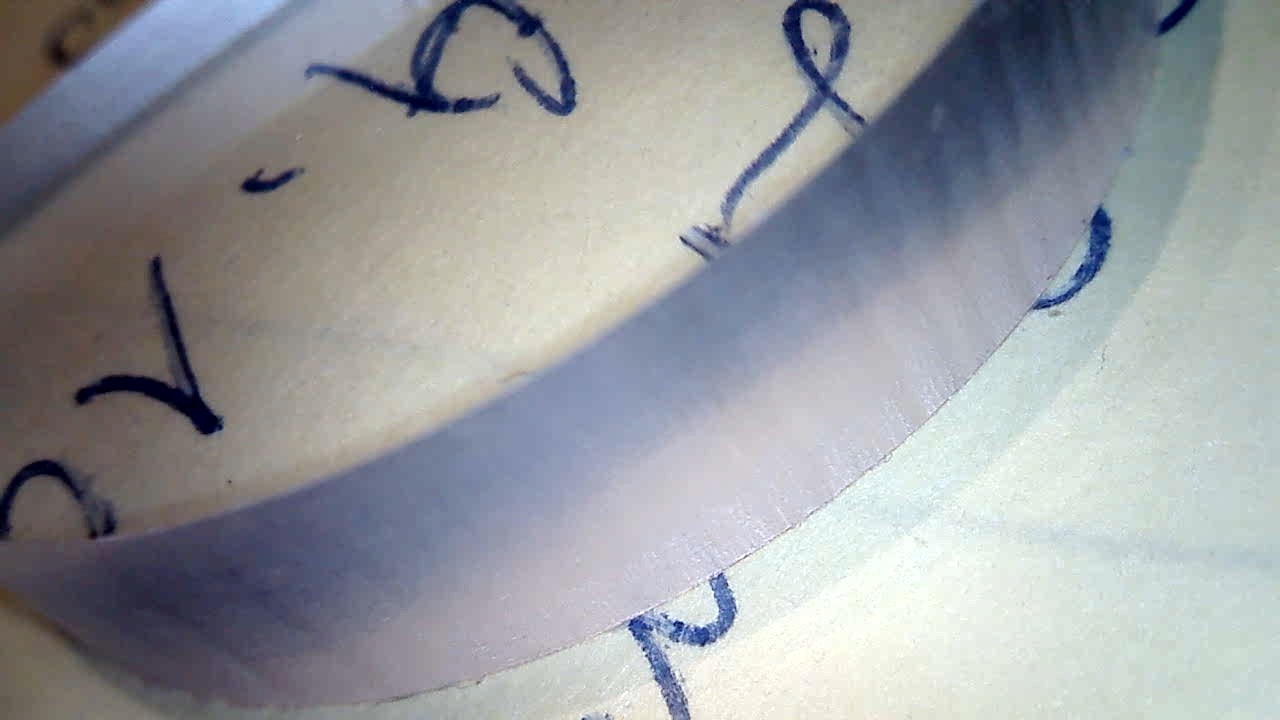
All parts of my cuts that are straight lines along X or Y end-up looking perfect (to me):
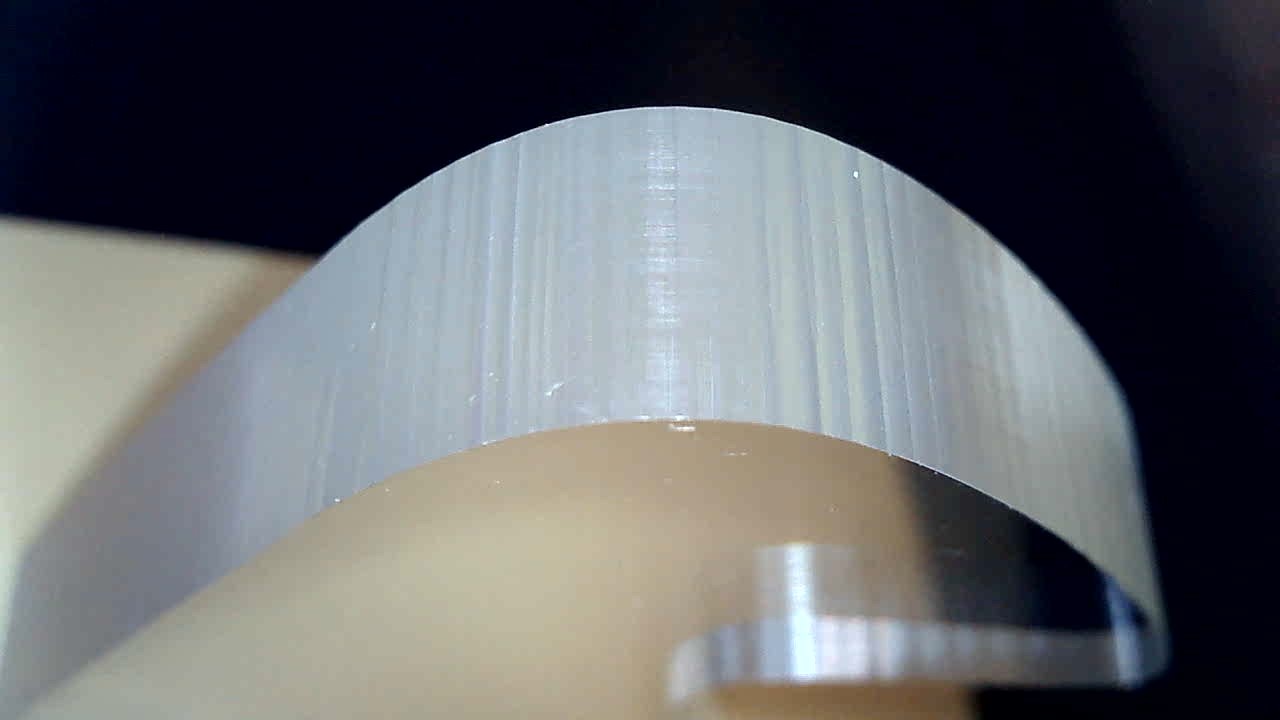
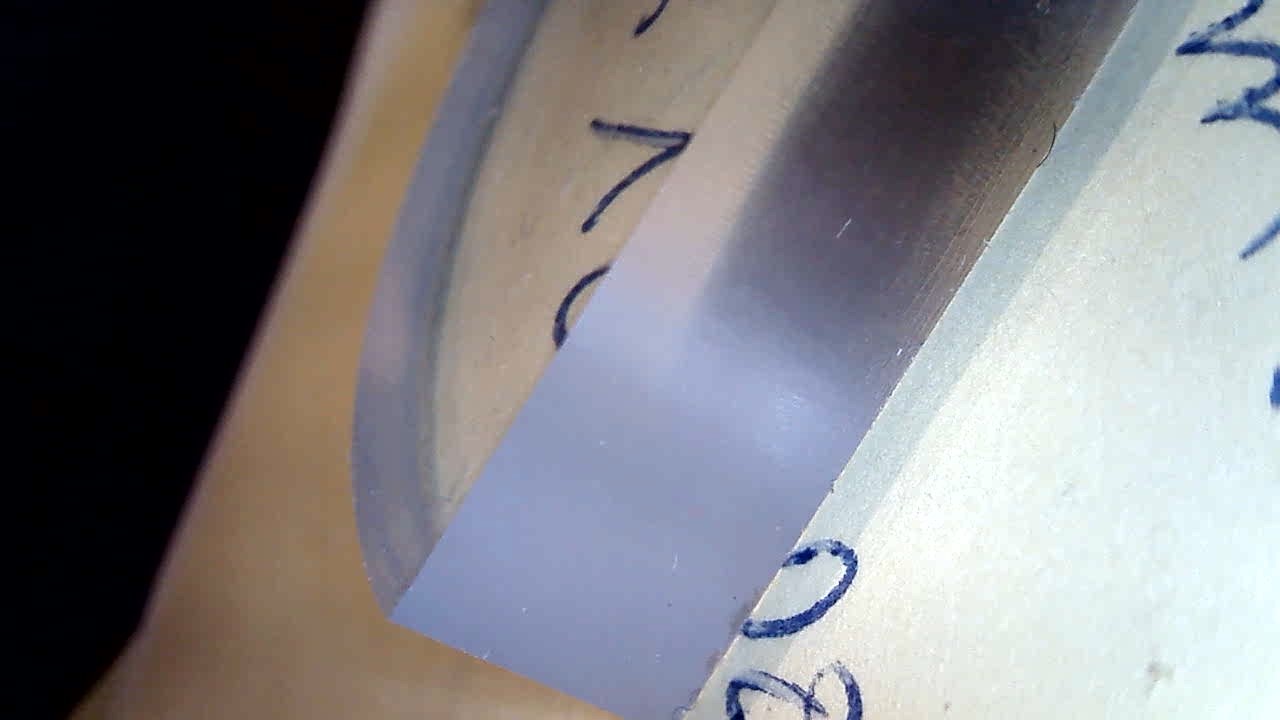
I have of course tried a separate finishing pass at full depth, multiple spring passes, fast finishing, slow finishing, max RPM, slower RPM, finishing with a 3-flute, they all end up leaving those marks, subtly different patterns but always visible to some extent. It feels smooth under a finger, but I wonder if there’s any way I can get the same buttery smooth finish I get on straigh sections, in curves too.
I have checked that my toolpaths use arcs, not small linear segments, so that’s not that either.
I’m not a guru, but have you tried reversing the direction of the finishing cut?
Also, do the marks disappear if you sand it (just to check)?
Are the marks larger for a larger diameter bit?
I thought that GRBL converted arcs into linear segments. Not sure what criteria it uses, but it is possible that doing the conversion in the source might result in finer resolution than an arc.
Yep I tried climb and conventional for the finish pass, no real difference
I have not tried to sand it. I did try torching and they do go away
The marks look identical for my 1/8" and 1/4" cuts
Did you hear that, Julien? …linear rails are calling; they’re tired of being denied. Haha just kidding, but this would be a good test - that, and filling your extrusions.
If this is created from fusion 360 try enabling smoothing that can help sometimes by streamlining gcode and handling arcs better, bit left field but worth a try
@RoughDraft40: this did cross my mind. In this specific instance with so little load being put on the vwheels (shaving off 0.1mm remaining stock in the finishing pass), I would be surprised if this is it. It would provide a great excuse for me to go linear indeed, though
@Jon I have never looked into the smoothing option and its effect in F360, time to check this indeed, if only to learn about it.
I’ll be doing some more testing (before I give up for good and use a 30 second torching op instead to get smooth walls, but it feels like cheating )
EDIT: also, I just remembered about that acrylic piece I did 2 years ago that turned out great right out of the machine, I’ll have to retry those settings (which in hindsight seem to slow, and yet they worked beautifully
That was with a 2-flute 1/8" endmill, 12.000 RPM, 700mm/min, DOC 0.027". Maybe it was beginner’s luck. Or maybe I just did not look at it closely enough at the time, I’ll have to find it (hidden somewhere in the shop) to have a second look at those edges.
I used to machine a lot of acrylic on milling machines (manual and CNC), and learned a trick for getting a transparent finish without any polishing/torch treatment.
(I understand you’re mostly talking about the faceting or line segments produced by the digital pipeline, but you may be interested to try this to improve your overall surface finish.)
We would put a heavy cutting oil (specifically Rocol RTD) on the acrylic before milling (or drilling, reaming, tapping etc) and cut at a reduced speed (e.g. down to 400 rpm for very deep pockets using a 3/8" end mill). I’ve tried with other oils that didn’t work as well. We actually special ordered this stuff from the UK. You can then clean the oil off using wd-40 followed by soap and water. Don’t use an ultrasonic cleaner!
I think its 100% in cam (Fusion360). Usually in aluminum, I’ll run a crazy tight tolerance (0.0001") to create a better surface finish on curves.
Checkout this Saunders Machine Works video on whisper cuts. It goes into the nitty gritty of smoothing, tolerances, and accessing the hidden tolerance options which I believe there are seven.
In the end, the Shapeoko is limited by belt resolution (even with linear rails) but we can cheat it to a certain degree.
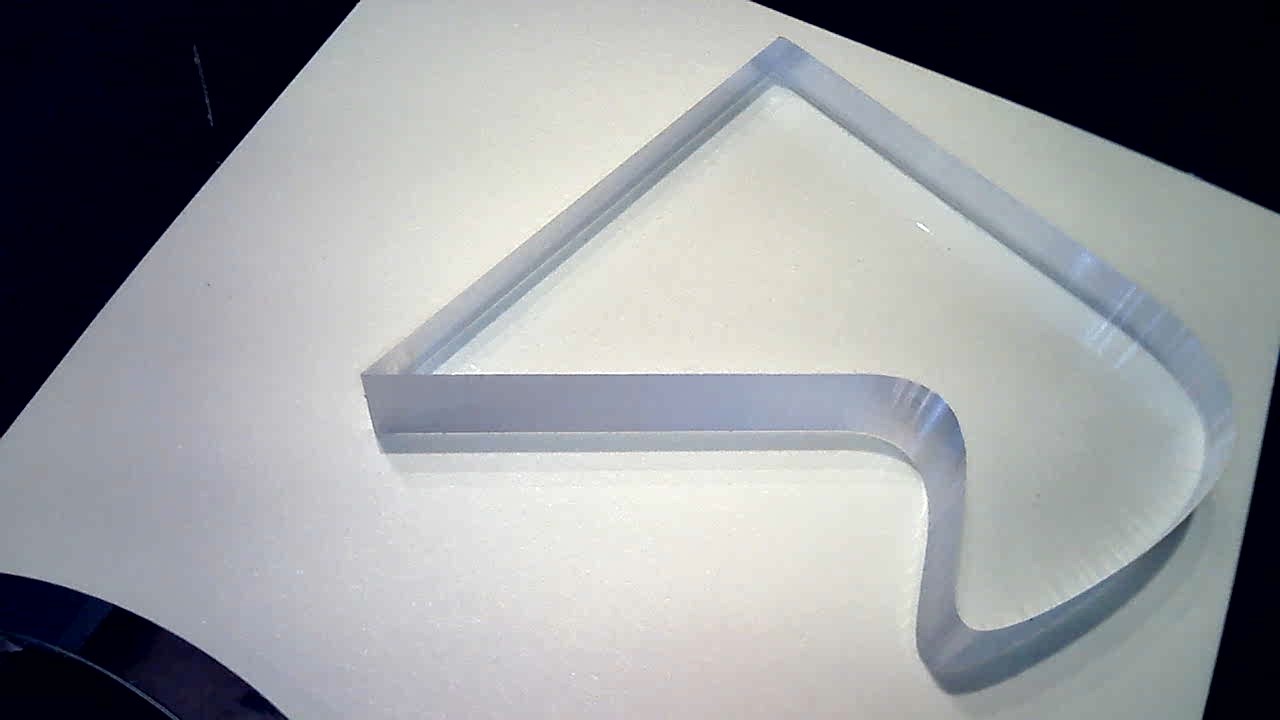
So I’ve been trying another cut.
As per @Vince.Fab’s tip I set tolerance to 0.0001".
I cut a piece that has a segment along X, a segment along Y, a straight line at 45° from machine axes, and a two curves:
You know, this is starting to resemble some of the longer discussions on the 3D printing forums where people start fighting with the way their machine does movement and interpolation, or suffering from ringing where the machine doesn’t damp post move vibrations fast enough on direction changes.
What are the speed differences like between Vincefab’s finishing passes and this one in Acrylic?
I thought about that, but this is not ringing as the marks are consistent across the whole length of each segment, it’s not something that happens only after taking a sharp turn. I also tried with halving the accels, no difference.
I have no idea, but I have tried finishing passes as low as 400mm/min (with the intent to “slightly melt” the surface), and as high as 3000mm/min, and there is no real correlation.
The tool itself is a major variable, but that Amana O-flute is supposed to have the optimal geometry to cut plastics.
I won’t obsess about this (who said “too late” ?) but just wanted to figure this out as a little challenge. I guess I’ll go back to sanding & torching.

 )
)