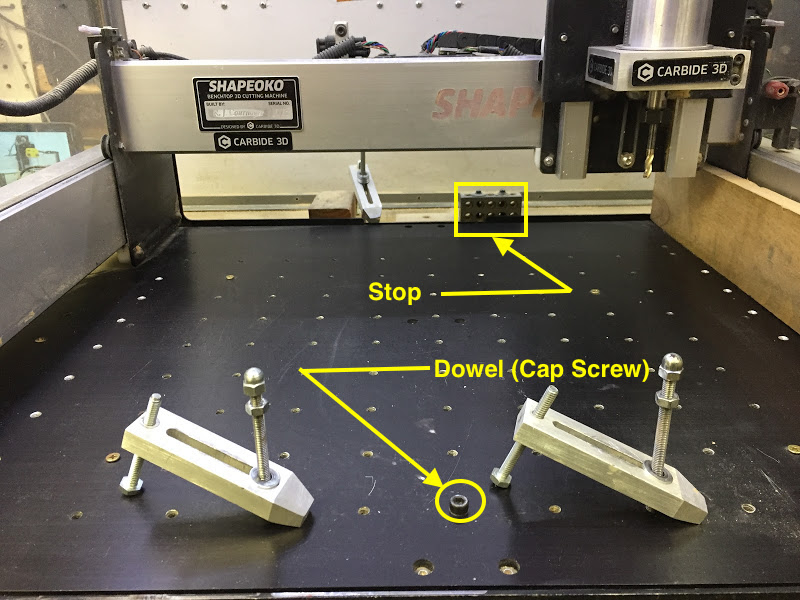
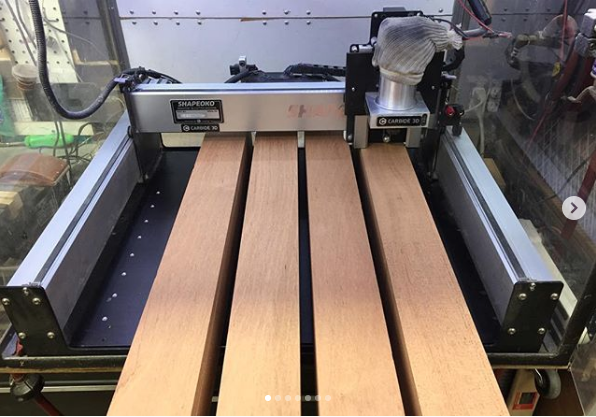
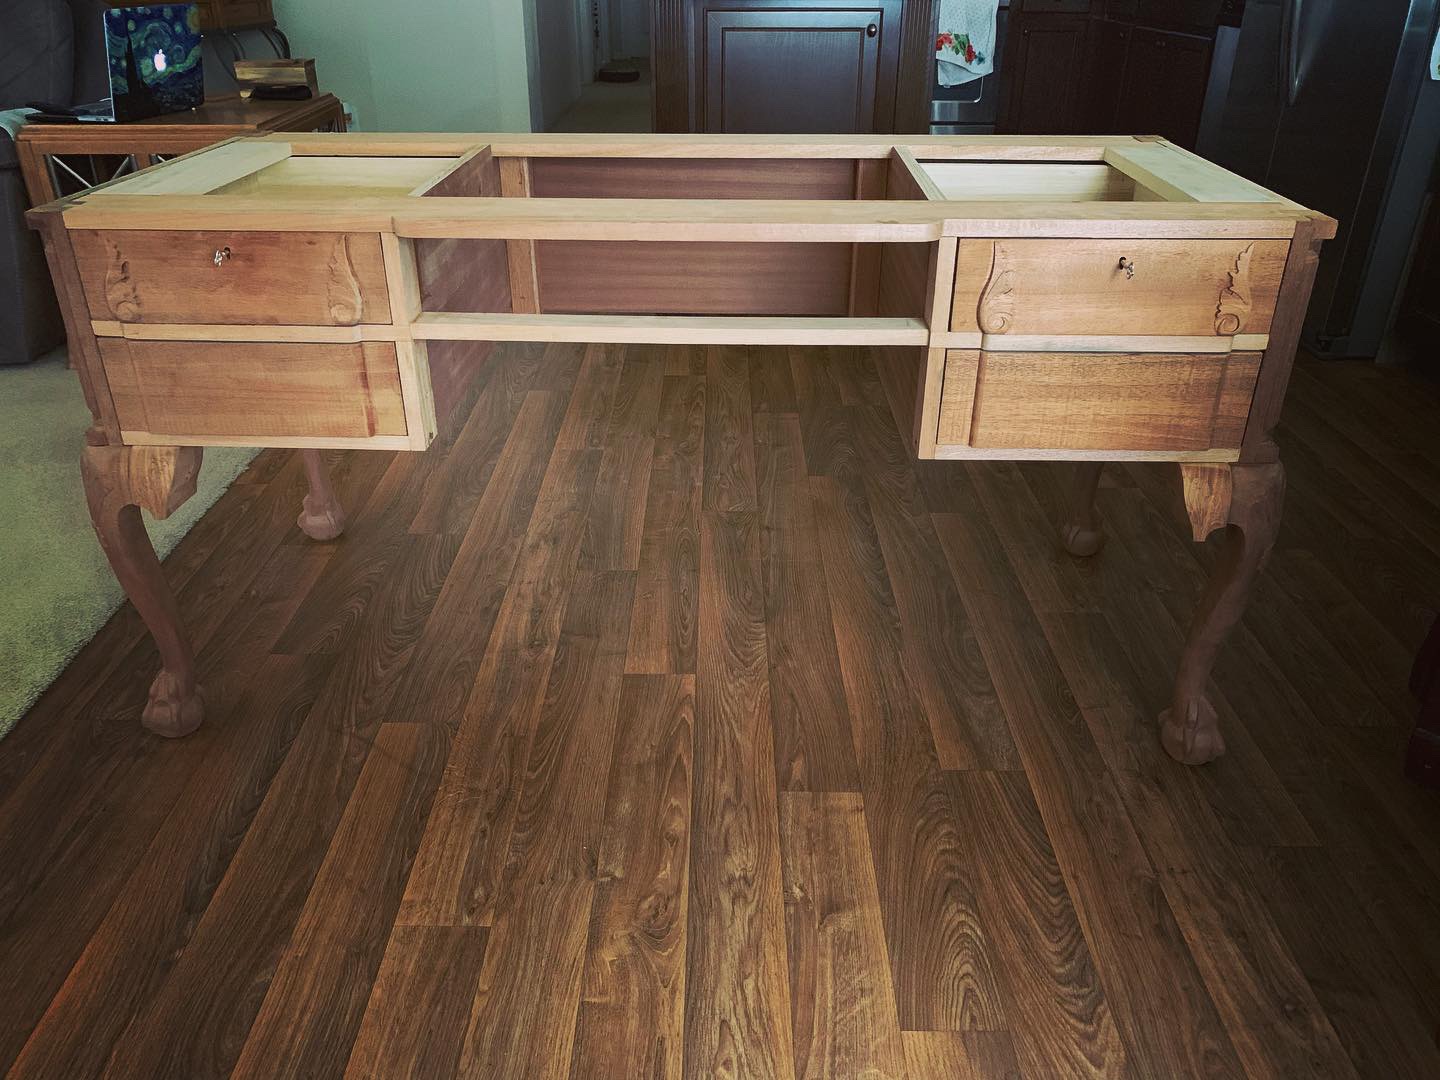
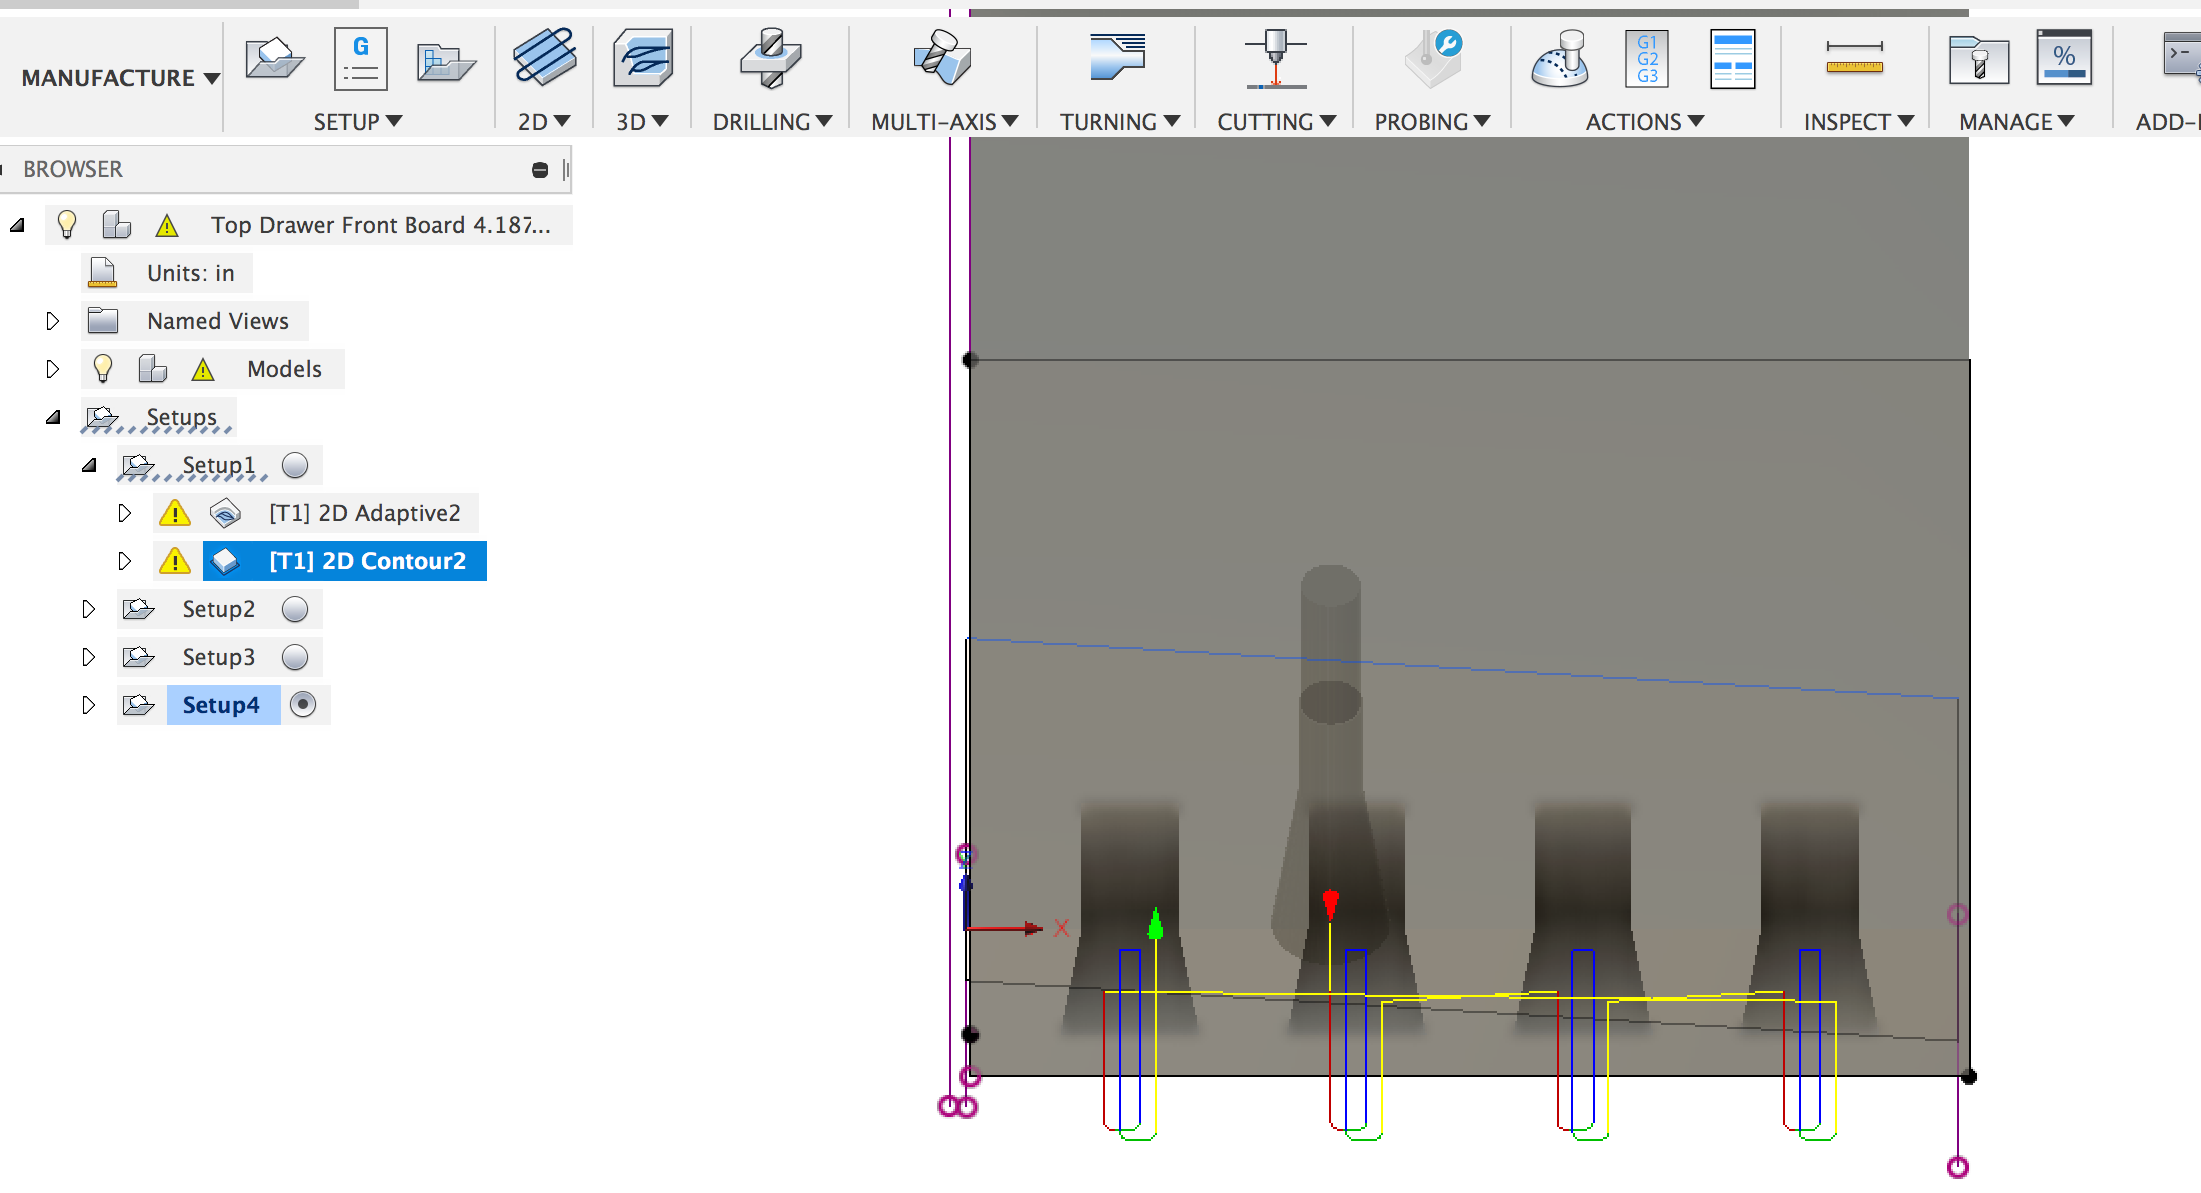
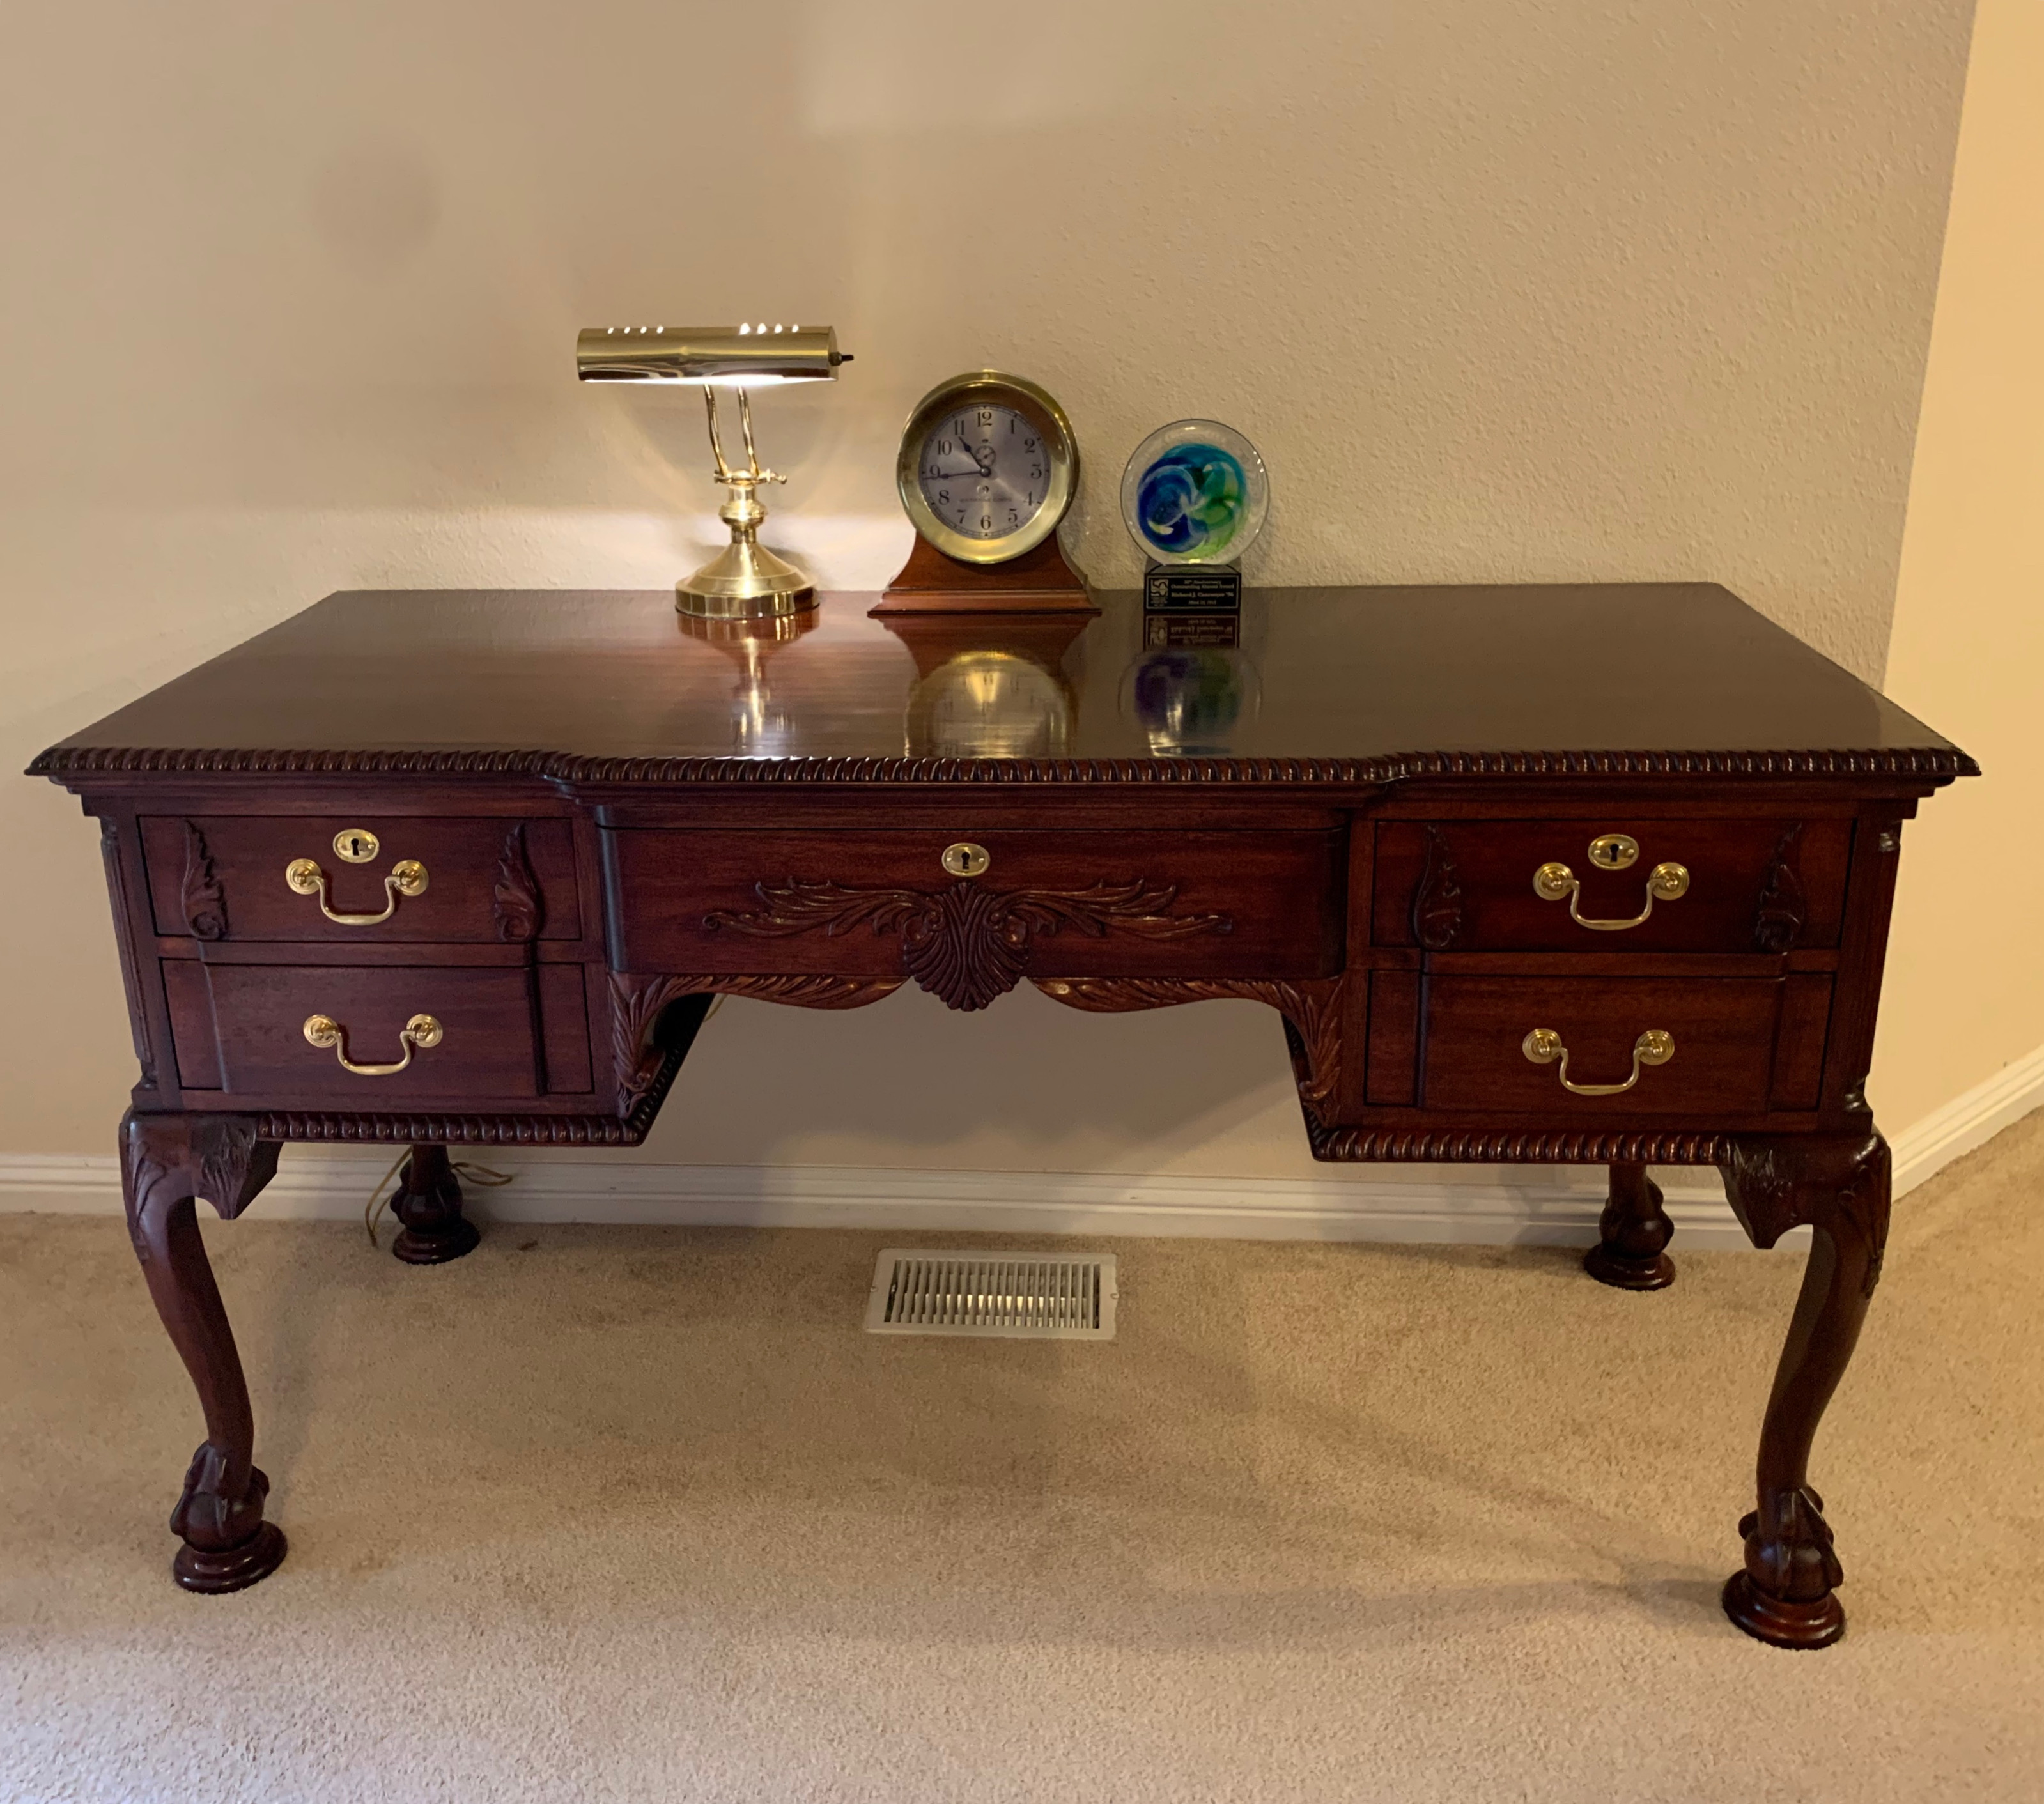
Hi all! Well the desk is finally finished! It took a little longer that expected, but when building a museum quality heirloom piece of furniture, time isn’t really a variable in my opinion. Shapeoko: I made 88 pieces on the Shapeoko 3 (Standard size) which means nearly every part was made/modified on the CNC, I think there are perhaps 4 pieces that were not machined on the CNC (3 dust shields, and the top of the desk (insert) that is inside the 4 edge moldings) Very few tools were used other than the Shapeoko. A Track Saw, A hand router (which is actually the Shapeoko Spindle), a belt sander, a $29 HF cordless drill, two hand planes, and a miter (chop) saw. that’s it…no planer, no table saw… Amazing what is possible when you put your mind, and heart to a project.
Relevant Notes:
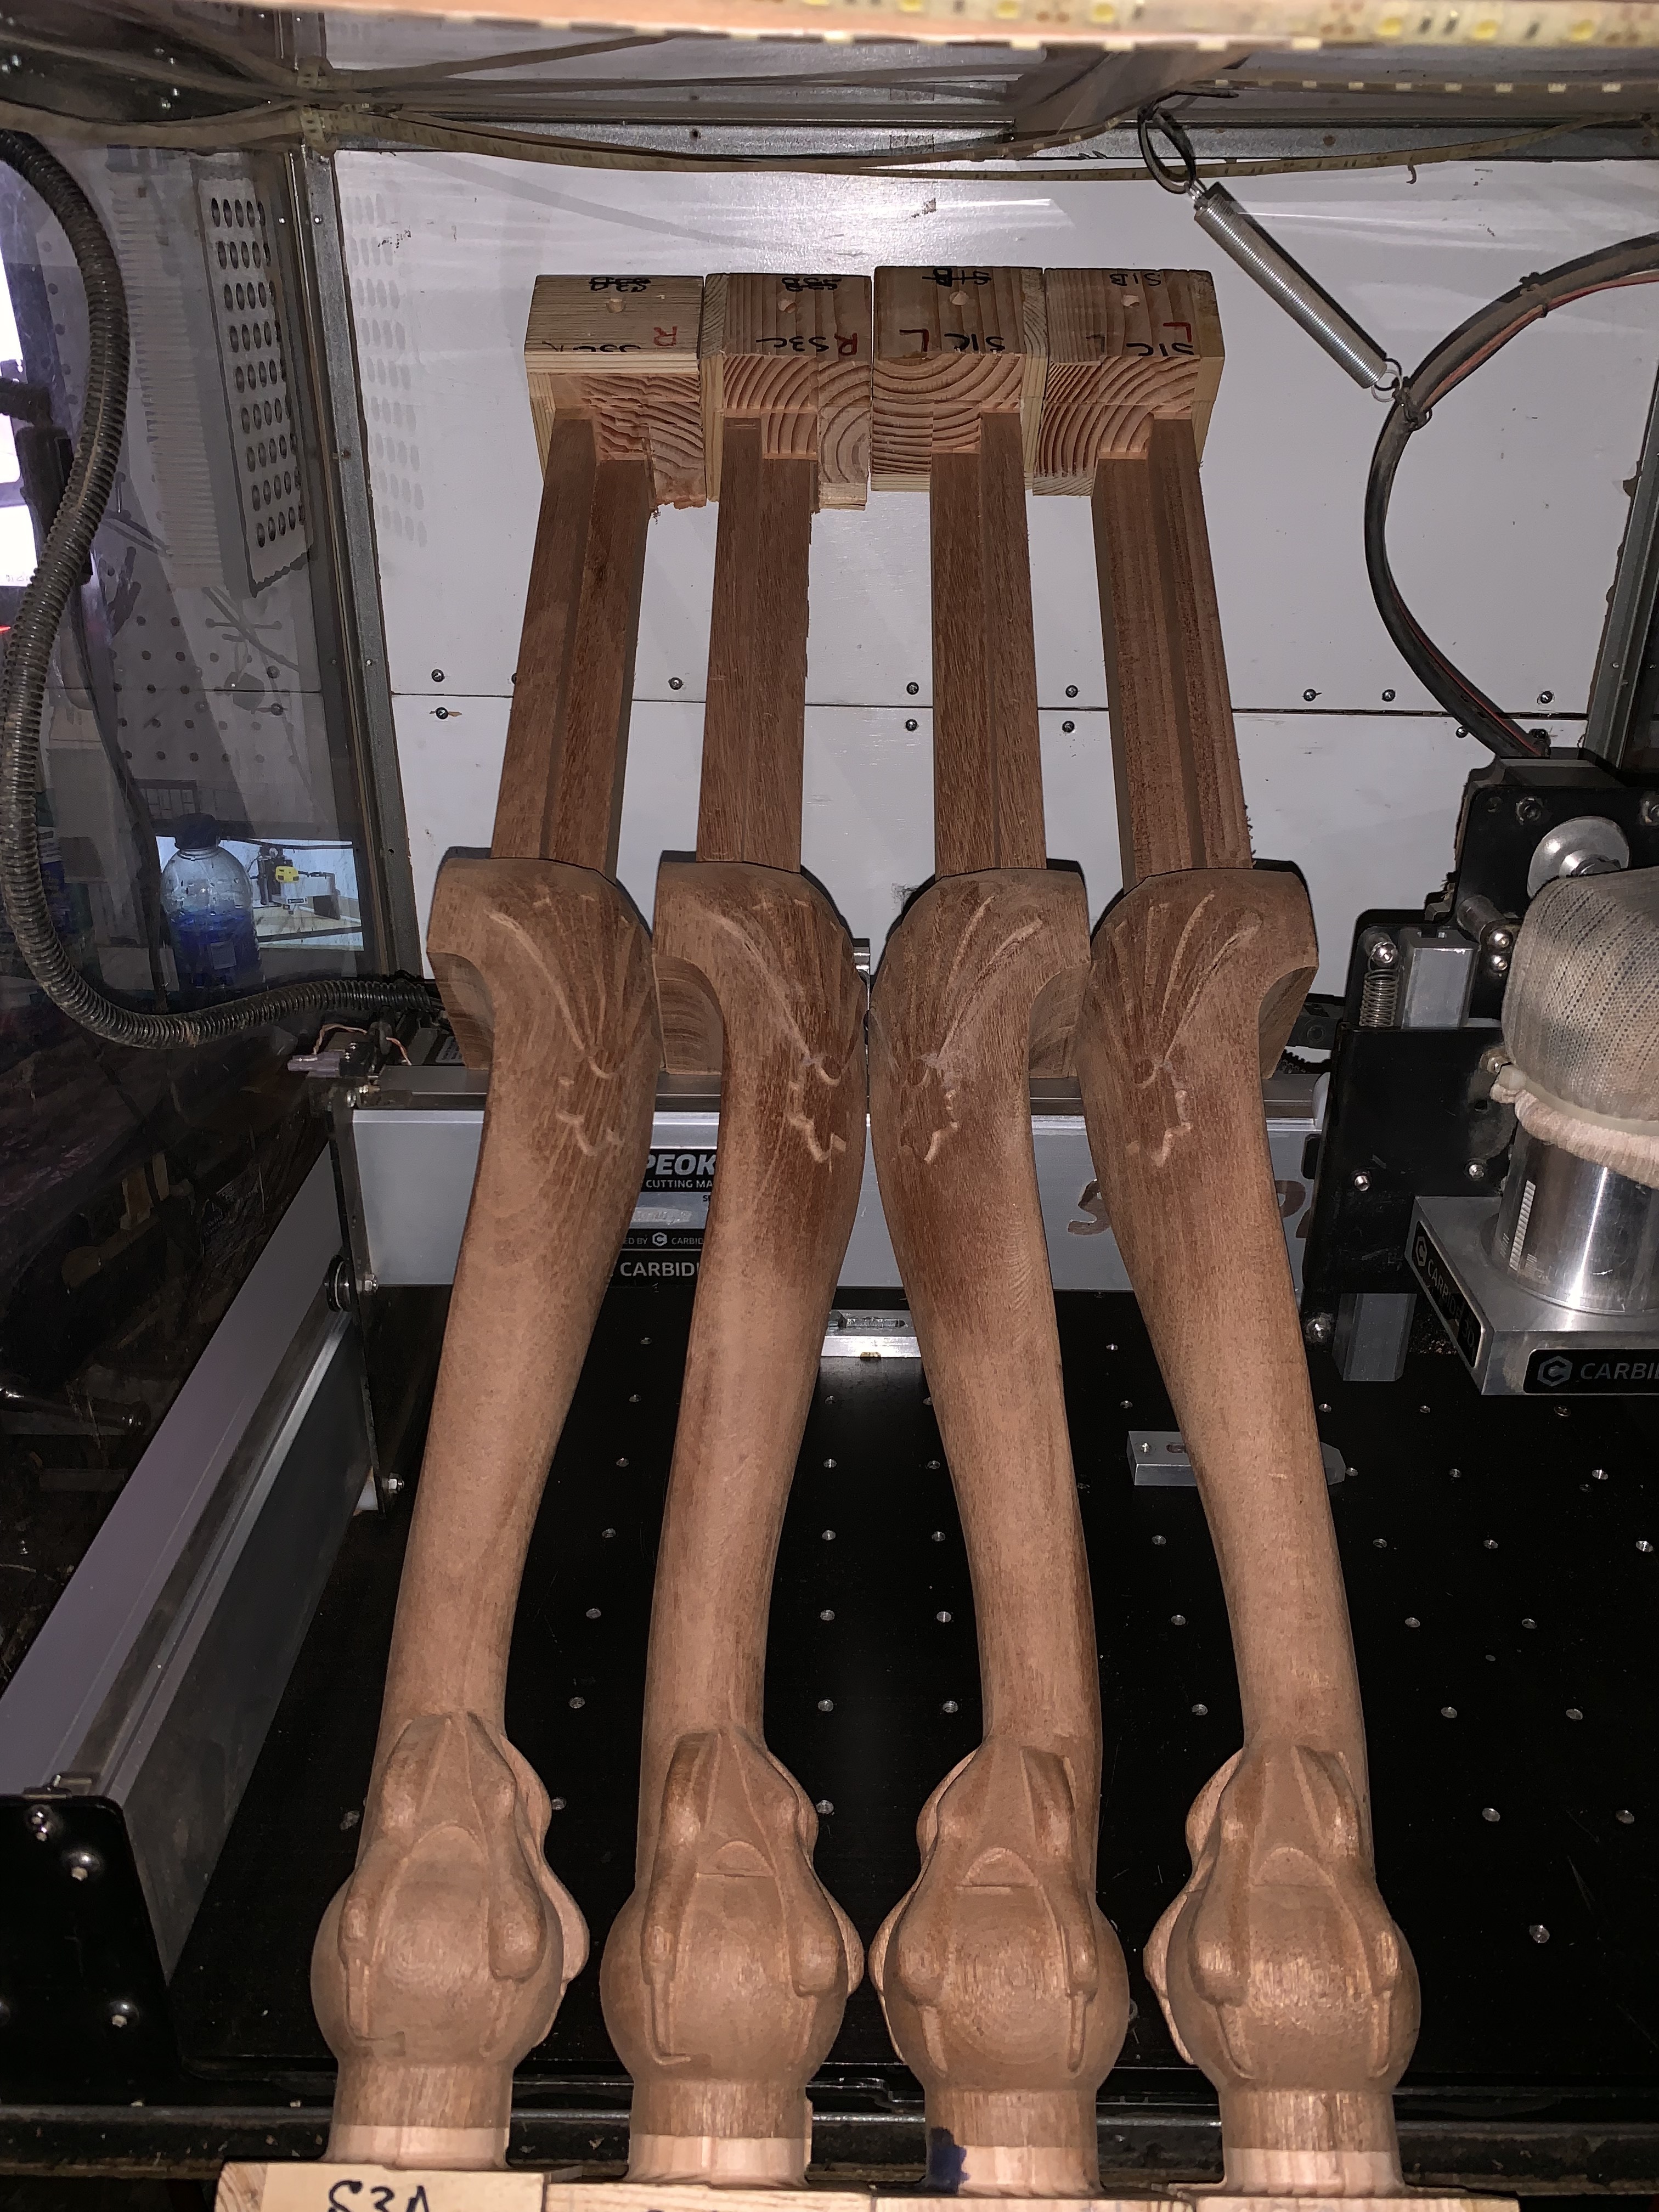
Change 1.
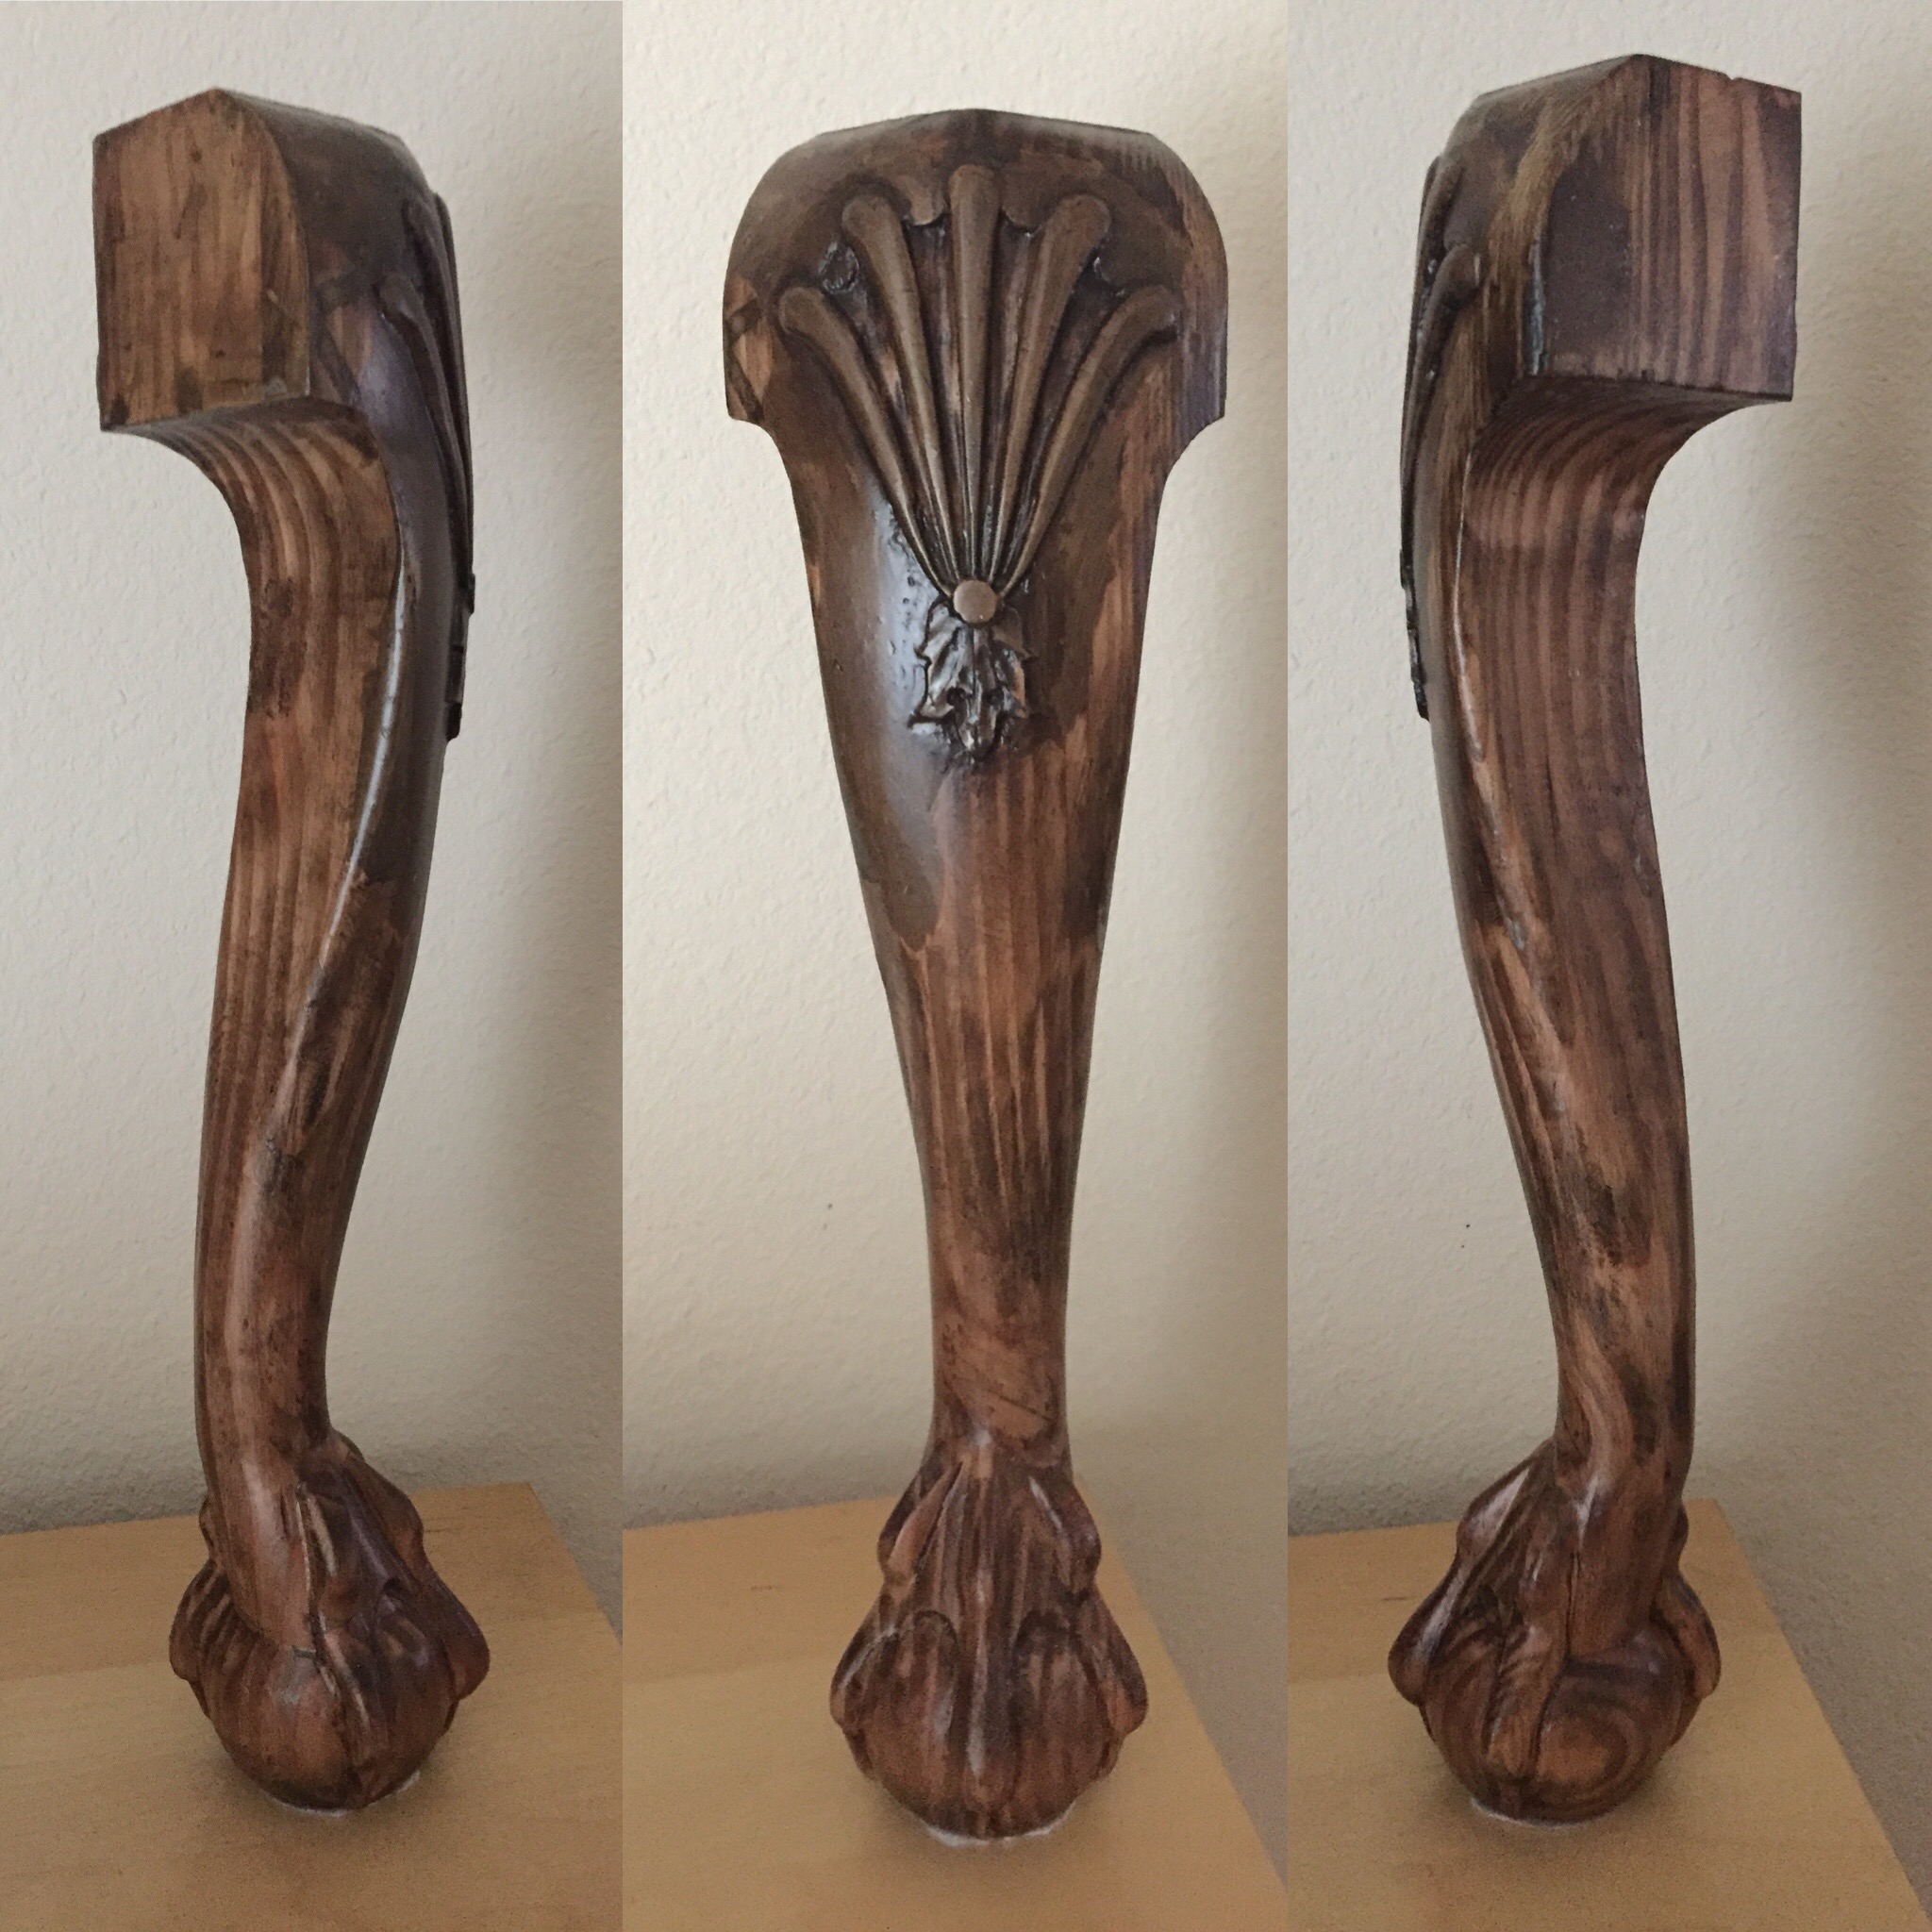
Since the desk I am reproducing, was made in Pennsylvania, it has a flattened ball. I did change the shape of the ball in the ball and claw legs to the Newport, RI (Townsend/Goddard) style to reflect my home state. Furniture makers in RI/MA produced spherical (ball) legs whereas NY/PA craftsman produced a squatted ball (Think tomato) legs.
Change 2)
I added a dust cover under the center drawer. I don’t know/understand why the drawing only placed it under the side drawers.
Change3)
There is 26 feet of Gadroon (Pronounced GA-Droon) moulding that wraps all the edges of the desk. Many of the desks that I was in museums had damage to many of the lobes from poor handling. I saw one desk on an auction web site that showed a small protective bead that was placed in front of the lobes and thought this was a smart addition that can be removed if necessary.
Change 4)
The drawers were supposed to ride on wooden slides. I hate (with a passion) this style. Wood moves too much to allow a smooth drawer action so I designed and installed hidden ball-bearing drawer slides into this desk for years of smooth drawer action. My design also can be removed and replaced with wooden slides if necessary.
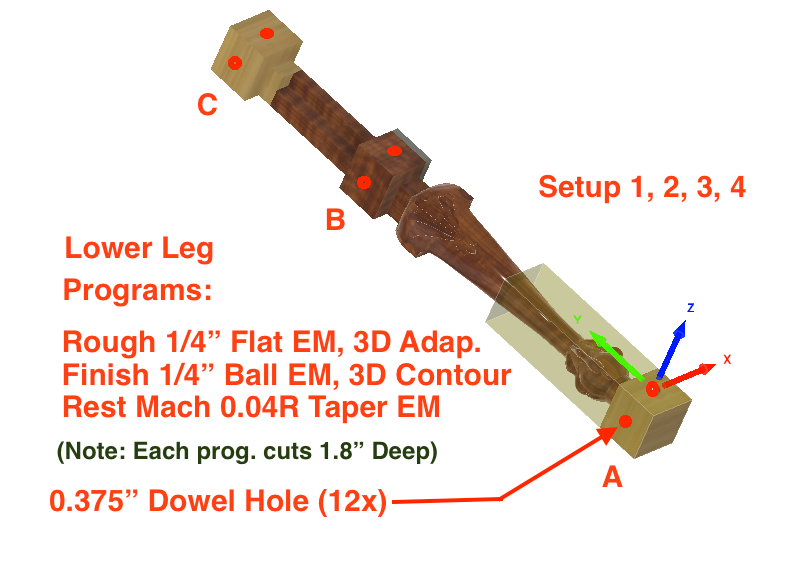
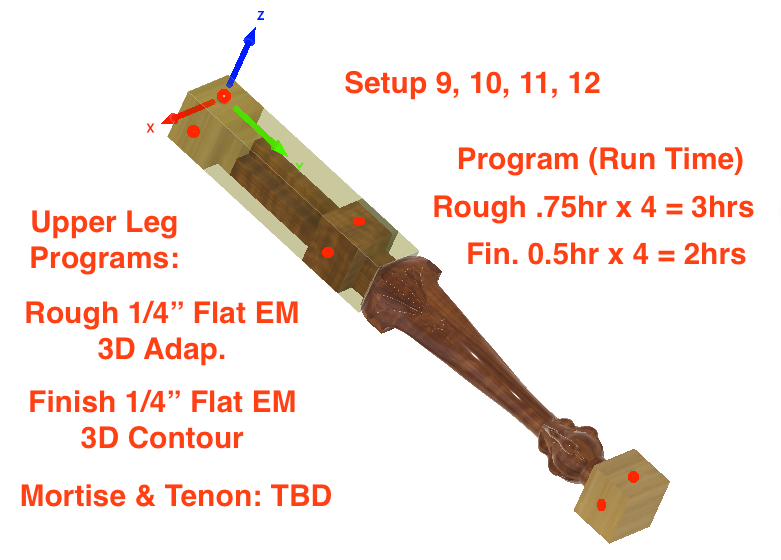
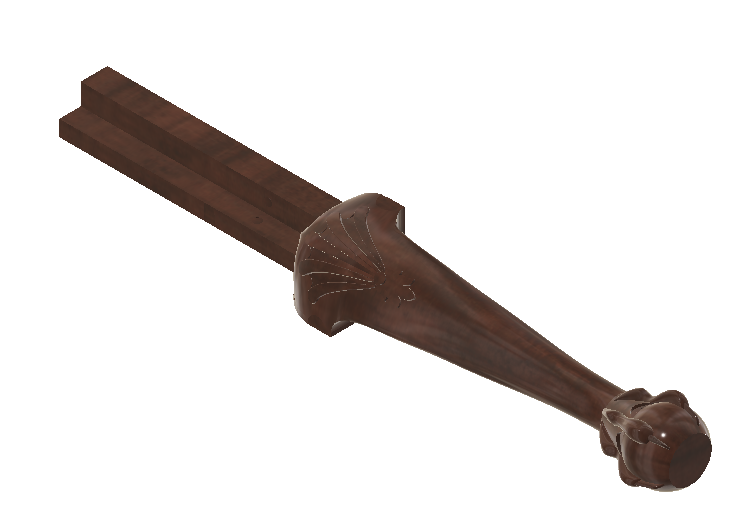
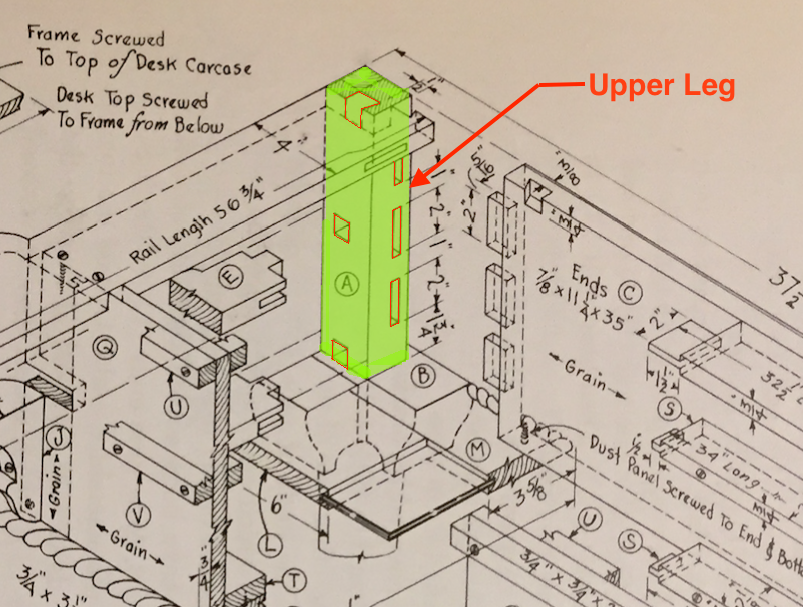
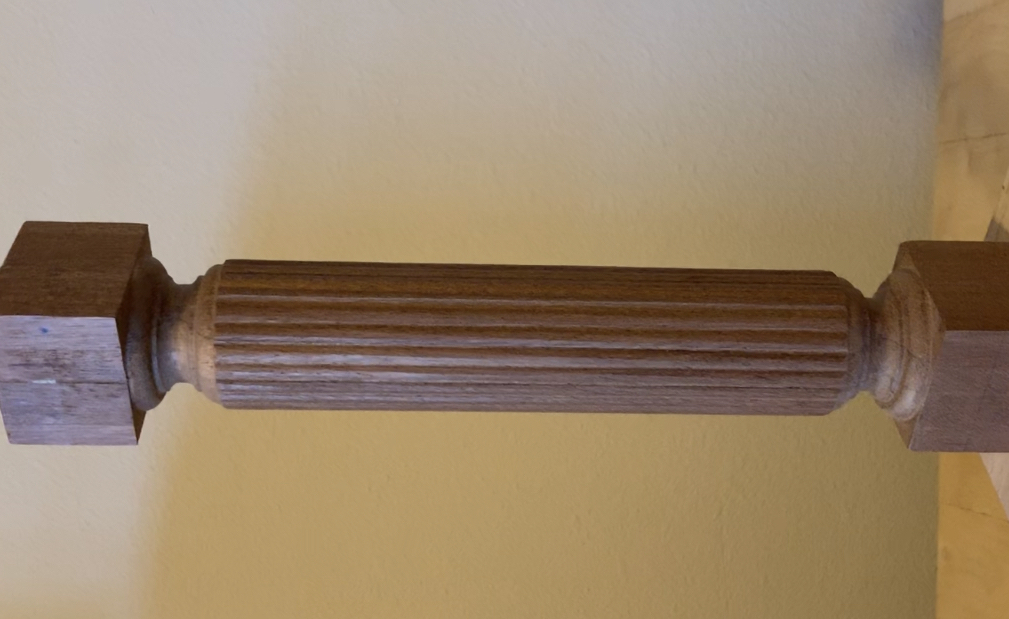
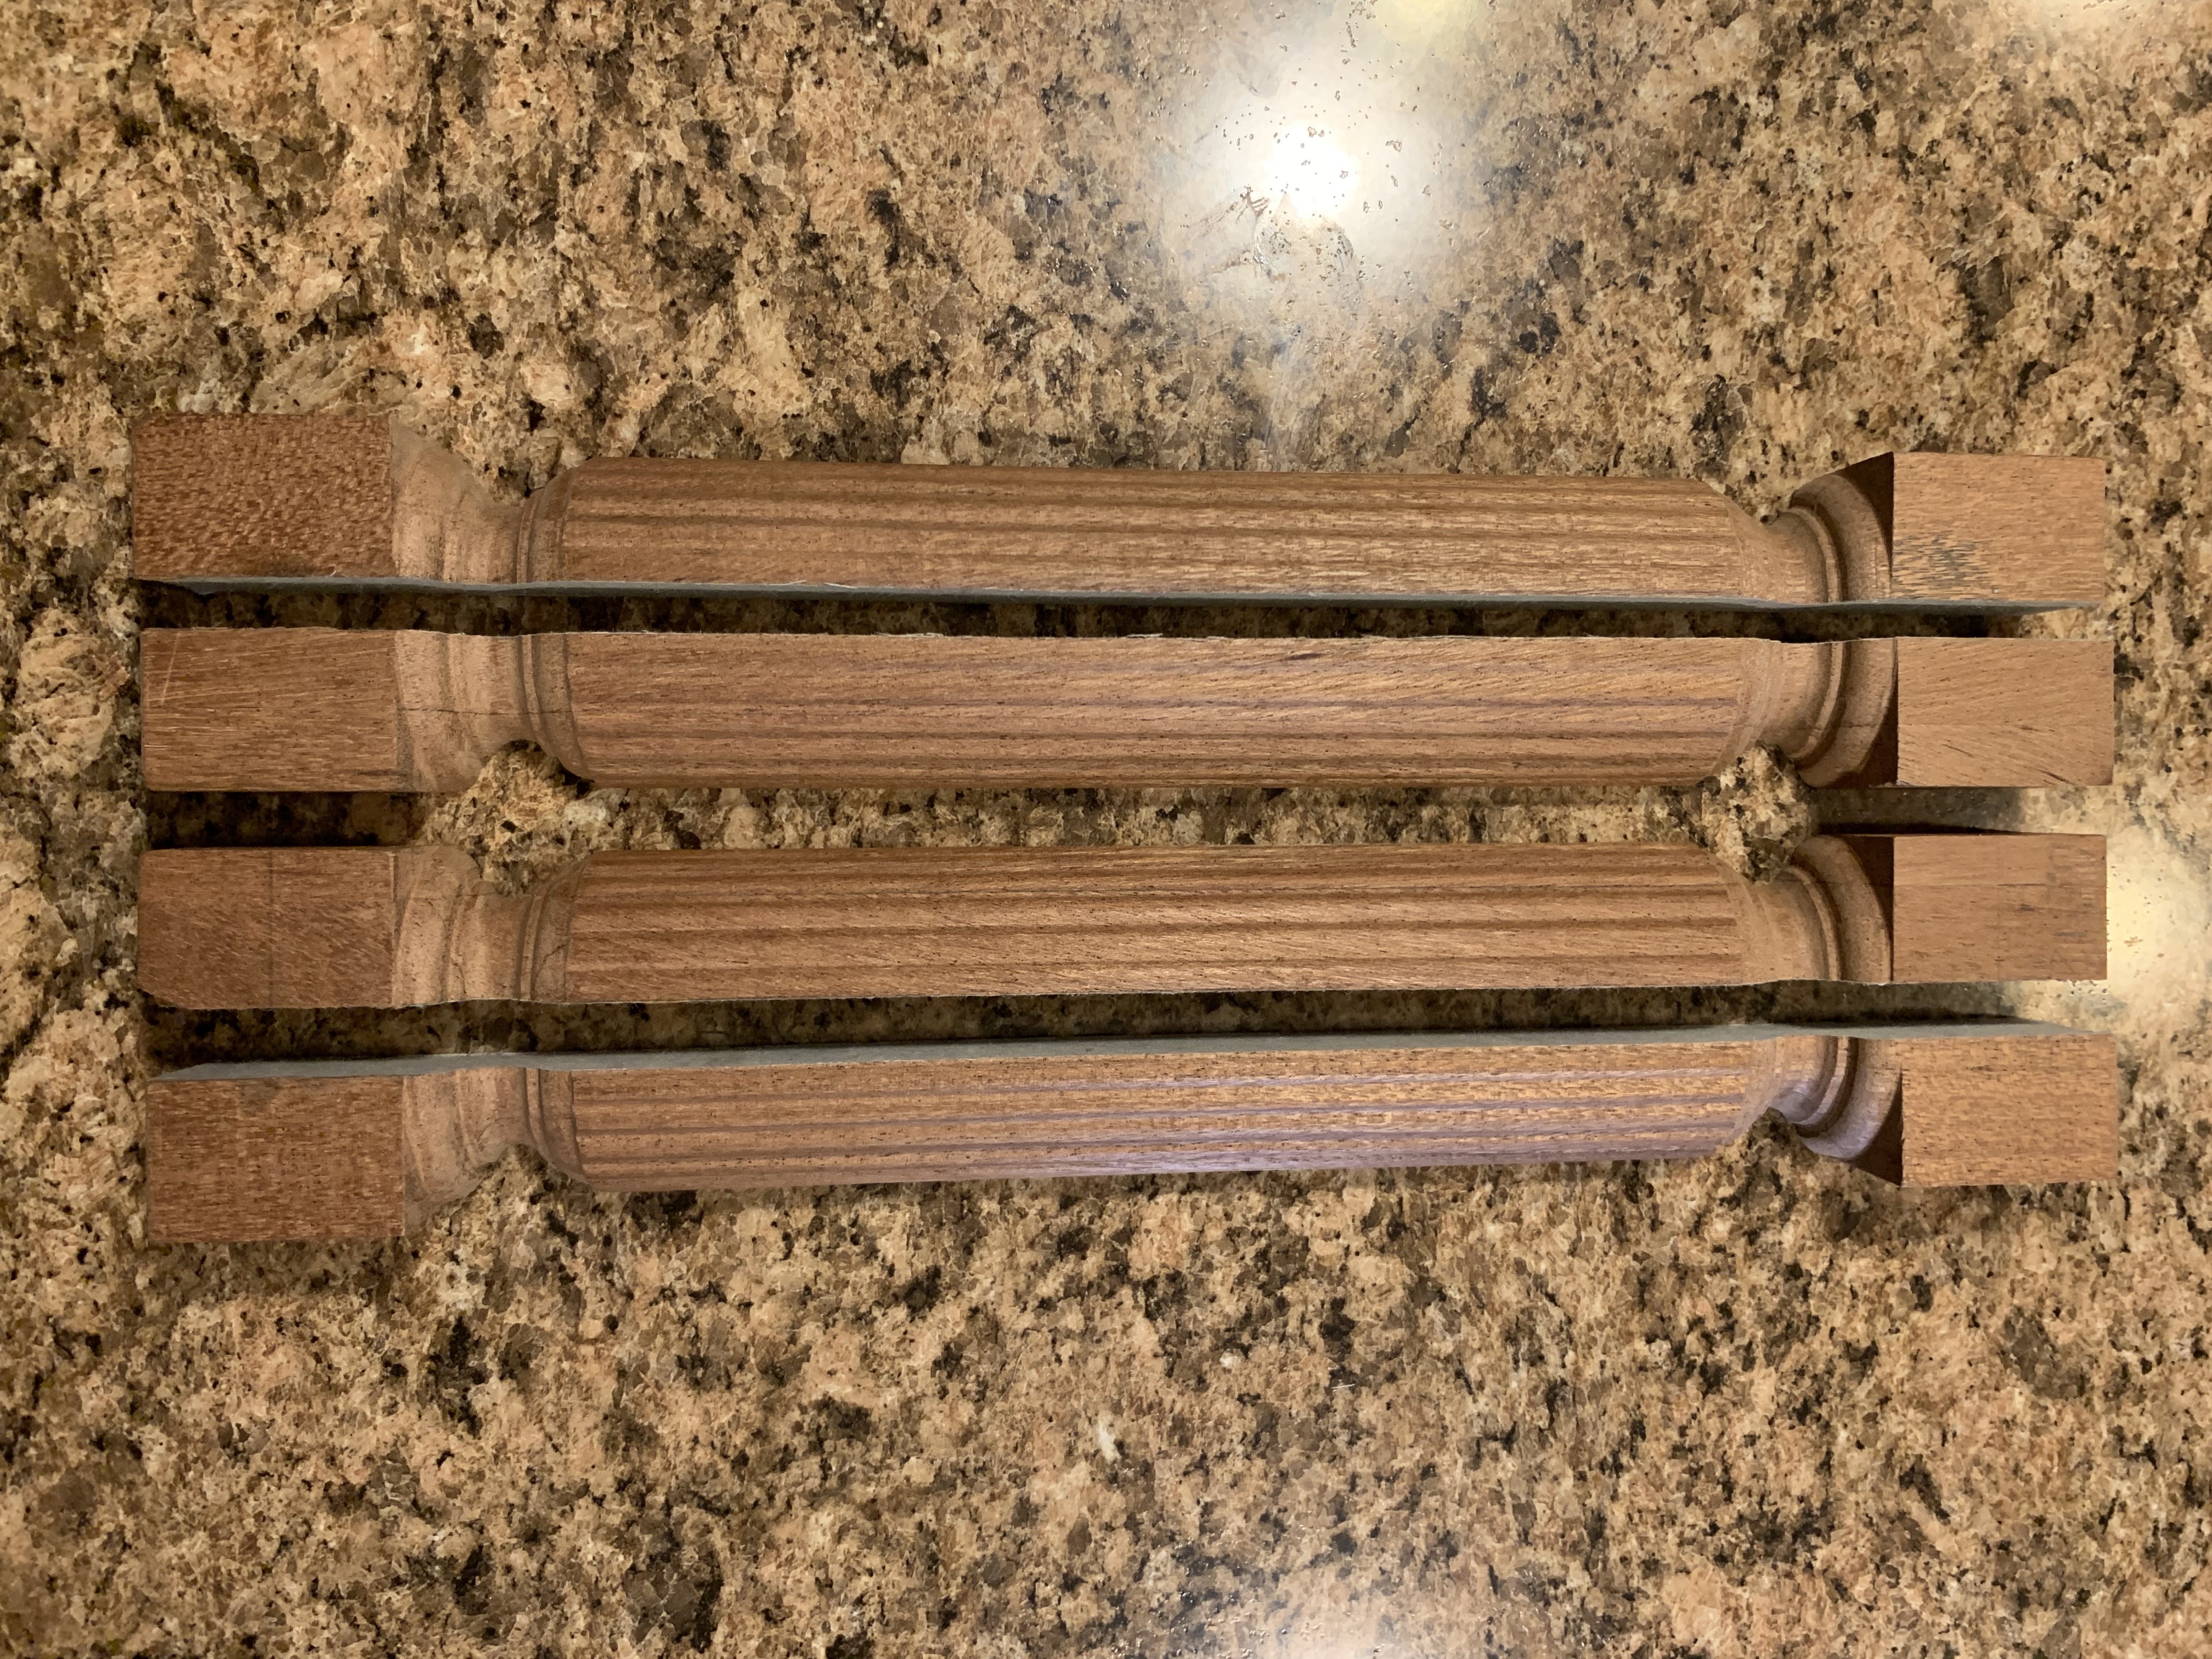
Note: I have also not located another Partner Desk anywhere that uses a Single-piece Reeded Column in the upper part of the legs (as called out for in the drawing). I don’t know why but all the craftsmen who reproduce partner desks use the more common Three-piece Fluted Column insert. Perhaps it is easier to produce.
Carvings:
While the CNC did rough out the carving (in some places, just the outline) all carvings were performed my myself (after several practice parts in Pine, then poplar) with a set of 12 homemade gouges (including heat-treating) and ONE purchased (Swiss) Narrow 1/8 35 deg. V-gouge.
Finish:
The finish is comprised of the following: Cherry stain (to add an aged antique look), followed by two coats of (1-lb) blonde shellac (Homemade from De-Waxed flakes and Denatured Alcohol), followed by 3 coats of (2-lb) blonde + Med-Brown dyed shellac (to add color and depth into the finish), followed by two coats of a clear grain sealer (top), and lastly followed by eight coats of furniture grade lacquer. Each coat was followed with a sanding of 320 grit between layers. Finally, after an 800 grit and then a 2000 grit sanding, a thick coat of Johnson’s Paste Wax was used to provide some protection and med-shine to the desk.
Hardware:
Only period correct steel, uncoated, flathead, slotted screws were used to assemble the desk No modern fasteners were used. Solid brass Handles and Mortise Drawer Locks are antique (period correct)…and pricy.
Wood: 100% African Mahogany, with Poplar (Drawers), and Baltic drawer (floating) drawer bottoms and dustcovers.
Side note, EVERY square inch of the desk is finished, waxed and polished (yes, even the bottom, inside the drawer compartments, drawers bottoms, etc…everywhere…perhaps a bit of overkill, but I was inspired by some Chinese furniture makers who also follow this timeconsuming but respected work ethic.
PS Yes, the desk has a secret…shhhhh.
In closing, I hope that this heirloom piece of furniture that was literally made with blood sweat and tears, gets passed on for many future generations.
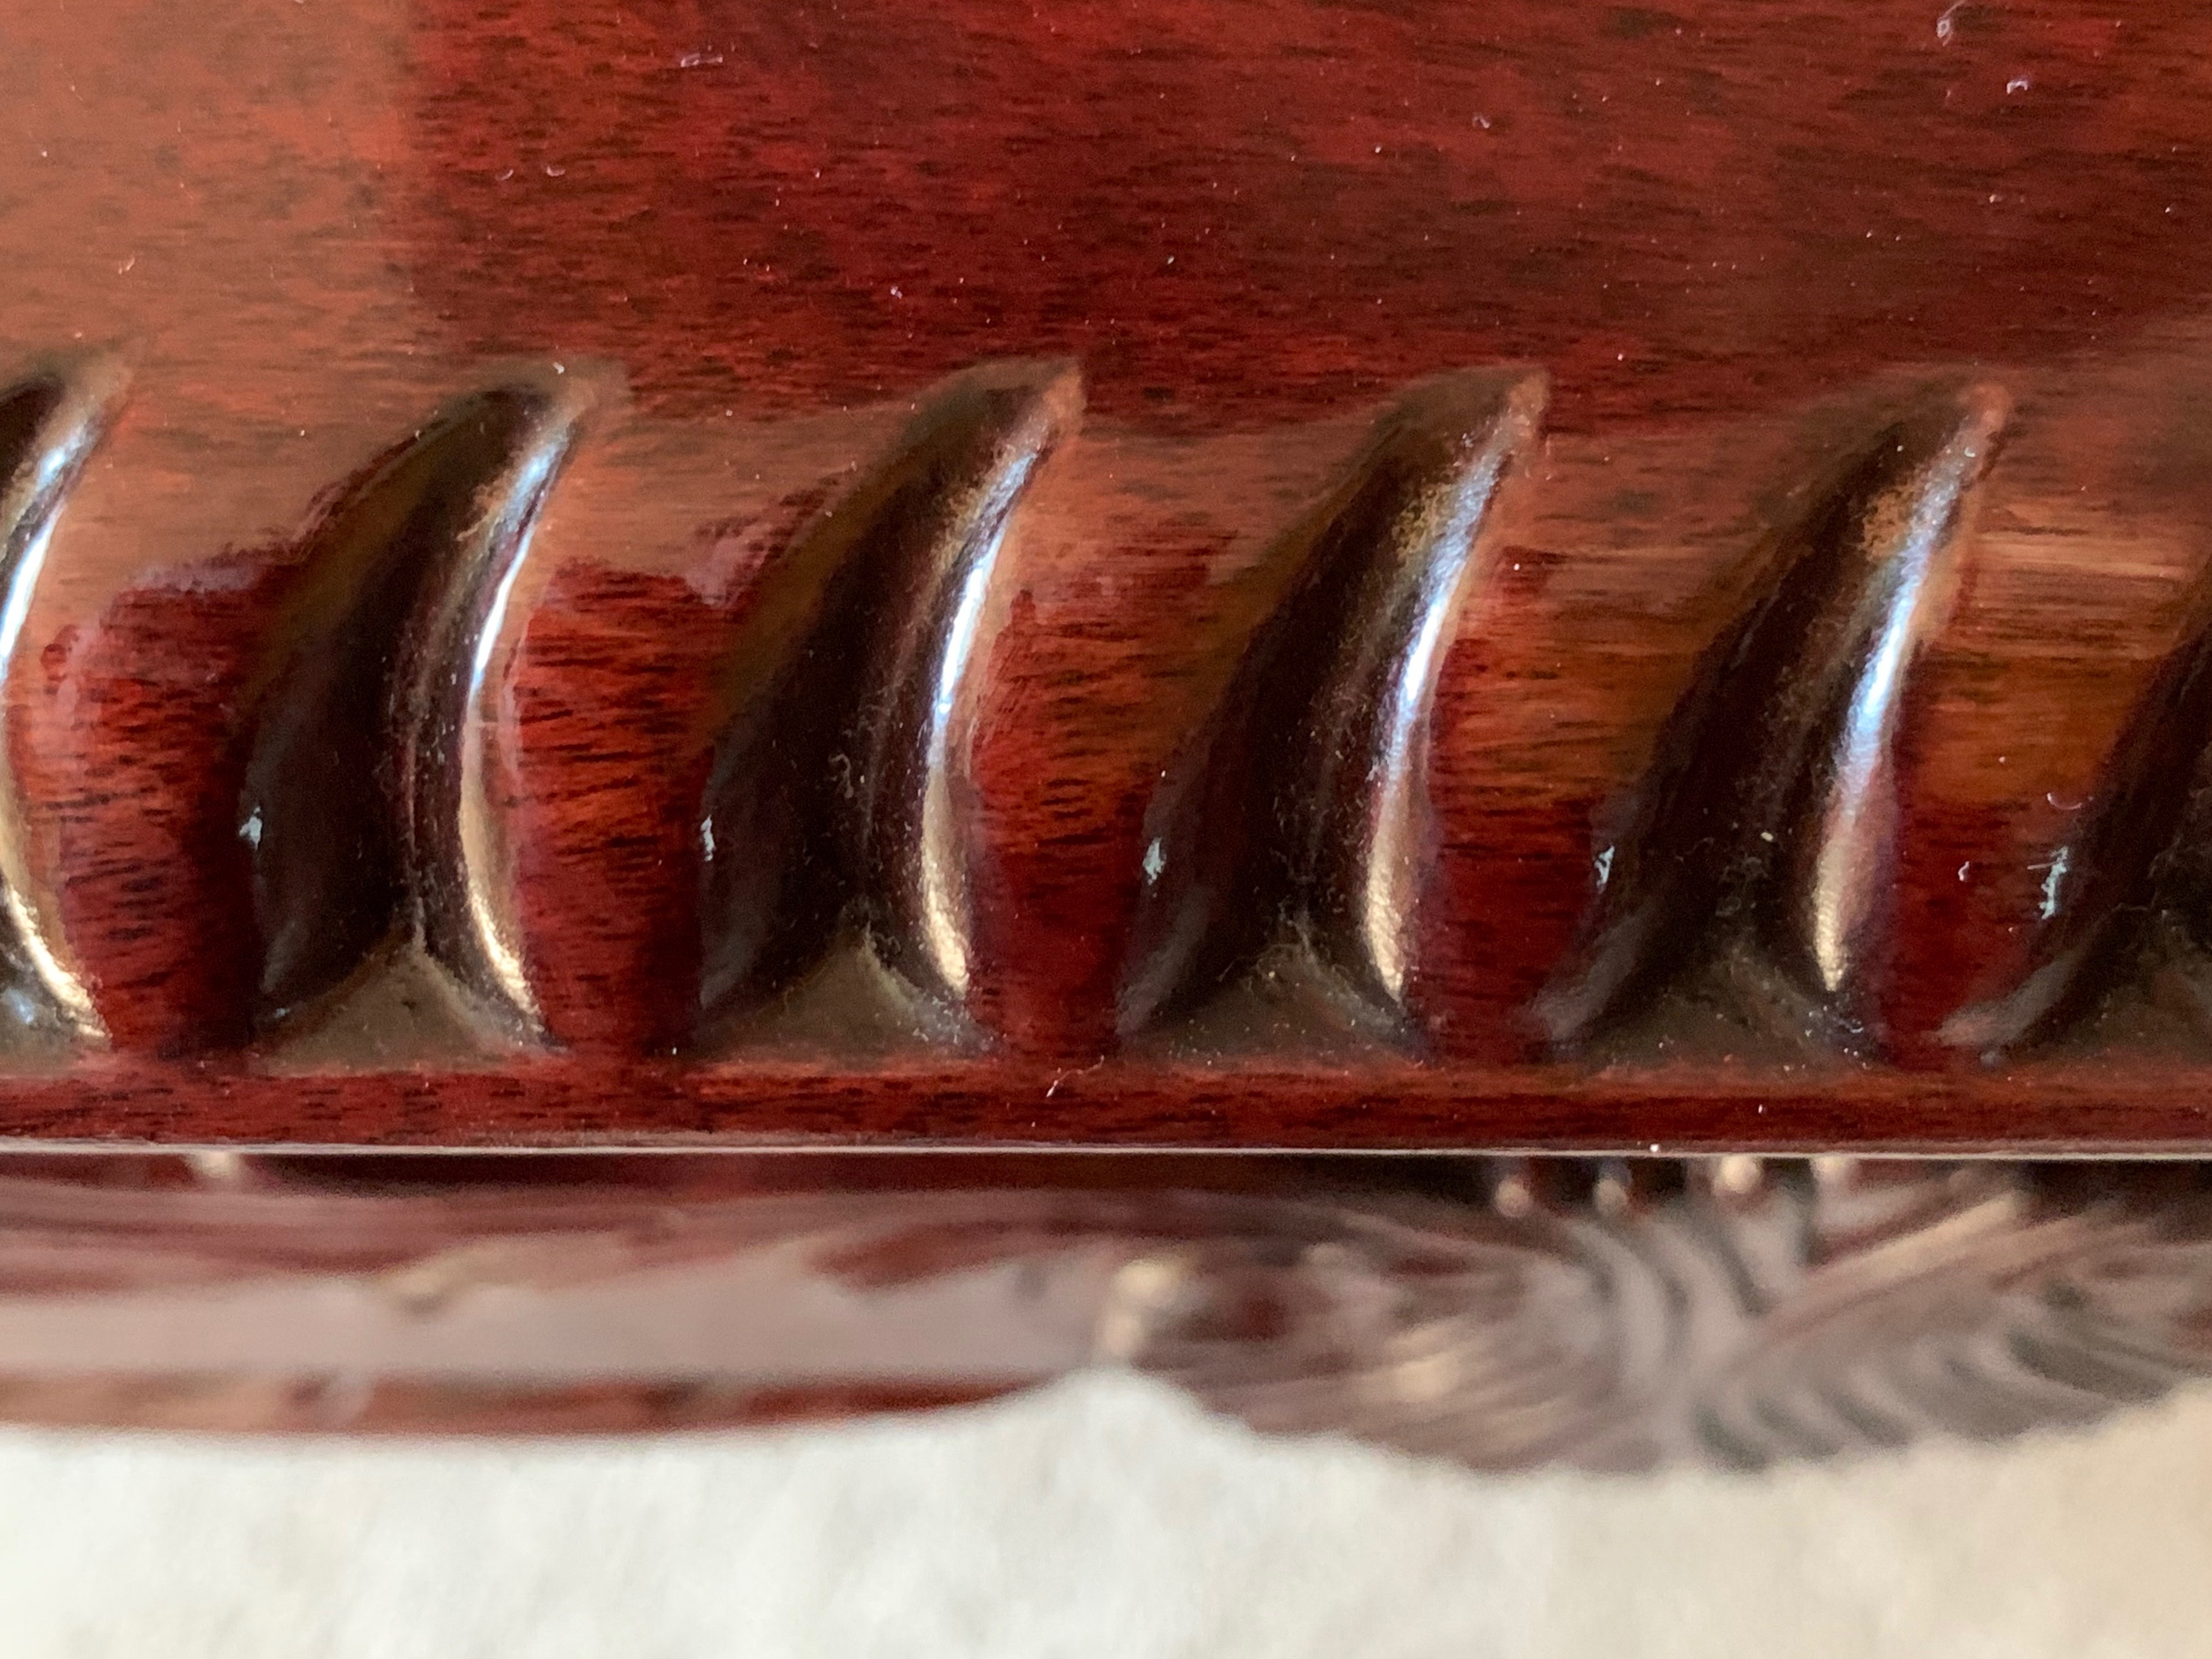
The top has 15 layers of finish and due to its thickness, it looks like glass as seen in this dusty photo of the edge molding:
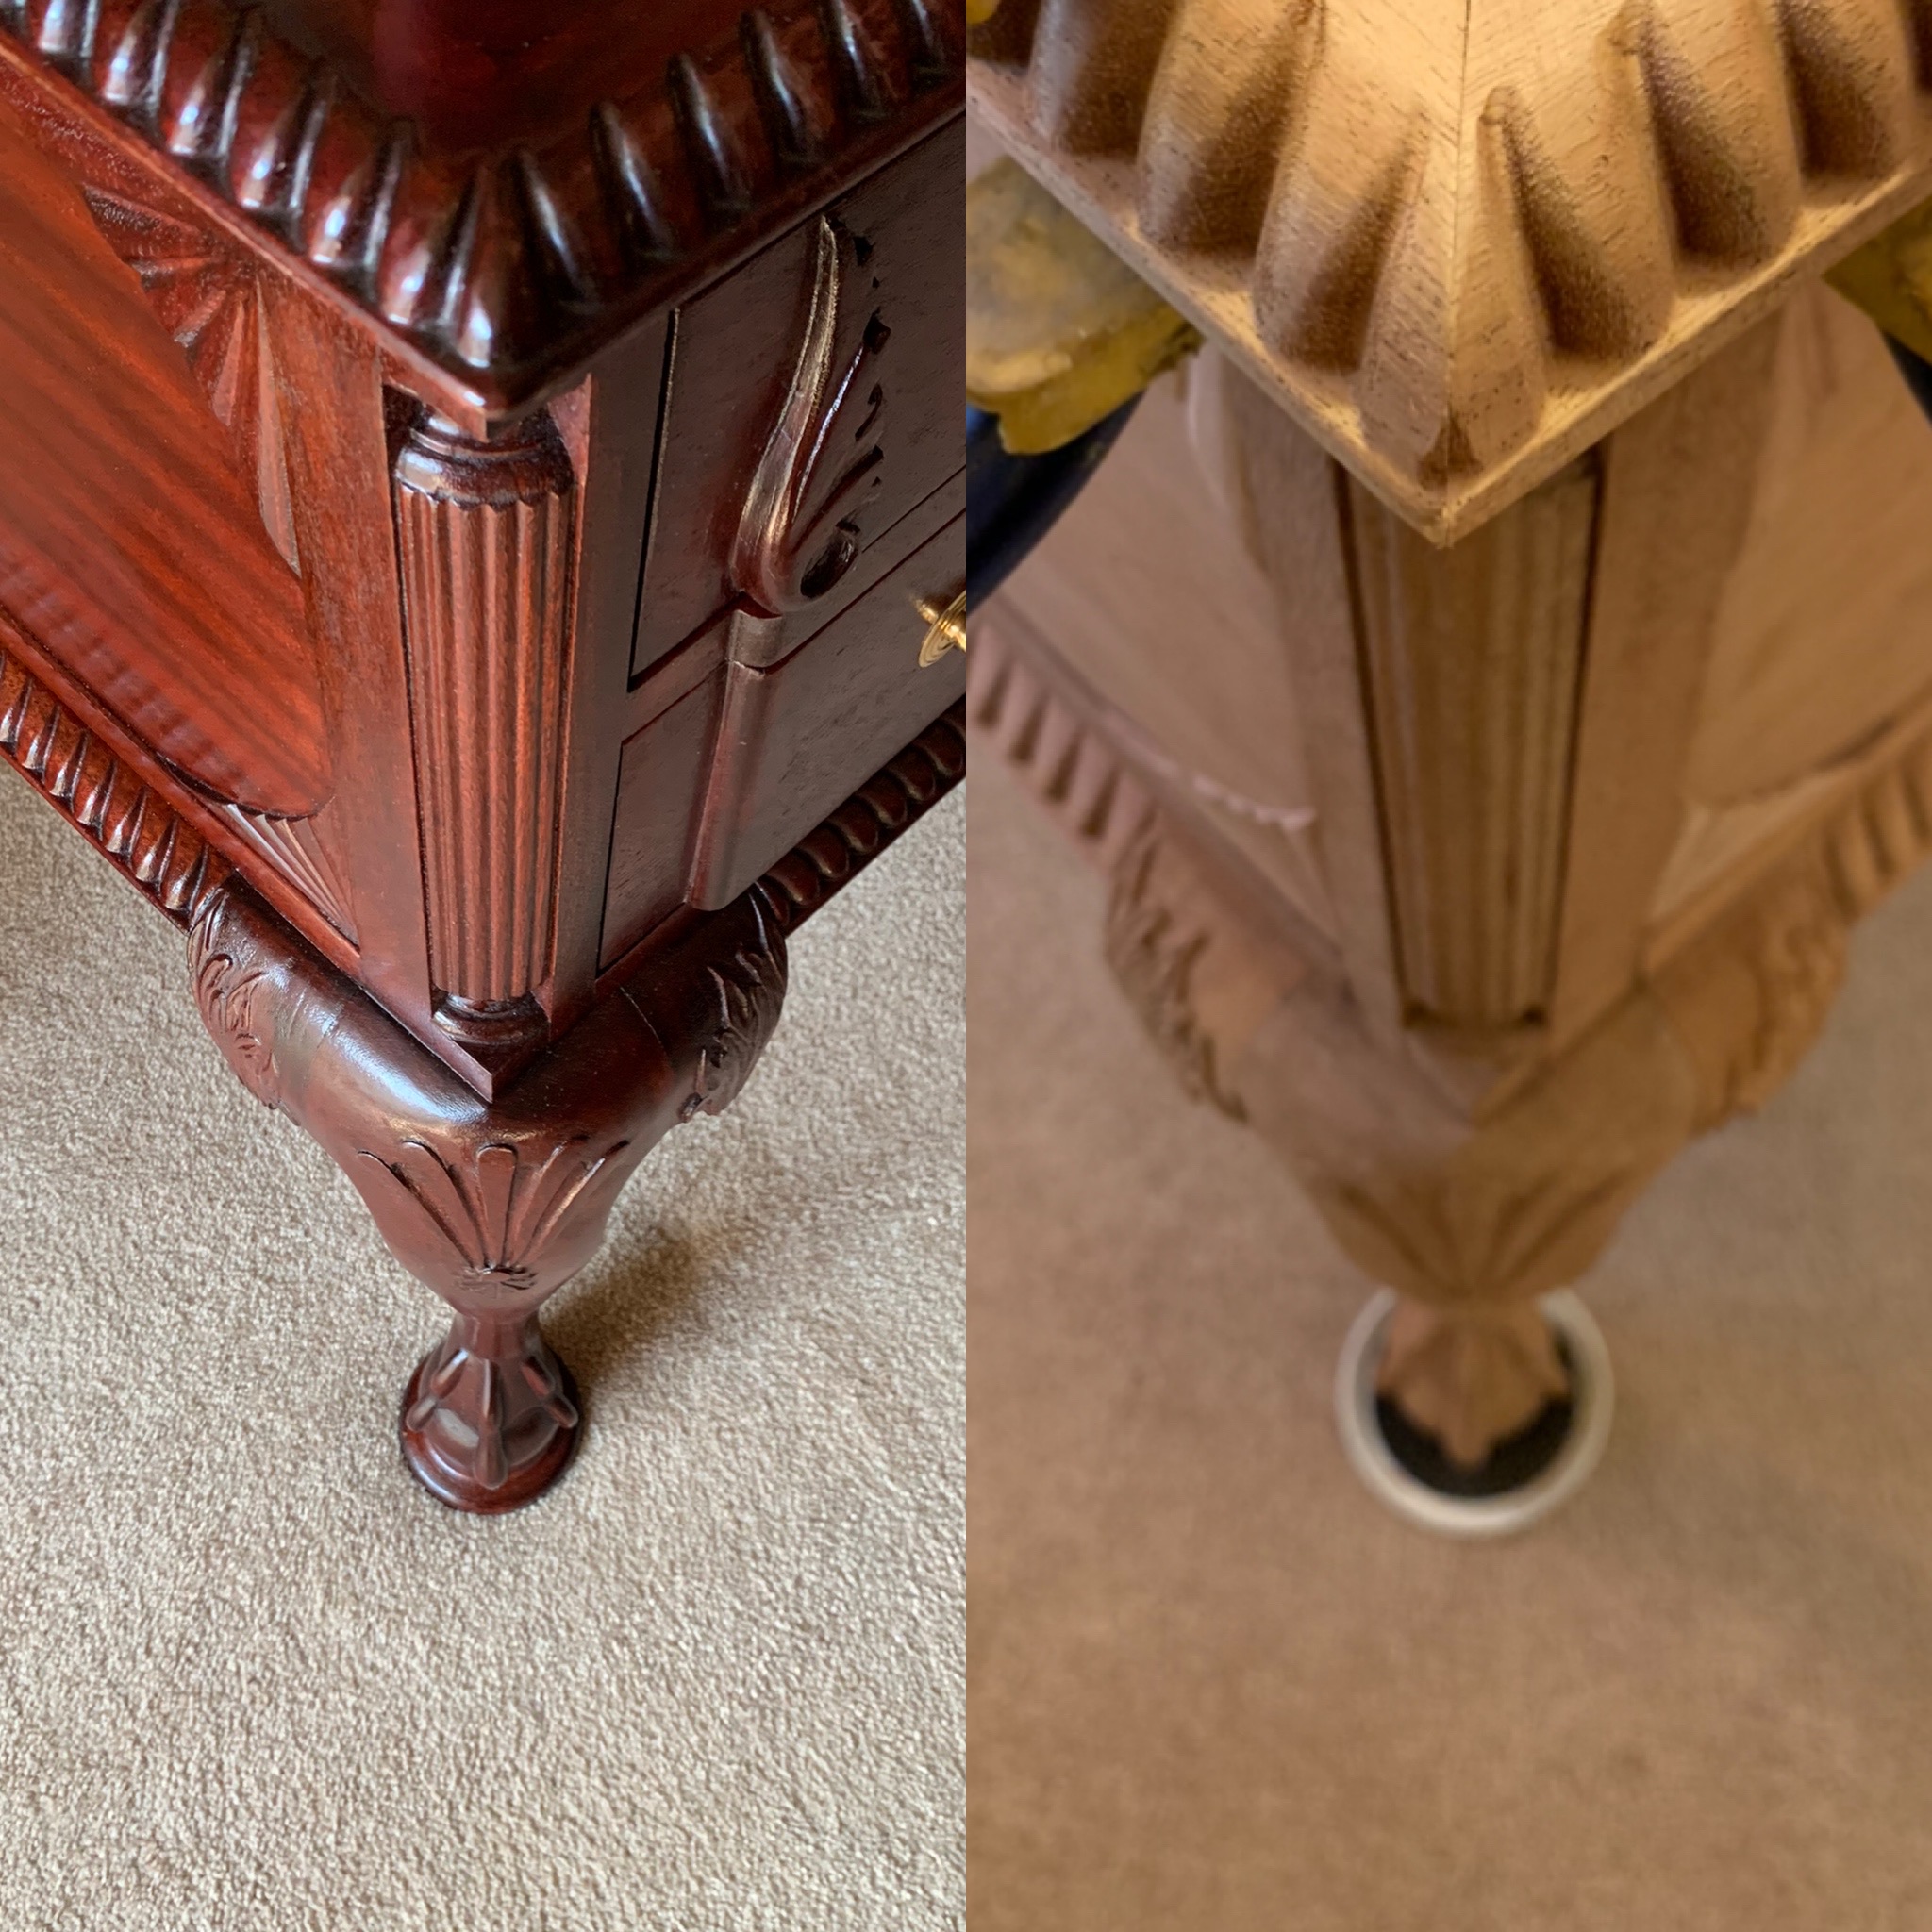
Where there are many photos of the desk that I love, I really like this in-process/completed photo of the corners.
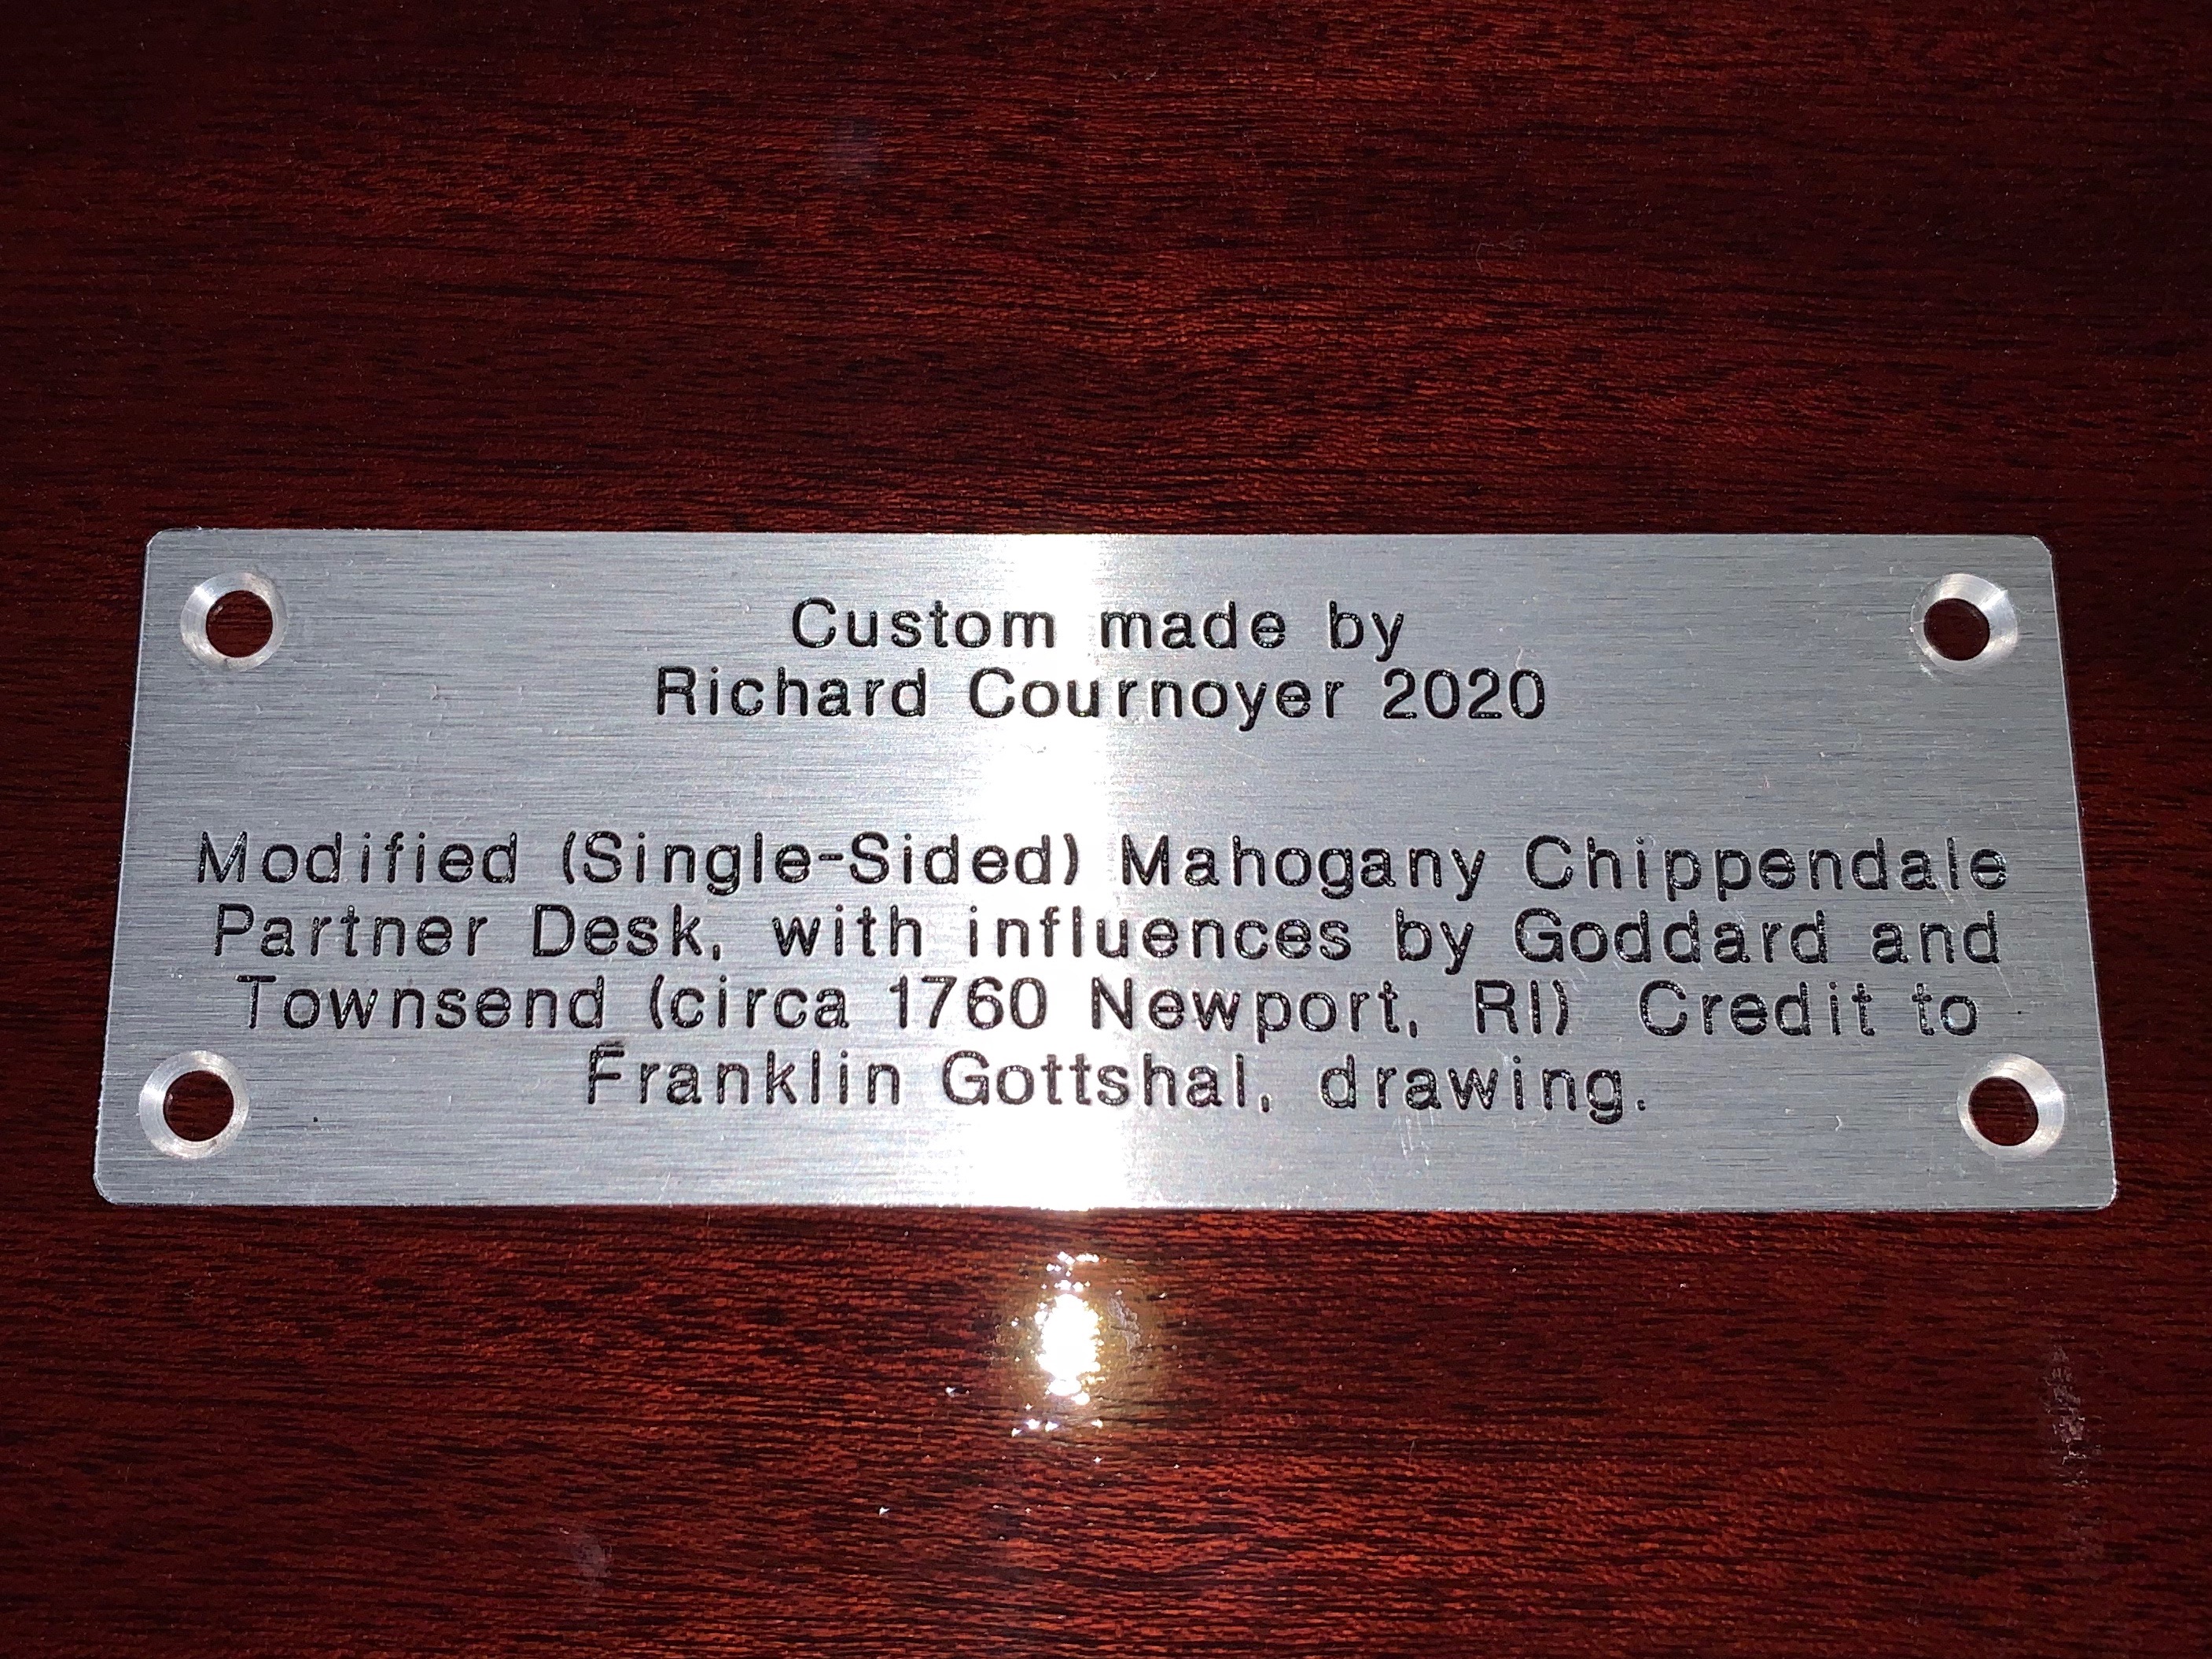
The necessary Made By Plaque:
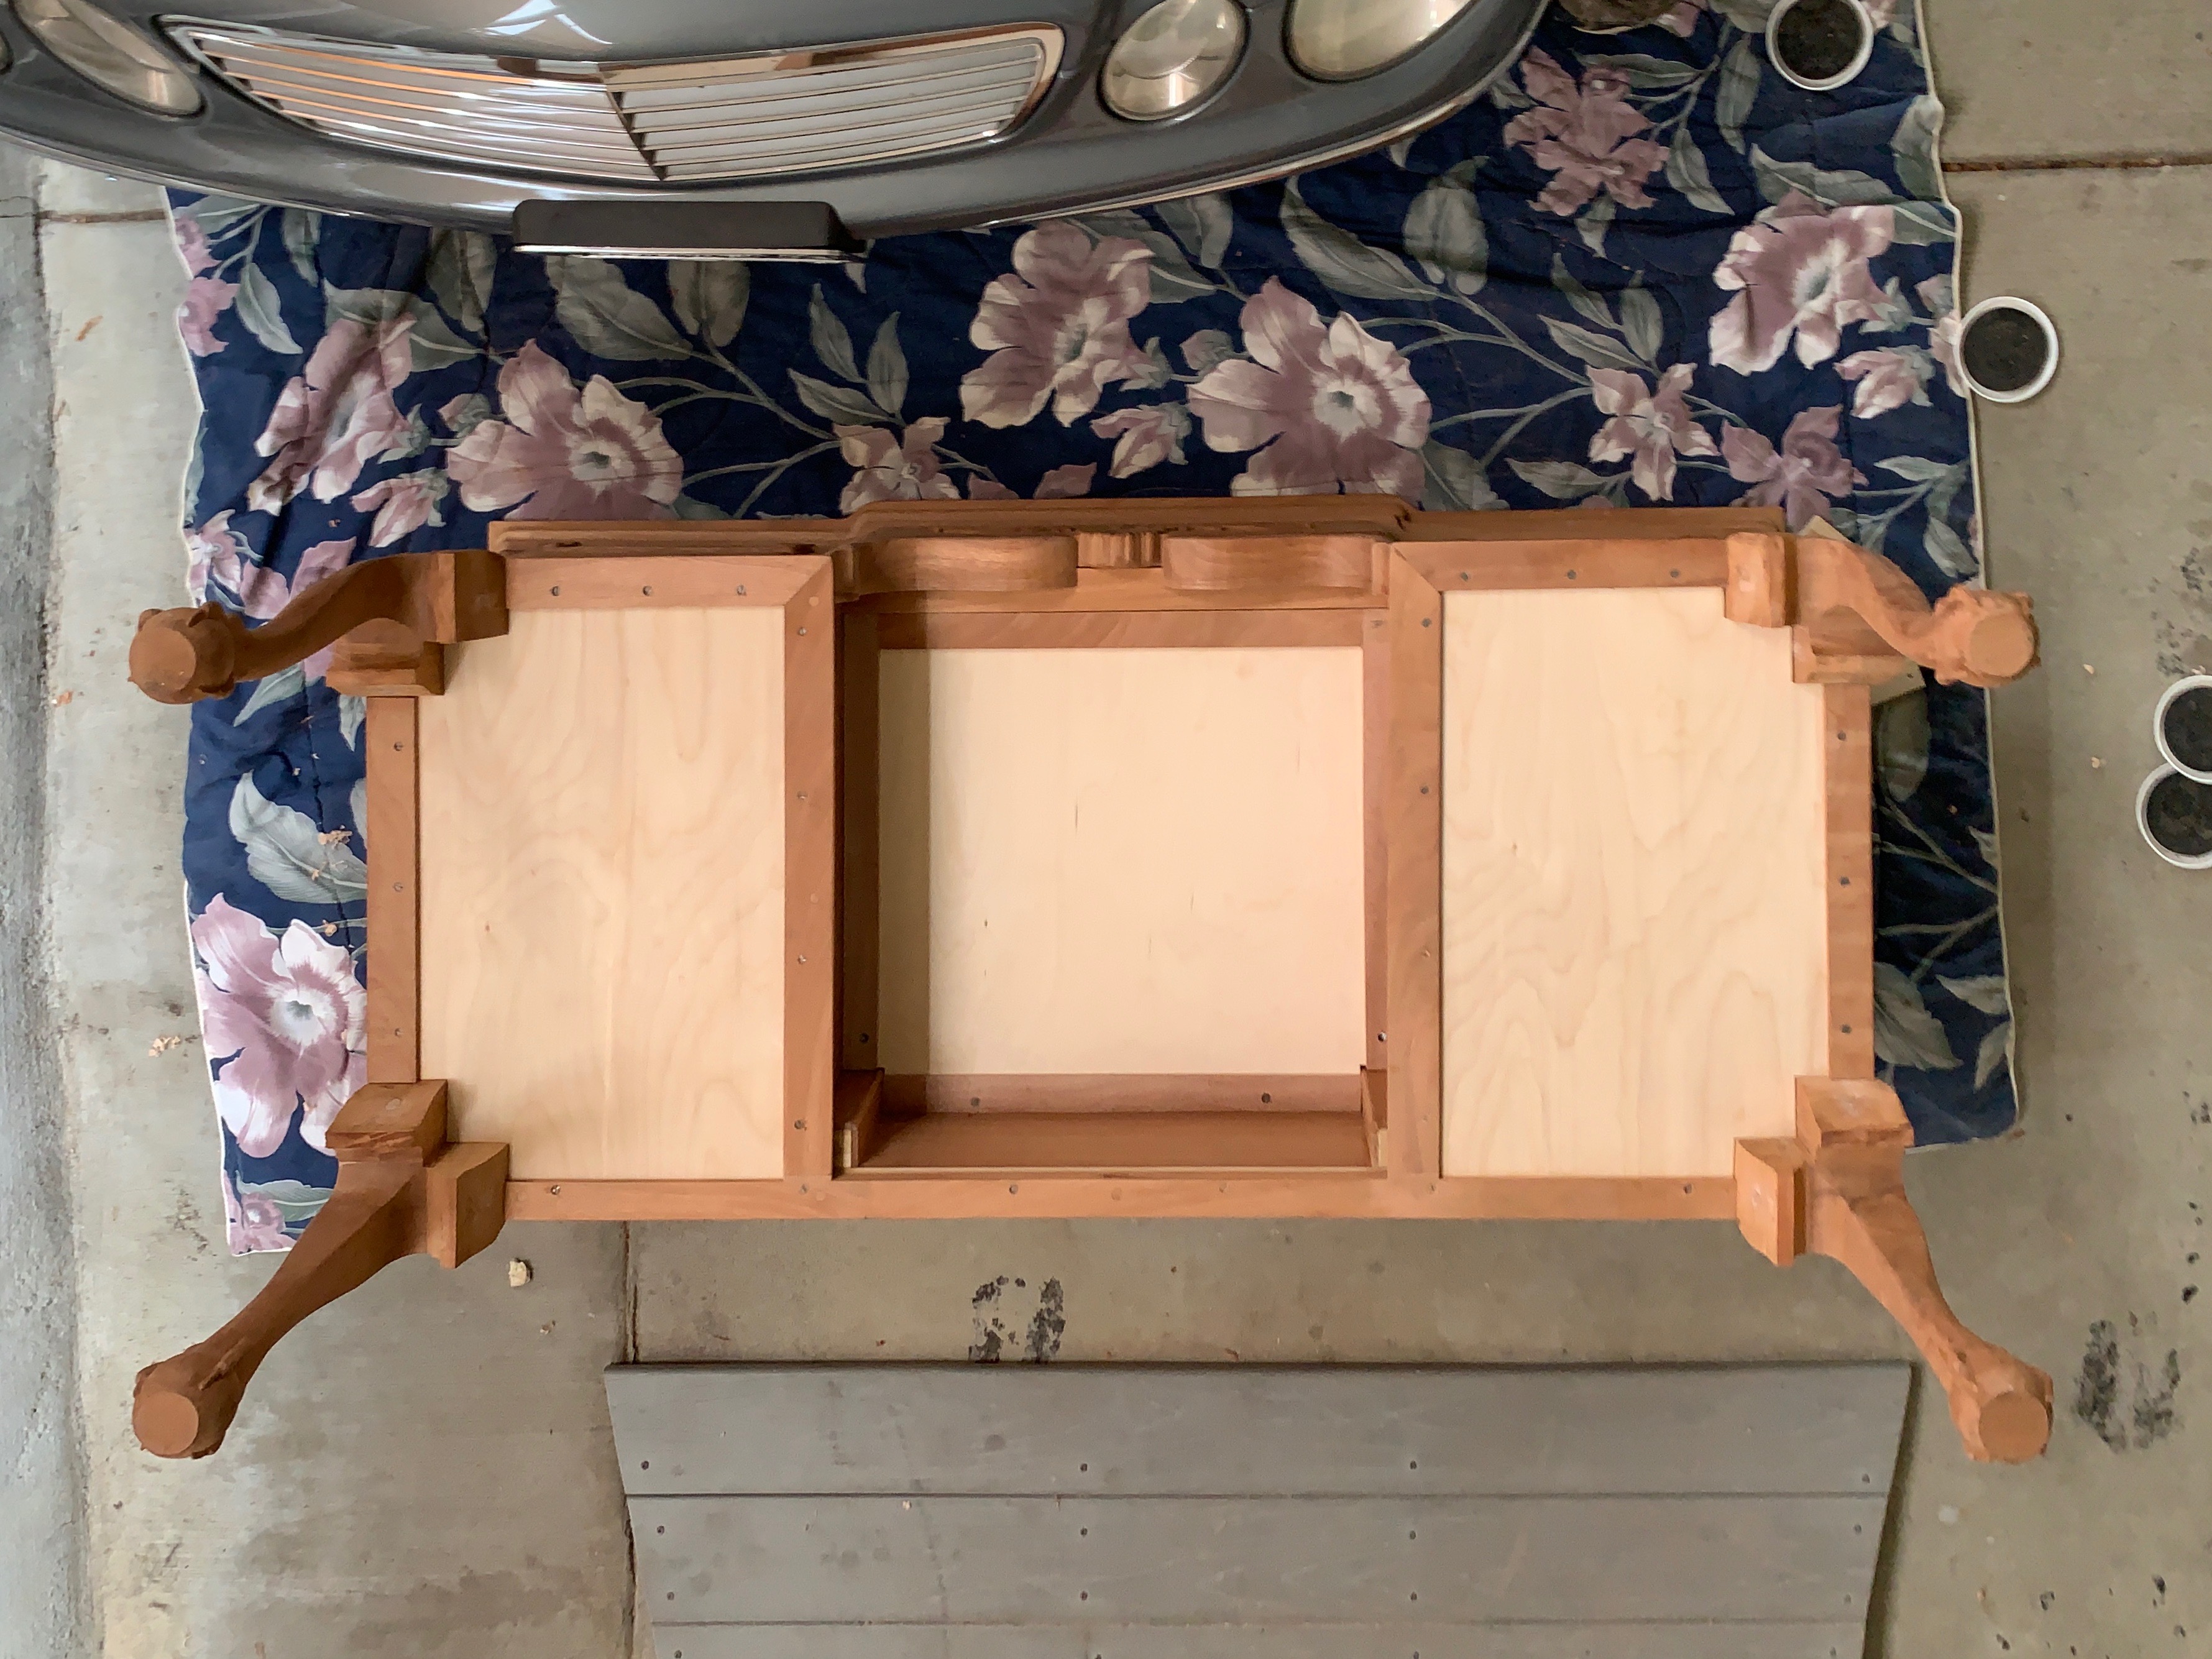
In case you like looking at its bottom:


 )
)