Community challenge #1: bits & collets holder (closed)

Hi folks,

It’s been a while since the last round of community challenges and/or Carbide 3D contests. Case in point: unless I am mistaken the latest winner was @Luke, see where that got him :slight_smile: !

@Jorge asked me to revive this community tradition, and he will be providing great prizes from Carbide 3D store for this series of challenges. We will make this a fortnightly thing, if you guys are game.

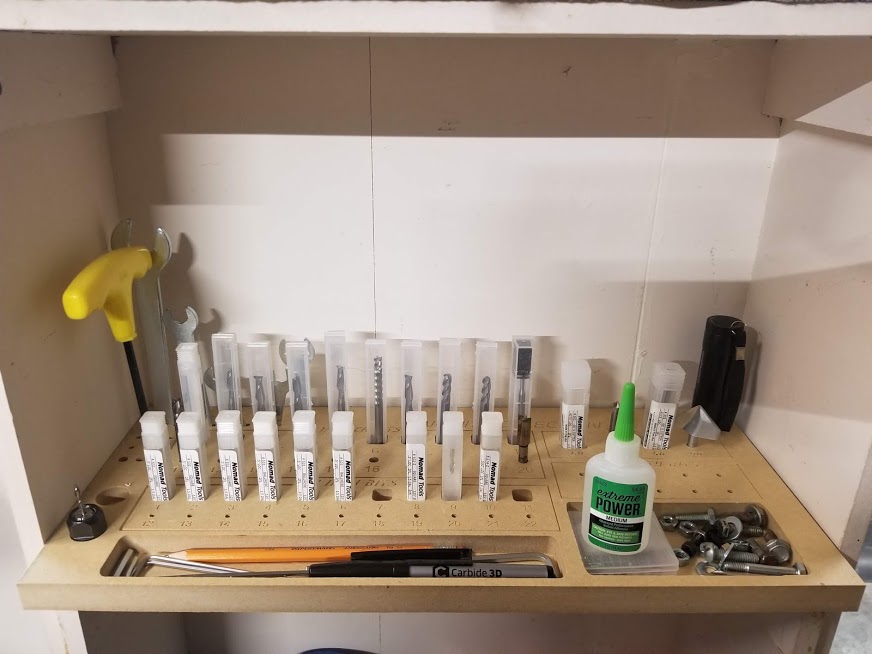
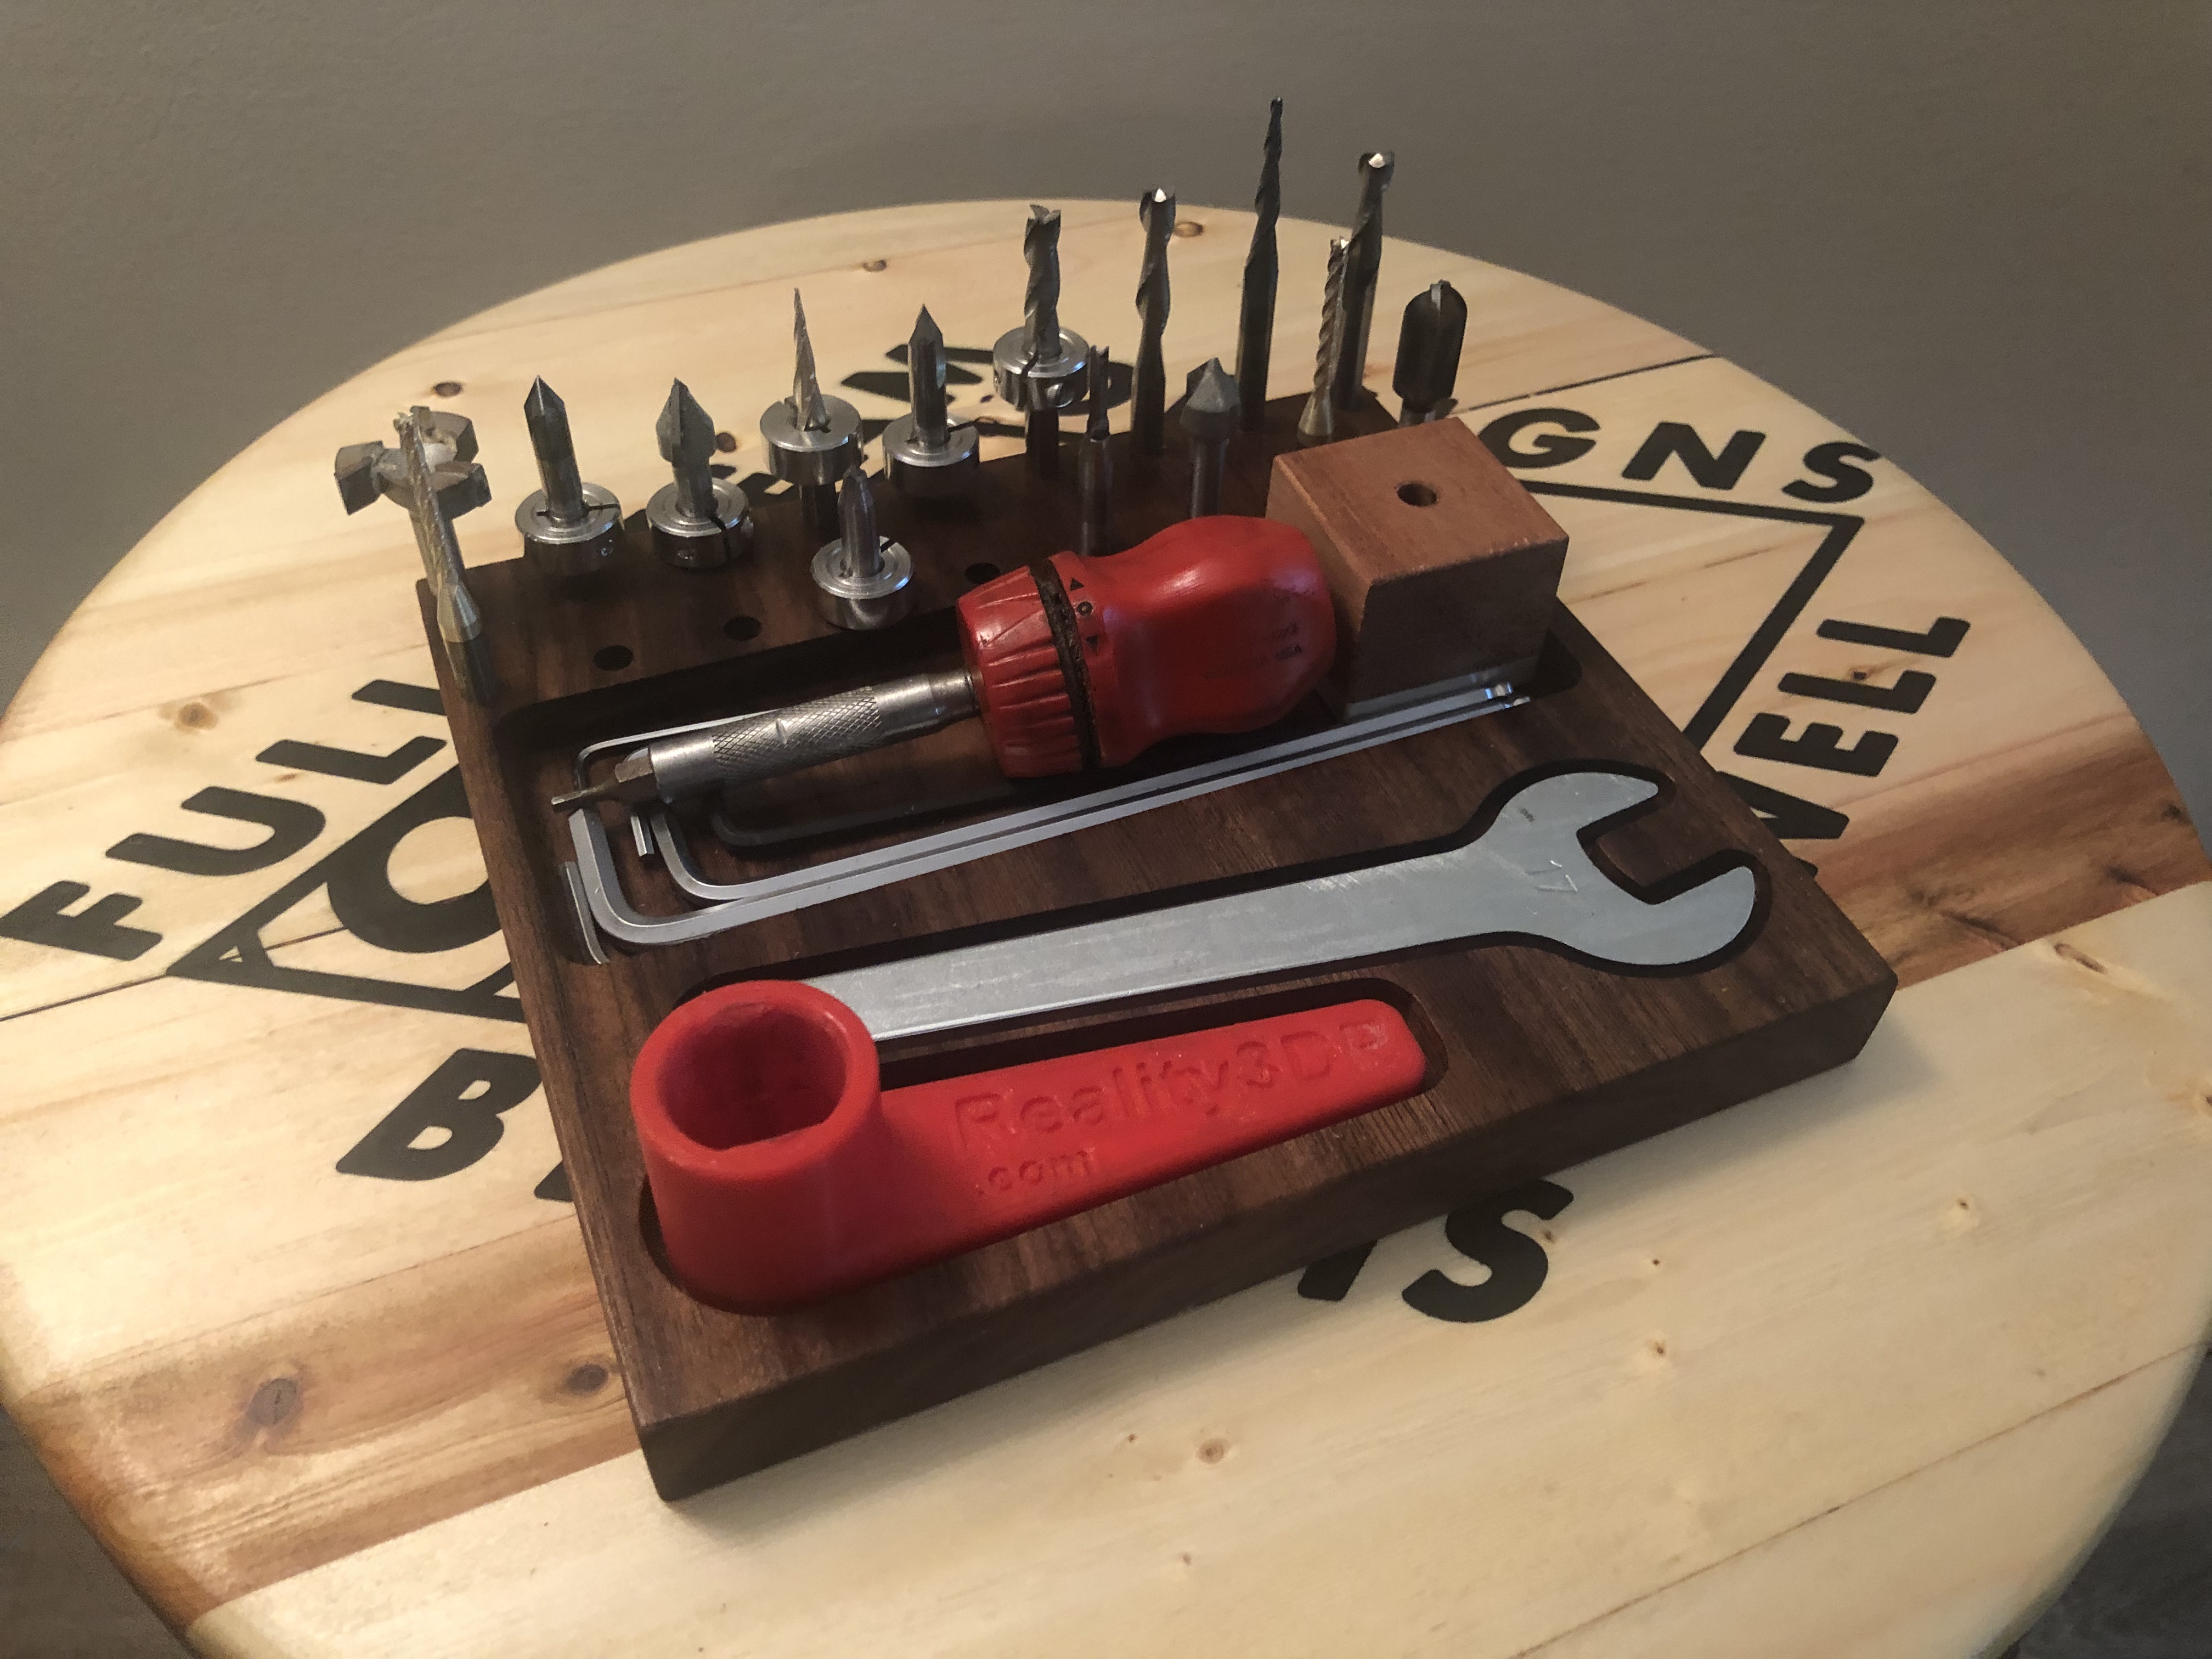
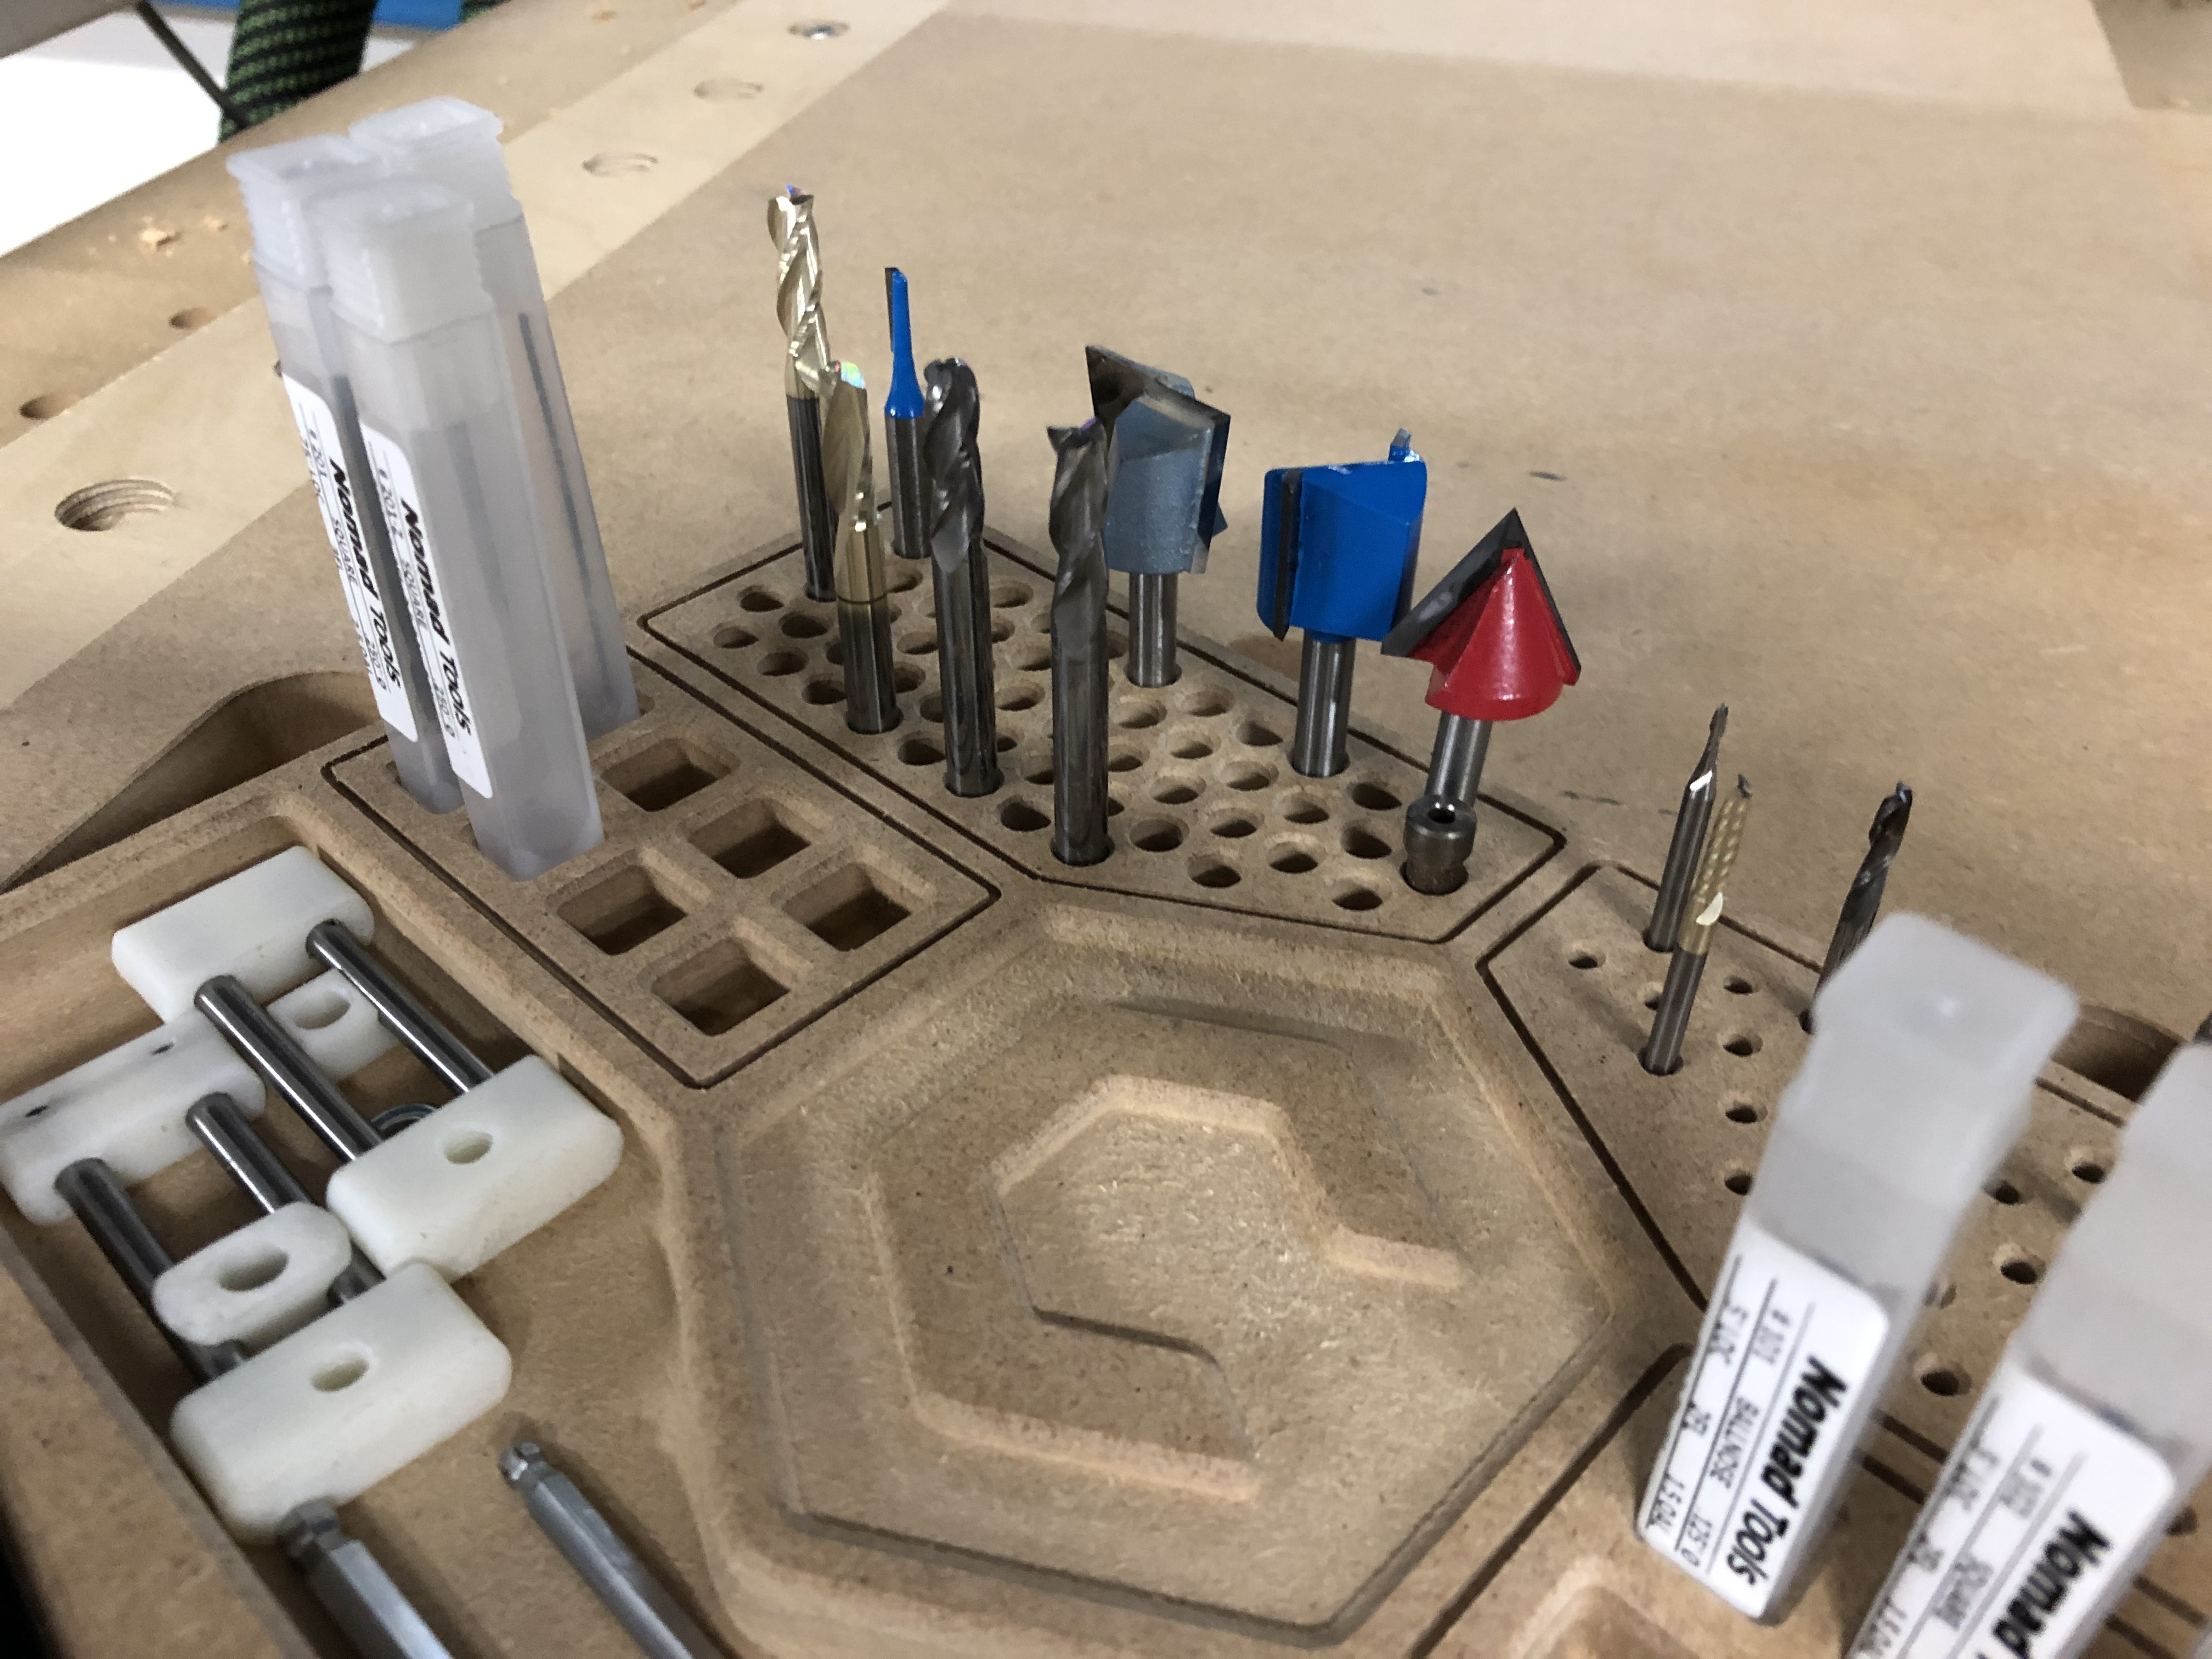
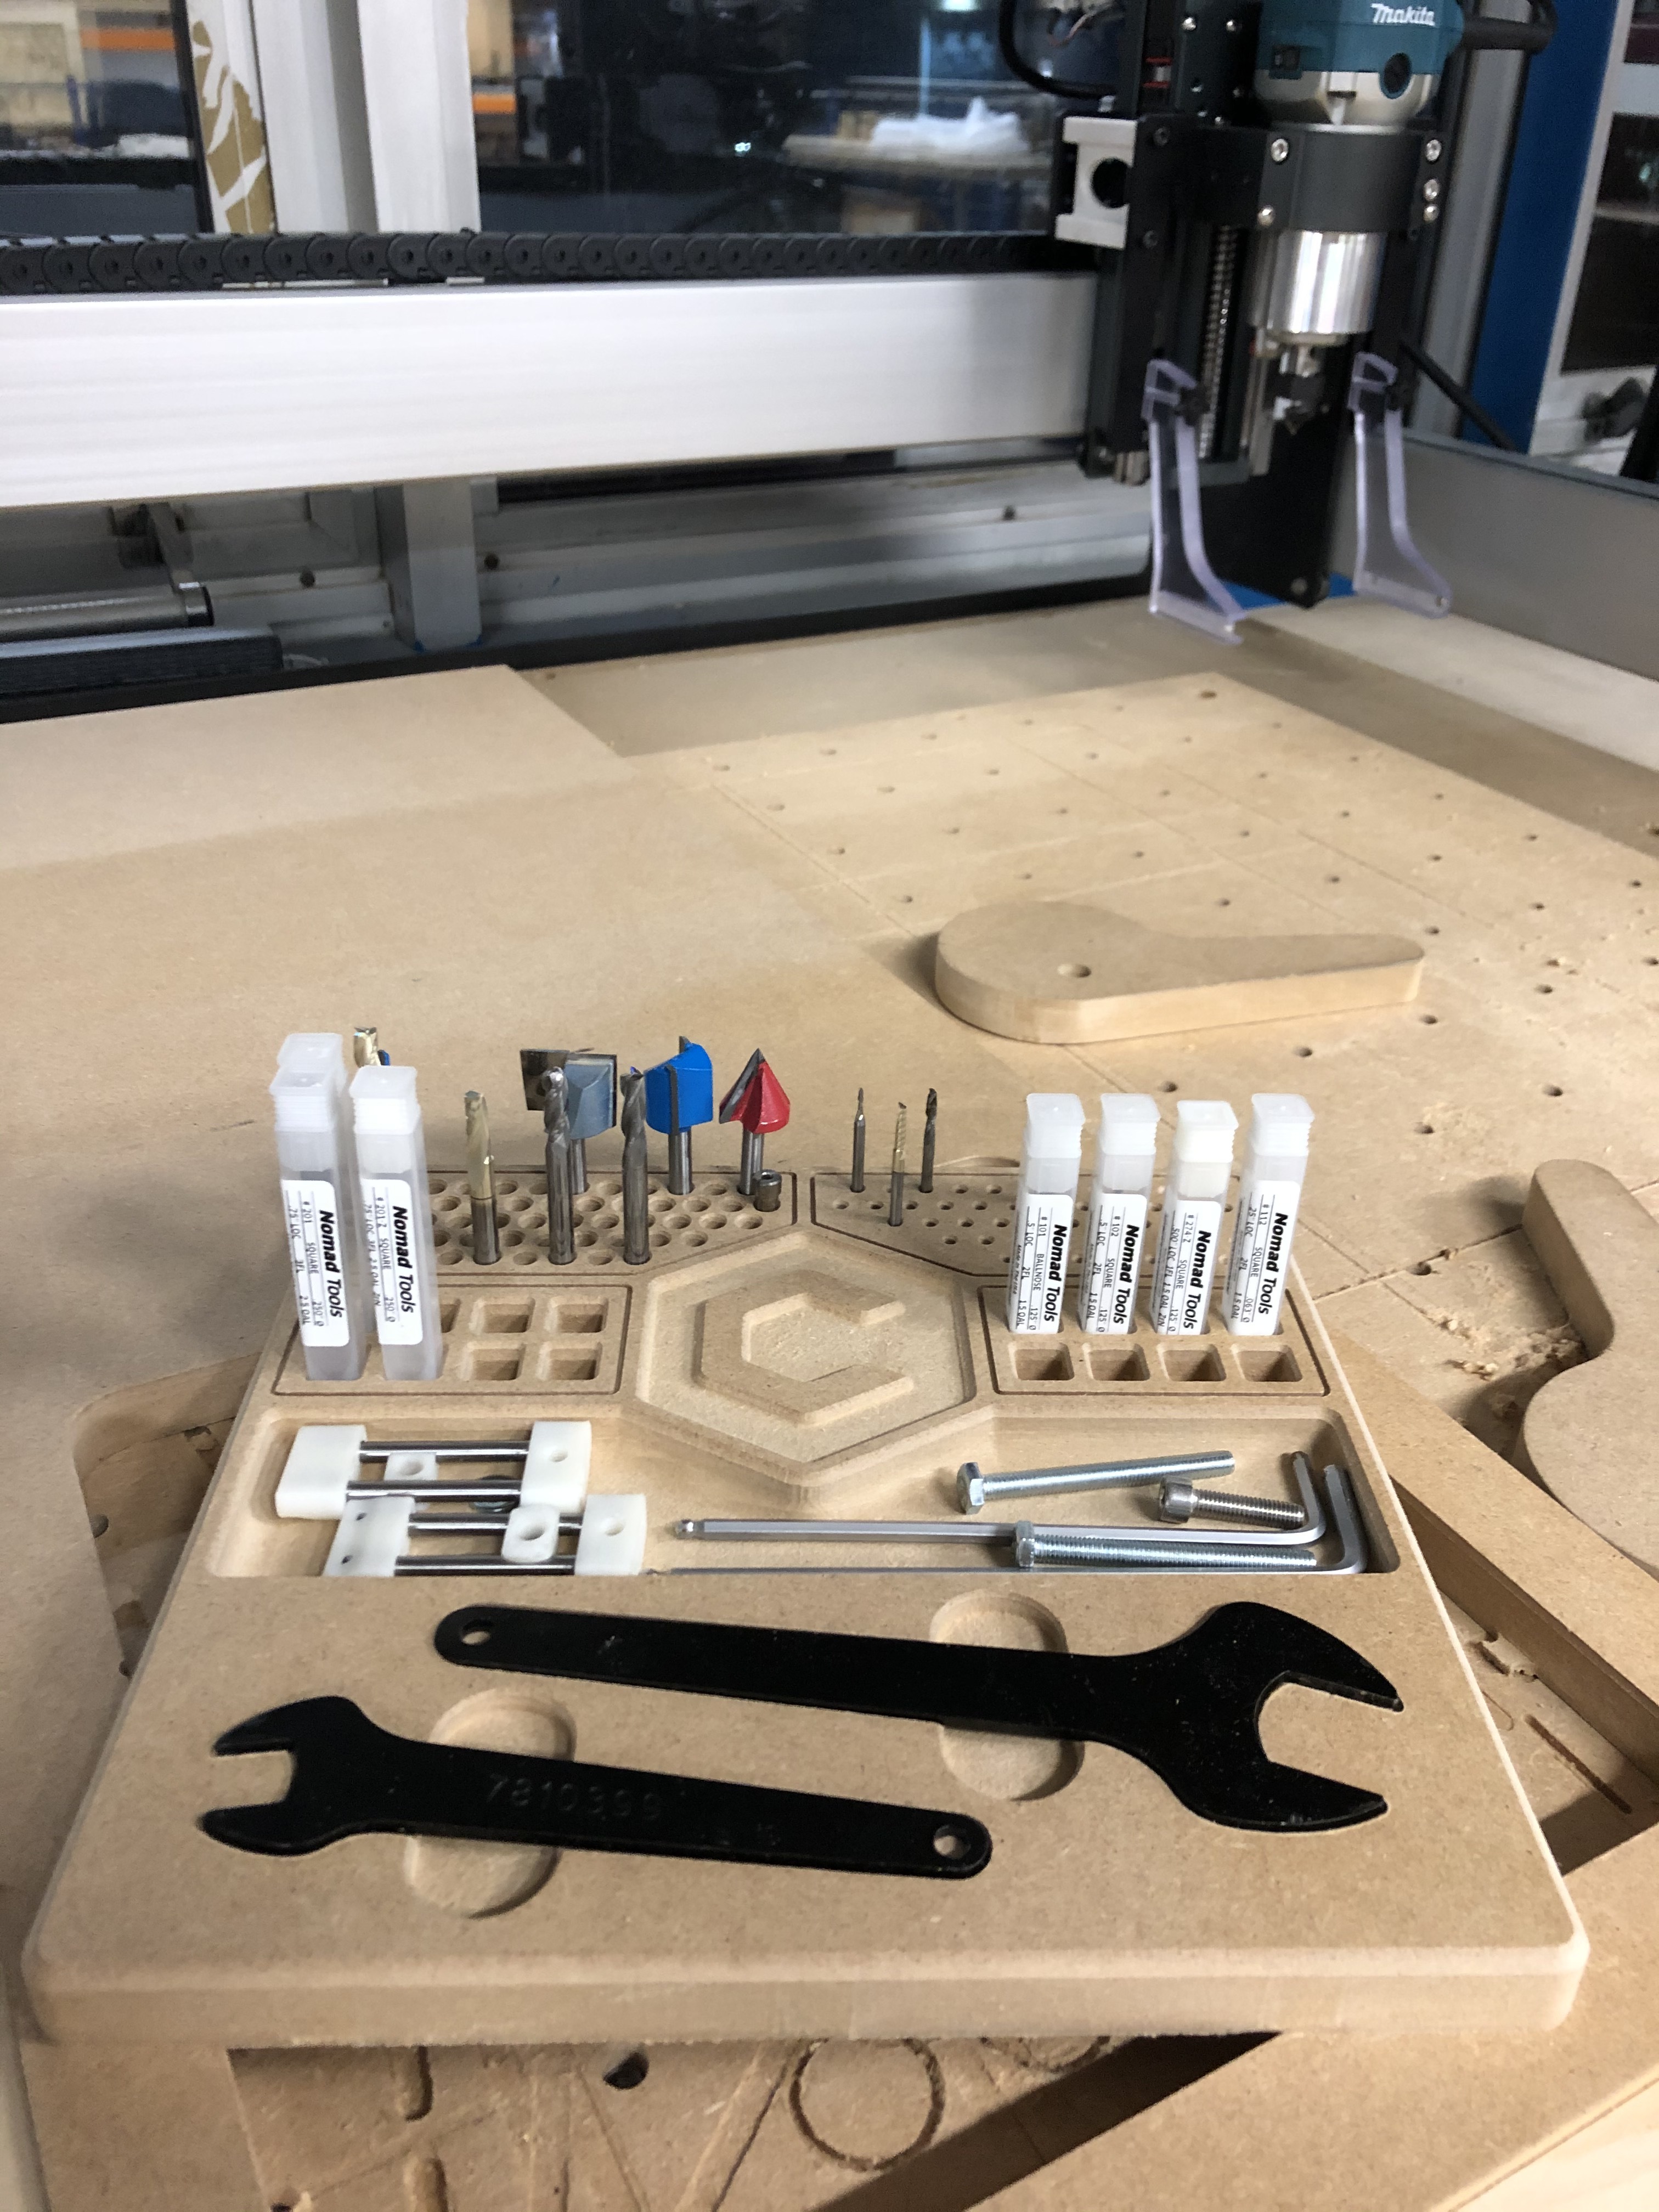
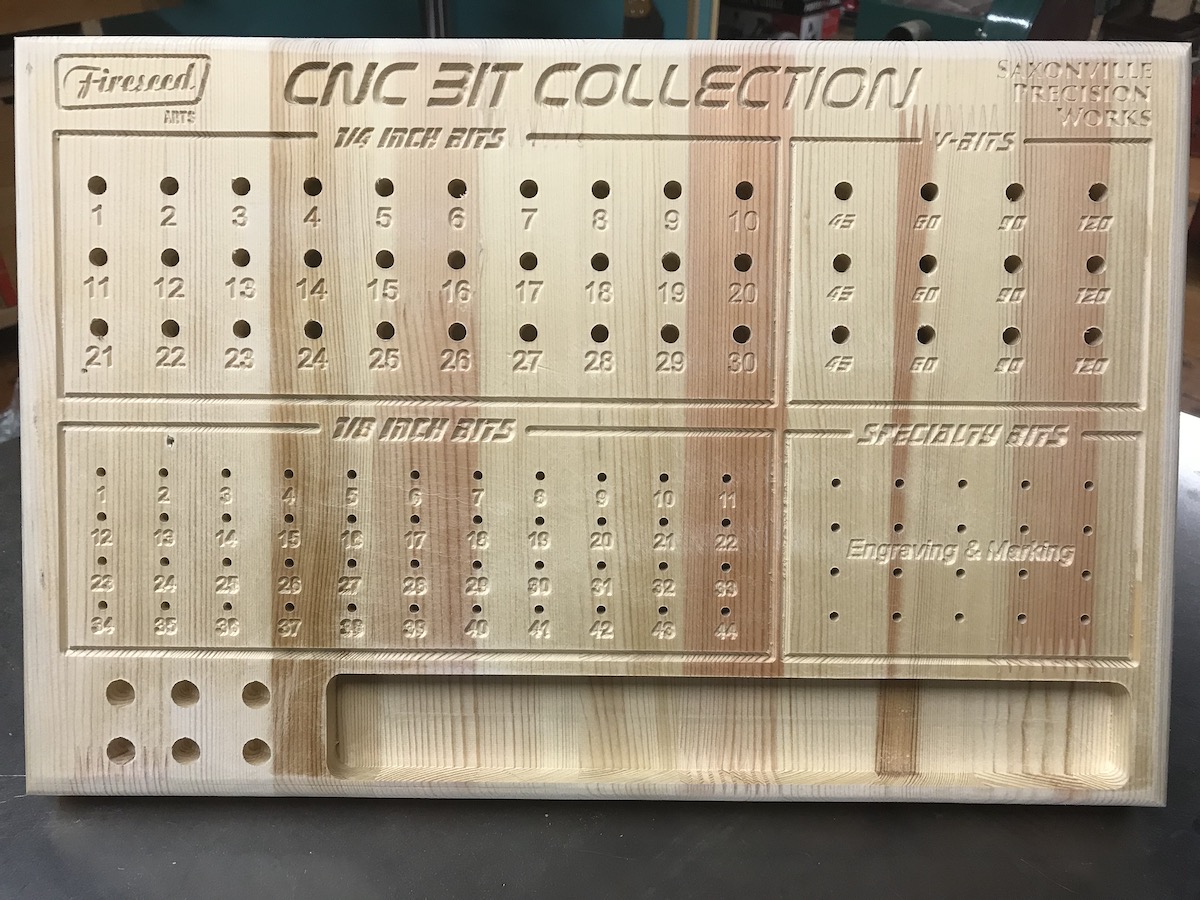
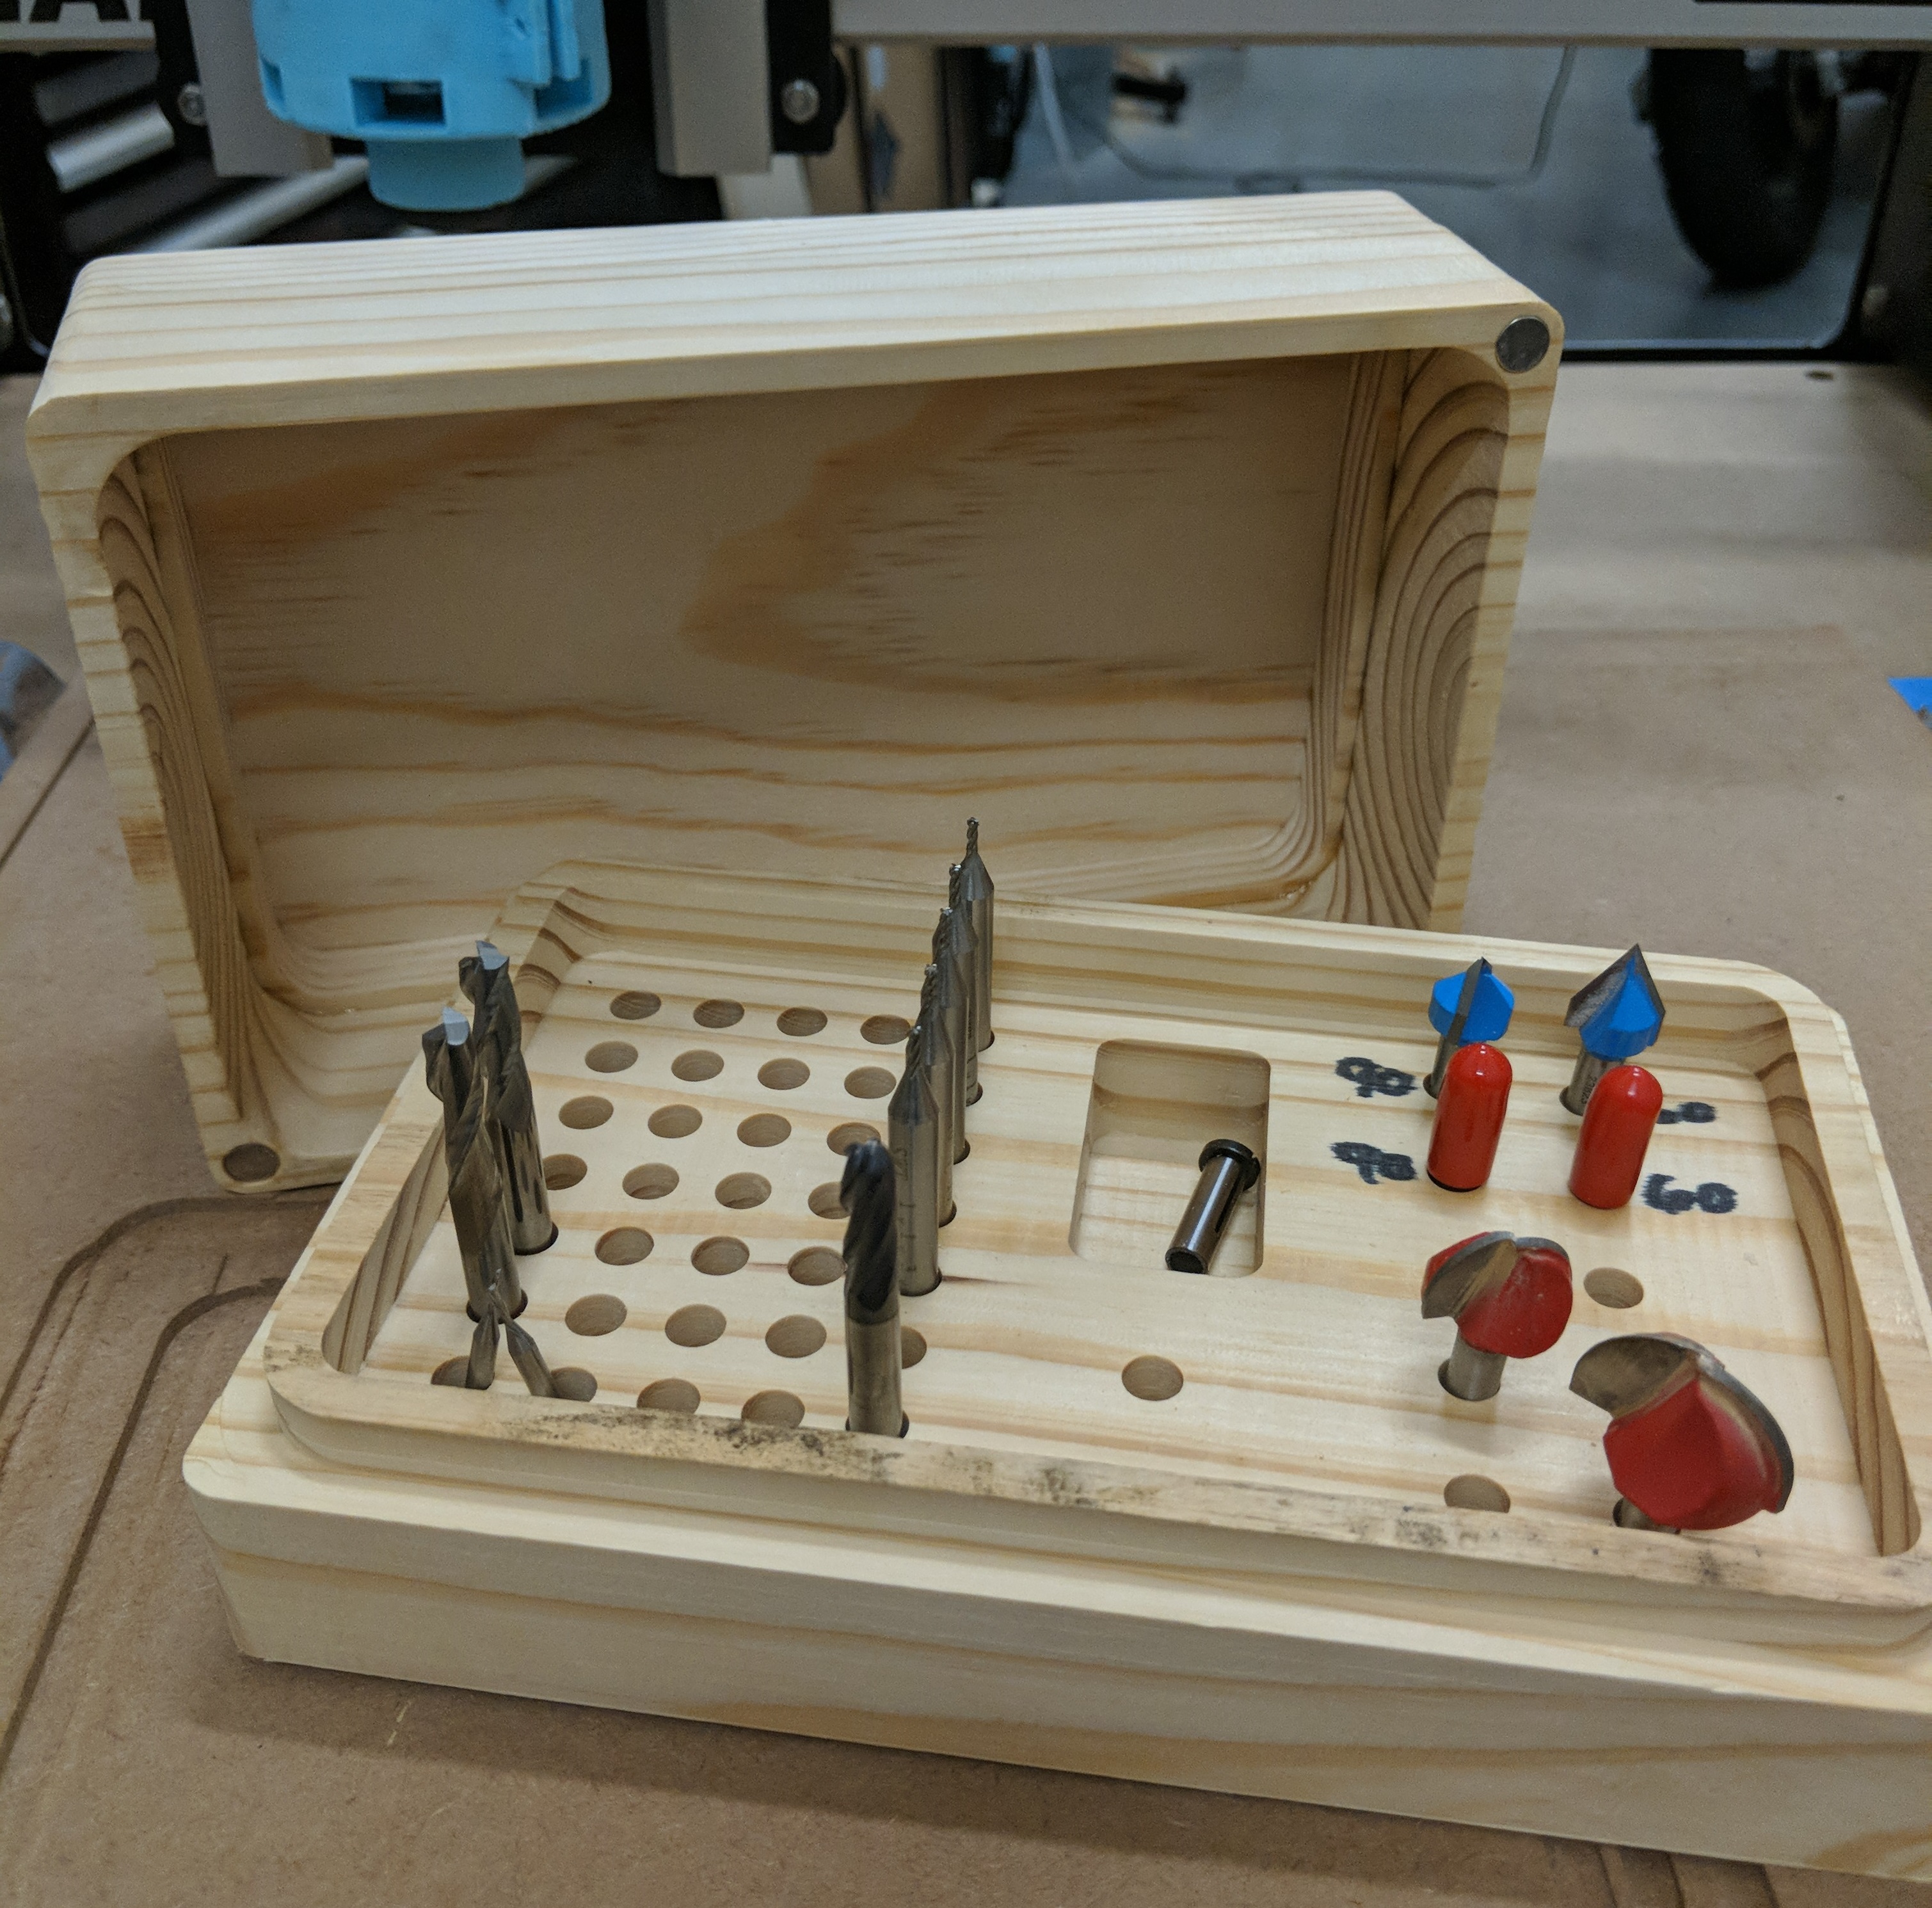
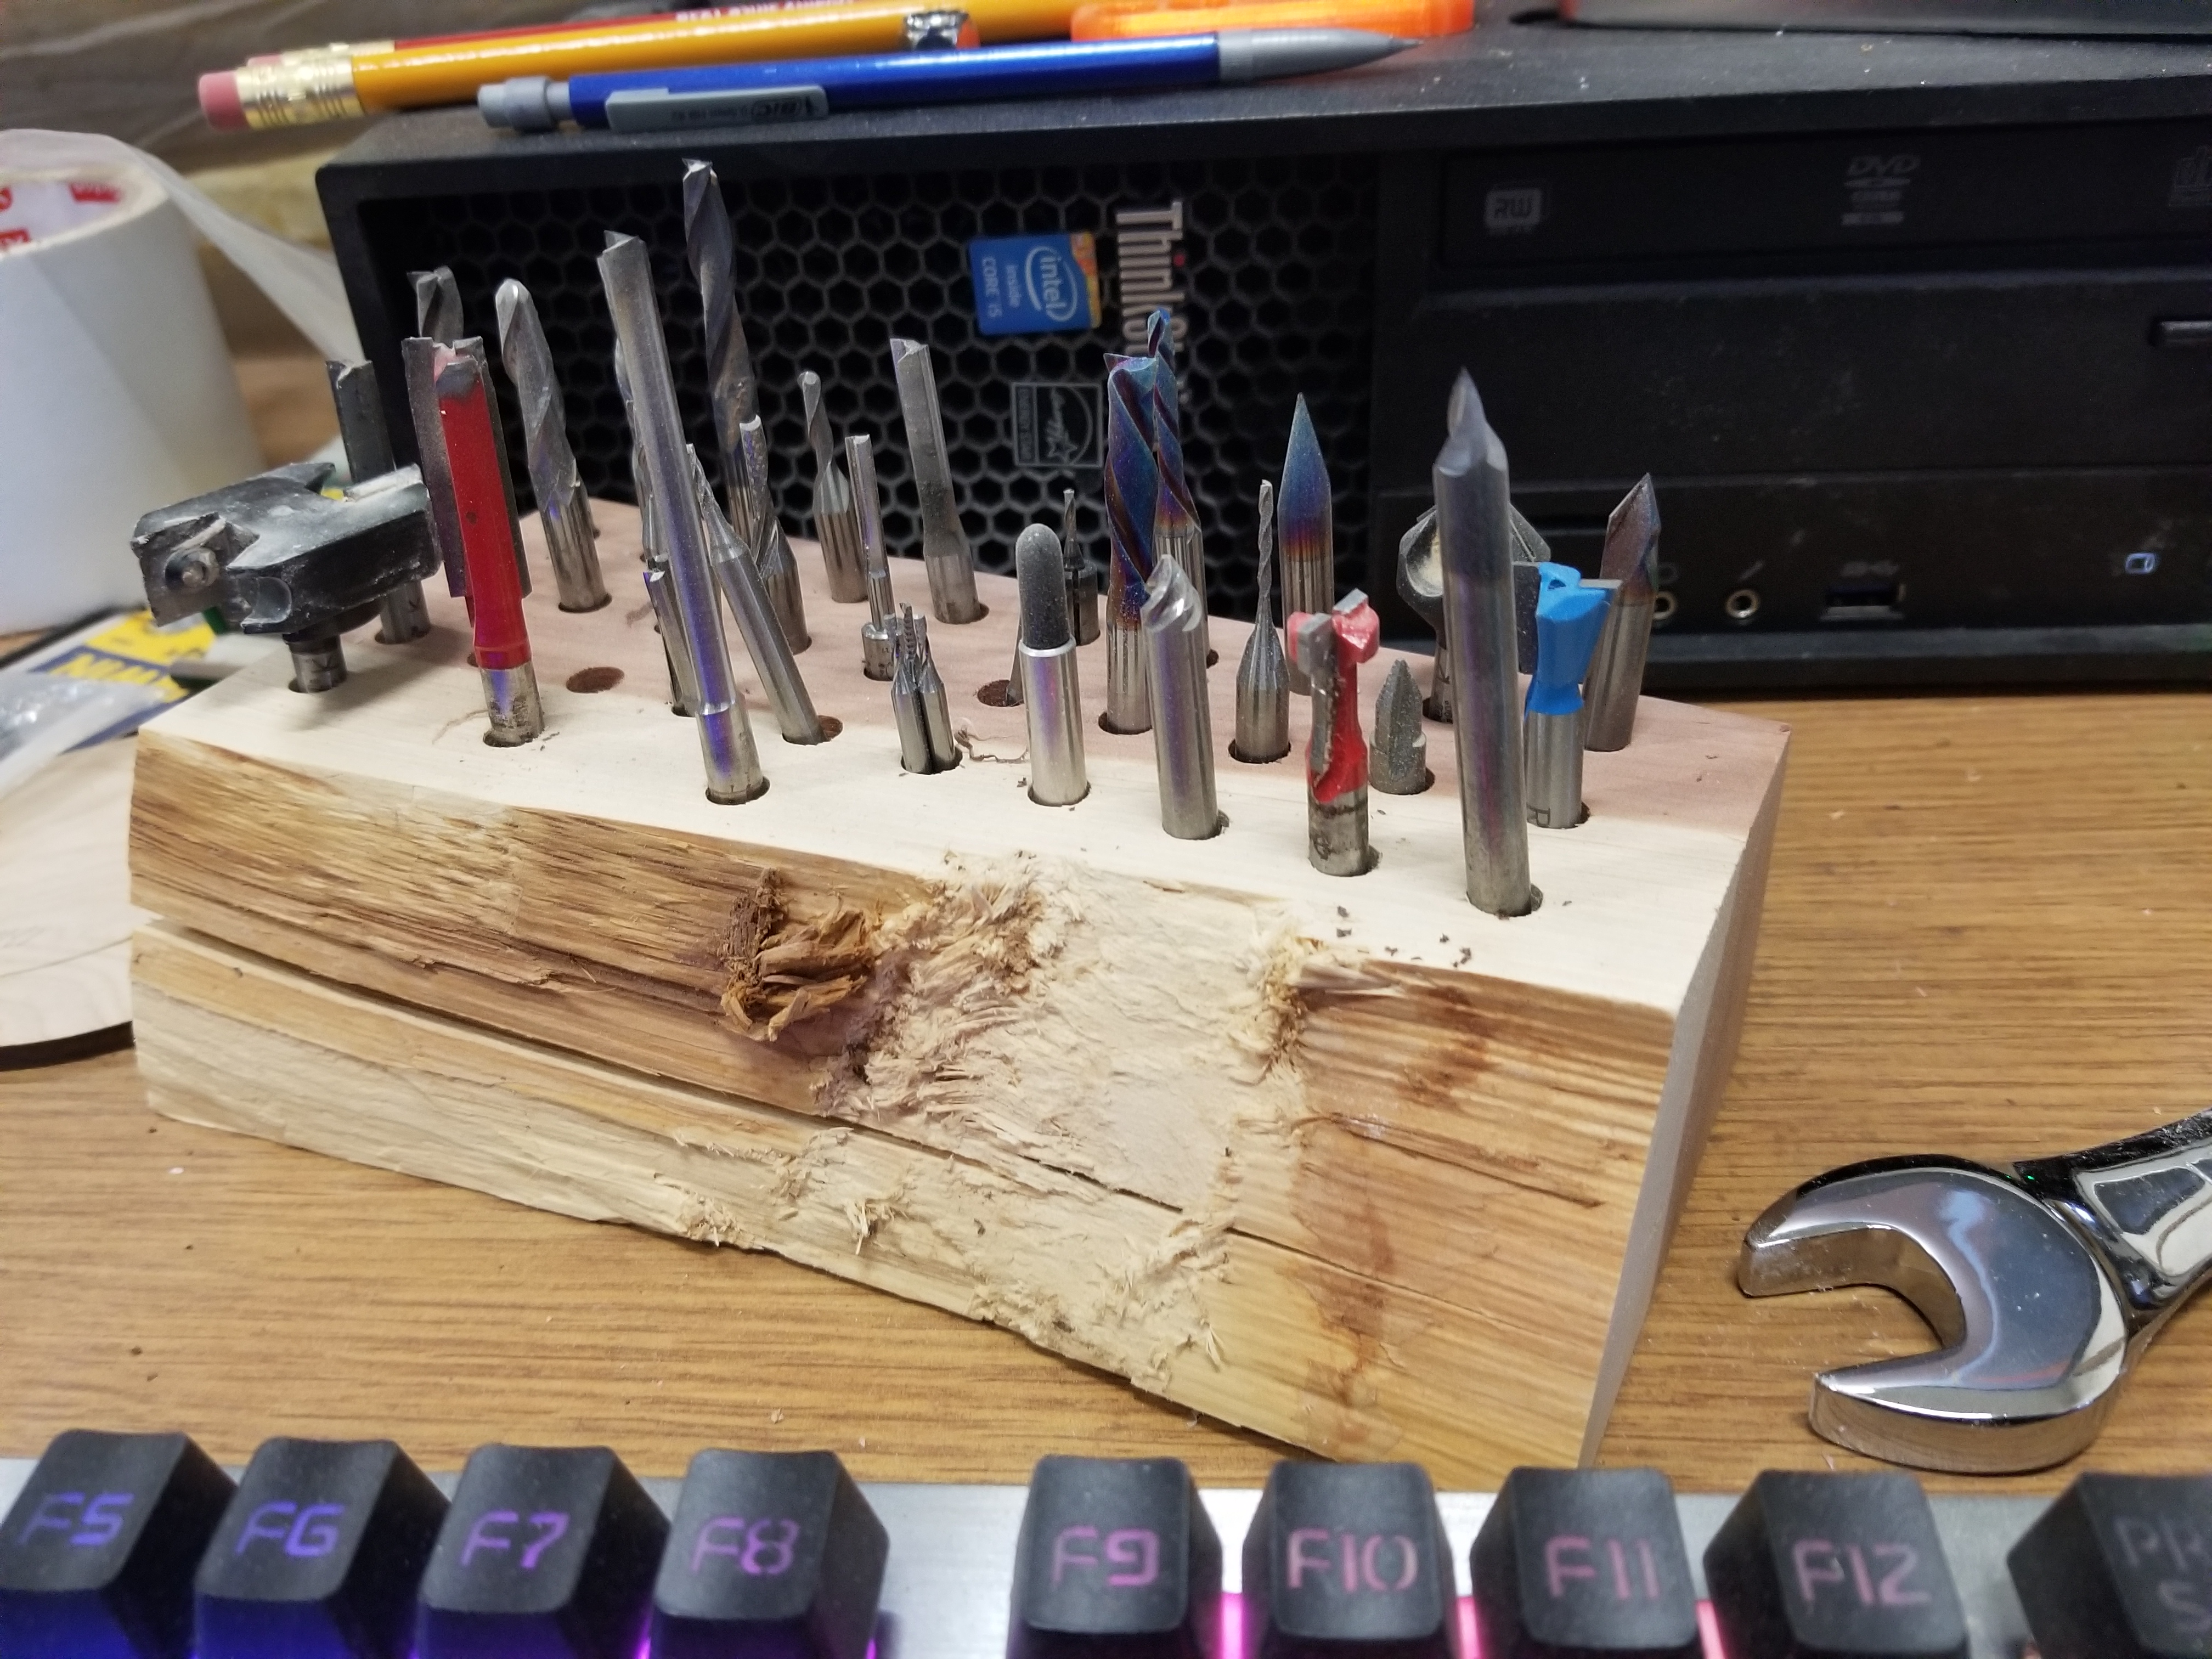
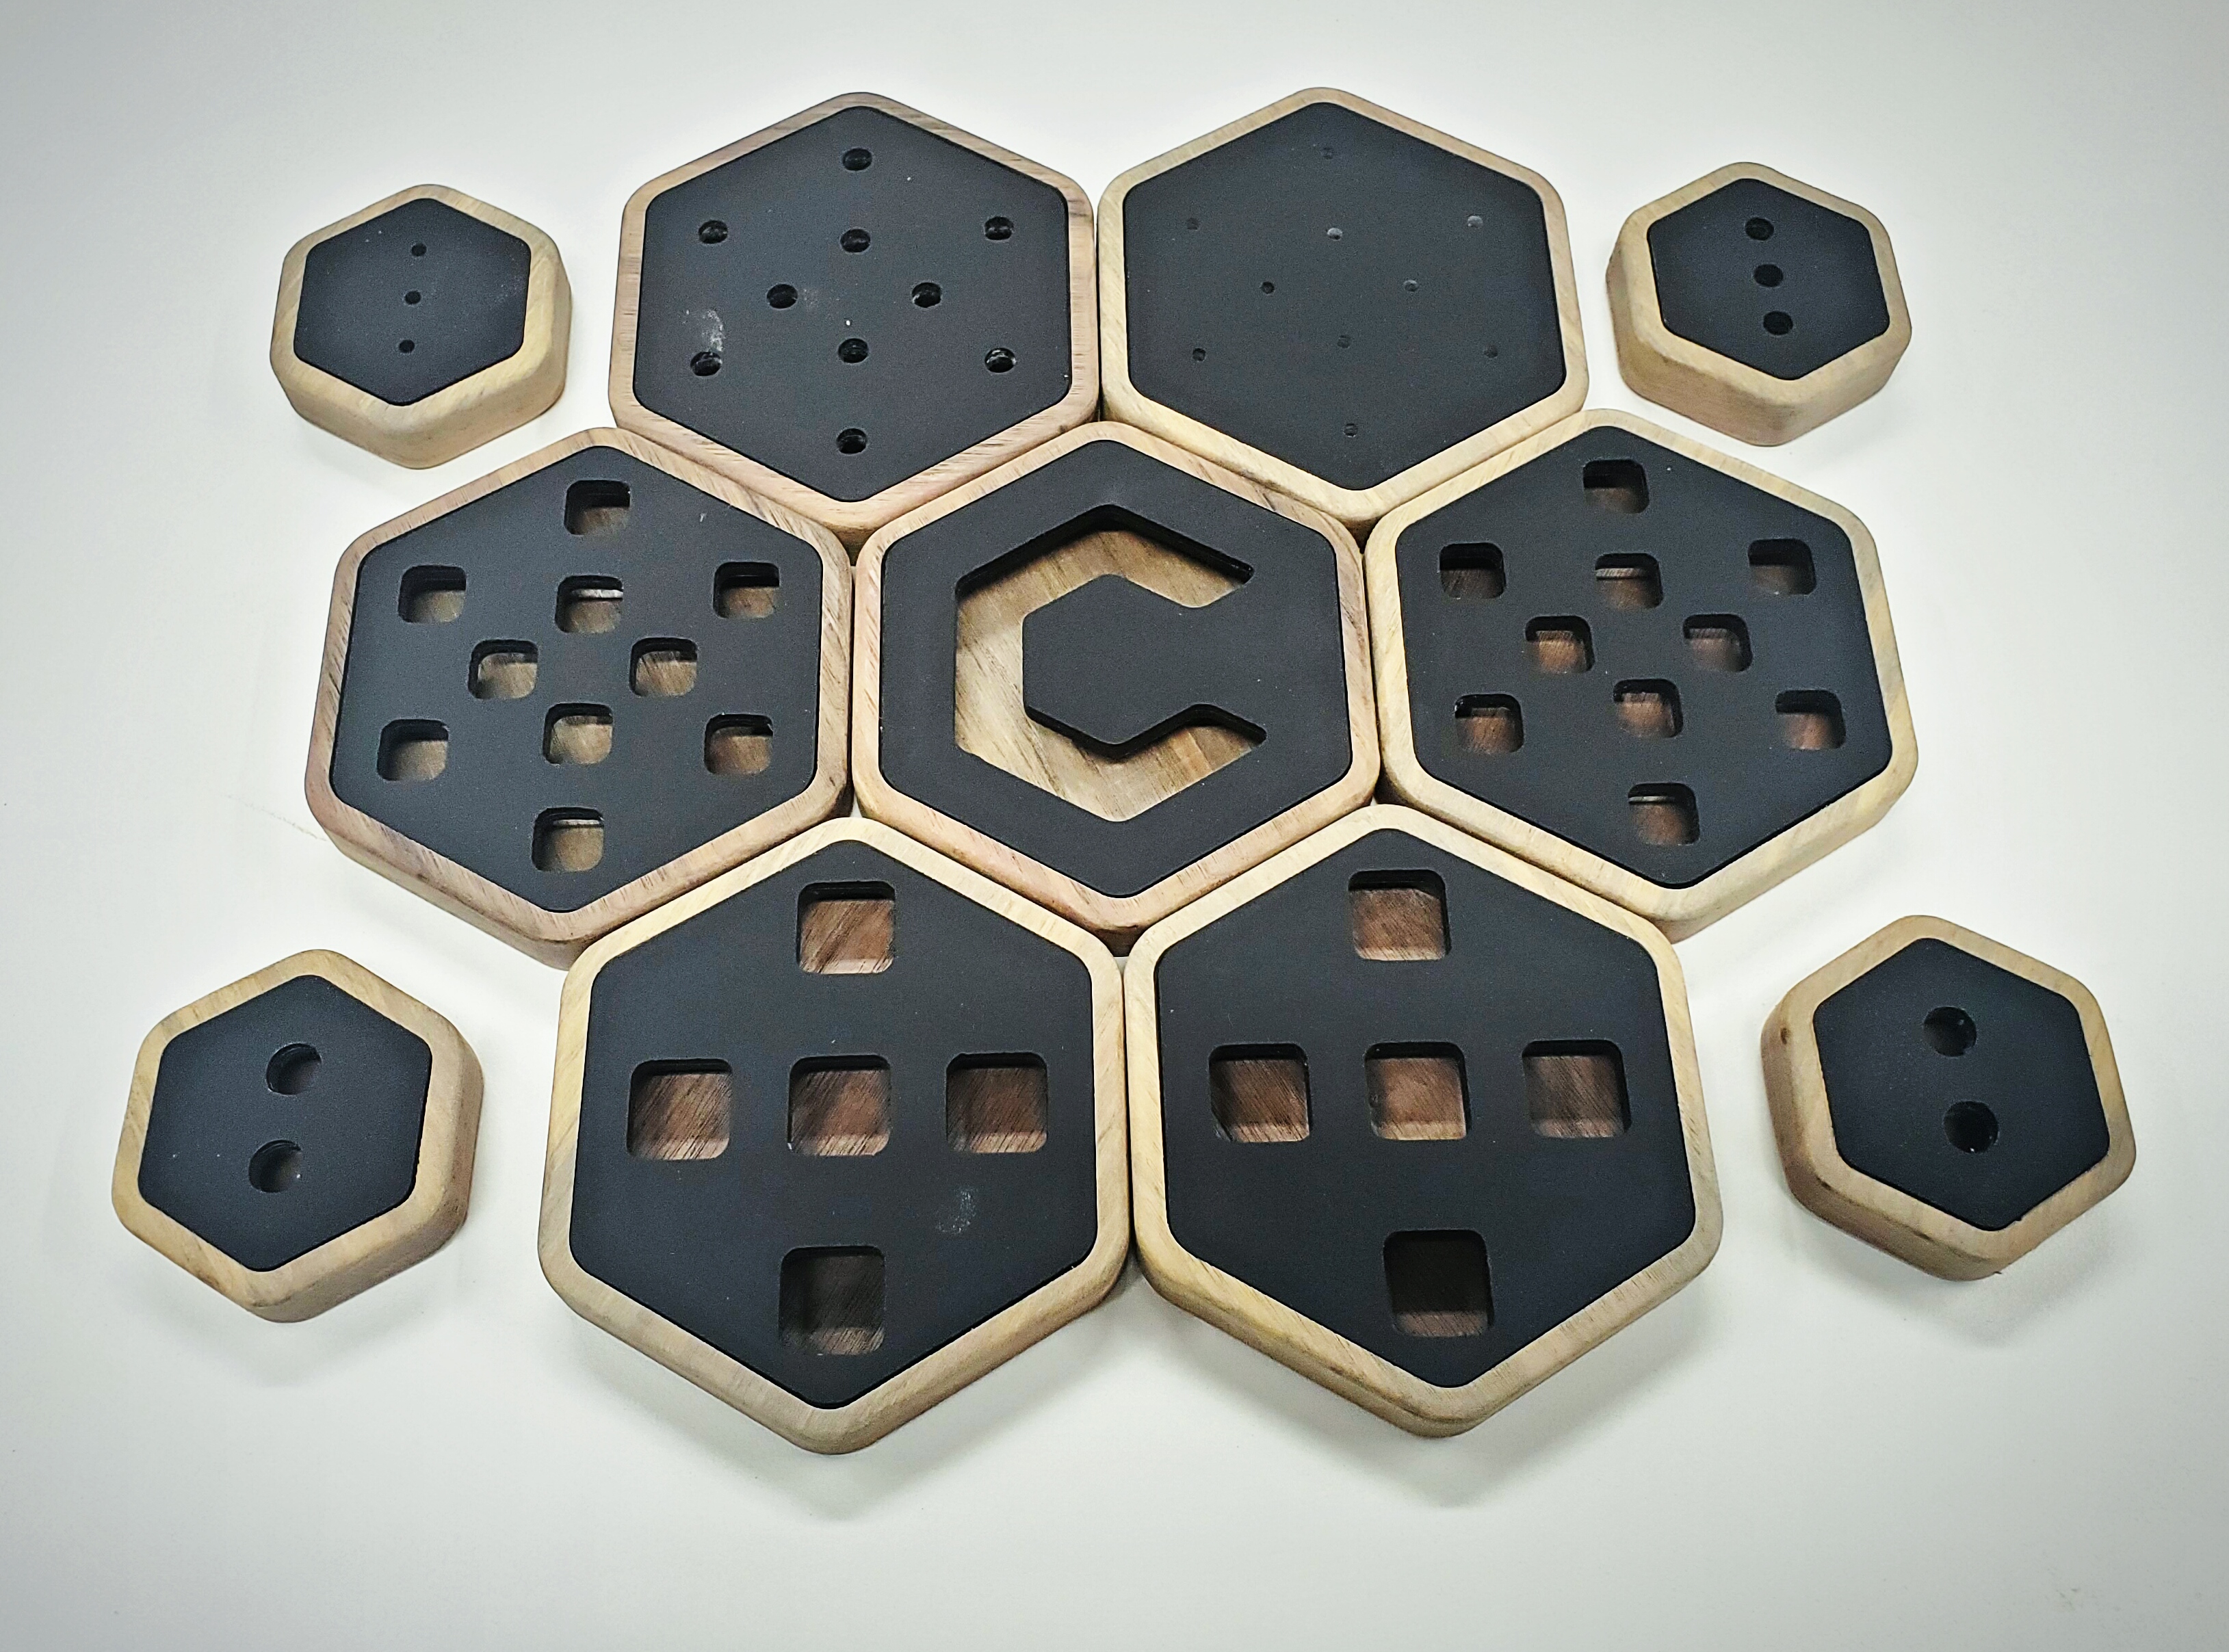
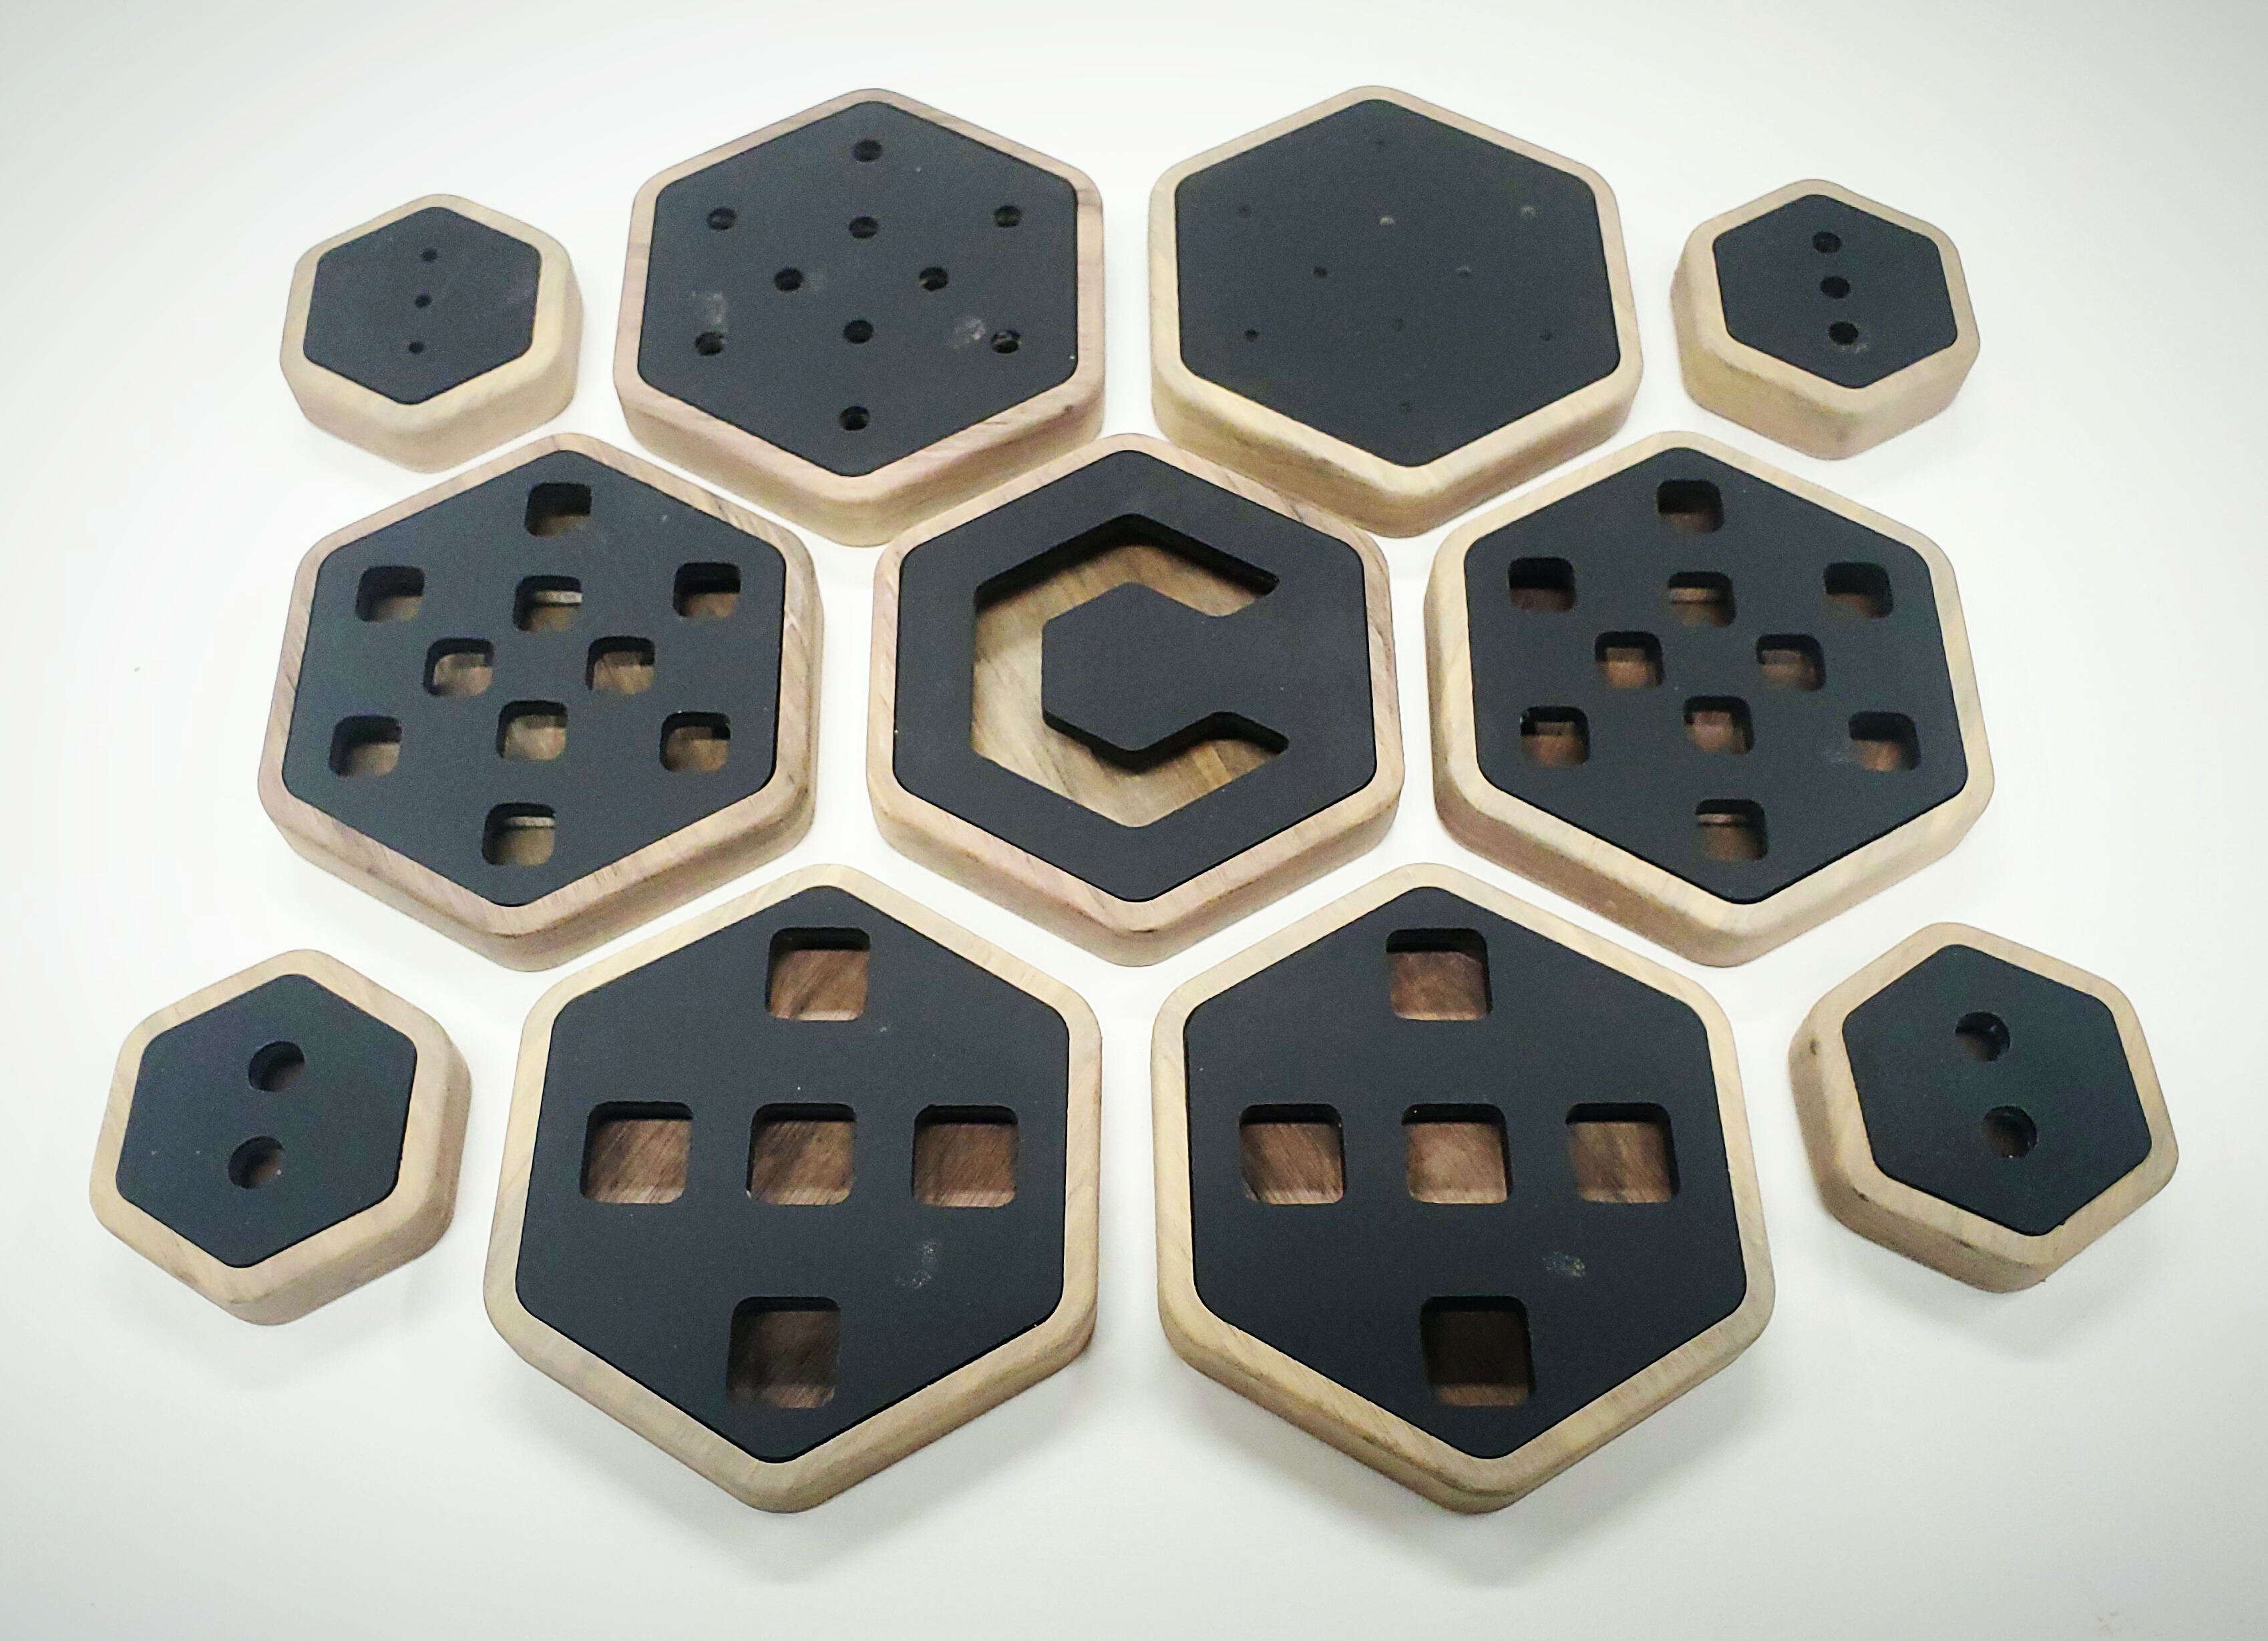
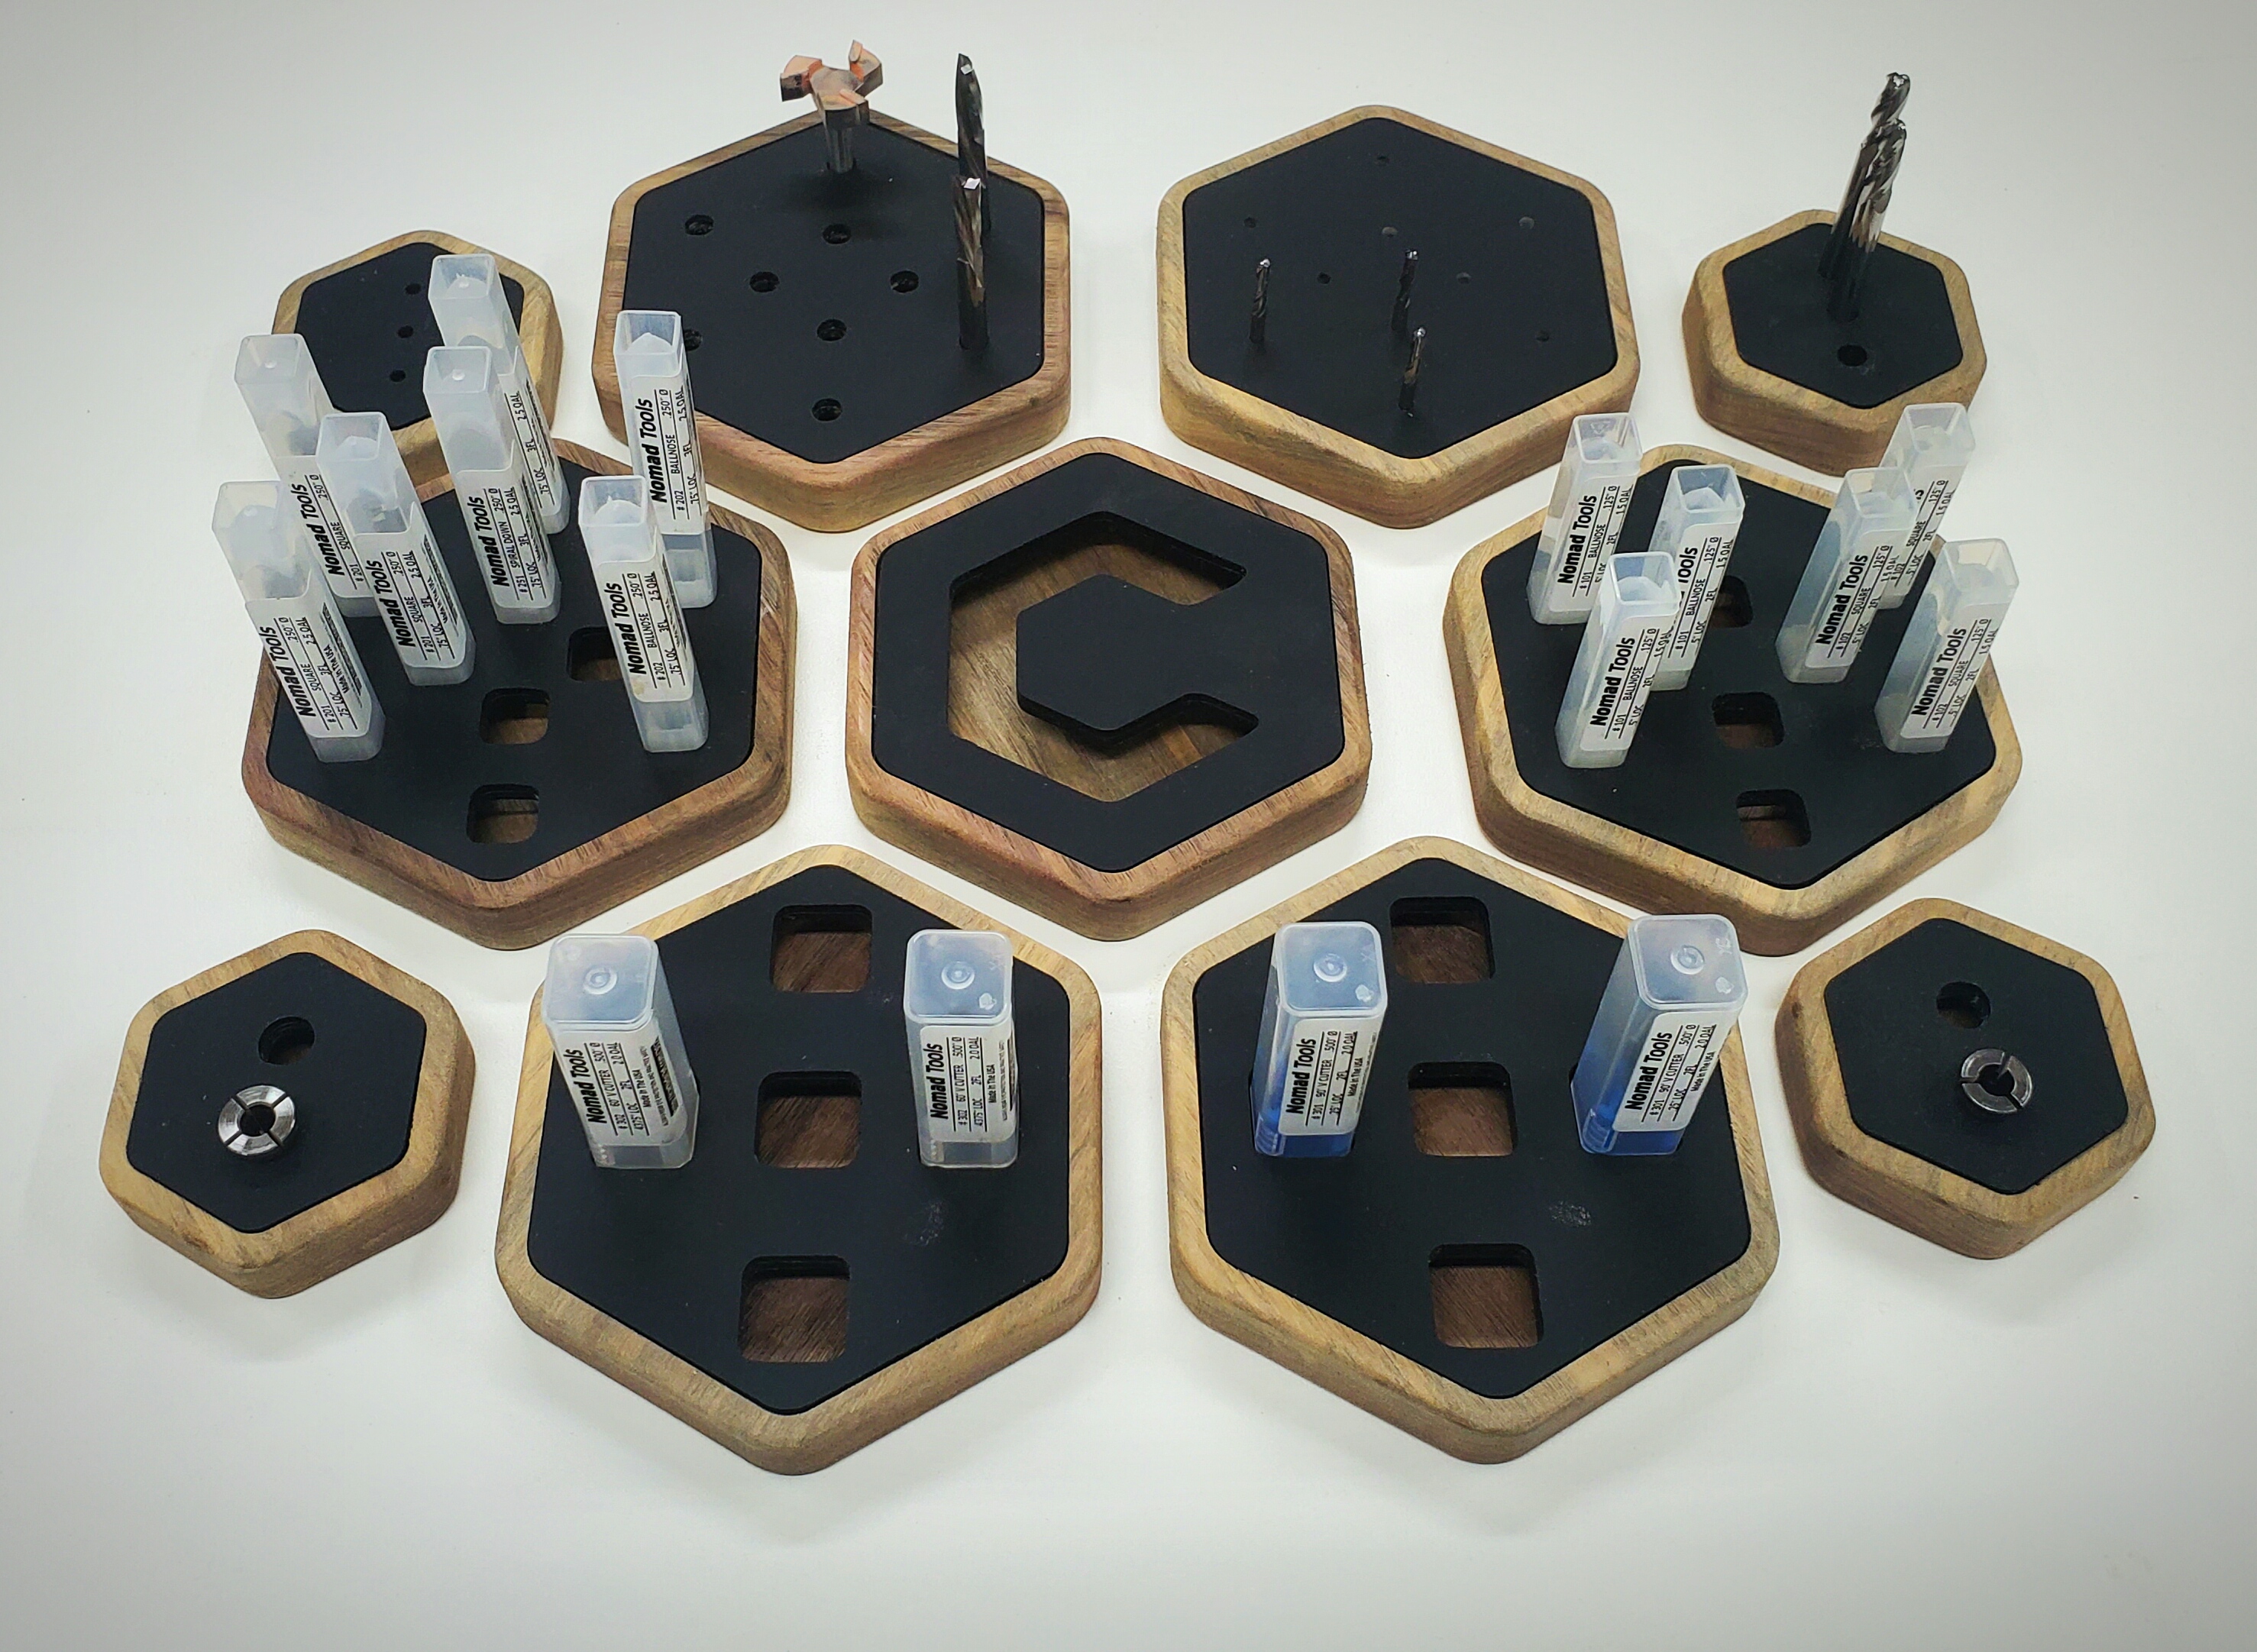
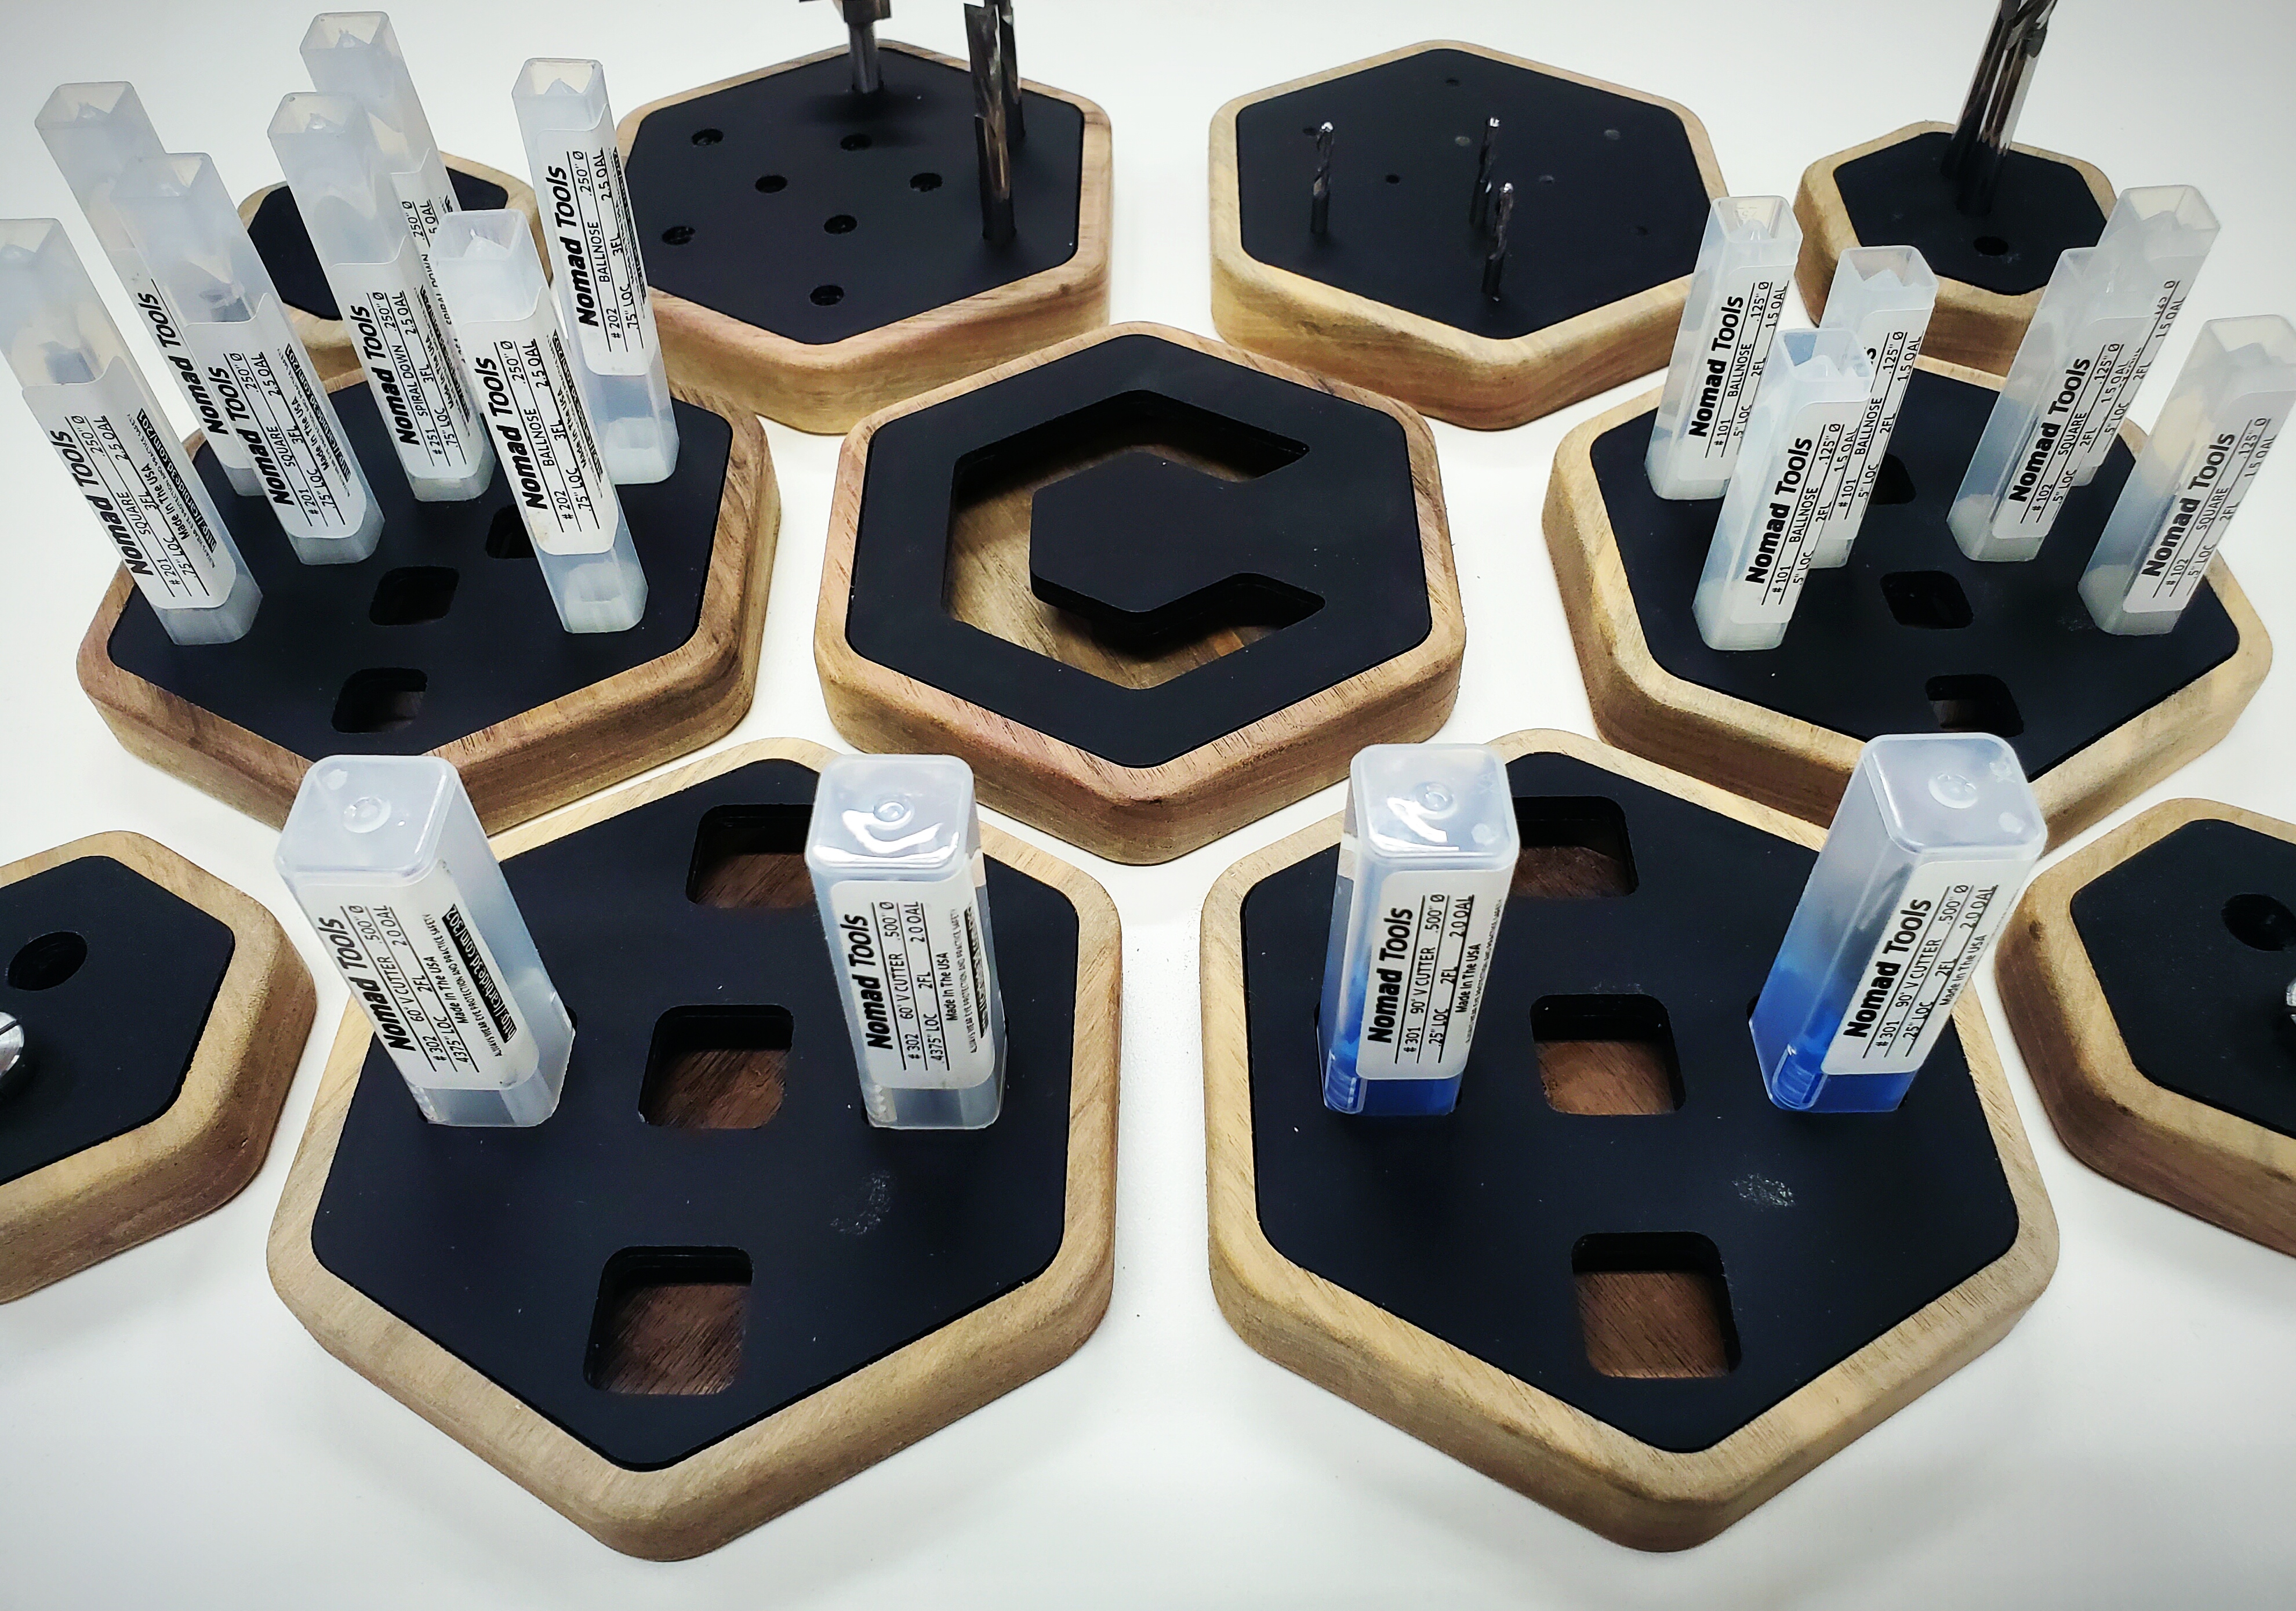
Challenge #1 is: make a bits & collets holder

Rules:

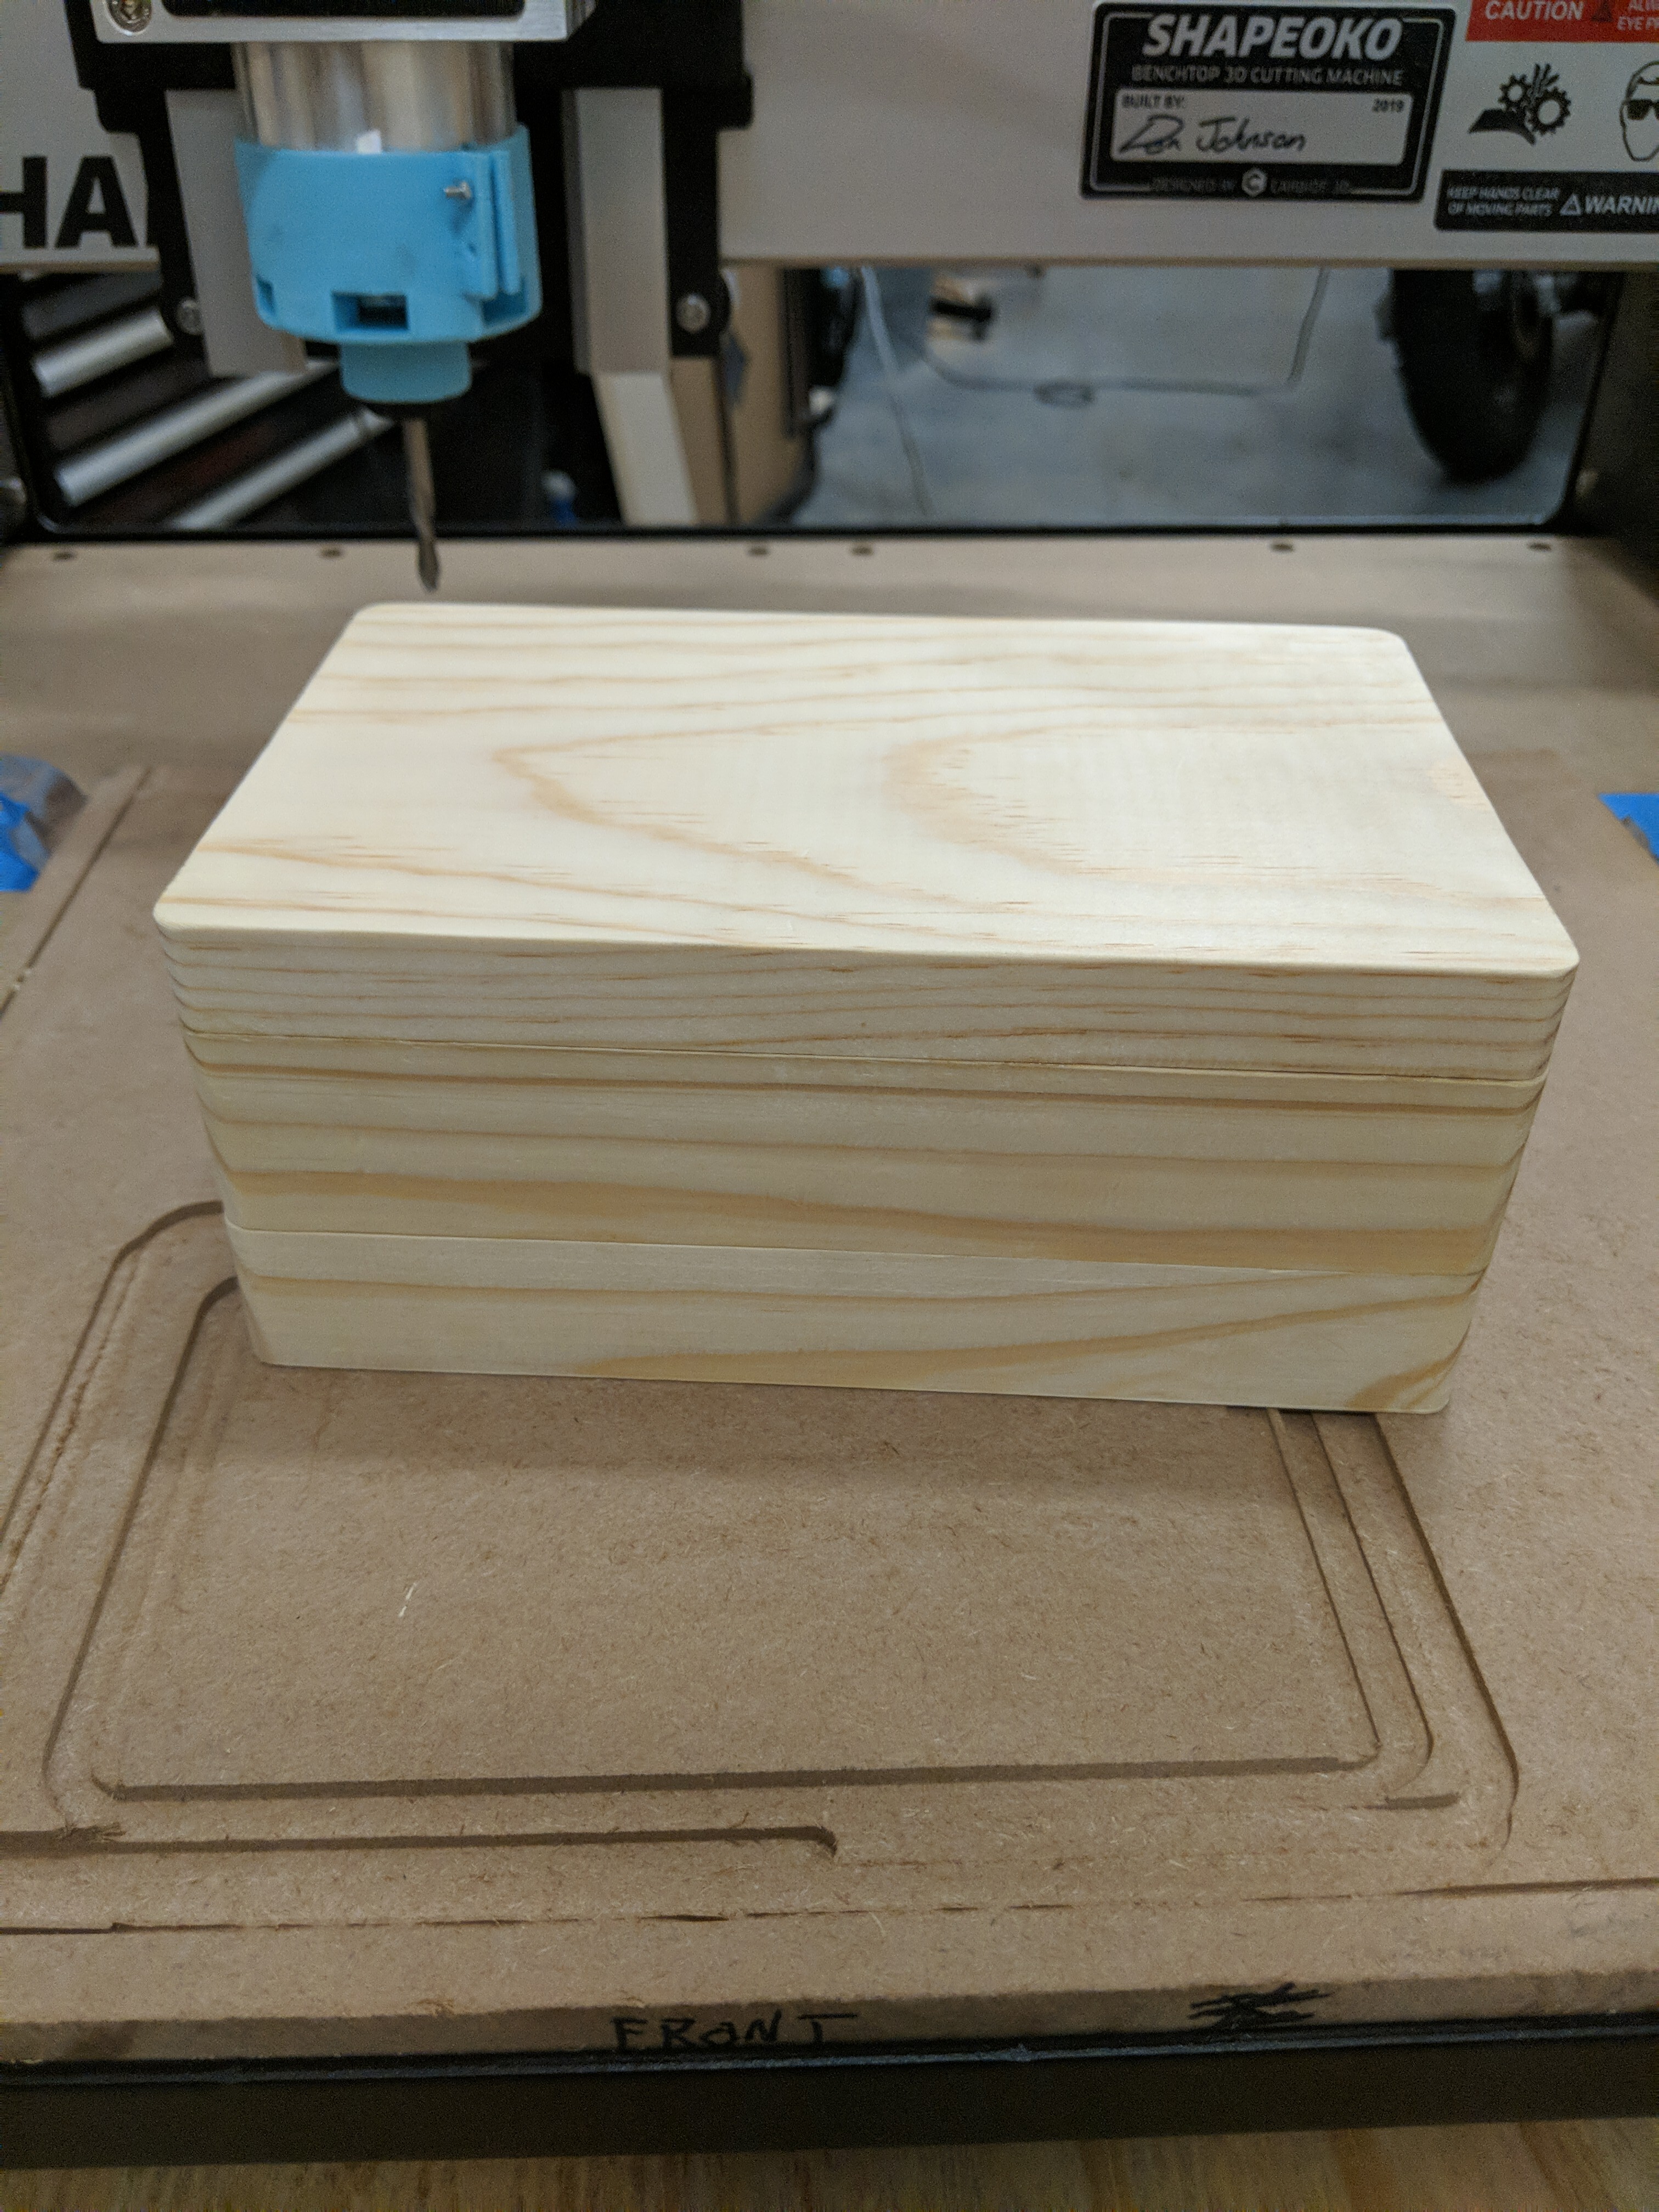
  • it must be made on a Shapeoko or Nomad
  • submit your entry in this thread:
    • post pics of the finished piece
    • include the associated design file(s) and tell us about the steps you followed to create it.
      • any CAD tool welcome, bonus points for using Carbide Create.
  • you can post multiple entries if you want.

If you are just starting with the Shapeoko or Nomad, don’t be shy: it doesn’t have to be fancy, the point is to get your feet wet, share your experience with the community, and possibly win some cool gear in the process.

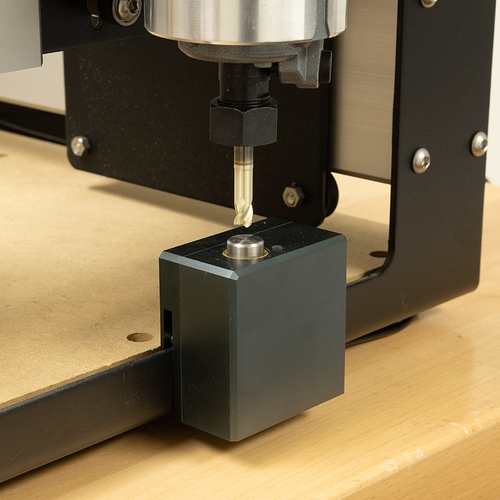
And to kick off this series in the best way possible, the prize for this first challenge is…the brand new BitSetter announced earlier today! The winner will be among the first ones to get one, how awesome is that ?

bitsetterbox_500x500

bitsetter_installed_500x500

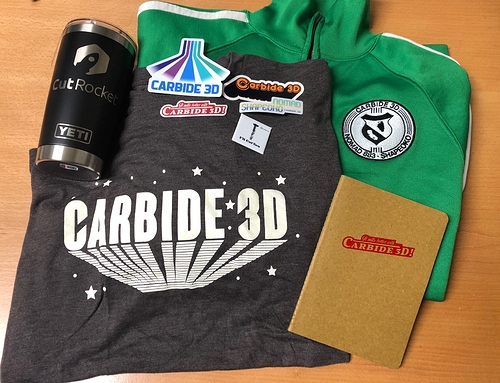
To use such a cool device you will need to look the part, so you will also receive this funky Carbide 3D swag pack! :sunglasses:

bitsetterswag_383x500
The winner will be selected based on the number of likes, ties will be settled based on originality, quality of the post, enthusiasm, and as a last resort @Jorge’s ruling hand.

The deadline is 10 days from now, that’s Dec 12th (say midnight PST).

Let the challenge begin, and let’s see your bit holders !

18 Likes

To help get folks started on this, I would like to note that I worked up a pair of parametric designs which may be of use for inspiration (or to reduce tedium in laying things out):

2 Likes

Well, I guess since I just made mine a couple of weeks ago, and still have the files, I’ll start it off.
I found an old file on the vectric site and was made with aspire. I’ve saved it as a dxf and and as vcarve along with the three gcode files that work with carbide motion. I used vbit for text, 1/8" bit for most of the trays and larger holes. and a 1/16" for the smallest holes and slots.

I took the original file (which I’ll upload too) and deleted a lot. Added a bunch. I had to have it fit on a shelf which is in a vertical shelf unit I built a while back and is next to my XXL.
I wanted to leave most of my bits in their plastic packaging, so I cut rectangular openings for the Carbide bits I have and some other brands I bought. Includes a space for my vbits and the wrenches that came with my dewalt and with the machine. Space for my allen wrenches in the front and some other items.
It was a good exercise in altering and adding items in an existing file. Used 3/4 MDF left from my wasteboard.

Big_Bit_Tray.crv3d.zip (2.1 MB)

9 Likes

router bit holder.c2d (1.6 MB) I made this one from walnut. Everything was done with Carbide Create. I documented the build and the process of tracing shapes in this video: https://youtu.be/Ag0kL3m-_sg

10 Likes

I wake up on this side of the pond and two great contributions already, nice !

@ChrisPowell don’t forget to include your CC file (you can just edit the post). If people like your design it will be easier for them to have a design file to start from, or even just as a reference of how things can be done.

1 Like

ah bummer, leaving on vacation so won’t be able to contribute.
looks like a fun challenge.

i think it’d be slick to have a tool changer style like @Chrislee.design (?) for his collets.
or perhaps a carousel holder with integrated bearings

some quick thoughts in case anyone want’s to run with them.

3 Likes

@PaulAlfaro not to worry, multiple other challenges are coming up

A carousel holder would definitely earn some originality points!

1 Like

This is my first attempt at a tool holder, and one of my first projects. I continue to add to it as I collect more bits and tools. It was created in Carbide Create and cut in MDF.

IMG_7199.JPG

File:Tool_Holder.c2d (242.8 KB) Tool_Holder.c2d

5 Likes

I think I’m disqualified by default, but here’s my endmill holder design + a wild @Jorge sighting in the background. Machined from some recycled bamboo plywood (code for reject Nomad side panels). 1/2" holes also happen to accommodate router collets perfectly.

Fusion files available via CutRocket - https://cutrocket.com/p/5dd85a1def7ef/?fbclid=IwAR0RKatyyDd454X1wIfp1PAgKDWxh6UHXsBr2Tel2GbZ-lTEQOEOU2t6G14

9 Likes

I suggest you edit your original post so the file goes with picture and other info.

2 Likes

Long time follower, short time contributor here.

From reading the brief I thought it would be a nice idea to design the bit holder specific to my XXL setup, while trying to complement the new Carbide BitSetter and showcase the range of Carbide 3D cutters available which of course would require tool changes & re-probing of tool length.

Firstly, to complement the new BitSetter, I wanted to incorporate the Carbide 3D logo into the design to present the design as the “UNOFFICIAL” Carbide 3D “BitHolder”.

The “BitHolder” is designed around the specific bits & tools used on my XXL, including locations for in-use and new 1/8” & 1/4” shank router bits, catch tray for hex keys and loose hardware as well as locations for the two Makita spanners.

I have utilised Carbide’s range of 1/6”, 1/8”, 1/4" & V-Bit cutters in the machining of the part – all of which would have been a lot easier if I had a BitSetter!

Summary:

  • #112 – 0.0625” Flat Cutter for the perimeter of the 1/8” & 1/4" in-use cutters
  • #102 – 0.125” Flat Cutter for the in-use location holes, new cutter wells as well as the logo and spanner locations
  • #201 – 0.25" Flat Cutter for 3D adaptive clearing of the catch tray, spanner “grab” wells and outside part contouring.
  • #202 – 0.25" Ball Nose Cutter for 3D parallel machining of the catch tray bottom radii
  • #301 - 0.50" V-Bit Cutter 90° for of all of the edge chamfers.

I wanted to machine the “BitHolder” out of either hardwood (walnut or oak) or laminate some kydex sheet to the top surface of the stock to get contrasting layers but unfortunately time does not permit to source and machine either option before the competition closes - so I have created a proof of concept in MDF!

Excited to hear all your thoughts.

BitHolder.zip (3.7 MB)

18 Likes

You do not see the pencil at the bottom right of your post? You can click on it then make the changes you need then save your changes.

1 Like

Four great entries and one wild Jorge sighting, I would say this challenge is off to a good start !

3 Likes

So glad to see the Community challenge back!

My bit holder design came out of necessity, I had a box full of endmills and tools and was just not happy with that situation - I also wanted to get better at making toolpaths with Fusion360.

I won’t go into full detail, but to create the shapes I did the following:

1 - Sketch the shape using a 3 point slot and a circle, with a radius between them

  1. Extrude to the two levels

  2. Sketch the two pockets by creating a circle with a rectangle through it, then trimming it to create two semi-circles

  3. Extruded cut the semi-circles down to create the tool pockets

  4. Create a horizontal line from the center, with three endmill holes on that line

  5. Create circular pattern selecting three holes as objects, and center of sketch as centerpoint. Change from full to angle, set angle to -180° and quantity to 18.

  6. Extruded cut all endmill holes

I won’t go too deep into toolpaths as you can open the file up and see what settings were used. I did set my toolpaths up to have a minimum number of toolchanges - from 3/4 Flat to 1/8 Flat to 1/4 Flat. The 3/4 endmill could be replacaed with a 1/4, but you’d still need a toolchange to use the 1/8 to bore the endmill holes. The bitsetter would make that an absolute breeze!

This was the process for the toolpaths (I’m still working on the two errors - toolpaths work though)
9

This is the finished product, I’m very happy with it!

Here’s the link to the project Toolholder2
:slight_smile:

20 Likes

that’s a fancy new product!

9 Likes

Nice! thank you @fredfow3, don’t forget to edit the post to include the design file, and possibly a few words about how your design and toolpaths ?

This was the 4th item I made, it was drawn up and created in Carbide Create using 3 pieces of 2 x 8 scrap.
The inspiration was from growing up and my grandpa had wooden tool/bit holders very similar out of wood
in his aircraft hanger.

Its not the fanciest design out there but it does what I want really well.

I cut out the entire assembly with a 1/4" endmill so no fancy tool changes needed.
Basically I used the blue tape and superglue hold down method, cut the bottom.
then I cut the spacer out next, followed by the lid which is pocketed for extra depth as well as trimmed
down around the outer edge leaving a lip for the spcer to fit down next to. I used wood glue to bond the
spacer and lid. and used magnets in 2 corners on the lid assembly and bottom to keep it shut securly
when closed.

Box1_Lid.c2d (195.3 KB) Box1_Spacer.c2d (195.6 KB) Box1_Bottom.c2d (385.0 KB)

13 Likes


Ok, a bit (pun intended) simplistic, but it is aromatic cedar and smells pretty good.

10 Likes

I designed my holders based on the Carbide3D logo. I wanted something that I could easily expand with as my bit collection grows. The trays are made out of walnut and black frosted acrylic. The acrylic sits flush and rests on a ledge on the inside of the walnut. The trays were designed in Coreldraw and cut in CM. I used the router table to round over the edges after cutting them on my XXL. They are in two sizes. The smaller ones hold the collets and a few 1/8th and 1/4 inch bits and the larger ones let you store them in or out of the cases. Since this was based on the Carbide logo I had to cut the logo into one of the trays for fun. I’ve only had my Shapeoko for a couple months but this is actually a project I’ve been wanting to do to for a while. I’m very pleased with how it turned out and excited to be able to organize my bits now.


Carbide3D Bit Tray.zip (146.7 KB)

20 Likes