Entry #3 (Butterfly Lamp)
My 5yo daughter didn’t want to be left out of the “new room” stuff, so she requested a rainbow lamp. As soon as I got the LED “neon” lights in from China, I started working on a design. She then changed her mind and wanted a butterfly lamp. Because she’s pretty much in charge around here, I told her that would be no problem.
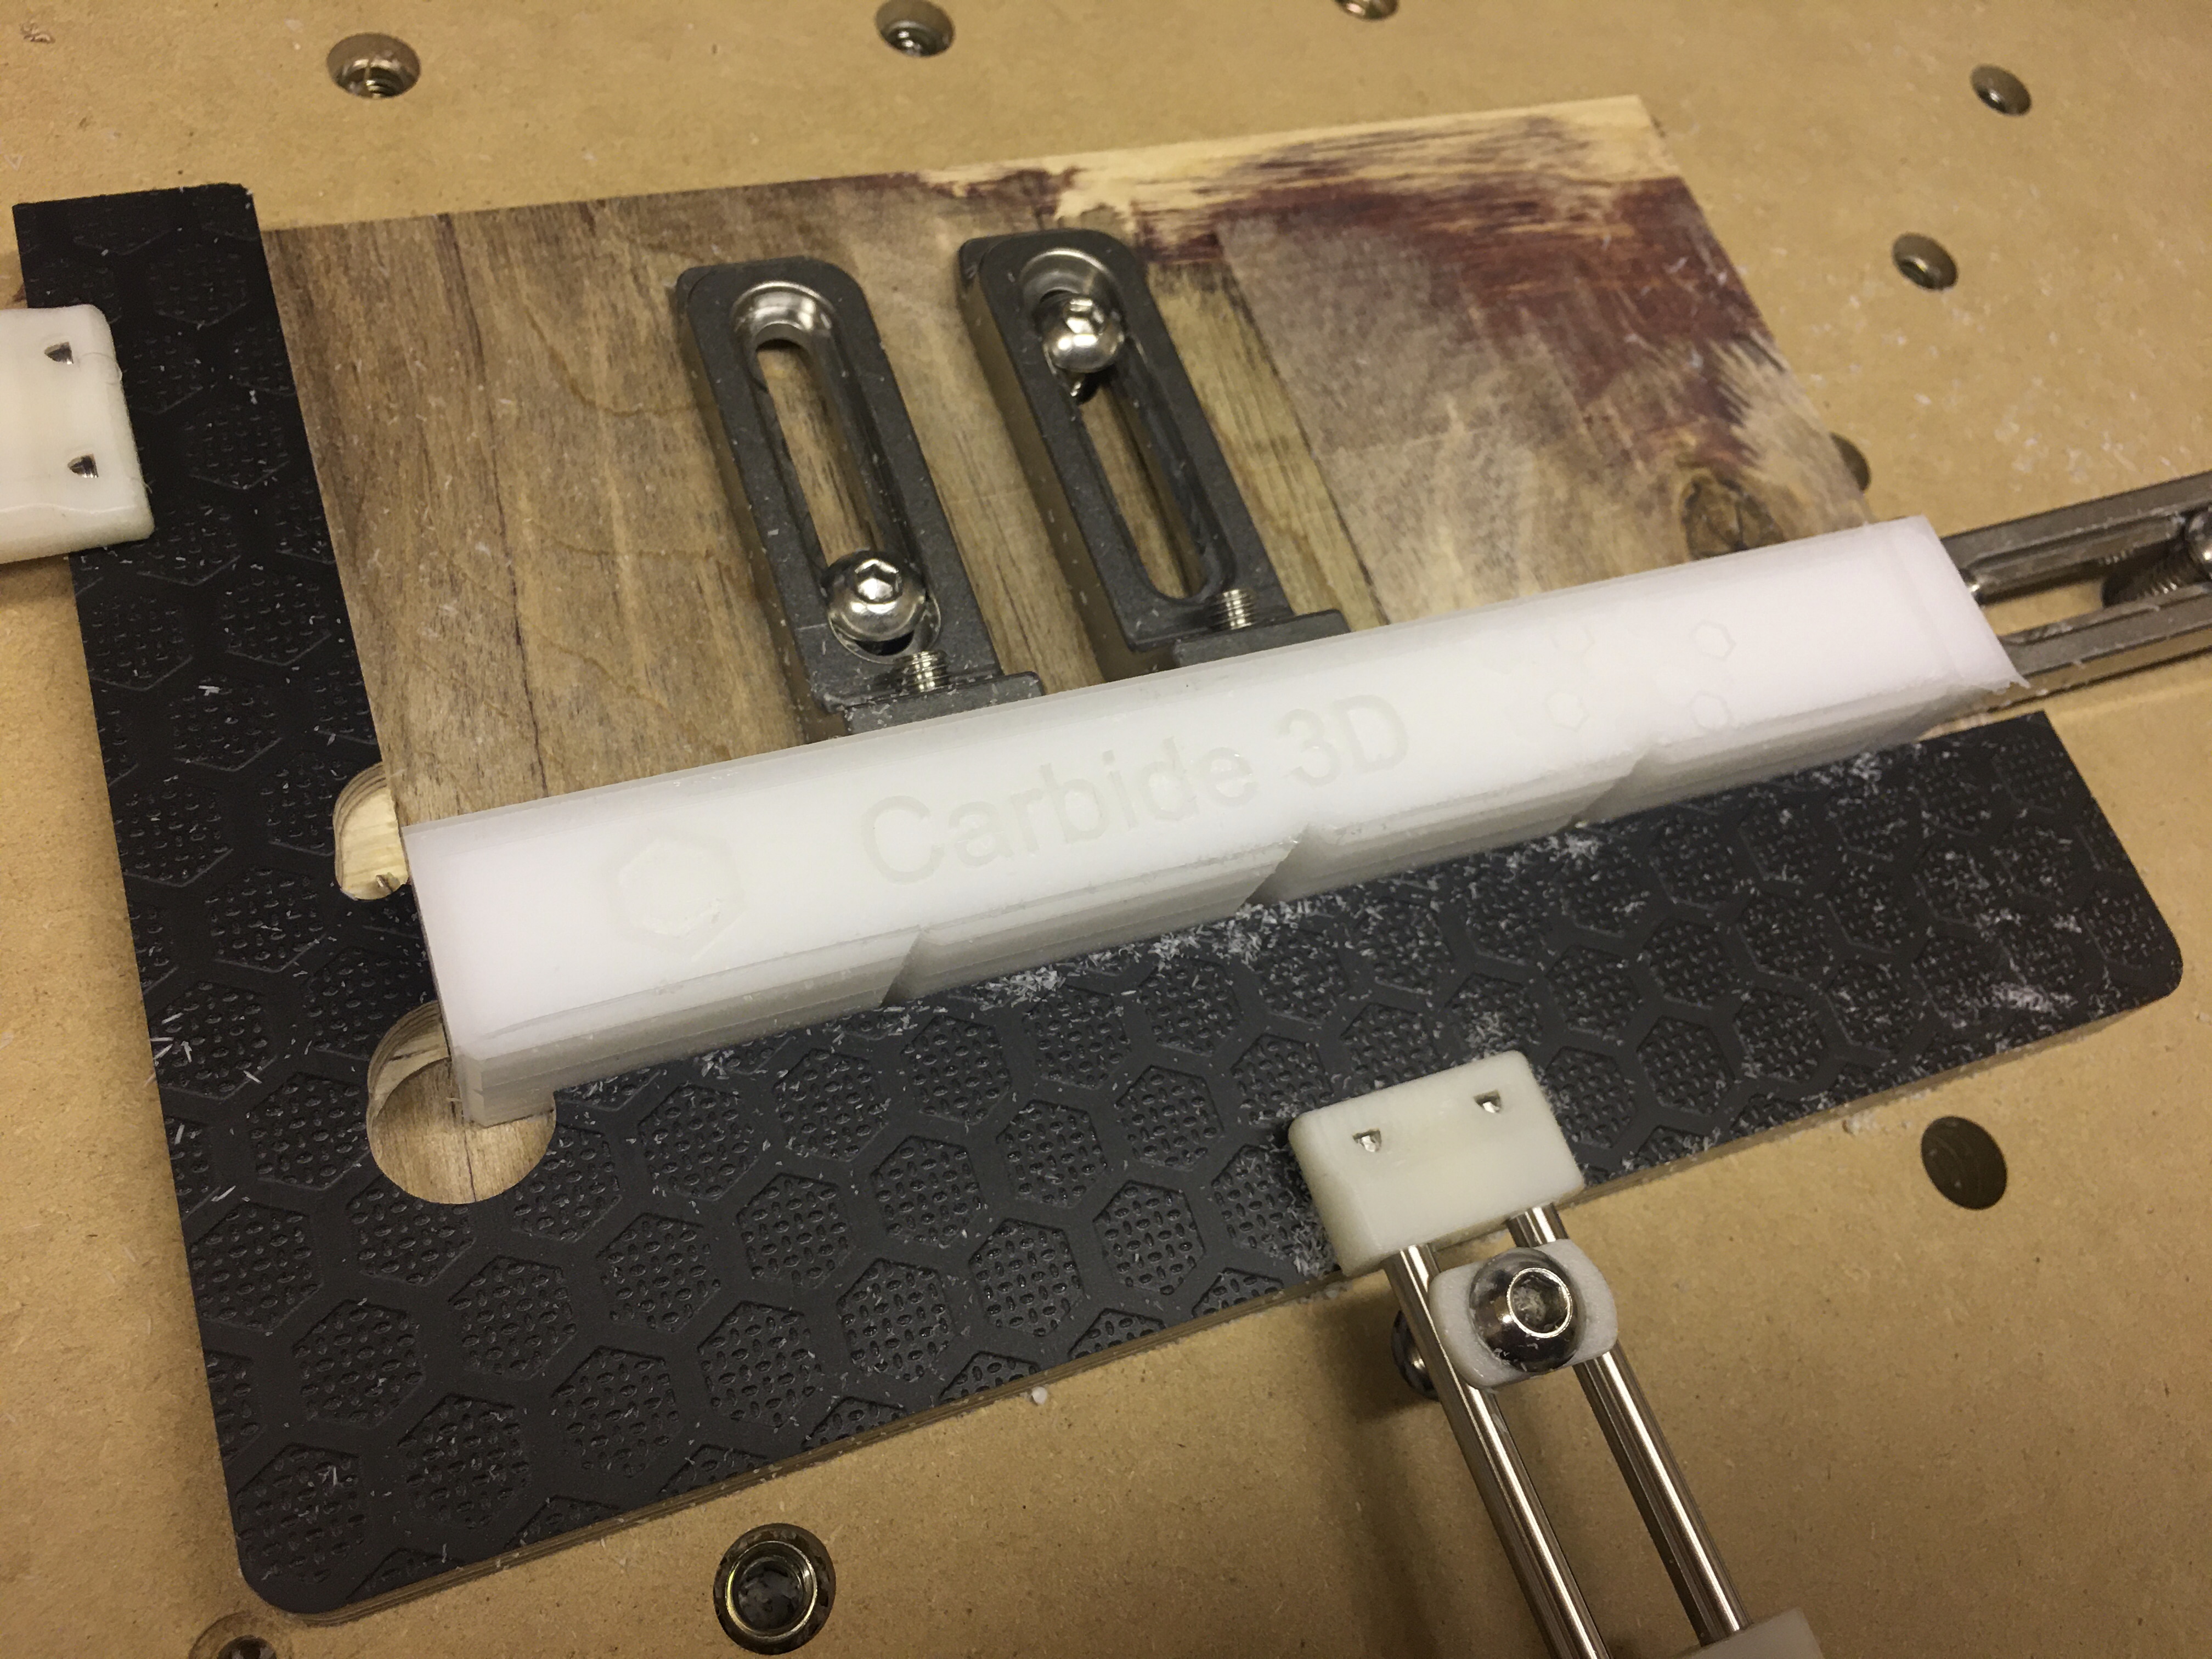
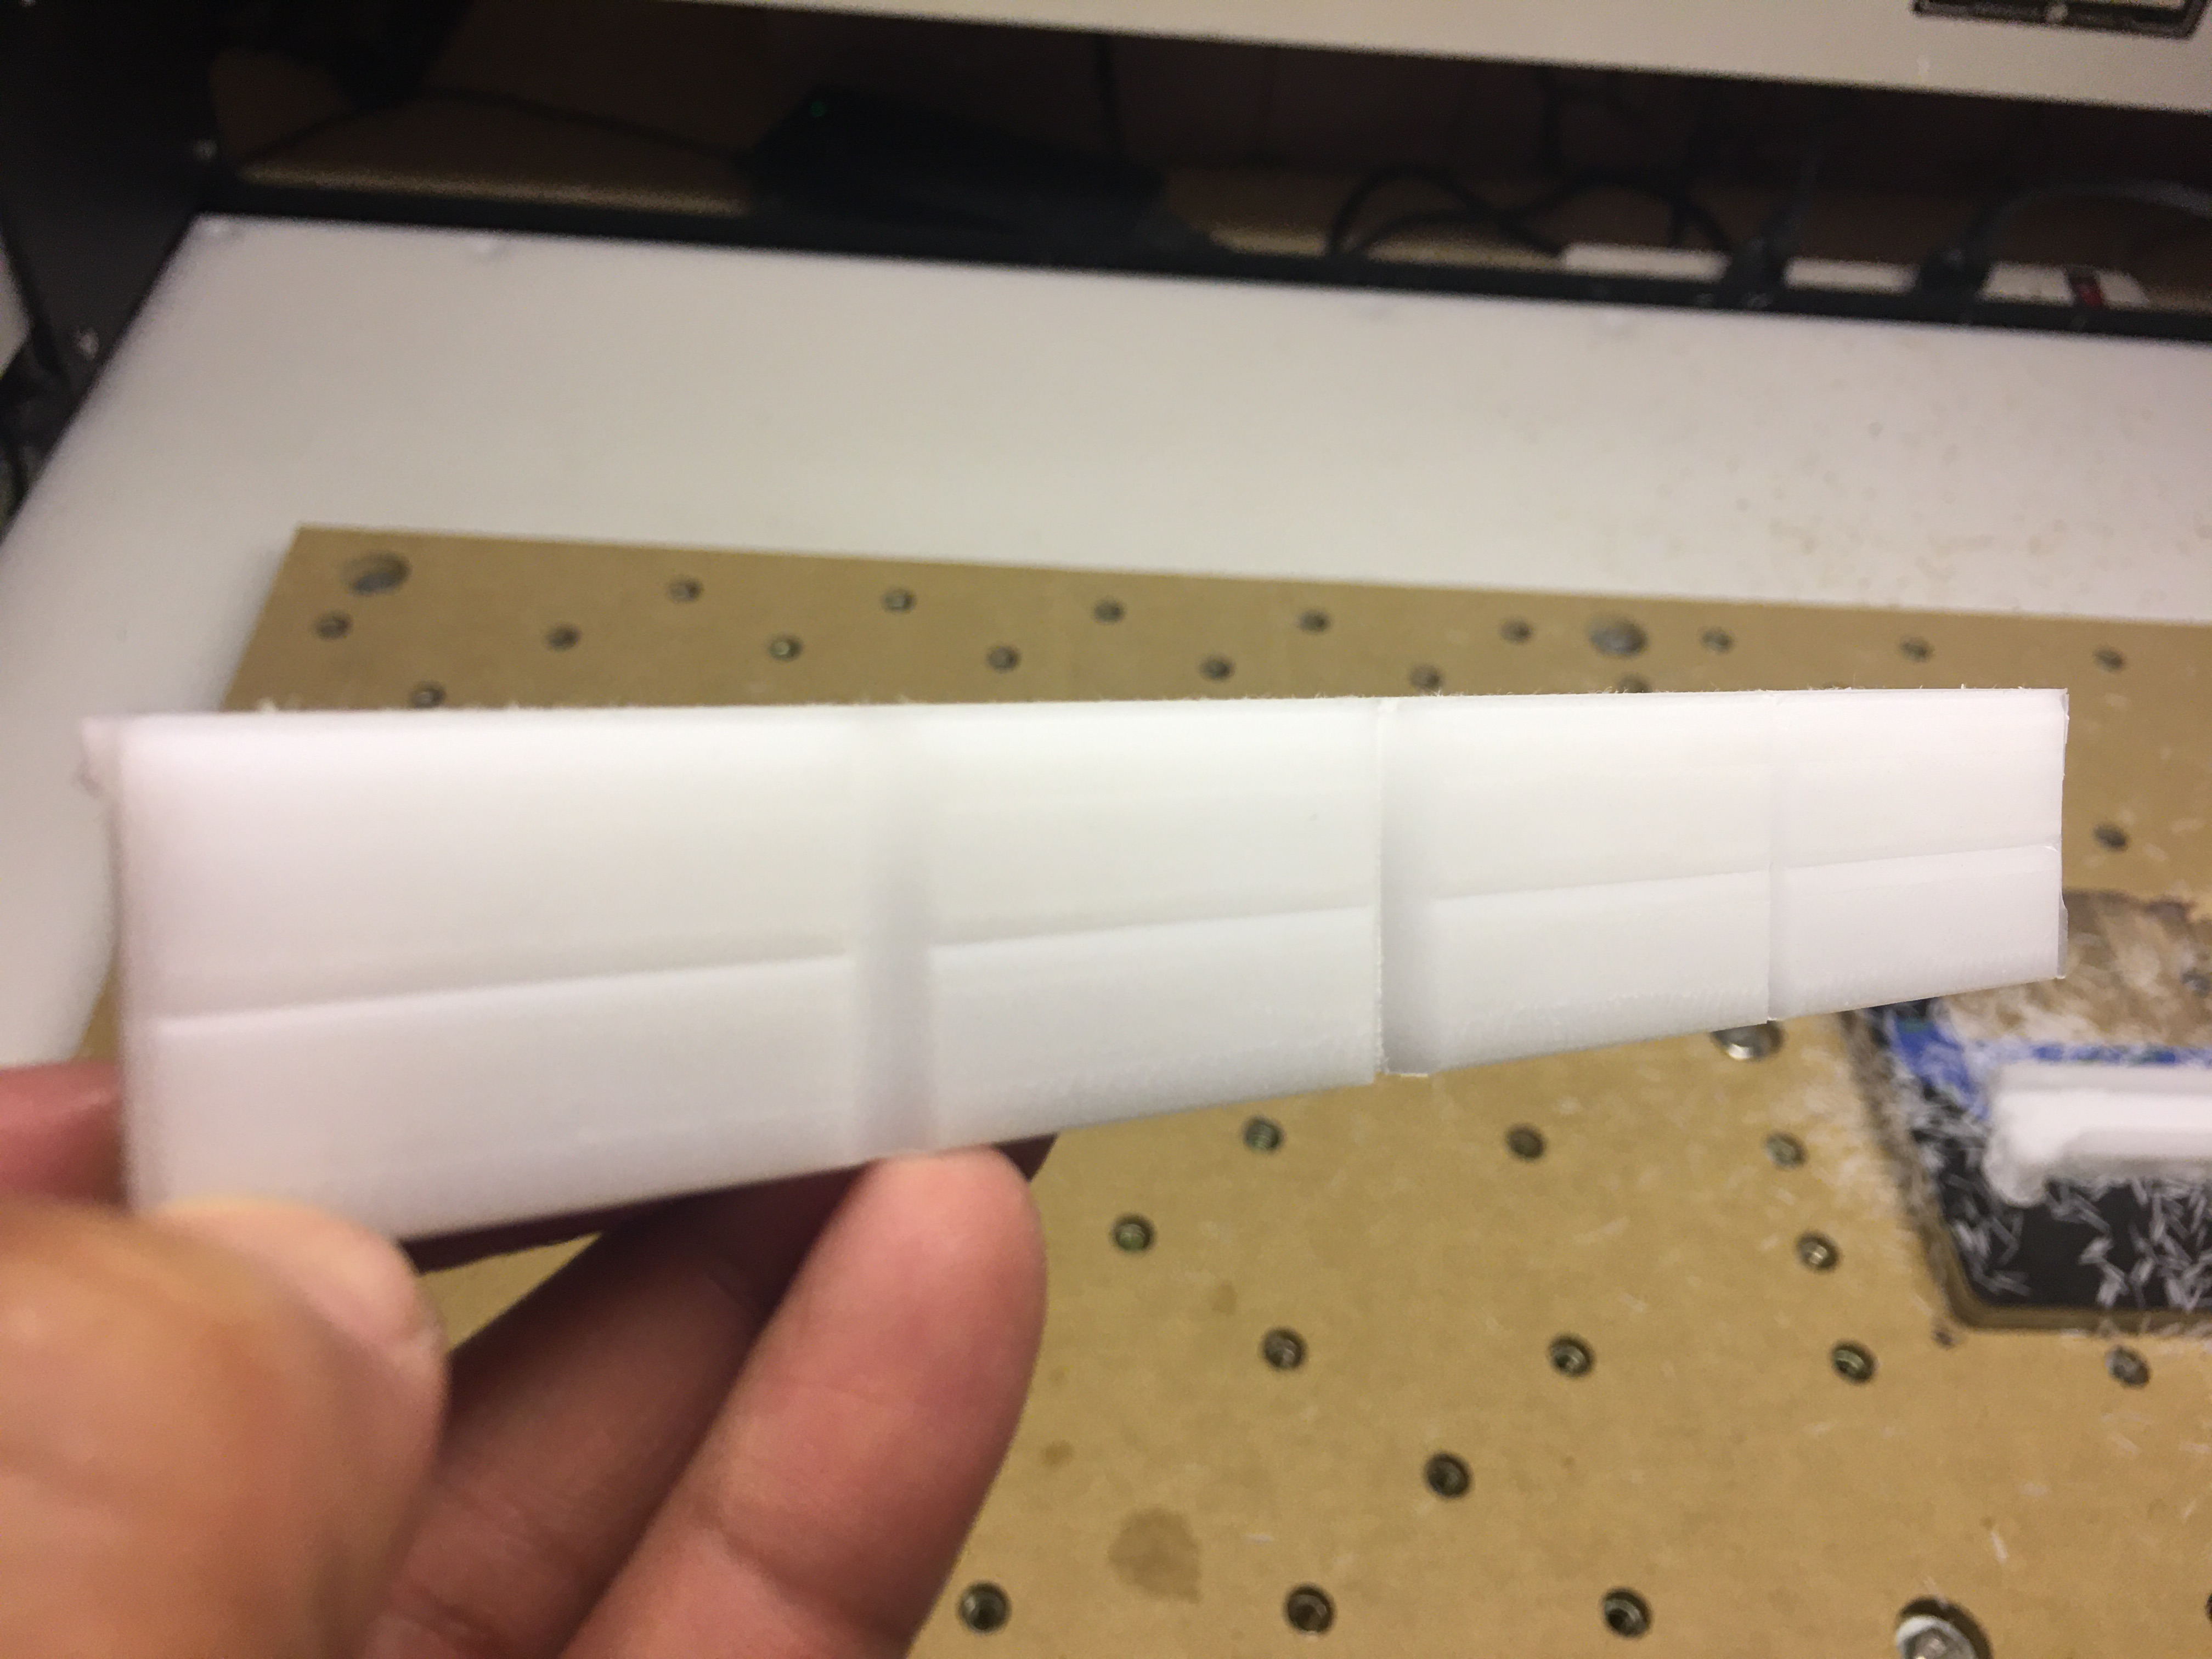
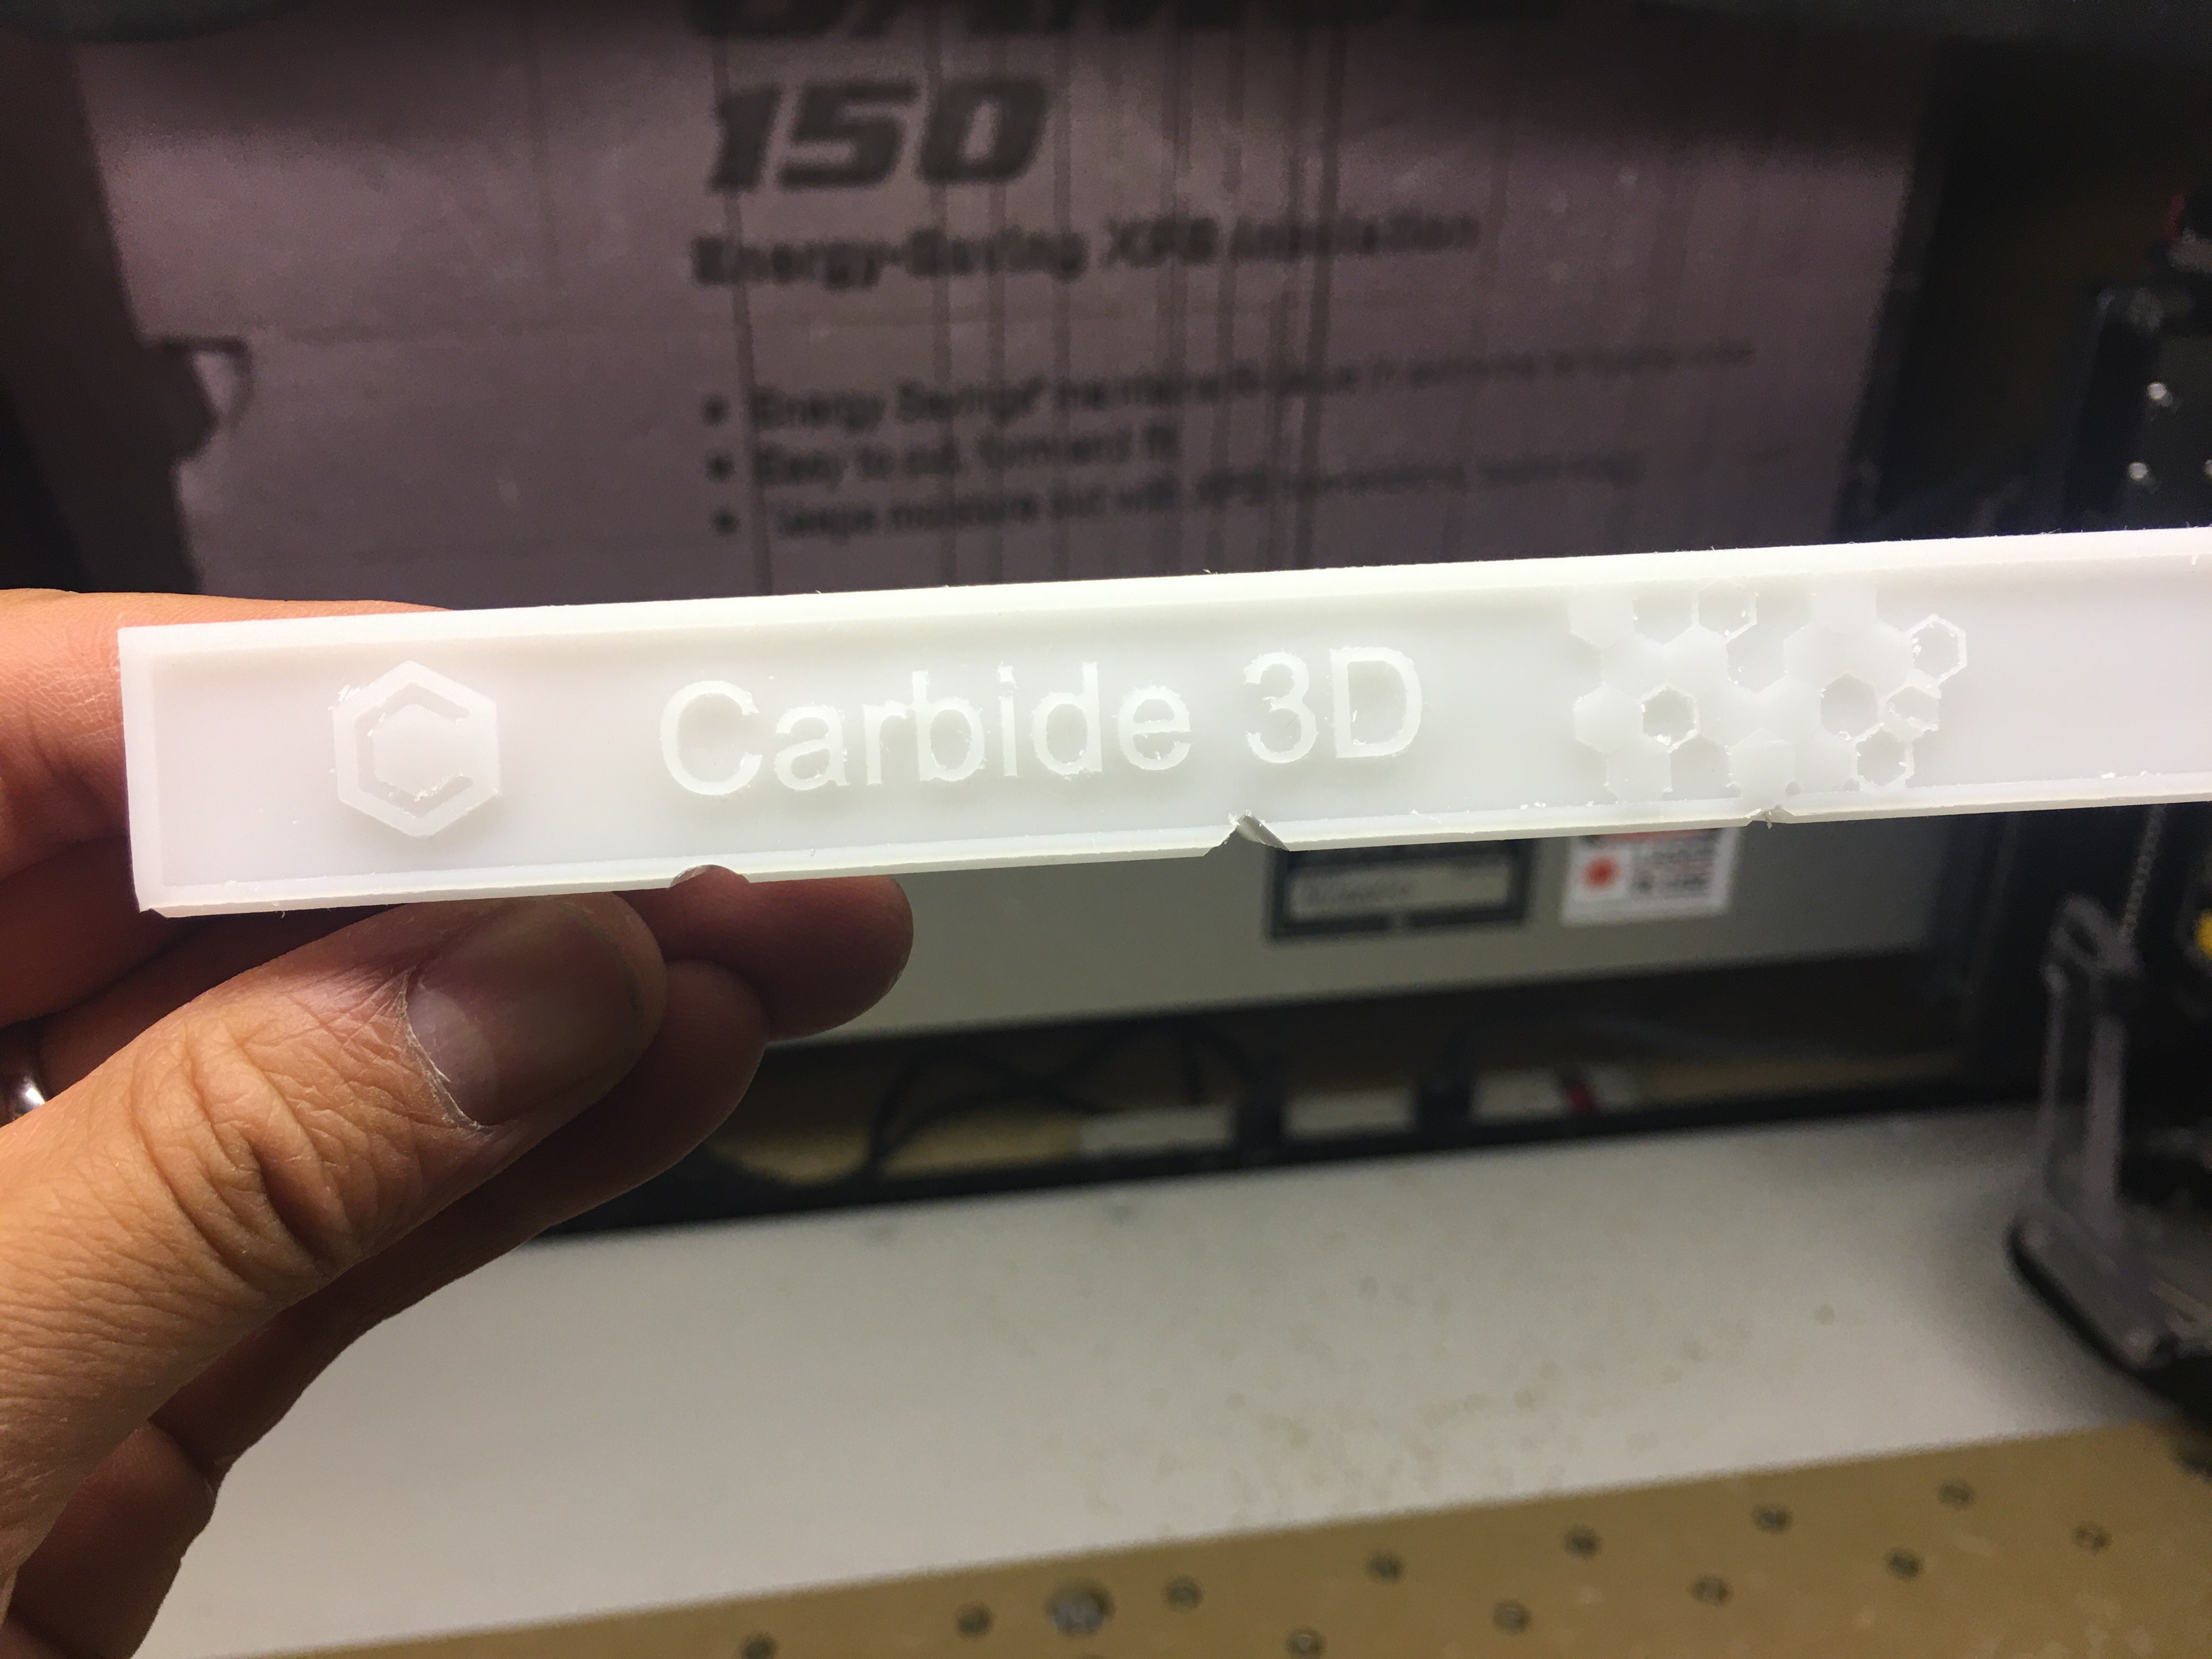
I went full plastic on this one. The lamp is made of white expanded PVC (0.75” & 0.5”), translucent light diffusing 3mm cast acrylic, and cellophane sheets.
First, the final result:

Started with some options for the design (to run by the bosses) in Inkscape.

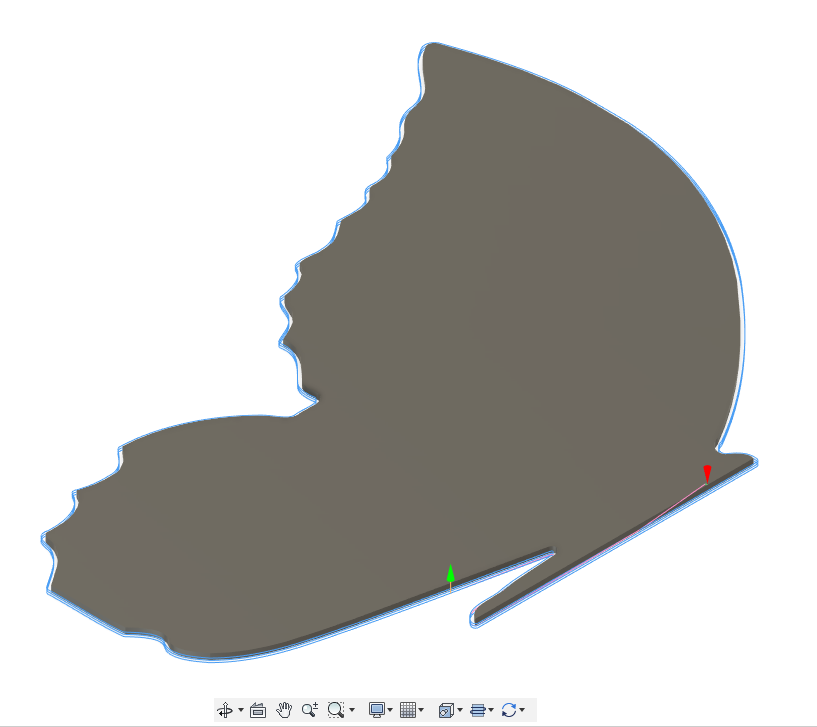
Made sure the bottom was flattened and everything was symmetrical. Ended up deciding against the antennae because they would ultimately be broken (by kids, not during machining). Boss didn’t approve of that decision, so I gave her a compromise that I knew she’d like.
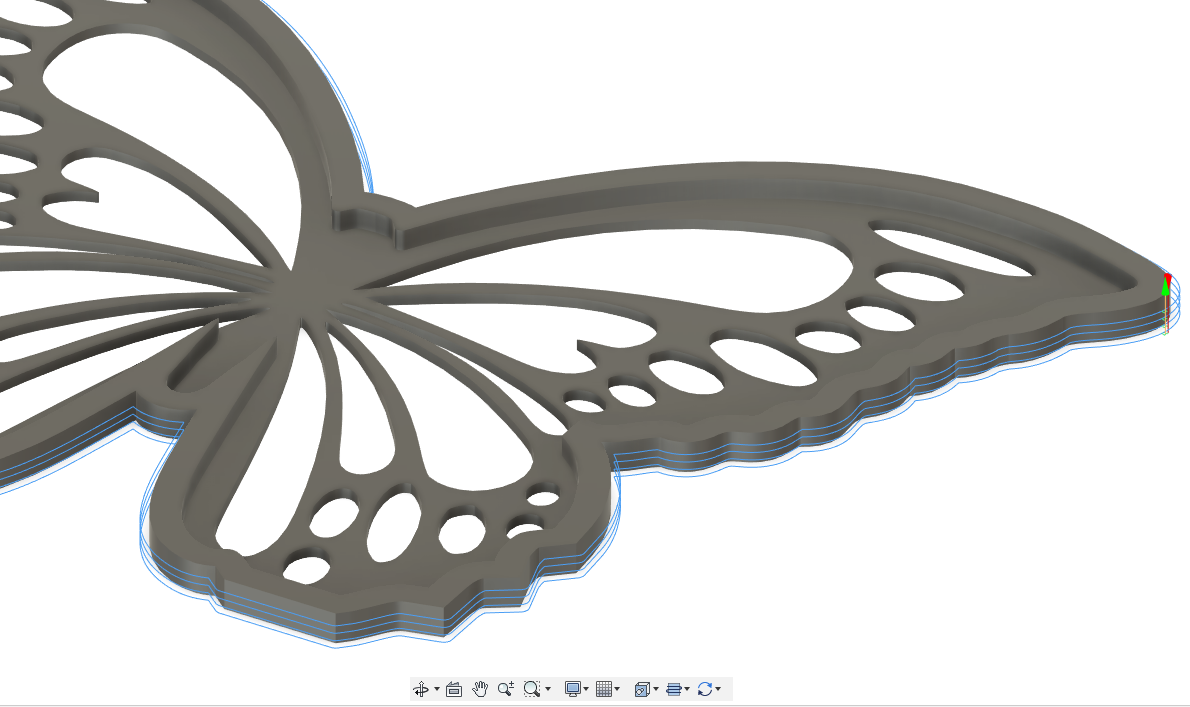
Pulled the SVG into Fusion for the final CAD, but mostly just the CAM. Inkscape was the design workhorse on this one.

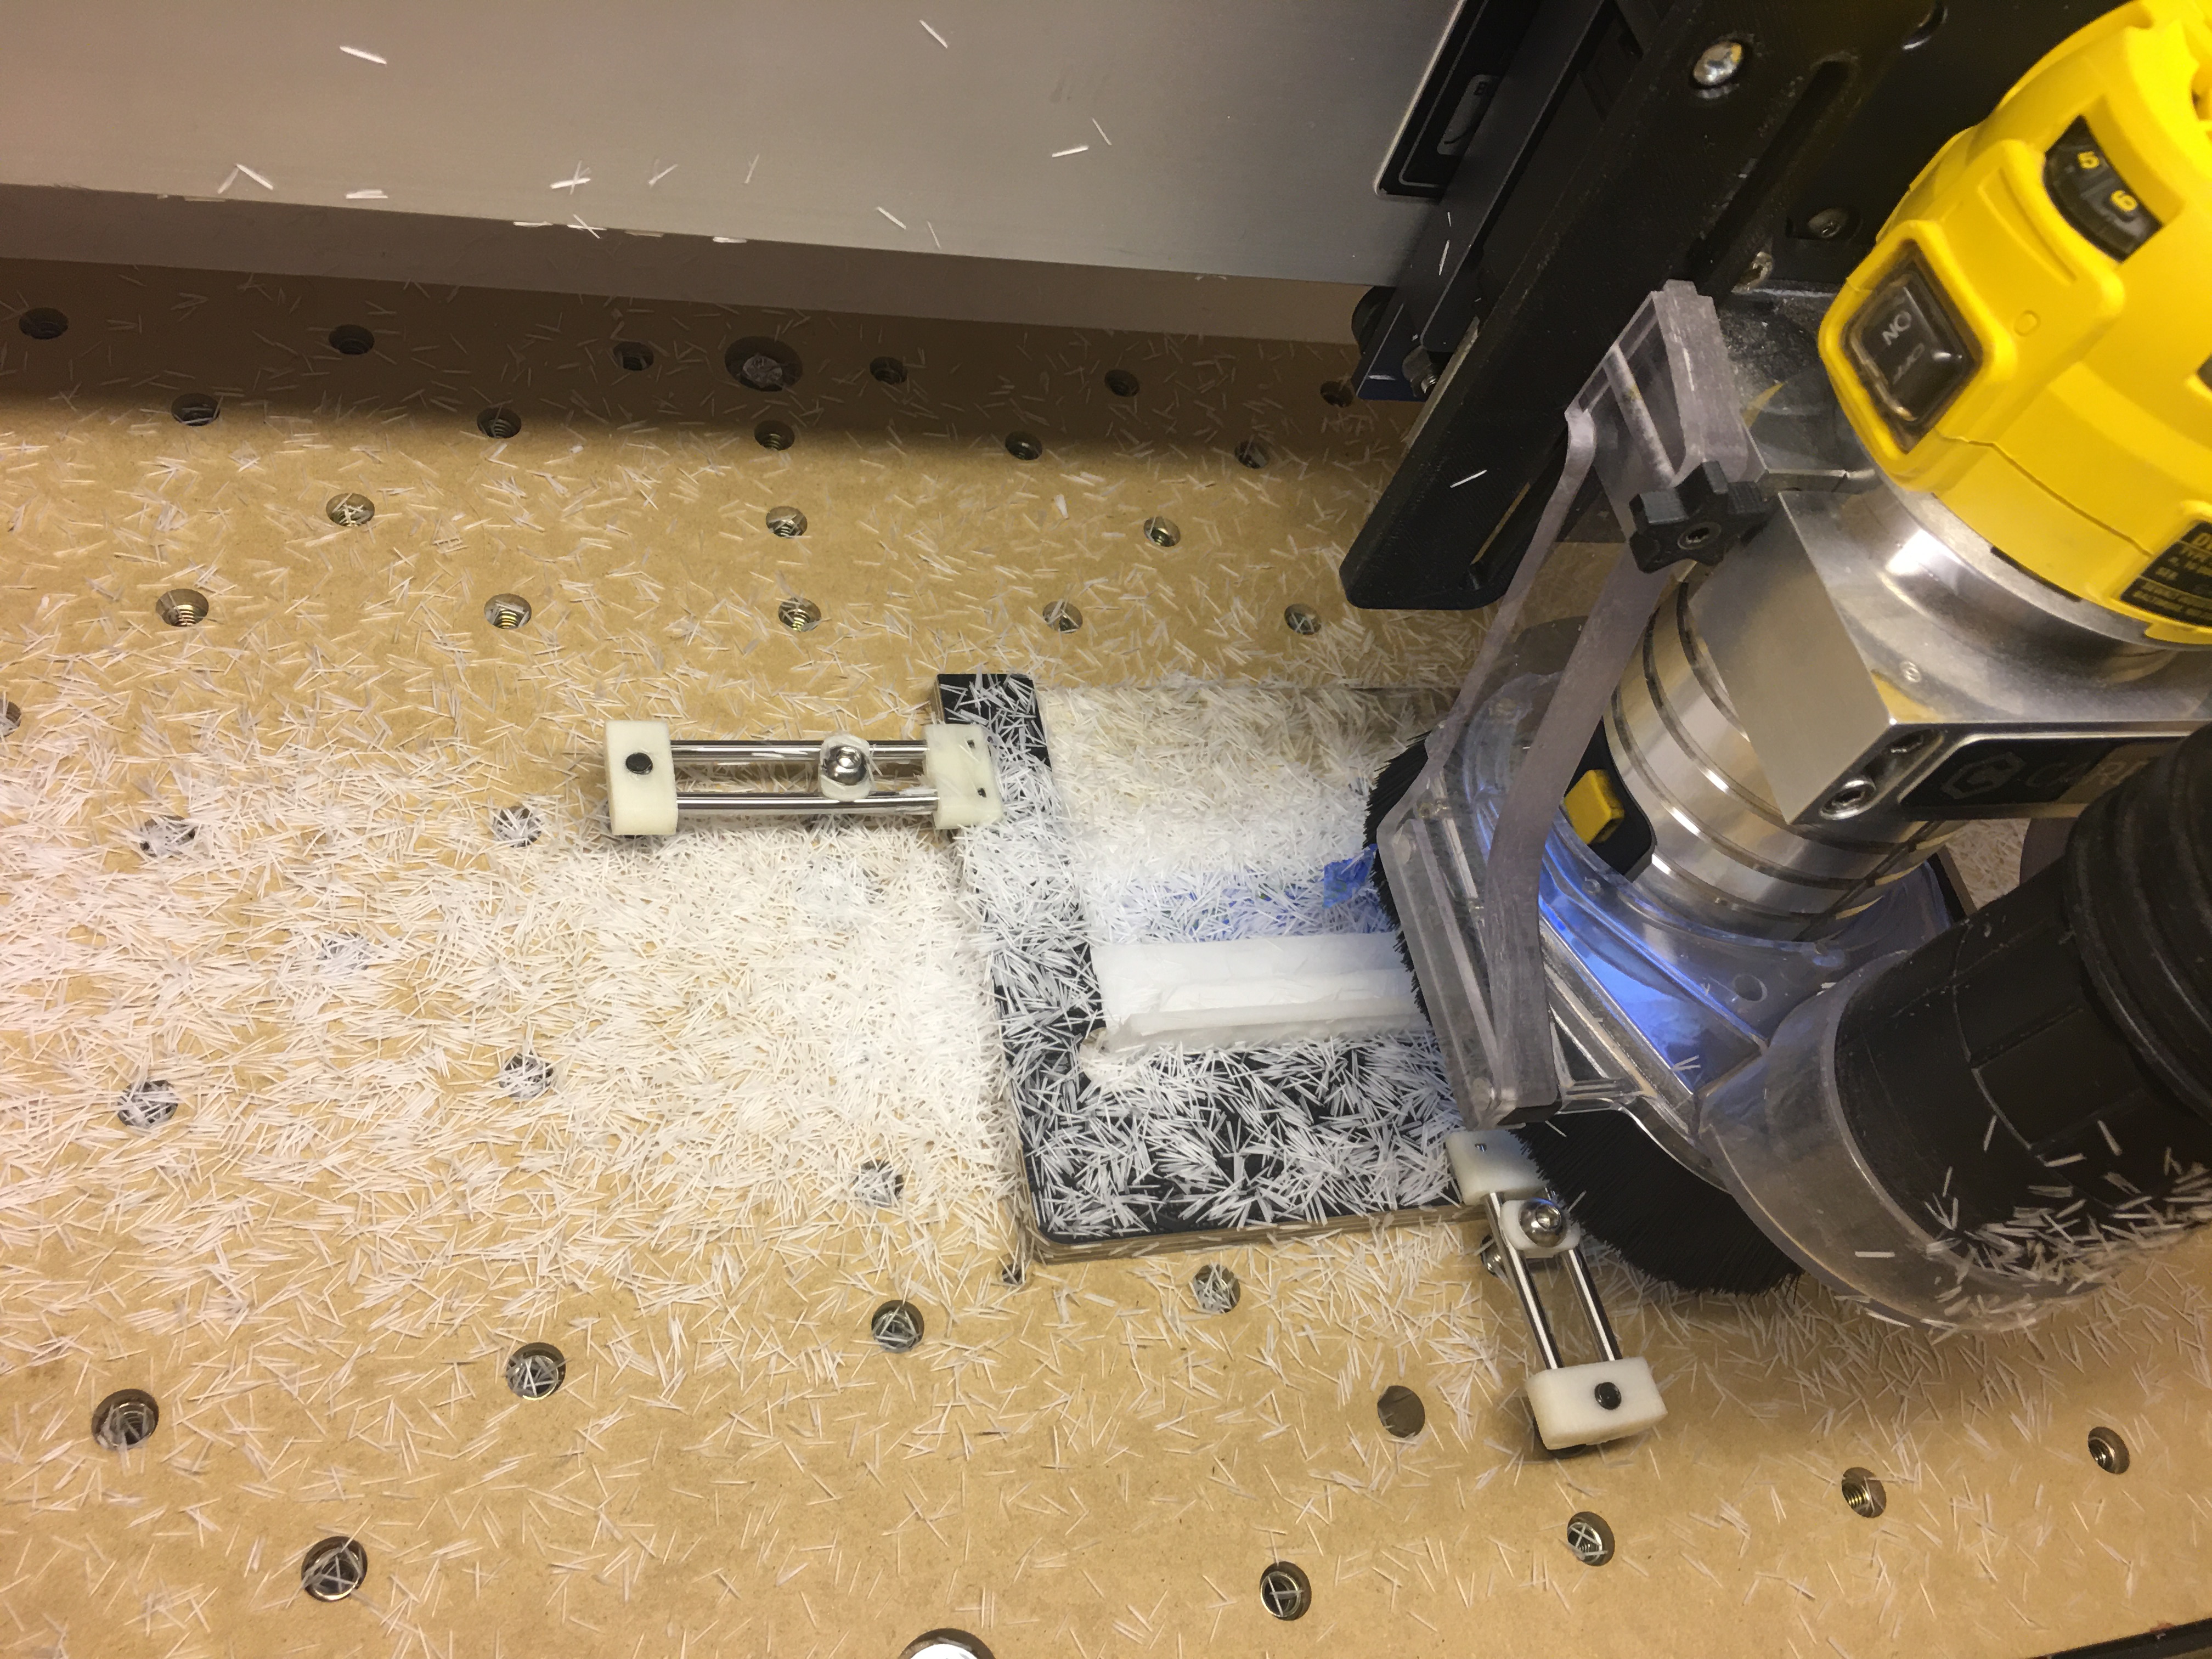
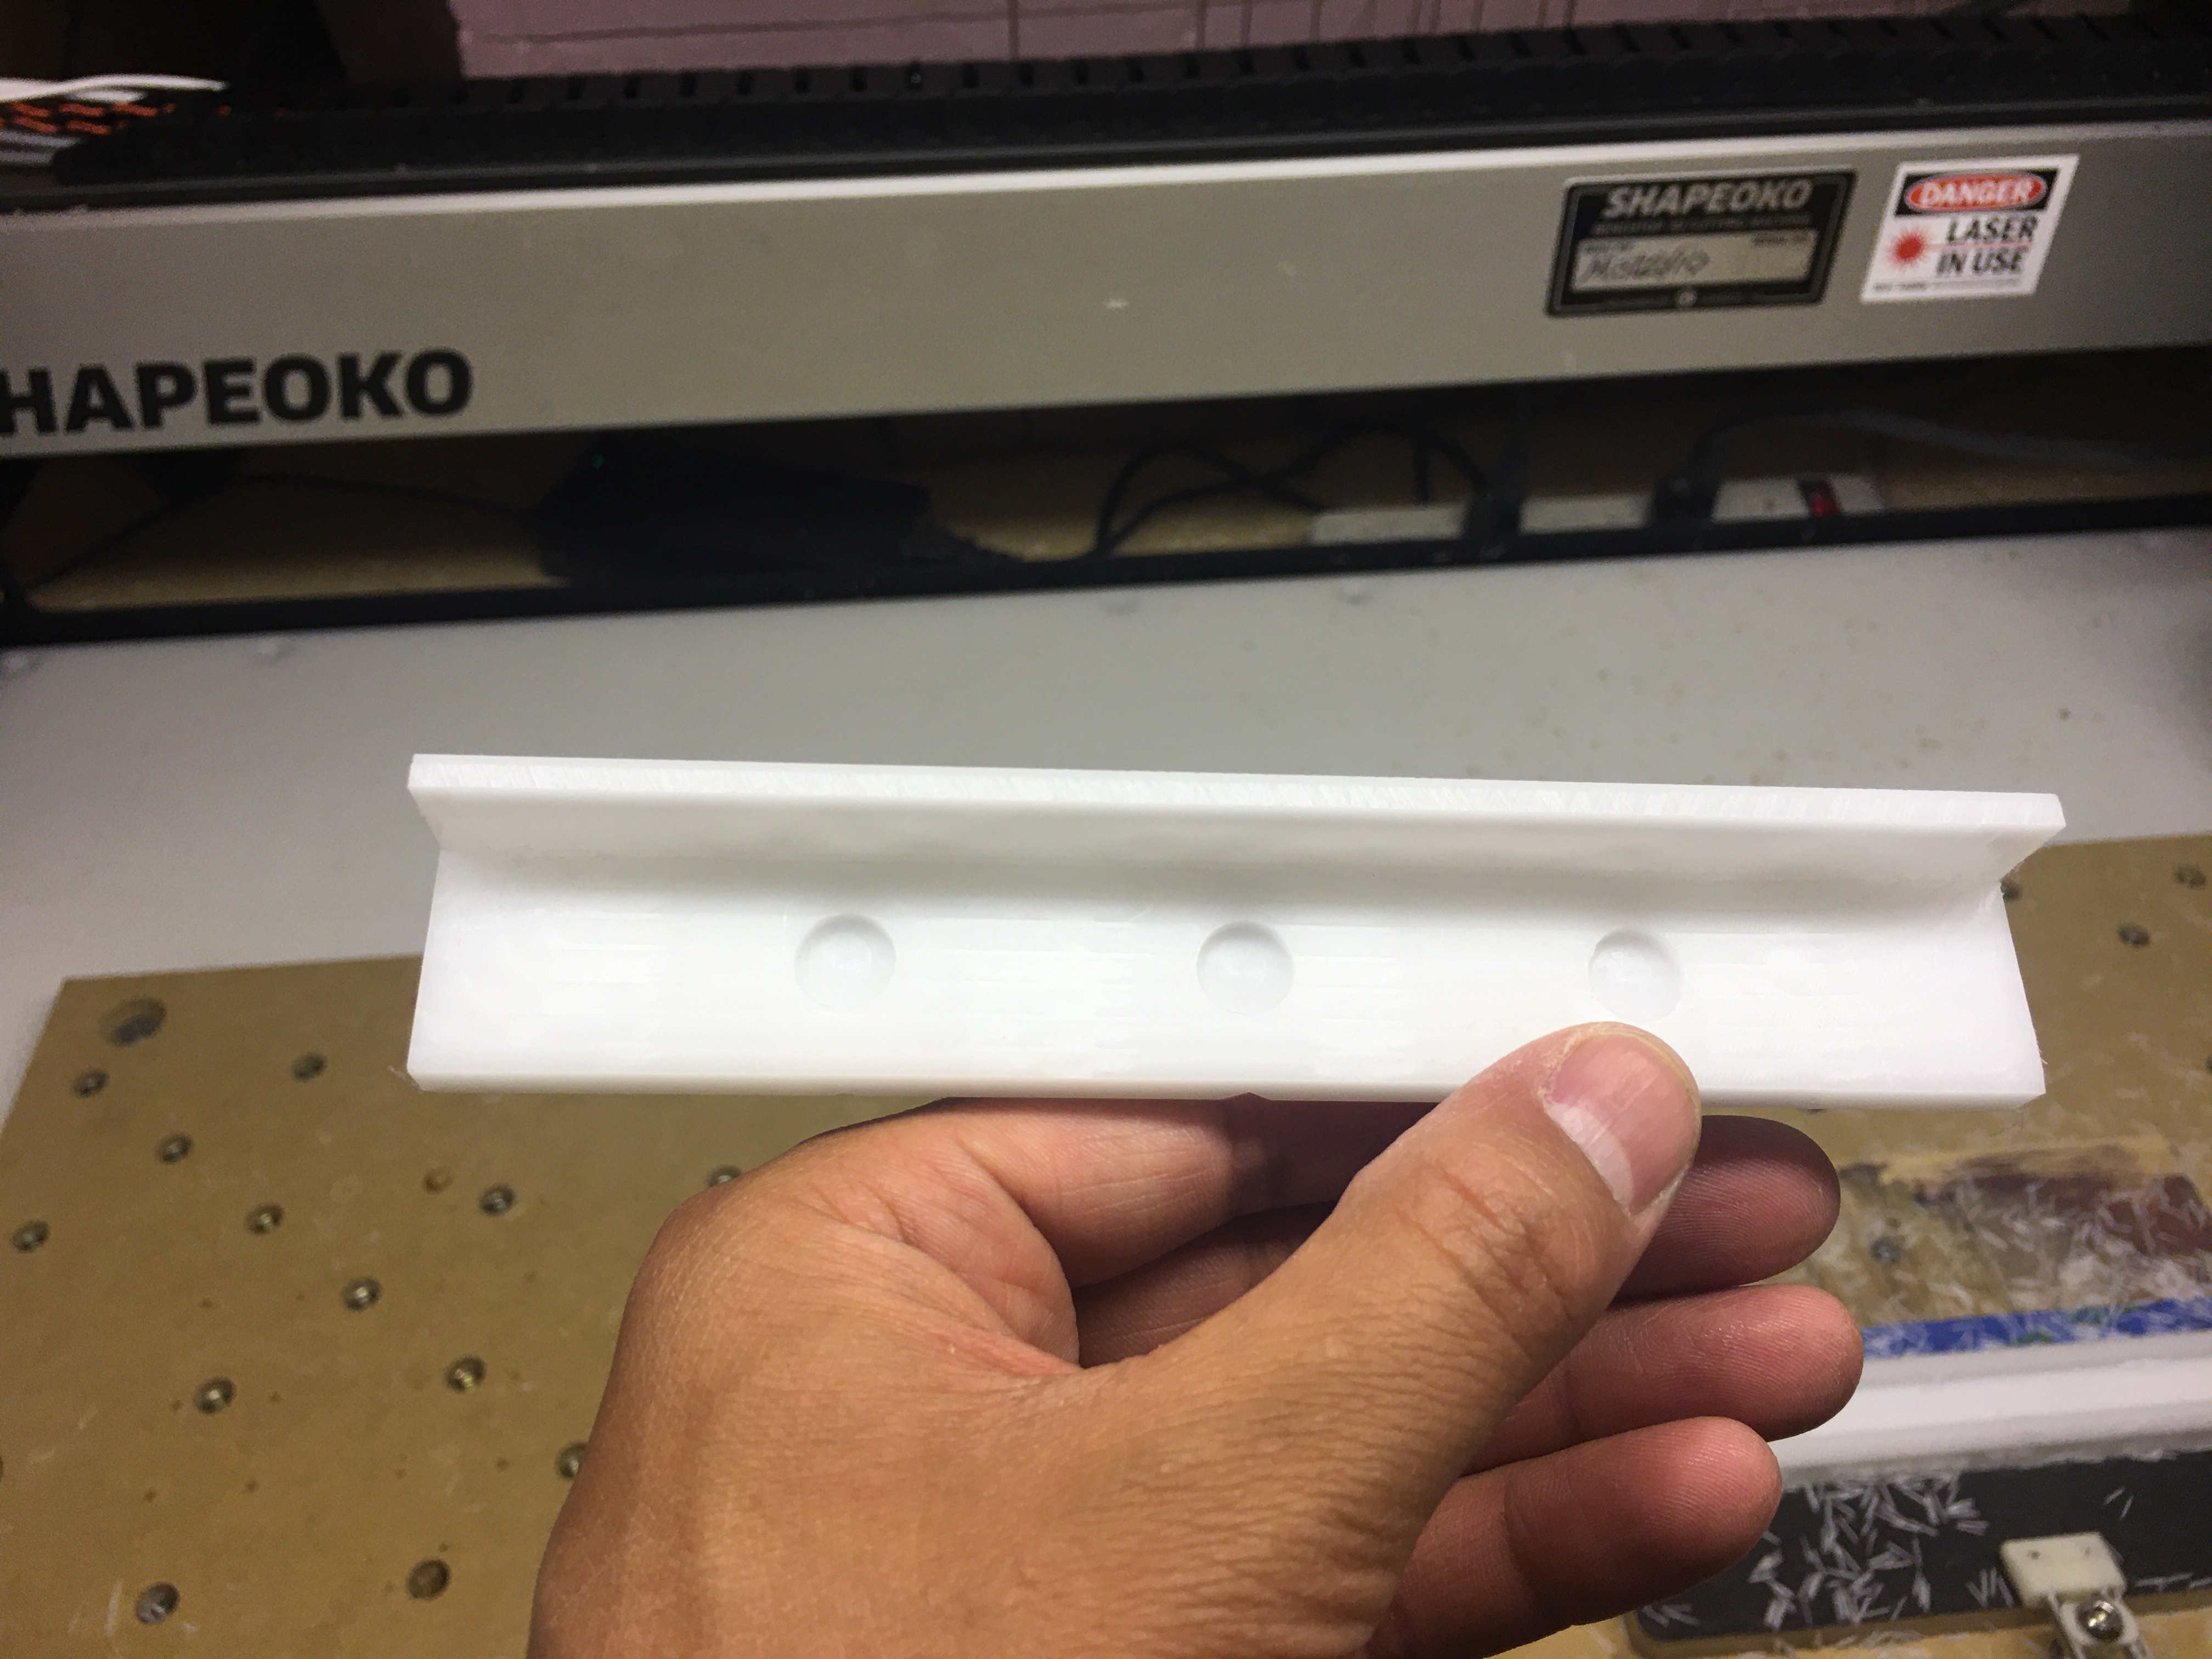
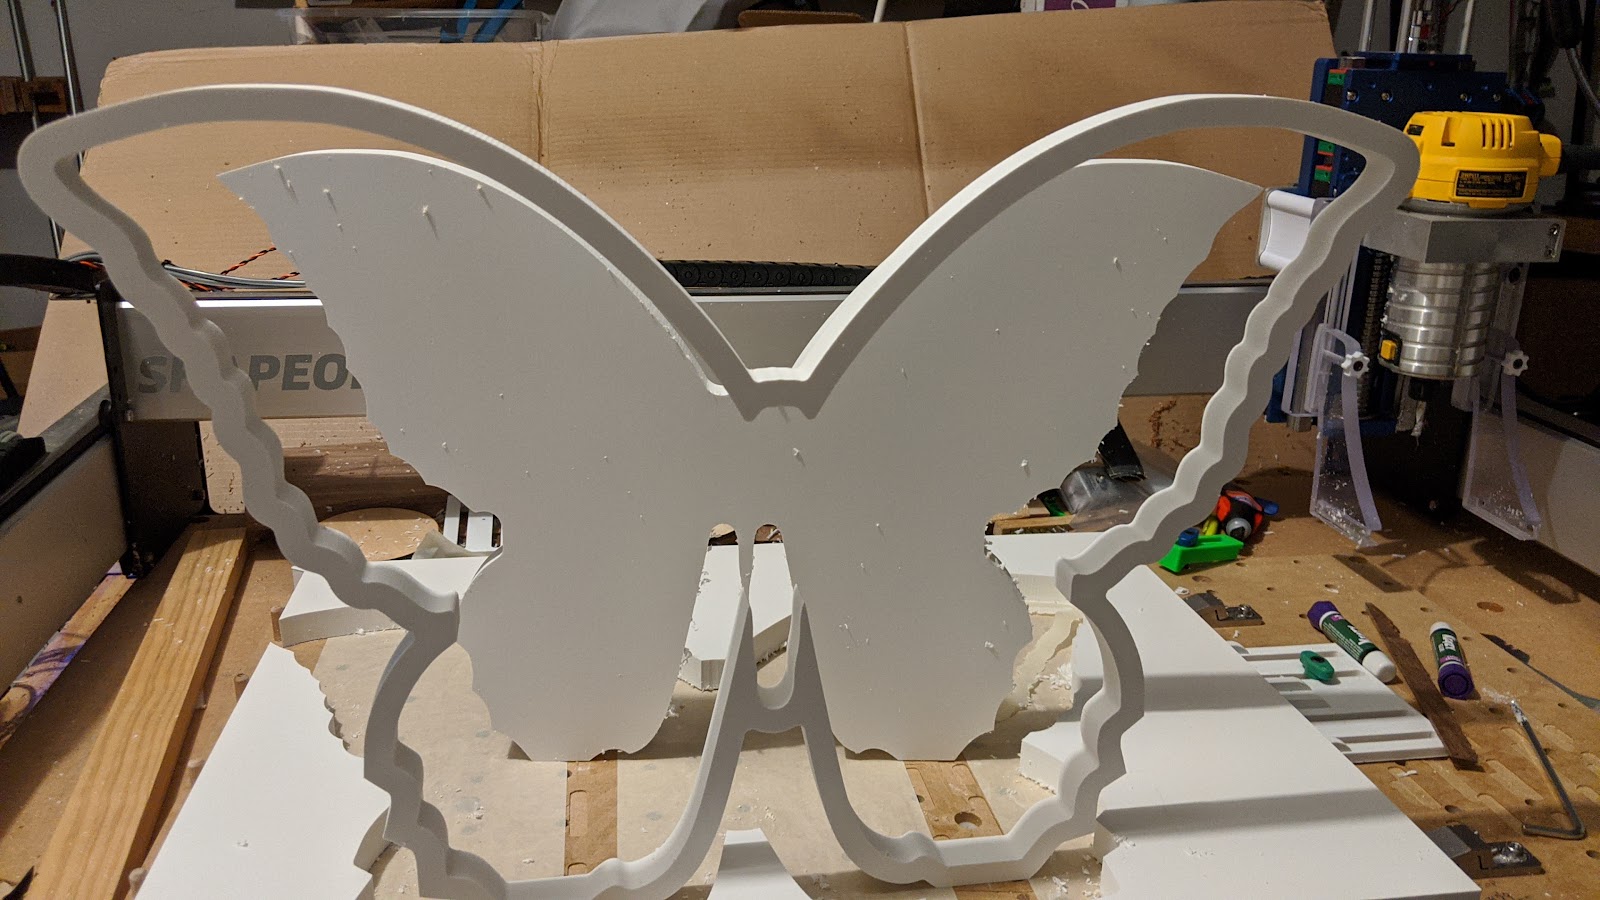
Front was made from a sheet of ½” PVC. I pocketed the inside to a depth of 8mm using an adaptive toolpath.
¼” Single Flute
Feed: 2500mm/min (could definitely do 3500)
Speed: Dewalt on two-ish
DOC: Full 8mm

Followed that with contours to clean the inner perimeter, cut the holes, and cut the part out.


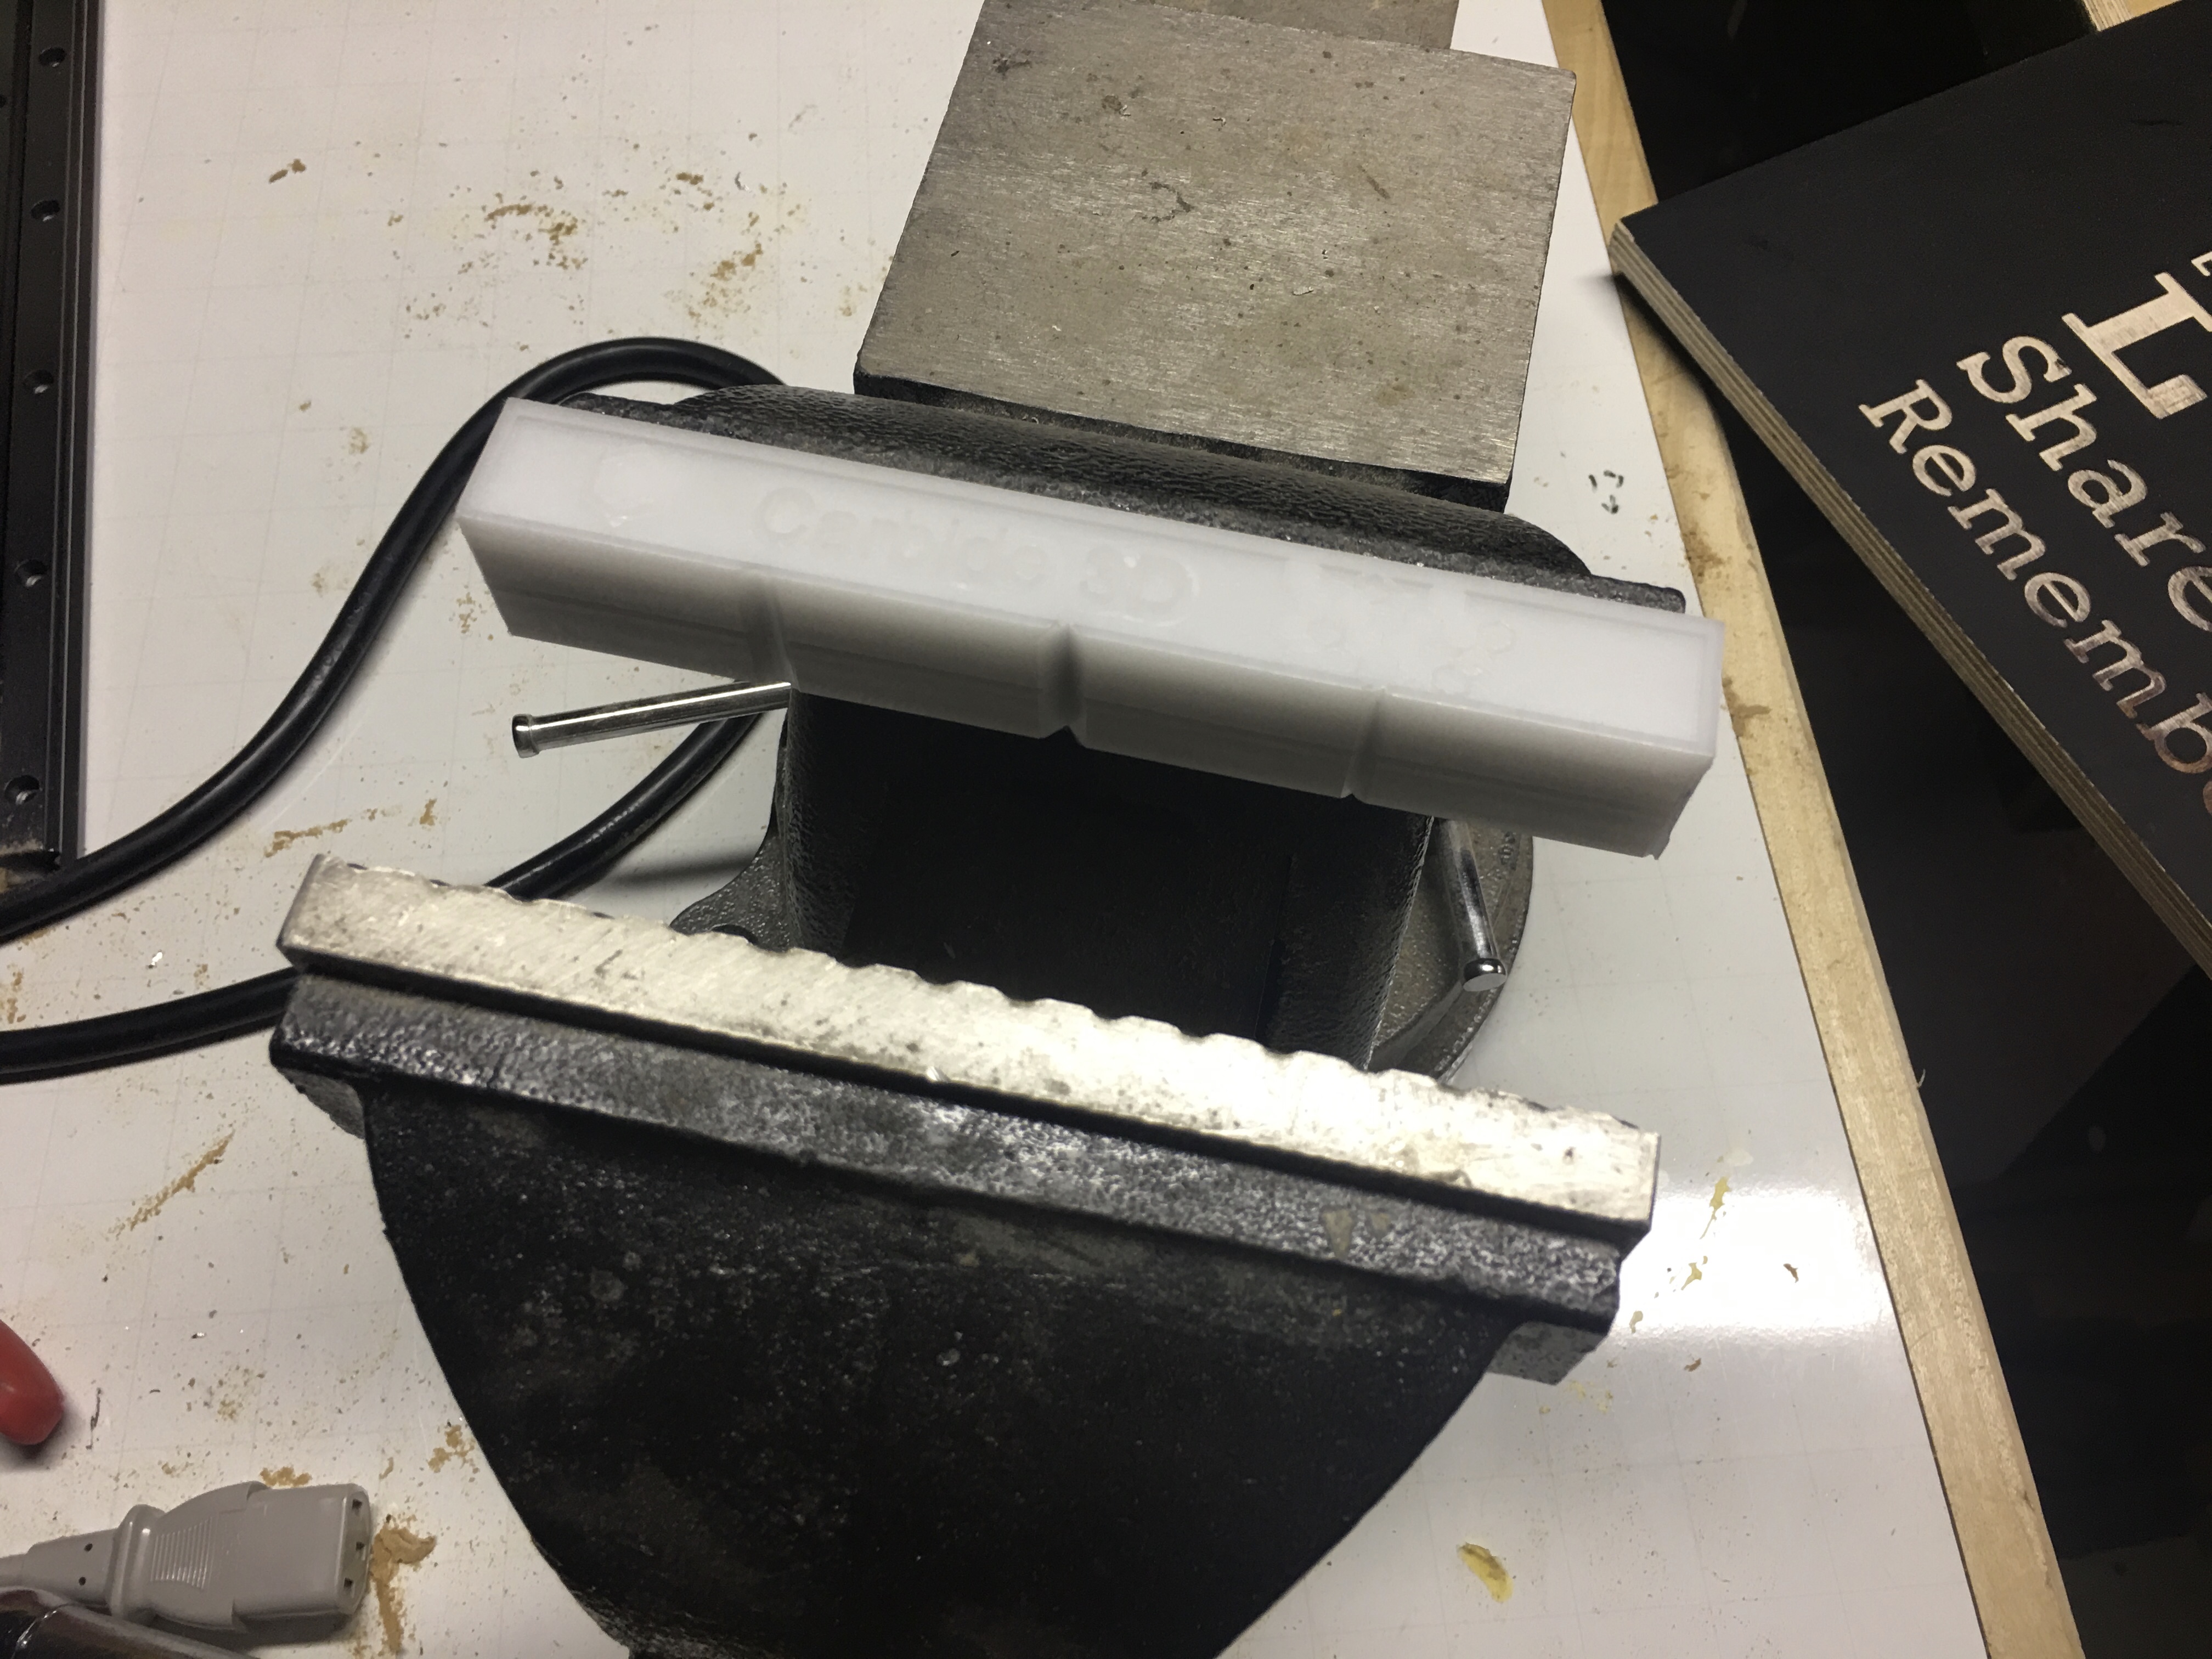
The middle piece is ¾” PVC just to add thickness, so it is just an “outline”.

I was a little nervous about this middle part becoming really flexible, and I tried out the “Thin Wall” feature in Fusion 360. Basically, it alternates machining inside and outside profiles to keep the forces balanced….kinda cool. It’s really meant for machining super thin metal features, but definitely something that I hope to remember.
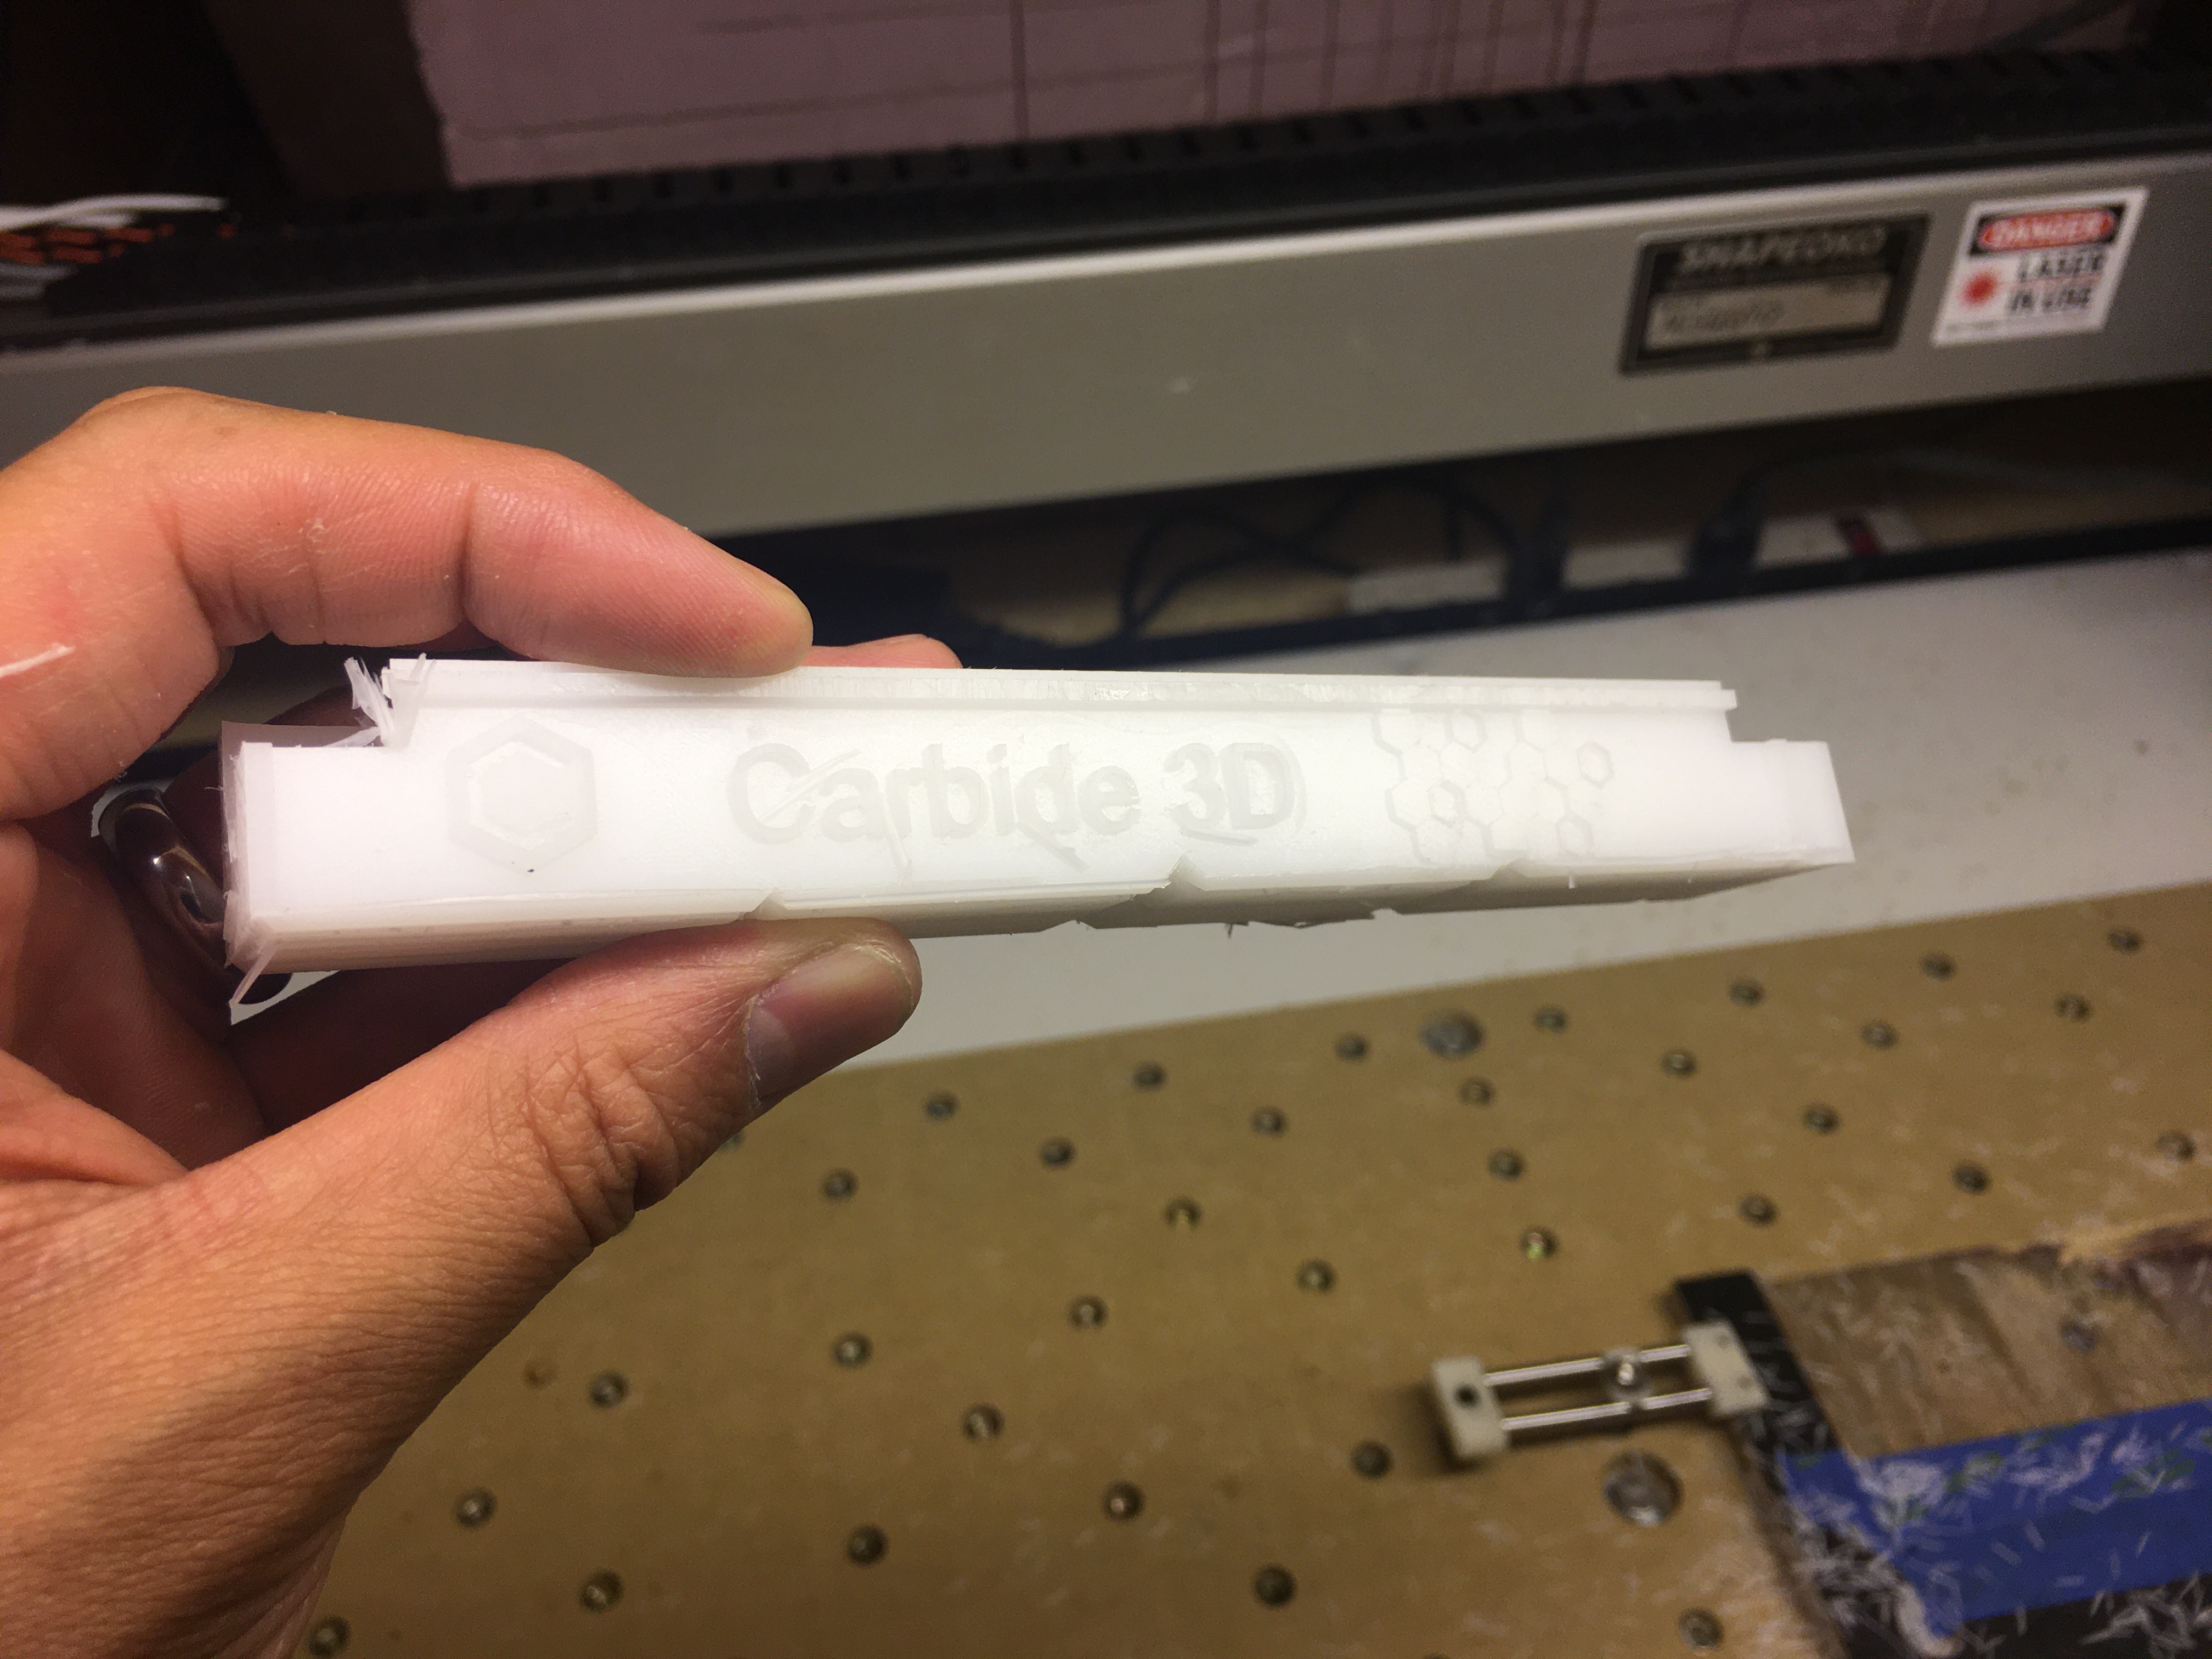
The back is also ¾” PVC. This is similar to the front without the holes.

Cut full depth (15mm) with an adaptive toolpath at 3000mm/min…Love watching it cut PVC!

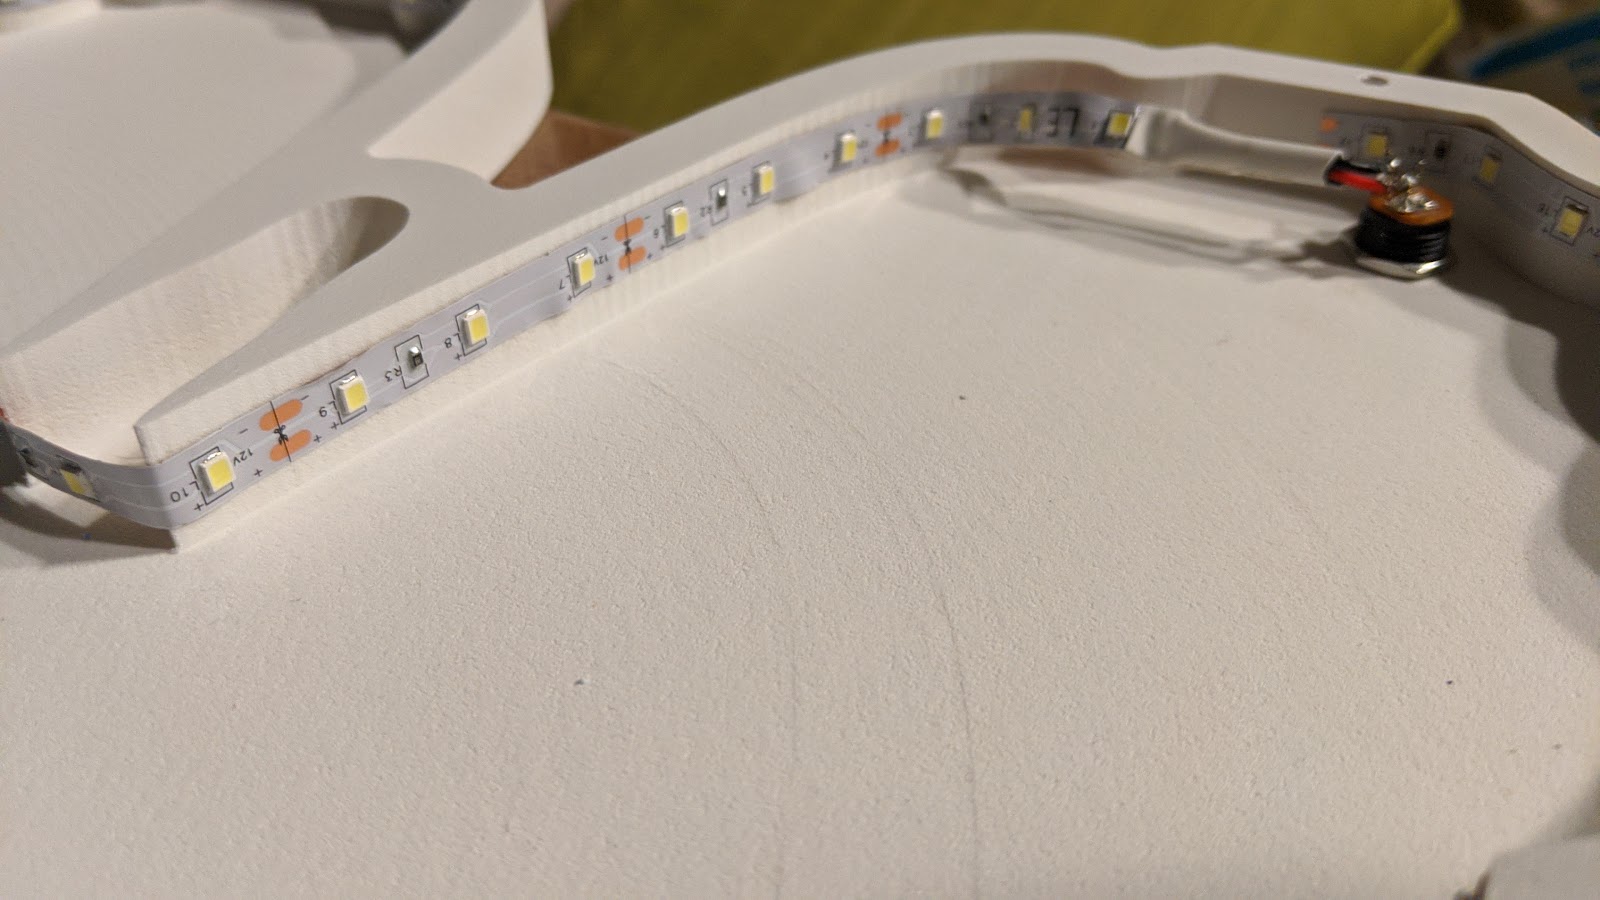
Used an external, inline switch on this one, so I just soldered the bright white led strip straight to a barrel connector and ran them around the perimeter.

After that, I cut the acrylic using the same method I used in the other entries. I cut the halves separately because of a changed plan on trying to add the cellophane. Cast acrylic cuts really well.
⅛” single flute upcut endmill (cheap one)
Feedrate: 3210 mm/min
Plunge: 888 mm/min
DOC: 1mm
The HARD part:
To make the openings different colors, I used super thin cellophane sheets. This part made me sweat. It’s like doing a complex glue-up with fast adhesive and tissue paper.
I used 3M spray adhesive (Super 77), and it was basically a mess, but I got better as I went on and it looks good from the outside!

You can see the holes in the previous pic. I used m4 screws to hold the 3 parts together and keep them aligned. I really don’t like gluing PVC together when profiles have to match…it’s too slippery. In hindsight, I should’ve machined some alignment holes. Clamping and drilling afterward worked well.
Some more pics of the final:
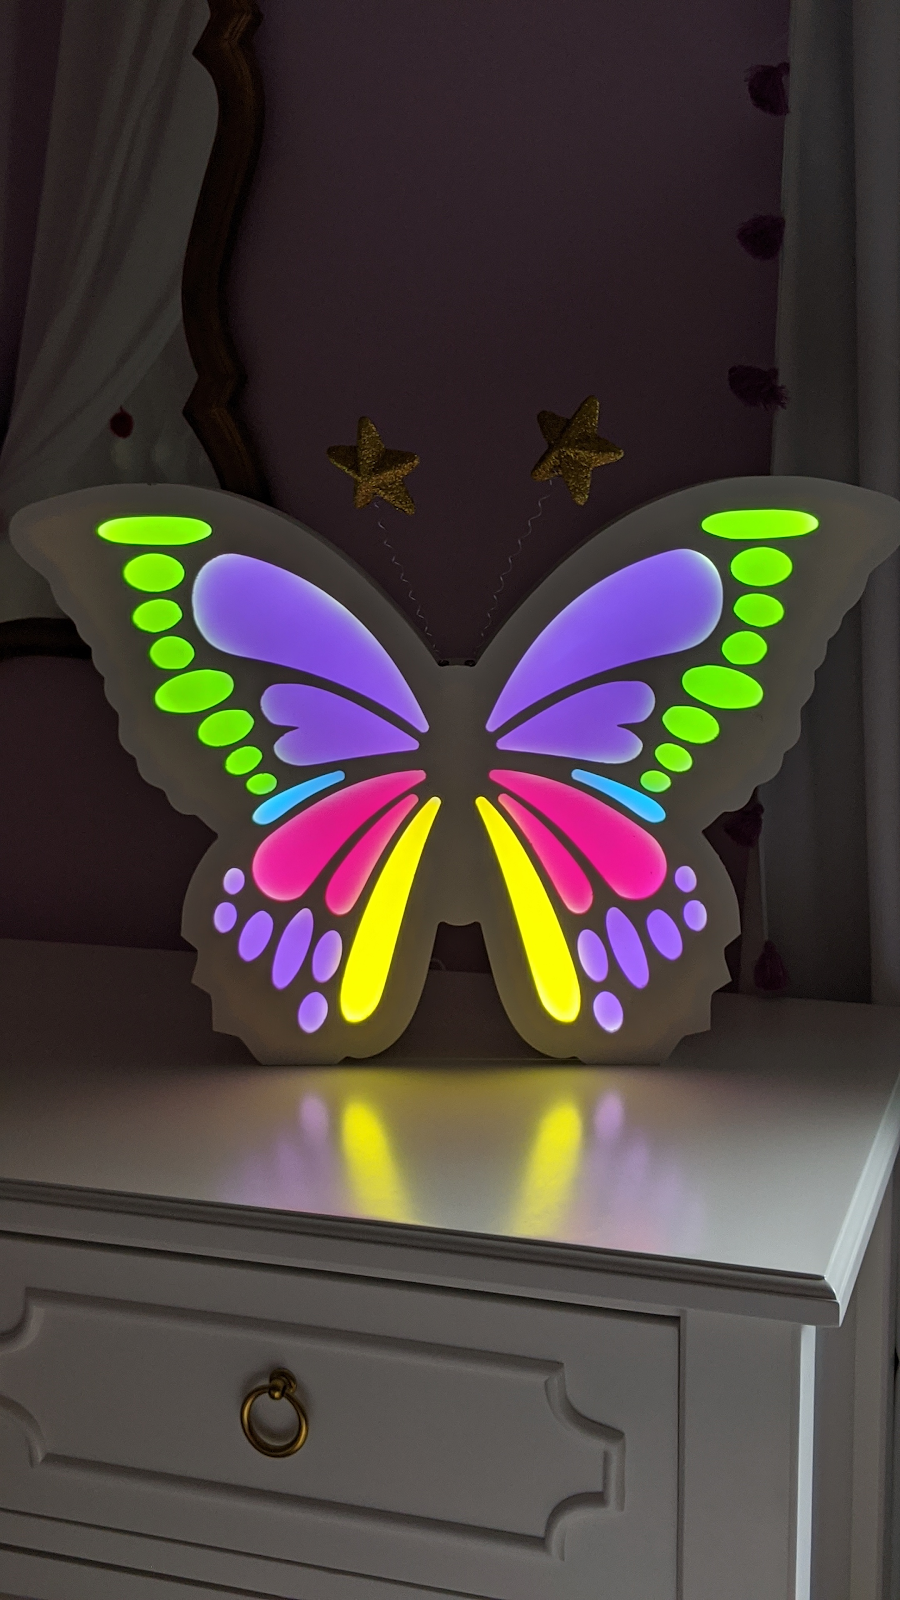
Oh…the antenna. I bought a pack of party favor headbands and let my little girl choose the ones she wanted. These were simply screwed into the appropriate spot.

She loves it!