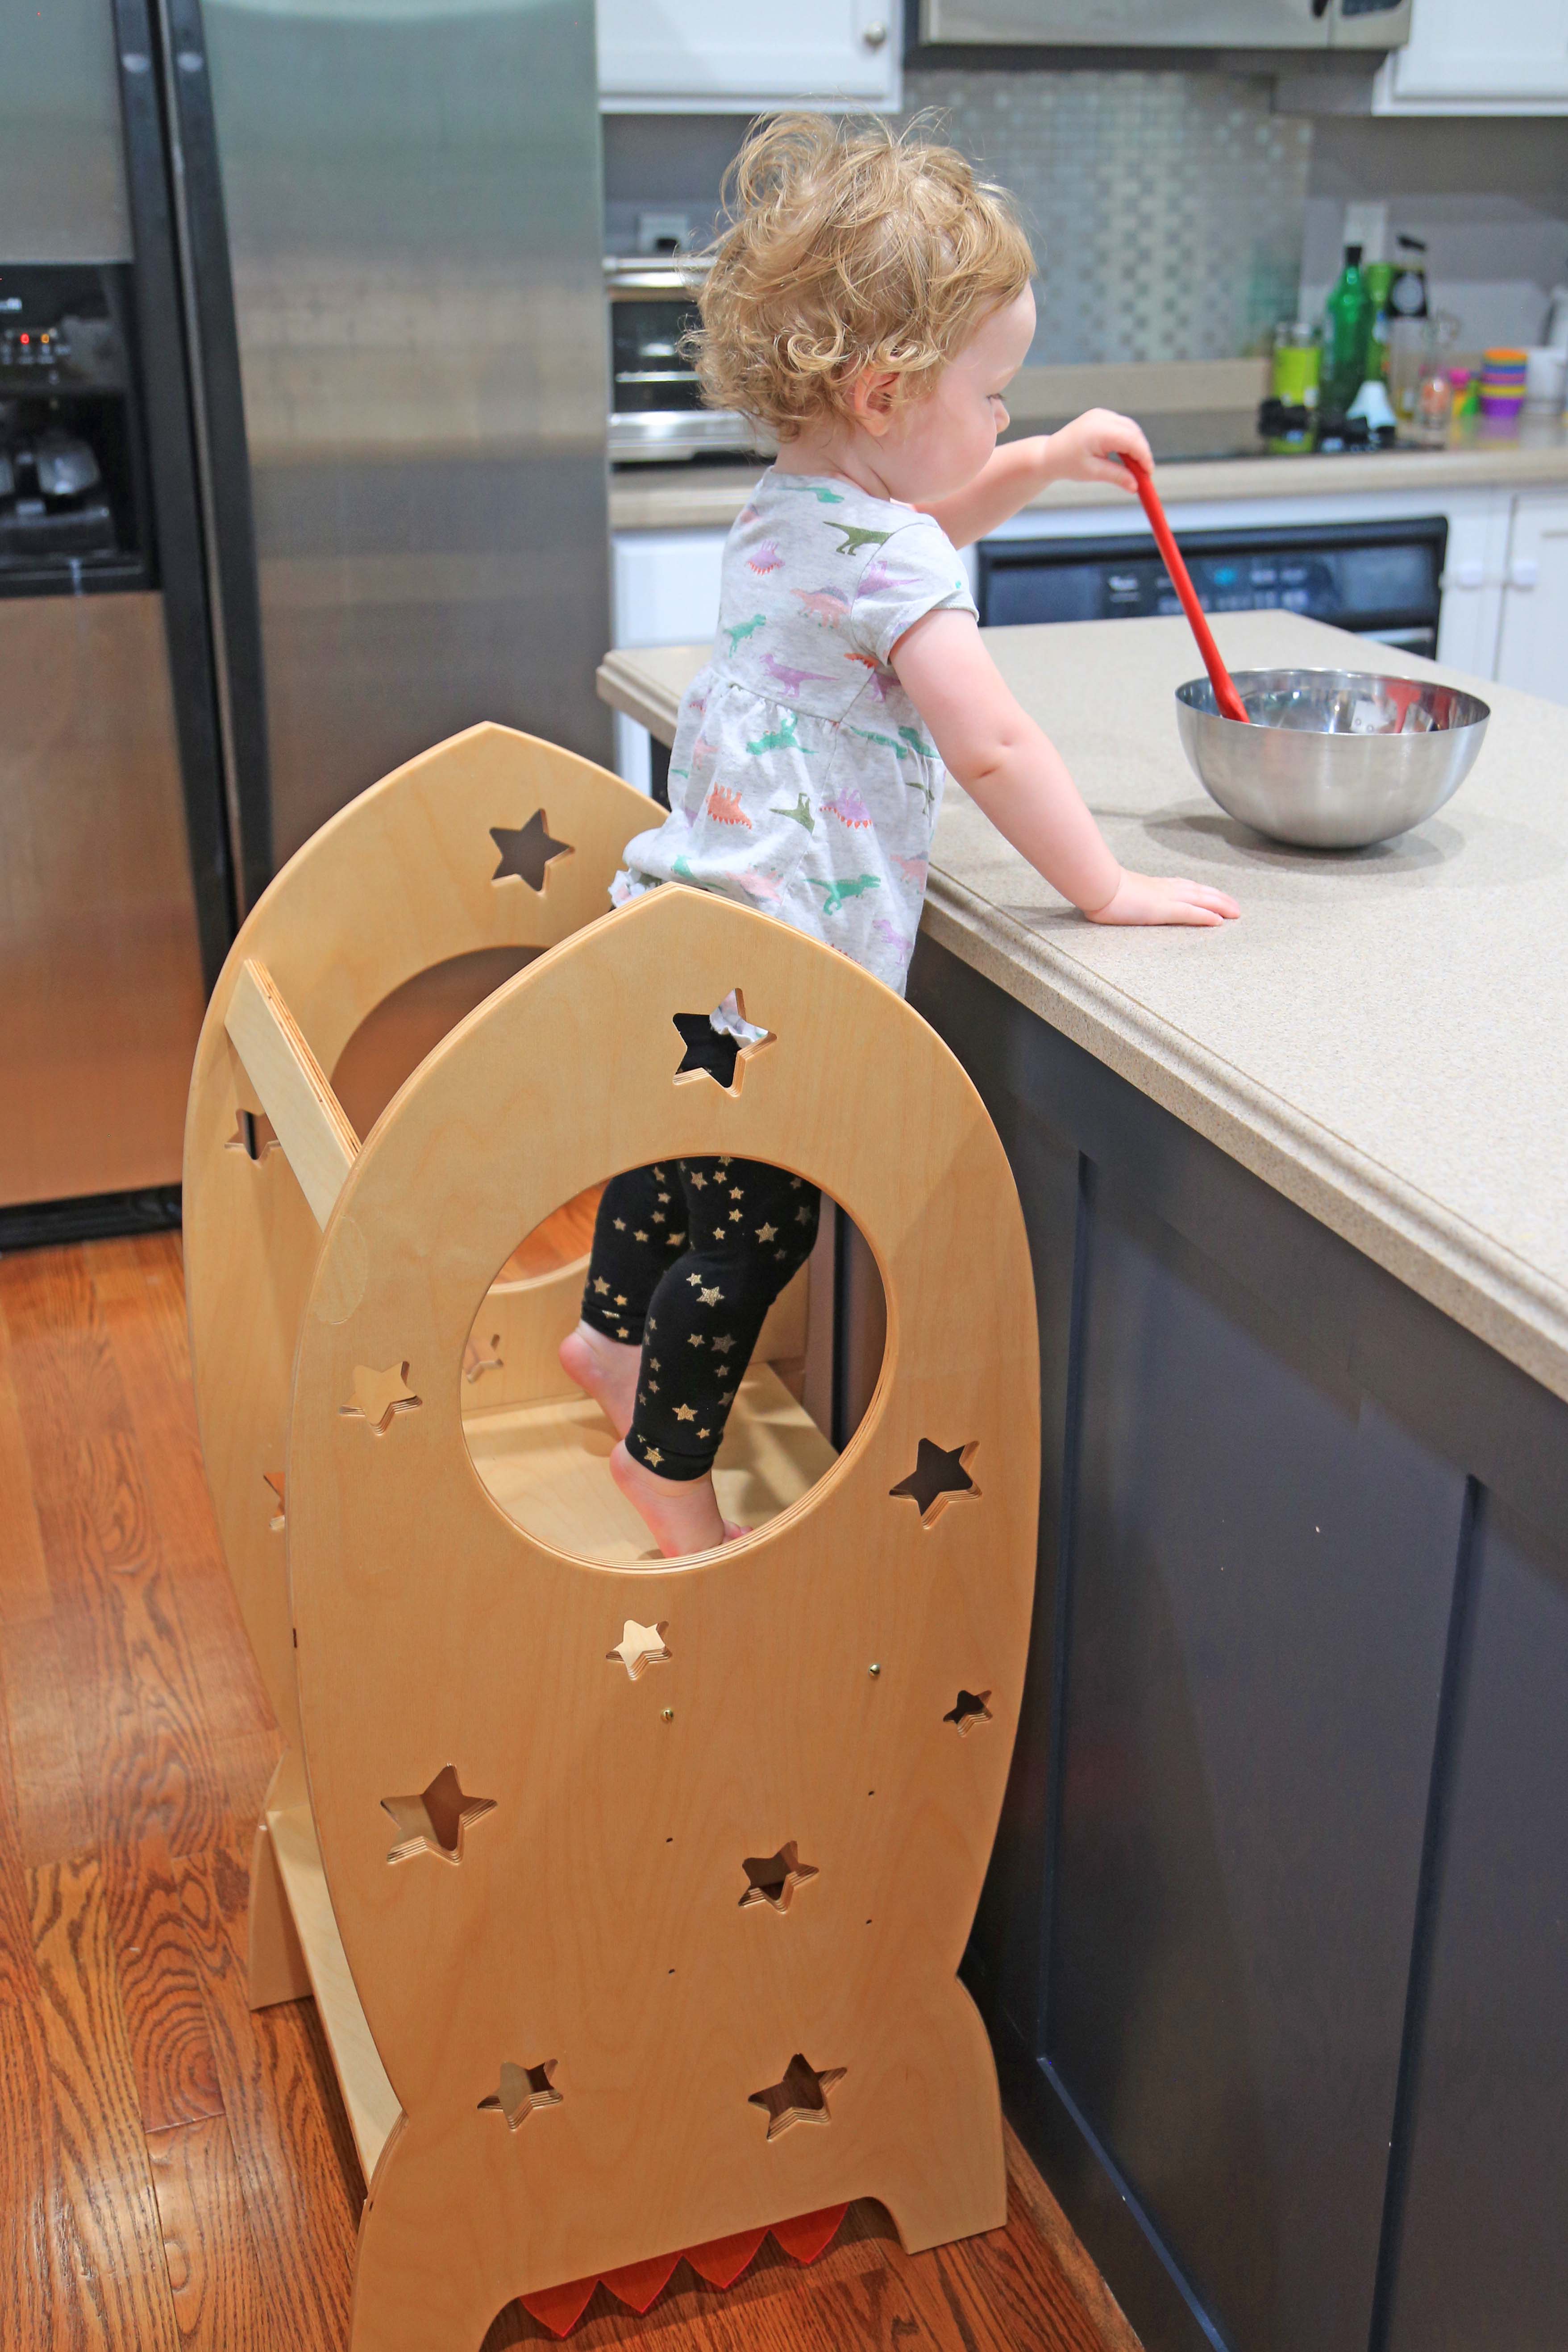
Here’s the kitchen tower we made for our toddler. She loves climbing things and always wants to try to help, so we wanted to make a little rocket step stool with some safety bars for her to be more involved in the kitchen.
This was the first piece we’ve made larger than the XXL bed, so I worked out some indexing holes with a wooden dowel spaced the right distance to go into some of the T-slot wasteboard pieces. The material is 5/8" baltic birch plywood.
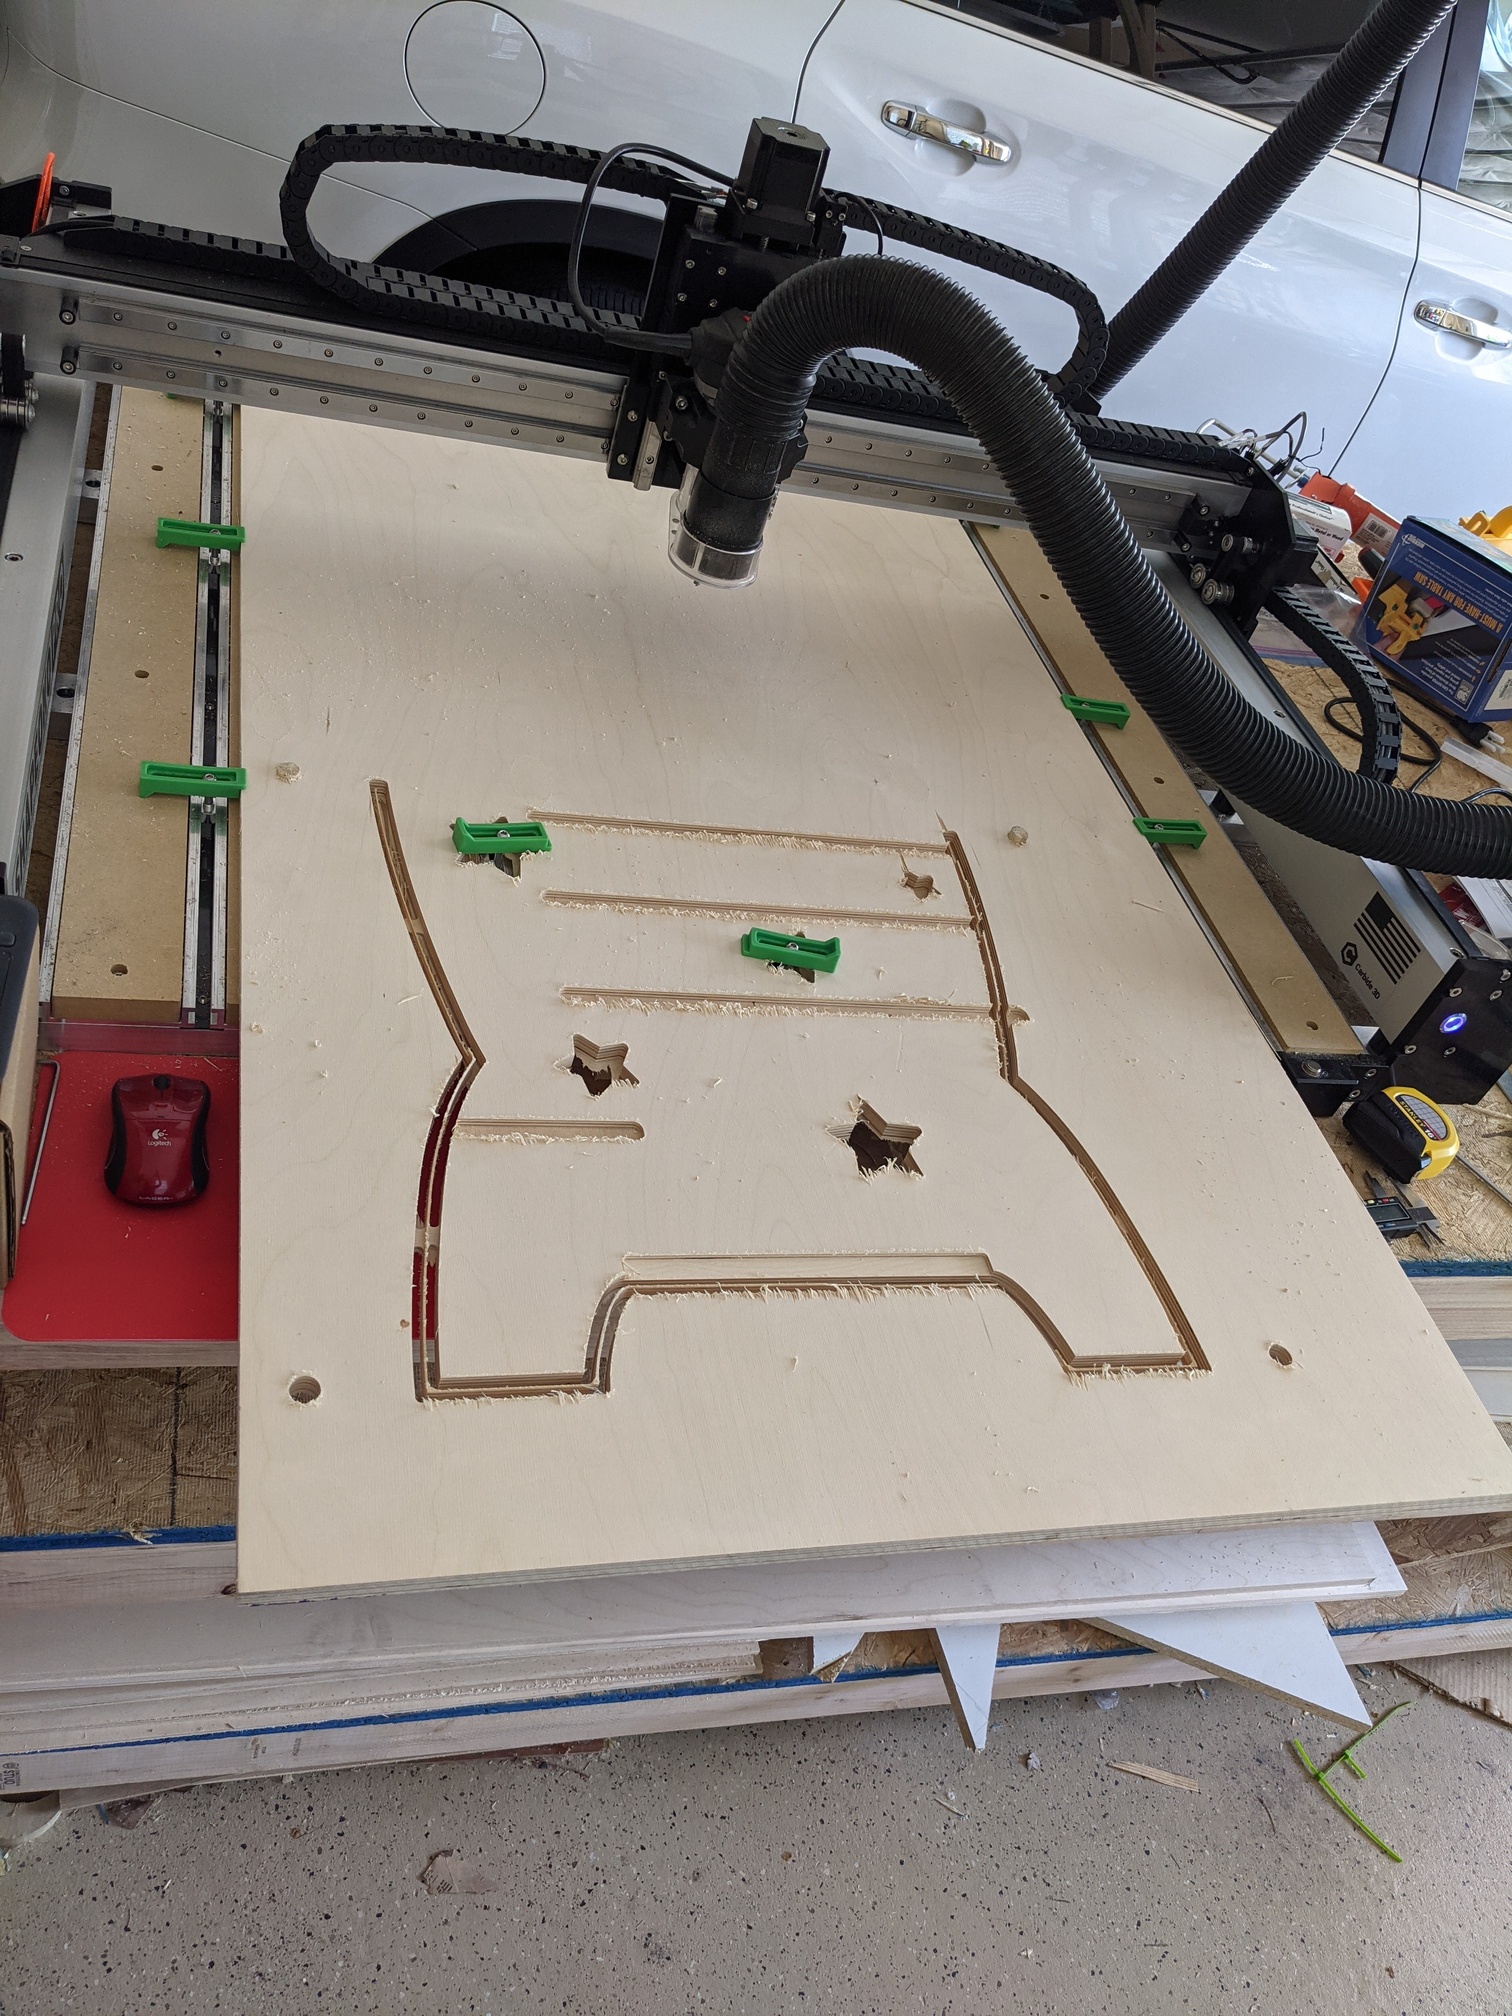
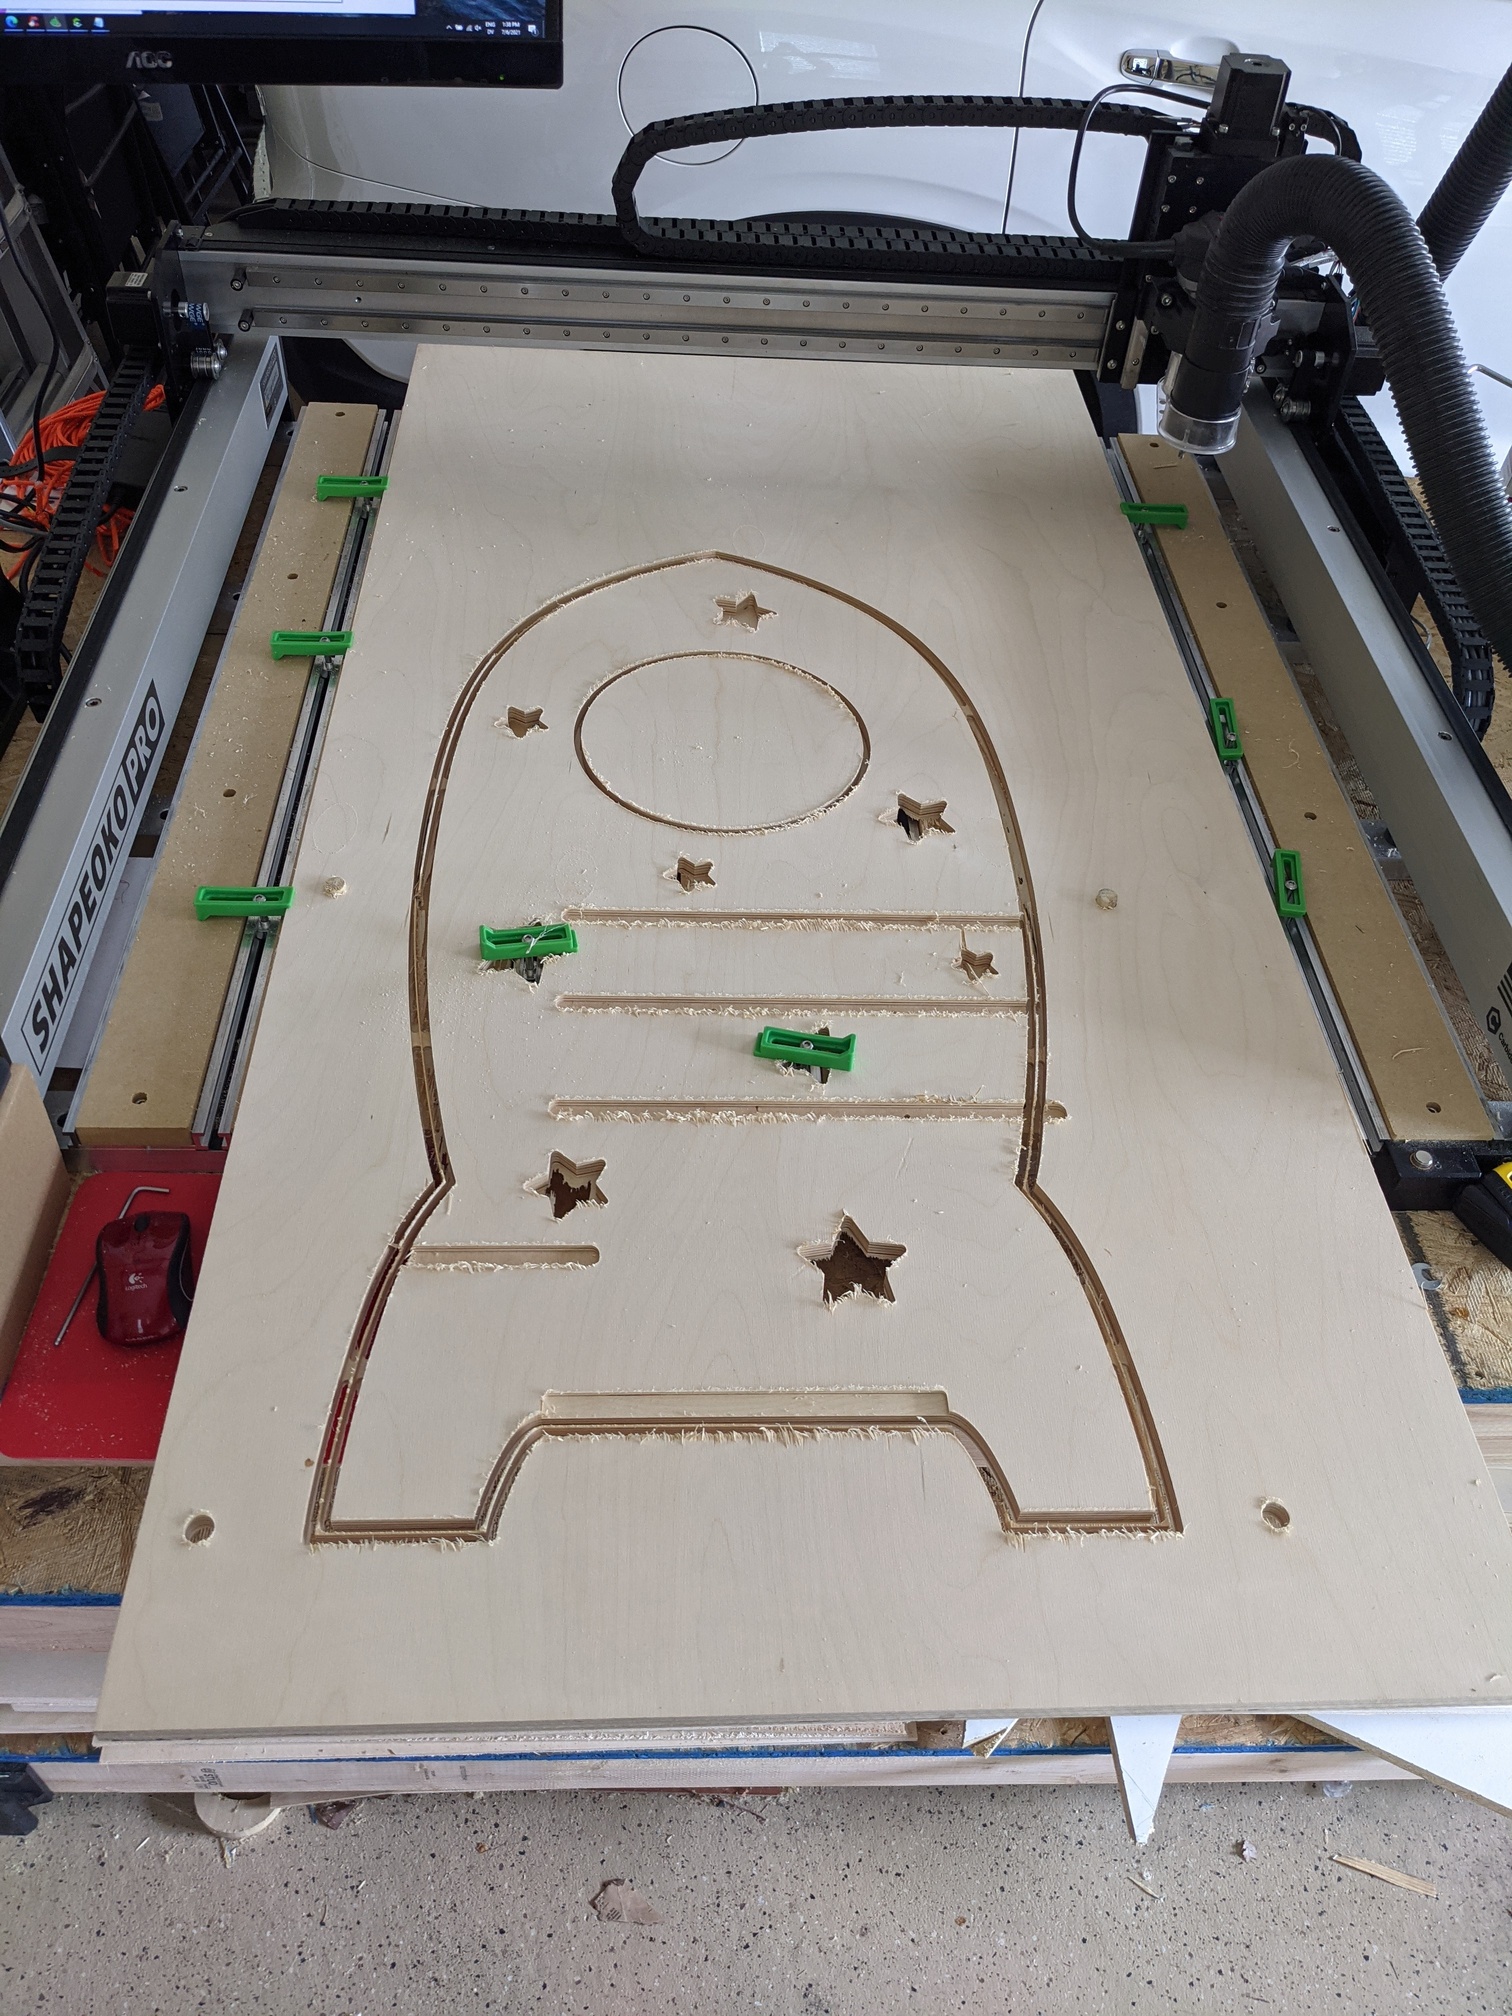
This post was helpful in making me realize how to do the outline when breaking it apart into two operations, although I probably made the section a little wider than necessary and there was a tiny strip of material in the middle of my contour. I set up the indexing holes and broke apart the sections in illustrator because it’s what I’m used to. My old version of illustrator (from before they started making you pay monthly) doesn’t seem to let me export as .svg, so I still have to remember to scale everything in CC. I’ve started just putting in bounding boxes with easy dimensions to make scaling them easy, and that helped line up my indexing holes anyways for the two sections.
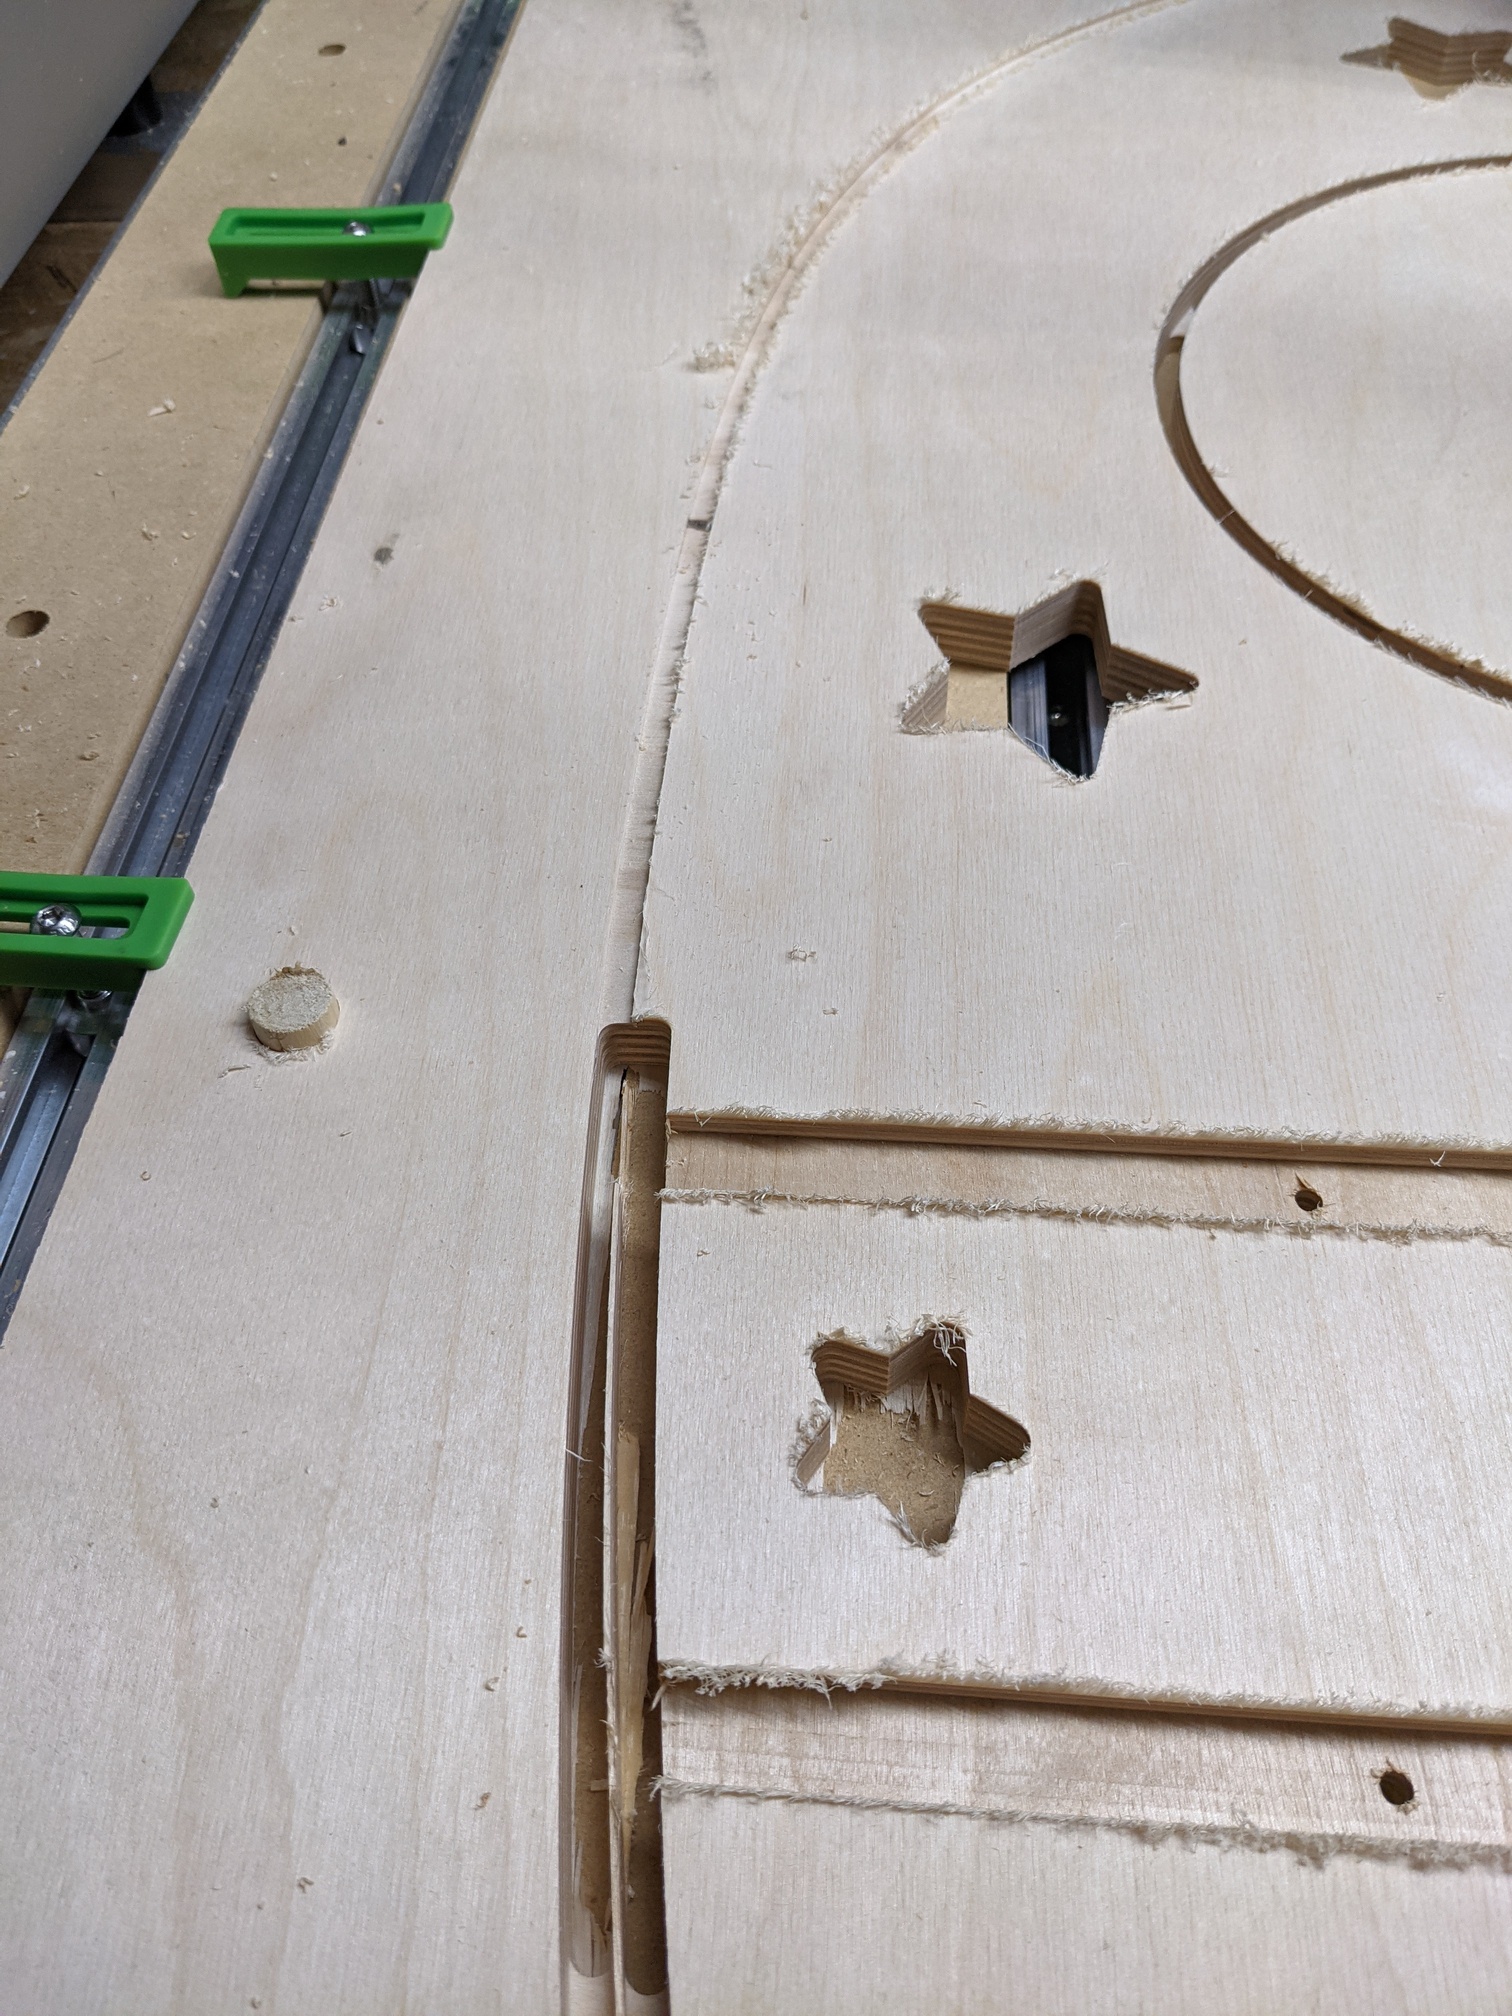
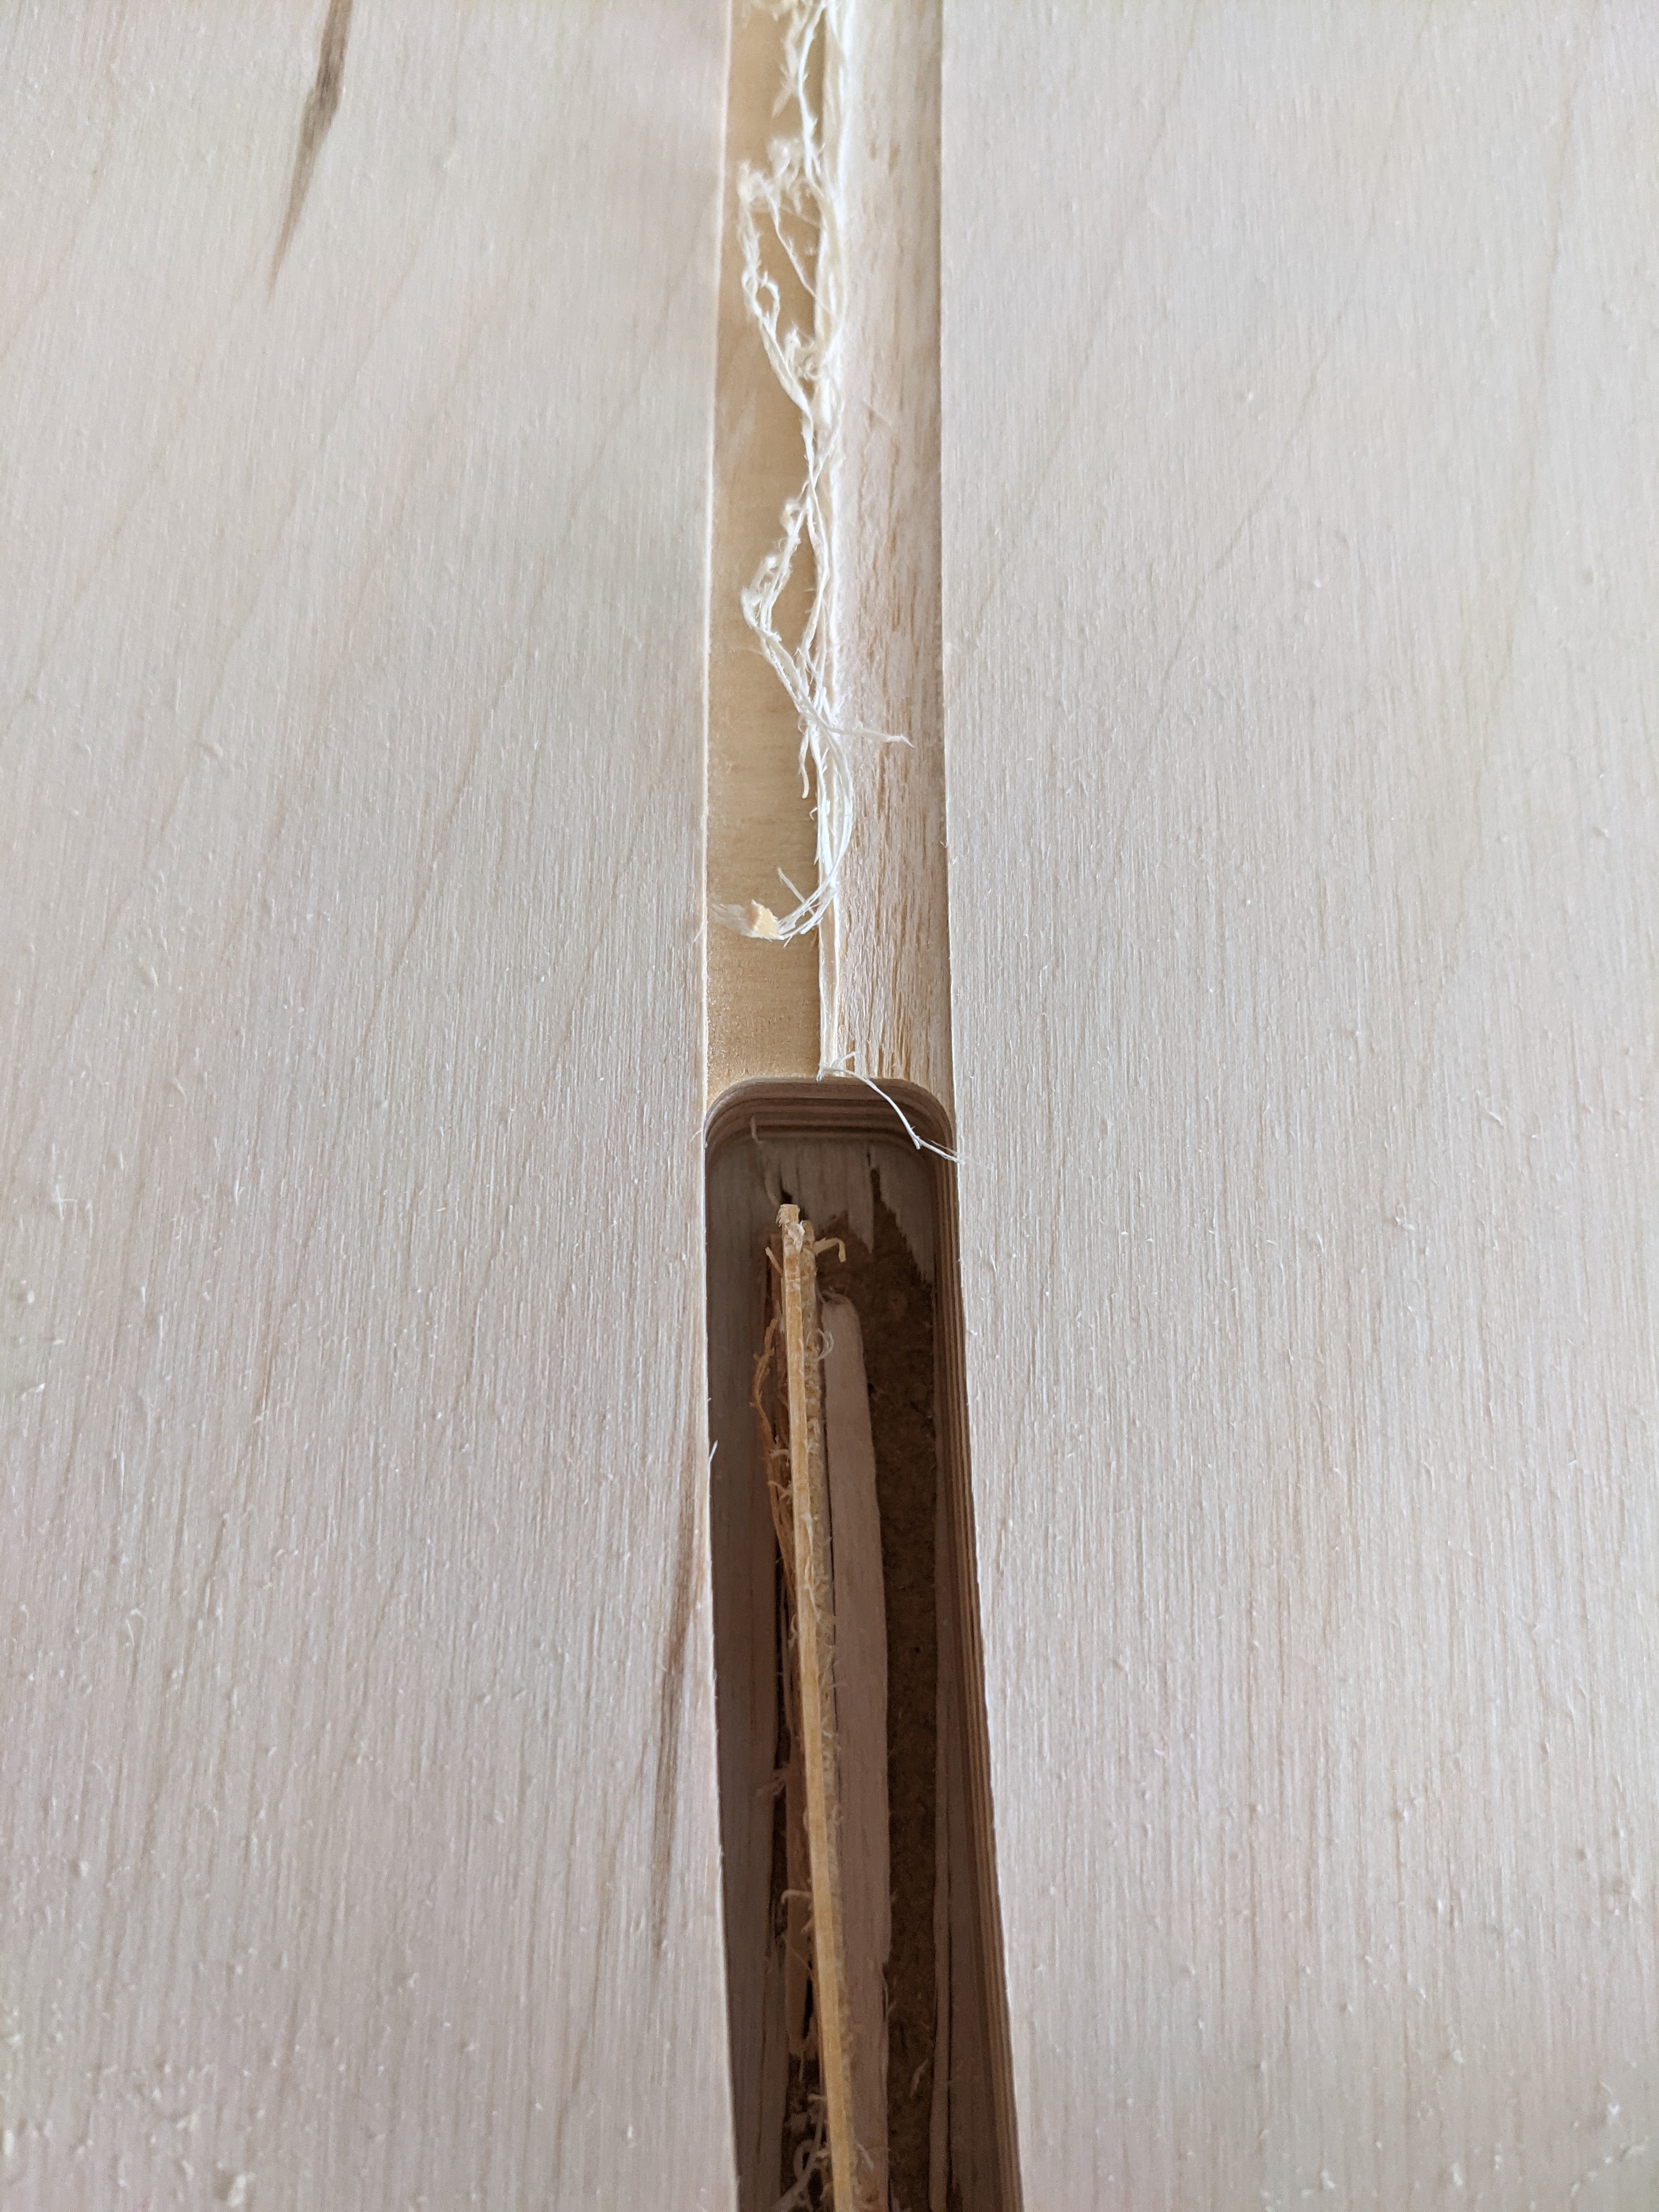
I had some issues with some of the gcode due to having an old version of Carbide Create (huge thanks to @Julien and @fenrus for helping me out so quickly!), and left the machine on overnight because cutting the first piece took way longer than expected. Some how the machine lost power between the two operations on the second side of the tower the next day. I had to rehome the switches and was worried it might mess up my indexing, but it still lined up incredibly well. The below photo is the first couple passes of the outline on the second section meeting with the outline from the first section.
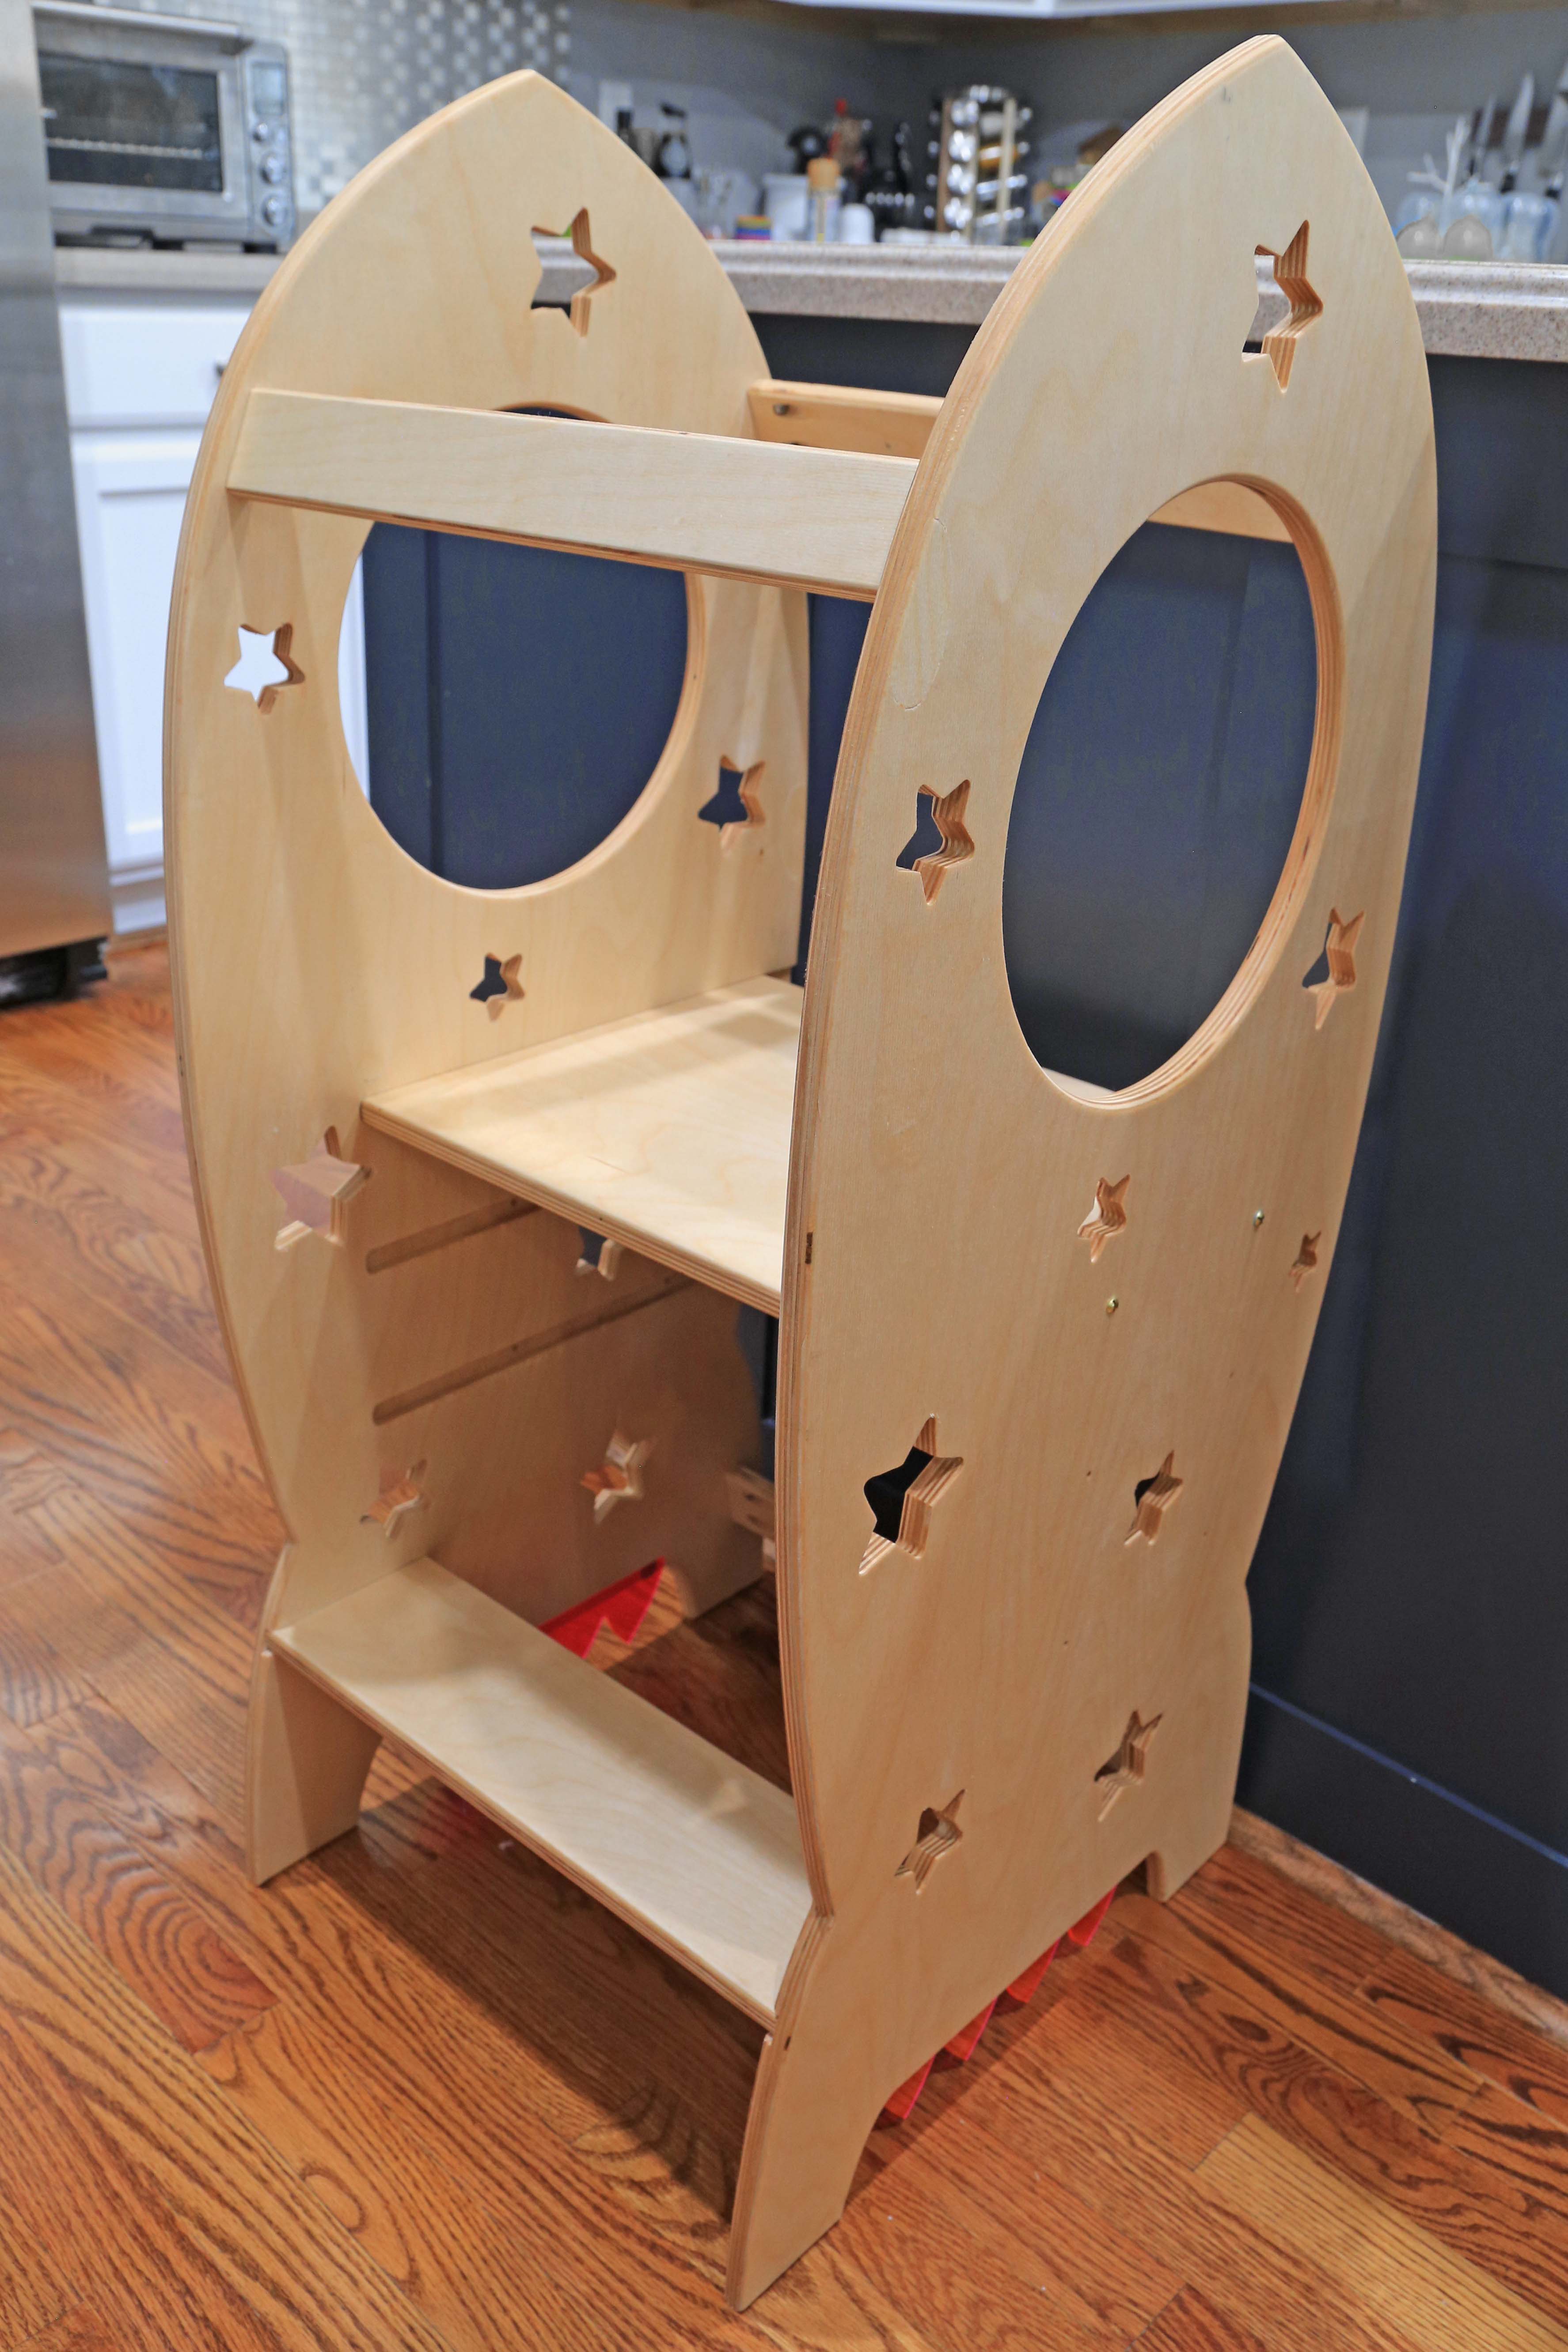
I designed the sides to have a slot for the foot step and three slots for the main shelf so we can adjust it as she grows. I also added holes in the main shelf slots so they would be the same distance apart so the threaded inserts I used in the shelf would line up with the holes for each level. If I was doing it again or had a full plan when I started, I’d have made shallow pockets for the other braces so it would be easy to line them up when I joined everything together.
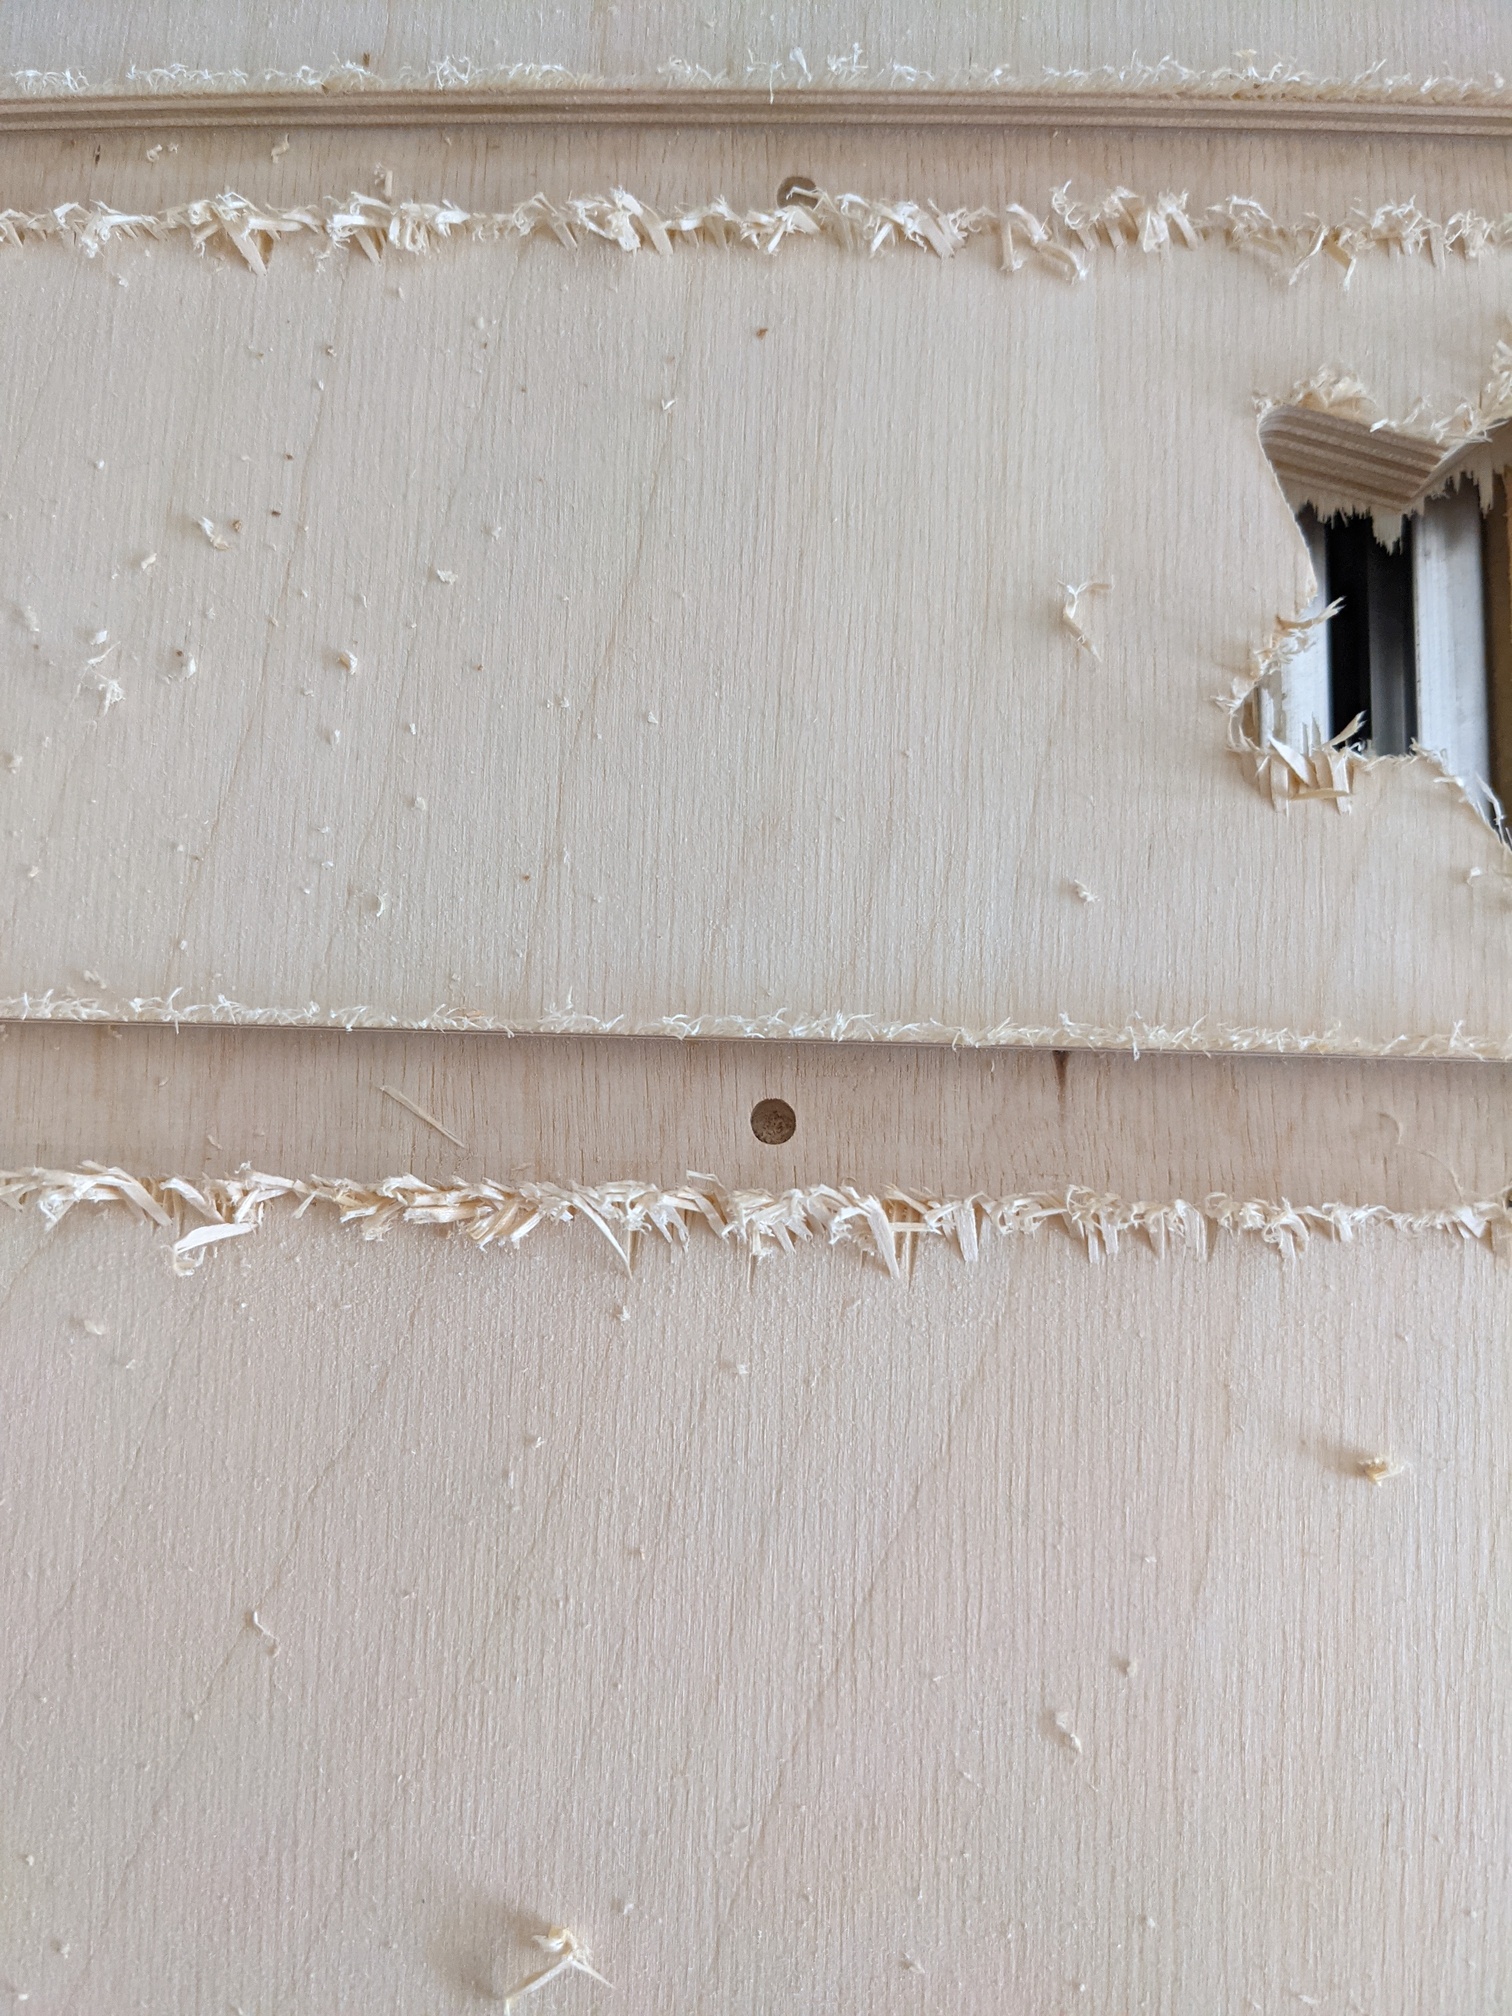
One of the side pieces chipped out much worse than the other on the slot pockets, and I’m not sure why or what I could have adjusted to make it not as bad. The first one just had some fuzzies which sanded off easily, the second one had significant flakes of the whole top ply ripped back. It was on the inside though, so ultimately not really noticeable in use.
The braces are just 2" wide pieces cut to 15" of the same plywood, and the shelves are 12.5" and 4" deep by 15.5" wide. We put all the braces and the foot shelf in with pocket holes. There’s a shallow pocket in the bottom for the fluorescent acrylic exhaust flames, which look way brighter in real life (full disclosure - I cut these on my laser because it was quick and easy).
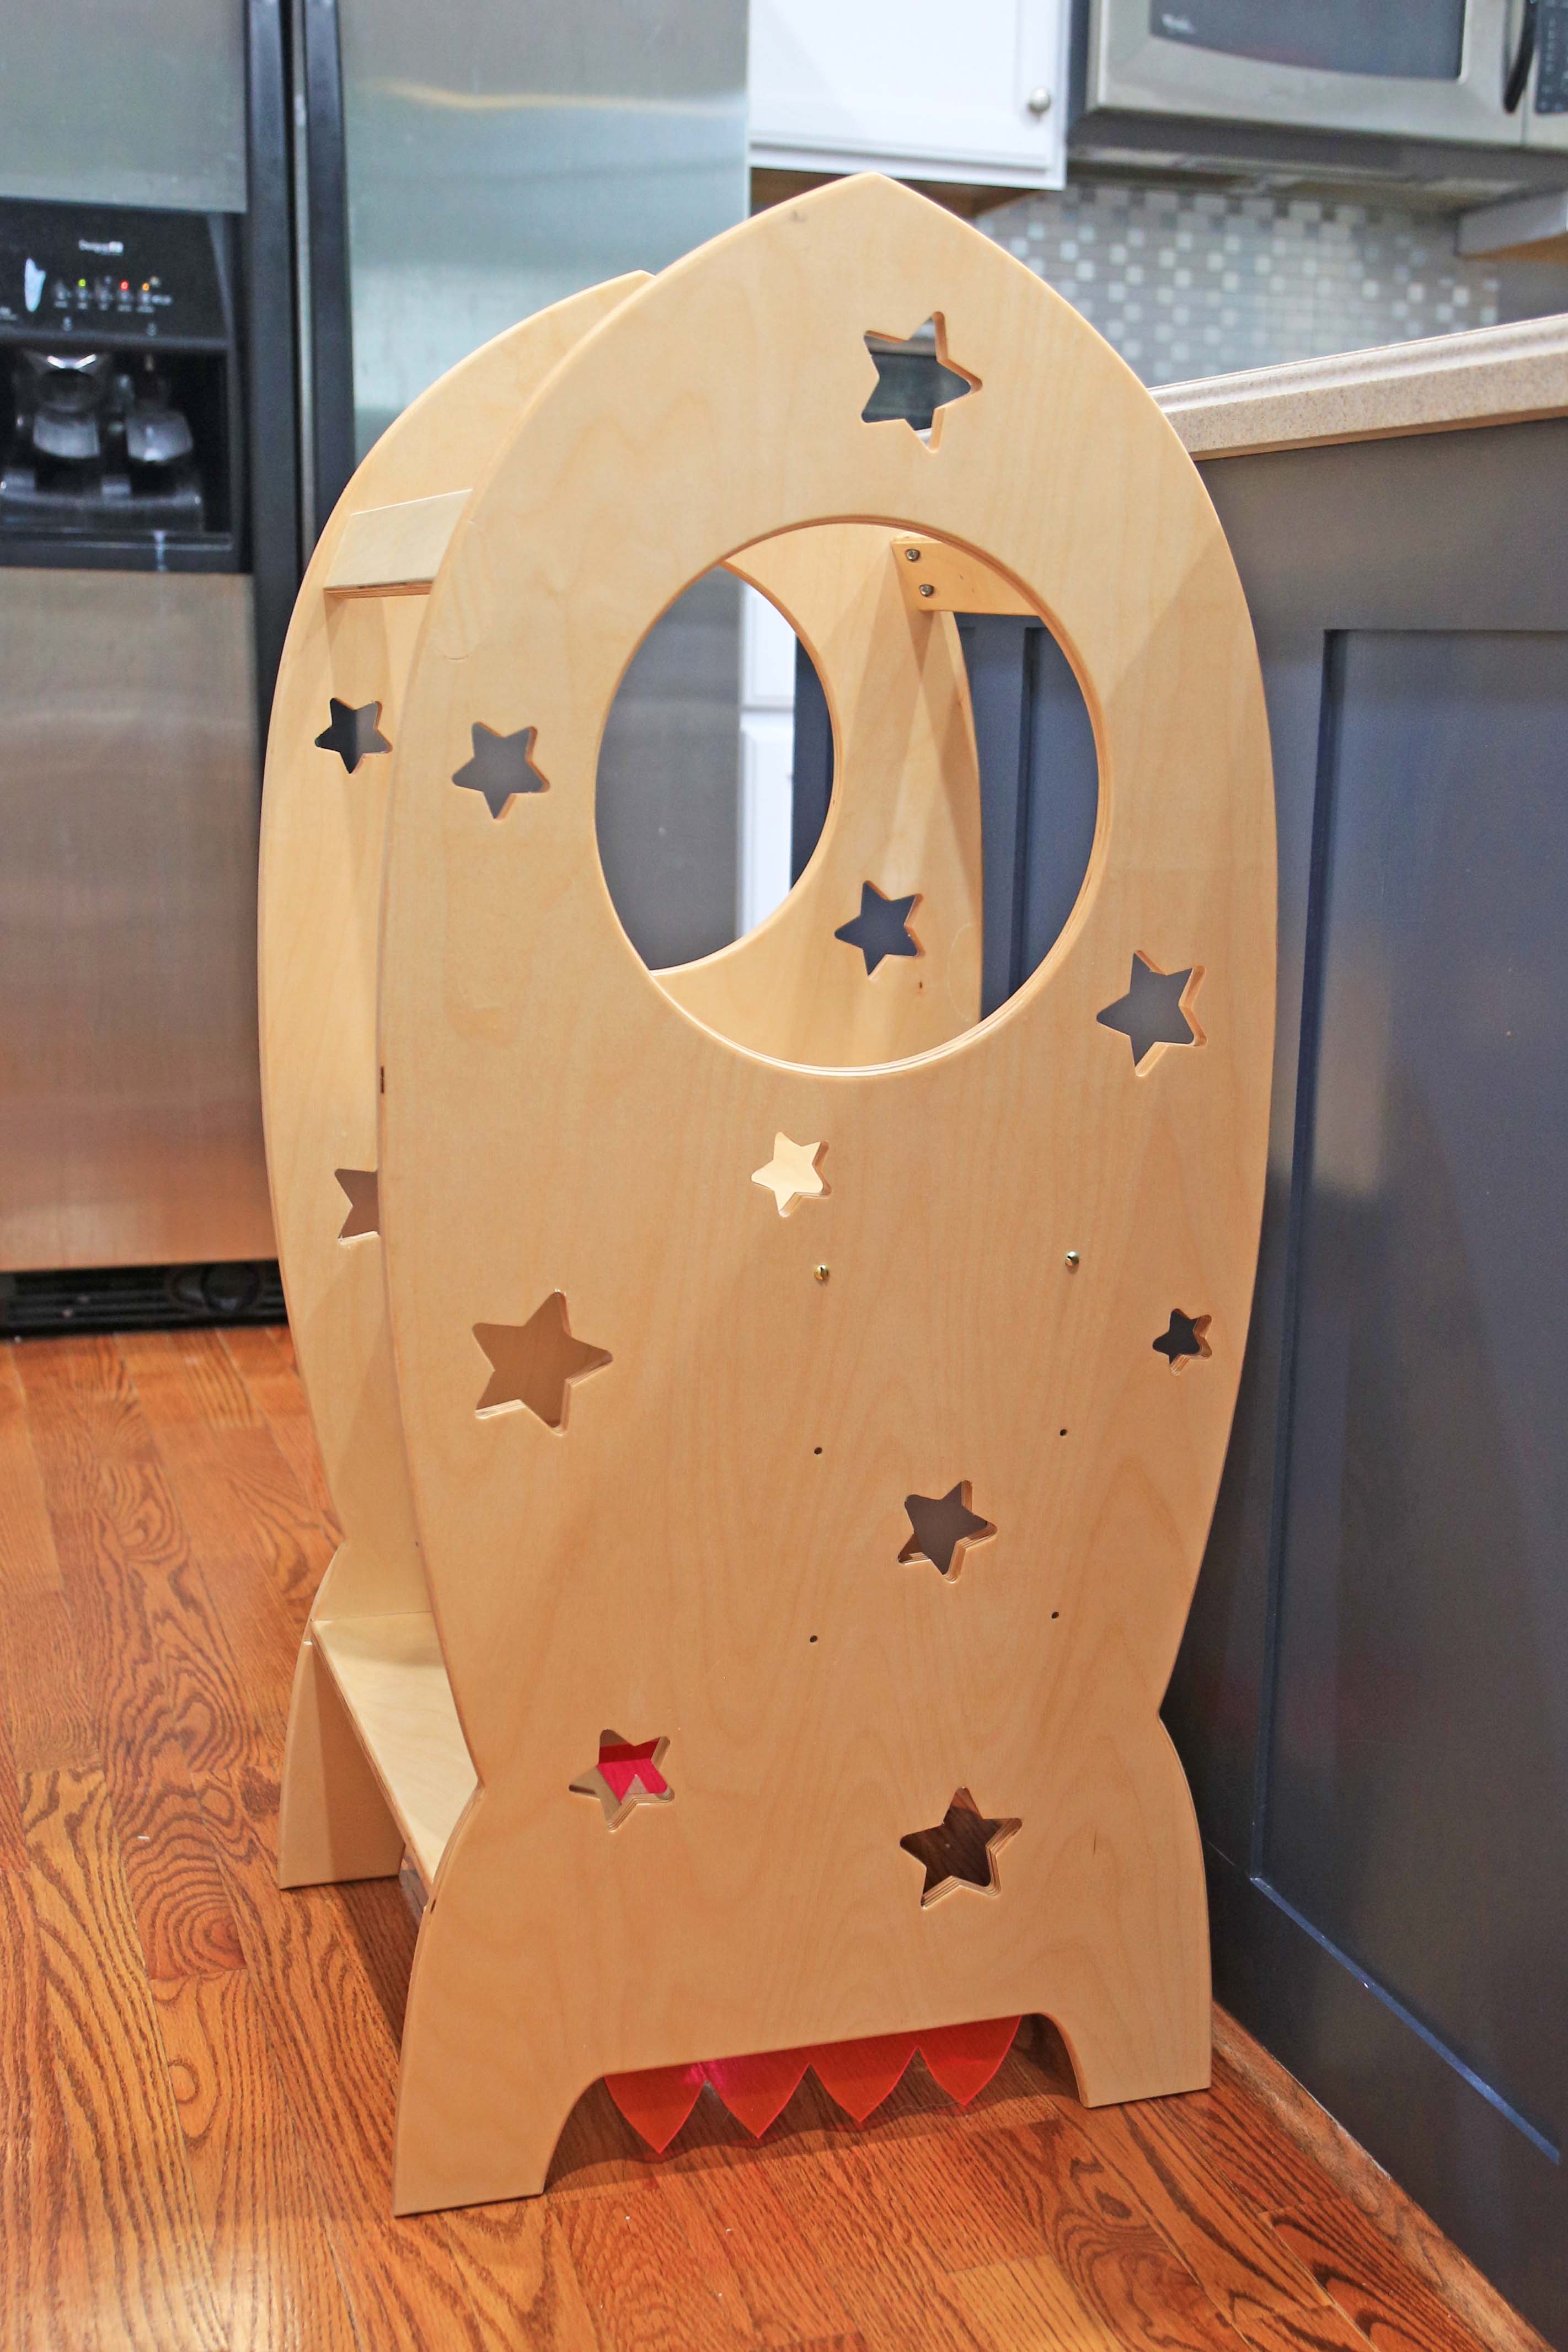
I fussed a lot over the height of the step shelf and main shelf and worried about whether she’d be able to climb up it quickly, but I shouldn’t have been surprised that she was climbing up on her own in about 5 minutes and trying to climb on the counter not much later.
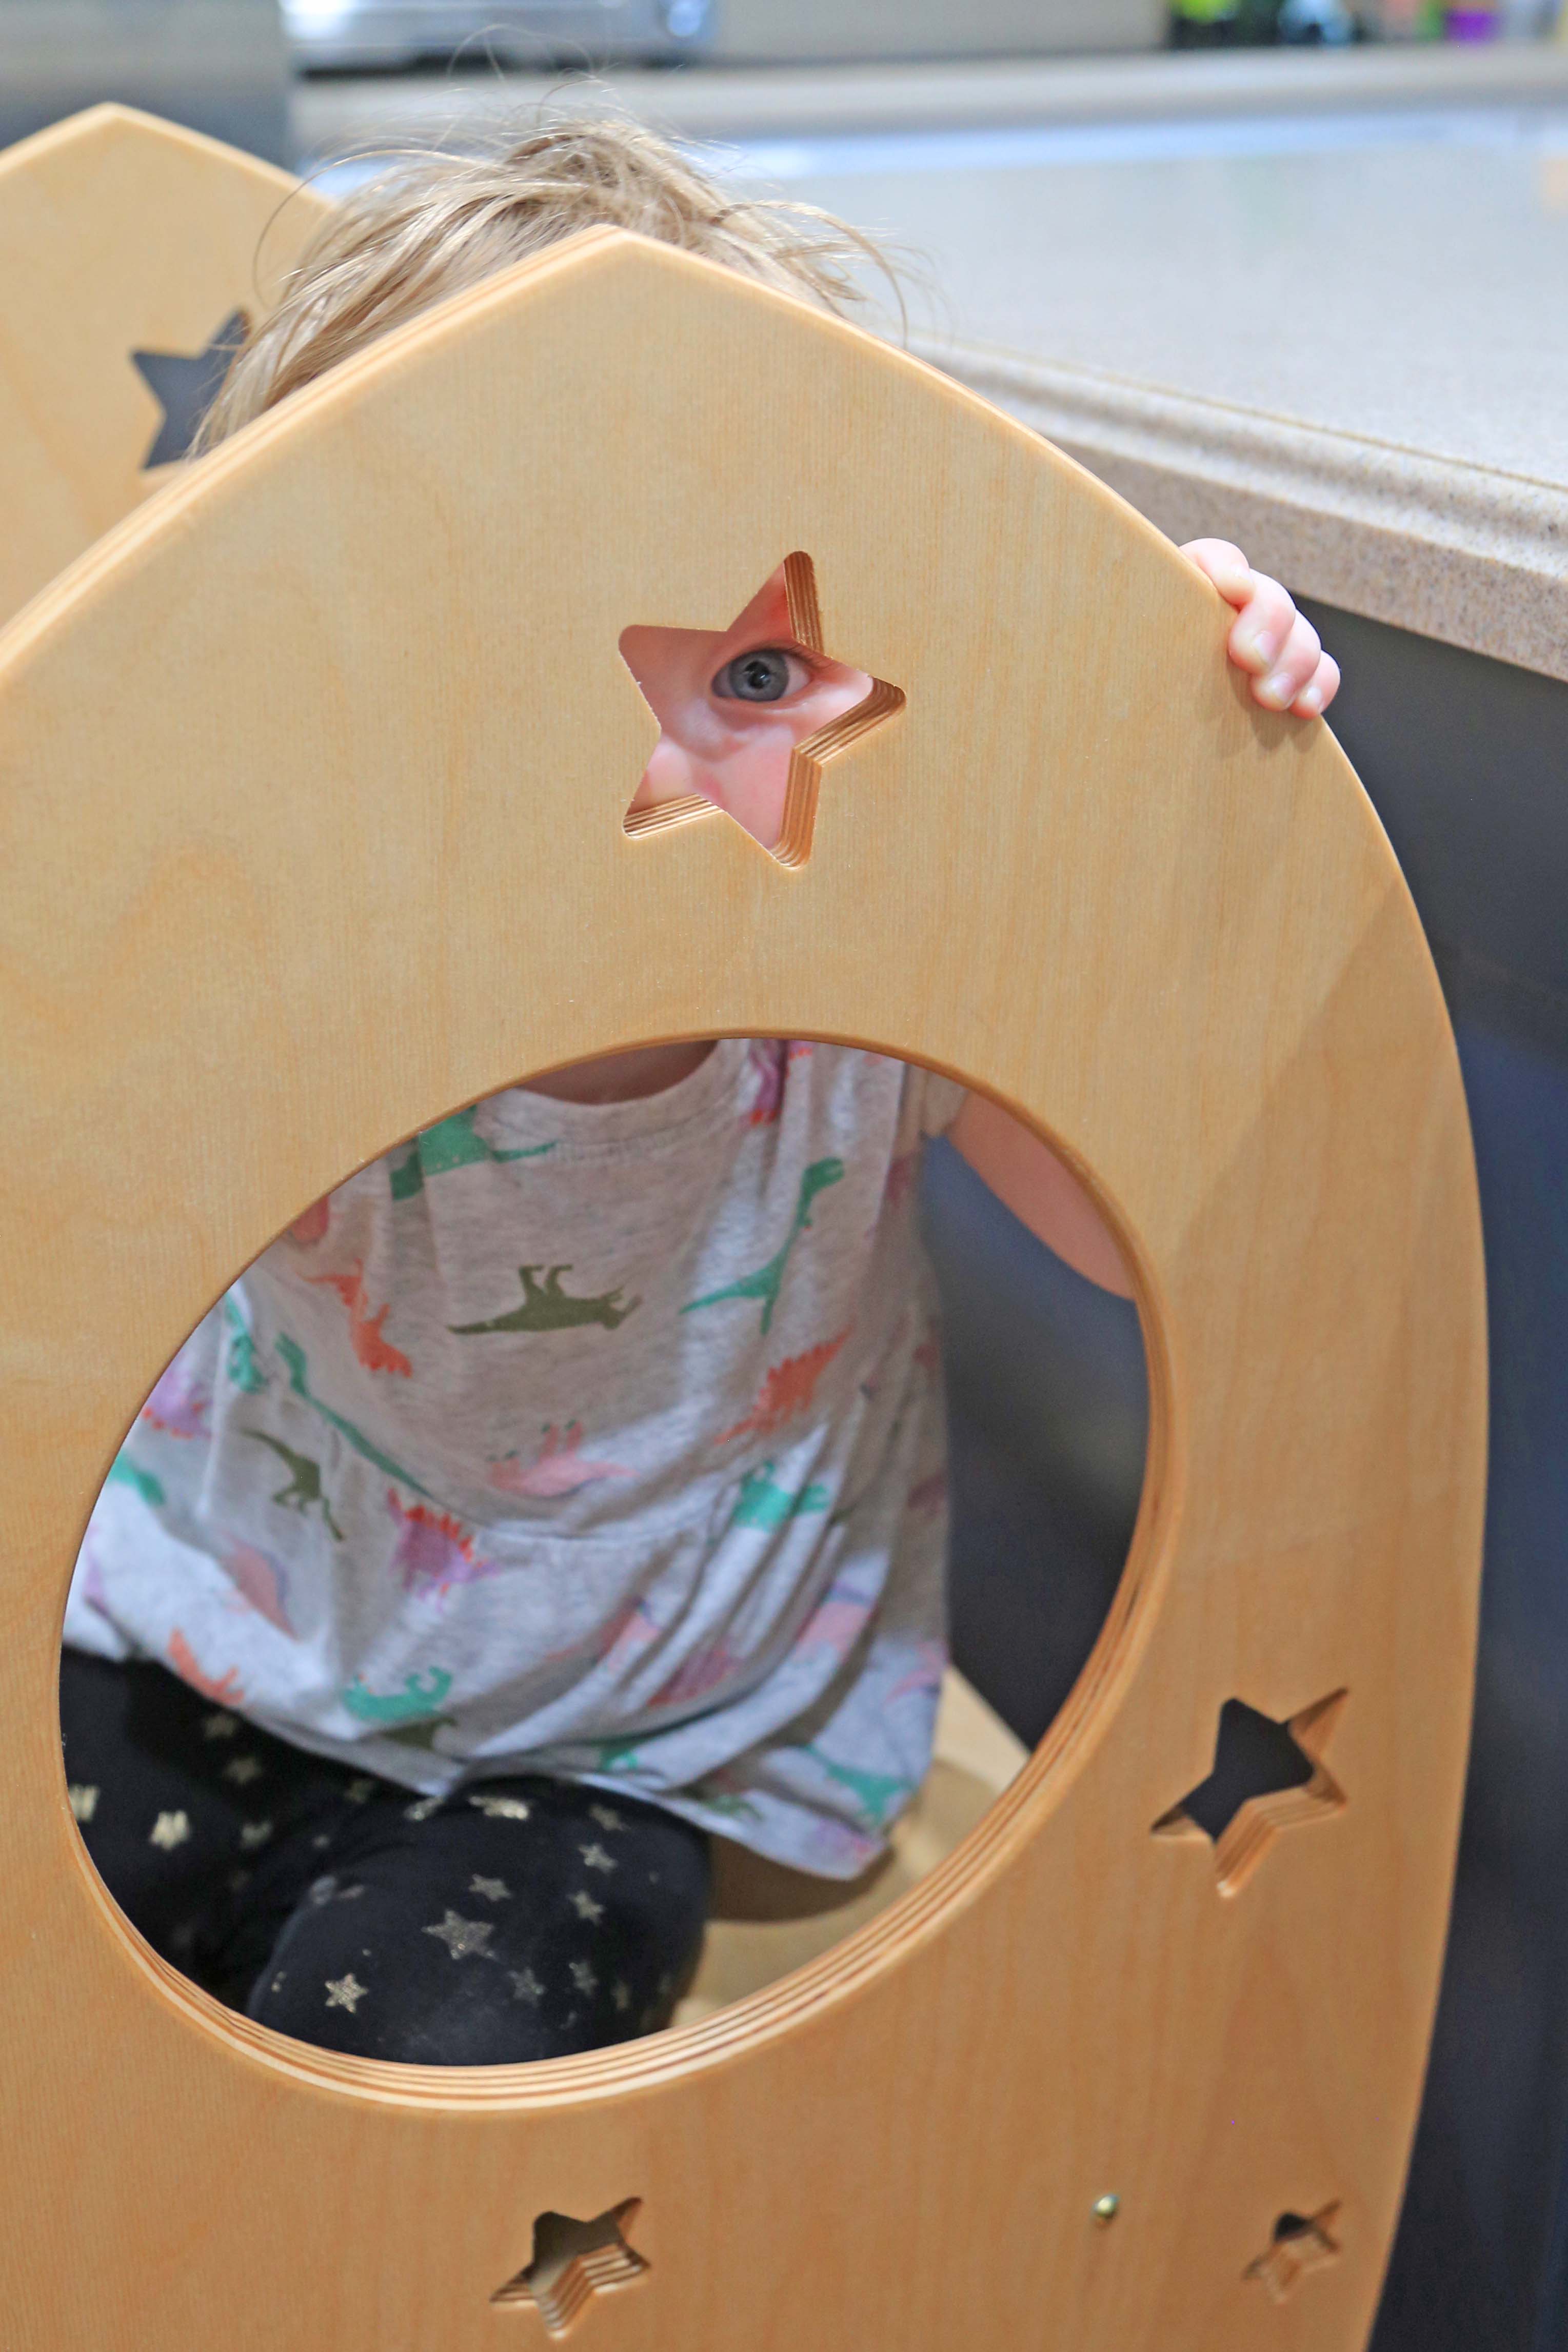
She seems to like being able to climb up to reach the counter well and seems pretty safe while she’s up there, so in that regard I’ll count it as a big success! Now we just have to do better about keeping our island cleaner and letting her ‘help’ with more things - we’ll see how that goes 
I added everything to cutrocket, but it’s only letting me save it as a draft, not publish it. The only warning I see is that I need to upload at least one design file. I have three .c2d files uploaded - does it need a F360 files and those don’t count?