Community challenge #6: Creative Joinery (closed)

Hello everyone,

I was sitting on the fence about putting the community challenges on hold during these troubled times, but I figured that we could still use this opportunity to take a break from the news, and have some fun in the shop (hopefully, many among you still have access to their machines)

I’d like to thank you again for the great entries and 50+ voters in community challenge #5.

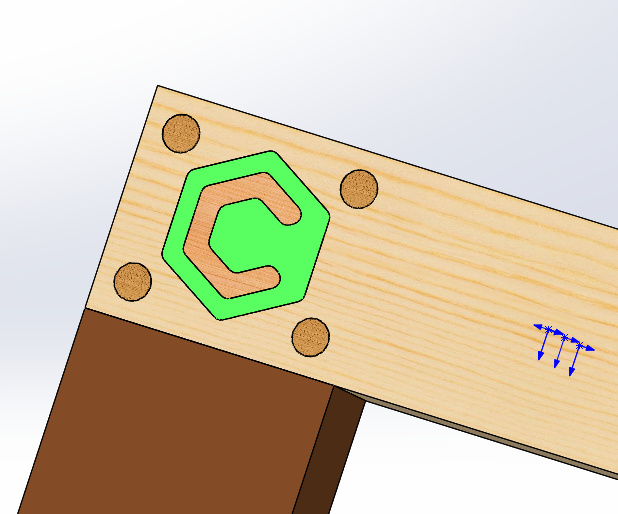
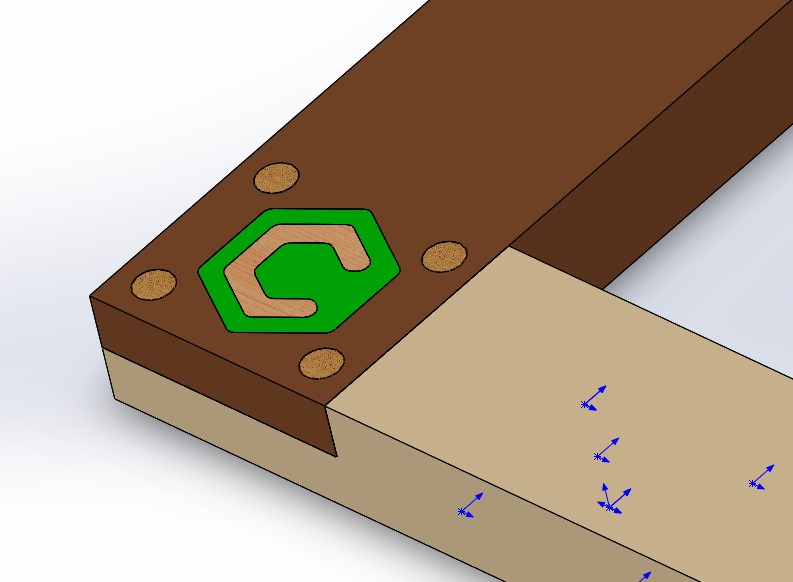
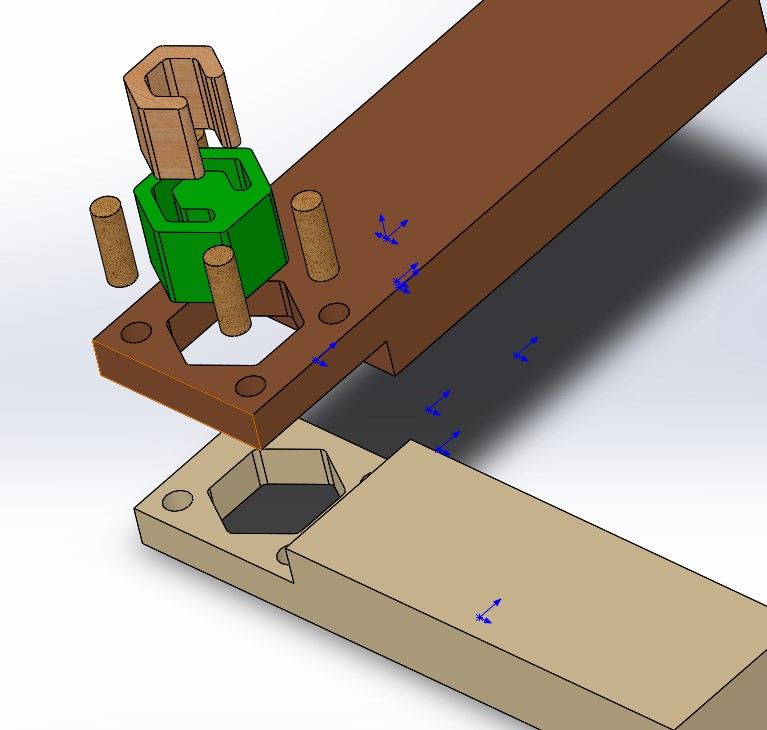
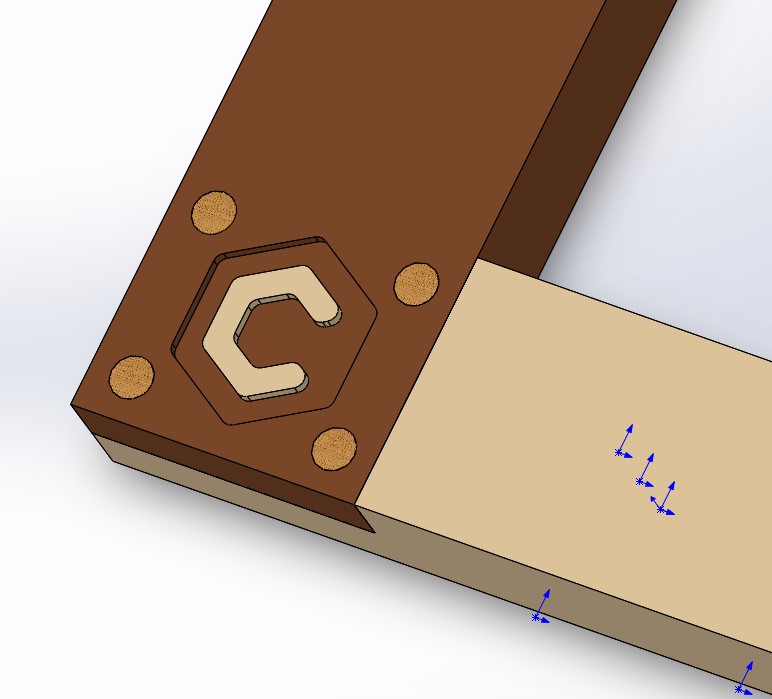
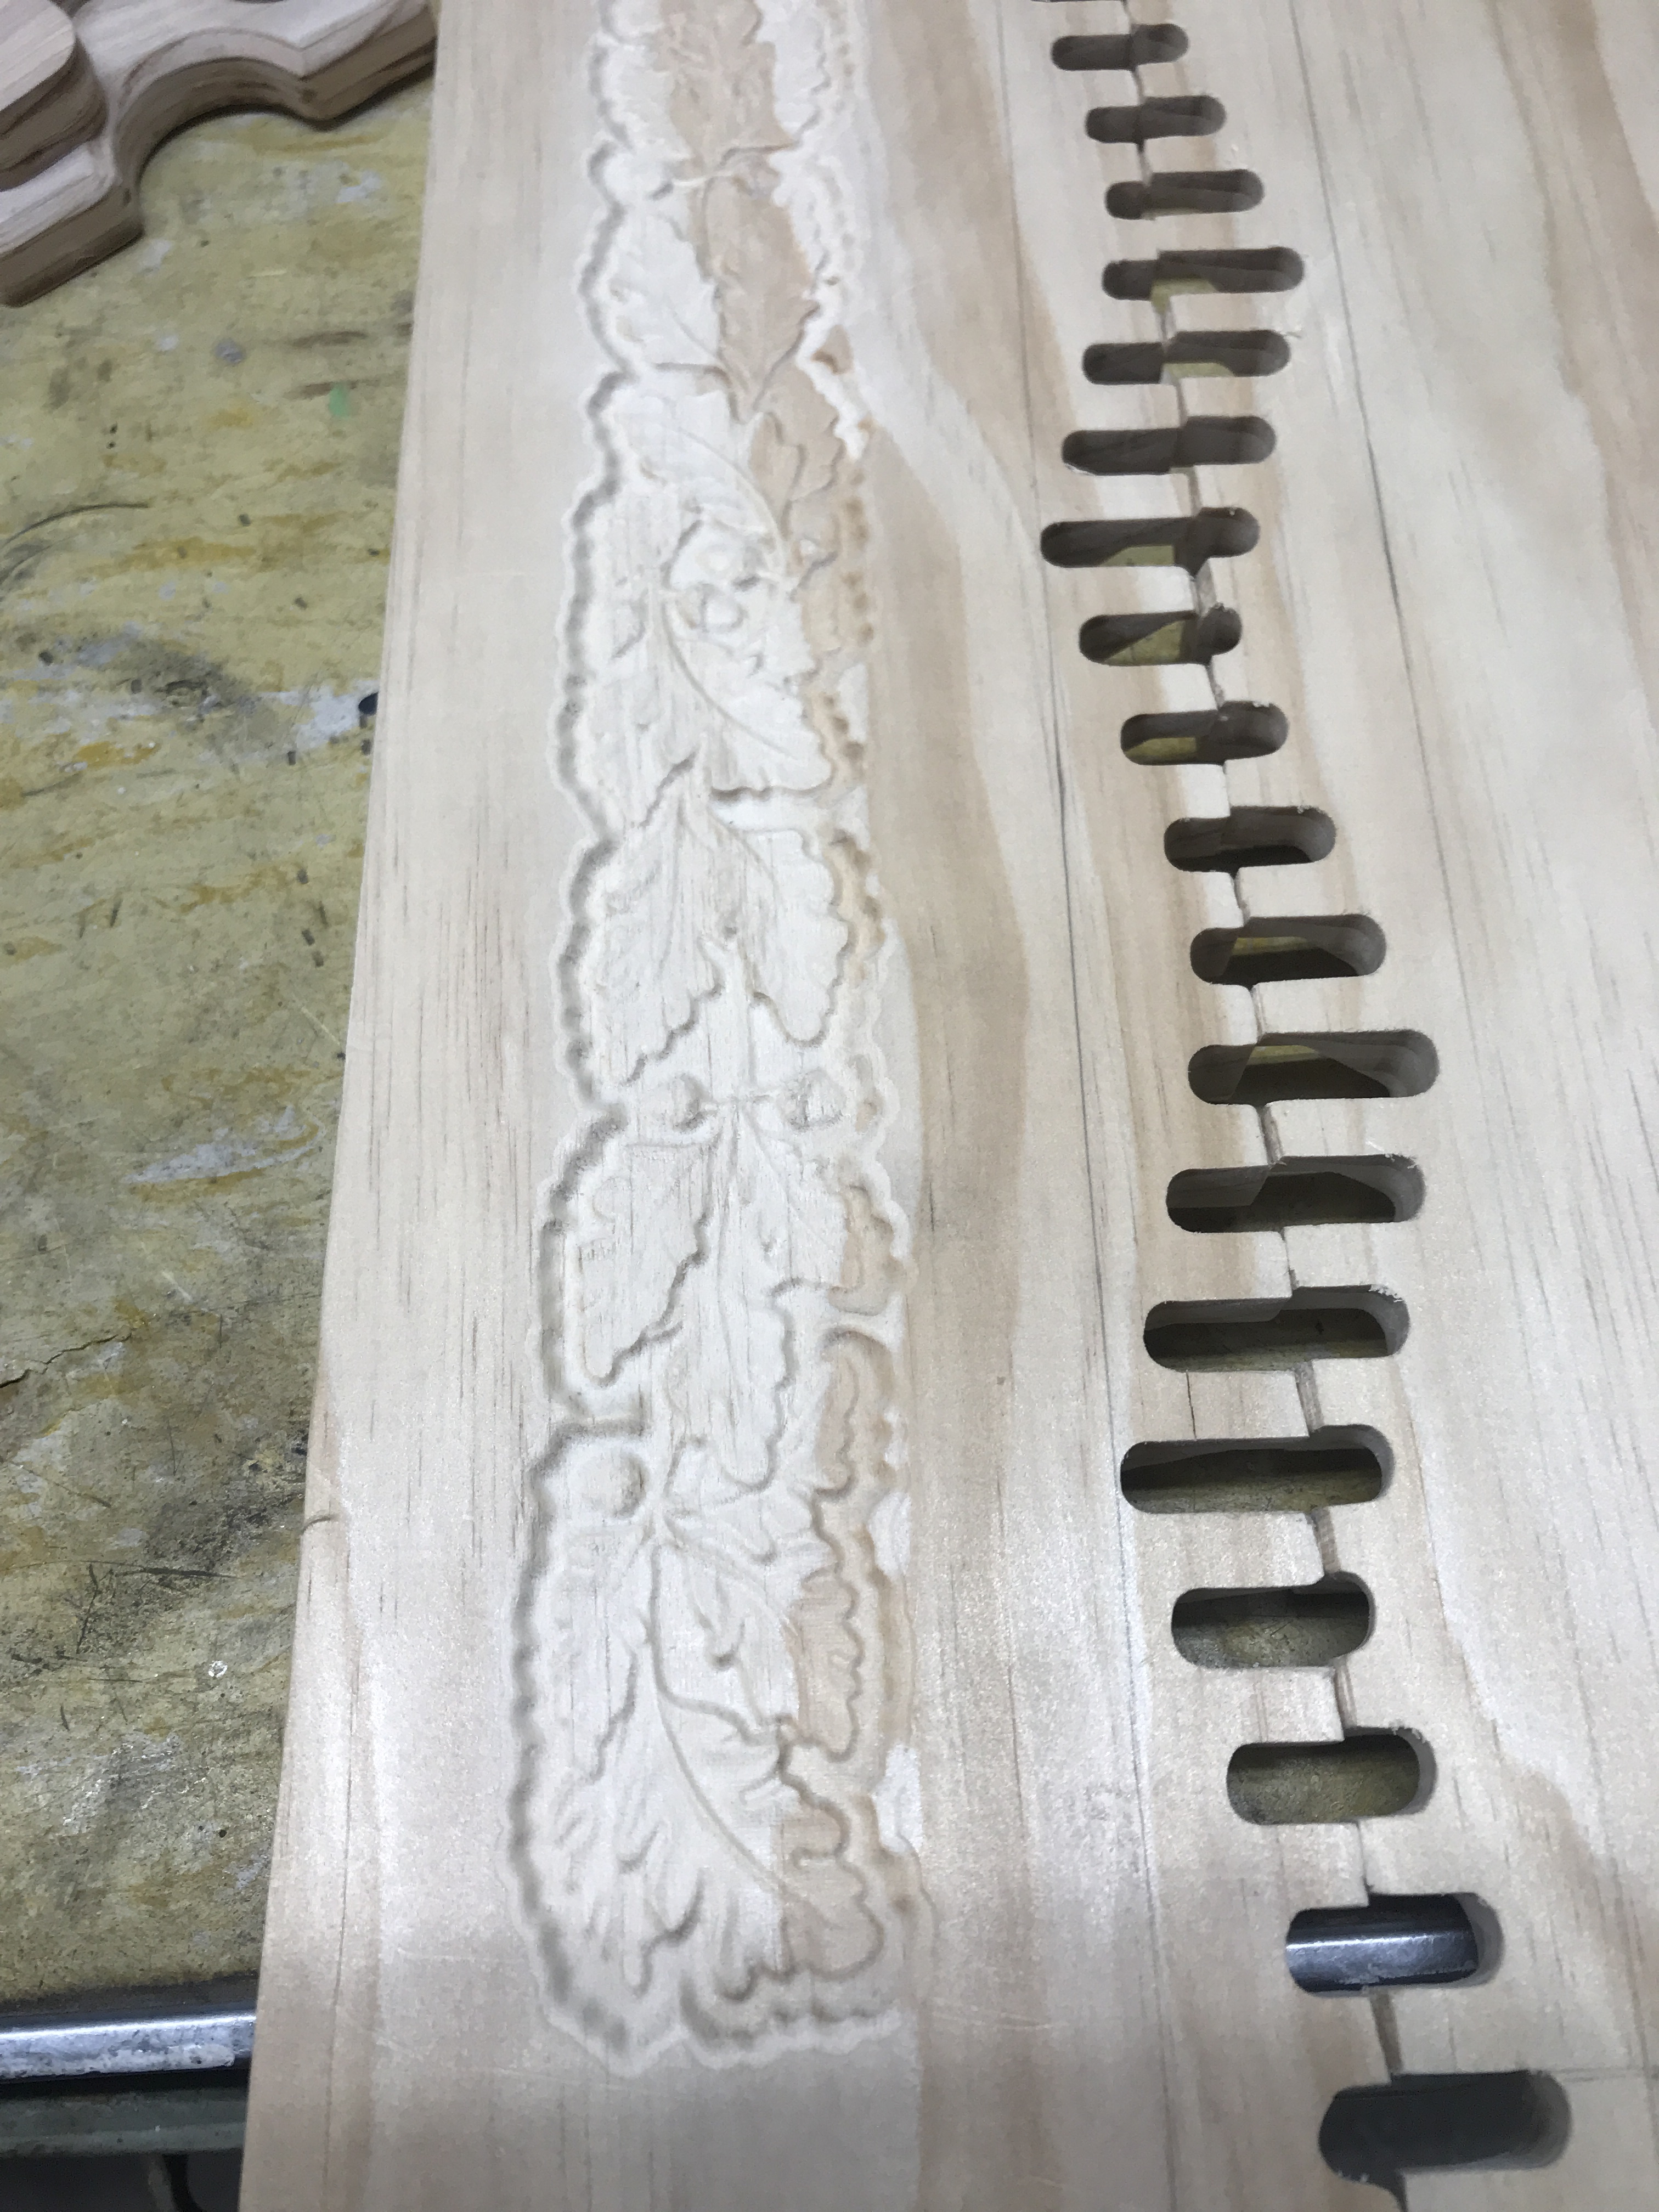
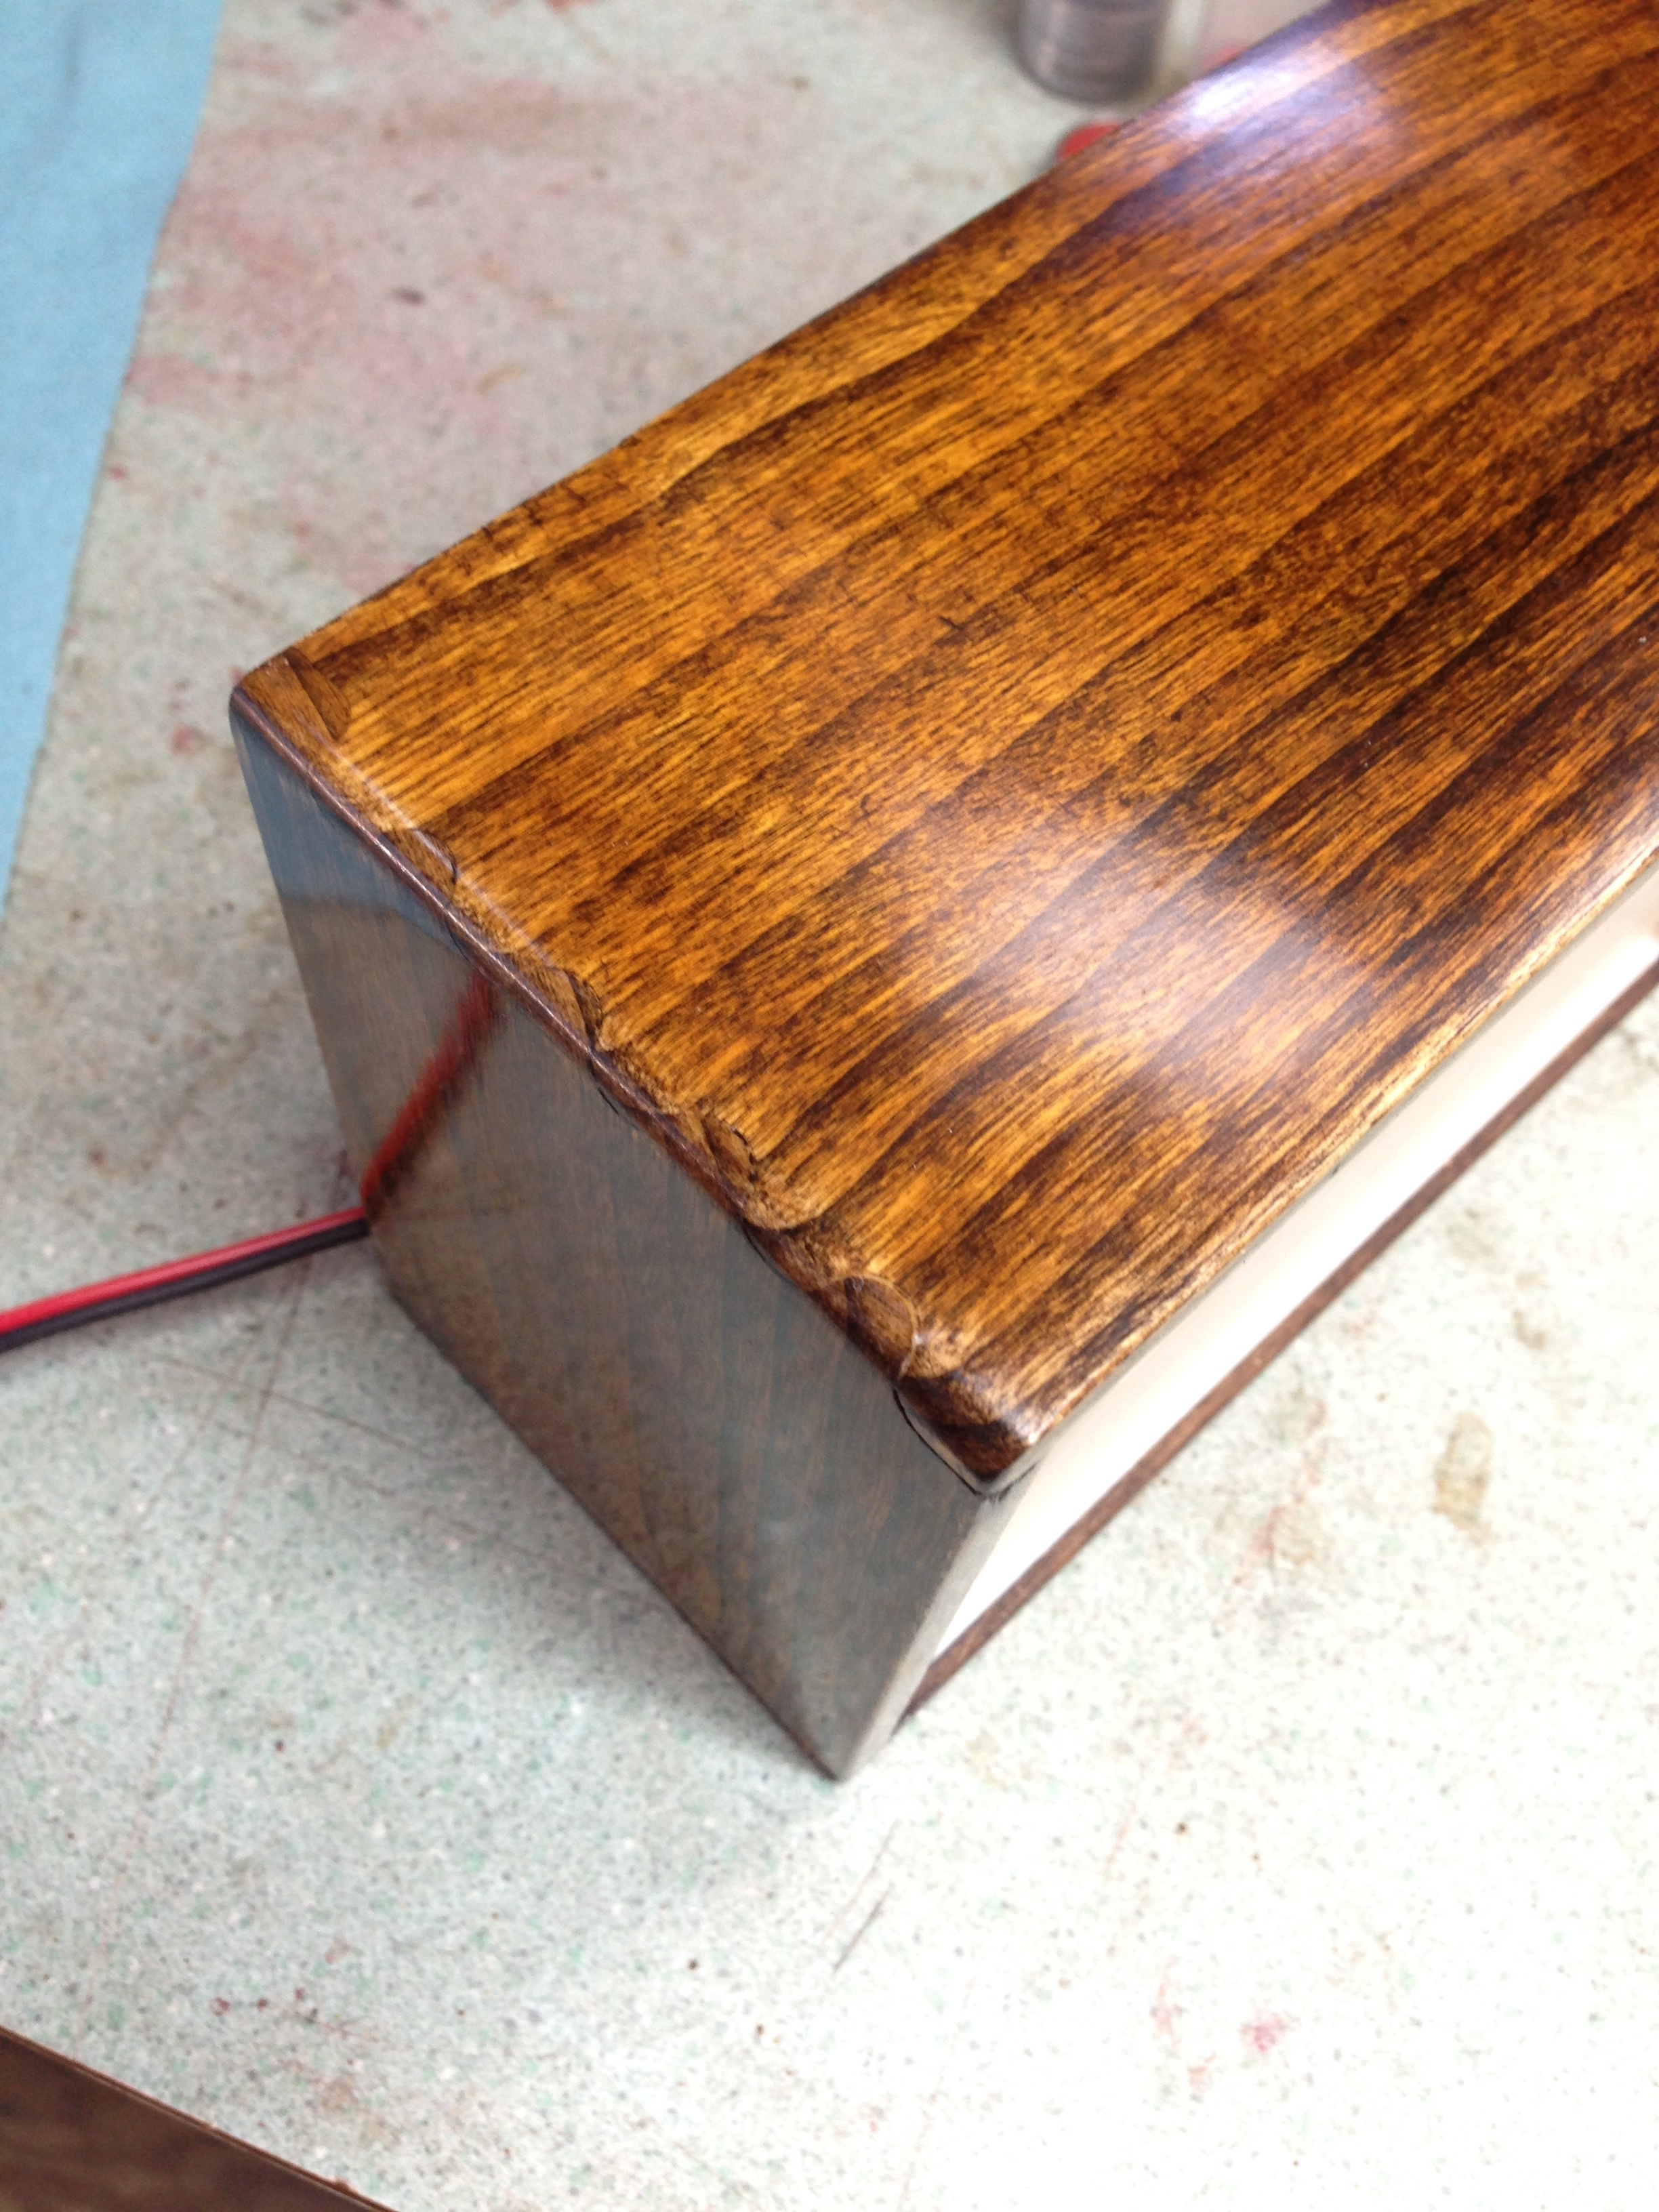
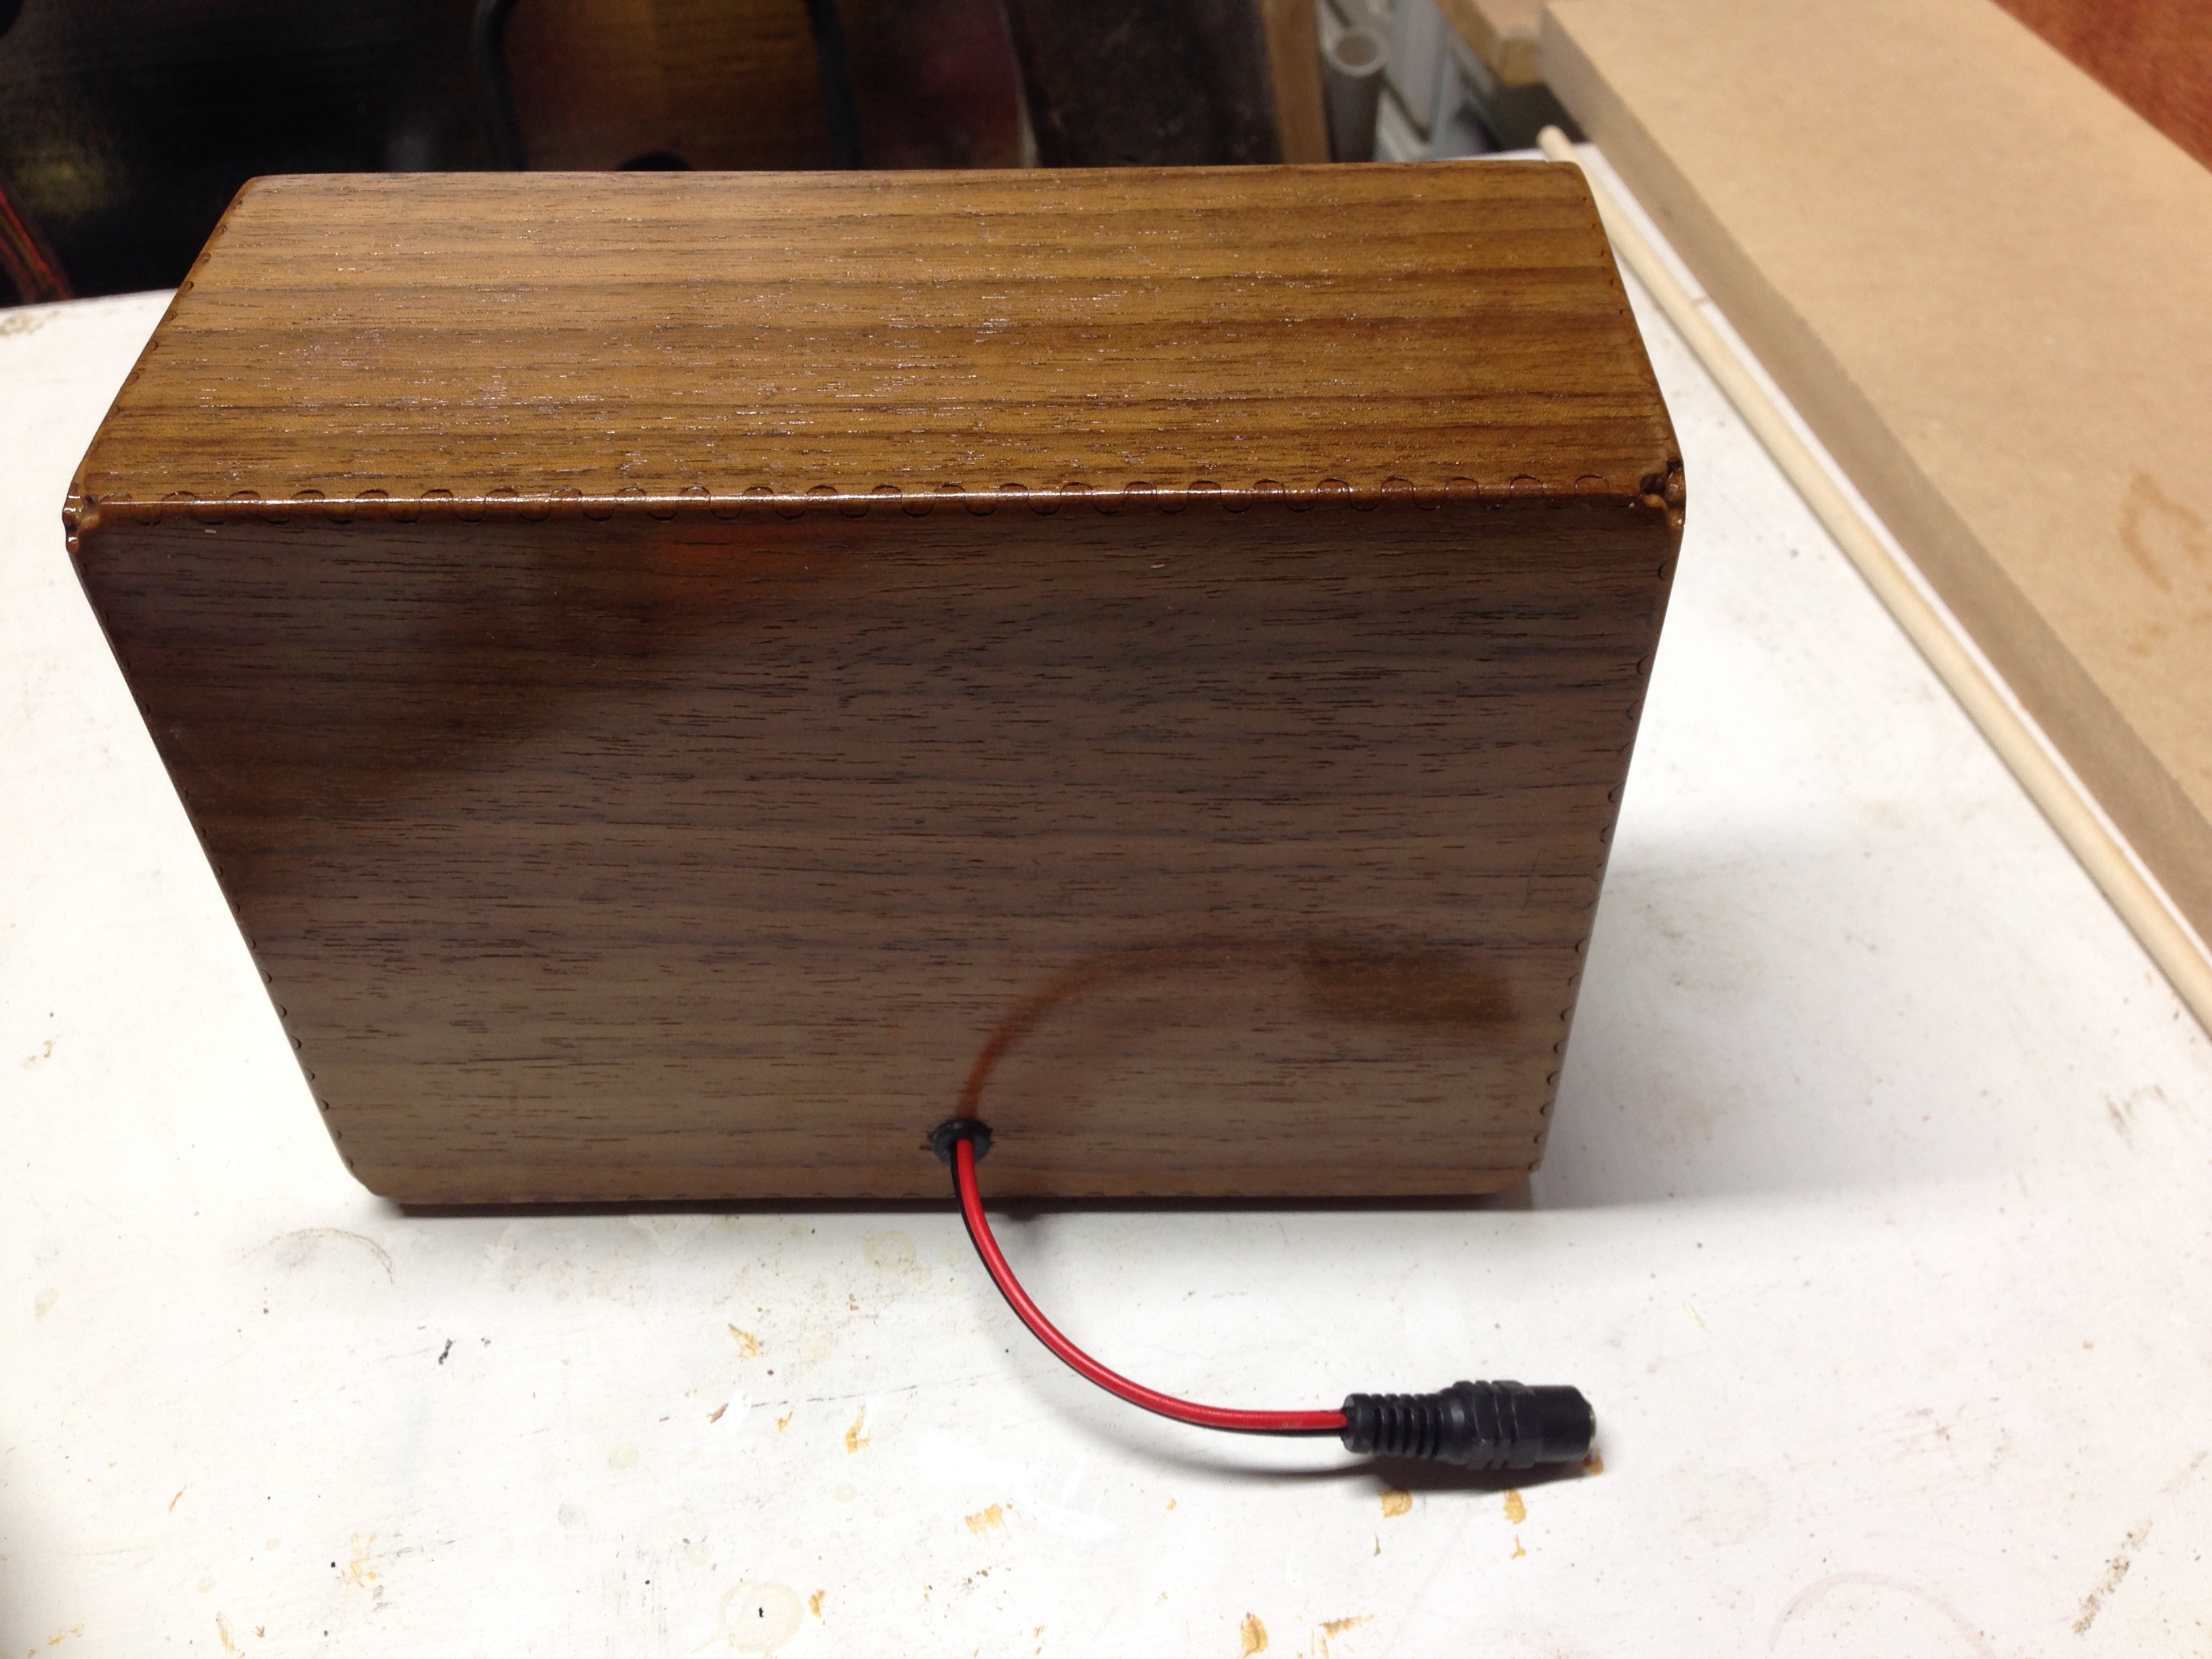
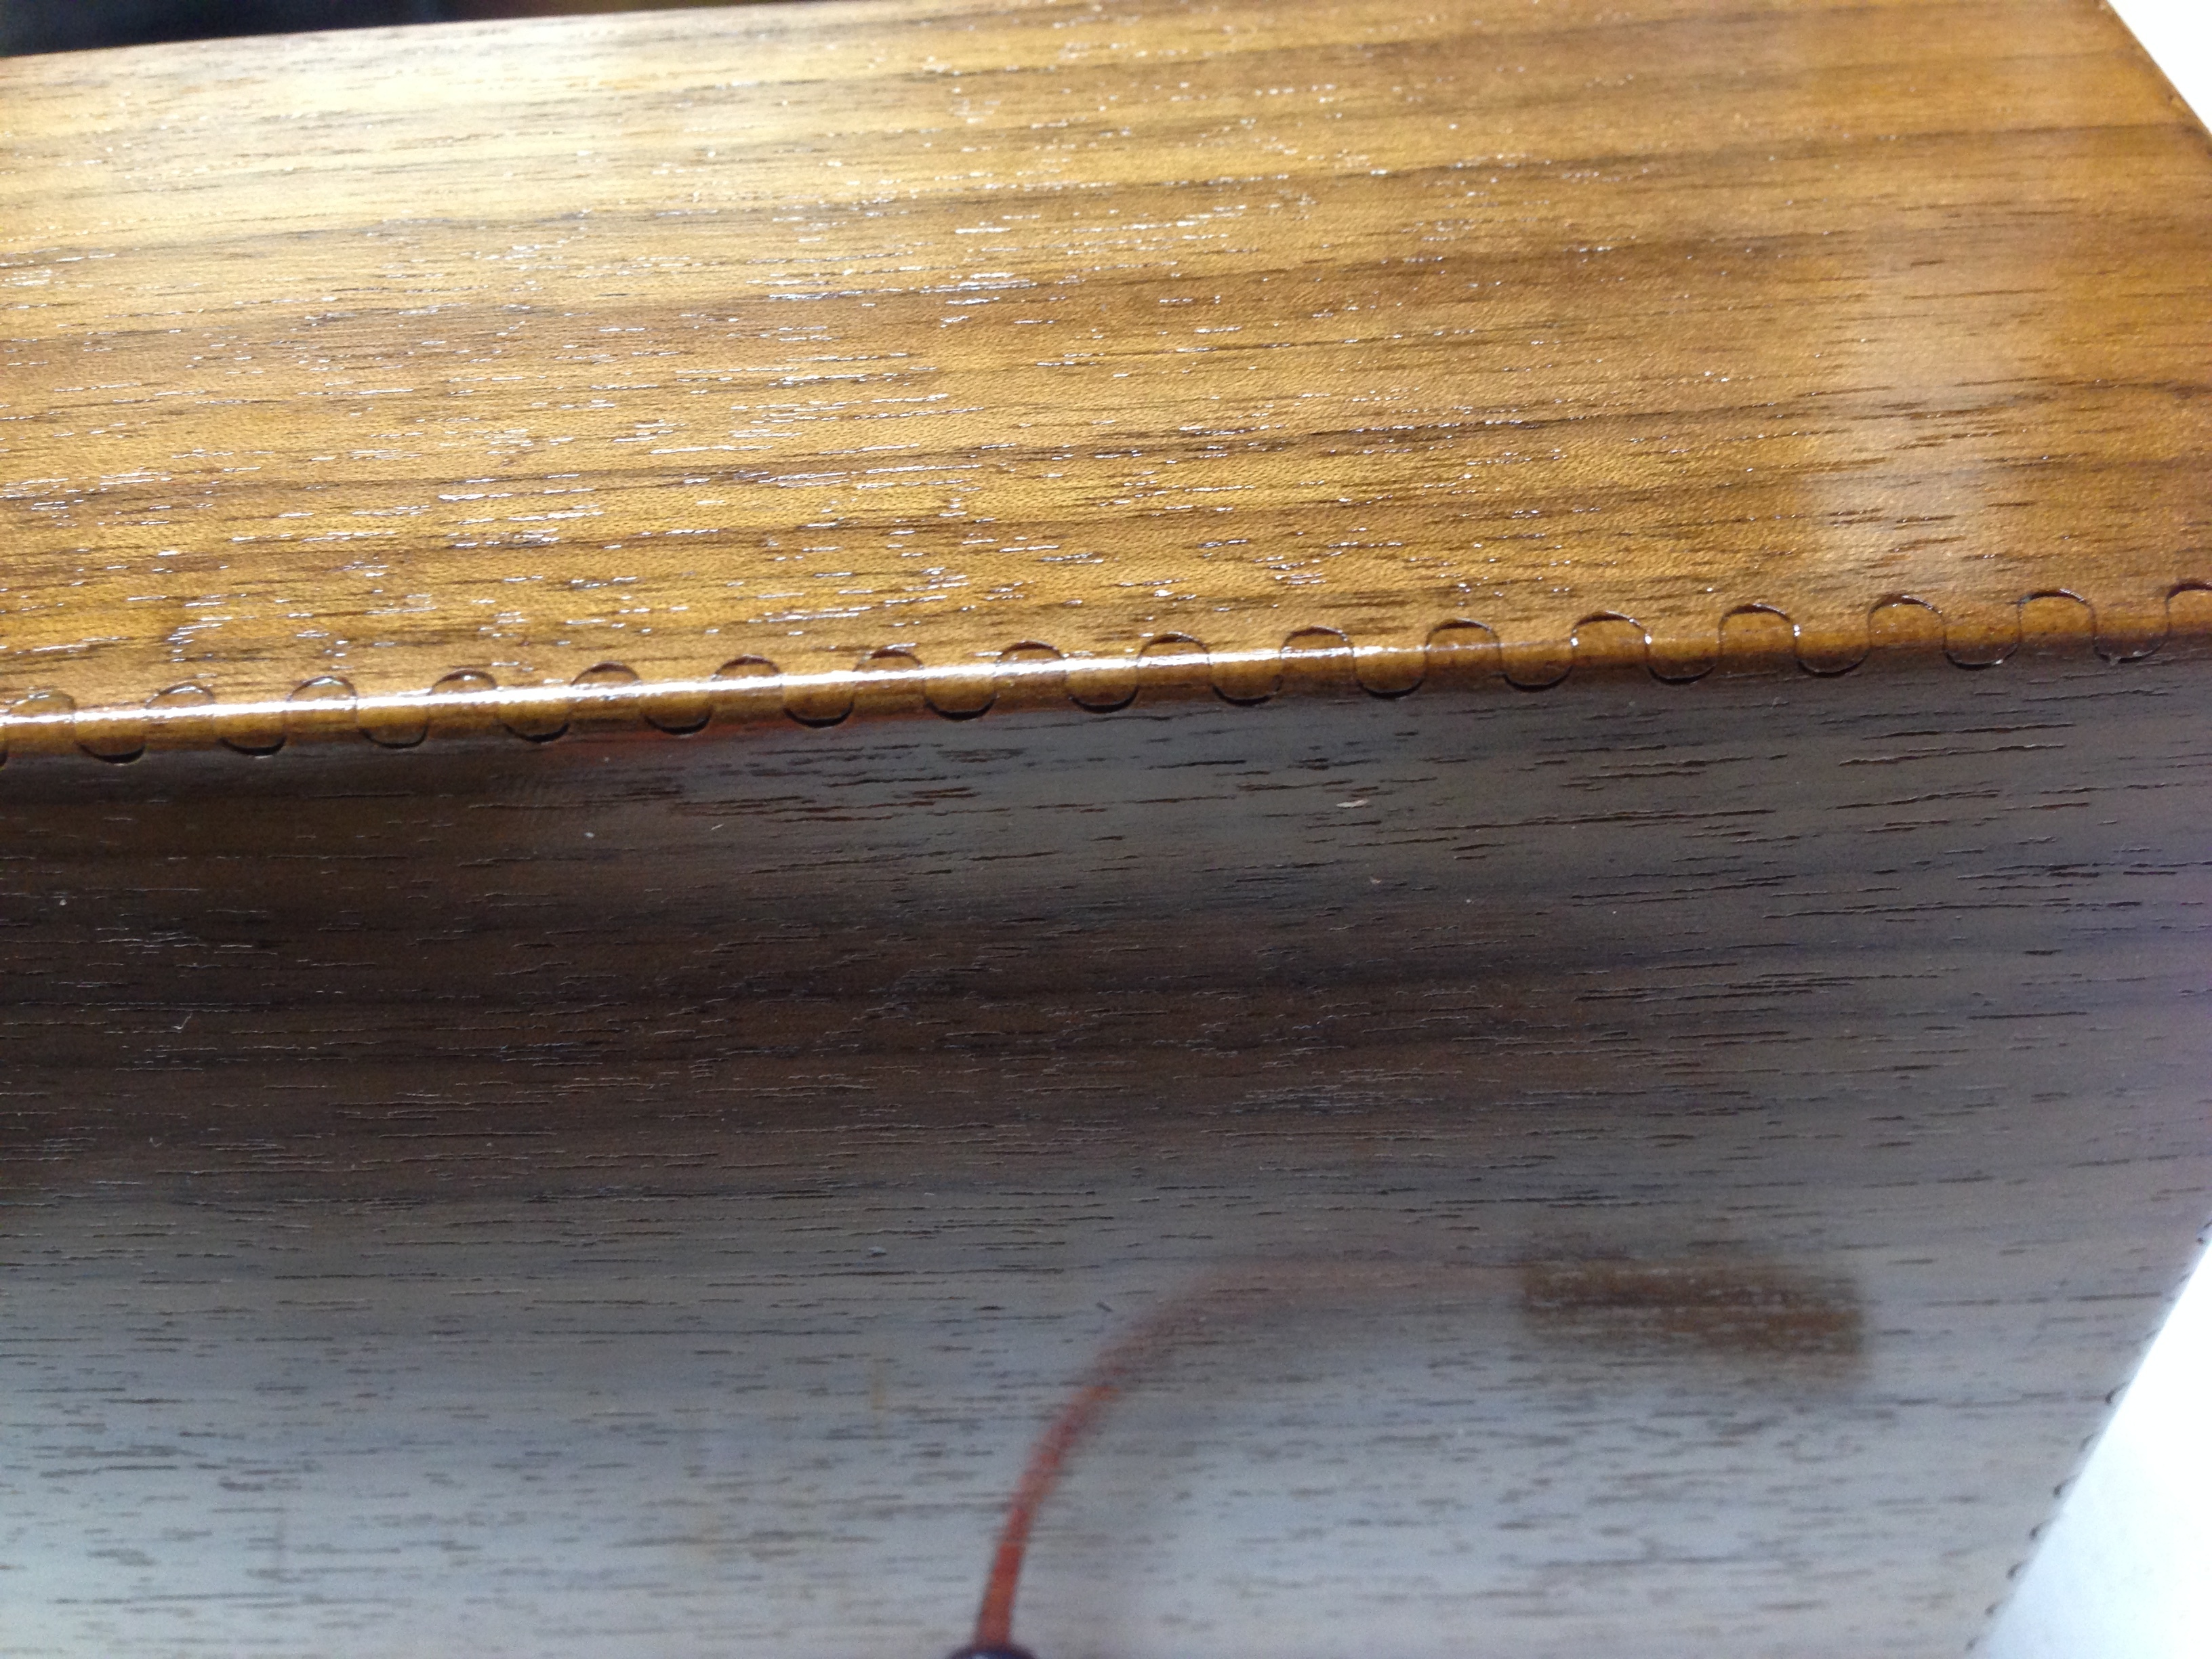
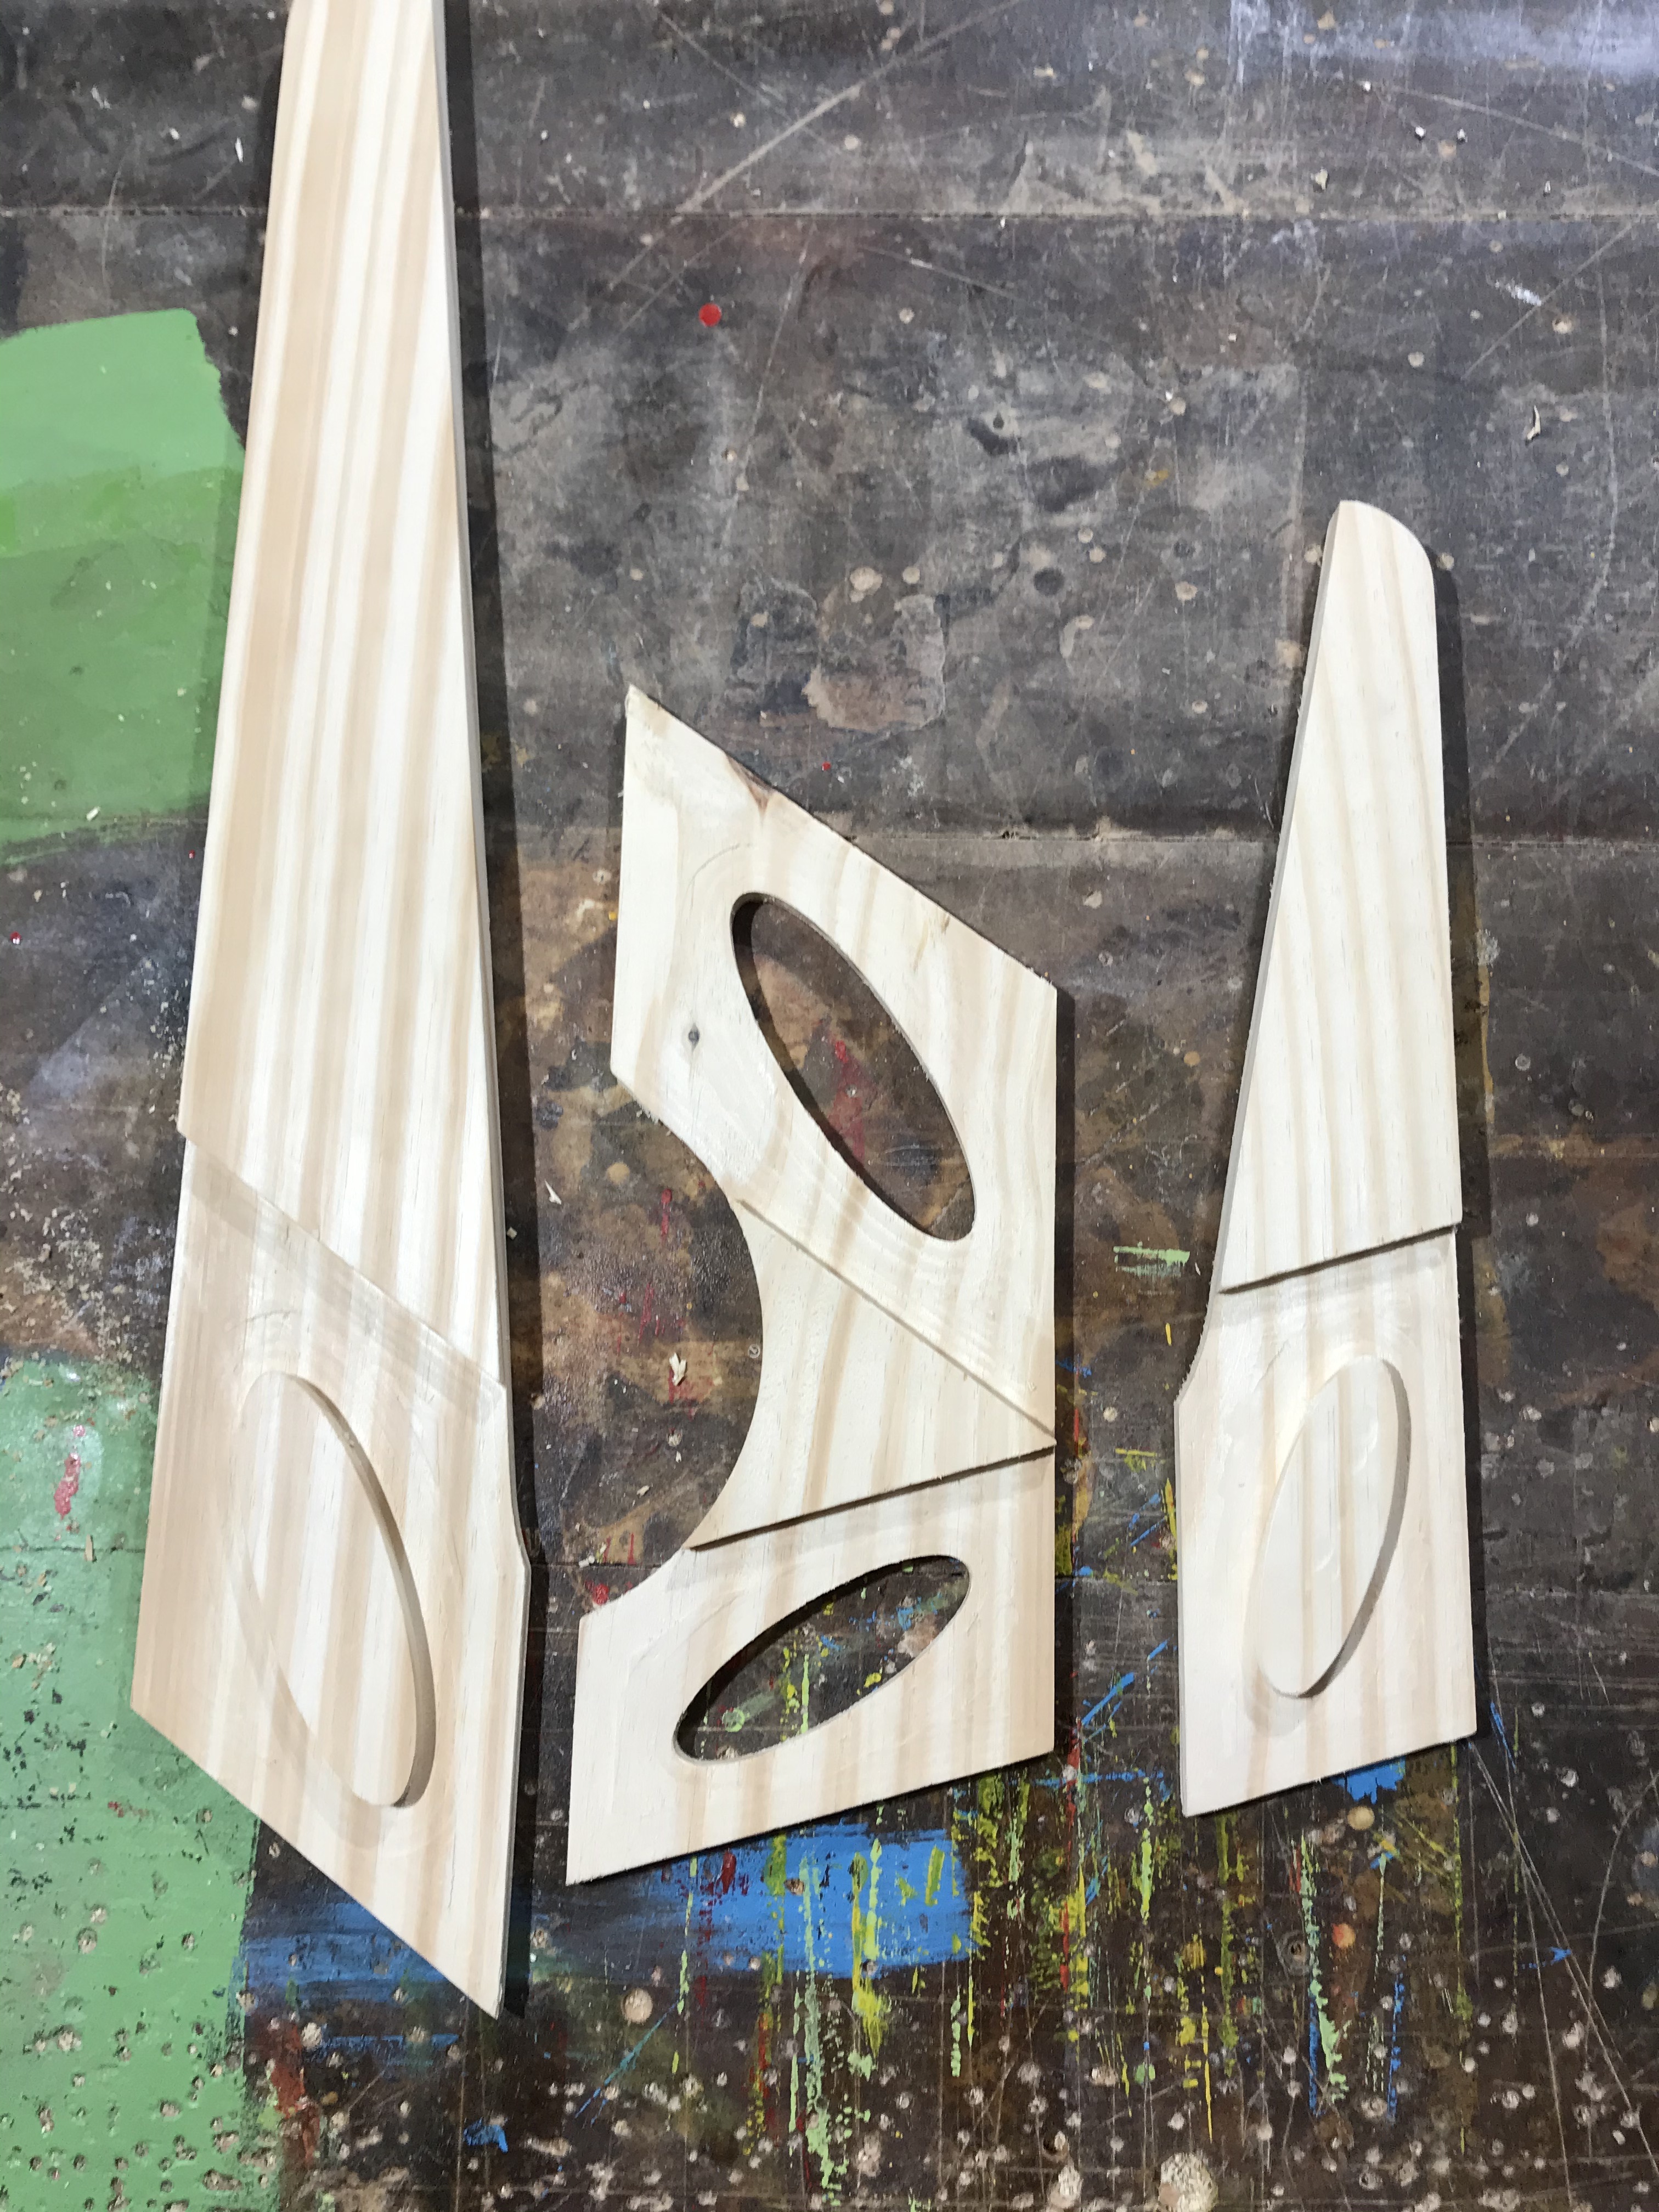
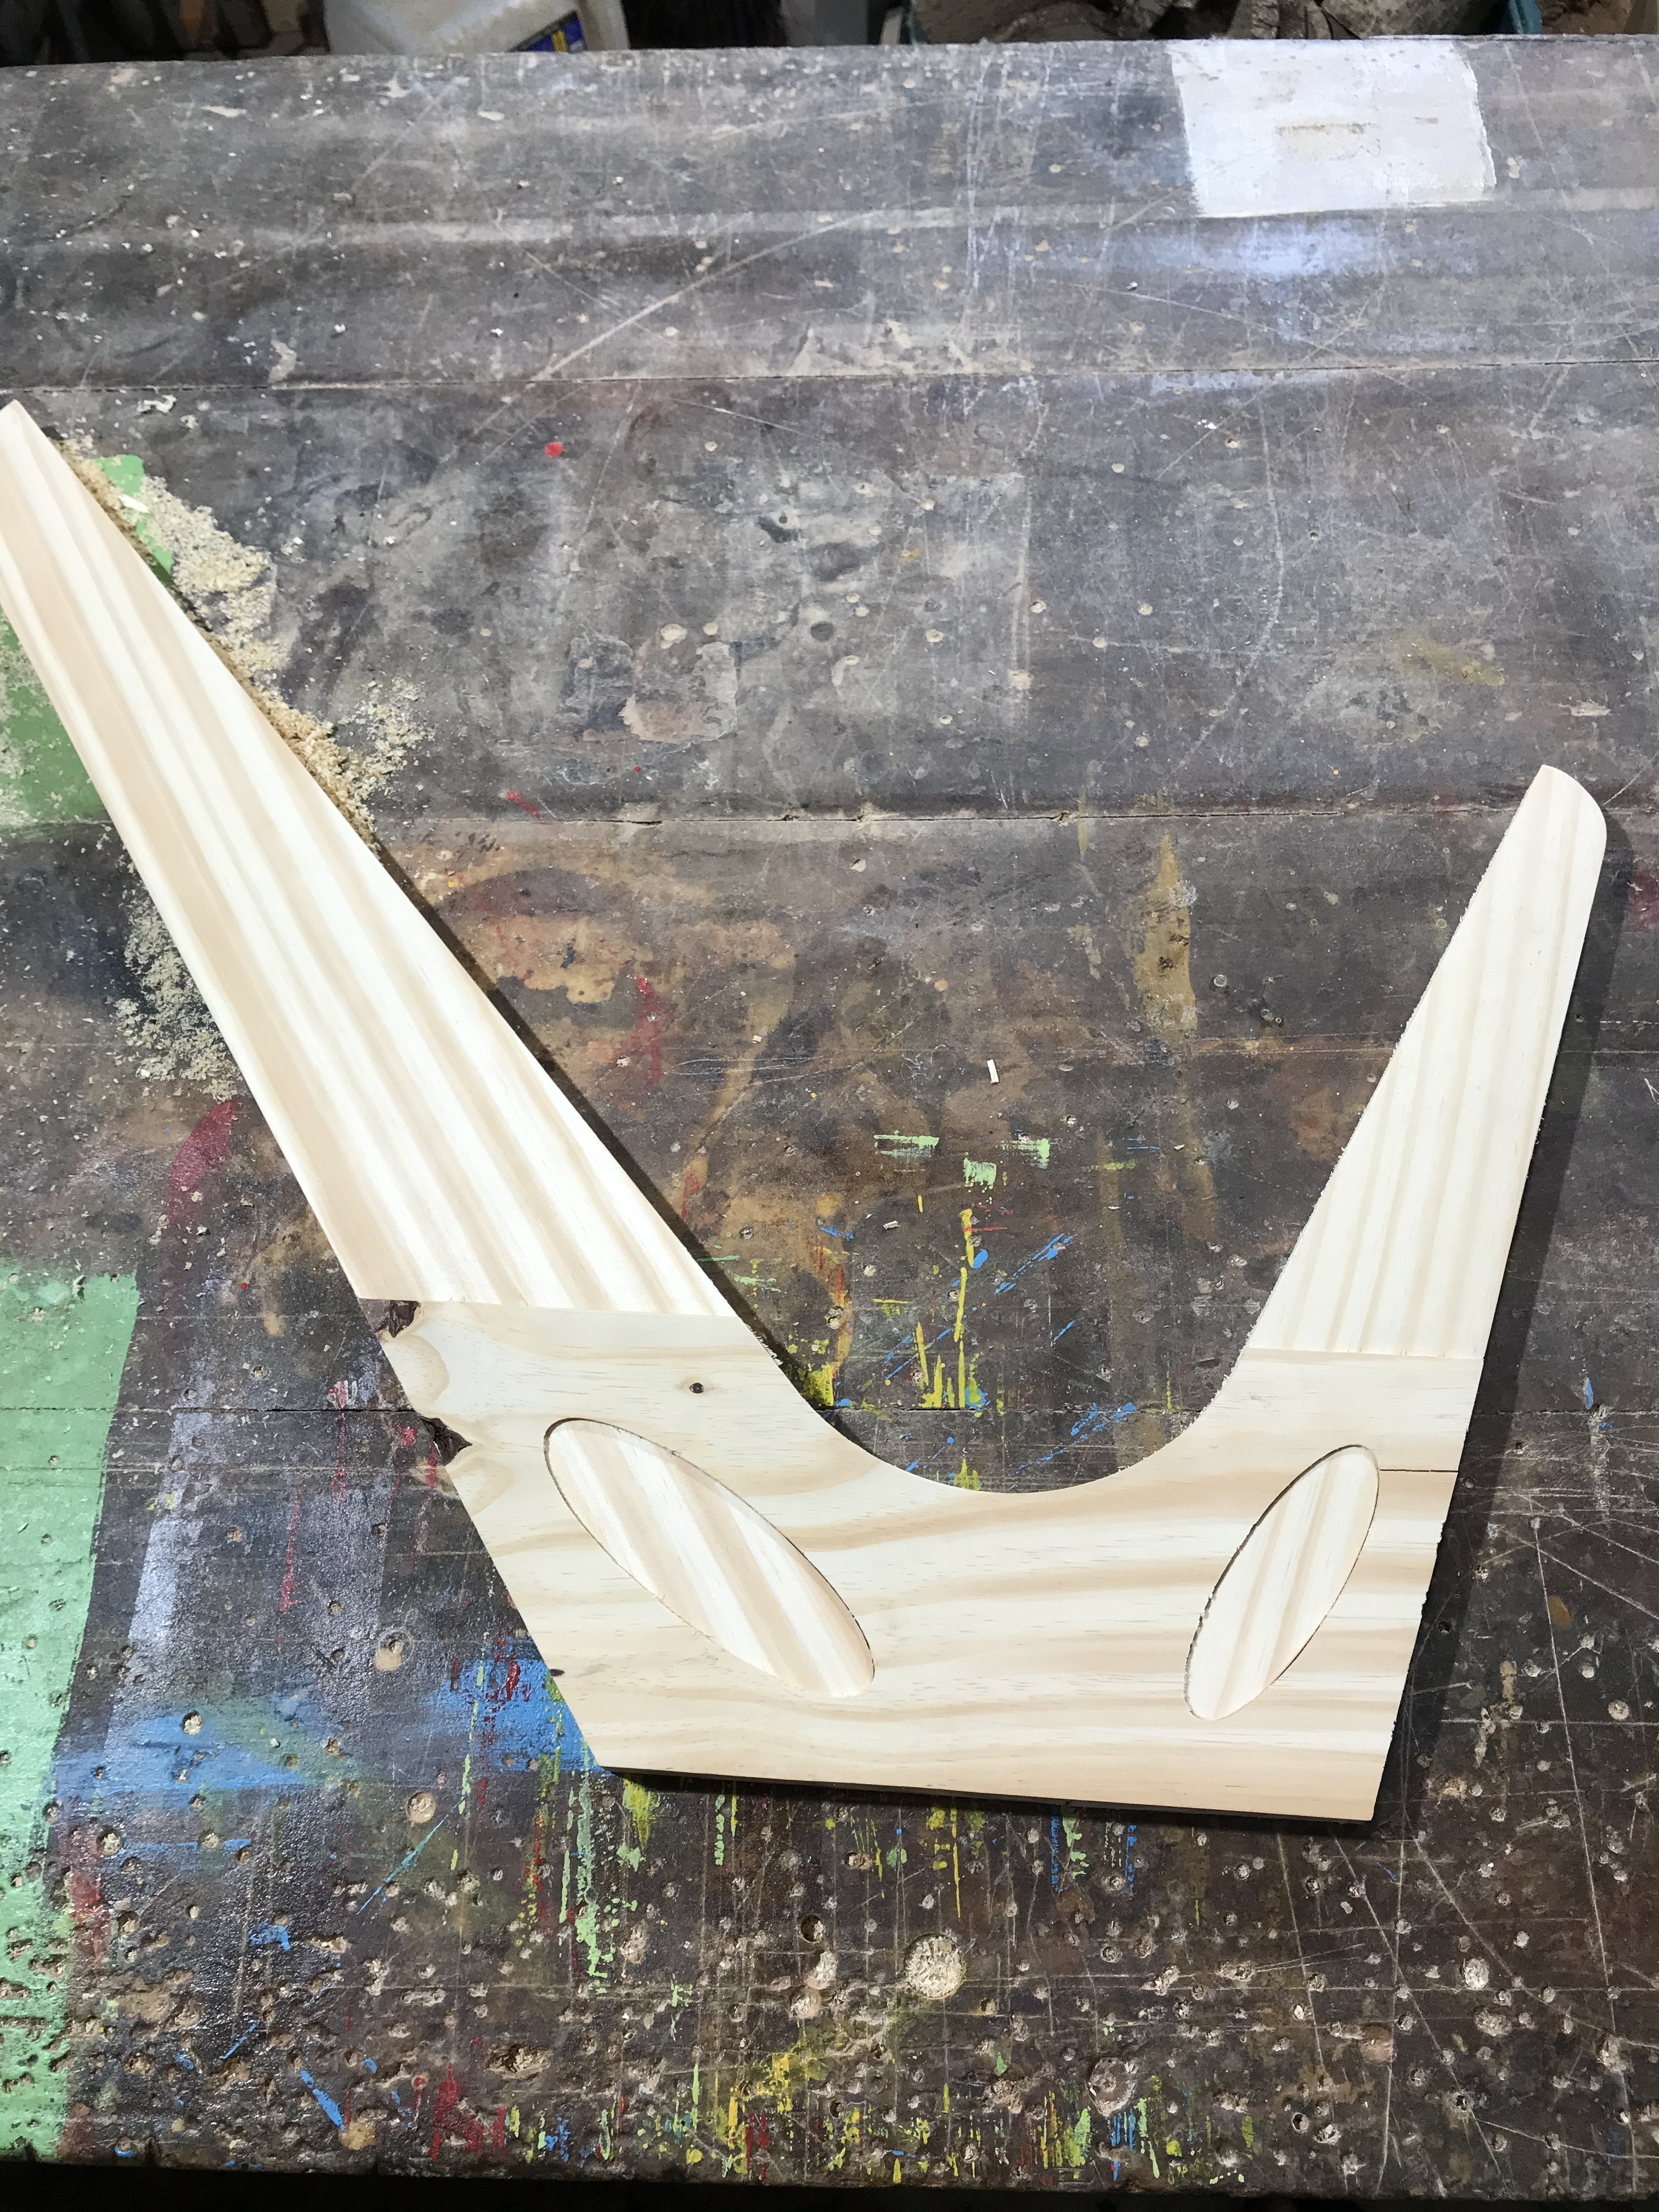
Challenge #6 is: Creative Joinery!

The goal is to make joints that look fancy or interesting/unusual.

Many of you may not have a vertical workholding setup in place at the front of the machine, so the joinery does not have to be between two parts at 90°, it can be between pieces in the same plane. Think interlocking 2D pieces, using inlays as joints, etc…

The rules for this sixth challenge are:

  • use a Shapeoko or Nomad
  • submit your entry in this thread:
    • It must include CNCed joints
    • include the associated design file(s) and tell us about the steps you followed to create it.
  • you can post multiple entries if you want.
  • timeline:
    • deadline is set to April 5th, midnight PST
    • there will then be 7 days for voting.
      • voting will be open to legit community members only, and the jury reserves the right to remove votes from “outsiders”, and will also break any tie.

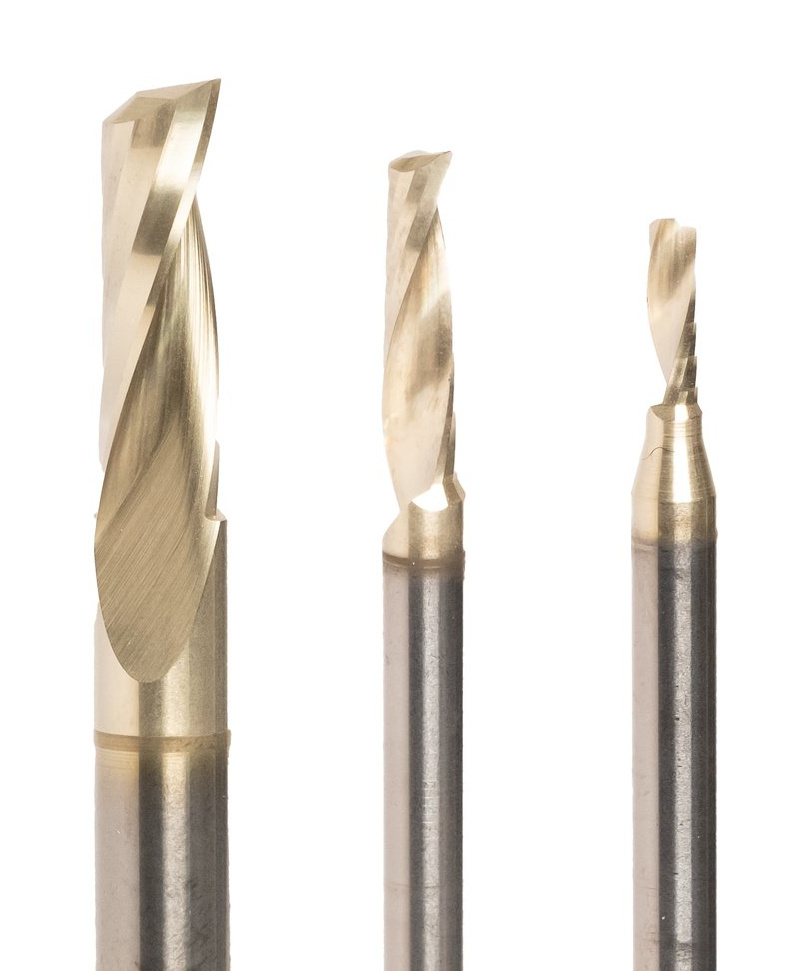
The prizes for this challenge are sets of ZrN-coated endmills from the Carbide3D store, and mainly single-flute ones (you’ll love them if you intend to start cutting aluminium)

And as usual, some Carbide3D swag:

image

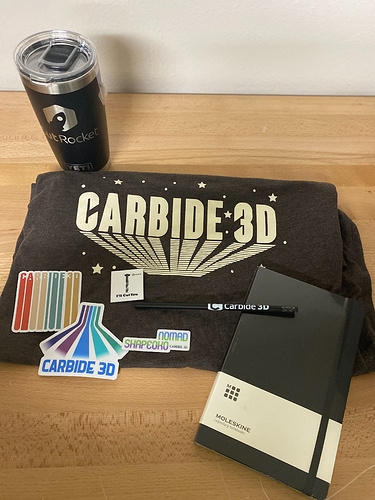
(note that it may take a while to get the prizes to you when this is over, depending on the situation at that time)

Stay safe, have fun, and be creative !

6 Likes

Folks doing this sort of thing will probably want to use a fixture to cut parts held vertically in the overhang area at the front of the machine. One such design is:

I suspect that working up a design which allows for adjustment in the other two axes, rather than just Z will help (I’ve considered trapping the speed nuts in a circular cutout which allows angular adjustment but never worked up the specifics) will be needed for some joinery designs.

A list of joint types for which designs have been published already to use as either as a baseline or starting or jumping off point:

5 Likes

Here’s another website that has a bunch of CNC wood joints.

Not sure how I found it, but as much as he contributes, I wouldn’t be surprised if I got it from a @WillAdams post. :slightly_smiling_face:

5 Likes

And that link at the end with tens of CNC-friendly joints looks like a good place for inspiration.

5 Likes

Great site for inspiration. Some of those are very well suited to easily produce on the CNC with basic tools. I’m sure however, the designing could in some cases be challenging for tight fitting joinery.

1 Like

Another interesting idea are the various spring-fitting designs — one site with such designs is:

5 Likes

Here is a design concept… not sure if i will actually have time to cut it but i will see if i can this weekend. STL files uploaded for anyone else to play with.

CARBIDE CREATE JOINT - 250 inch dowel-3.zip (33.1 KB)

6 Likes

Yay for keeping the C3D logo theme alive ! :slight_smile:
That’s a creative joint for sure. Alternatively the “inner C” could be part of the lower piece, and the “negative C” could be part of the top piece ?

2 Likes

I actually started off that way, but I don’t believe its possible to keep it down to two pieces, and show correctly on both sides of the joint. Thats probably not important… but It drove me to this version for now.

1 Like

The C3D logo will be mirrored on the other side of the joint — an argument for not having it show there.

Alternately, mill the hexagon from two sides and have two Cs?

1 Like

it’s more upside down than mirrored :wink:

3 Likes

Here it is simplified a bit more…

STL Simple.zip (29.1 KB)

5 Likes

Exactly what I had in mind! :+1:

2 Likes

This with some Carbide Green resin fill would look sharp on 4 corners of a Shapeoko Bench… :slight_smile:

2 Likes

Depends how you flip it.

@Sbedow7885 What is it for? Like, what’s your vision for the end use?

I really didnt have one in mind to be honest, but after I started to model it, I am thinking of making a new table for my XL and I think this would look good on the corners and be stronger than simple butt joints.

3 Likes

If anyone wants an idea for this challenge pm me I’ve got a doozie. You’ll need someway to vertically hold the work piece tho.

3 Likes

Here is a lighted shelf i made for over my desk. Its made from just some cheap scrap i had. The program i used was called Fingermaker. I looked for the link to it but i guess the programmer discontinued it. it was done with a 1/8" ball mill.


and here is some more of other projects.
Here is the legs i did for the Grand Lake table.

Sorry i don’t have a project file as it just output G-Code.

8 Likes

This is a test piece I made today, not a finished project, but I hope it still qualifies…

My goal is to make a table base like this:

Saw this challenge and thought I’d try to come up with a different joint, that would help with clamping and glueing the two leg pieces. Got some inspiration from those excellent joints shared on the links above. This was my first test:


I was surprised how well it fit on my first try, though still some improvements would need to be made.!

11 Likes

Quite stylish. Then again, I am a fan of midcentury modern.