Thanks for the video. It helps a lot!
Pretty cool!
Any idea where the bug is?
I’m not sure, but it looks like you need to offset the depth of the plug. You want the vectors to match below the surface. Software like V-carve has you do this by offsetting your Z zero down by the desired depth of your inlay. The problem with that method is that you’re taking an extra few mm on your first pass.
That’s why I set on doing this in Fusion.
I’ll have to give F-engrave another look too.
I do not know where the bug is happening yet, will be poking at that next.
the depth offsetting I can do, and I can make sure the depth side of things goes ok … that’s the nice part of the tool knowing what the intent is
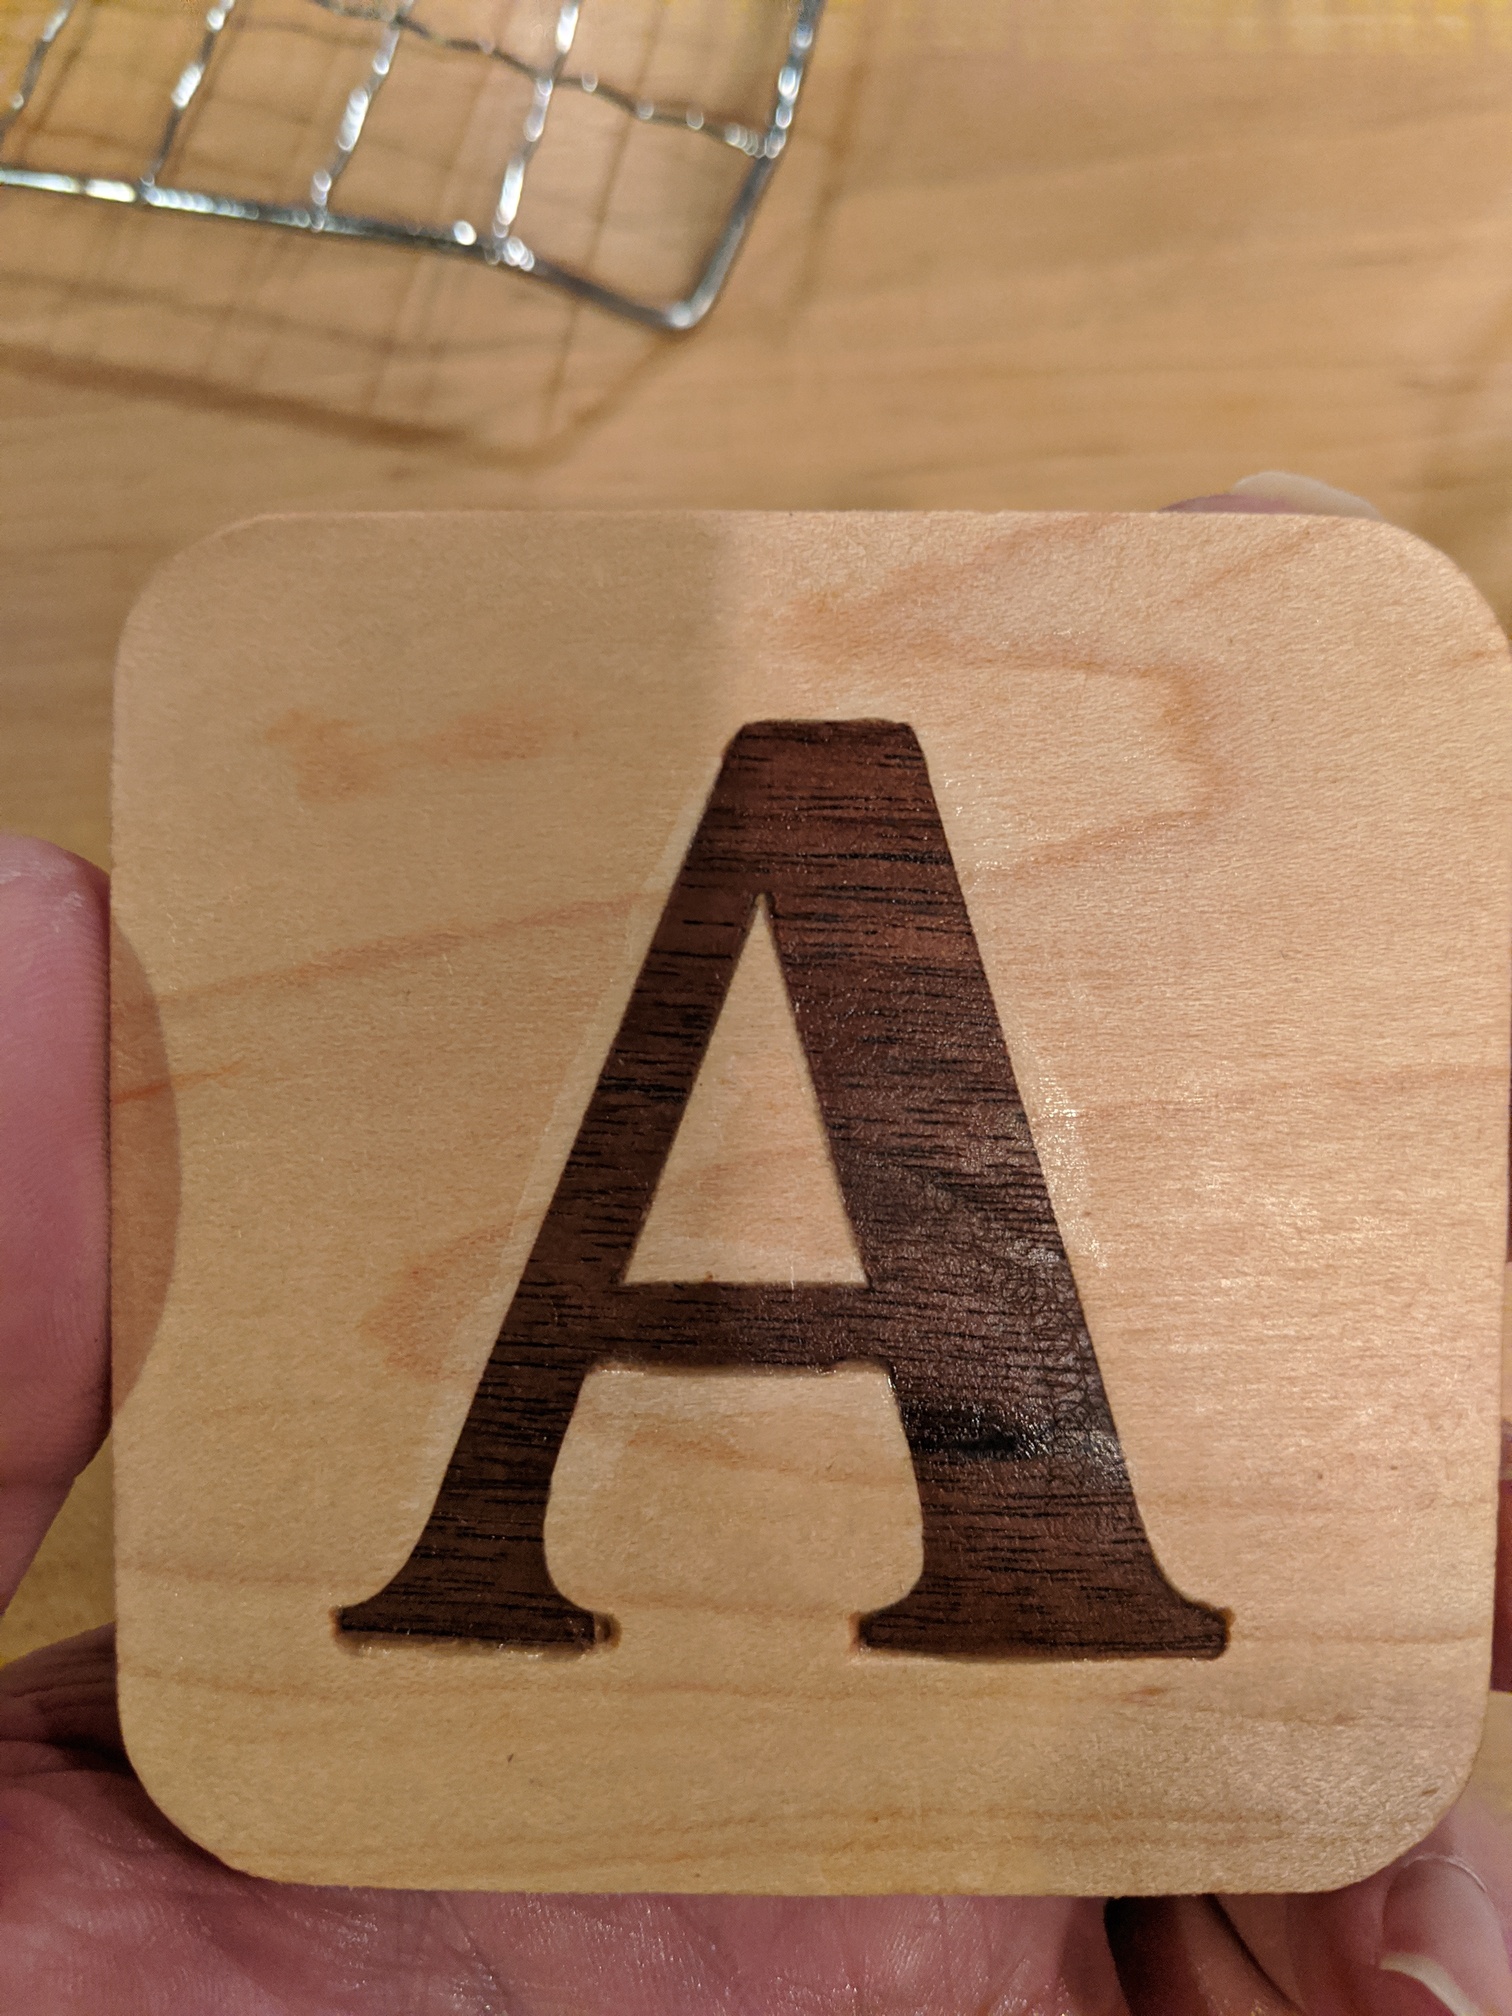
the result is aweful, the glue up did not work well, I could not get the walnut part to go in deep enough, so step one to fix is @neilferreri 's “need to cut different depth” comment

1 Like
There are a few crucial depths to get right:
The depth of the pocket (D1) - self explanatory
The plug “start depth” (D2) - this is the offset below the surface that acts as your Z-zero for the plug. This is the depth the plug will go in, below the surface of the inlay, until the walls meet up.
The overall depth of the plug (D3) - distance below D2 you want the flat part of the plug to be.
D3-D2 gives the space above the surface of the inlay. This would be where you fit a band saw if you have one. This should always be greater than zero.
D1-D2 gives the space beneath the plug to leave somewhere for glue to go. This should always be greater than zero.
1 Like
re-watched the youtube video I watched many times, and fixed the depth thing also based on your description. Had to also fix a math bug (inside angle vs outside angle kind of trig) and an algorithm bug.
It seems to fit nicer, the glue is drying so will know tomorrow after I use my spoilboard leveling bit to get the top off (ha bandsaw)
1 Like
That’s how I do it too. Handsaw too messy. Table saw was a bit scary. And my bandsaw doesn’t exist yet.
1 Like
that got a LOT closer, will need to check in the toolpaths what happened to the lower left “leg” of the A
4 Likes
one off-by-one fixed that made the corners not as sharp.
I’m seeing another bug but that one is a bit more of a puzzle so far
update: found the geometry bug, testing a fix now
4 Likes
fix worked
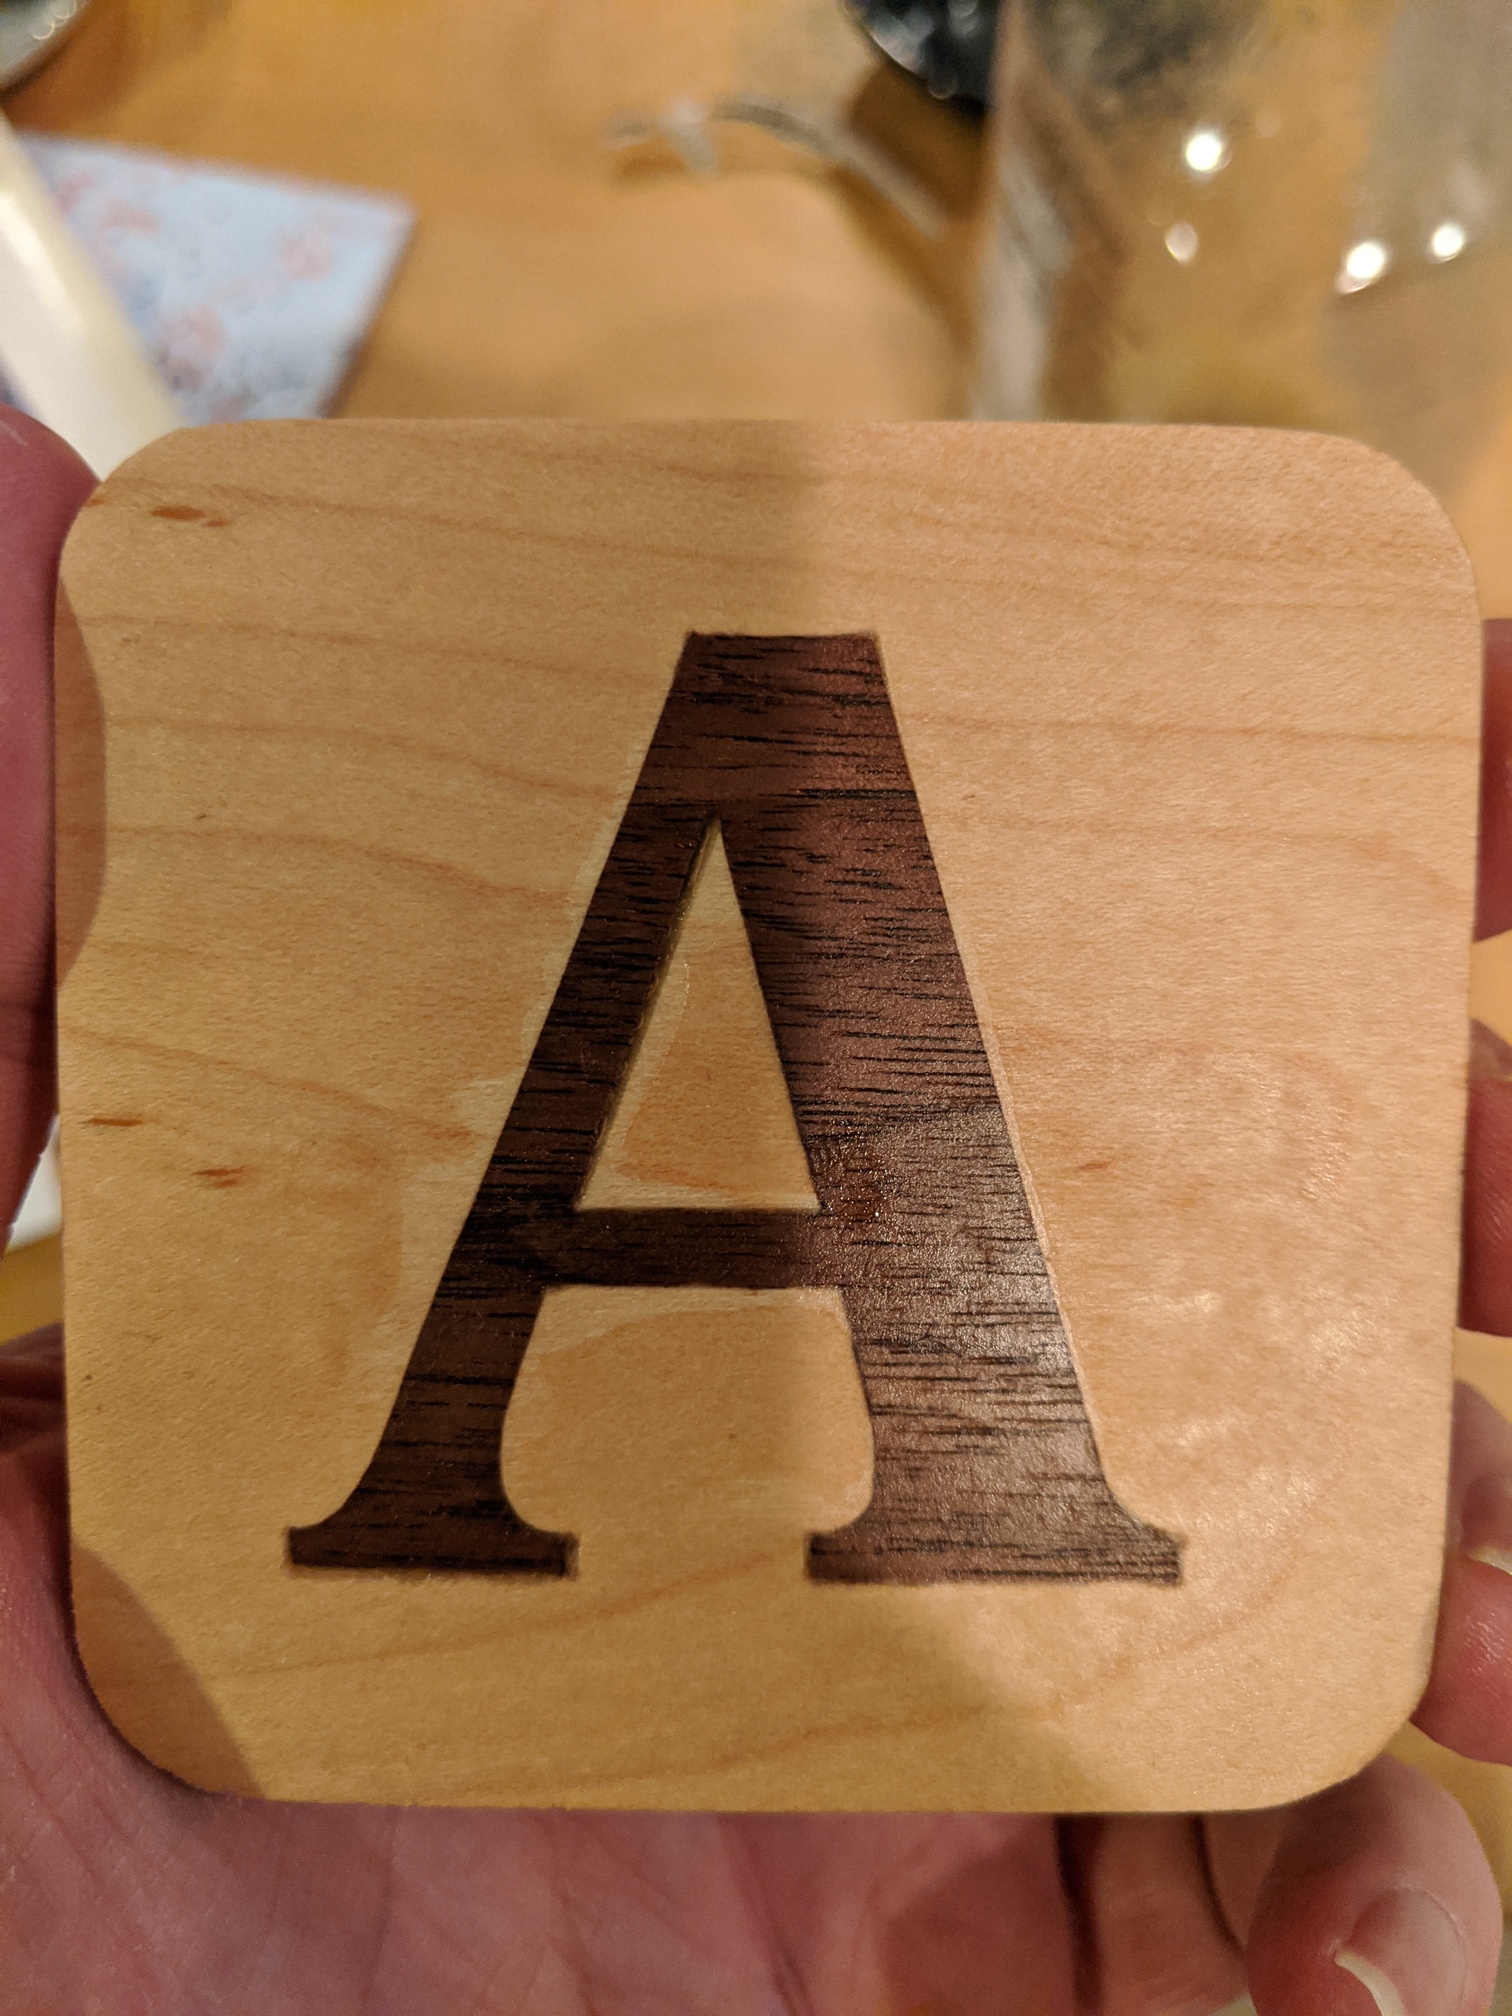
also implemented the V-bit depth of cut. This works different than carbide create.
In carbide create, the V bit always travels the center of the “V channel” for “not final depth” paths, while in this tool the vbit will hit the side walls of the channel on each side. This allows you to cut a deeper V carve than your bit is high, which is common for the 1/4" bits that just have a sharp point
6 Likes
FYI I just stumbled on this that helps clarify the chipload vs chip thickness definitions and proposes a different(?) HEM strategy.
your link seems to hate me
1 Like
OOPs fixed it -sorry and thanks for letting me know!
interesting read but… that’ll be curious to implement.
I first need to implement adaptive pocketing at all, never mind get clever about it. Now that vcarve inlays work it’s next on my list together with rest machining, which needs a lot of the same internal logic to figure out how much material is going to get cut (rest machining just eliminates the path if the material amount is 0)
1 Like
For what it’s worth, I was working on adaptive clearing toolpaths in TPL a while back:
might be some information there which you haven’t found yet, and the code might (or might not) be useful.
thanks! will go through it in detail
a week or so ago you mentioned you’d like a tool that can do custom depths based on (non closed) paths… I might have time to build that into the tool before I figure the adaptive side out… can you sort of describe more of what you imagine?
I was assuming, you draw something in inkscape or carbide create, export as svg and then have some way to set start and end depths
(in inkscape you can label/annotate paths)
Yes, that’s it.
Consider this:
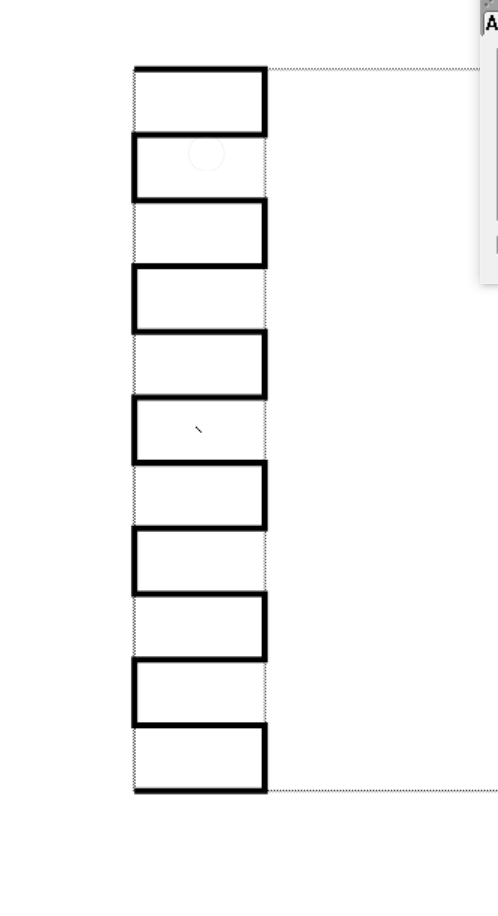
I’d like to be able to select each node, and assign a different depth to it — for bonus points, allow this to be done to curves.
Are there common depths?
Eg would using color in the design and then a color to depth table be helpful or hurting
(Bezier curves are not harder than lines)
1 Like
This has been a fascinating discussion to follow. It could be interesting if C3D could give some hints about how to develop things that could be easily added to Carbide Create without disclosing any proprietary info, and then add them to the free version along with some protection for the developer. Probably plug-ins/post processors is too big a nut to add but making it easier to let them be added as the developers find time could be of real benefit.
If you look at the files for Carbide Create, you can see that post-processors are in the works — they’re kind of necessary for the Pro license to be marketable to folks who don’t have Carbide 3D machines.
I’d really like to see scripting or a plug-in architecture added to Carbide Create — we’ll see.
3 Likes