One distinctive form of box is the traditional steamer trunk or chest with a coopered lid, often depicted as a pirate’s treasure chest:
It should be possible to model one programmatically, and to then cut out the parts for the lid using Carbide Create Pro’s 3D modeling (or by using a V endmill of an appropriate angle — anyone know of a source for V endmills of arbitrary angles? Not just the 15, 30, 45, 60, 90, and 120 typically available?)
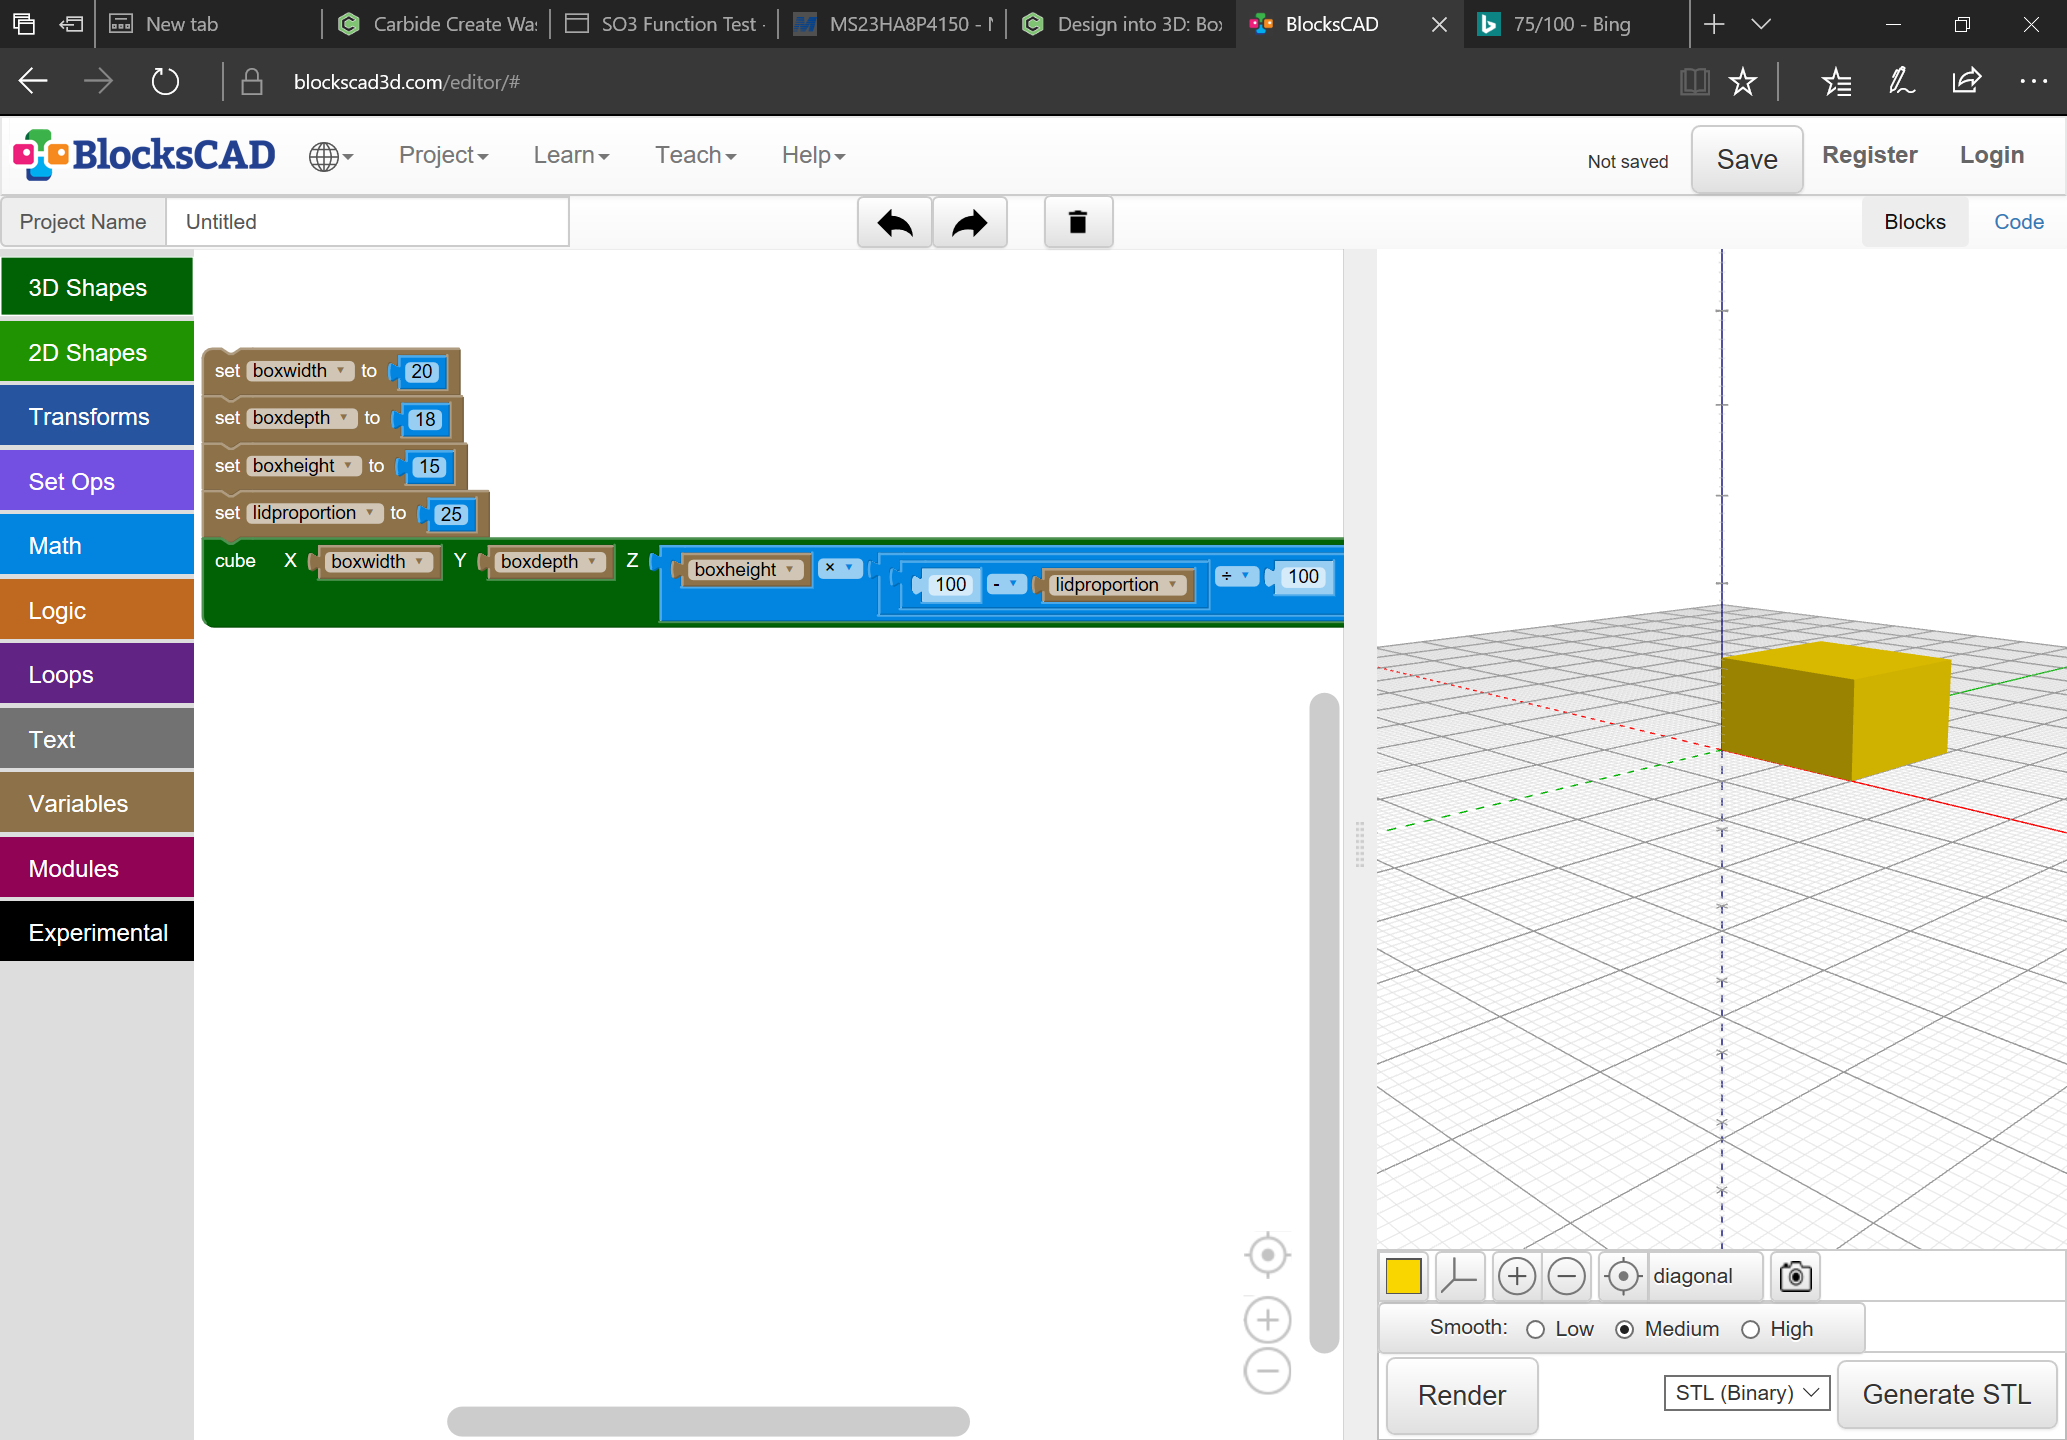
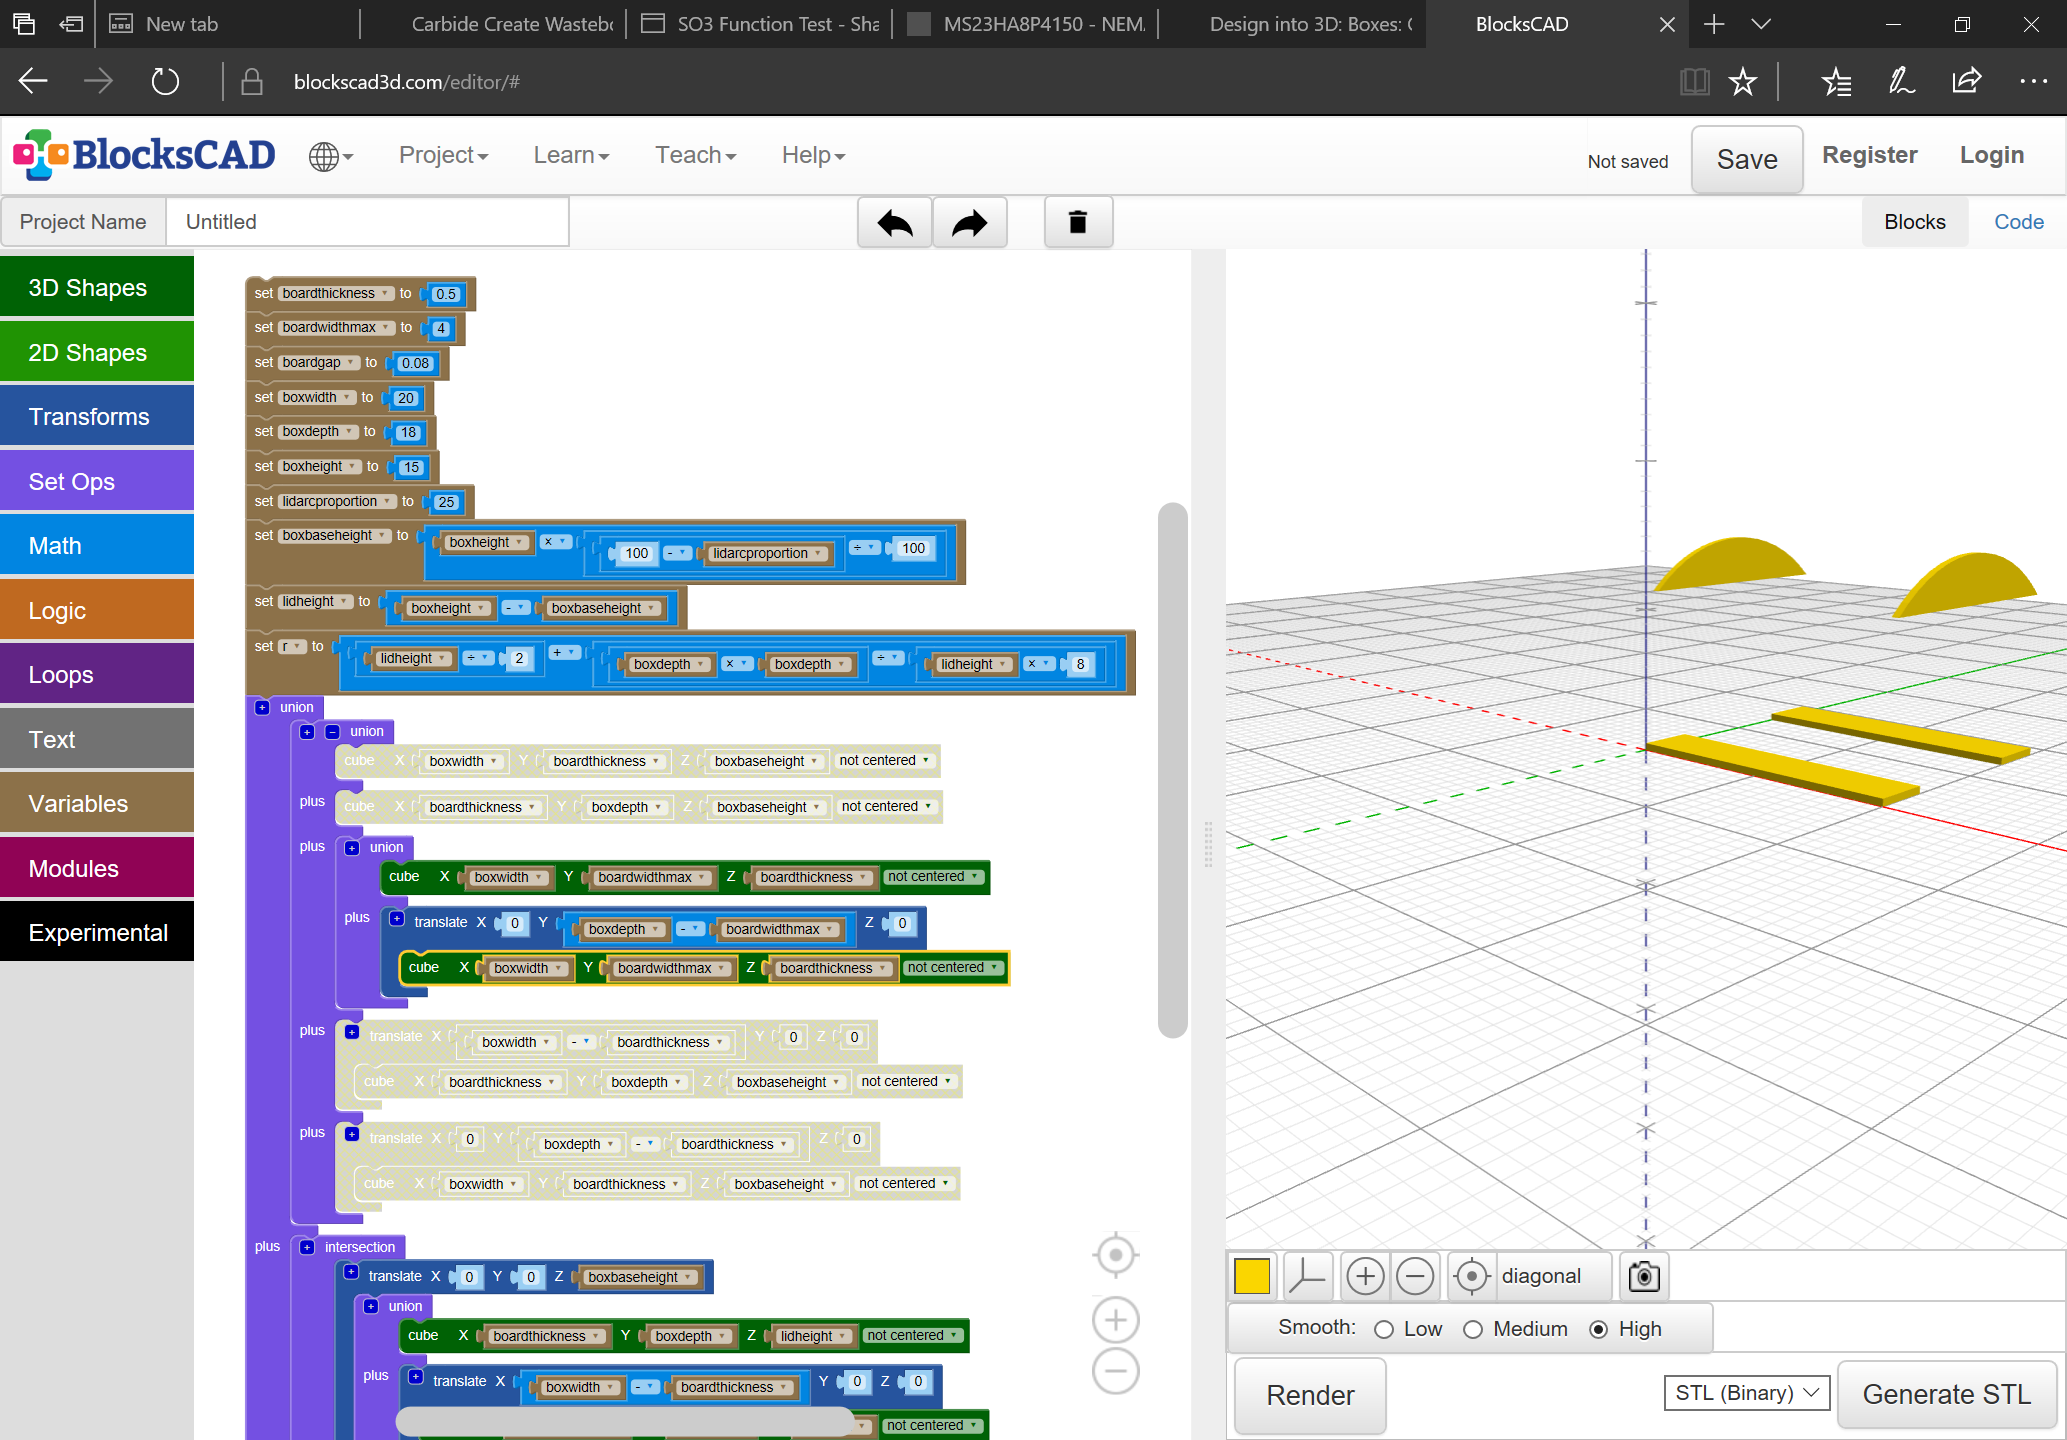
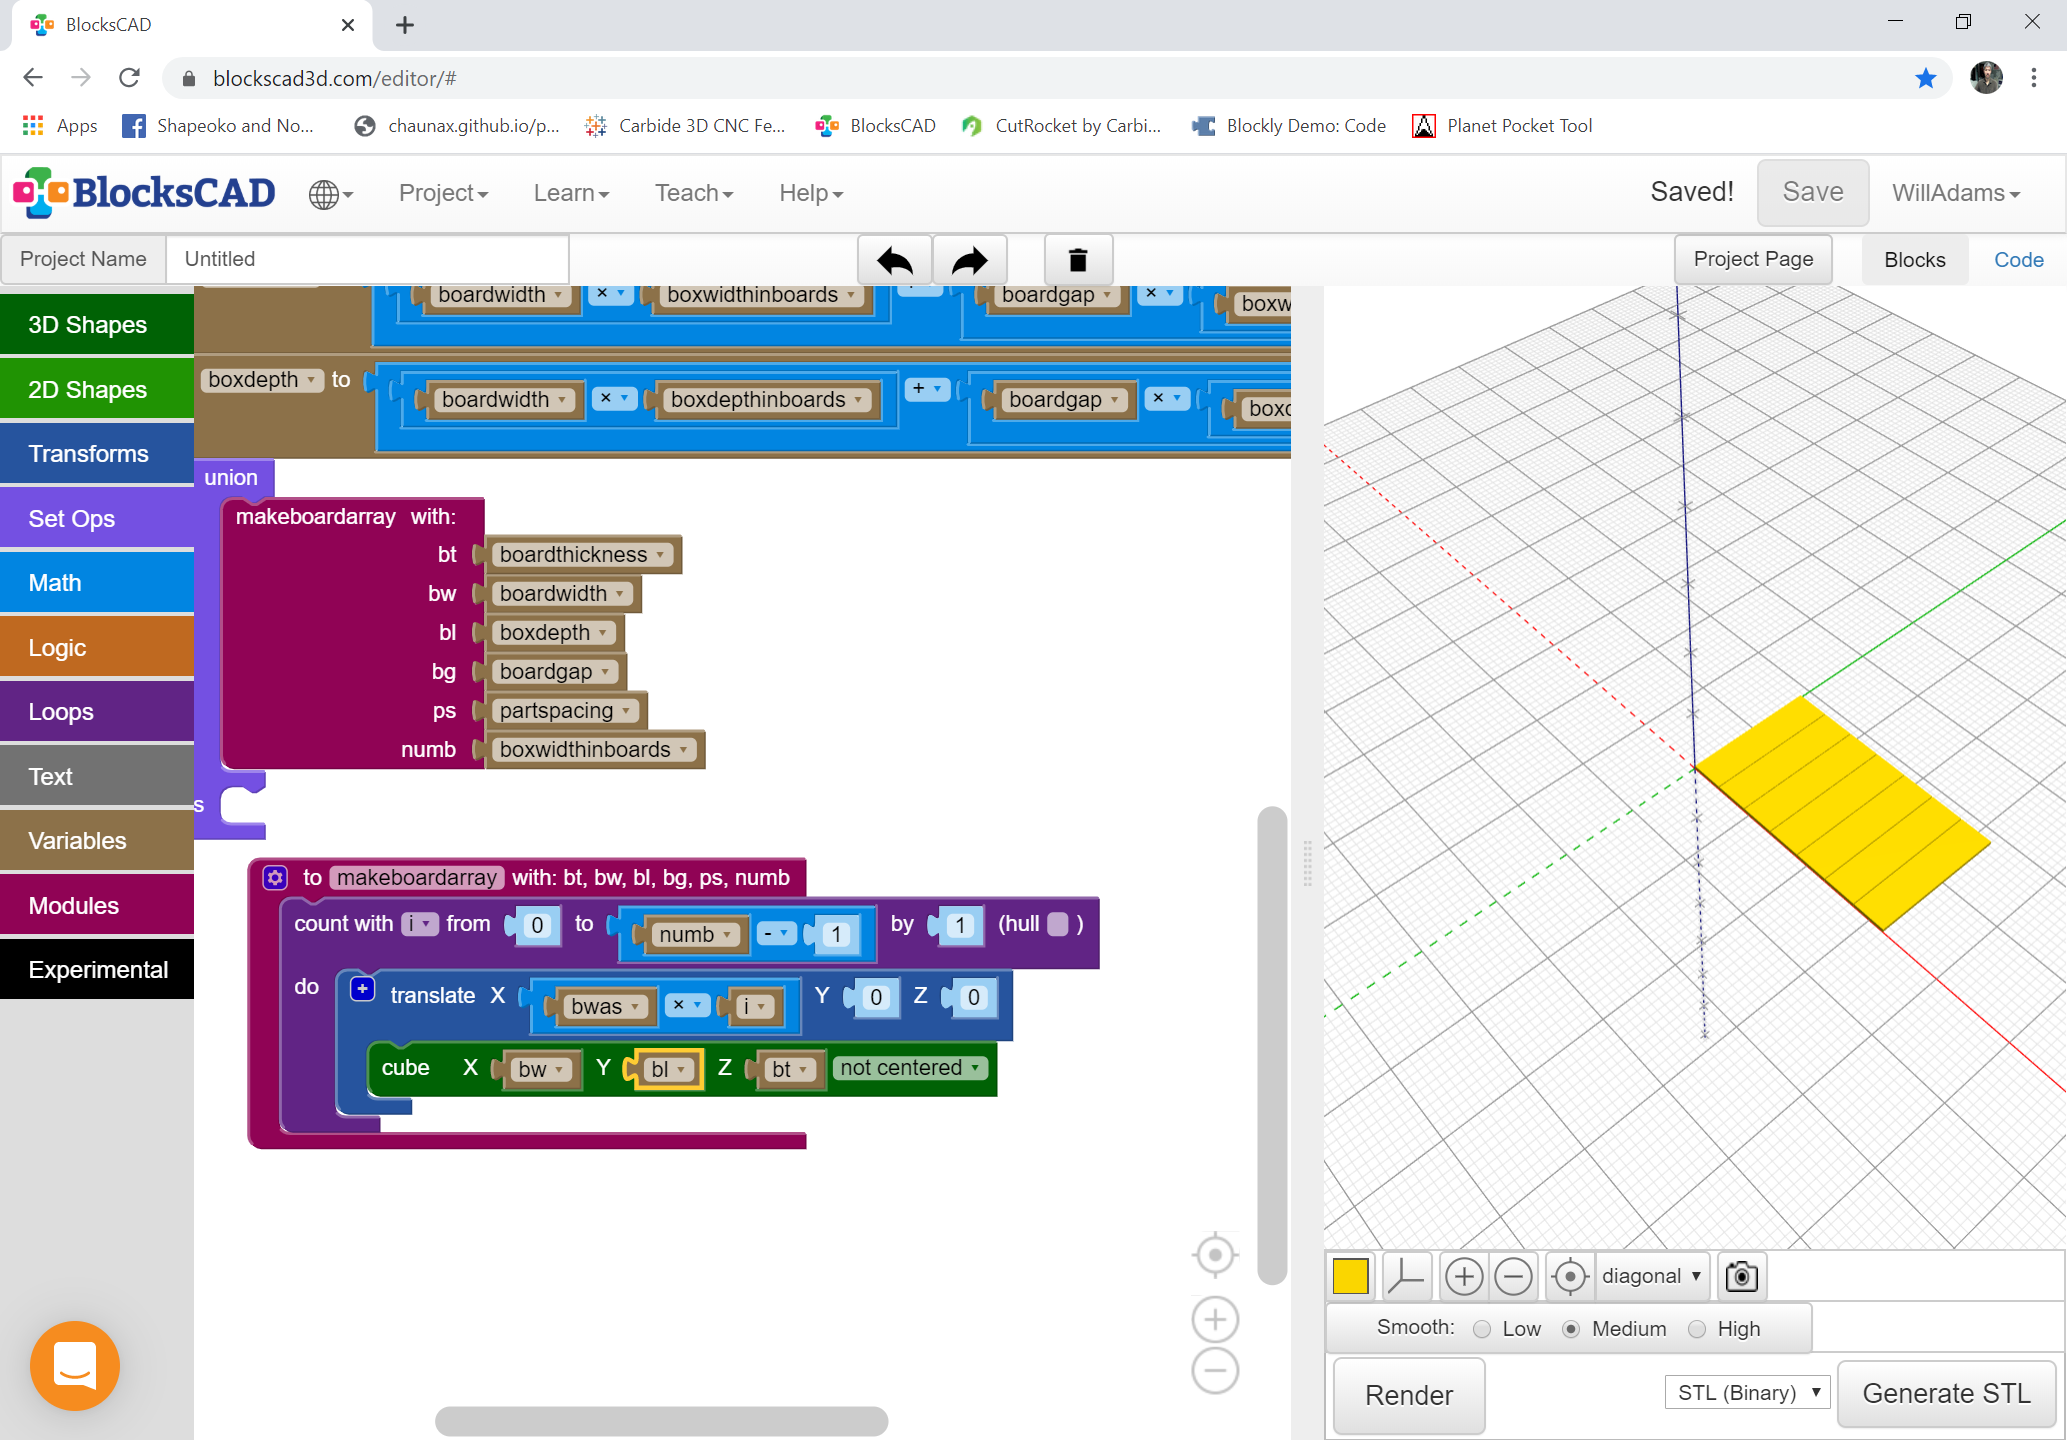
First, let’s model the gross dimensions and shape of the box.
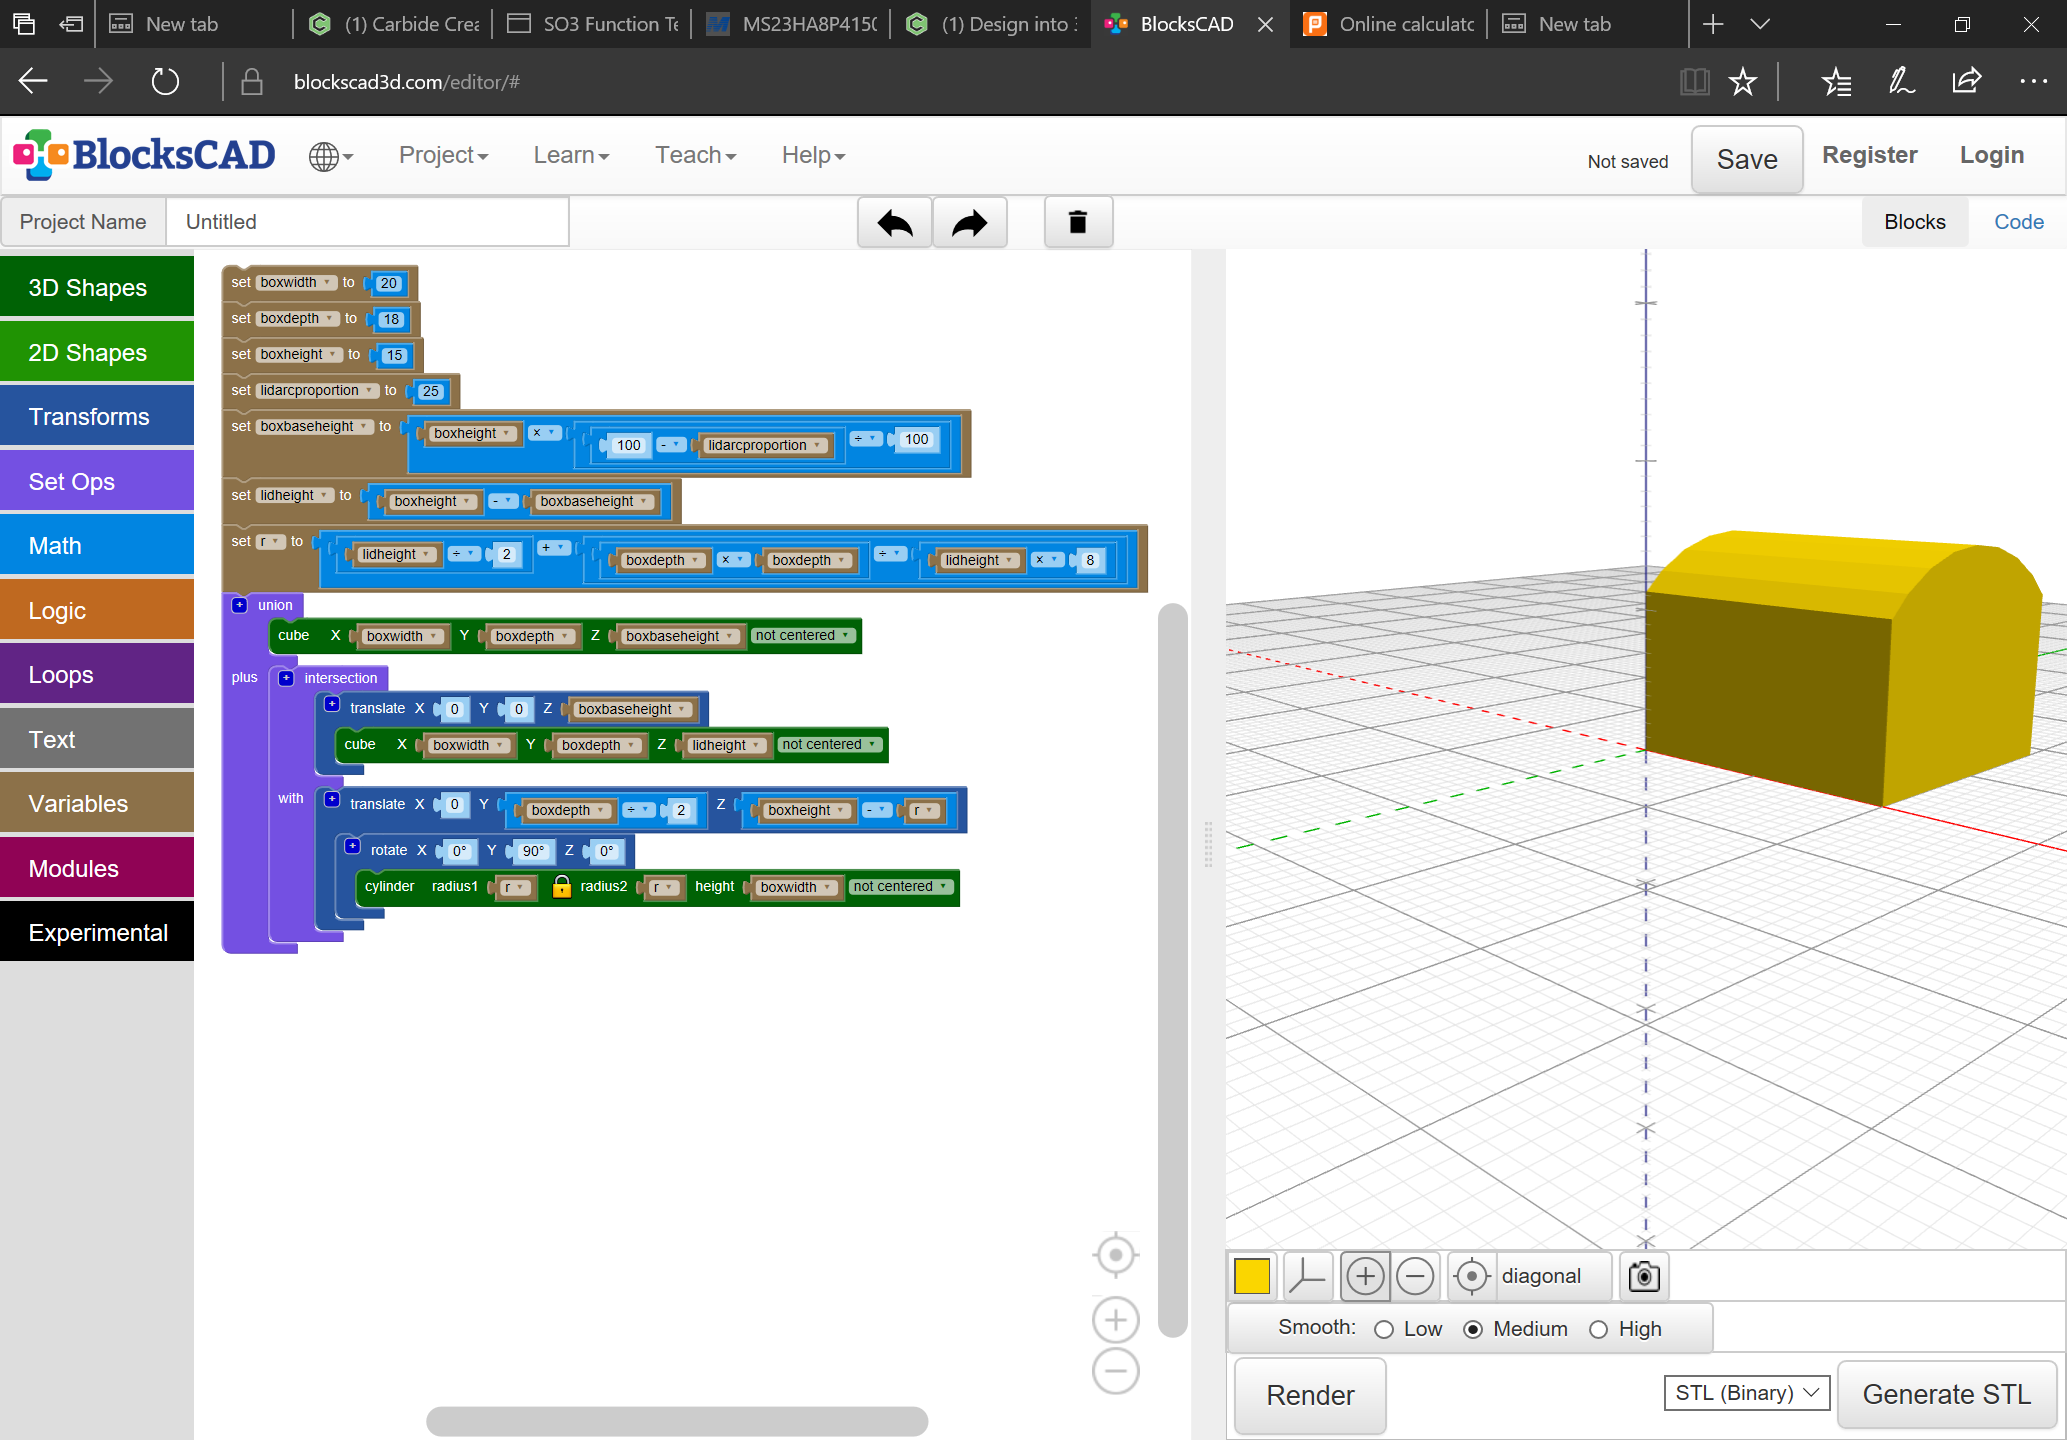
Next, we need to segment the lid and determine the angles which will be used for it (there will be two, one for the slats, and another for where the lid meets the vertical of the front or back).
In order to do this, we will need to determine how many pieces to segment it into. Options are providing an interface, or doing it algorithmically (mental note on the interface — the range for the lid proportion should be from 50–90 or thereabouts, or if 100 is allowed, there should be a check to switch to making a flat topped box).
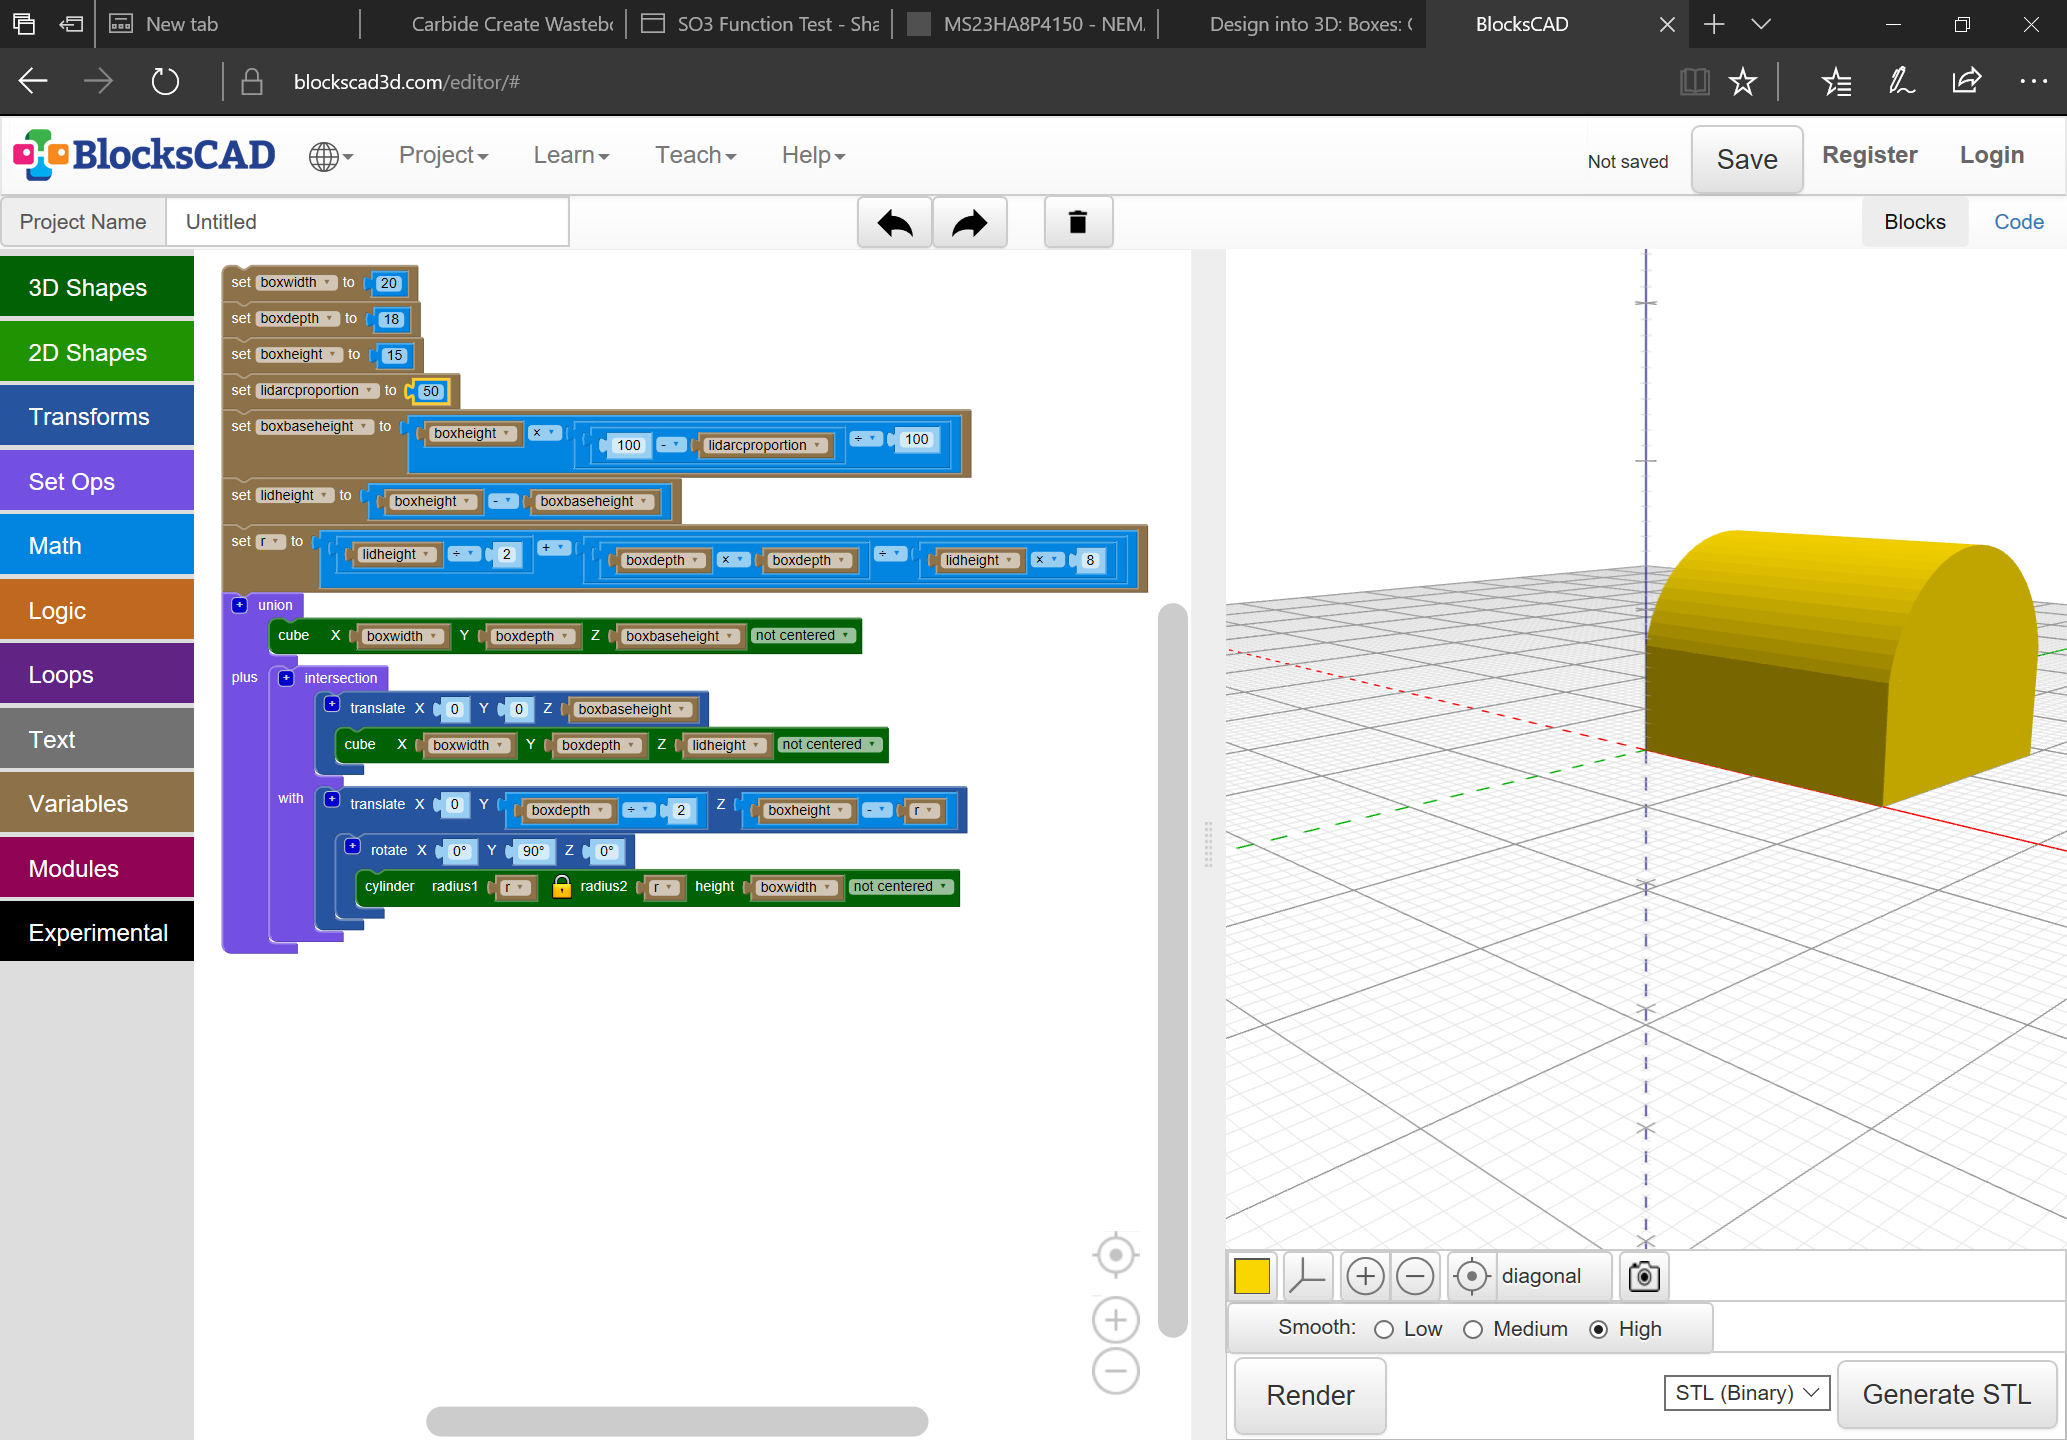
On that note, affording the user control over this with a reasonable range makes the most sense., so we’ll start with 8 slats.
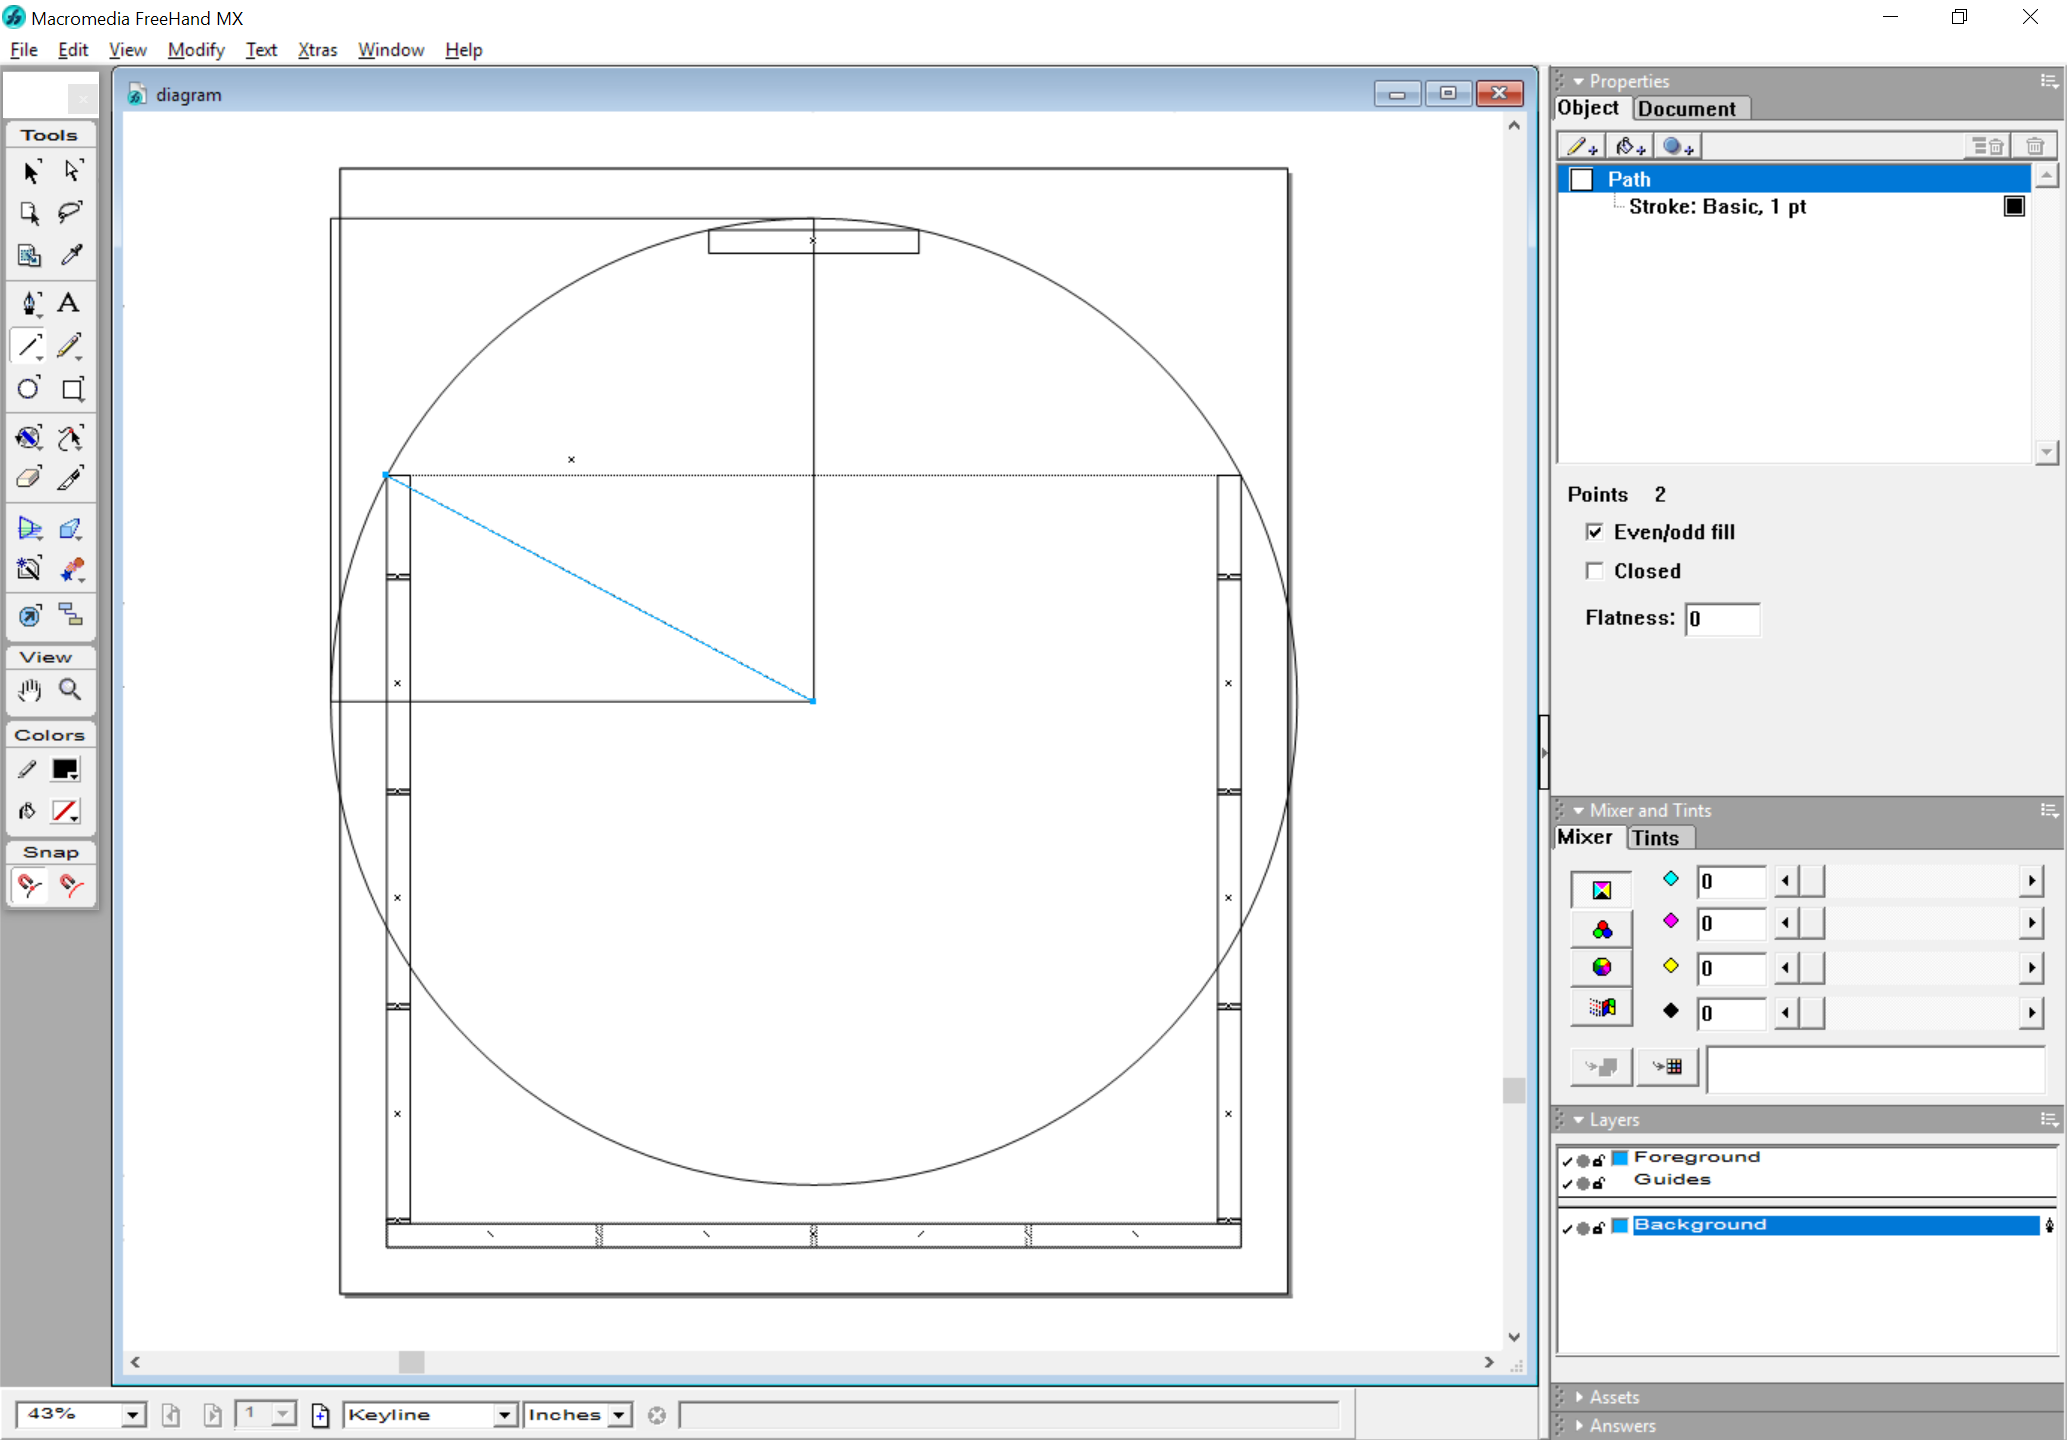
First, we need to determine the chord and height for sub-dividing this thusly.
Begin by calculating the angle from the central point of the arc to the lid/front or back interface (it will need to be divided into half so as to make this a right angle calculation using the Pythagorean theorem).
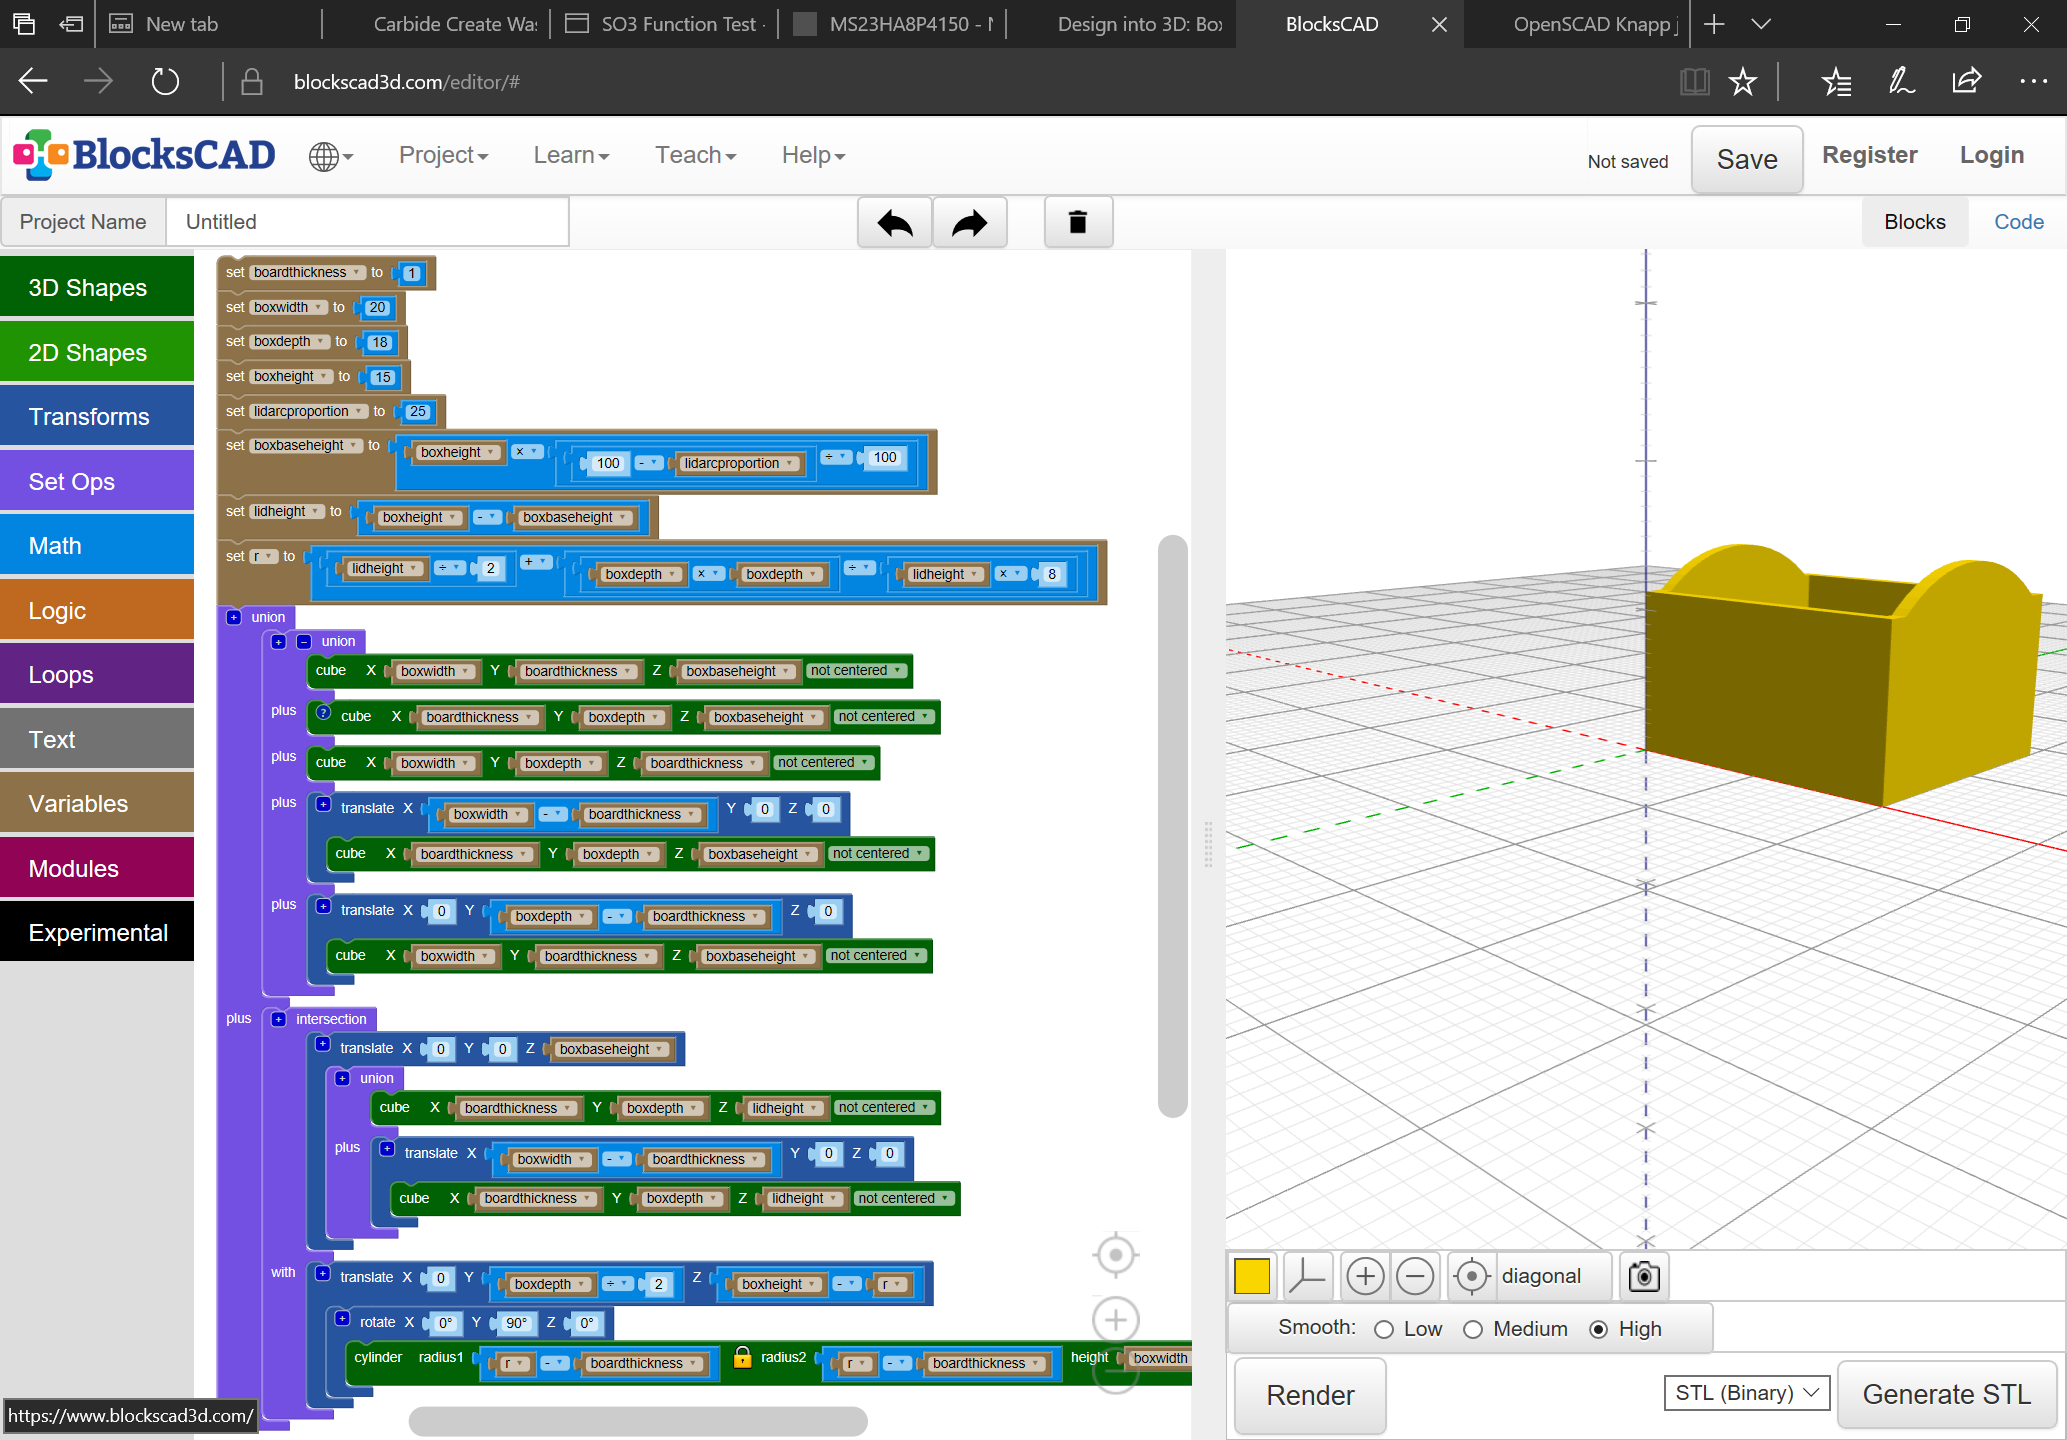
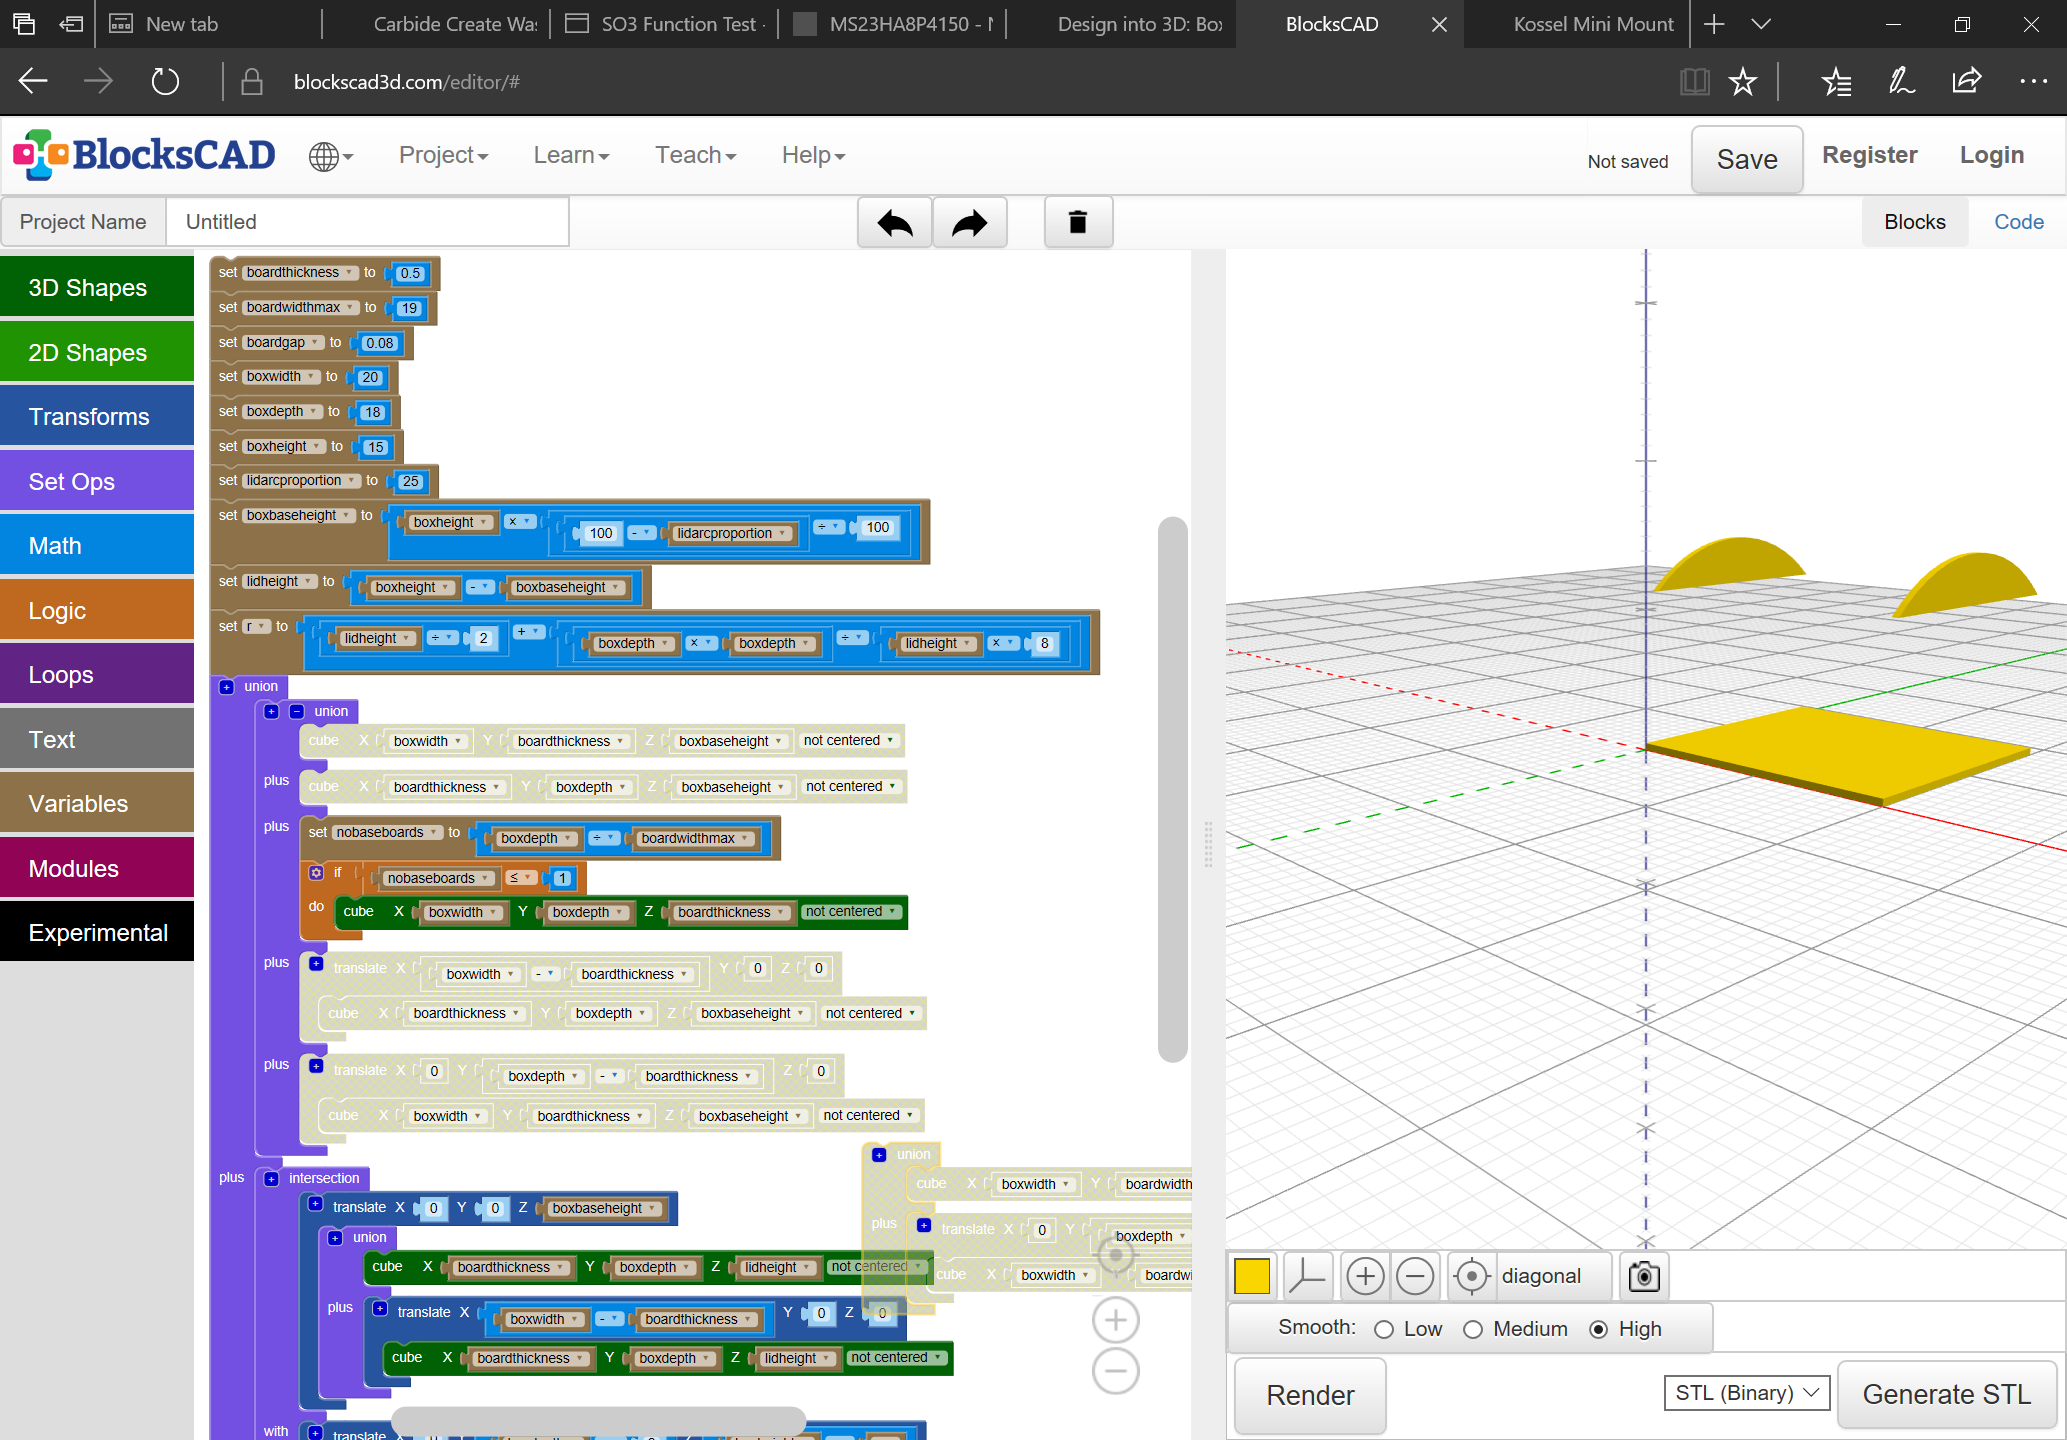
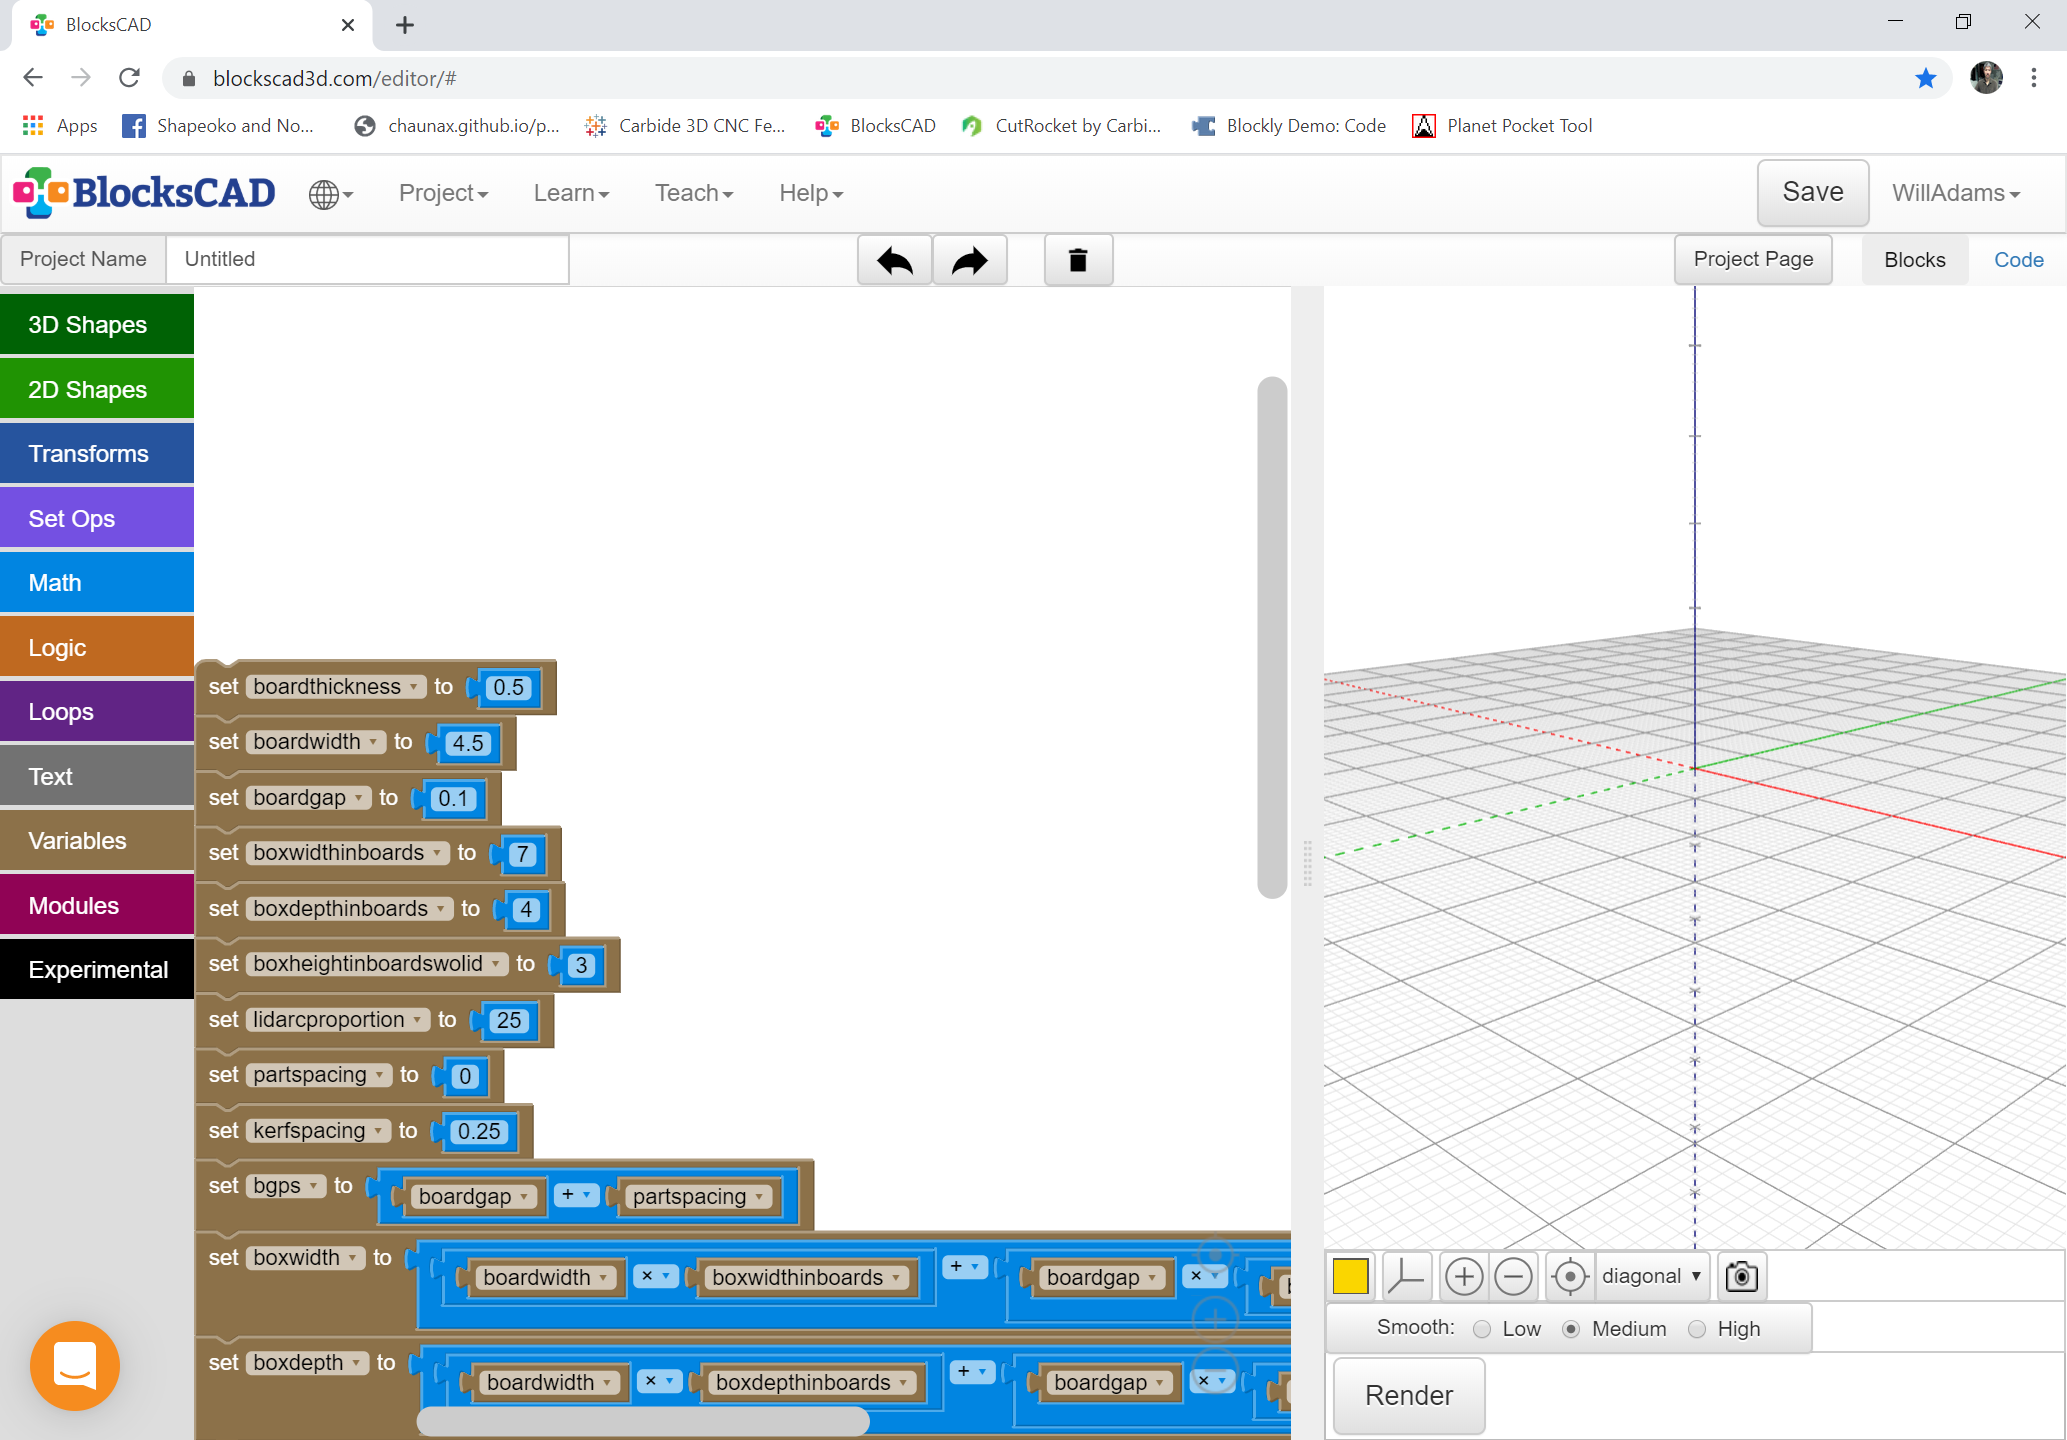
On second thought, having the user plug in the board width available and having the program calculate based on that makes more sense — disabling some parts and adding some variables:
boardwidth
boardgap
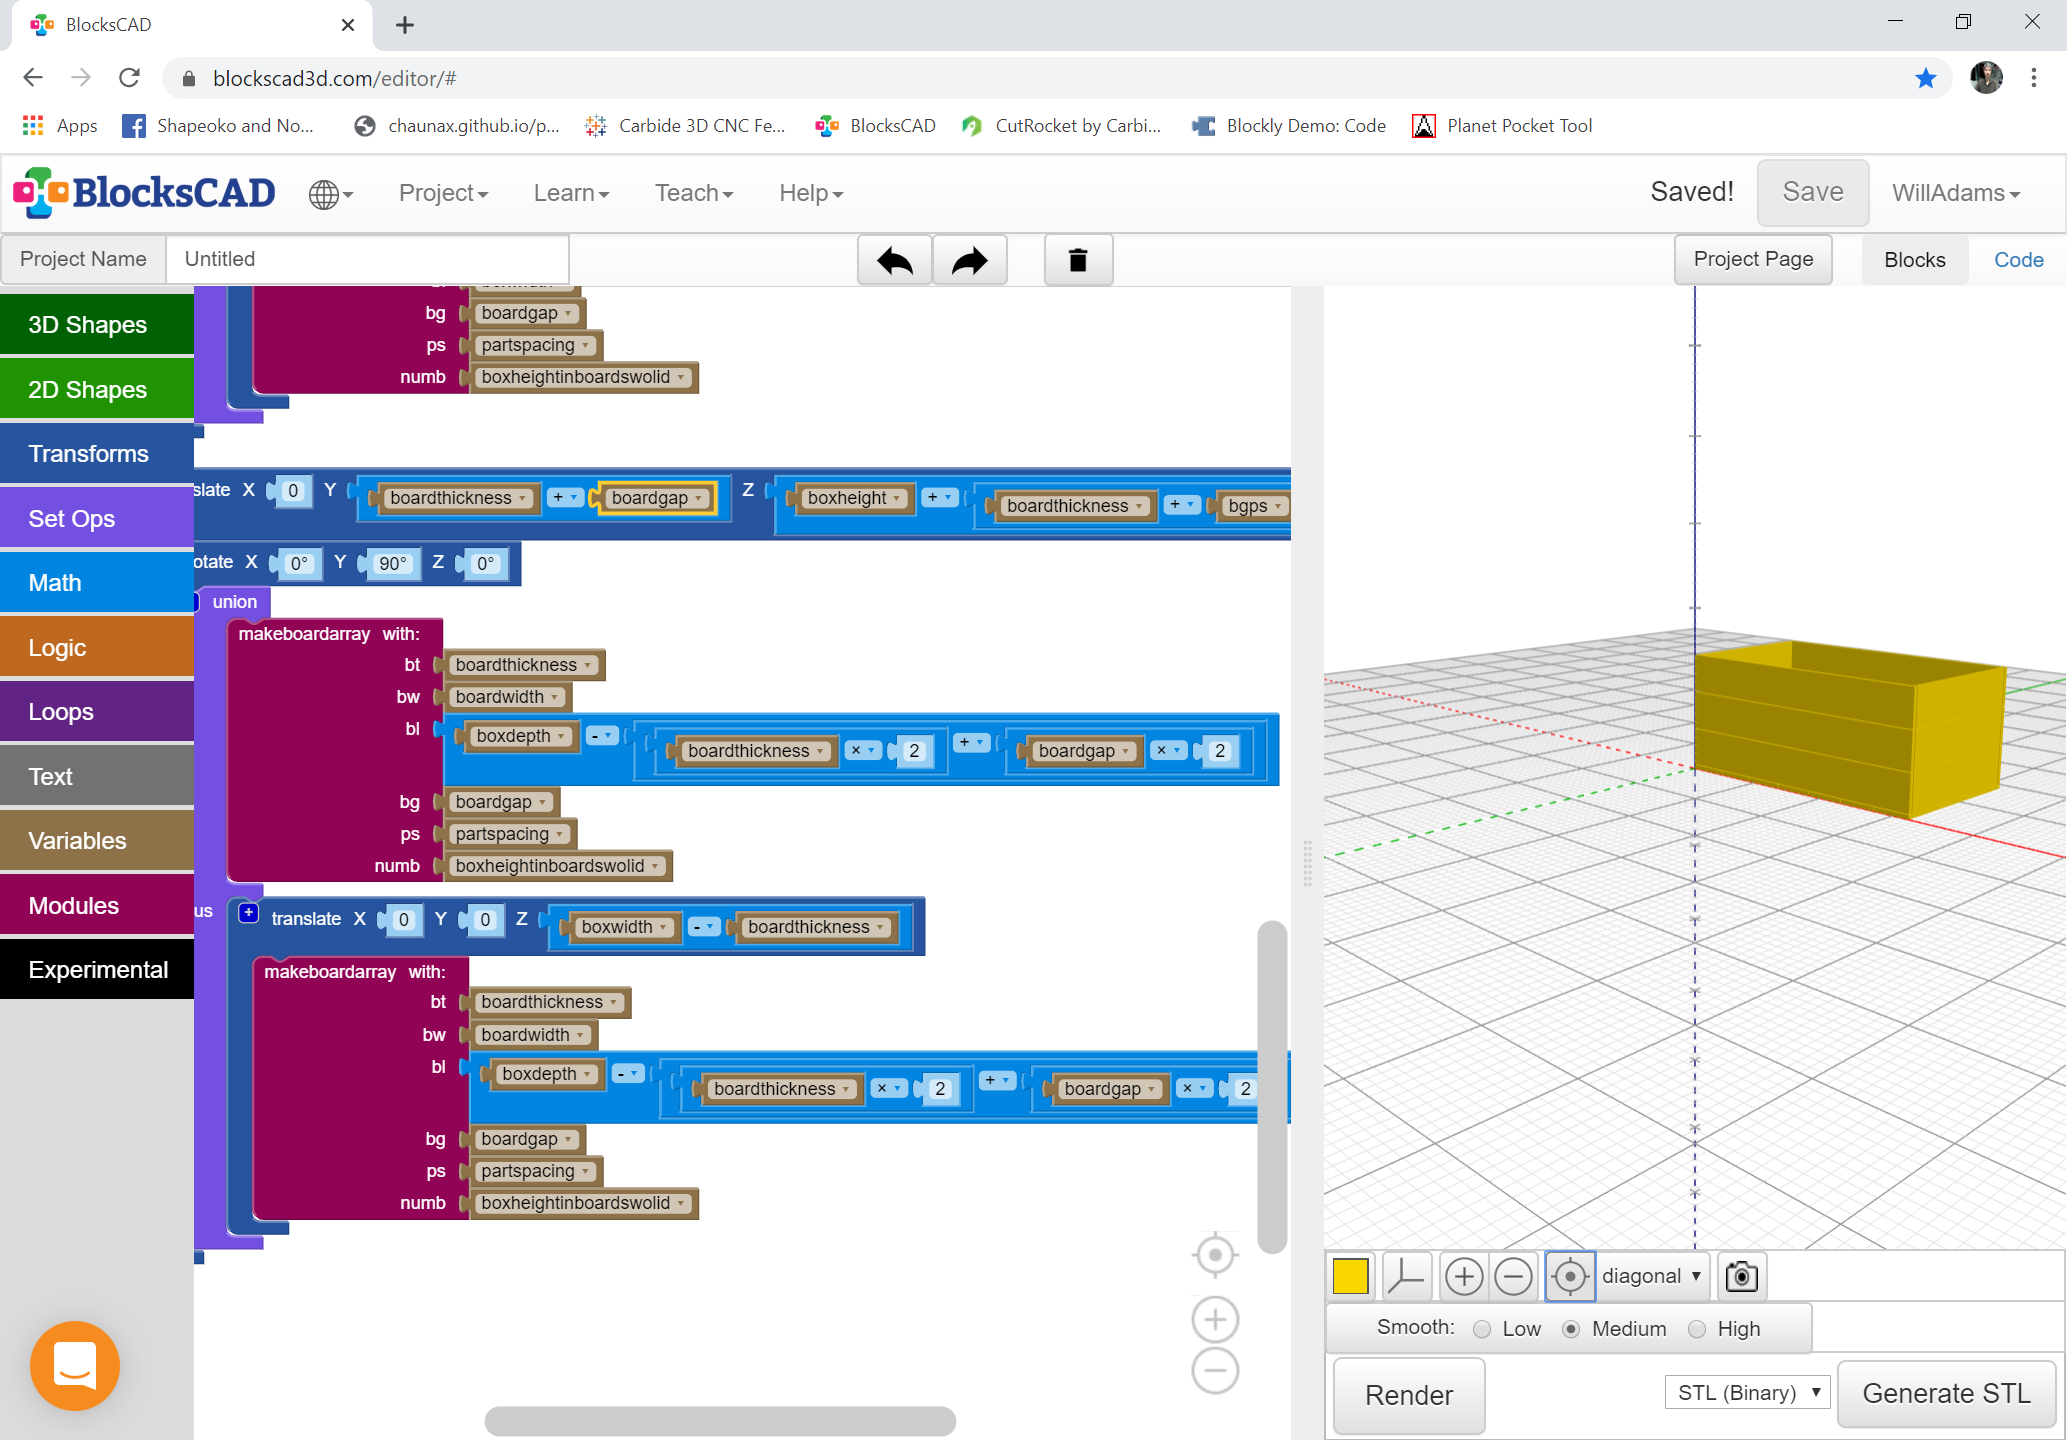
will allow us to work this out. Starting with the base:
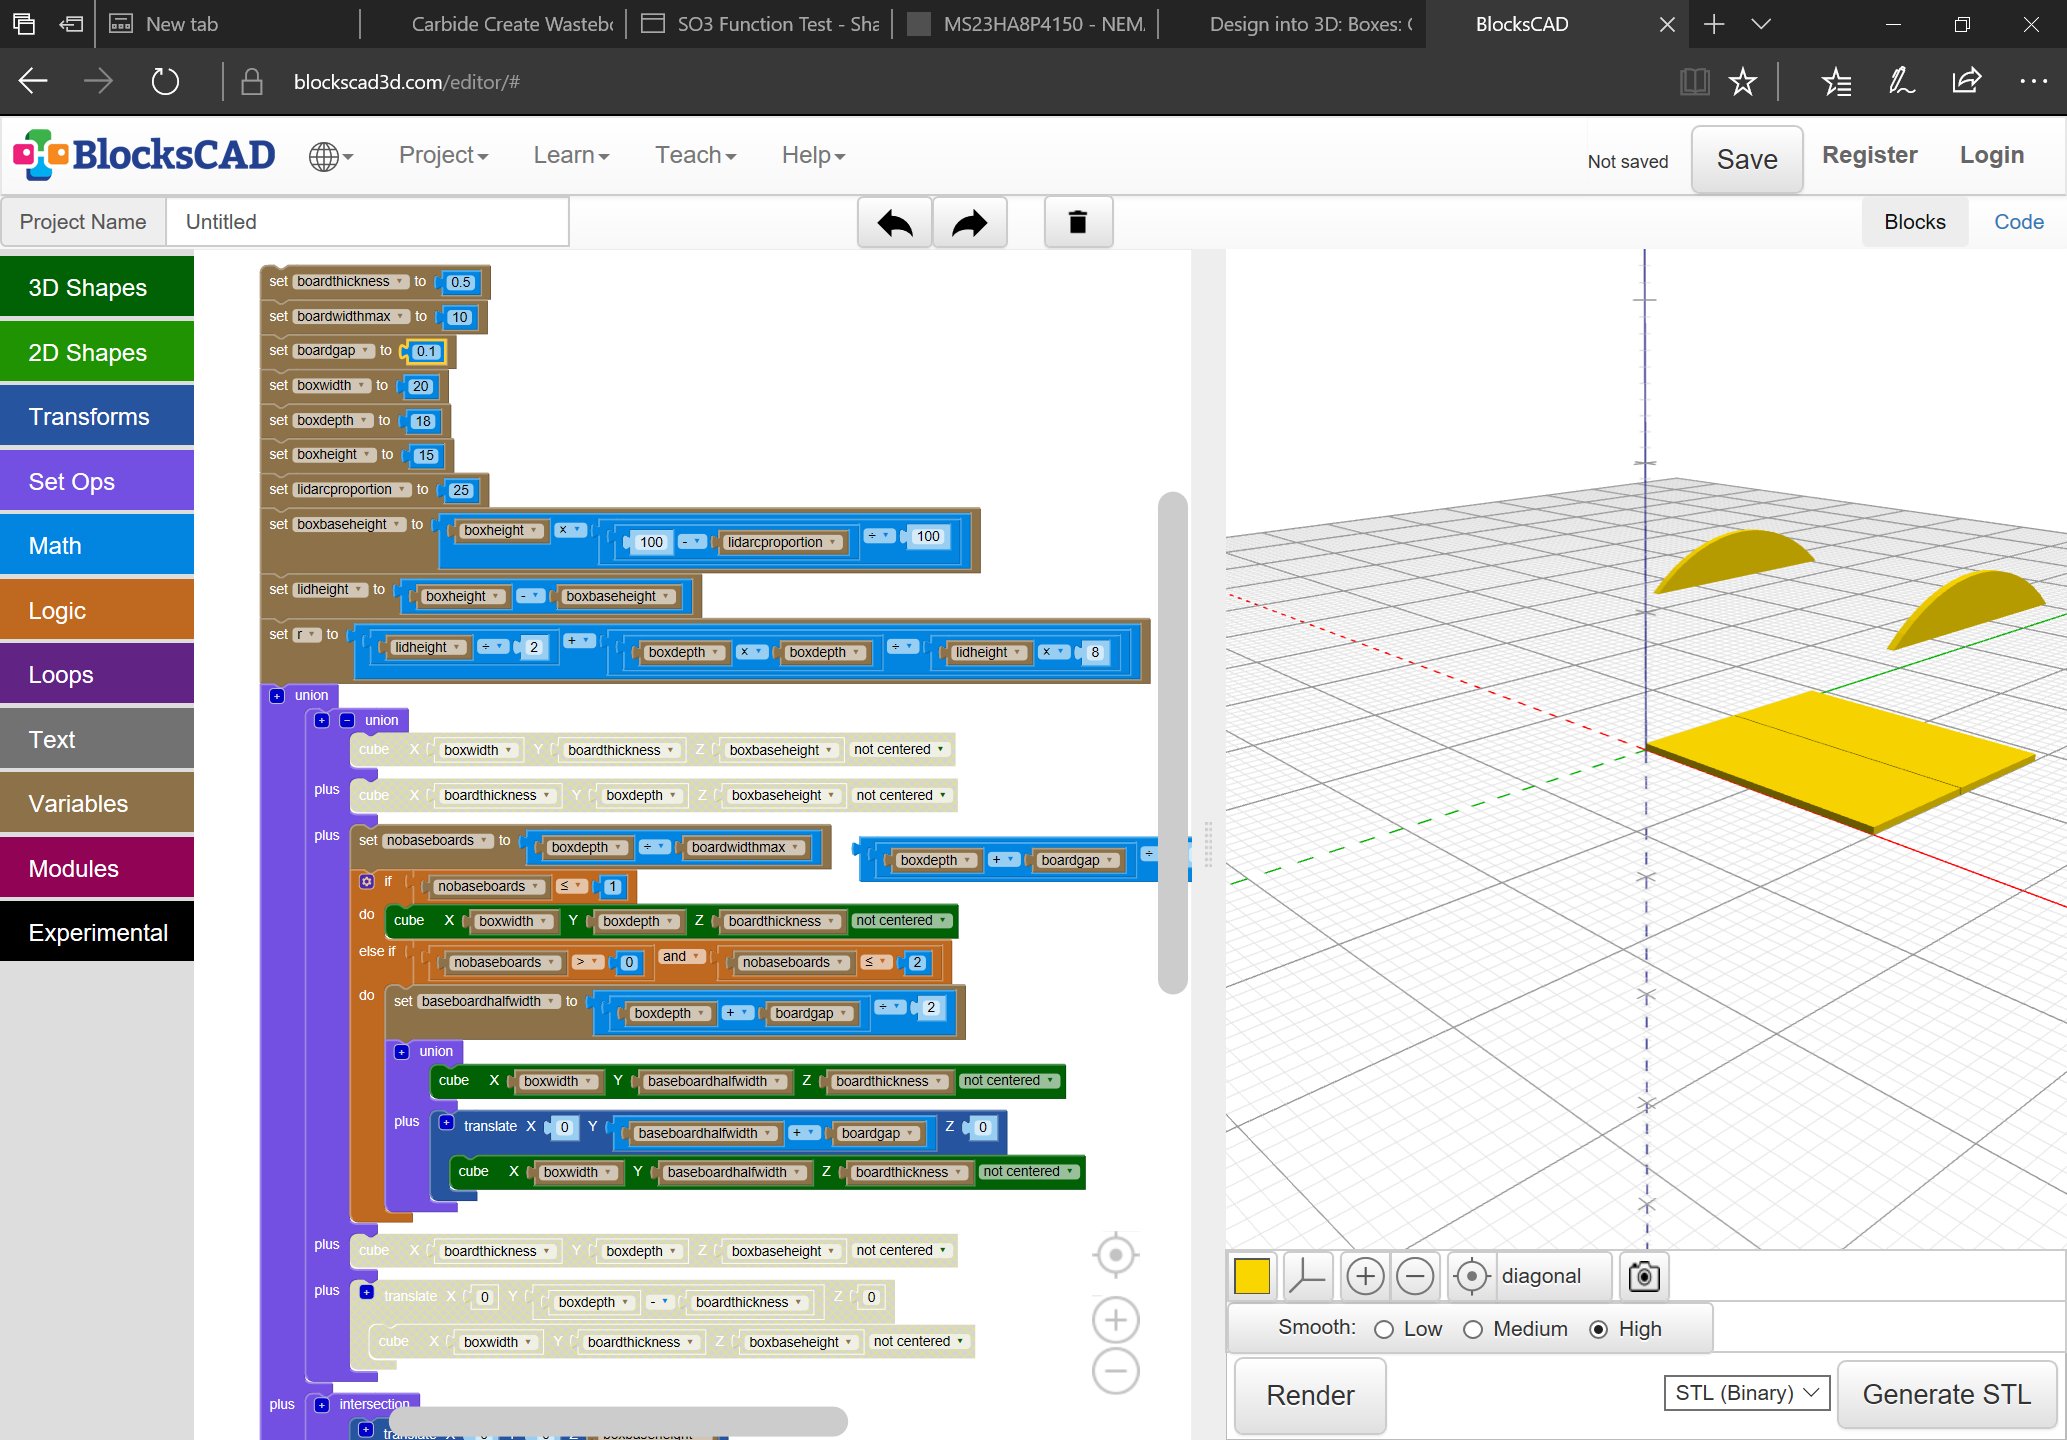
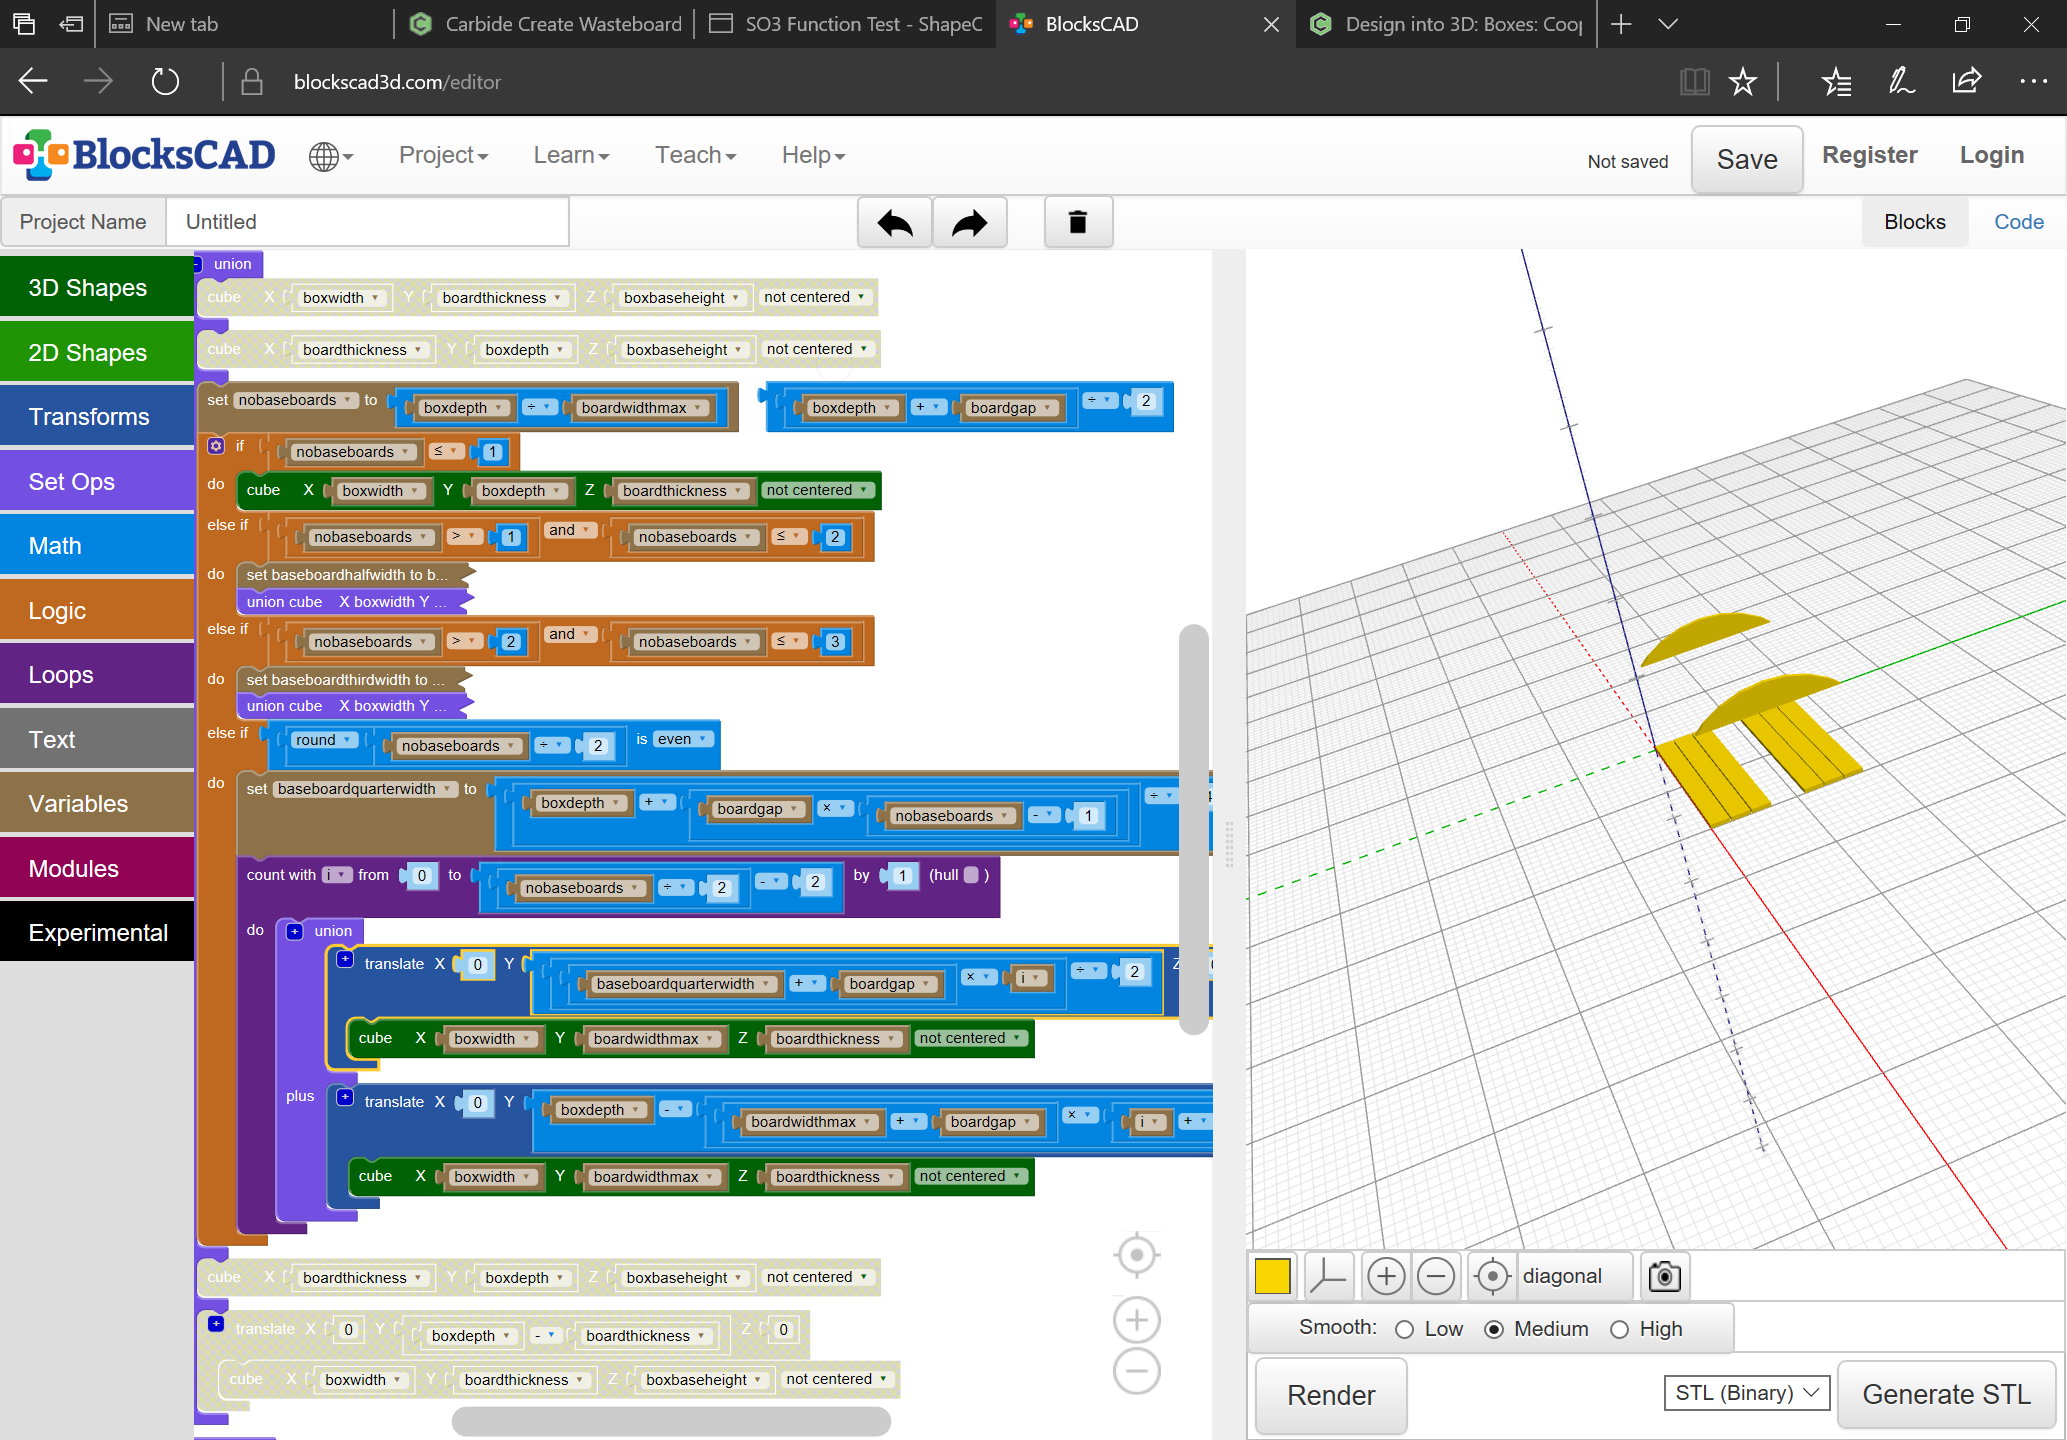
We start by doing the math to determine how the width of the boards and the board gap interacts with the base — rather than machining all of the boards, we will place boards from center in, and adjust the width of the board in the center.
It is assumed that the user will specify a box dimension which is suitable to allow for at least two full width boards at the base, and one full width board reaching up from the base. Adding validaton for that would be a worthy improvement for later.
Interesting. I first started coding using Google AppInventor where they used the puzzle style drag/drop building. Had no idea it made it’s way into CAD. This is pretty cool.
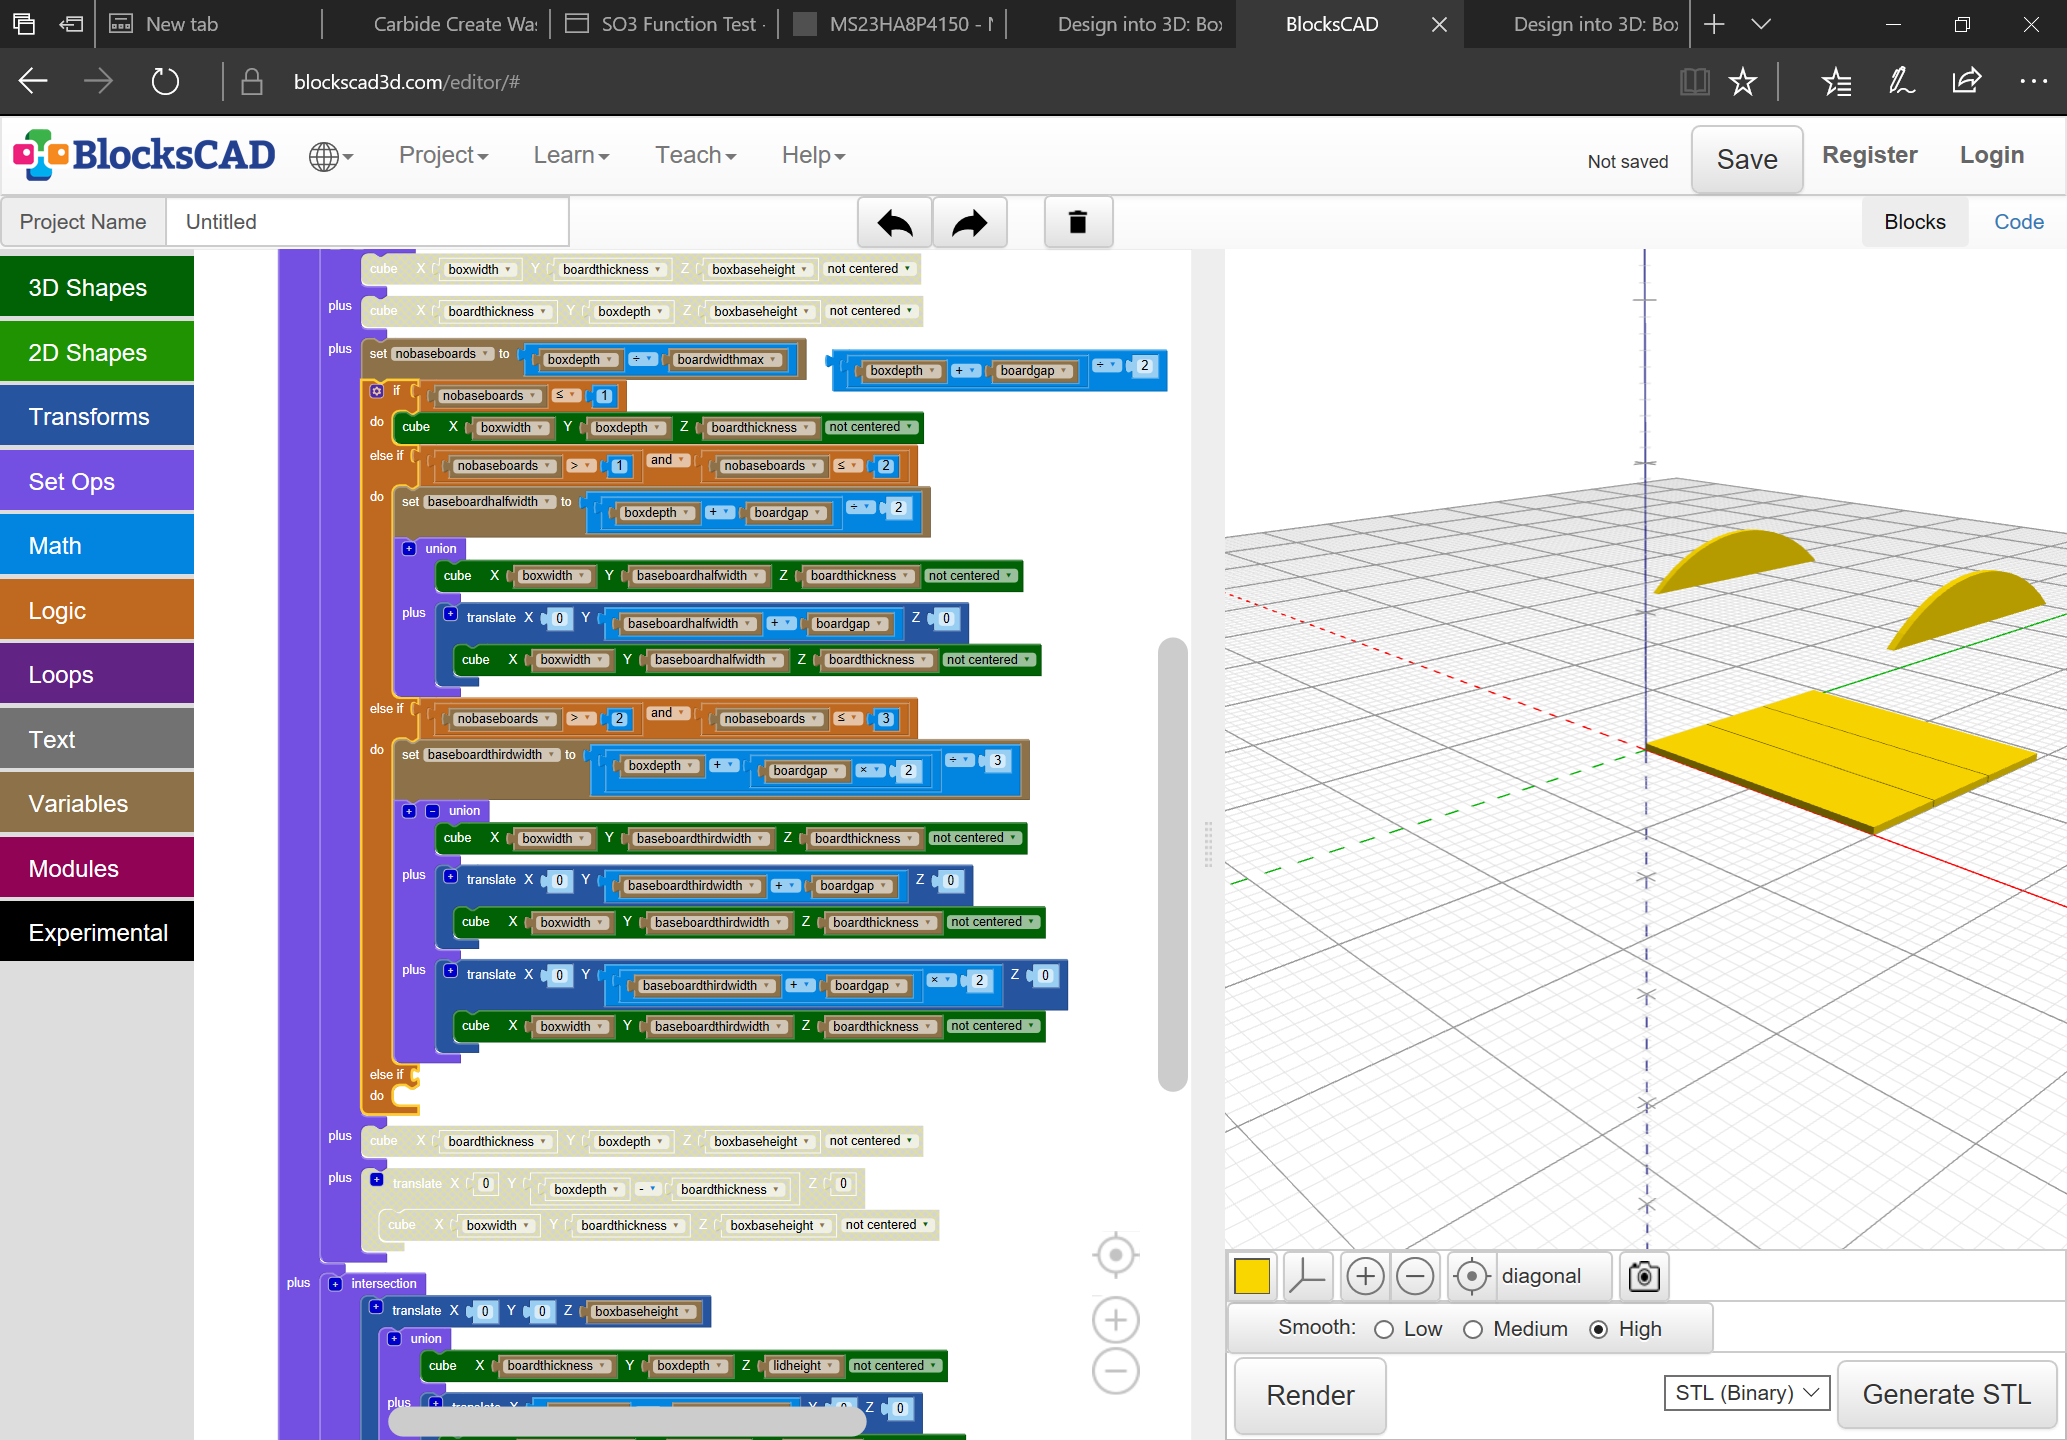
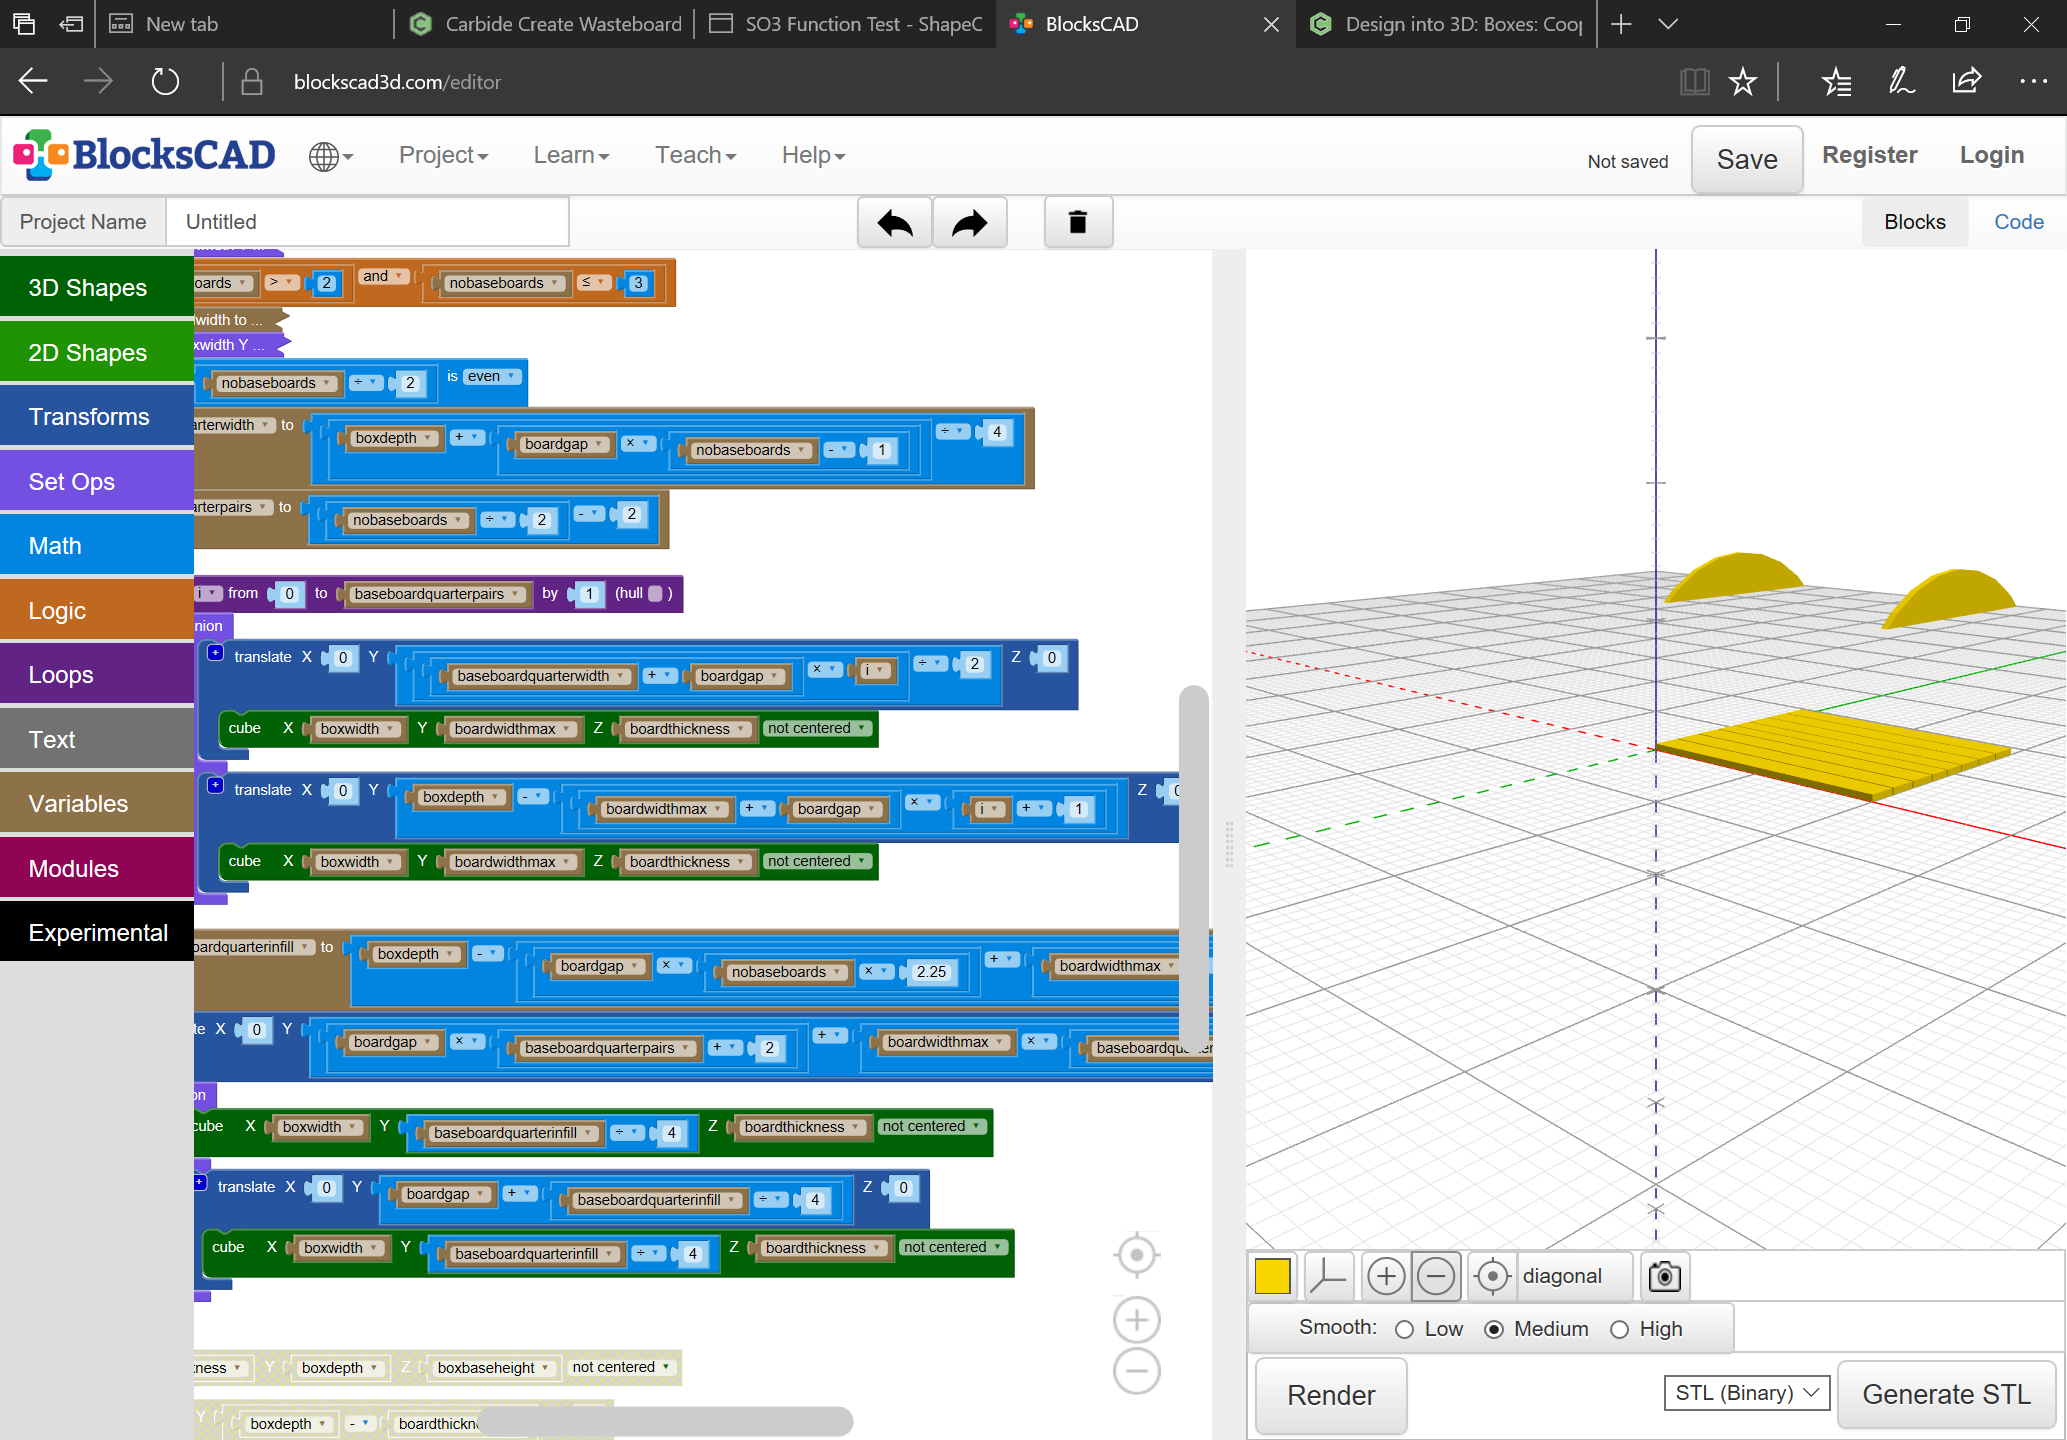
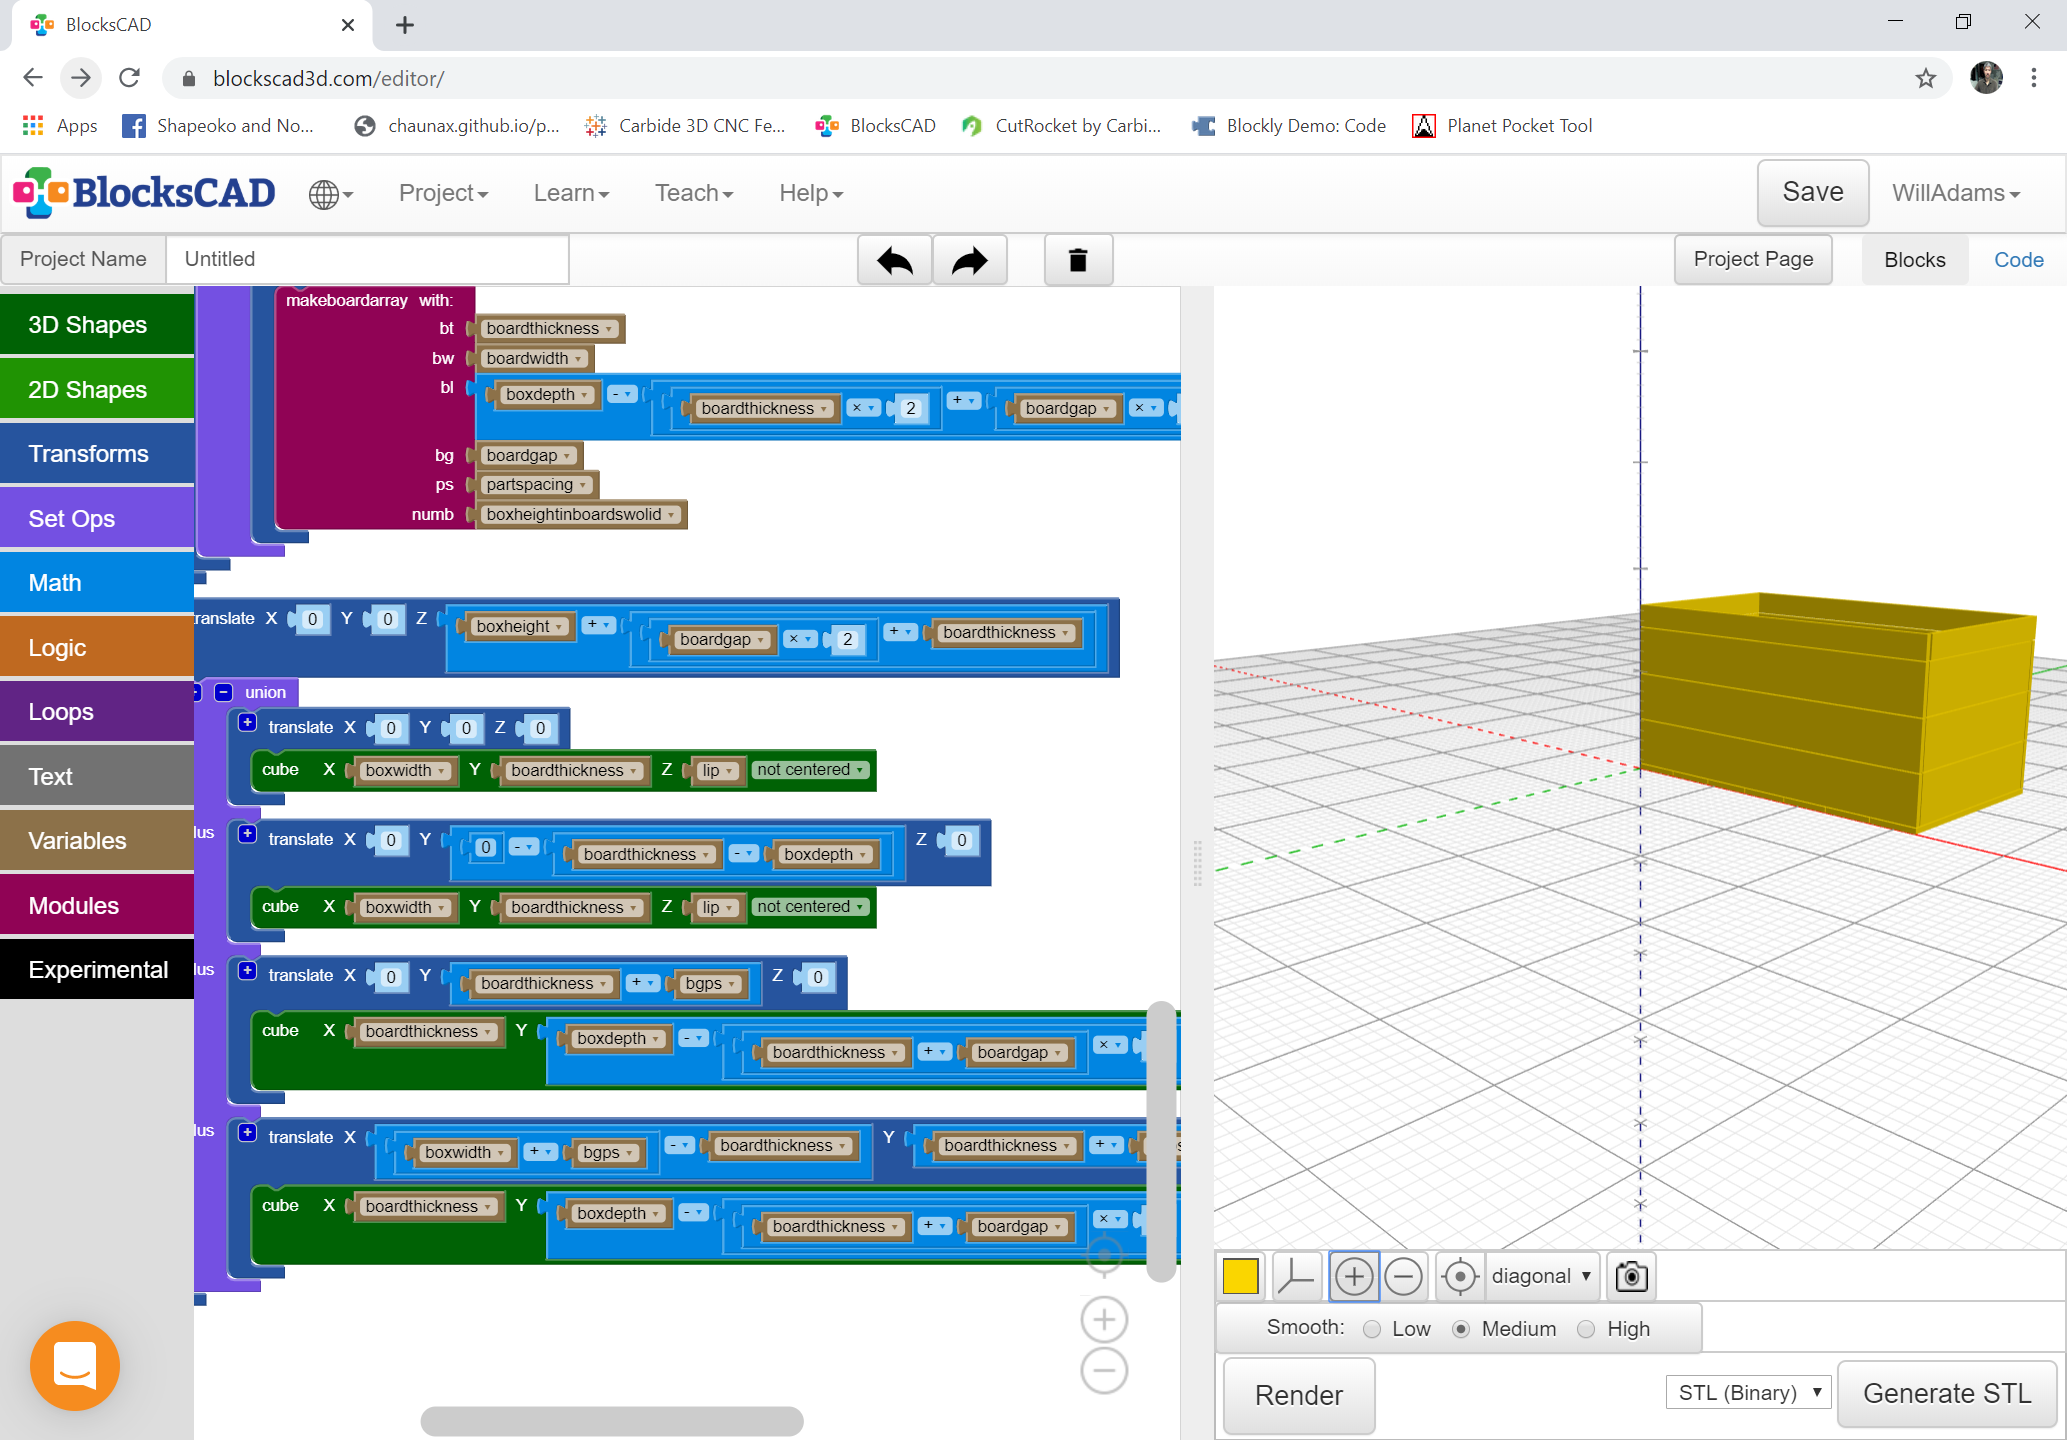
Next, we do something similar for the sides — here though we want to try to use stock efficiently since there are four sides — we assign half the board maxwidth to be added to the lid (one would rip a board each for the sides and front/back) — since the sides will be visible, we calculate how many boards there should be and then evenly distribute the height for a more regular appearance.
Note that we will also need to go back and revisit there being an odd number of boards for the base — probably the code could be re-used, just skip dividing at the last step — for sense it will probably be necessary to rename some variables.
Next up is working out the math to place a board at the top of the arc for the box lid (adjusted by the board’s final width) and to determine how many boards will be necessary and at what angle(s) they will need to be cut along their edges.