Router’s sound is like what you get when you mix country music with RAP. You get CRAP. Get yourself a Spindle, it’s Rock&Roll baby.
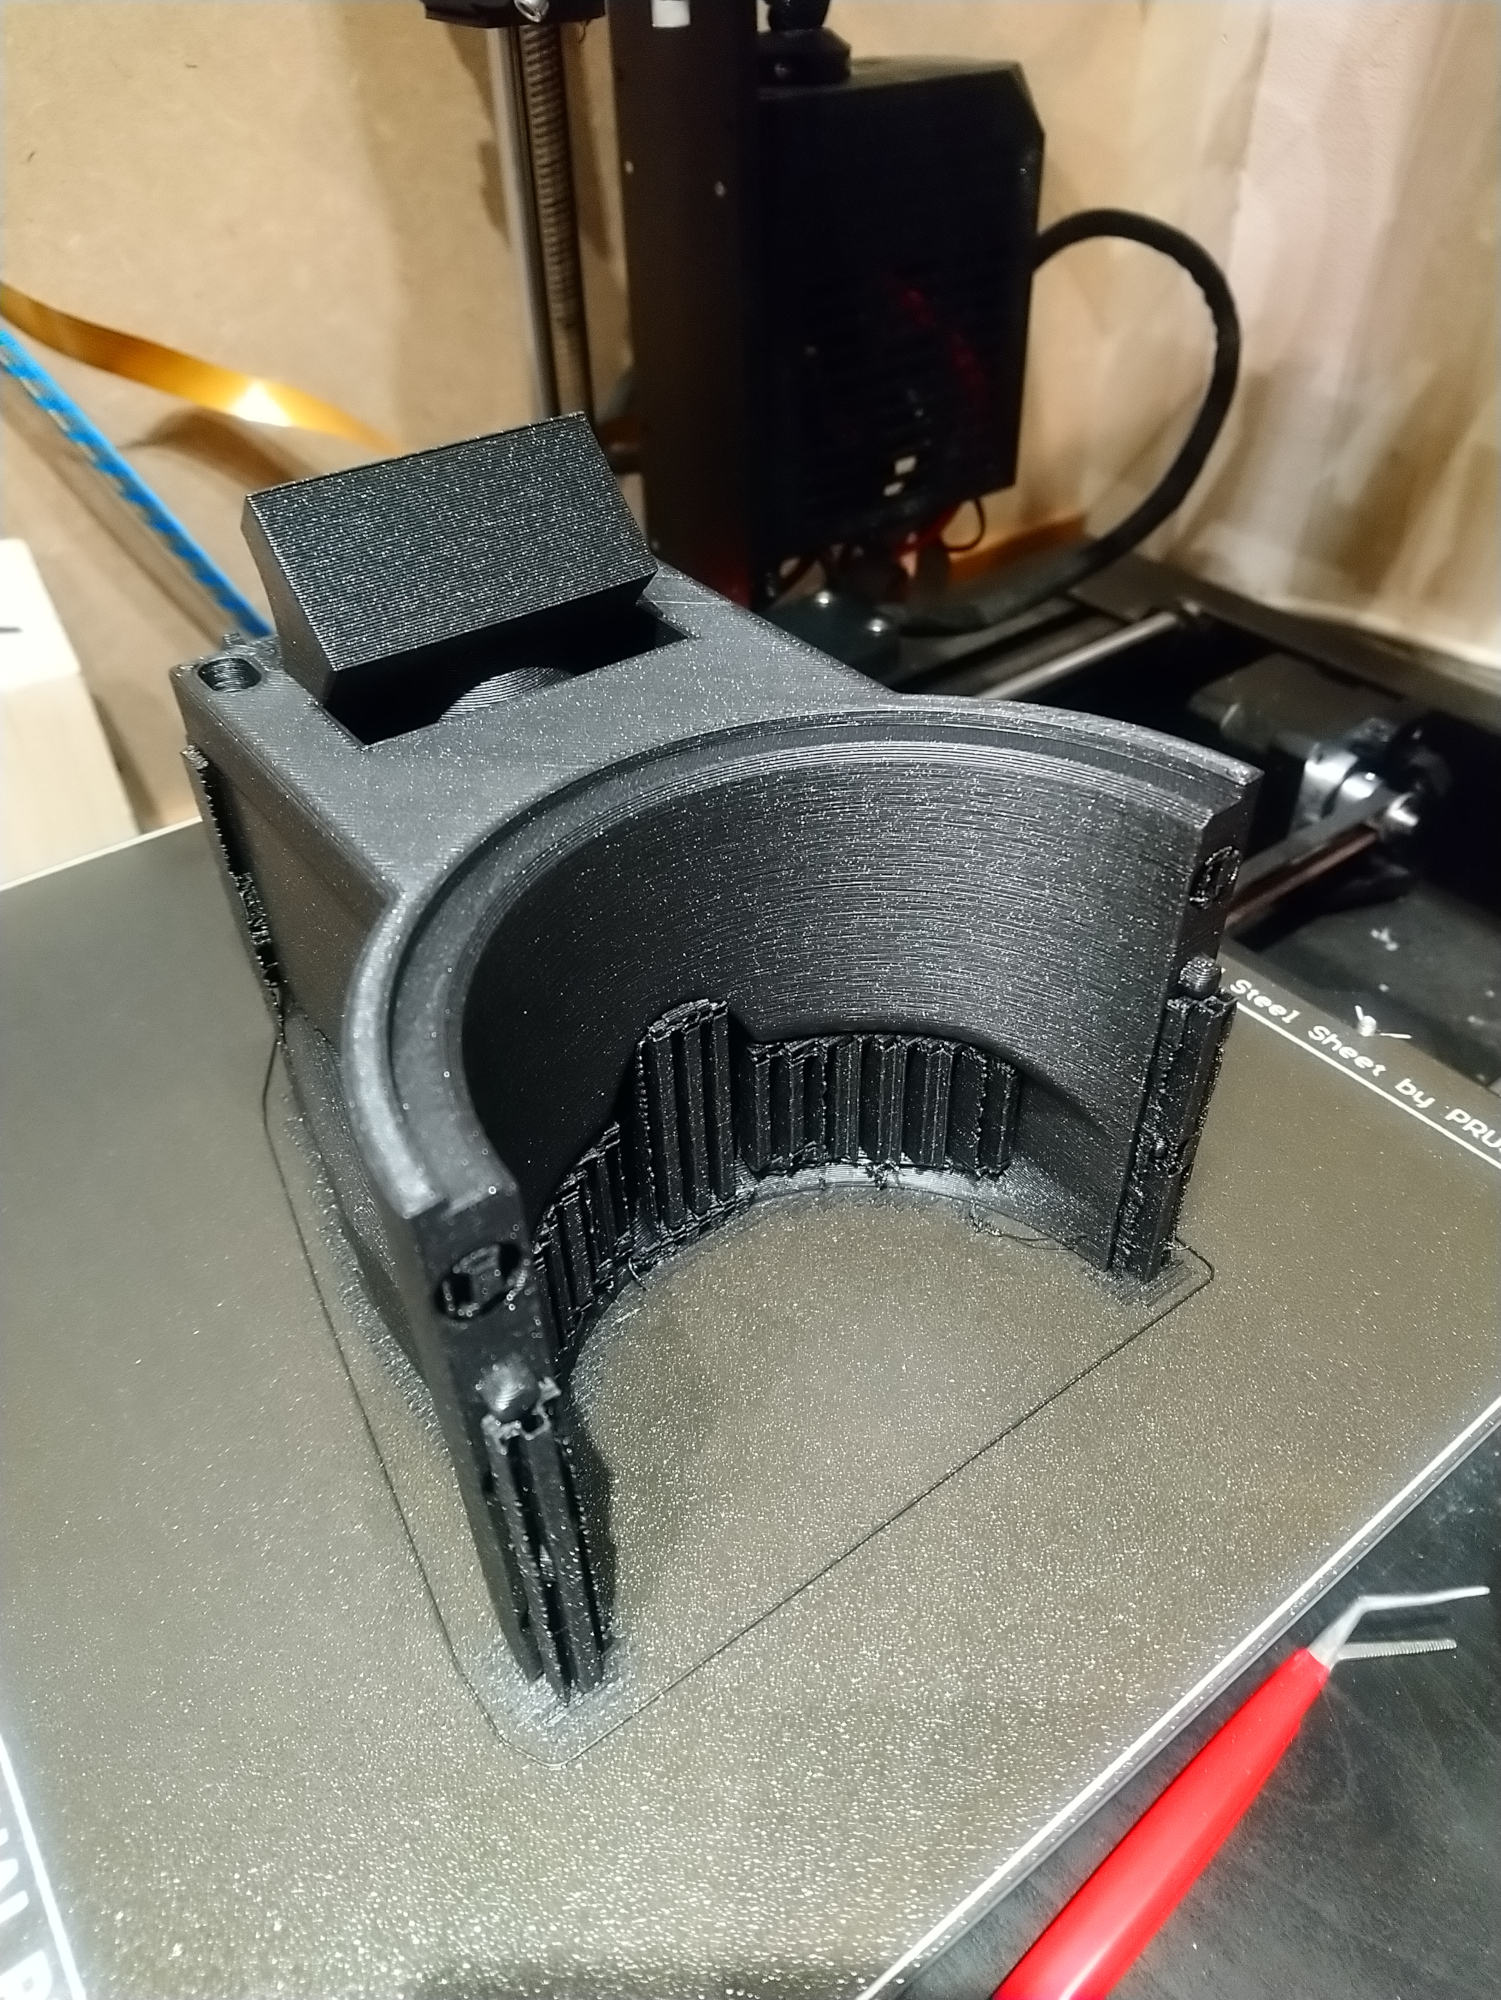
So to go from this:
to this:
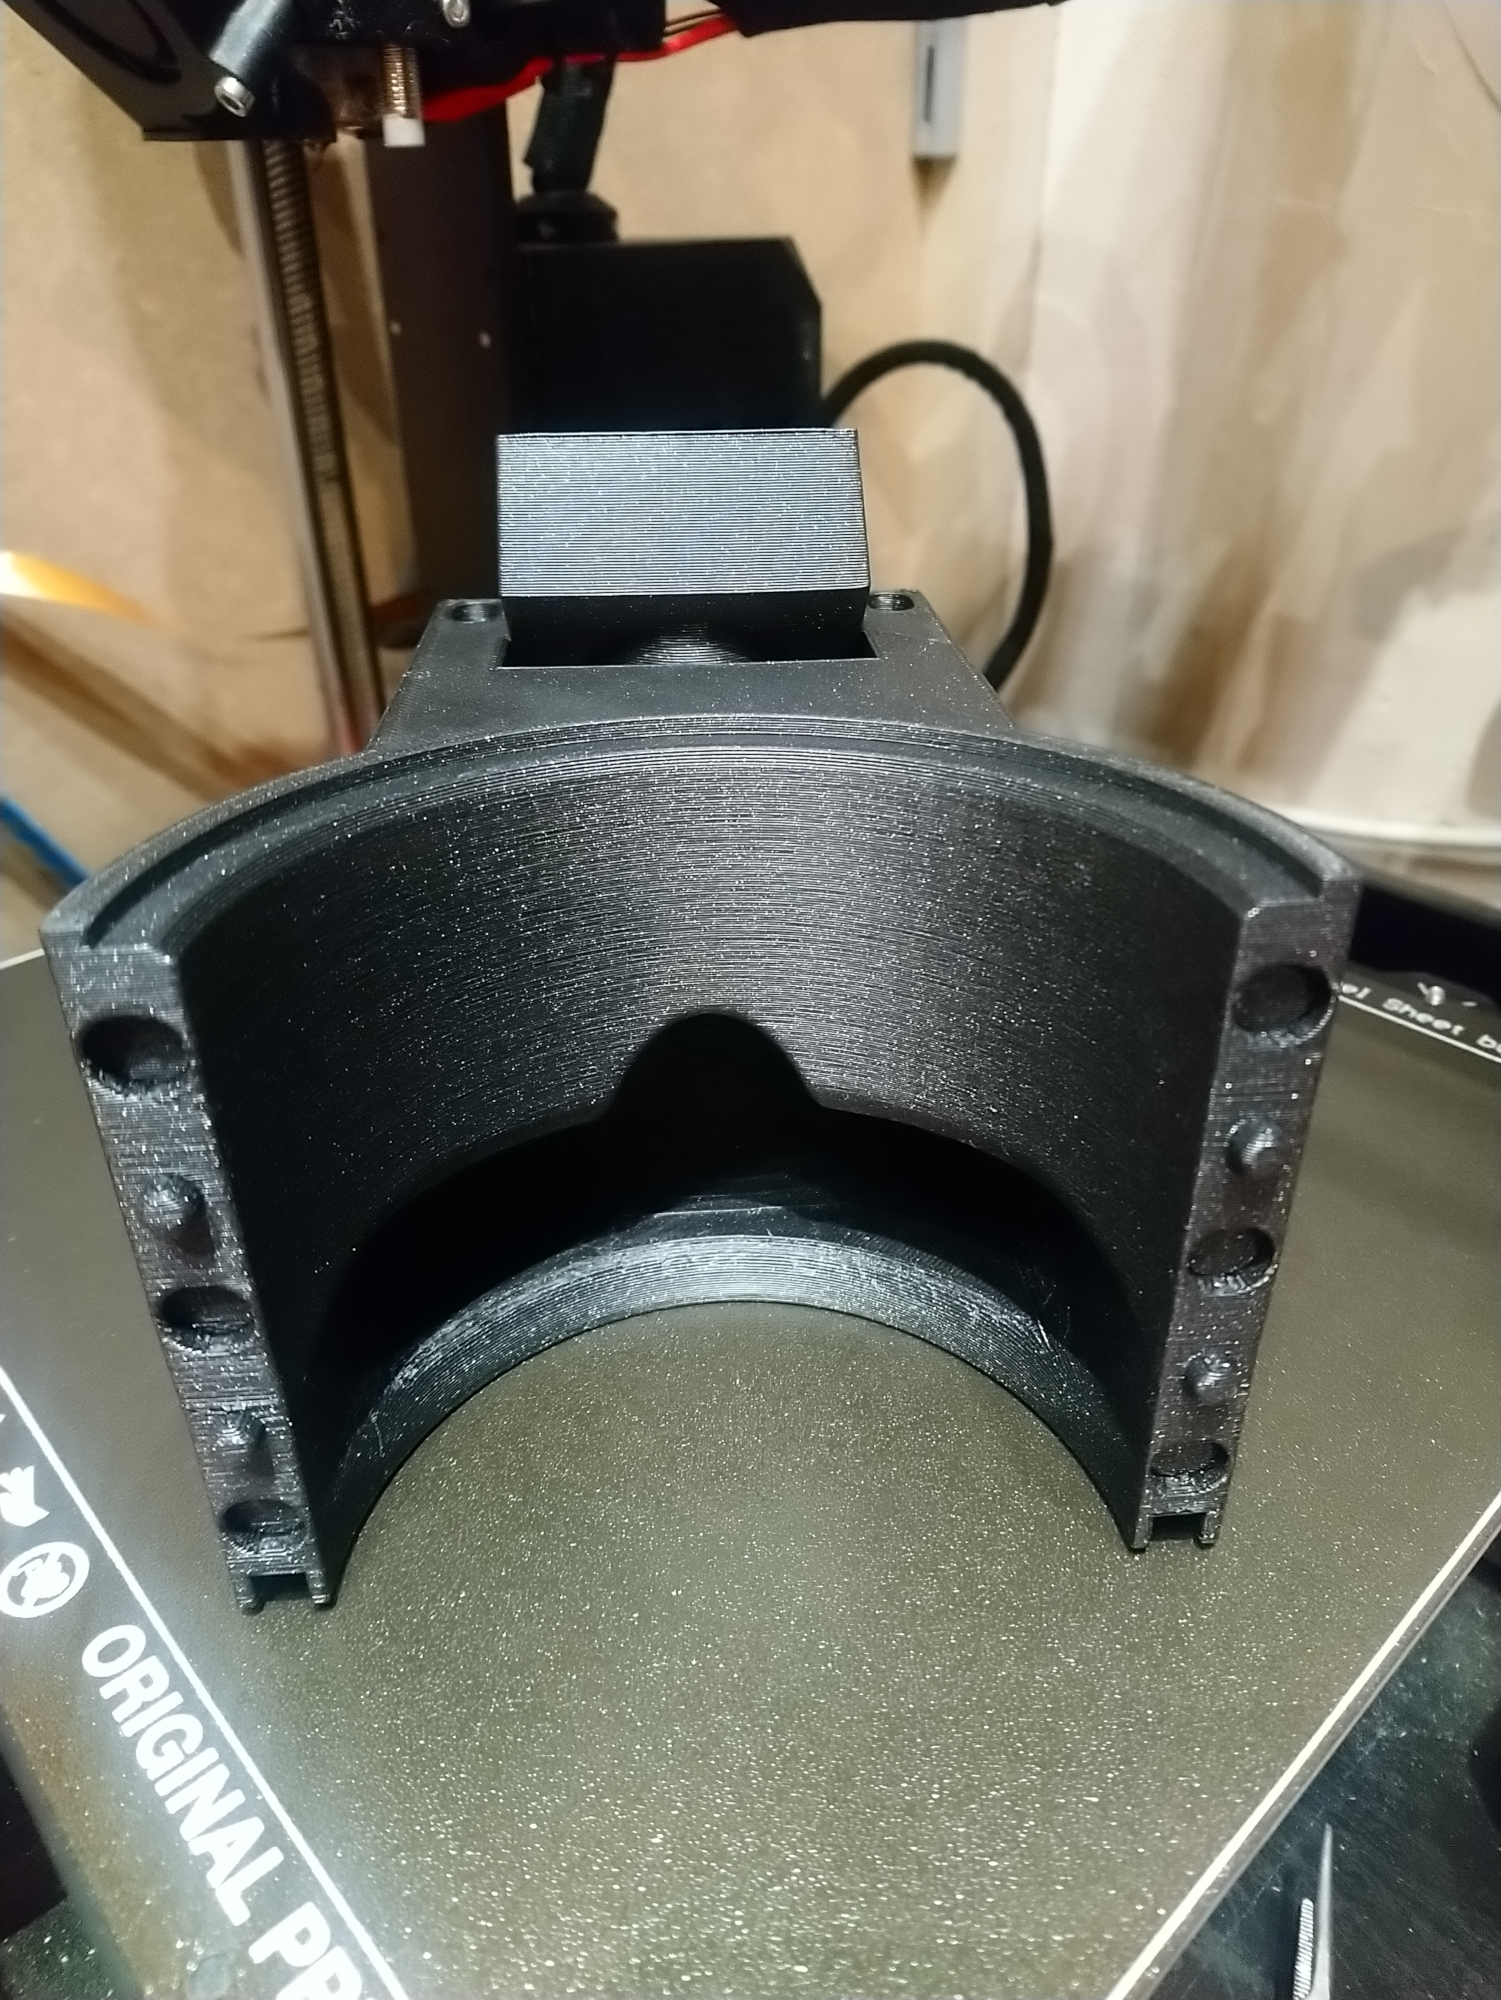
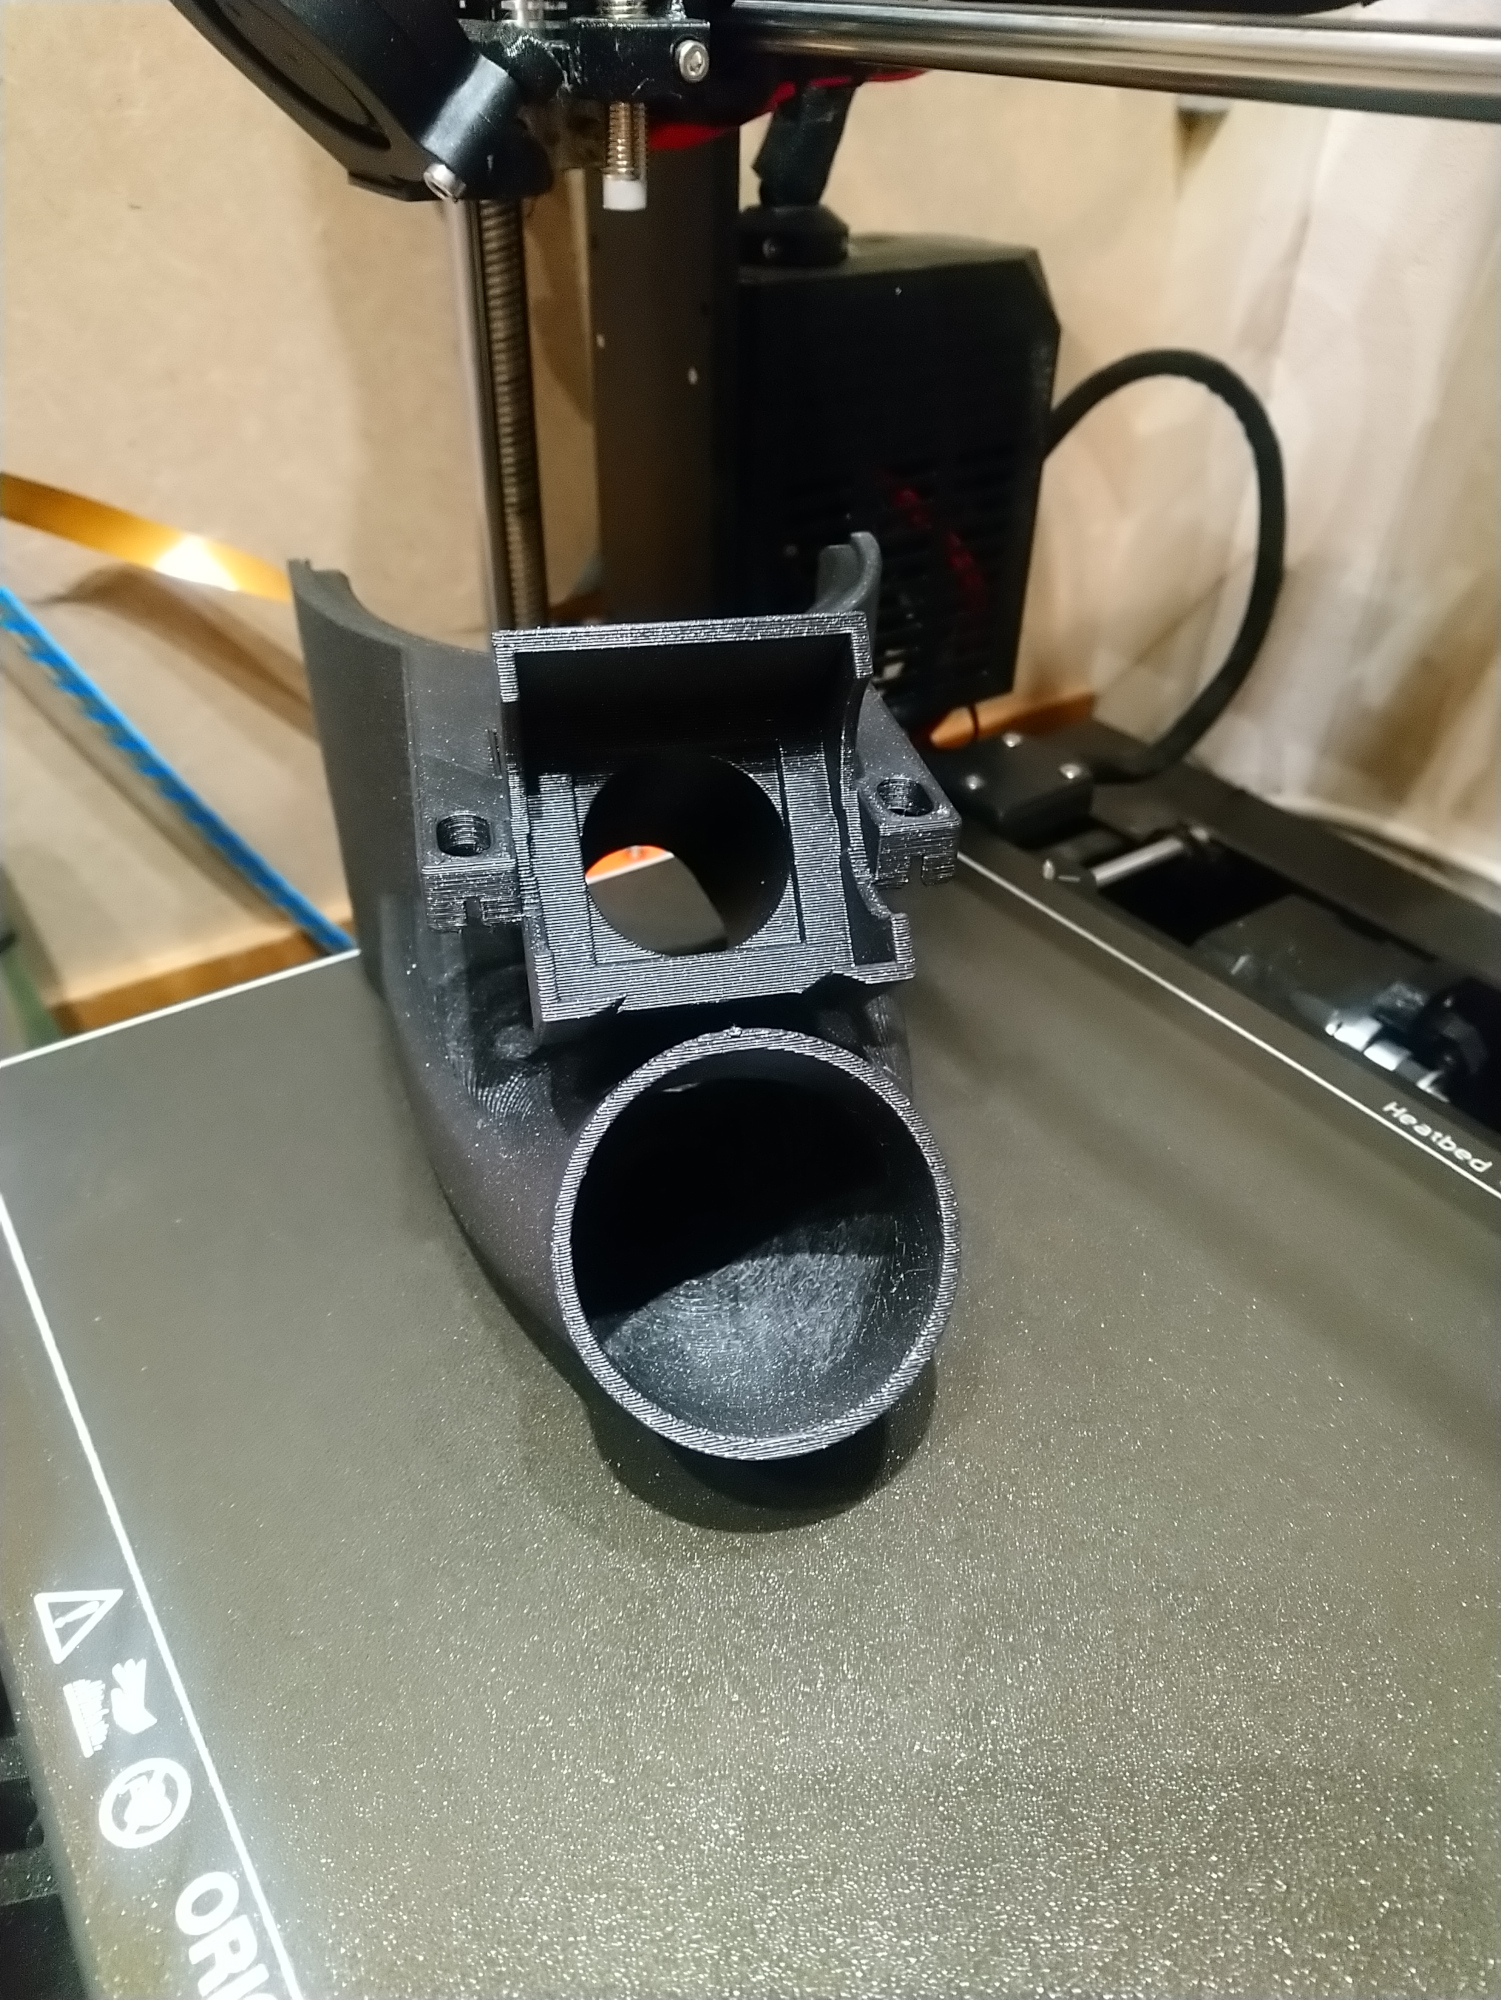
it took about an hour and one finger cut (and associated cursing).
Now to test this thing…
6 Likes
That’s a pretty complex shape, looks pretty rigid too.
Did you invest in a deburring tool yet? They’re great on the sharp lips of the print.
I dislike trying to remove and clean up the supports sufficiently that it’s become part of my design criteria that the part has suitable splitting planes to allow it to print in sub-components with little or no support. I’ve found printing in M3 or M4 threads for bolt fixing or just CA glue on a keyed mating face is at least as strong as the PLA. I trade a little assembly for fighting with the supports.
2 Likes
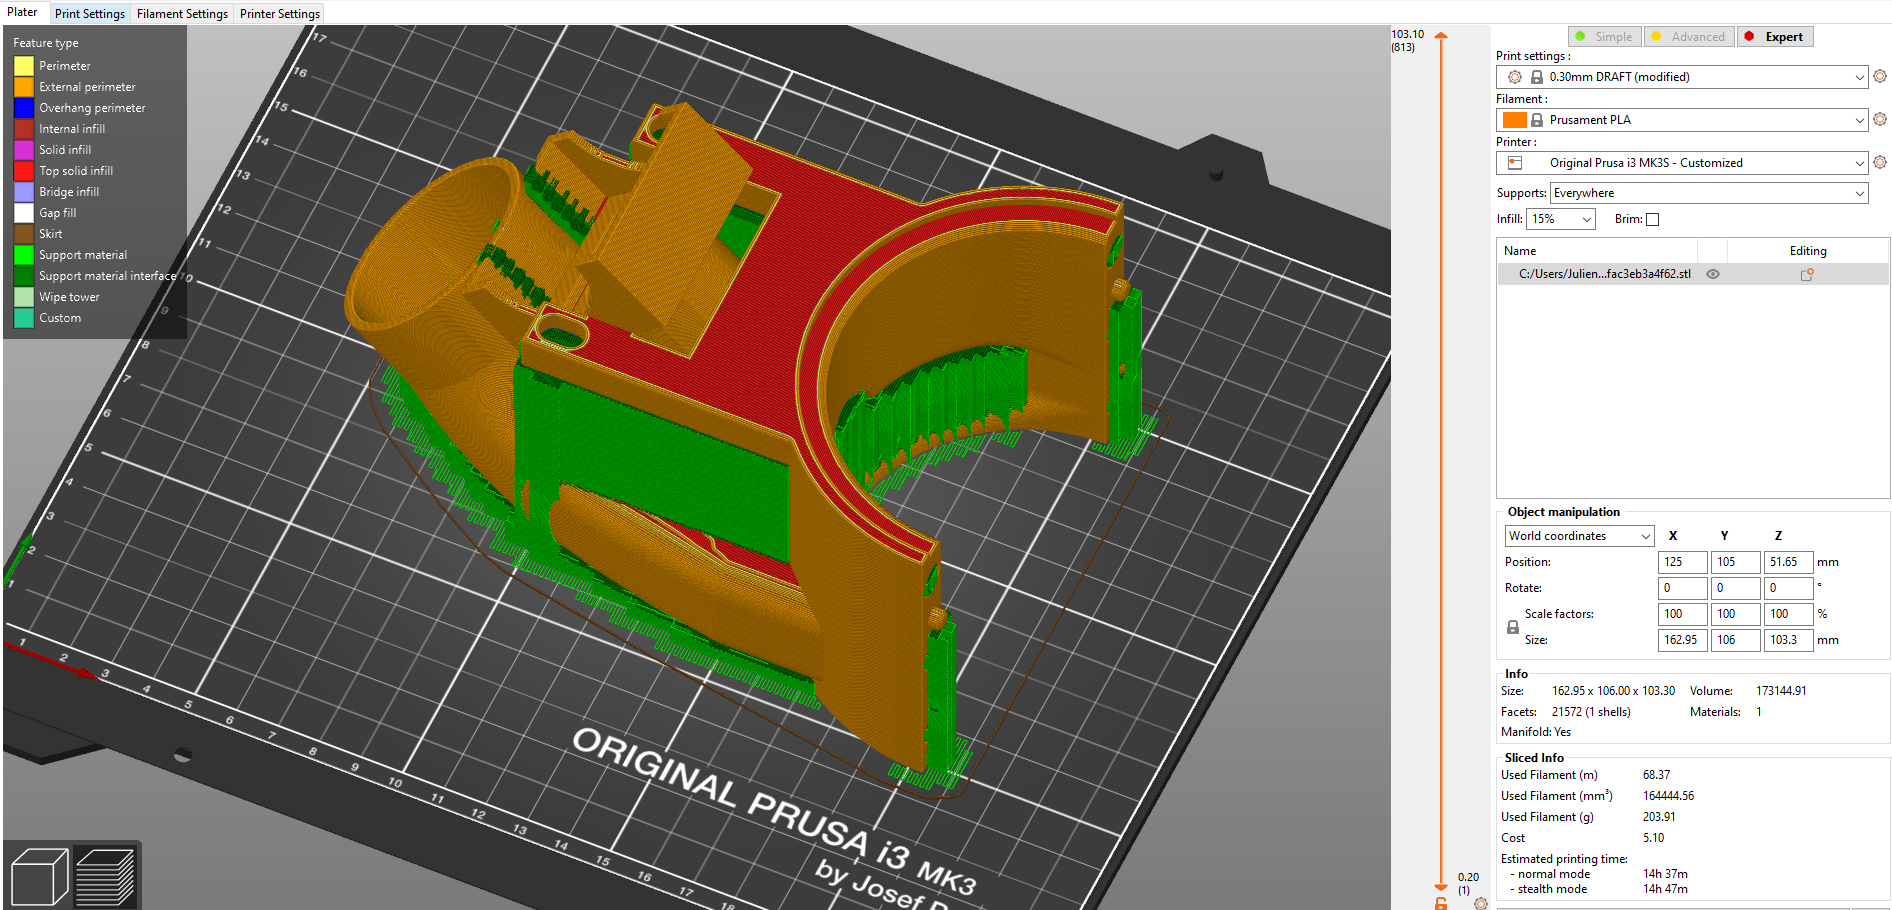
I was surprised, in fact. To keep the print an overnight-ish thing, I only used 15% infill, but with those curved surfaces everywhere, it’s very rigid.
But I feel you on the “I hate supports”, look that at mess, the supports are oozing out of the piece. Yuk.
For deburring I only have this, which works great for straight edges, but is of no help otherwise:
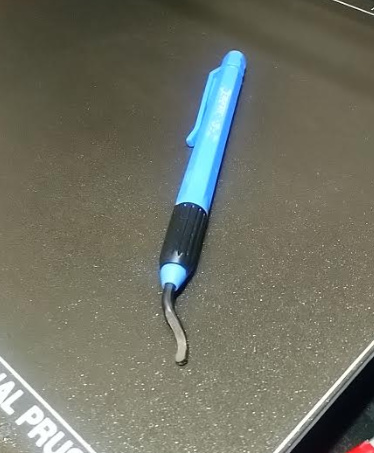
What deburring tool did you have in mind? I would happily invest in decent tooling if I knew where to look.
4 Likes
I have a tool similar to that but with a couple of different blade options, it takes practice to figure out what angle and where on the blade to cut, I find square corners most difficult.
At the risk of your wallet, I have heard good things about Noga. But I suspect somebody like VinceFab who cuts metal for a living would know a lot more about choosing deburring tools.
4 Likes
Finally done printing this thing, the camera fits nicely (yay)
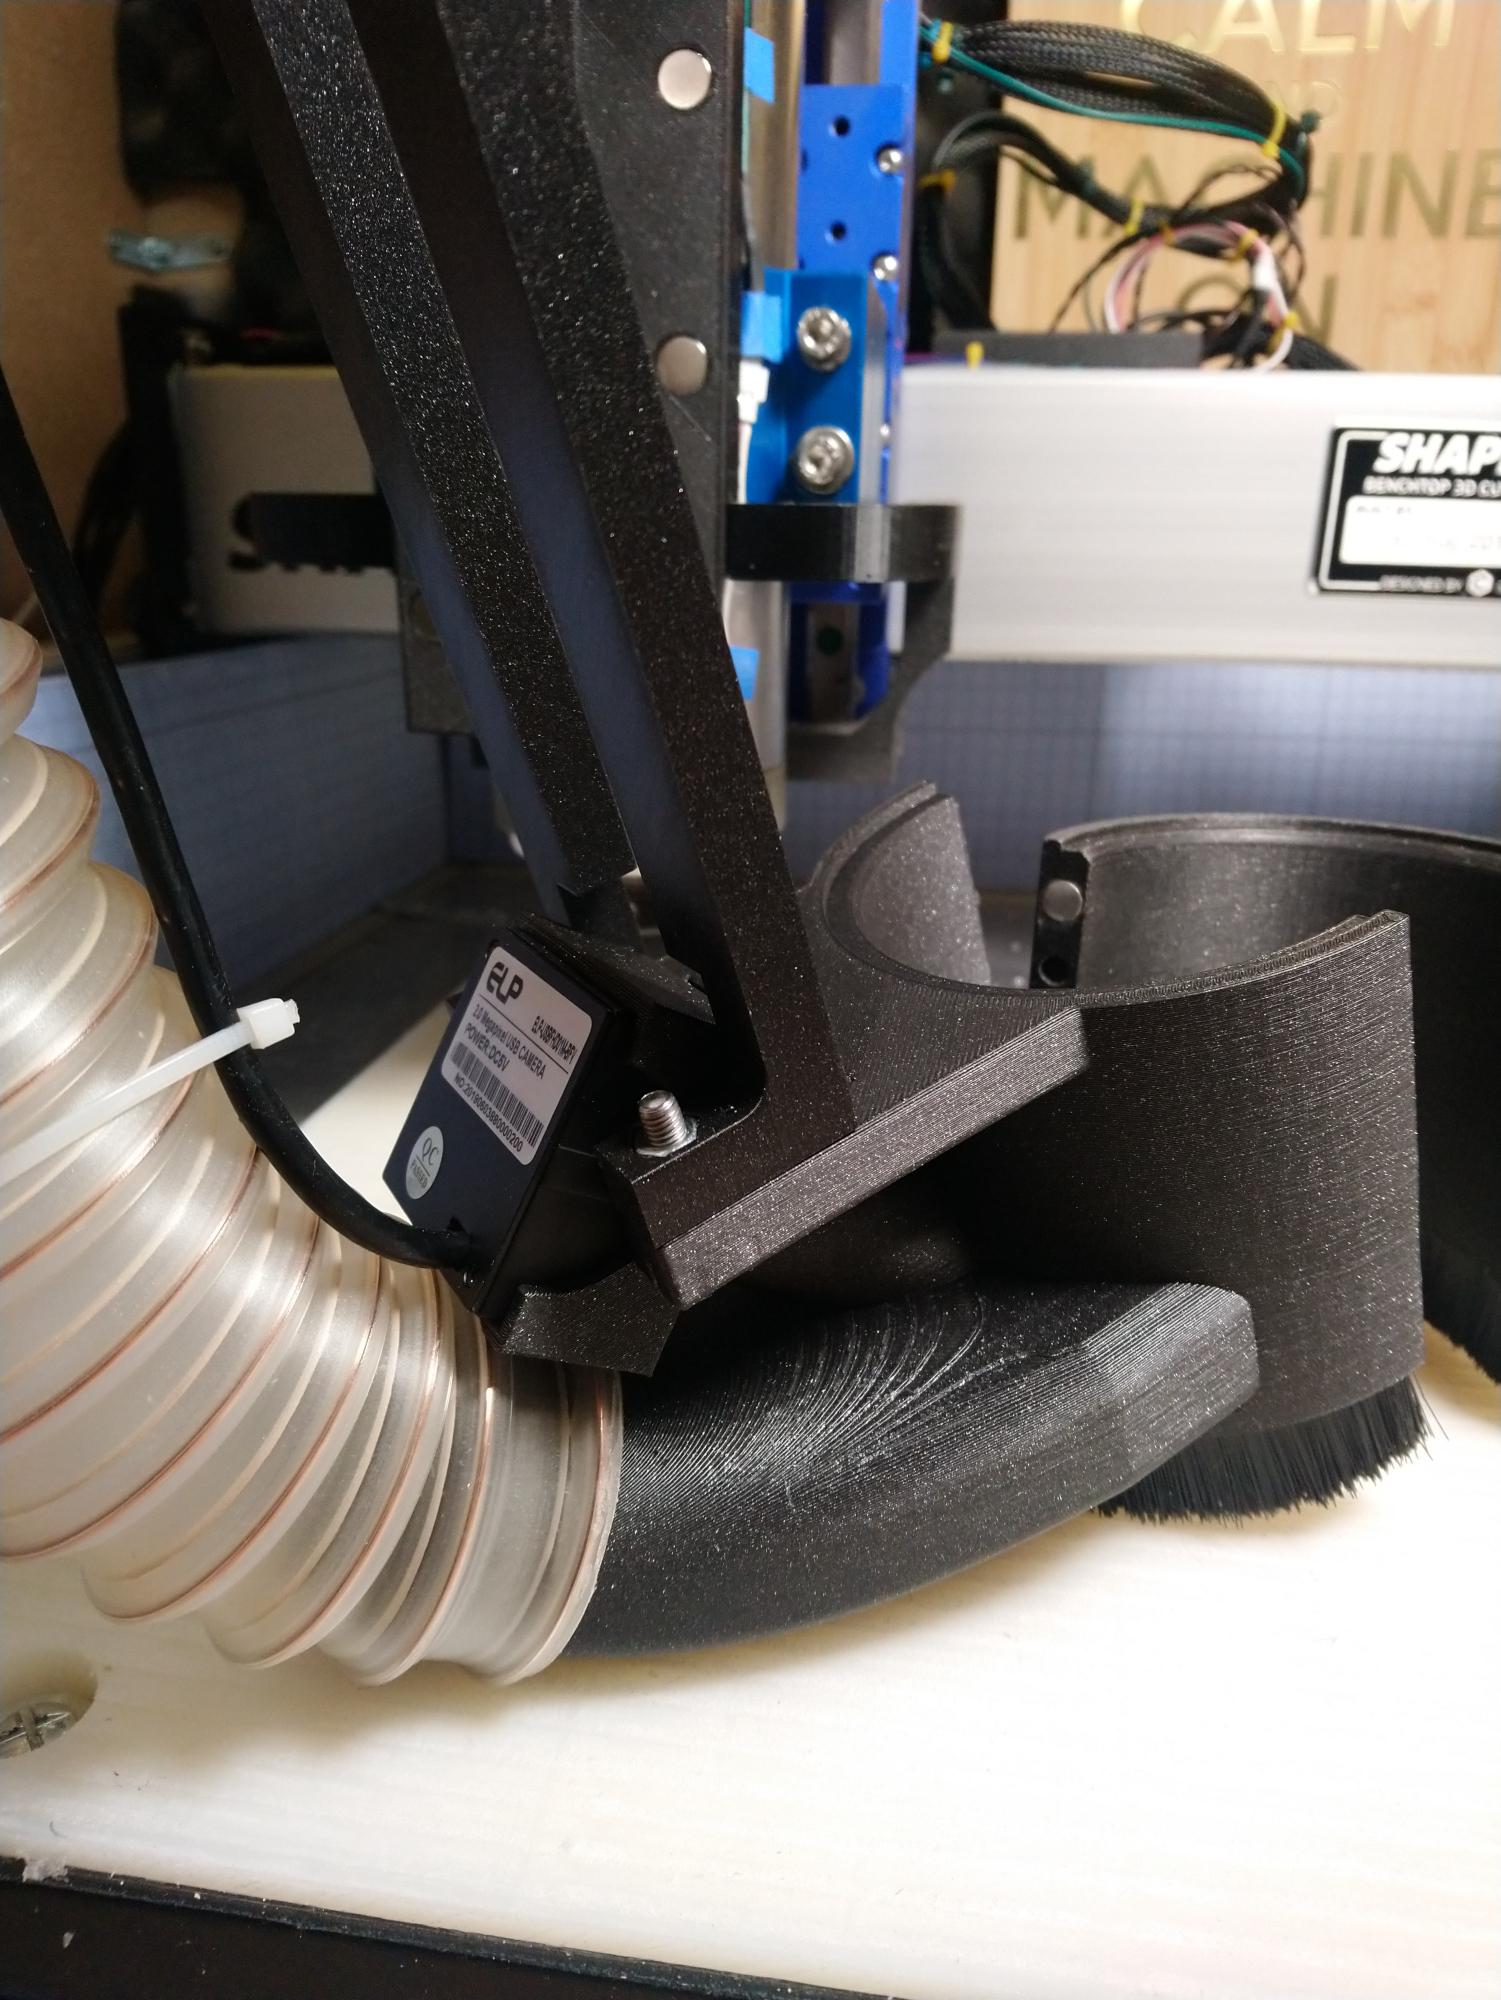
Don’t you like my “let’s cut a piece of transparent plastic and use blue tape to hold it in front of the camera lens” approach ? Blue tape is the alpha and the omega. Blue tape is life !
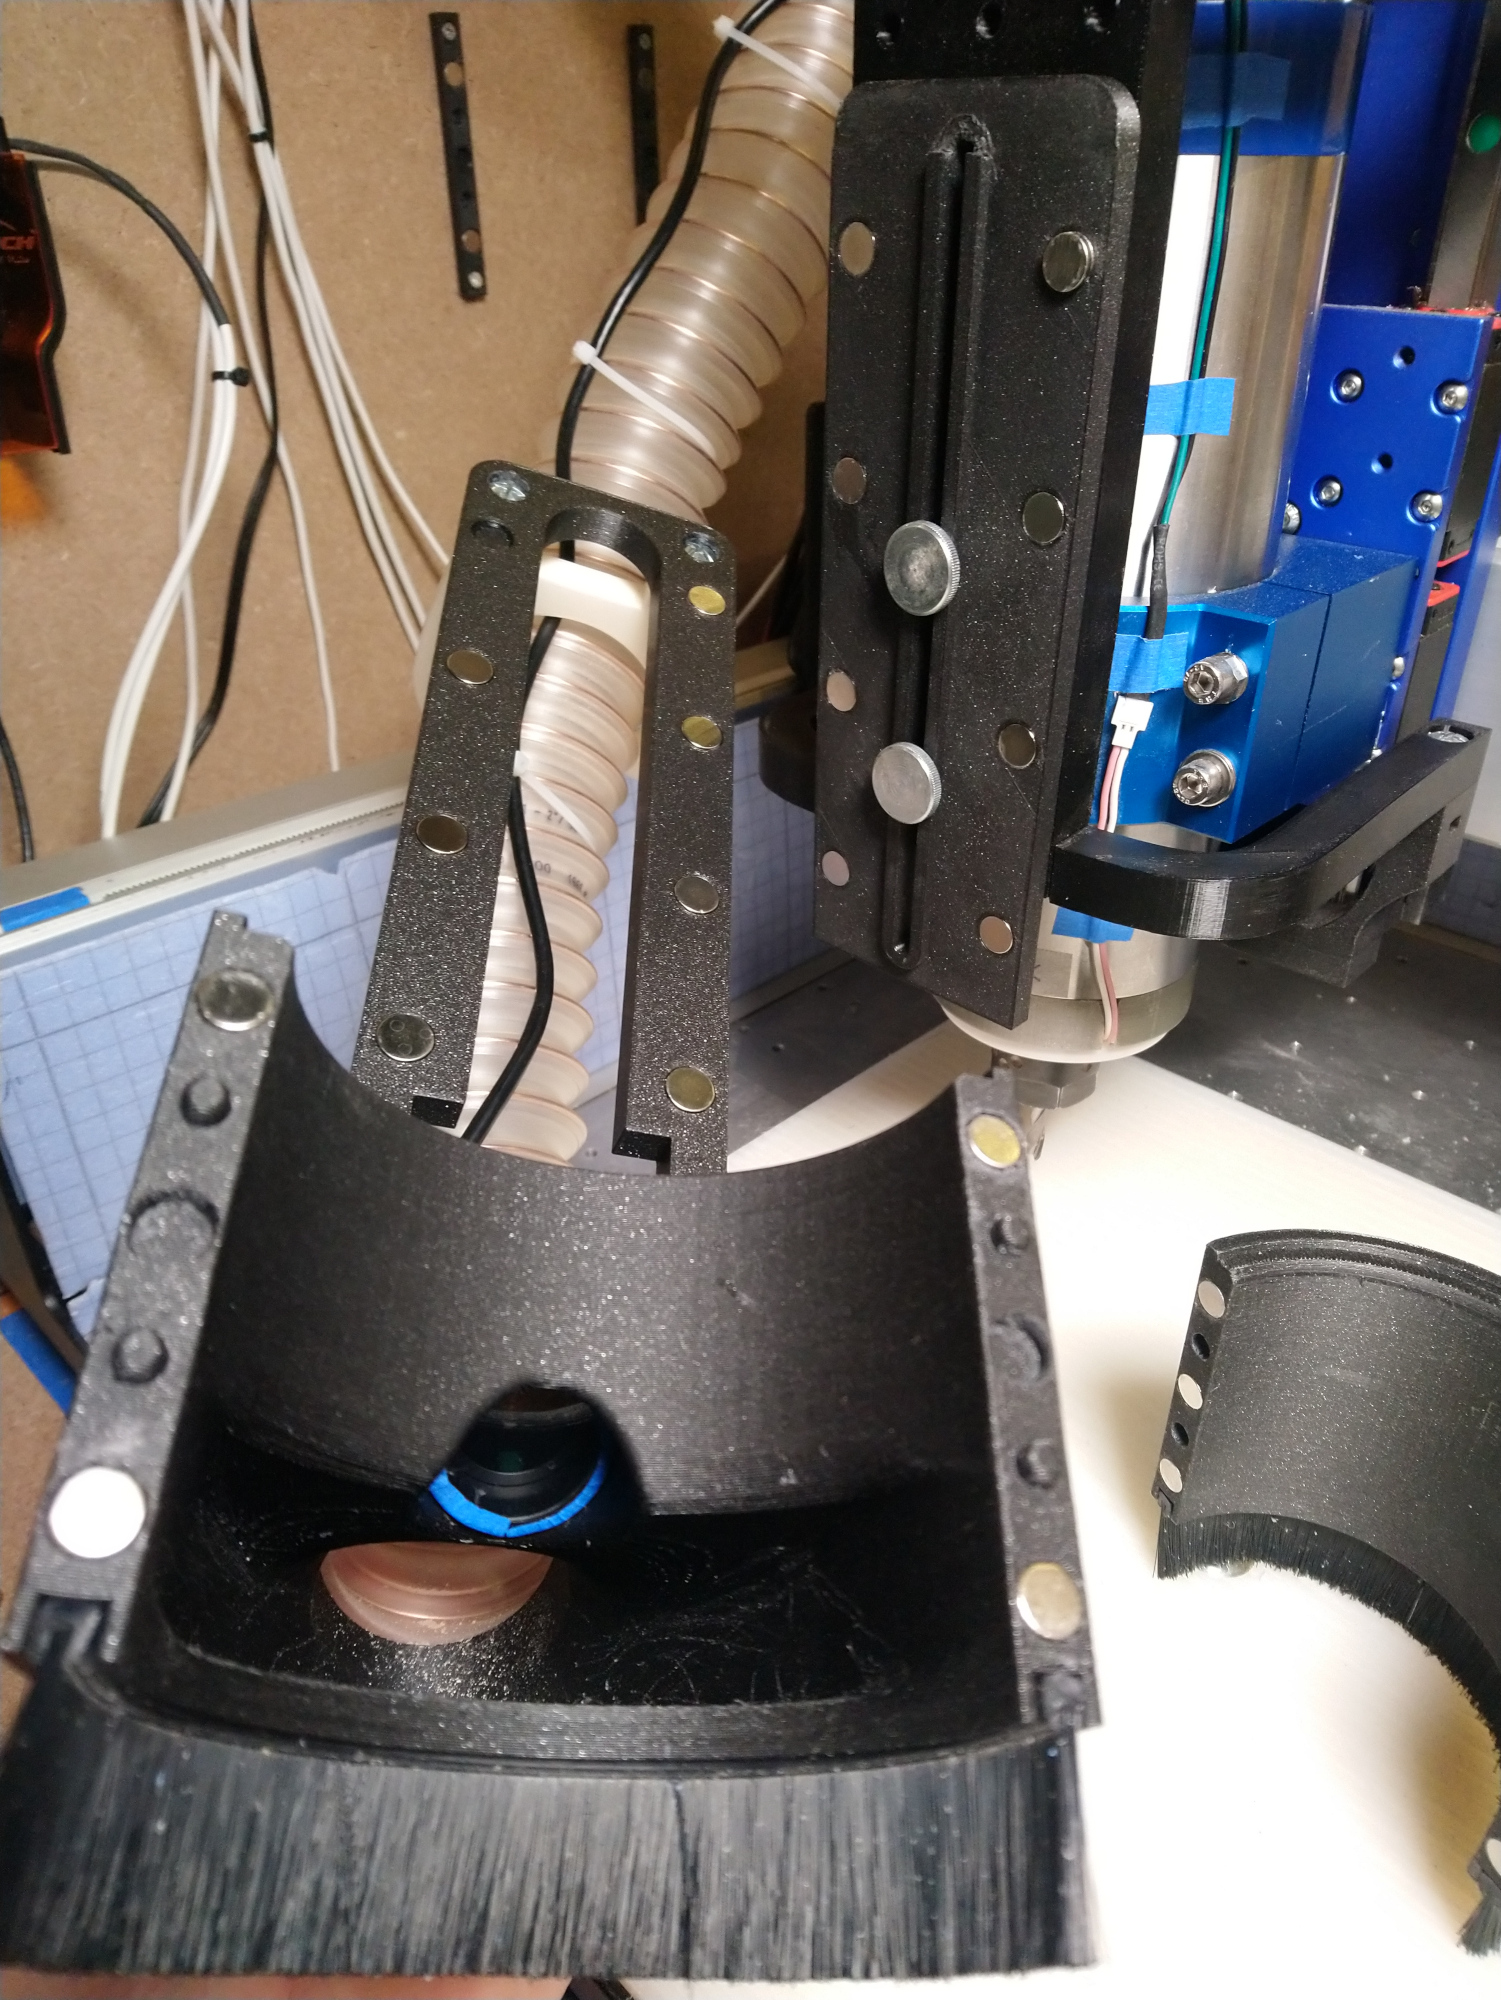
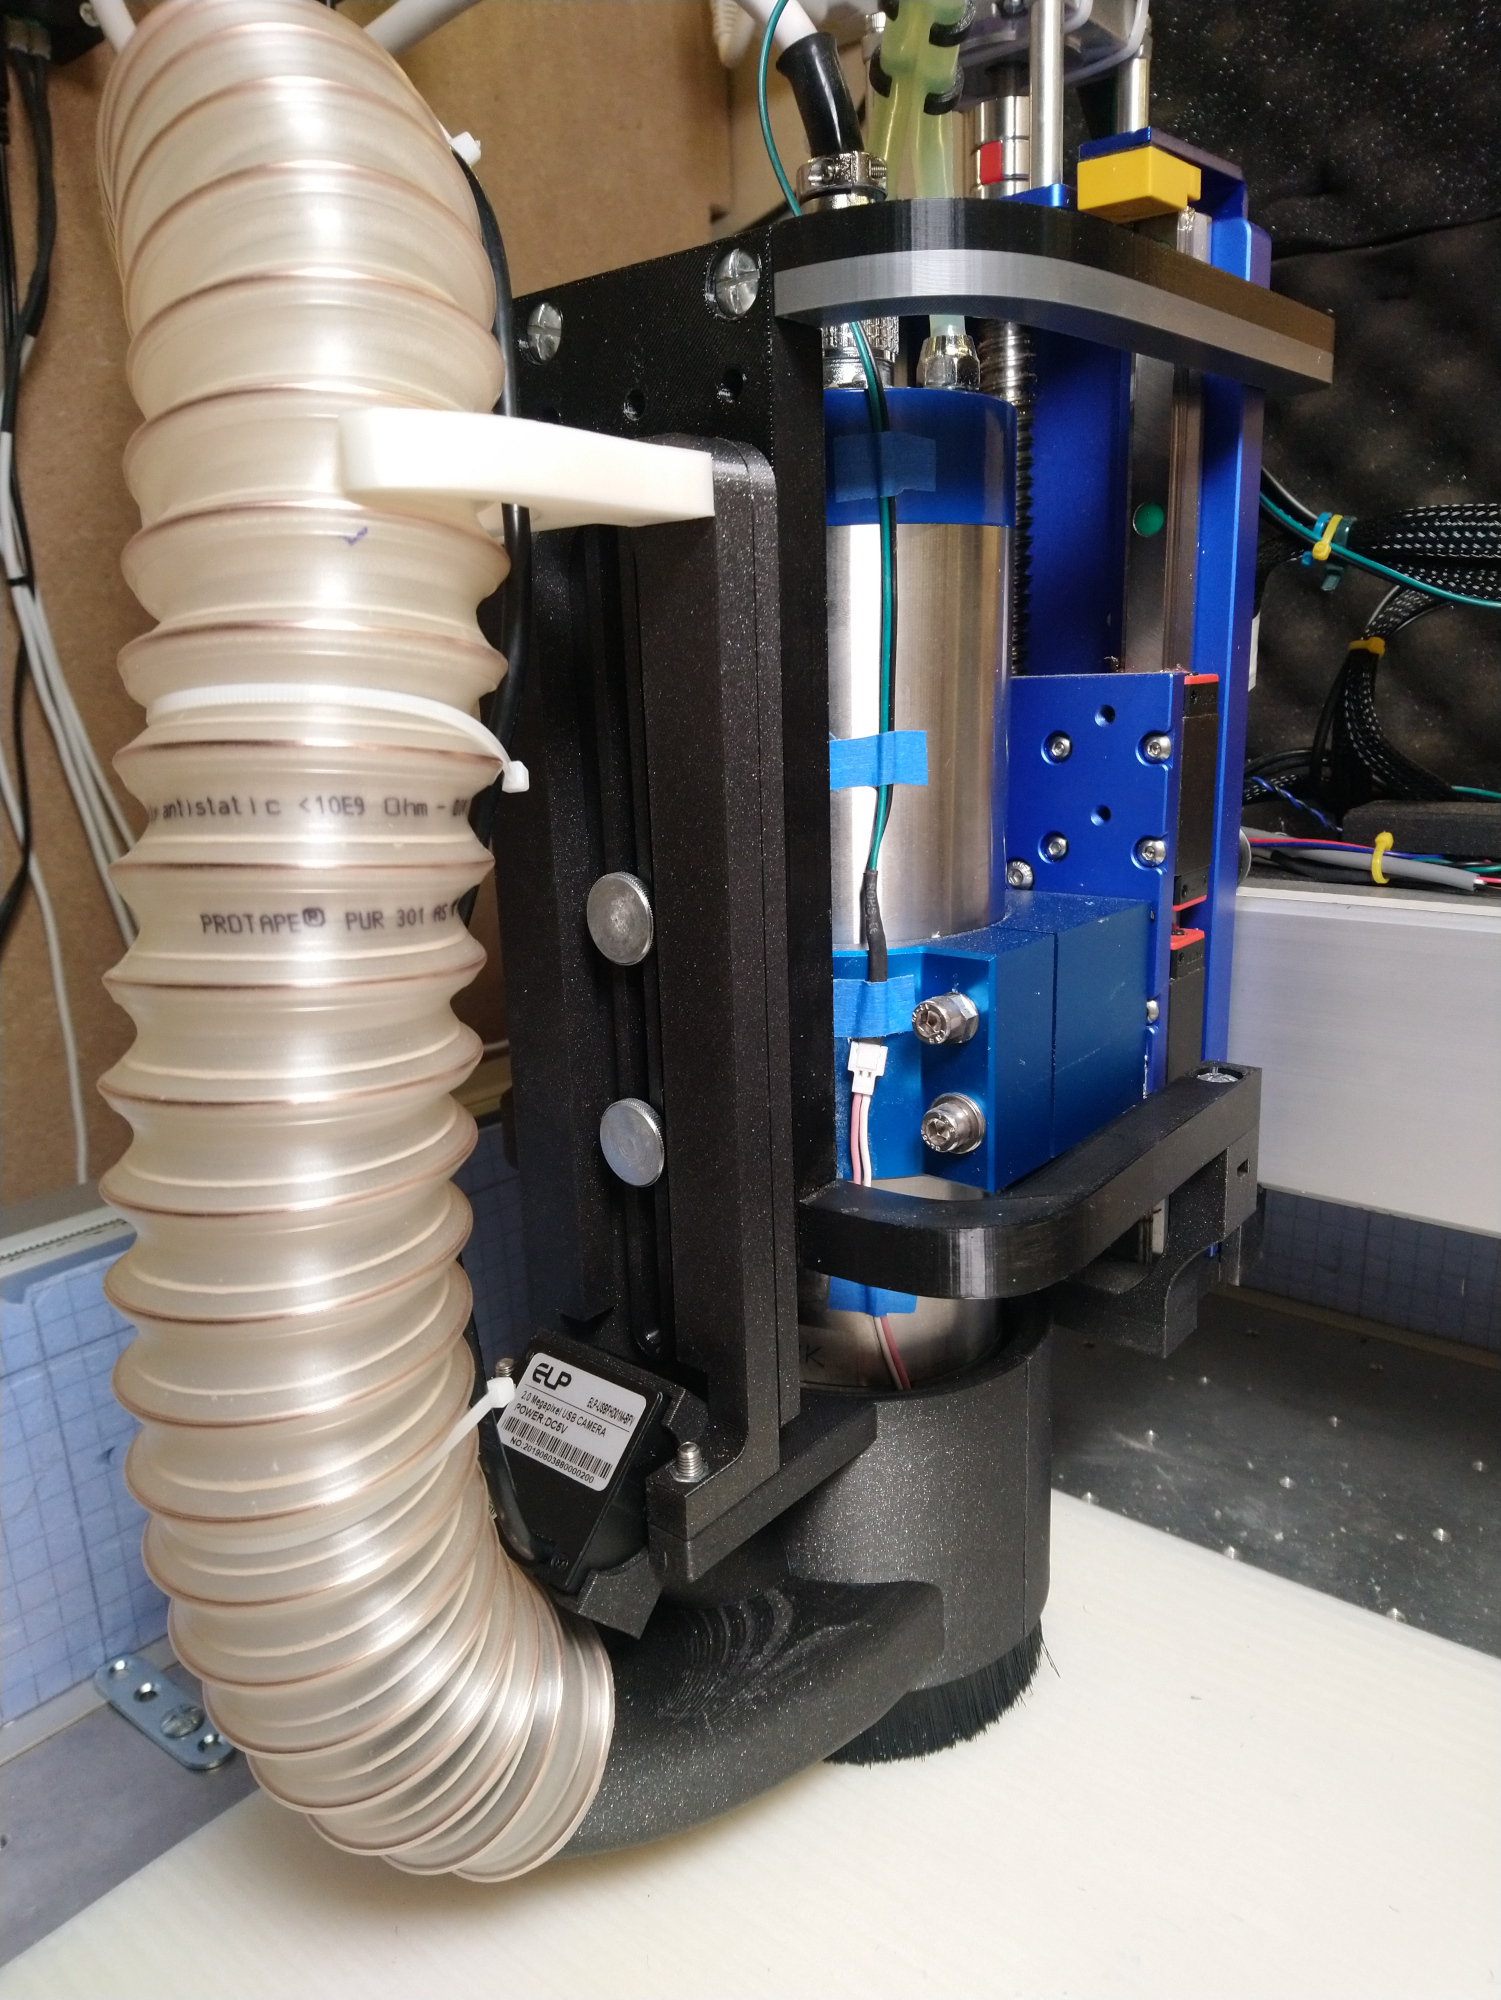
Mounted on the HDZ and ready to go.
Tonight I only tried the 640x480 mode (which enables 120fps capture)
And of course, my attention was not where it needed to be, so I forgot to remove the protection on that two-tone HDPE piece, which made for an “oops” video (but still a 120fps oops, ha).
First few seconds slowed down to 30fps
With a longer cutter the nut will not be so visible, so let’s call that a test run, and hopefully I’ll have more interesting captures soon.
11 Likes
You know, I’ve been thinking about the z-independent dust boot, and I’m not sure how much more one is going to fundamentally improve over your design. Some minor tweaks maybe, but overall, I think it’s great!
3 Likes
The first rule of dust shoe club is “the best dust shoe is the next one” 
What I already regret doing is placing the camera right above the suction hole, which means I’ll have a chip storm in front of the camera during all shots. I knew this would happen, but I could not find any other position (the back of the shoe would have been ideal, but not enough Z clearance there, and the sides are a no-no because I don’t want to impact Z travel)
I’m tempted to do yet another iteration, with suction intakes in the back (opposite of the camera) and finding they way inside the shoe walls, to the hose in front. Oh my this would look even weirder.
Where I’m sold for good is the “cylinder around the spindle” approach (and Z-independence, obviously), in terms of efficiency it has worked perfectly for me.
6 Likes
What do you mean by “z-independent”? You mean the dust boot is around the spindle and moving up & down with the Z movement?
Z-independent would be detached from the spindle and moving Z-carriage, so the height of the dust boot would remain constant until adjusted.
3 Likes
I may have missed it, but have you looked into borescopes? They have some pretty small diameter heads with lights - something like 5mm isn’t uncommon. The smaller you go the more expensive they get.
1 Like
I finally liked this camera. It gives me 1920x1080@60fps, 640x480@120fps. It’s much smaller than your camera, and requires smaller space to be mounted,
https://www.amazon.com/gp/product/B07DWXRKNL/ref=ppx_yo_dt_b_asin_title_o00_s00?ie=UTF8&psc=1
3 Likes
Yep this is actually where I started (not sure it qualifies as a “borescope” but what I initially put in the dust shoe was such a very small camera), but then I looked for a model that would be higher resolution AND be able to support higher framerates AND would not require some silly custom Android app over wifi, and could not find a satisfactory model (but they probably exist!)
I do miss that very small form factor that was perfect for dust shoe integration.
2 Likes
Is it really ? (smaller). Besides the casing, it seemed to be that pretty much all those ELP modules were the size width/height (size of the rectangular PCB). The lens does look smaller though. I’m looking forward to seeing how you integrated it, I could use some inspiration for the next dust shoe prototype!
2 Likes
I just noticed yours does 640X360MJPEG @260fps
Interesting !
3 Likes
Inside? Like in tunnel? That seems to be a recipe for many clogs of chips. ![]()
3 Likes
Mr. Celebrity needs some inspiration!!! I, and I’m sure a few more members, always waiting for your awesome designs.

2 Likes
Not if it’s a large enough tunnel, which is why the dust shoe may end up looking like an elephant foot with very, very thick walls
2 Likes
Have you thought about a mirror and reversing the video?
No, but that wouldn’t solve my camera position issue? (the chips would still fly by in front of the lens)
2 Likes