Spindle ring light & dust shoe camera experiment

In a previous episode of my dust shoe adventures, I mentioned that someday I wanted to install a camera in there (because even though I really like my 3d-printed shoe, it’s not see-through and that is frustrating during cuts).

I had put that project on the back-burner but then @LiamN recently showed us the LED ring he installed on his spindle, and I was triggered: not only did I WANT the same LED ring, it also put my dust shoe camera idea back on the top of my list, because the little USB “endoscope” camera I had in mind is so low quality that it needs TONS of light to produce a half-decent image. I figured this was the perfect opportunity to kill two birds with one stone.

And while I was at it, I would take the opportunity to swap the metal casing around the Shapeoko controller for a 3d-printed version with easier access.

First order of business, sketching a holder/adapter to mount the LED ring on the spindle body:

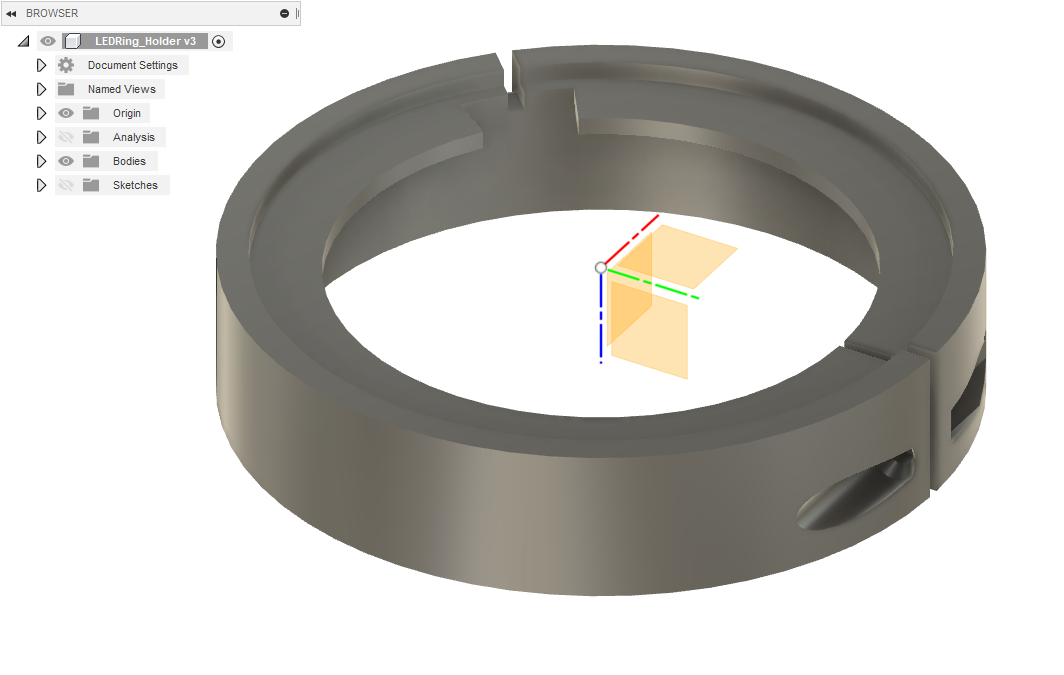
which I printed and test-fit with the LED ring,

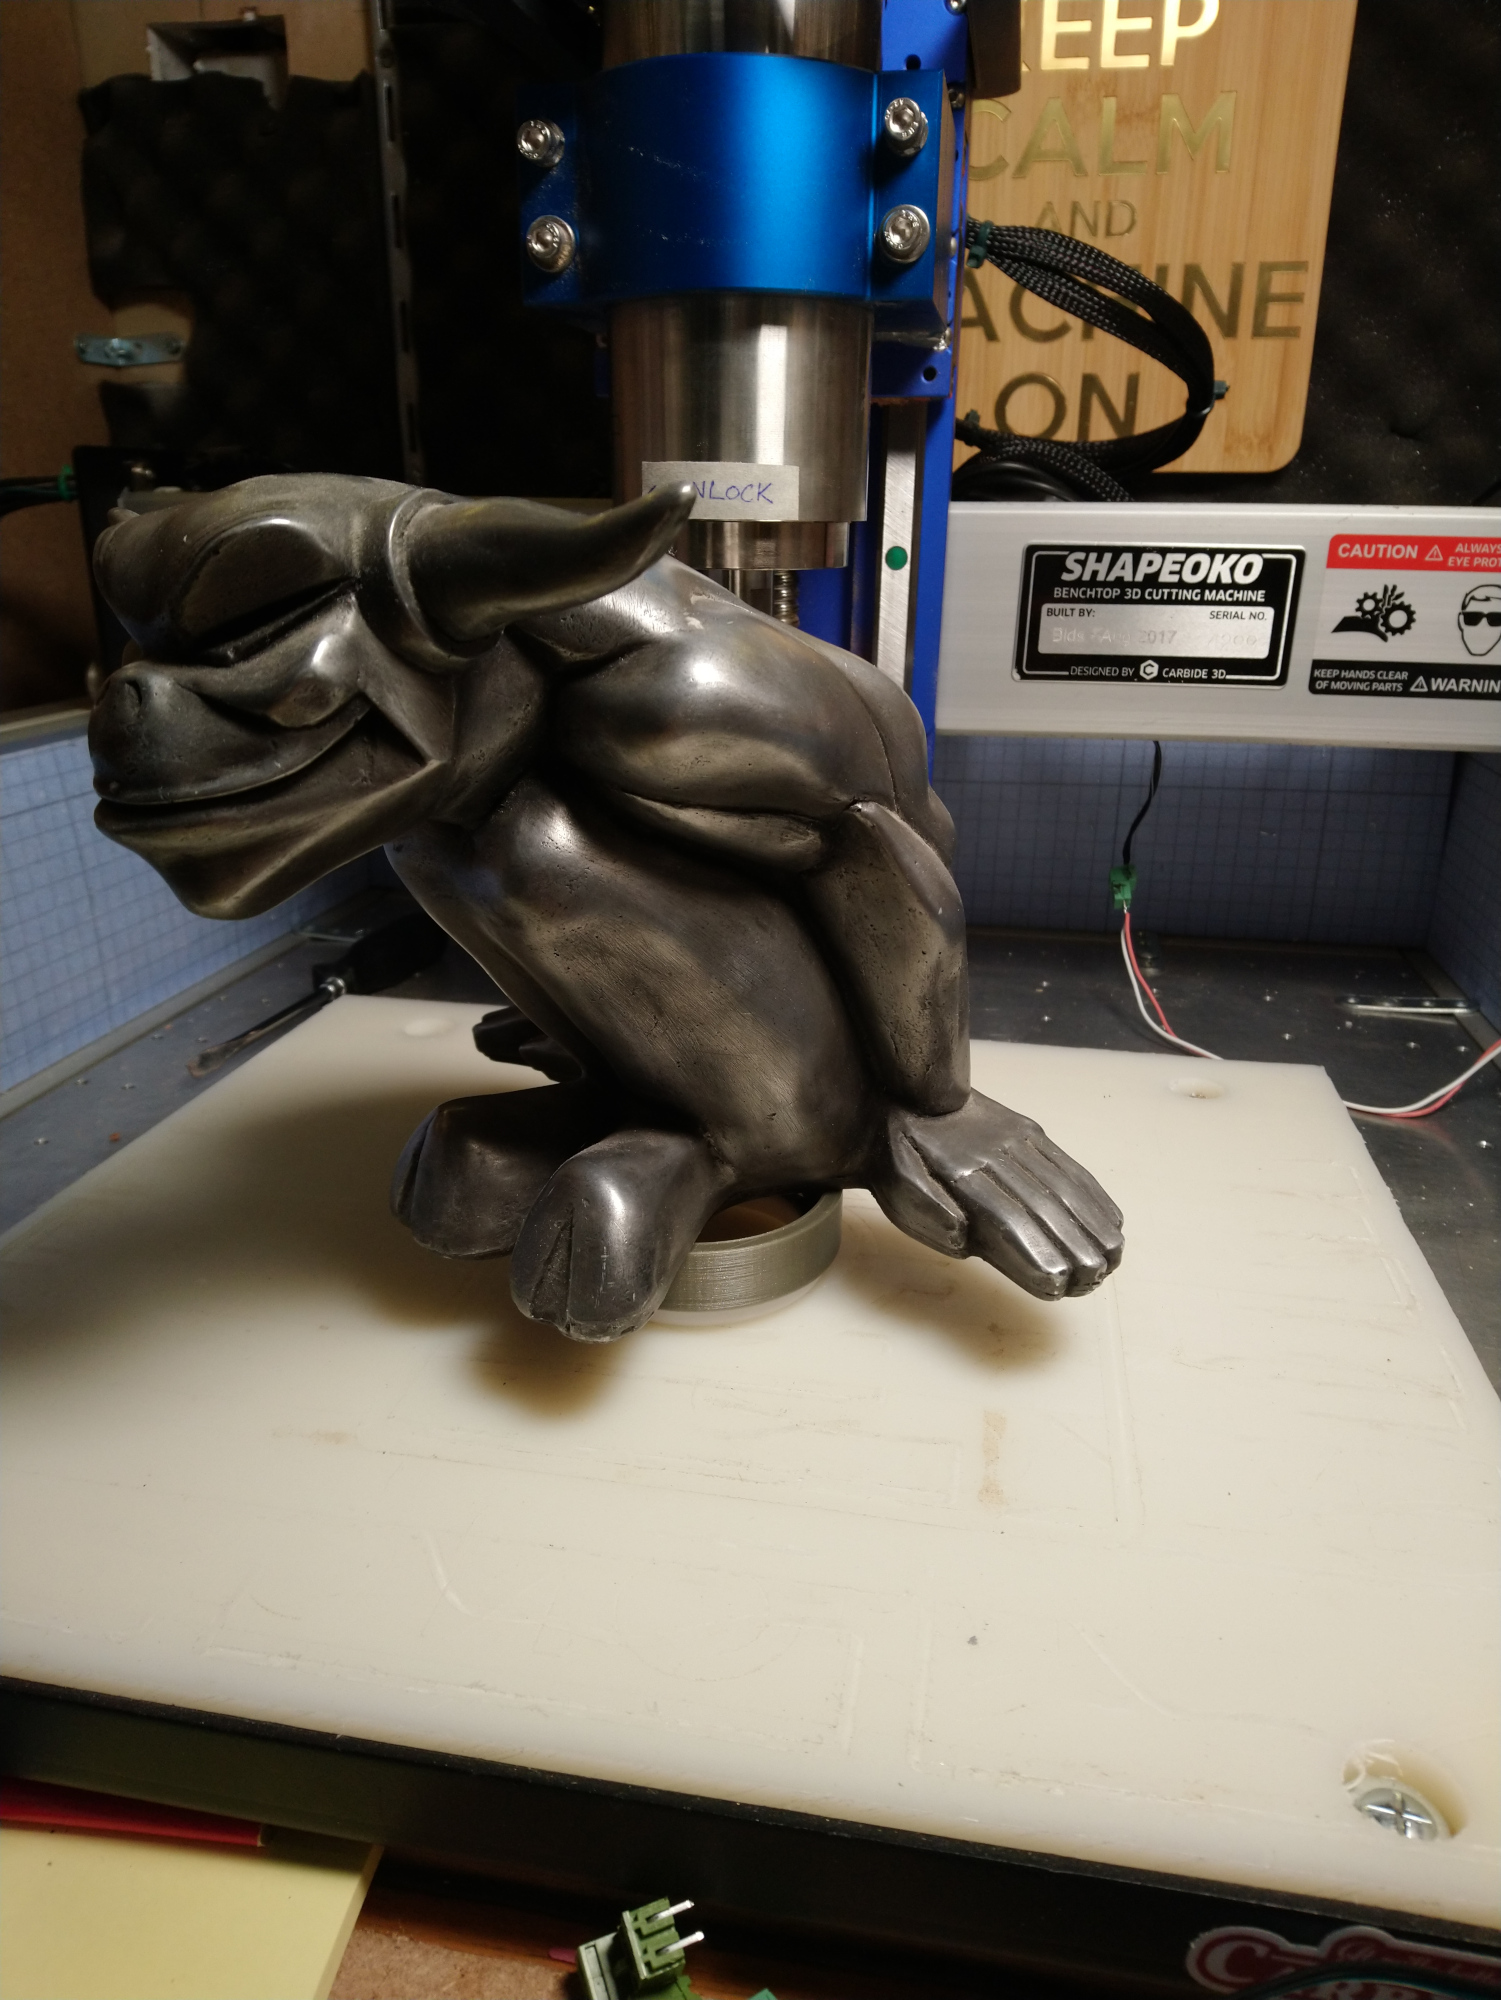
before glueing them together (yeah, I’m not subtle), using my favorite paperweight:

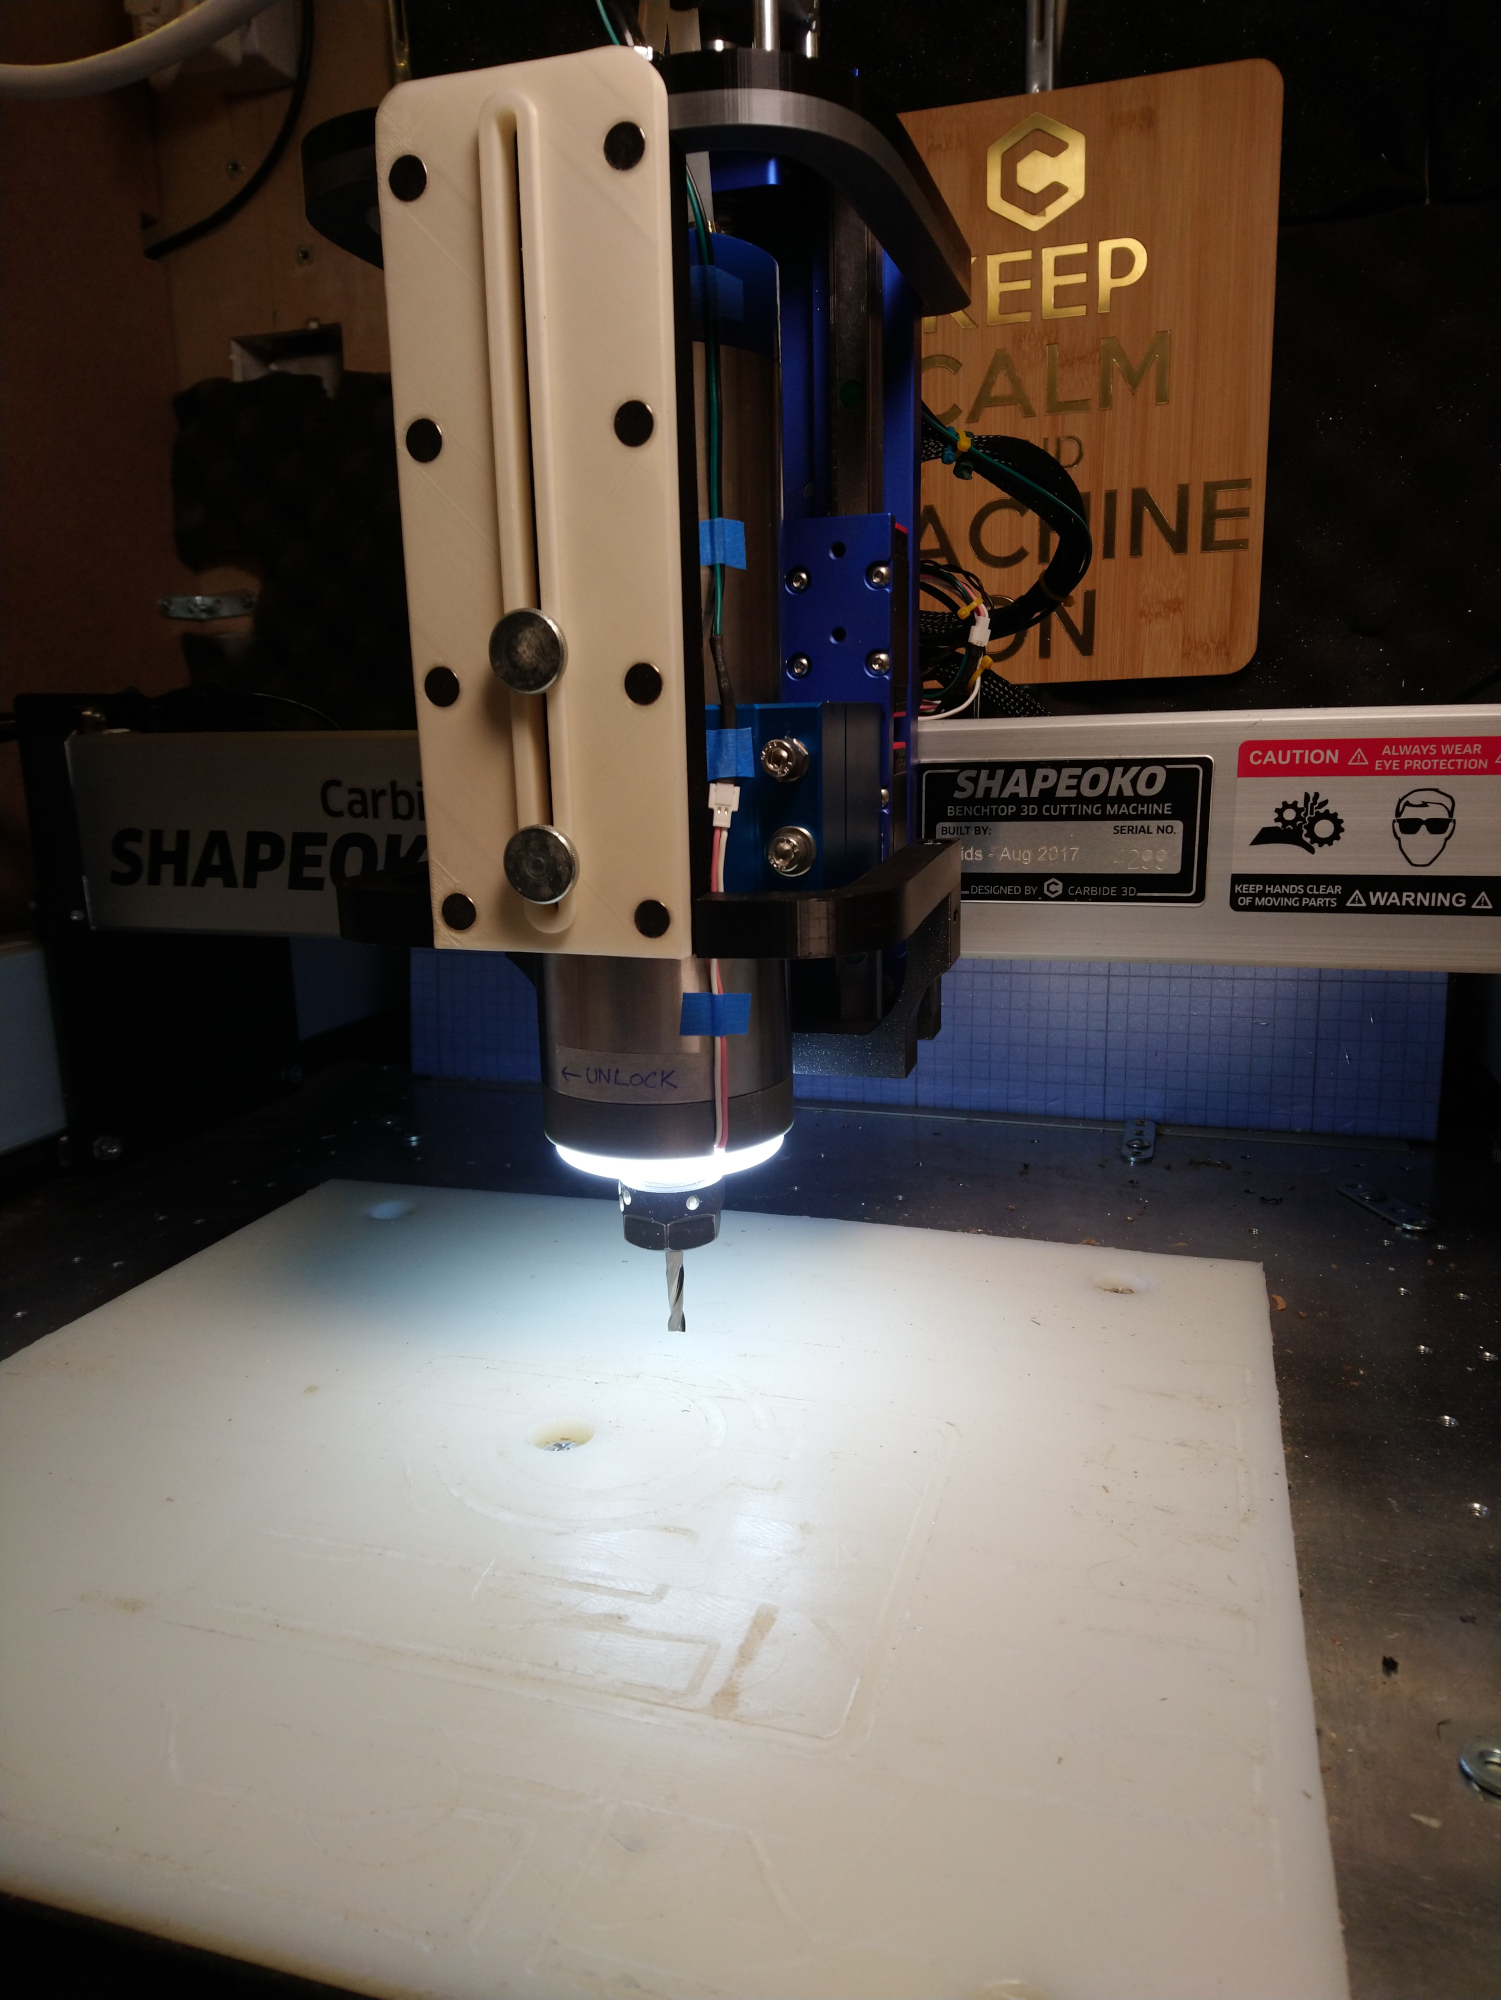
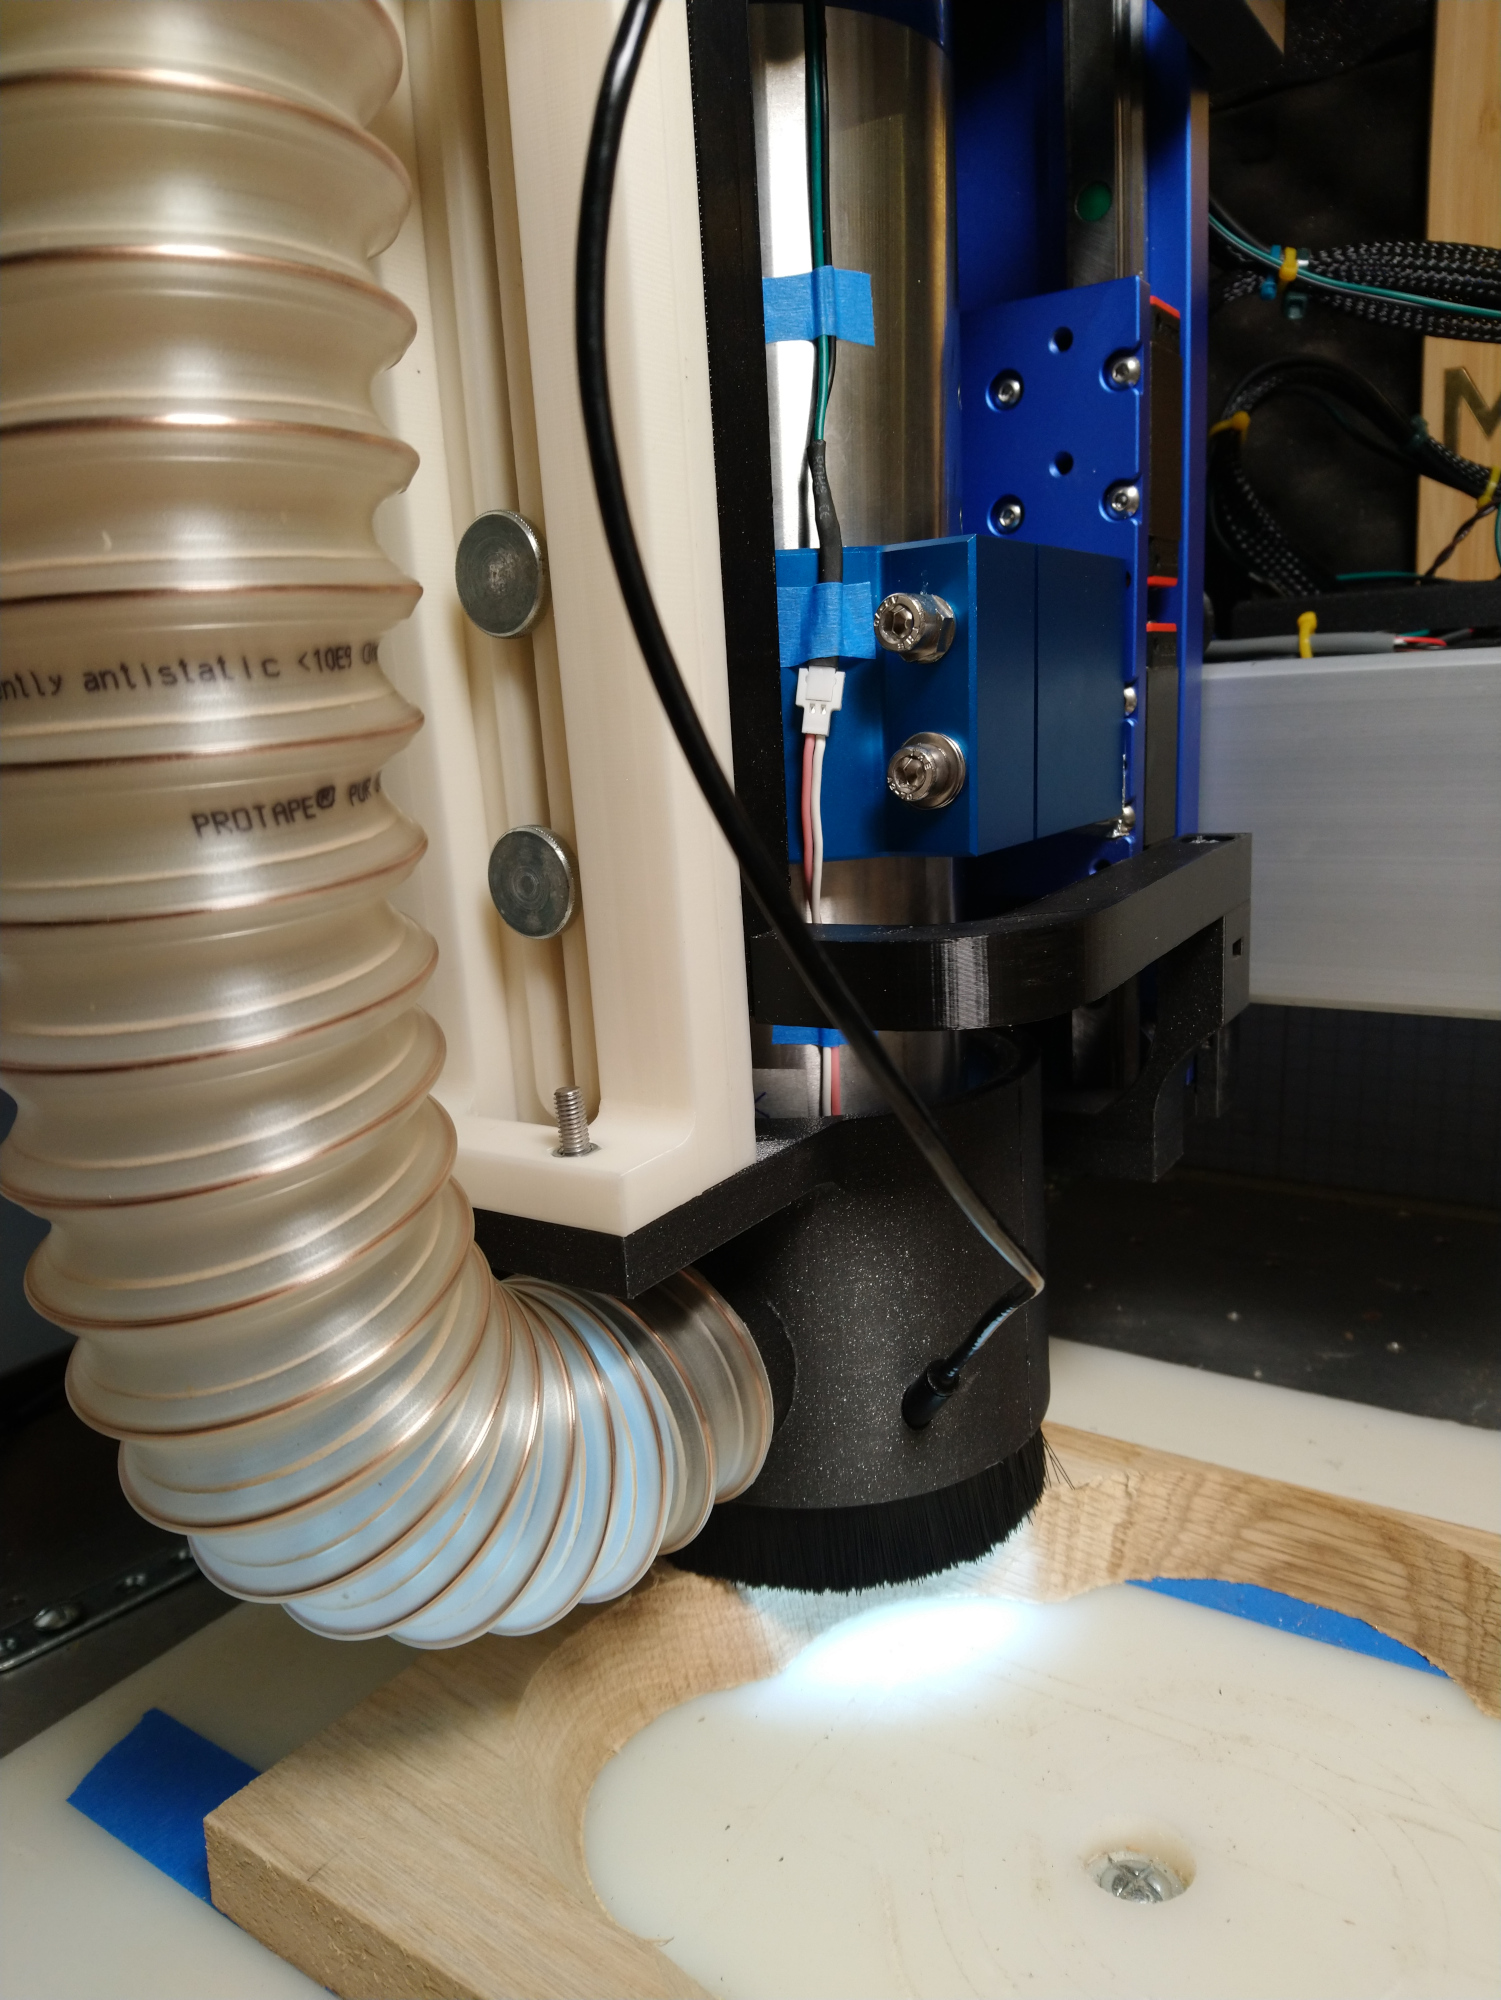
I tested the LED ring to draw around 150mA on 24V, which I figured the Shapeoko controller could handle without any problem so I ran the 24V from the board to the LED ring. And oh boy, the Shapeoko looks about 9000 times cooler with it, I love it!

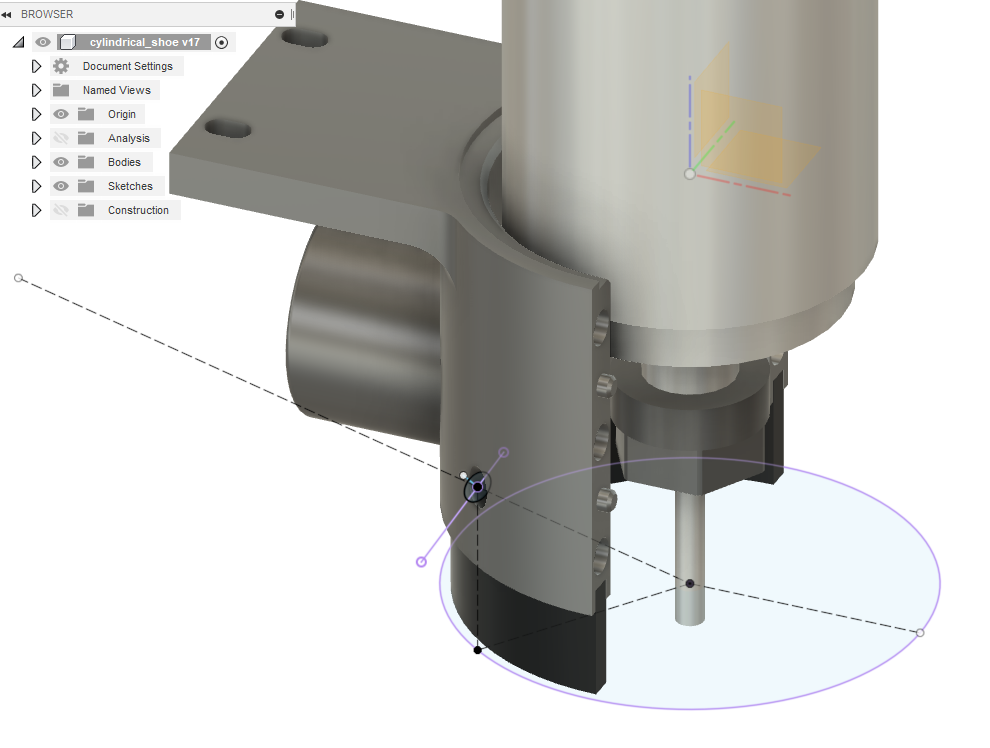
Now to the camera thing, I opened the Fusion design for my custom dust shoe, and draw a cylindrical hole at an angle, aiming at the center of the bottom of the dust shoe:

Re-printed that part of the dust shoe, and installed the small USB endoscope:
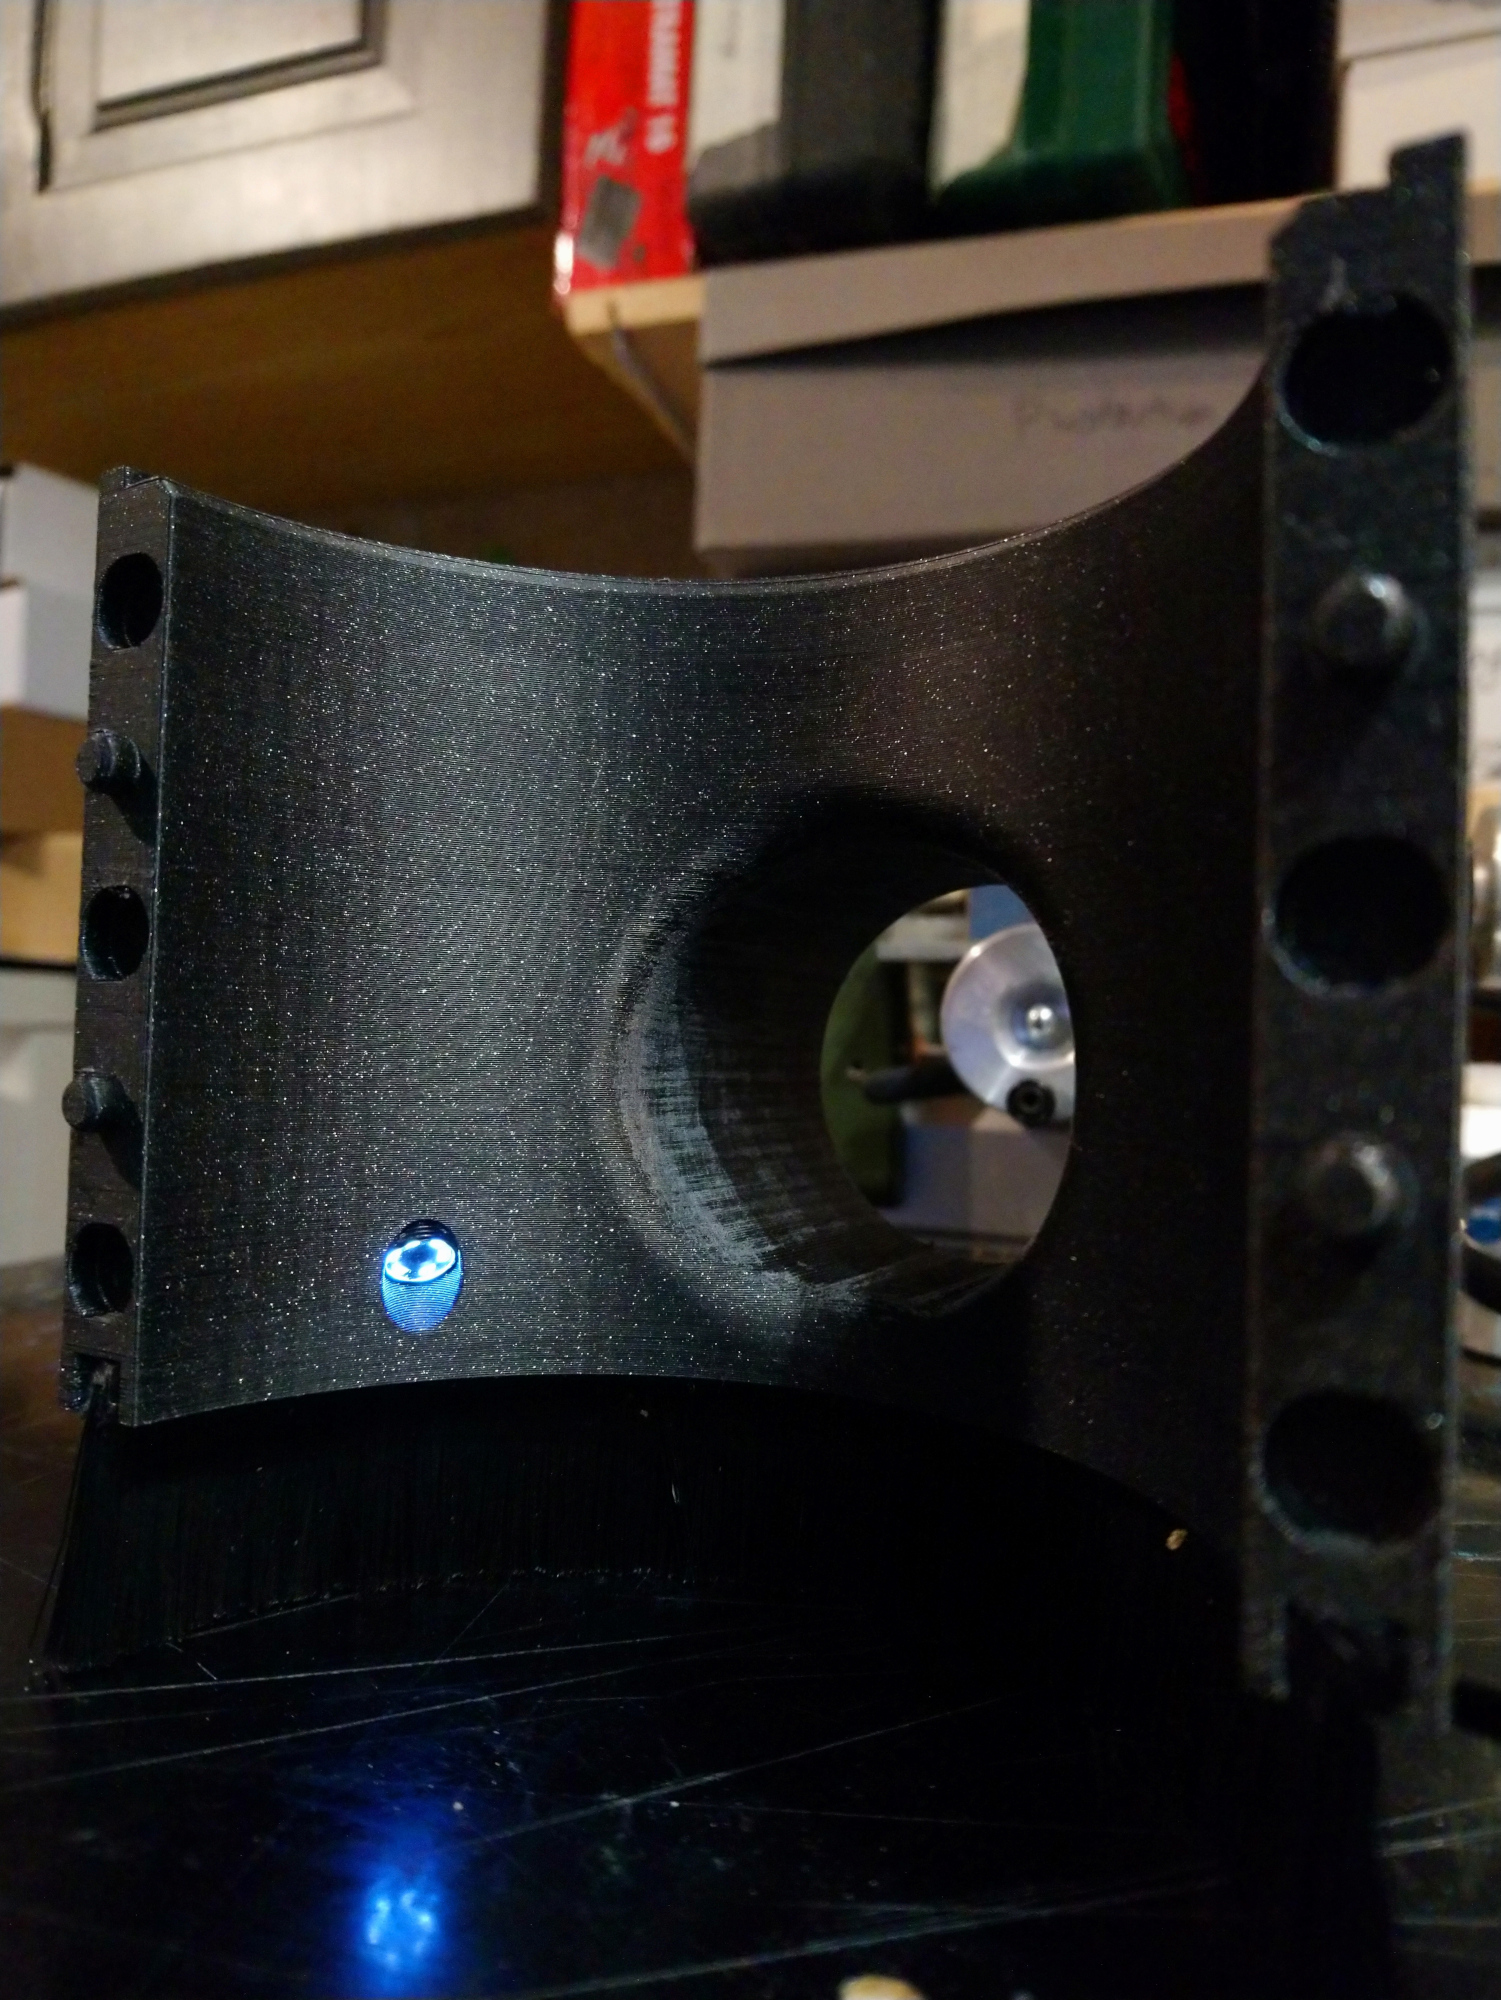
So far, so good:

I went on with sketching a simple replacement for my controller’s enclosure,

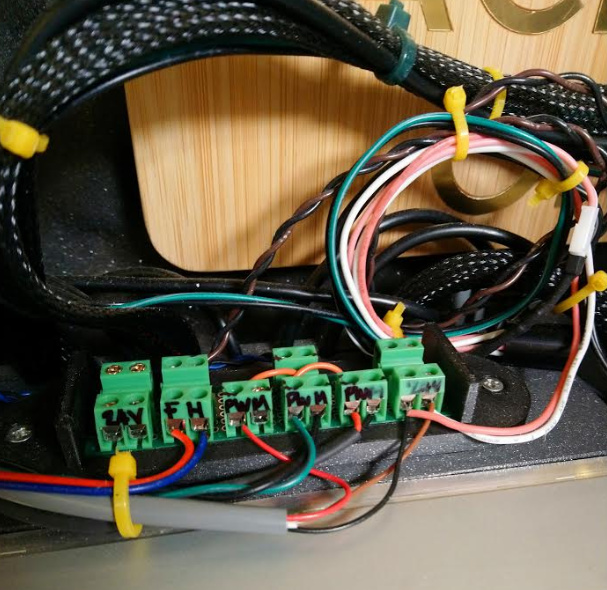
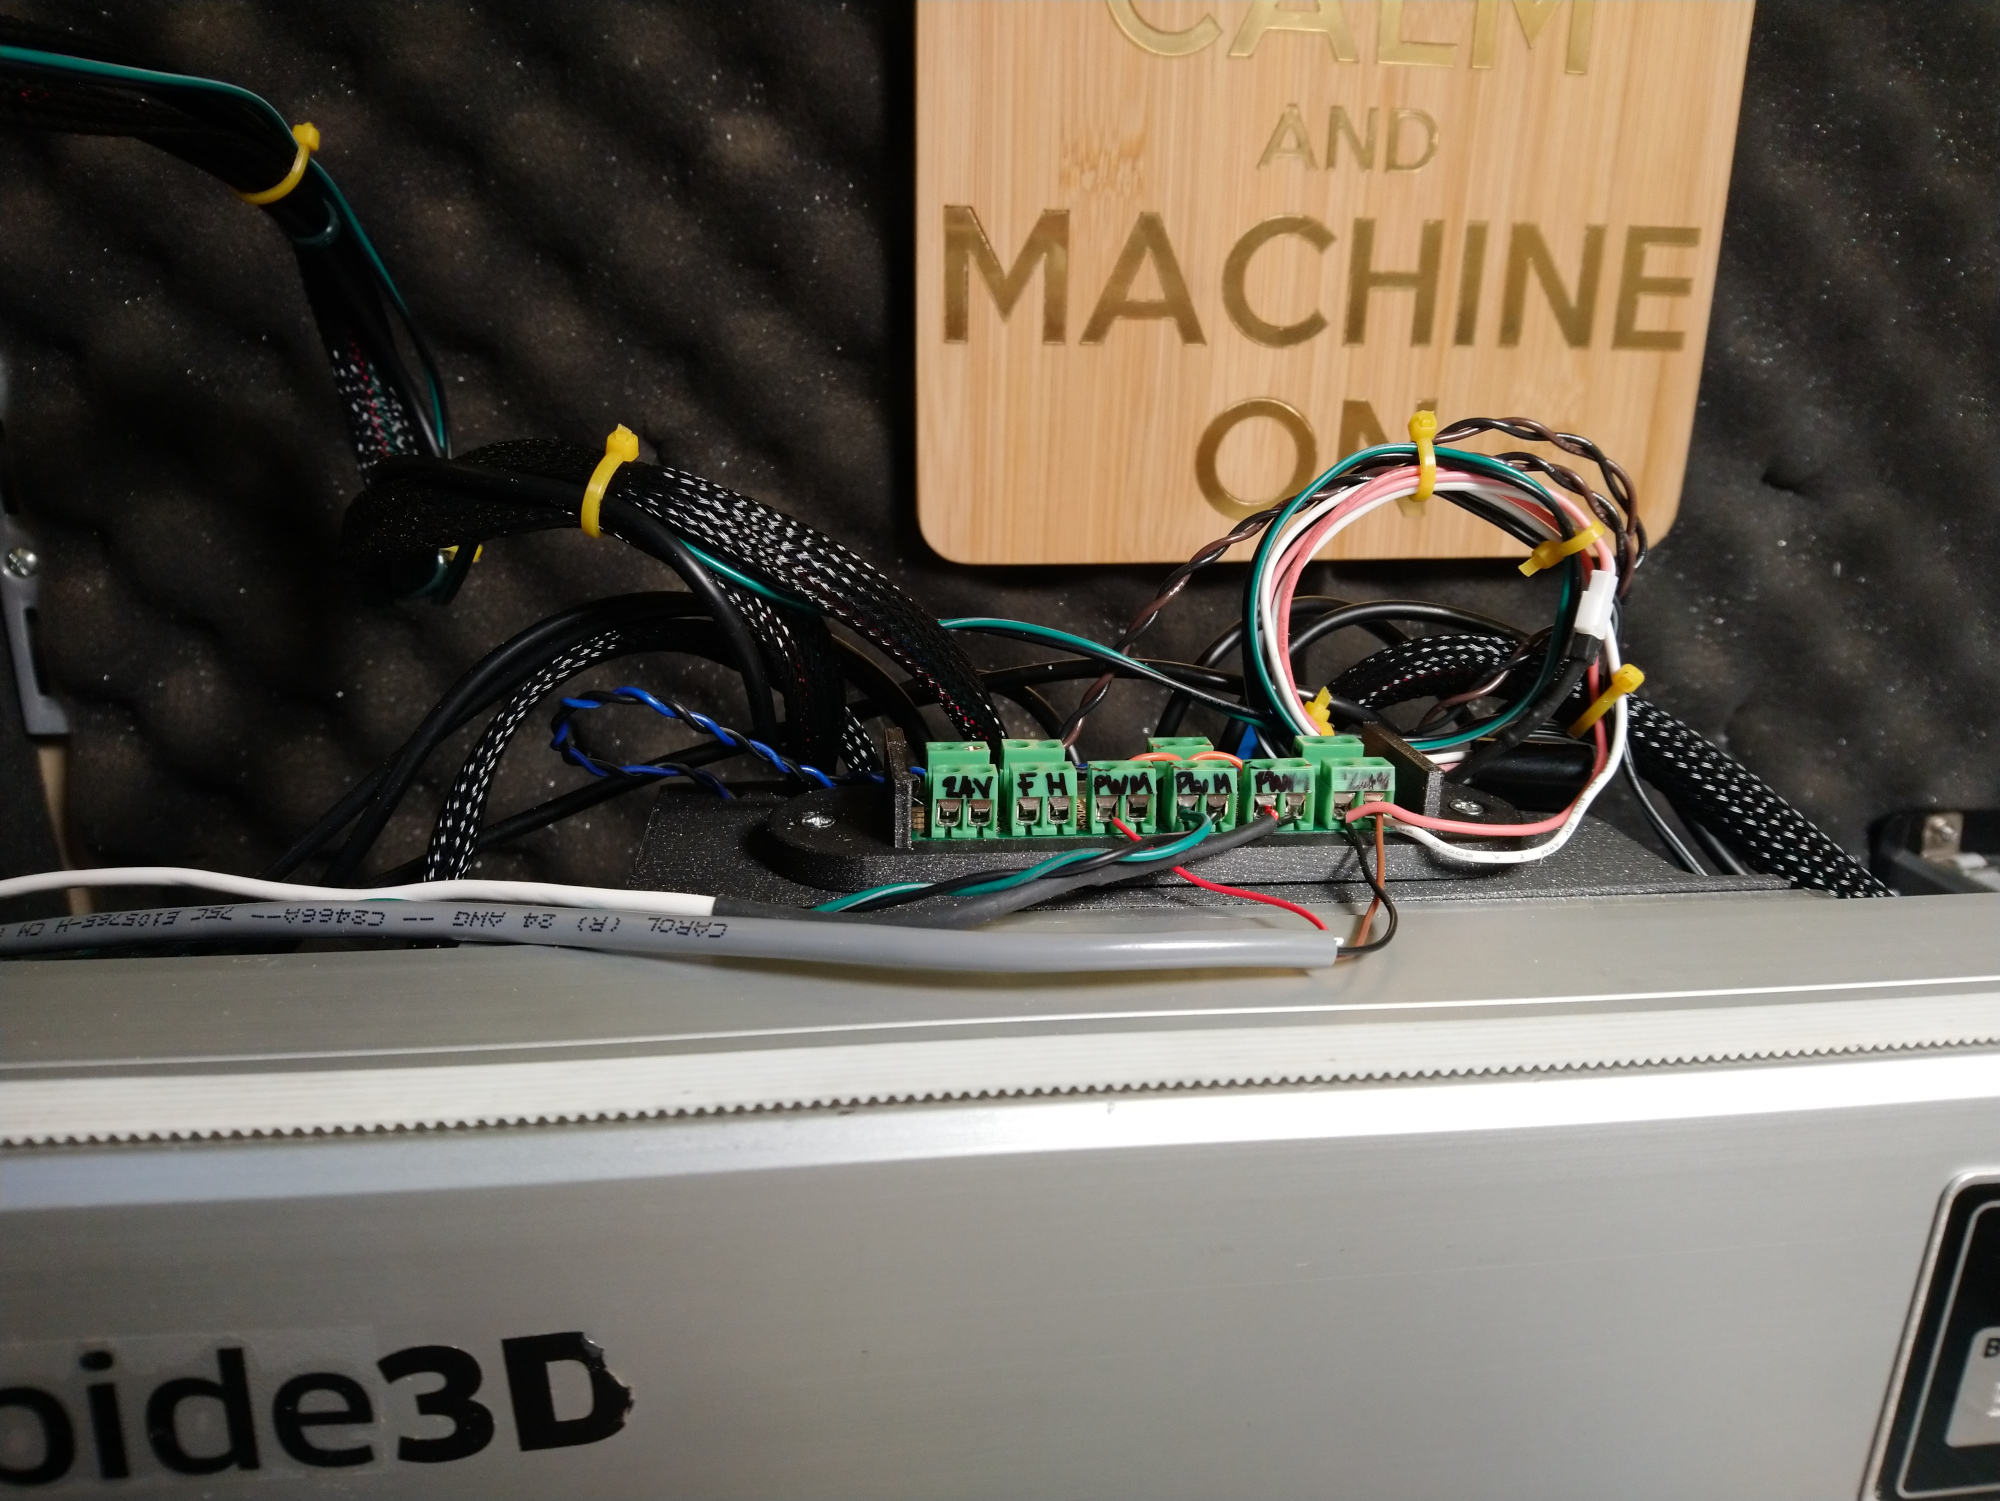
Printed that and rewired everything, using whatever pieces of spare wiring I had on hand, to have the PWM, 24V, and FeedHold signals available outside the box:

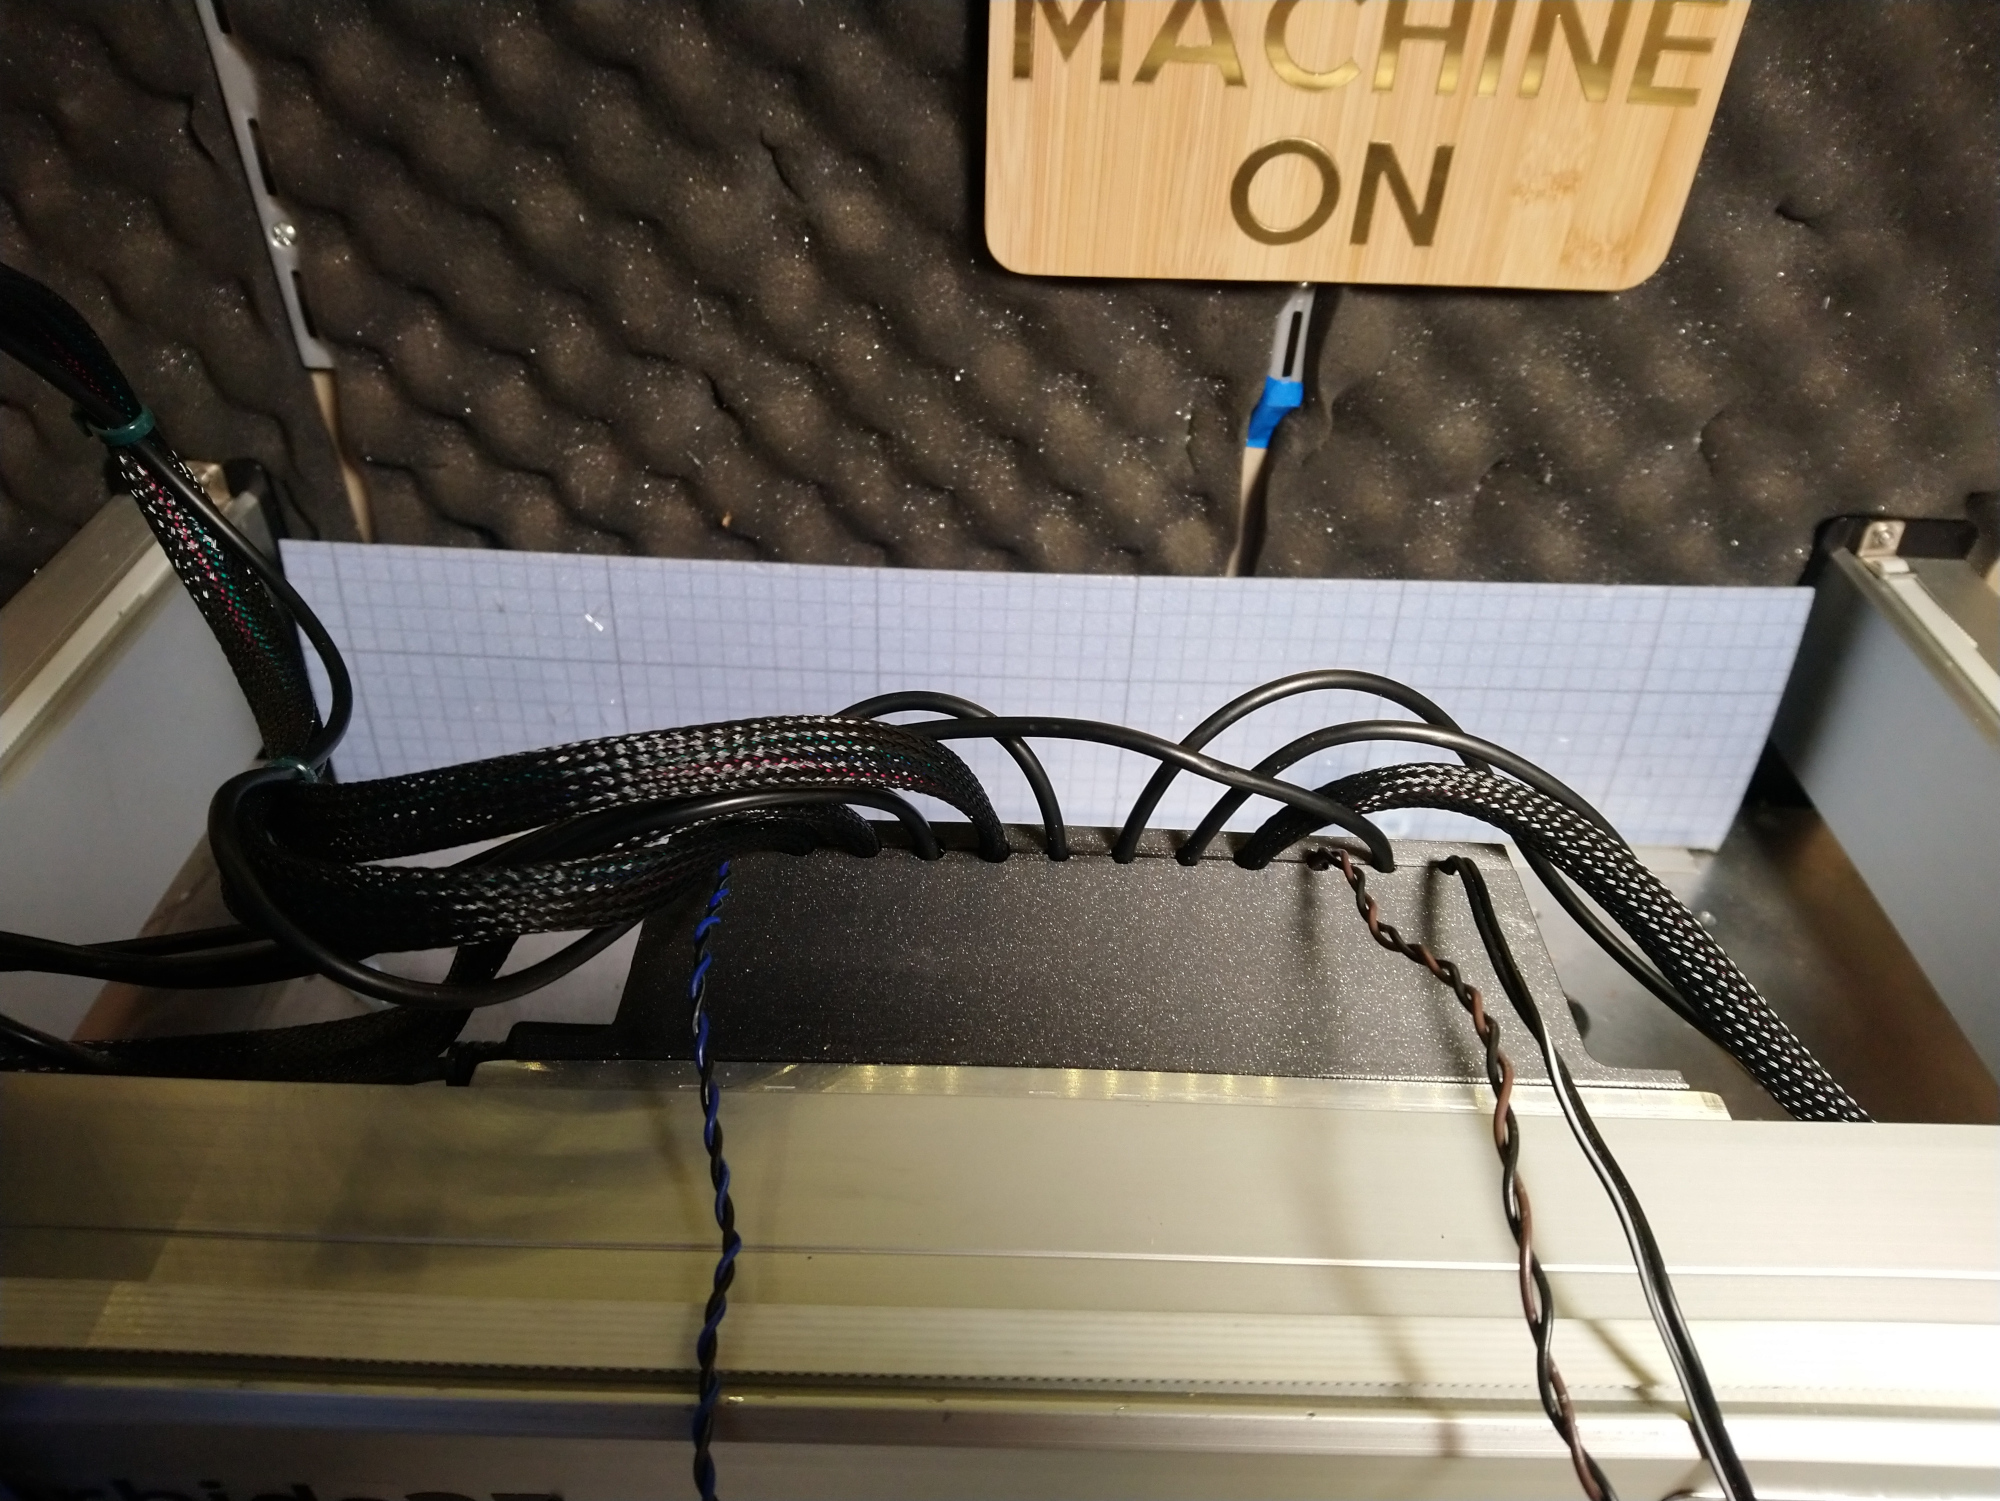
Which I plugged in this homemade splitter board (such that I can connect my spindle, laser, and BitRunner on the PWM at the same time)

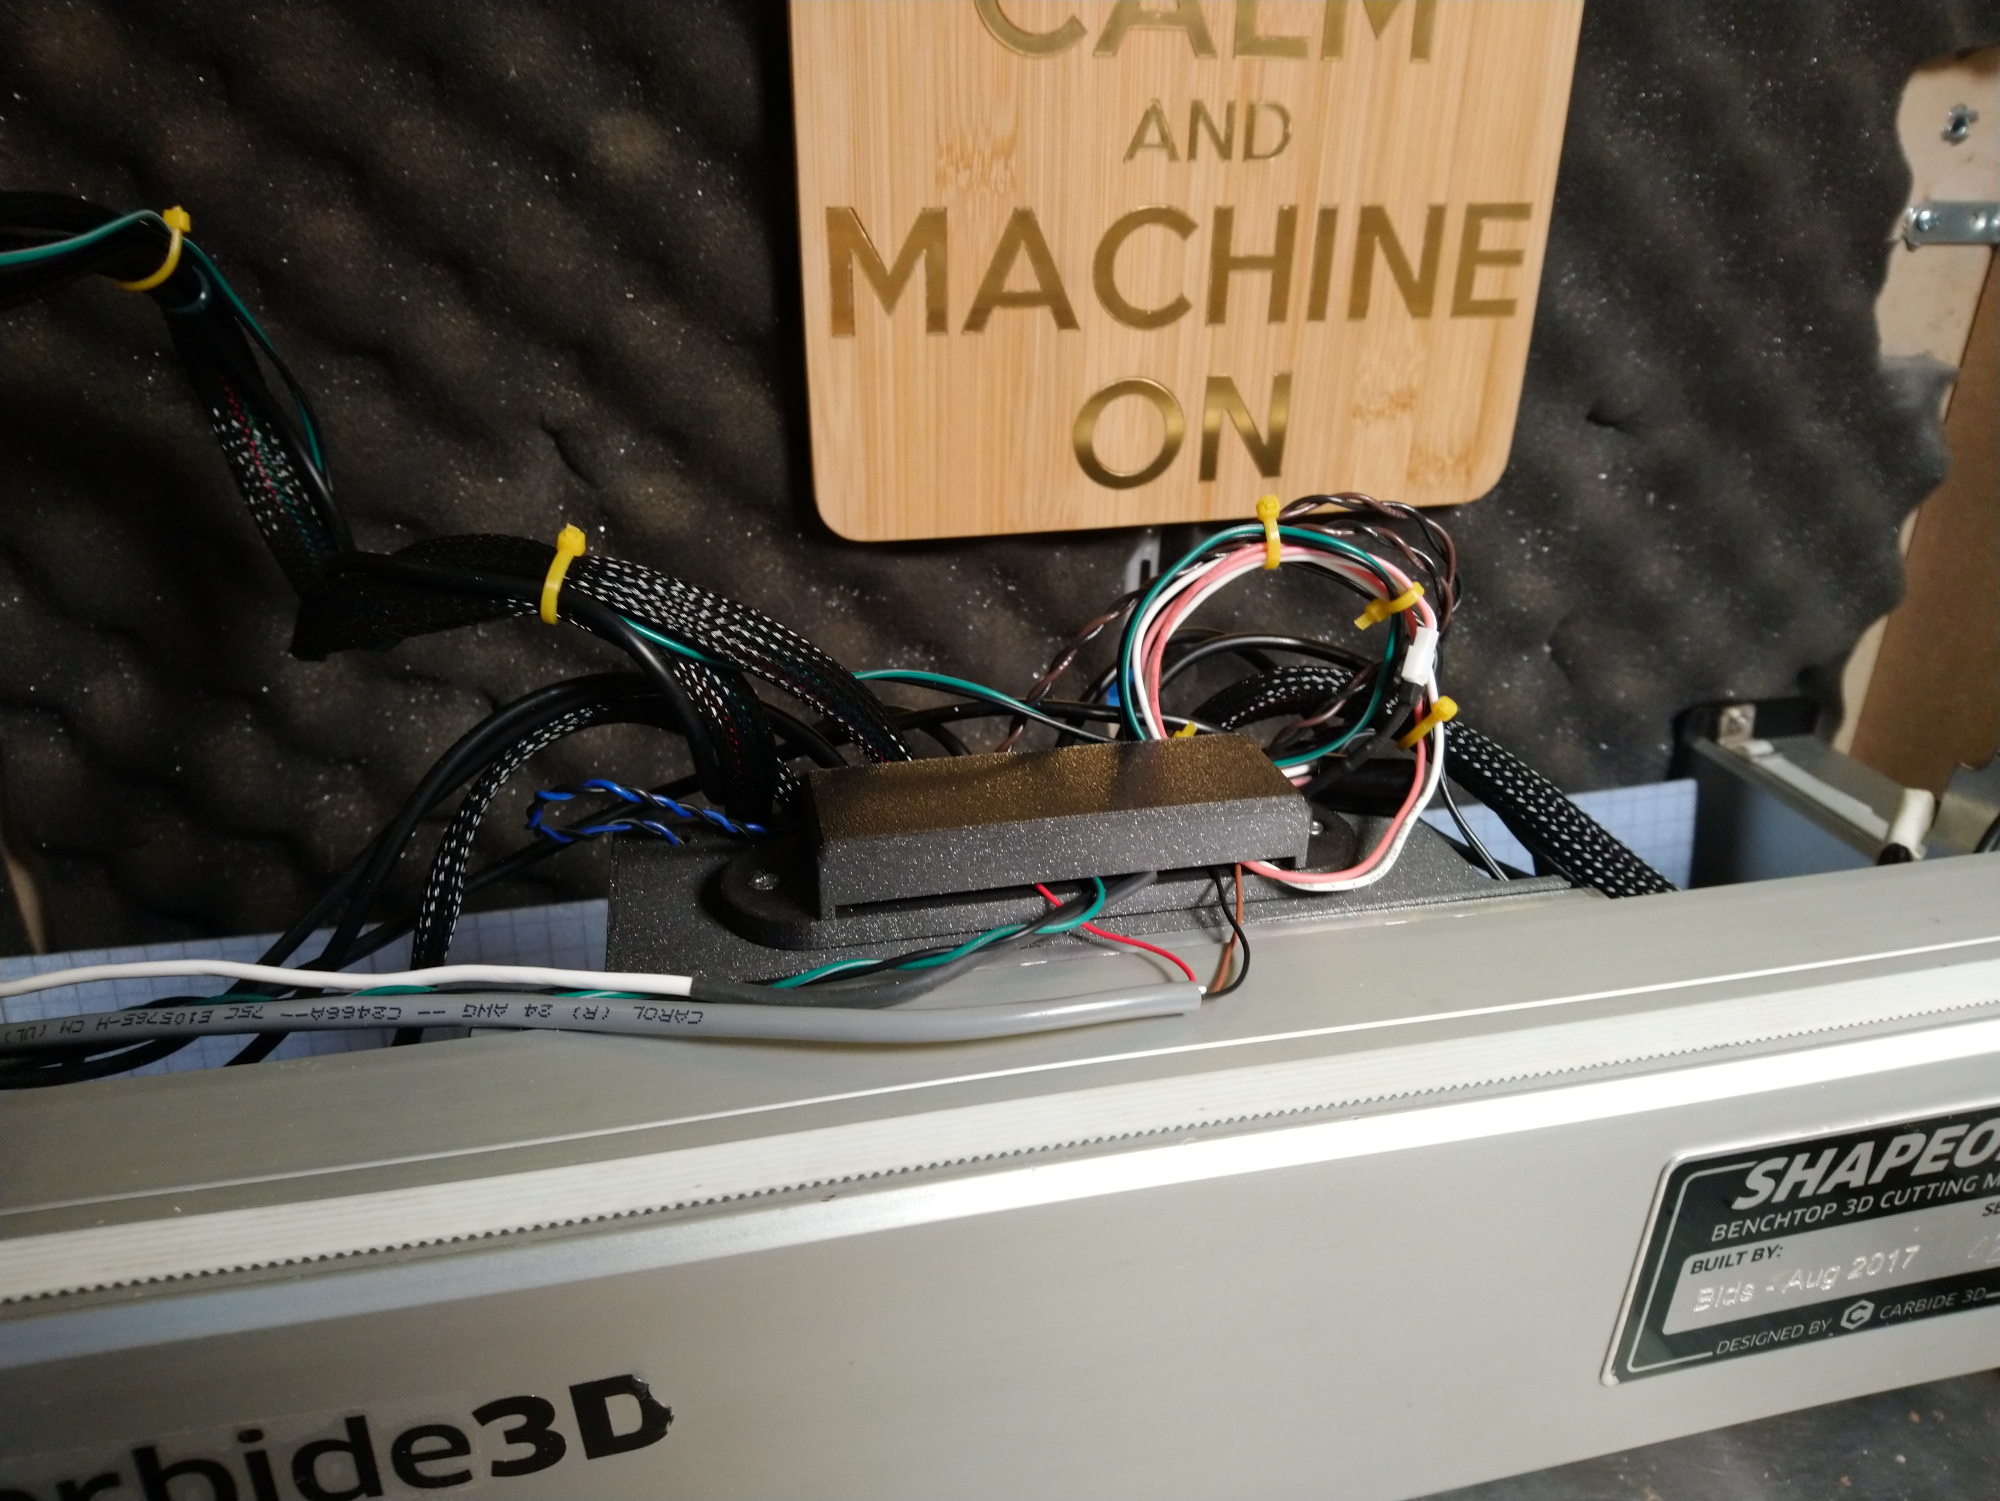
Slightly less messy with the top cover installed:

And it was time for a very first test cut with the camera in there:

WARNING: apparently the sound from that video was taken from my laptop’s mic, and it captured the remote sound of the machine as if it was the most chattery cut ever, for some reason. Turn off the sound. You have be warned :slight_smile:
Oh, and ignore the tearout. It’s the most awful test cut ever, but that’s not the point.

This is quite fresh, and it’s getting late so I’ll do more testing tomorrow, but I like where this is going!

15 Likes

I love that paperweight

That is really up close and personal on the cut, it’s like surgery-cam I like it :wink:

4 Likes

Marginally better video from using a 1/8" downcut

I was already one for watching the machine during cuts, I think I may loose even more time now, watching the “live from the dust shoe” feed.

EDIT: oh, and this time around I disabled the laptop microphone :slight_smile:

7 Likes

I feel like I’m on a 90’s VR ride… but better! Haha. Awesome work again, Julien.

Is that red oak?

2 Likes

That is the famous wood known as “unidentified scrap piece from the stockpile”. Oak it is, what kind of oak I have no idea. Learning about identifying wood is in my todo list!

2 Likes

If you can blow air through I small dowel sized piece. Into a glass of water, and see air bubbles rise, its not white oak. It will be some other type of oak.

Also makes you feel like you have super human lungs when you get the bubbles!

4 Likes

Julien, can you share the way you connect your spindle, bitrunner, & laser to the board PWM?

I cheated and added a homemade splitter board (see first post), which has the PWM coming from the controller at one end, and wired to three screw terminals in parallel.

Then I connected one of the PWM terminals to the VFD, one to the Bitrunner, and one to the laser.

Oh, and yes, I win the prize for worst cable management ever…but it works fine :slight_smile:

4 Likes

Which USB camera did you use? And which 3d printer are you using for all your parts?

The USB camera is the kind you find on Amazon if typing “USB endoscope” and looking at $20 models. I’m looking at buying a higher resolution one, there are full HD ones at around $50 but this one is 640x480 (I bought it several years ago), and while it’s enough for a live view to monitor what’s going on, it’s not enough to get clean recordings (as you can tell)

3D printer: prusa i3 Mk3s, could not be happier with it (but I hear any people bought use the cheaper Ender models, including Winston recently, and are quite satisfied)

2 Likes

I use this one.

I got an ender 3 pro, a snapmaker, and an original/old makerbot replicator. I’m thinking of getting a creality 10s, what do you think? or what do you recommend for a big bed printer.

1 Like

I honestly have no idea, my experience in 3D printers has been limited to
a) a Kossel Linear Plus, decent printer AFTER spending tens of hours tuning/calibrating/upgrading. Never again :slight_smile:
b) the Prusa, which worked flawlessly out of the box, and I can’t see myself printing stuff larger than 25cmx20cm.

1 Like

The Prusa mini is apparently as easy to use (and easier to build) than the i3 and it’s on a much newer tech controller board too, the mk3 is EOL so far as the controller board technology goes, I have one but would buy the mini now.

The Enders have lots of good reviews from people actually using them, so long as you get a real one and not some “marketplace” knock-off. Thomas Sanladerer and Makers Muse YT channels have some pretty well informed comments on lots of machines. There’s also the Cetus 3D which has real linear rails…

2 Likes

How big? What are you printing that you need a bigger area?
I have experience with owning, operating and maintaining several types of desktop 3D printers. My favorite, like many, is probably the Prusa mk3. I have a MakerBot replicator 2 that has been a workhorse for years though it’s a Frankenstein of fixes now. The Prusa is excellent, until it tears itself apart. I have a couple of 10" x 10" x 10" printers, but that volume has rarely been useful and as frequently been a disappointment.
If I needed a bigger one now, is probably go with Creality, based on their track record. Or, wait for the big Prusa.

2 Likes

So far so good on my Ender 3 which has given me a lot of confidence towards the Creality brand. For no good reason at all I have a close eye on the Ender 5 Plus which has a more robust frame/drive system and boasts 350x350x400mm.

2 Likes

This. This is why I’ve held off on getting a Prusa so far. That’ll be a true upgrade for my Powerspec i3+, although with a few small mods my i3+ has treated me well.

This topic was automatically closed after 30 days. New replies are no longer allowed.