Hi all.
I plan on making up some clear acrylic templates to use in a few crafting projects. Ive cut acrylic a few times with with single flute cutters with great success but have yet to try engraving. Just wondering what folks have had success with here. Should a regular vcarve operation work well enough? I have 90, 60, and 30 degree v bits. I also have both mc etchers but haven’t had the chance to try them out yet. I dont have cc pro so have been a little unsure of how to best go about utilizing them tool path wise.
MC Etchers give the best look of those you list. The end mills etc tend to melt the plastic and gob up. Just make sure you mirror the etching and carve on the back of the acrylic, if possible. I think I did a pocket cut for each shape, so that it filled the object, but you could do contour too.
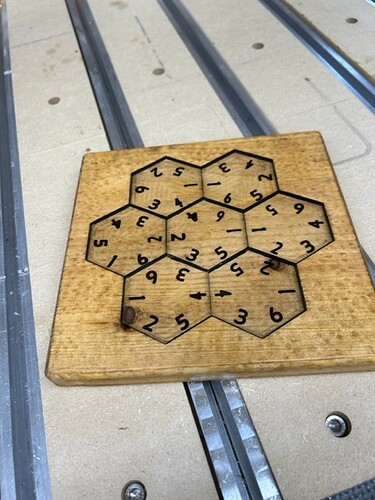
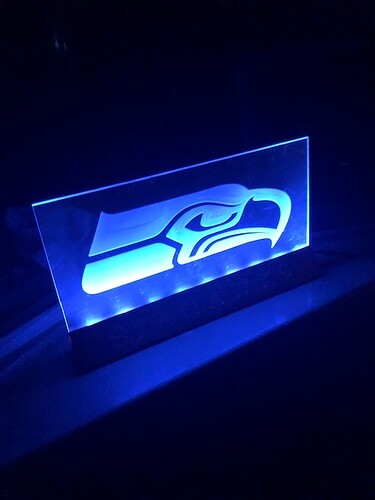
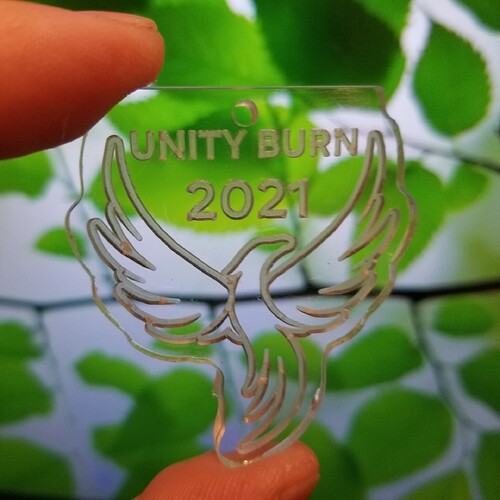
These are a few projects I have done with a “V” bit. I took a 20-degree, cutting a 30-degree slant on the tip. Just enough to give me an “O” flute. Worked great.
Low RPM, 100-150 IPM
Good Luck
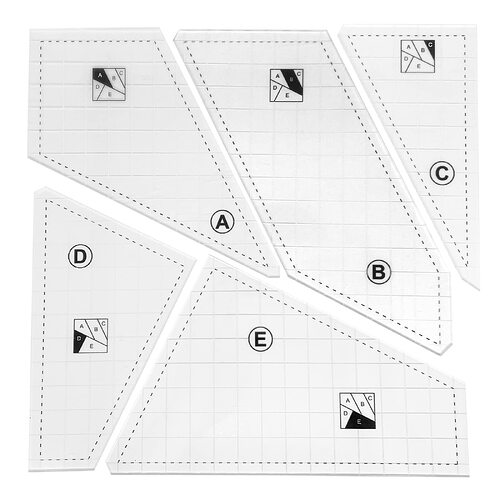
Thanks for the replies, looks like the mc etchers or vbits should work for what i have in mind. One other thing, does anyone know of a relatively simple way to create a series of dotted lines in carbide create? Basically what i want to do is use dotted lines to indicate an offset on my templates. I attached a photo of what i’m talking about.
Carbide Create doesn’t do dashed lines.
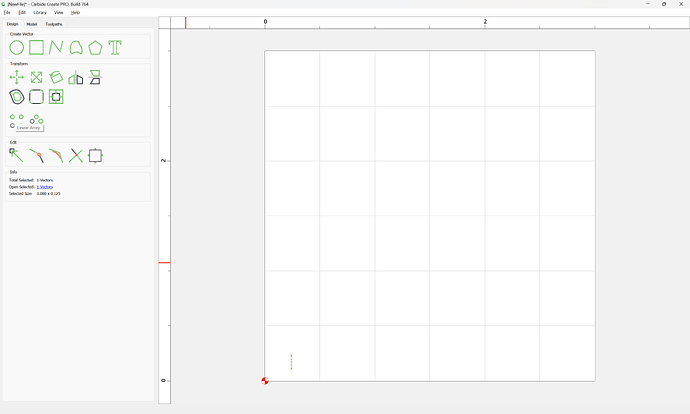
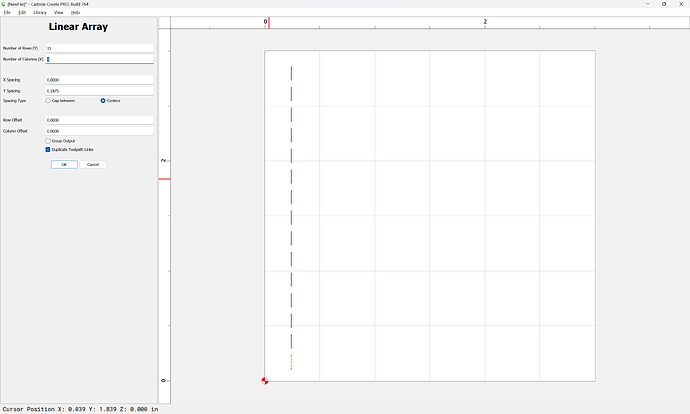
You could create a short line segment and then multiple it using the Linear Array tool:
but that will not work well for lines which aren’t horizontal or vertical.
Probably best to use a general-purpose vector drawing tool such as Inkscape or Serif’s Affinity Designer.
I have carved acrylic with the PCB engraver, but I made the mistake of using extruded acrylic instead of cast acrylic.
I made sure to buy cast acylic for the few cut outs ive done and its gone well with single flute cutters. I forgot to say i have a few of the pcb enravers as well. Did you use contour tool paths with the pcbs, or v carve toolpaths ?
Thanks, i didn’t think CC had that functionality but thought id double check in case i was missing something.
I did a bunch of rulers a while back (long enough I forget too much). It looks like I did not draw any curved dashed lines but I did use straight dashed lines (again forget how I made them). But here is a 60 degree ruler and 20 degree wedges (svgs) that I drew.You could steal a dashed straight line from the 20 degree. Used MC etcher 90 degree.
If i wanted to reproduce the templates in your image (because i have limited software choices) I would import the jpeg into cc and using one of the small square ‘maps’ in the image , manually create the whole thing. I did this with tons of quilting ruler images I found on the internet. Redrew them all to ensure accuracy. But I like drawing stuff in CC…
I have a post on this if interested
I just did contours to make a nice, deep line and a chamfered edge. Because I was using the wrong material, I could only make a few before the plastic formed a ball of gum on the tool and ruined the part.
I go with Engraving #501 or #502 for single line work or accents on etched pieces with the McEtcher.
No need to be heavy handed on depth.
If you intend to paint, thin the acrylic paint a bit and flood the grooves. If needed add a bit more color.
It will wipe off. You play a game with dry time .
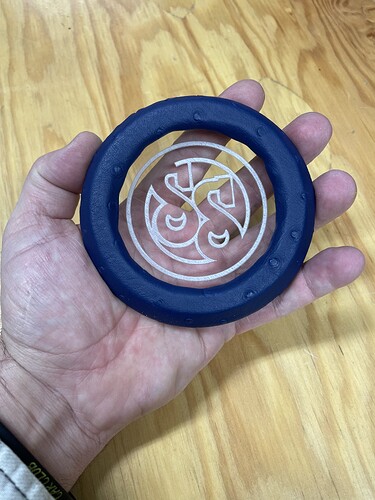
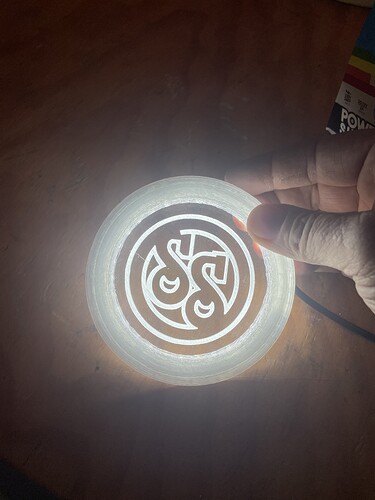
I have been doing a lot of clear acrylic over the past year. Here are a couple notes how I do mine. Let me know if anyone has other pointers too!
- I use MC Etcher 90° and bump the plunge rate to 100 and feed rate to 200 and run spindle on the lowest setting. This makes the time calculation on both create and motion way off but seems to actually be a lot faster.
- I add a drop of oil in my bit and tighten the spring up to about 5 lbs to push the pin. Usually about after every 20 hours of engraving.
- Start of cut 0.001” Depth of cut 0.01”
- Two assignments using texture with 165° and at 45°
- Contour with same settings but no offset to give a crisp line.
- I prefer 3/8” thick for pieces that have LEDs.
- Like everything else work holding is important. I use the tape and glue method. Clamps can cause the plastic to bend giving uneven engraving.
I’ve recent been having issues where when cutting with my #201 the controller will error out and loose connection with my tablet. It don’t it before and I would get an error. Not with the updates or something I don’t get the error.
I read somewhere it was caused by static electricity so I stopped using the dust extraction and I even tried grounding it out but still occurred ![]() .
.
Single flute is the way to go for the cutting. This is the type material the single flutes are made for. with only one flute the cutter builds up far less heat and doesn’t melt the material. I had the same problems, bought a single flute for my cut outs after doing a little research. No problems since.
This topic was automatically closed after 30 days. New replies are no longer allowed.
