My wife would like to do her first project this weekend and we have a couple questions…
She want’s to cut a perfect 8 x 8 square out of a 12 x 12 pine board (cabinet grade 12 ply) that’s 3/4 thick. The end result will look like a frame and that’s what she would like as a part of her bigger project.
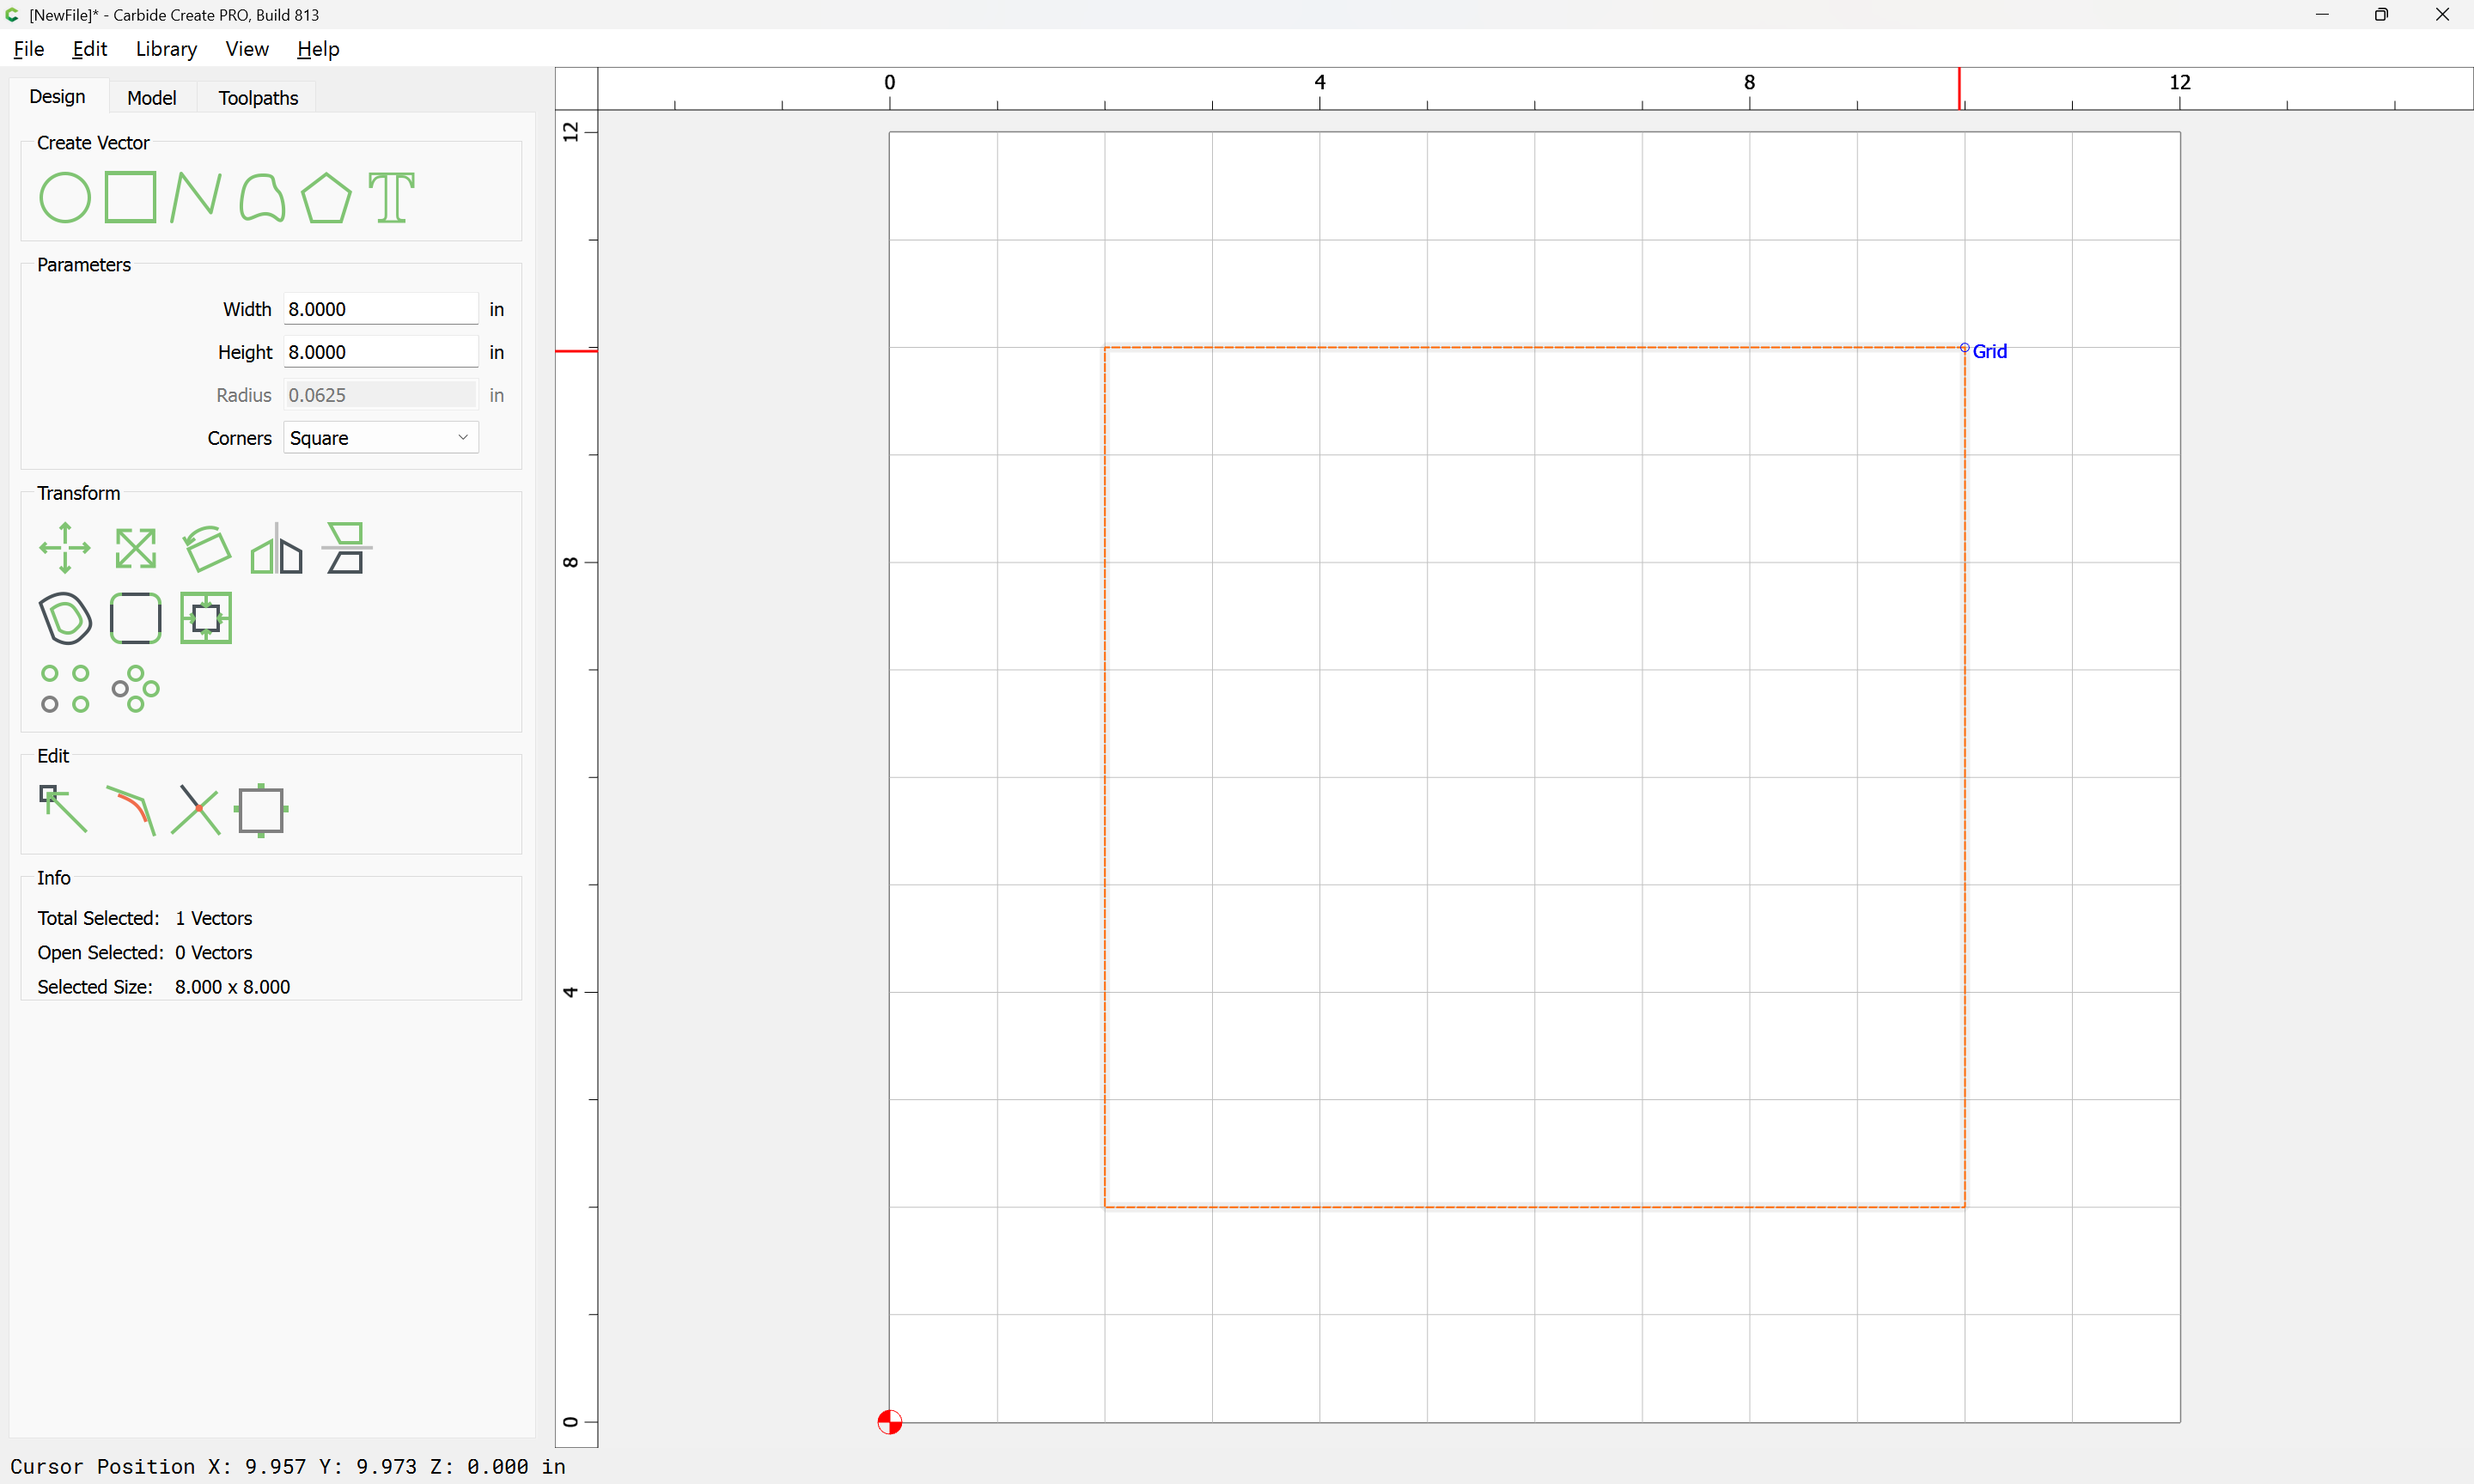
Is there a file that we can use that has a square border that we can adjust for this purpose? Such as a square sign? If not, I welcome guidance on making this square cut out in carbide create - I’ve watch the tutorials.
For a nice smooth inside square, do the tabs need to be placed in an particular way? The inside 8 x 8 square will be cut fully out and not used.
Since she’s wanting to cut all the way through, can I put another 3/4 board below her work piece so that it does not cut into the spoil board?
What would be the best bit to use for a cut out? Also, which tool path do I choose?
Would it be better to use CA glue, double tape, or clamps? If I use CA glue on the middle and the outside frame that remains do I need tabs at all? I would like to create some for experience, but I am also curious.
Setup aside, how long should this simple project take for just the routing?
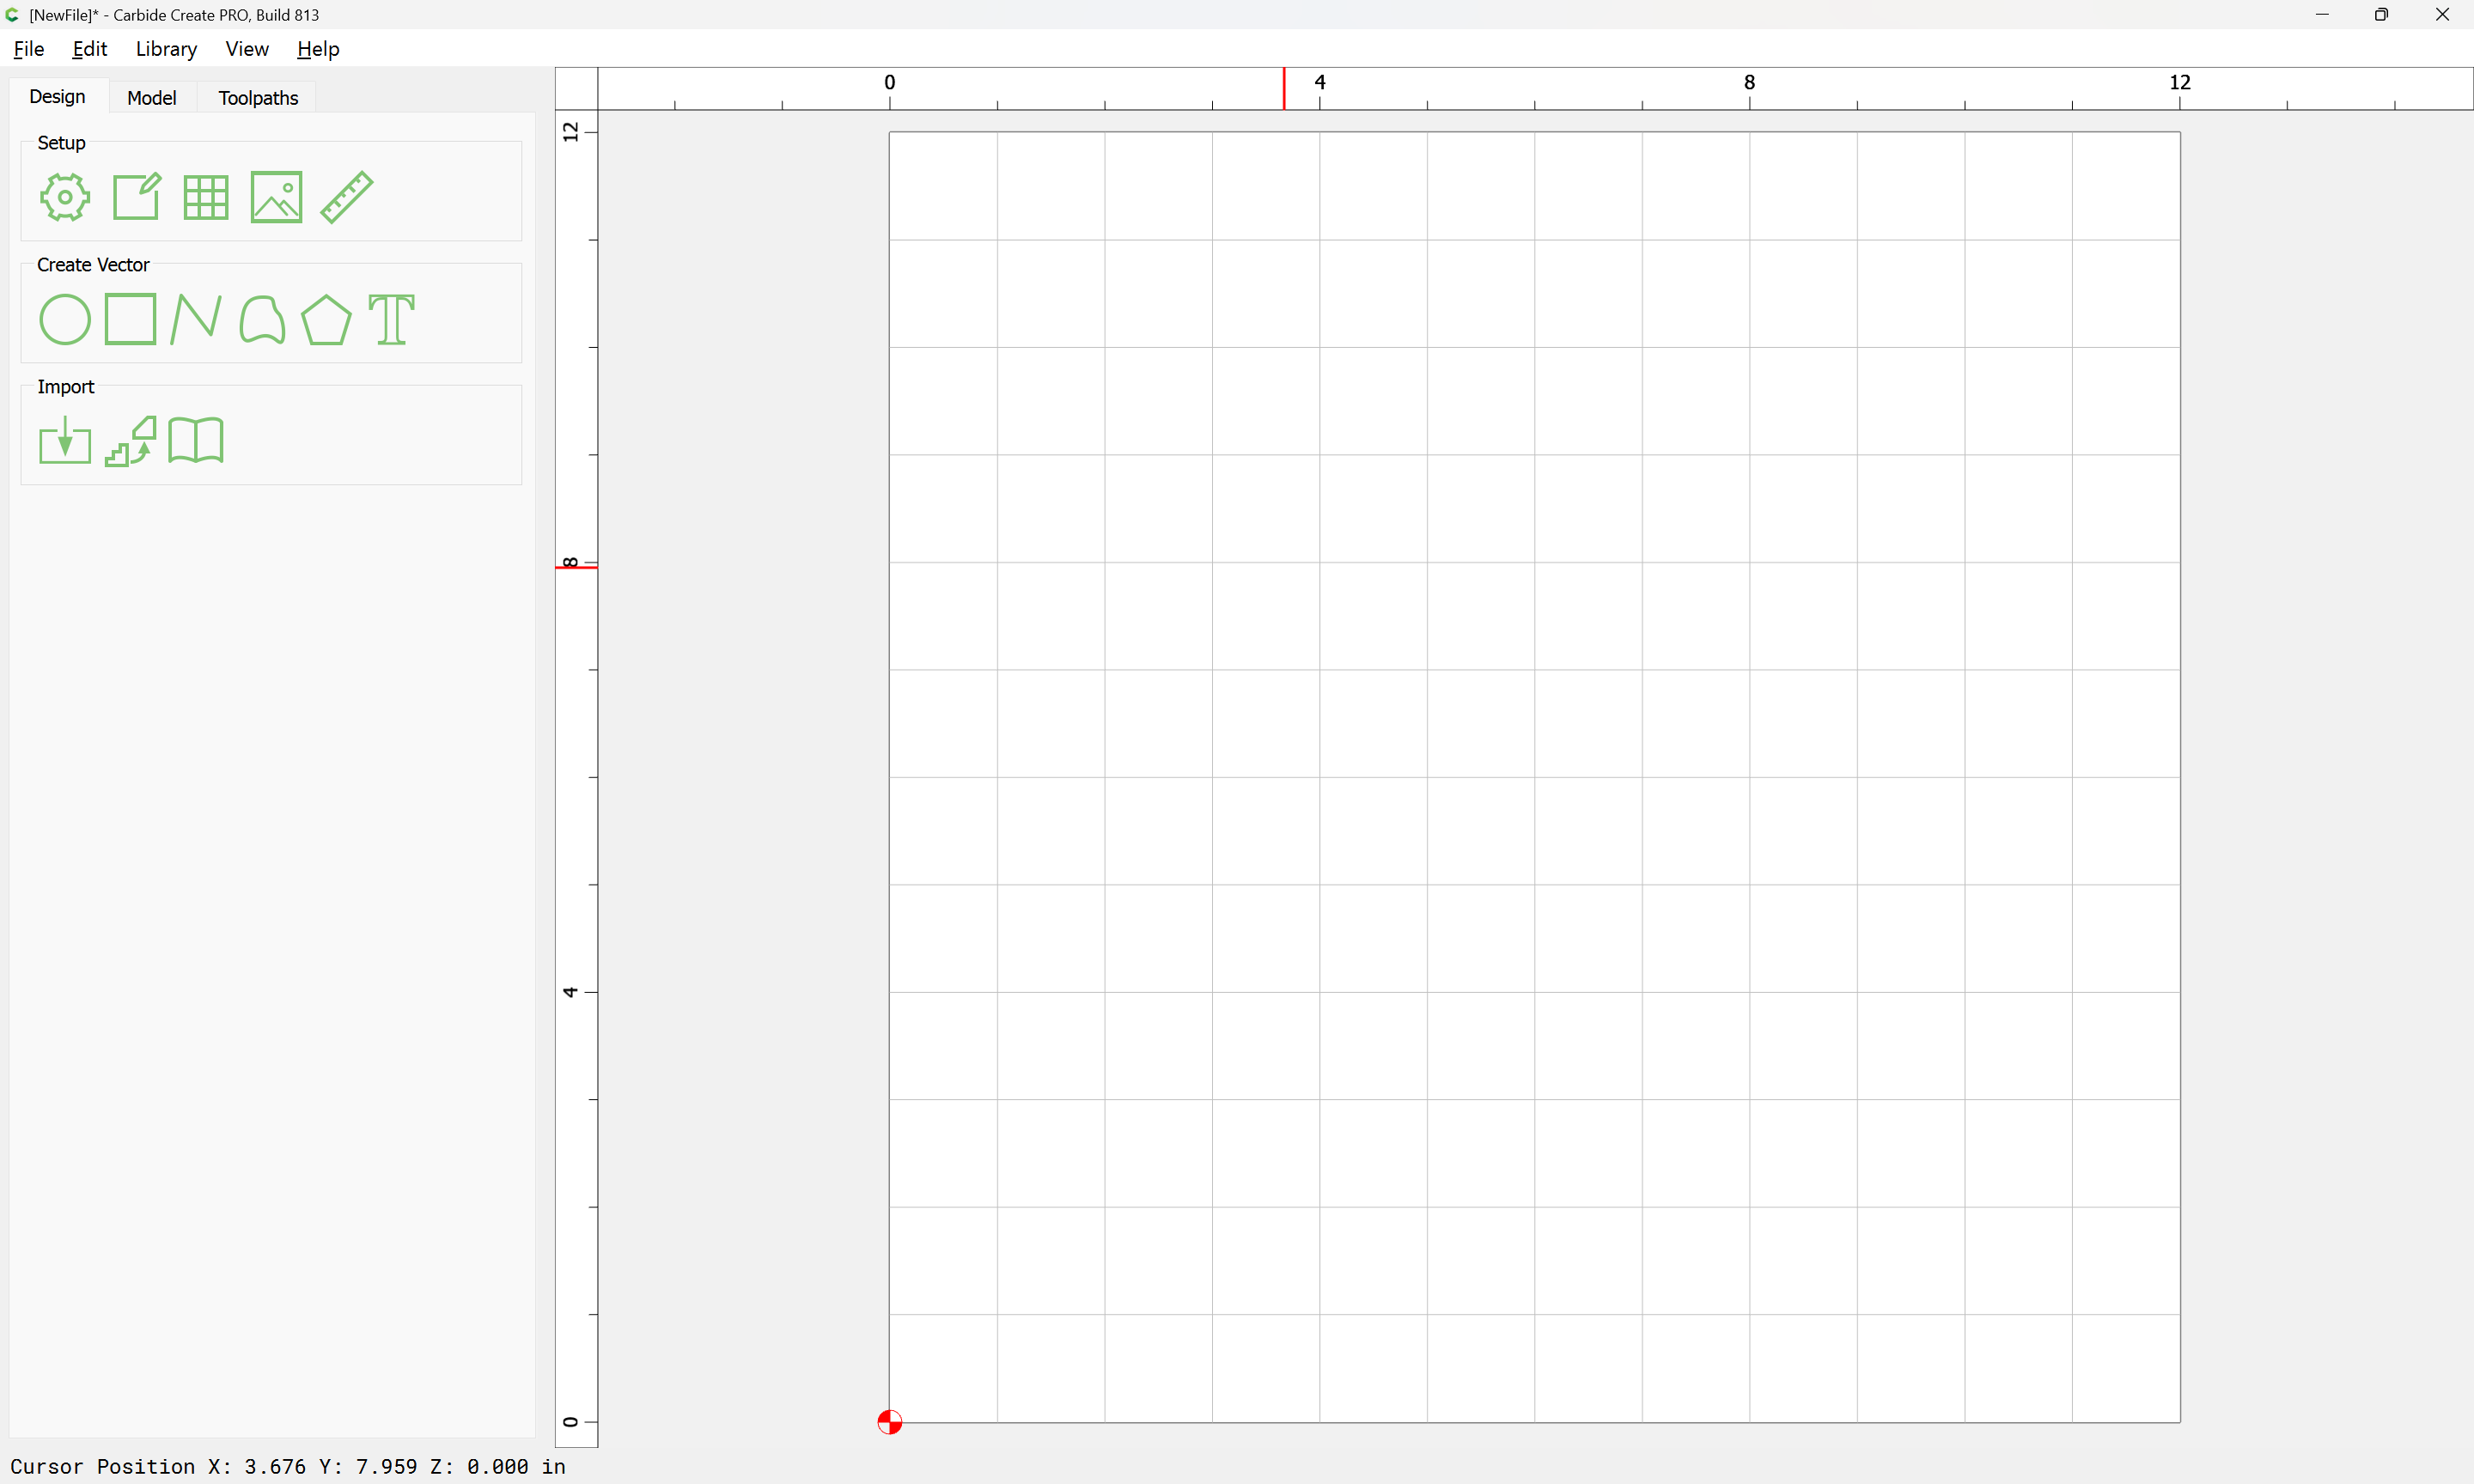
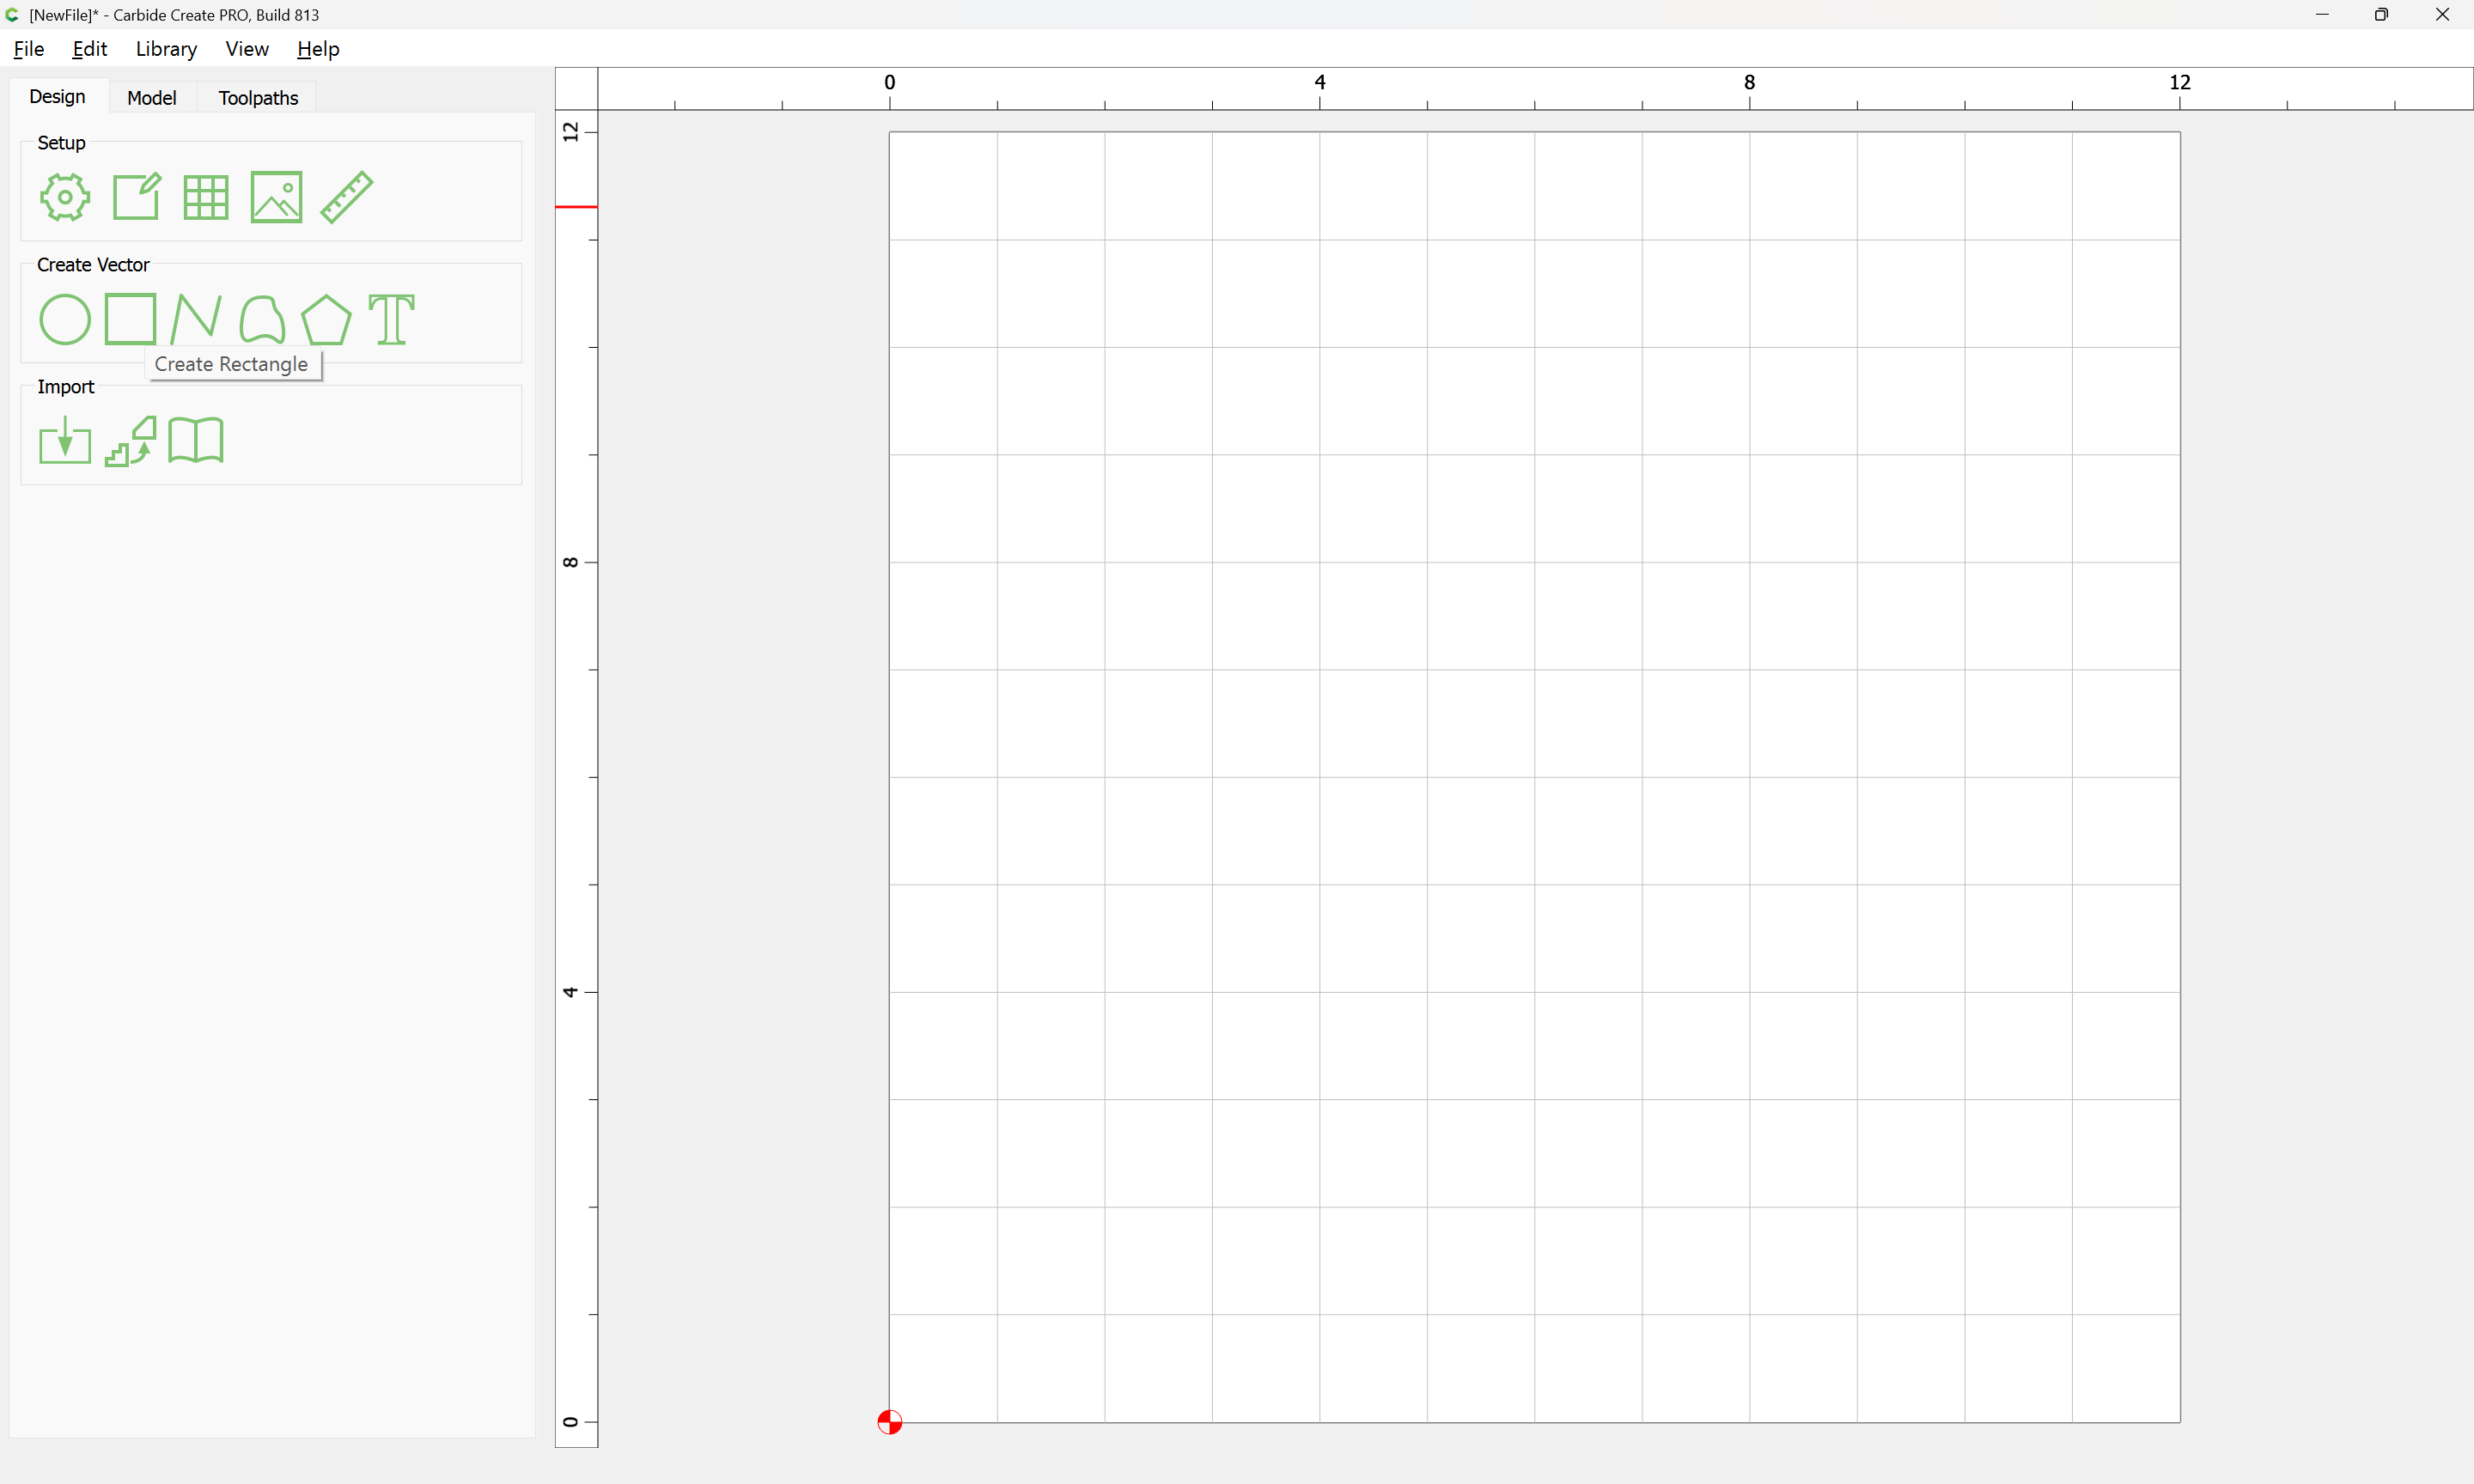
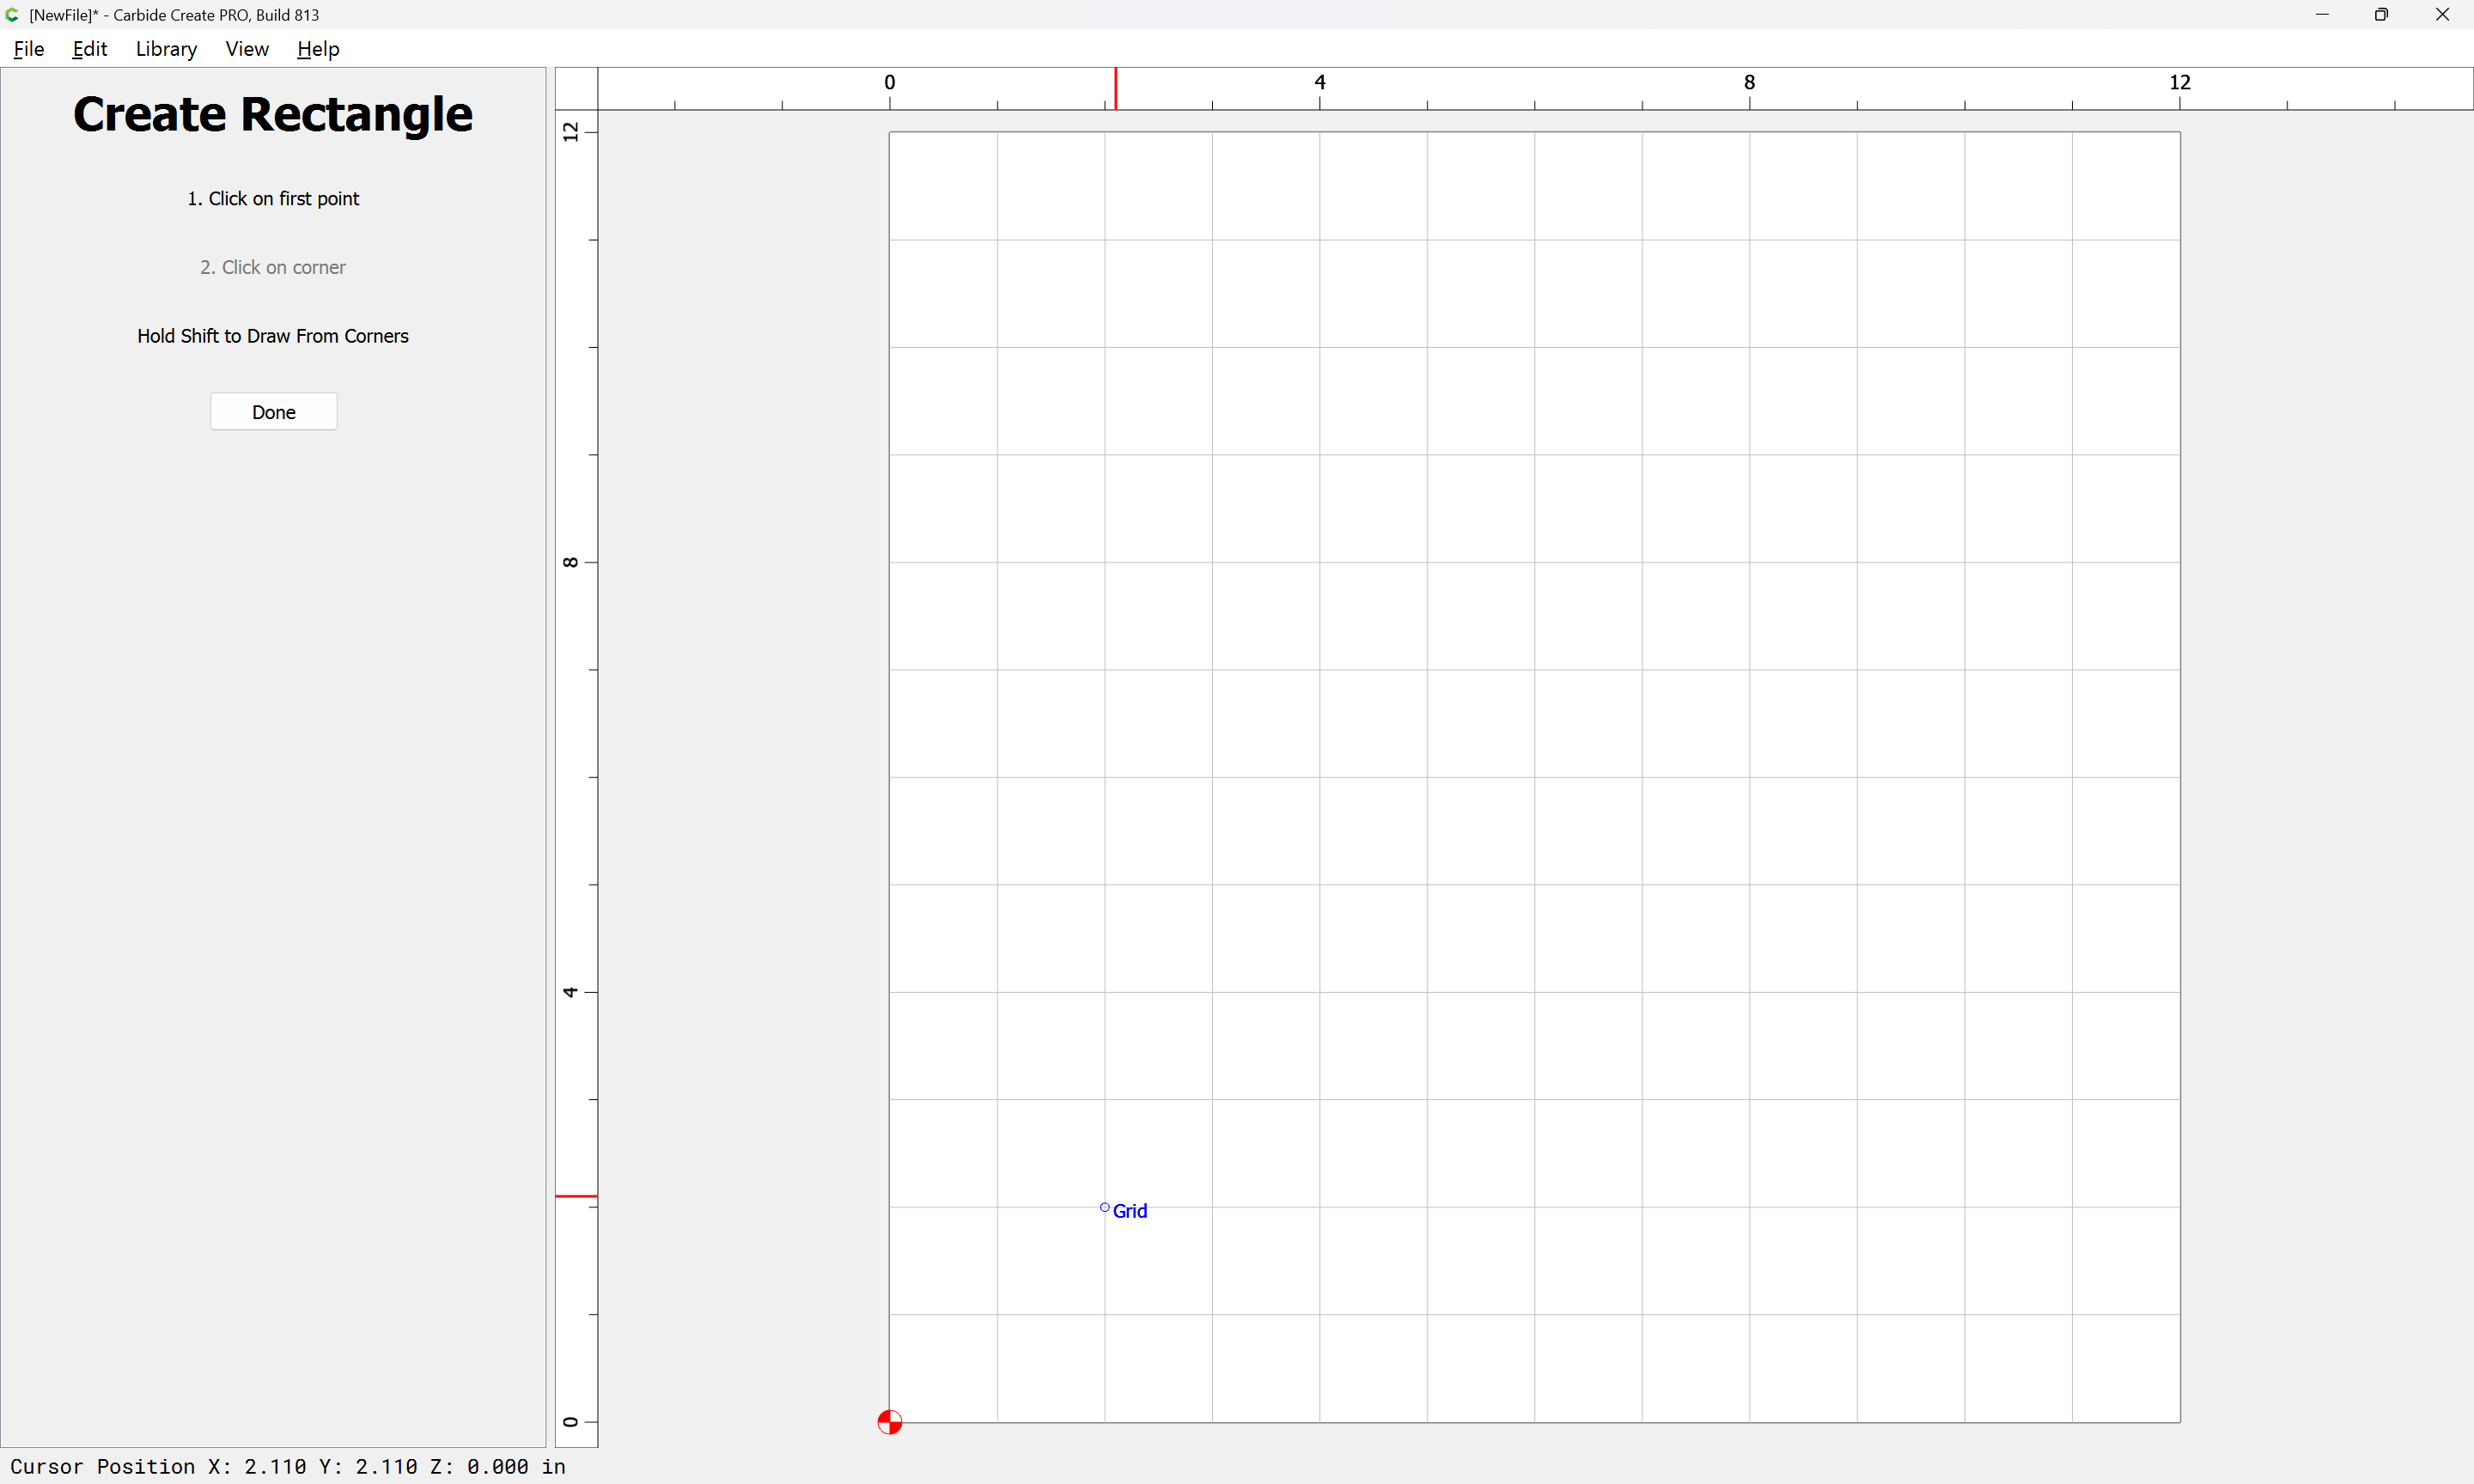
If you want a plain square, just use the line tool and draw a square. I you want something more fancy you can use inkscape.
For a nice smooth inside square, do the tabs need to be placed in an particular way? just don’t put them on the cornors. you want them at a place where you can easily cut them with a jigsaw then use a flush trip router to make nice.
Since she’s wanting to cut all the way through, can I put another 3/4 board below her work piece so that it does not cut into the spoil board? If you want. i just cut into my spoil board.
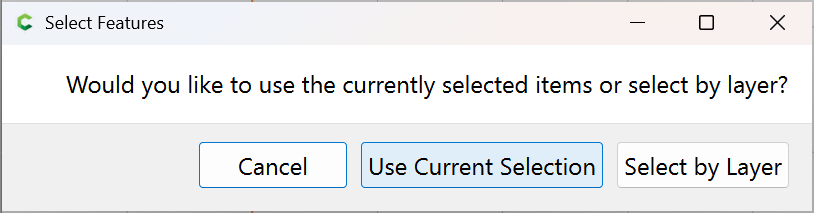
What would be the best bit to use for a cut out? Also, which tool path do I choose? You make a contour tool path. set it to the inside or outside. i’m not sure i really understand your project. it sounds like a frame, like a picture frame. if so you need 2 contour paths. the outer one set to cut on the outside and an inner tool path set to the cut on the inner side.
definately use clamps to start out. you don’t want the peice getting torn off the tape. once you get used to the machine and how much force is there, you can use 2 sided woodtape or the ca glue trick. but to start i would definately say clamp it down well.
You can go to CutRocket and get a file for that. You really need to go thru the video tutorials and setup your file in CC, make a square as described above, then to the toolpath tab and set that.
The bit that comes with the machine is fine for starting out, cut several test cuts and learn the software now that the machine is assembled.
You have to start learning this process, repetition is what you need at this point.
I know he said he wanted to a hole out of the center but I think he wants to cut the center out and still have the 8x8 square. If that’s the case you want to use contour not pocket.
Also if I understand you have the 12 by 12 already and you don’t want you cut the outer square. The issue with that is that it will be almost impossible to align it exact. So I would cut a 12x12 pocket like will showed you in a scrap price of wood. Then without re zeroing your x and y, put your work peice into that pocket then run your 8x8 cut program.
@WillAdams This is extremely helpful - I really appreciate you taking the time to explain the steps and also provide links. I’m feeling much more prepared now.Thank you.
@fuelfire you are correct - I think you nailed it on what I have and the potential pitfalls. I have a very nice stock 12 x 12" square piece and would like to cut the 8 x 8" to make a frame, ideally dead center (or very close).
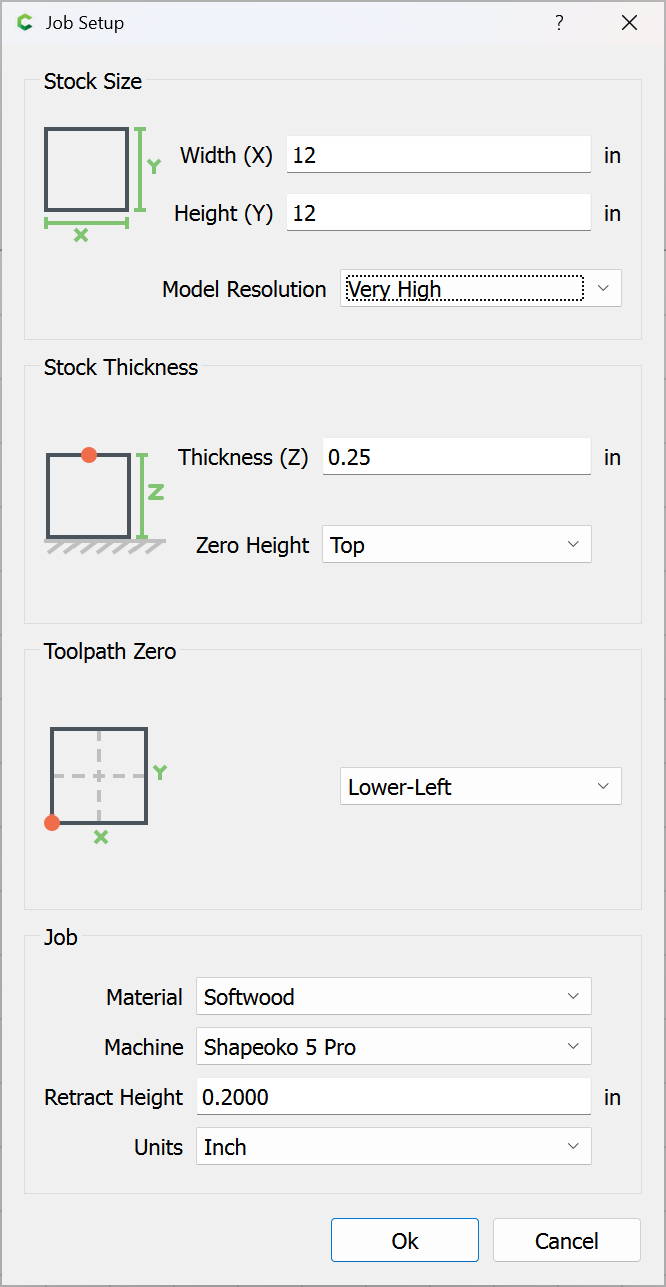
I understand what you’re saying about having to cut a 12 x 12 pocket as a jig so that the machine knows the exact starting point (or exact positioning of my stock)…but what about the Z height change once I’ve place my stock in there?
That being said, to reduce cutting time, could I just cut a skinny square line (12 x 12") in a nice flat 3/4 scrap piece and then carefully place my actual 12 x 12 stock within that square? I’d then need to adjust the height I think so it knows I’ve got a new 3/4 piece on top, right? That’s my dilemma.
Is this what the bitzero solves? Can I get one overnighted?
Lastly, without doing a pocket jig or using Bitzero, what’s the best way to get as close as possible to getting a starting point of a corner when I want to use the whole stock piece as you noted above.
The BitZero allows setting the origin relative to the corner of rectangular stock, or the surface of flat stock.
The problem with this sort of setup is that the eye is quite good at seeing angular differences in a single plane, but the human hand has difficulty aligning things to a suitable precision/accuracy in multiple planes.
If the stock is square, an expedient thing to do is clamp and cut a temporary alignment block on the machine, position the square stock against it and clamp it in place, then remove the block so that it doesn’t interfere mechanically.
There are entire books written on workholding and fixturing:
Some folks will use a set of parallels for such setups.
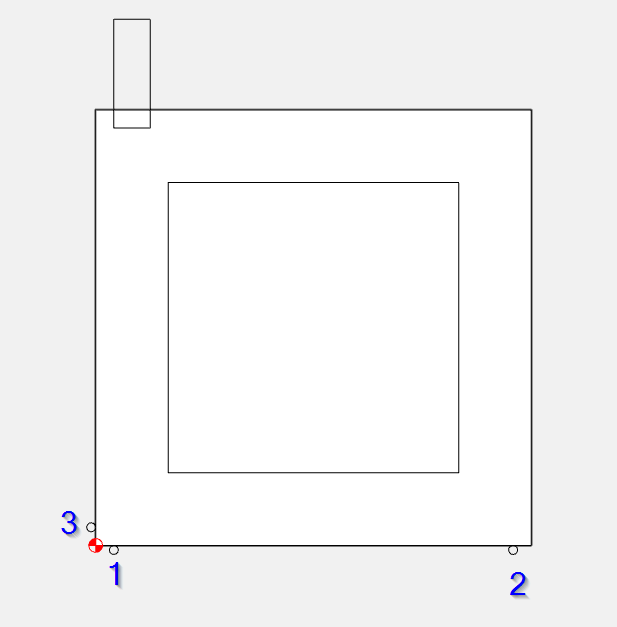
Here’s a quick & easy way for a ‘one off’ job that requires no fixtures or guides.
You can do this on the spoilboard, or add another sacrificial board on top.
Place your frame as square as you can get it by eye.
chuck up a 1/4" dowel and move it to a position close to the left edge, and in front of your stock. [1], just above the table or spoilboard.
Butt the stock into the dowel and place a clamp opposite of this point.
Now move the dowel using the Z and X jog only, leaving Y where it is. Lower the dowel to just above the table again, near the right front edge [2]. Bump the stock into the dowel & place another clamp anywhere.
Go to your Set Zero page and type “-0.125” into the Y field and hit Enter.
Now on the left edge, jog the dowel into the left edge until it just touches.
Go to your Set Zero page and type “-0.125” into the X field and hit Enter.
Now you just need to set Z. Assuming you’re using Top of Stock for your Zero Height, touch the top of the stock & Zero Z. If not using a bitsetter, wait and do this after you load the actual tool.
As a newcomer to CNC machining, I’d say to make use of the four 30-minute one-on-one training sessions with a Carbide 3D expert via video chat that are included with your new Shapeoko.
This is crucial if you feel uncertain about any part of the process. CNC machining can be dangerous; cutters might break and fly off, posing a risk of personal injury. Additionally, improper clamping of the workpiece can lead to accidents.
Keep in mind that this is not a race—it’s a journey.
Take your time, learn each step thoroughly, and prioritize safety for a rewarding and safe experience.
I have a BitZero V1 that you are welcome to for the cost of shipping. I switched to the V2 s few months ago. I don’t know what machine you have, but the connector on my V1 looks like shown below.
You can reset your Z zero without setting the X and Y. I do this jig thing all the time. Don’t use zero all. Go into the jog menu and click zero. A dialog will open up where you can zero out each x, y, and z individual. It’s extreamly useful. I make a ton of errors and being able to remove my piece and put it back to make modification is so great. That said, i highly suggest you starting with scrap wood or even better syrophome. something as silly as forgetting to change your start depth on a new job can really cause damage to both your tools and the workpeice will be ruined. syrophome is great for getting the basic work flow down. That way if you forget to turn on your router or your zero is way off or whatever the bit just rips thru the stryophome. no harm, no foul.
One other approach to get an 8x8 square hole exactly centered in a 12x12 board is start with a board larger than 12x12 and cut both inner hole and outer perimeter in the same file. In create make one of the squares and use the offset tool to make the other. Corner positionless critical with this approach
I like this idea…but how would I clamp a 3/4 board on top of a 3/4 board? I have the green crush it clamps and not sure how to configure for a 1.5" tall total after I reset the z.
UPDATE: I realized that there’s a second step to setting the zero point…after hitting set zero, you then have to hit ZERO ALL.
Well, I hit run and the spindle went all the way to the back right and started going down as if it was going to drill through the metal. I hit the stop button just before impact and now I’m hesitant to hit run on this project.
I’m guessing it thinks the bit setter is in the back right? Not sure, but it looked like I was going to make a bad mistake!
Also, when it initializes, it comes all the way to the front instead of the back…is that correct? I thought it was supposed to go to the rear.
Lastly, when I hit Start Job, I get this error below. I set my zero position at the front left corner of the 12 x 12 and the project is just cutting the 8 x 8" so I’m not sure why it would have this error.