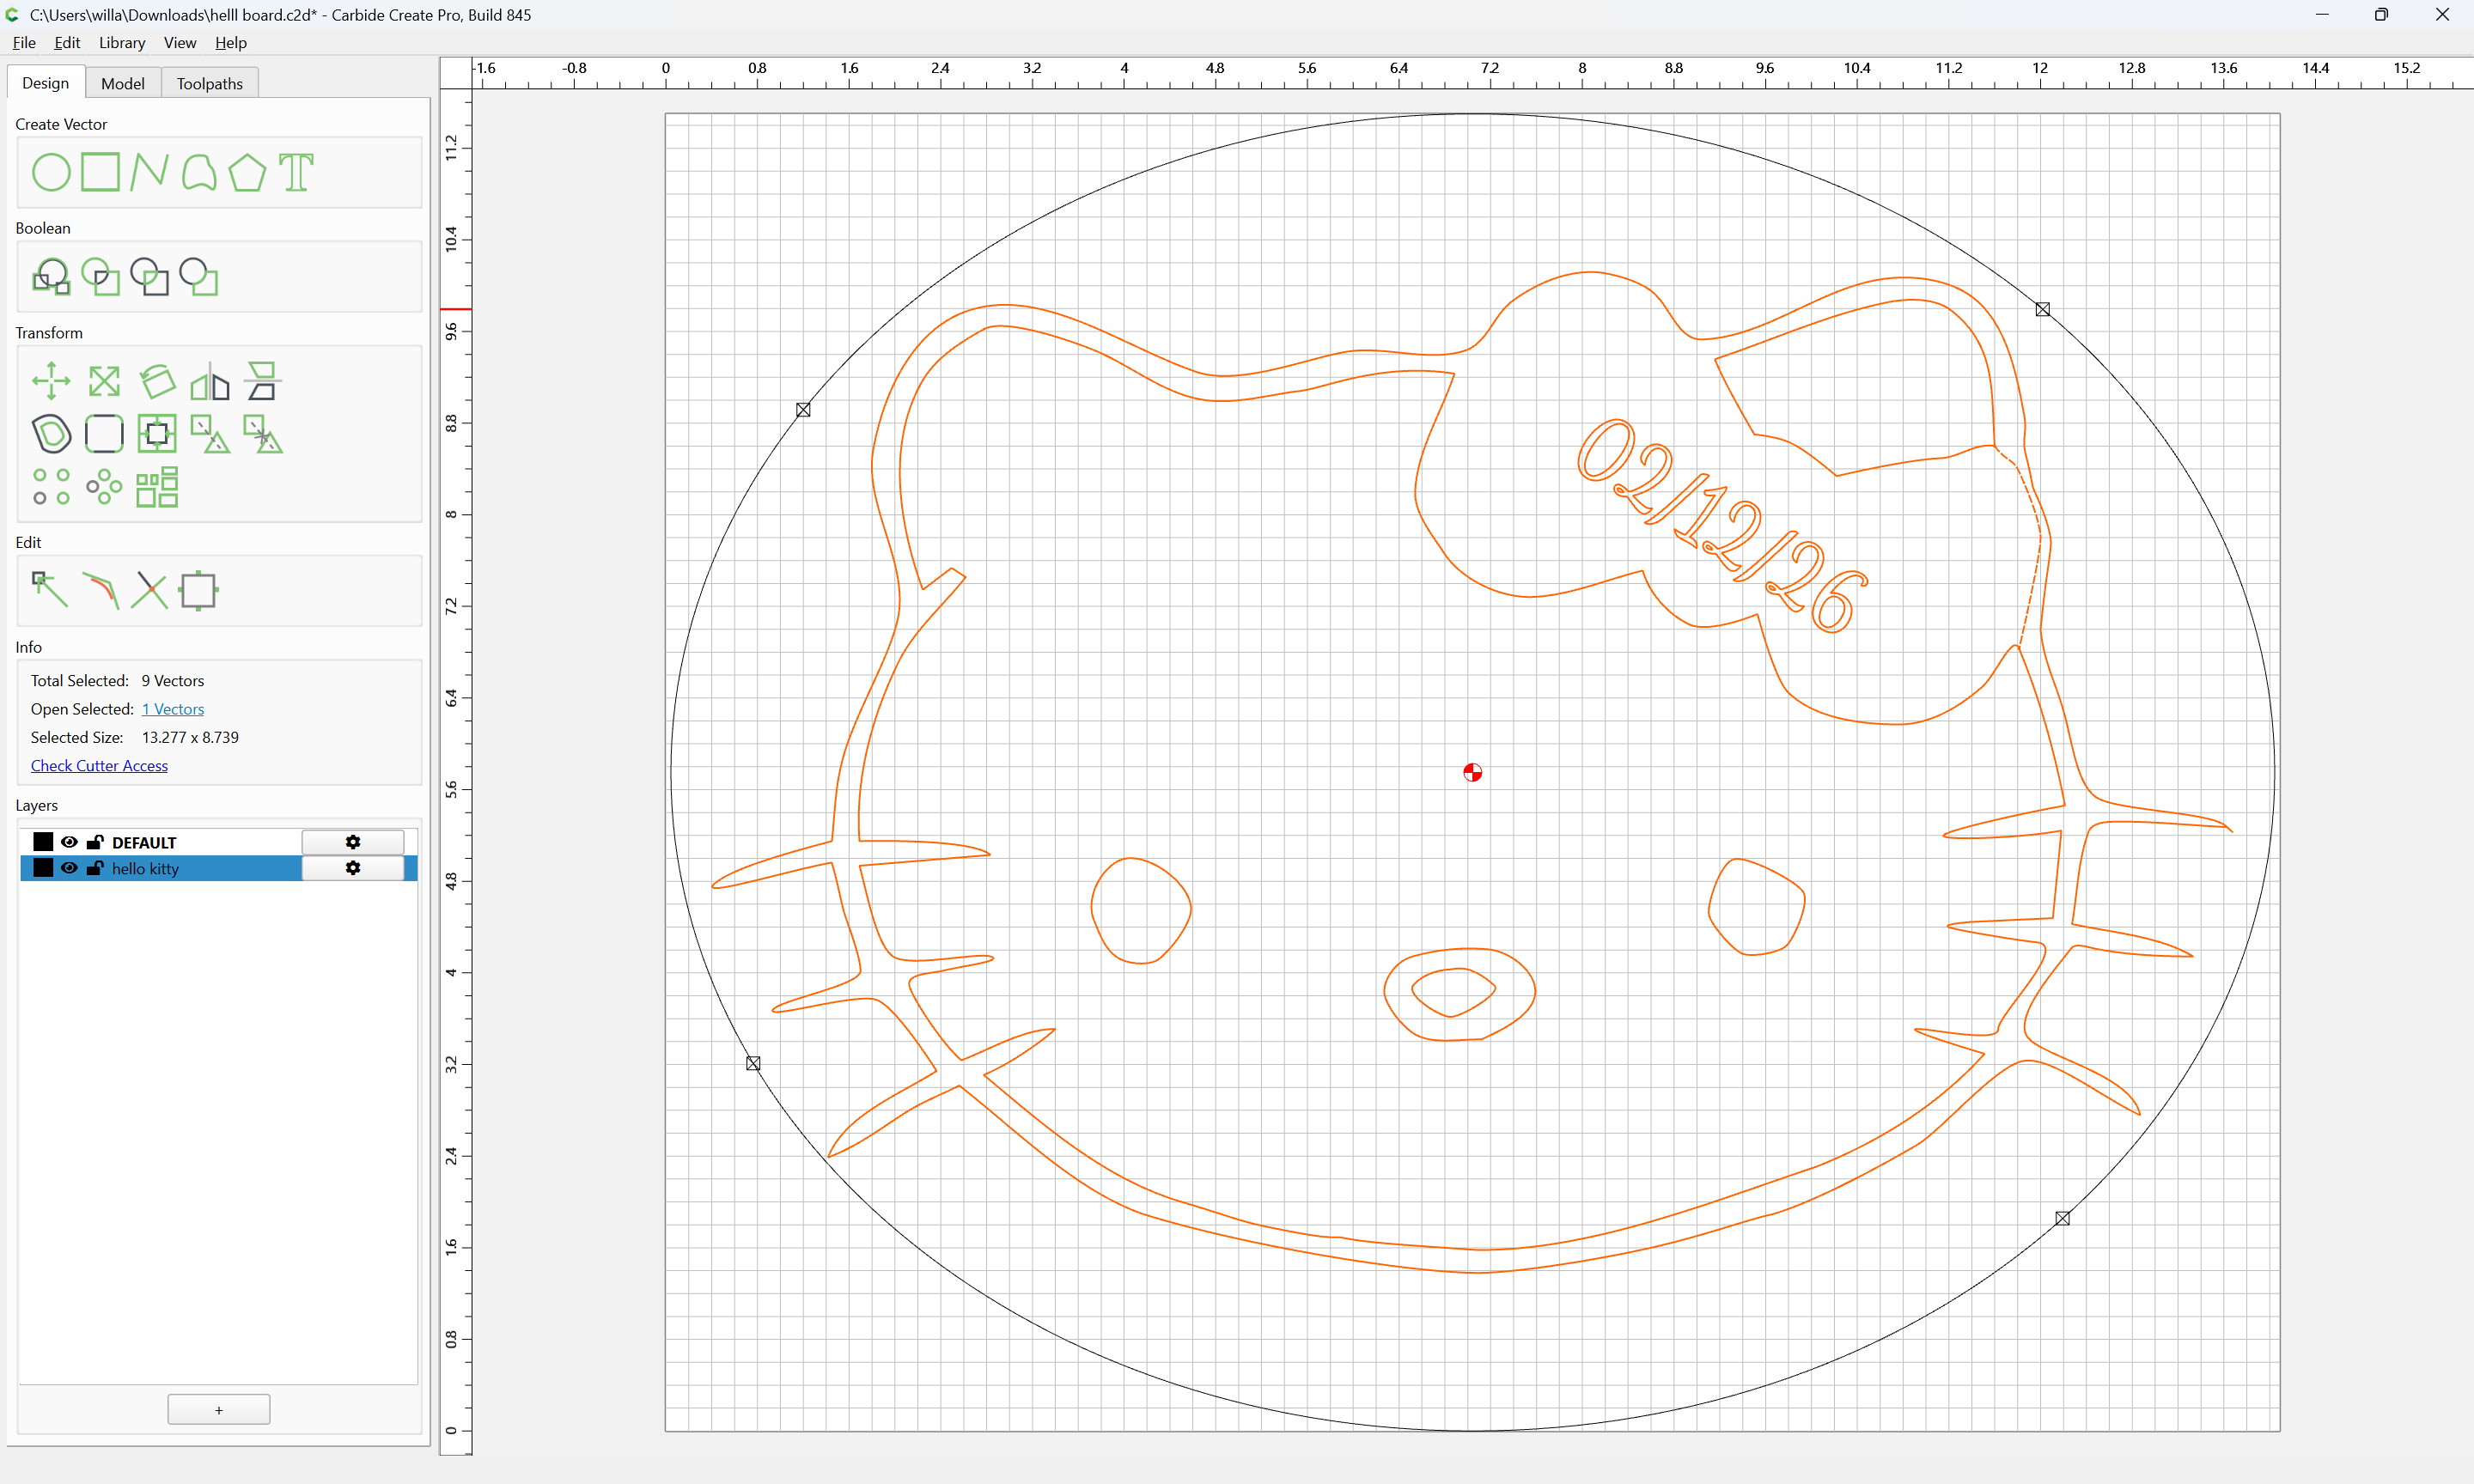
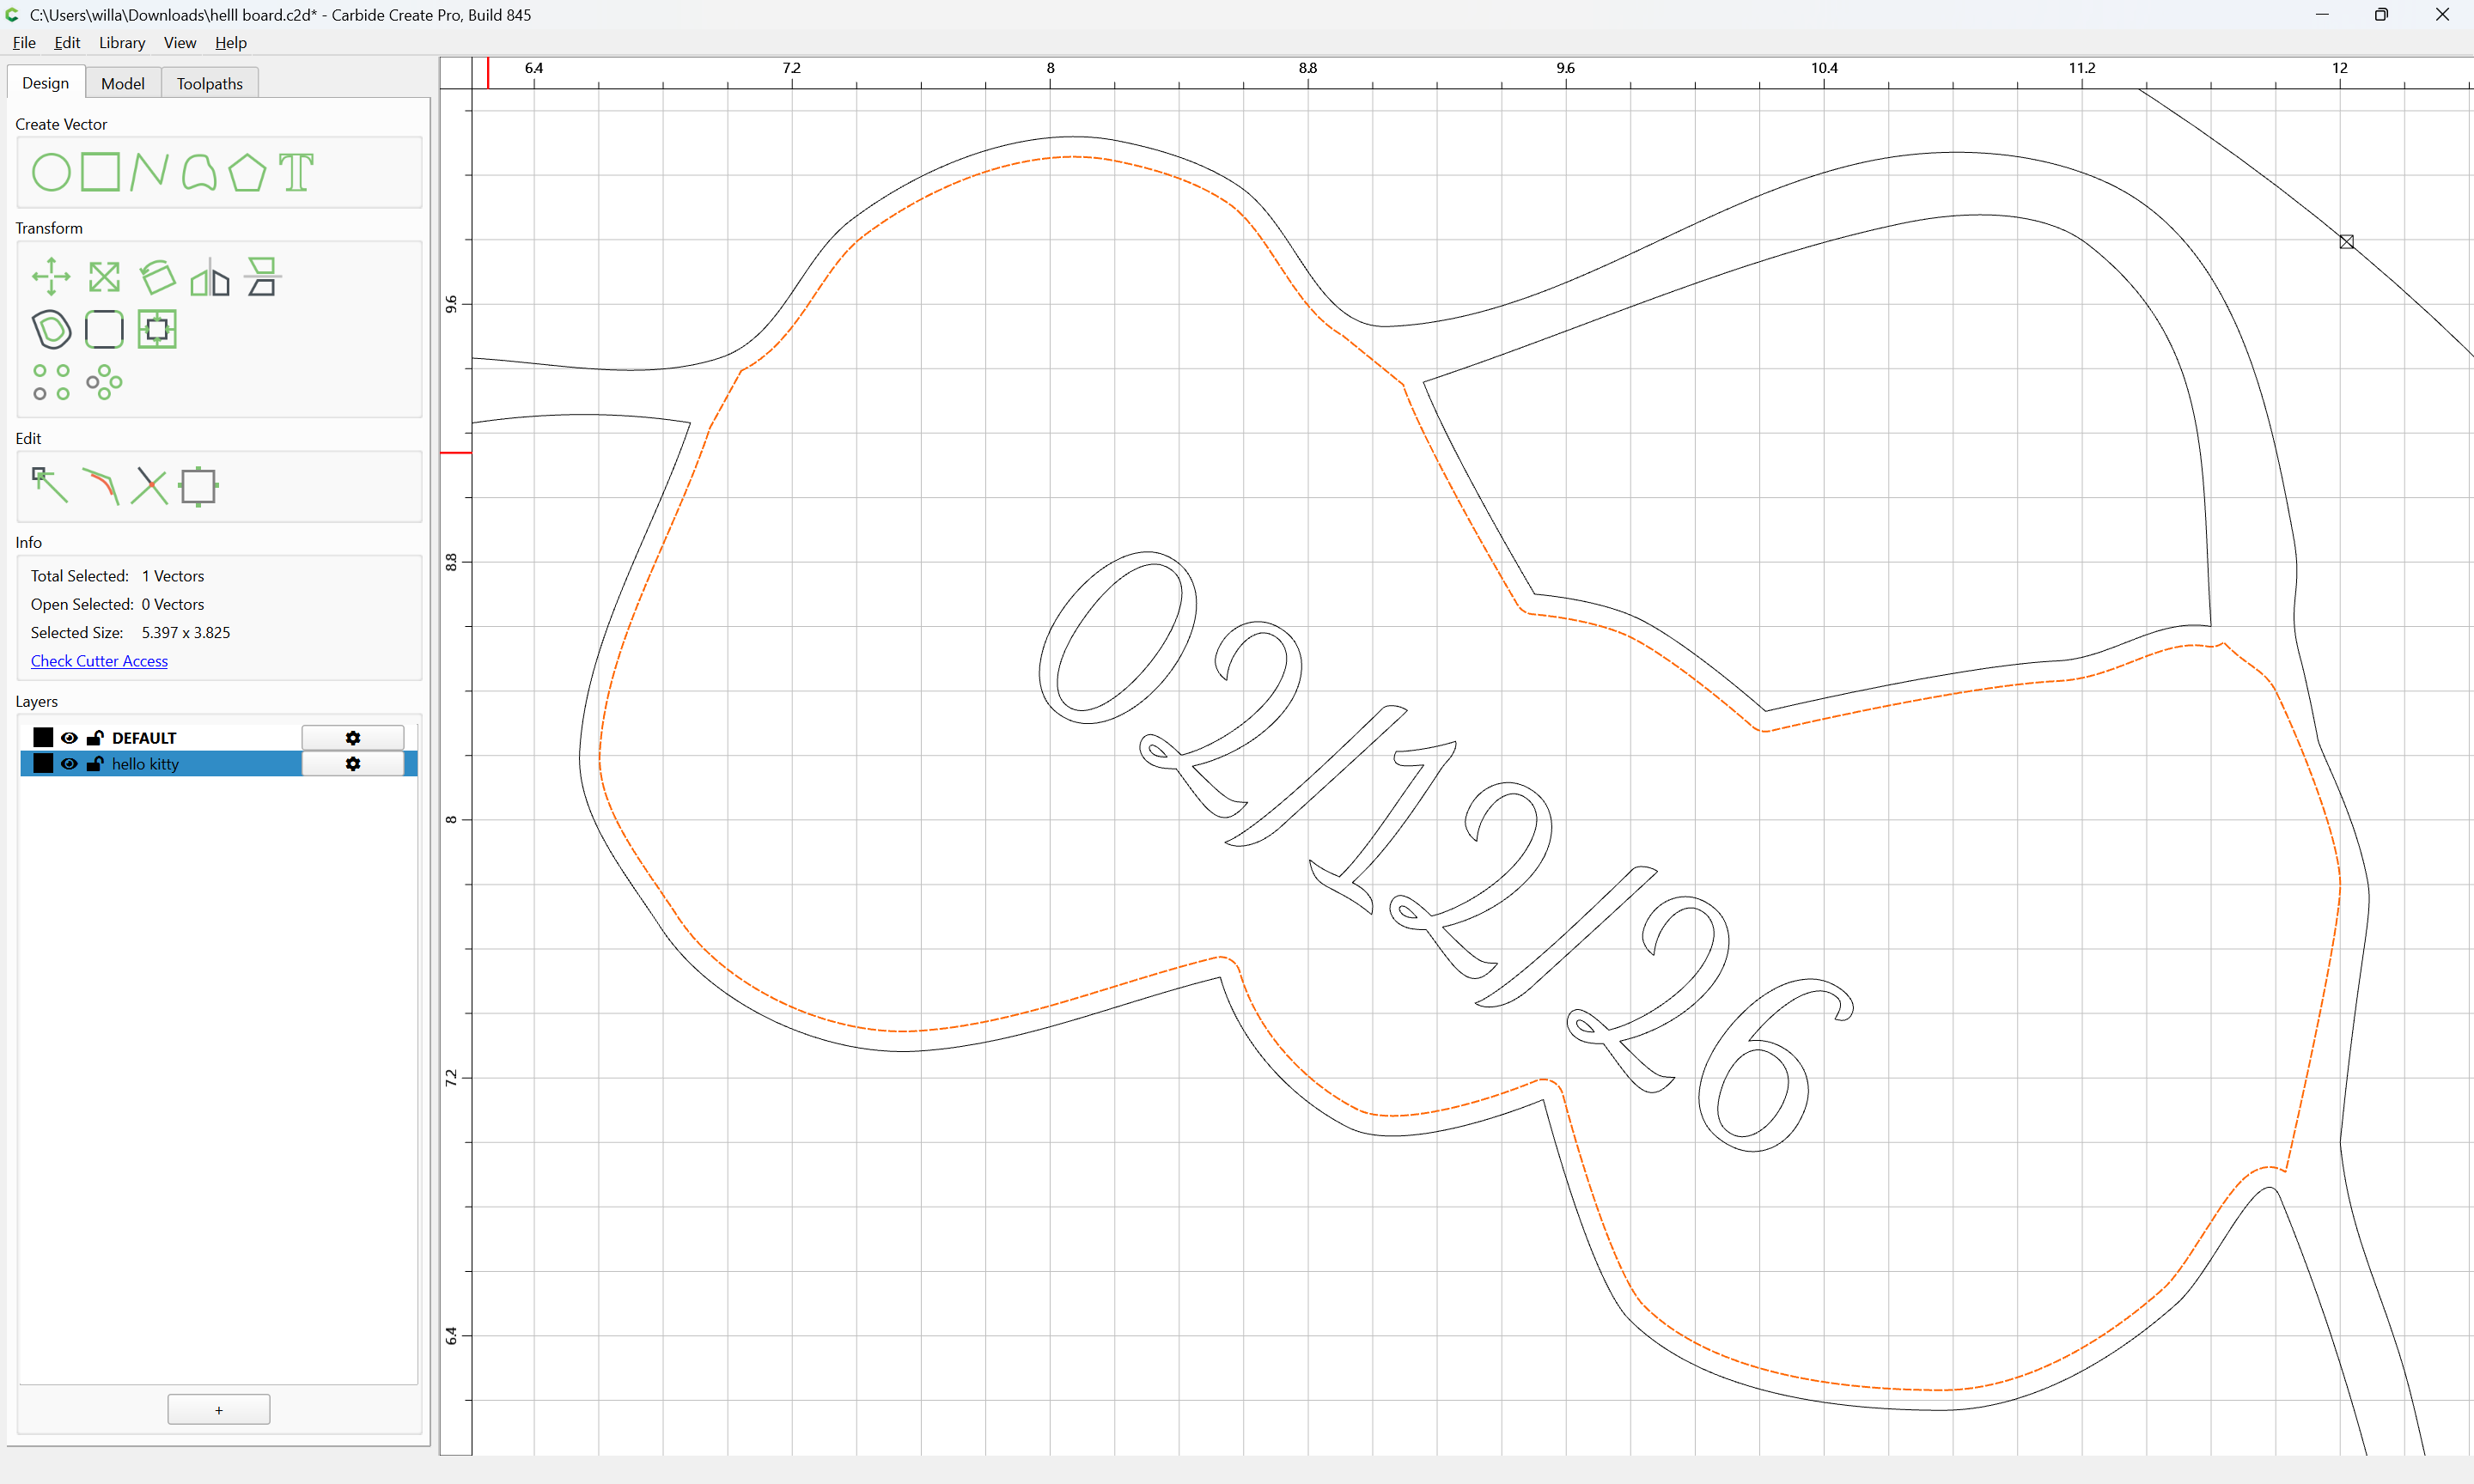
Still quite a newbie over here! This is a student designed cutting board project. We have more or less successfully created the Hello Kitty outline as a advanced vcarve operation, followed by the date, and then cutting the outside oval. After our test, the student decided to change the shape around the bow and has drawn the additional line to separate the bow shape from the rest of the kitty outline. We can’t quite figure out how to separate the layers (actually still figuring out how to put each step in layers) and it’s still pocketing the whole shape. I’m sure there’s a simple way to separate these components but I haven’t figured it out yet!
helll board.c2d (208 KB)
1 Like
The file as imported:
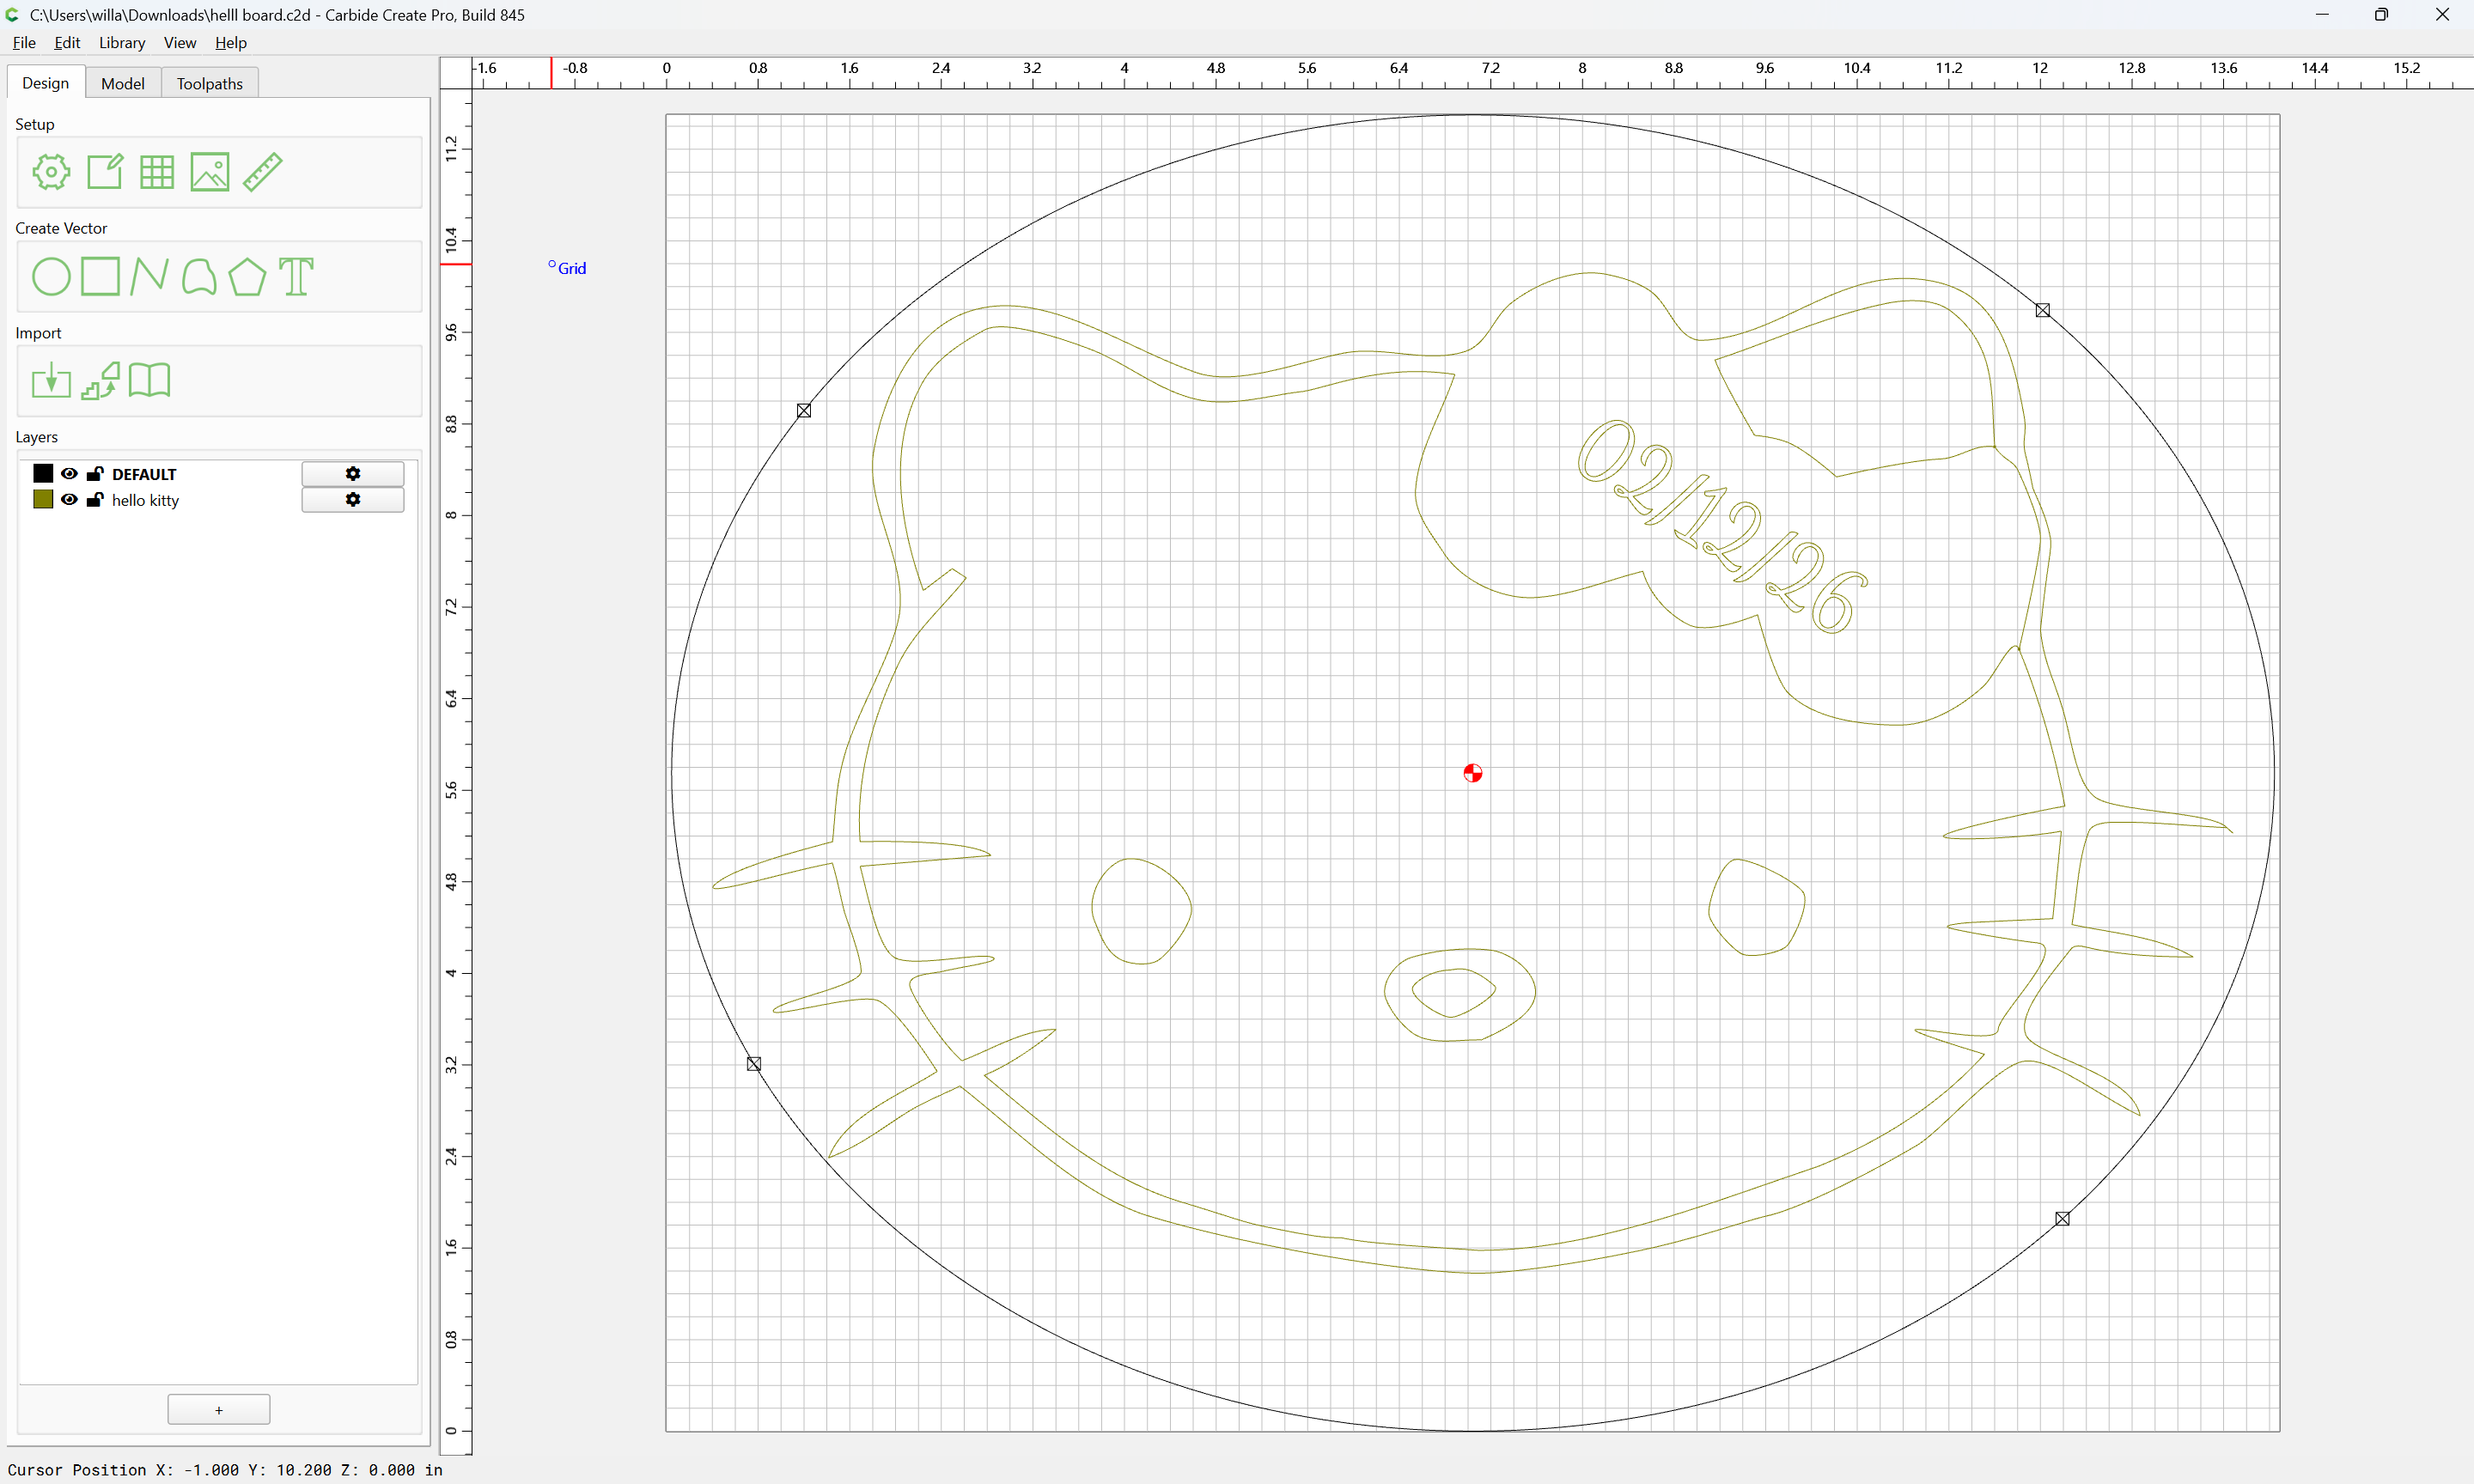
has two layers, with the design on its own layer:
The toolpaths seem straight-forward:
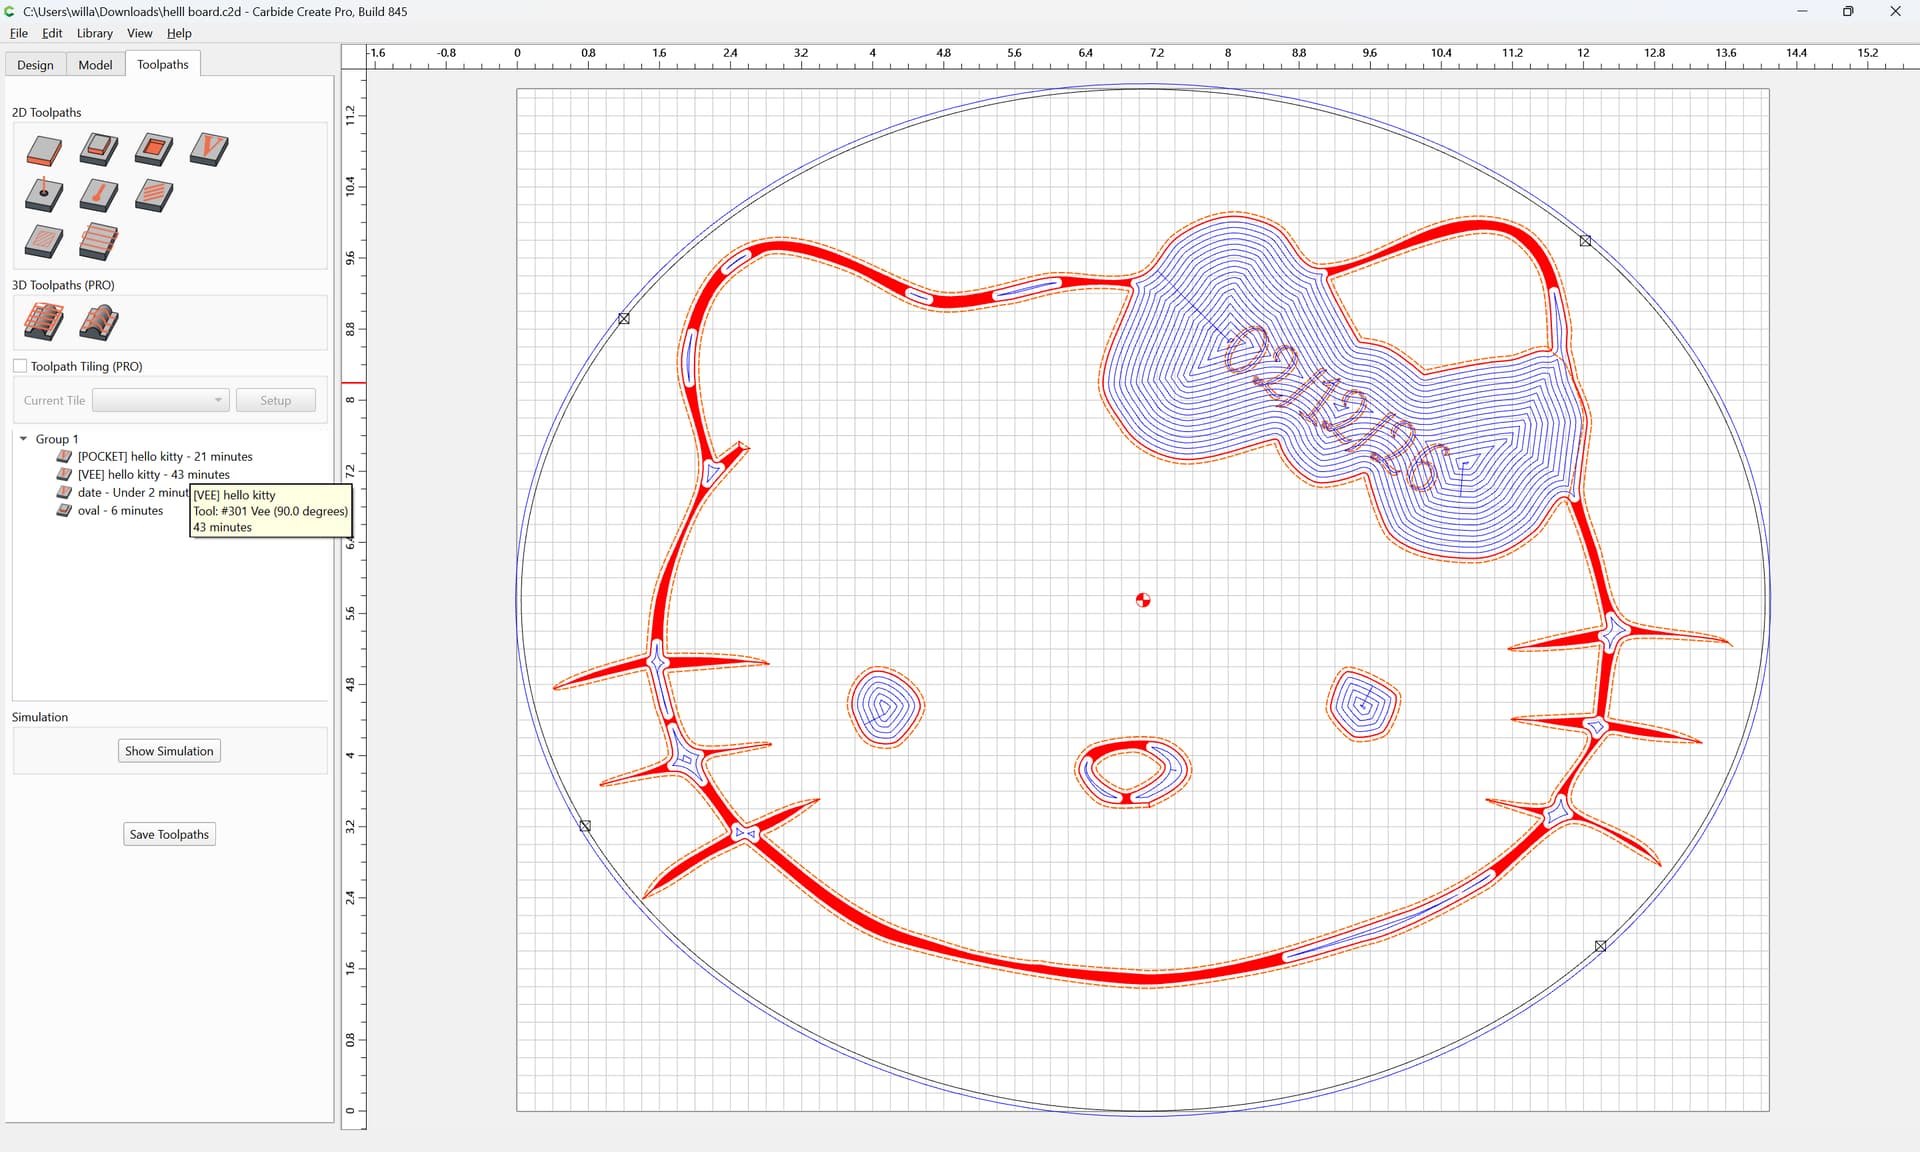
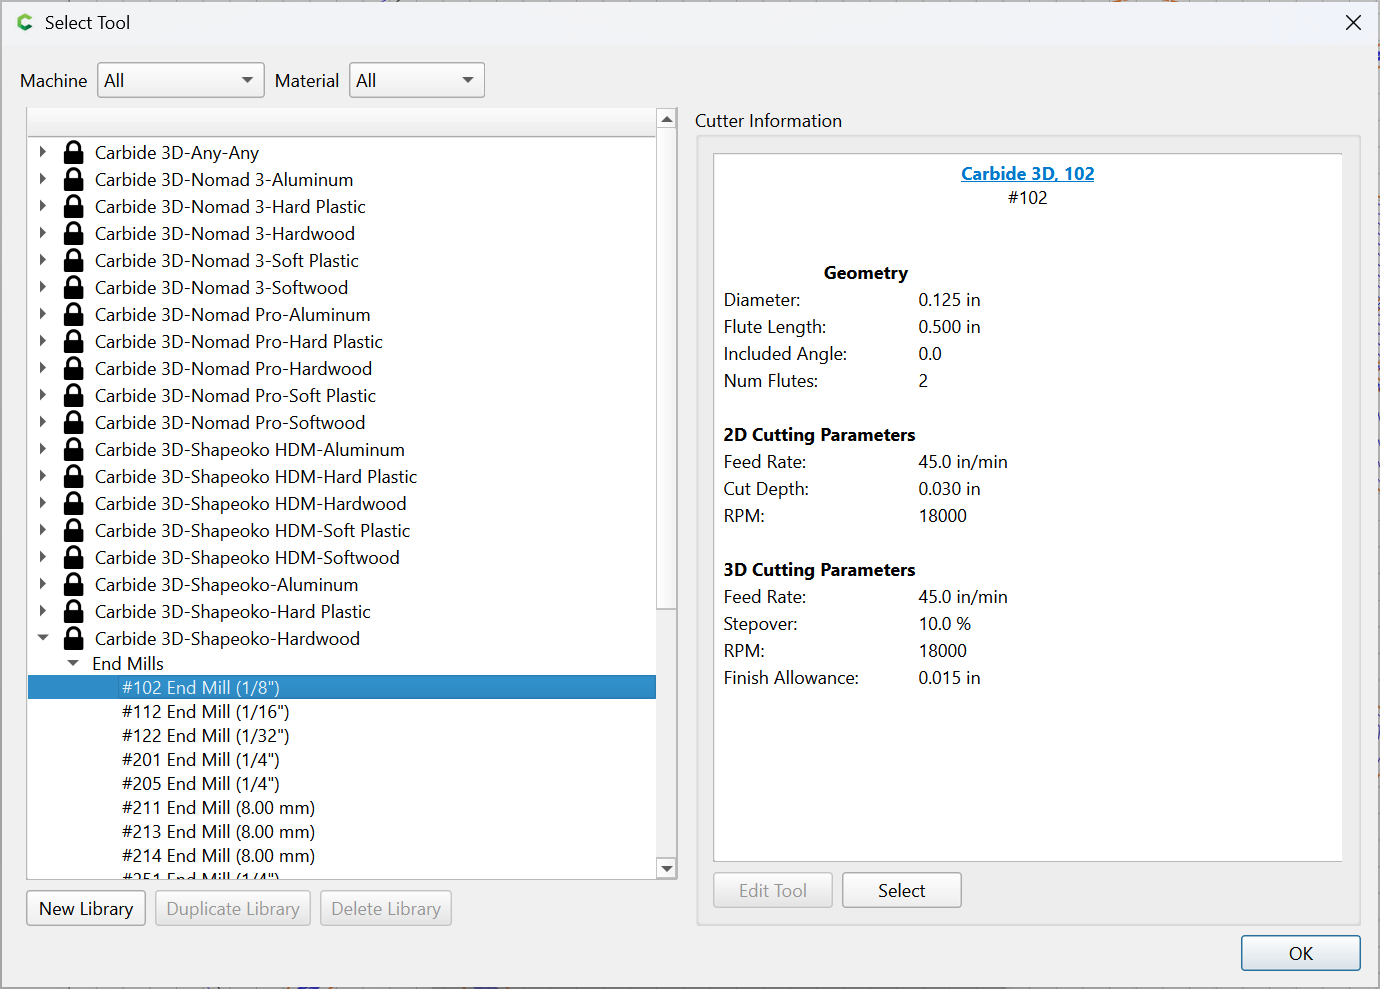
though one concern is the use of #102 DEFAULT:
Better to change that to a tool definition which matches the material which one is cutting, we will assume hardwood:

which all previews as expected:
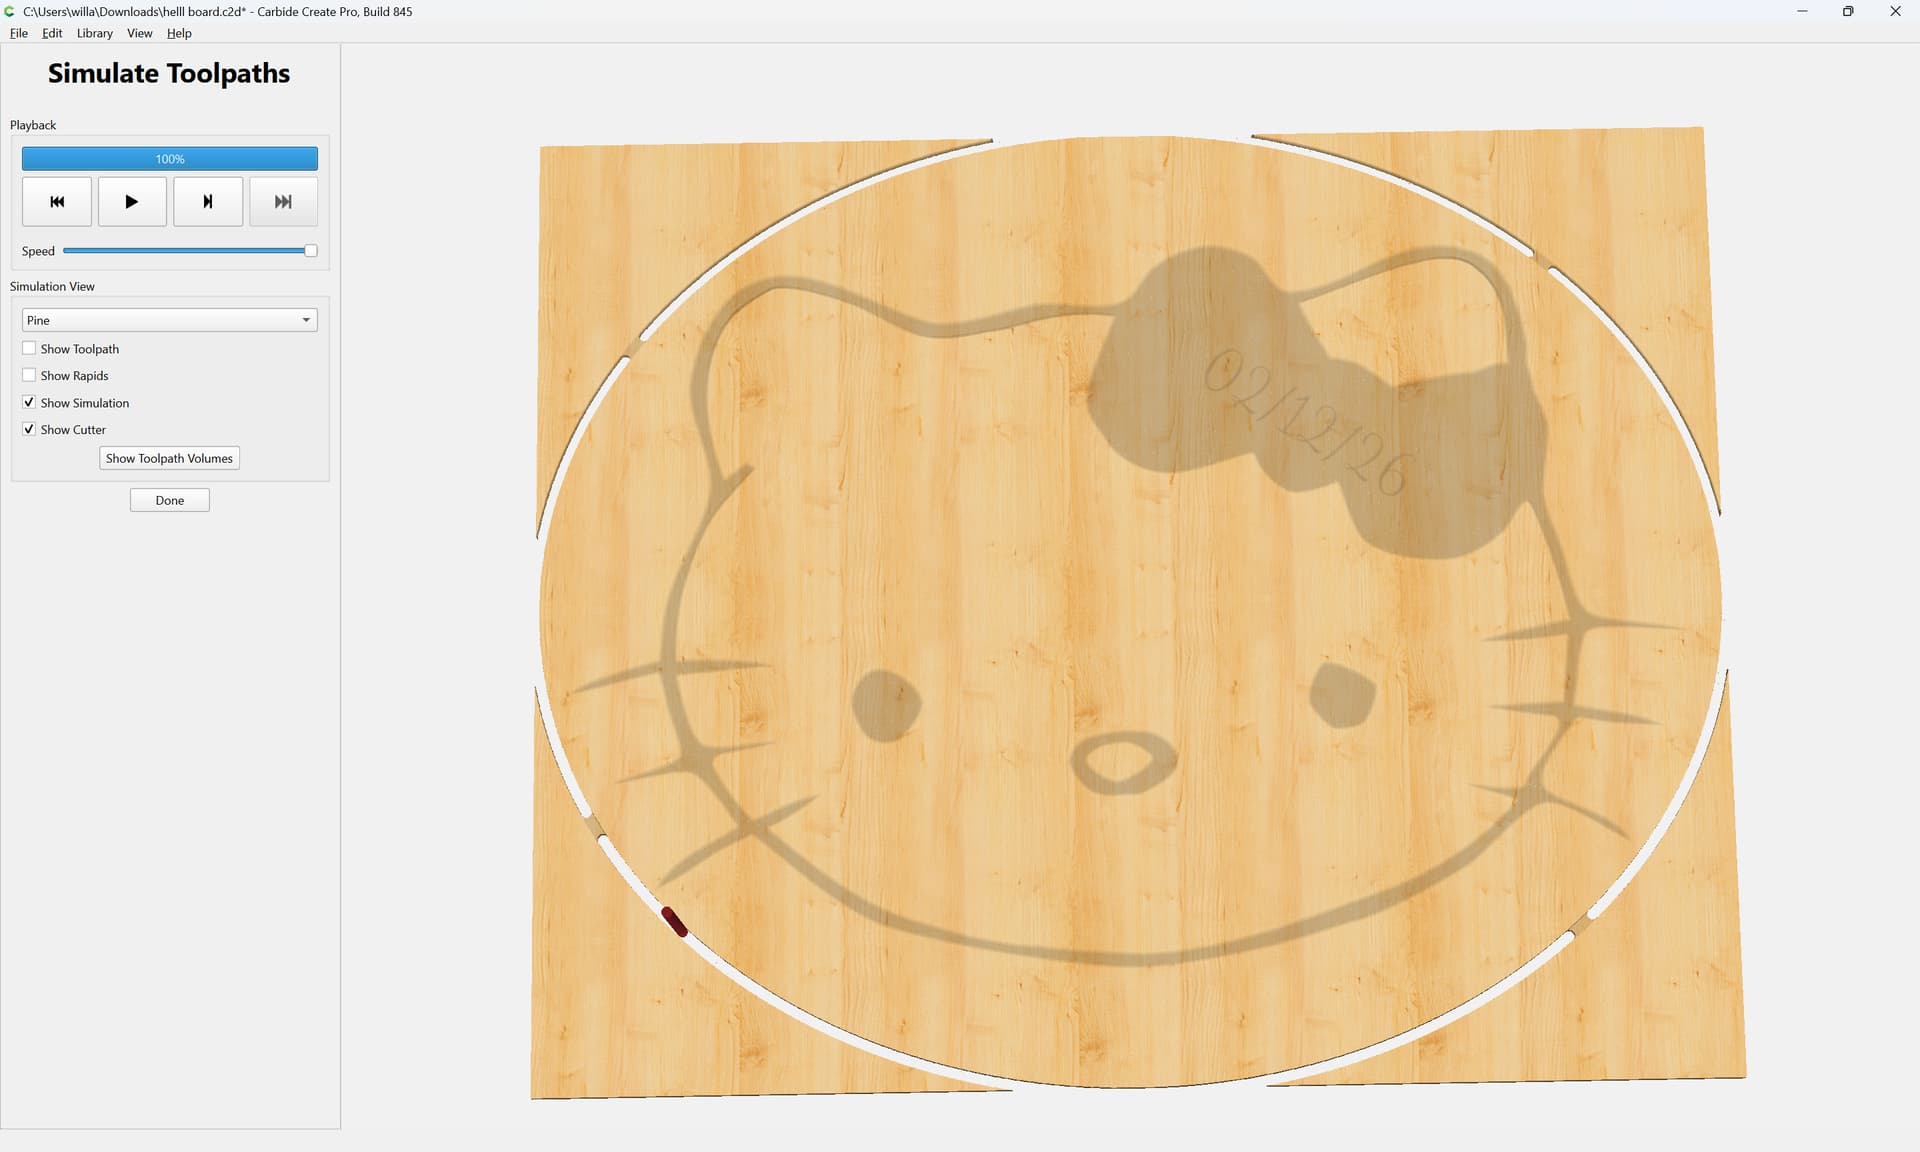
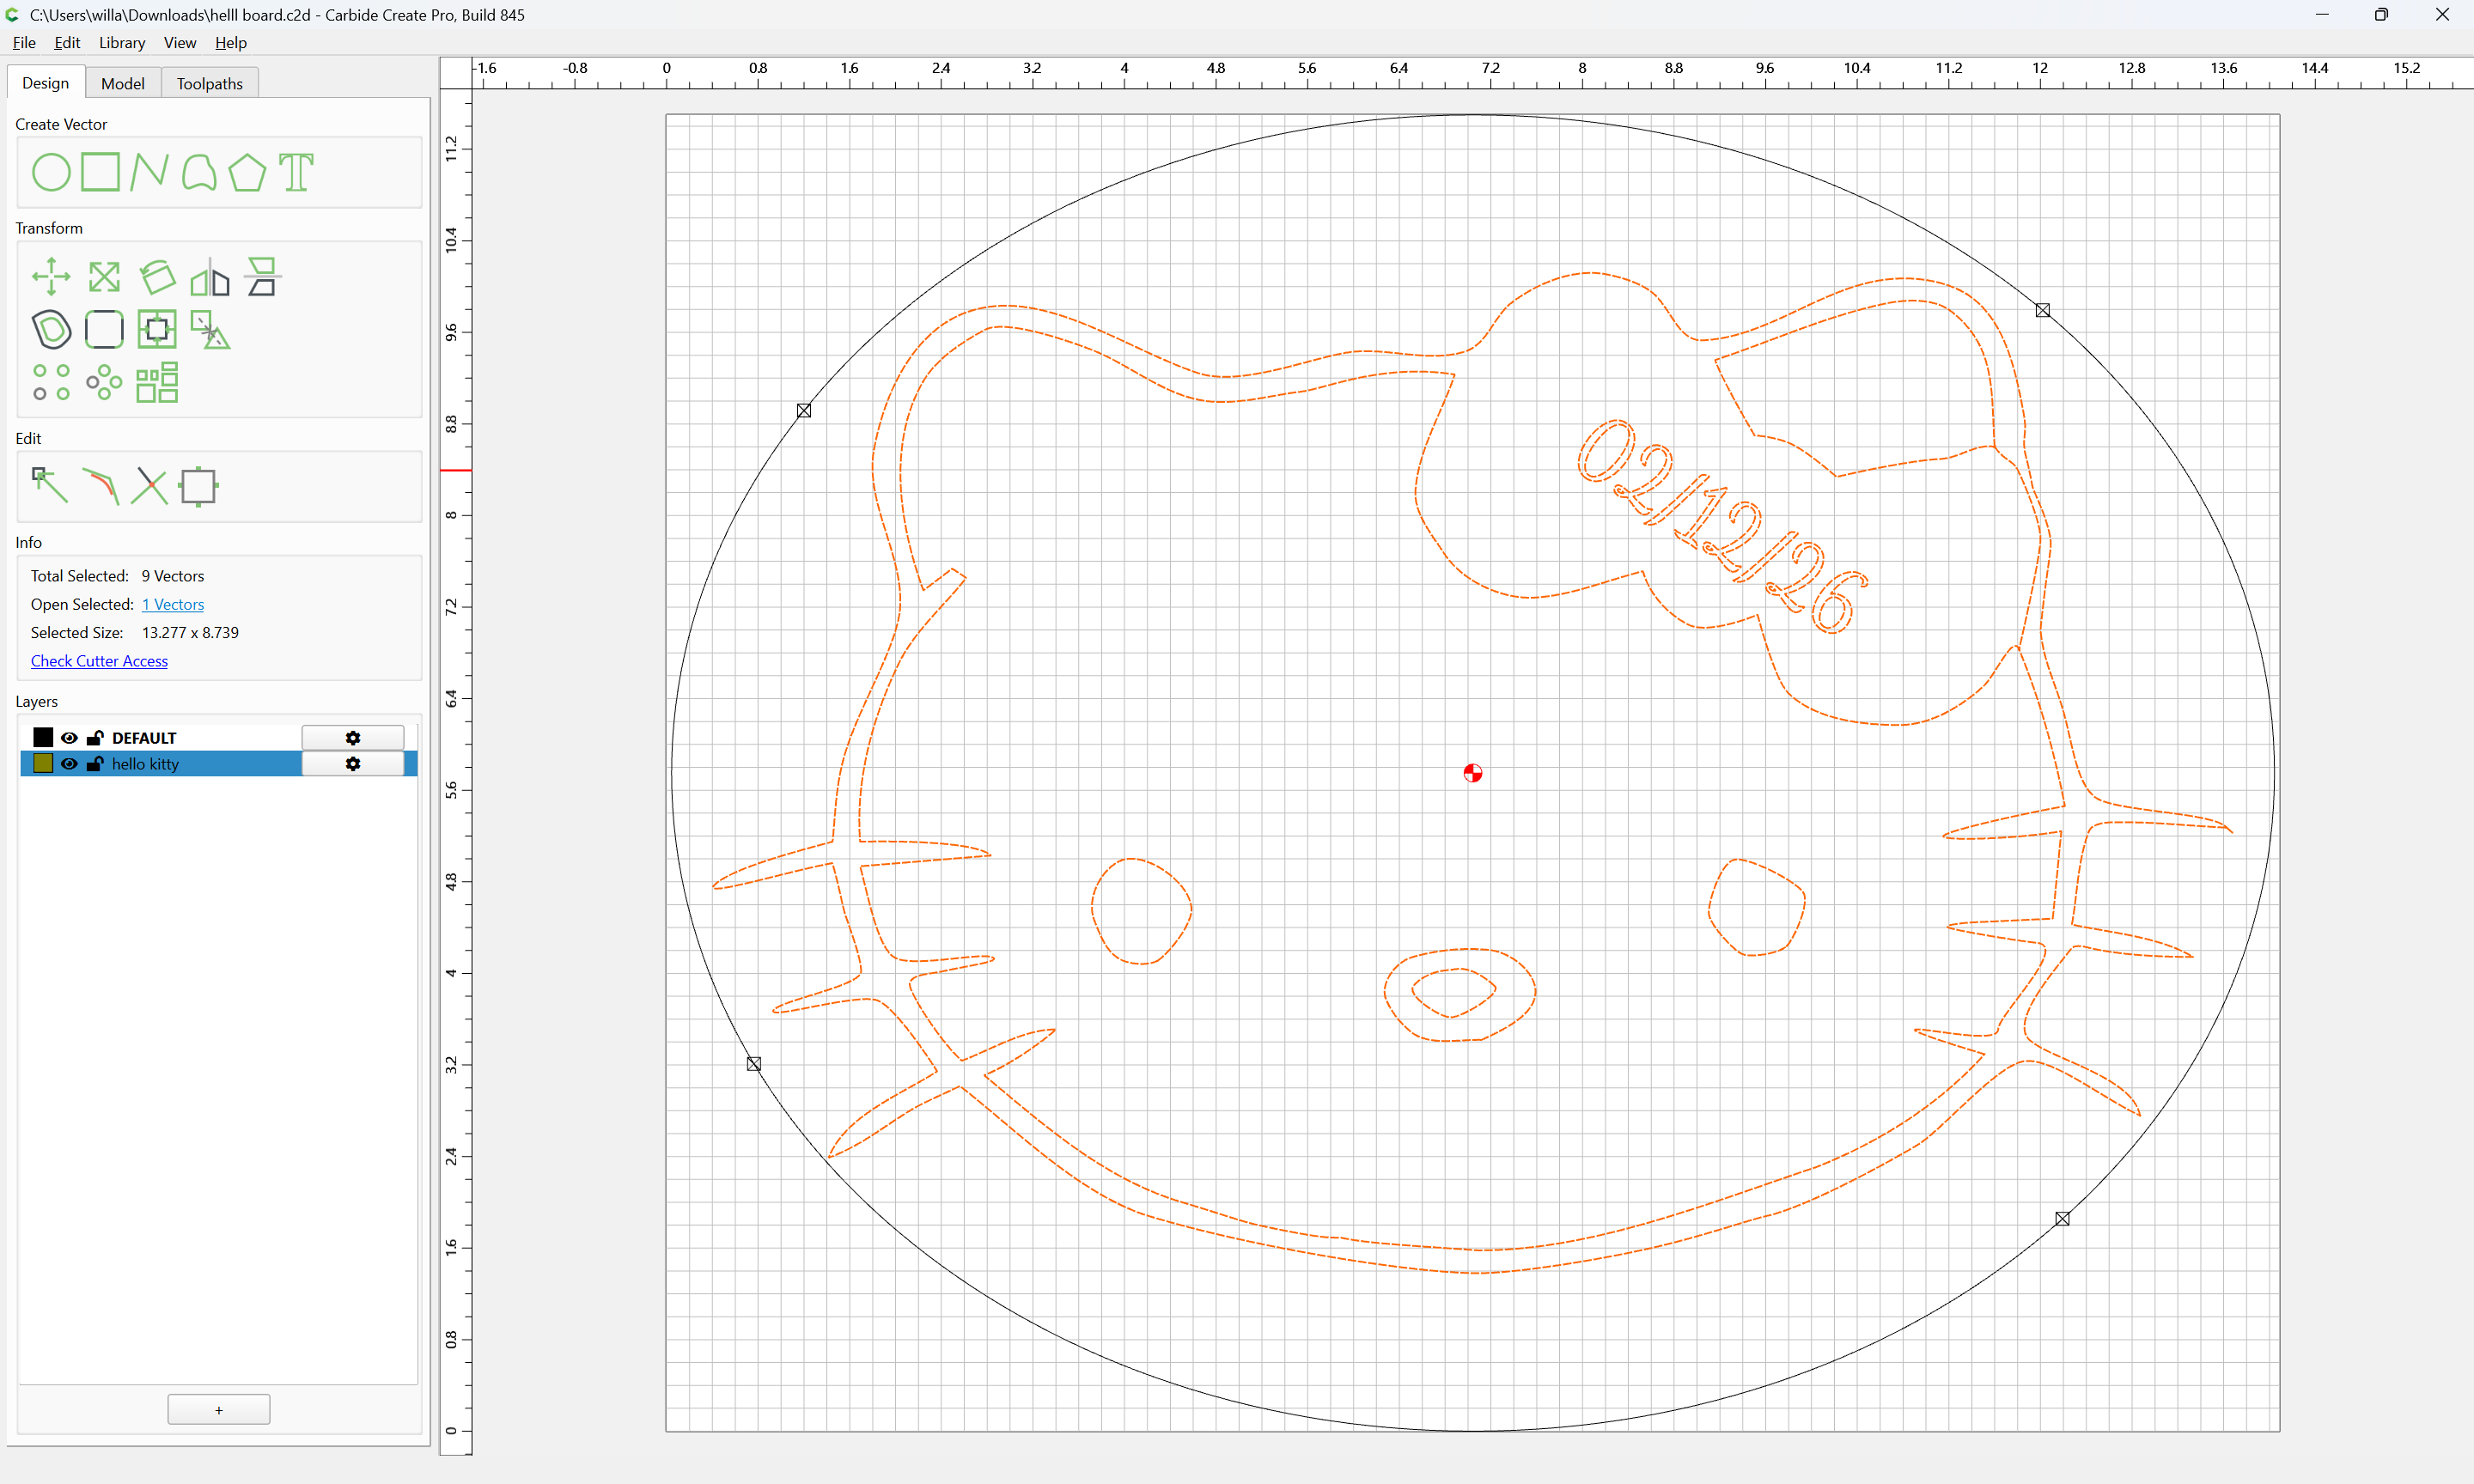
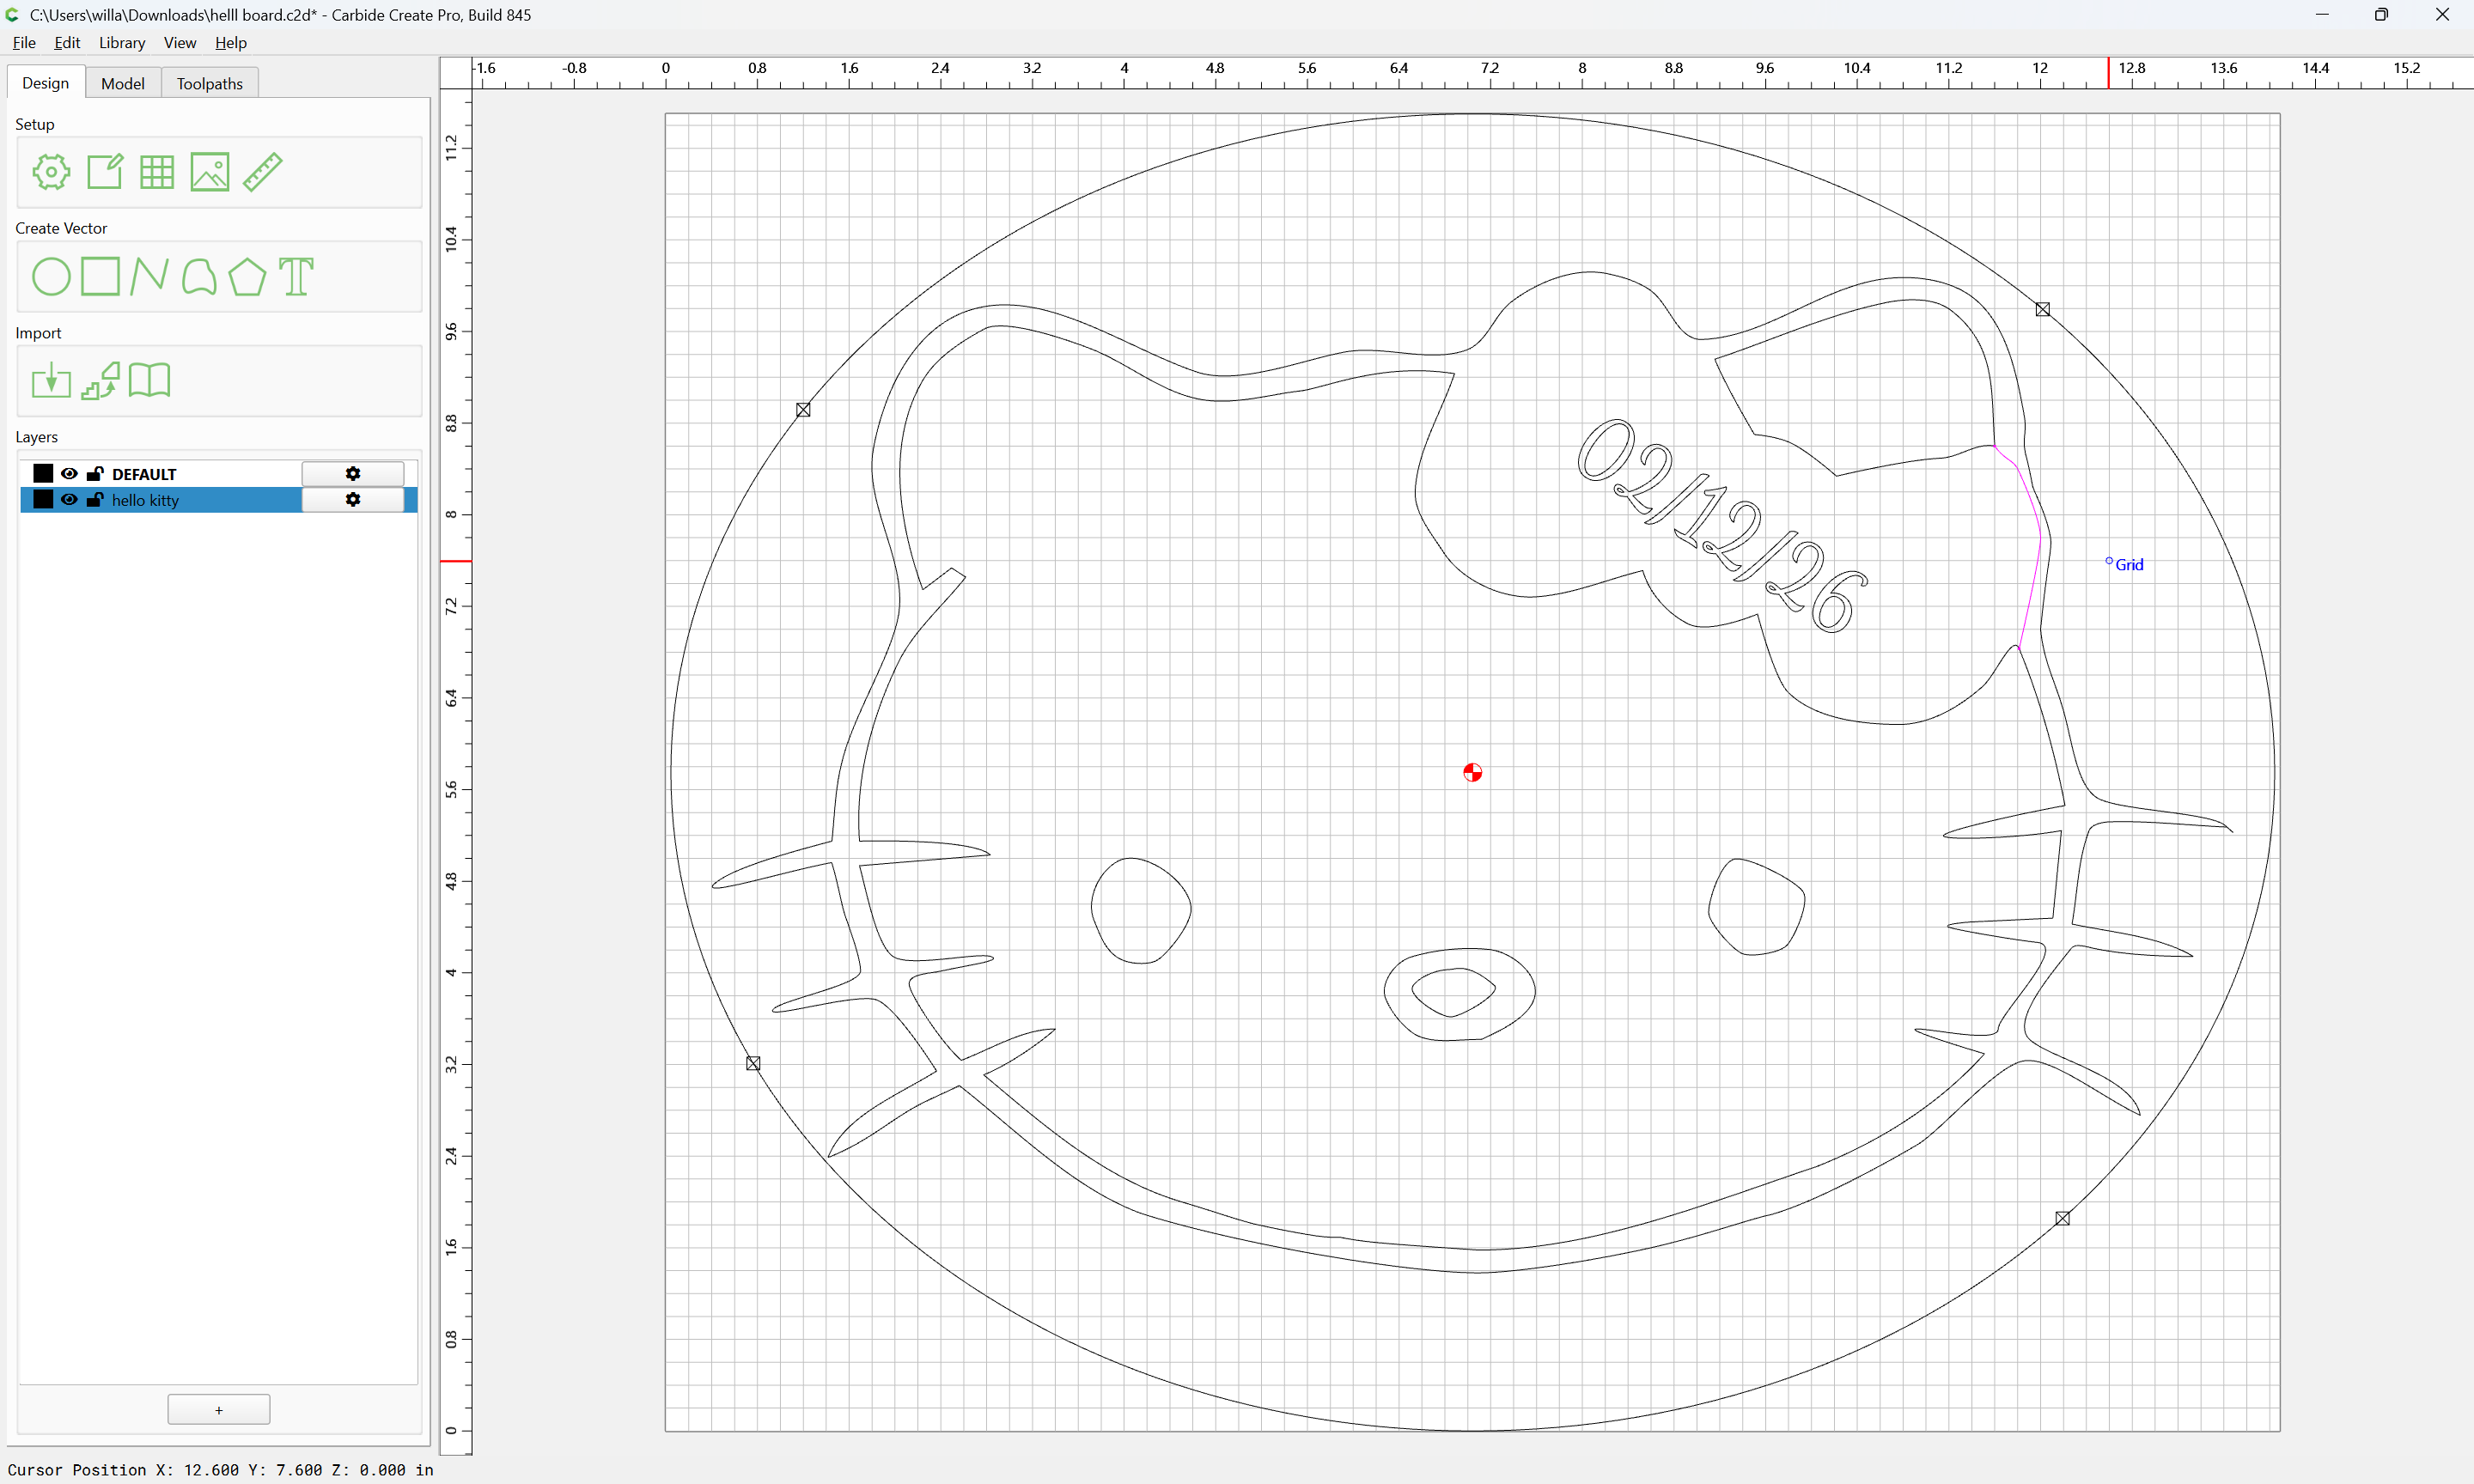
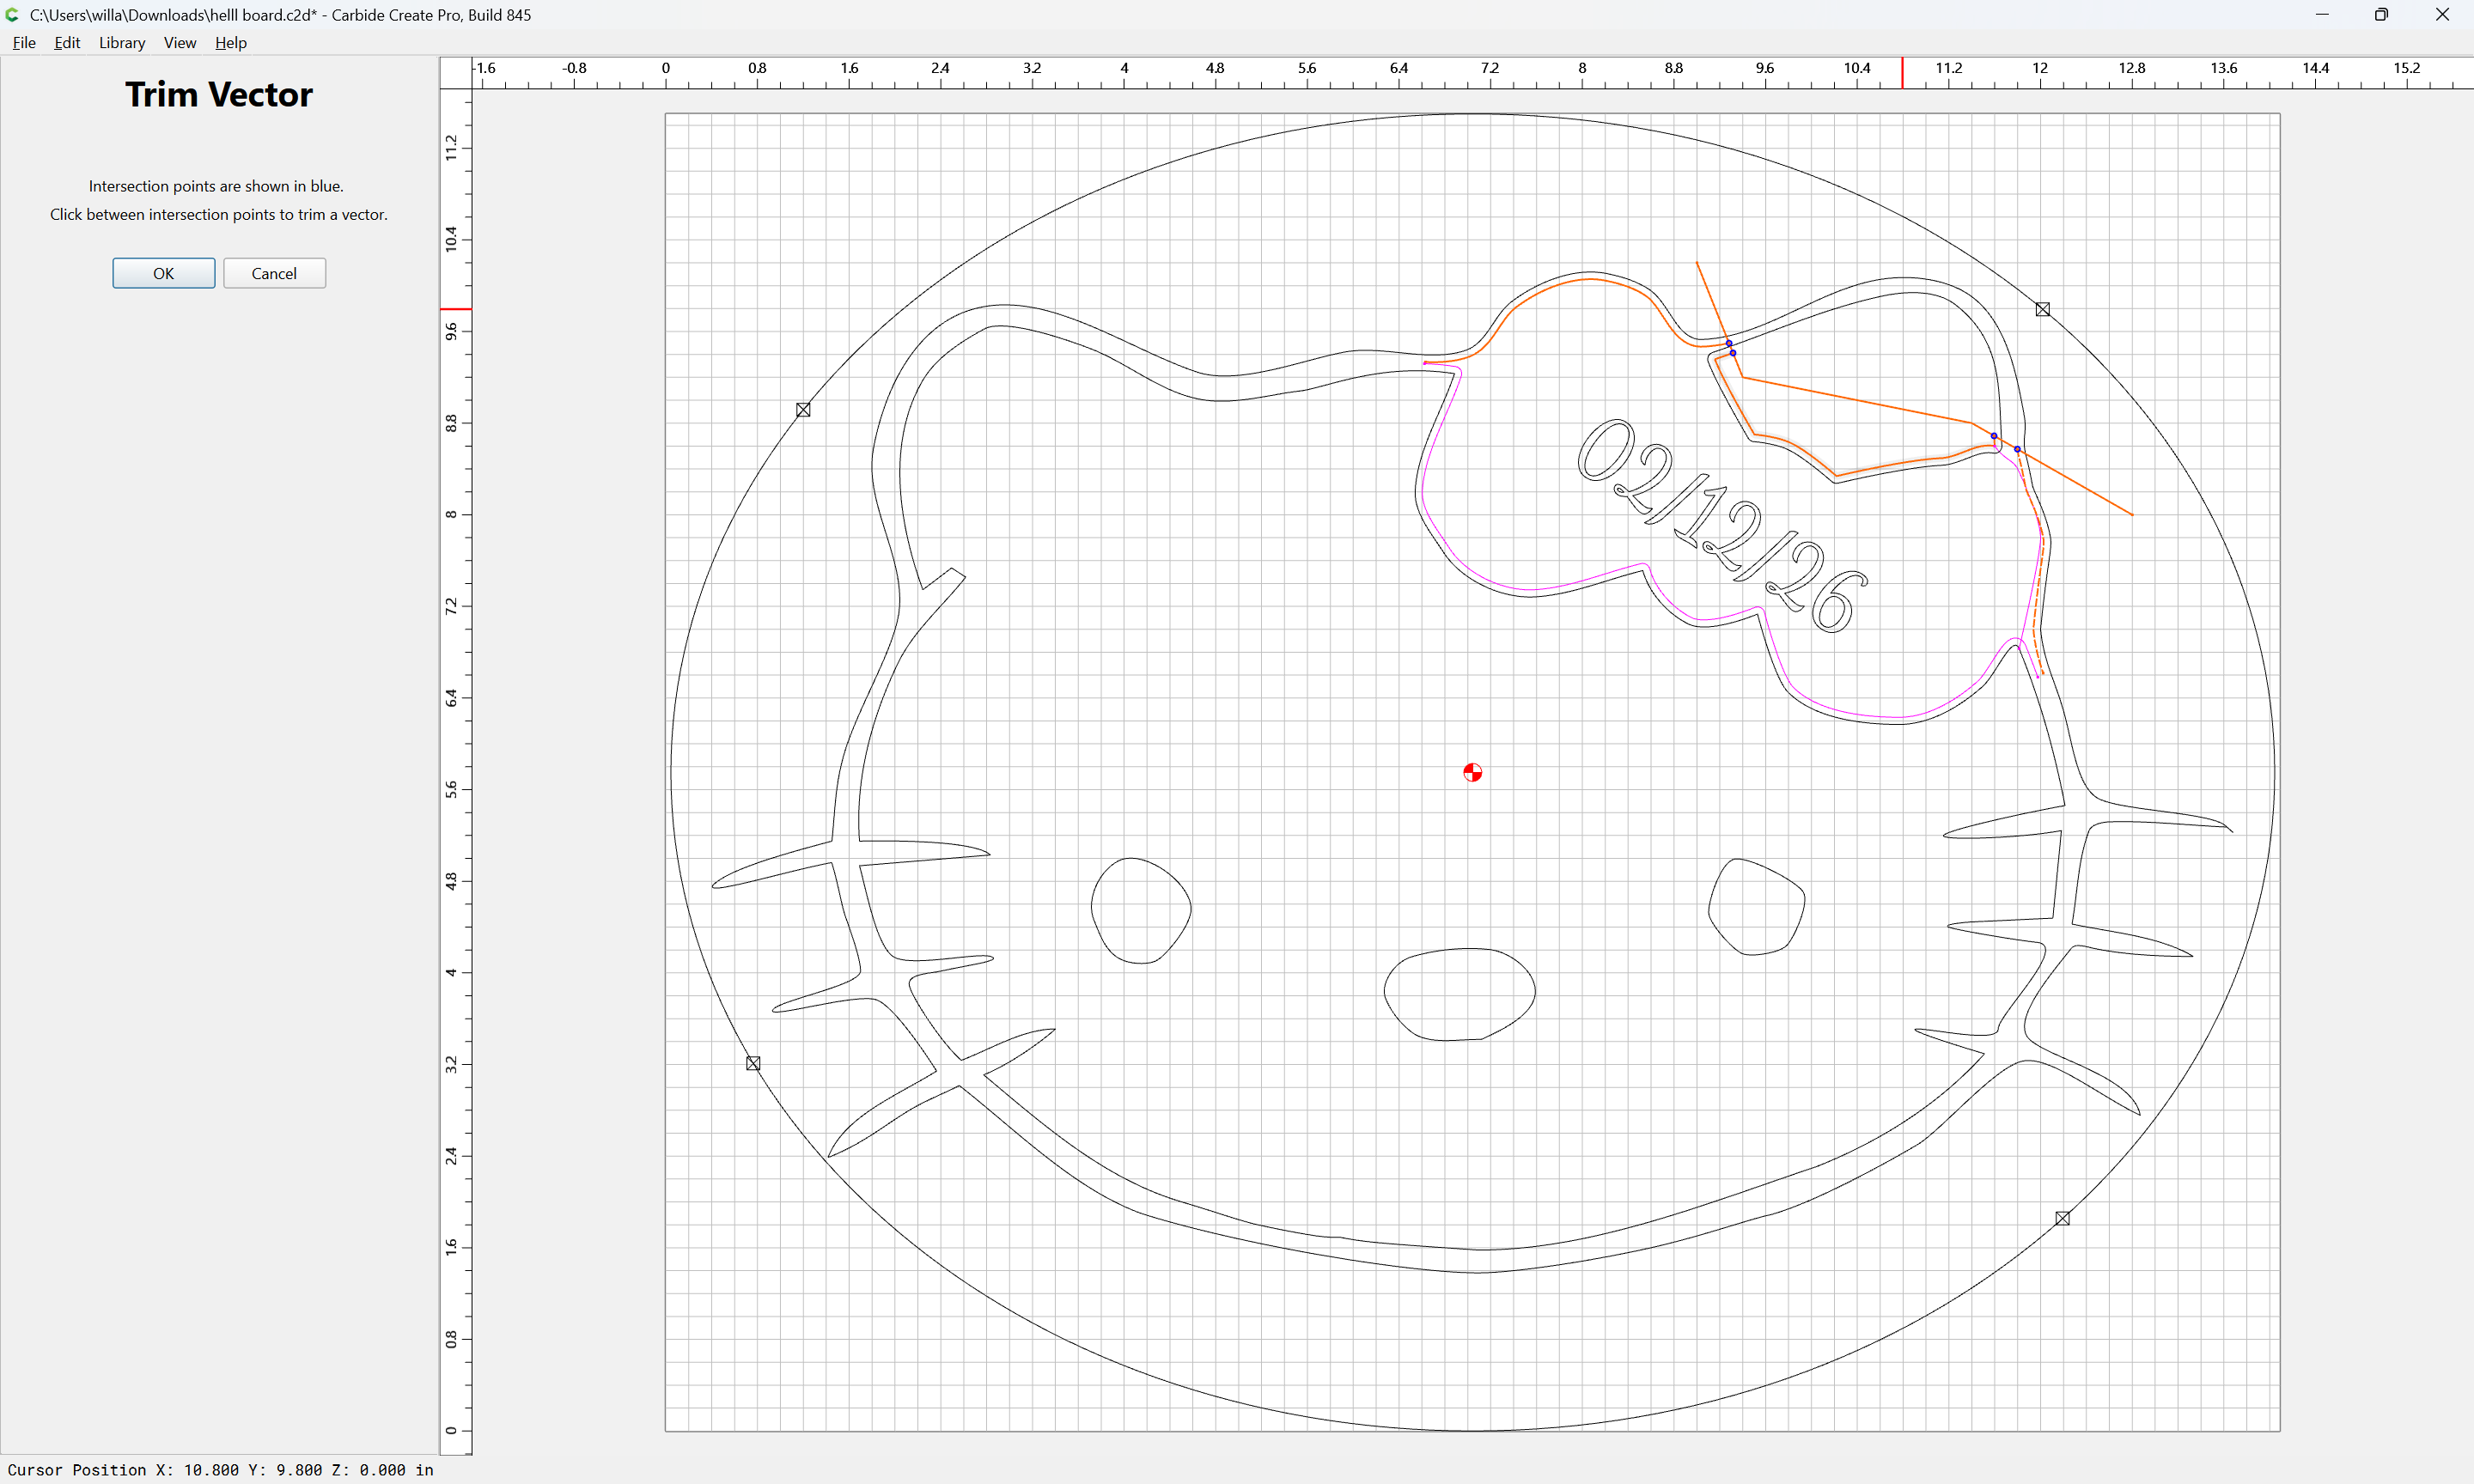
except that there is an extra bit of open geometry which has been drawn which becomes clear when one sets the layer colour to black:
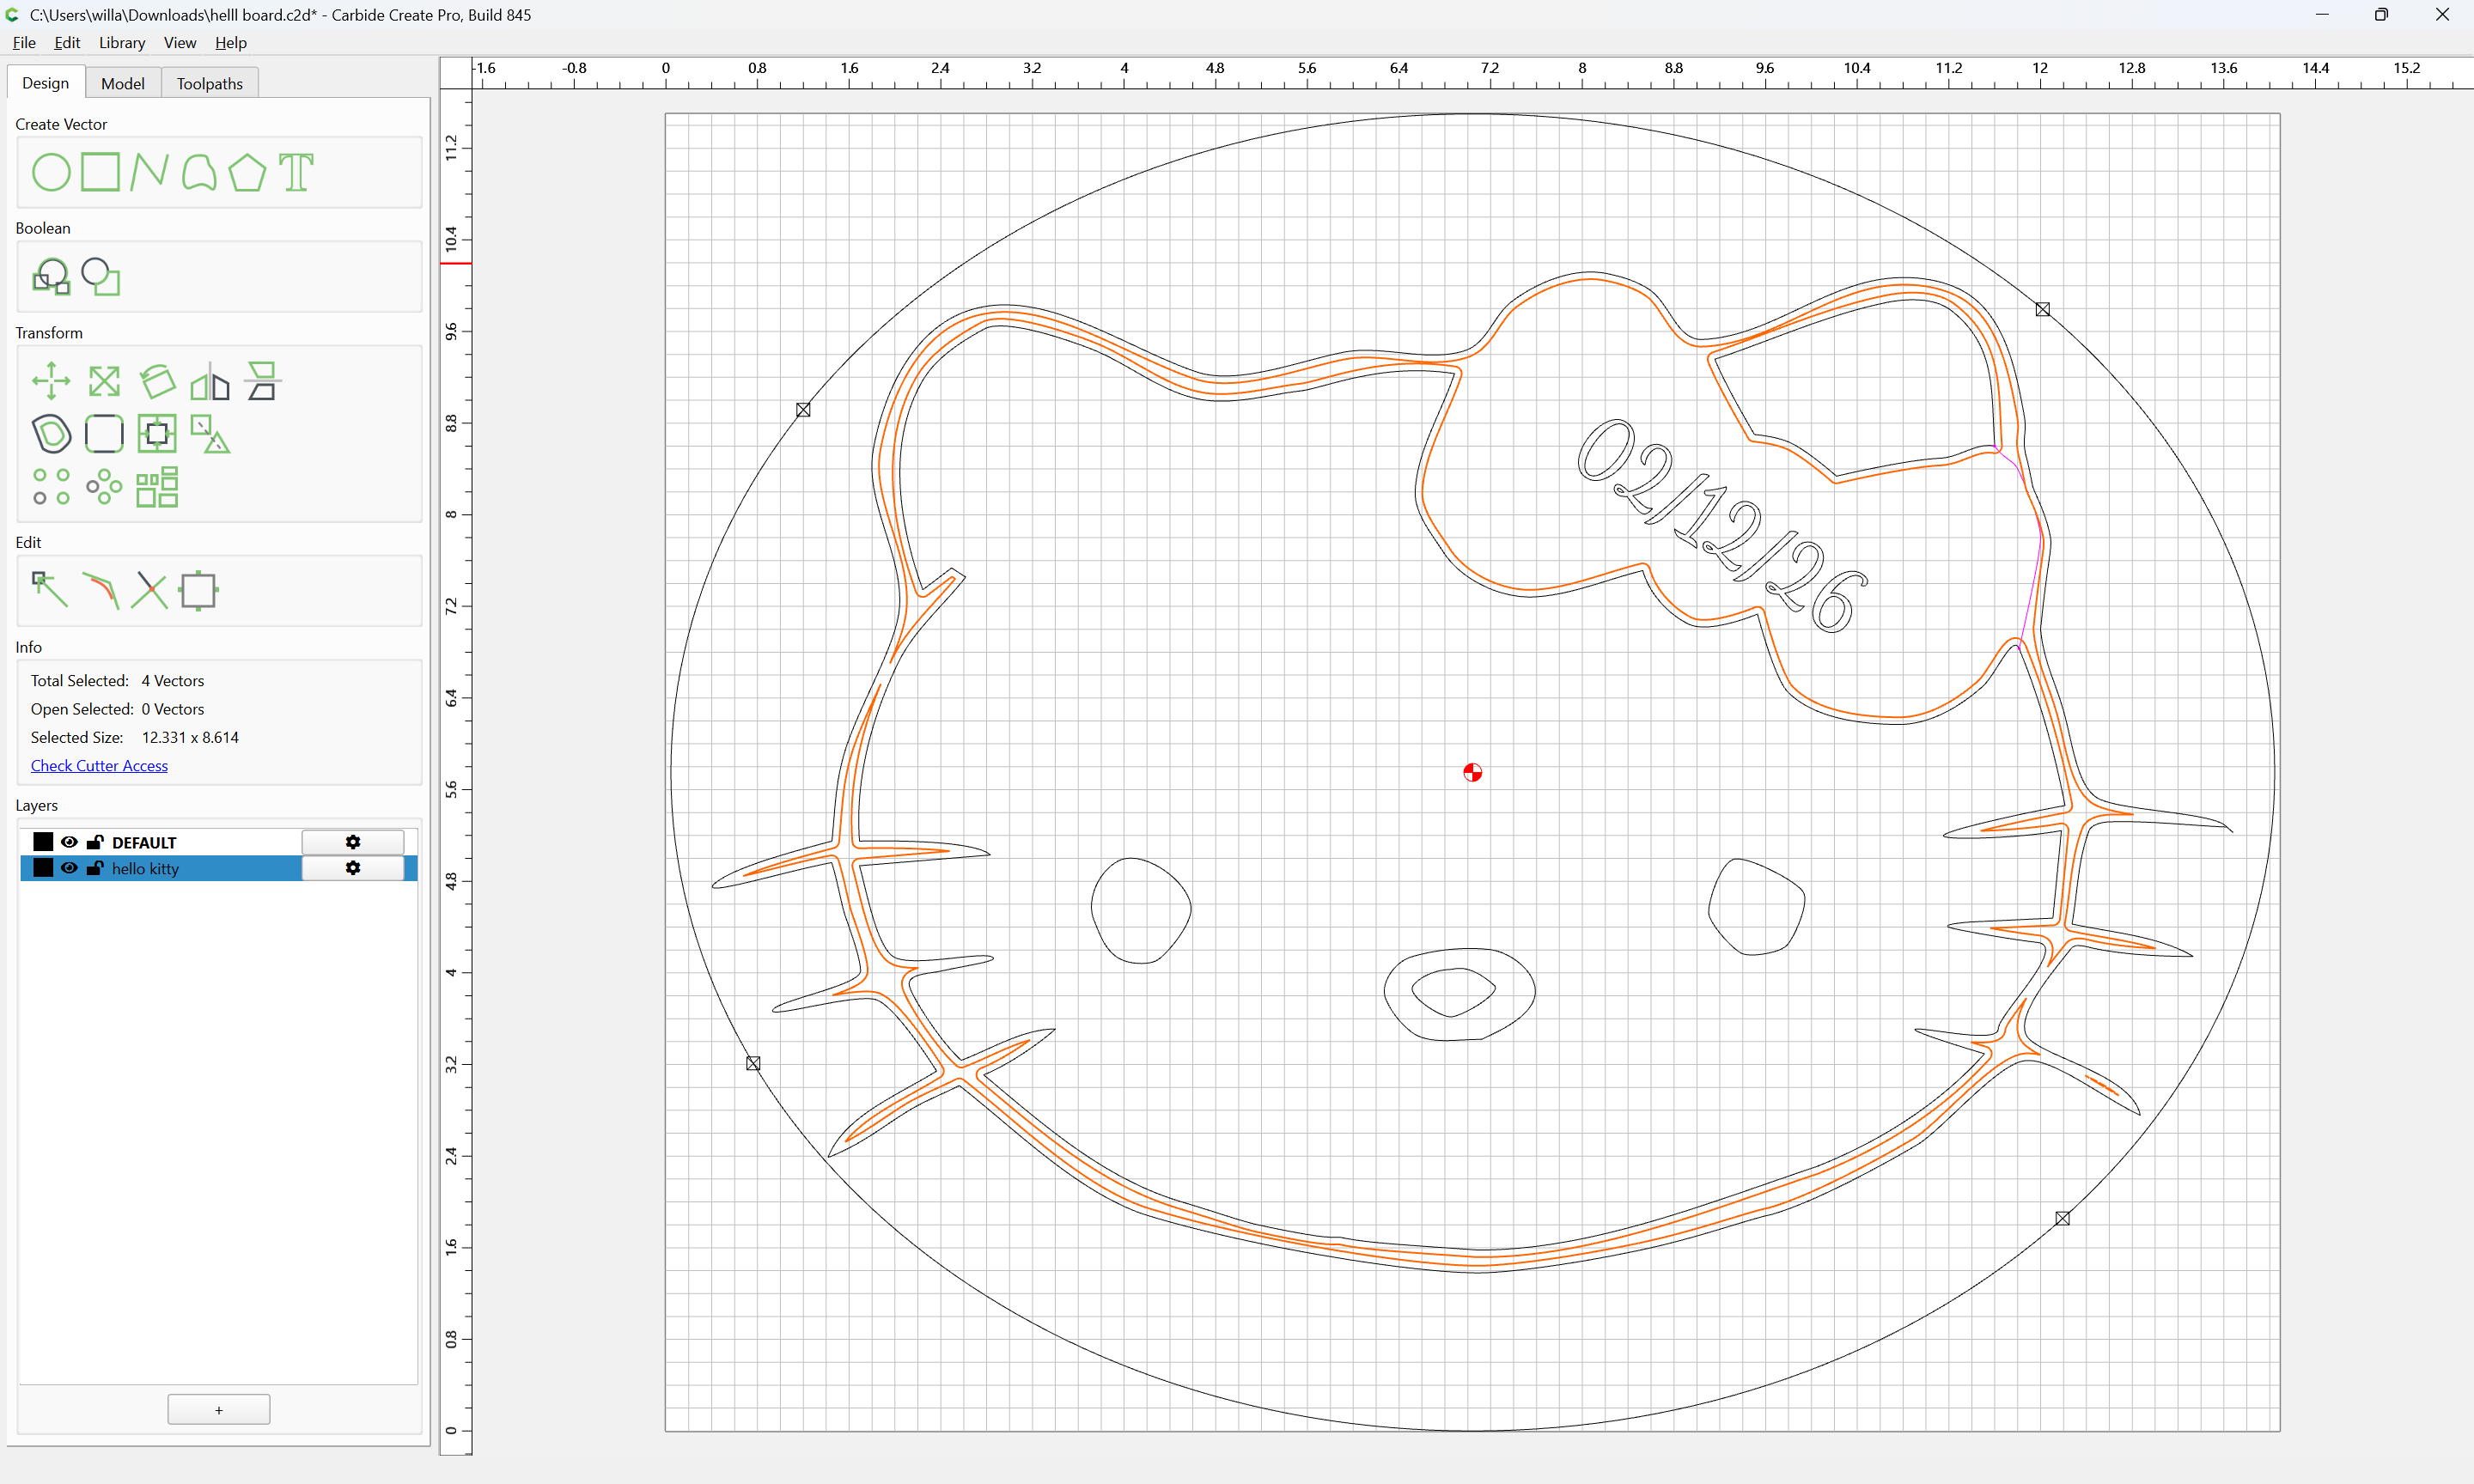
If we ungroup:
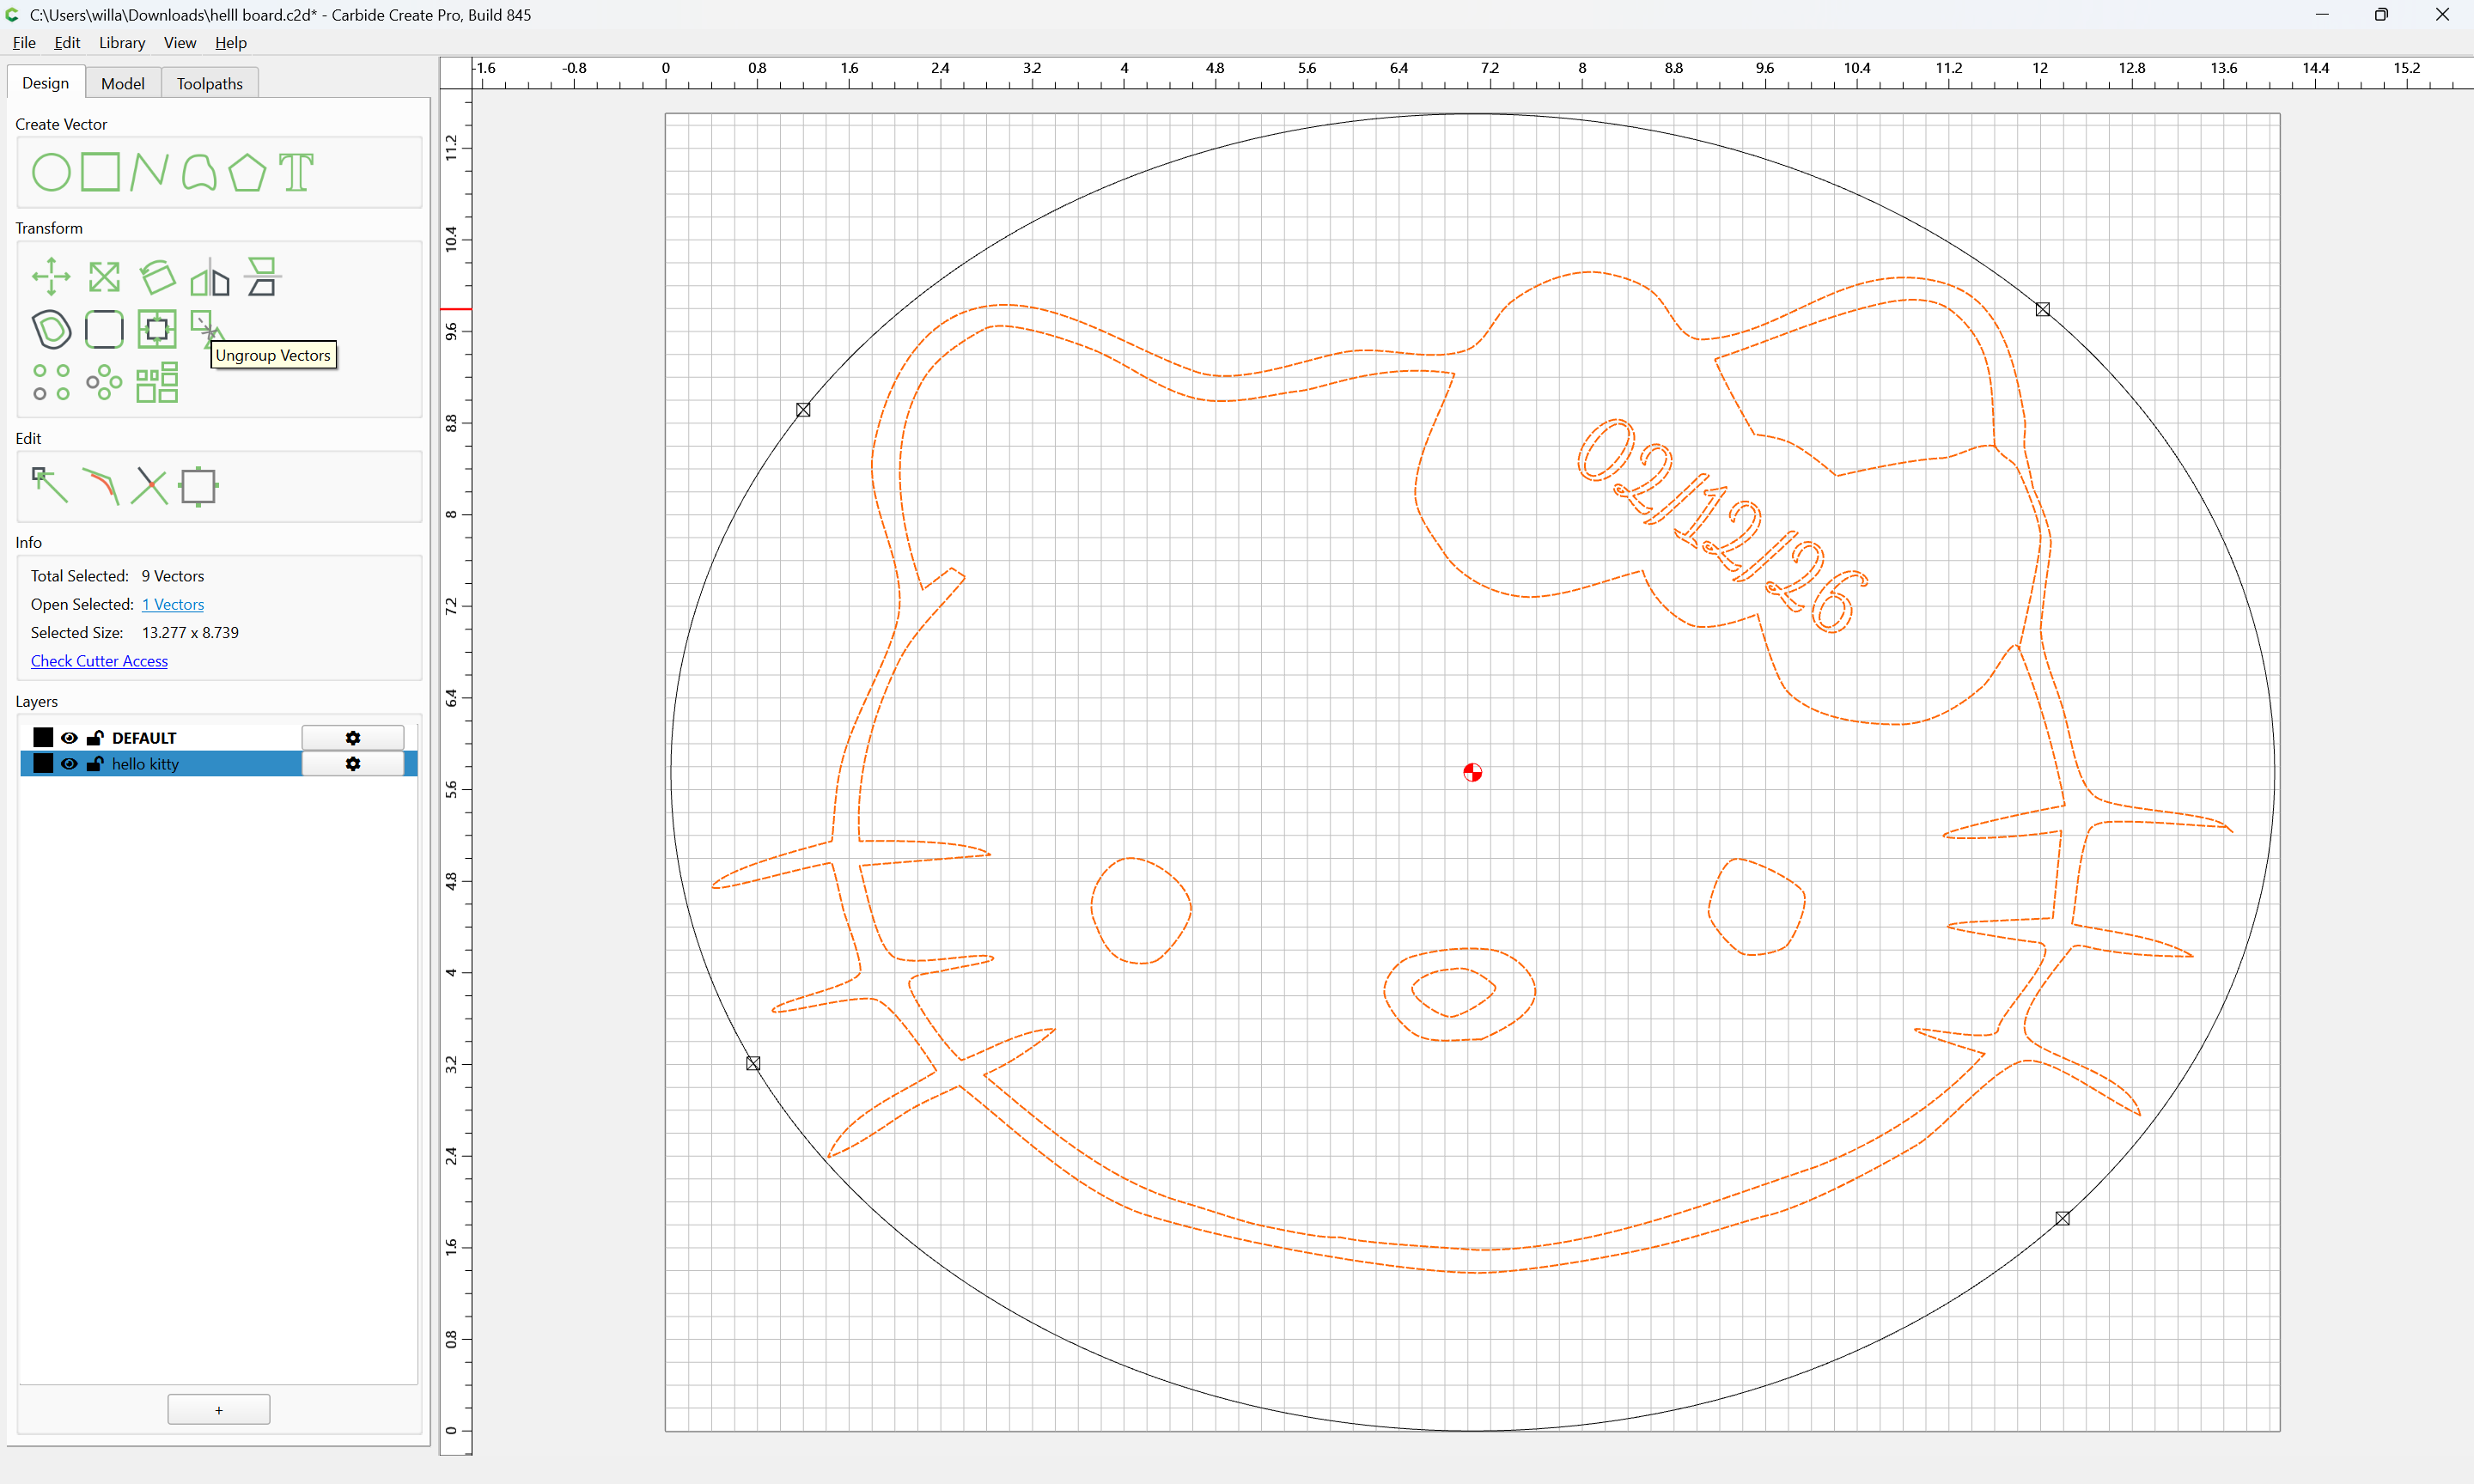
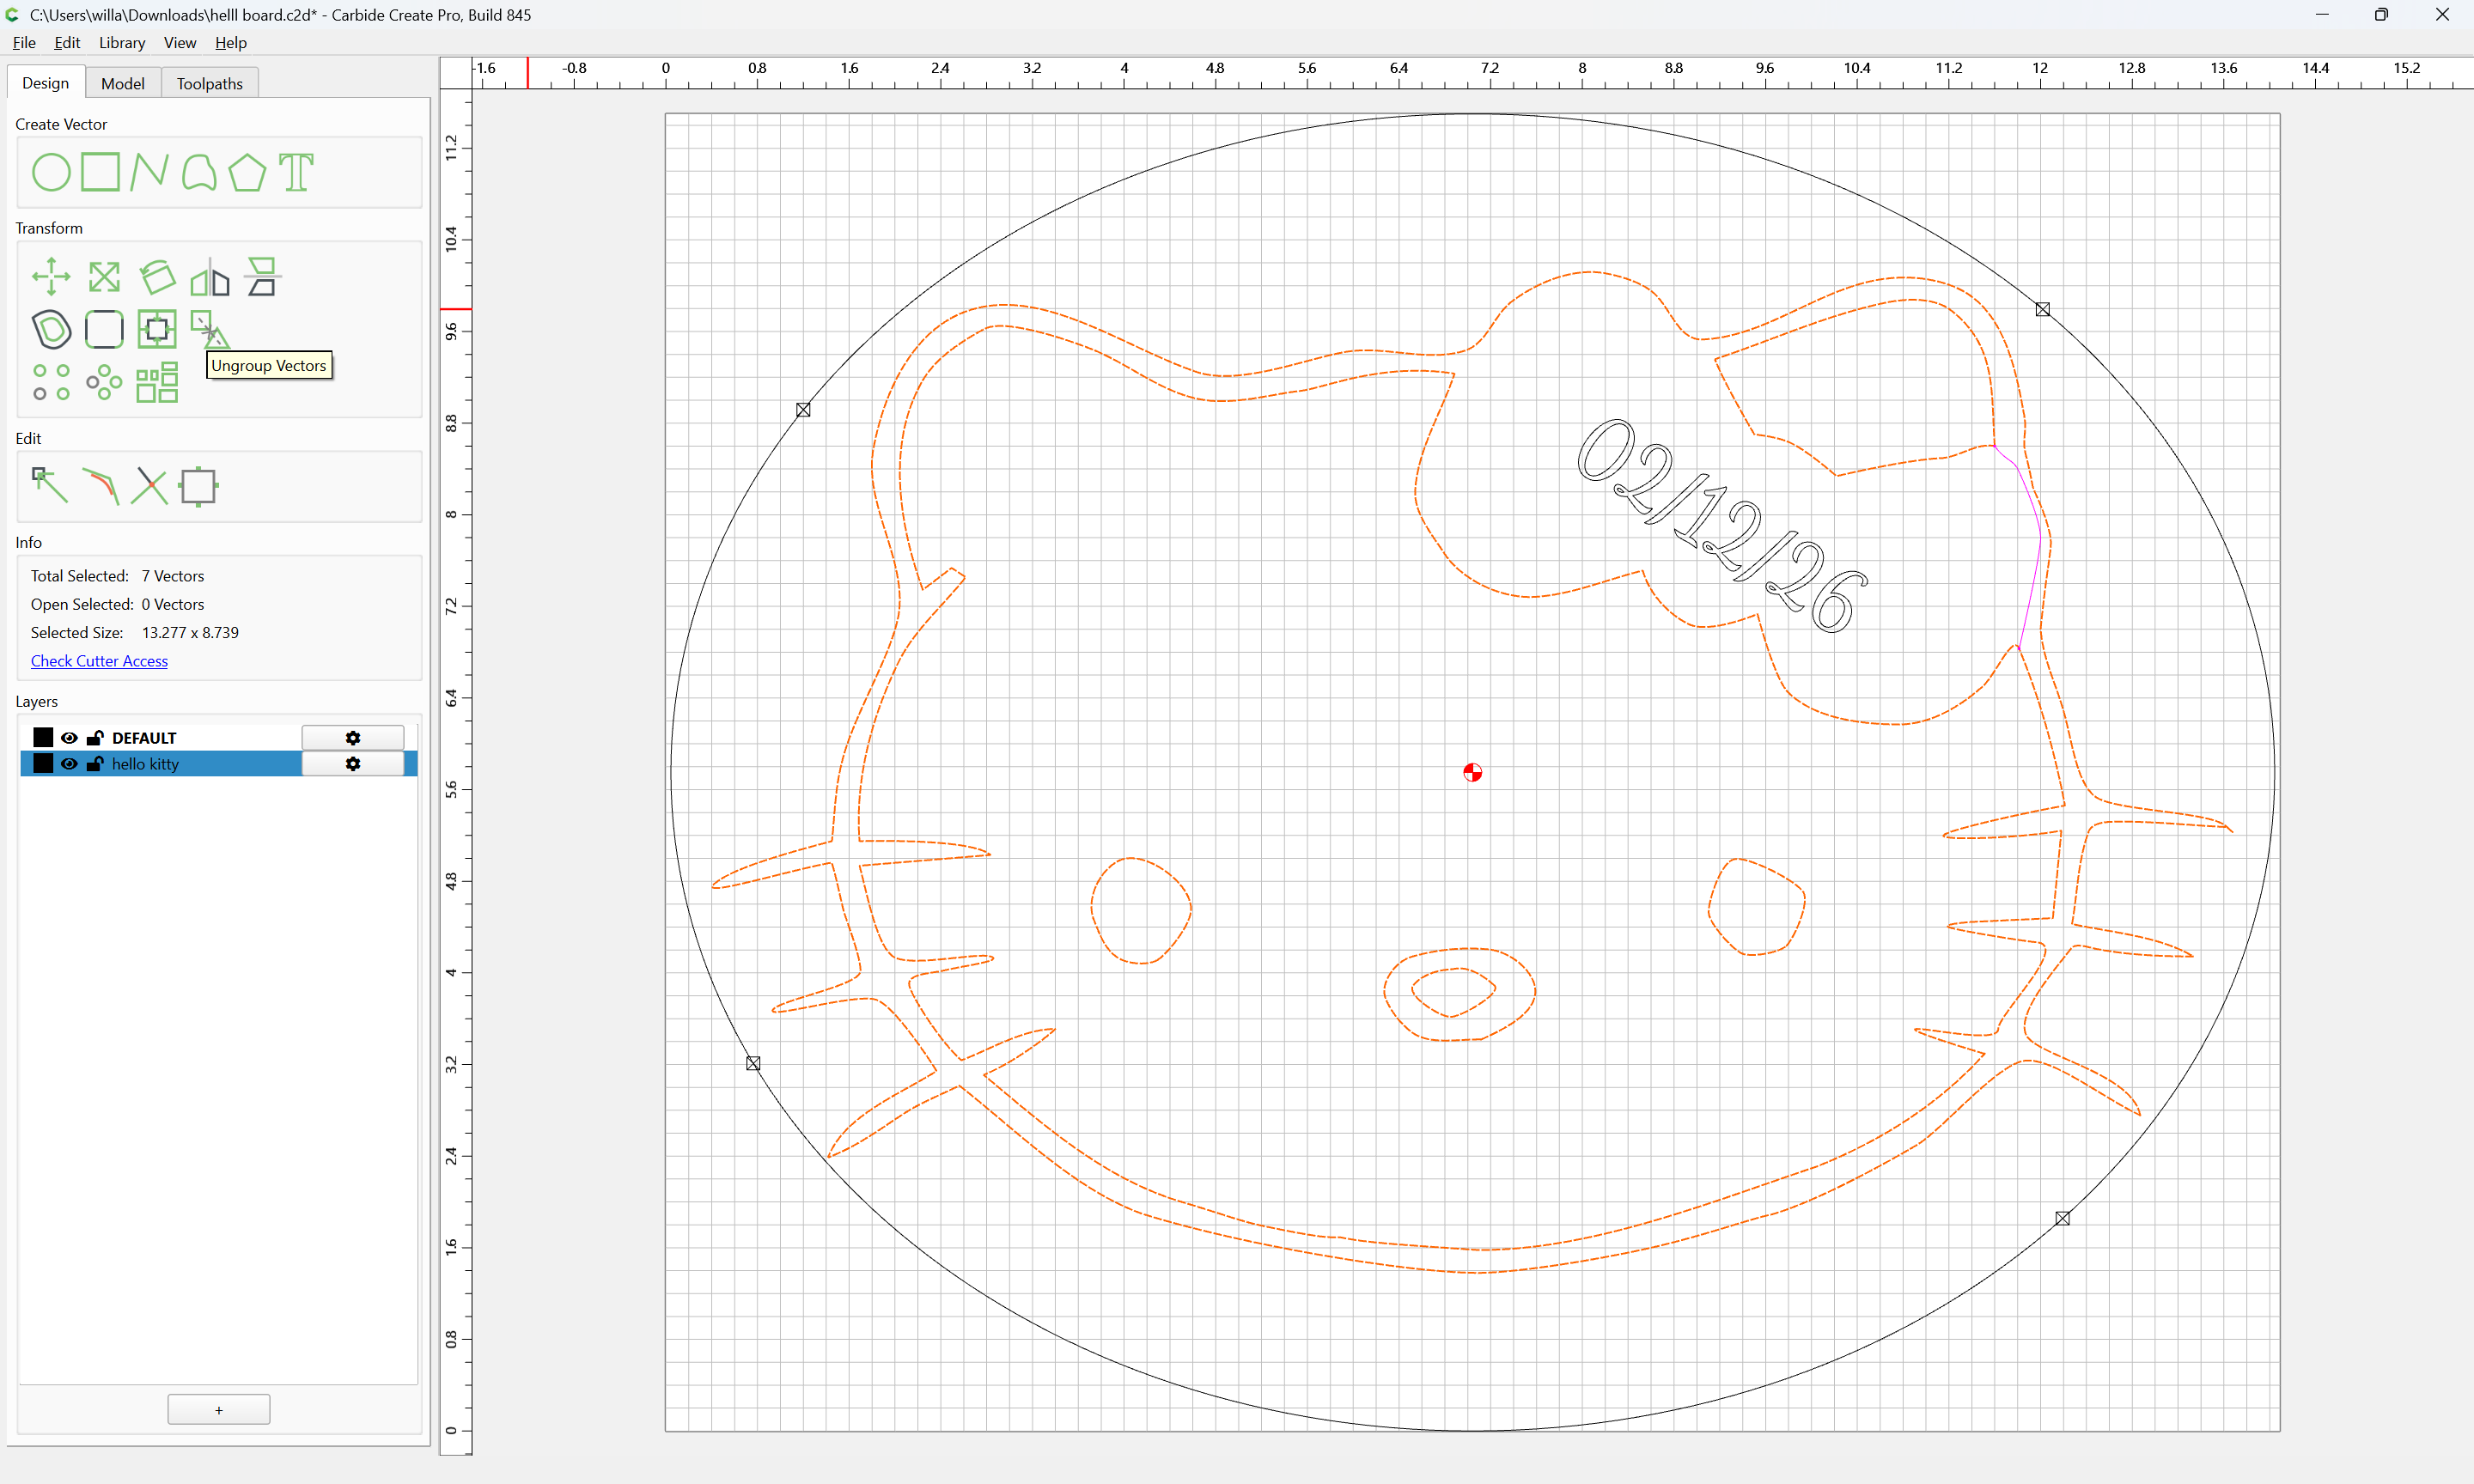
Select only the geometries which define the bow region:
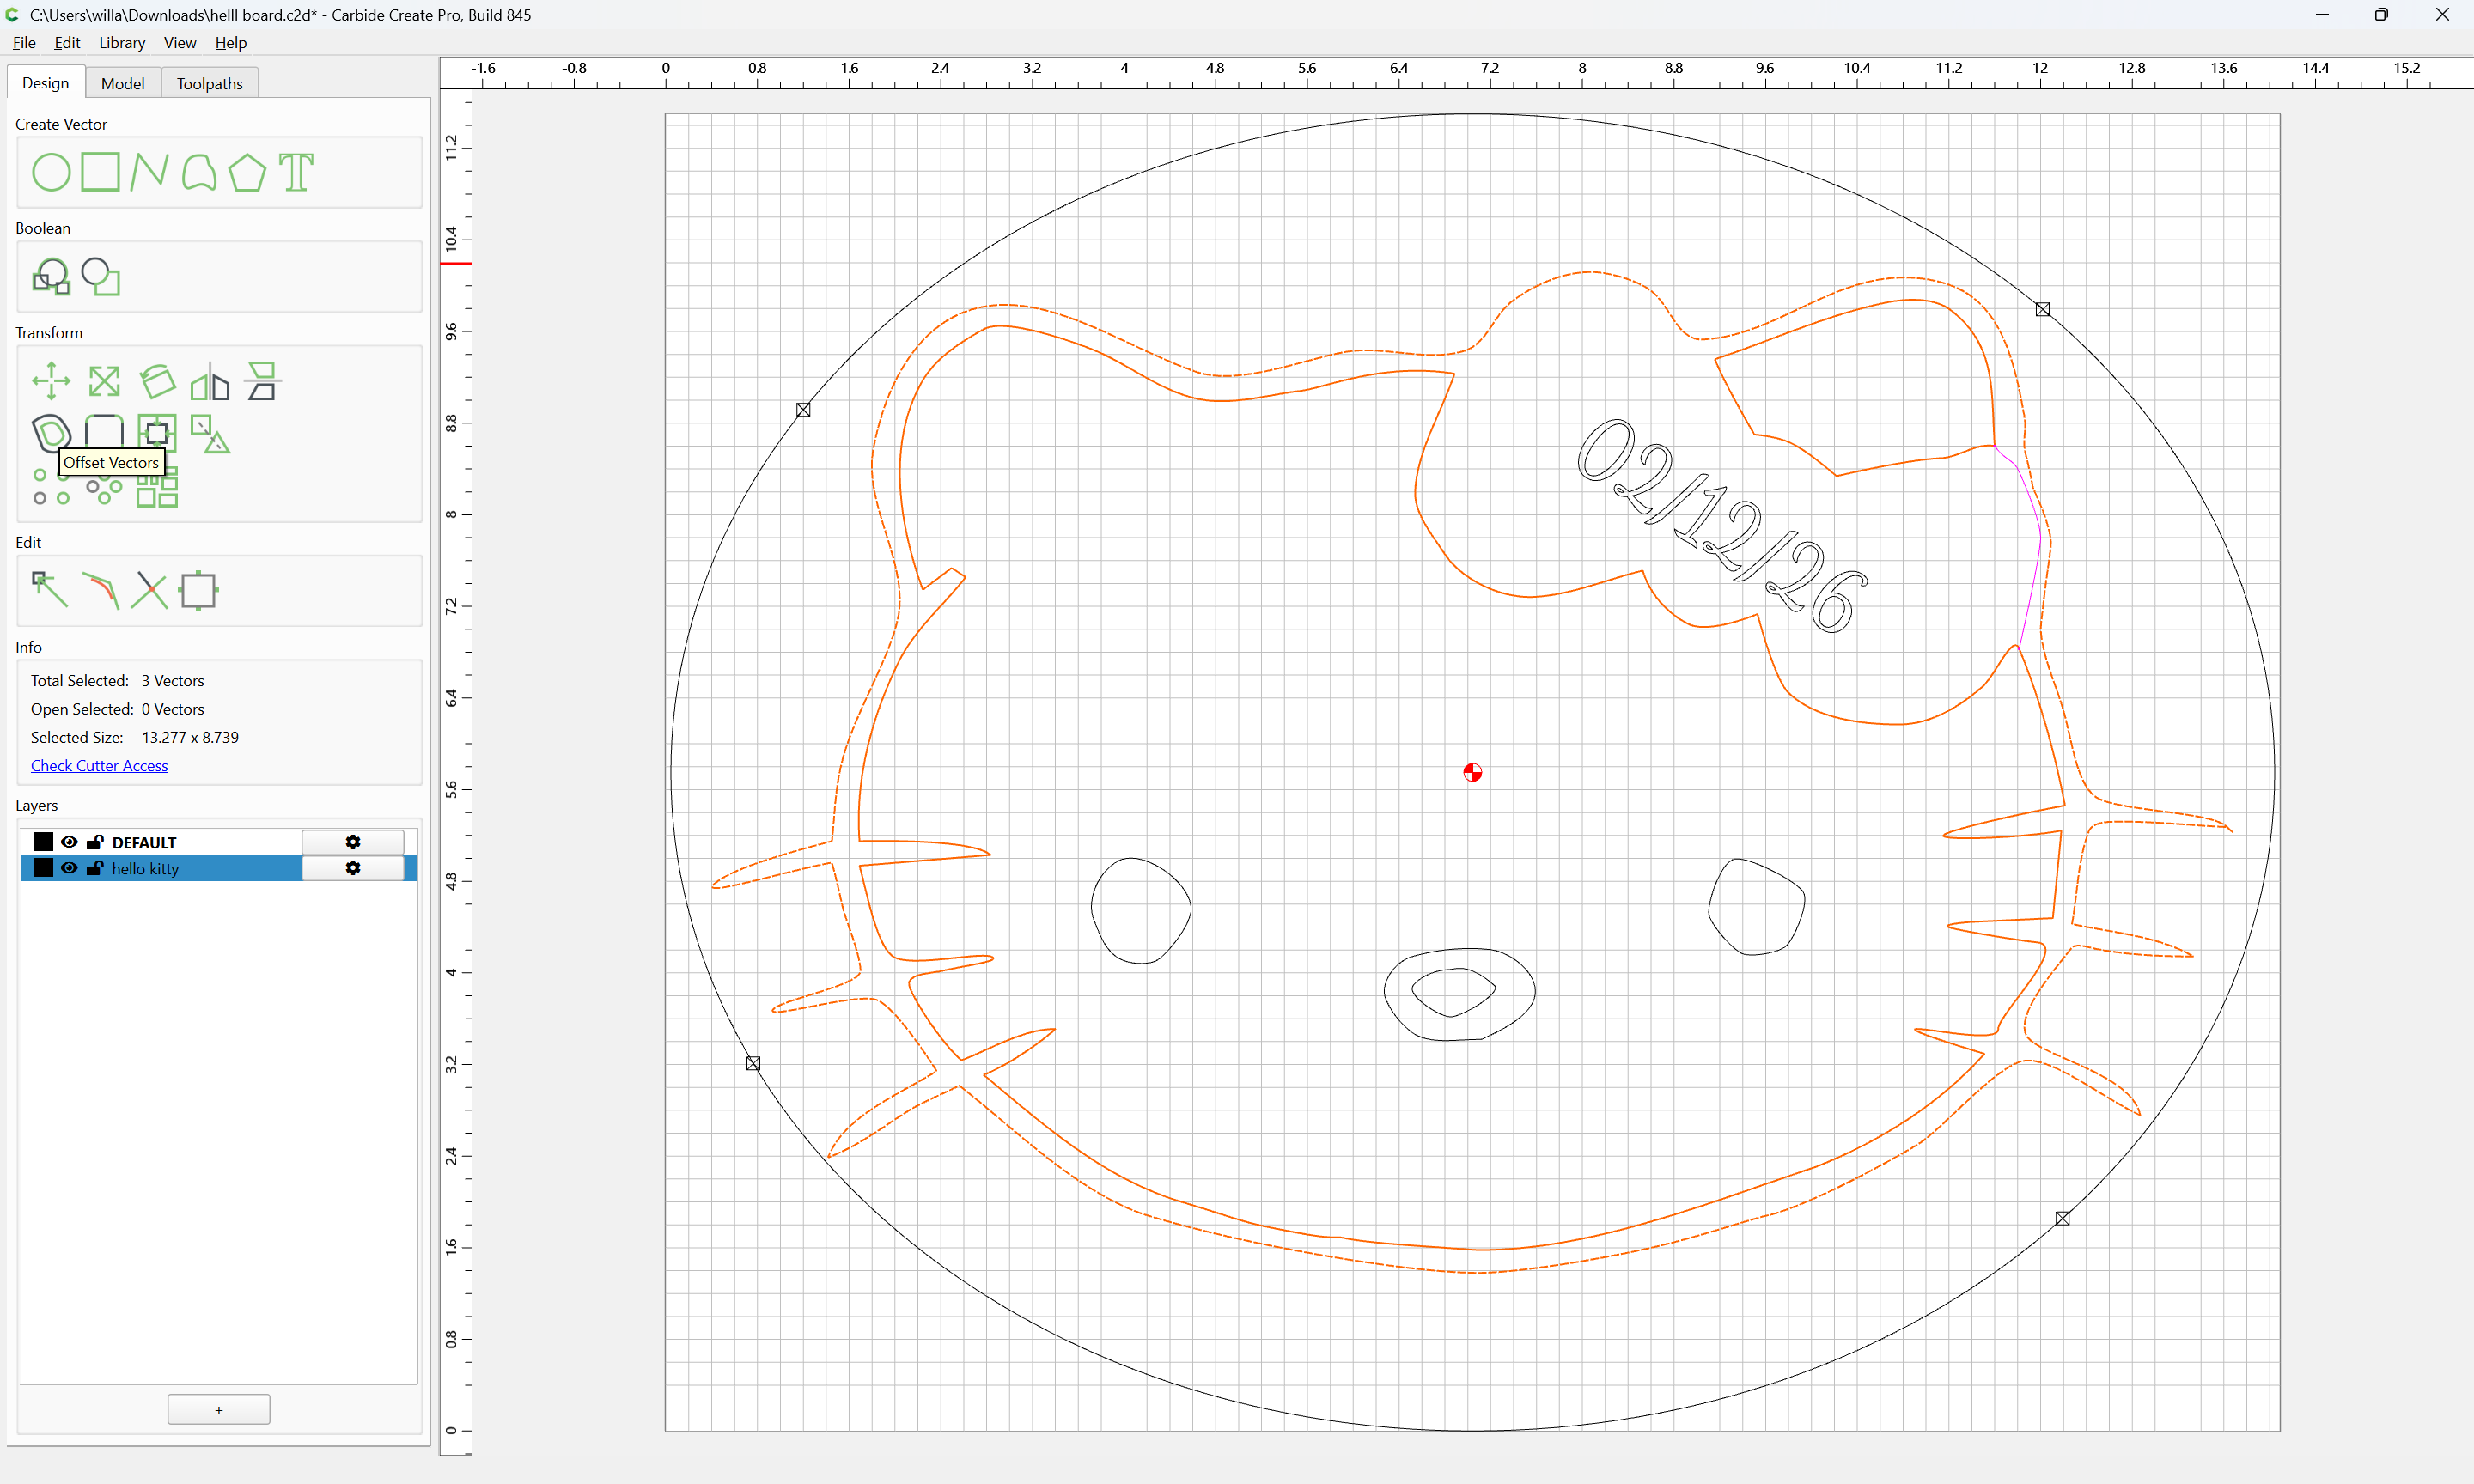
and Offset Vectors:
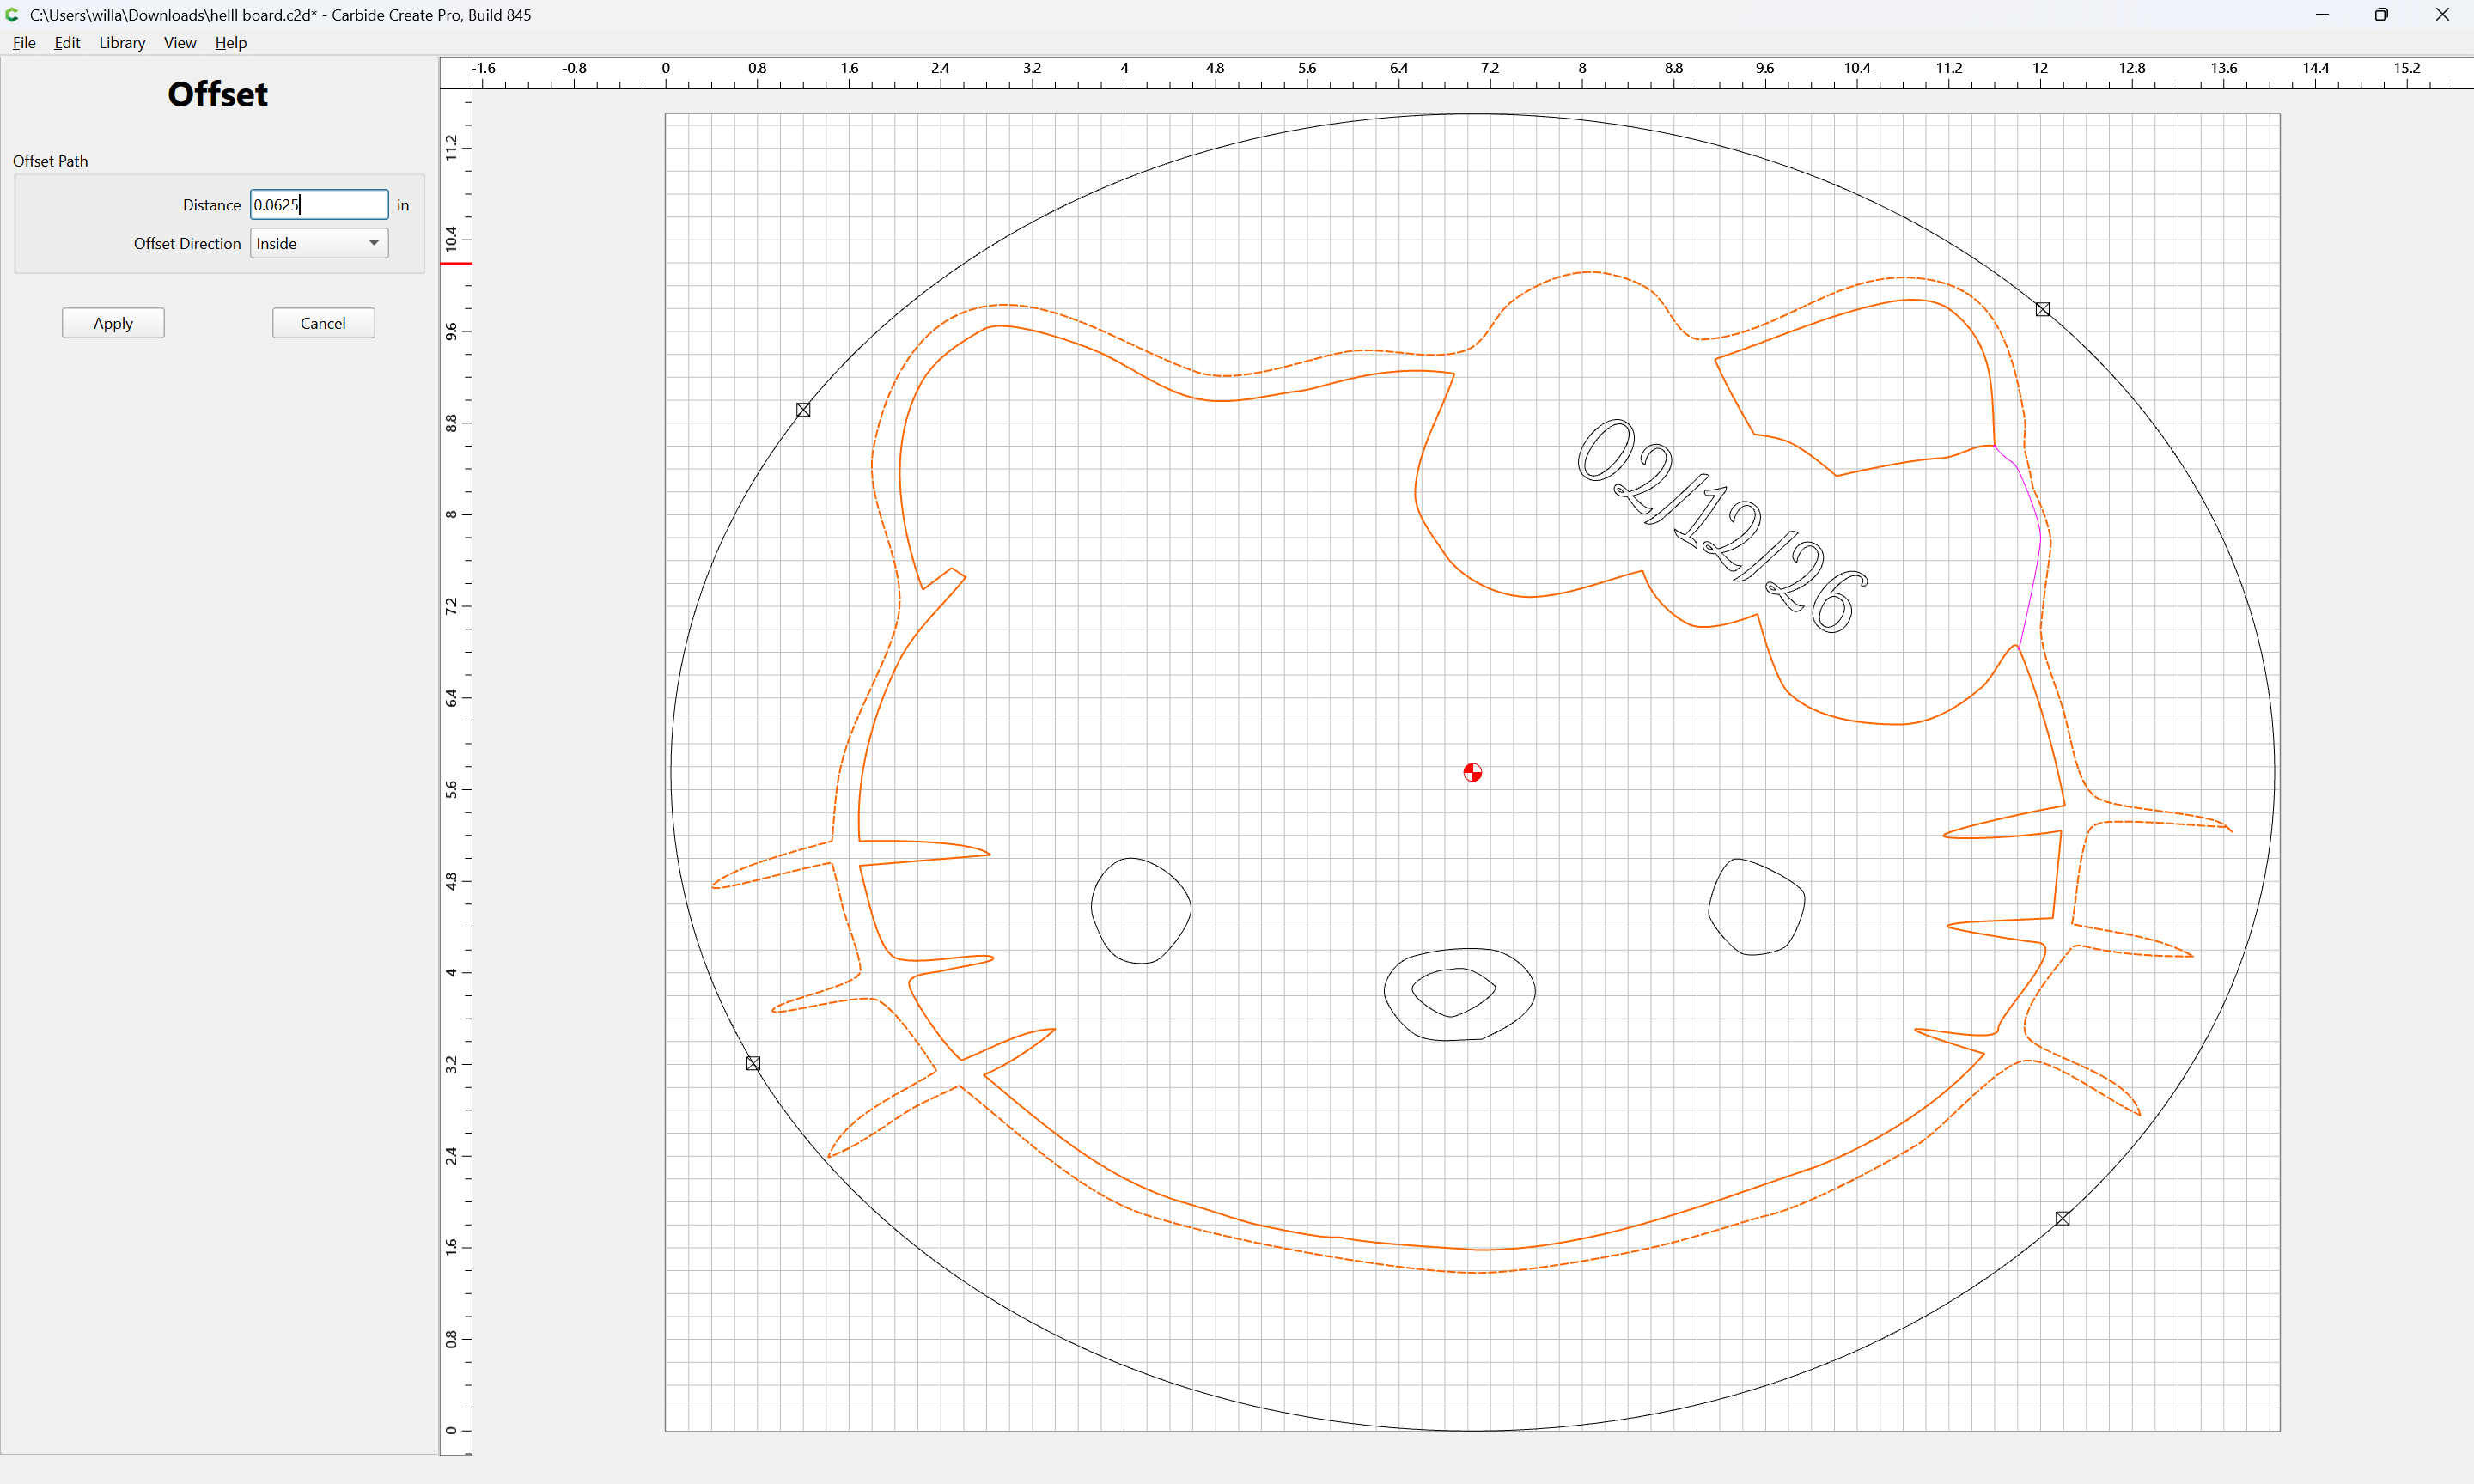
Apply
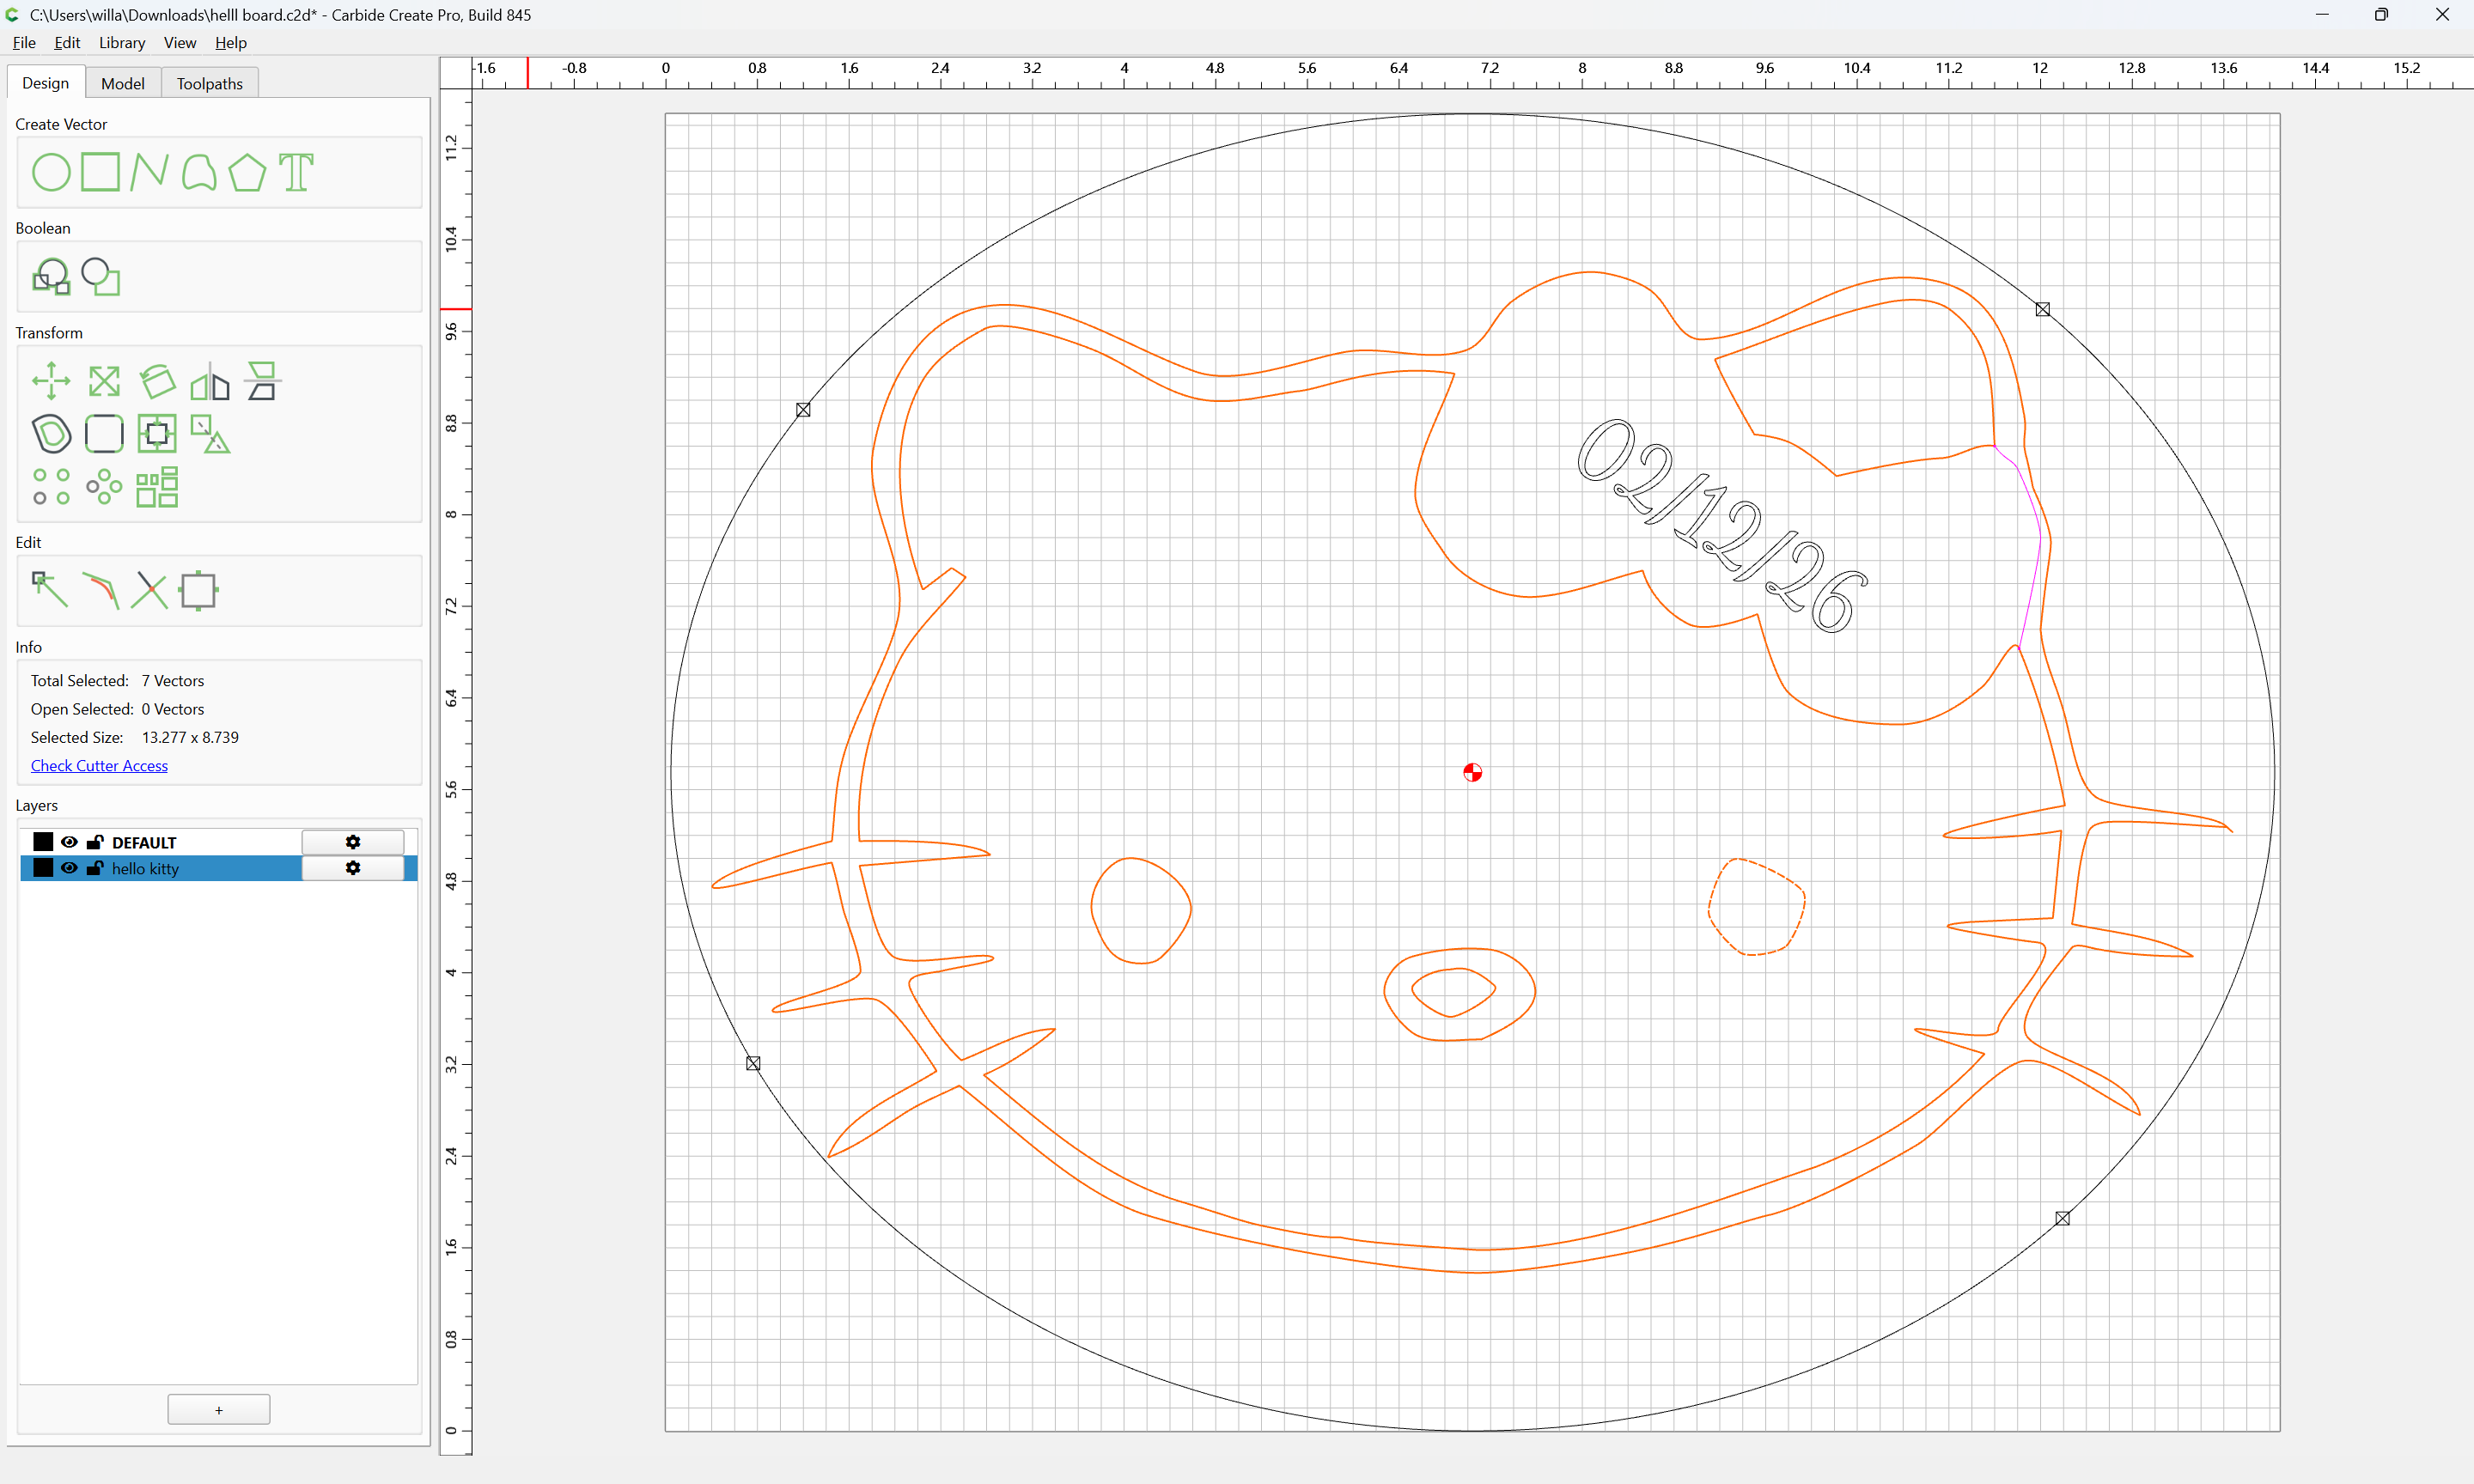
select what is not wanted:
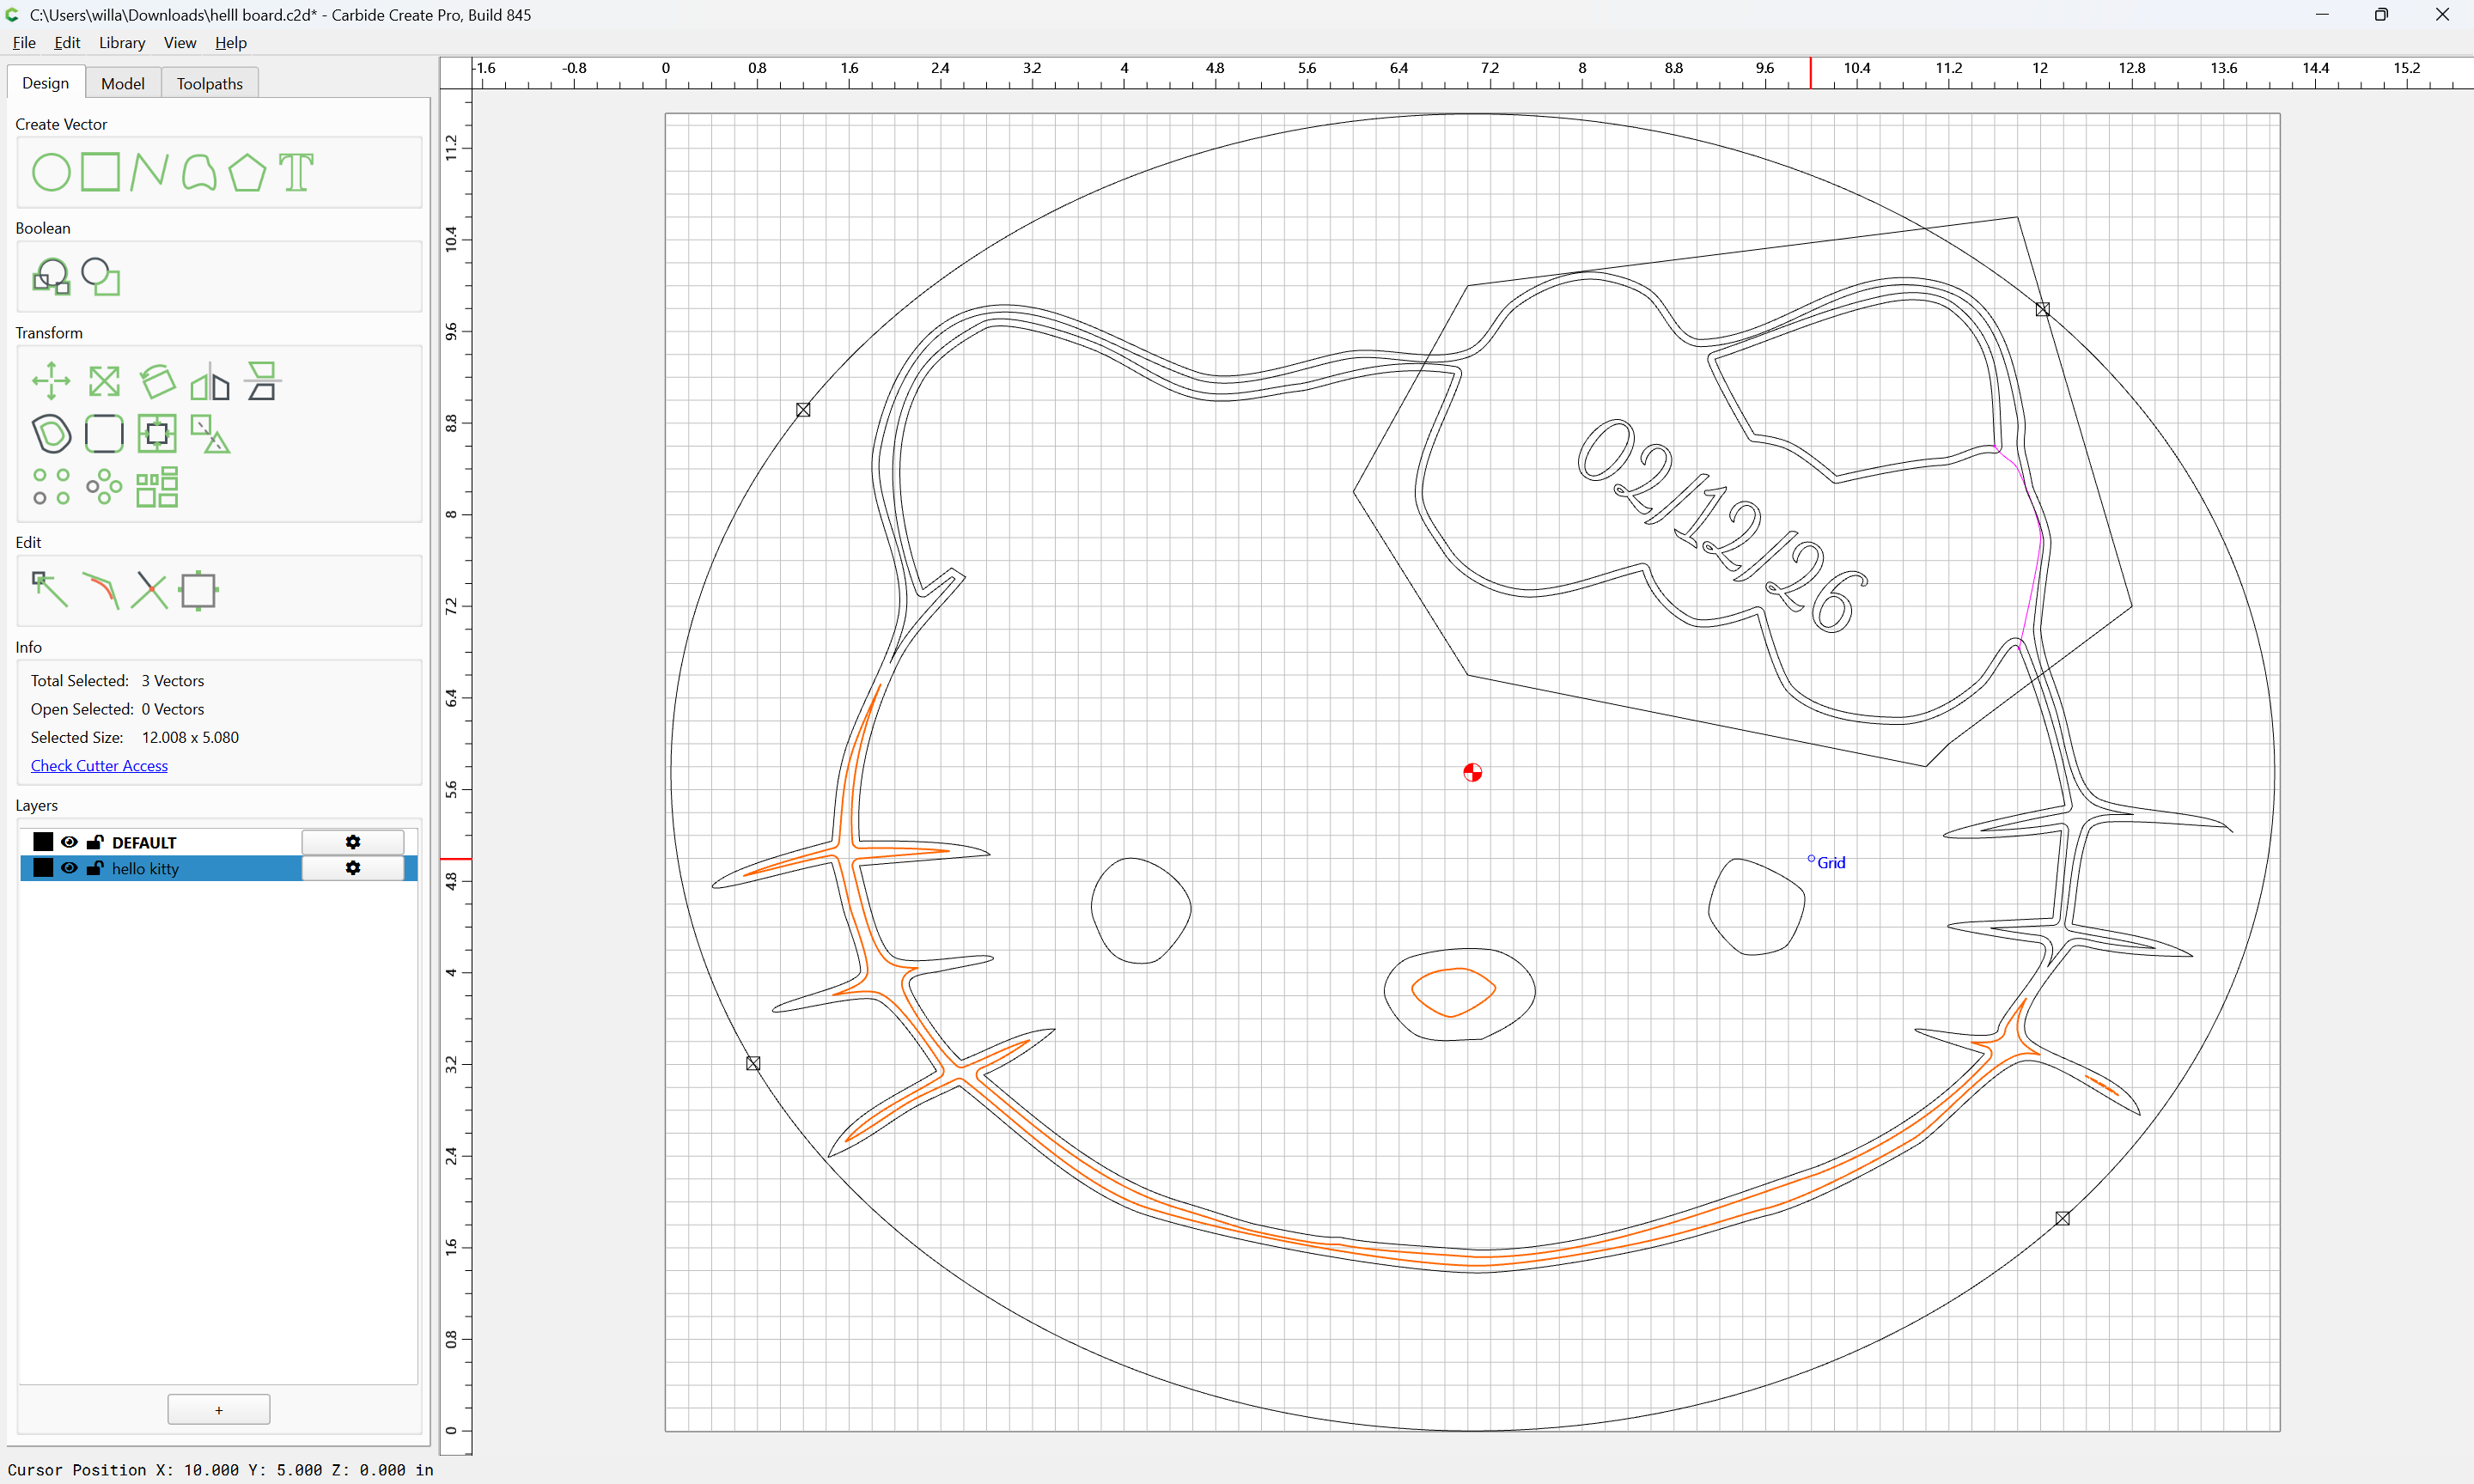
and delete:
draw a polyline to define the region of the bow:

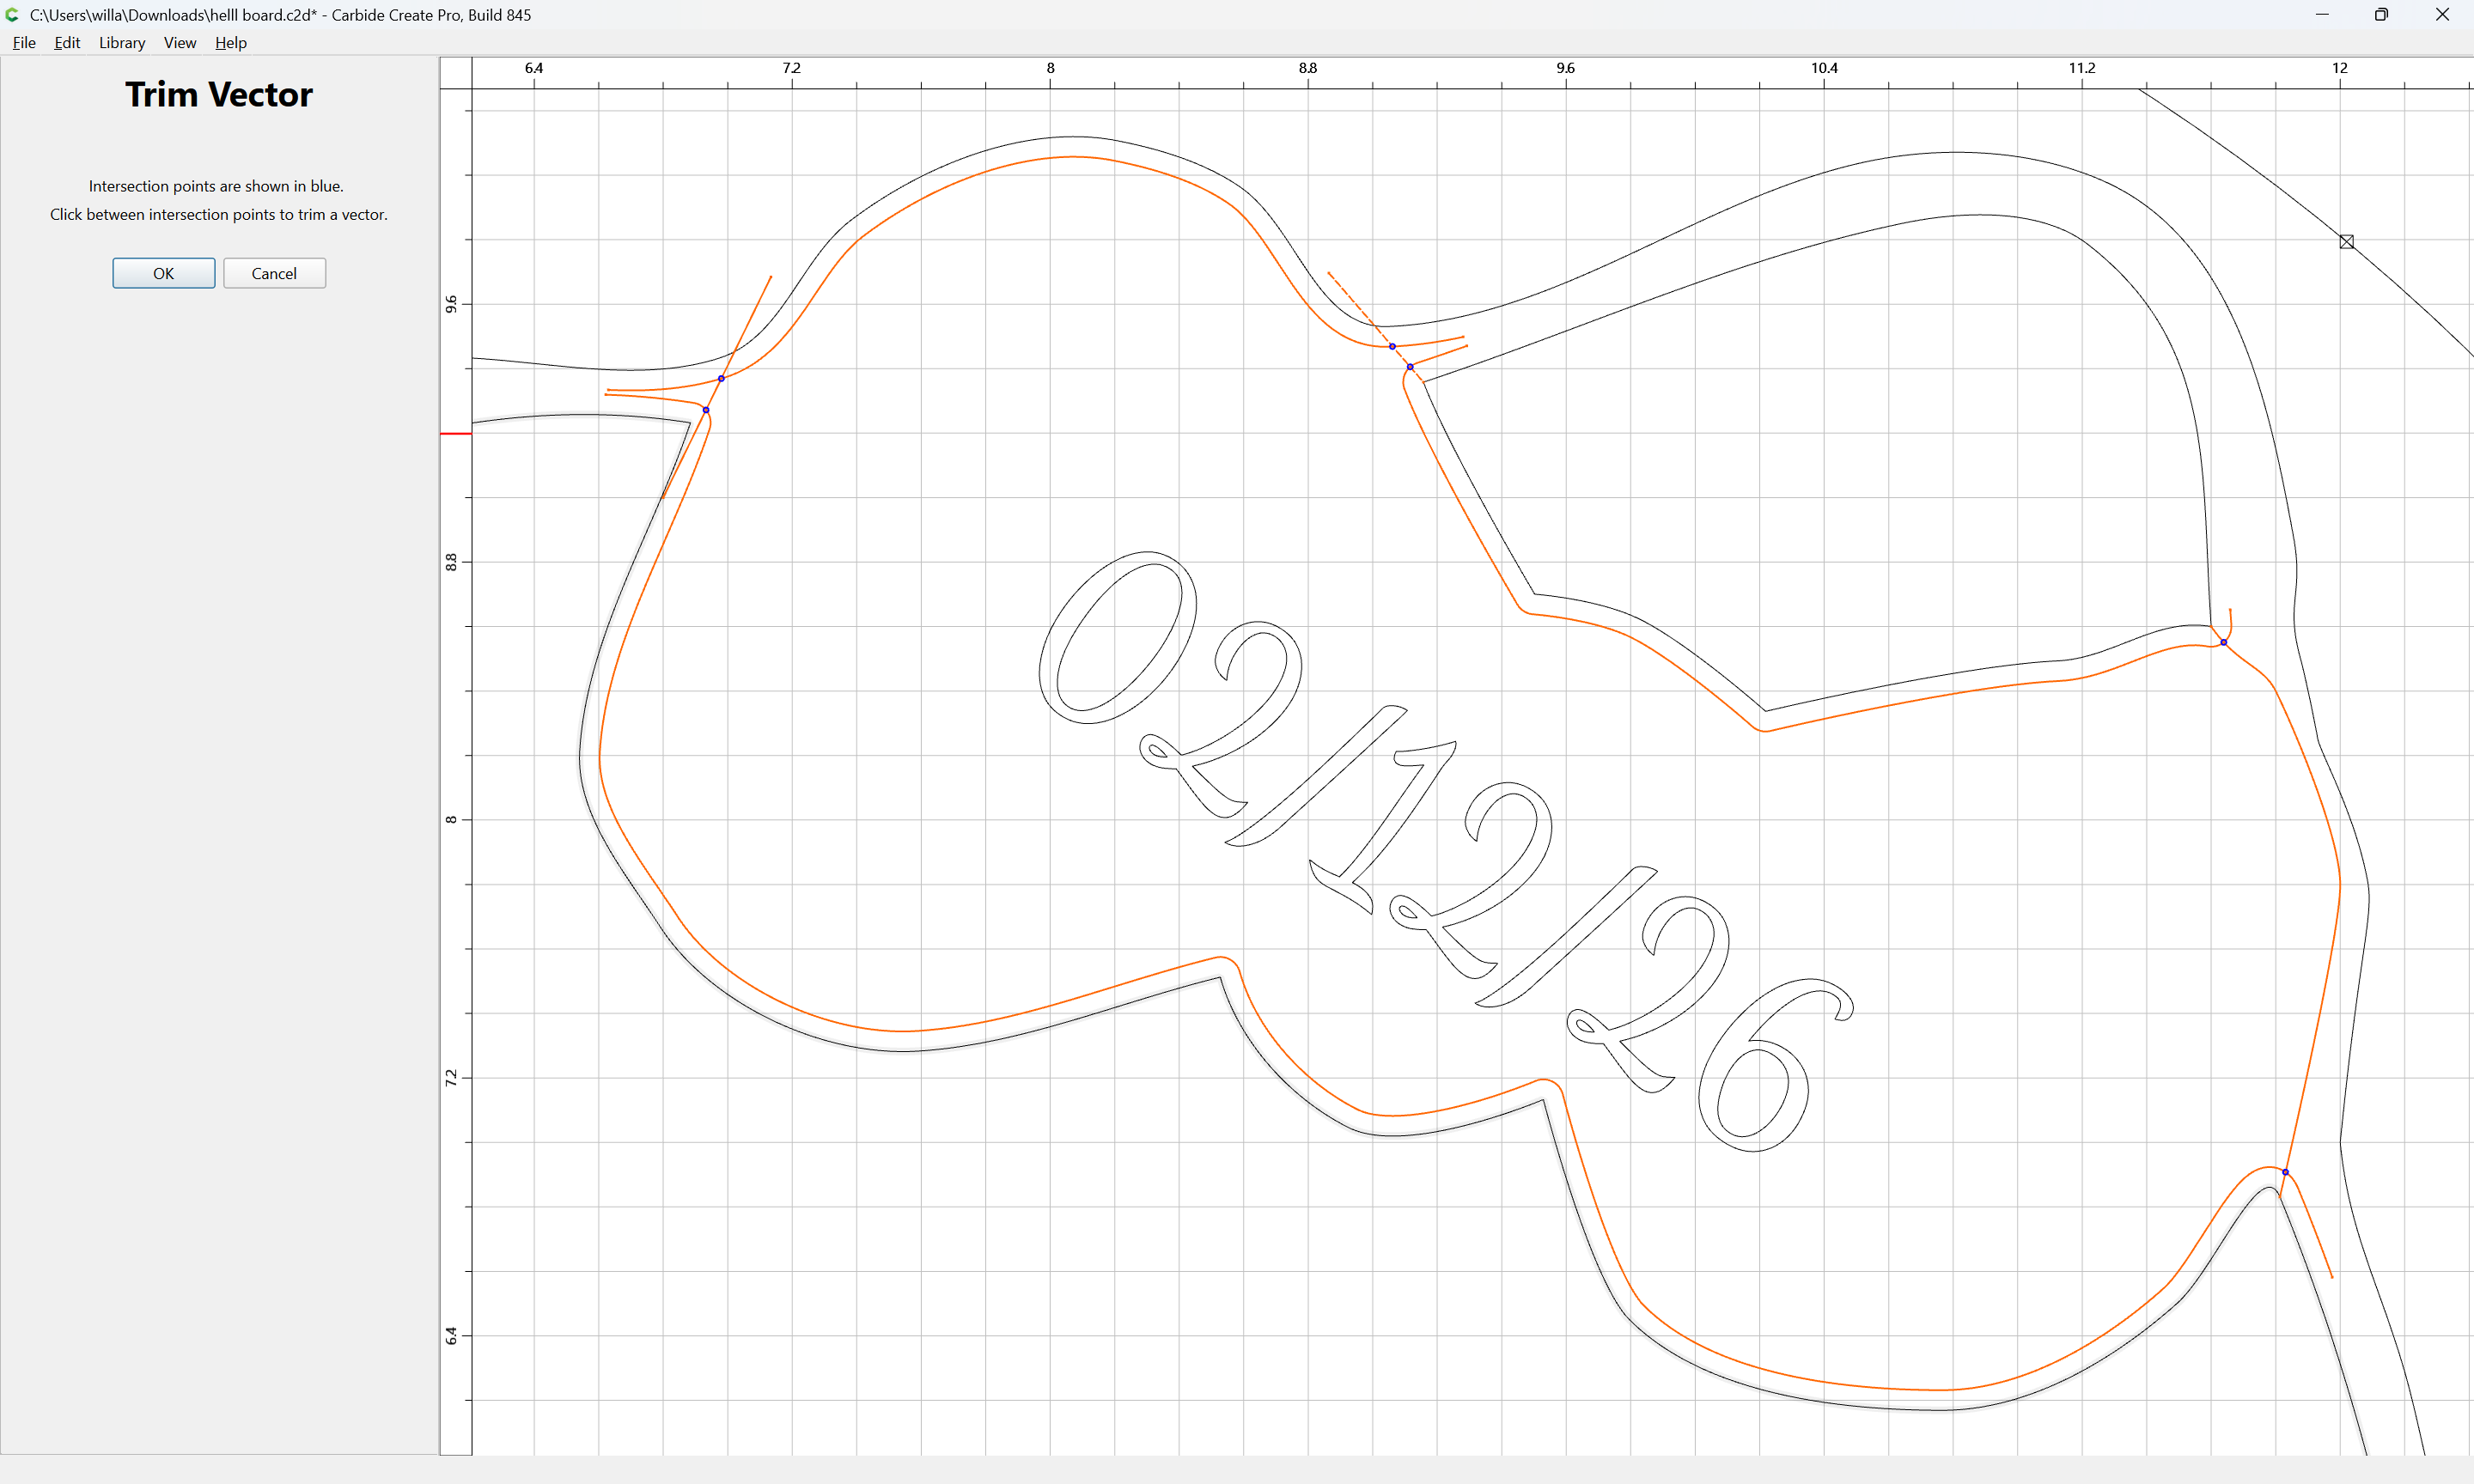
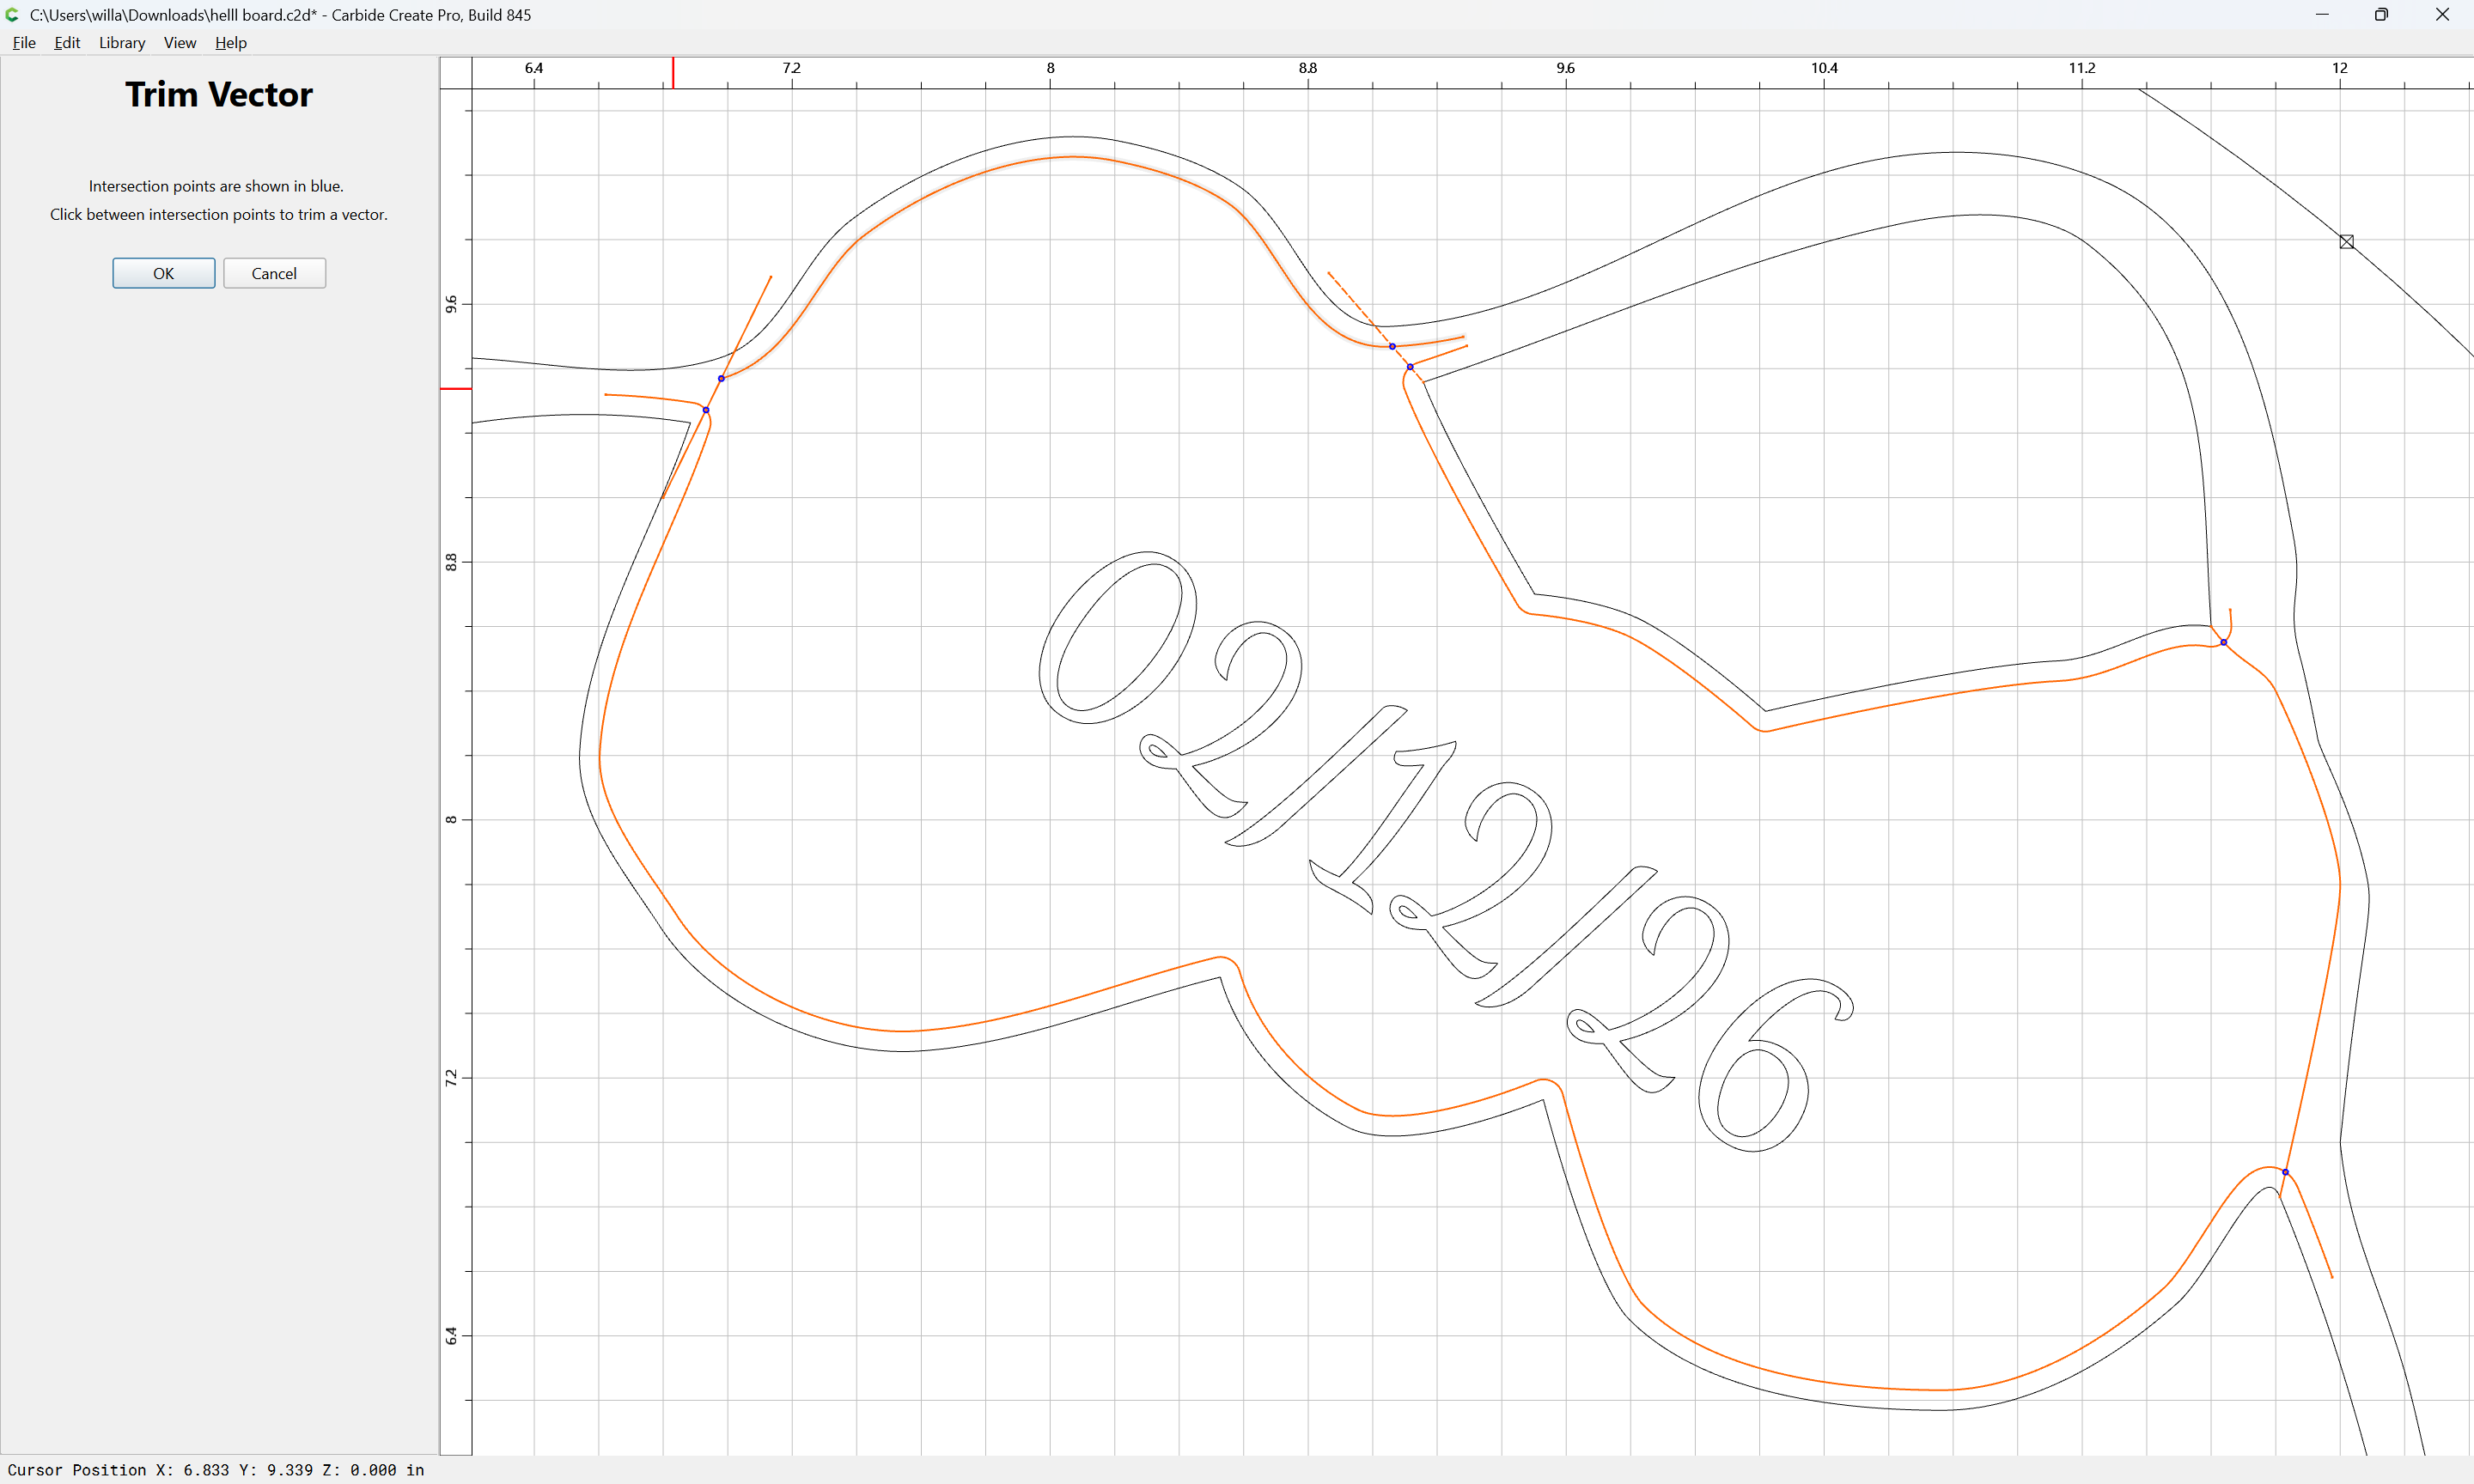
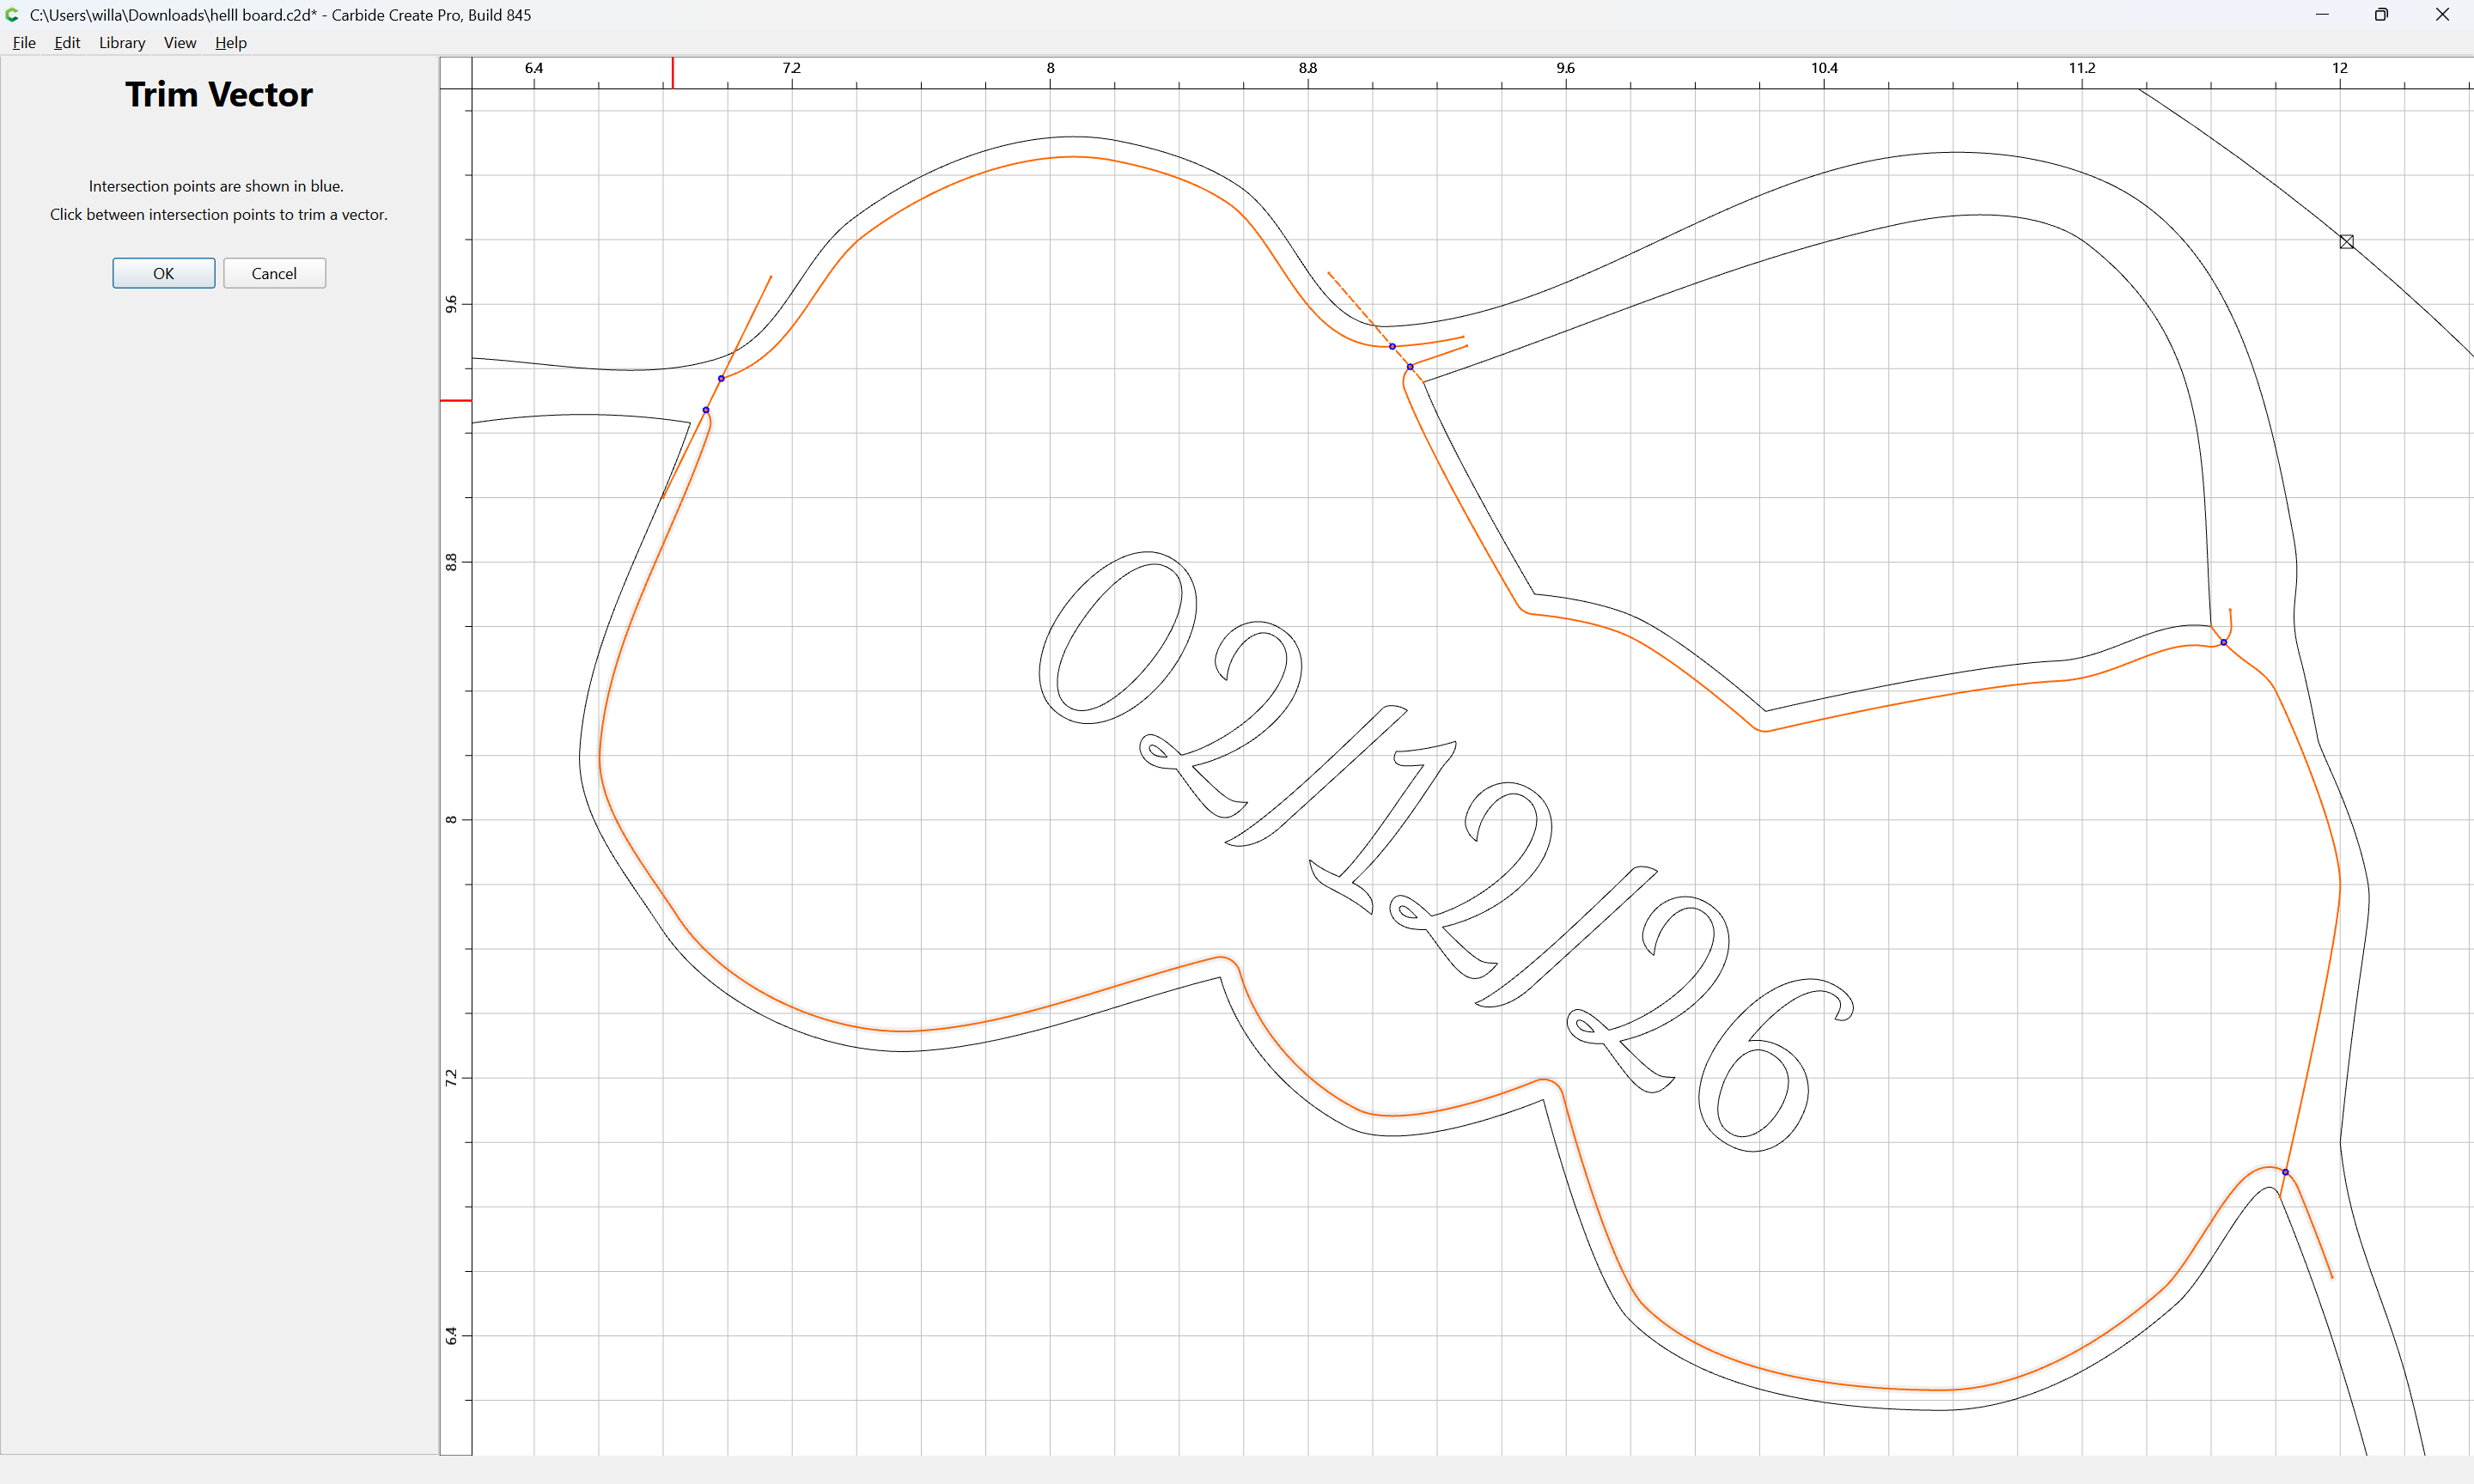
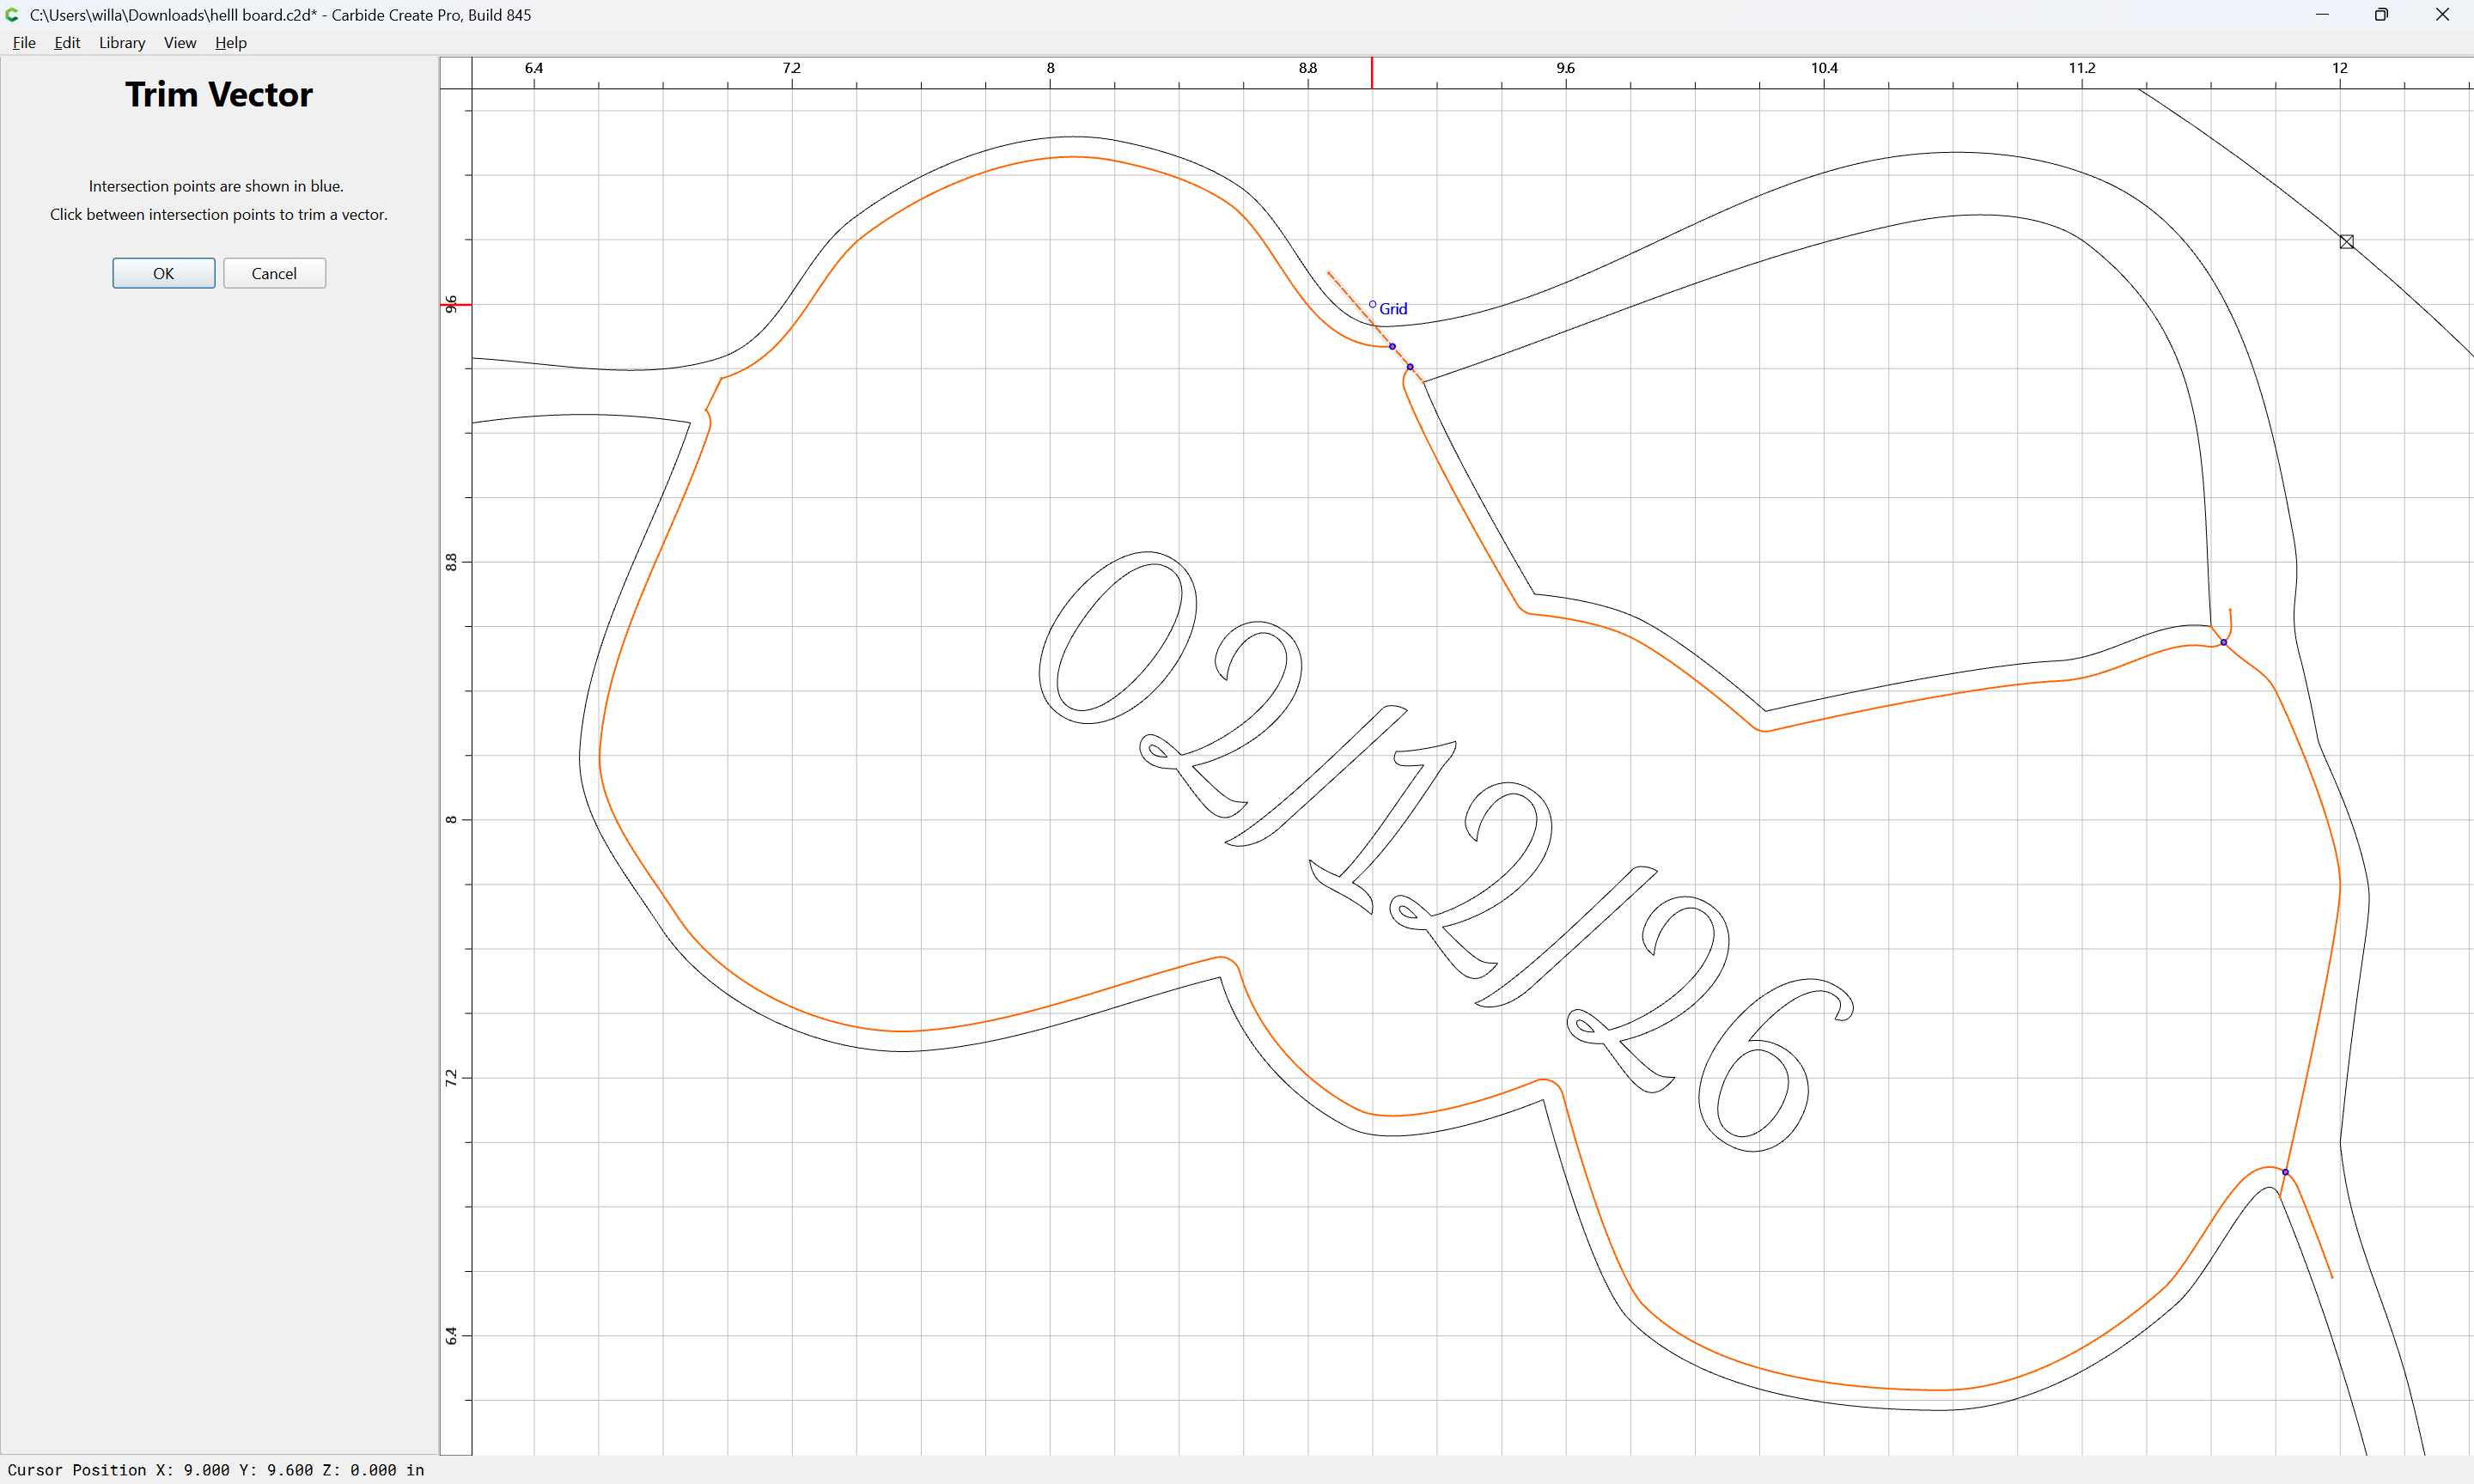
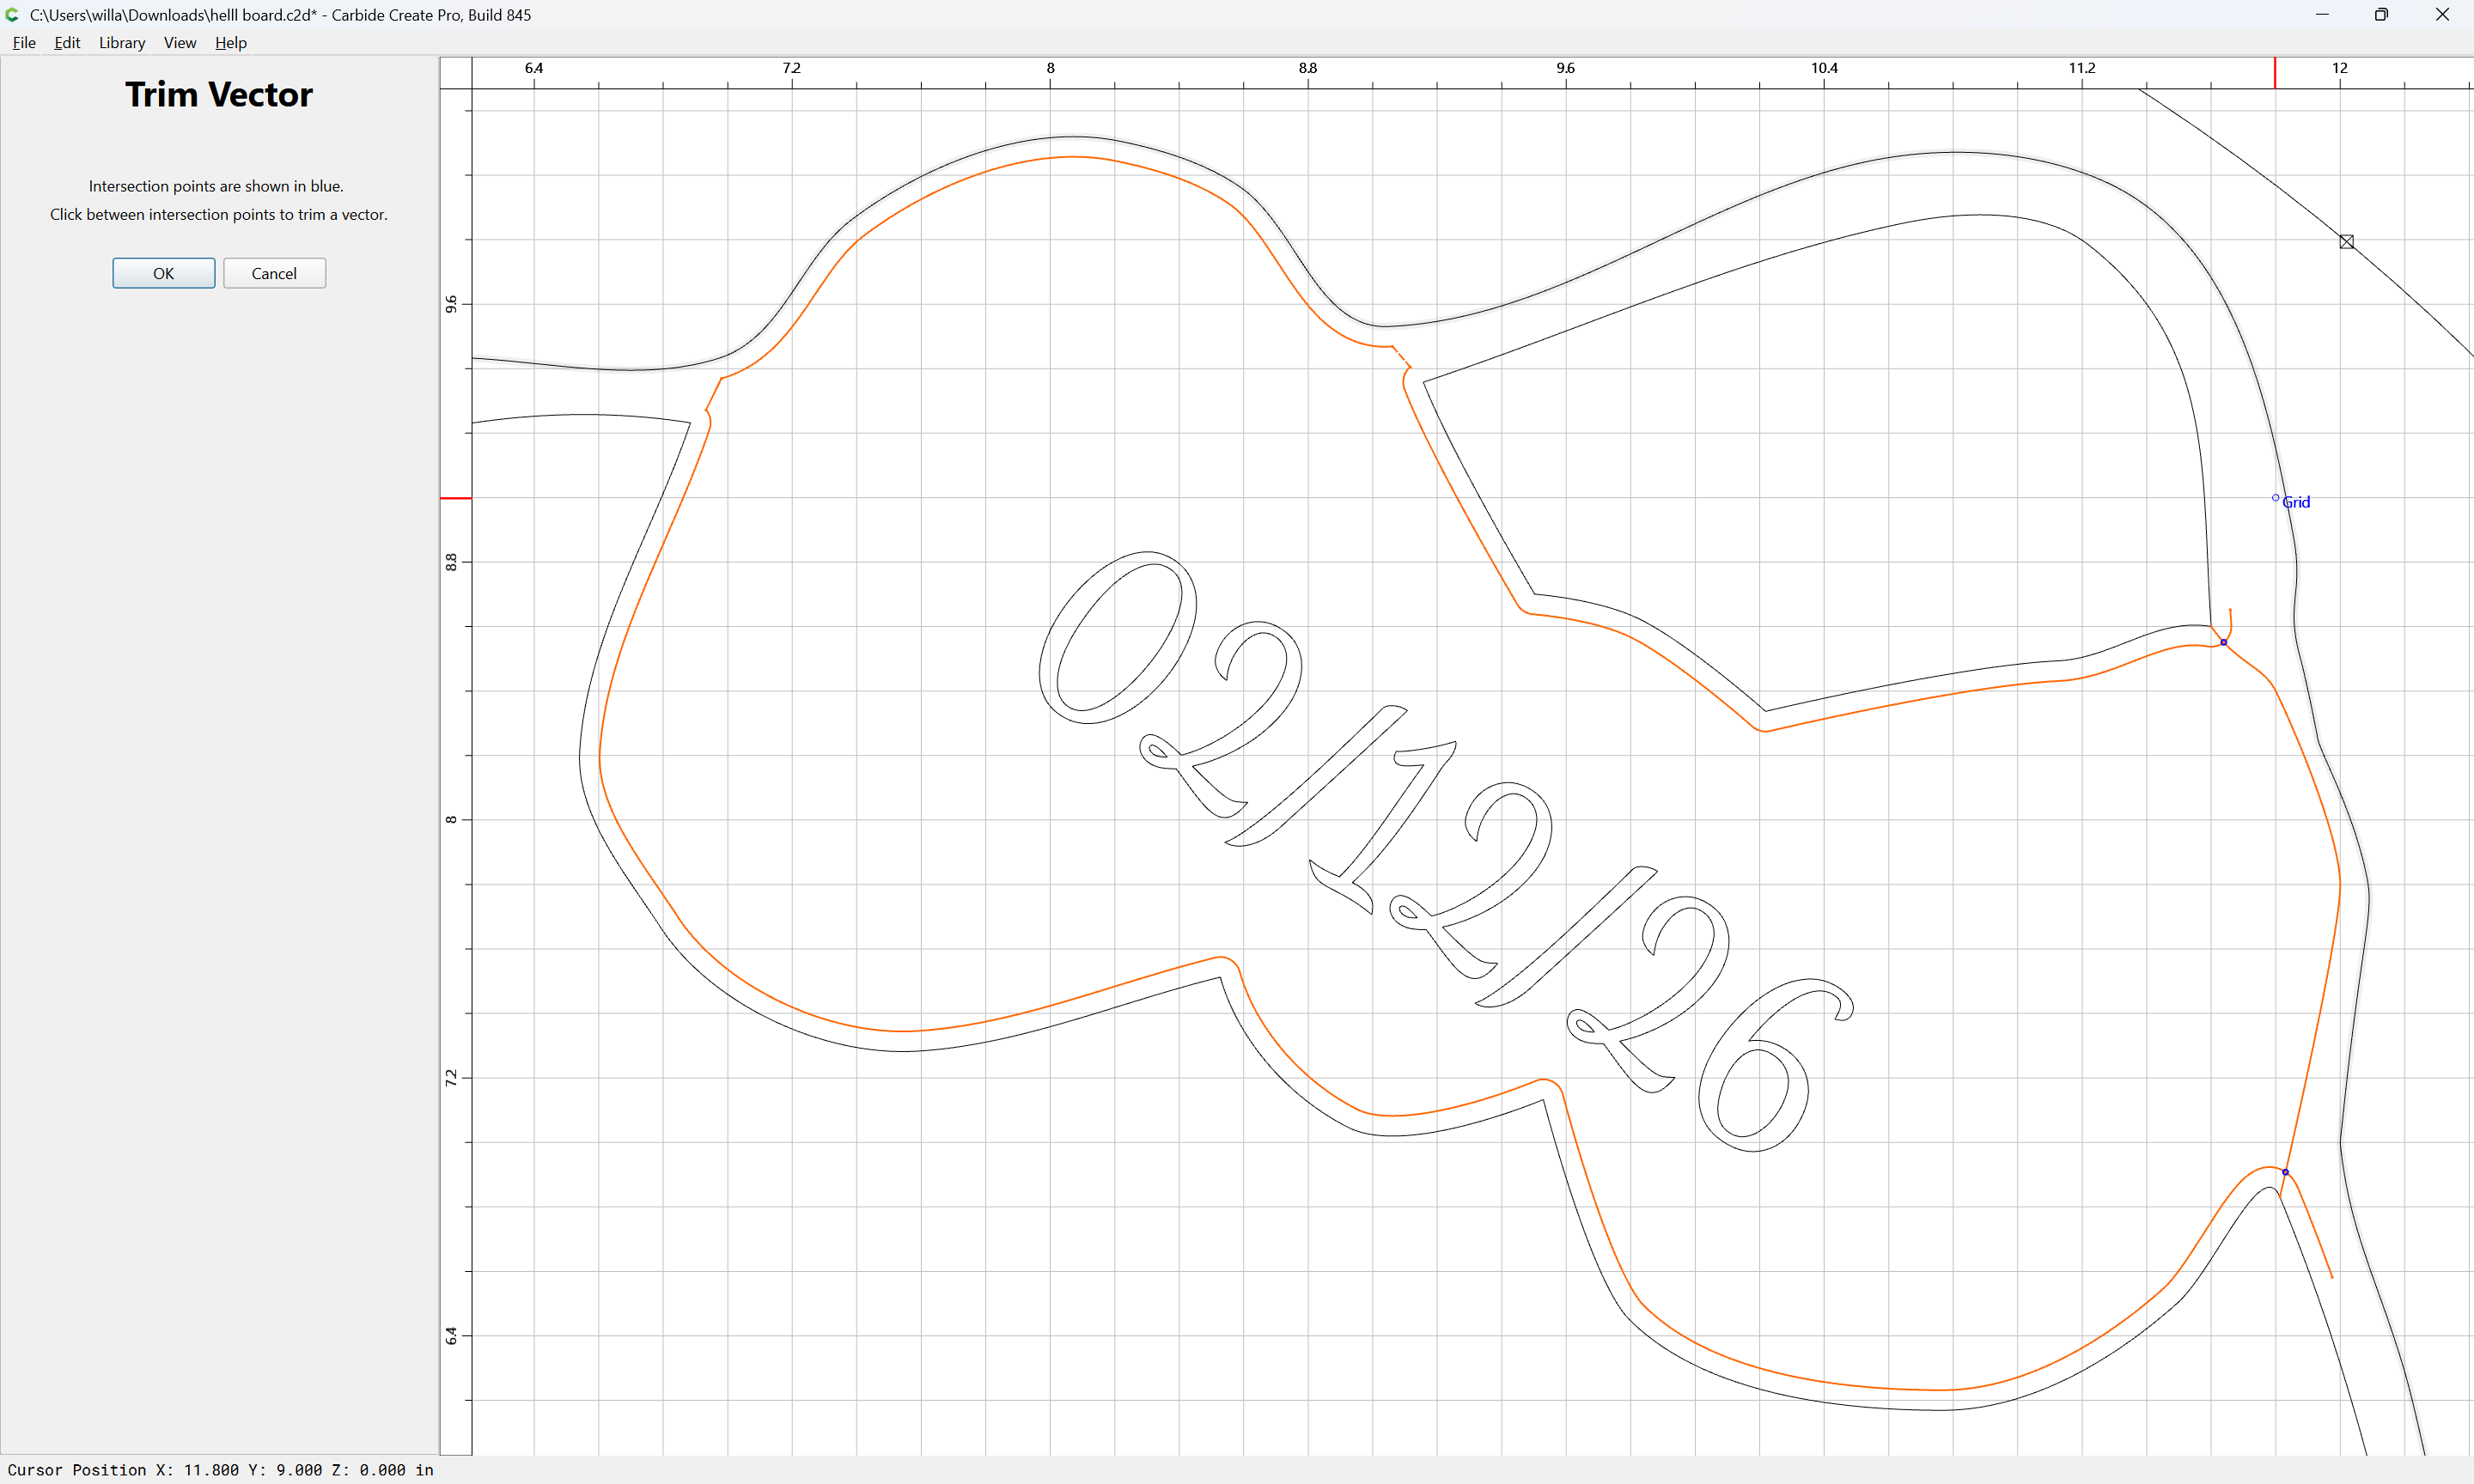
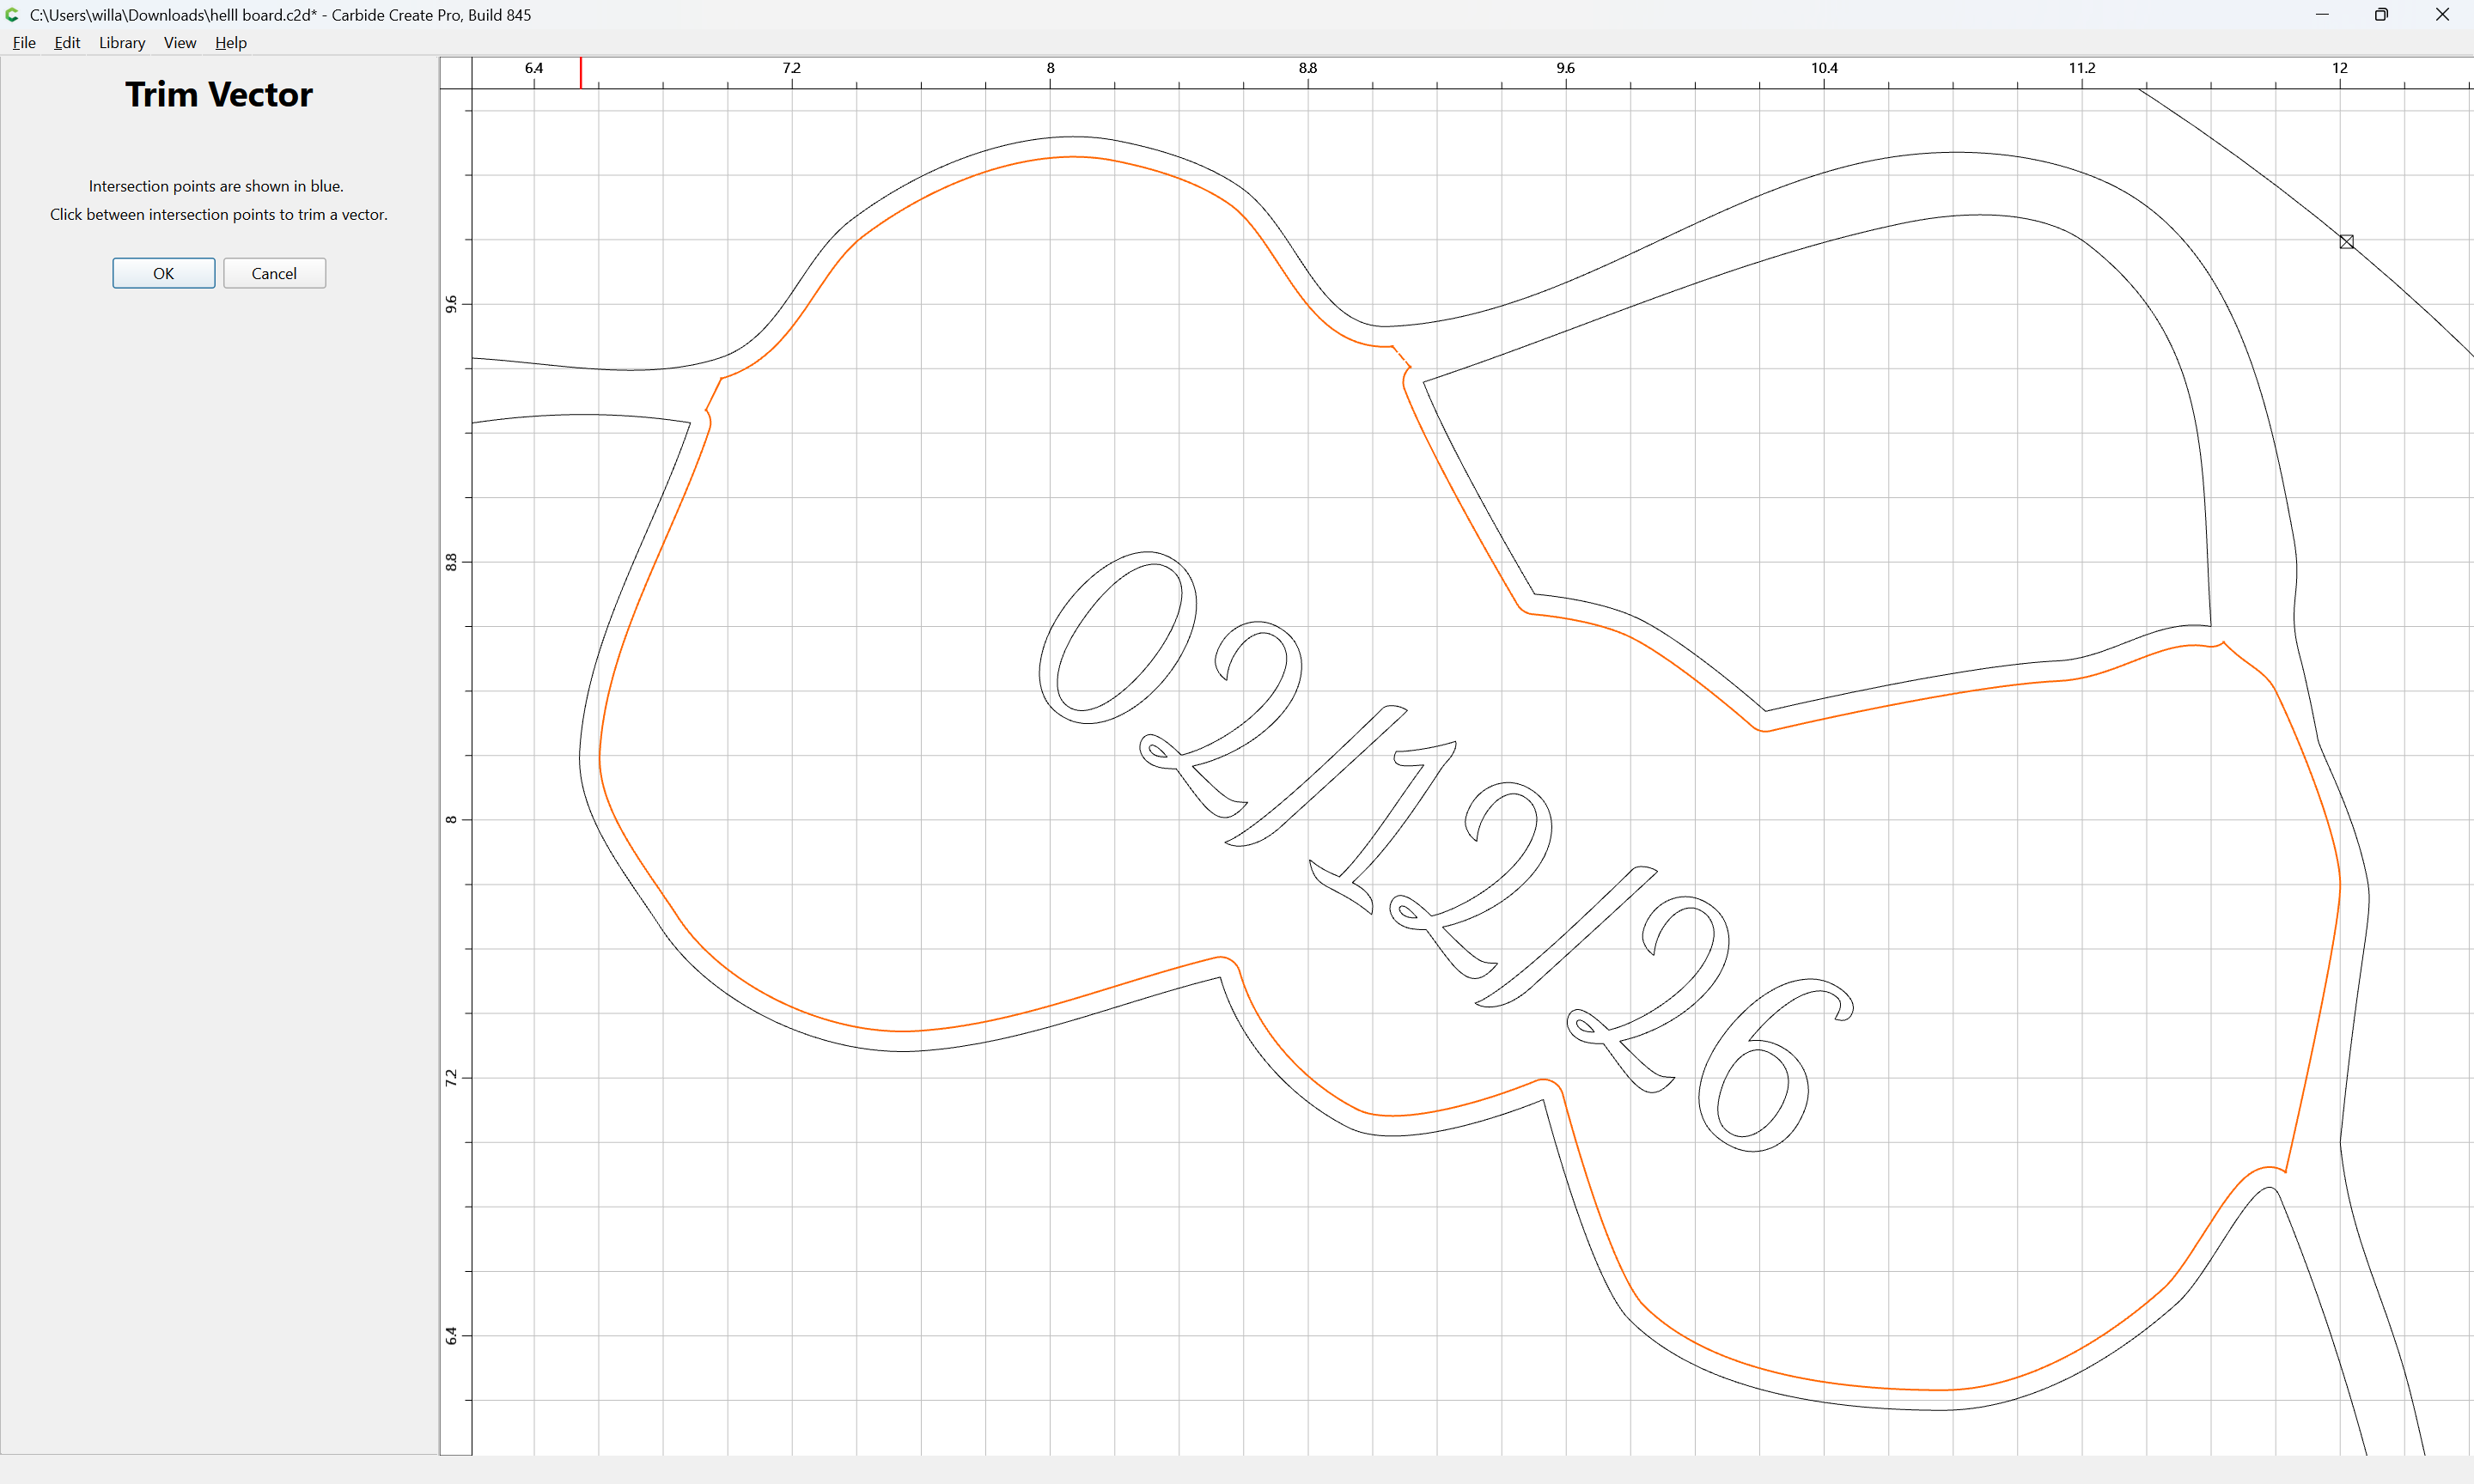
Use Trim Vectors to clean up a bit:
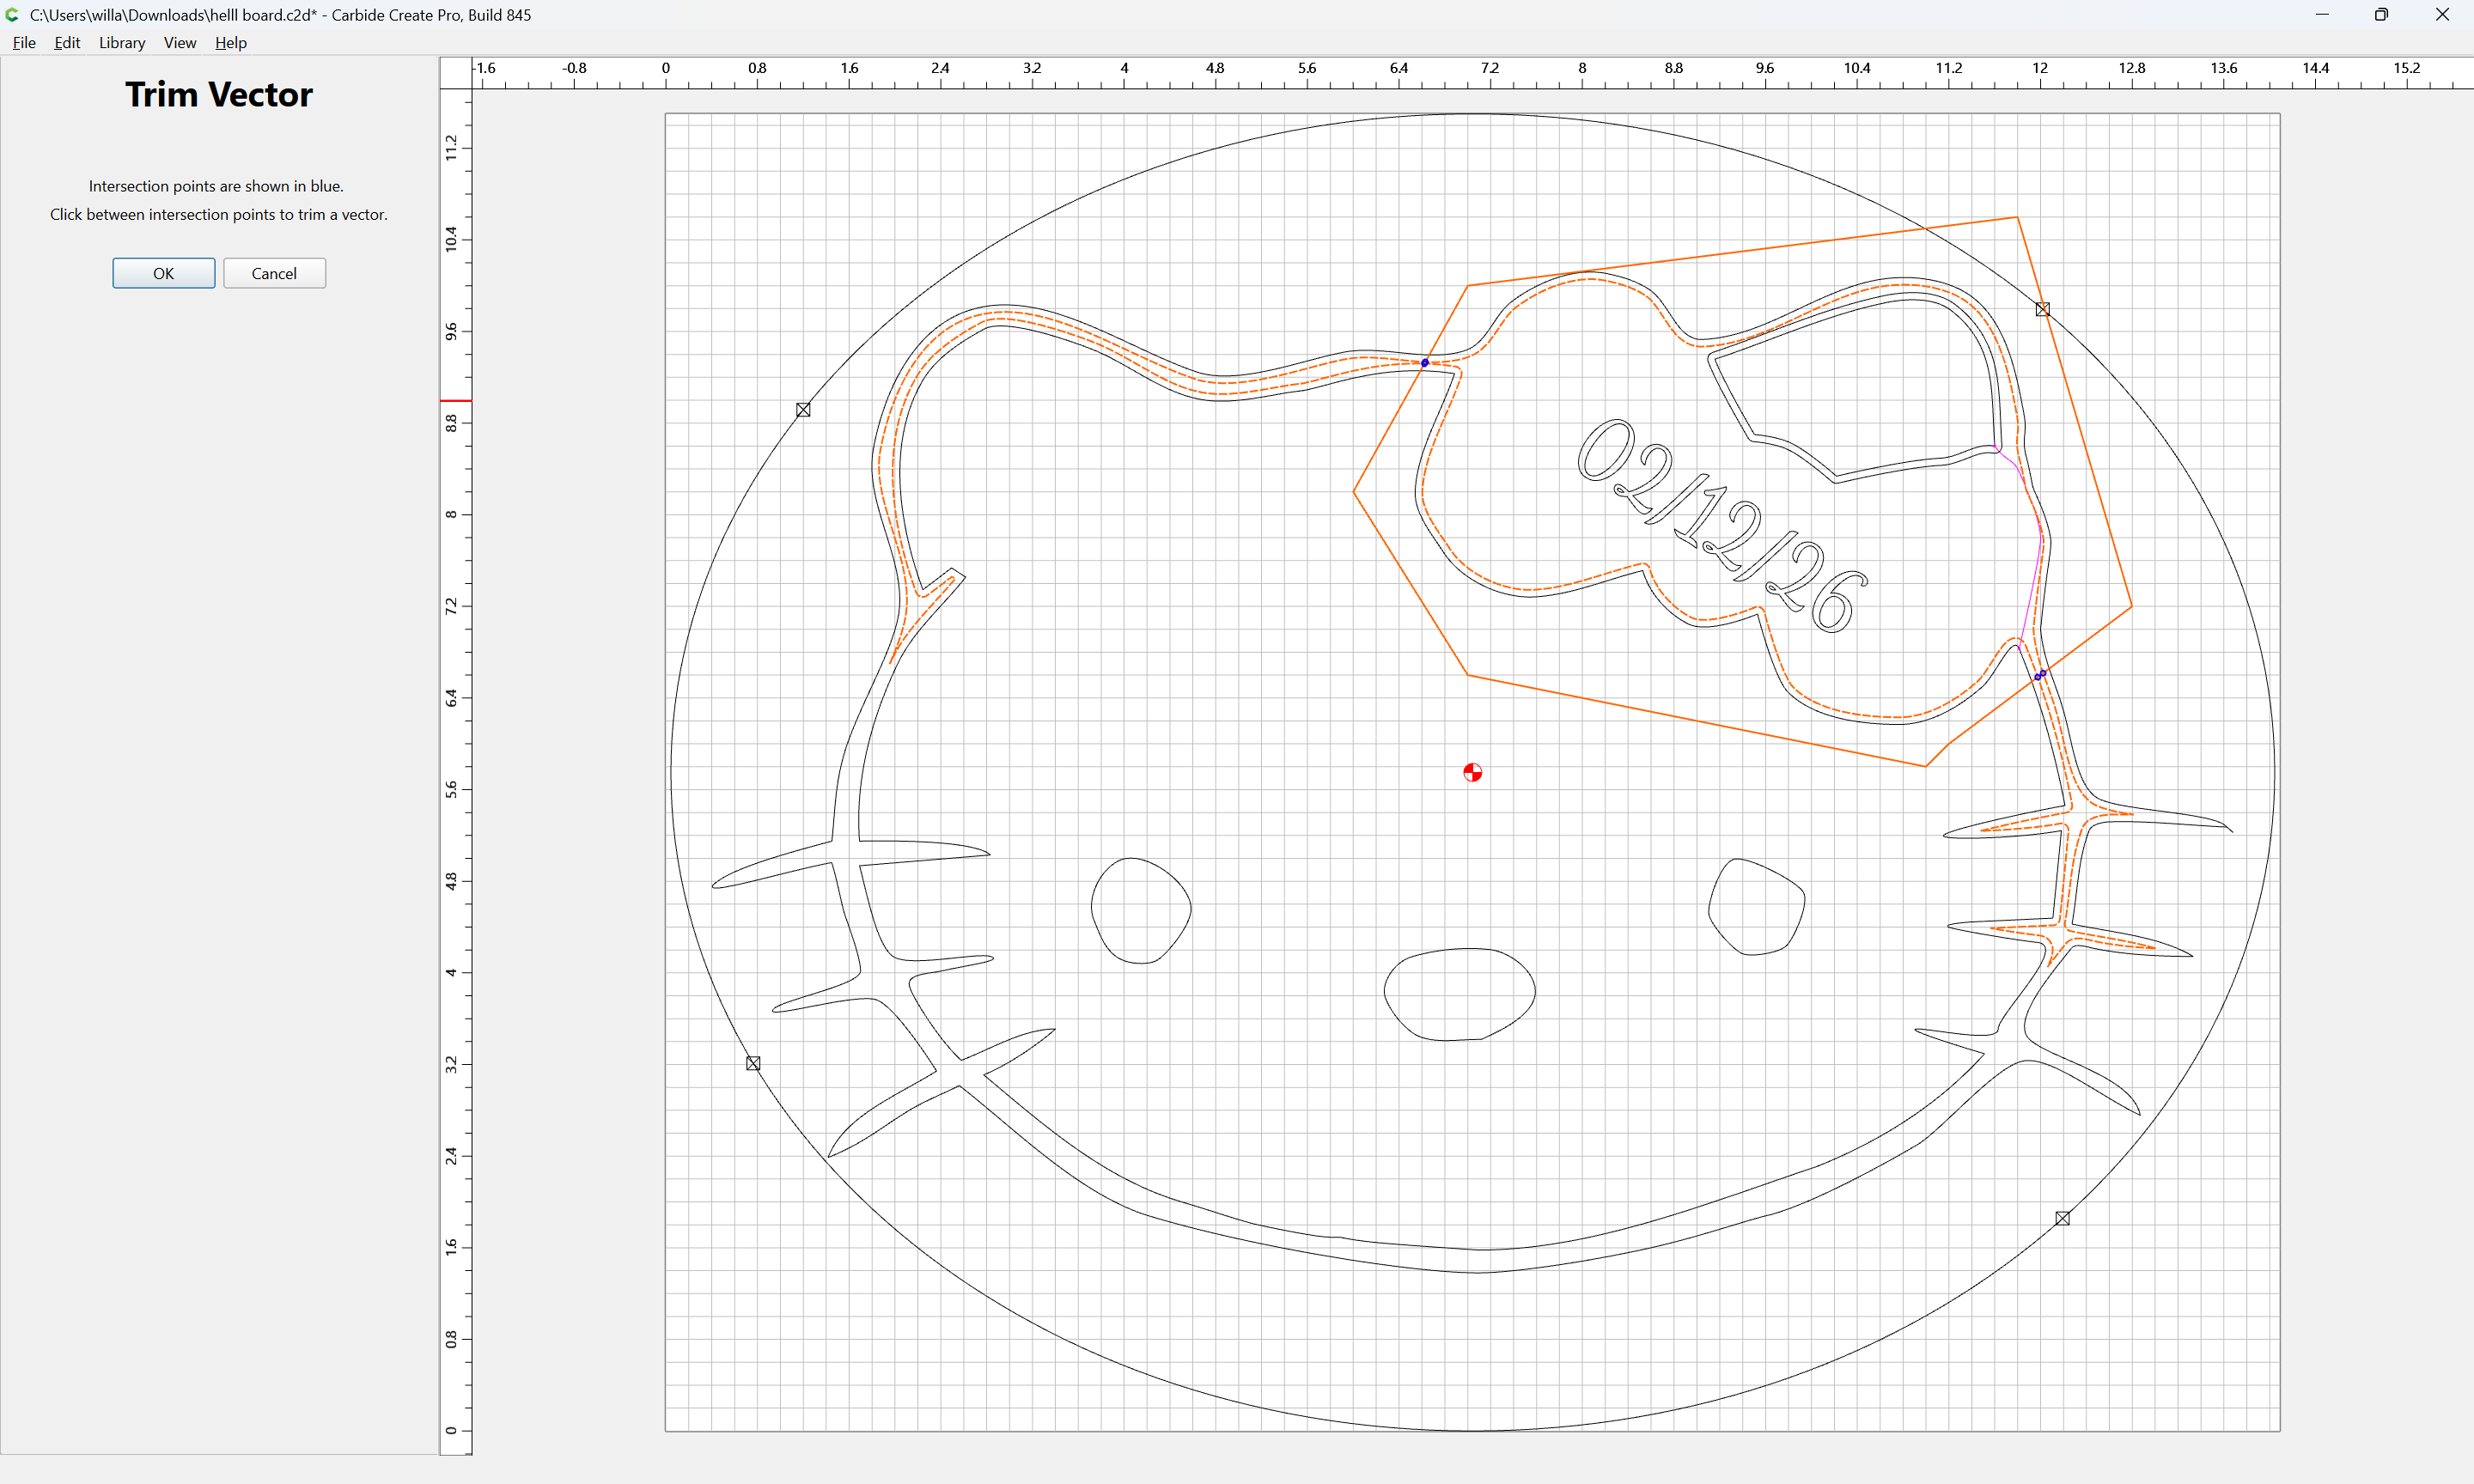
and also preserve the ear:


OK

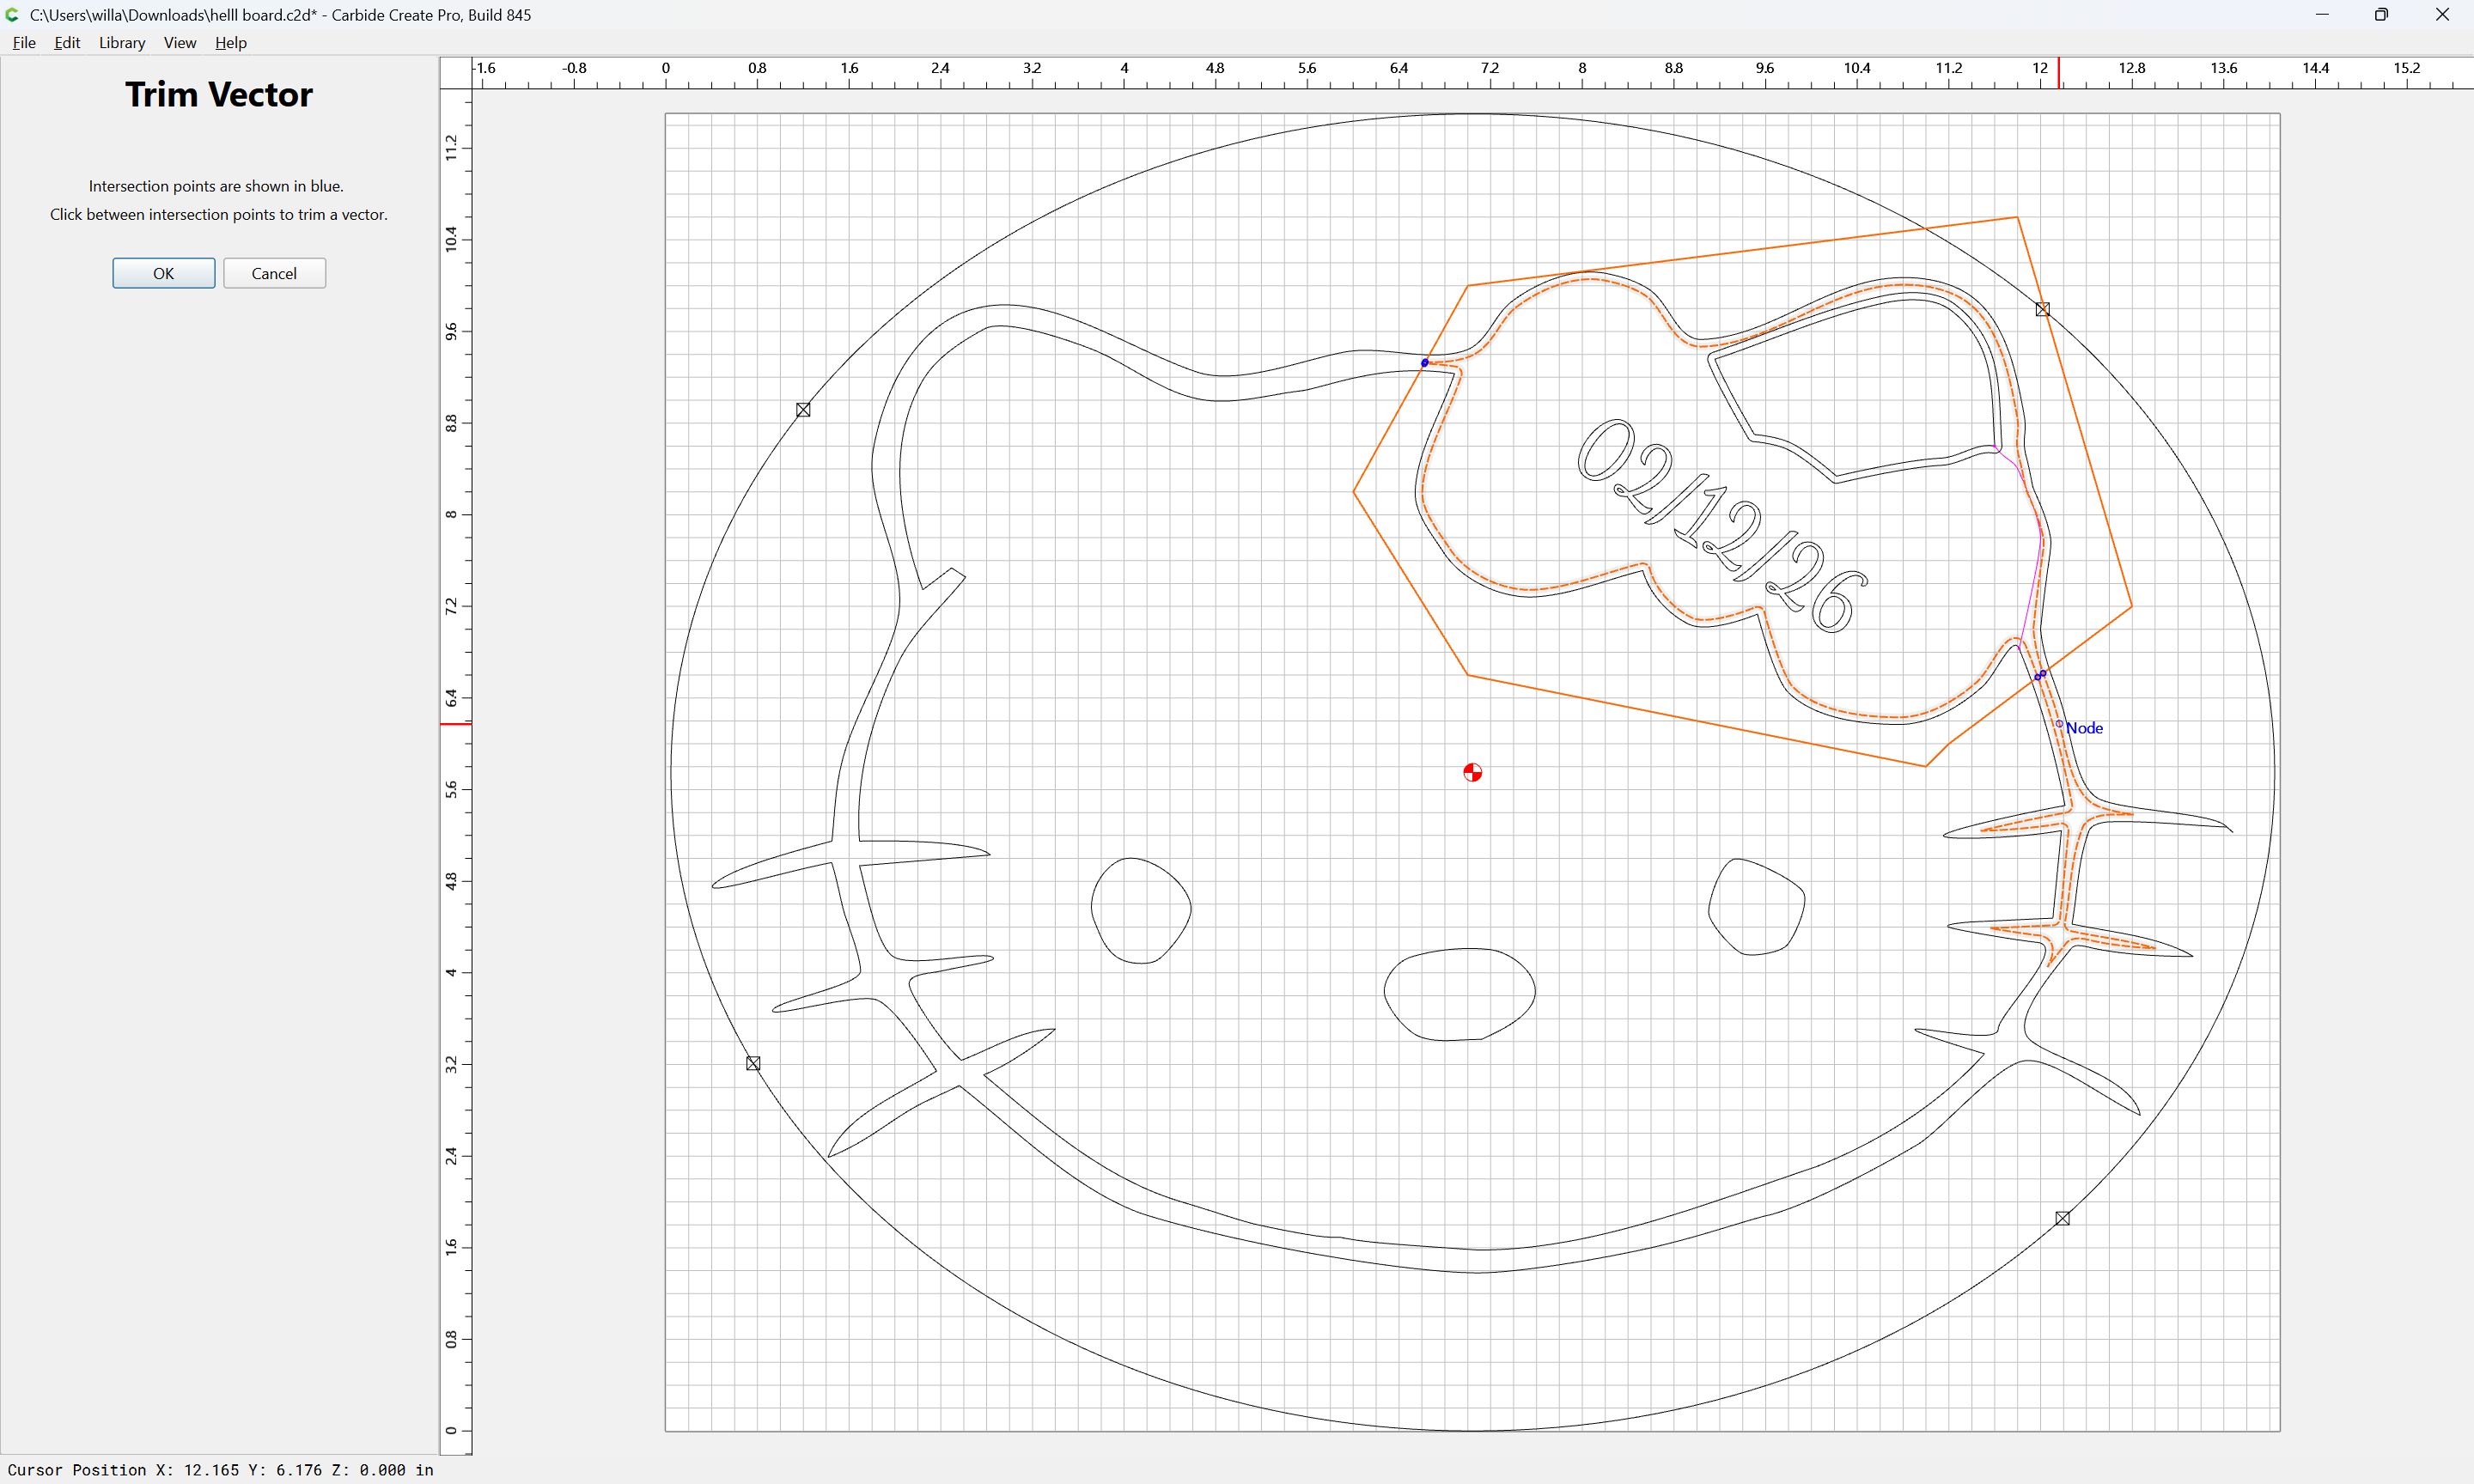
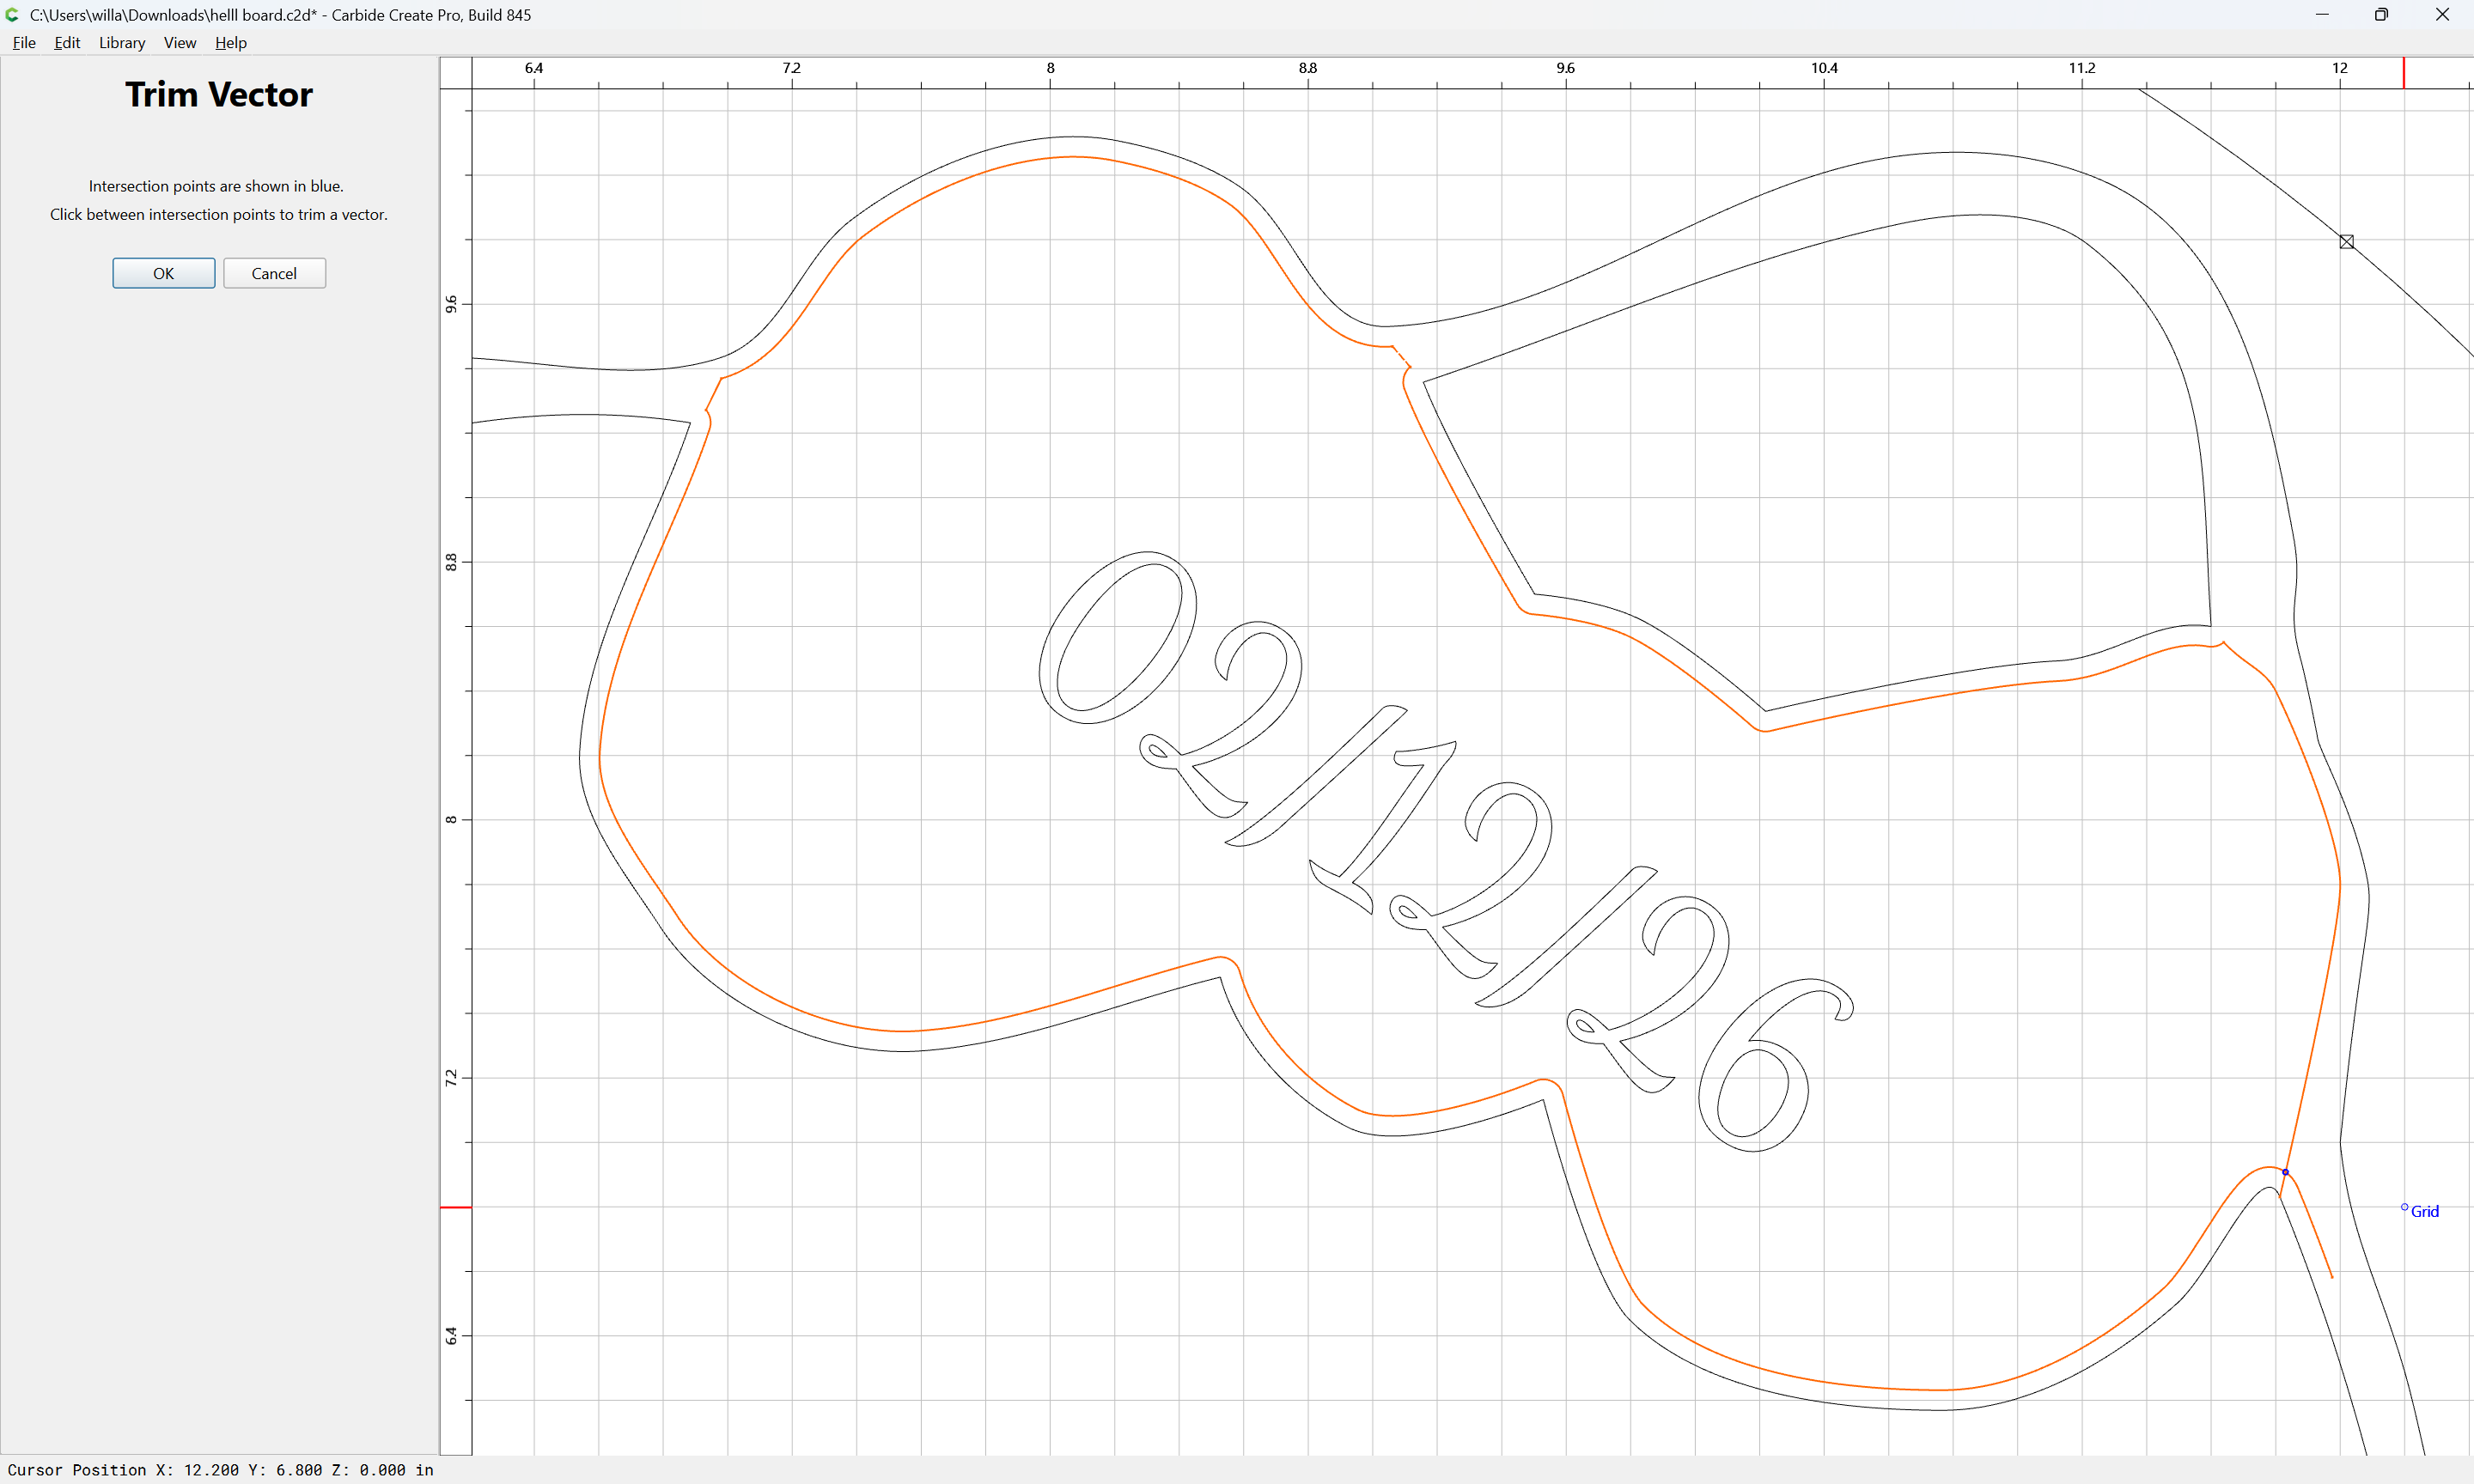
Adjusting to only delete what is not wanted:
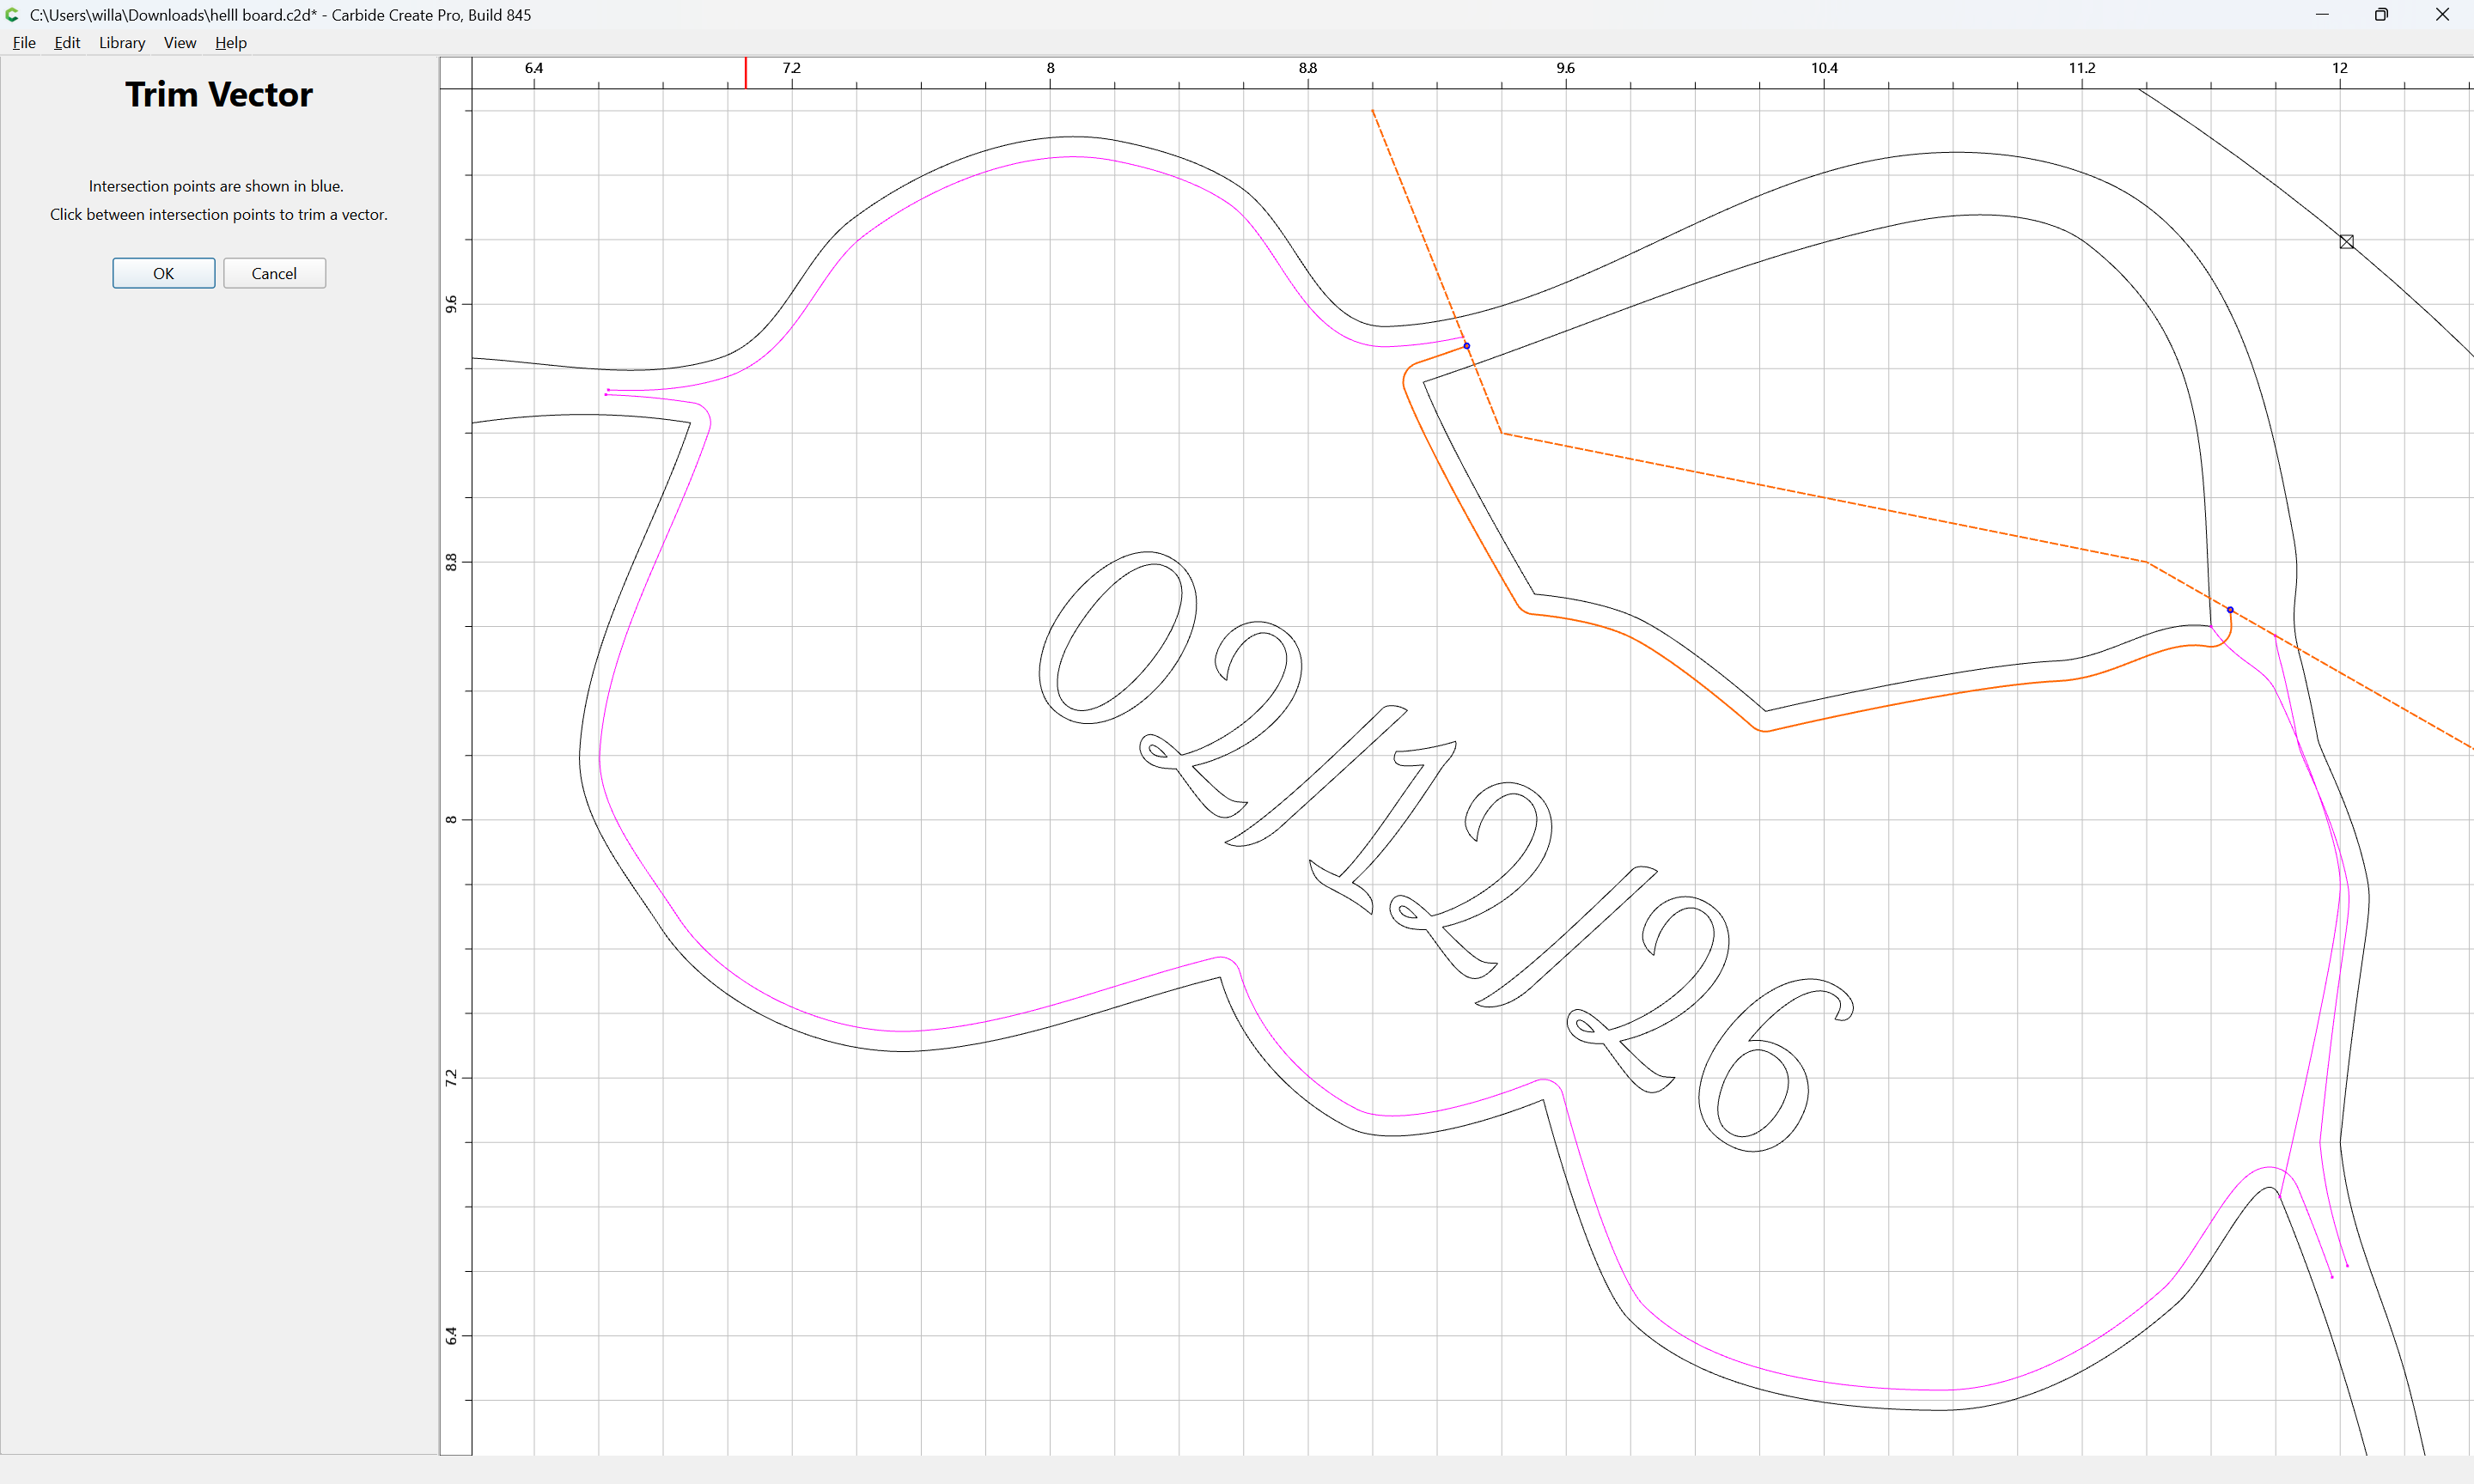
Draw in lines to close the gaps:
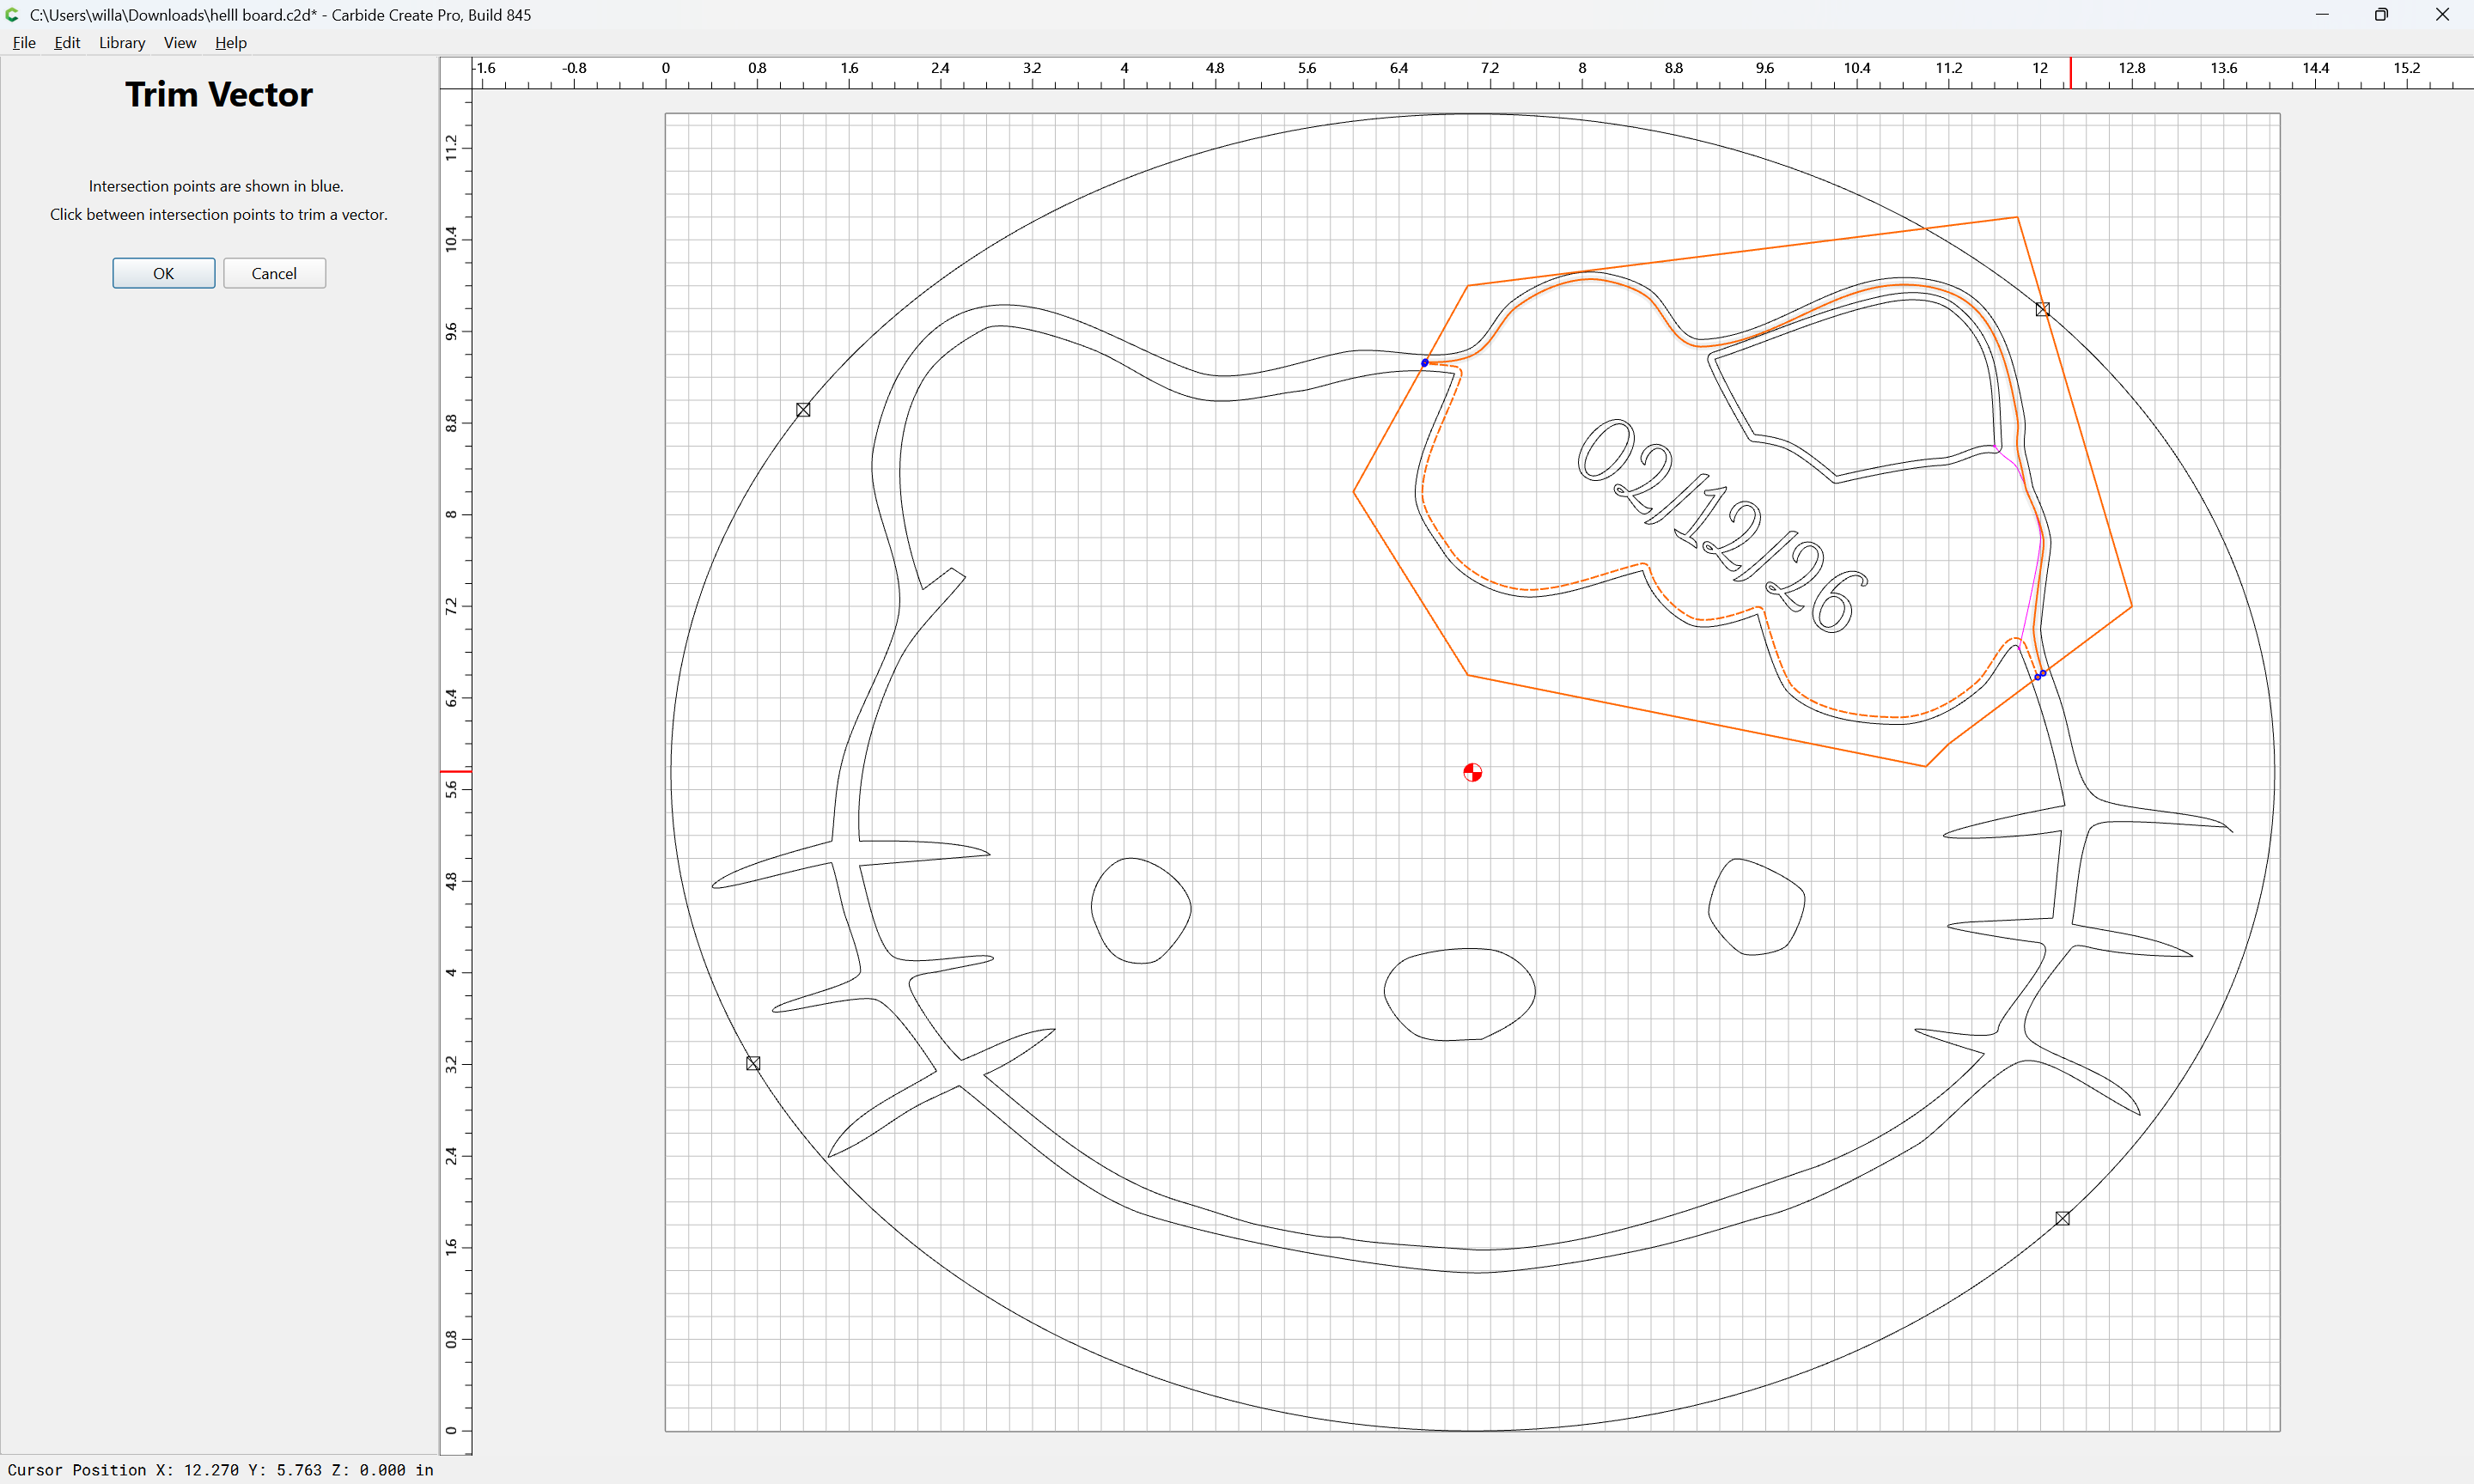
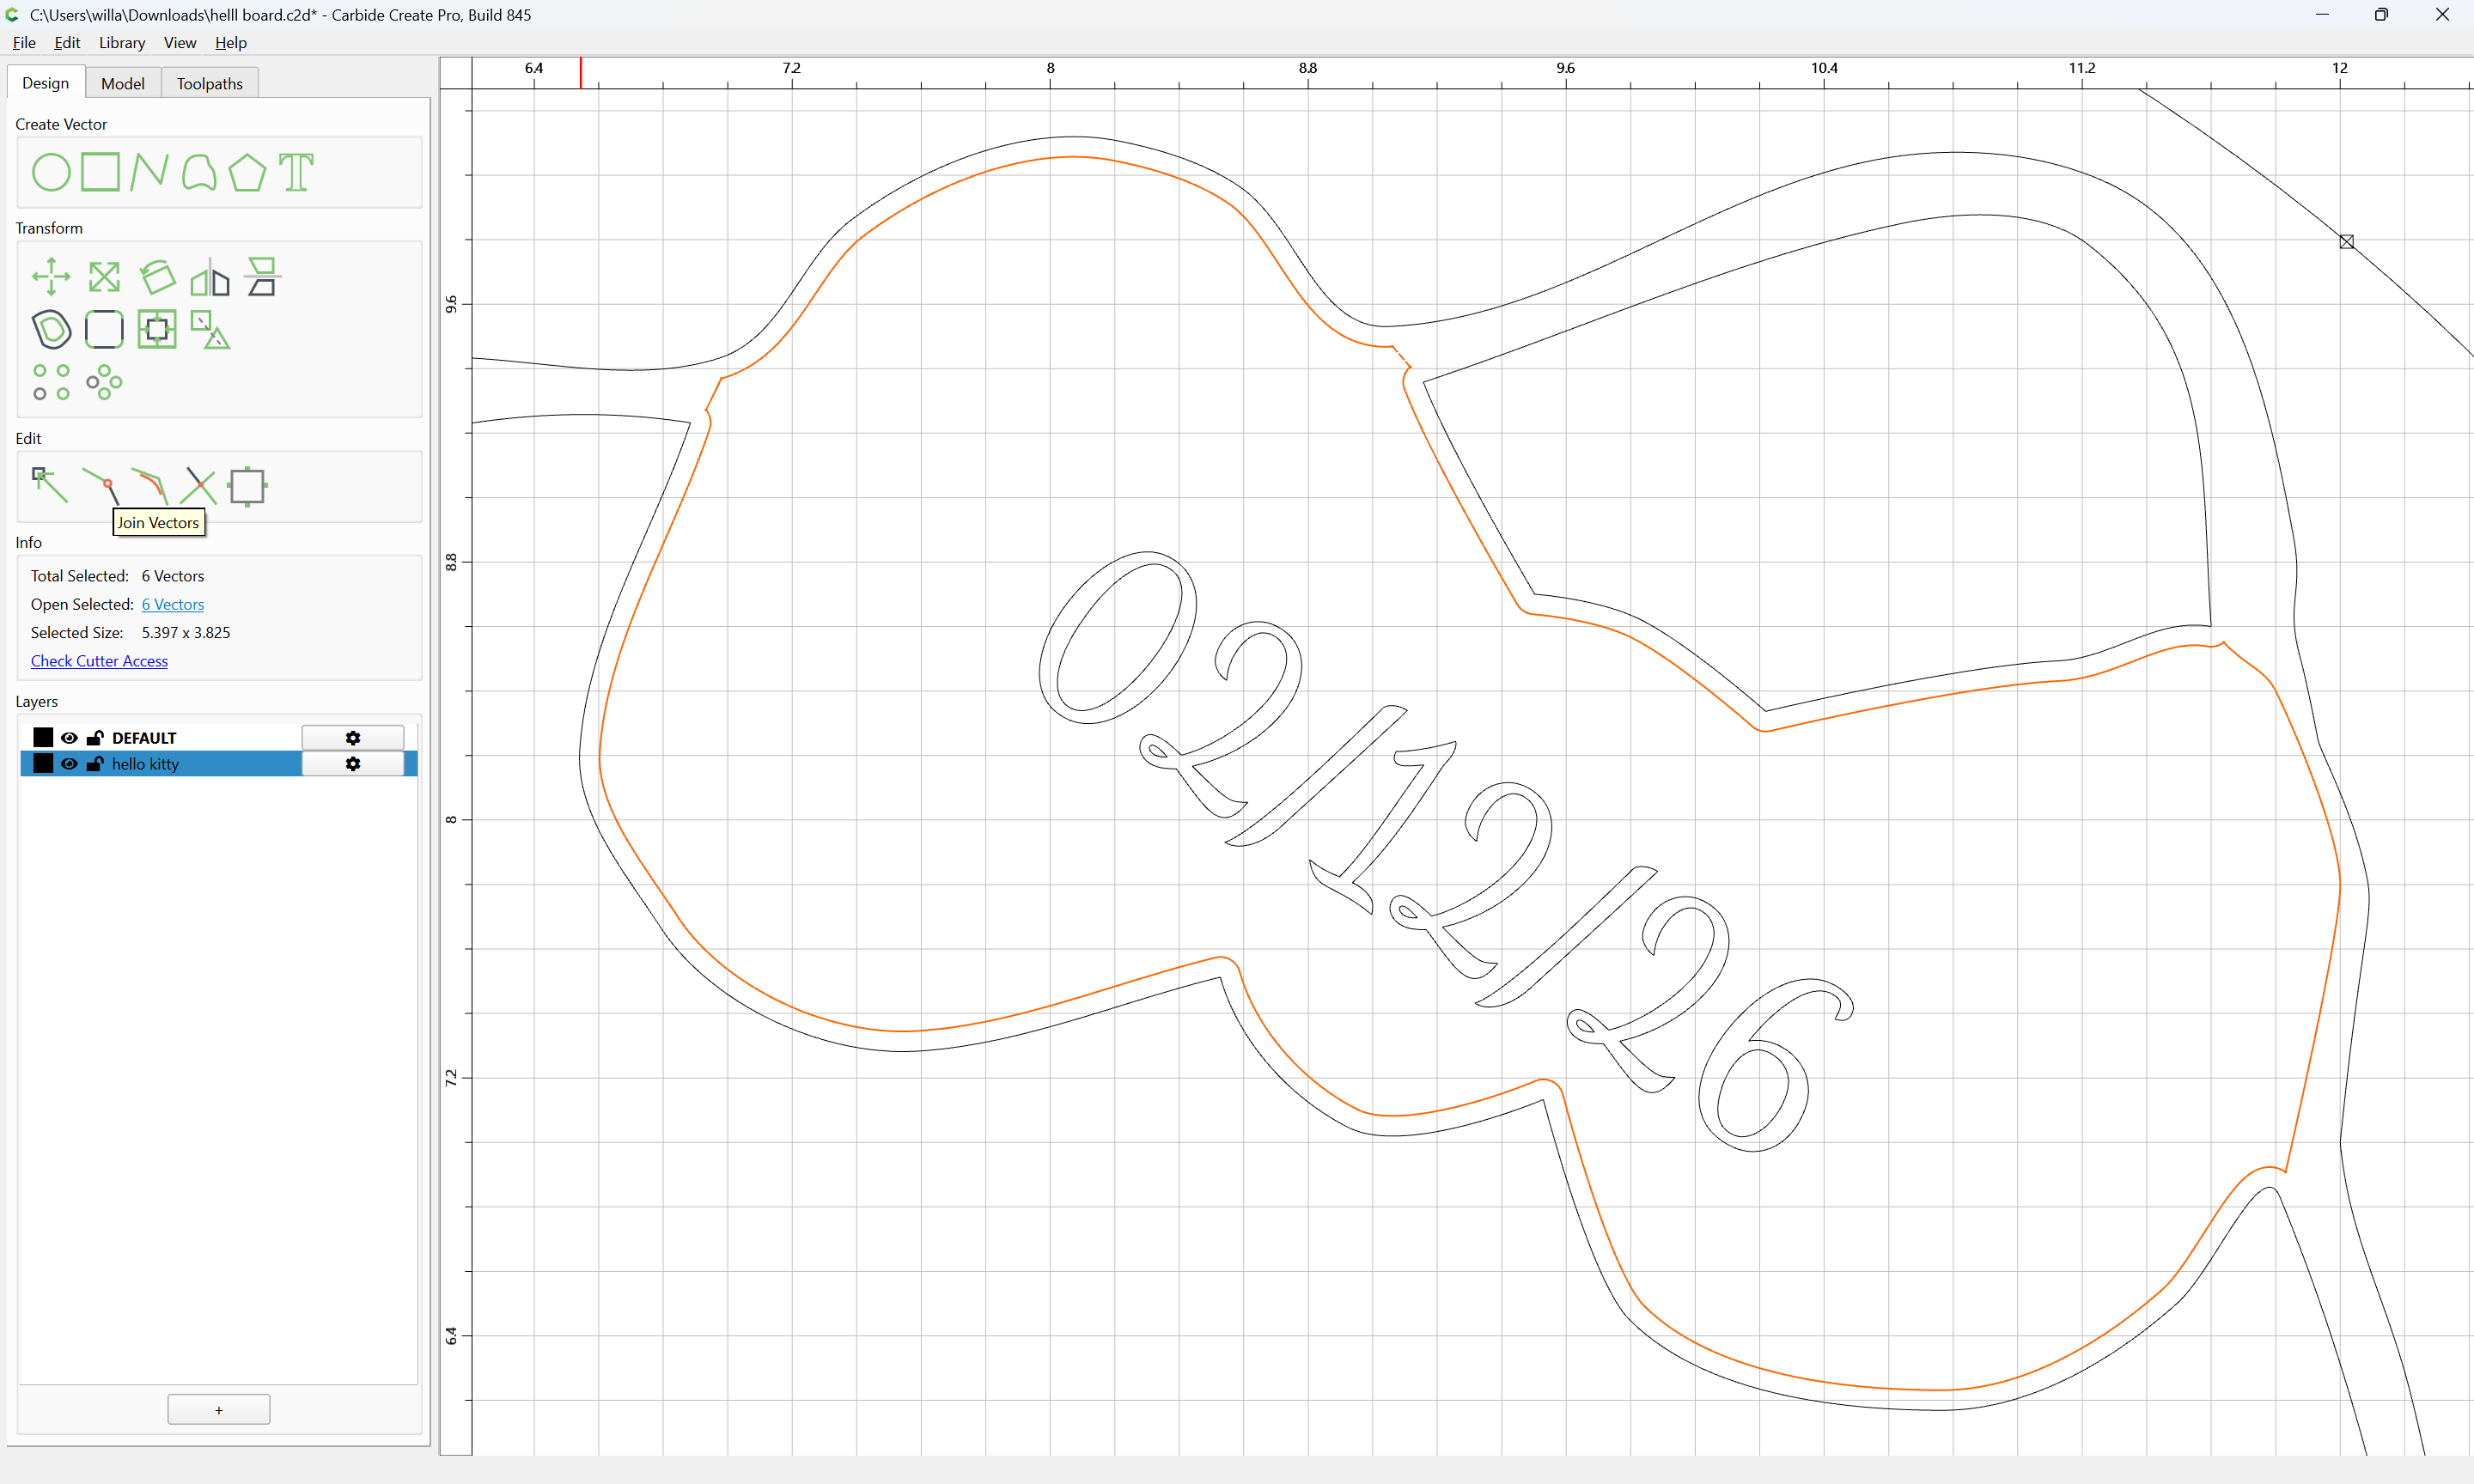
It is then possible to use Trim Vectors to isolate down to only the bow:

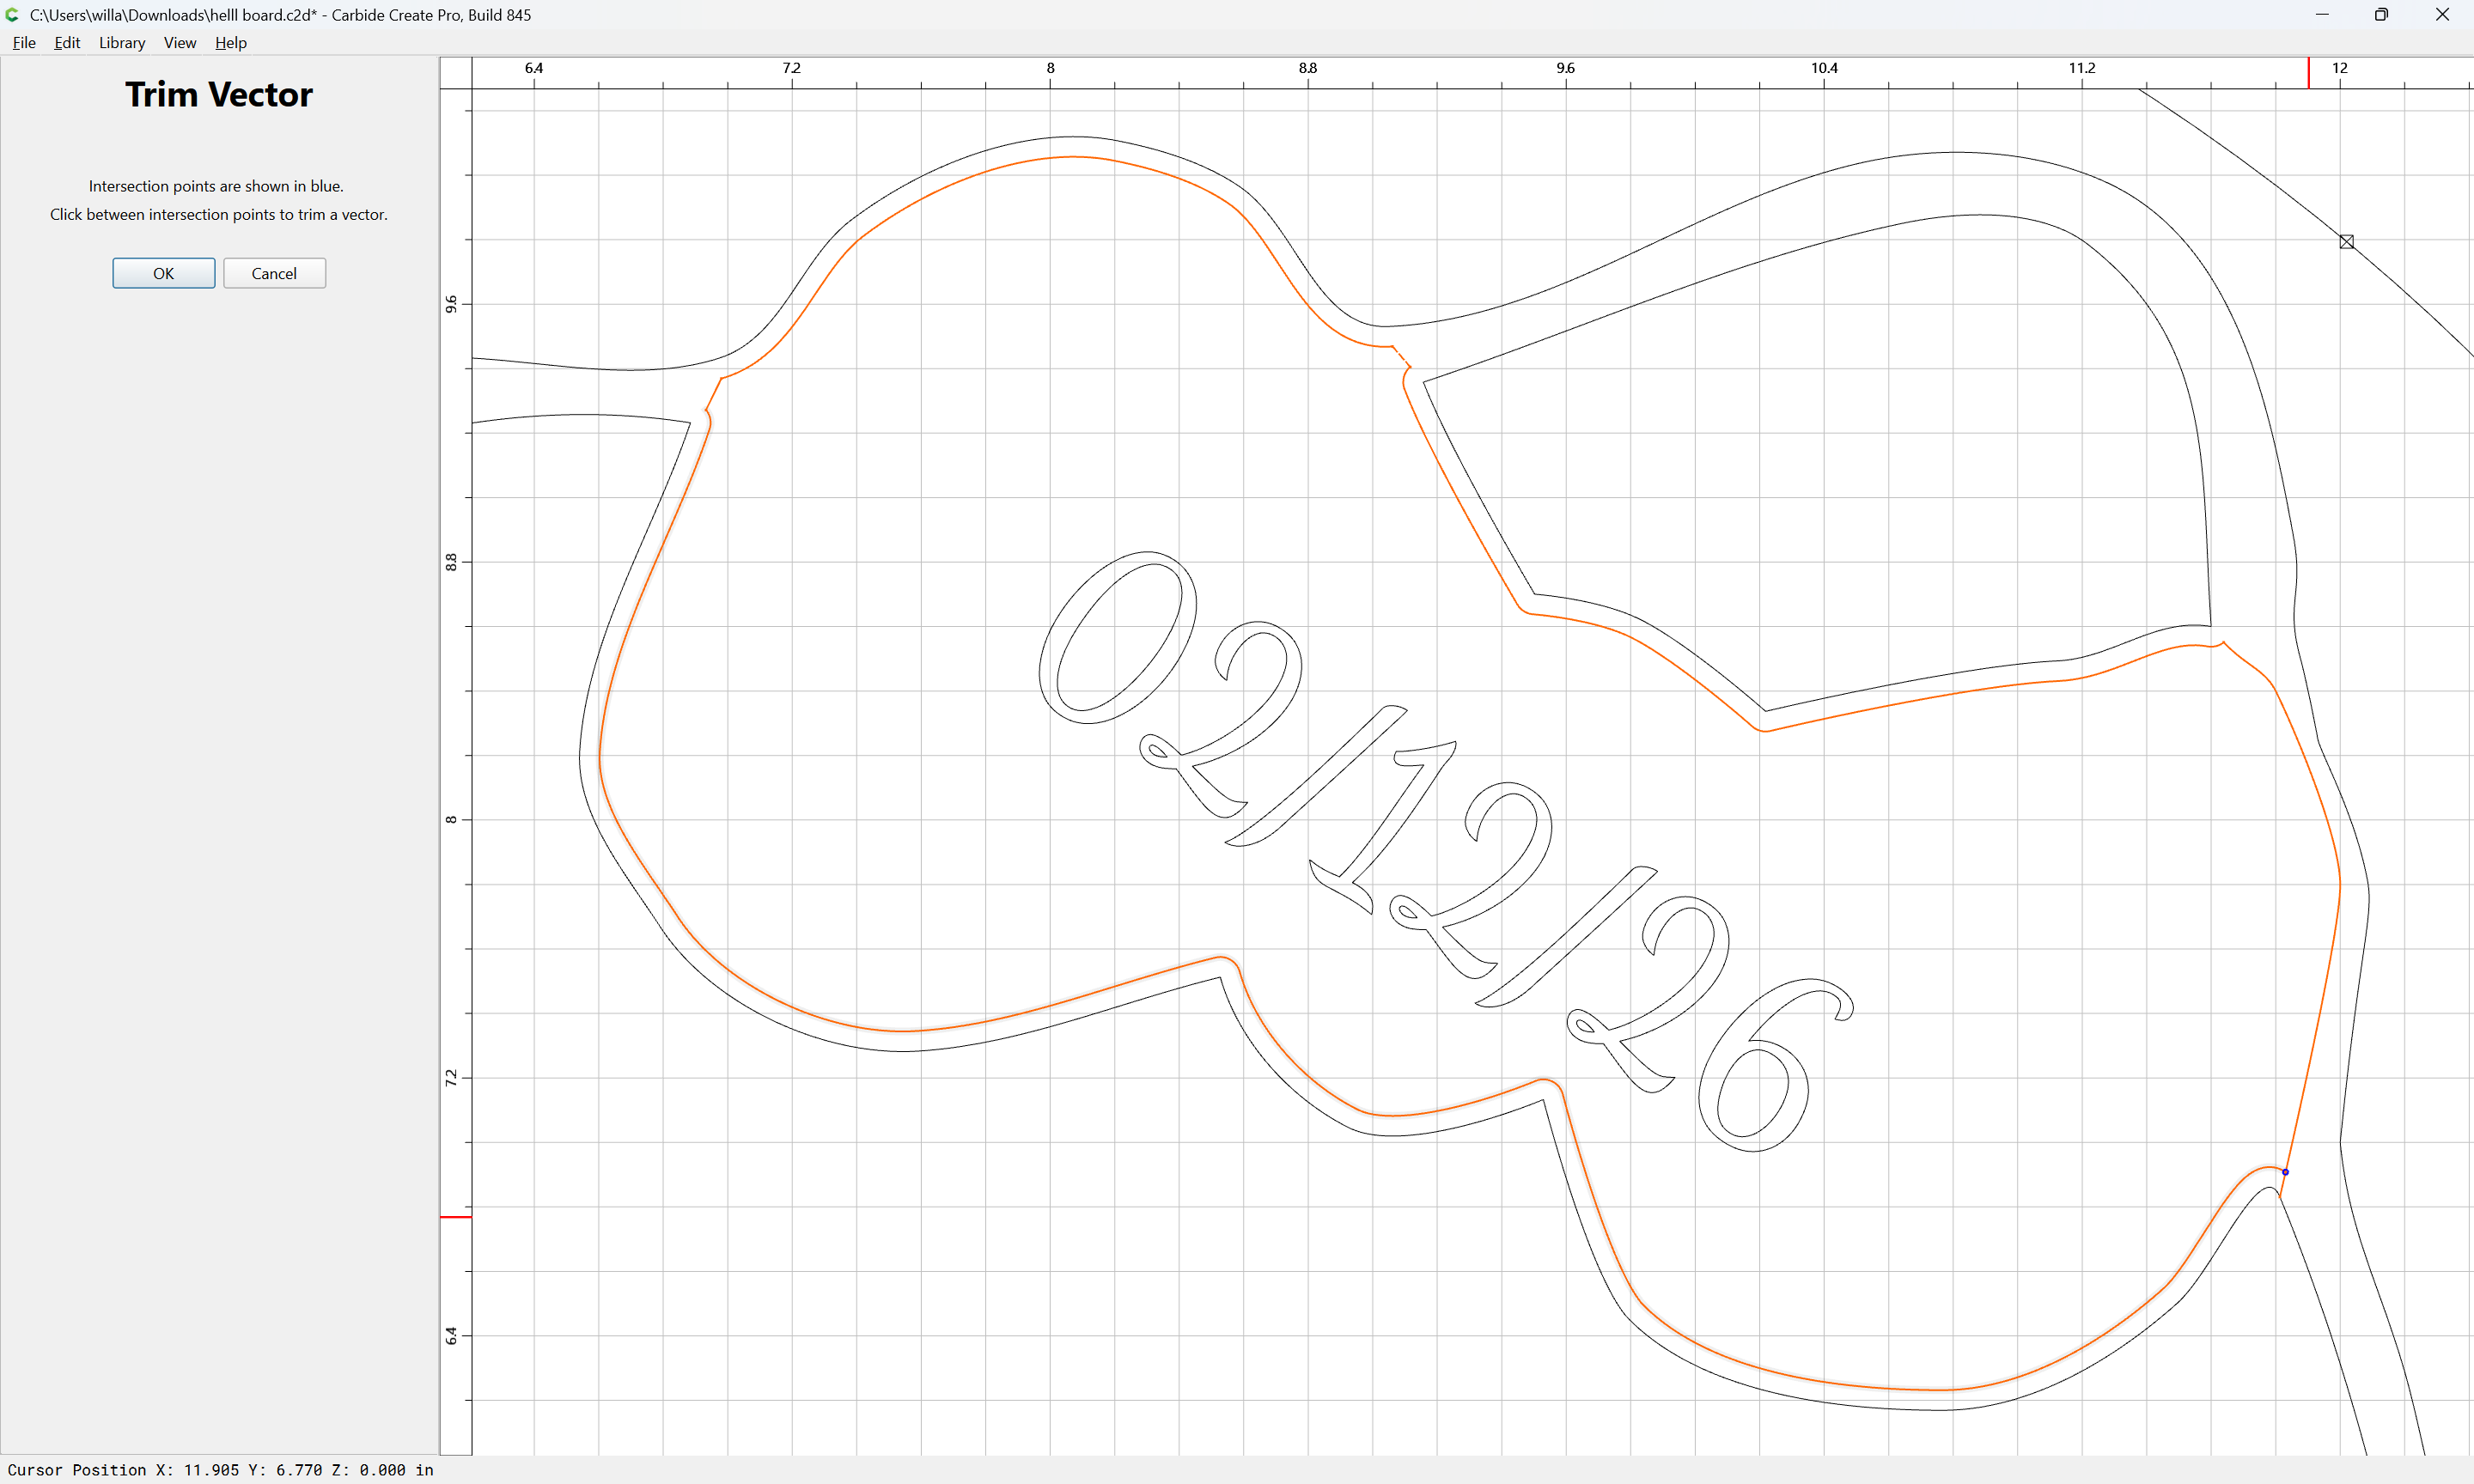
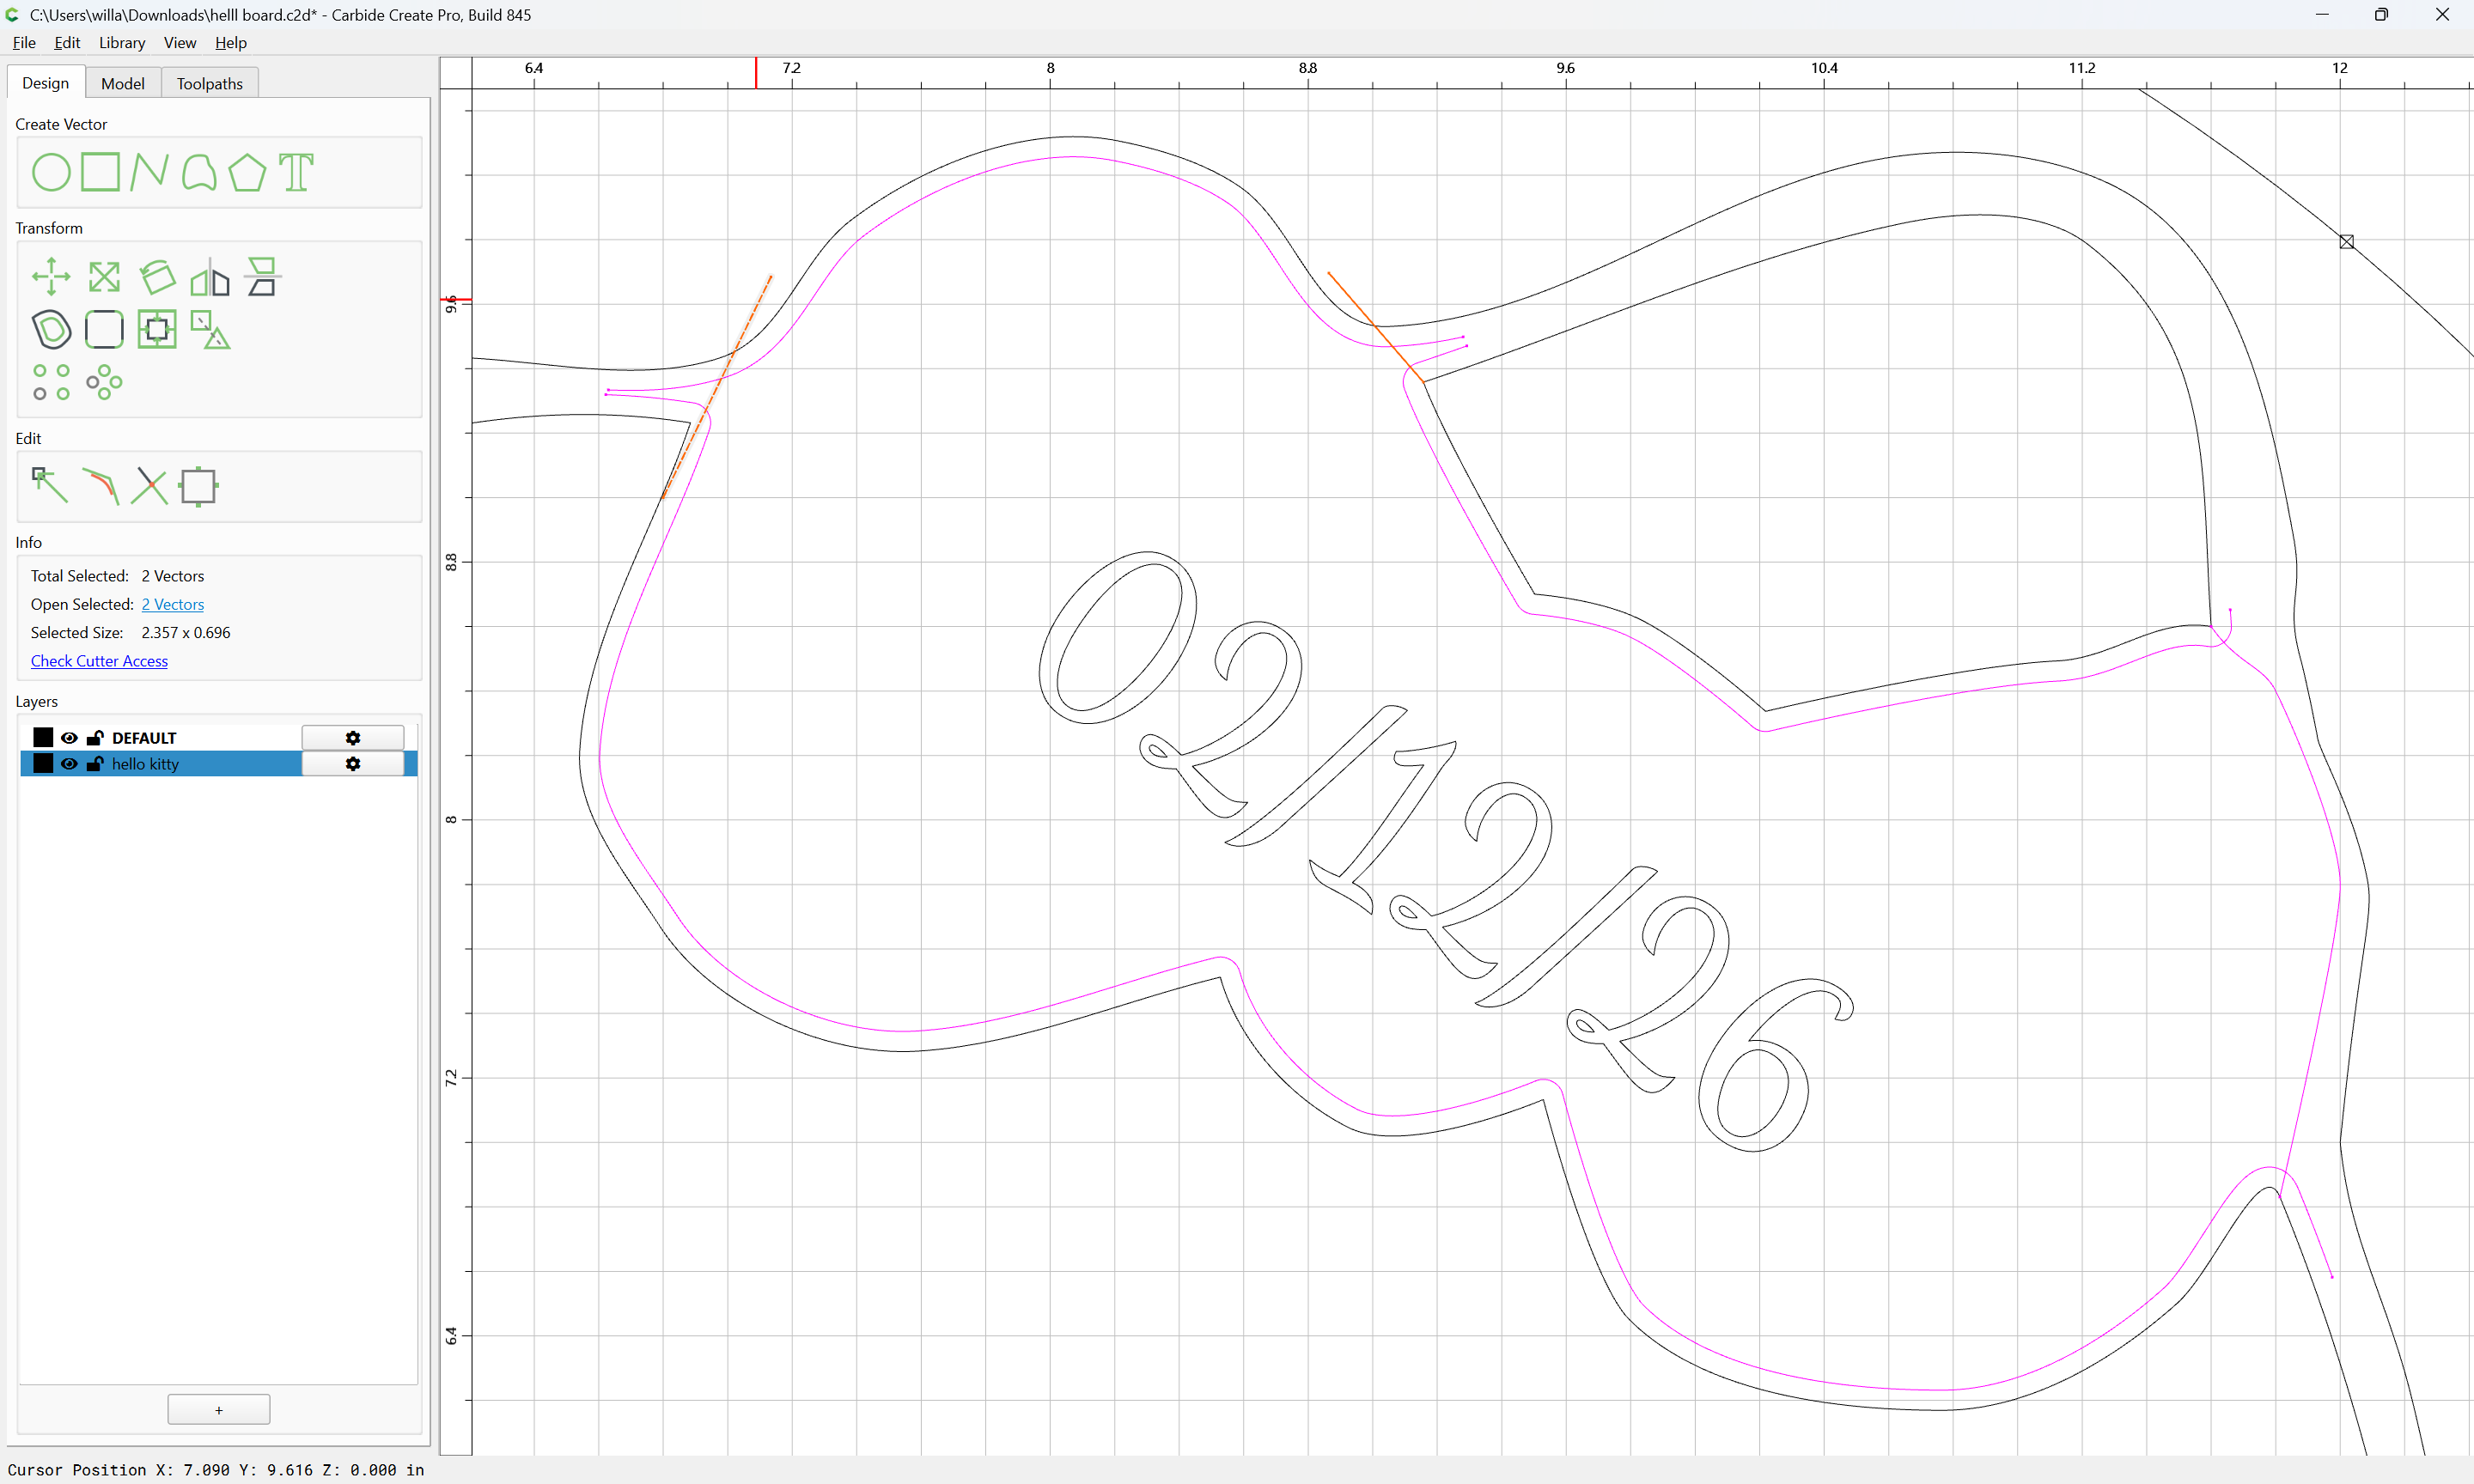
until one gets to:
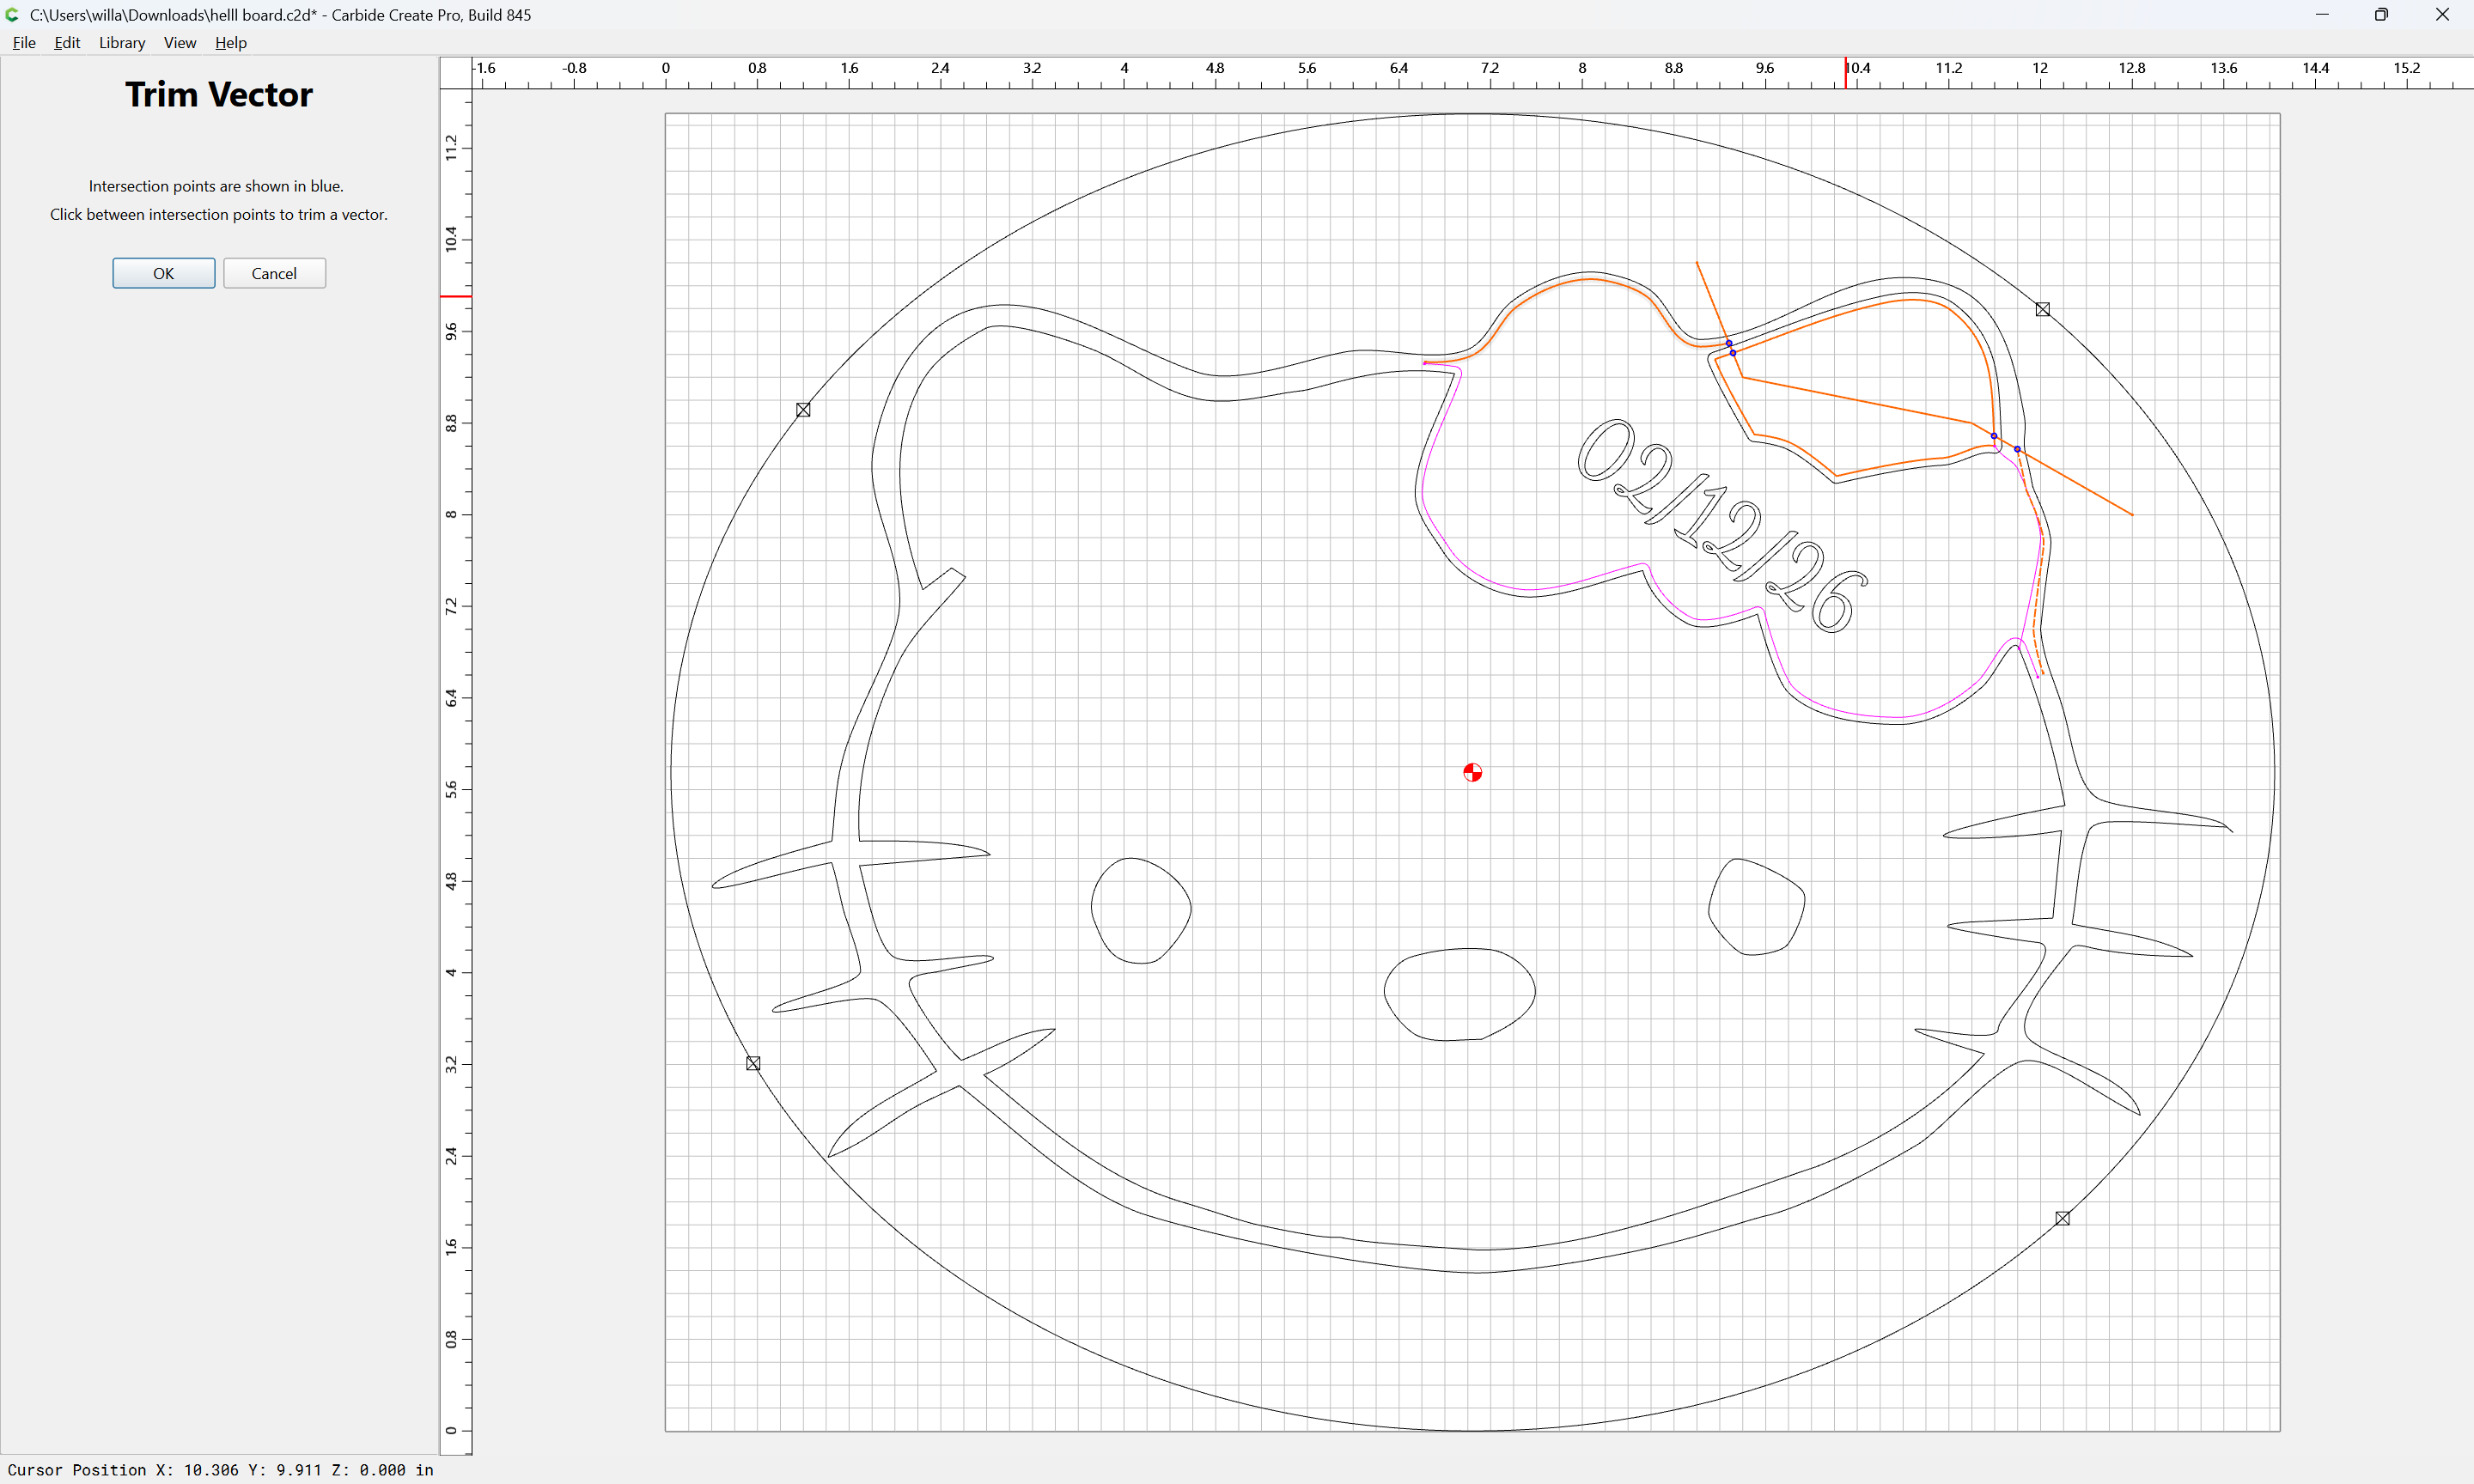
OK
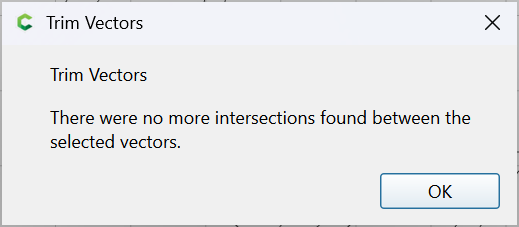
OK
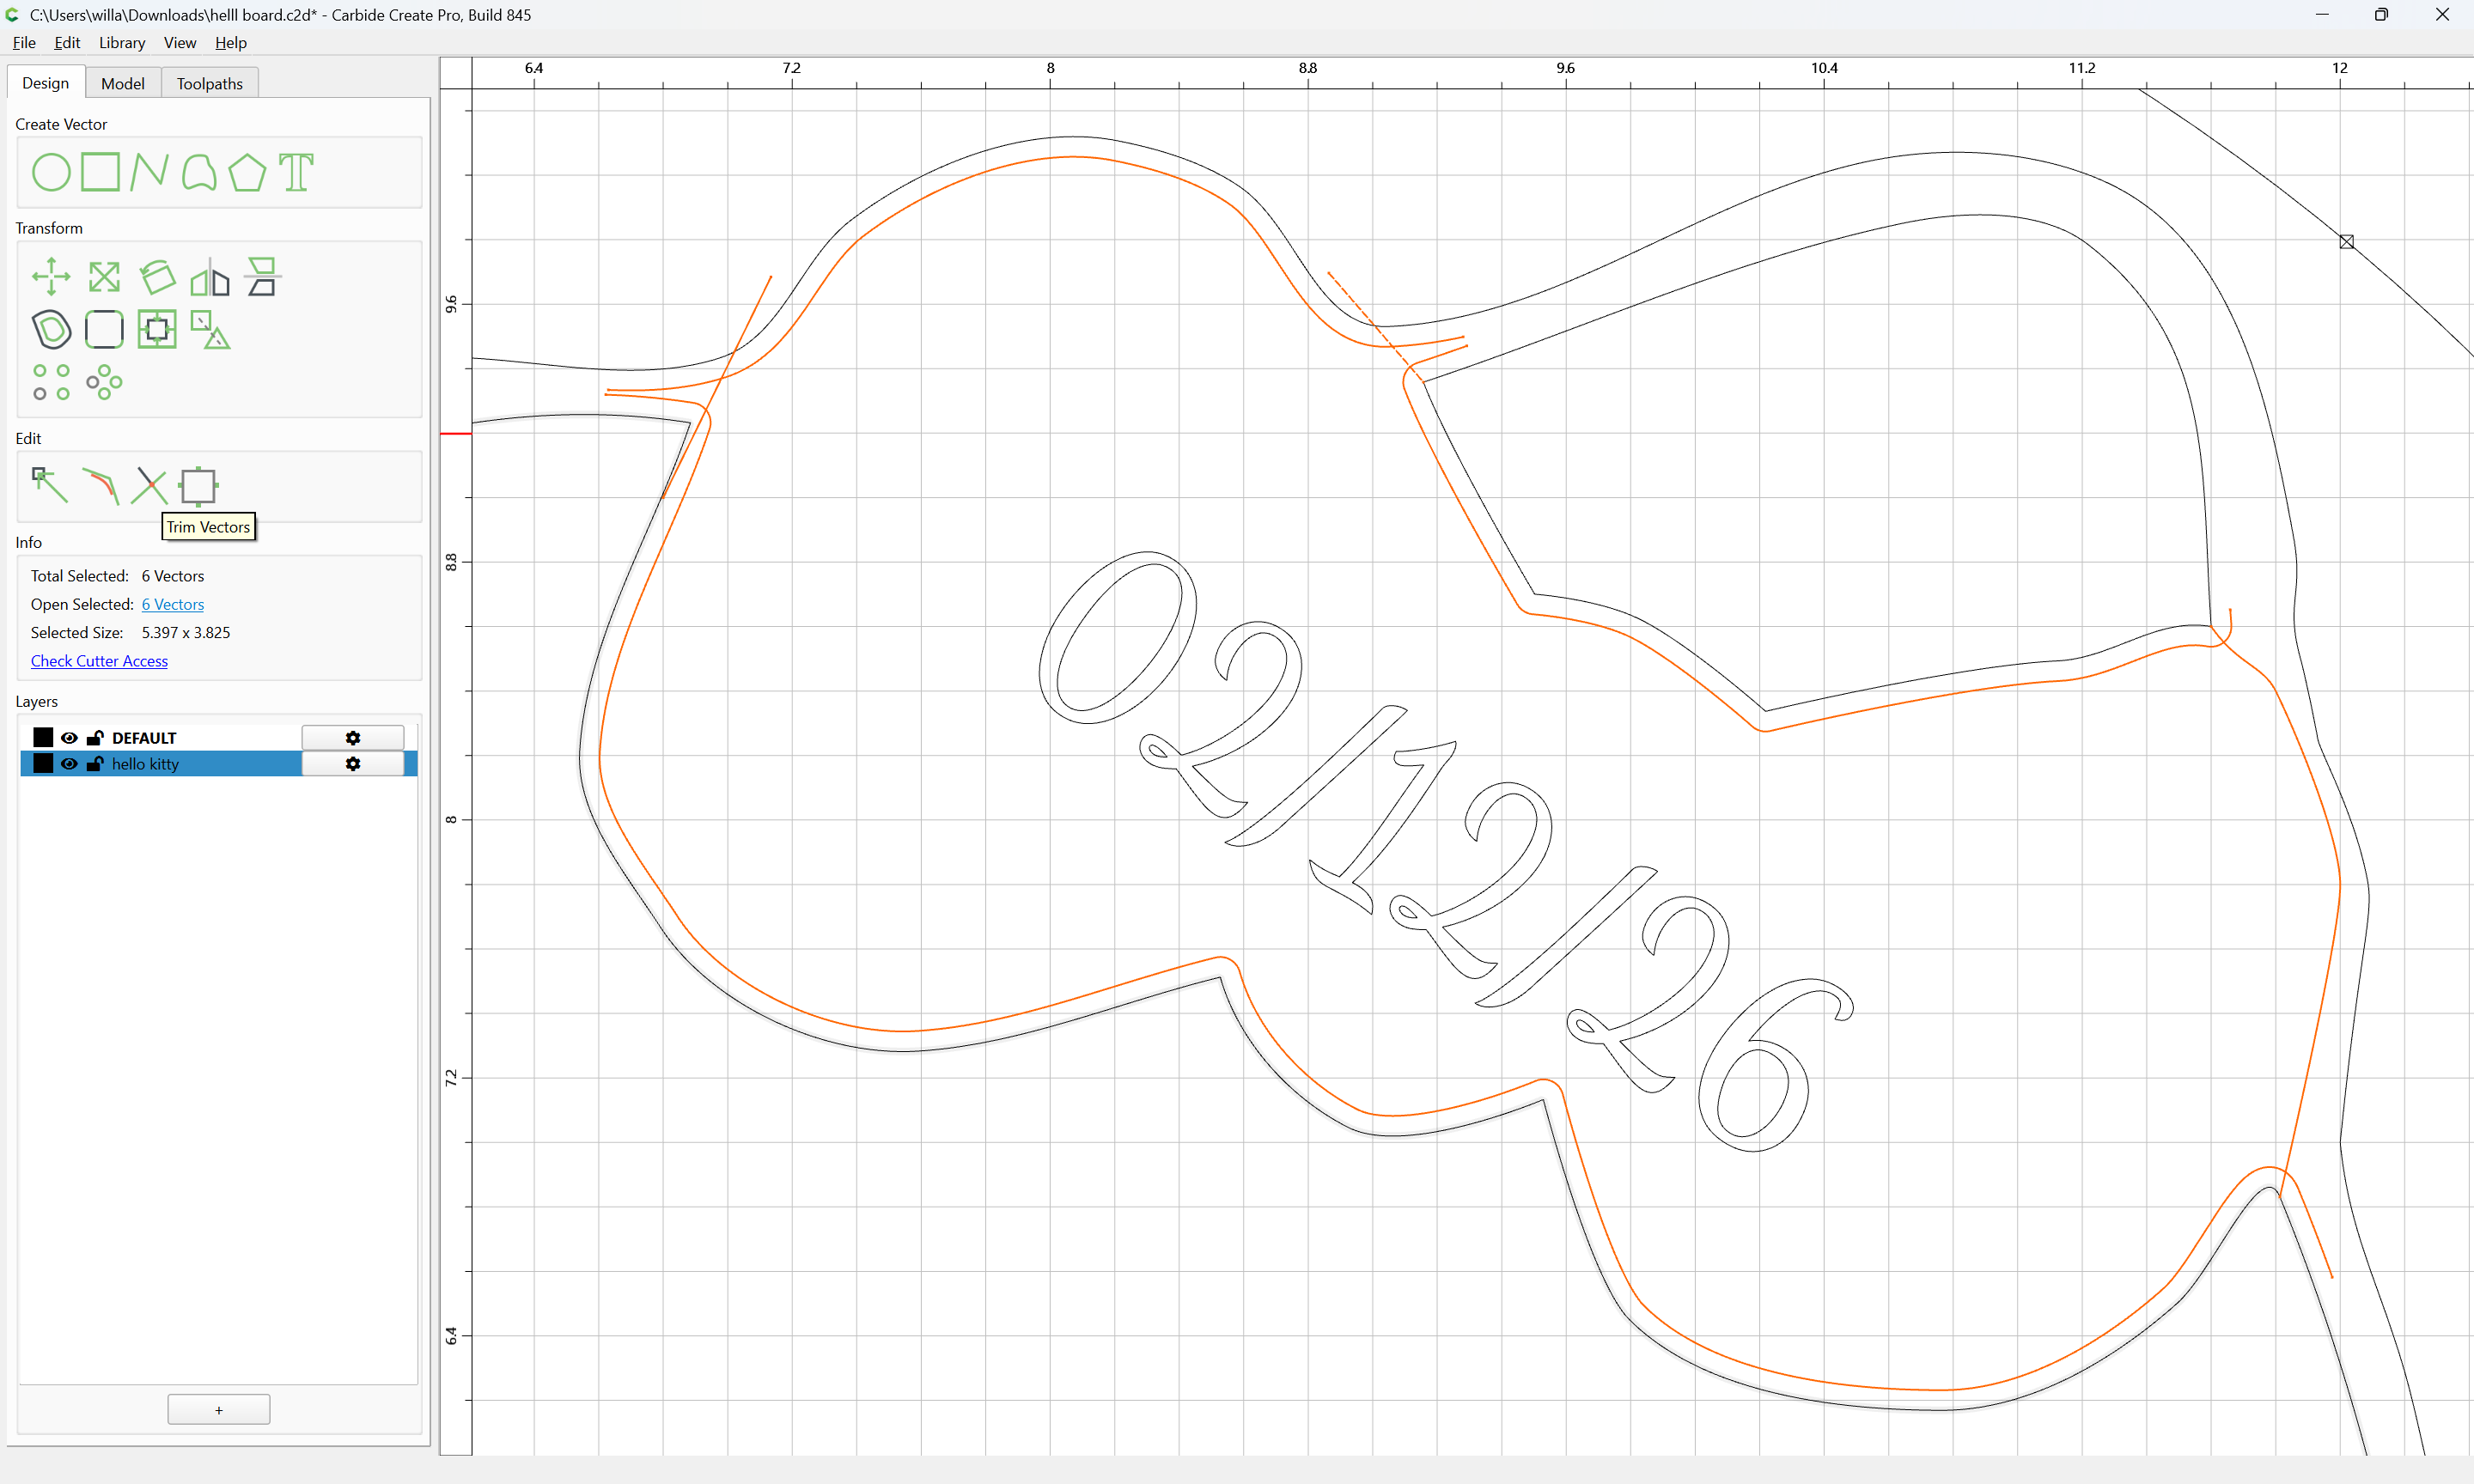
Join Vectors
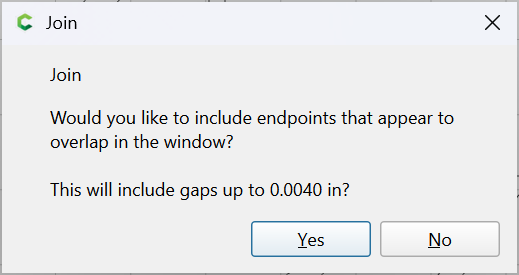
Yes
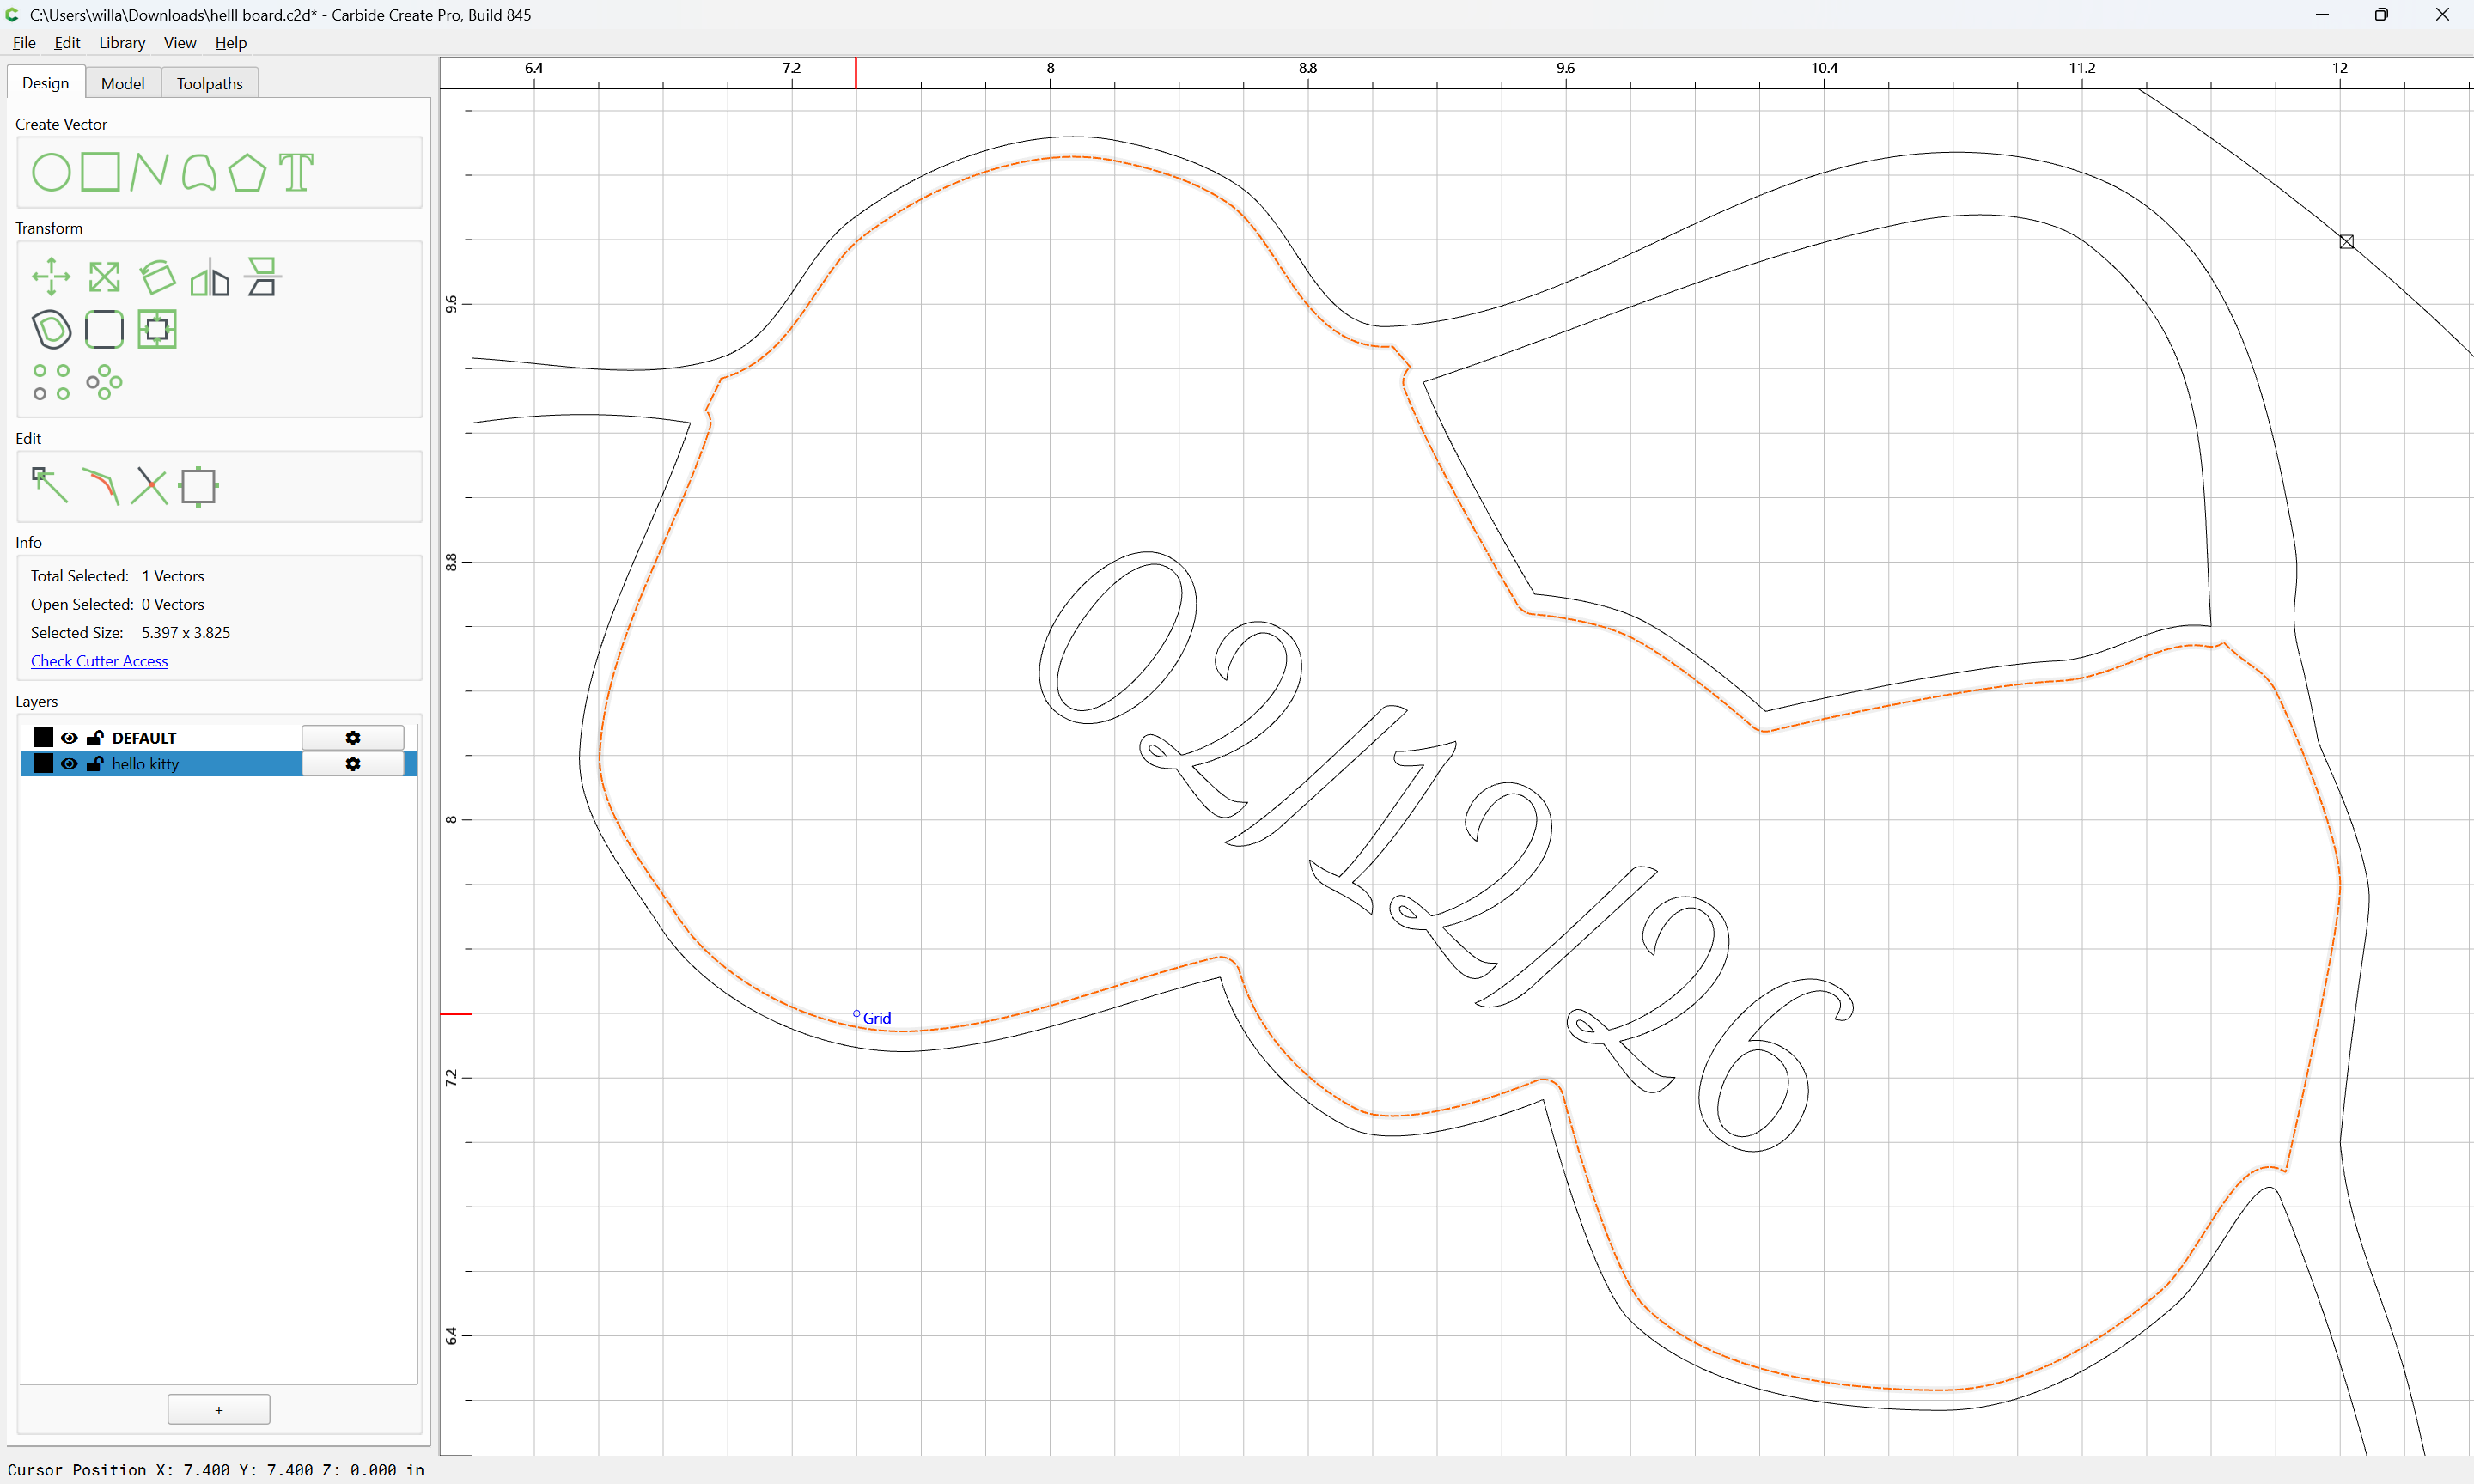
If desired, things may be cleaned up using Node Edit:
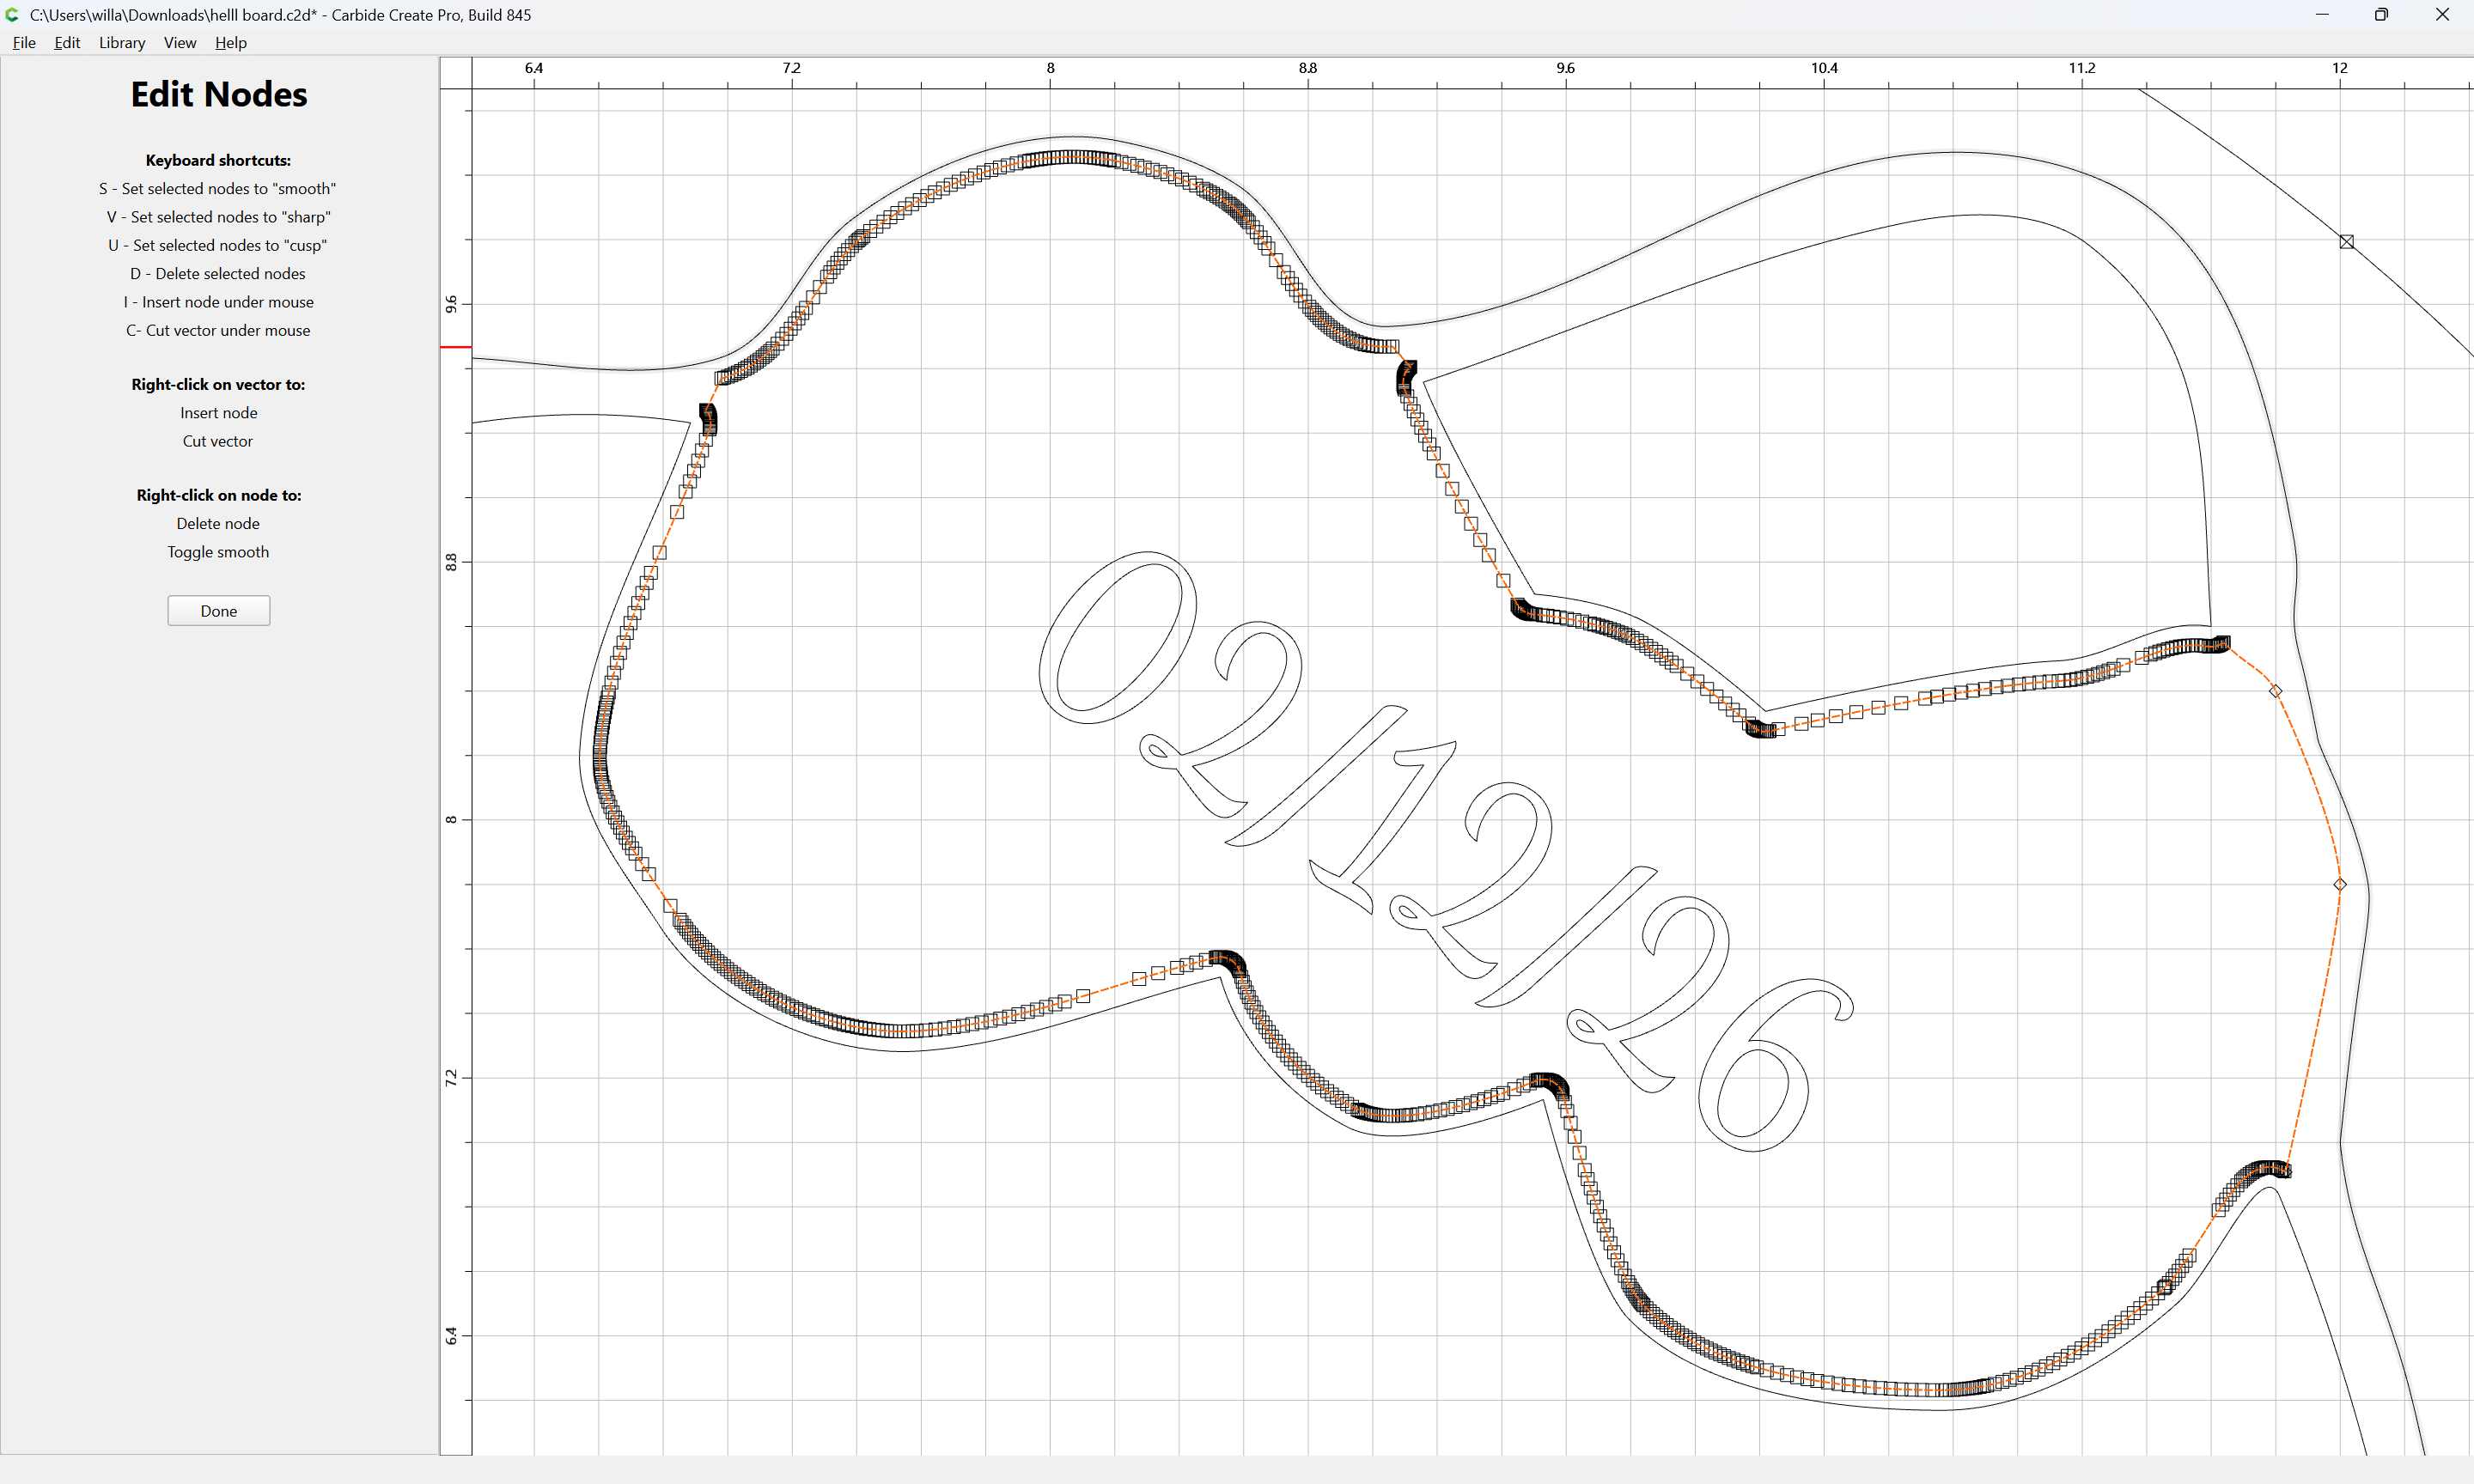
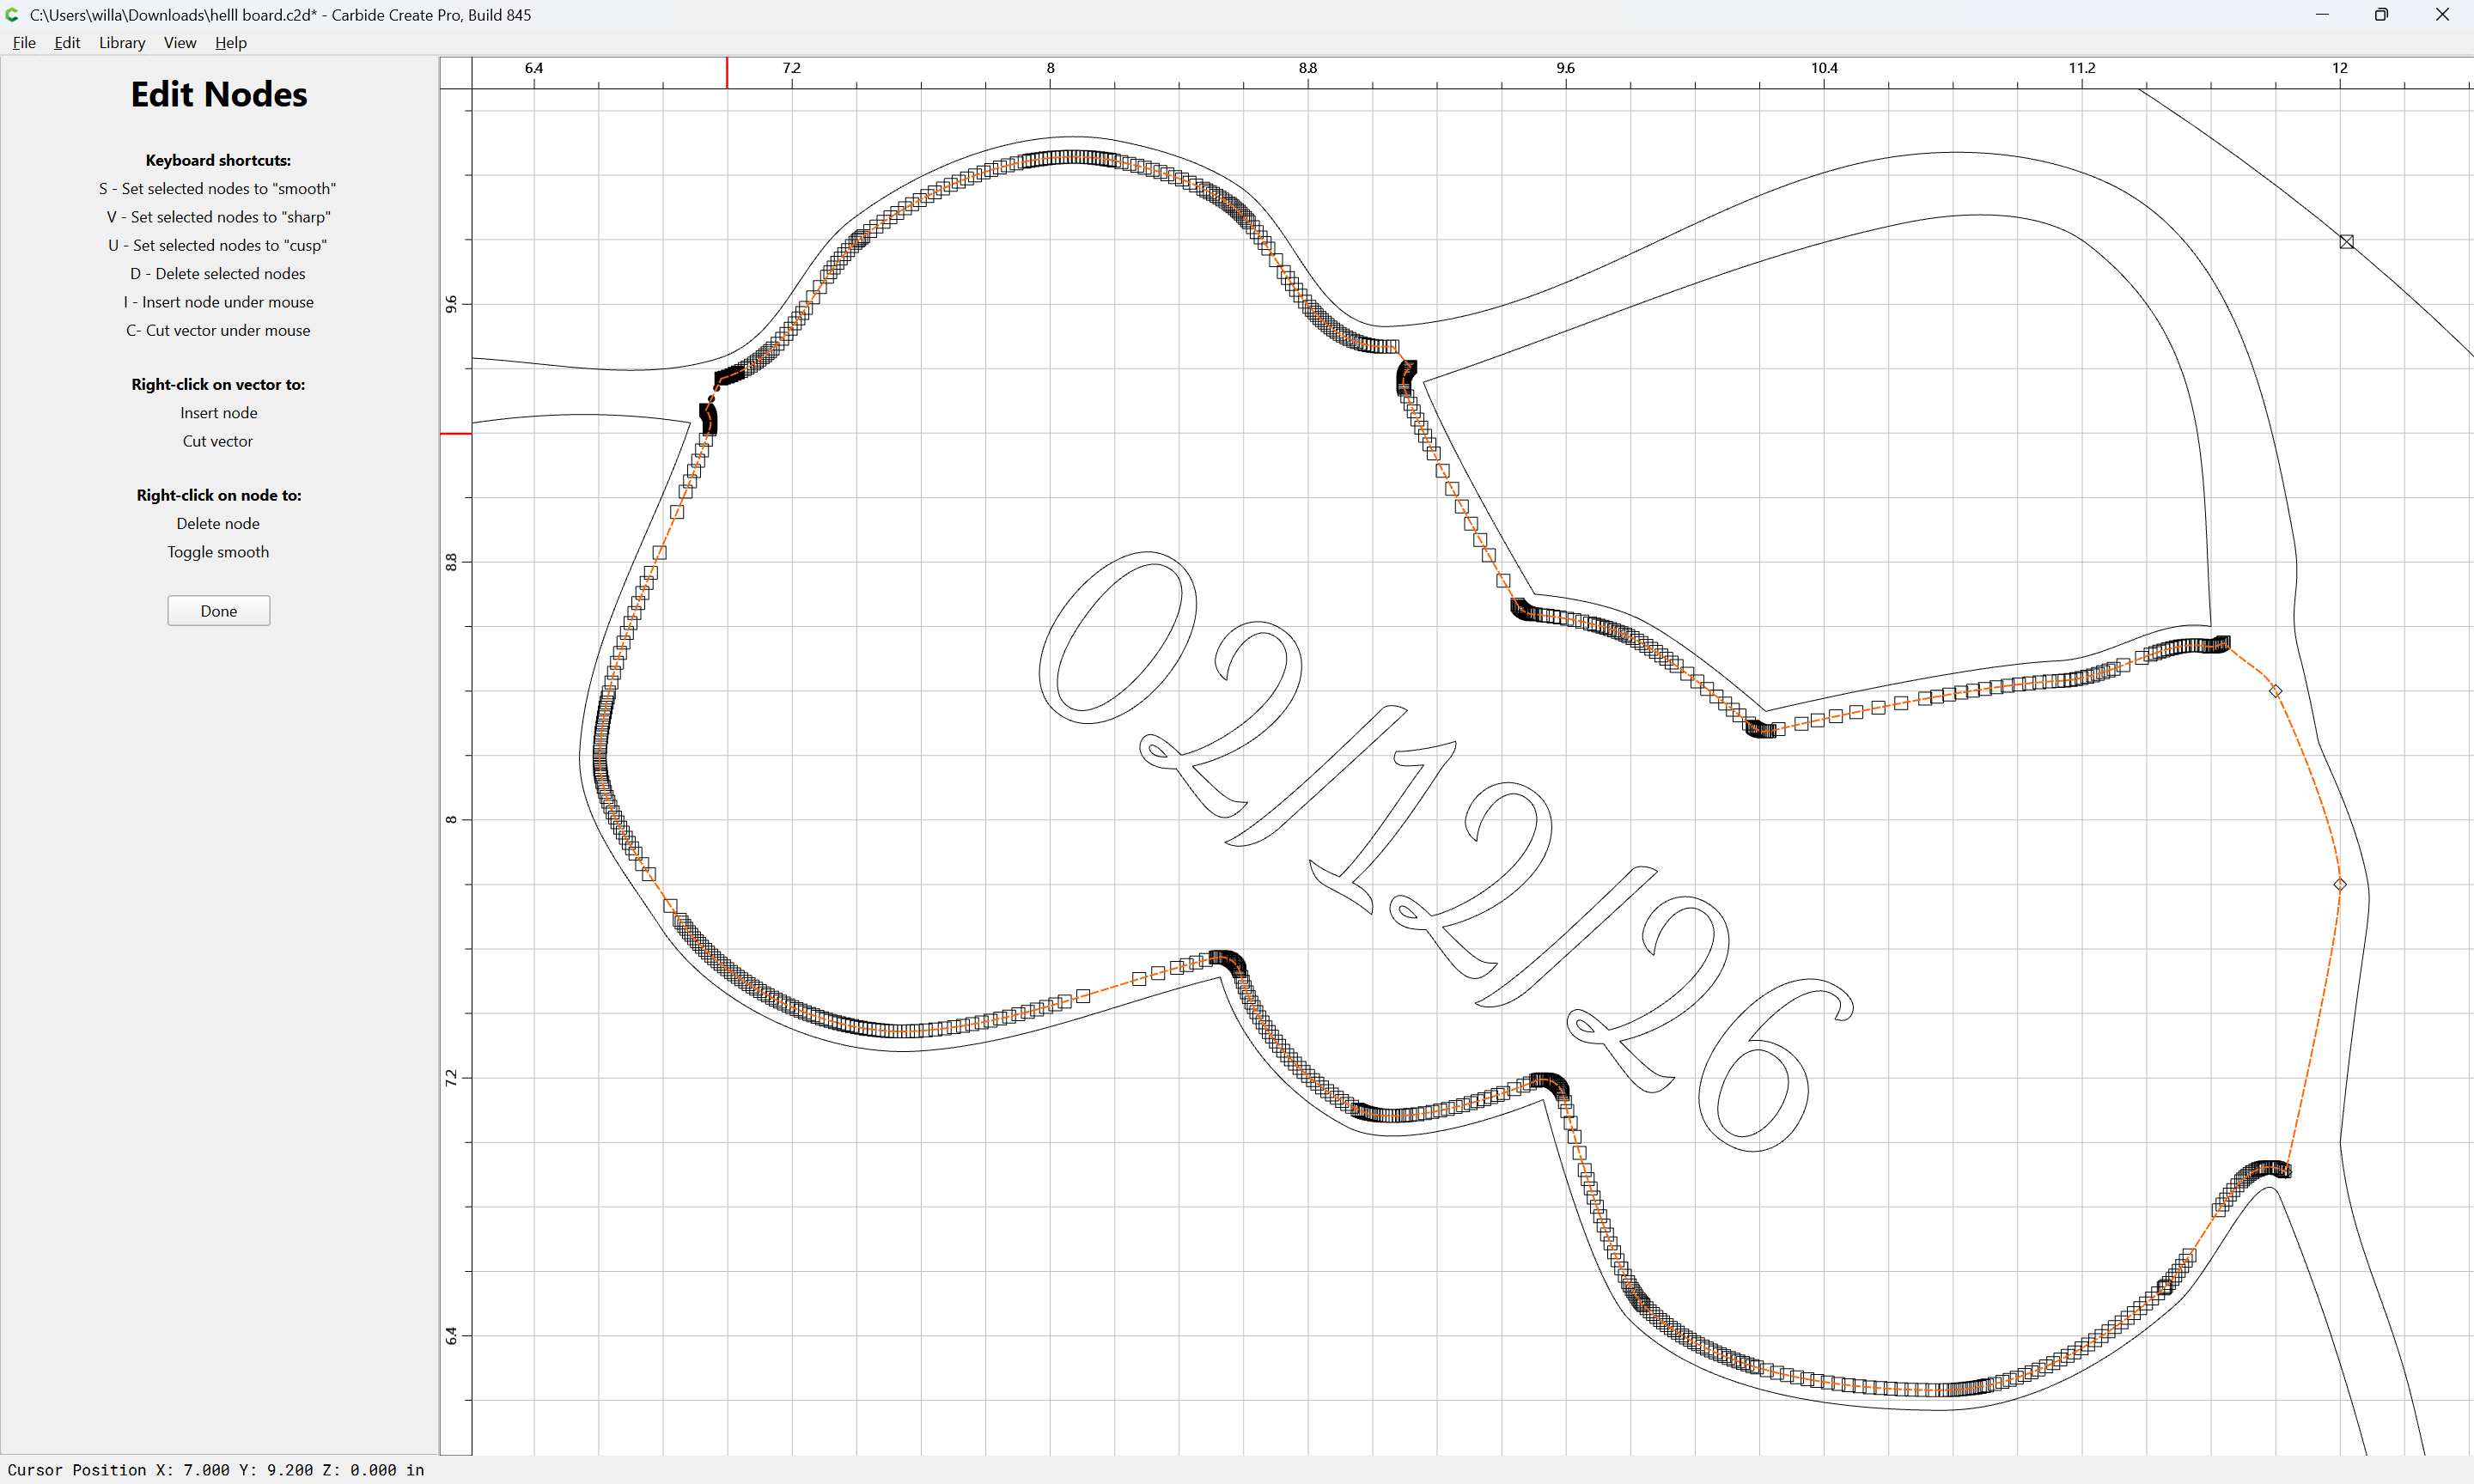
d
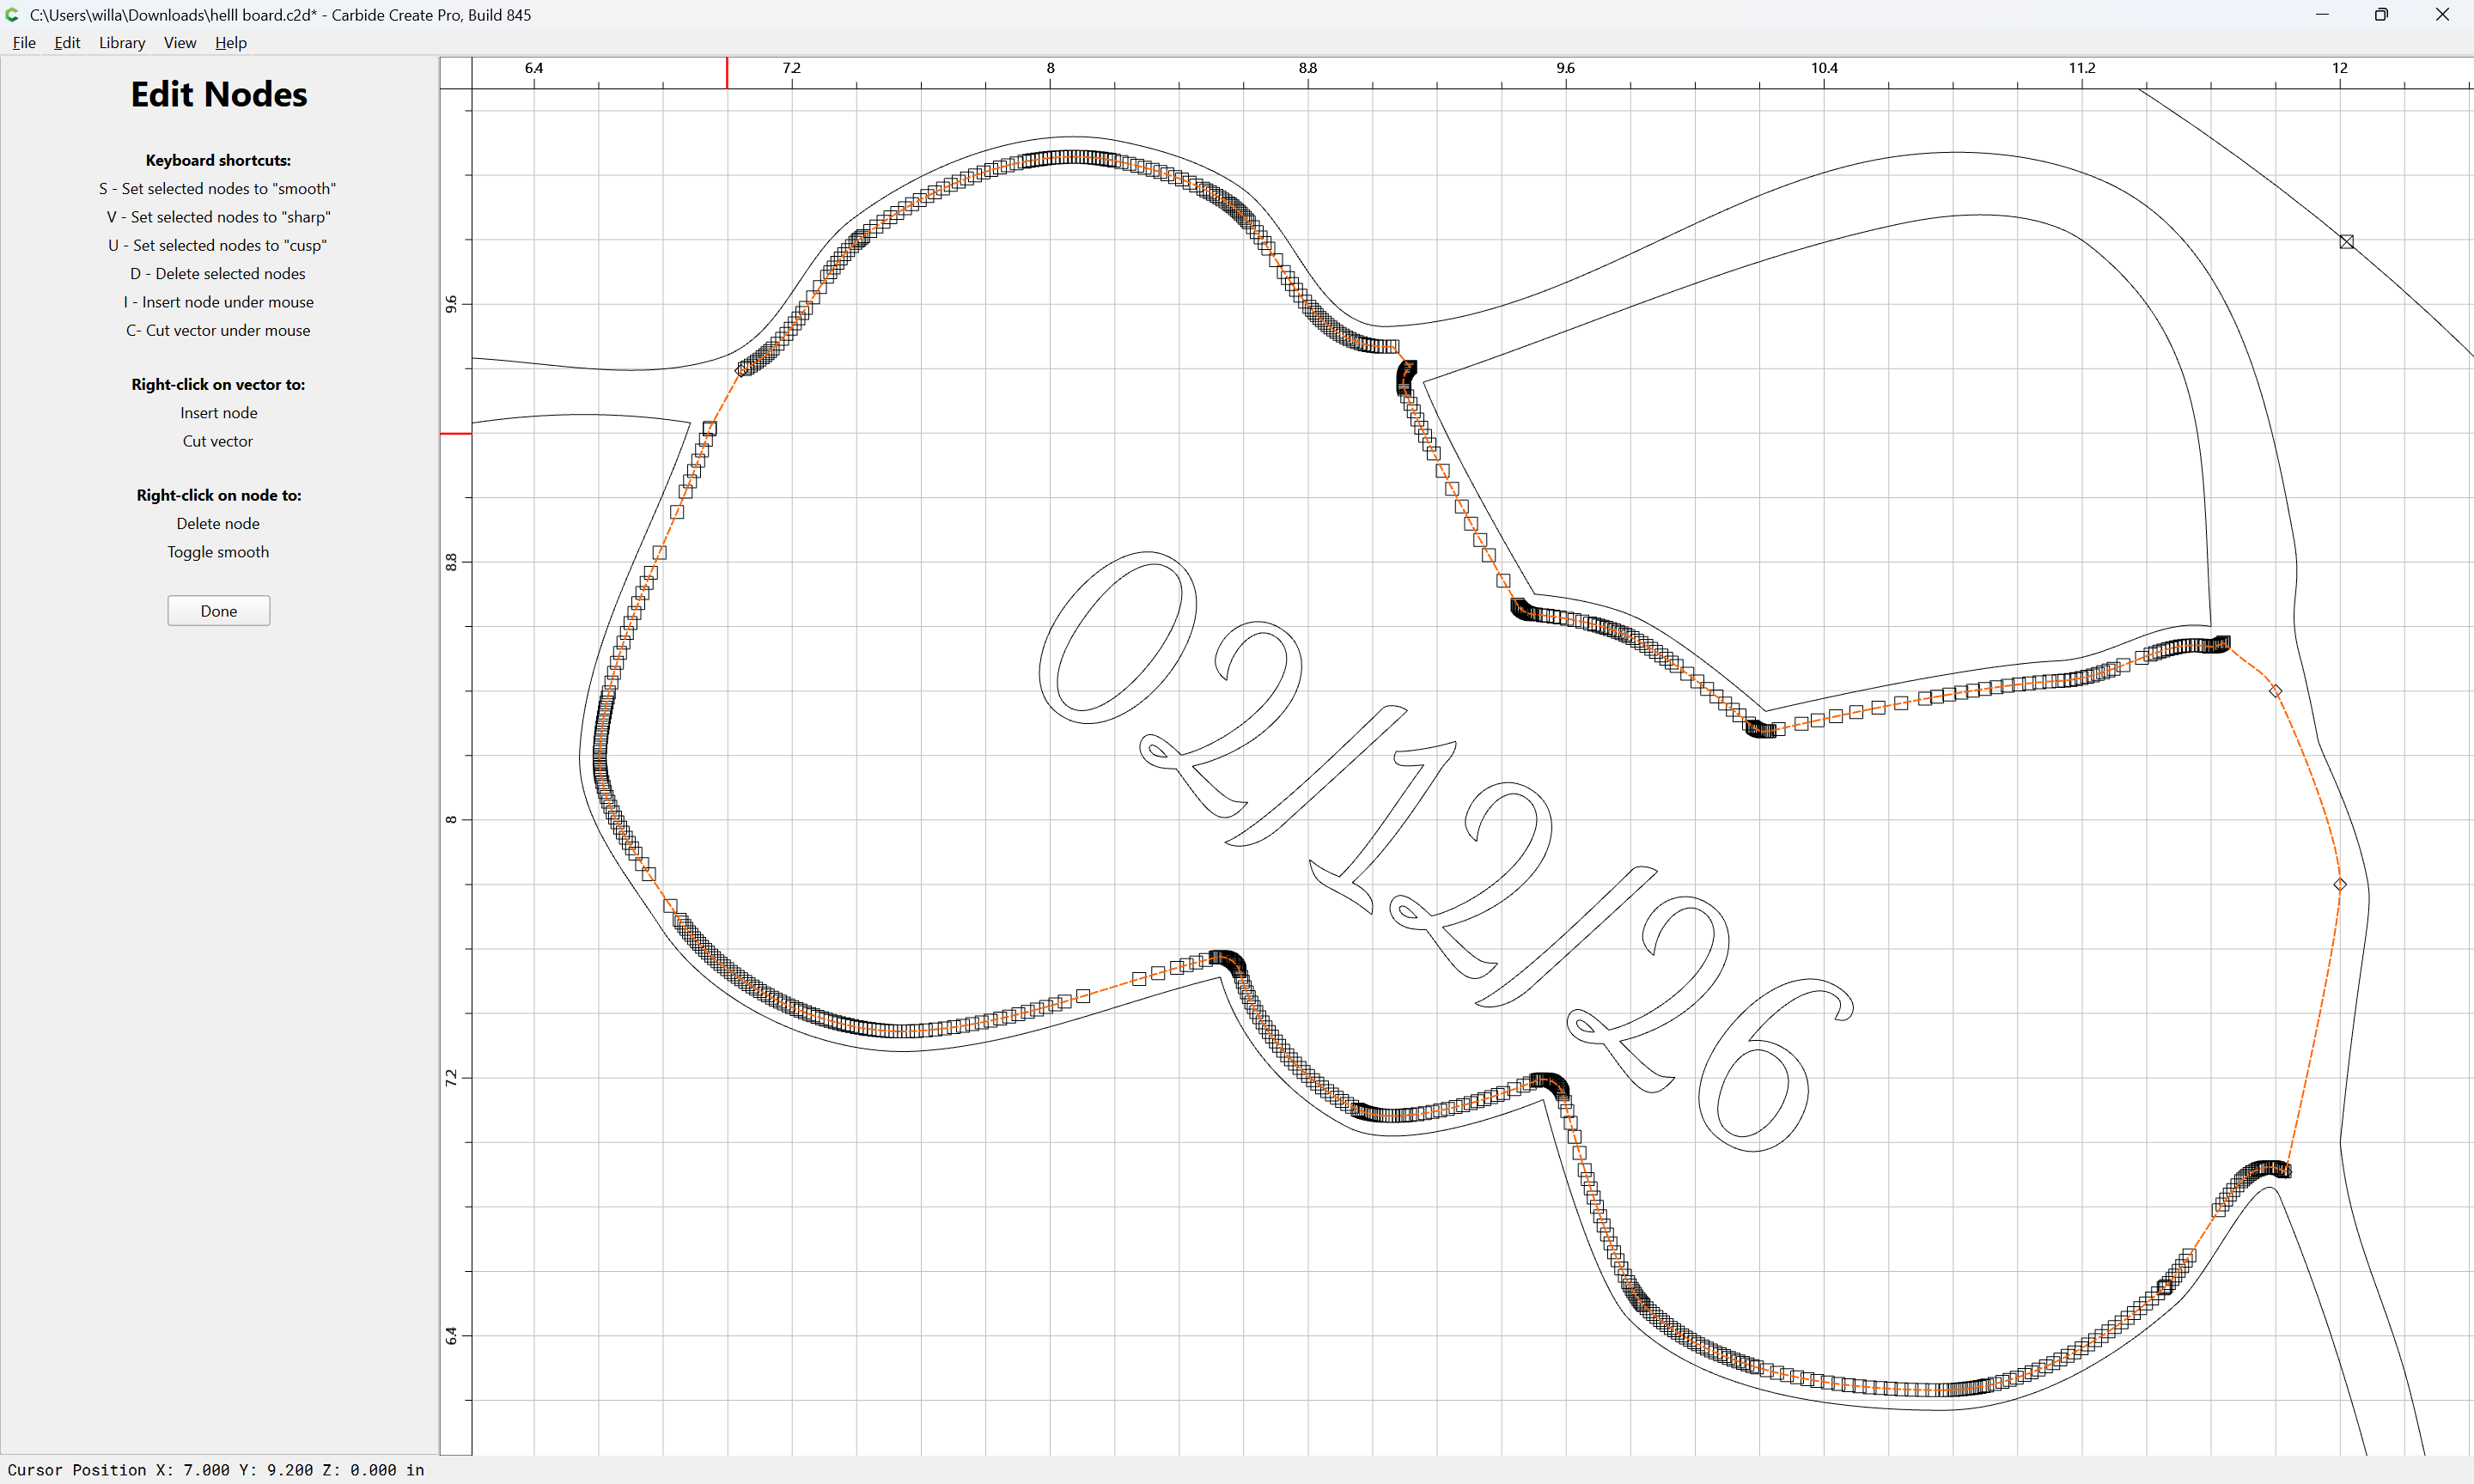
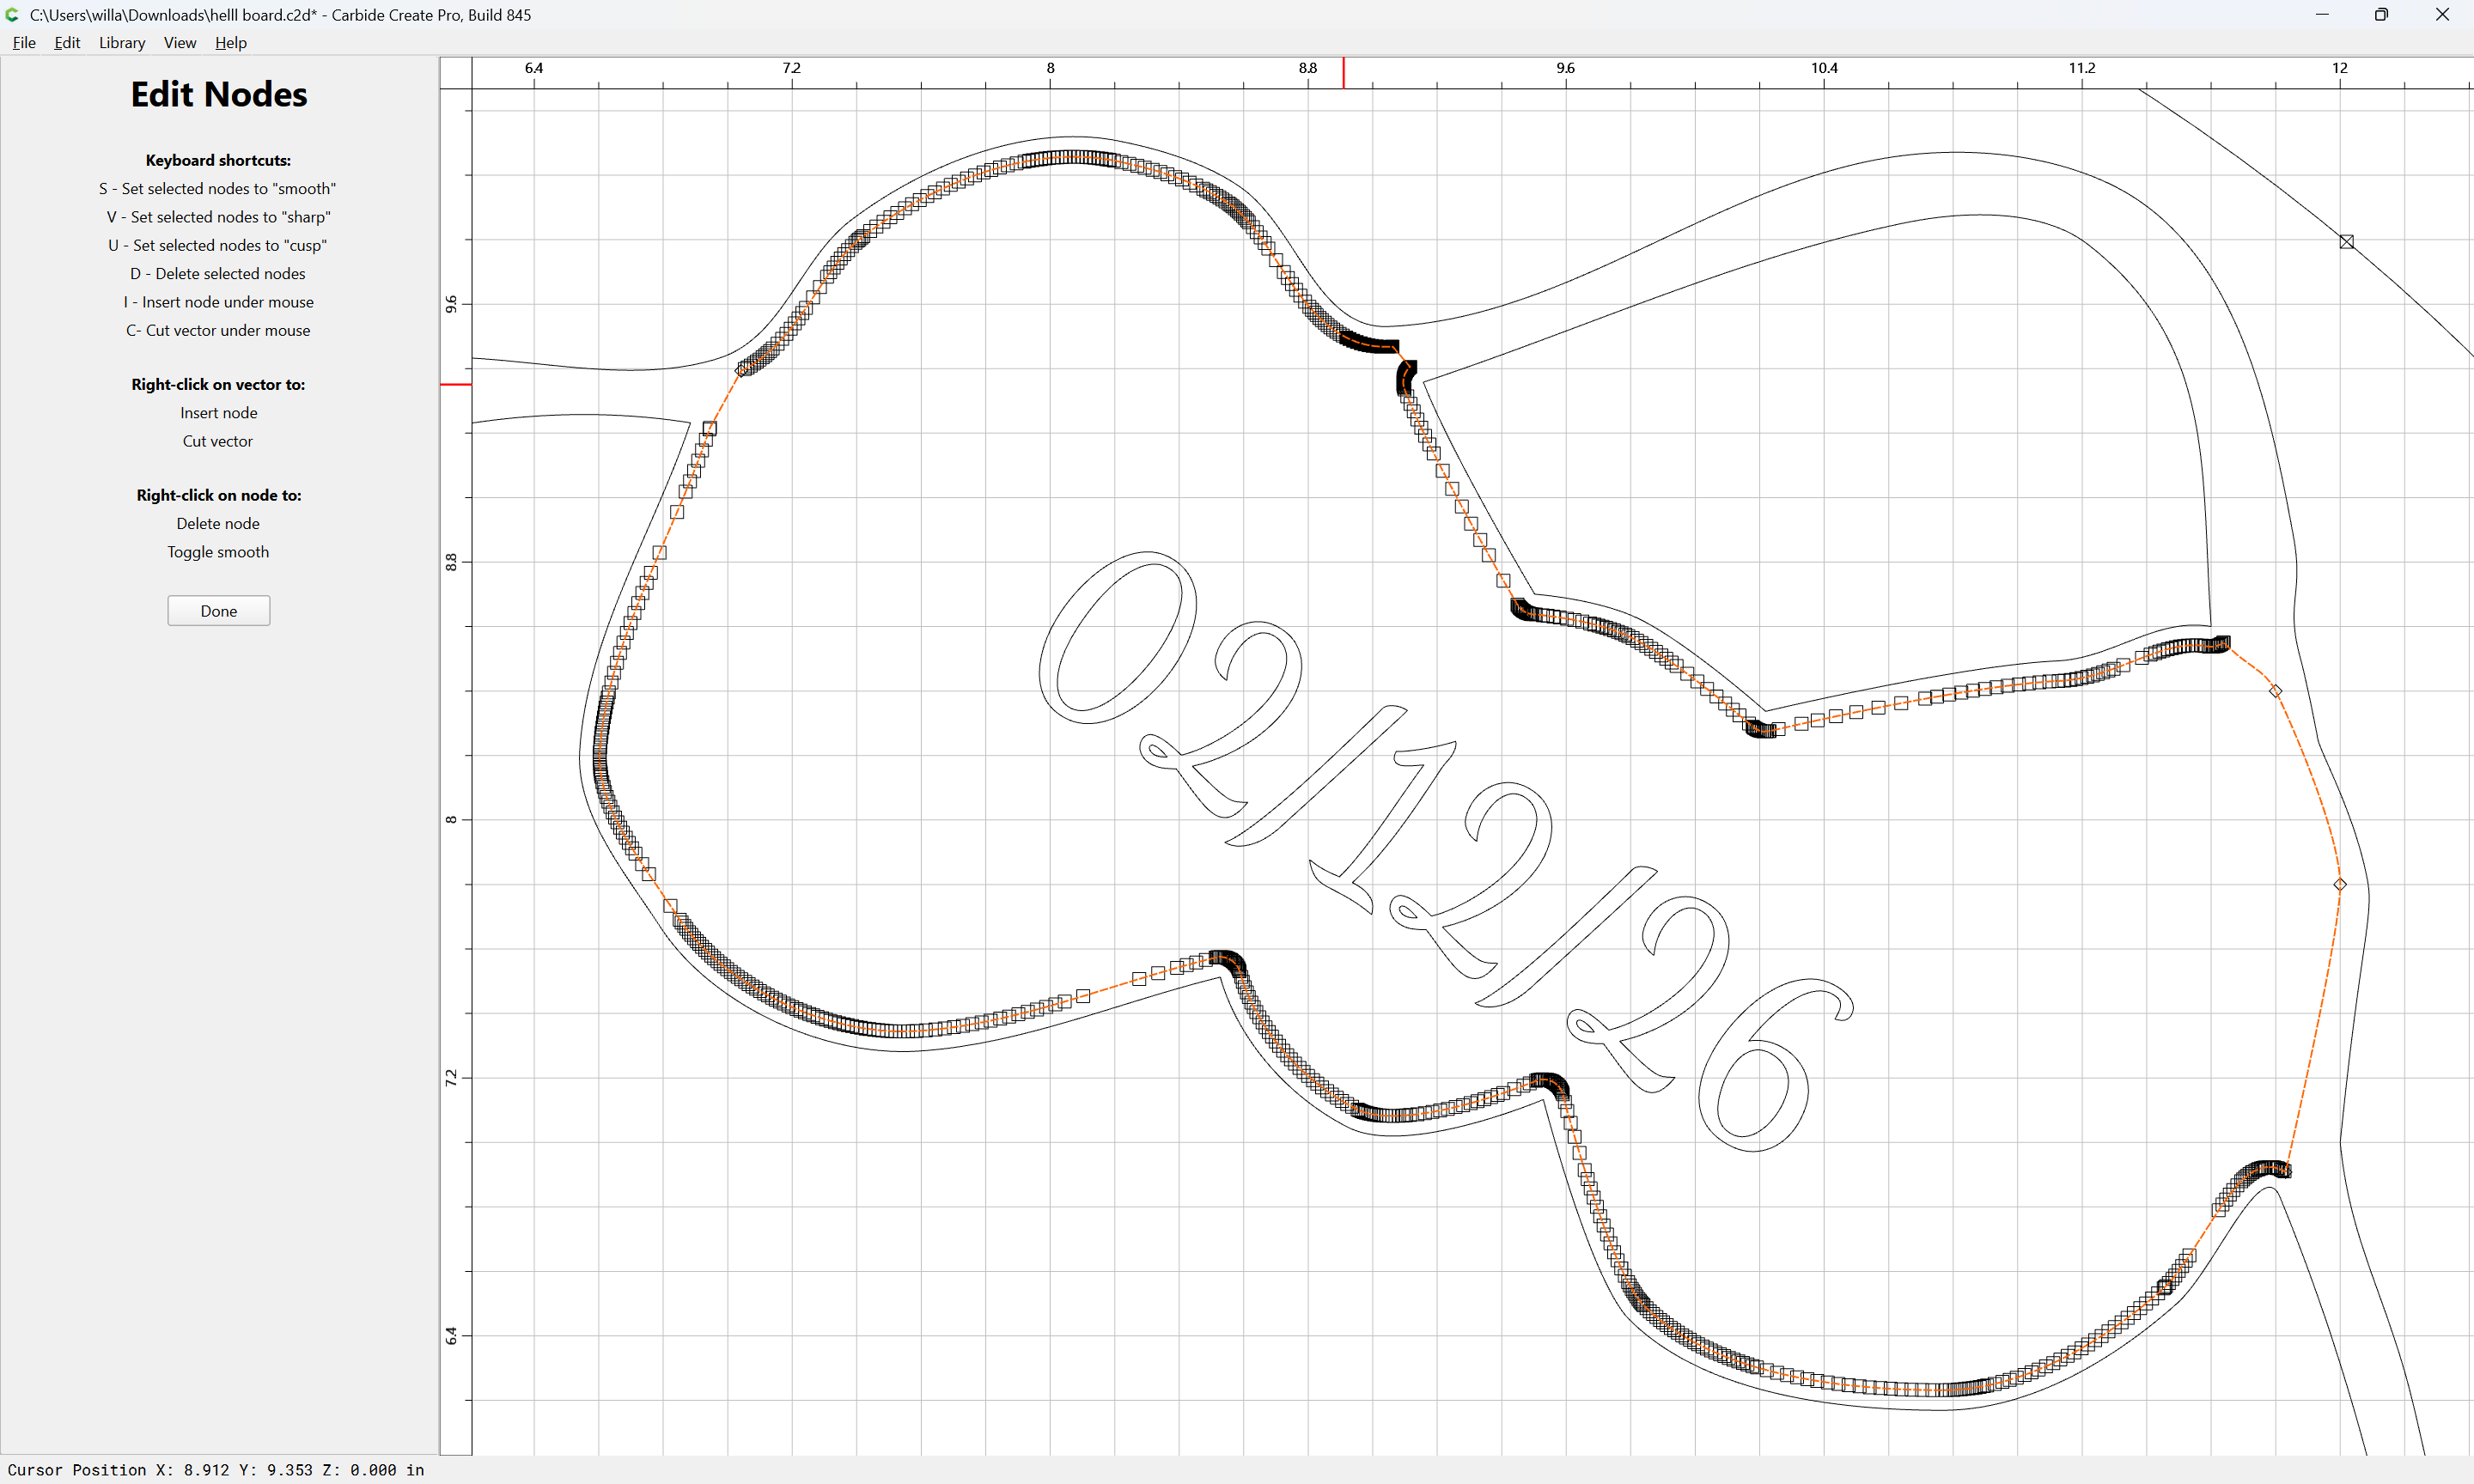
Done
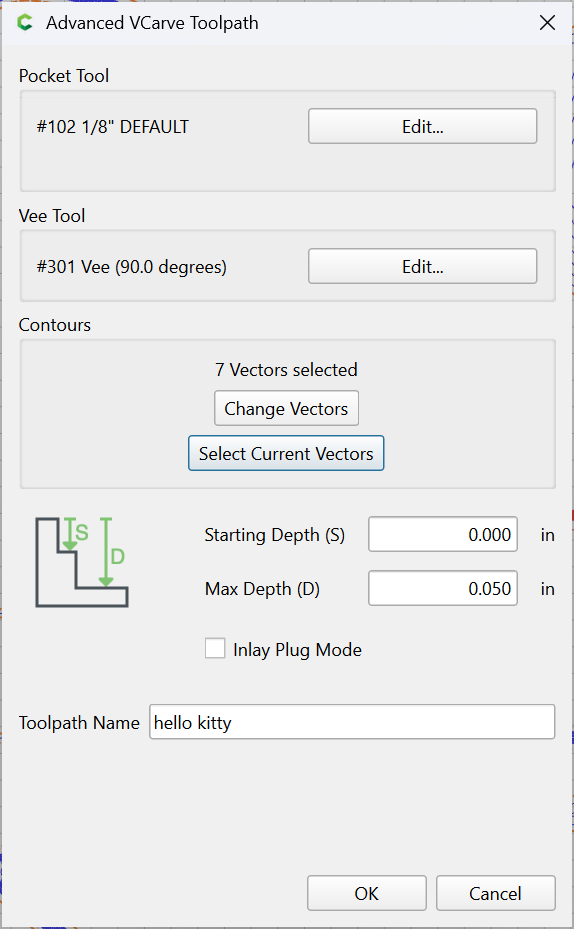
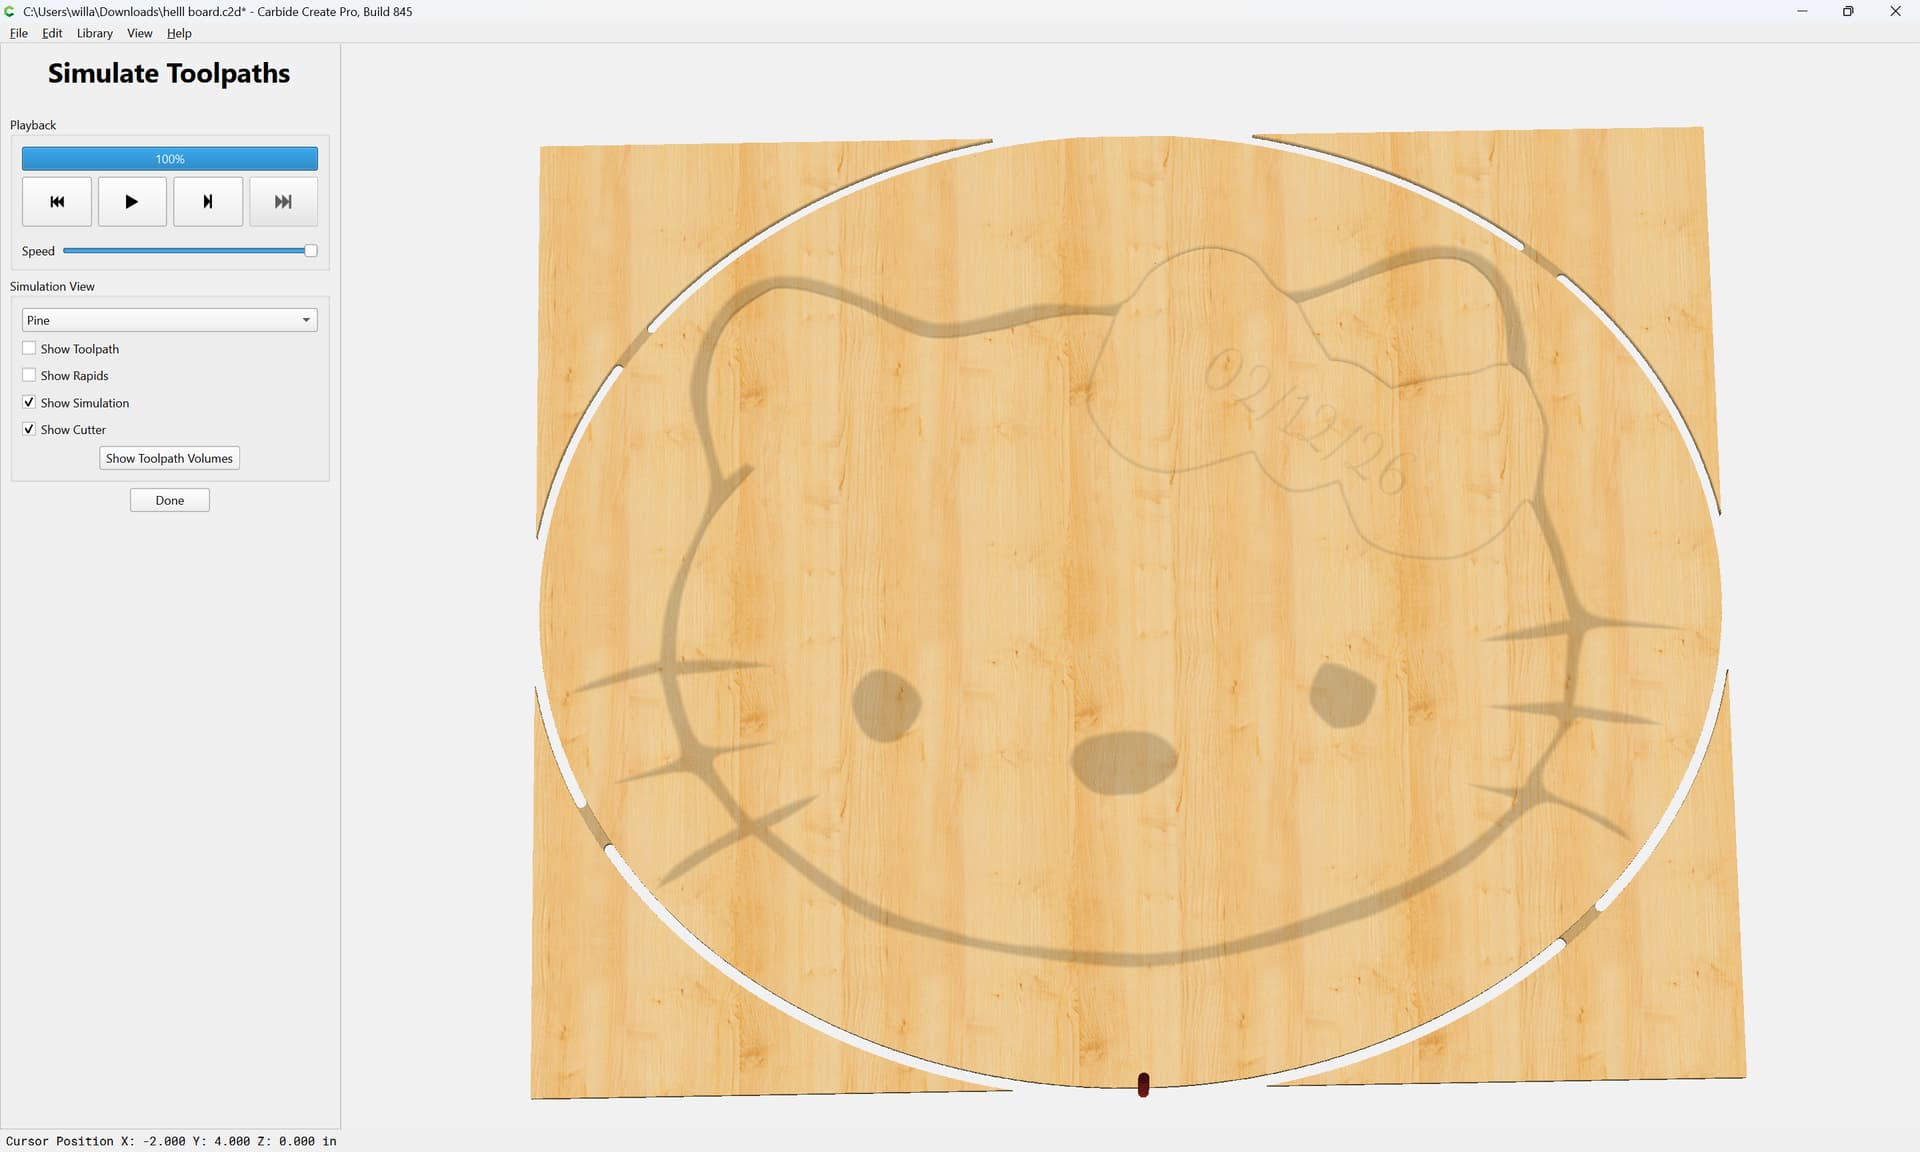
This may then be added to the V carving toolpath along with the date:
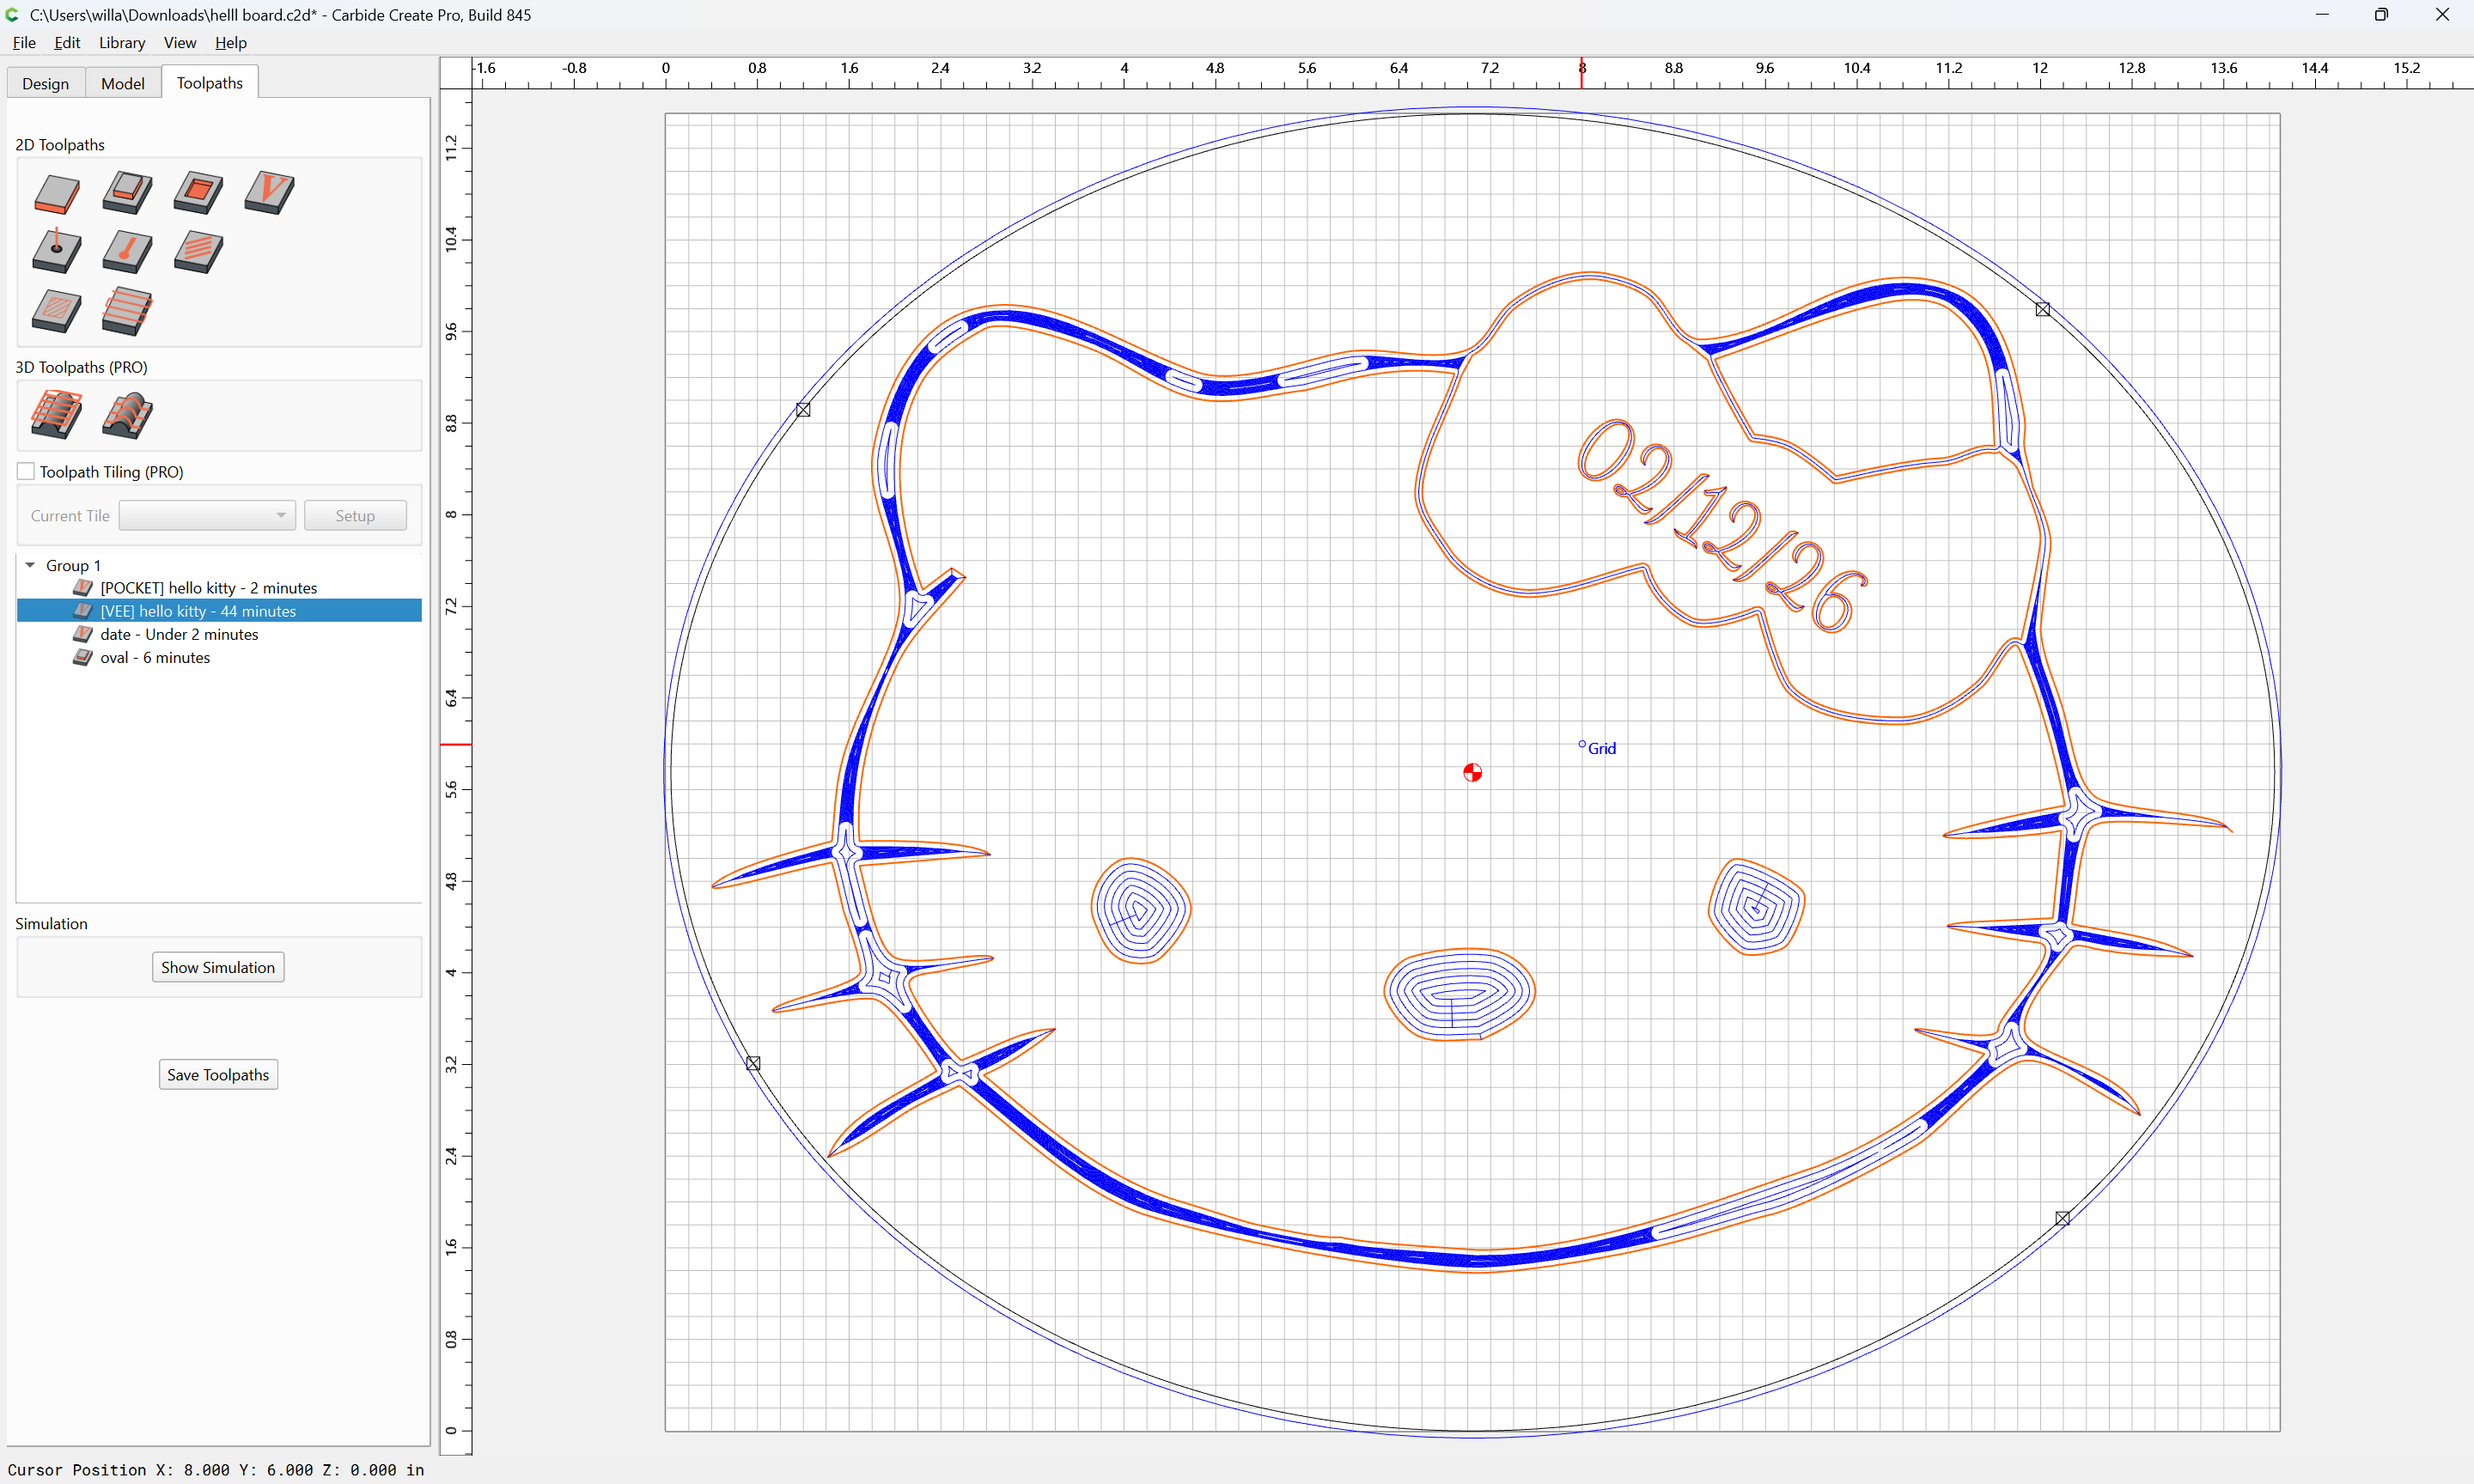
so that it then previews as:

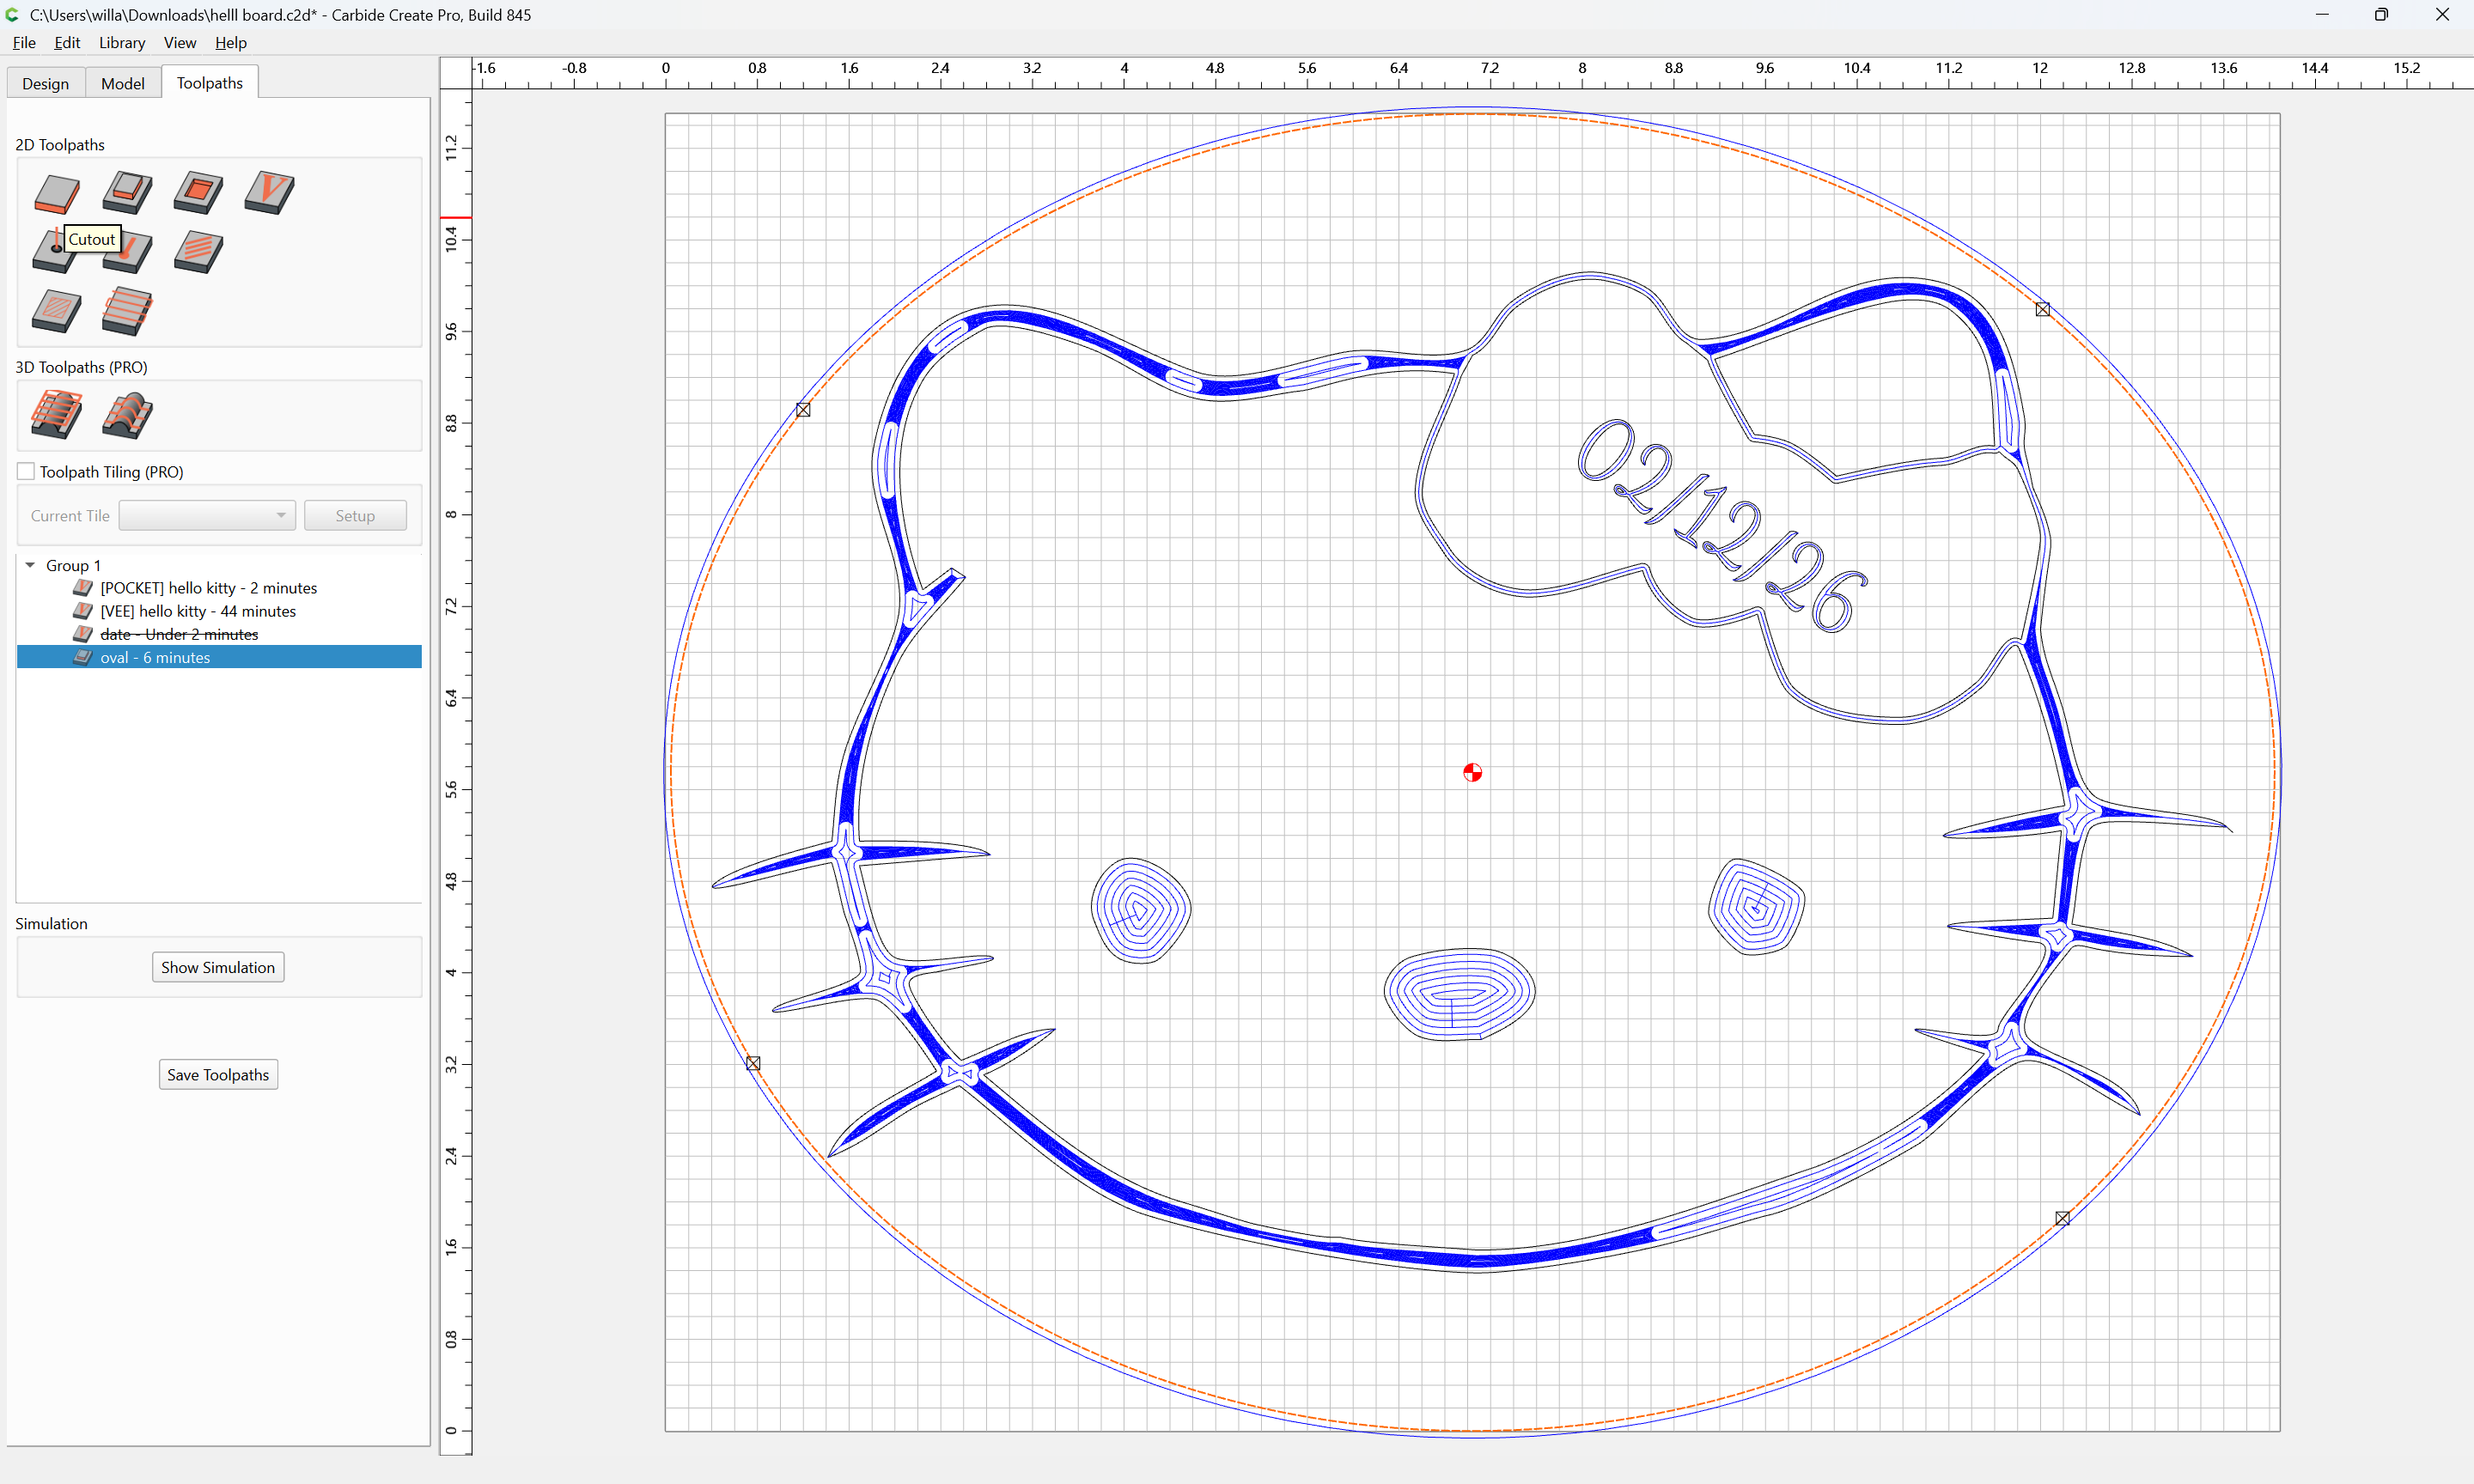
(once the Date V-carve is disabled)
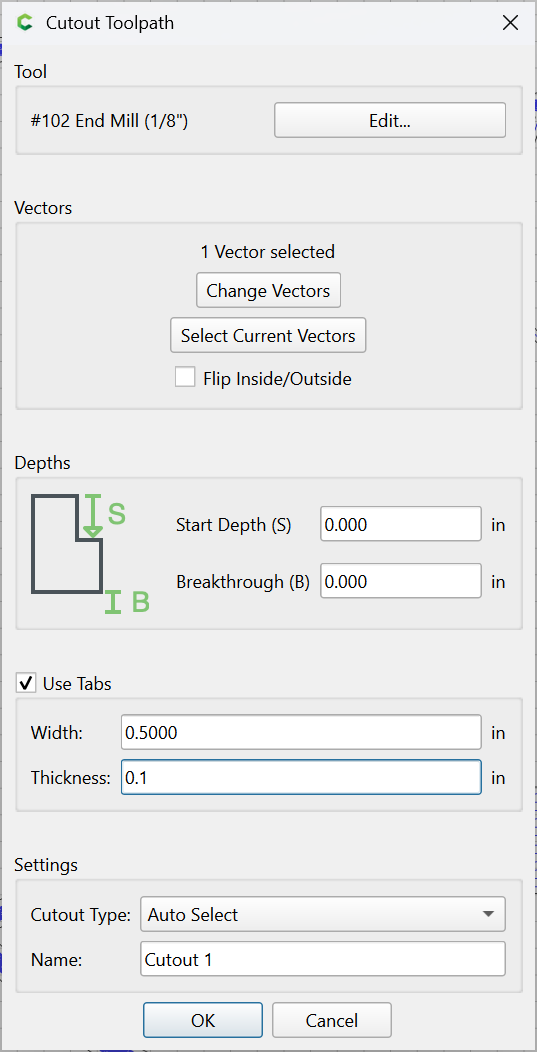
For a further consideration, use “Cutout” to cut around a perimeter:
Attached as a v8 file.
hello board_v8.c2d (232 KB)
In addition to the official guide videos:
and various custom tutorials:
you may find:
and
of interest.
3 Likes
Amazing and thank you! I don’t think I would have figured out that vector trimming by myself.
2 Questions:
- do you recommend changing the #102 as the default cutter for pocketing?
- I’m not seeing ‘cutout’ as option in the contour toolpath. Is this only for Create Pro?
Using a #102 is fine, if it’s suitably scaled to the area of material which you wish to remove — my caution was specifically against using #102 DEFAULT without considering feeds and speeds, for more on that see:
The Cutout Toolpath is in the current beta: