I’m on day 3 of assembly on my Shapeoko XL. It’s been a slow slog trying to reverse engineer the pictures and missing instructions. I’ve got the new style controller box and I’m kind of stuck since the instructions mention a tidying up section but it doesn’t exist. I can’t figure out how to mount the drag chain on the rail without them getting in the way ? They have a twist to them on both axis and I’ve got little clearance . How do you figure this out? Also how do you keep chips out of the new controller box with the hole pointed up and why is there no grommets to prevent wire chafing around the machine? Help https://ibb.co/TqLK9pX
https://ibb.co/M8SjcqX
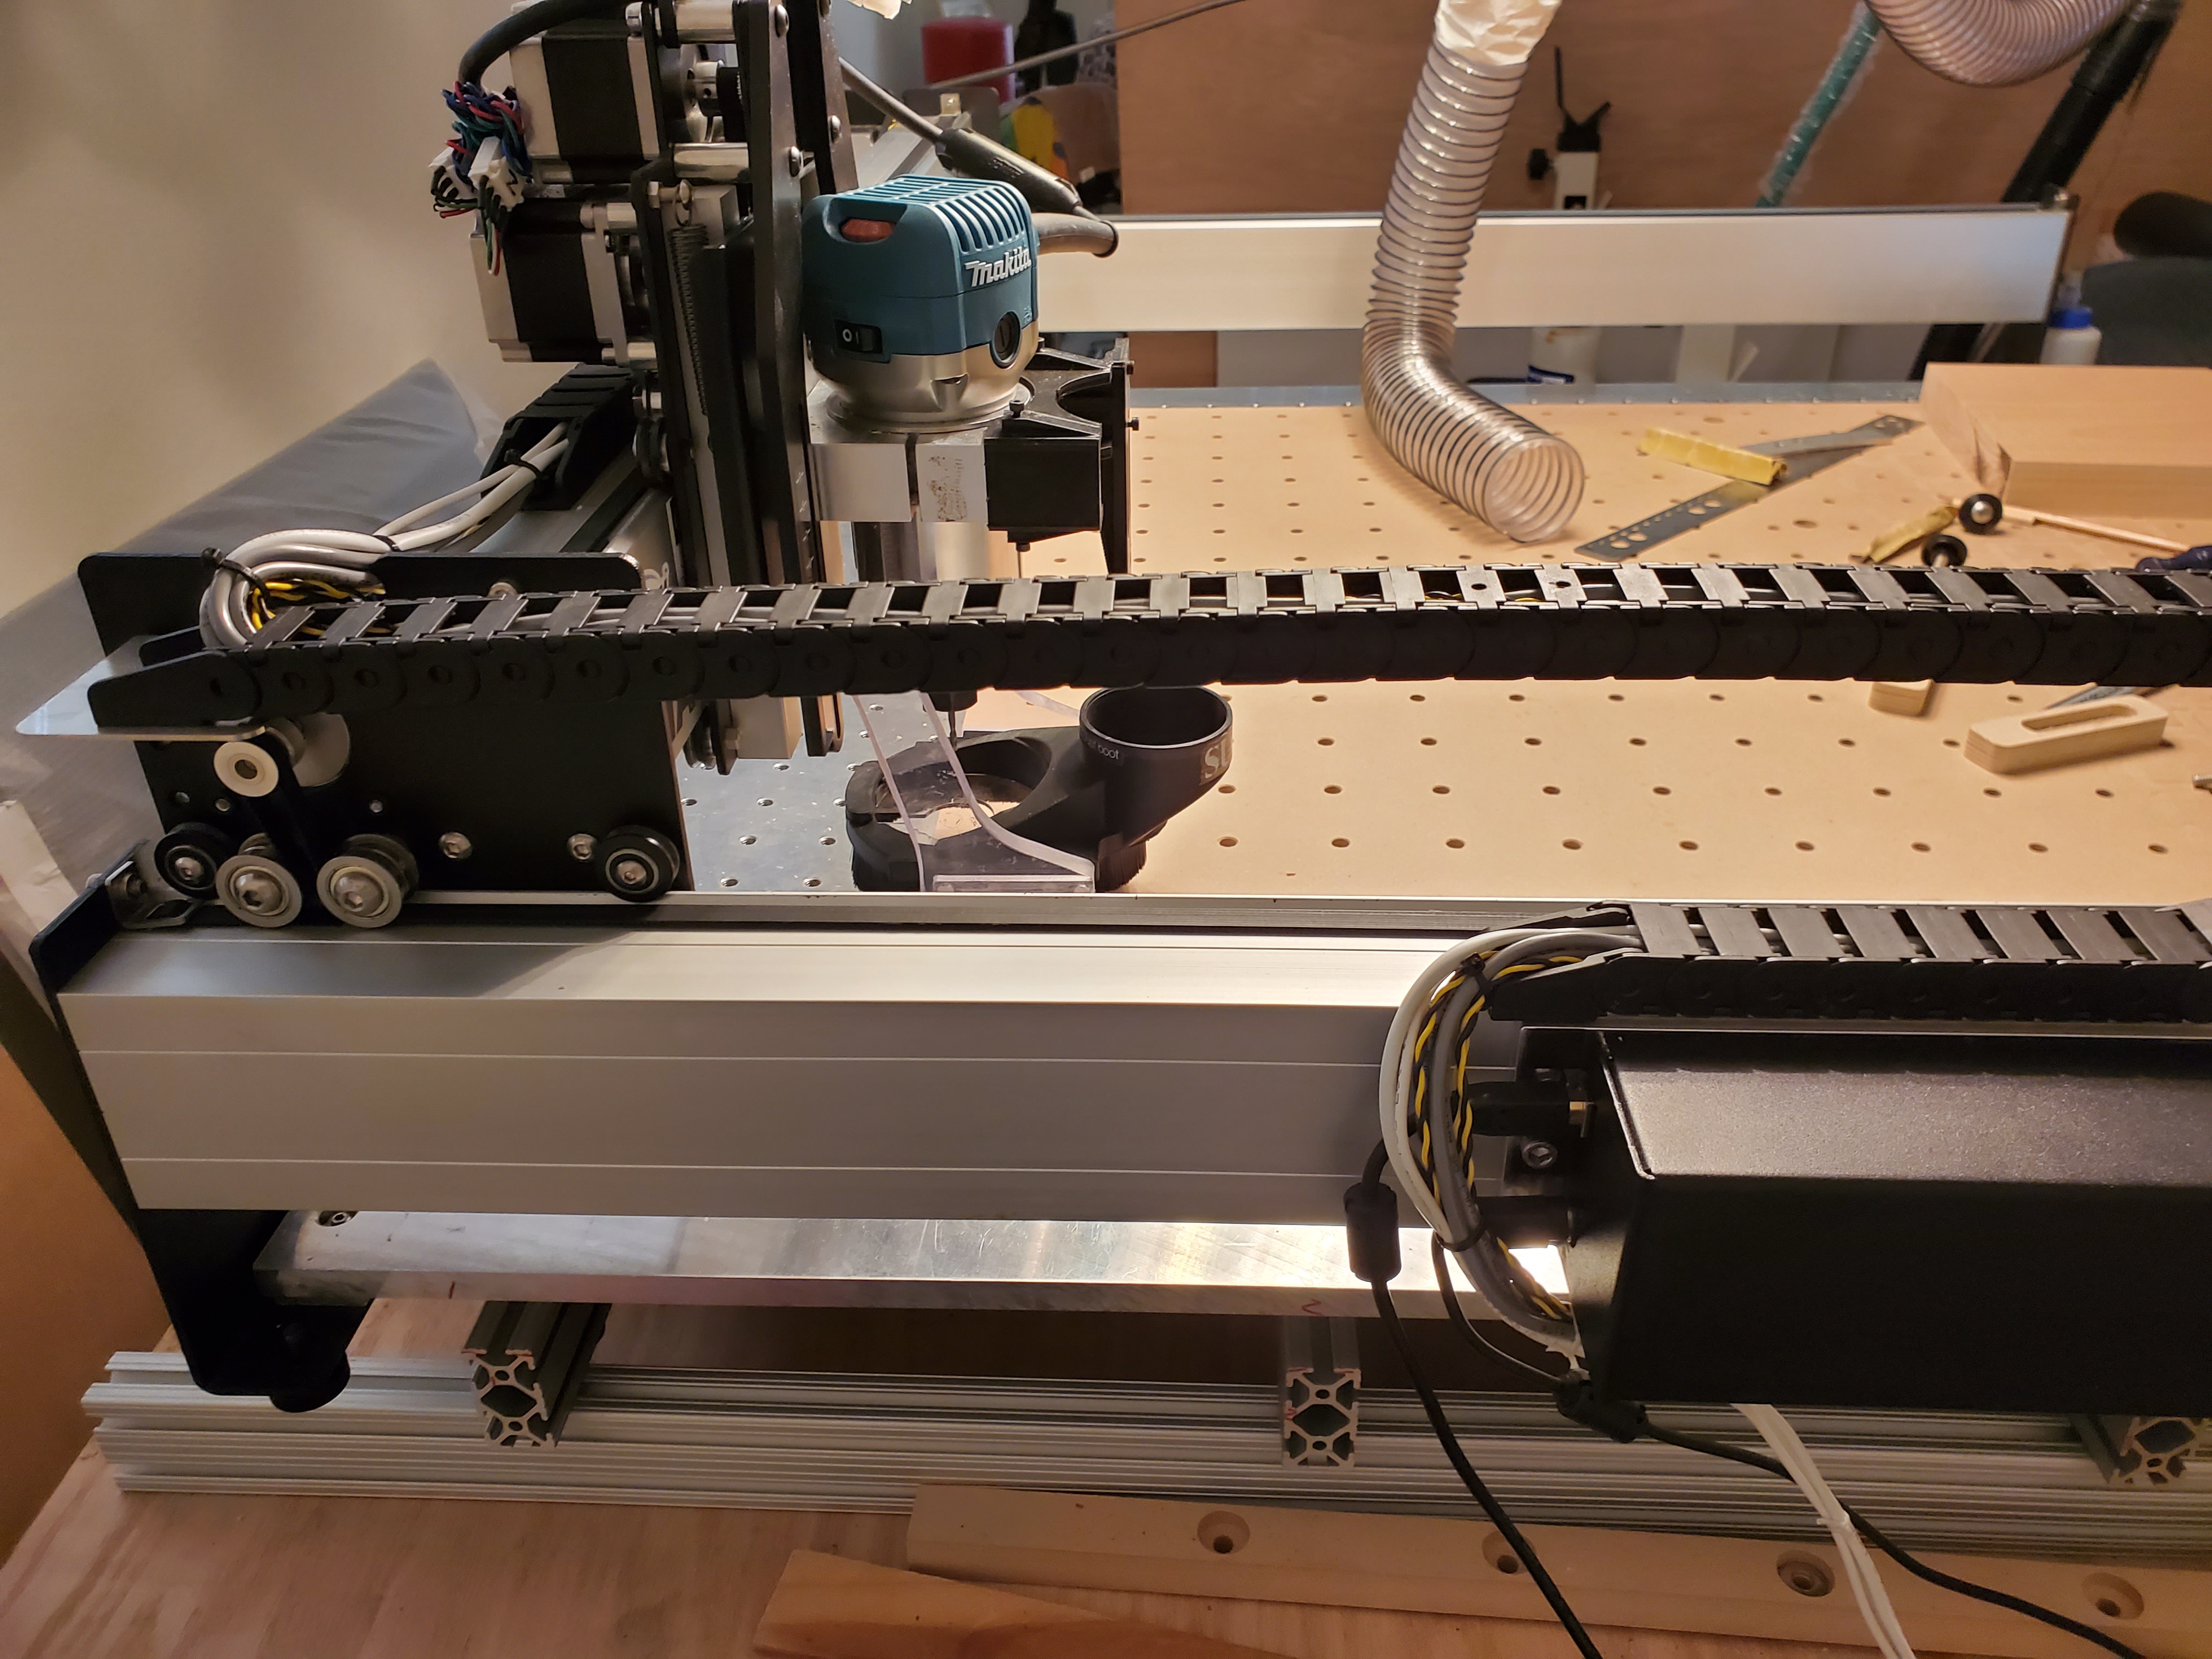
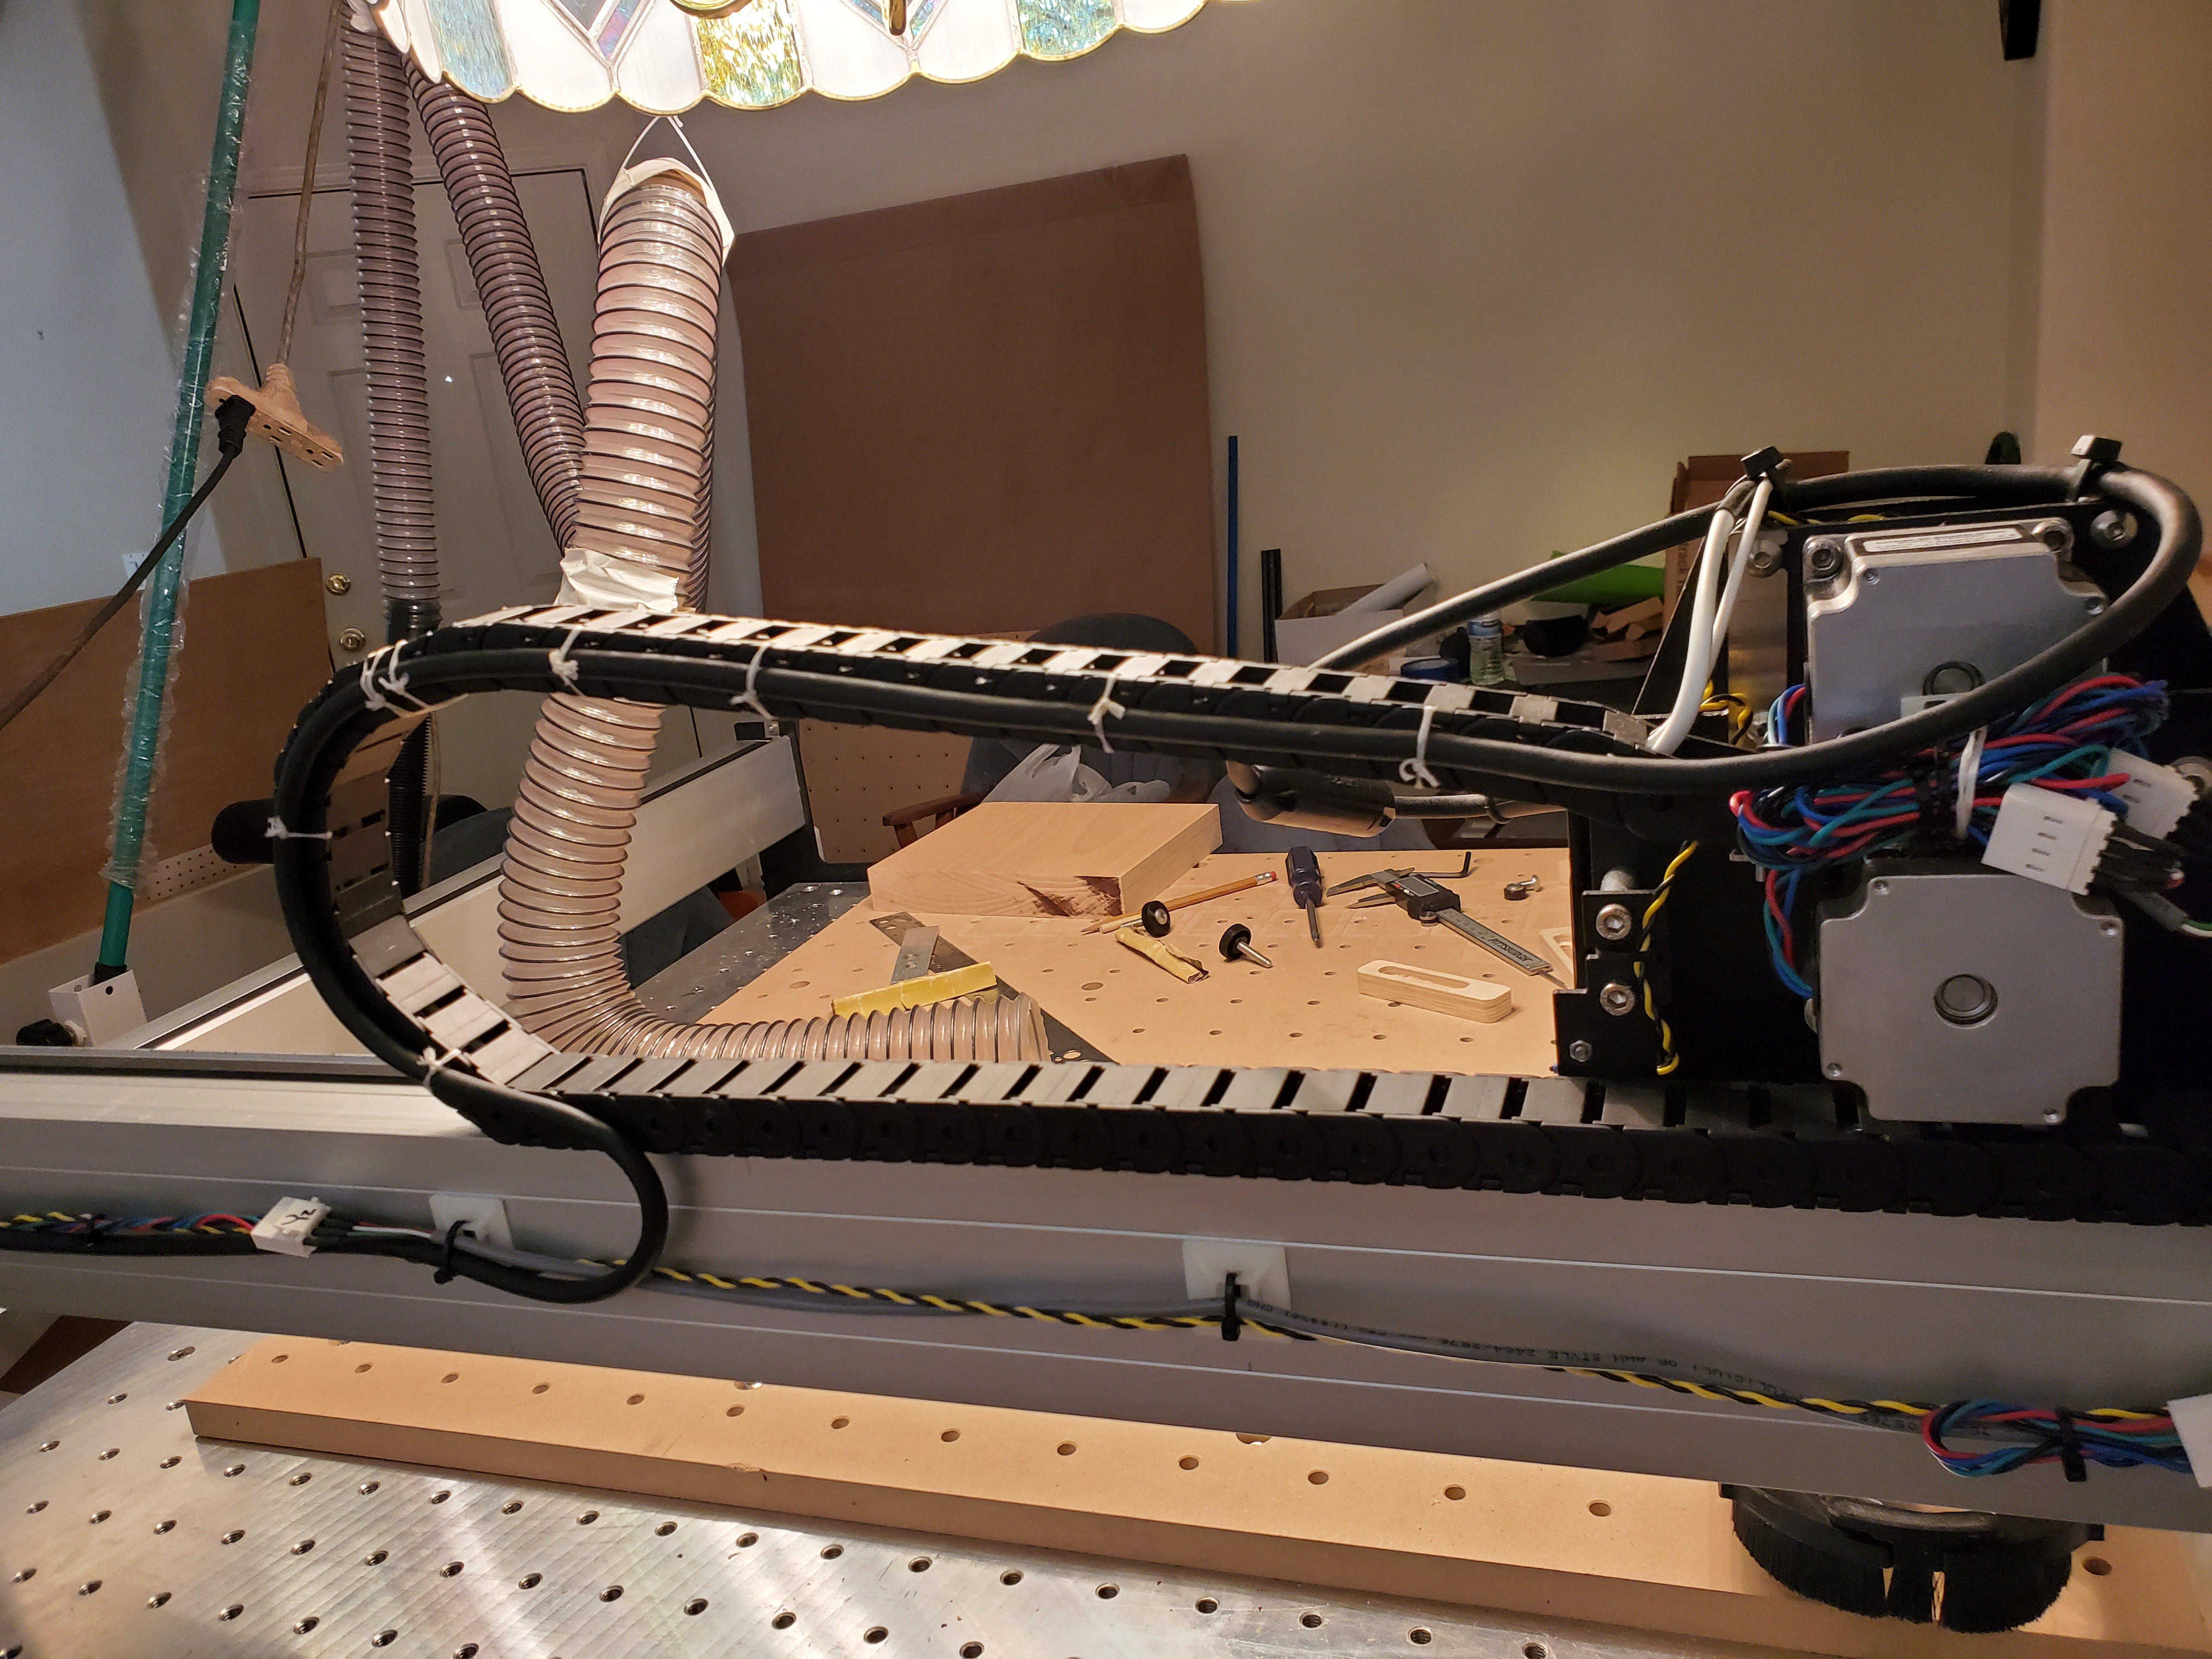
Here’s how I did mine … still a work in progress till I finish my bench for a permanent home.
For the router power cord I use a wax string verses plastic tie straps. The wax string is less prong to getting snagged while the gantry is in motion.
For the drag chain I bolted it to the rails using counter sunk machine screw and tapping a threaded hold in to the rails. This keeps the drag chain from moving as the double sided stick on tape is worthless of such tasks.
As for the drag chain, you will need to slide the router carriage to the far left to set the drag chain placement thus checking that the drag chain does not obstruct the router carriage. Then move the router to the far right and do the same.


4 Likes
You mounted your low profile box upside down and had enough slack? On the XL I don’t seem to have enough slack to mount the box upside down. I’m almost to the point where I’m going to take the wires out of the drag chain and see if I can reseat it. I guess I’d be willing to tap and screw the drag chain in, but I’m having a hard time find the correct location where one end or the other isn’t bound up, its almost like my wiring harness didn’t come with enough slack. I spent an hour just installing the feet because i was having to take a dental pick to the holes to get the screws to thread because I didn’t have a tap to clean out the threads. This hasn’t gone as smooth as I would have thought. I know its going to have to be adjusted severally because I can already tell squaring this up is going to be a chore.
1 Like
For the enclosure see: https://docs.carbide3d.com/assembly/low-profile-housing/
We’re working on updated instructions — hopefully soon.
1 Like
Will how do you keep chips out of the controller with the hole facing up and is there any concern of cables rubbing against the metal edge?
Dust collection is probably the official recommendation — the machine original had an enclosure open at top and bottom and not many folks made the lid or bottom.
The cables at that point should be fixed and unmoving, so no rubbing.
Yes that’s more like it
1 Like
Connecting the Motors Extensions section has a typo , where Z connection is listed twice…
“connect the Z motor extension, followed by the Y1 motor extension, then the Y2 motor extension, and lastly the Z motor extension.”
1 Like
I’ve been searching around and trying to make sense of squaring the machine up and it appears that a gap in the front right corner when squaring is impossible to remove , also currently it takes a sizable effort to get the machine to roll smoothly over the doubled up belt in the rear of the machine and it clunks when it rolls forward off the double up belt , it has not problem rolling to the front … I can engineer a $400 million 6-DOF flight simulator but can’t make sense of belts and screws or wire placement on this thing . I’m not certain I fully understand the degree of tolerances around this thing
1 Like
There’s a bit at: https://wiki.shapeoko.com/index.php/Calibration_and_Squaring_the_Machine#Squaring_the_Machine
Break things down from least to most flexible:
- the aluminum extrusion has a profile — this is usually quite consistent and determines the V rails, and where the holes at the ends of the extrusions will be placed
- the extrusions are cut to length(s) which will determine the overall shape of the machine, and may or may not be perfectly square (usually they are cut quite squarely for their length/size) which will influence the shape of the machine and how the endplates (esp. for the gantry) will line up
- the various plates are cut out on a turret press I believe, or at least the holes are so formed — the original flatness of the plates, and the results of the cuts will determine how flat the plates are
- the endplates which make up the frame are bent which will affect how flat the end plates are and define how vertical the endplates are
Things you can try:
- flip the extrusion(s) end-for-end
- rotate the gantry 180 degrees and swap back/front of machine
- stack and clamp the extrusions, use a good quality machinist’s square and a permanent marker to identify the high spots and draw file them to be flat
- clear powdercoat out of the holes in the endplates to allow a bit more movement
We’re working on new instructions — the gist of them is to not tighten any bolts until the end, then pull the gantry up against the front (or back) of the machine and tighten the bolts in the gantry, then the bolts in the frame.
The big thing is the frame having a square shape isn’t as important as the Y-axis rails being level and parallel, and the X-axis gantry being level and square to the Y-axis rails (not the endplates), and the Z-axis being level and plumb and square to the gantry.
Ok I’ll focus there and see where I end up thanks
Mine was same way, about a 1/16" gap that I gave up on eliminating. No issue with machine operation.
1 Like
You have to have tons of patience especially if you are new to the CNC router hobby.
I spent a great deal of hours and still going through the newbie issues. All in all, I learned a great deal solving my issues when a problem arises. This was a result of all the newbie issues I had starting out.
I would greatly say … don’t get stuck on one issue. Press on an build the Shapeoko than go back and tidy up things. If you continue to get frustrated on one issue after the other you will burn out.
In the end, you will undo all you did and restart from scratch and recheck all the alignment. I ran into the similar issue that you are encountering, wasn’t happy with the results, but pressed on. Then I dissemble the entire components, rebuilt it and dialed it in.
The end results of your first project will be very rewarding and all the hard work you put in will pay off in the long run. Check out some of my post I did for the XXL.
2 Likes
I’ve pressed on. I loosened everything up and tightened everything down and am just going full send and will see what is what…Thanks for the encouragment.
1 Like
I had to drill out all 4 holes for each rails to get my XXL squared. I ordered a aluminum plate was NOT to happy with the folks that I got it from. Got rid of 3 stamped out metal straps and used extruded aluminum. The OEM stamped straps are just that, stamped and could not support the aluminum plate. Purchased several tools such as 123 blocks, tramming dial indicators, etc. My original V-wheels were notchy and Carbide Support was spectacular in sending me replacements. I too also wish the wires were a couple of inches longer but I was able to make if work. Other than that, I am very happy and pressing on in learning how to design and make projects.
1 Like
I have an older (3+ years old) XXL and I know much has changed in the pre-assembly of the kits (drag chains come pre wired now right?). Is it possible to remove a few links of drag chain to give more wire to work with, while still leaving enough drag chain for full machine movement? I know my older machine had a fair bit of unneeded drag chain. Just a thought?
Dan
2 Likes
One change I made on my machine when assembling it was to shift the Y-axis drag chain bracket from the motor mounts to the extrusion bolts (had to drill new holes) — this shortened the run and brought things into what I thought was a better alignment — similarly I added washers under the X-axis drag chain bracket to push it out into a better alignment:
https://forum.shapeoko.com/viewtopic.php?f=37&t=8332&p=65050
1 Like
Good tips. I work with my larger systems at my day job so I’m just going to press on get a feel for what is wrong, put it through the machines paces and shake it all loose and will just rebuild as I go from what makes since. I’m fortunate in that I can pretty much design and machine what I want to change at work , but have to get a feel for how it needs to change and what isn’t worth worrying about .
The other thing I did with my leftover drag chain pieces and a few donated links I got from @WillAdams was to add a 3rd drag chain to the right hand side of my machine for the router cord and later my SuperPID sensor and LED lighting power to keep the power cords away from data cables.
Works great and no more futzing with wire hanging all over the place.
Dan
2 Likes