Seeking guidance on making child rattles

I’ve been making rattles for friends/families that have new babies for decades now, but doing it the old-fashioned woodworking way. I’m trying to come up with the best way to these on my Shapeoko Pro. All advice and suggestions welcome.

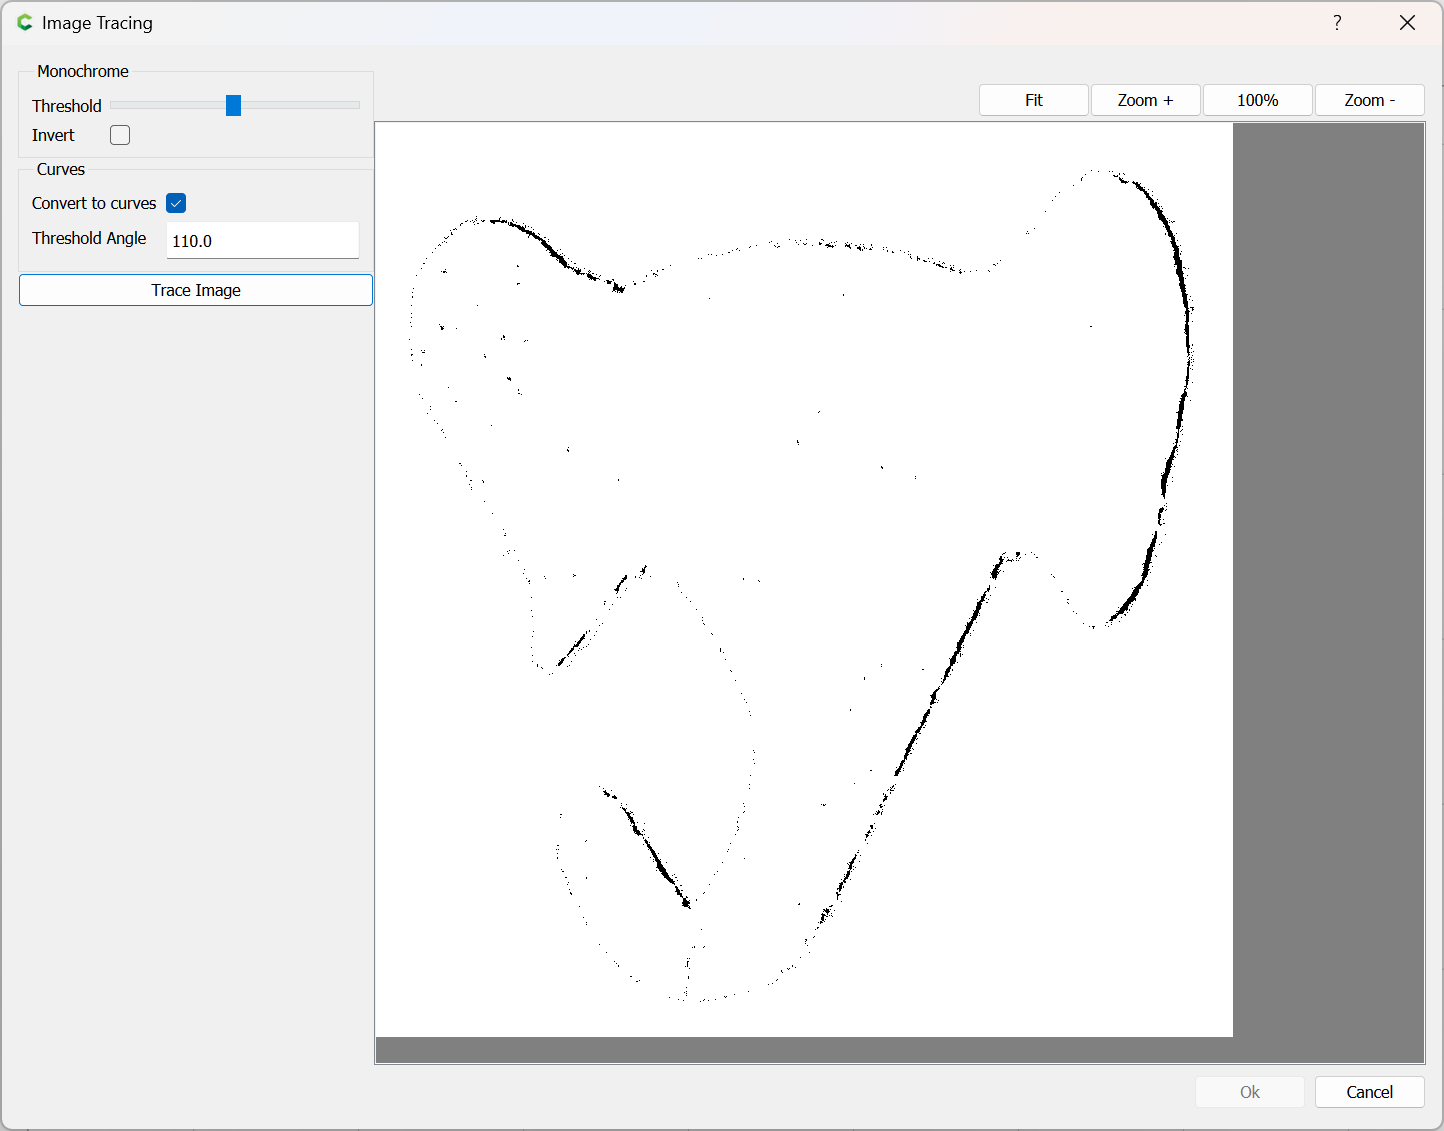
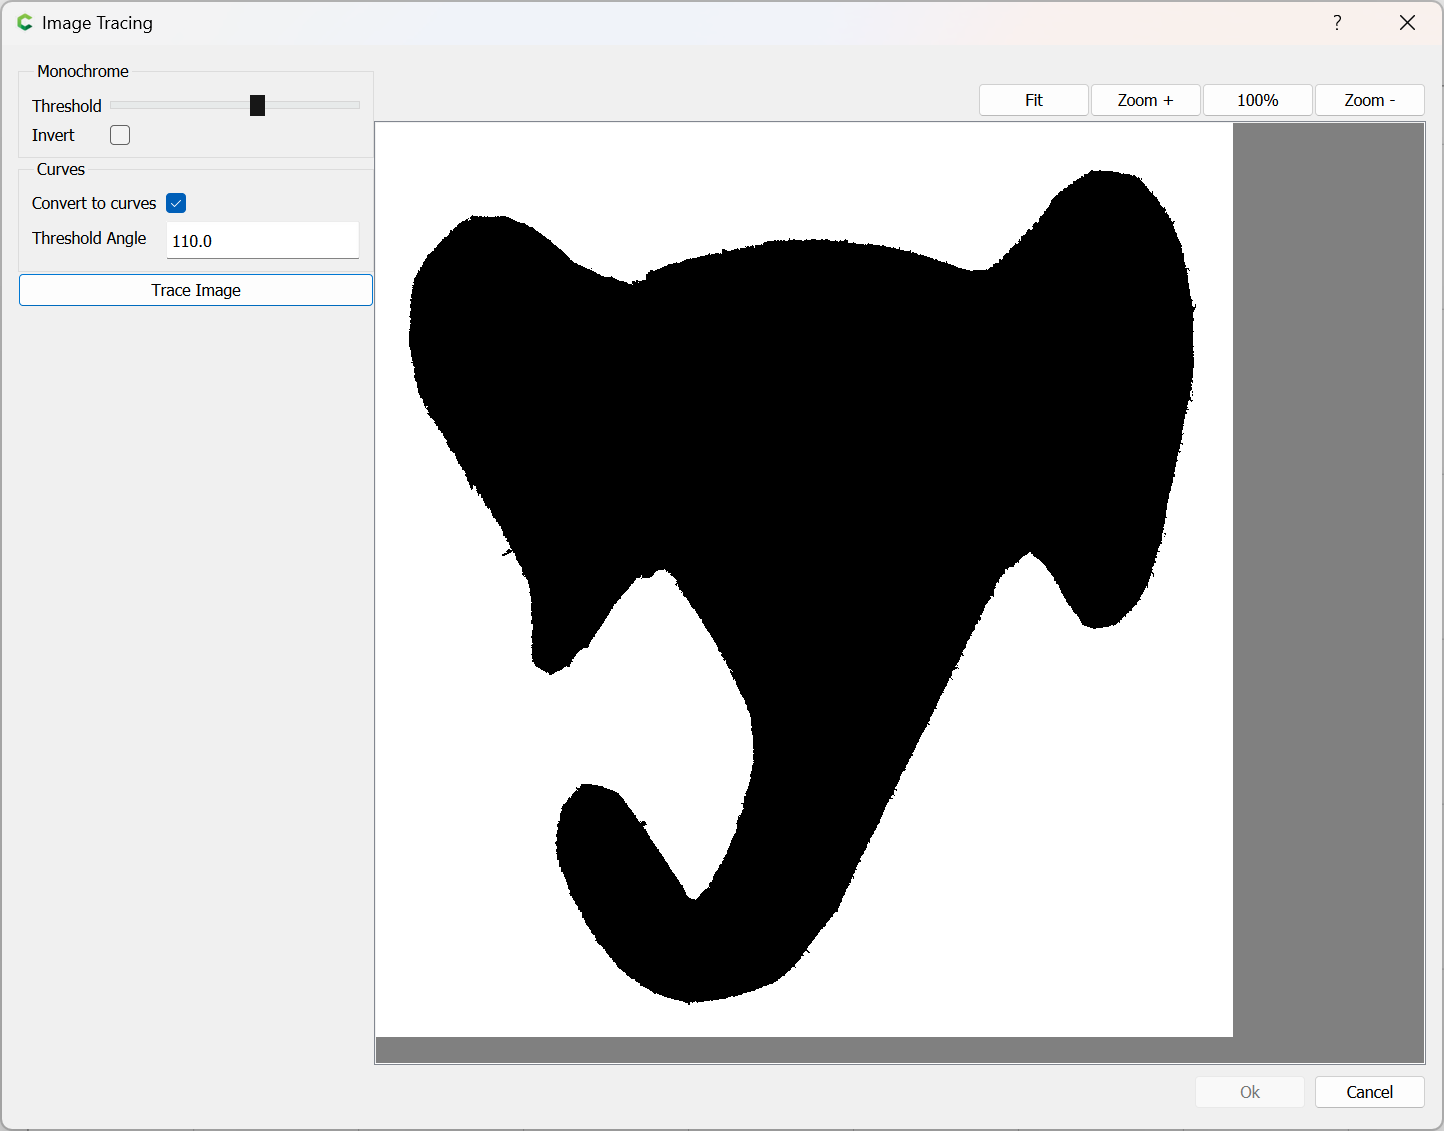
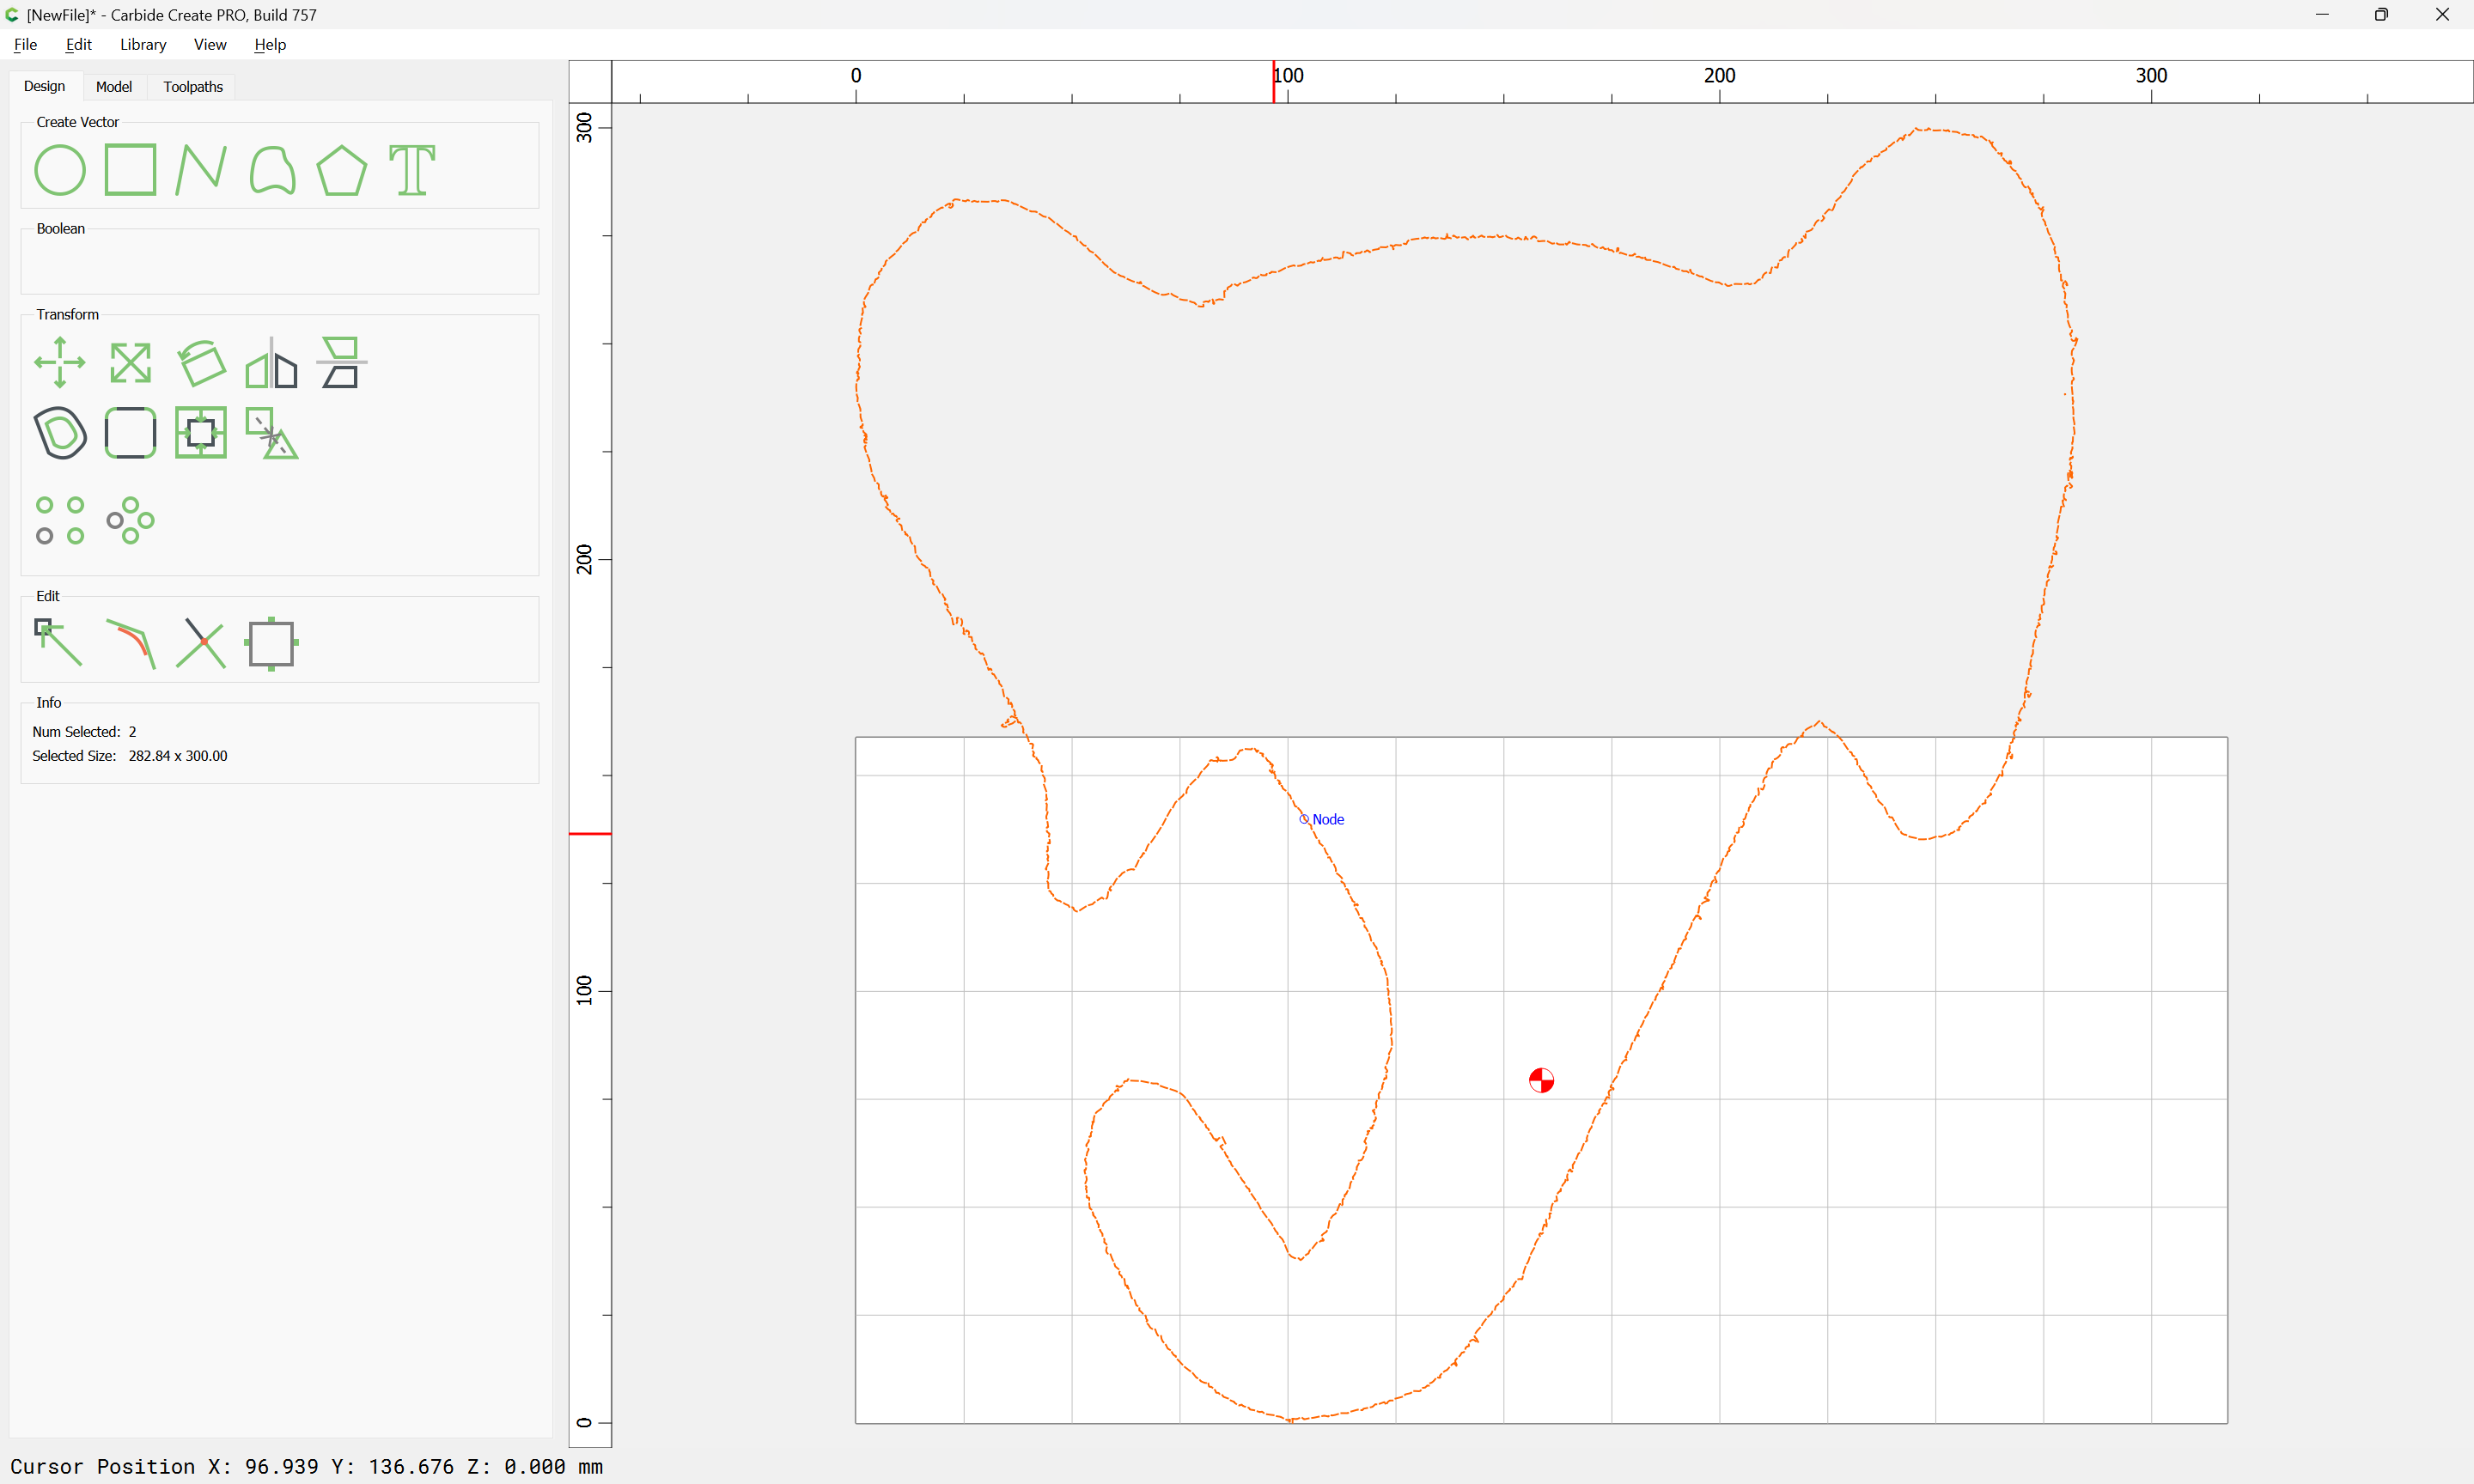
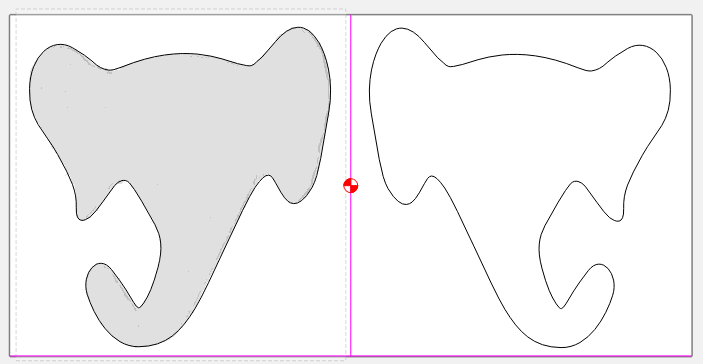
First, the design is my wife’s:

What I’ve done in the past is:

  1. Cut a piece of wood with at least one straight edge that’s big enough, trace the pattern on the face, then resaw the wood in half on my bandsaw, with the straight edge on the bandsaw table.
  2. Sand the inside faces to remove bandsaw marks.
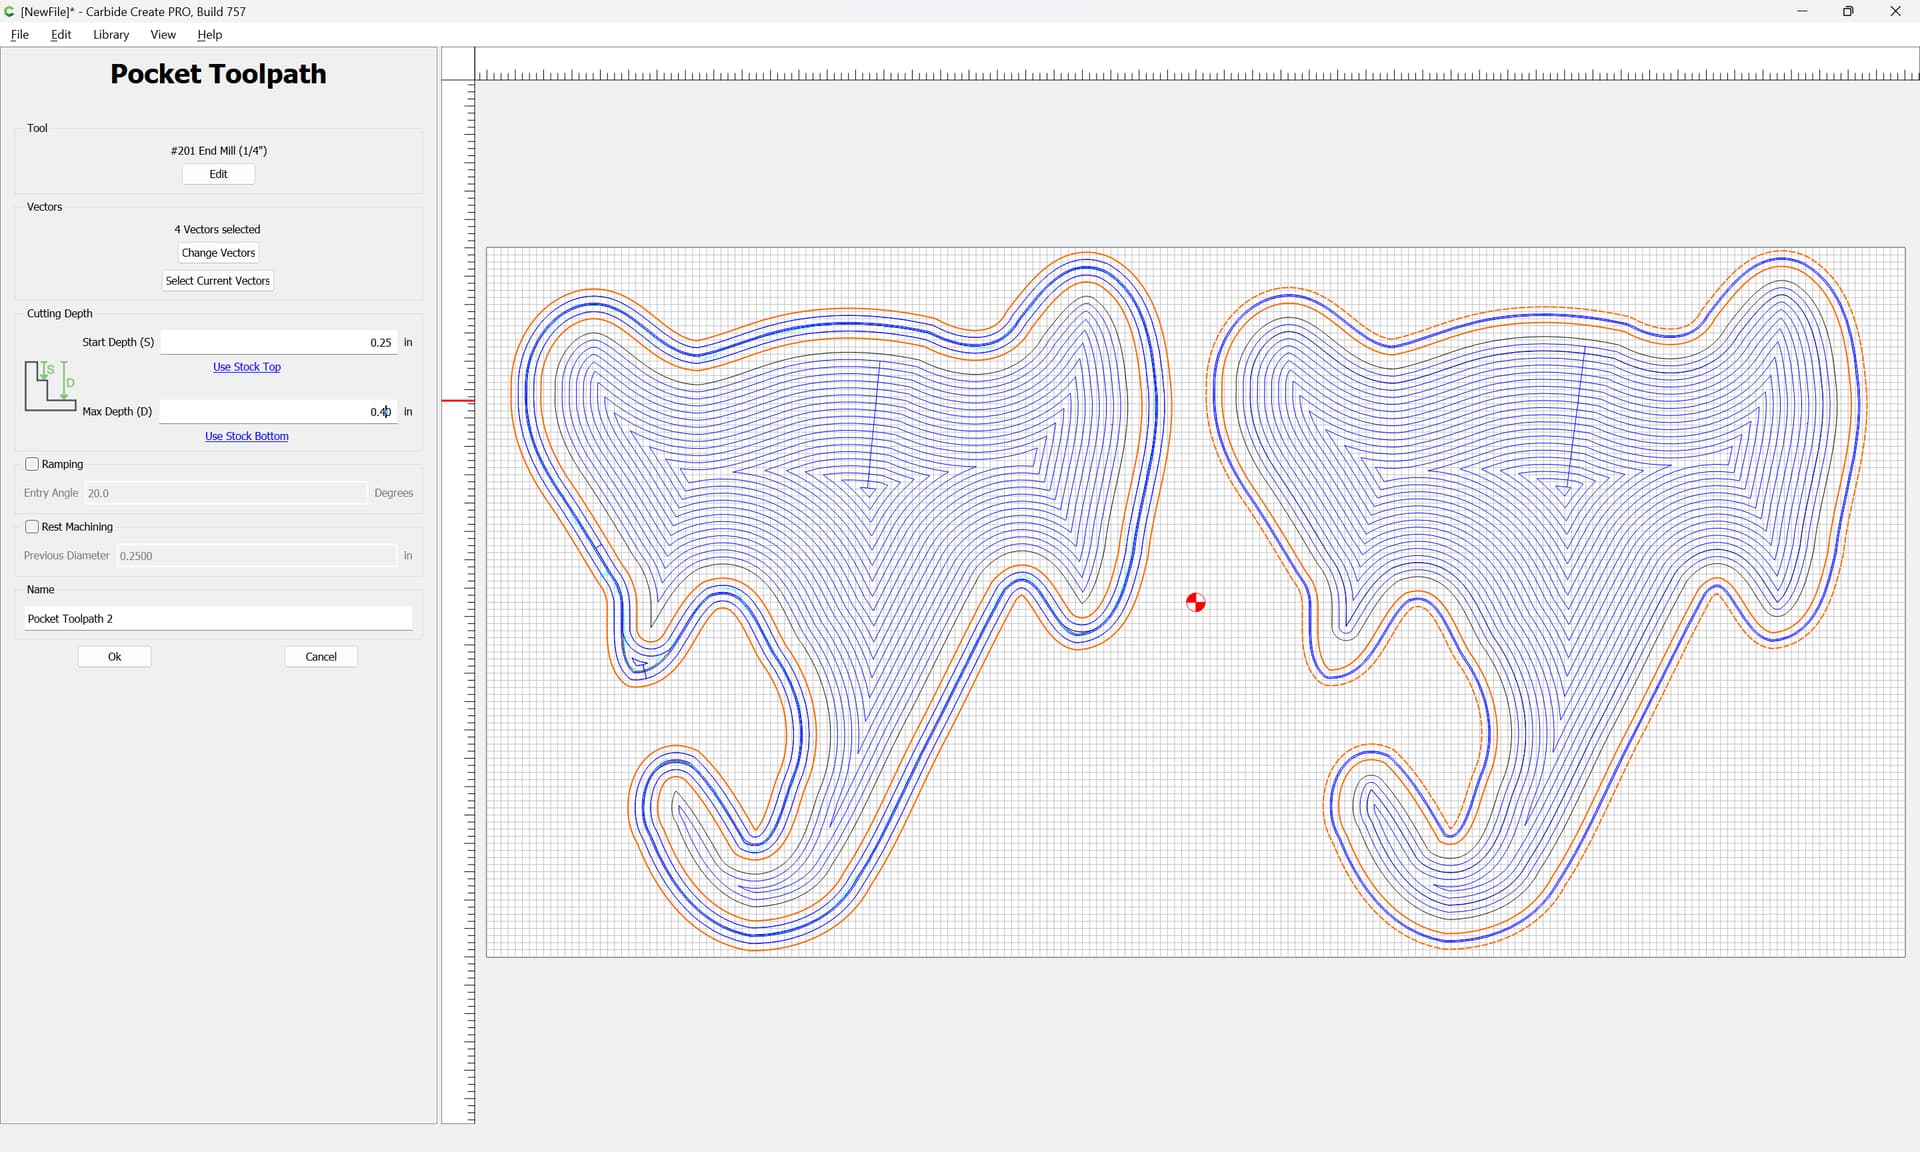
  3. With a flat bottom Forstner drill bit, drill some overlapping holes just a few mm deep - not all the way through - to create recesses on the inside of the two pieces.
  4. Put a couple pennies inside one of those recesses (I try to use pennies of the year the baby was born), and then glue the two halves back together.
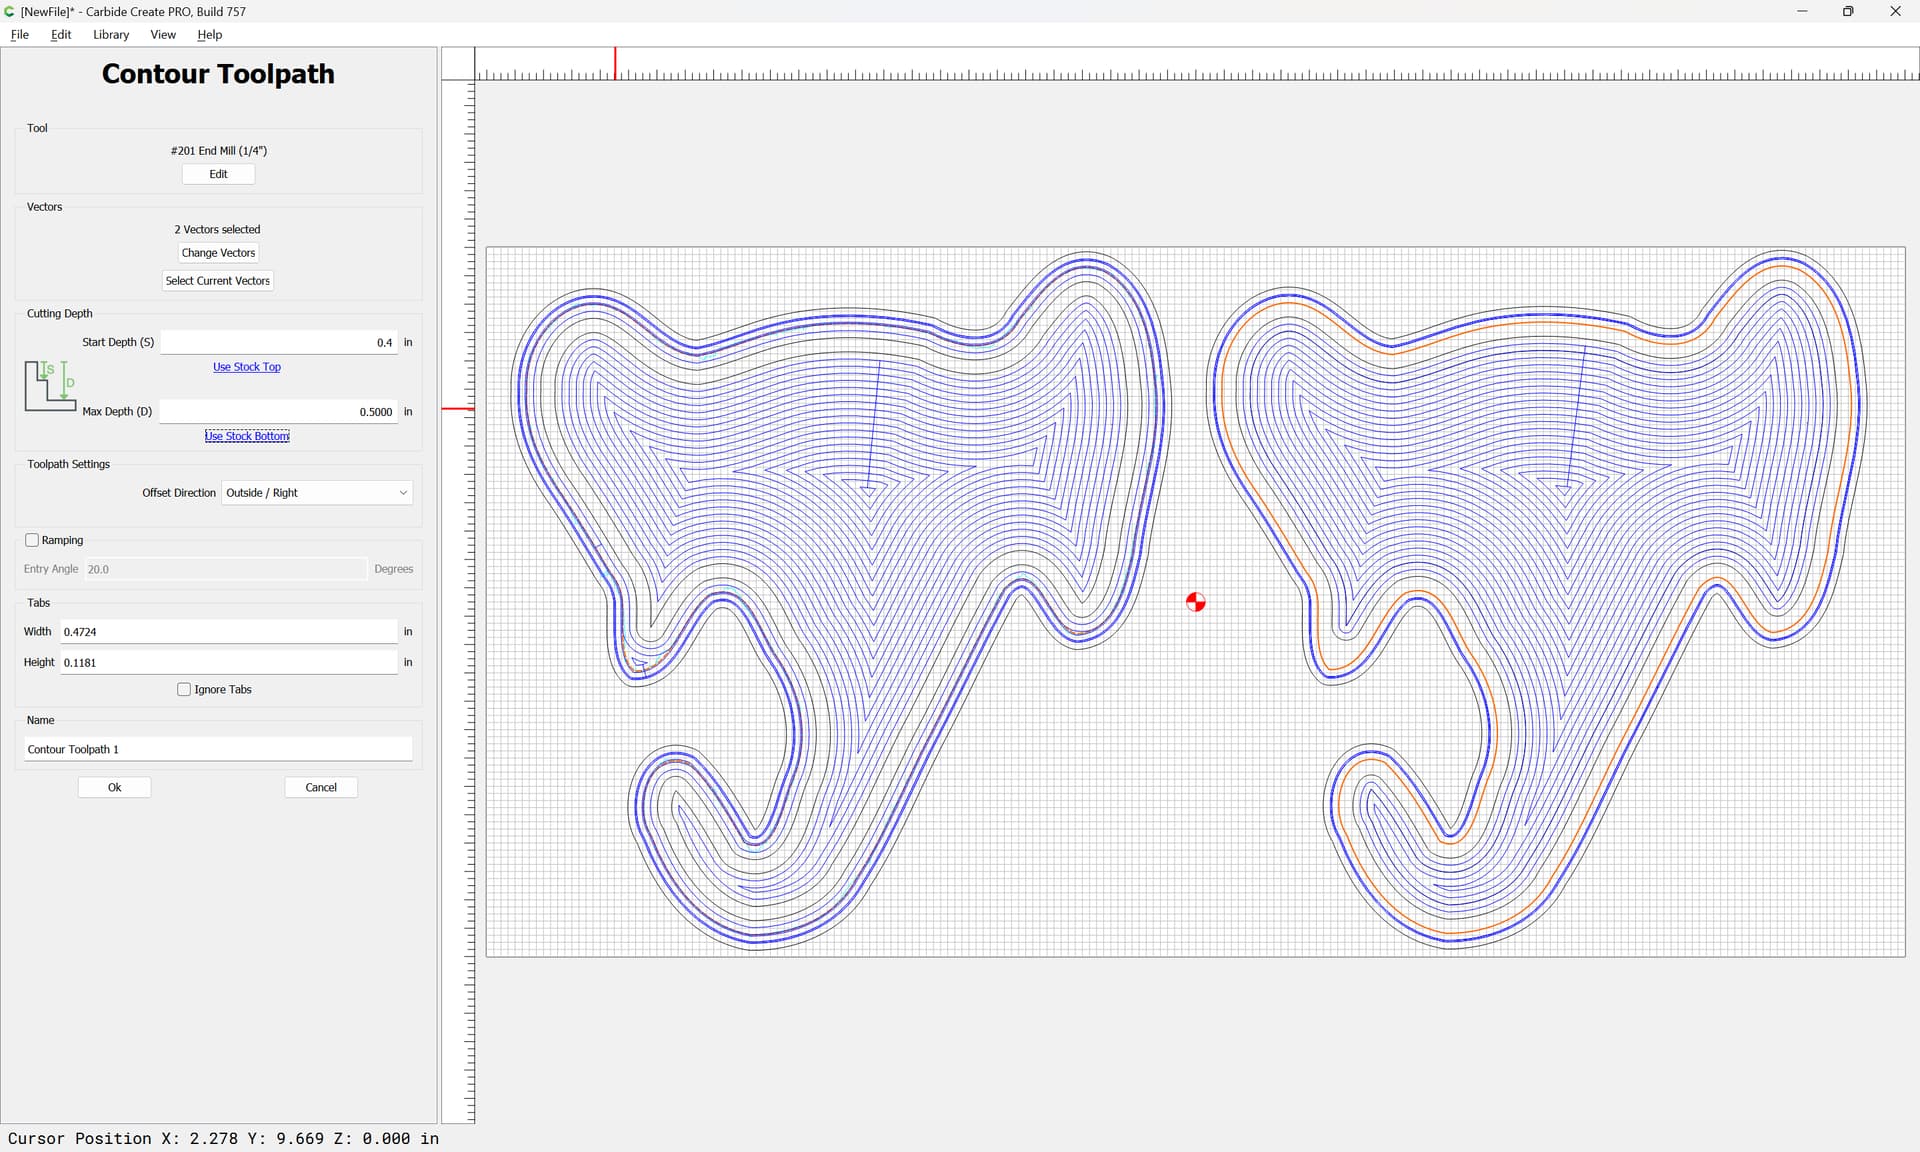
  5. Cut the traced pattern out on the bandsaw/scrollsaw. Note it has some tight inner curves, which I usually do by pre-drilling holes with a drill press.
  6. Sand the edges, round over the edges, and finish with food-safe tung oil

The hardest part here is #4, especially with those tight curves (inside bottom of trunk and under the ears). I’m thinking the CNC should make pretty easy work of that.

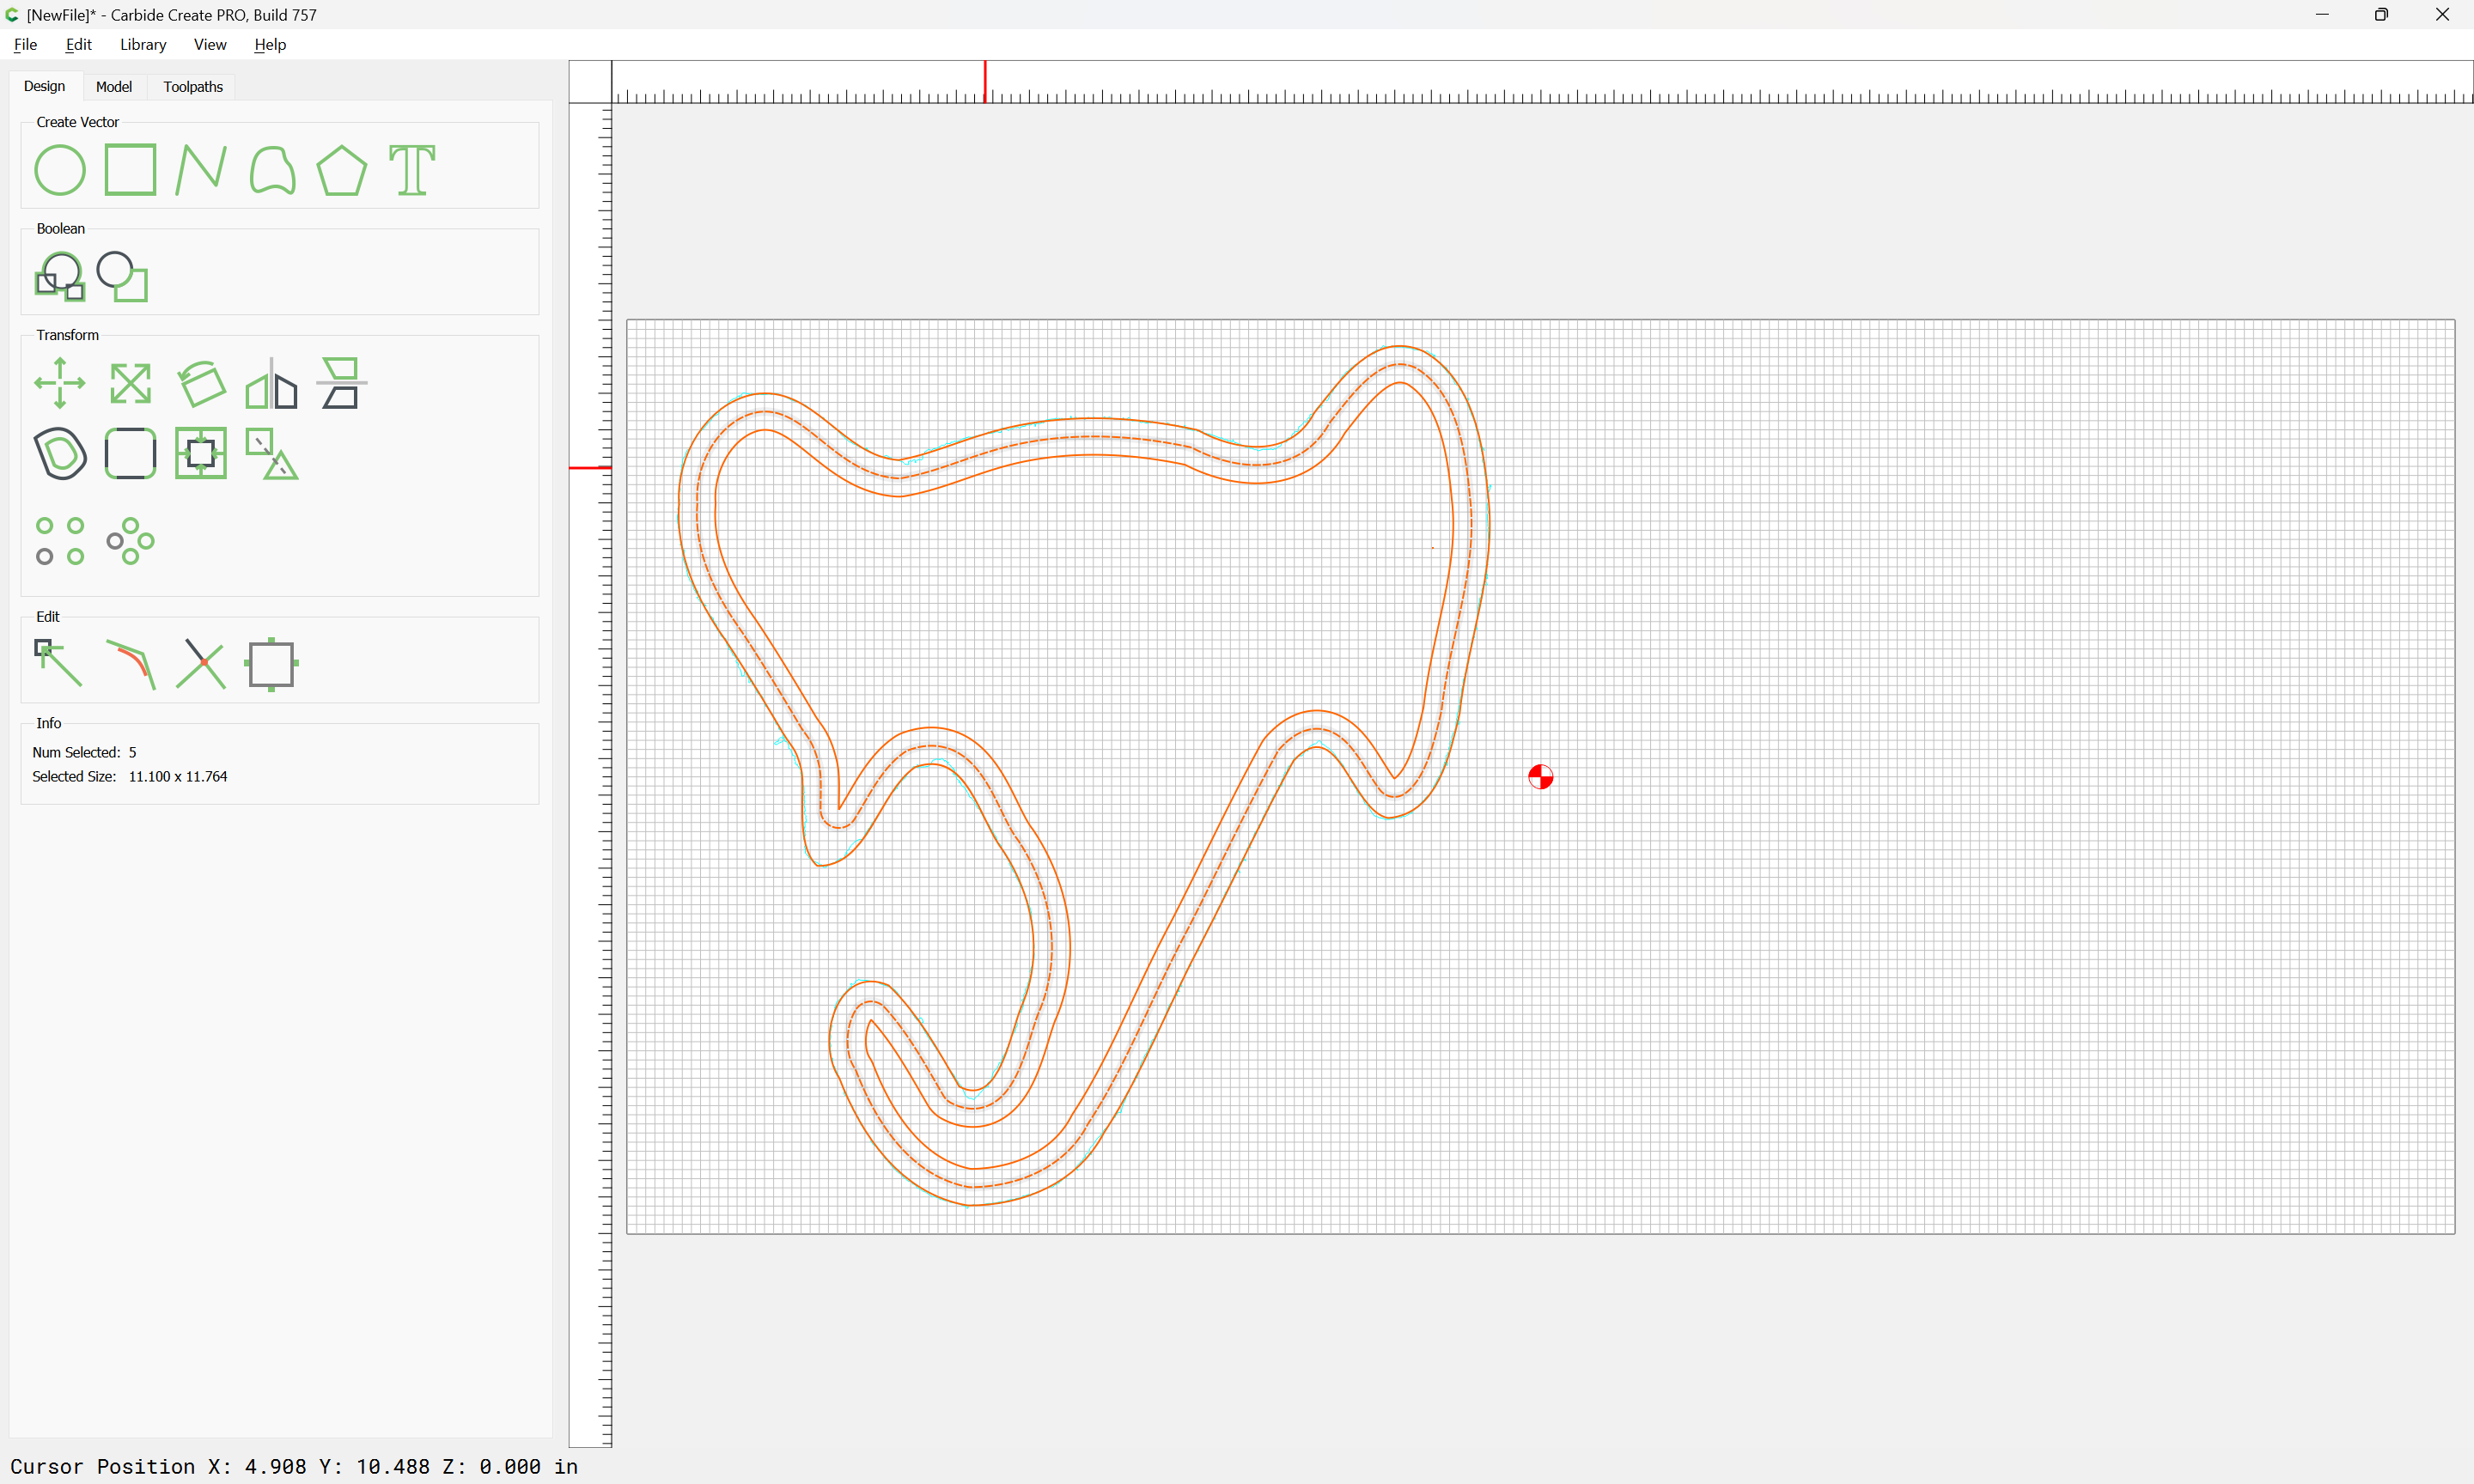
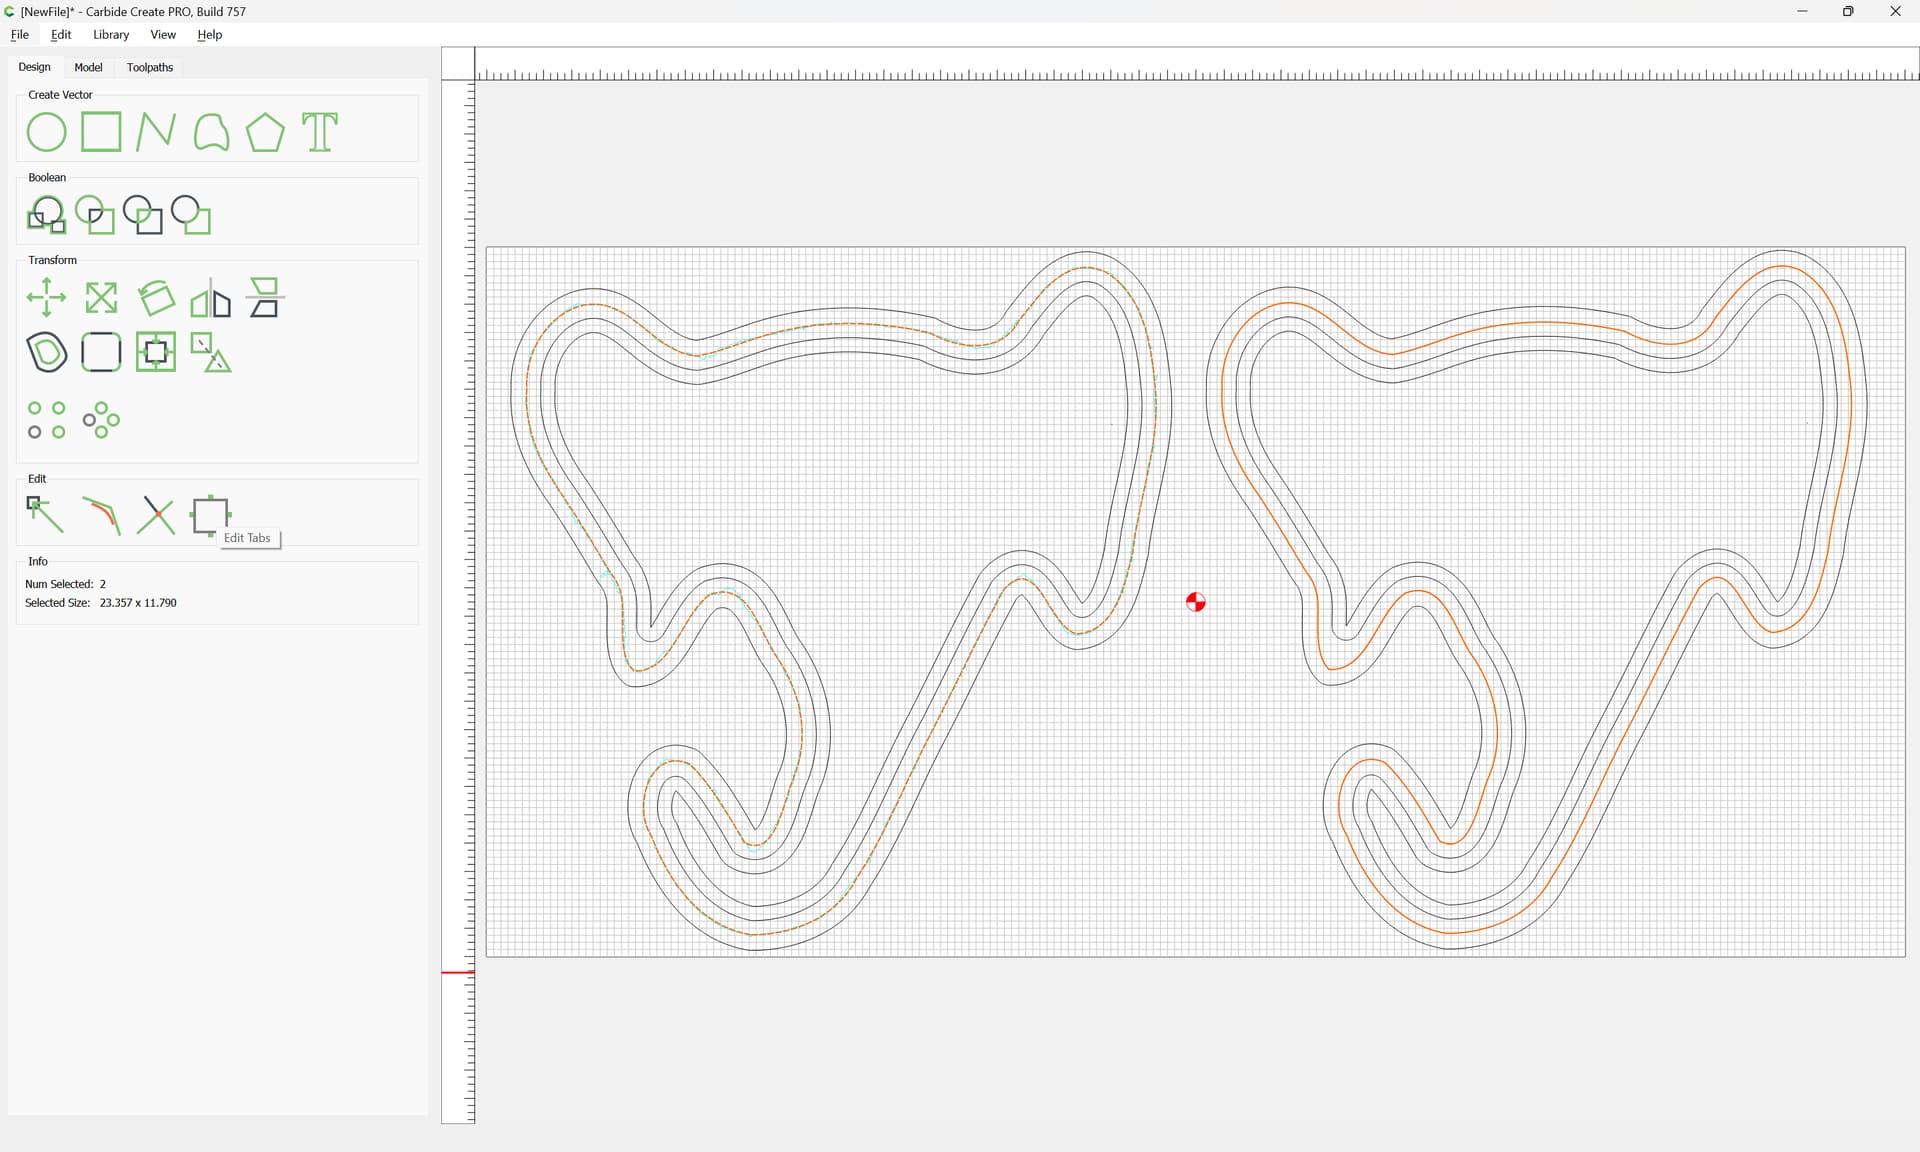
So, how should I undertake this? I’ve previously used Fusion360, but I’m thinking that’s probably overkill for this project. Also, should I mimic the traditional steps, or alter them to take advantage of the CNC’s accuracy?

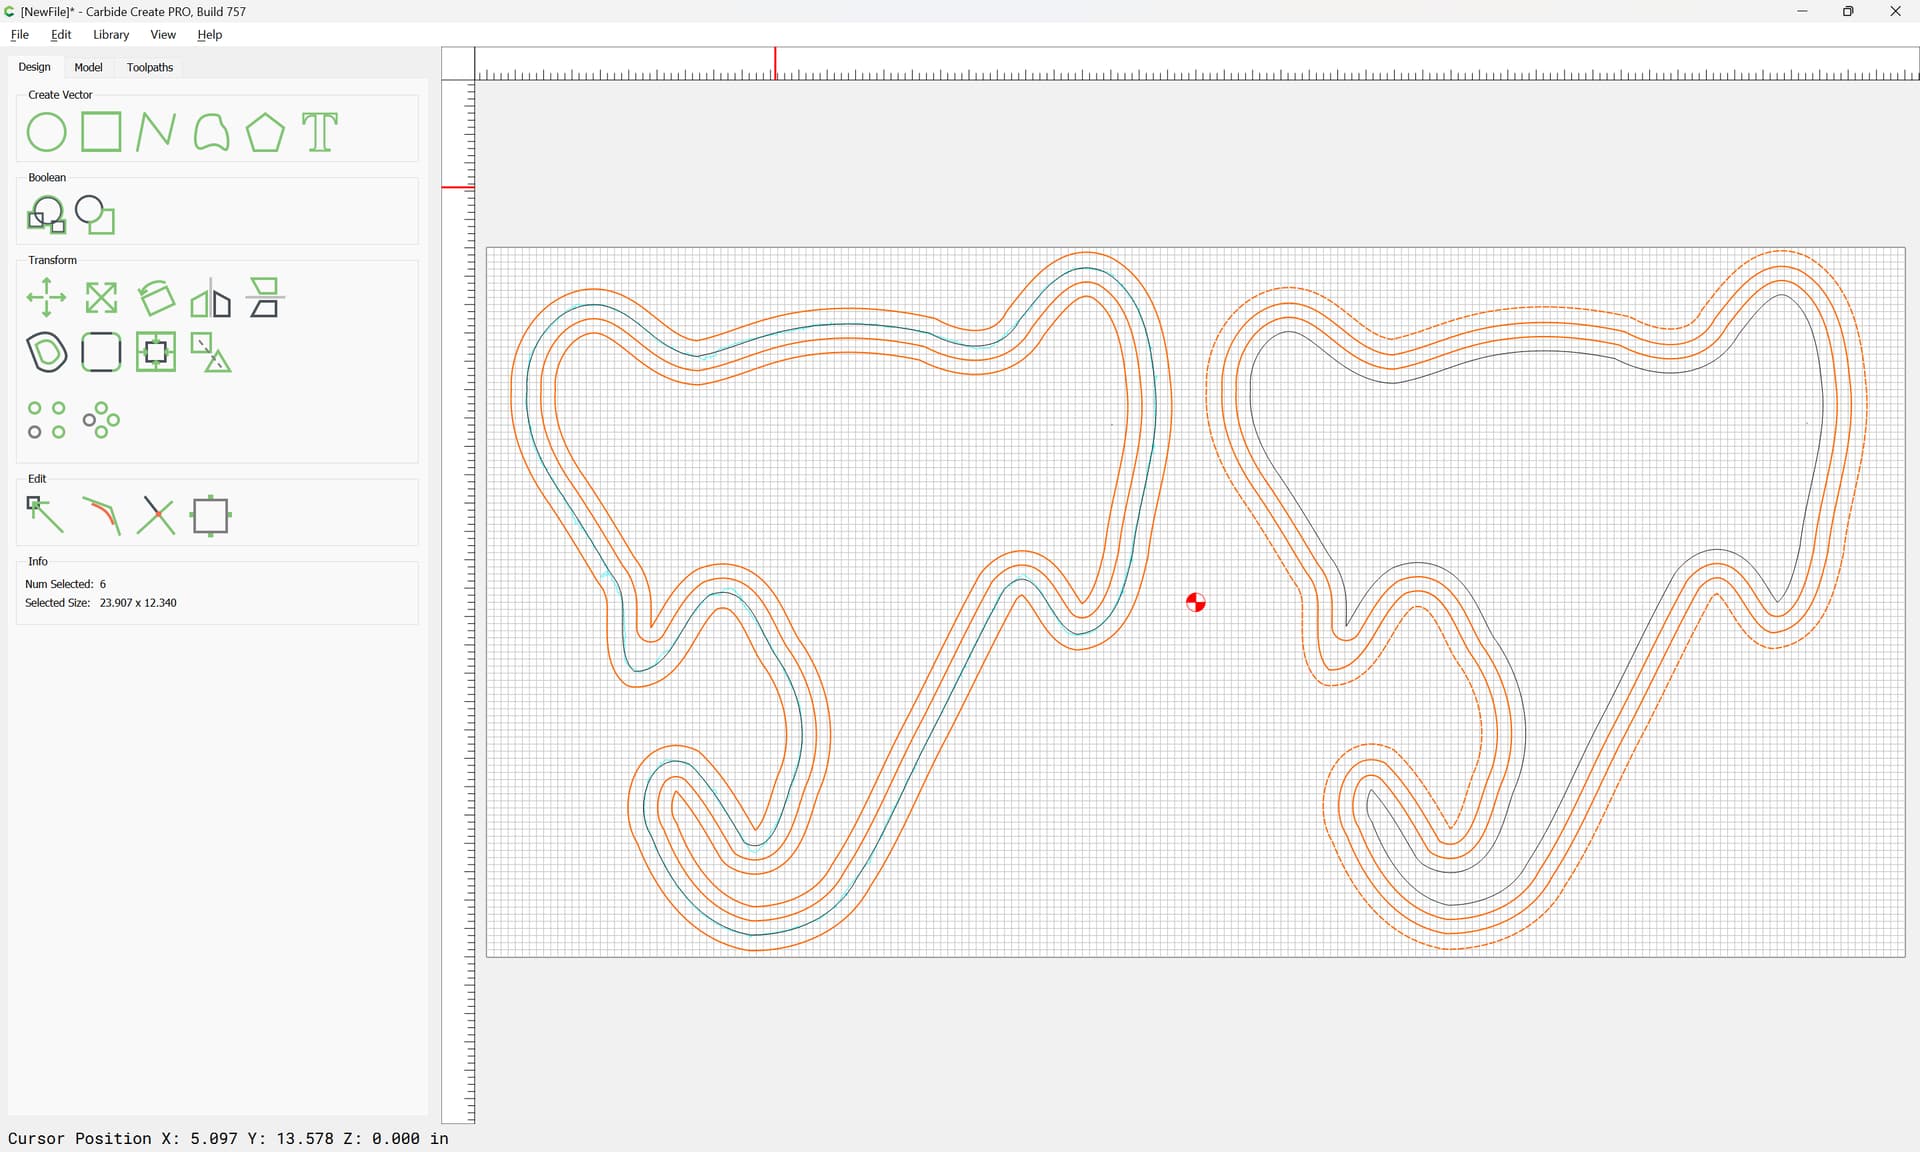
For instance, if I were to setup a registration point, after resawing the wood block I could cut not only the recesses in both halves, but also cut the exterior shape. Heck, maybe I could include a couple registration holes in non-recessed areas and use tiny dowels to align the two halves afterwards. Then my process would be:

  1. Cut a piece of wood with at least one straight edge that’s big enough, then resaw the wood in half on my bandsaw, with the straight edge on the bandsaw table.
  2. Sand the inside faces to remove bandsaw marks.
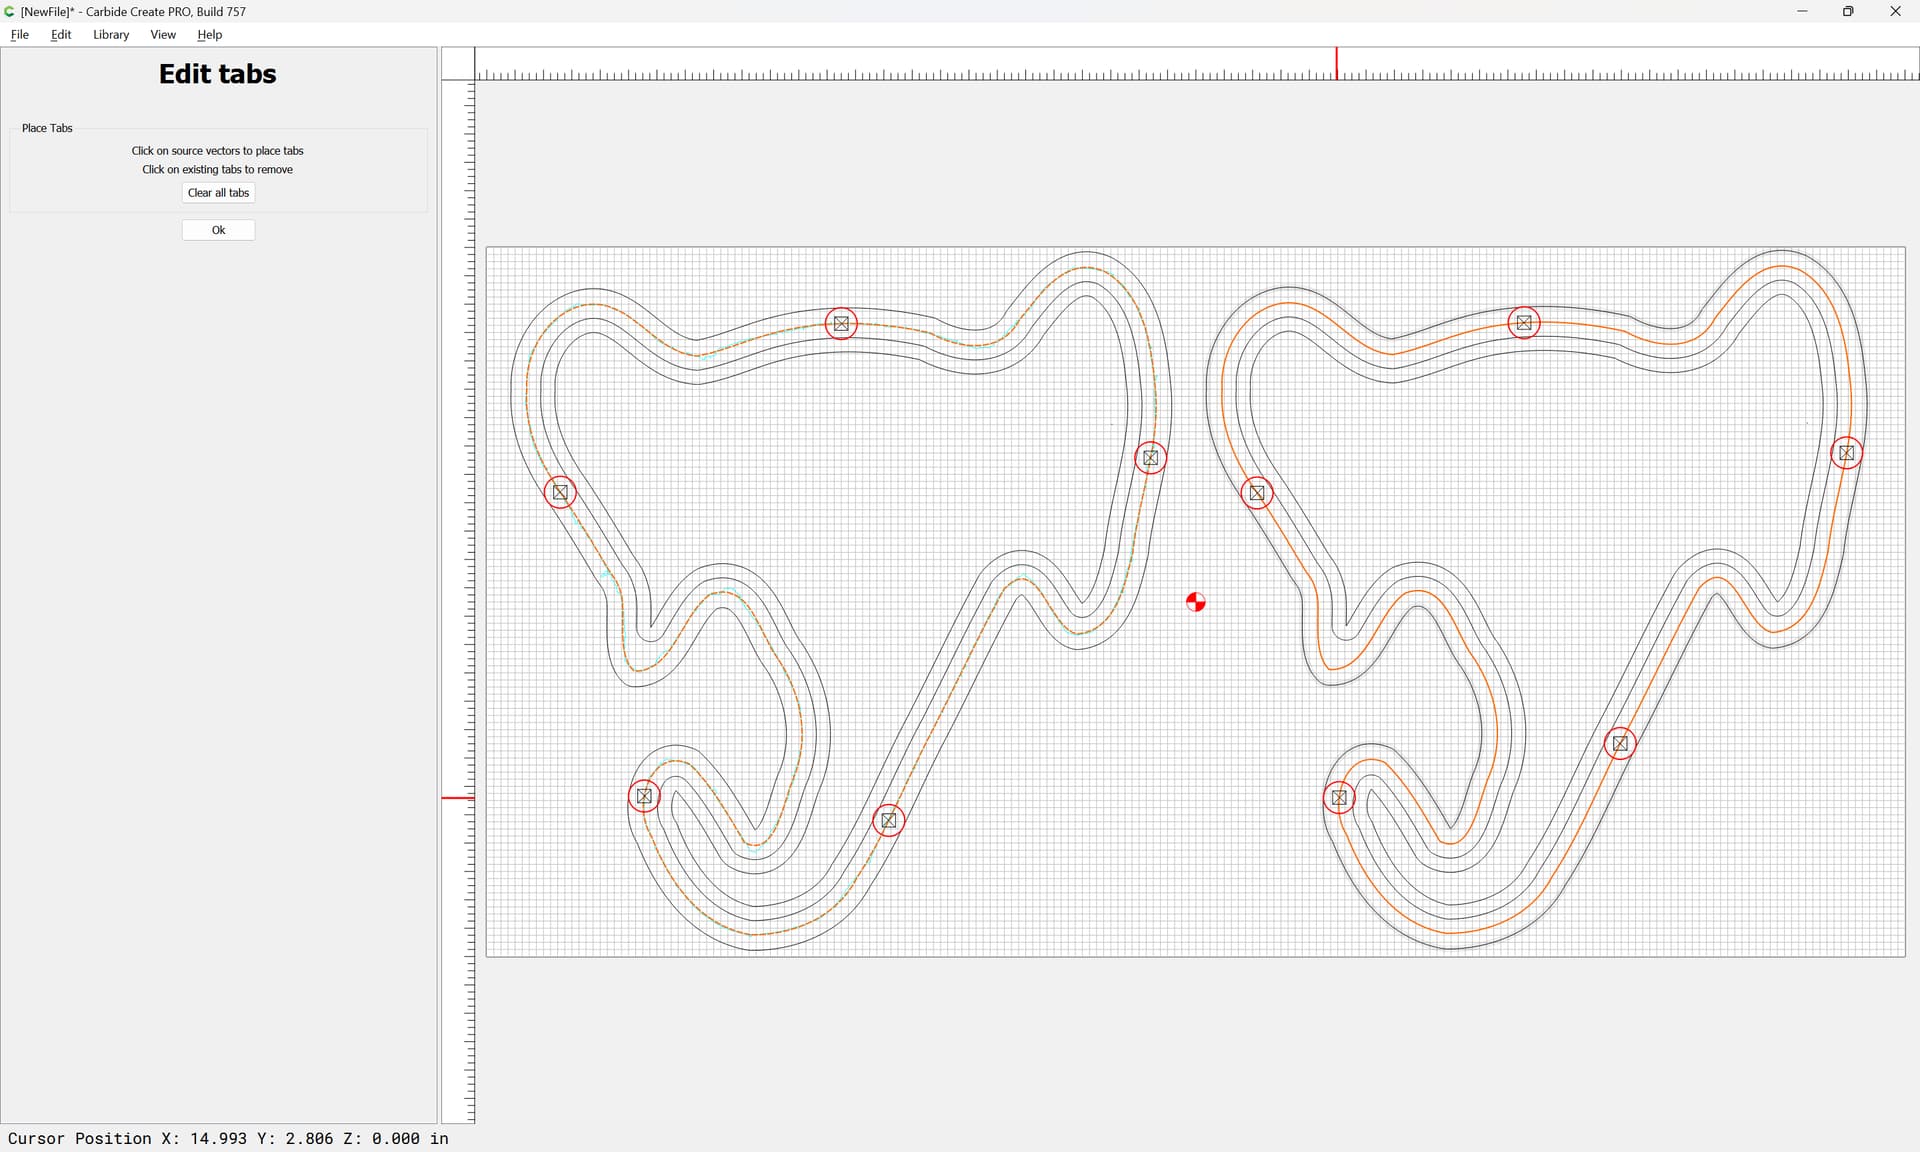
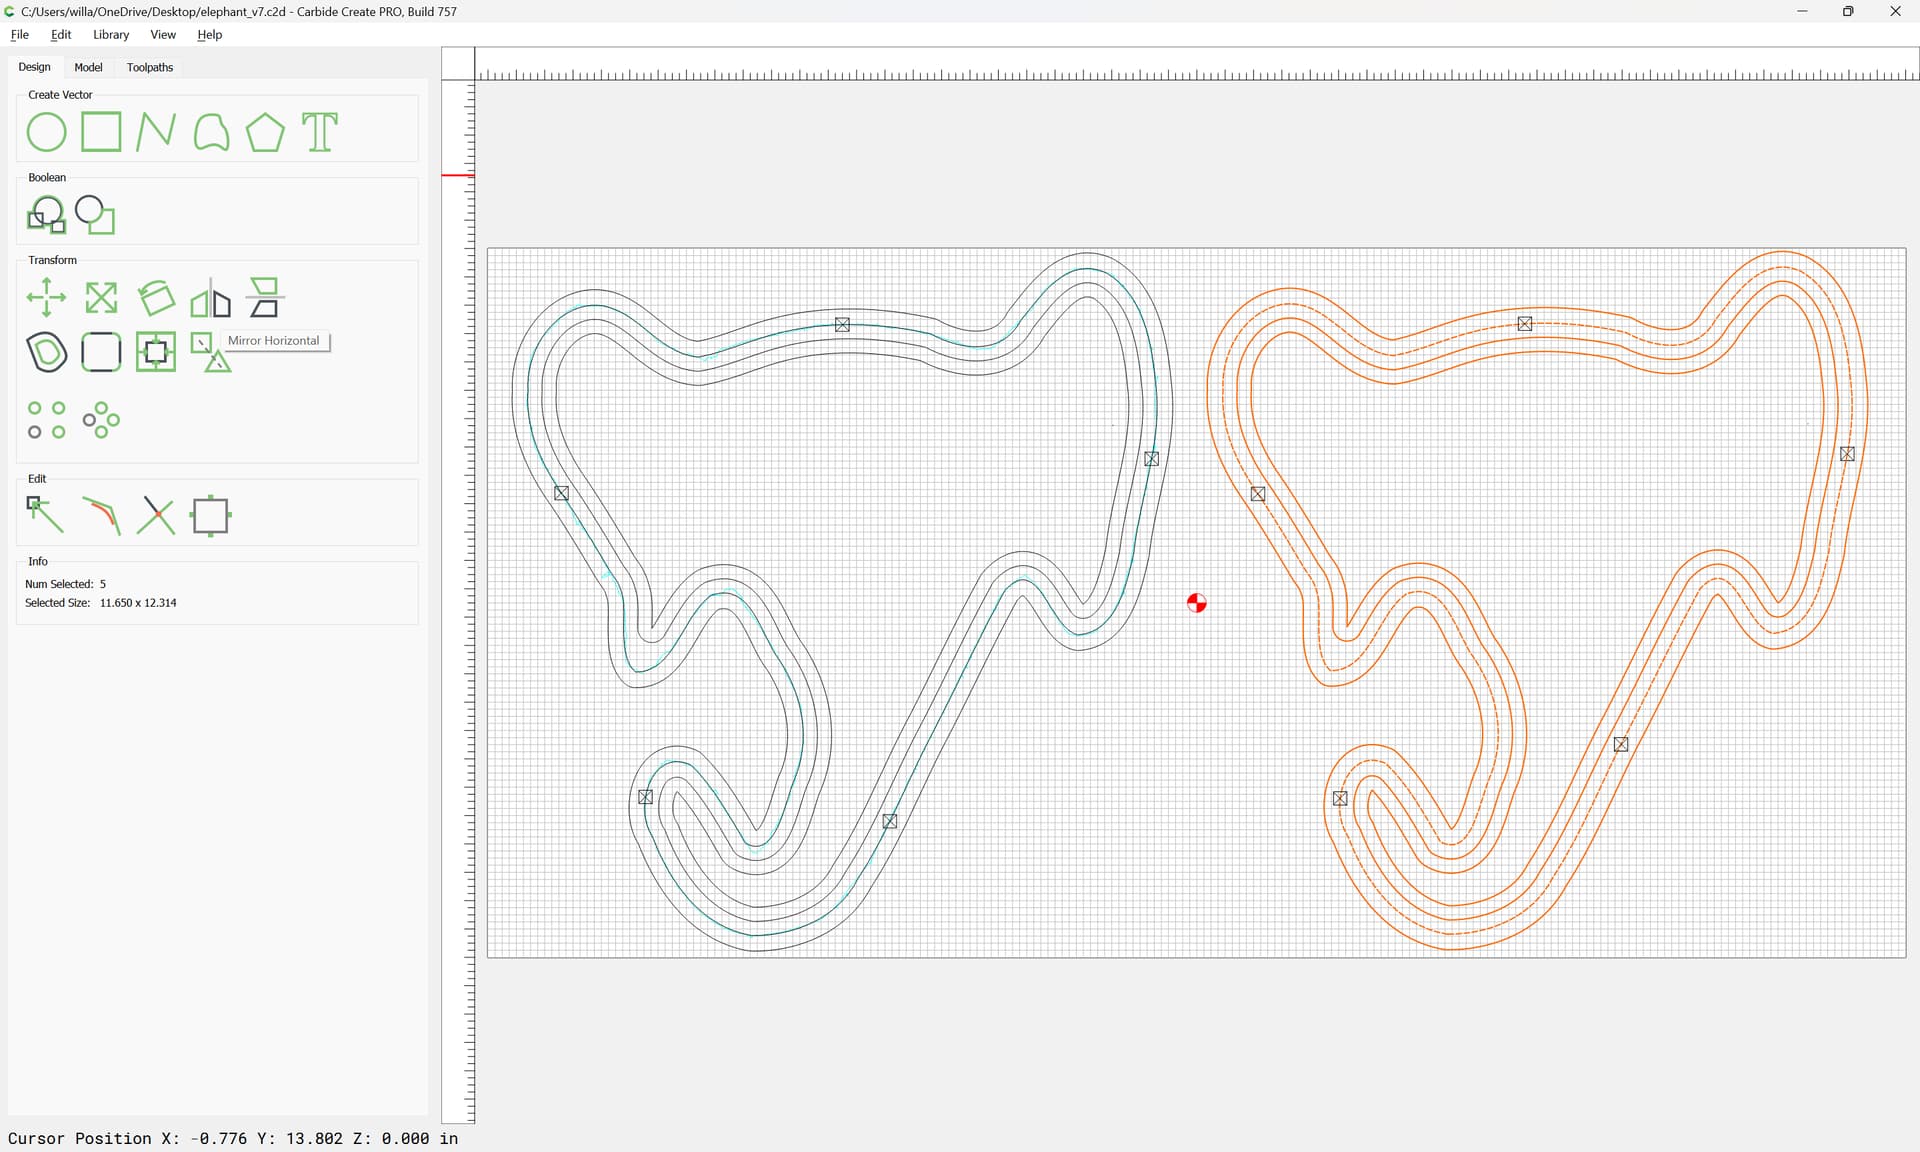
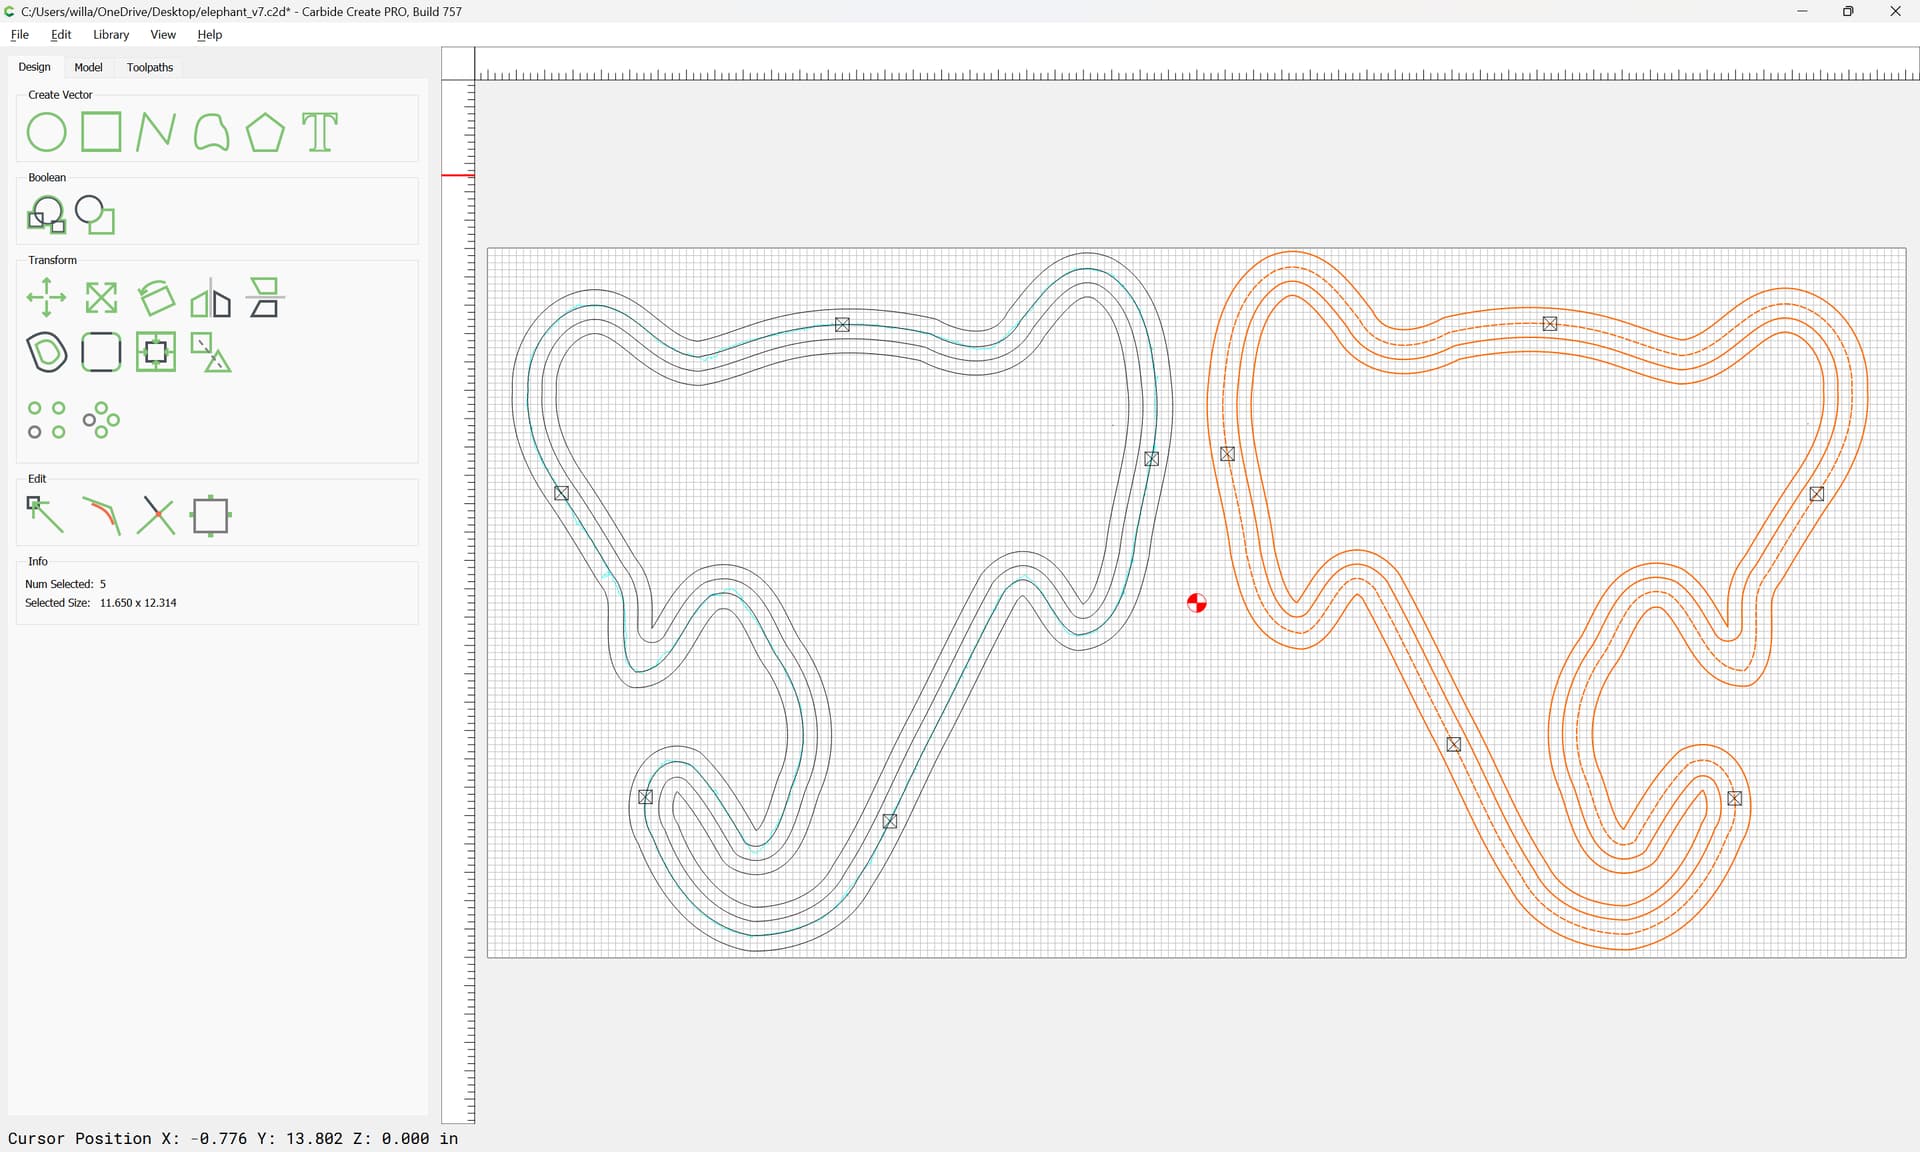
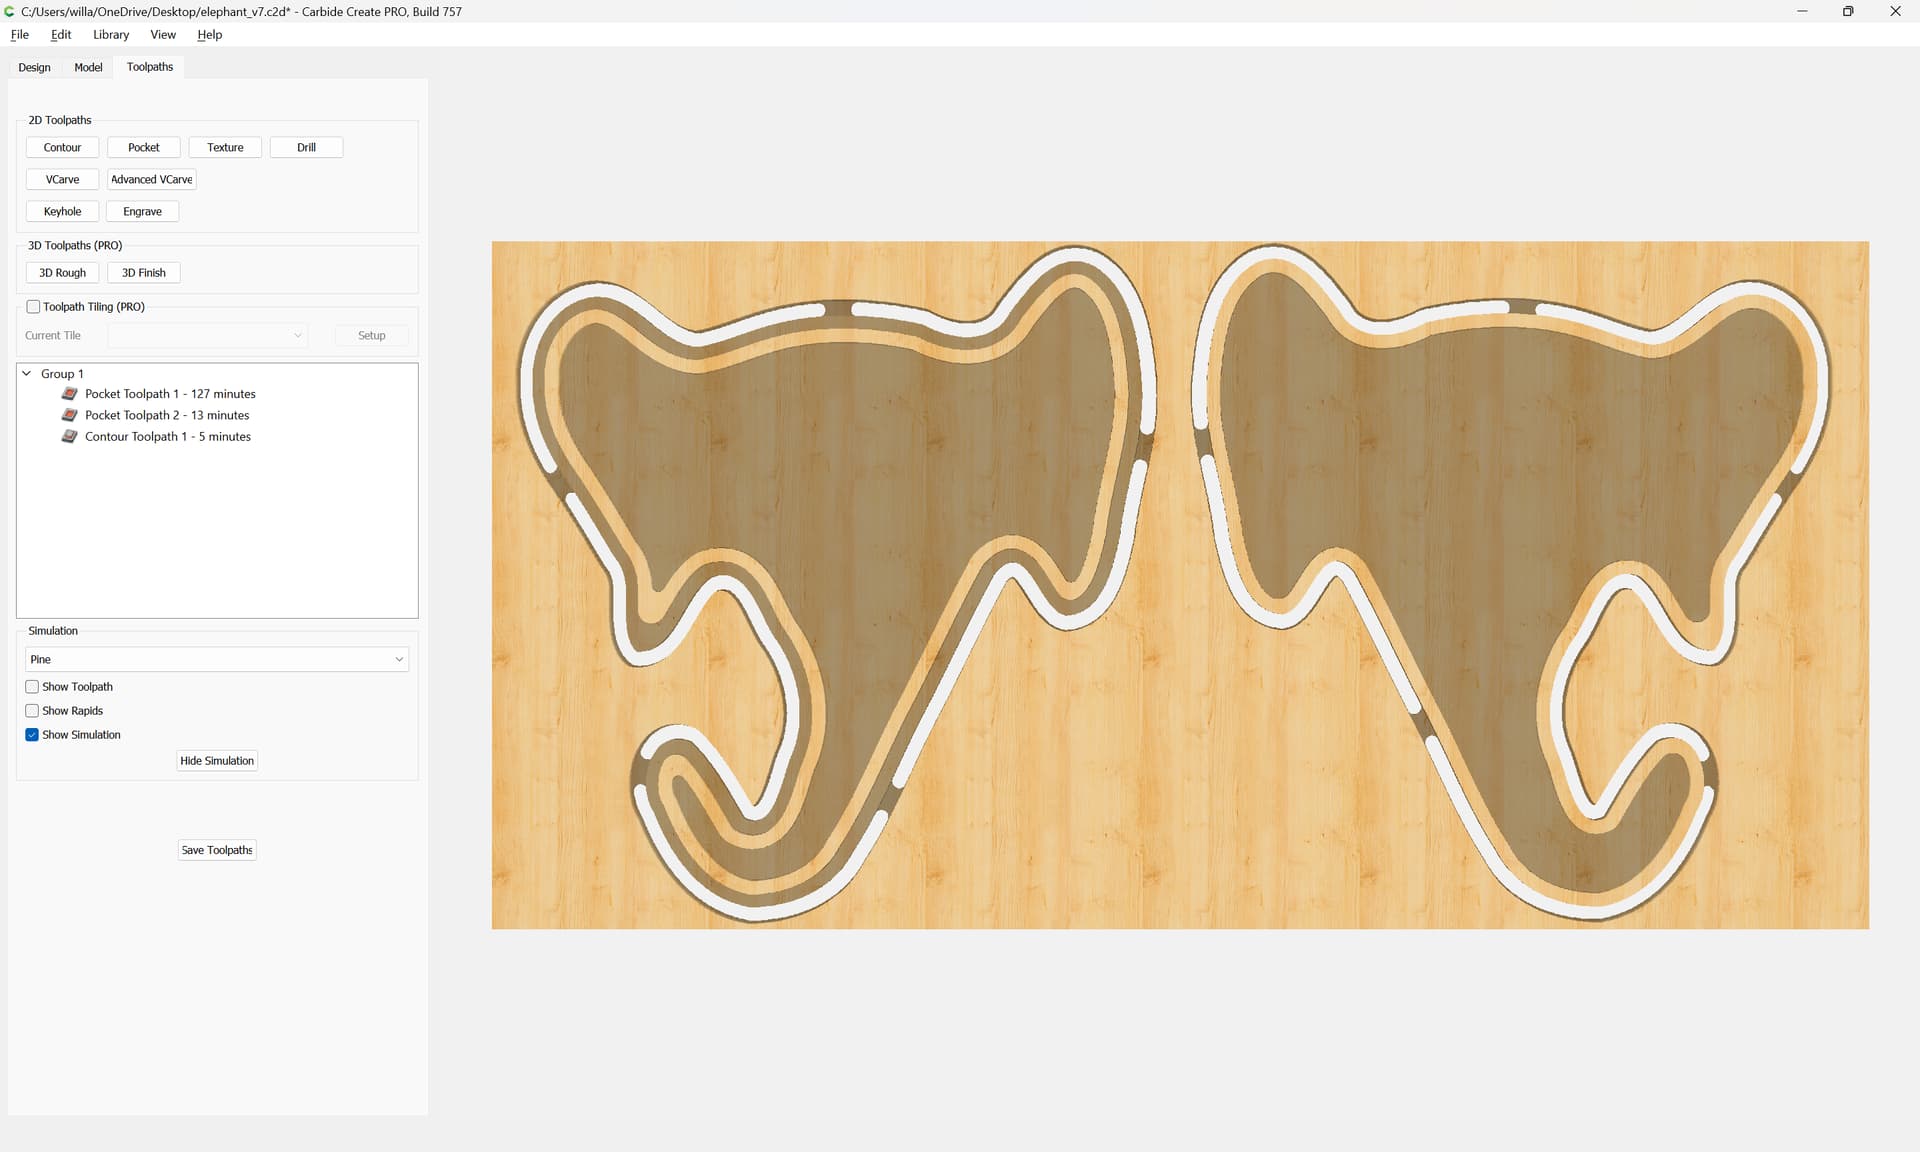
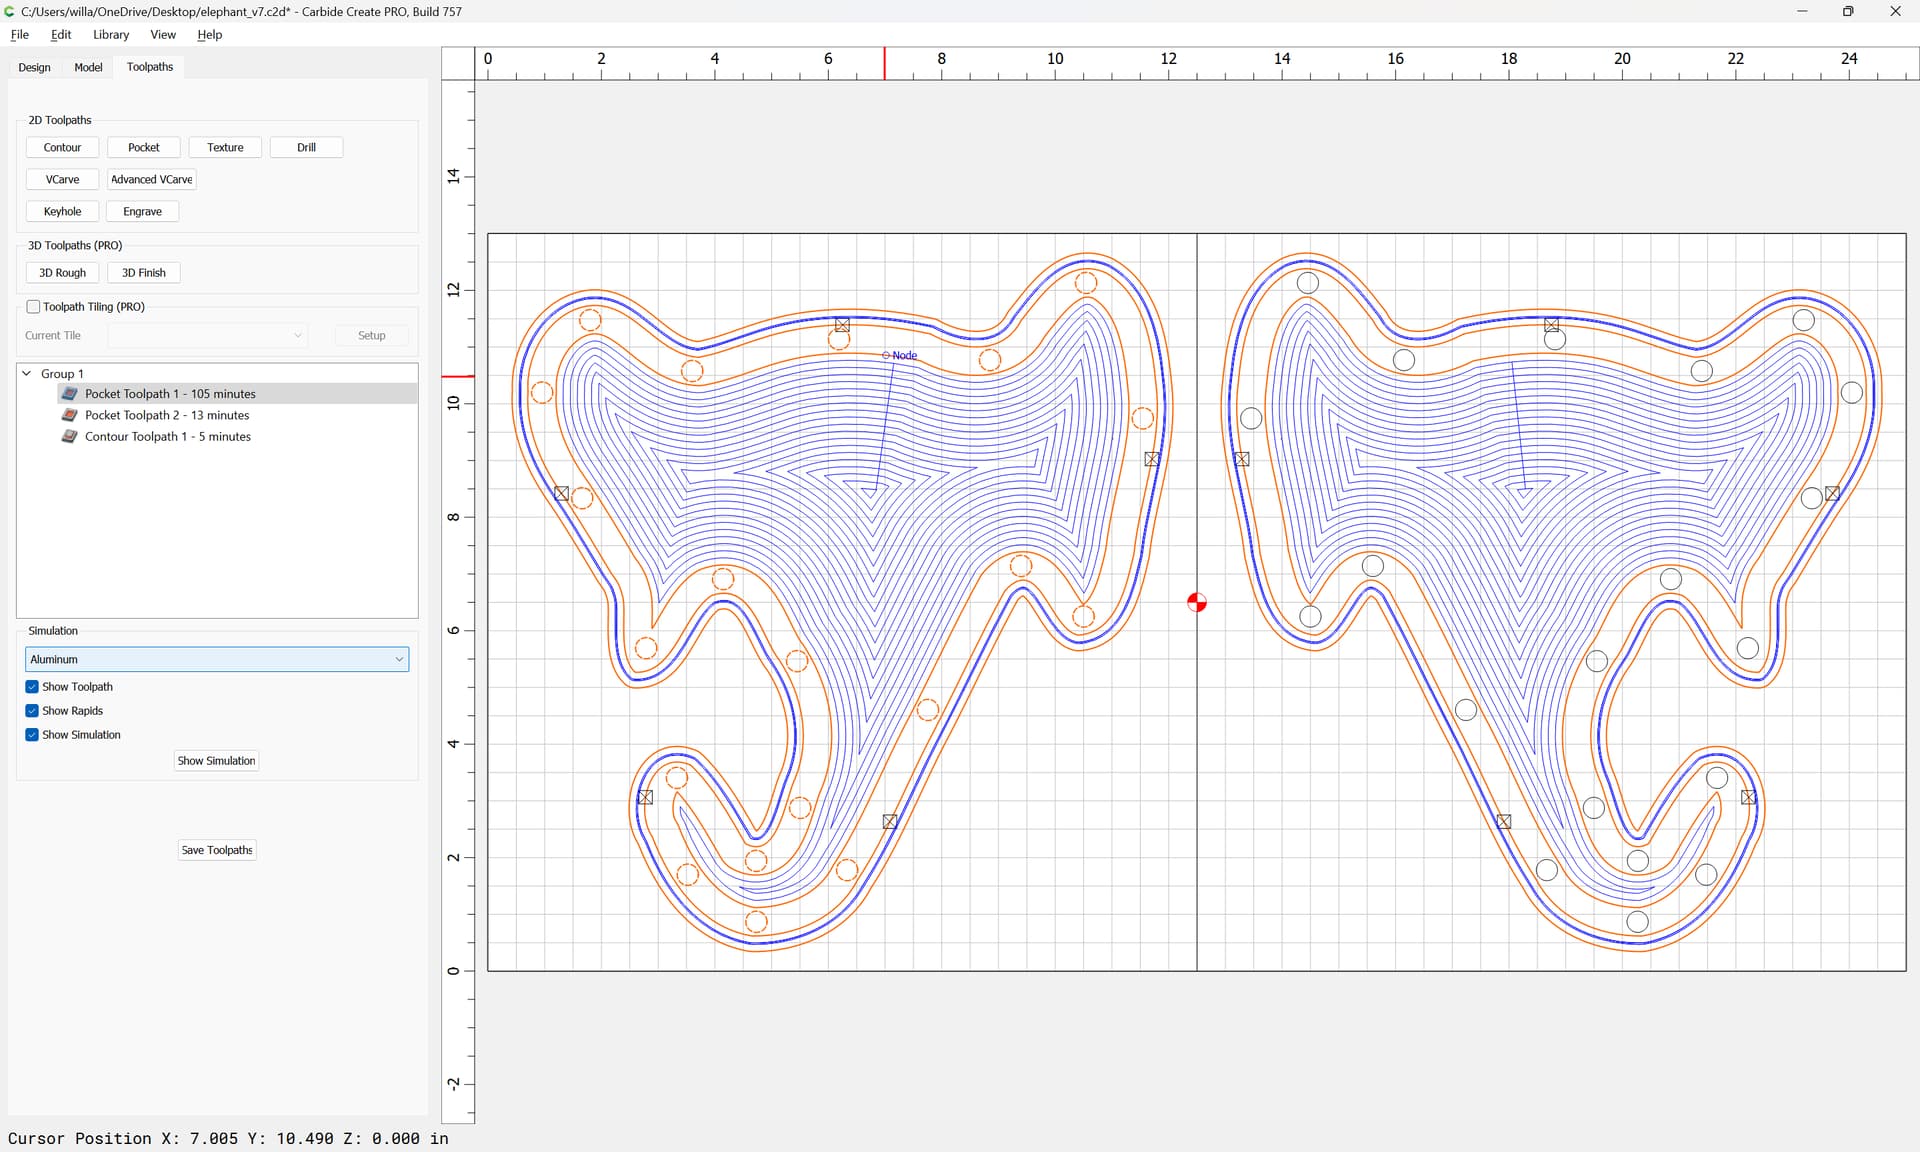
  3. Place the two pieces on the CNC bed insides up, and have two programs to cut the recesses, registration holes, and outer shapes - one program for each half. Each program would be a mirror image of the others.
  4. Put a couple pennies inside one of those recesses, use two tiny dowels and glue the two halves up.
  5. Sand the edges, round over the edges, and finish with food-safe tung oil

Note that I usually end up with a rattle about 16mm thick (⅝"), which means the two pieces are about 8mm thick when resawn and sanded. Rounding over the edges of the glued up rattle isn’t the easiest thing in the world, either. I do it on a router table with a roundover bit that has a very small pilot. So, another option would be to cut the recesses and then flip the wood pieces over (registration important) to cut the outside edges and an approximation of the roundover that I could just sand out.

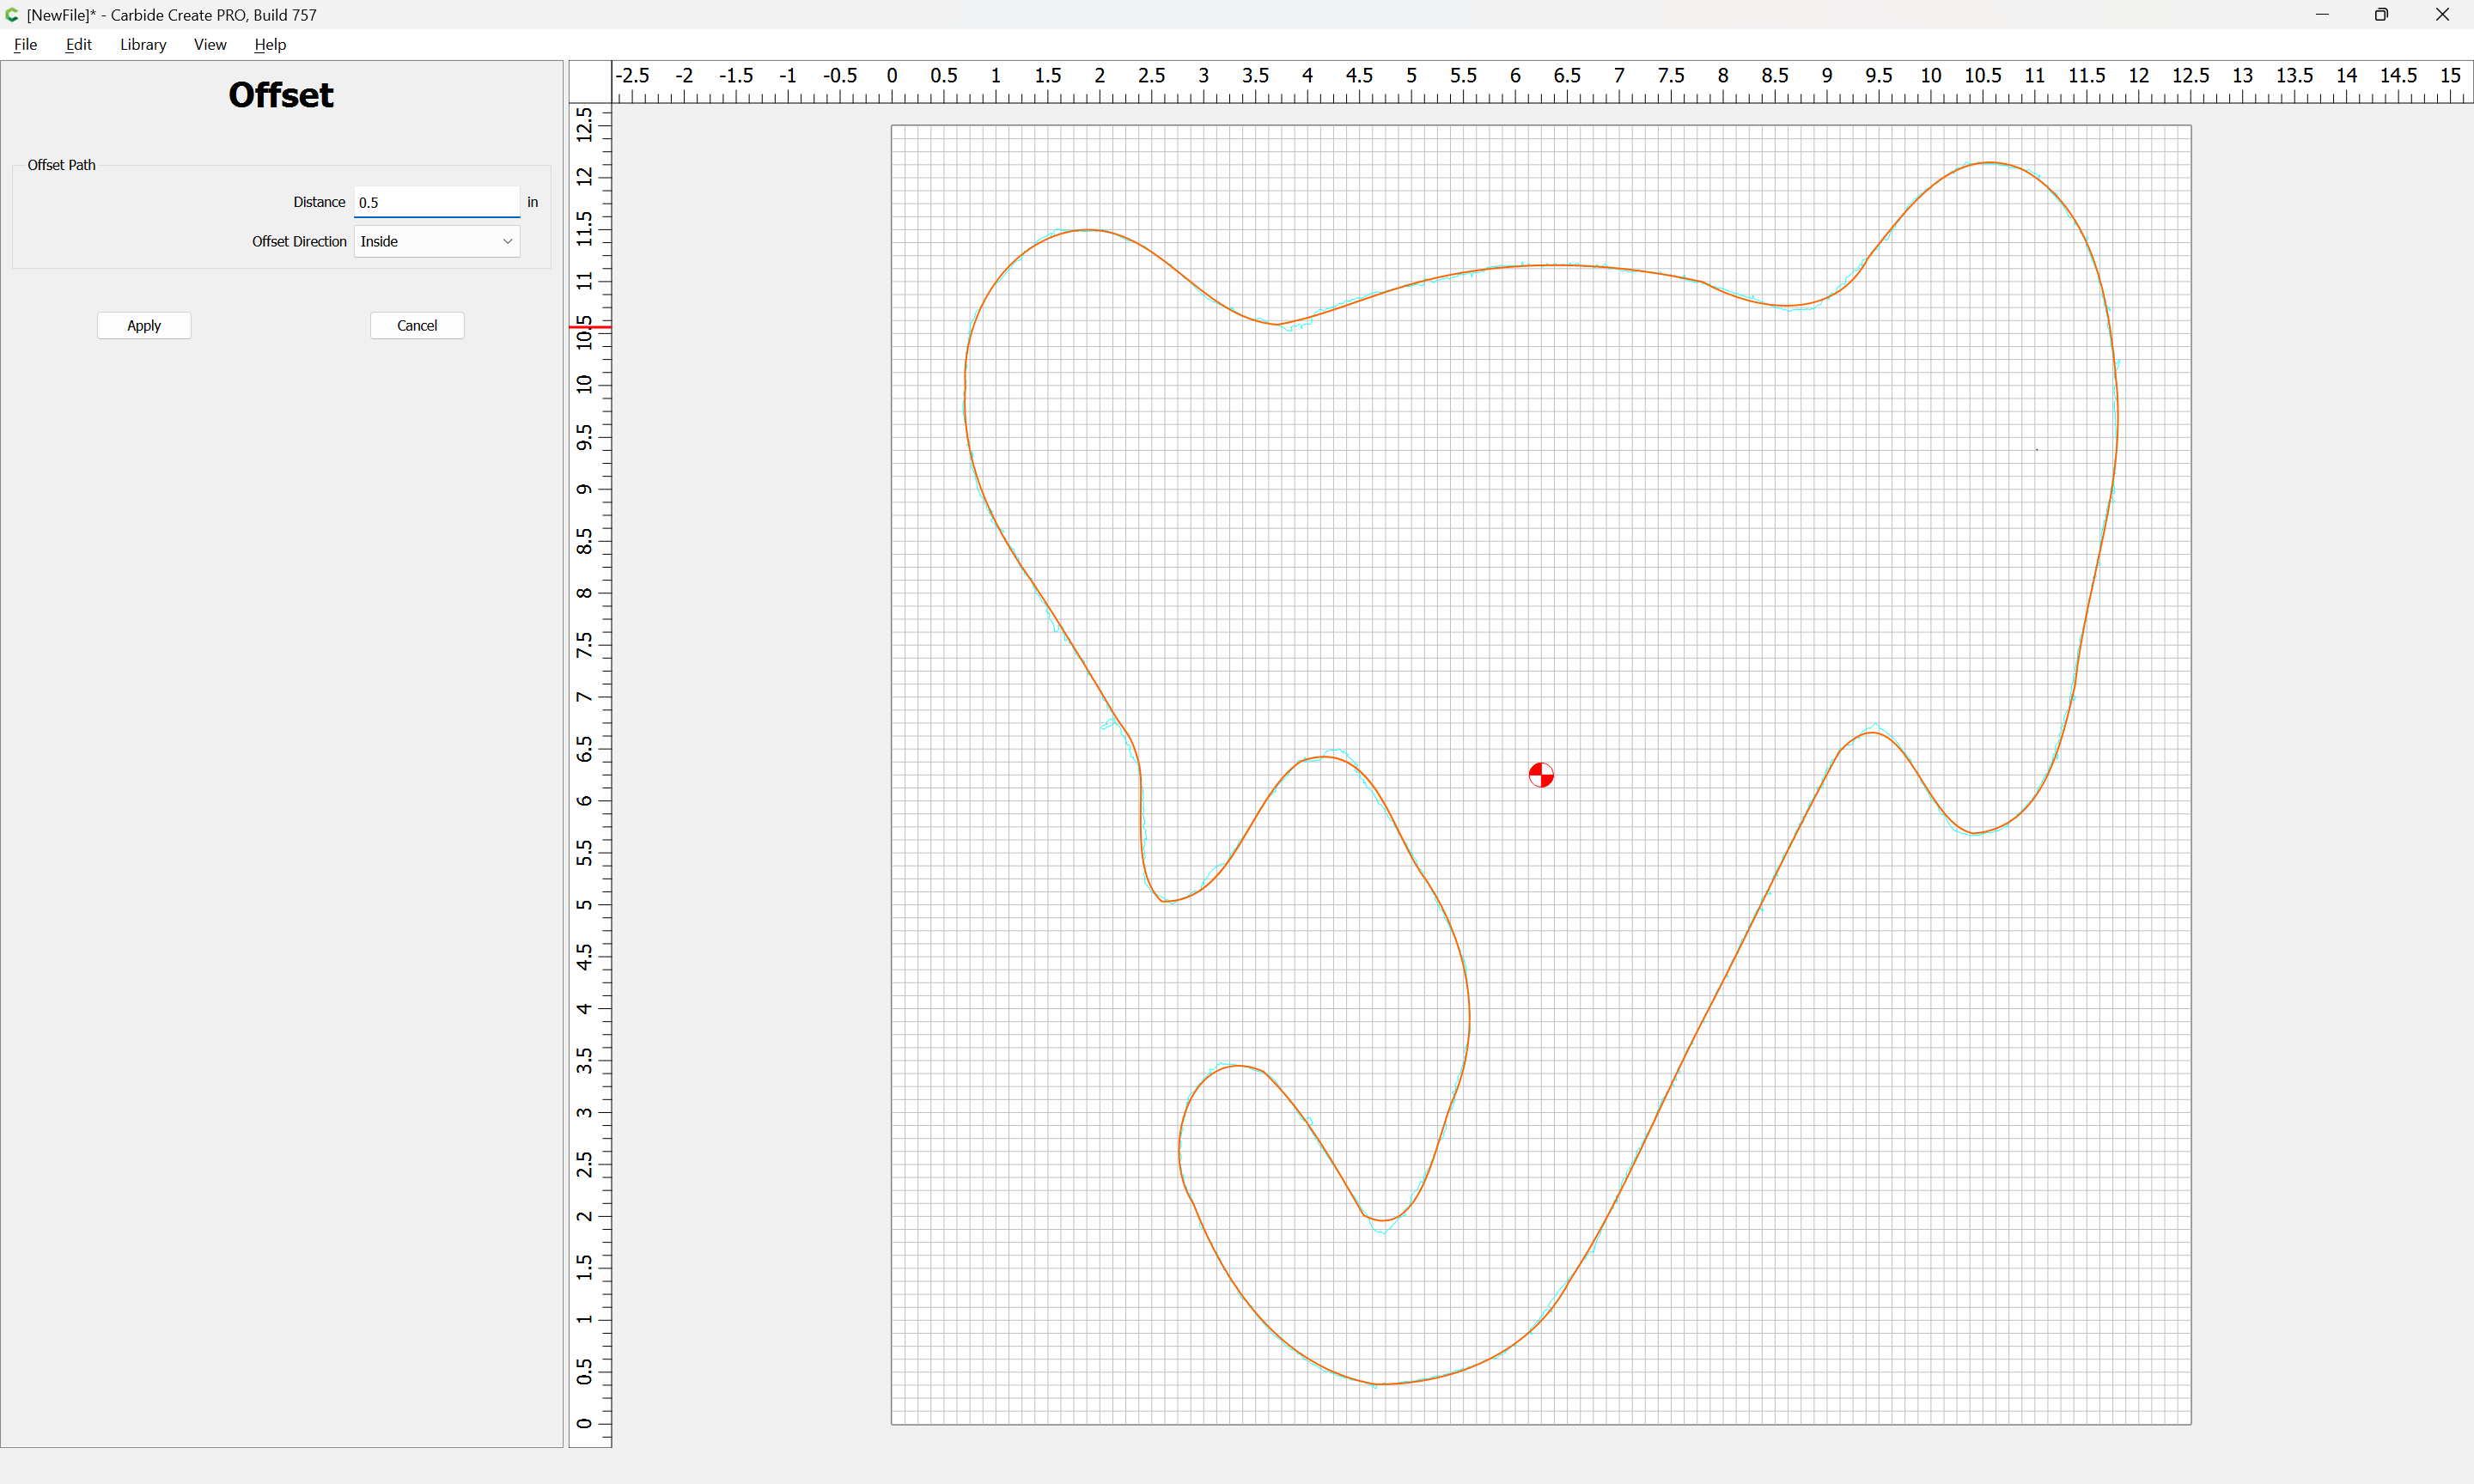
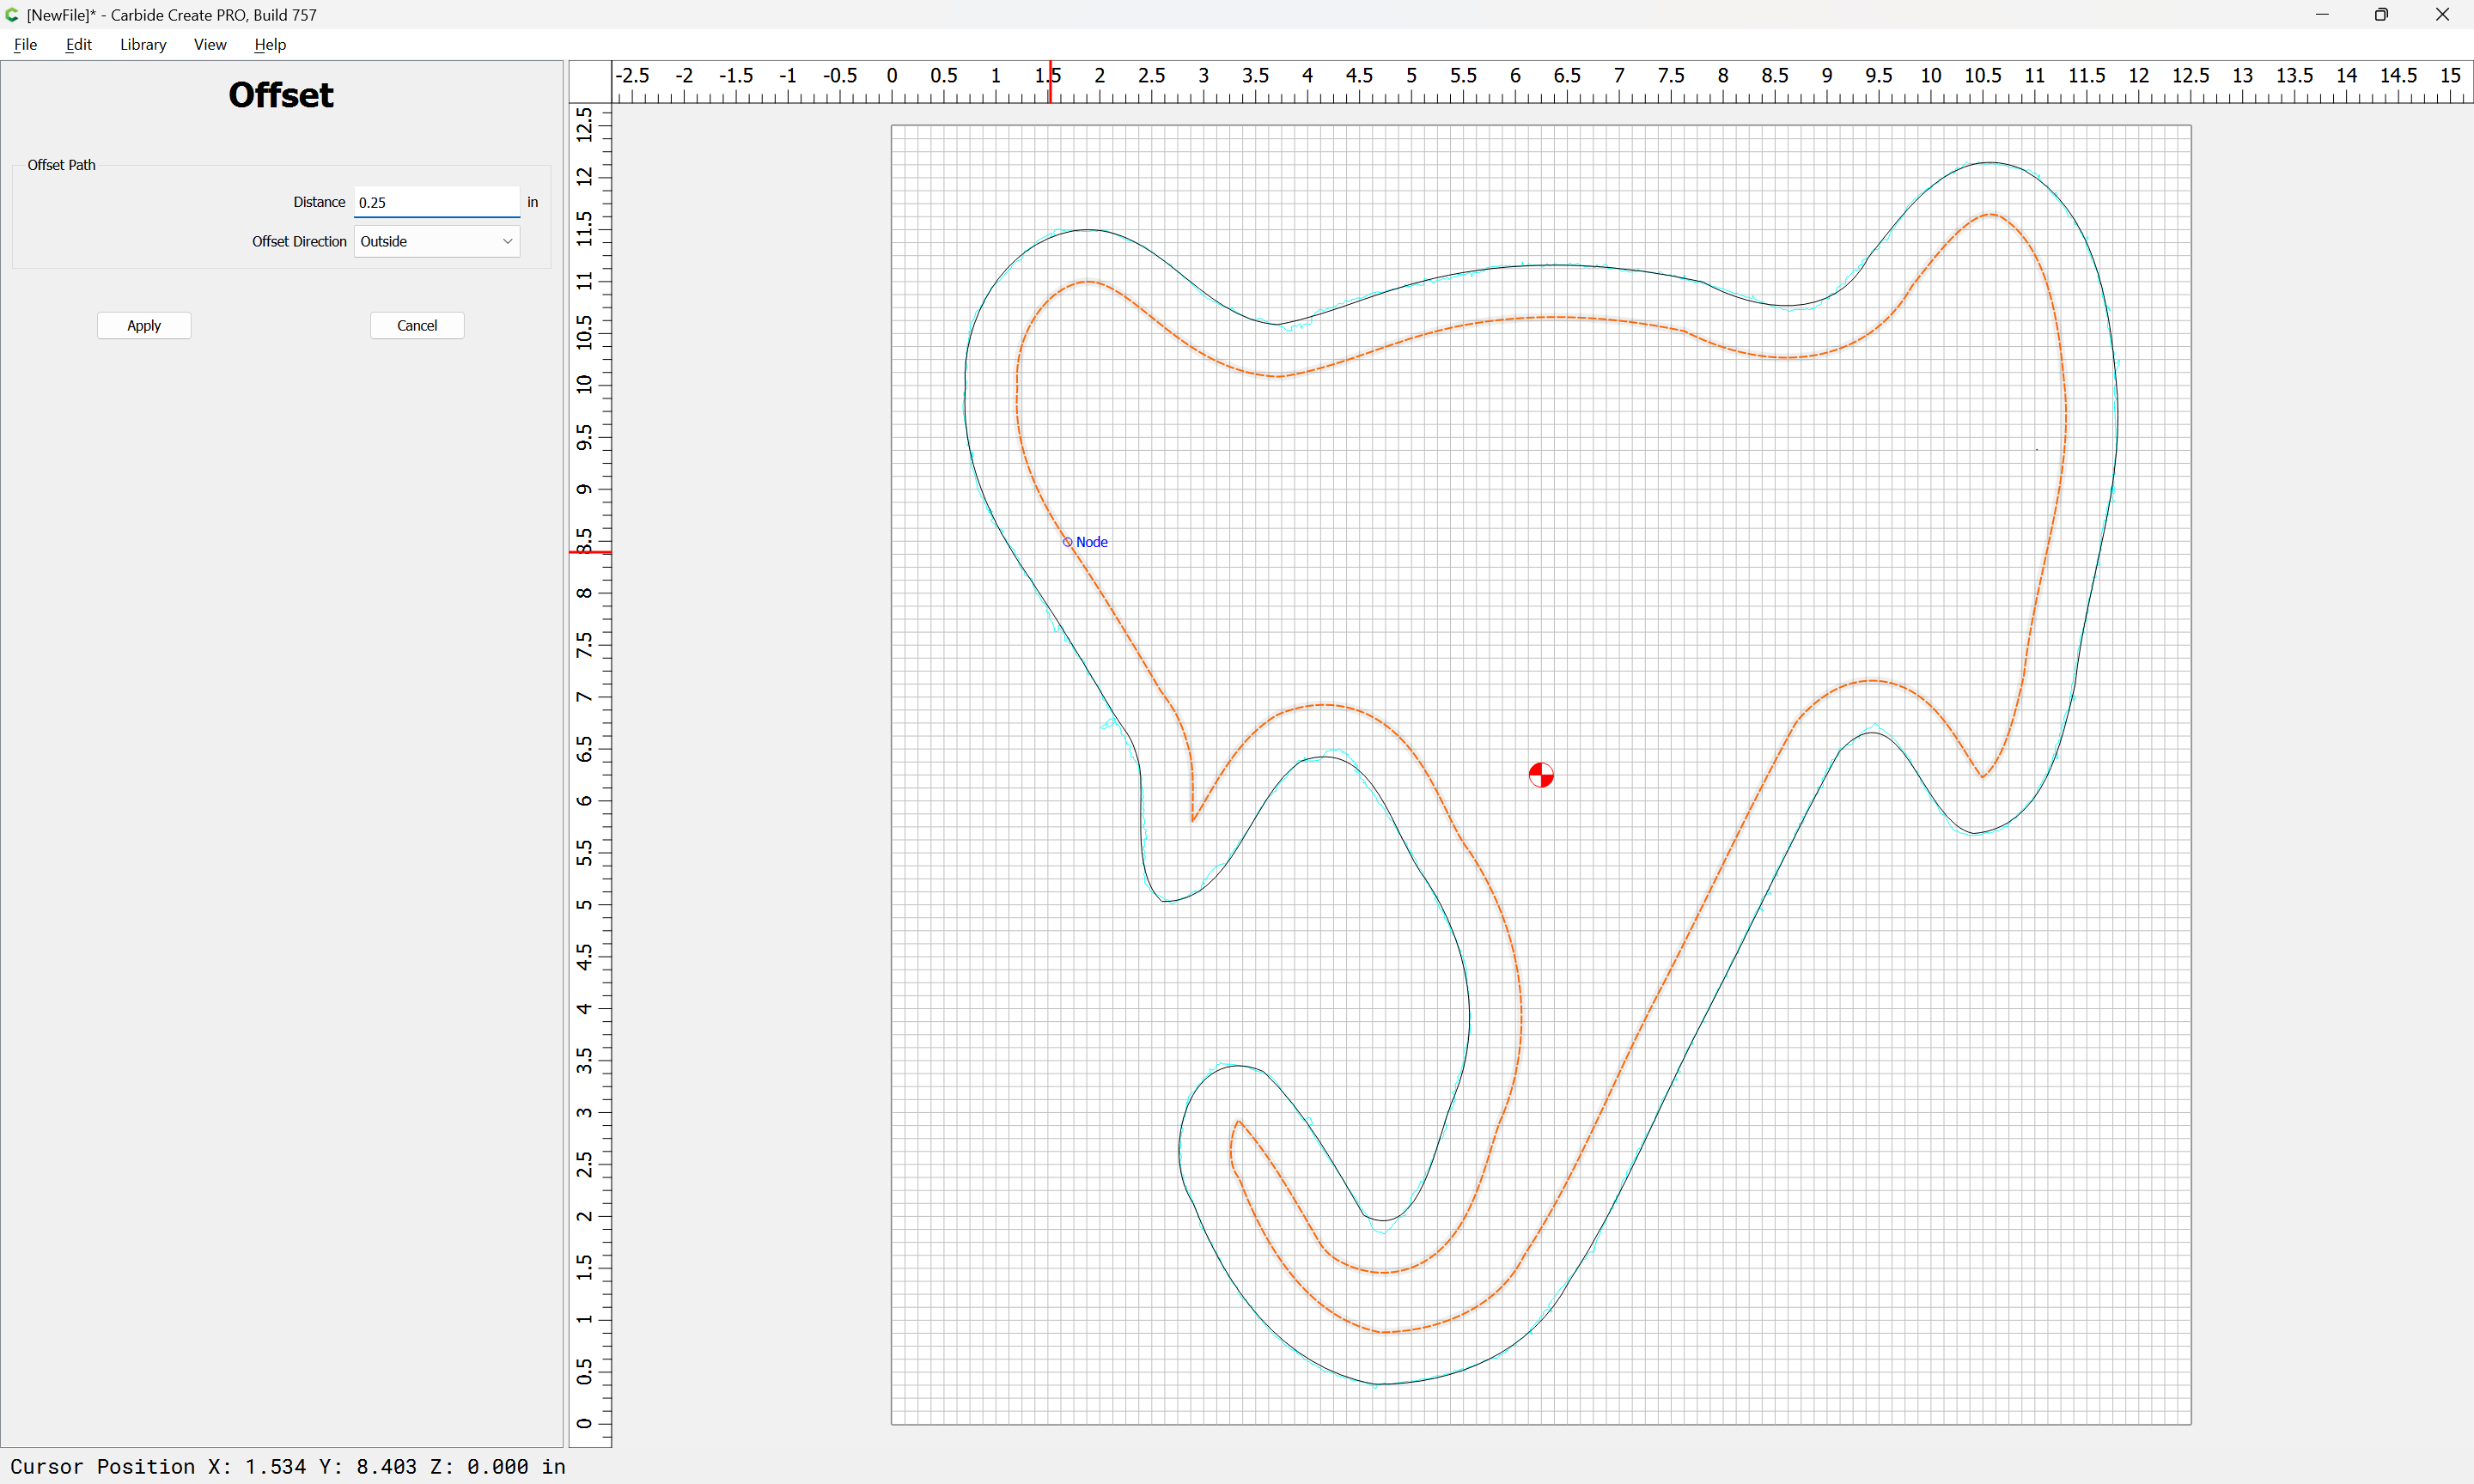
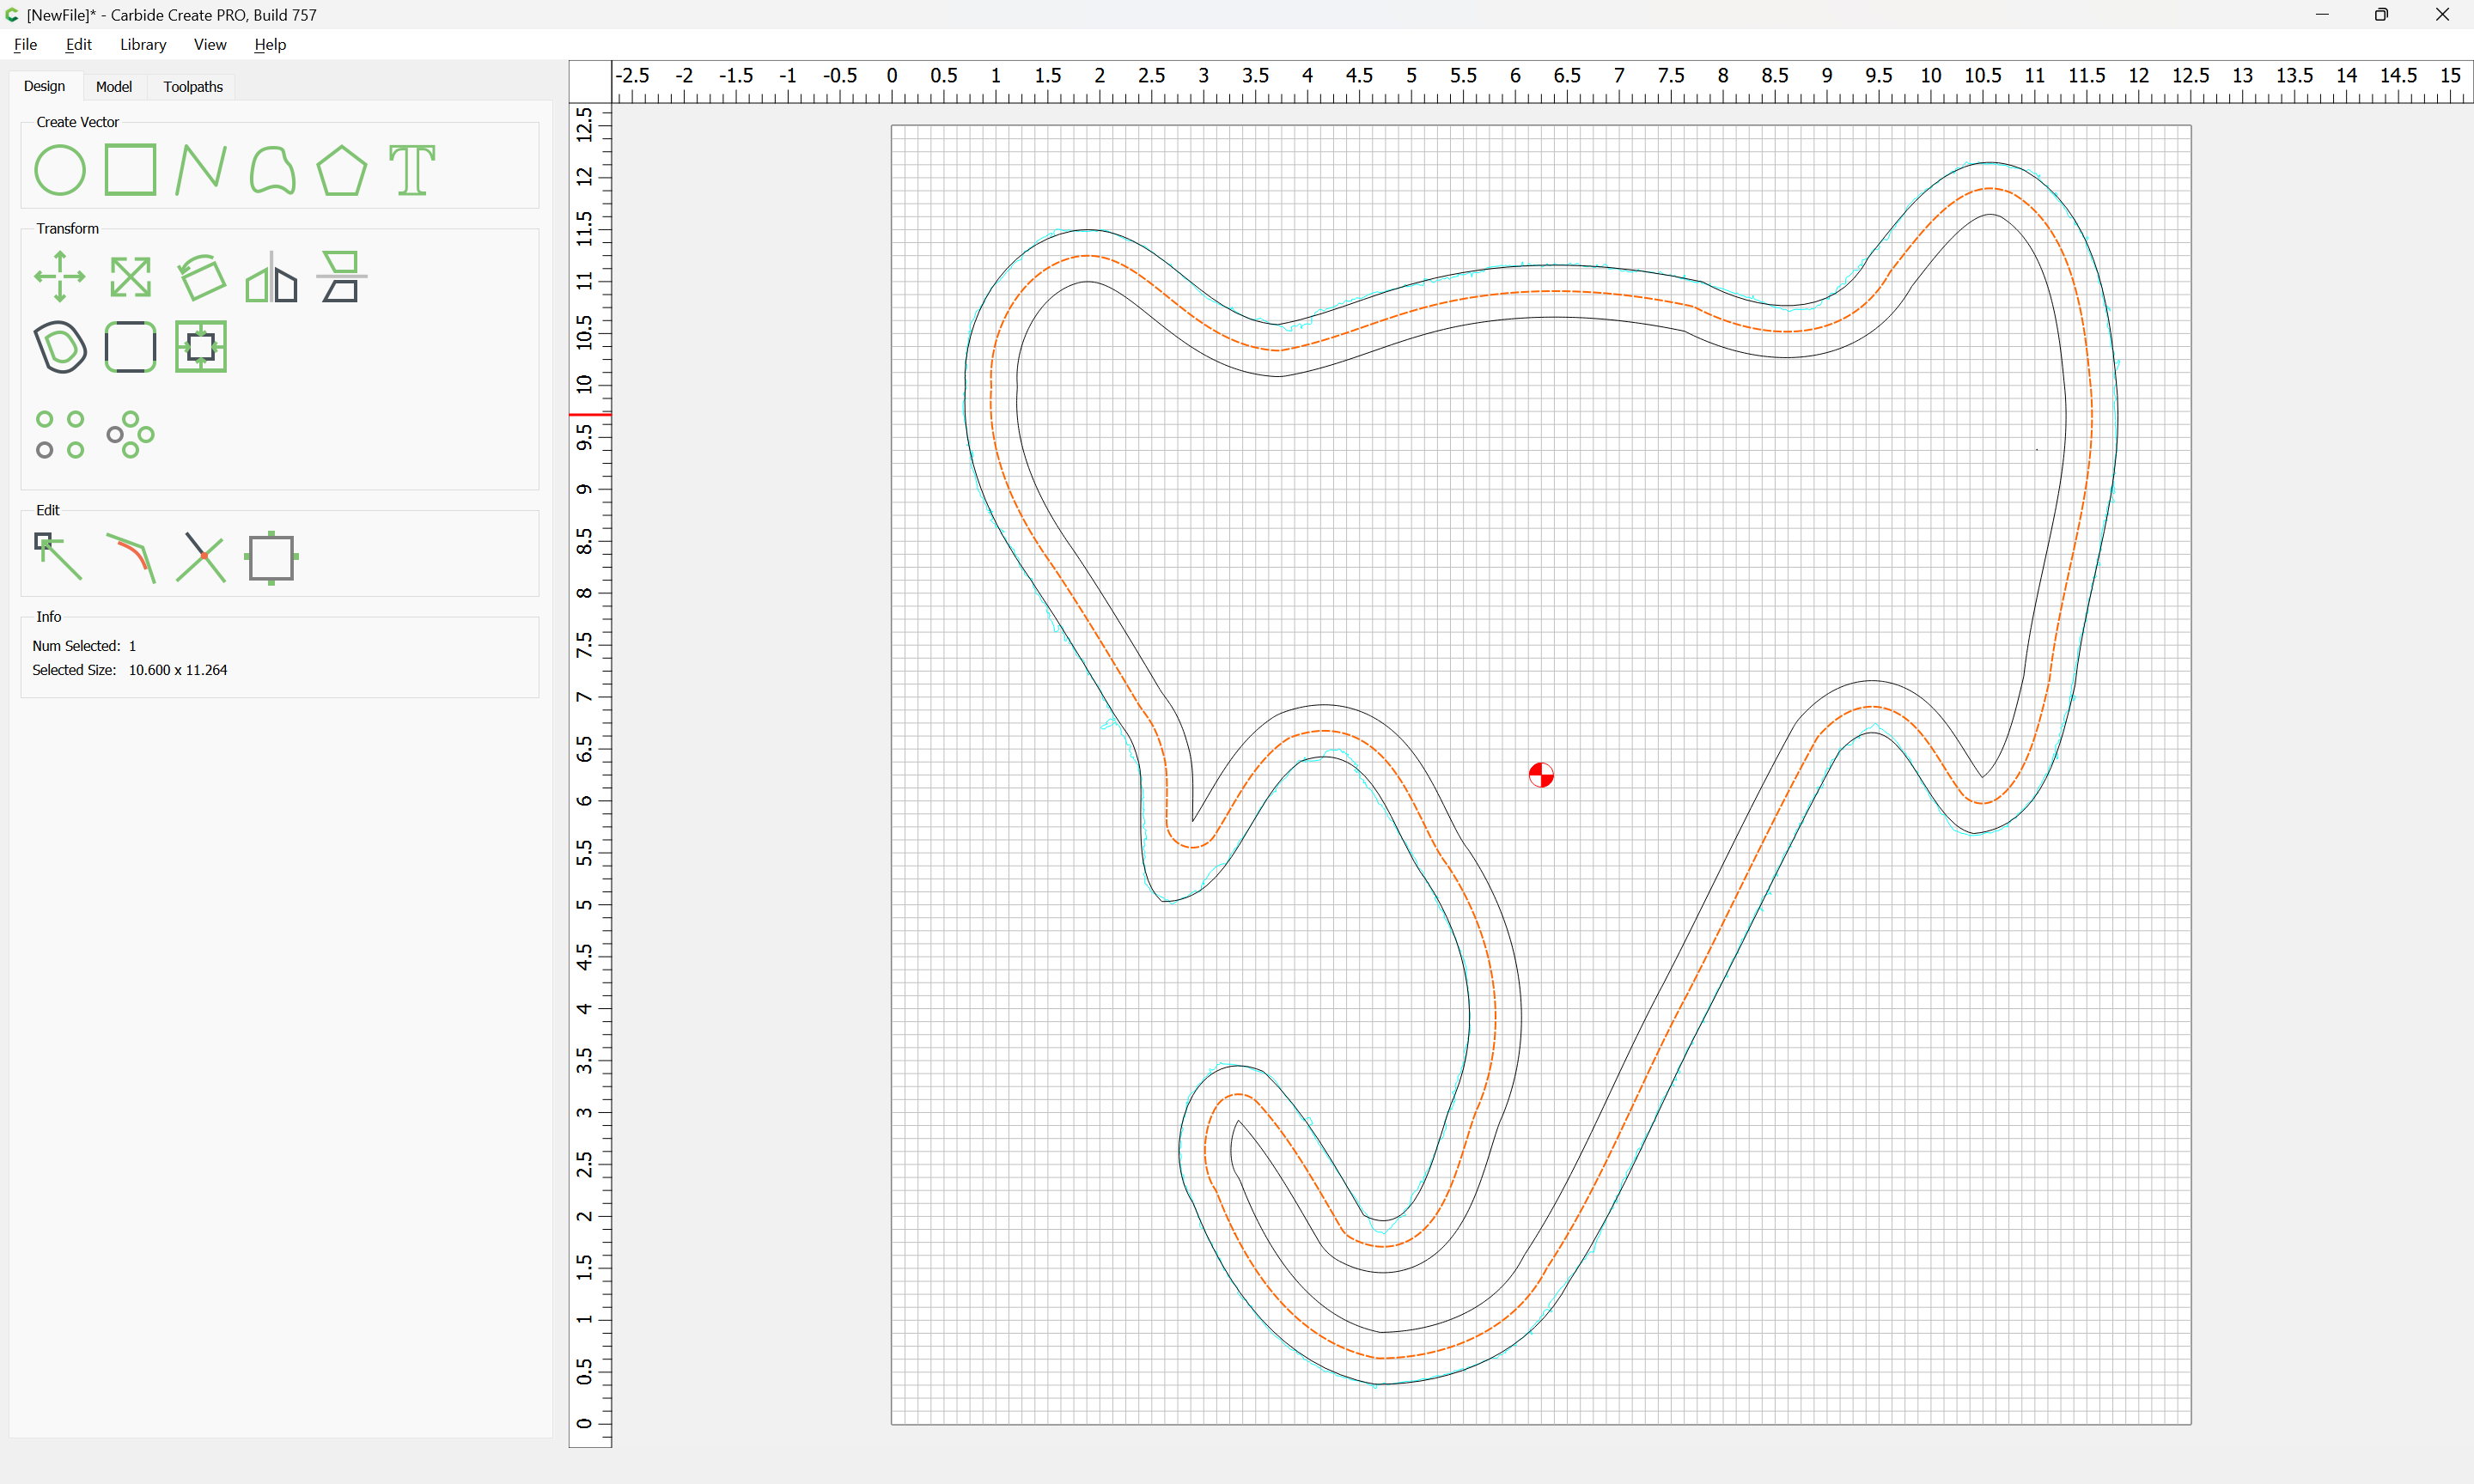
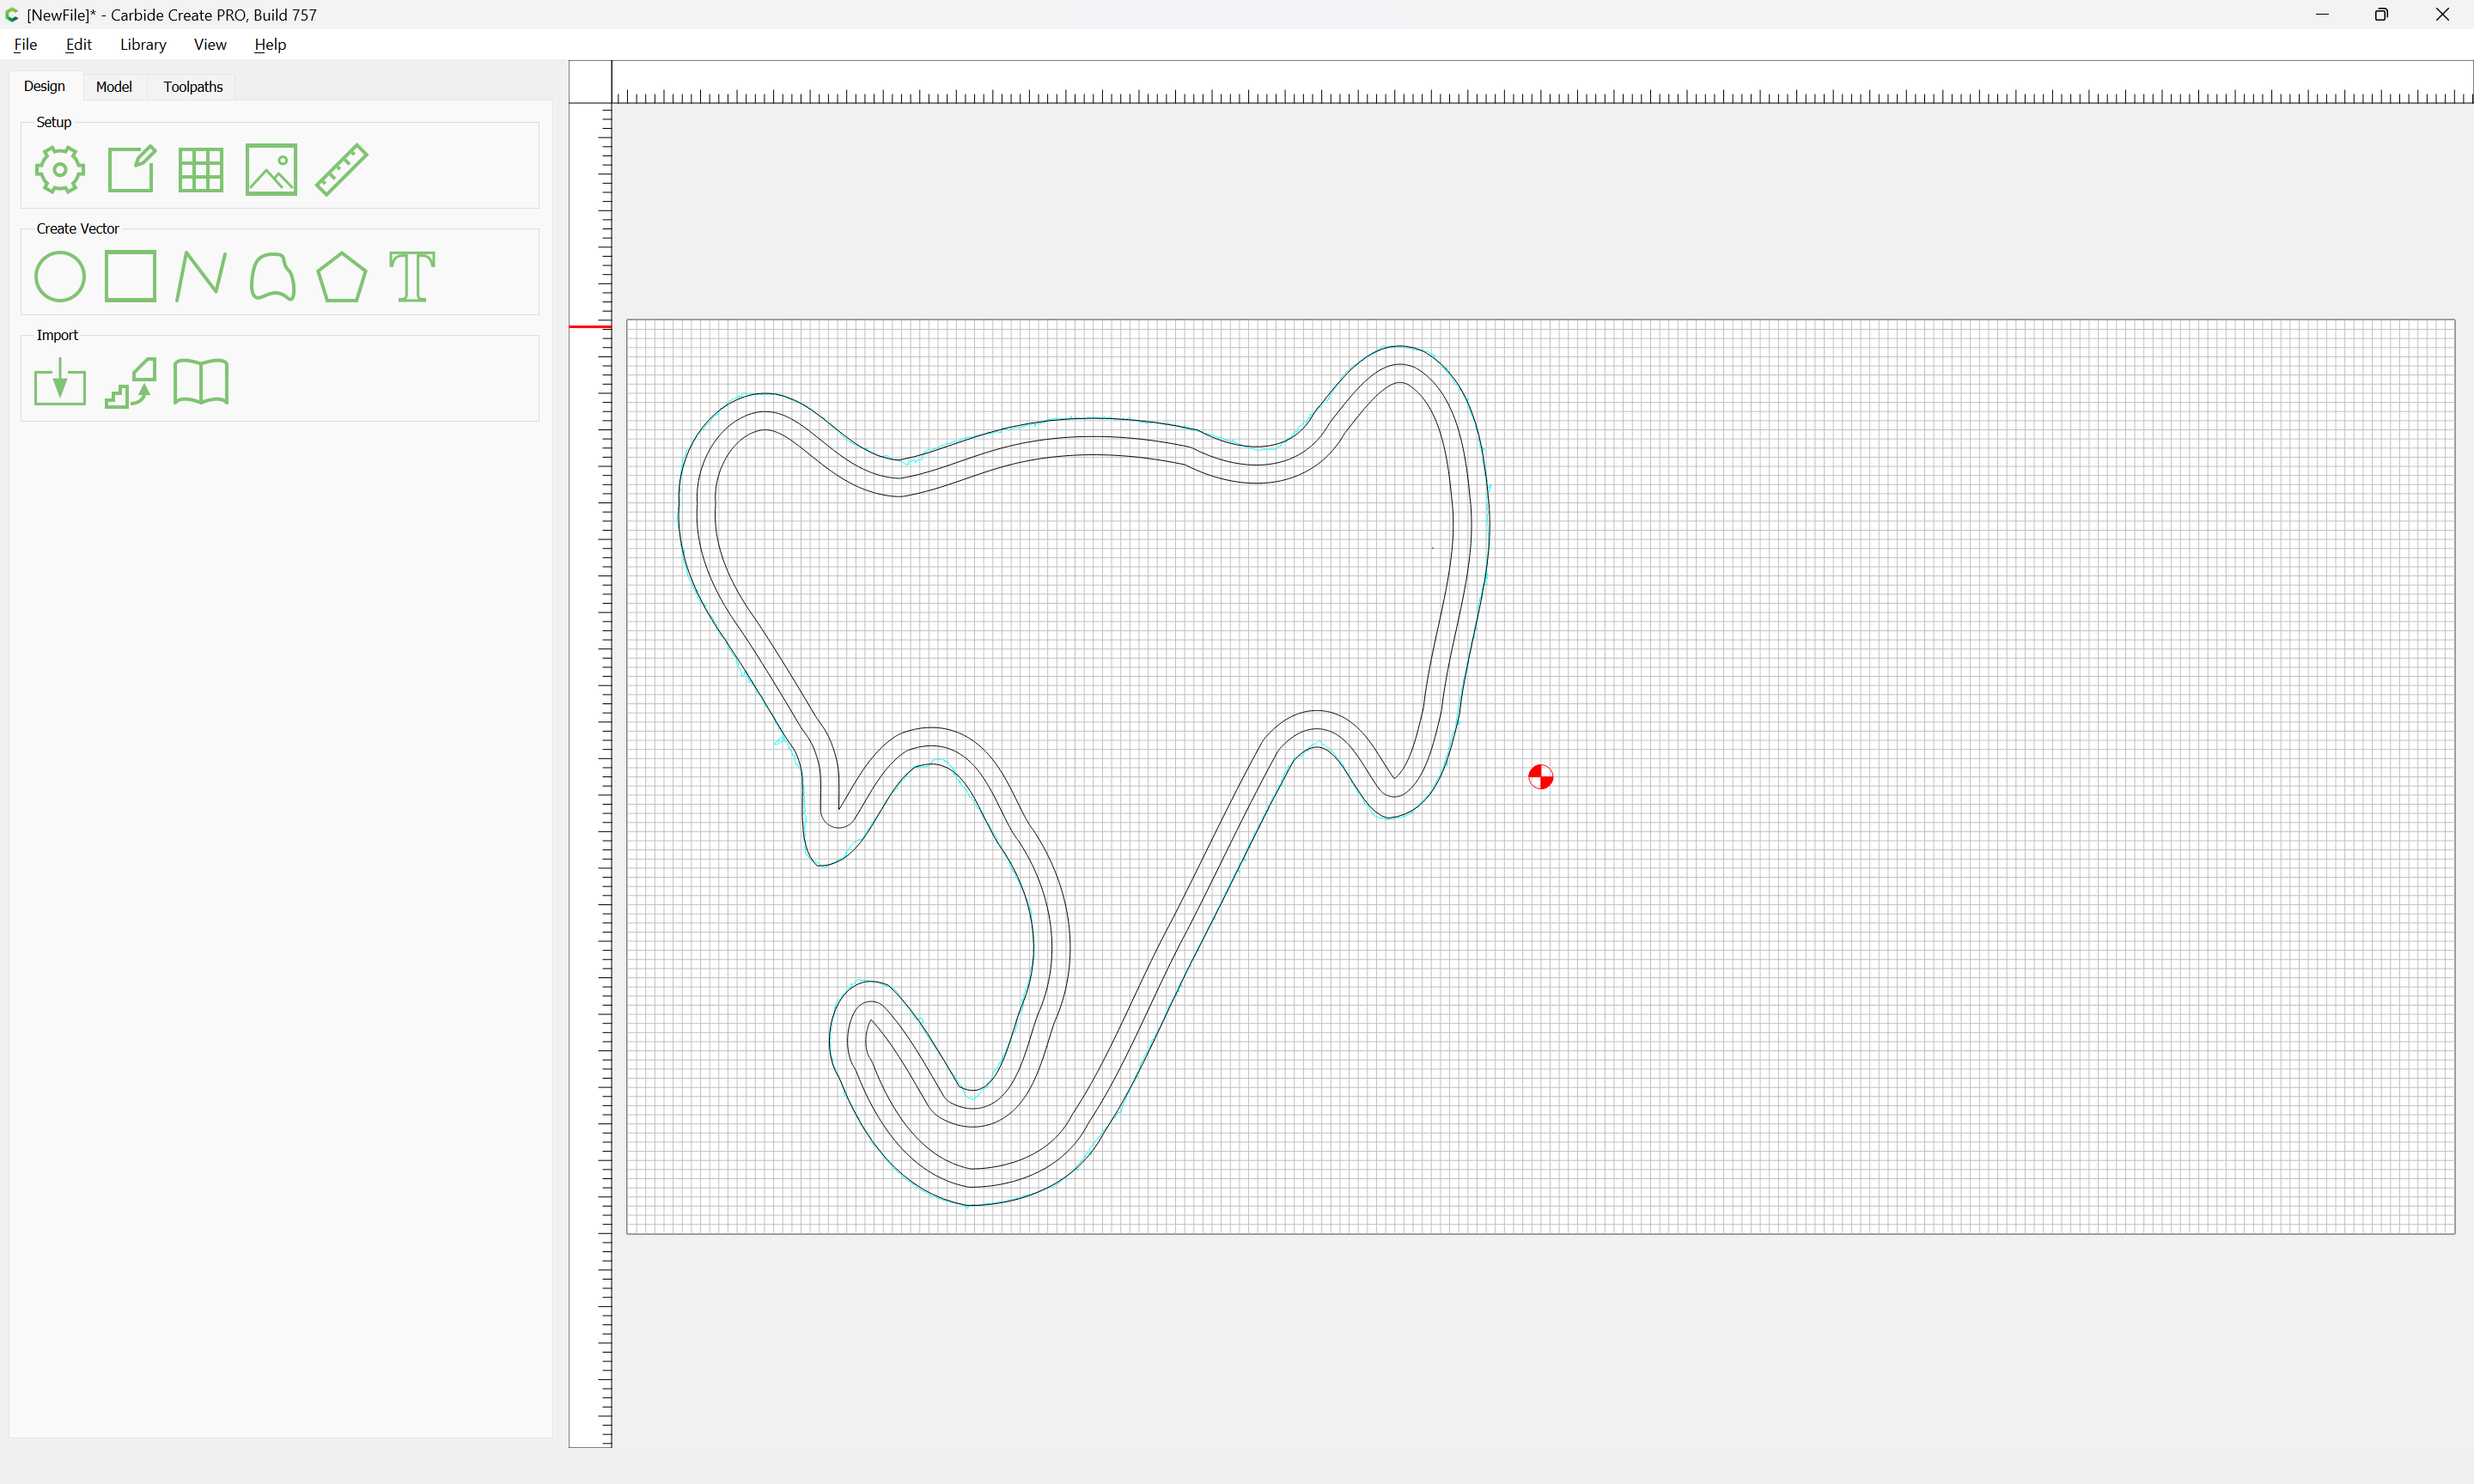
Not having used Carbide Create (only Fusion360), how do I get started taking the image of the rattle and converting it to a path to be cut out? I assume this is something that’s done a lot, so any pointers to tutorials or videos to watch would be appreciated.

TIA!

Can’t help with Fusion 360, but here’s how I’d do it in Carbide Create:

First use “Trace Image”:

Adjust Threshold:

Trace Image:

Ok

Clean up a bit and set the stock size to match the geomety:

Inset by the desired width of the edges:

Offset to the outside by half that distance:

Adjust the stock size:

Select and duplicate everything:

Offset to the outside by tool diameter plus 10%:

Assign toolpaths to create the desired edges:

Assign a pocket along the outer edges to tab height or the penultimate pass:

Assign a no-offset contour toolpath to finish the cut:

If not using adhesives to secure things, add tabs:

and mirror image one side:

which should yield two parts which will fit:

Attached as a v7 file. If need be, adjust size, tools, toolpaths, stock size, thickness, &c.

elephant_v7.c2d (1.9 MB)

5 Likes

Wow - that was fast, and great!

I would have expected the mirror operation to show a mirrored copy, but the screenshots you included don’t show that.

I’m also not going to cut the recess that large, the trunk in particular could be a weak spot (babies throw these things on the floor a lot), and beside the pennies would never fit in there. I’ll just create some kind of shape inside the “head” between the ears.

I’ll also have to work out registration, as I’m not cutting from a single board laid flat. I could, however, resaw the board, then align the two halves so that it appears as a single board (and I’d be using blue tape/cynac glue to hold in place), so that’s something to think about, too. The resaw thing is for the adults, who often ponder how I got the pennies inside there since the grain matches so well across the resawn parts.

Thanks so much! It’ll take me a little while to get through this as I haven’t used Carbide Create much, nor recently.

I made a mistake and mirrored twice — now fixed.

This is a pretty monumental task, as it traces with thousands of points.
Will, did you just rectangle select & delete a lot of them?
Would it not be easier to just set it as a background & draw it from scratch?

Ben, because he cut it like a box with an interlocking lid, the “registration” is built into the design.
The only trick, then is to line up the two halves.
If you make one edge, and one adjacent edge straight before slicing, then you could set both halves up using a Center zero. (Pink lines being your ‘bookmatched’ edges.)

Yeah, that’s what I was talking about with the “align the two halves so that it appears as a single board.” But, I think I just need the one straight edge - the one I’m flipping across. And then pick either the top or the bottom of that edge for my registration - right?

Setting the origin at the center as shown should work for the flip, and since you want a seamless wood grain along the edge you would instead add holes for dowels, or, glue a matching piece of wood to one side (to function as dowels) and machine it away, leaving only the buttons.

Something like:

I cheated on the clean-up — exported as an SVG, used Inkscape’s Path | Simplify command a few times, re-imported, then tidied up a tiny bit — correct that re-drawing would have been faster than doing this by hand.

Here’s a file which has the circles for the dowels in place, but which would need adjustment in terms of toolpaths/thicknesses:

elephant_v7.c2d (1.7 MB)

3 Likes

I would caution about the pennies. If the rattle cannot be separated then they would work. However pennies are a choke hazard for a baby. Babies put everything in their mouth and I am sure you would not want to responsible for chocking a baby. Perhaps something else could be put inside that would not choke a baby if the pennies come out. If you are confident that the two halves cannot be separated then the pennies would work. Just think about something else. Maybe buy a commercial rattle and take out what they have inside to produce the rattle sound.

Thanks. The rattle is well-glued together. It would take enough force to destroy the wood itself to get at the pennies, and at that point the wood pieces would be worse than any pennies. I’ve been making these for a couple decades now and have never heard of any that got broken.

I suspect what is inside a commercial rattle is smaller than pennies as they are not meant to be opened either…

3 Likes

The traditional safe thing to use is some sort of suitably small dried beans.

1 Like

I use pinto beans as game pieces.

The whole point is to have something that will actually go down and out instead of something that will get stuck in the throat or windpipe.

3 Likes

I modified the file a bit:

  1. Rotated the object so that the top of the ears was “level”
  2. Shrunk the object to be the right size (12" is a very large rattle!)
  3. Shrunk the internal recess for strength.
  4. Got rid of the tabs (will do blue tape/glue hold down)

Did a test cut in cardboard (aka scrap MDF that had some holes in it already):

PS: I wish Carbide Create had more options for zero - like top center and bottom center.

I need to re-do the alignment holes - I’m thinking I need only two. Given that I’ve got the file already setup like this, what’s the best way to accurately add them?

In case anyone cares, here’s my file so far:
elephant_v10.c2d (1.1 MB)

Still debating what to use inside. Wife thinks pennies aren’t the best sounding…

1 Like

MDF isn’t going to resonate much, so will deaden the sound.

Did have one thought on this — it should work to eschew the alignment holes — just count on the machine being accurate to allow you to:

  • bandsaw in half
  • machine mirrored pockets in each half
  • add stuff for noise
  • glue together, making sure to get the orientation correct and marking the glue-up for orientation
  • cut out using a suitable tool

Or, you could simplify this quite a bit by using a standard size of stock, with a standard size/placement of hole, ensuring that that hole was always well w/in the blank and not impinged upon by the design.

Yeah, the MDF is just try-out to be sure things are cutting properly. The real thing will be some nice hardwood.

I did think about your revised plan - essentially delaying cutting out the exterior until after glue-up, maybe I’ll look into that further, thanks.

It occurs to me that the pocket, place “beads” and glue up process could be done before the exterior outline is cut. This would simplify the alignment process greatly and create an uncut inventory item at the same time. Choose a suitable size and shape of stock for the final product.

Just come up with various cute animal / star wars designs that fit the stock size and cut the completed assembly.

PS. I think I would simplify the part by using 0.250" wood blanks. Pocket each “half” a little more than ½ the diameter of a standard BB found all over the place. This will make the bottom of the pocket thin enough to allow the BB shaking sound to exit.

PPS. Ocooch Hardwoods sells these kinds of Project Ready Wood in all sizes.

It turns out I need to tweak the outline. I’m not familar enough with Carbide Create - what I see is a number of outlines nested inside each other. I’m used to Fusion360, which maintains an operation history where one can go back to any of the prior steps and modify them, and the subsequent steps will all execute on the modifications. I don’t think CC has this ability.

So, I think what I need to do is delete everything back to the outline clean-up, and then do some more clean-up, and then recreate all of the subsequent steps. Is this correct or is there an easier way?

Thanks!

Yes, delete back to the original — I believe if you select everything and go into Node Edit mode it will be obvious which is the original.

Any reason you’re not just doing it there?

Because Will was kind enough to place me down the CC path. And this is is a pretty simple 2D thing (just a pocket and a contour), it seemed appropriate, but yeah, no driving reason.

1 Like