GJM
(Gary Morgen)
April 15, 2024, 10:57pm
1
Modeling is, again, frustrating me.
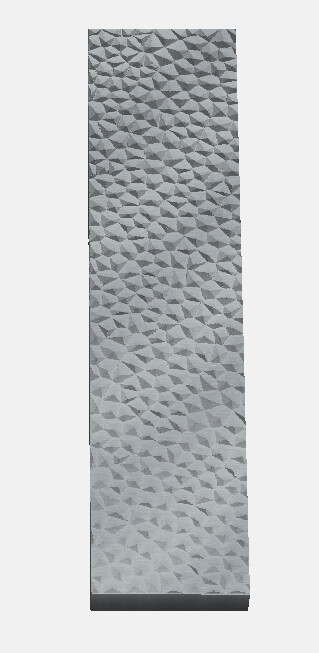
I’m trying to create a strip of wood that will take a texture that I have an STL for.
The STL is 24"x24" and the strip is 12.75"x3". The texture looks best if I import it at about .5 size.
I modeled an ADD FLAT for the strip.
Then I wanted to remove the texture:
Since the STL is a square and my piece is a rectangle, I had to create a square piece of geometry to import the STL and make it cover the entire strip:
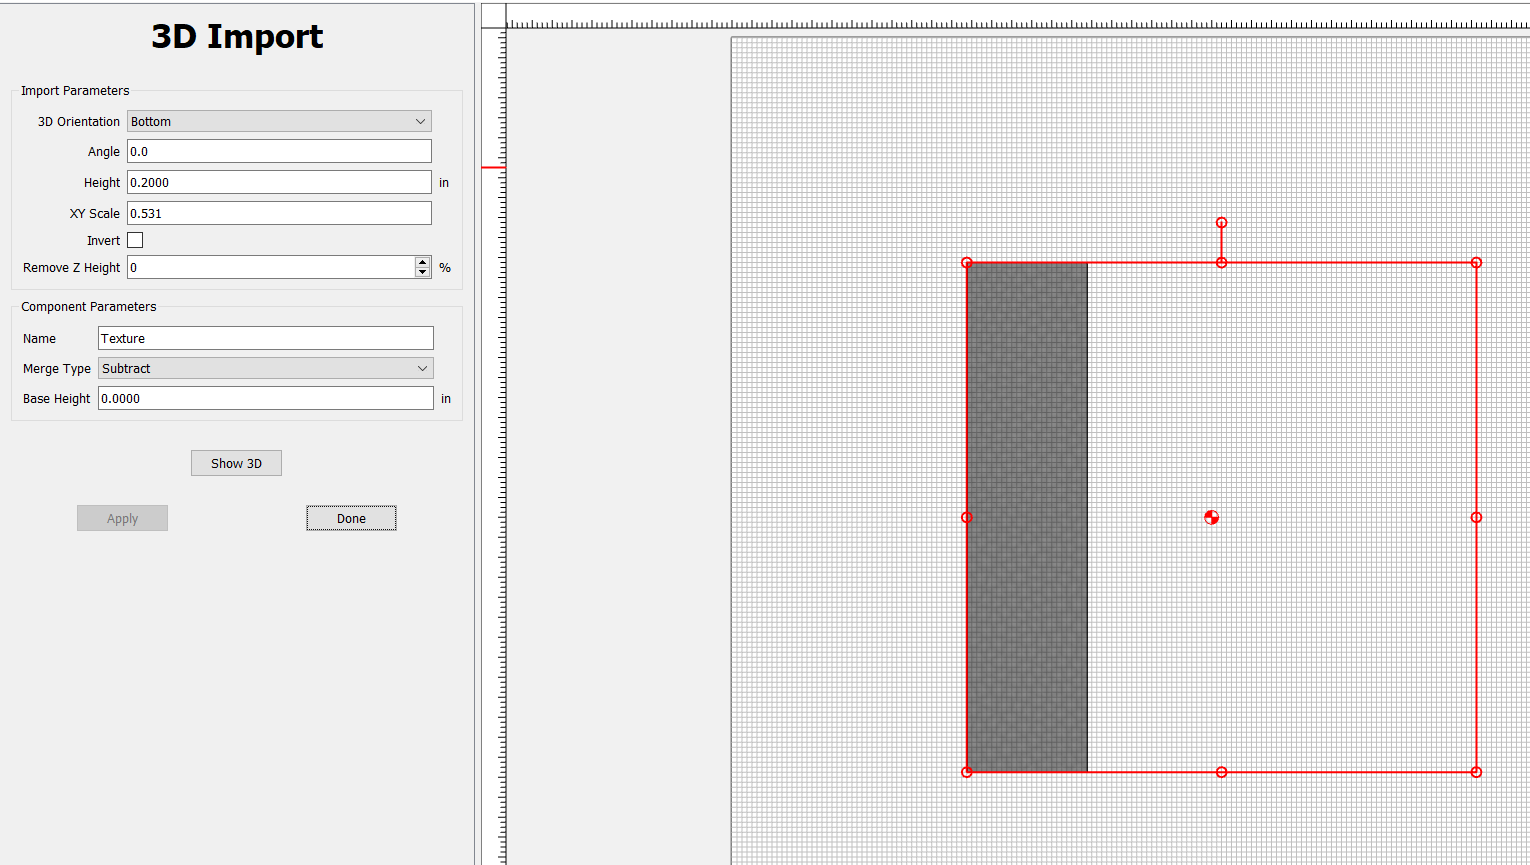
View 3D - all looks great…
Now I want to create the toolpaths for it:
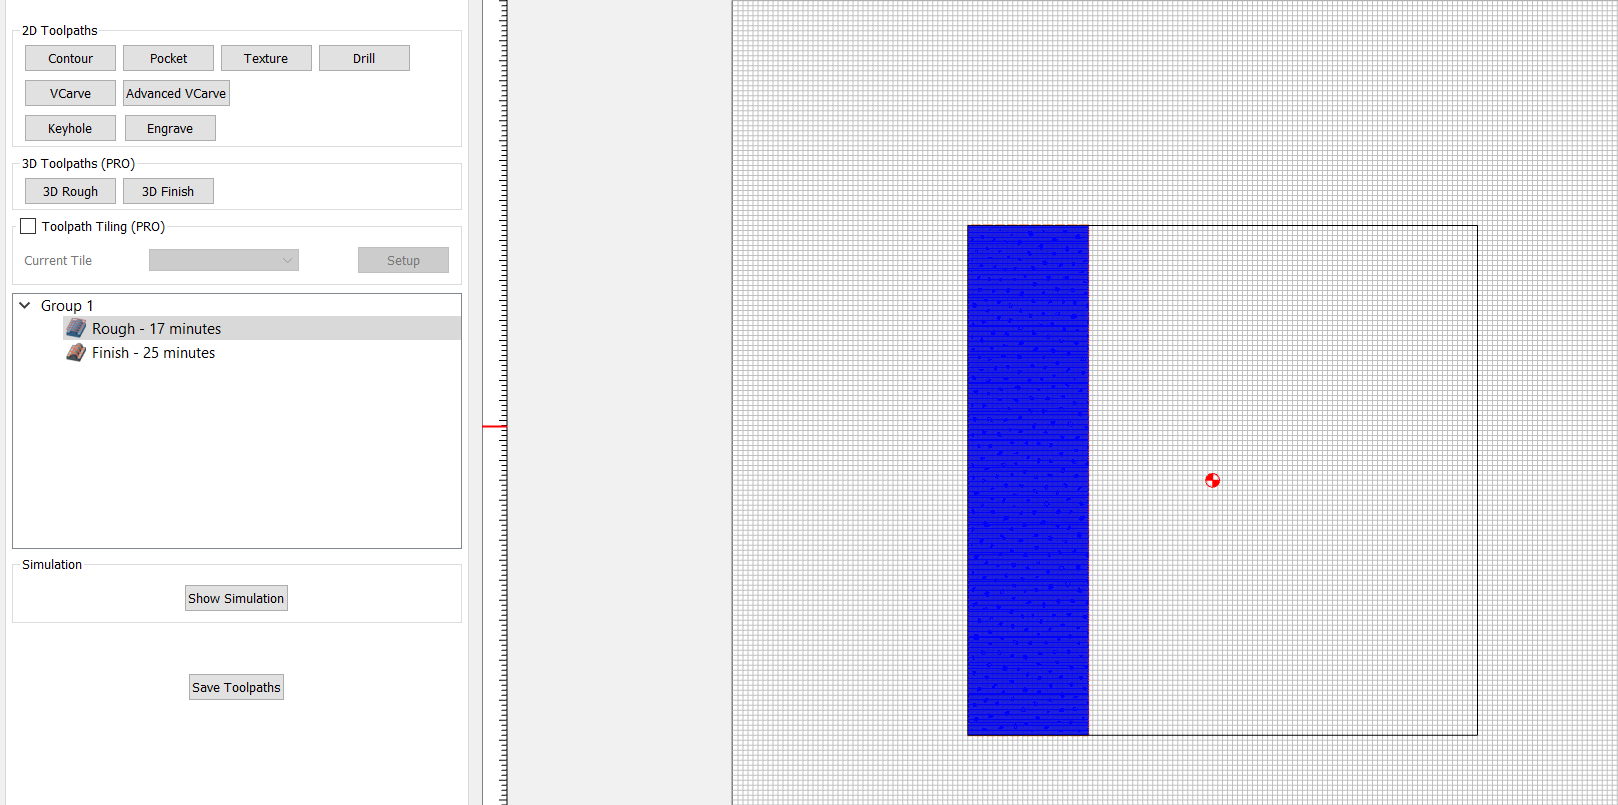
OK…Select just the strip (the bounding geometry) and add a rouging and finish toolpath:
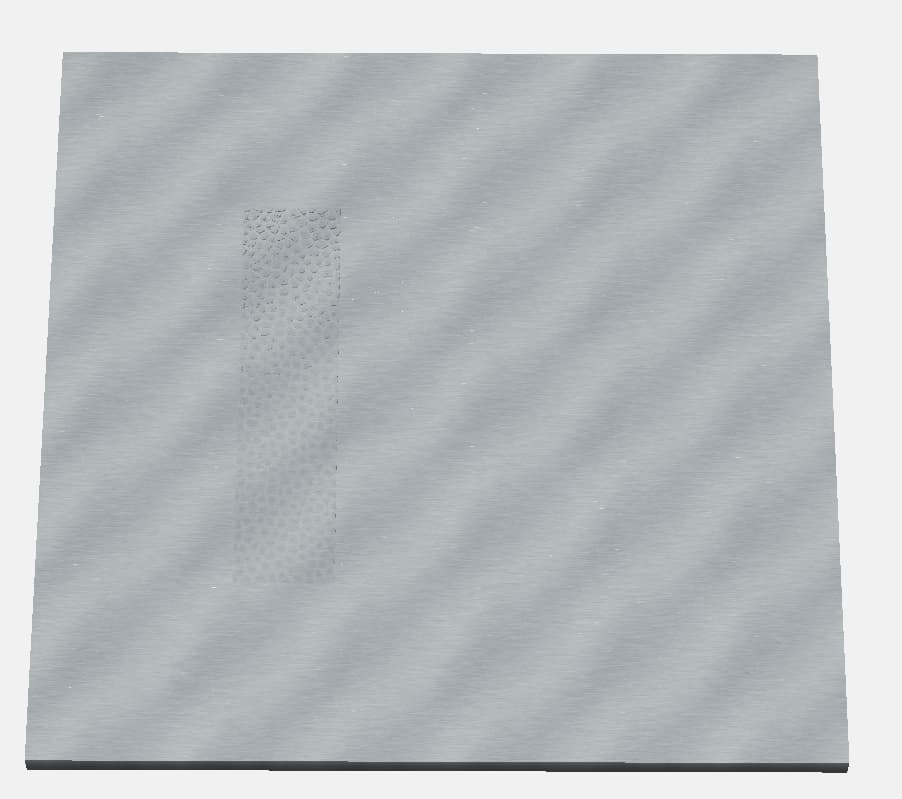
And…show simulation:
Why is the large rectangle showing up? I didn’t select the large rectangle when bounding the toolpaths…so why are they included?
Zman
(MICHAEL ZEMANEK)
April 15, 2024, 11:08pm
2
Wouldn’t that be the size of your stock?
1 Like
WillAdams
(William Adams (Carbide 3D))
April 16, 2024, 12:21am
3
Upload your .c2d file?
I usually offset around a 3D part by endmill diameter plus 10%, see:
as requested on support…
Given a file in Carbide Create which describes a guitar bridge:
[image]
there are a couple of different ways which this part could be made:
draw up contour geometry and assign toolpaths to appropriate depths (note that this does not require Carbide Create Pro): Spoon Possible without CC Pro?
model the design in a traditional CAD tool, export it as an STL and then import that STL into Carbide Create Pro and then cut that 3D model using Carbide Create Pro: Instru…
system
(system)
Closed
May 16, 2024, 12:22am
4
This topic was automatically closed 30 days after the last reply. New replies are no longer allowed.