As I’ve said before, acrylic is unforving. Think about how you’d hand cut aluminum…you keep that saw going and the aluminum will hold on until you’ve cut through. Acrylic is much different, it fractures. You score the acrylic and then it’ll snap off with a little force. In my mind, that’s what happens on a small scale each time the cutter digs in…it cuts a bit, then the acrylic snaps. Most of us have seen that slomo video of how metal deforms when being cut with an endmill. I want to see what happens with acrylic. @Julien, where can I contribute to the high speed, high definition macro video camera fund?
6 Likes
I’m afraid I’m still stuck at the “find a suitable camera” step, regardless of funding.
I stumbled upon this nice trick to capture frames at 660fps using a raspberry pi camera (it does not get cheaper than this), but resolution is 640x64, I doubt we would see 0.001" thick chips forming ![]()
If someone knows of a camera that
- can grab high-res frames at 500+ fps
- has a reasonably standard interface (USB3.0 maybe?)
- has macro focusing capability
I would sure like to hear about it, just to know what the pros use. But then I would probably manage to drive an endmill into it ![]()
EDIT, yeah, more like 5000 fps.
4 Likes
Last time I looked in that range it was around $3,000.00 to get started.
1 Like
Sadly, I haven’t any experience with acrylic myself. However, I asked around, and a common opinion is that it helps to use extremely sharp (very large rake angle) single-flute tools with large chip gullets, preferably 1-flutes. There are vendors that sell such tools especially for acrylic (e.g. Hufschmied 110FPE series - I’m sure there are others), but they tend to be not cheap, around €35 apiece.
110fpe.pdf (307.1 KB)
That same vendor has recommendations on how to achieve clear edges: with the 8 mm 1-flute tool, run a finishing pass at 24000 rpm and 3000 mm/min (120 ipm) feed with ae = 0.25 mm and ap = t + 0.1 mm, that is, cutting slightly beyond the thickness of the stock, in a single depth pass.
2 Likes
I’m excited. Is that 1” or 1.5” ?
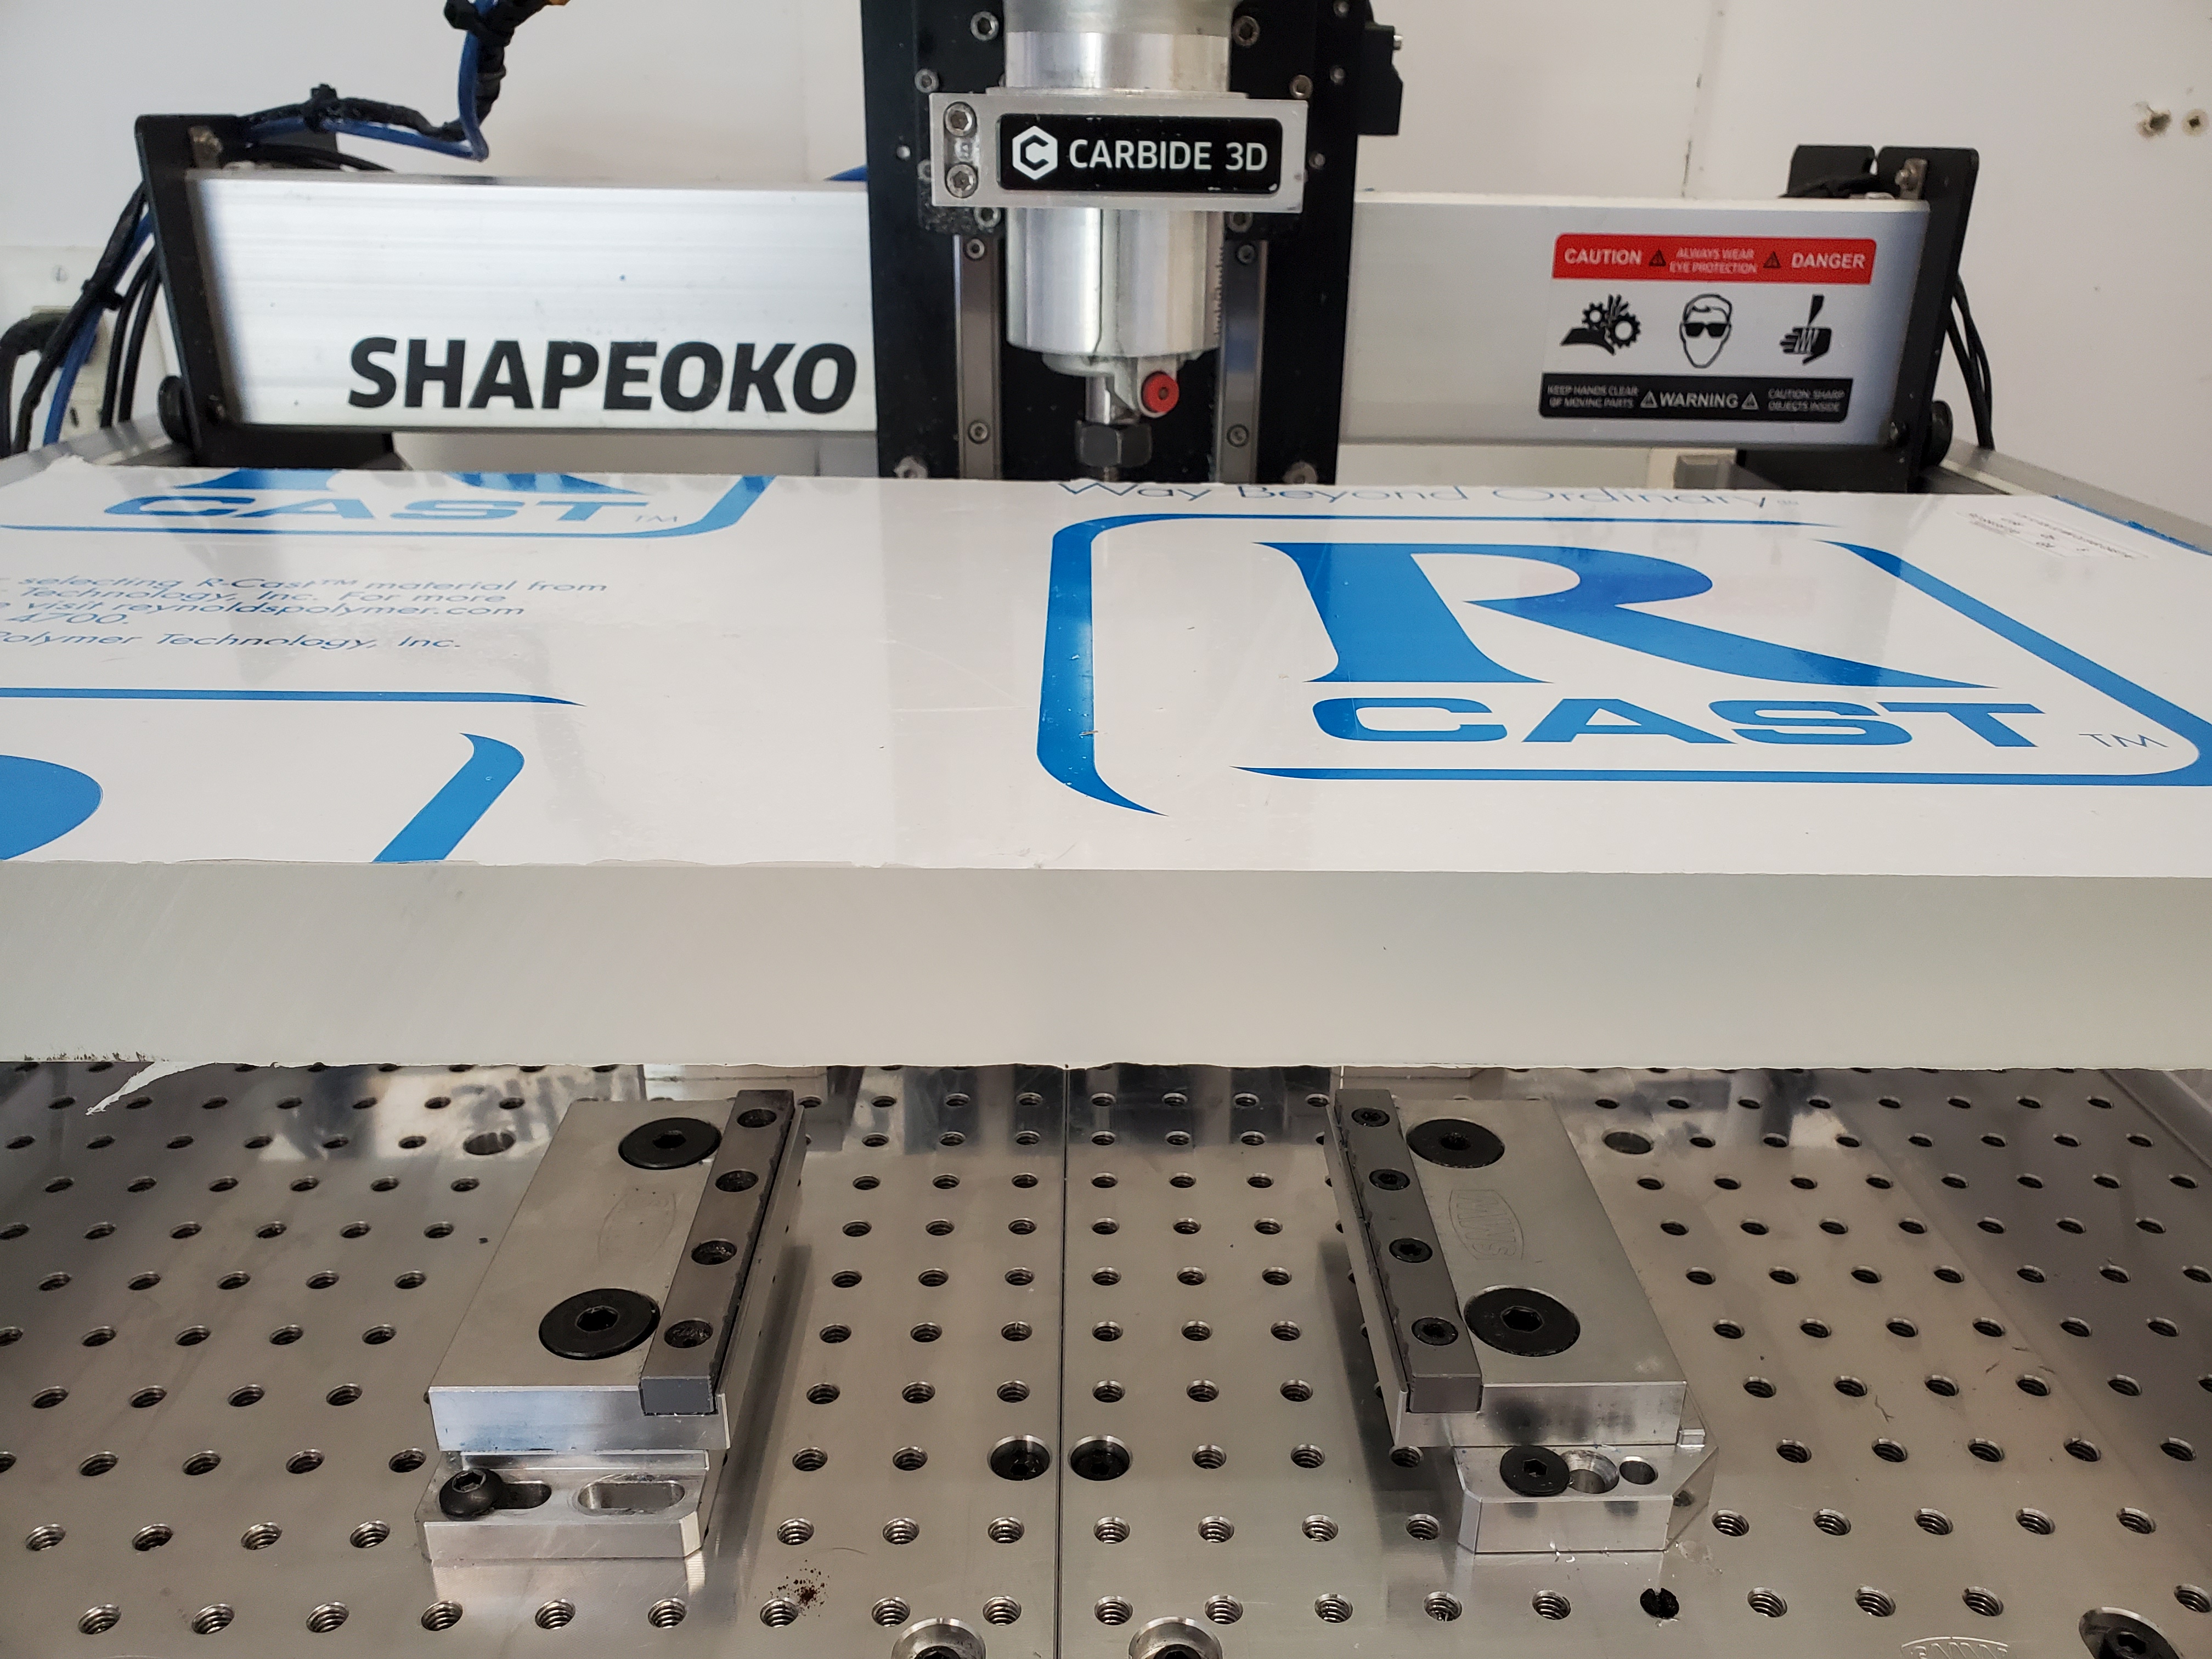
Its 1.250" , a massive 12x24 chunk. I was requested to make a clear warerpump housing to test impeller efficiency and cavitation. Pretty cool opportunity.
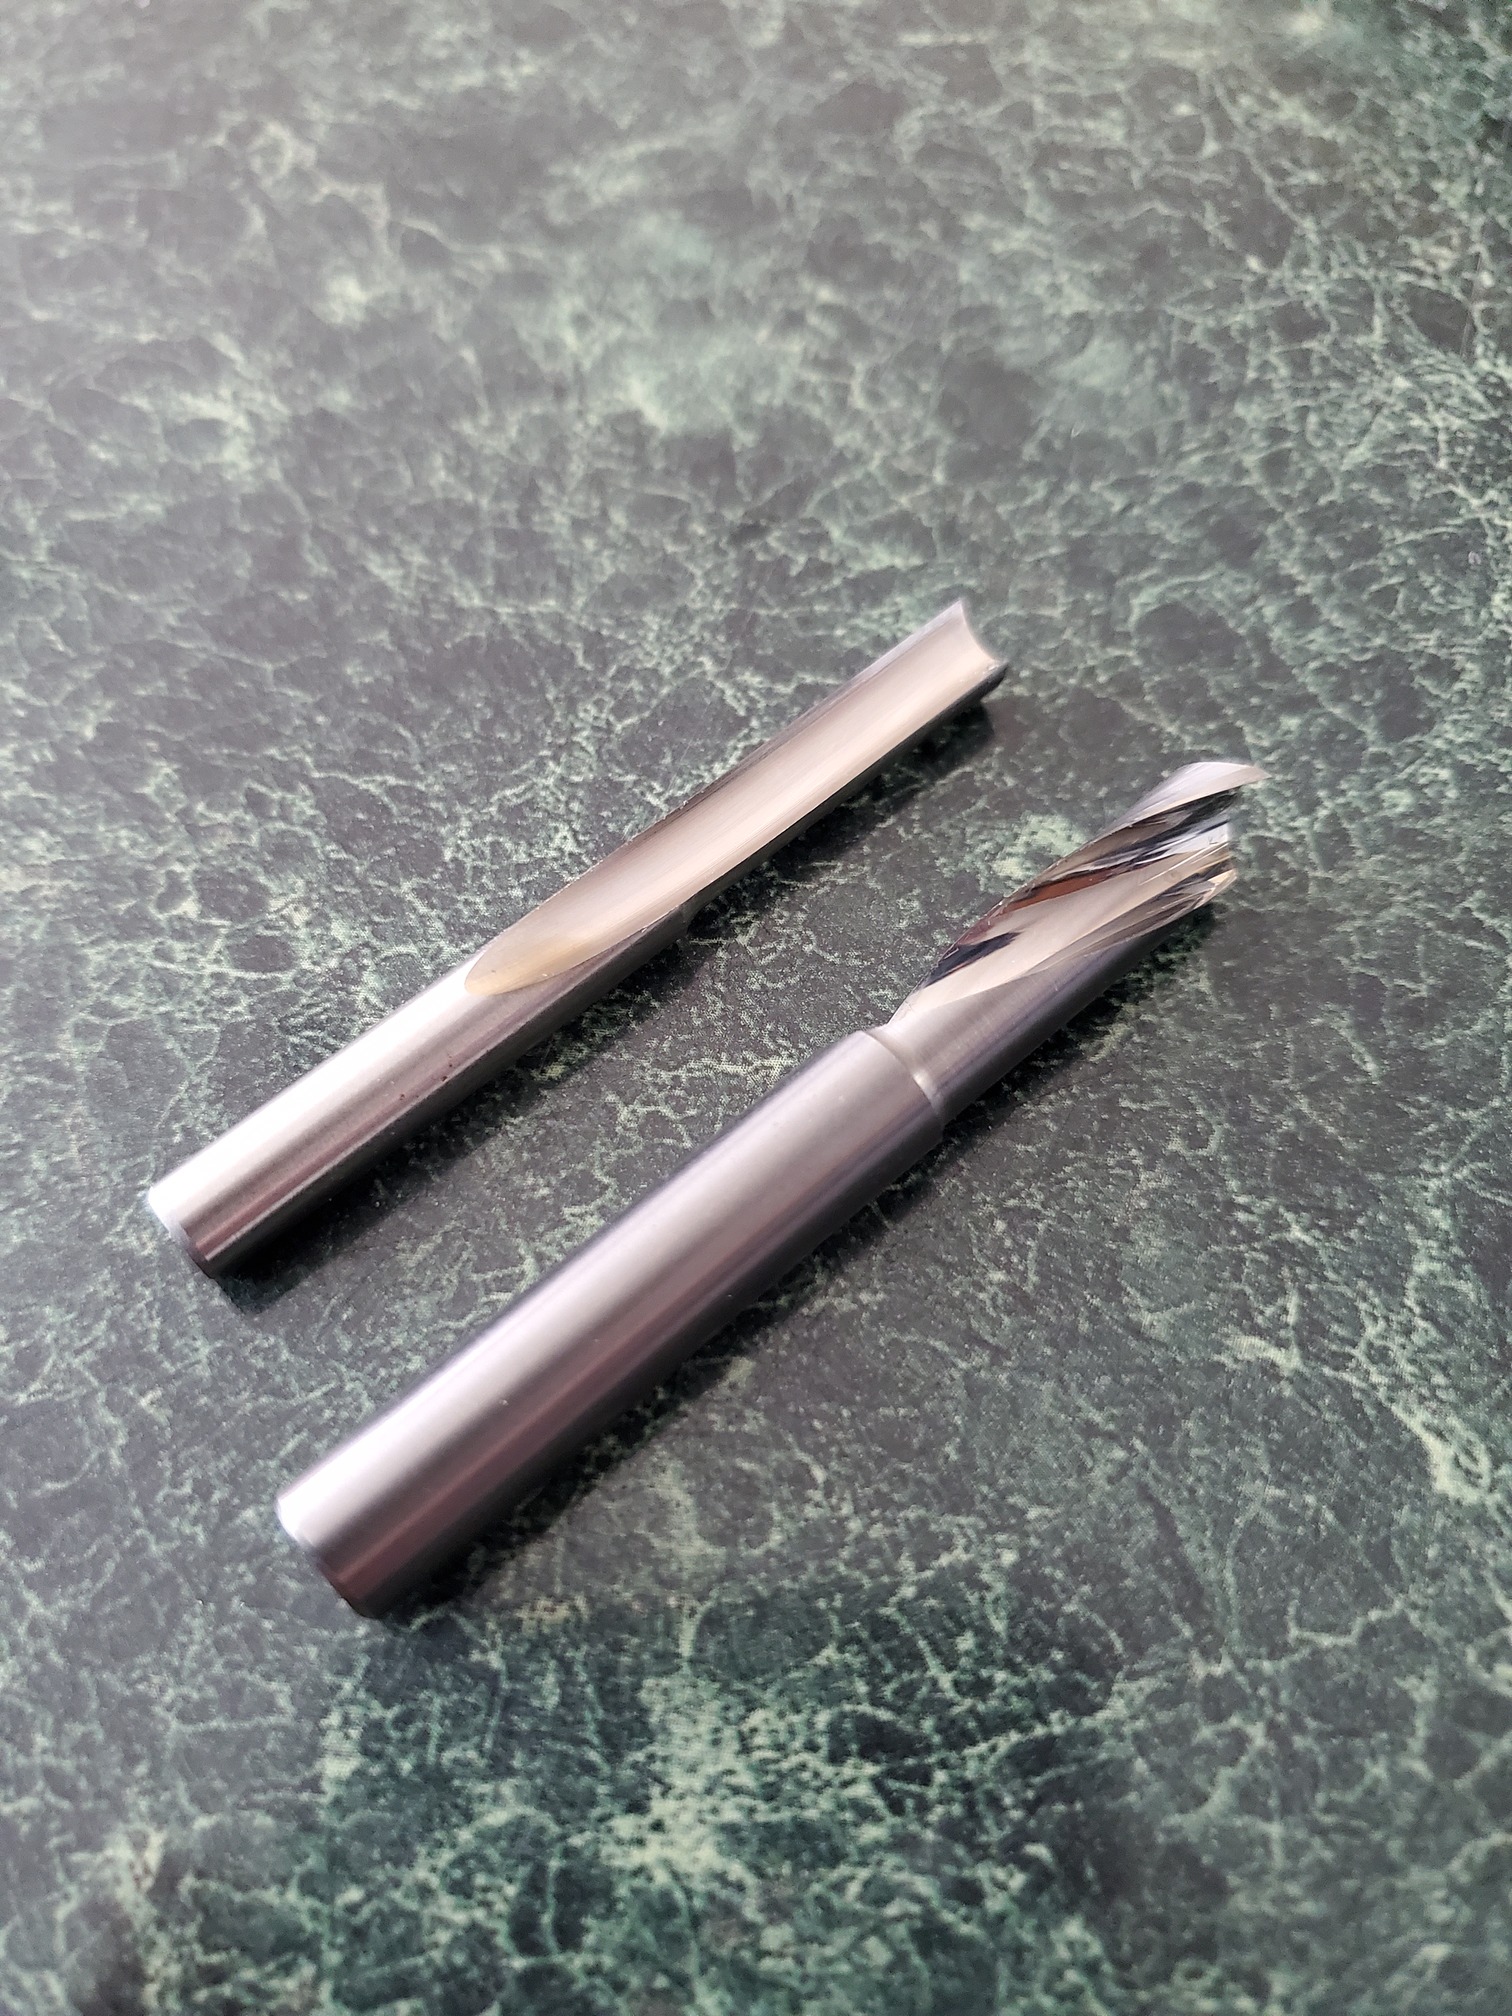
Also I have some really nice tooling on hand, this 8mm Datron SF 4-1 and Amana HSS SF Straight flute are going to get a workout.
11 Likes
Small update, I tried @Lowbrowroyalty ‘s method of .04 DOC and WOC removing .004 and the results weren’t appreciably better.
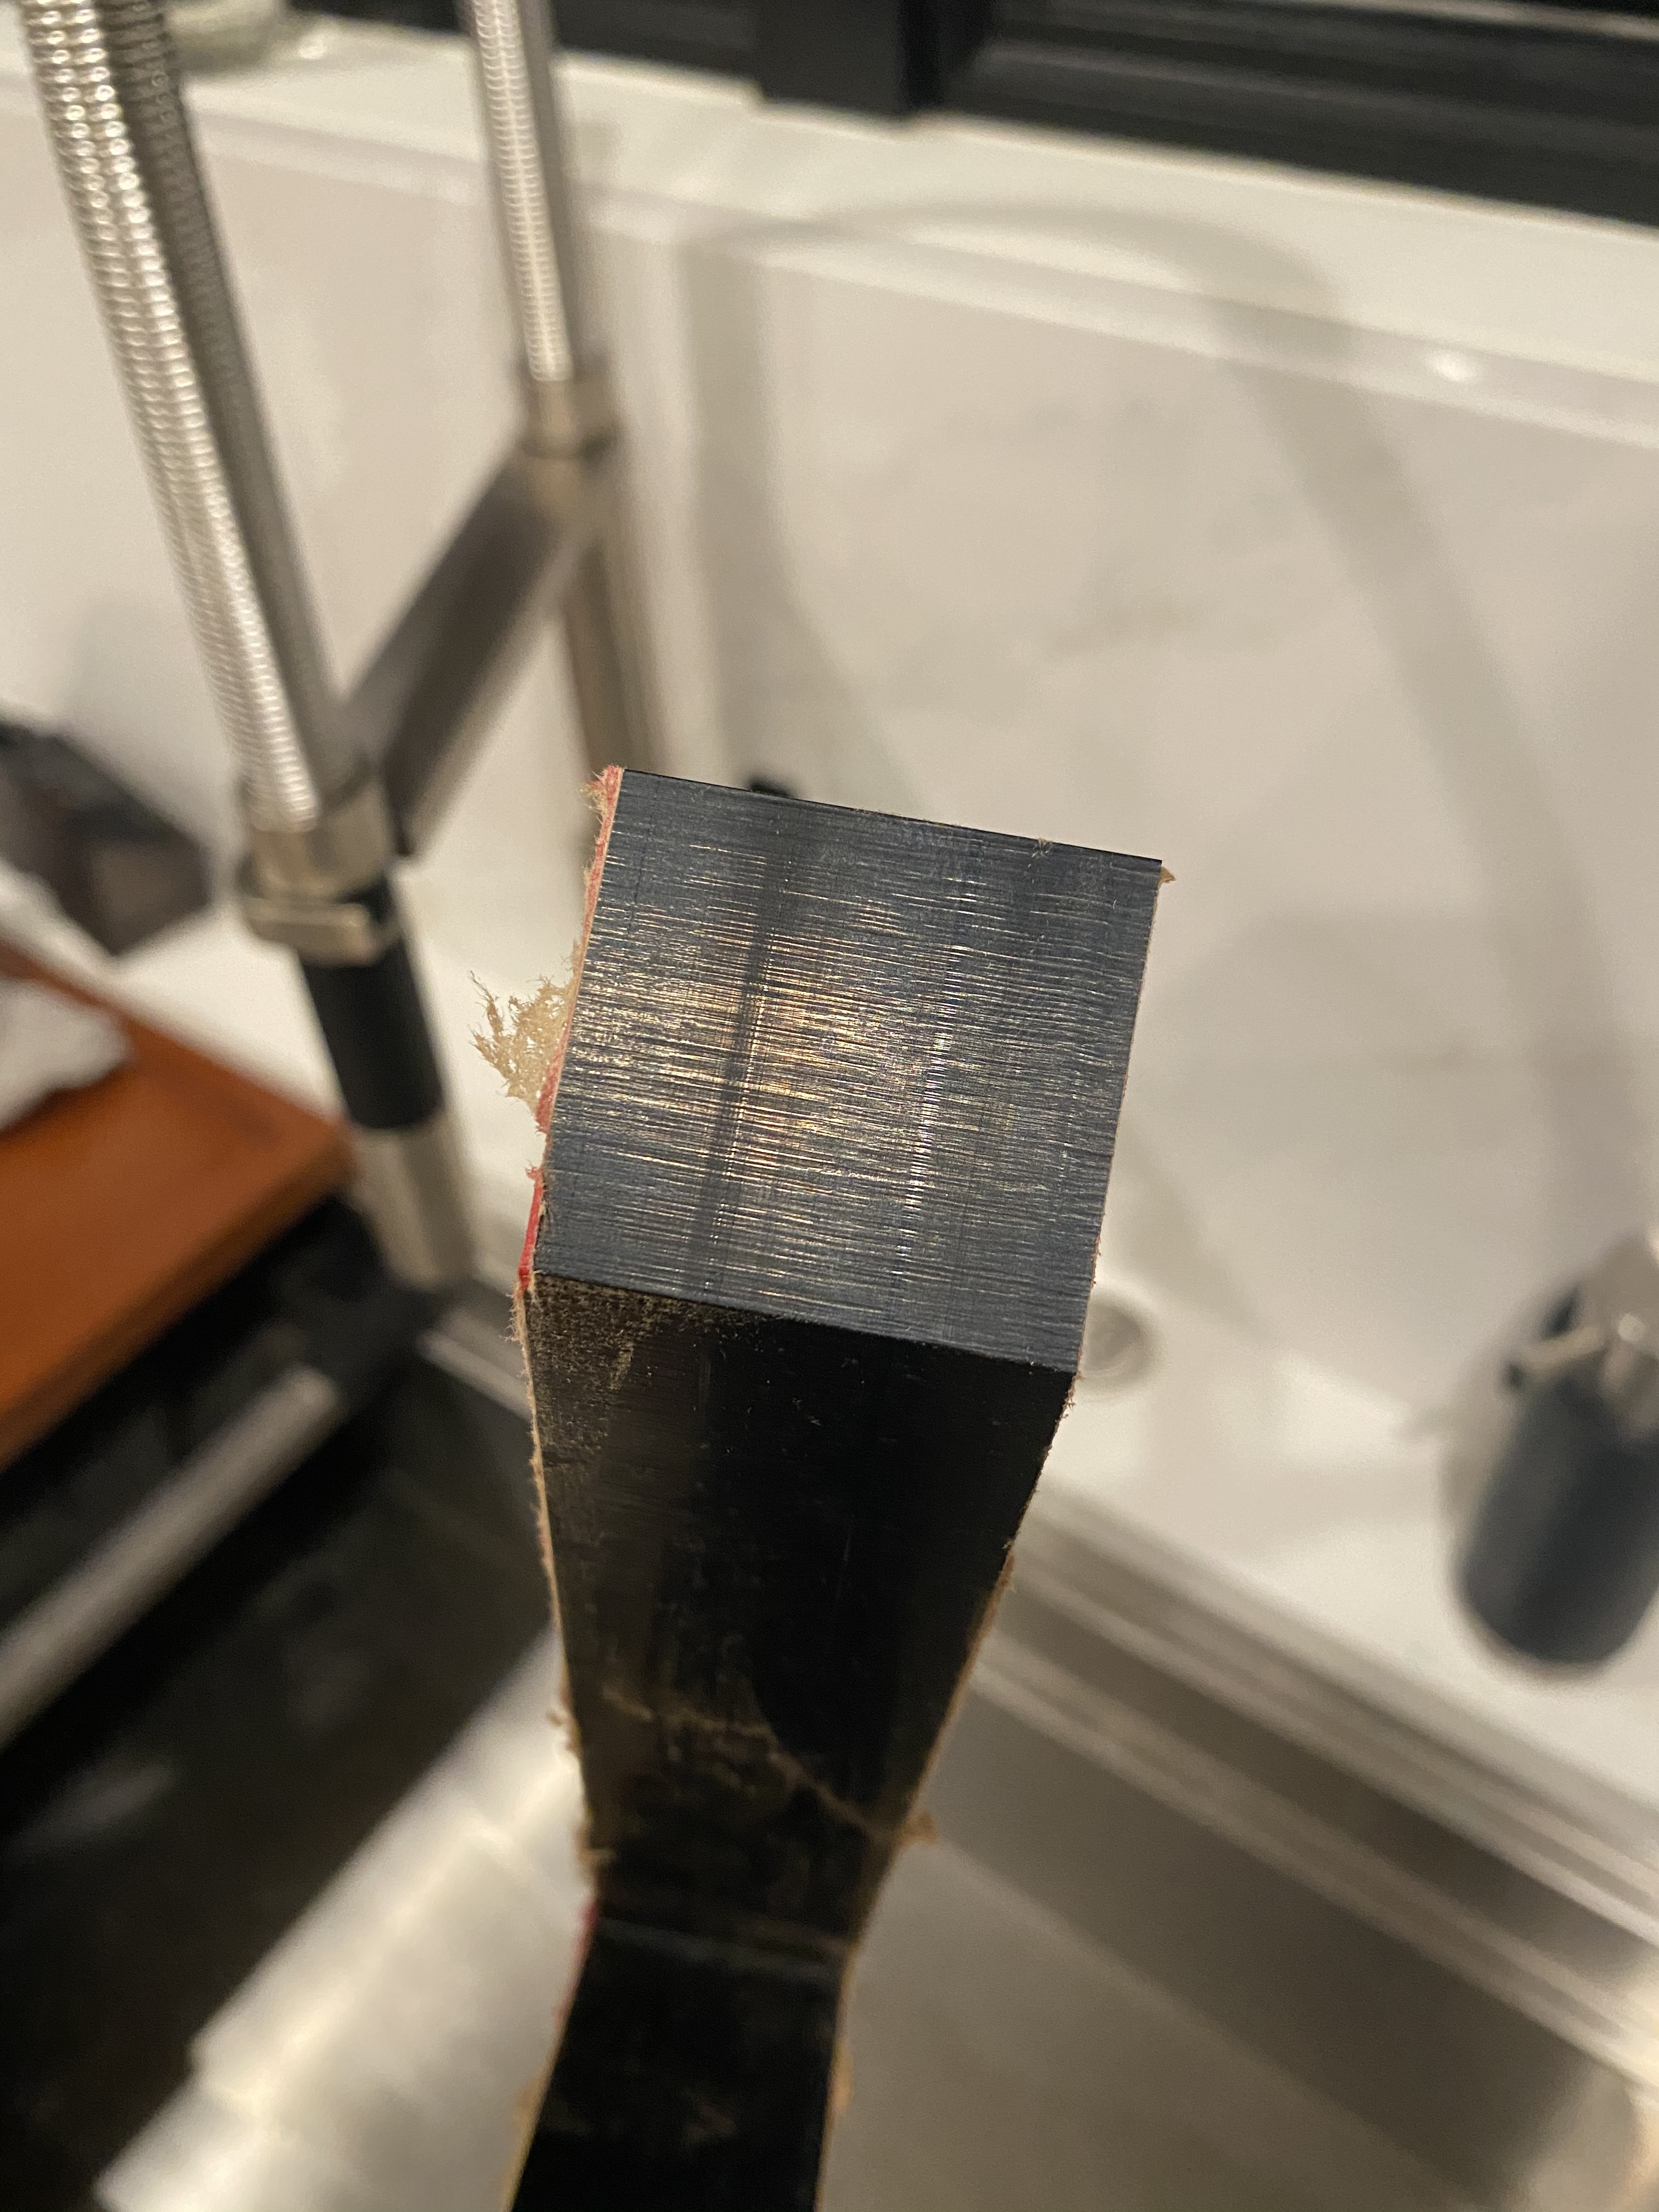

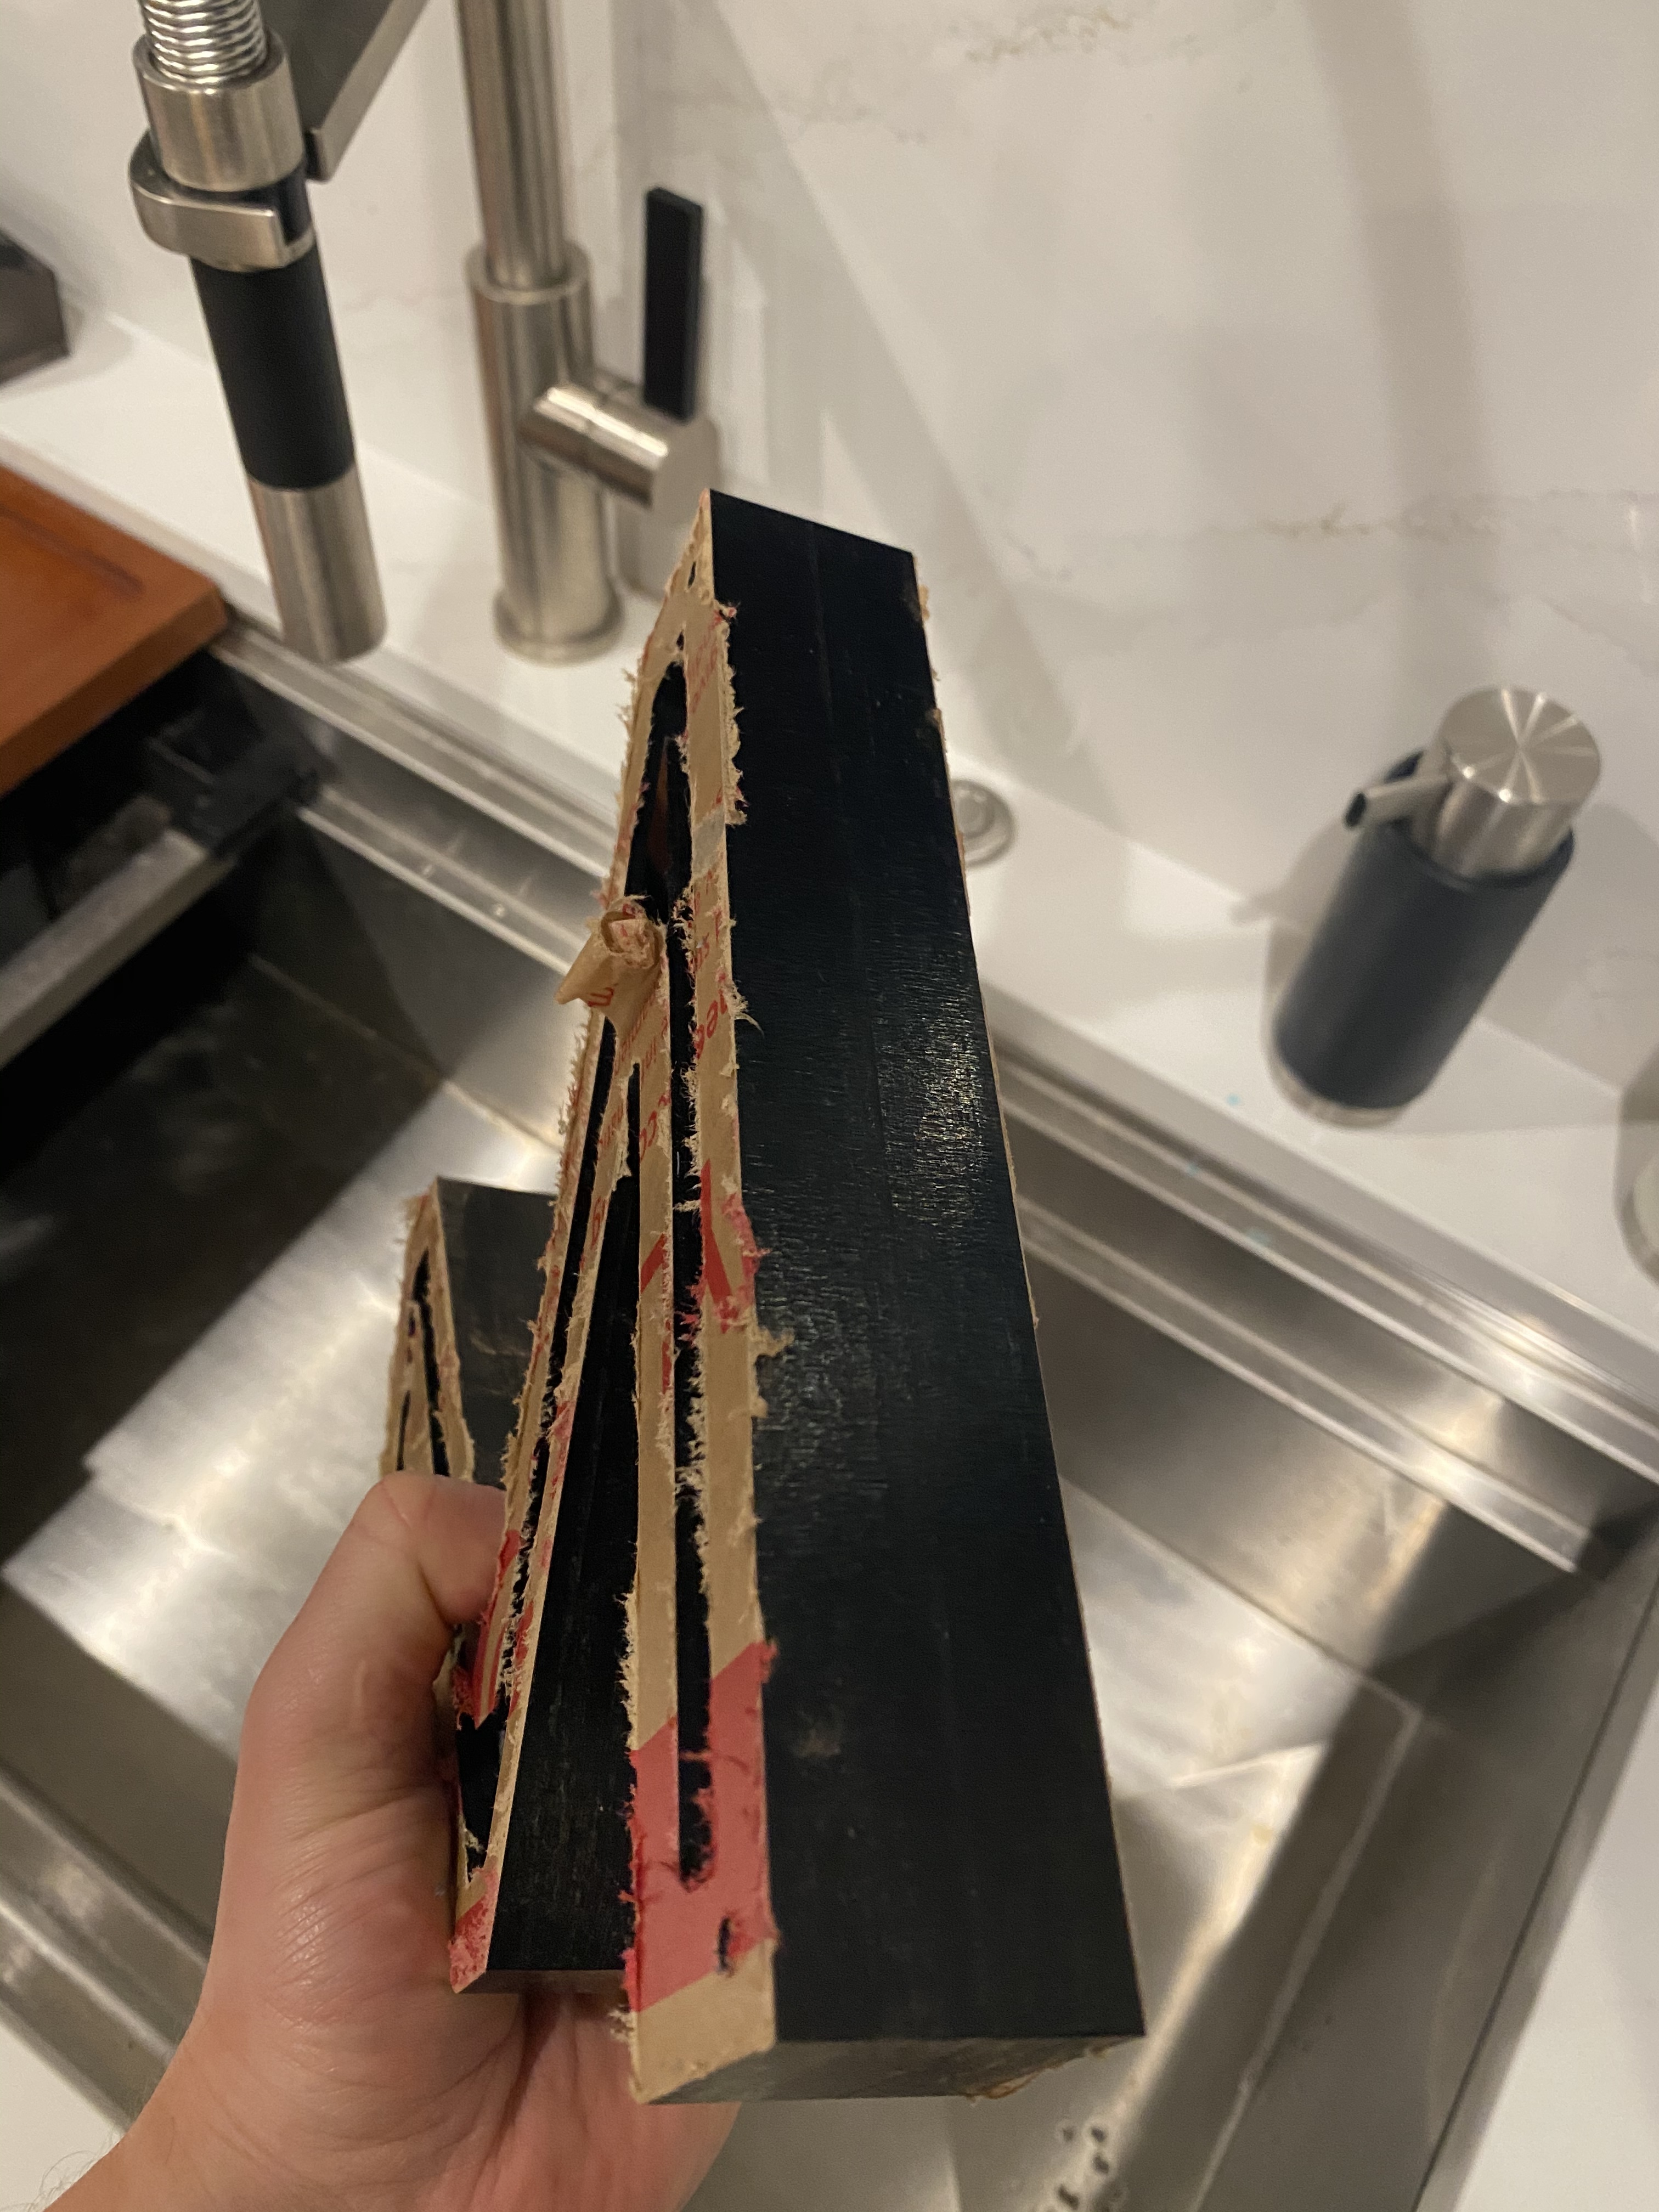
Here is what it looked like after roughing on an outside edge. I’m beginning to thing black is less forgiving than clear.
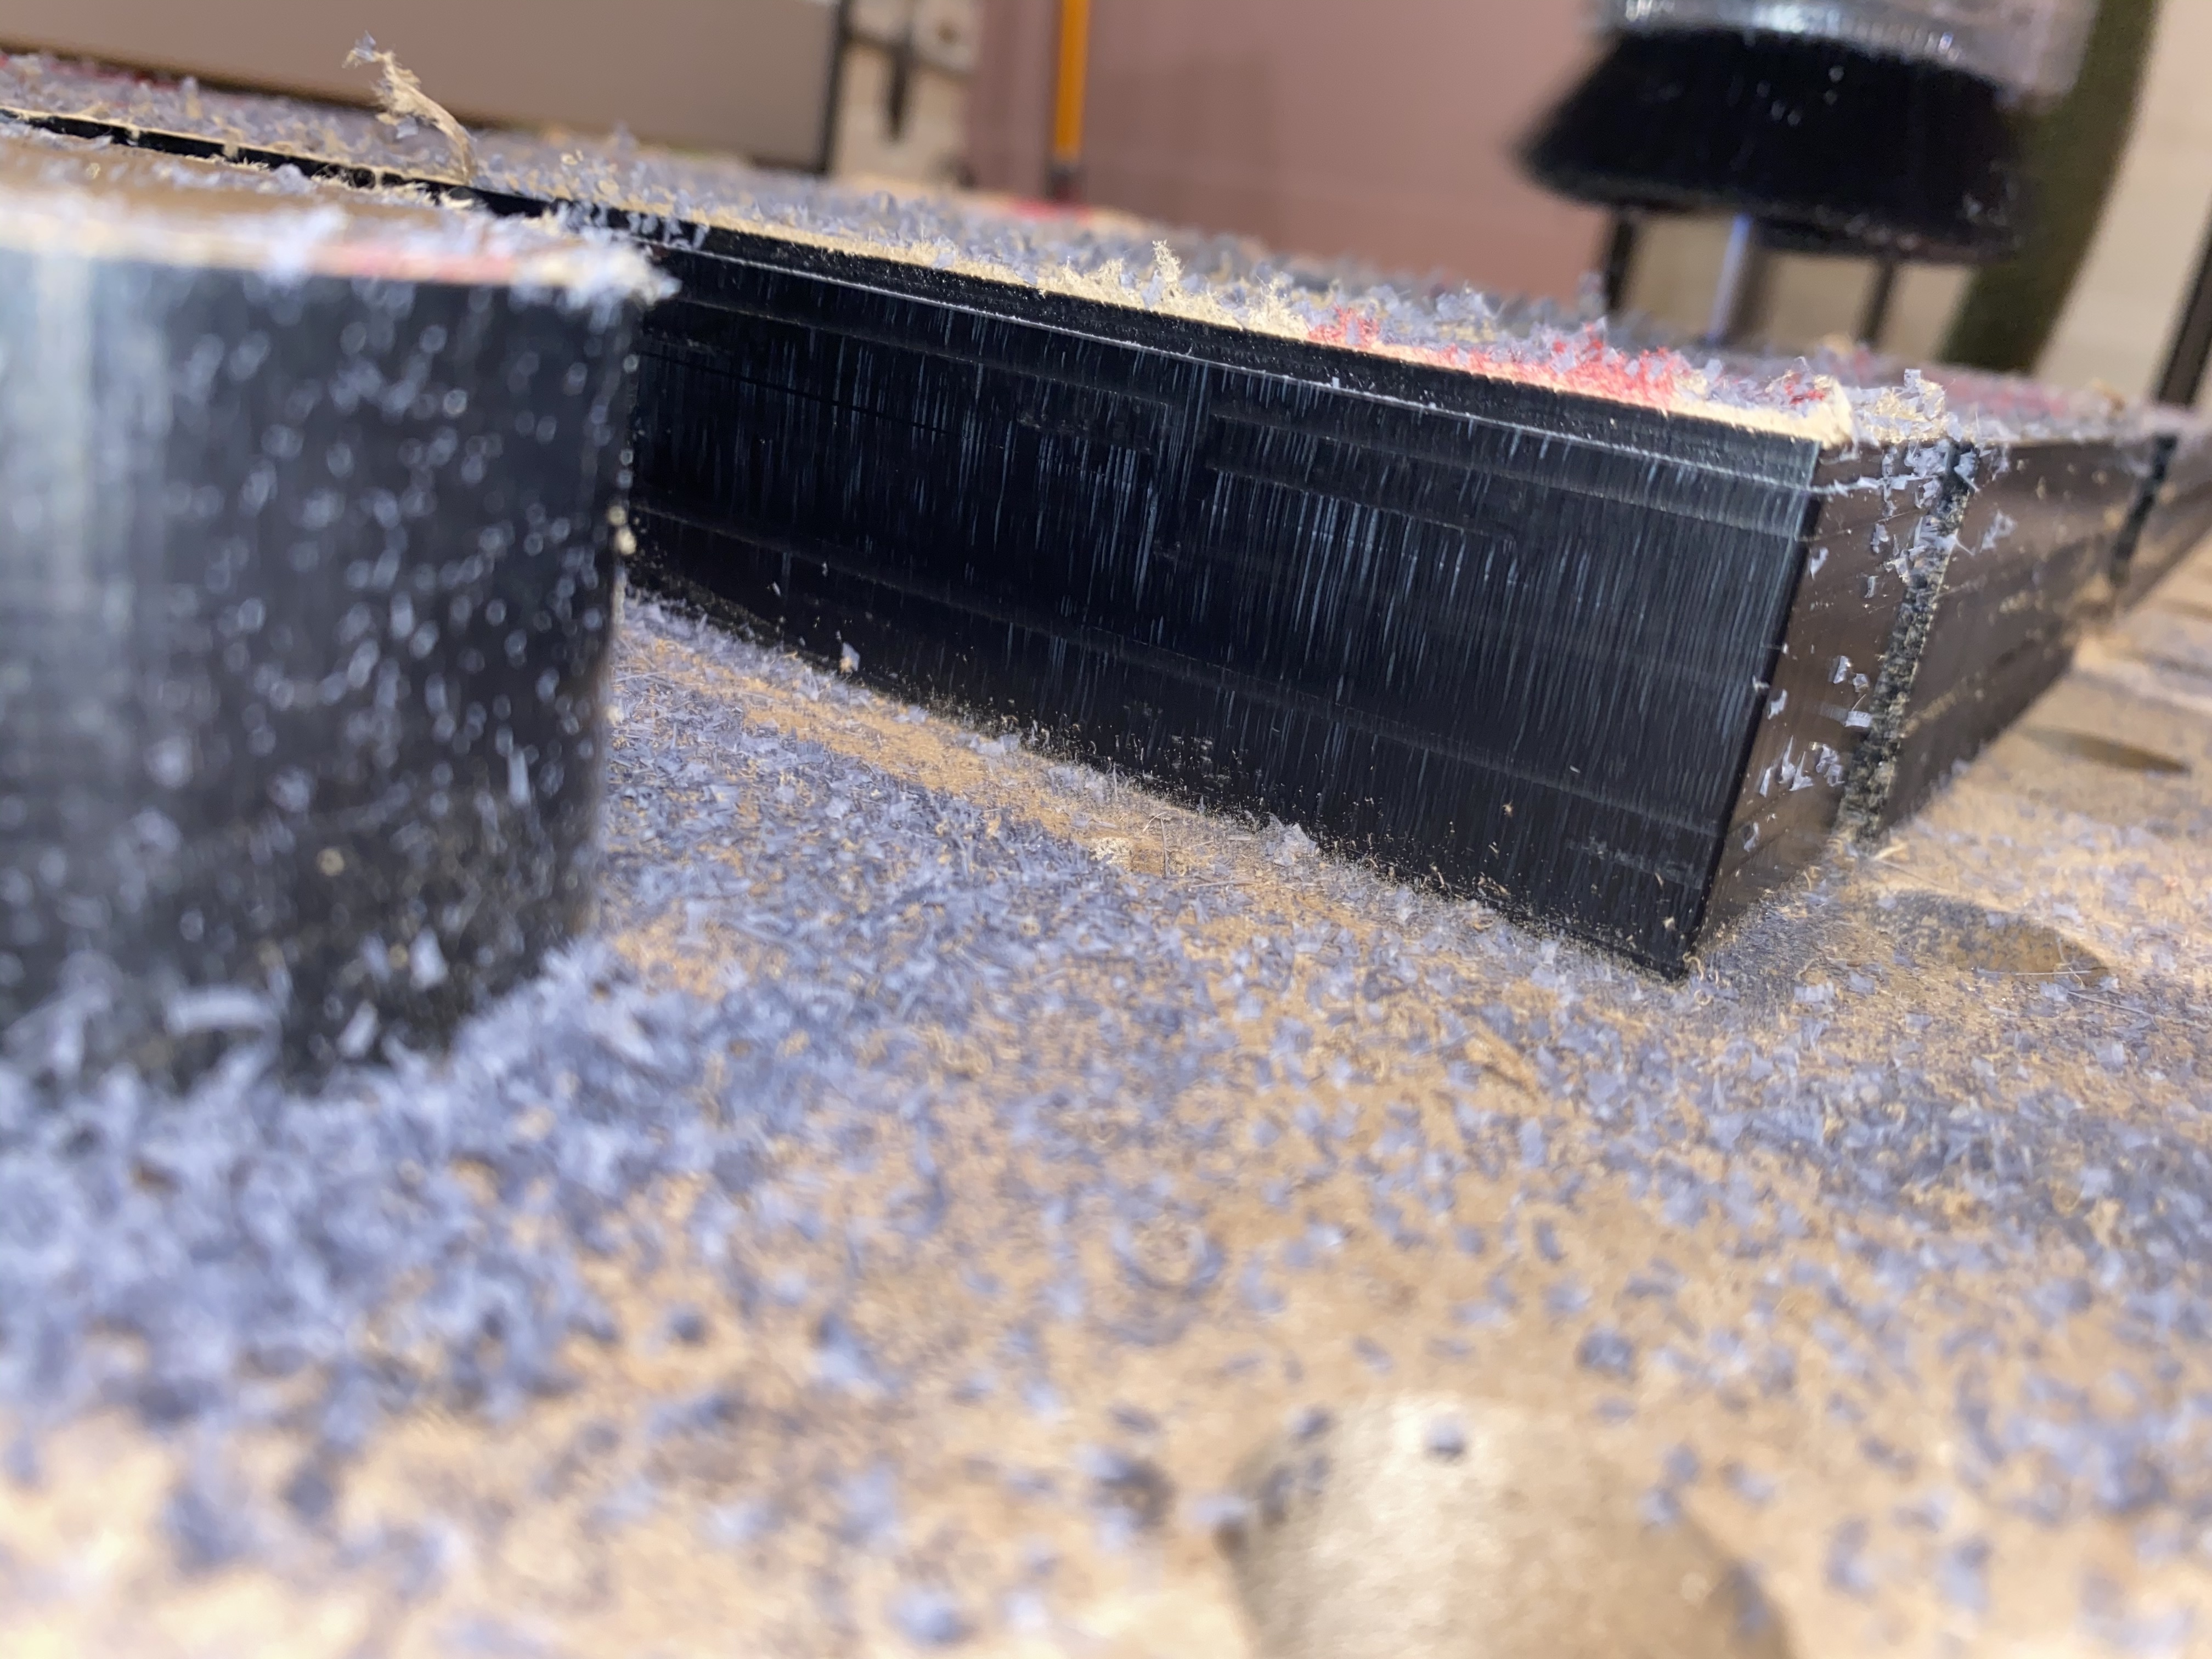
3 Likes
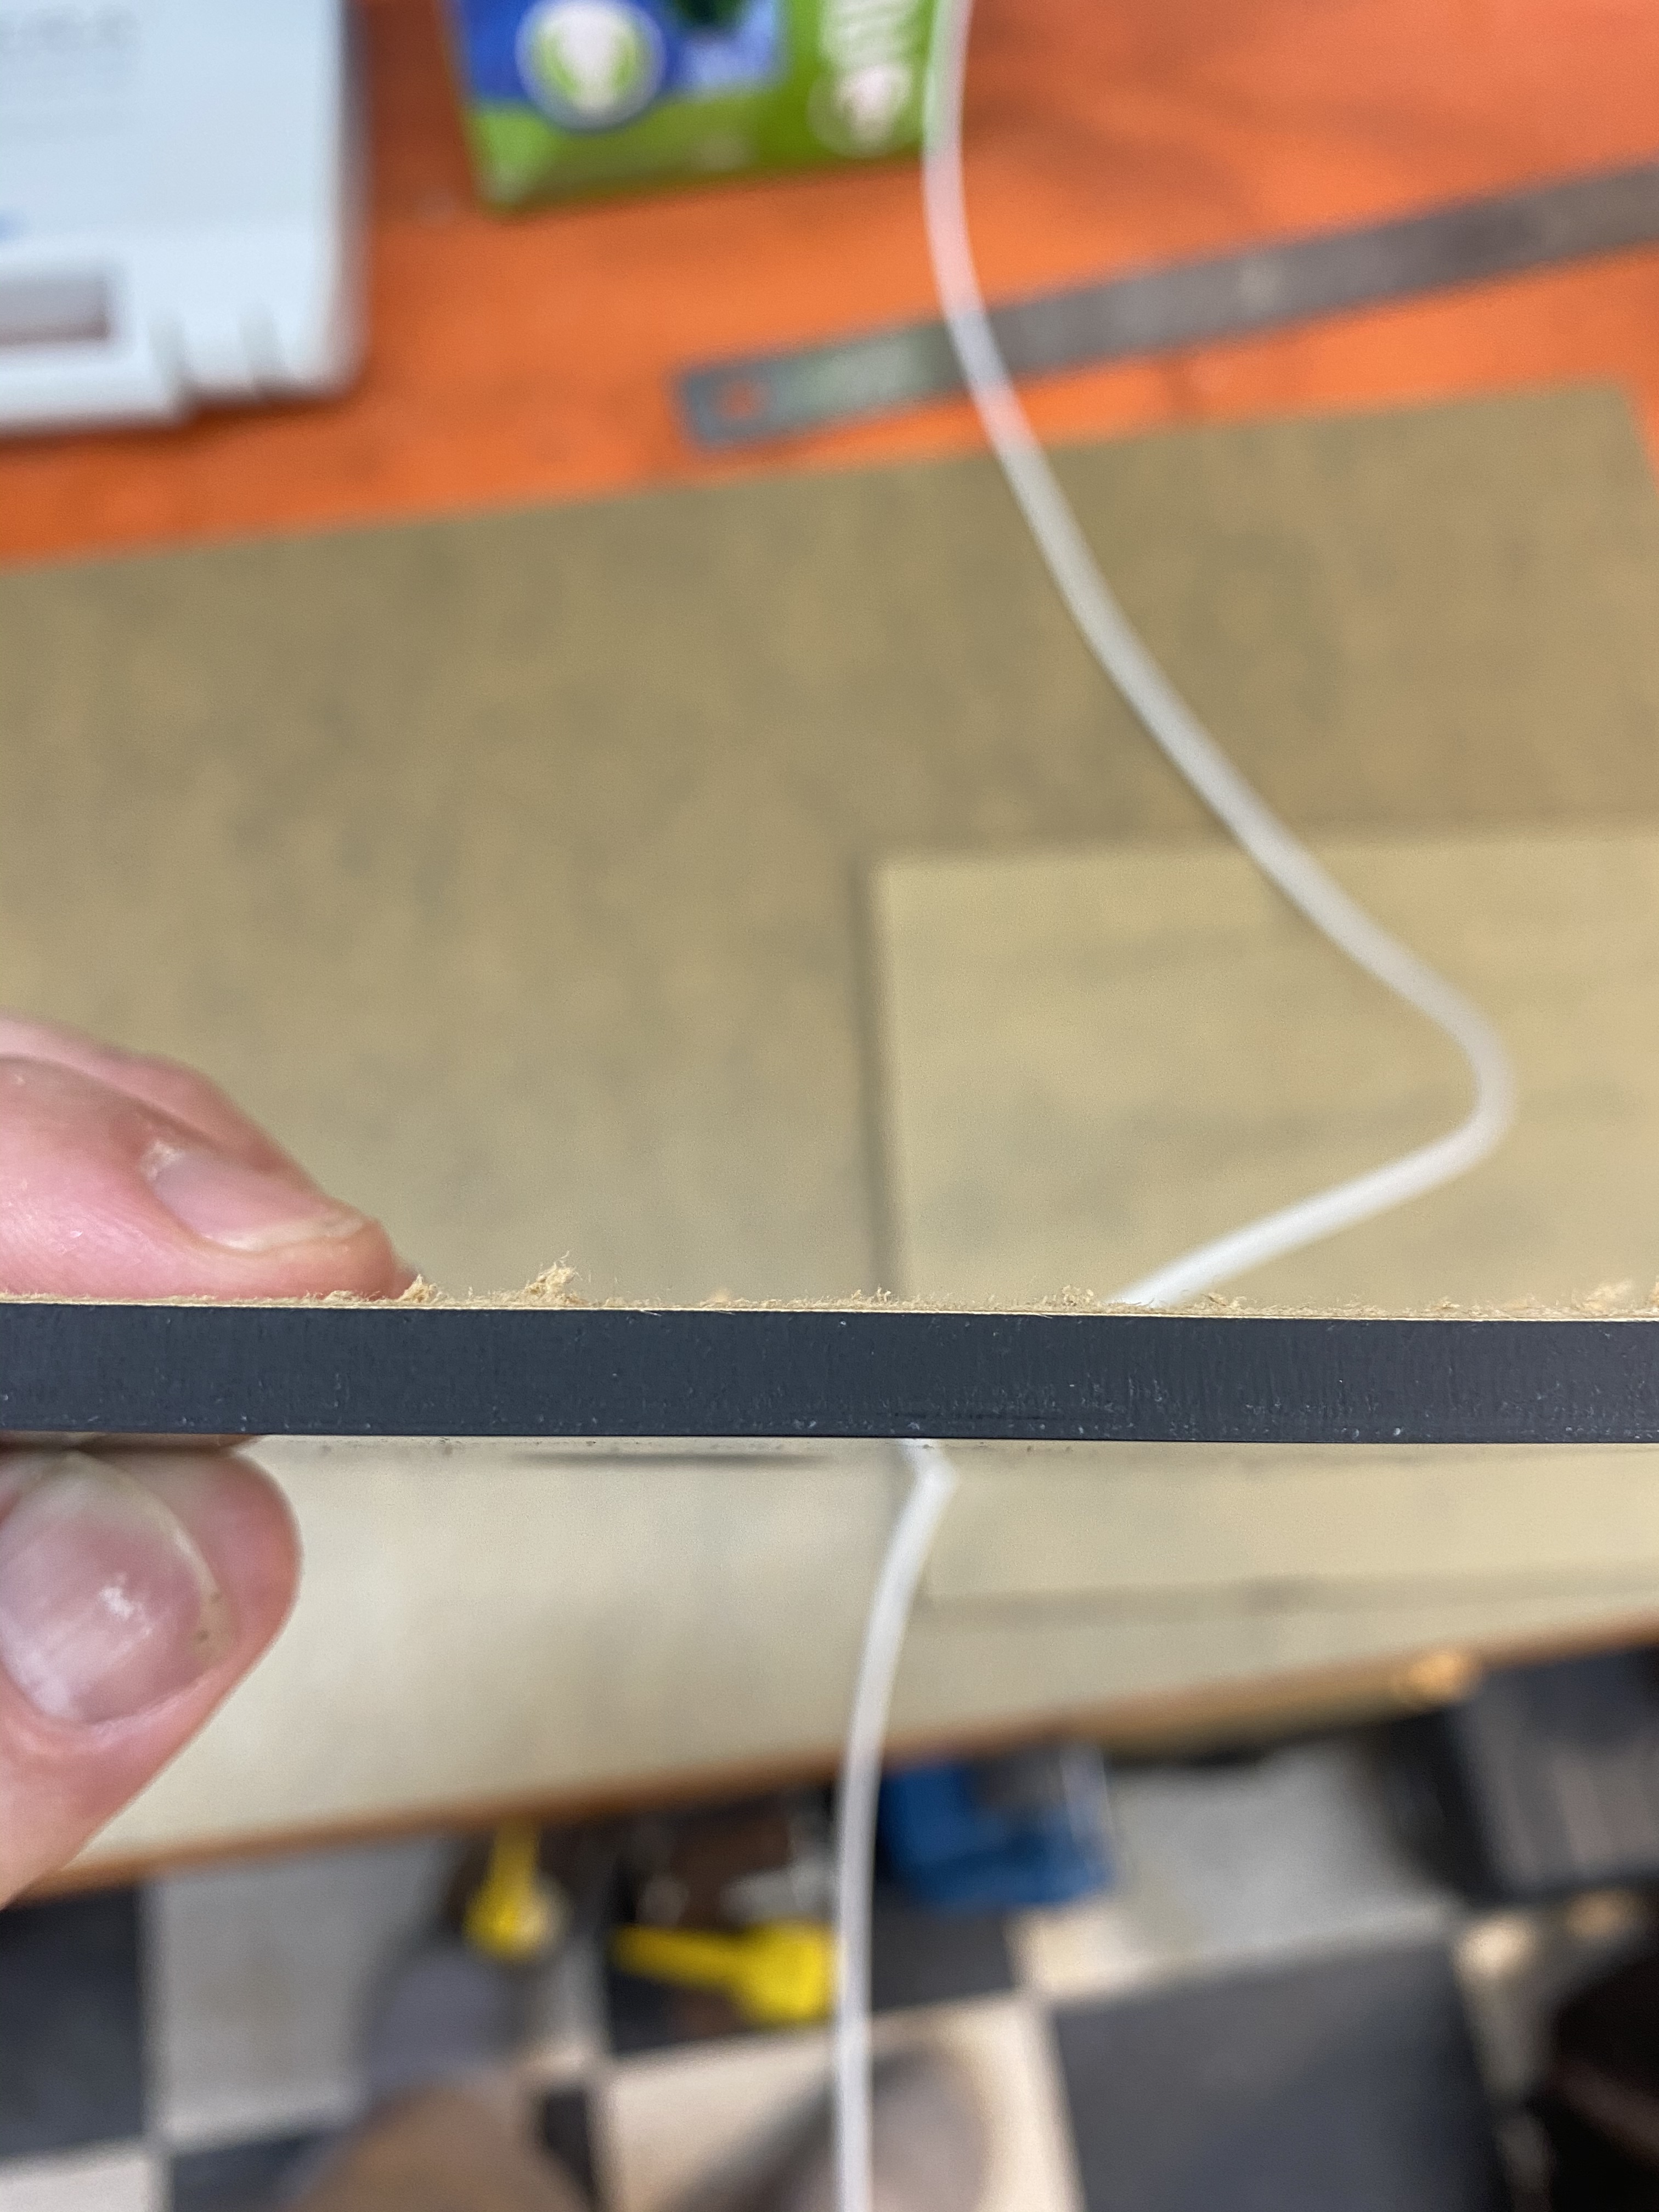
Not exactly a great example, being much thinner material. But this is typically what I pull off of my machine. Good enough to start polishing at 320 dry.
2 Likes
I imagine that is some $$ material. My 4x8 acrylic sheet costs have gone through the roof.
It’s 3 layers of .5" fused together. So not bad $290 for the 4x8 sheet of .5".
On the image… it’s not crazy dissimilar… I think i might be catching the light or accomplishing the “mirroring” that the bit advertises and it just looks a little more juxtaposed then yours (like diamonds on black velvet).
I still haven’t be able to get anything close to what @Julien got in clear.
Nope DOC for both roughing and finishing was .04". Feed per tooth was .004 on both Roughing and Finishing as well.
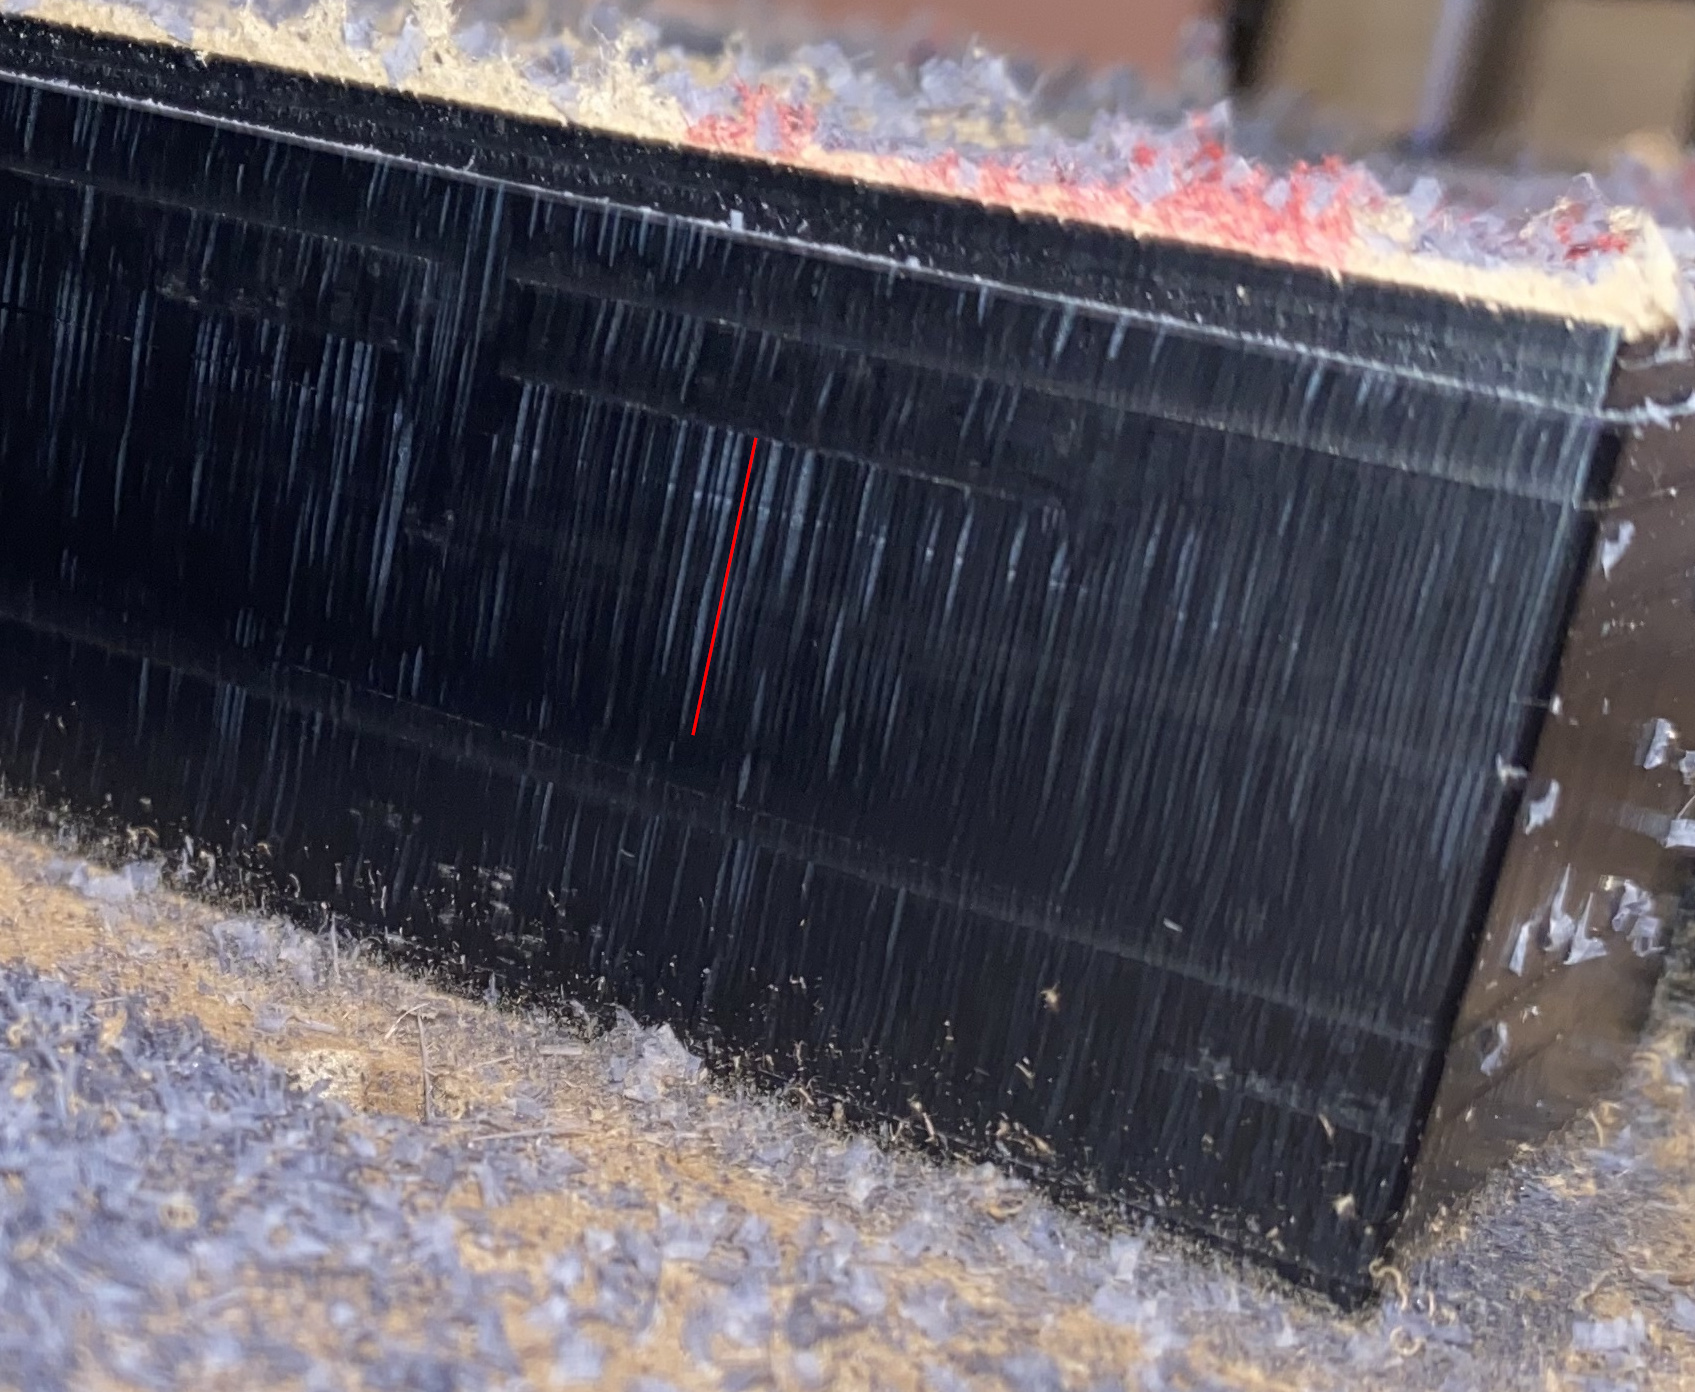
If I think I understand what Julien was spotting in his post… this looks like the shaft of the endmill is causing the marks since the marks are so long.
Are there endmills where the end is bigger than the shaft? Like the surfacing bits but cutting ones? They might be useful here.
1 Like
I was going to as if @Vince.Fab planned to tapper his endmill shafts for his 1.25" piece as it looks like the CL on them is ~.75"
So it’s still likely the bit oscillating ever so slightly in and out of the wall ?
I was trying to make sense of the horizontal lines, particularly the line where my red line top extremity is, but it does not seem to quite match the limit between two of the glued 0.5" sheets… 
Have you tried a larger diameter endmill ? (a 8mm one should be possible on the Makita/C3D router, now finding a long LOC 8mm endmill in the US might turn to be a challenge). Can’t remember which post mentioned that larger endmills were better for wall finish (I never tested that statement though).
three. .5" x 3 is 1.5"
Not yet, I was debating between that and the tapered shaft and a shorter CL.
The acrylic endmill mills rub to some degree by design. This is how they attempt to get the polish on the cut.
I’ve worked with my tool supplier to come up with a better strategy, but nothing we worked through produced anything much better, and generally came at too much of a time penalty. Talking with them, they presume the typical machine capable of running much faster and deeper than my Shapeoko can seem to manage, so this is probably a factor. The videos they provide are running full depth slots at fast feeds and over 20k rpm on the spindle.
End of the day, I have to sand everything anyway. The finish doesn’t have a texture or anything I can feel, but does require that I start down around 320 to keep my use of paper efficient.
You could try running conventional milling on your finishing pass. I have noted a better finish on the conventional side of my profile operations for cutouts. I included these tests in my honeycomb panels, with positive results. But rarely use them for my production work. I’ll have to grab one, and look up the files.
1 Like
I was planning on using Fusion to pull away from the wall after flute length then come in with this bad boy. Its a 1.250 loc 3/8 but 5 flute, good thing the modkita can run lower rpm.
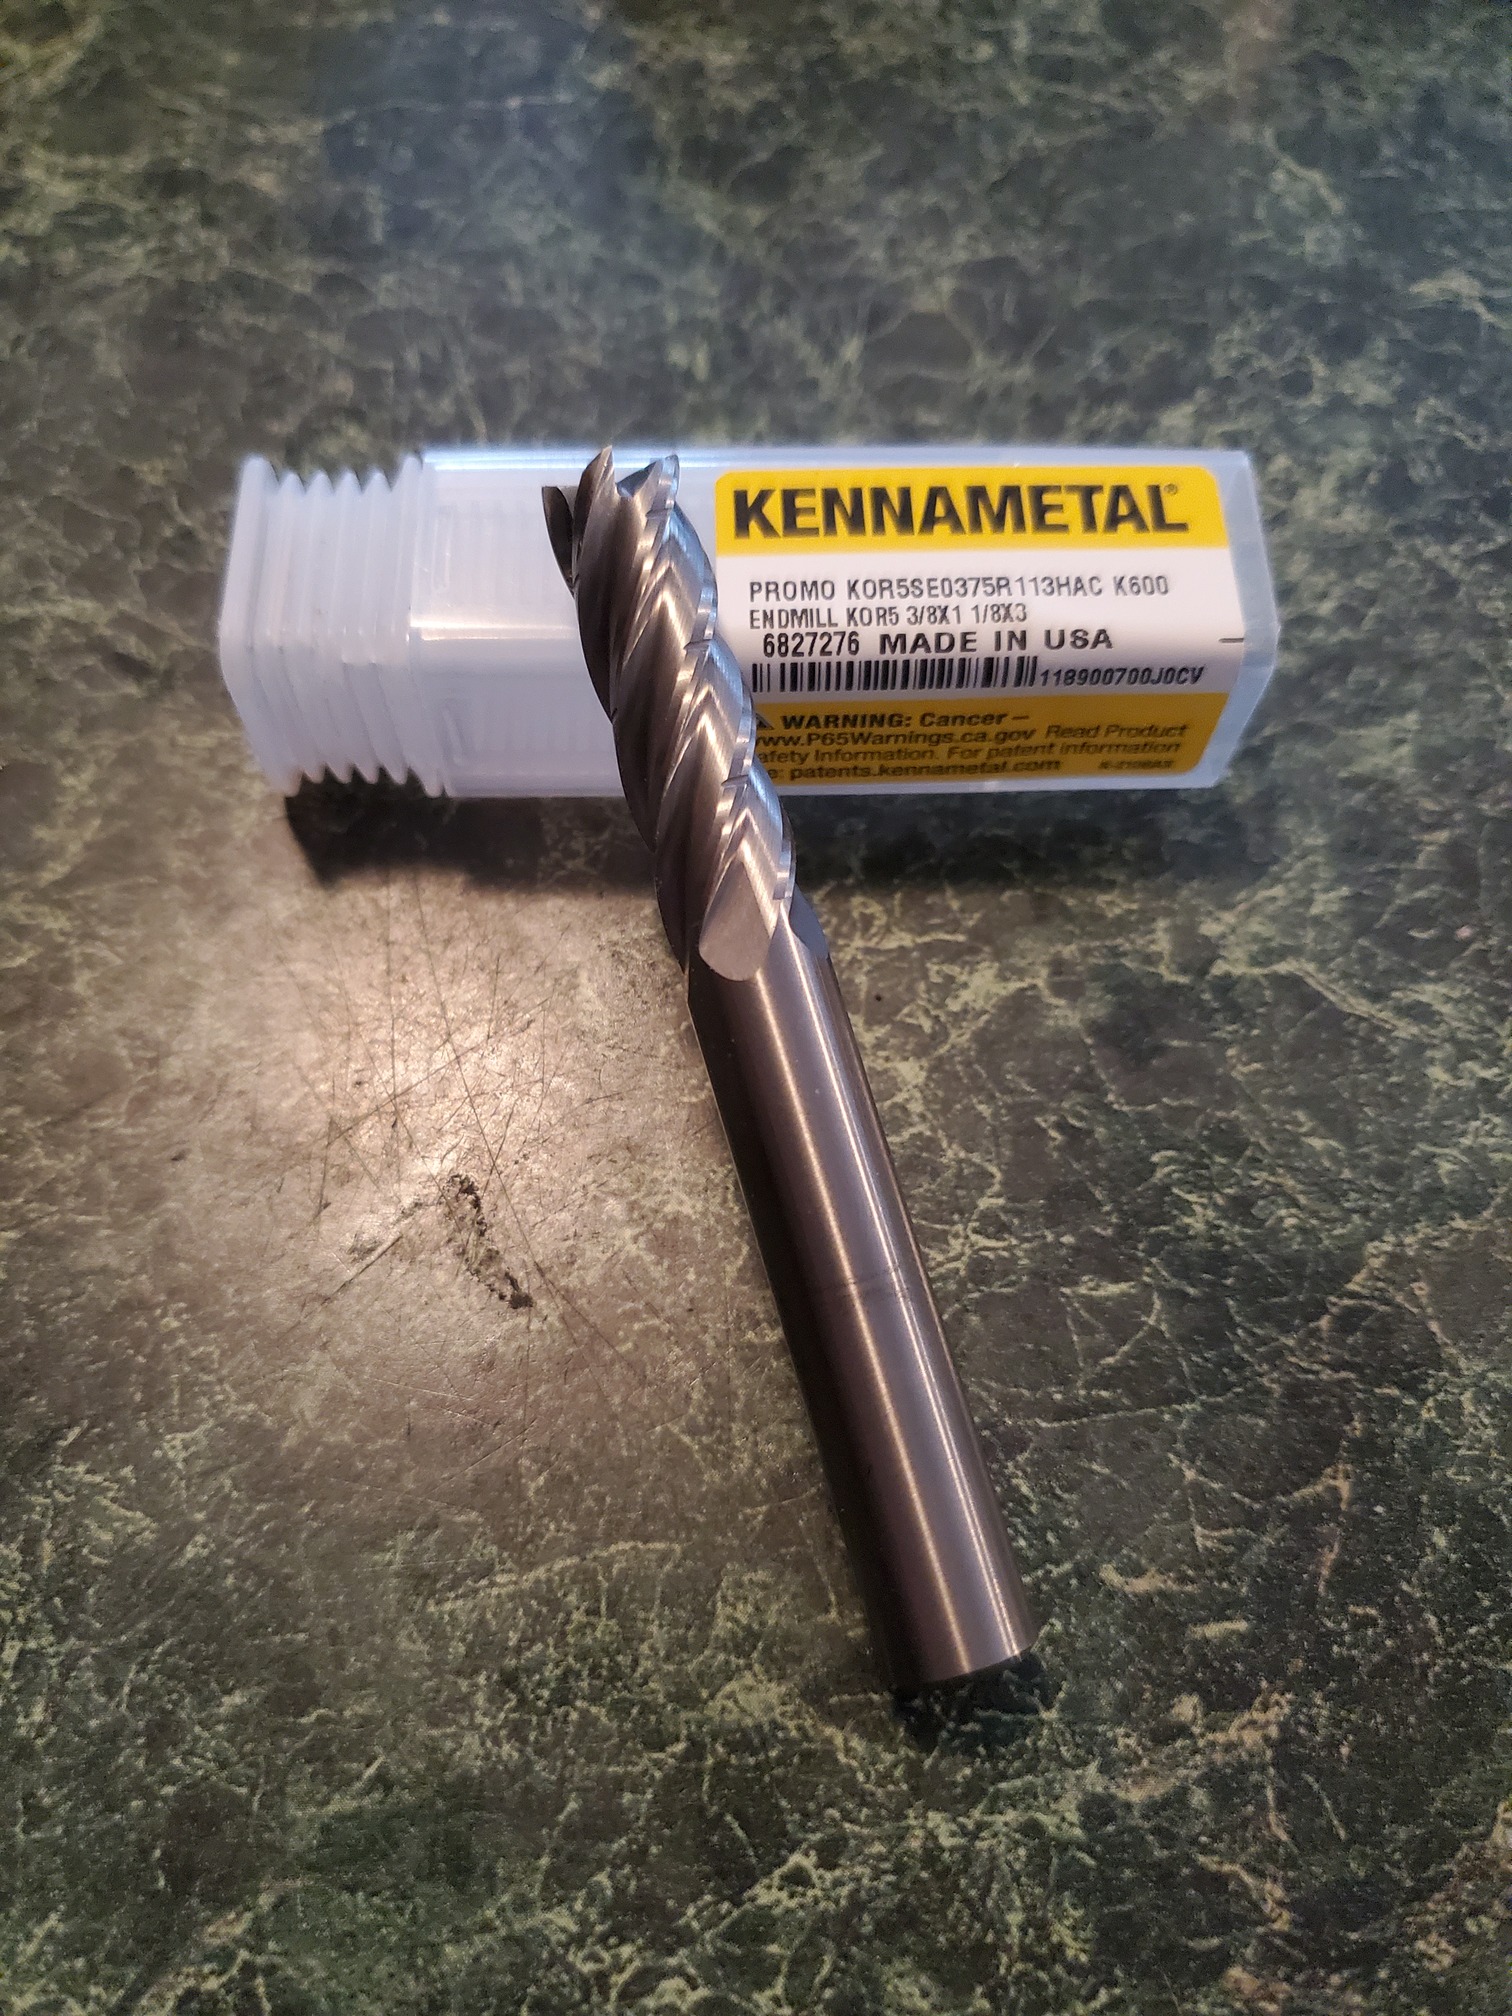
1 Like
Any success @Vince.Fab ? I have quite a bit of black 1.5" to go through again.