How could these be made cheaper? How could you know how to make these cheaper?
One can buy an avocado for $2 or one for $0.79. Which one is cheaper? Don’t you have to know a whole lot about avocados and dinner parties to answer that? 
How could these be made cheaper? How could you know how to make these cheaper?
One can buy an avocado for $2 or one for $0.79. Which one is cheaper? Don’t you have to know a whole lot about avocados and dinner parties to answer that?
These guys might have the answer:
It probably involves china.
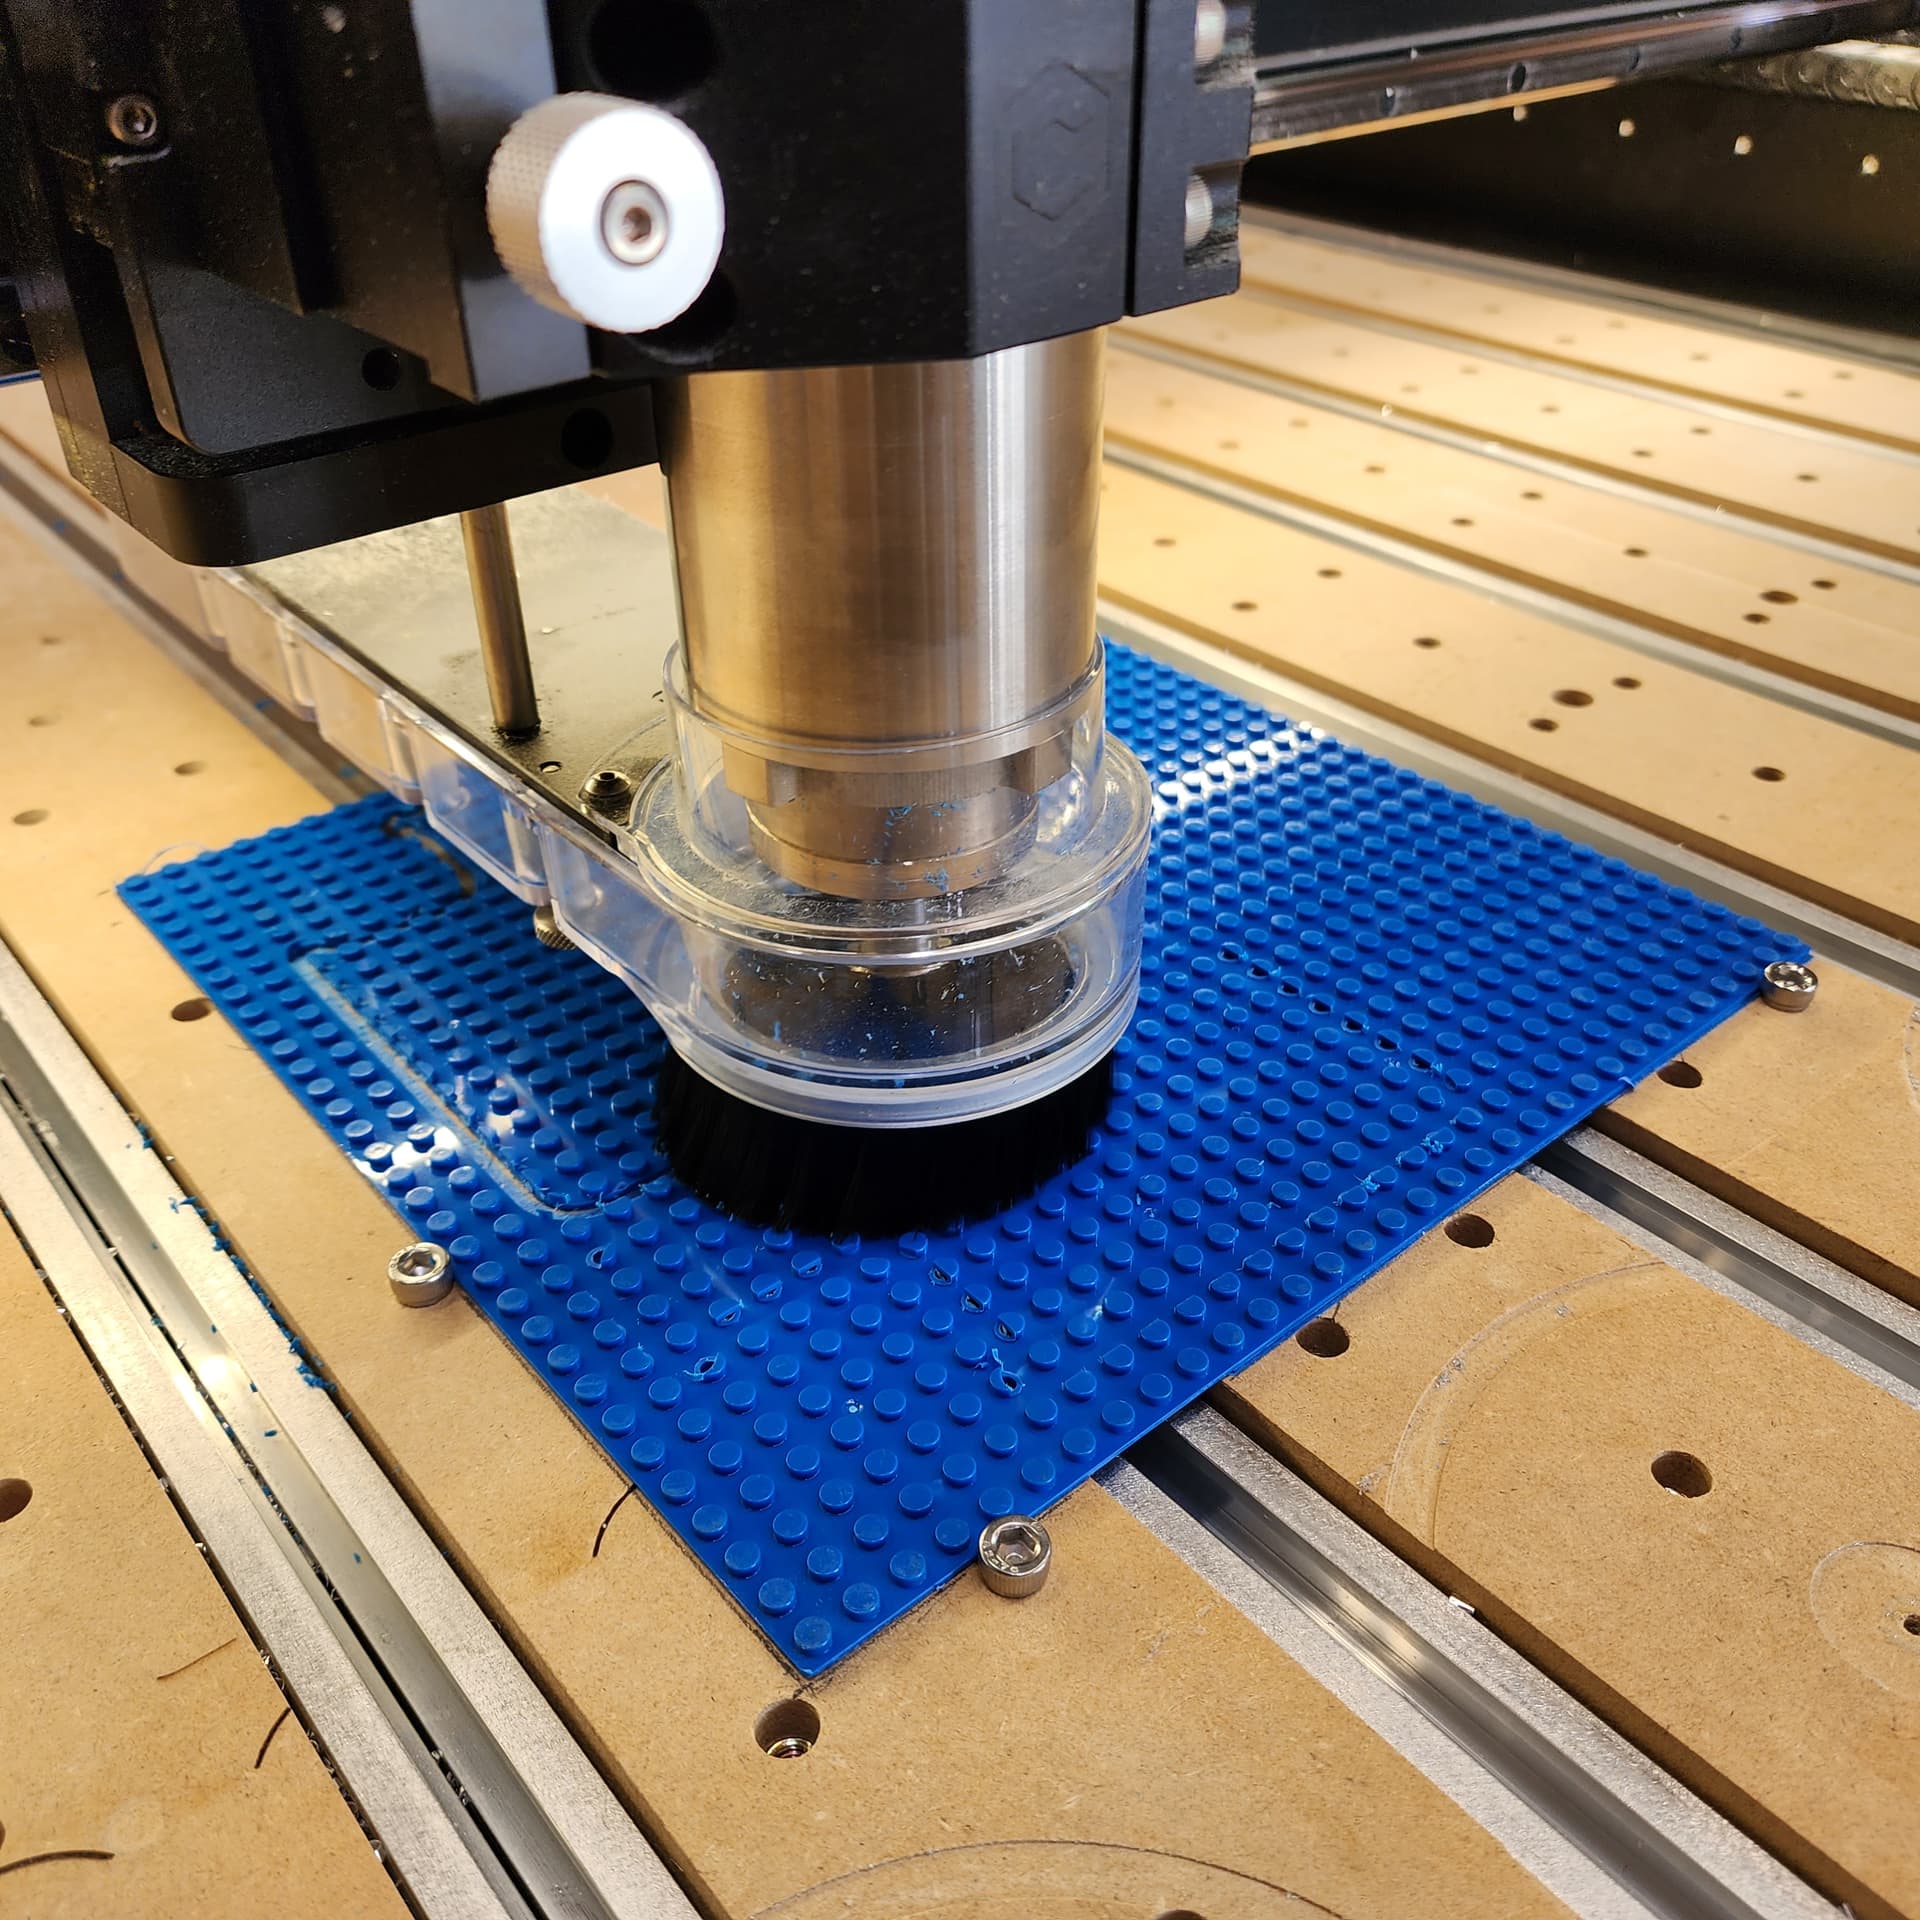
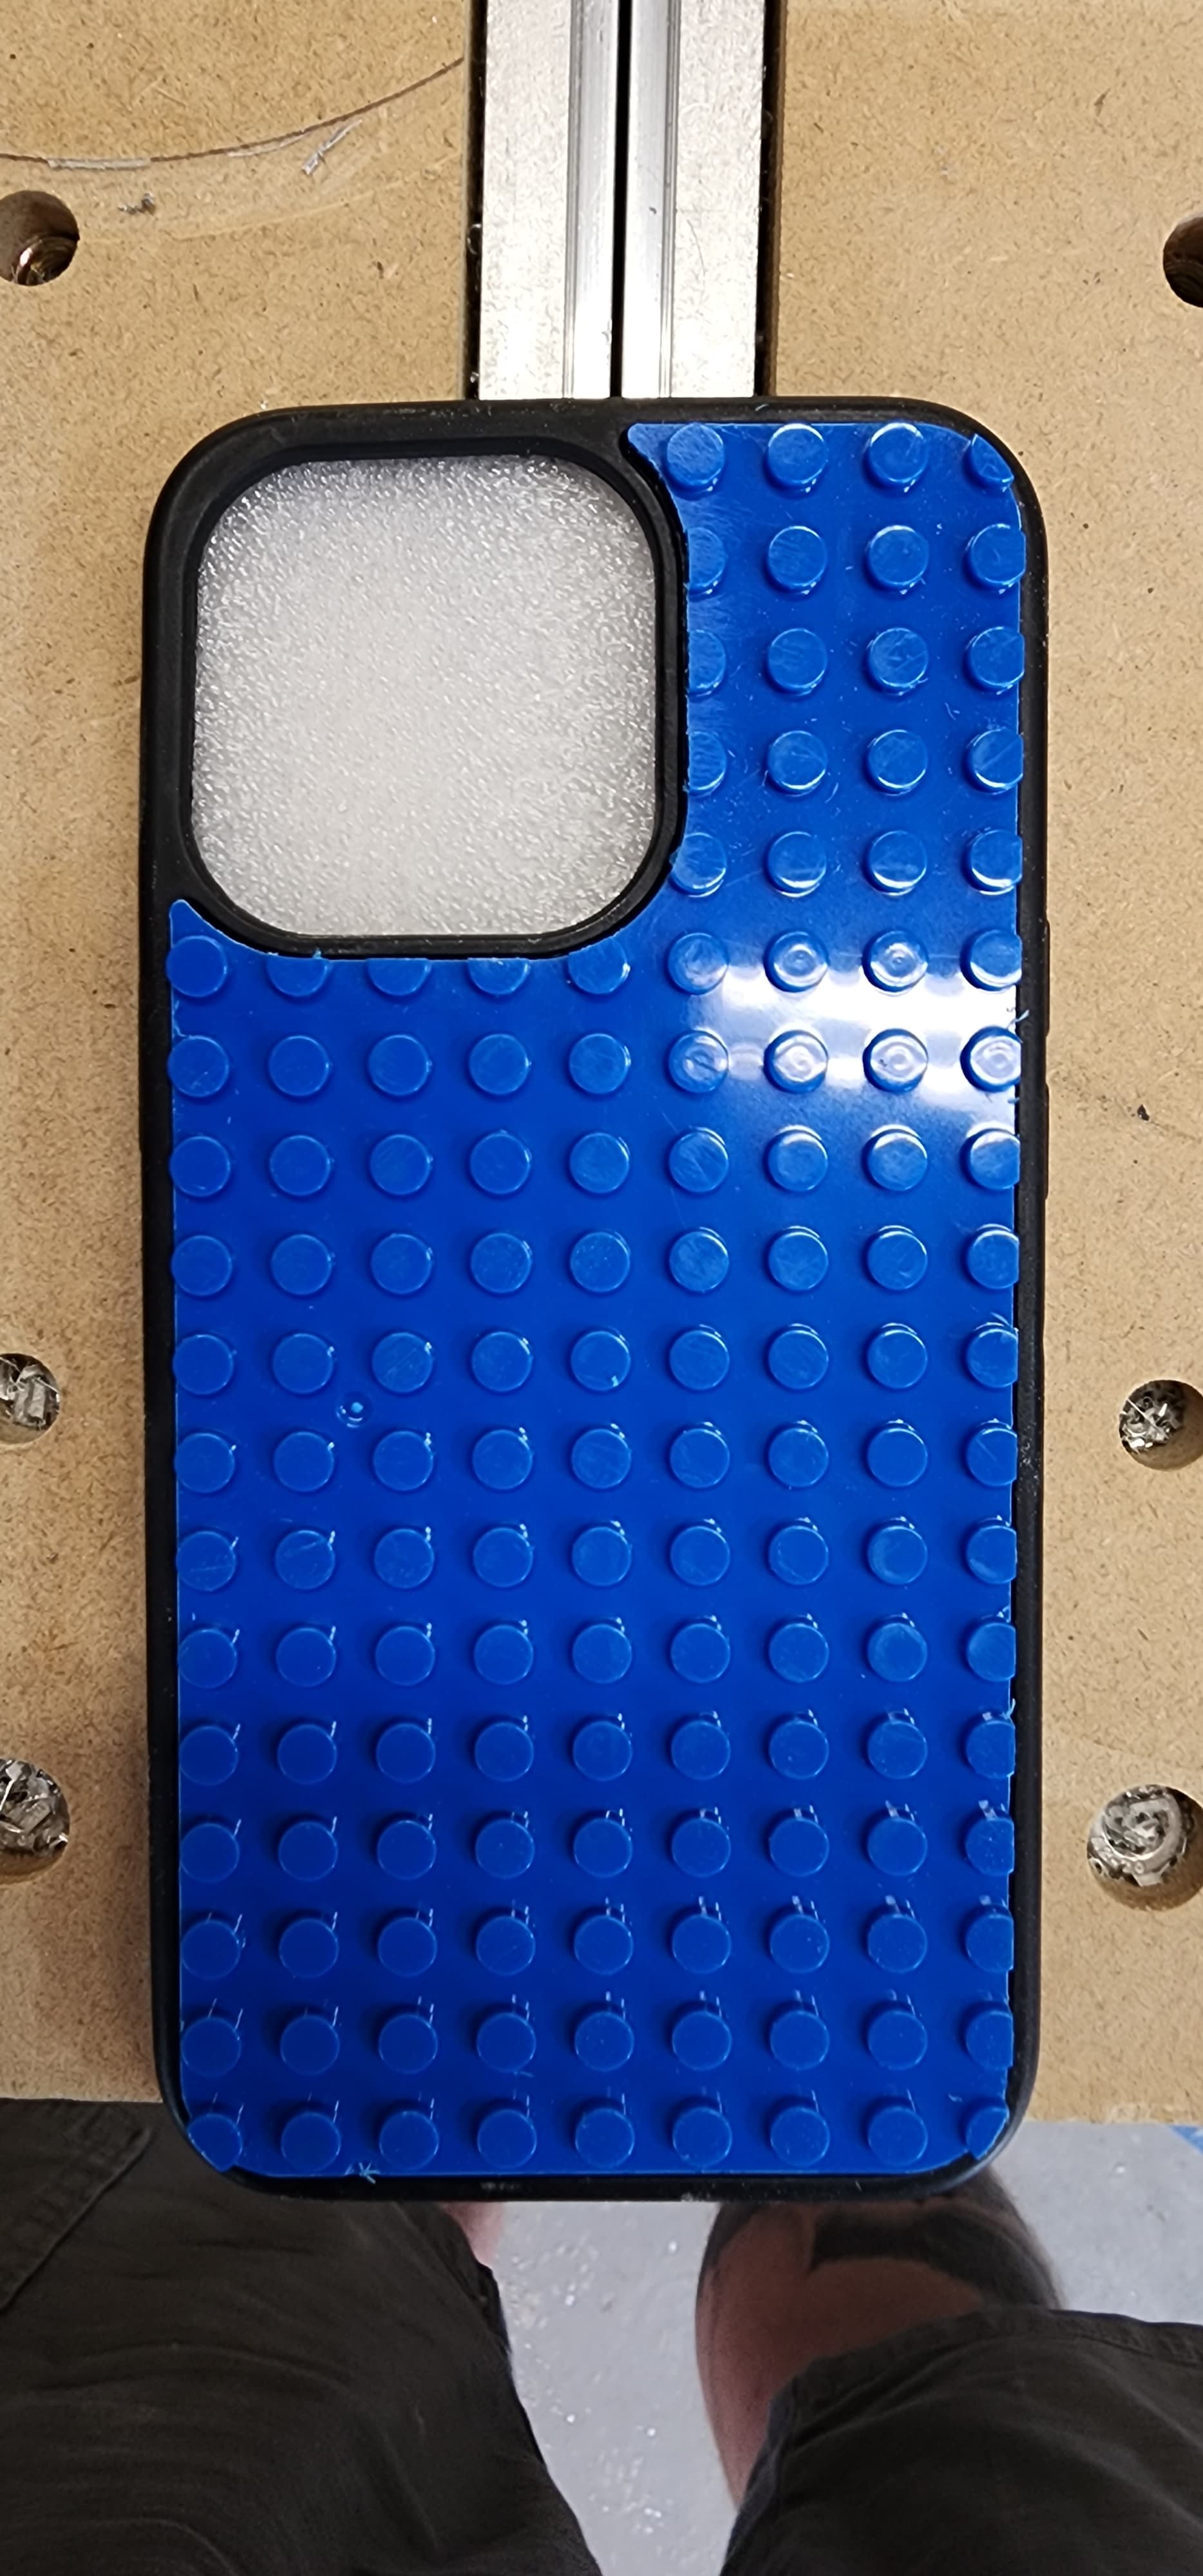
You never know what you’re going to cut from one day to the next. I didn’t have Lego on my past cut list. 
I took a picture of the phone case and used it as a canvas in F360. Along with some calipers I got a starting point. I 3D printed flat patterns until I got a good fit. Then started cutting on the SO5.
SVGs will open directly in CCPro, that being said, some programs create SVGs which open blank (Silouette studio for example)… There is a work around.
Open the SVG in Inkscape, ensure the SVG fits in the canvas, adjust the canvas if need be. Then save as a PDF file. Open the PDF file in inkscape, and hit save as again, this time as an SVG. It will then open in CCPro. Hope that makes sense.
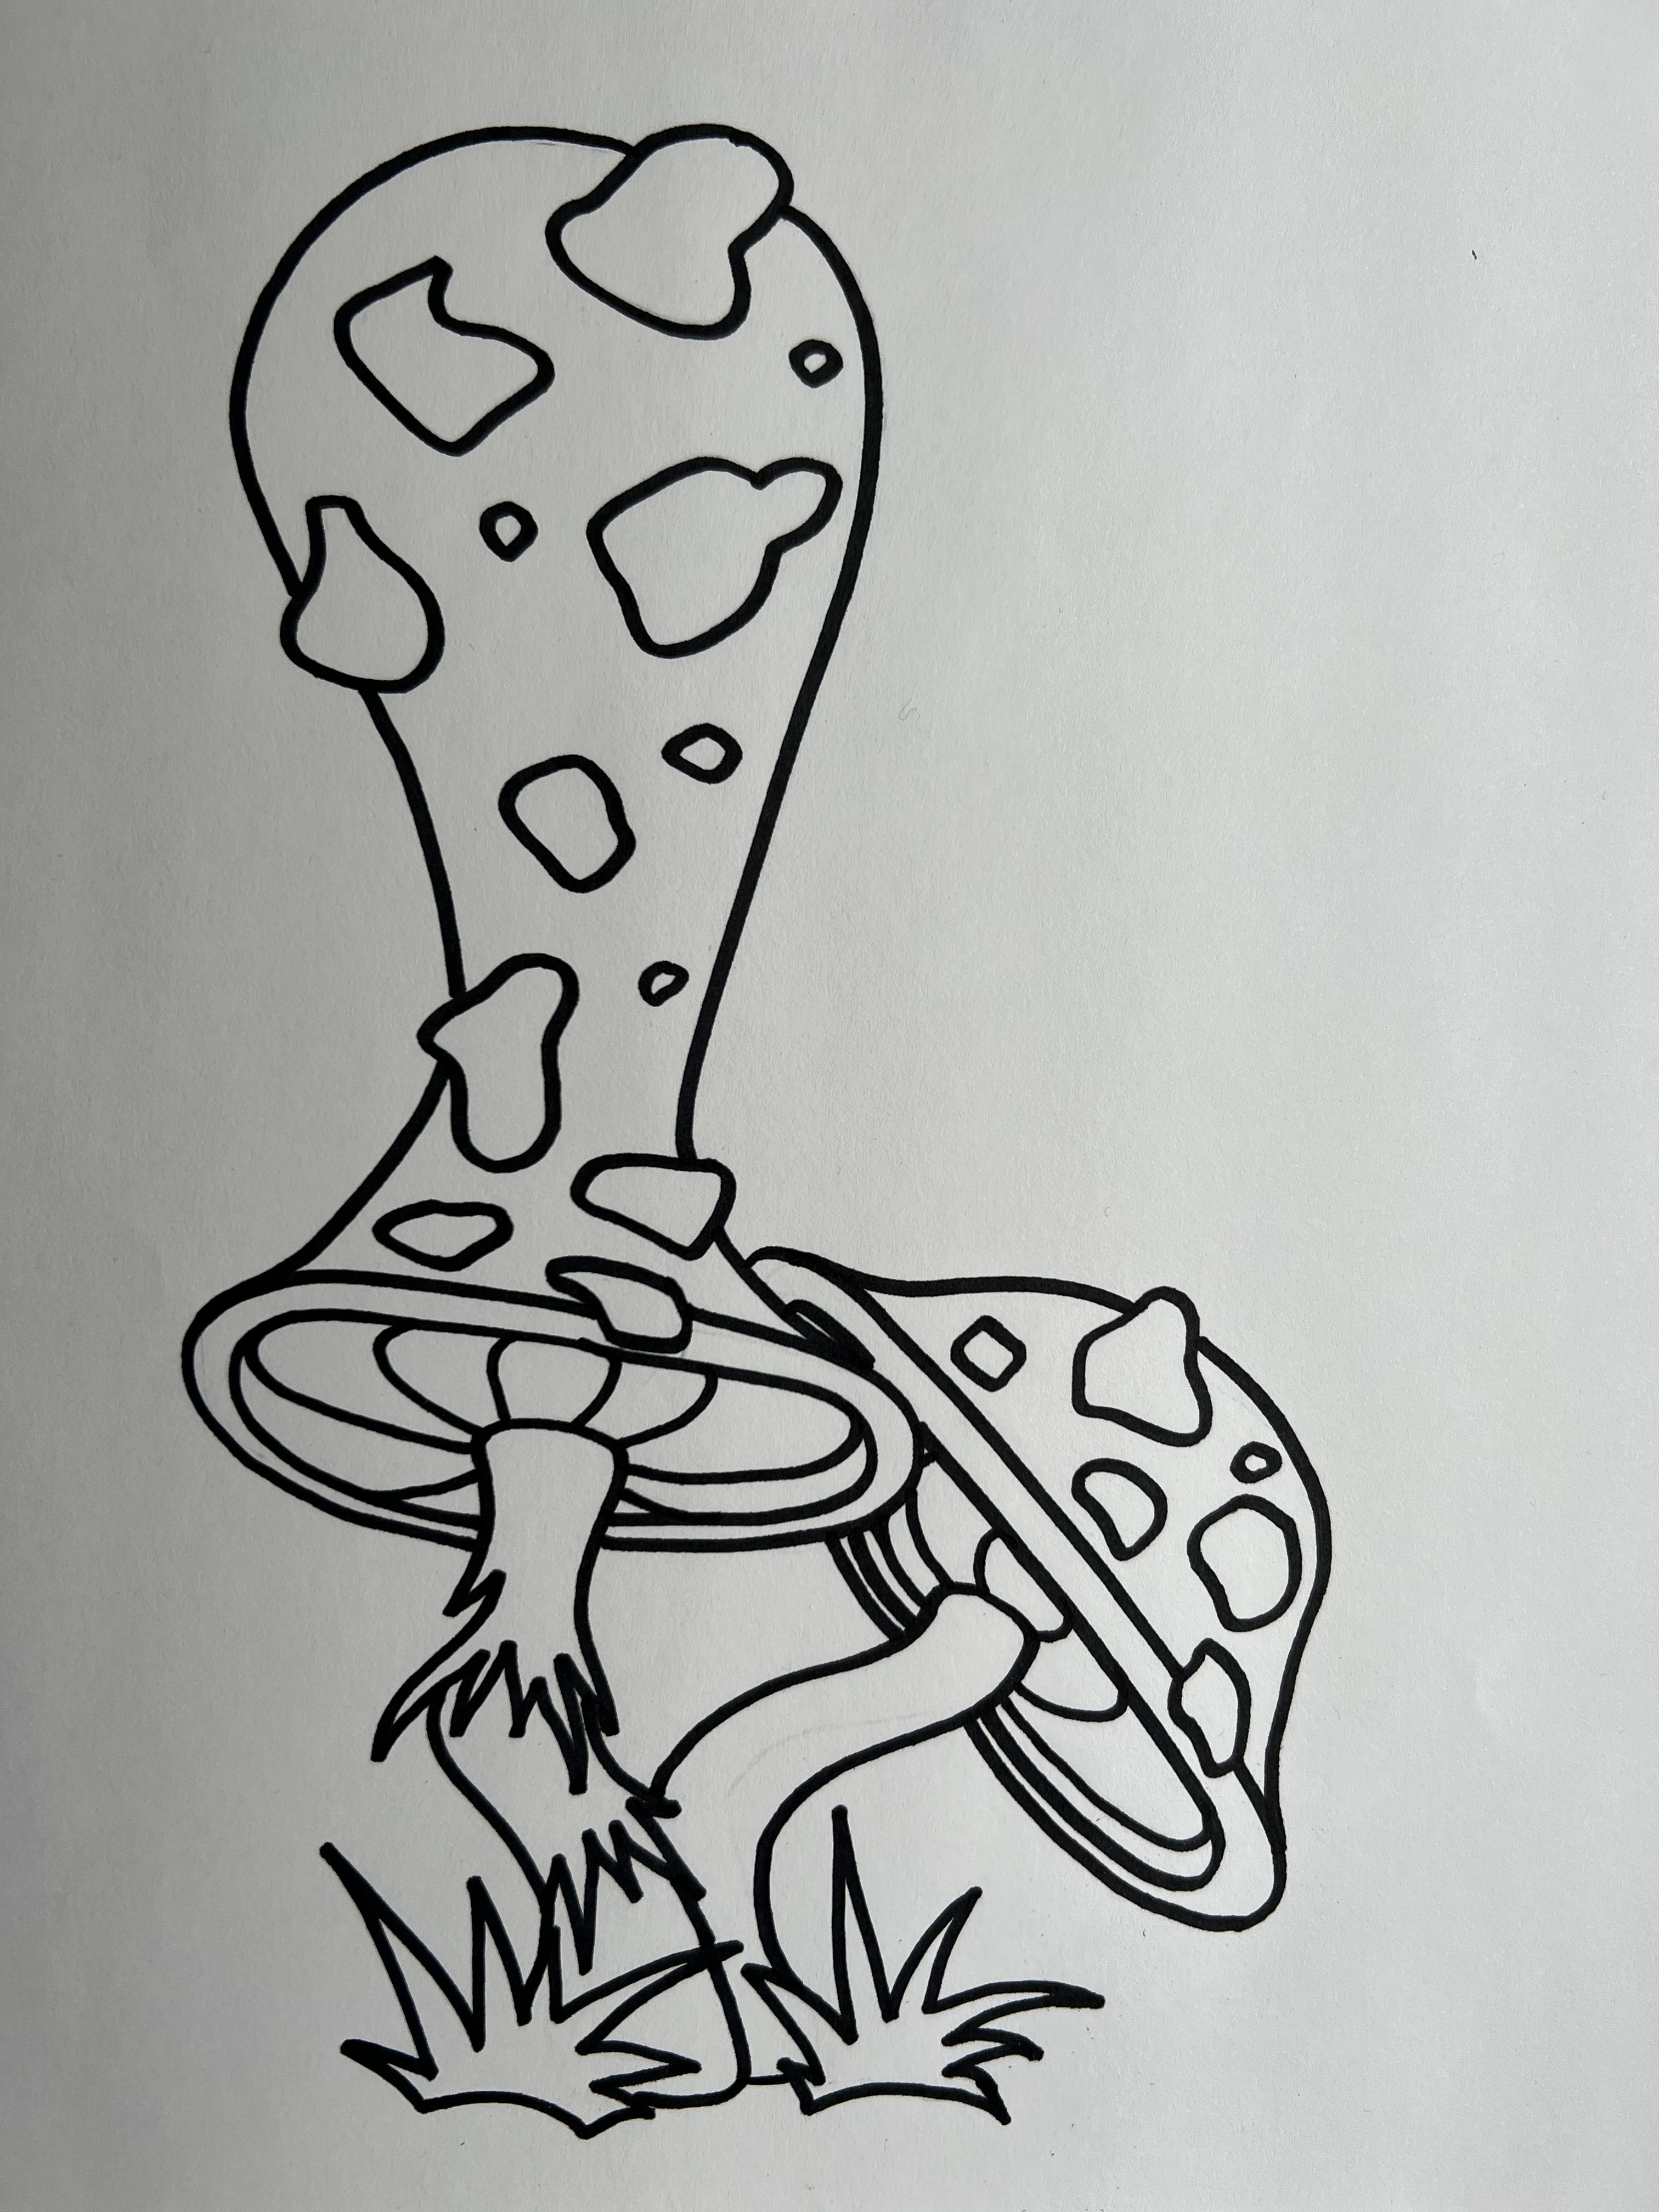
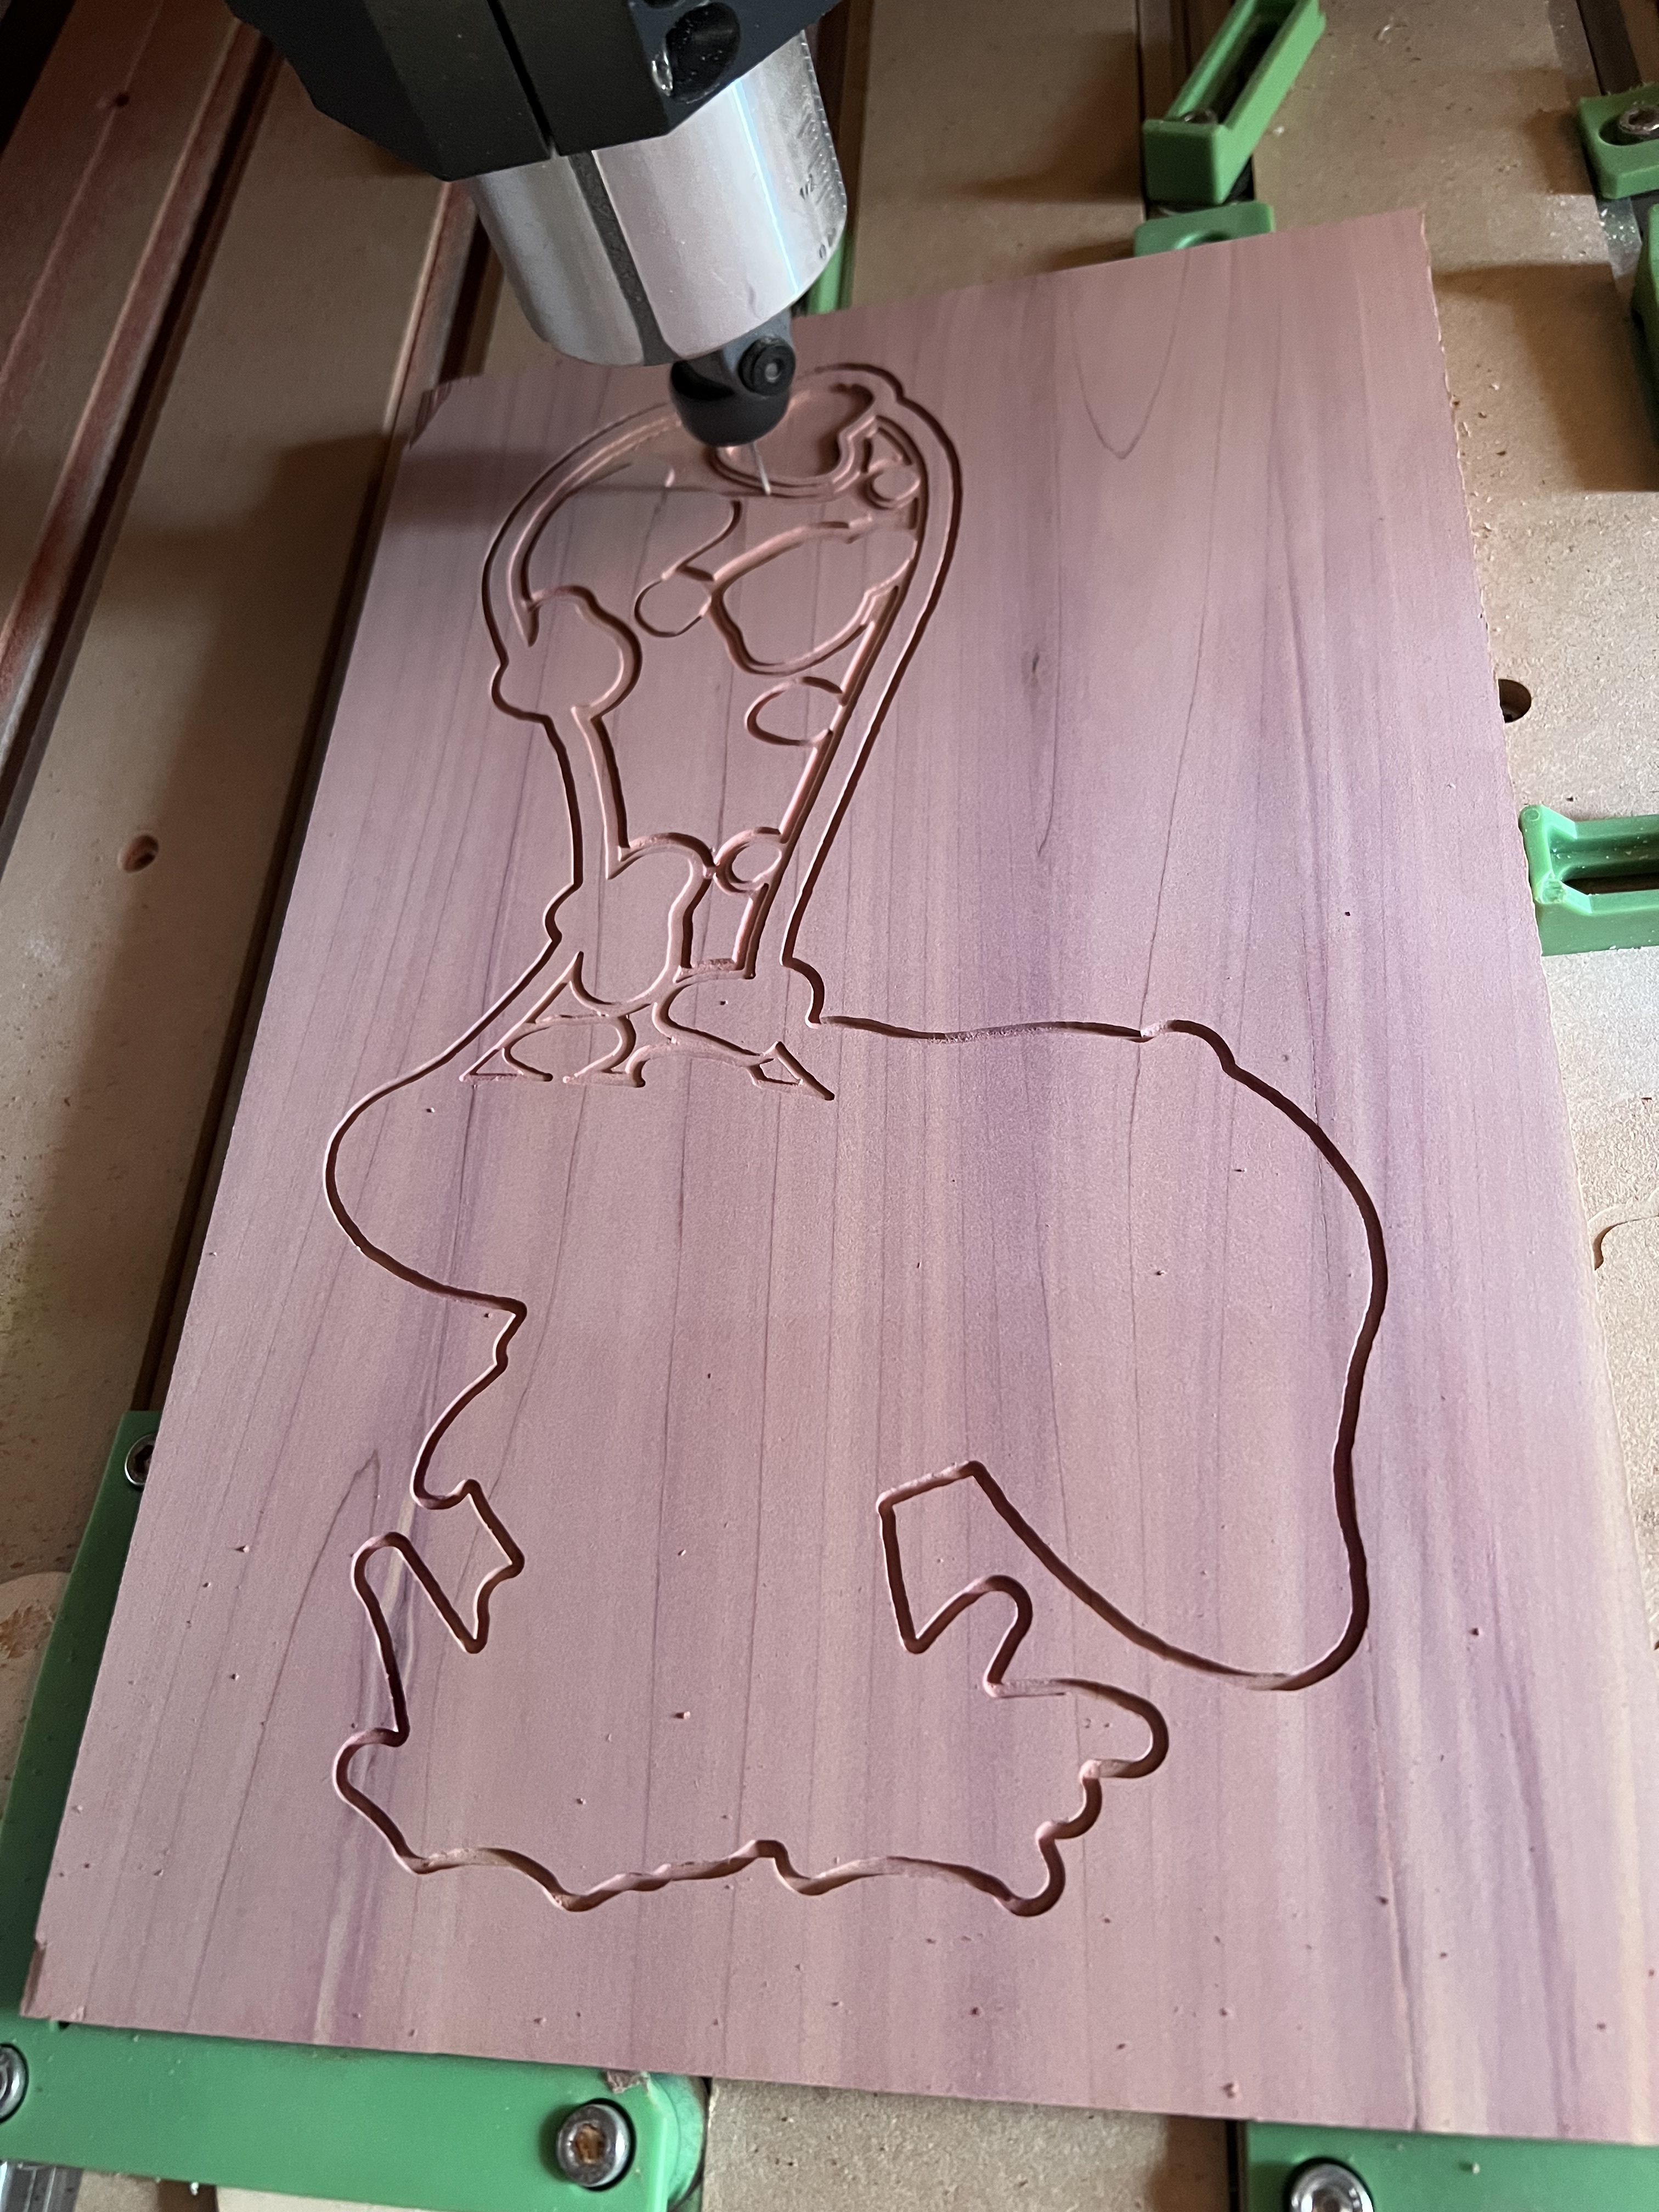
Tried my first simple drawing, opened in Create, then to cutting. Worked out pretty well. Opens up a lot of possibilities with good old fashioned paper and pen, instead digital.
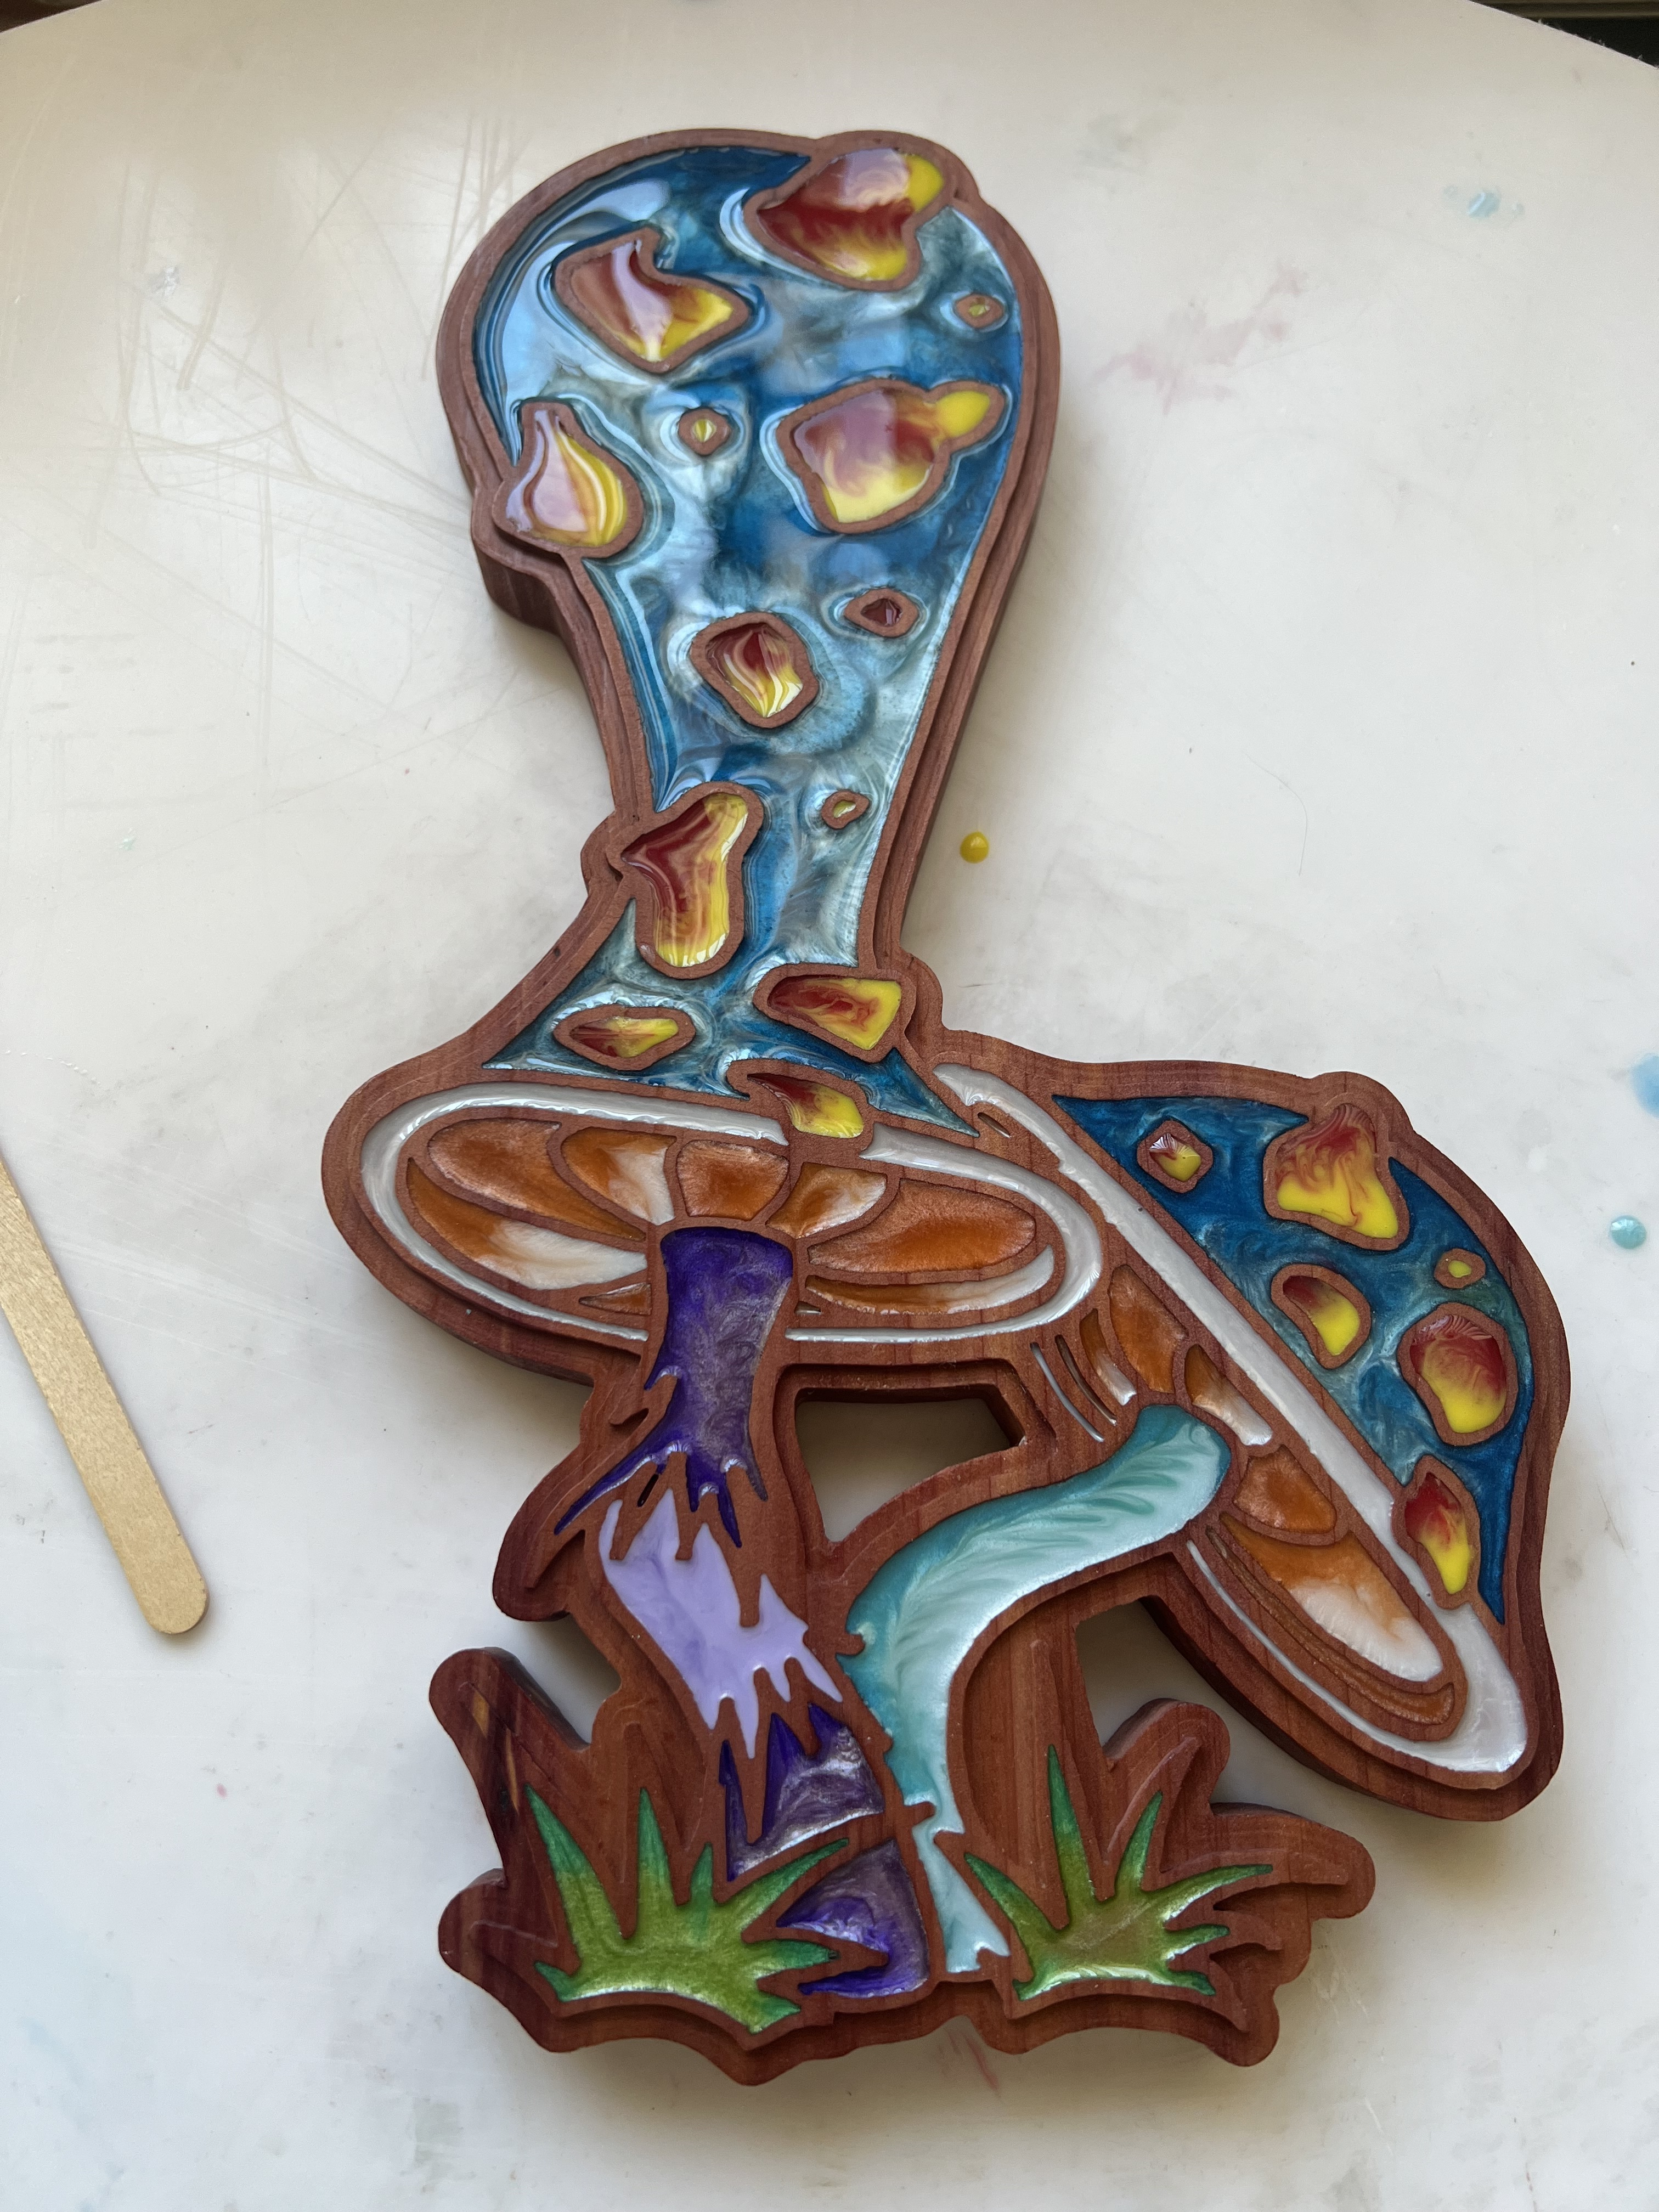
Wow, that is fantastic! Is that epoxy?
I tried doing a drawing tonight with a ballpoint pen because so wanted a quick way to mark the cork on some coasters going to school with the kids tomorrow. Realized my router is mounted backwards so the groove is on the back. Makes it very difficult to get the pen to stay in place. I gave up. Maybe I should have put it on the back.
Thanks! Yes, epoxy. I drew it with a sharpie on plain paper, then took a pic and adjusted the contrast all the way so it was just black and white with no lingering shadows. Then that tool in Create that traces a drawing ended up working really well. Did a pocket toolpath and cut. The sharpie line was wide enough to make 2 lines on the Create so that pocketing it left enough wood to separate/hold the random epoxy colors
I did 3 colors of epoxy on the coasters and they were kind of nested so I had to wait for one layer to dry before cutting into it for another. I am guessing you did all the epoxy kore or less at the same time. That’s still a lot of mixing. It looks great though, I wish I was that artistic.
Oh yeah, letting it dry and recutting would give very nice distinct lines. I did this all at once. Mixed 10 or so little 20 ml cups, then blunt tip syringe (like the ones for glue or oil) and just put on one side, then next color, until it filled. Used a tooth pick to swirl a couple parts like the blue/light blue stem. Most just naturally blended
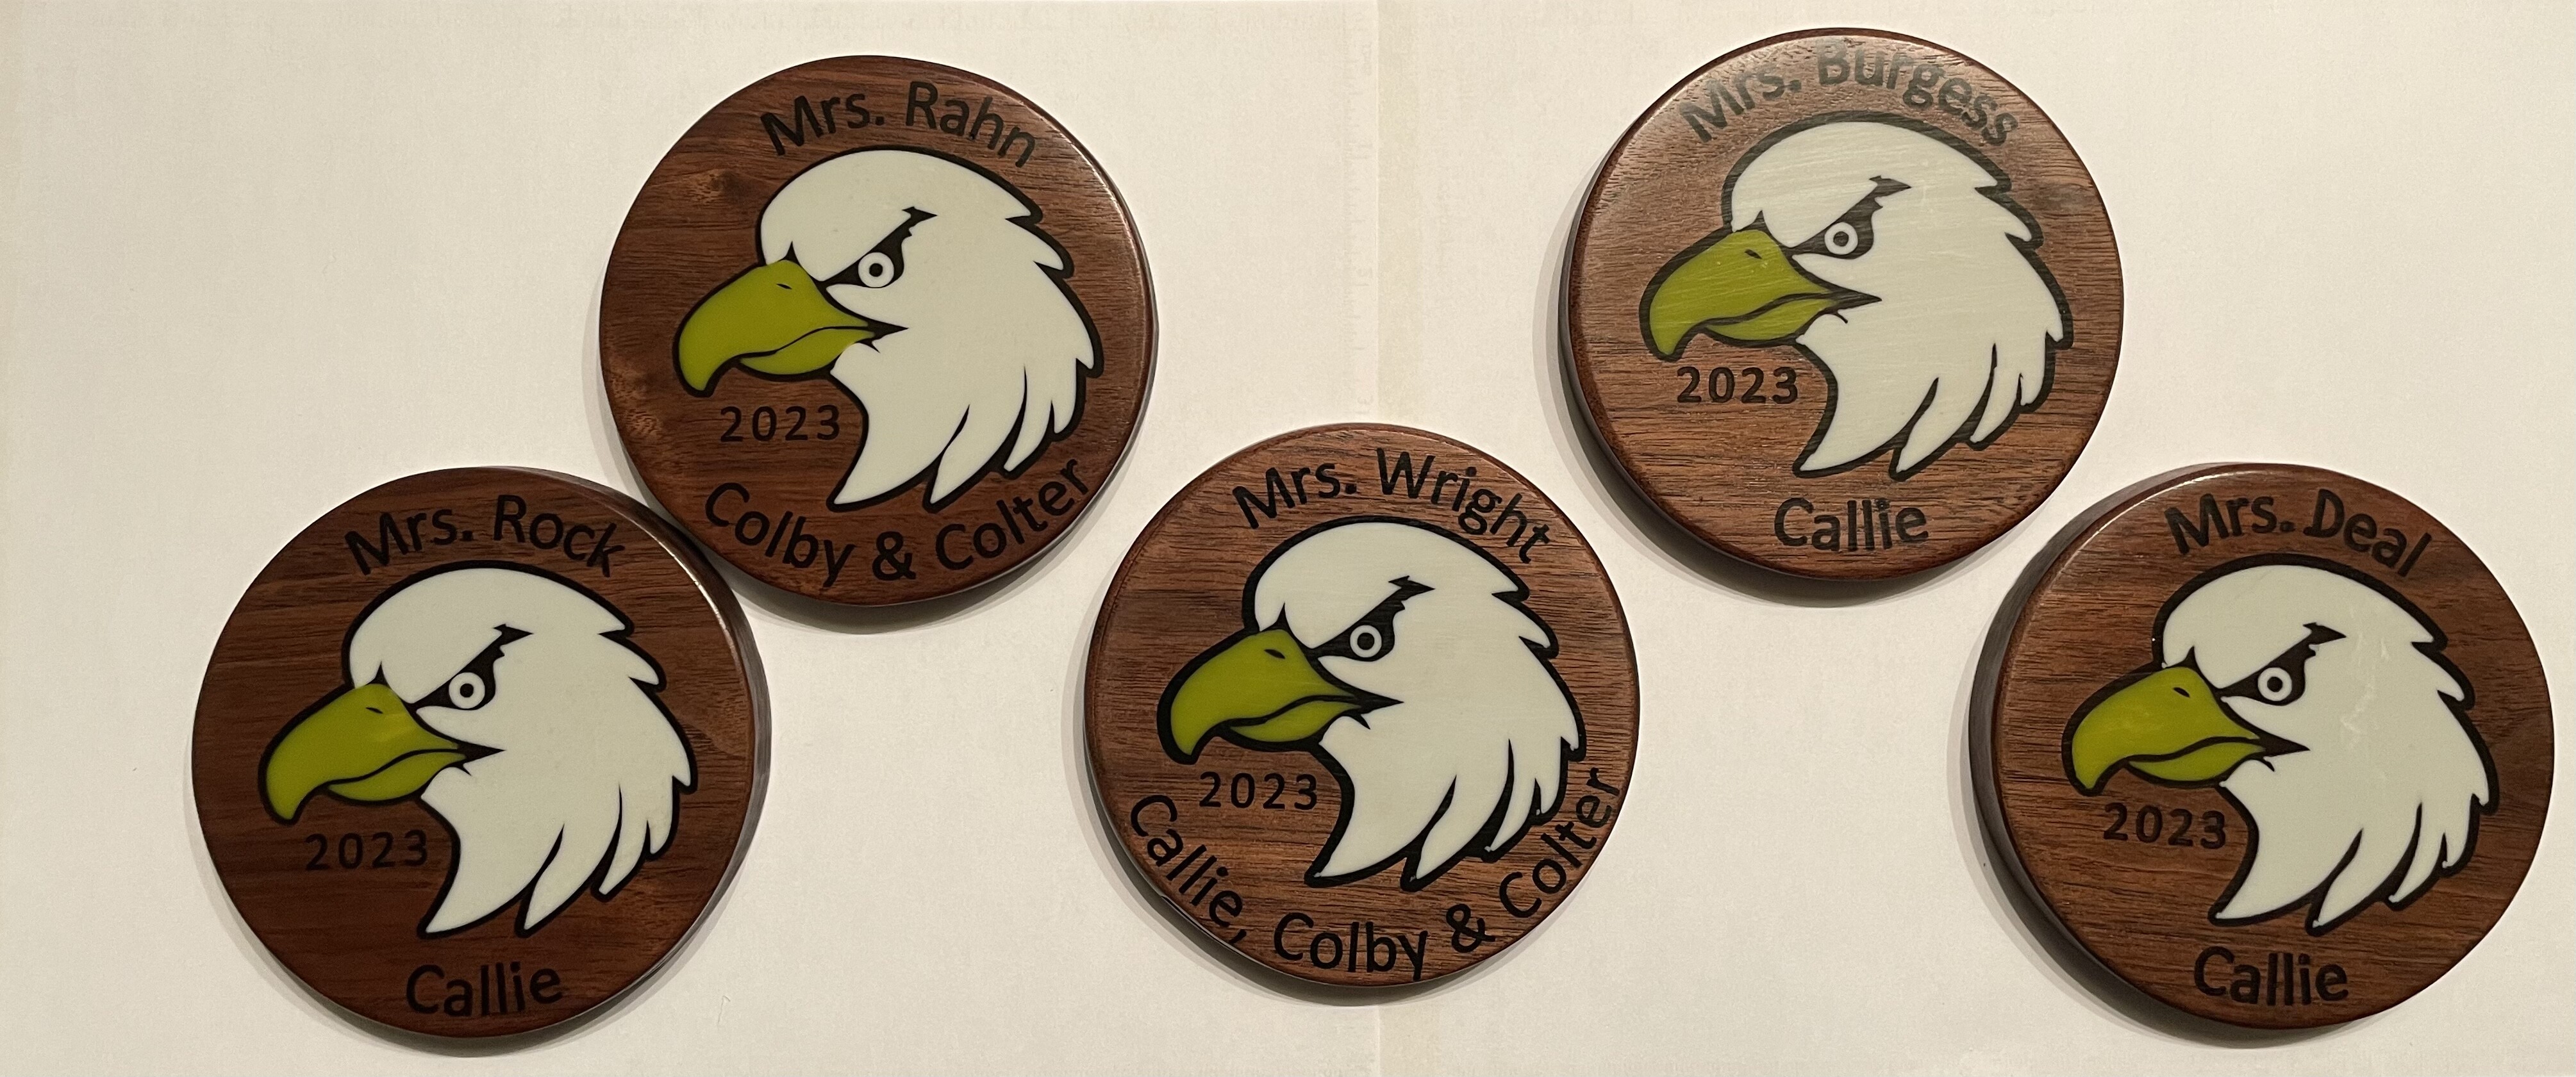
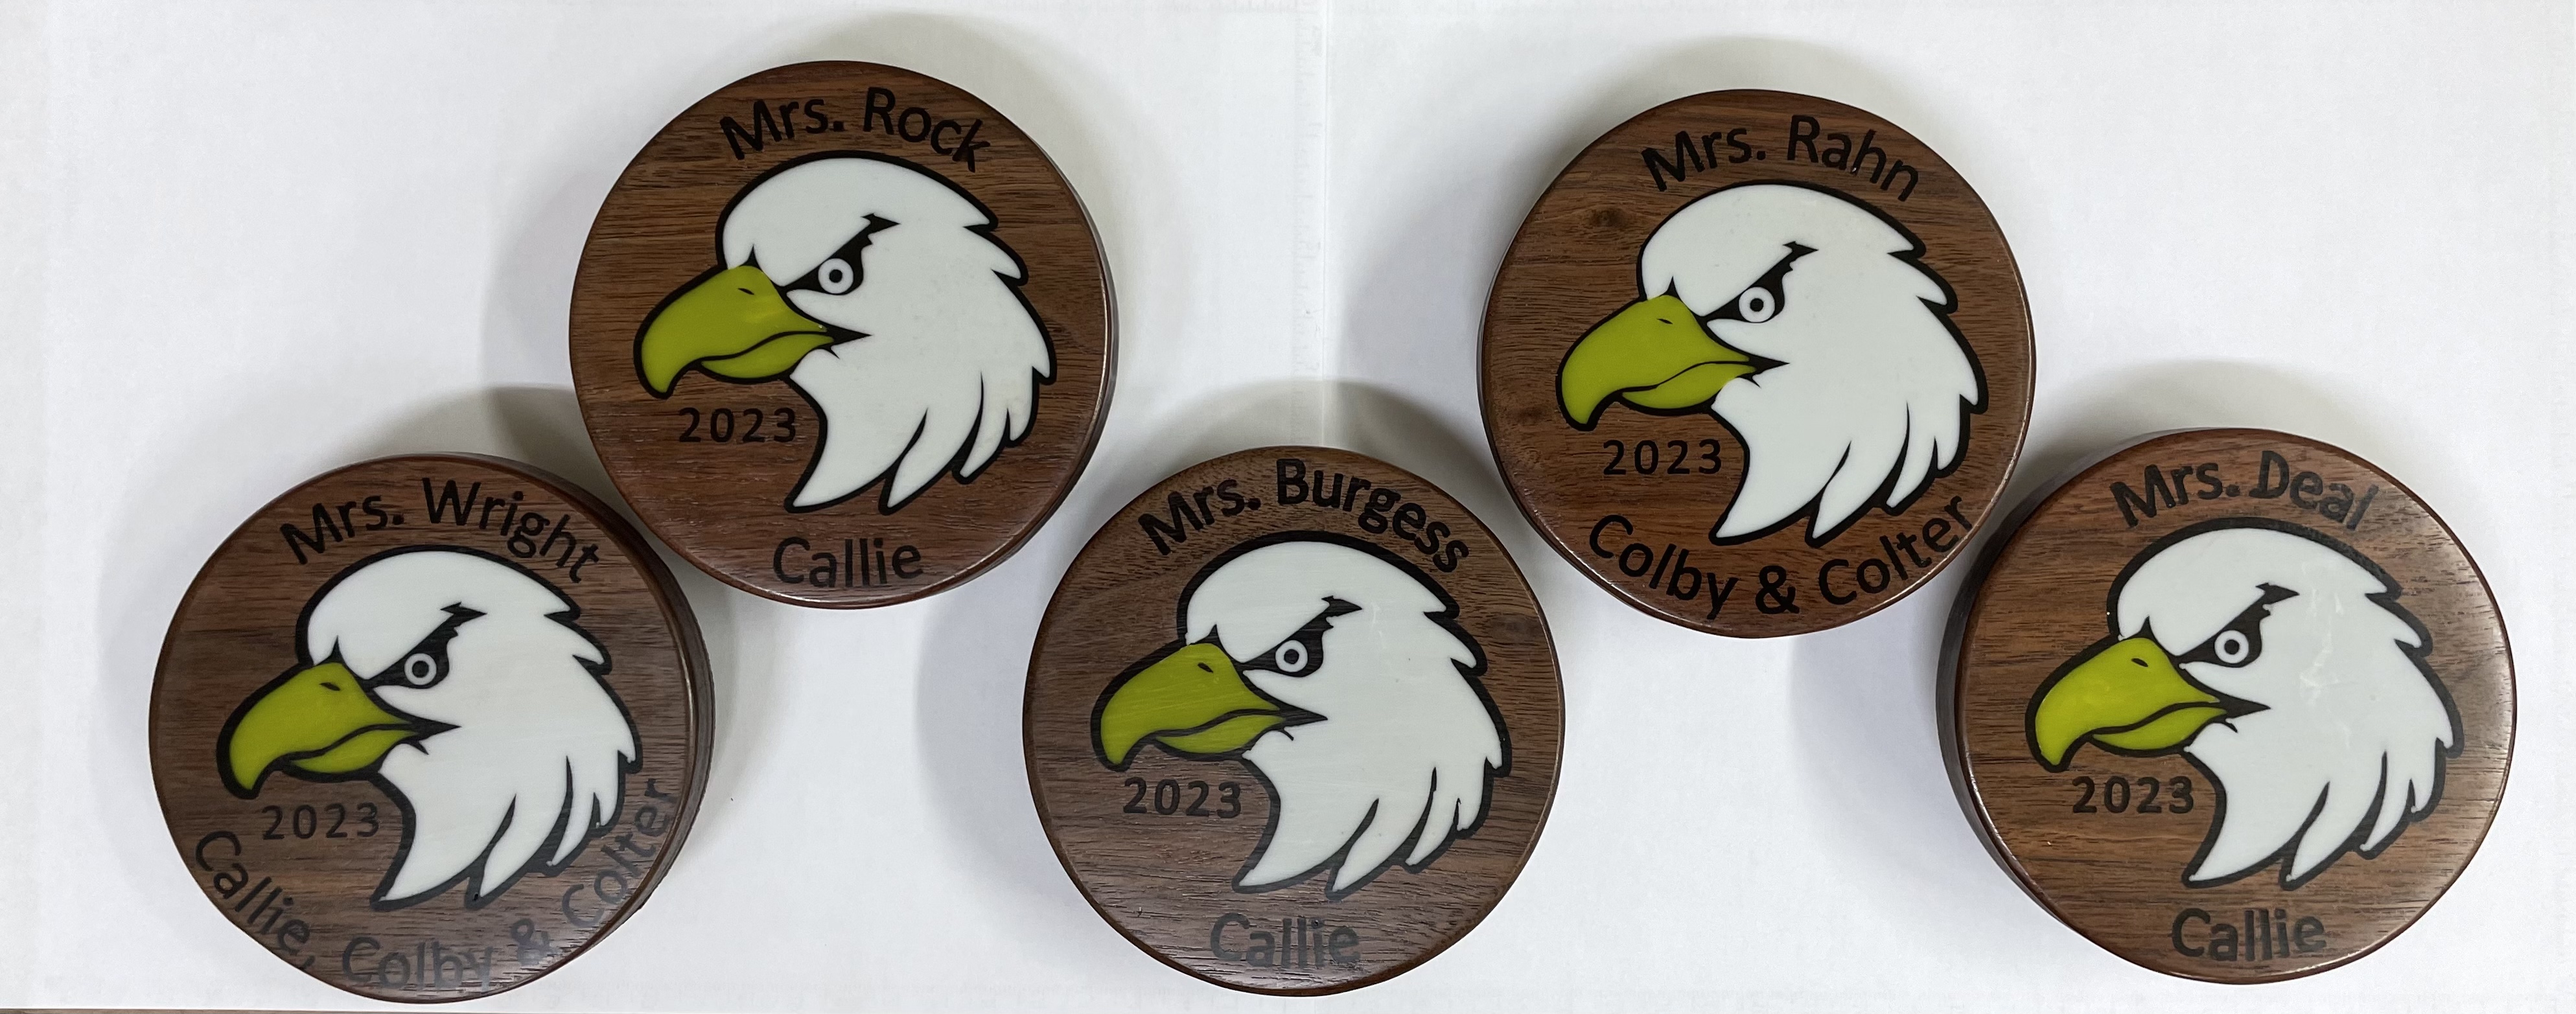
Here is my teacher coaster project.
Walnut with three epoxy colors. The process was:
There were a few lessons learned:
Anyway, worked on these for way too long and finished them with 1 day to spare. No where near as impressive as the work from @JPsilo up above and sadly probably took me way longer.
EDIT: the lighting in that pic is a little off. I was disappointed in the break, but the white really is bright white. That is white paper they are sitting on so you can see that the color is off.
This pic was with bright fluorescent lighting.
PS. Its not so much the lighting as how your camera is set to record the lighting.
Those are great! Personalized and very professional and clean. I’m always worried about to reflattening or sanding/pocketing the epoxy since I can never get the shine back. But often times a project doesn’t even need or want the shine. I really need to use the v-carve more, I tend to use the 32 bit or engrave, but that v-bit can get way very detailed and has that nice look
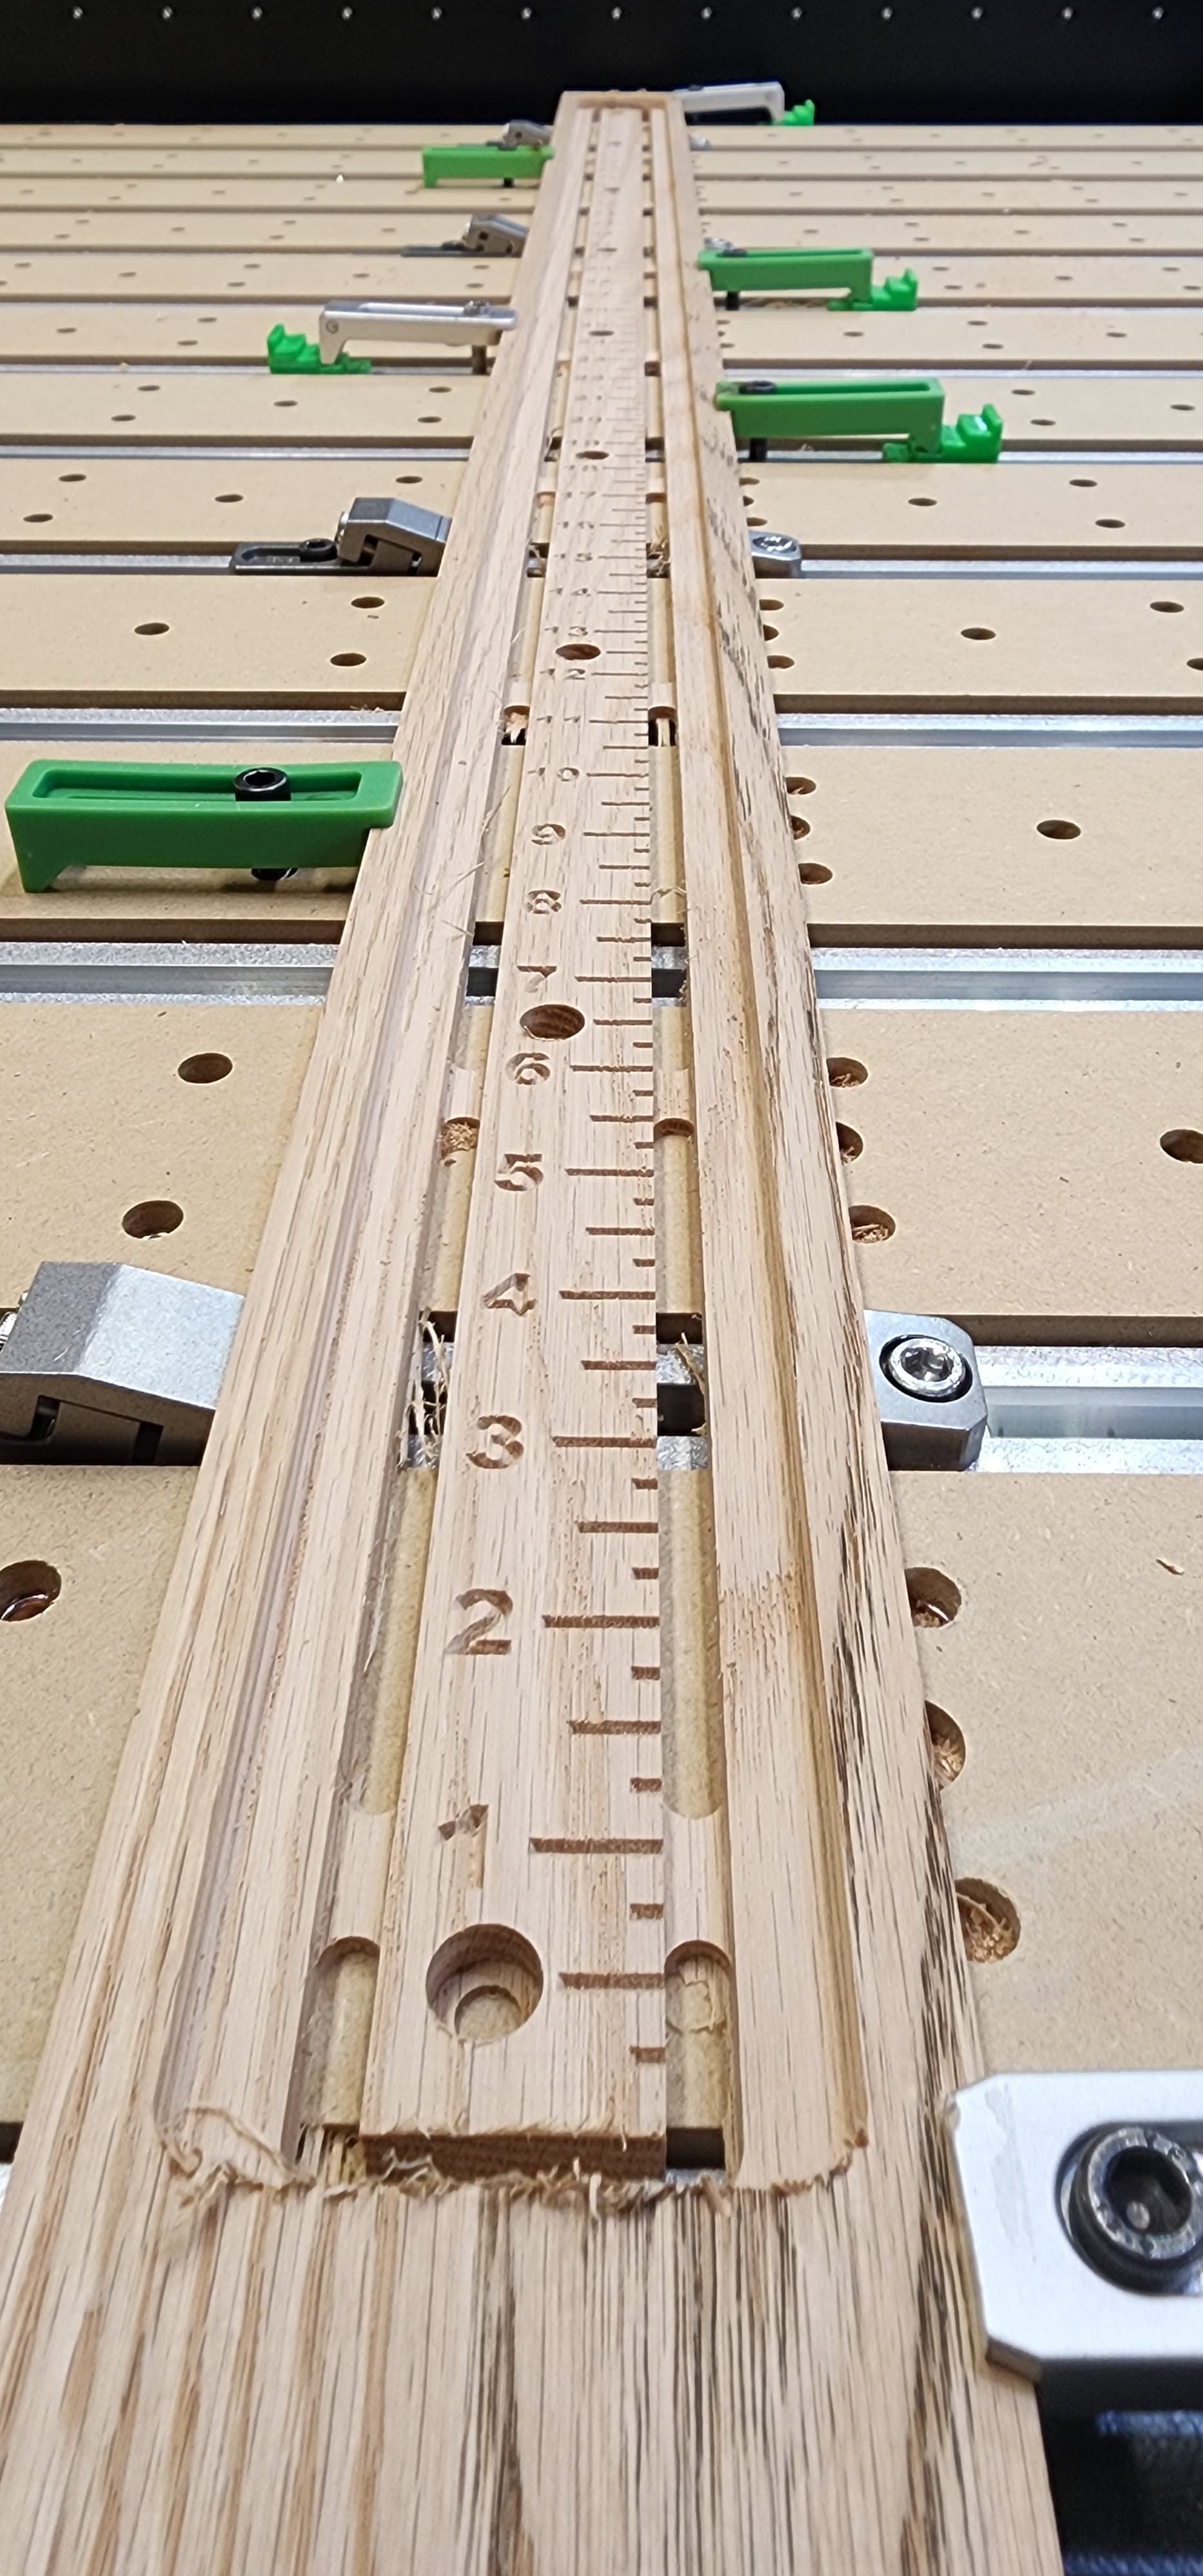
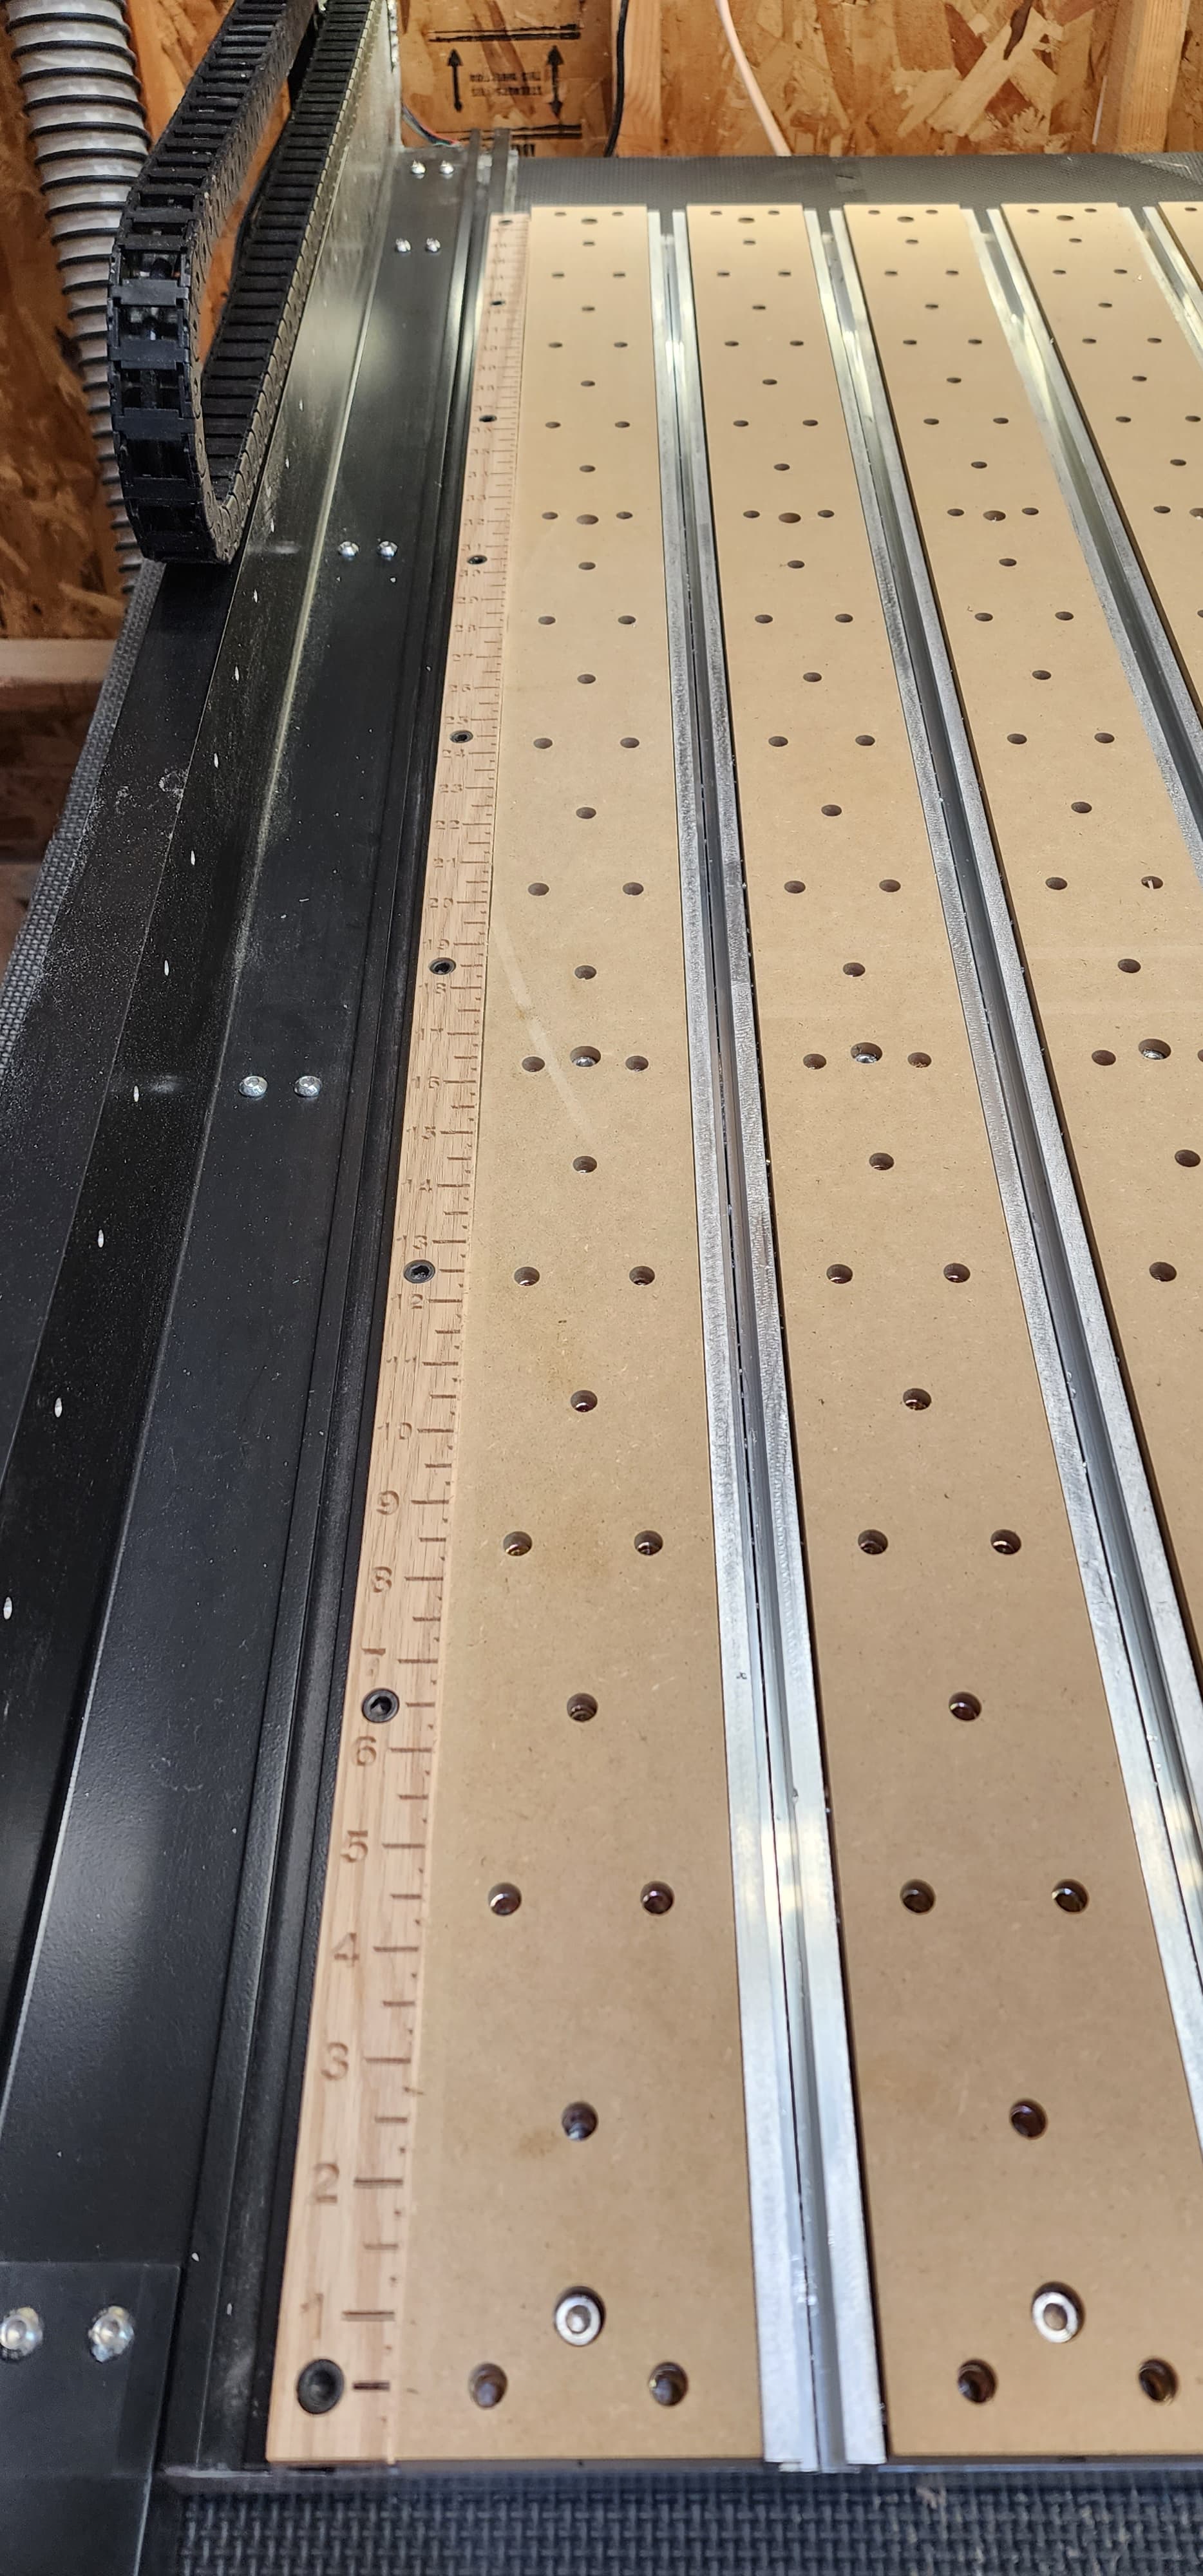
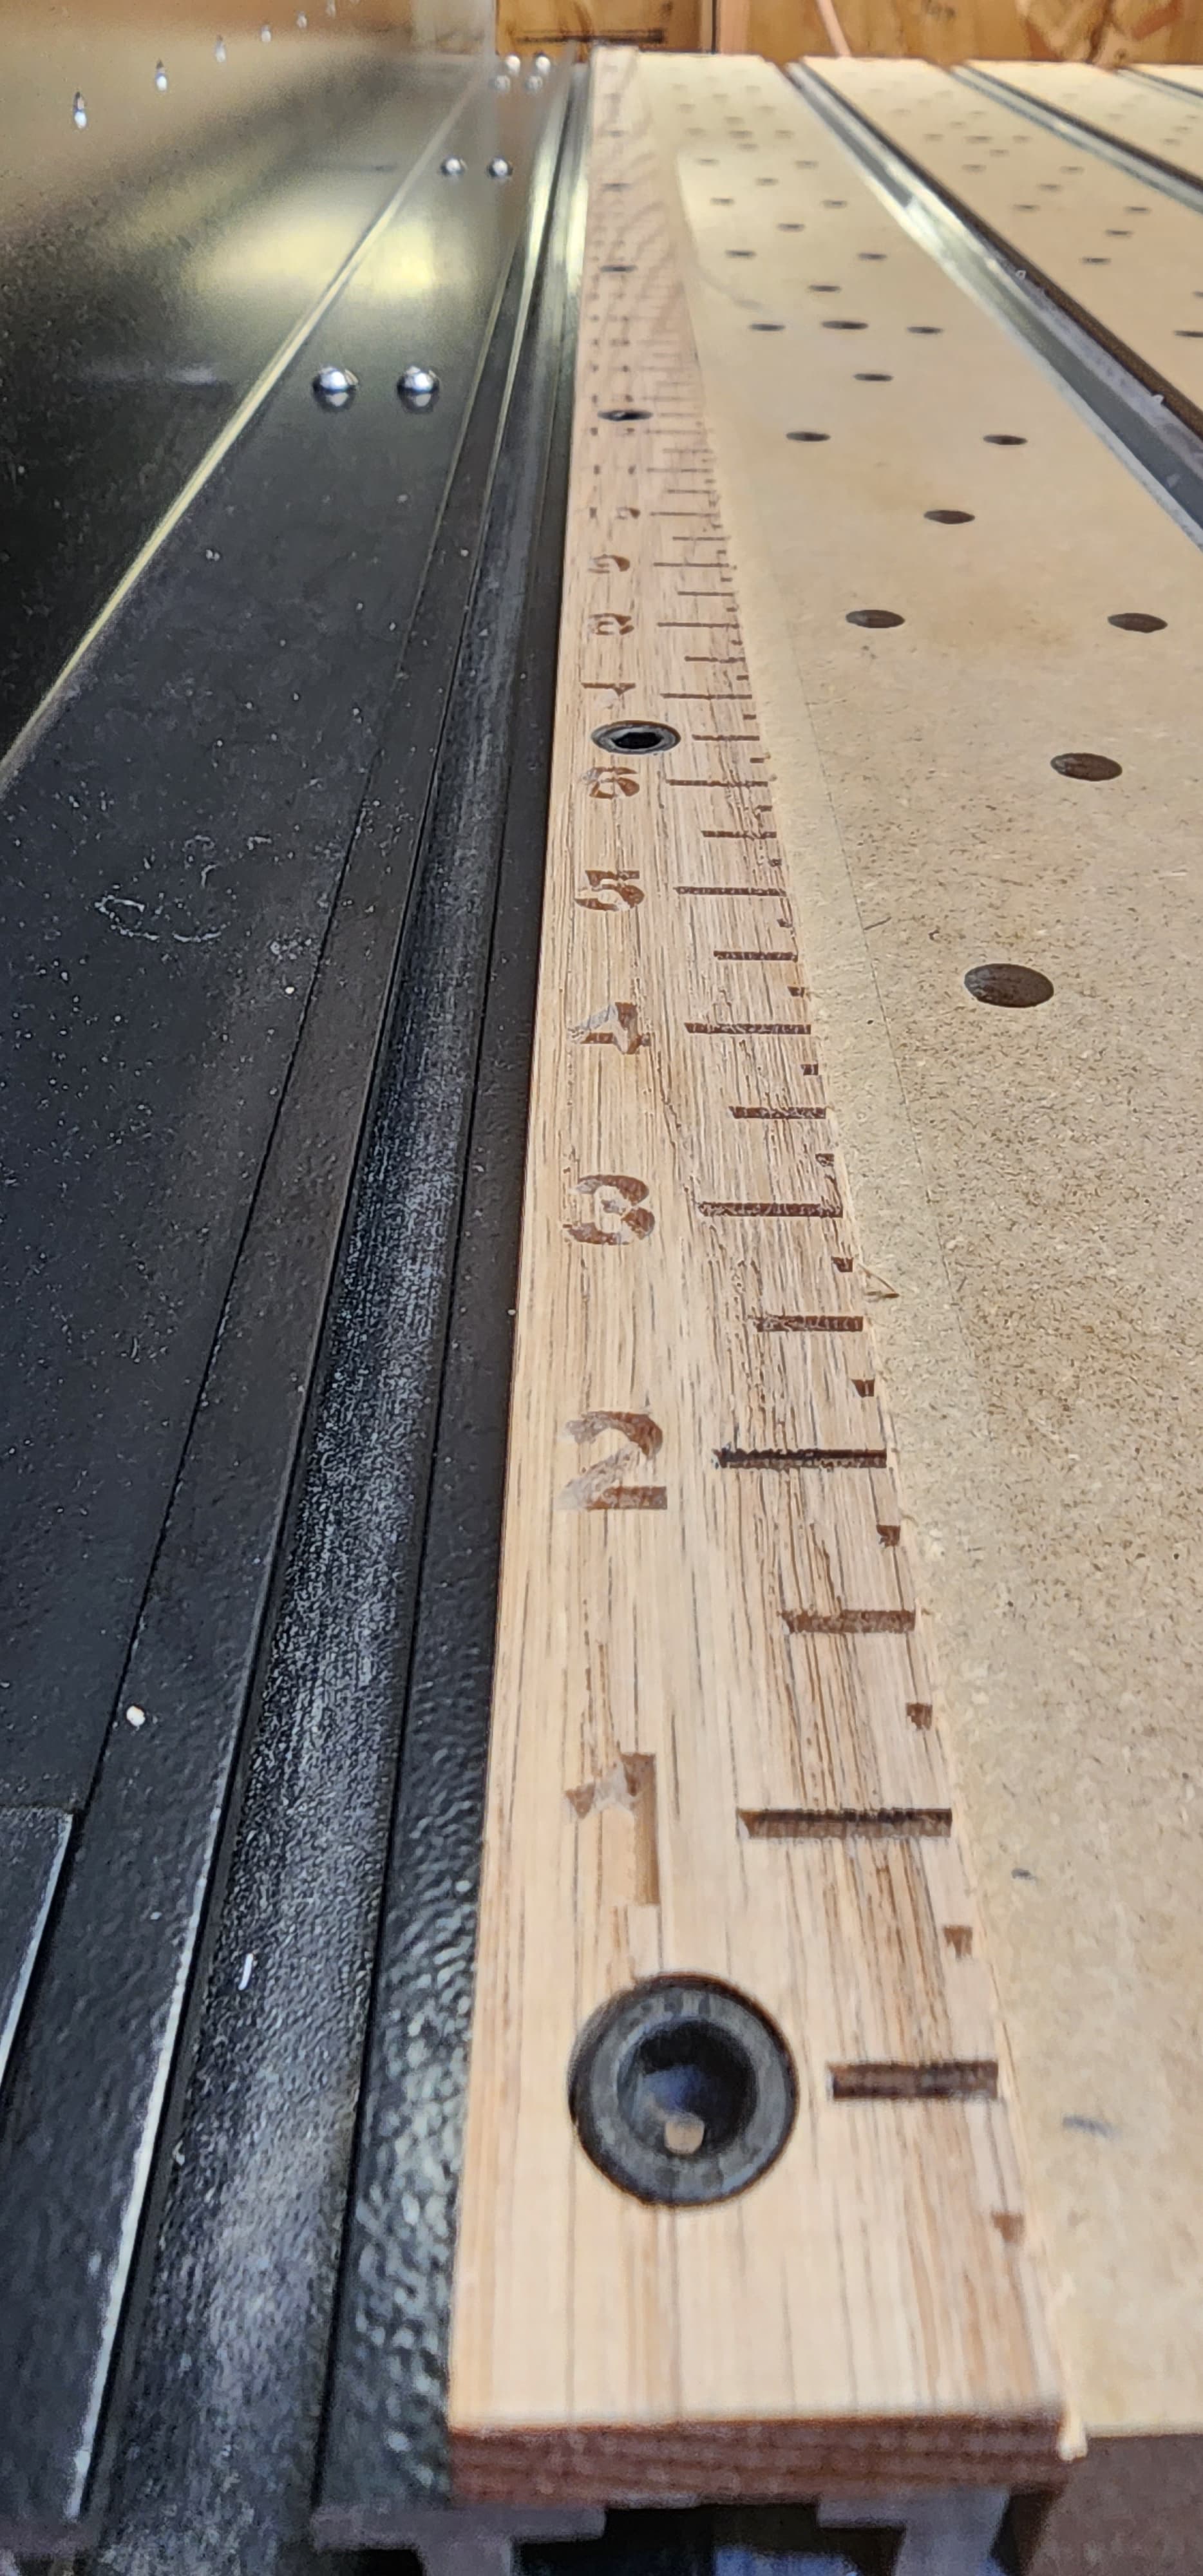
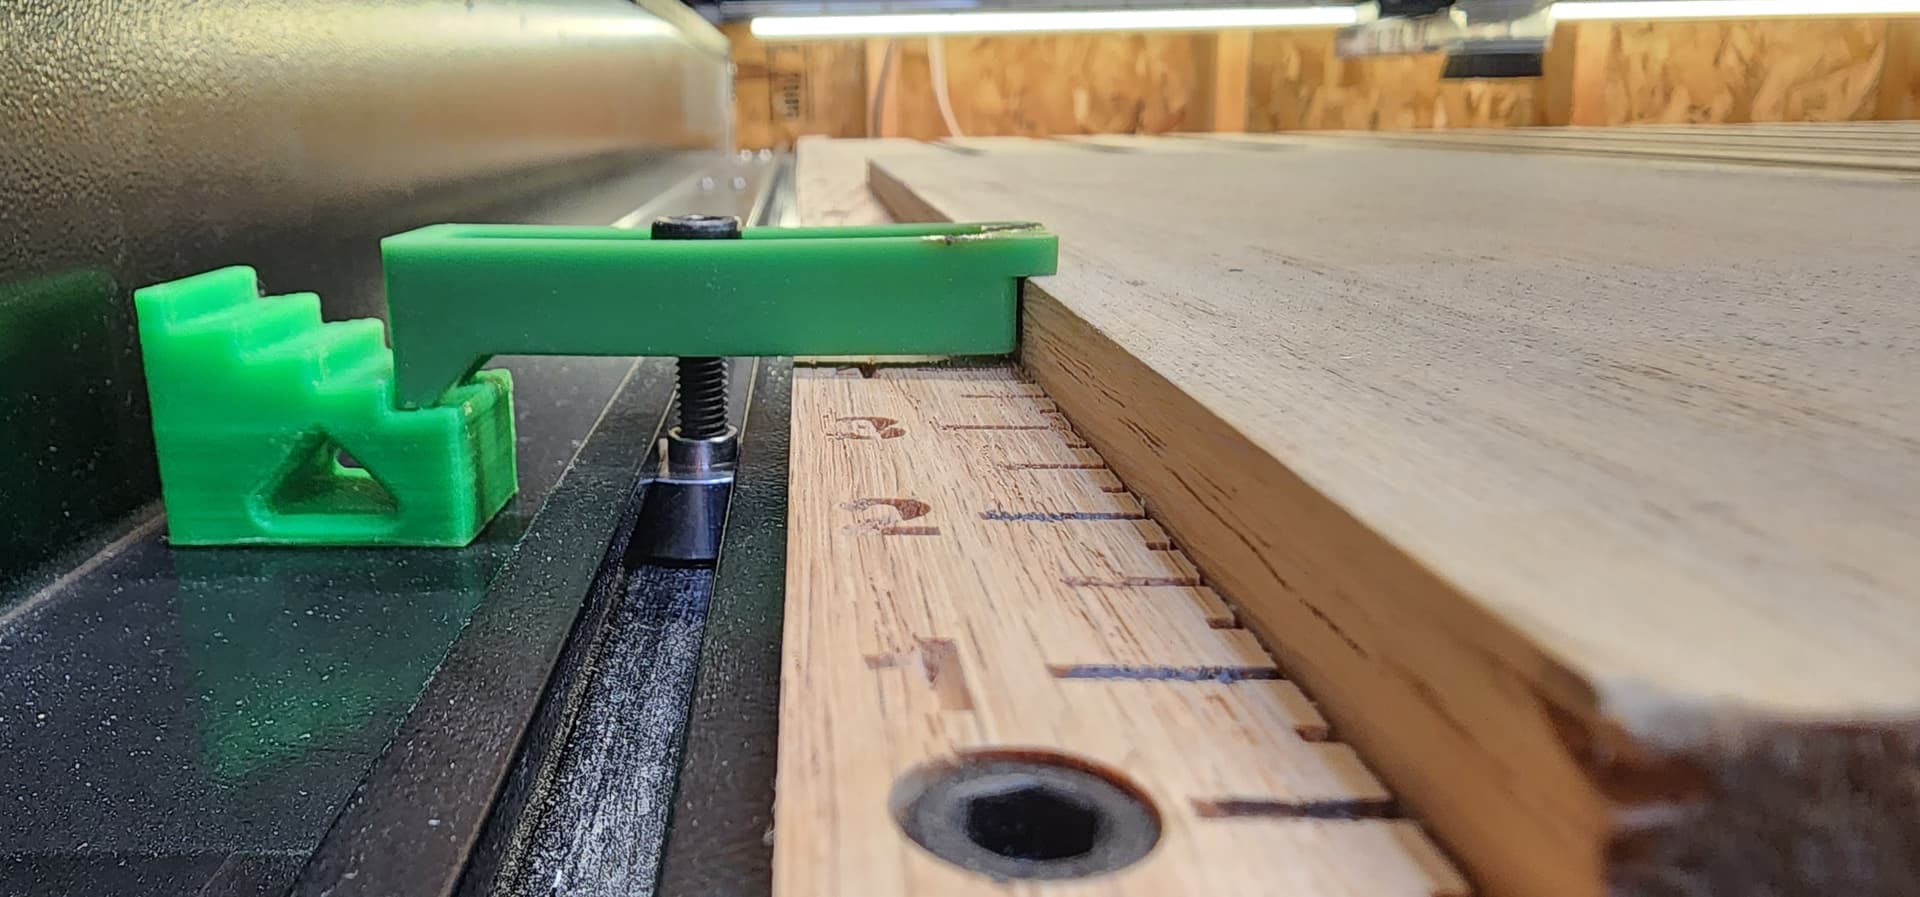
I have a job coming up that even with a S5Pro 4x4, I’ll have to tile. I haven’t used Carbide Create Pro’s tile function yet… so time to do it. I took a page from Kevin Barnett and made myself a fence. But because I’m me, I had to get fancy. The hatch marks allow me to make a mark on the material, and slide it a somewhat precise amount. I made it thin so that I can still use side clamps on 1/2" material. I then just jogged the machine with the spindle running to get it perfectly aligned to Y. I need to make a change to the file, and I’ll post it. 
All cut on the S5Pro.
Programmed in CCPro.
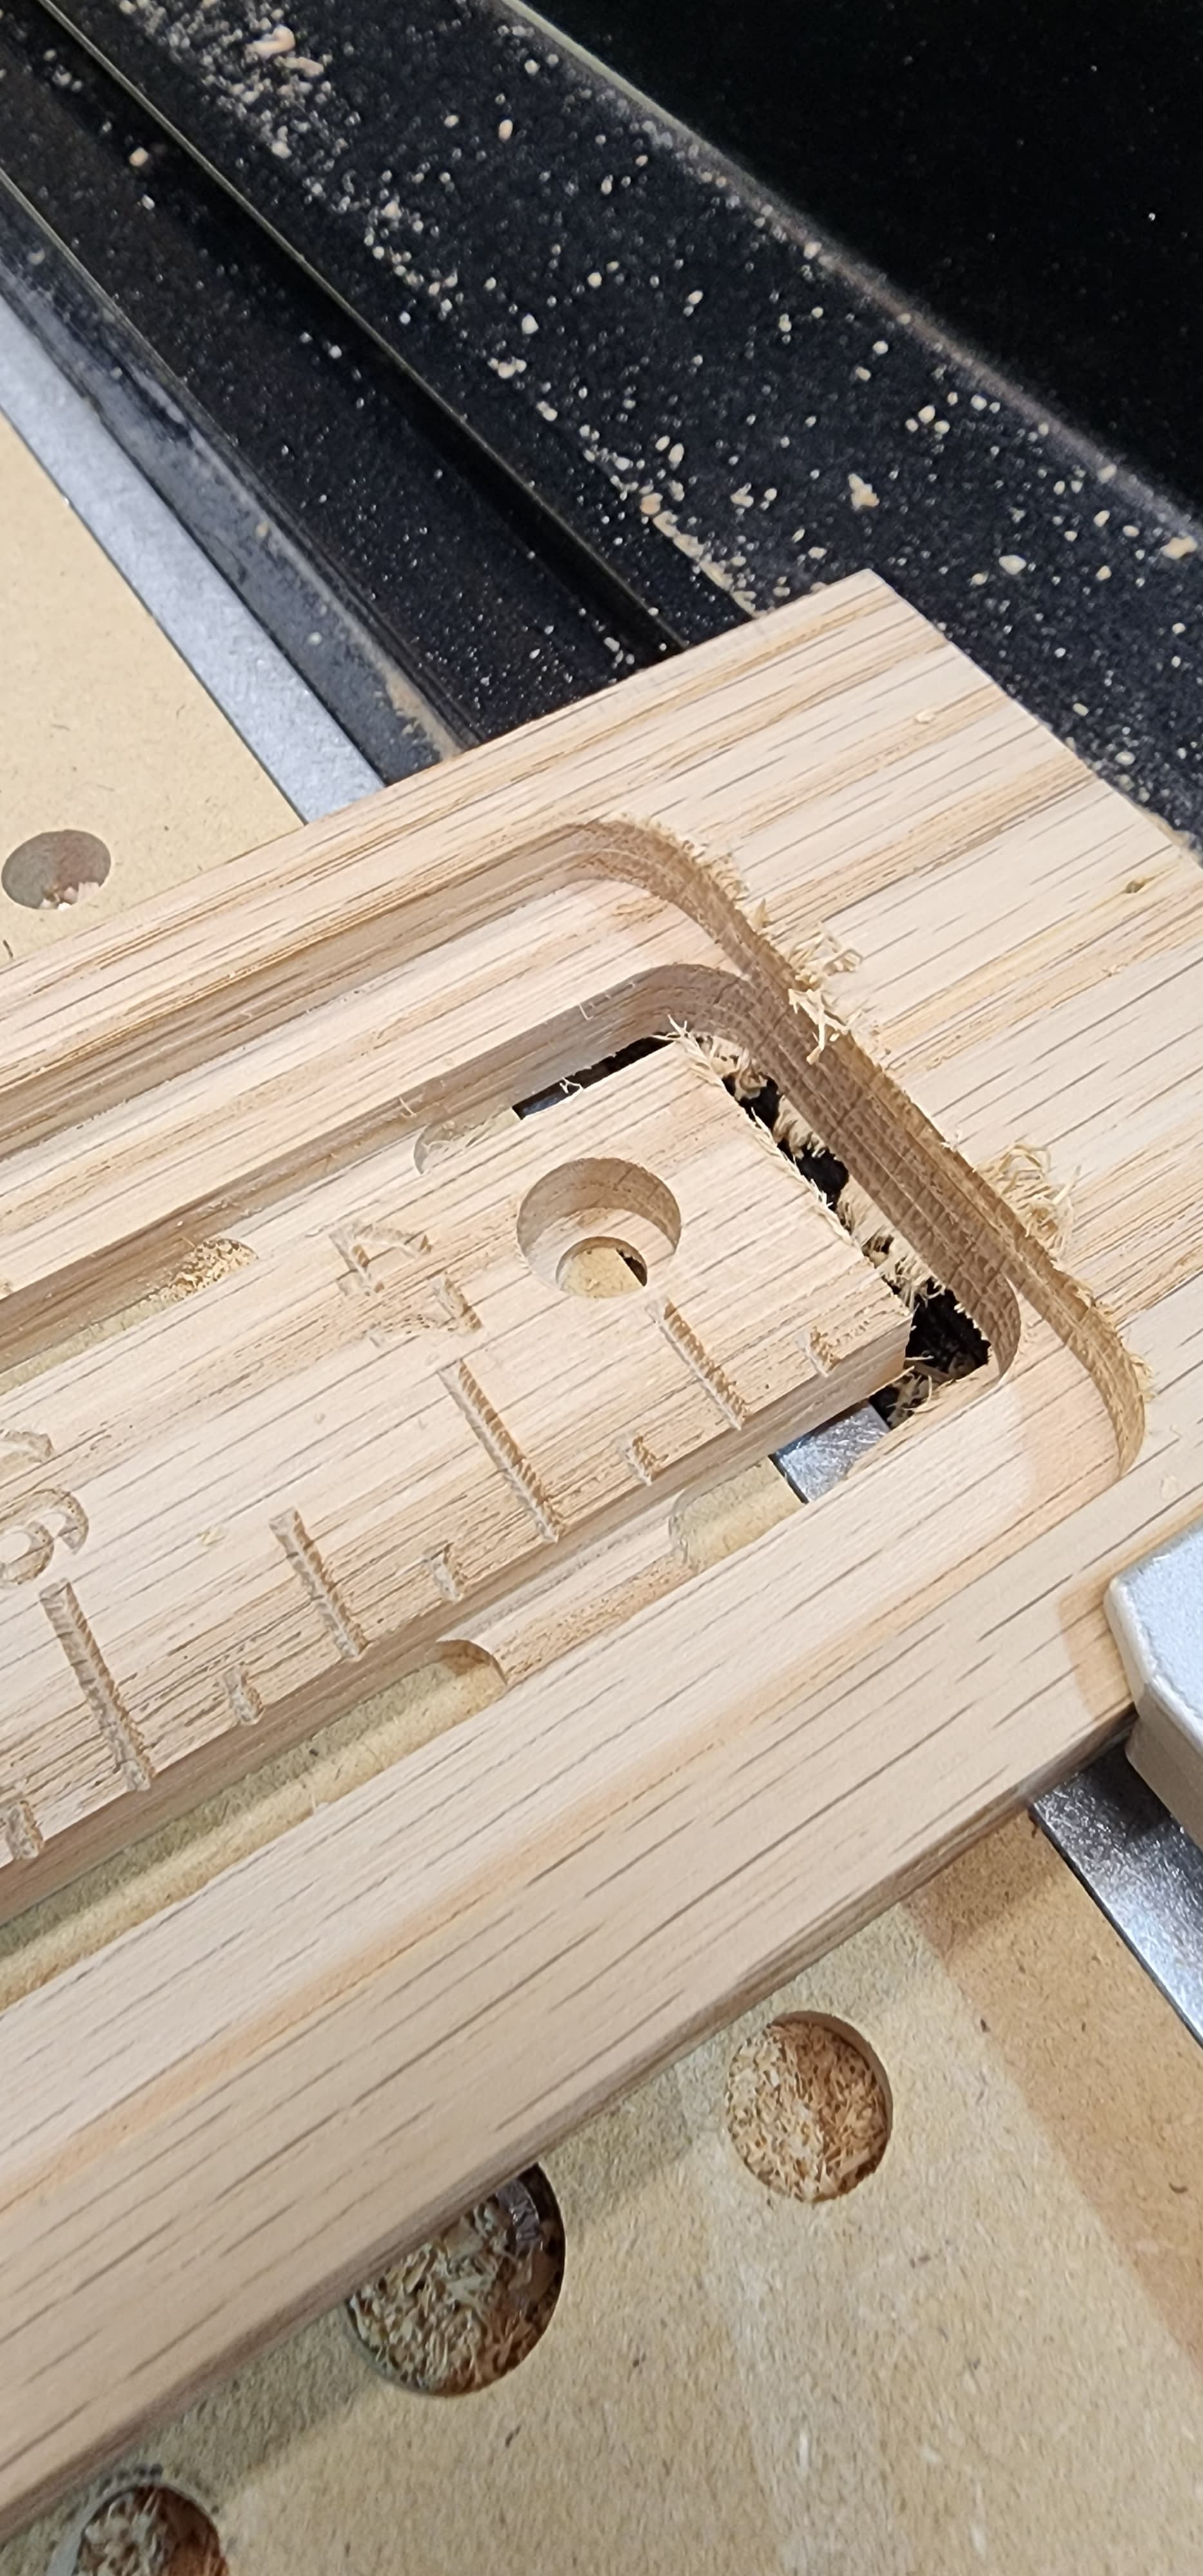
The marks are all cut with the 60° Groovy Jenny.
Holes cut with a Carbide 3D #102 1/8" endmill.
Counter bores and periphery cut with a 1/4" downcut.
Very nice work! Great idea.
Nice. I started to do something similar a few months ago and got distracted. I was hoping to find a nice ruler out there already but couldn’t find one and didn’t have the time to draw one. Would you care to contribute to the community?
I used wipe on poly on this one but didn’t buff it to a super shine. I have used spray poly before and shined it up pretty good. I thought about doing a topcoat of clear epoxy to get that shine but the risk of messing it up with no time to recover was too high.
I uploaded both the .c2d and .svg files to Cutrocket. Pending approval.
I used the Mc Etcher diamond drag engraver for the first time yesterday, very impressed.
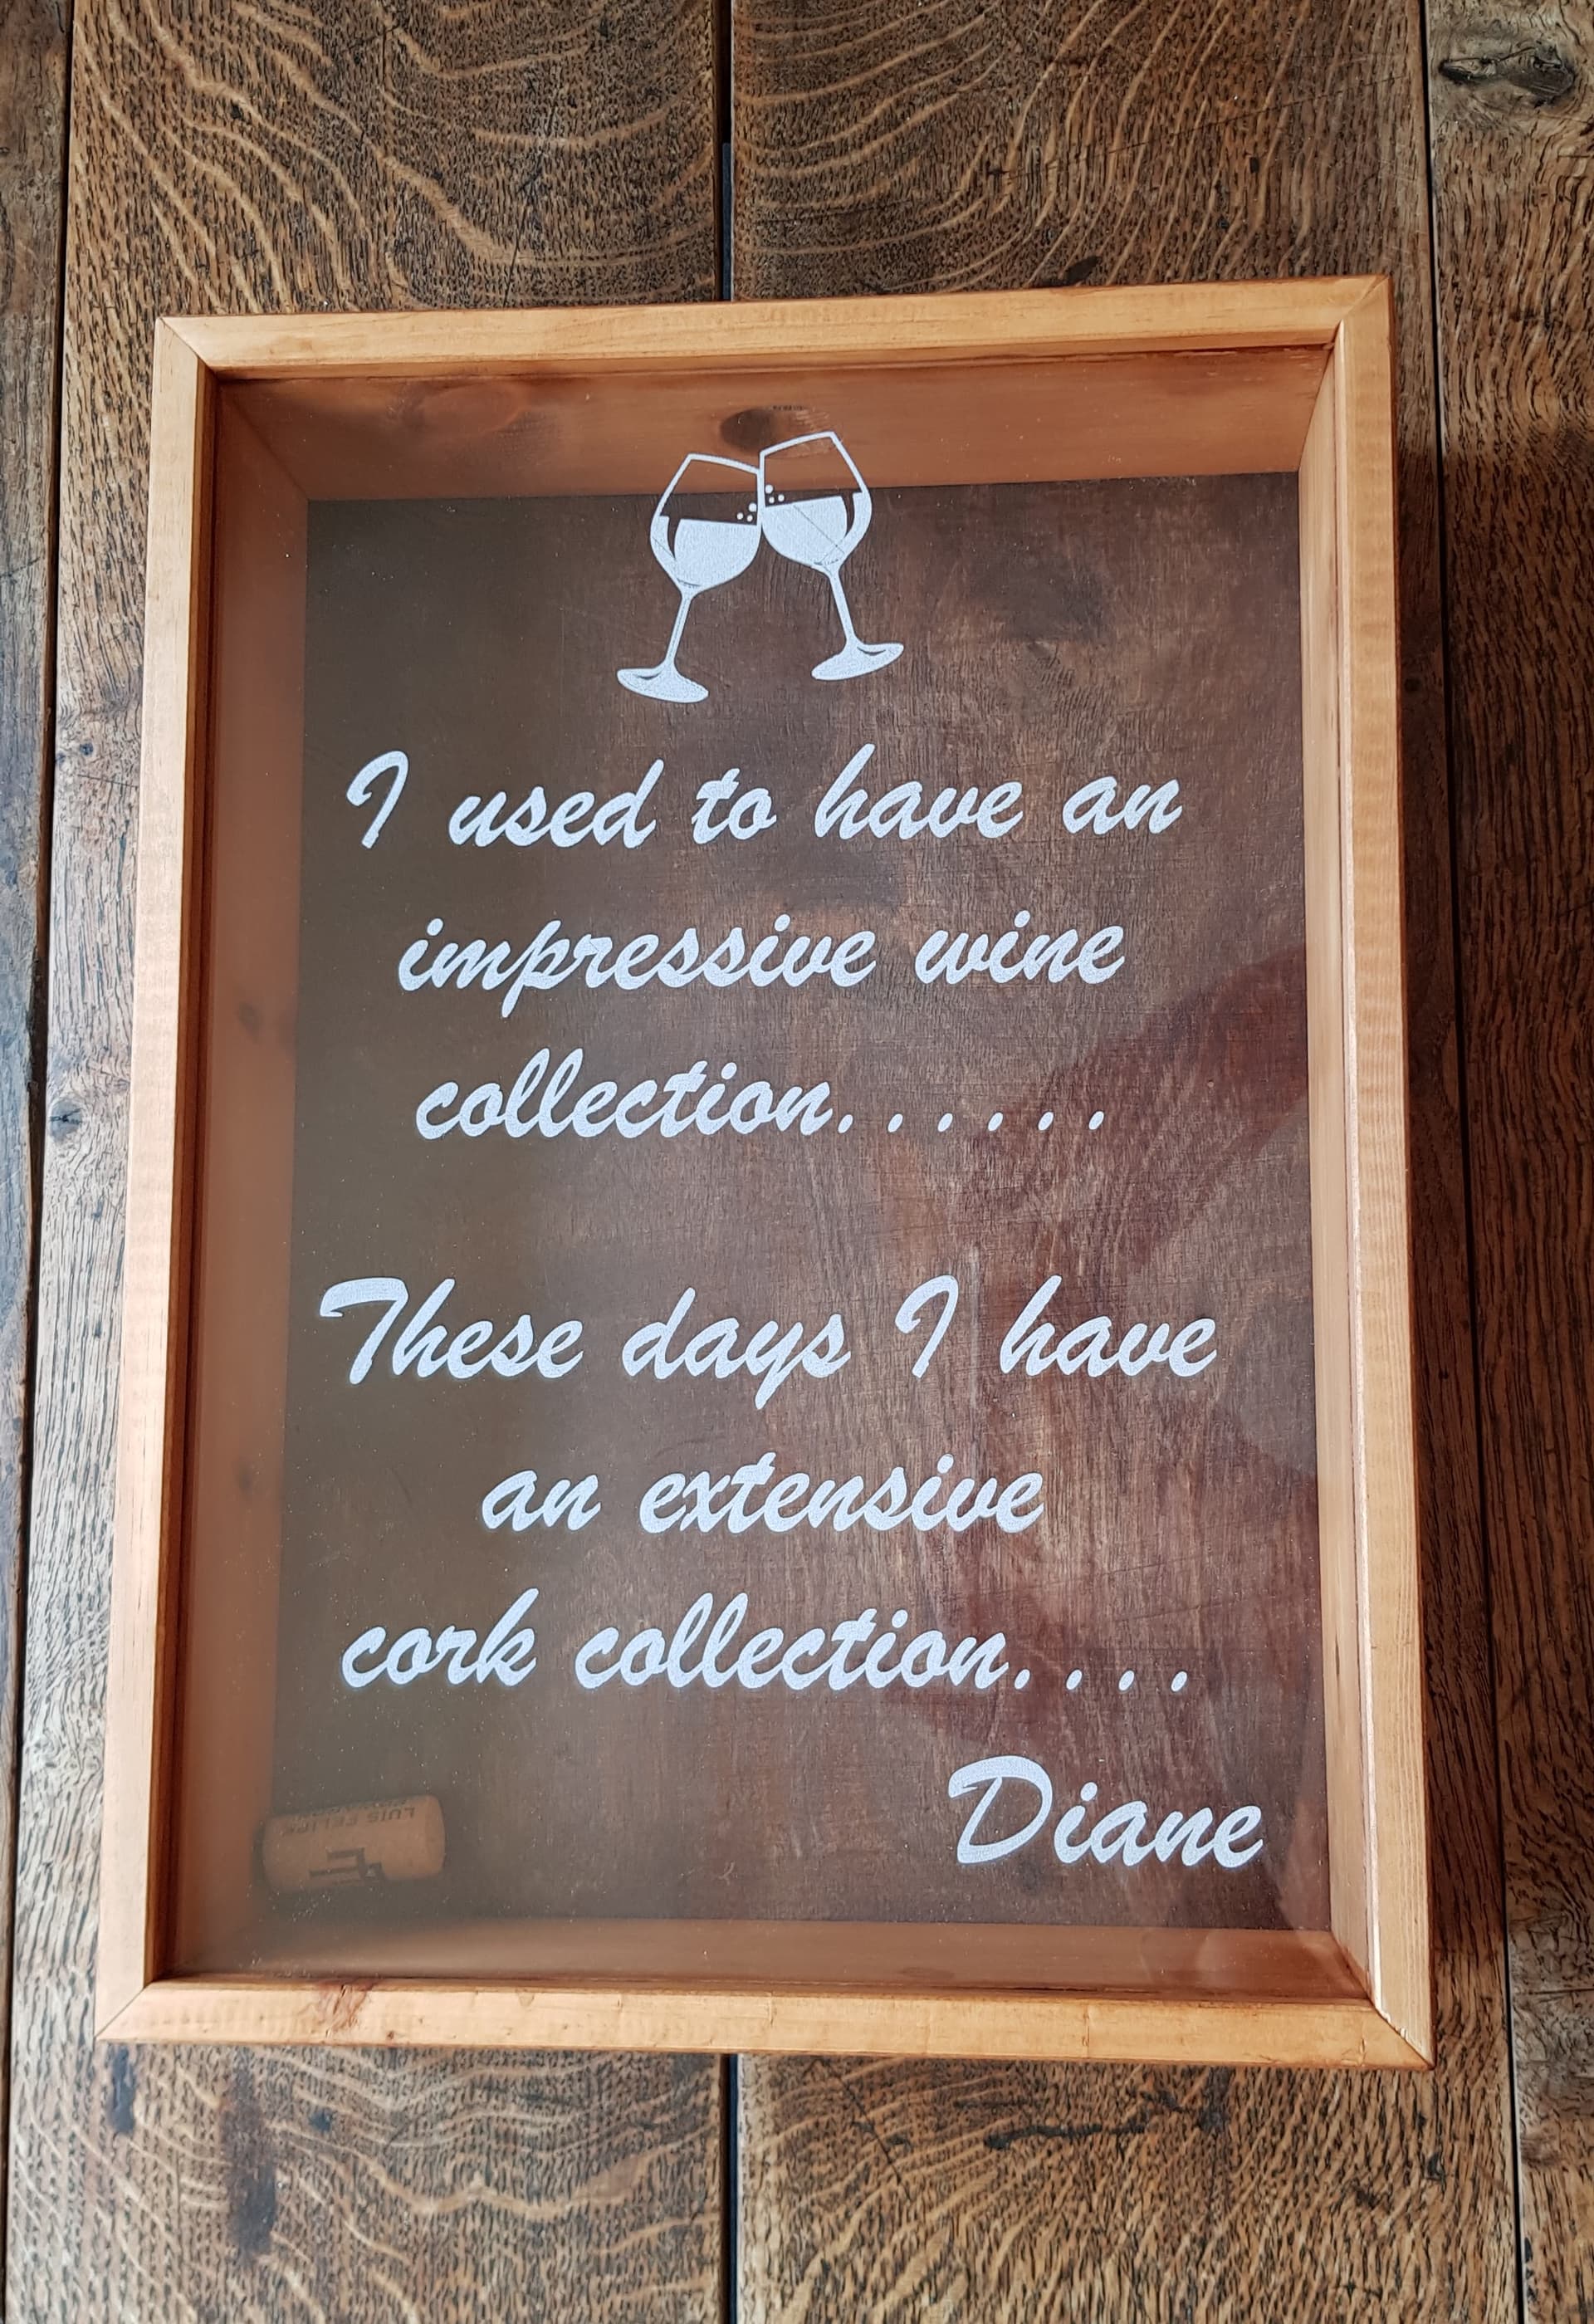
90 degree bit used on cast Perspex using Vectric V-carve, 60 inch/min.
It was much faster than I was expecting, around 35mins and nice and peaceful without the router running. The overall size is around 18" x 12".
It is a house warming present for a friend, it won’t be empty for long!
The teachers got the coasters today and others at the school immediately started asking for some and a price.
So, giving some to generate word of mouth was successful. There is no way to price those enough to cover my time unless I streamline the processes. Removing the kids names will help.
I can’t really see charging them more than $10 or $15 for these. What do you guys think? Wood is not an expense for me so it’s really just time. I could cheat and make the eagle a sticker but it wouldn’t be as cool then although they may never know.
I am tempted to tell them I will make them for all the teachers if they quit bugging me about fundraising 
My advice from my experience with same, make things for the teachers that your kids are involved with as they go through school. Anything else and you’re sucked into the Chinese pricing trap.