Incredible work!!
Very nice design
@CullenS @TonyMurray @dclark
I have bought the same set and i have been a week having issues…my own fault. I cant seem to get this set up properly. I downloaded the stl. Then opened in mesh cam and cant seem to get past that. I created toolpaths but they seem rediculous to me. Im new to all this so even cc pro is new. This is my first look at meshcam as well. If anyone has the patience to help me through this id really appreciate it. I have had some help to get to here. Thanks
1 Like
Thank you Cullen. I honestly don’t know the answer to your question since I’ve never used CC Pro. However, judging by the positive comments I have read about that program, I suspect that it would be up to the task.
Photo 2 looks like a different project. Perhaps its a photographic illusion?
How did you clamp your maple and walnut squares for glue up?
I like the way photo 1 looks. +1
Photo 2 is the underside of the board showing how things were constructed I believe.
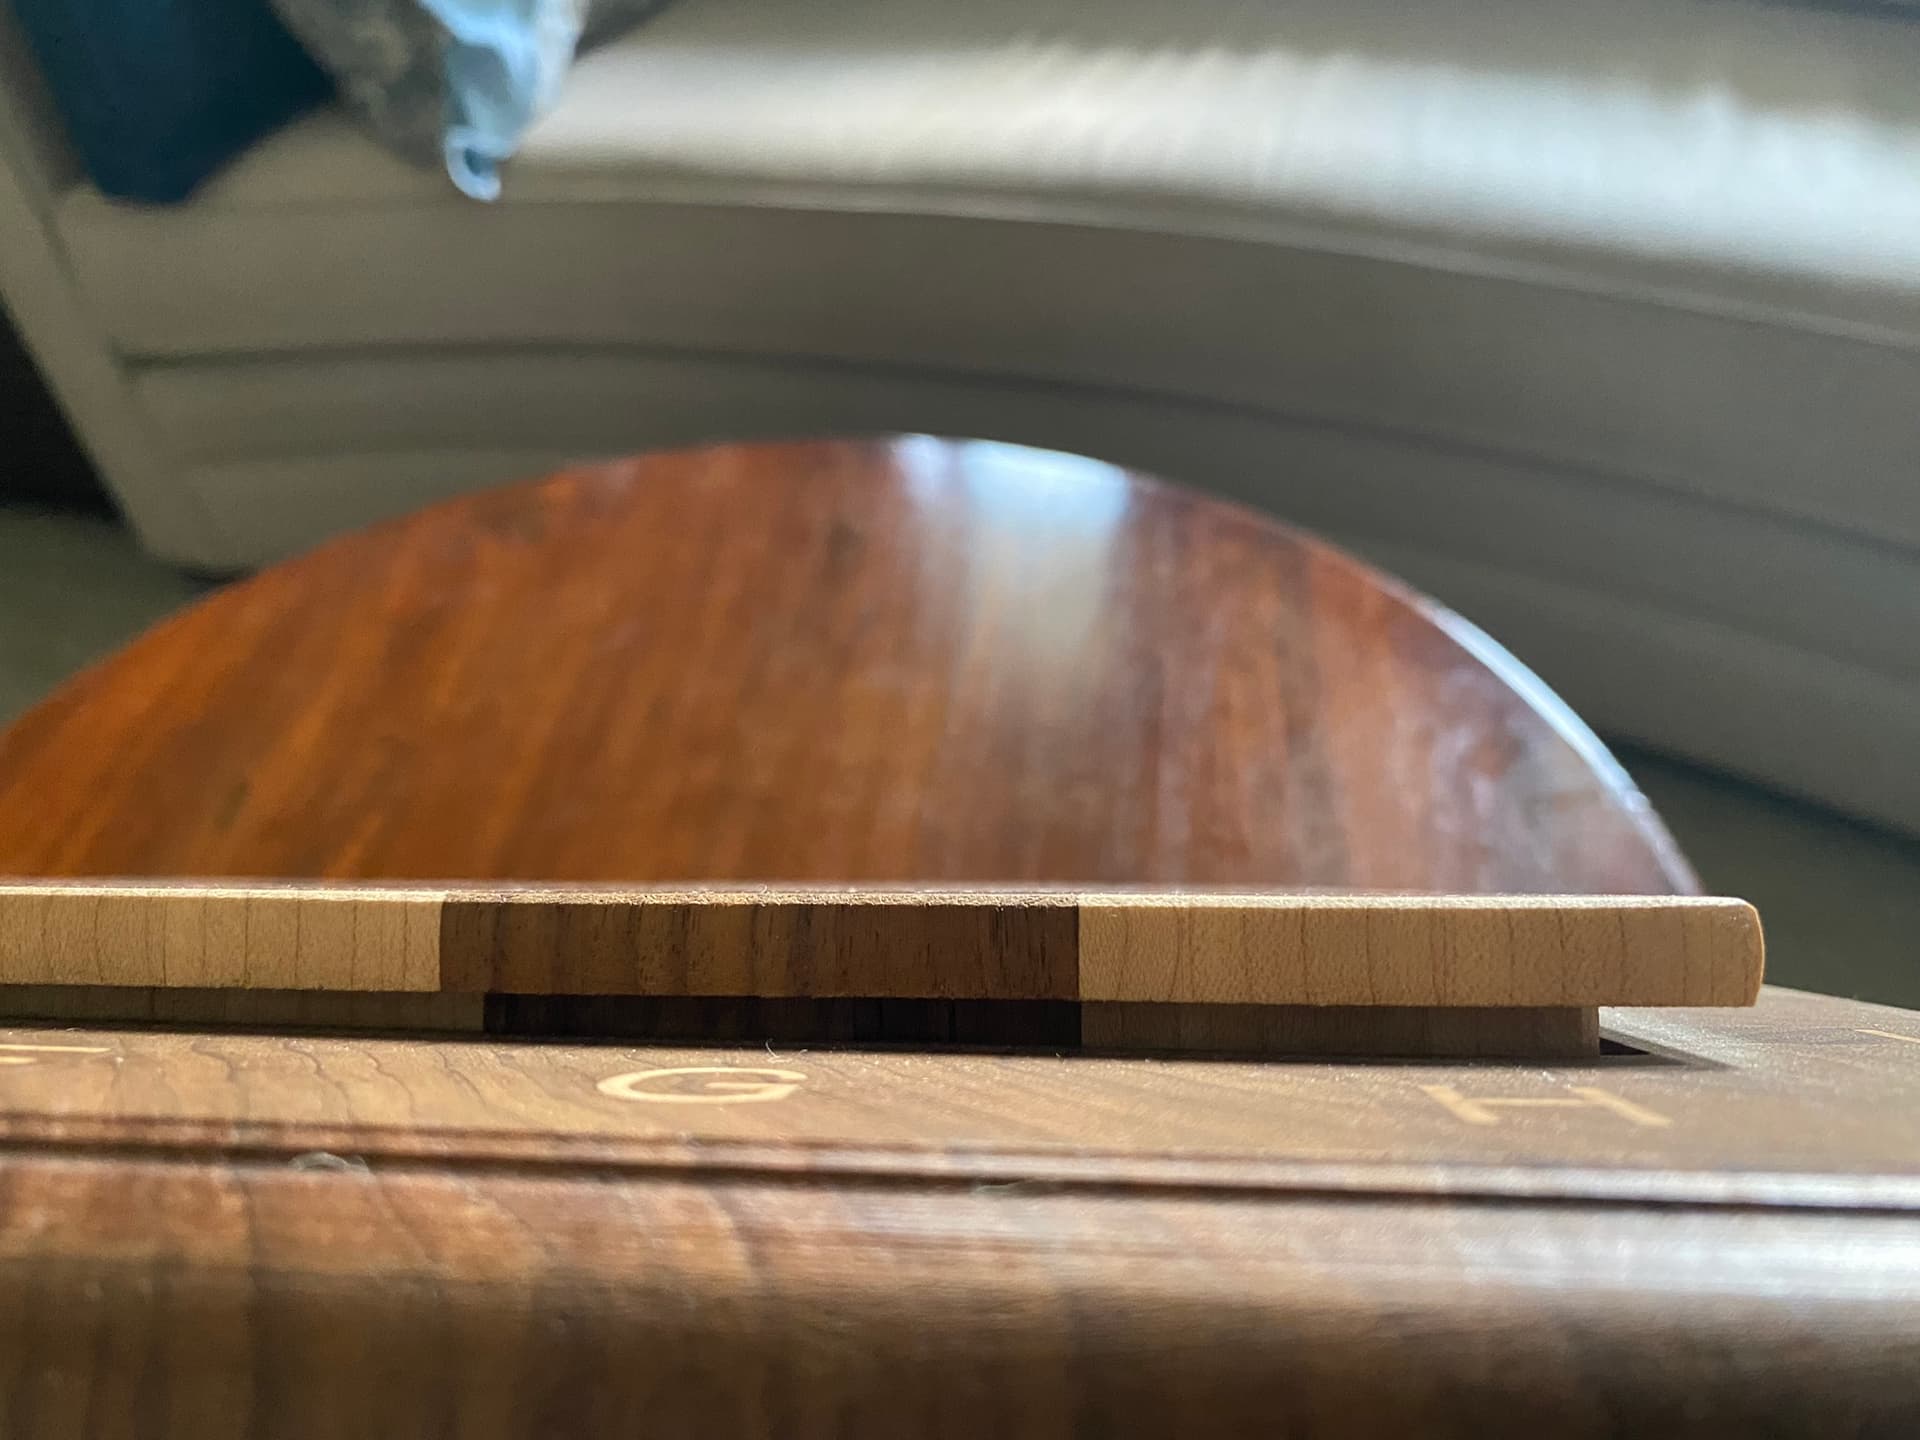
Picture 2 shows the playing surface from a straight down view which makes it appear that the surface is at the same level as the border. It’s actually elevated as I’ve tried to show in this picture. So as you surmised, its a photographic illusion. You will notice that small imperfections in the maple which are visible at E6 and F9 appear in both photographs.
The construction of the squares is much the same process as used when making cutting boards with various patterns.
4 Likes
I watched the video for that board. The guy had a monster belt sander and a shaper. Did you have those or find other ways to deal with those steps?
No I don’t have any big tools like that. I do have a 16" drum sander and a 13" planer (Dewalt 735) but neither one of those tools are anywhere near big enough on a board this size. It’s 22" square. Besides, I don’t really like using the planer for end grain work. I rely on the CNC machine for thickness planing. I set Z zero at the machine bed, tell the software how thick the material is now, subtract the desired thickness and remove that much with a surfacing bit. It comes off the machine “glue ready”. I use a random orbit sander for finishing.
2 Likes
rocking horse

was inspired by christofix I Spent 4 Hours Building This Rocking Horse AND GAVE IT AWAY - YouTube
developed the files for the cnc machine.
rocking horse.c2d (172 KB)
rocking horse.dxf (154 KB)

16 Likes

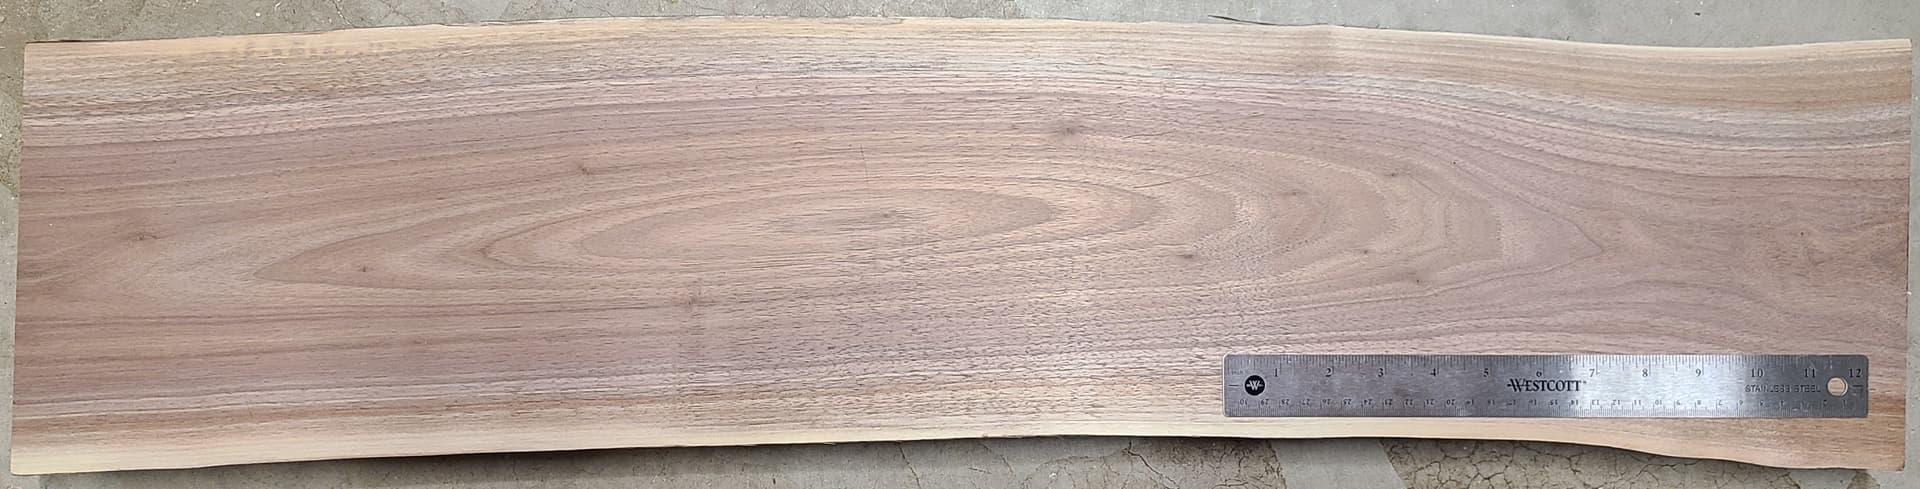
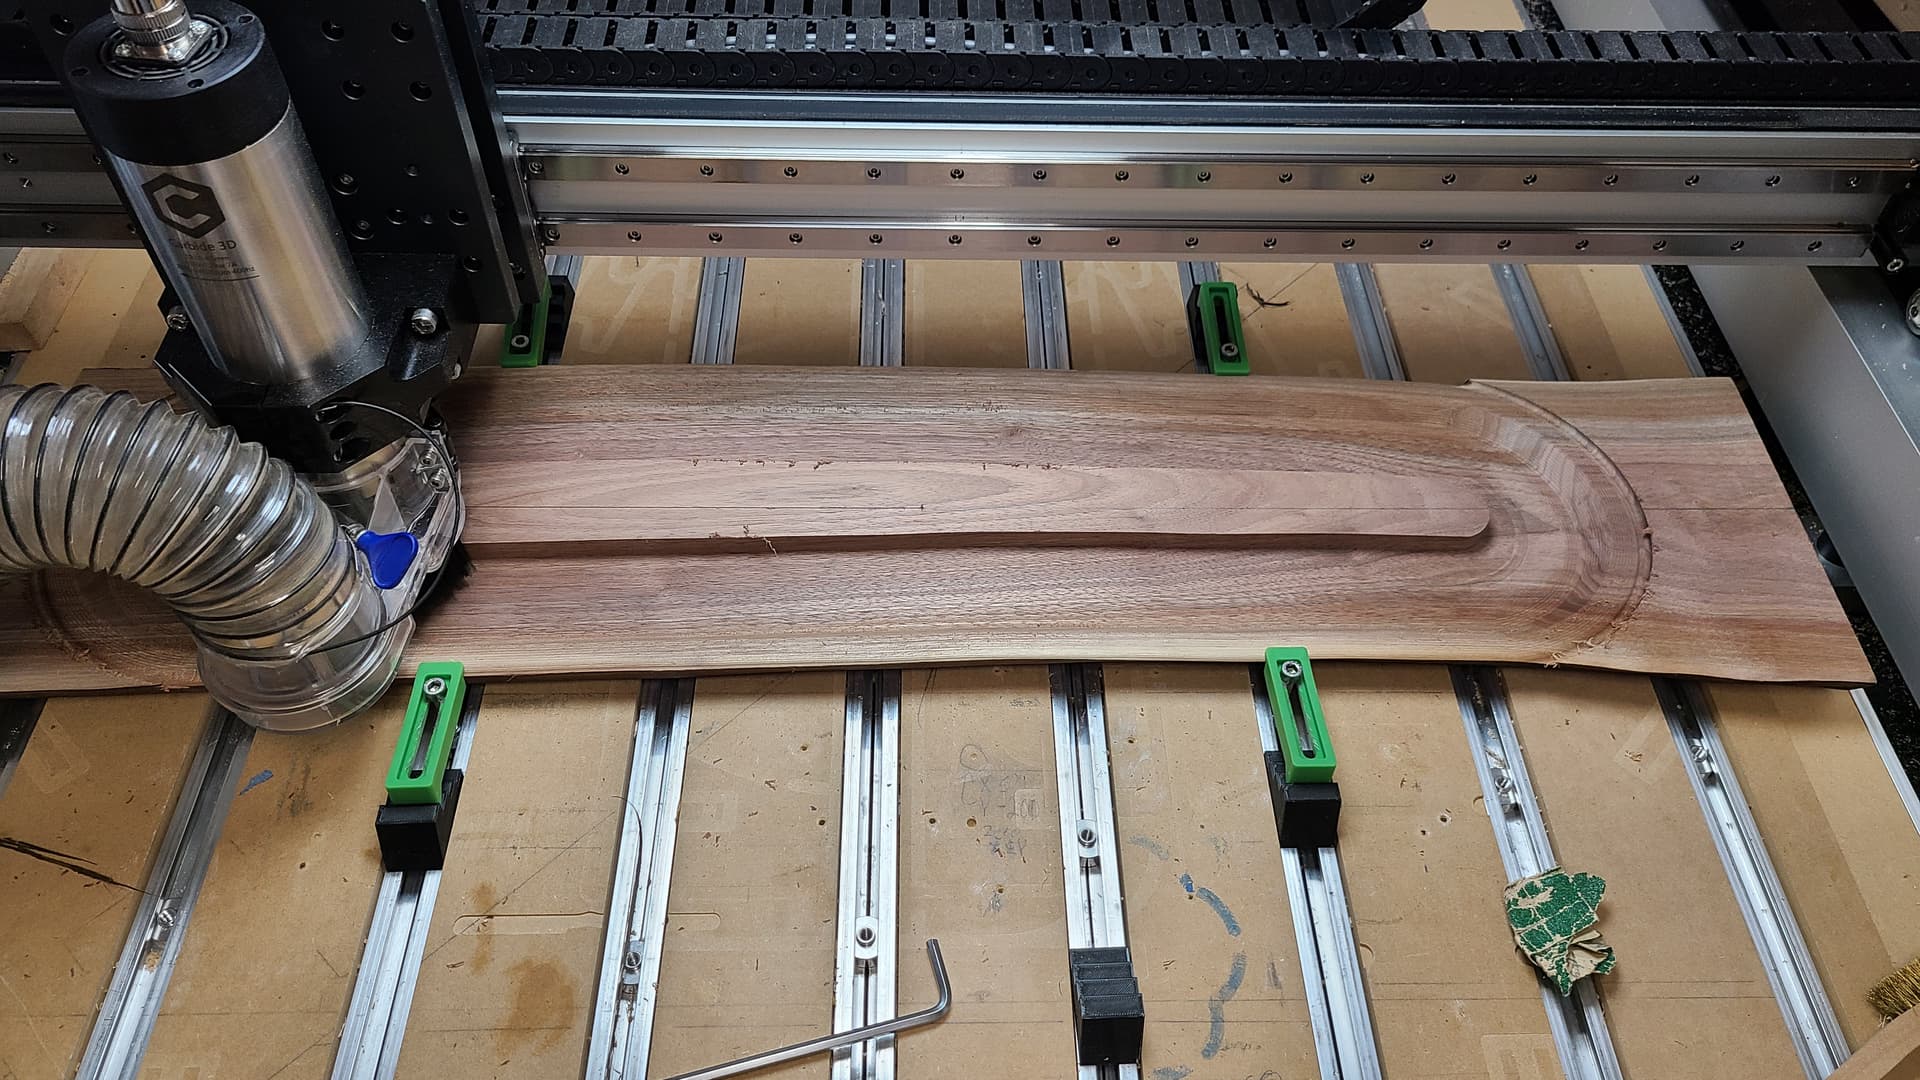
Large format 32" x 8" serving tray made from a live edge walnut slab. Took picture and imported into Fusion 360 to trace live edge profile.
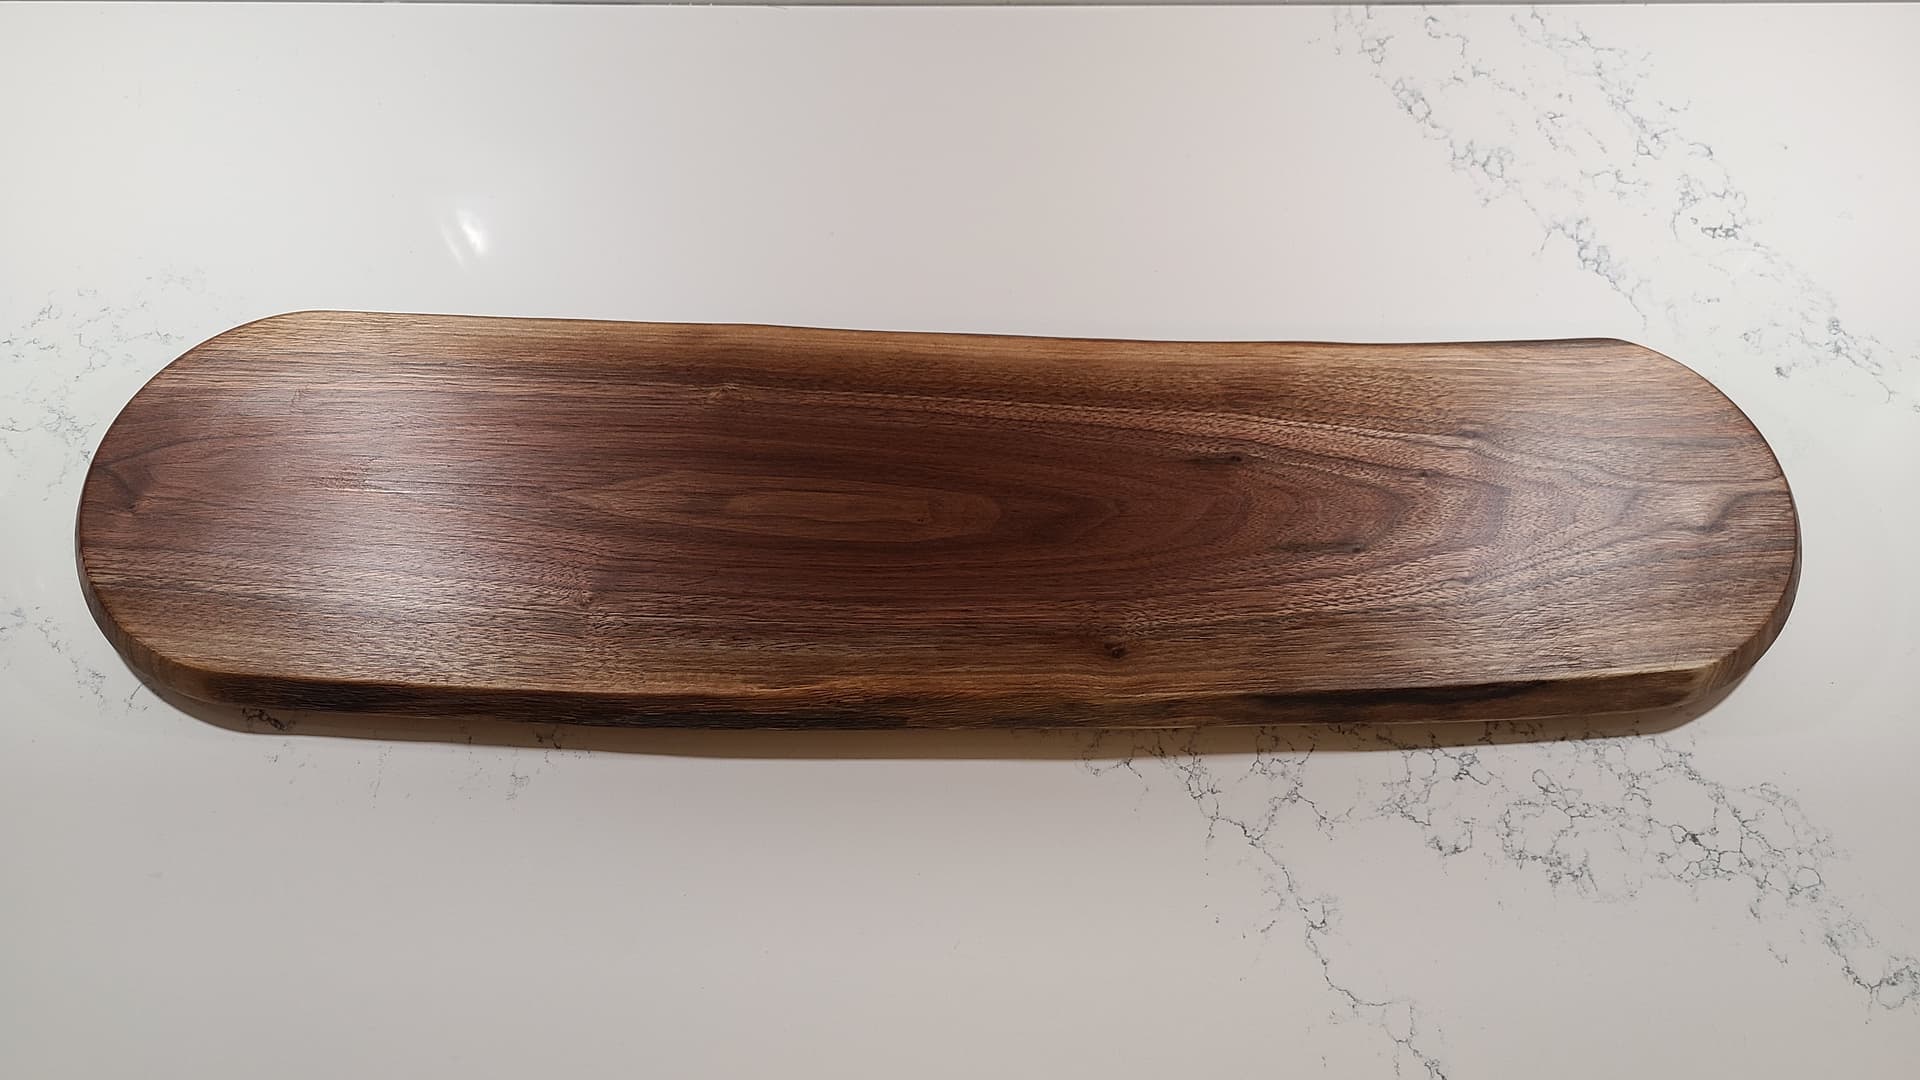
Experimented with conical toolpath, full depth of 12mm with 1.25mm stepover and worked surprisingly well.
Sanded and oiled

23 Likes
Now you’ve got a “bent wood” serving tray! ![]() +1
+1
Ok, where is that tree limb that fell off the tree in the last storm? I put it somewhere …
2 Likes
Woodworking on the kitchen counter ![]()
3 Likes
How did you make the slanted sides? It looks like a V? And did you round over the top edges manually with a sander or with a bit in the CNC?
Or does the canonical toolpath take care of it all?
I’ve added information how I integrate Live Edge Wood Slab with End Profiles here
Edit: @CullenS as for your question the edges are all machined but I had to also do 2 sided milling. The extra material around the project I drill holes through the stock matching the diameter of wooden dowel pins and machine the matching holes into my spoilboard to align the stock on the flip.
1 Like
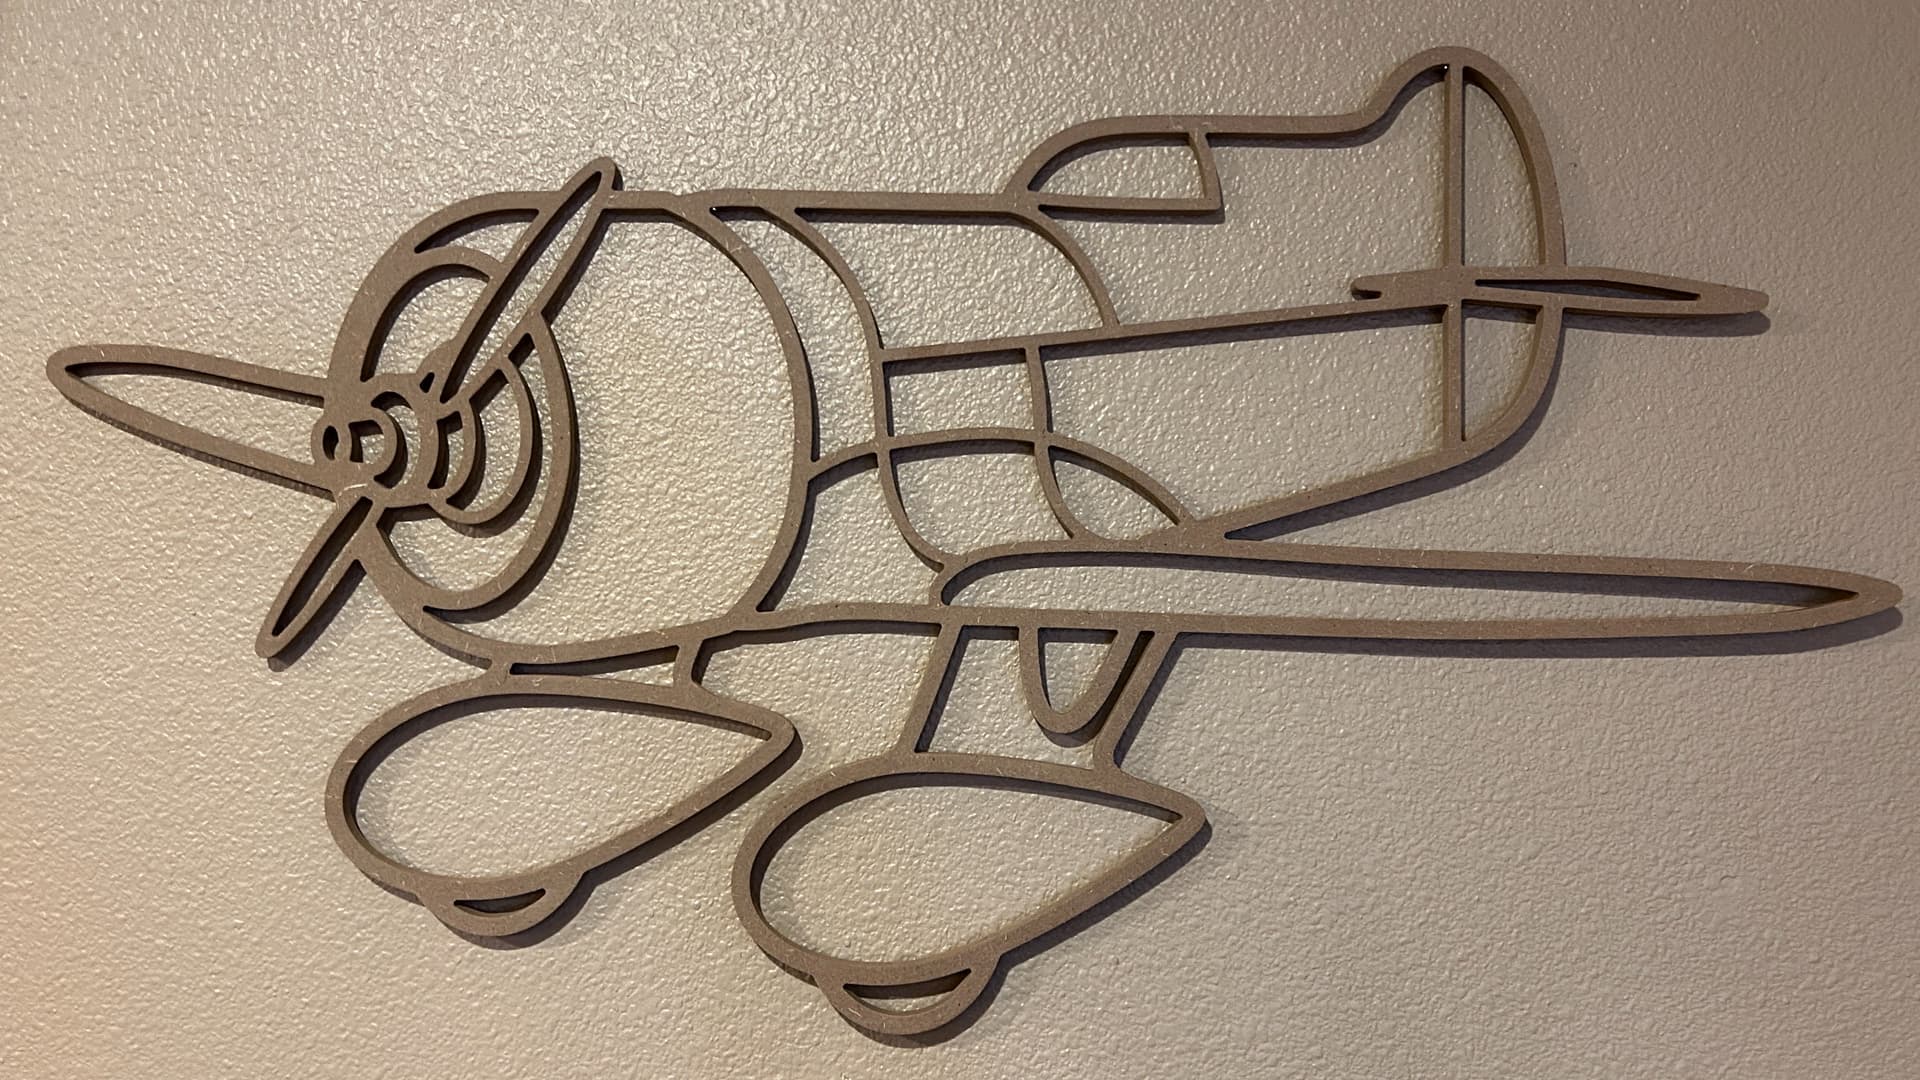
I made this Gee Bee a few months ago as my first real project on the Shapoko 5.
It is about 2.5 feet wide.
The material is some MDF that was protecting a cabinet during shipping. I don’t think i will ever add any finish to it as it matches the paint OK and it is fun to tell the story of making things from trash.
26 Likes
That is really cool!
Would I be out of line to ask for the CC file? At least the graphic you used for the project.
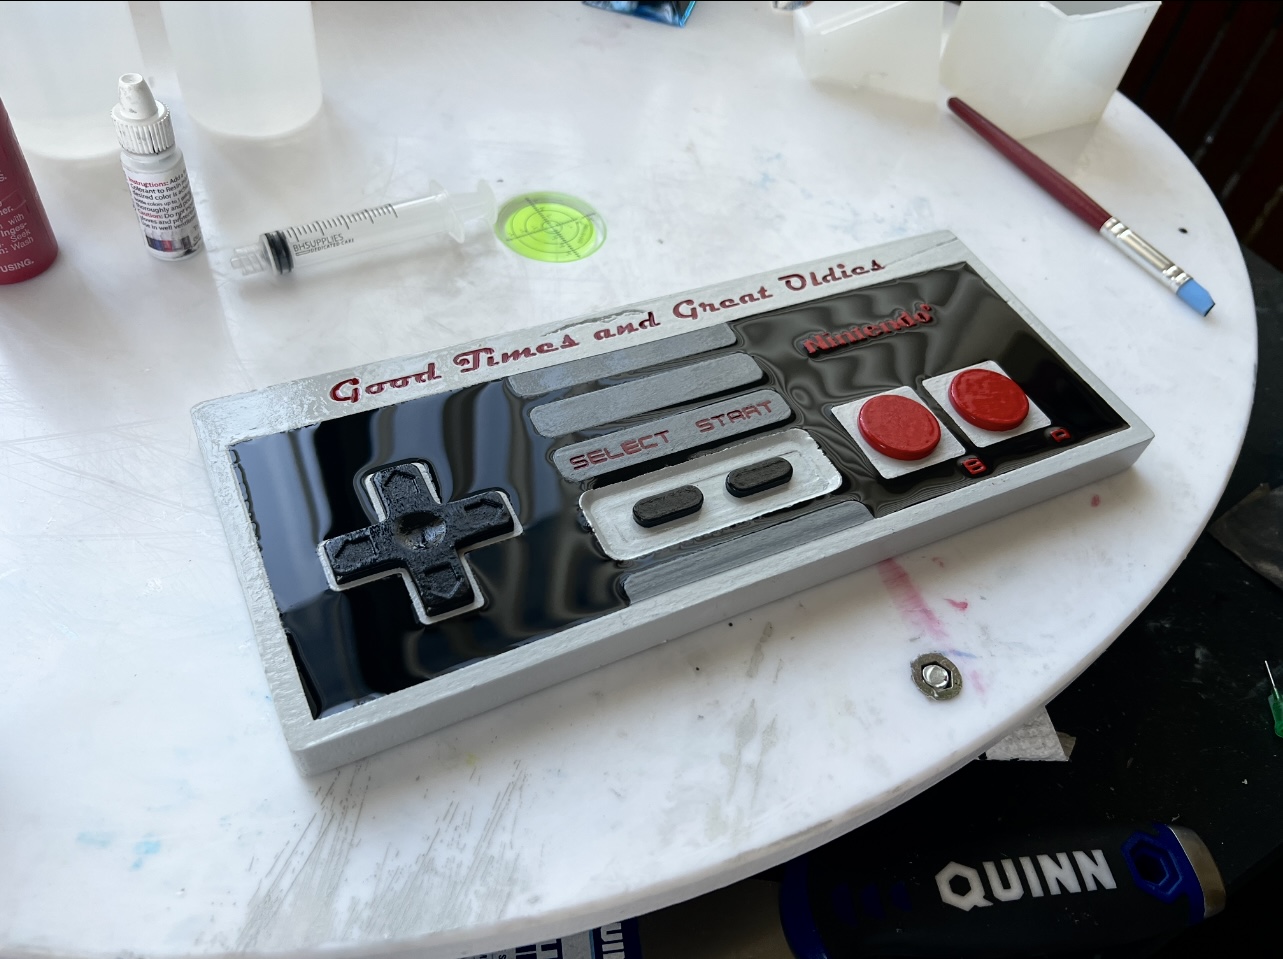
Original Nintendo.

I found some basic measurements, but had to guess at the various depths. I’m not a fan of painting over wood, but it worked out for this type of project and it was fun to make for someone as a nostalgic request.
30 Likes
Slick looking project. Nice job
1 Like
Outstanding work!
You got the colors exactly.
1 Like
That looks amazing!! Do you mind sharing how did you achieved that cube texture please? Thanks!