These are really nice. Are the inlays epoxy or paint or…? Thanks!
Thanks! The inlays are teal and white epoxy. The colours don’t come through well on the photos. There are also some carvings that are unfilled just to add more depth.
busy day with two new materials under my belt.
White Corian (for an F1 Ultra Laser, apparently the laser wont mark this material at all)
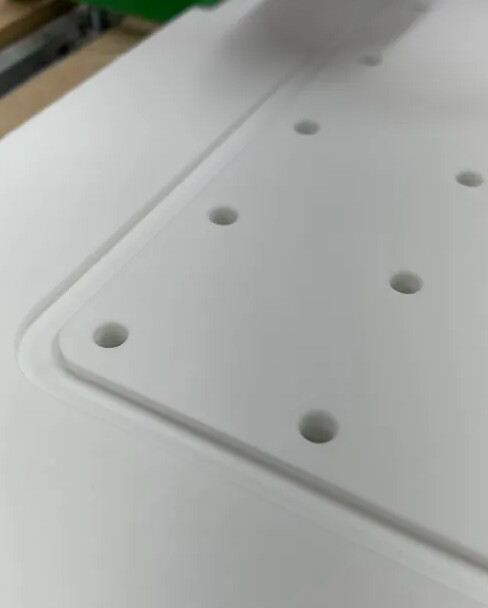
It cut really cleanly
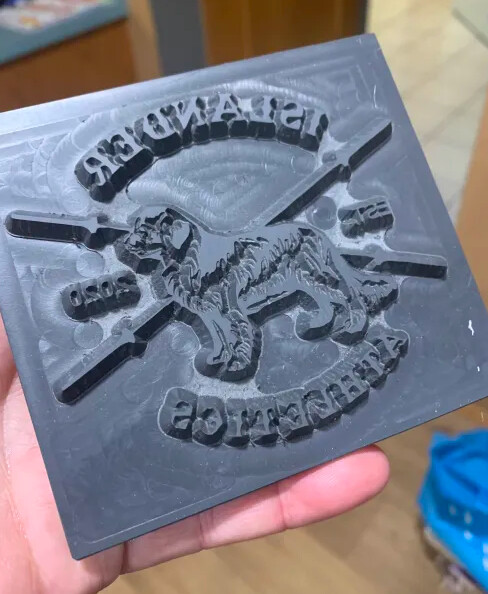
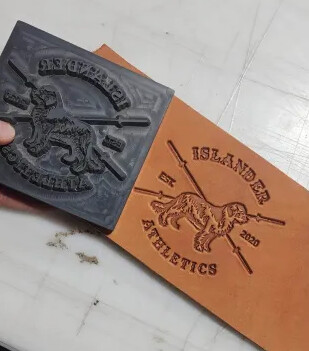
PVC as an alternative to brass for leatherworking stamping (on a clicker press, no heat)
still has some fuzzies, but all in all pretty good cut. Fast too.
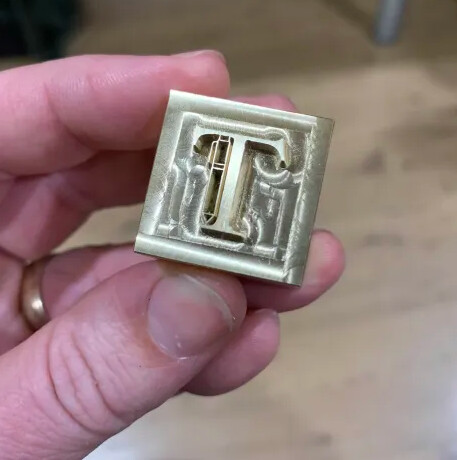
and refined my brass milling. Expiramented with some 20deg bits. broke two learning the speeds and feeds, but got it on the third go. Really happy with the detail I was able to get.
22 Likes
You are using the corian as a baseplate for the F1?
well my buddy will be. he has the ultra. he’s noticed some spill over when doing full etches and its marking the existing plate
1 Like
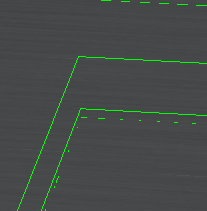
To improve the bottom cut, run a final pass with .02 left. For Example, if you want the Total Depth to be .25, make your DOC .115, which will leave .02 for the last pass/finish pass. I have found that pine flexes just from the bit’s pressure pushing down.
Here is a screenshot of the toolpath. The top line is the 1st pass at DOC .115, and the 2nd Pass is .23 (.115+.115). The Final pass is .02. This strategy will help reduce the amount of finish sanding needed.
3 Likes
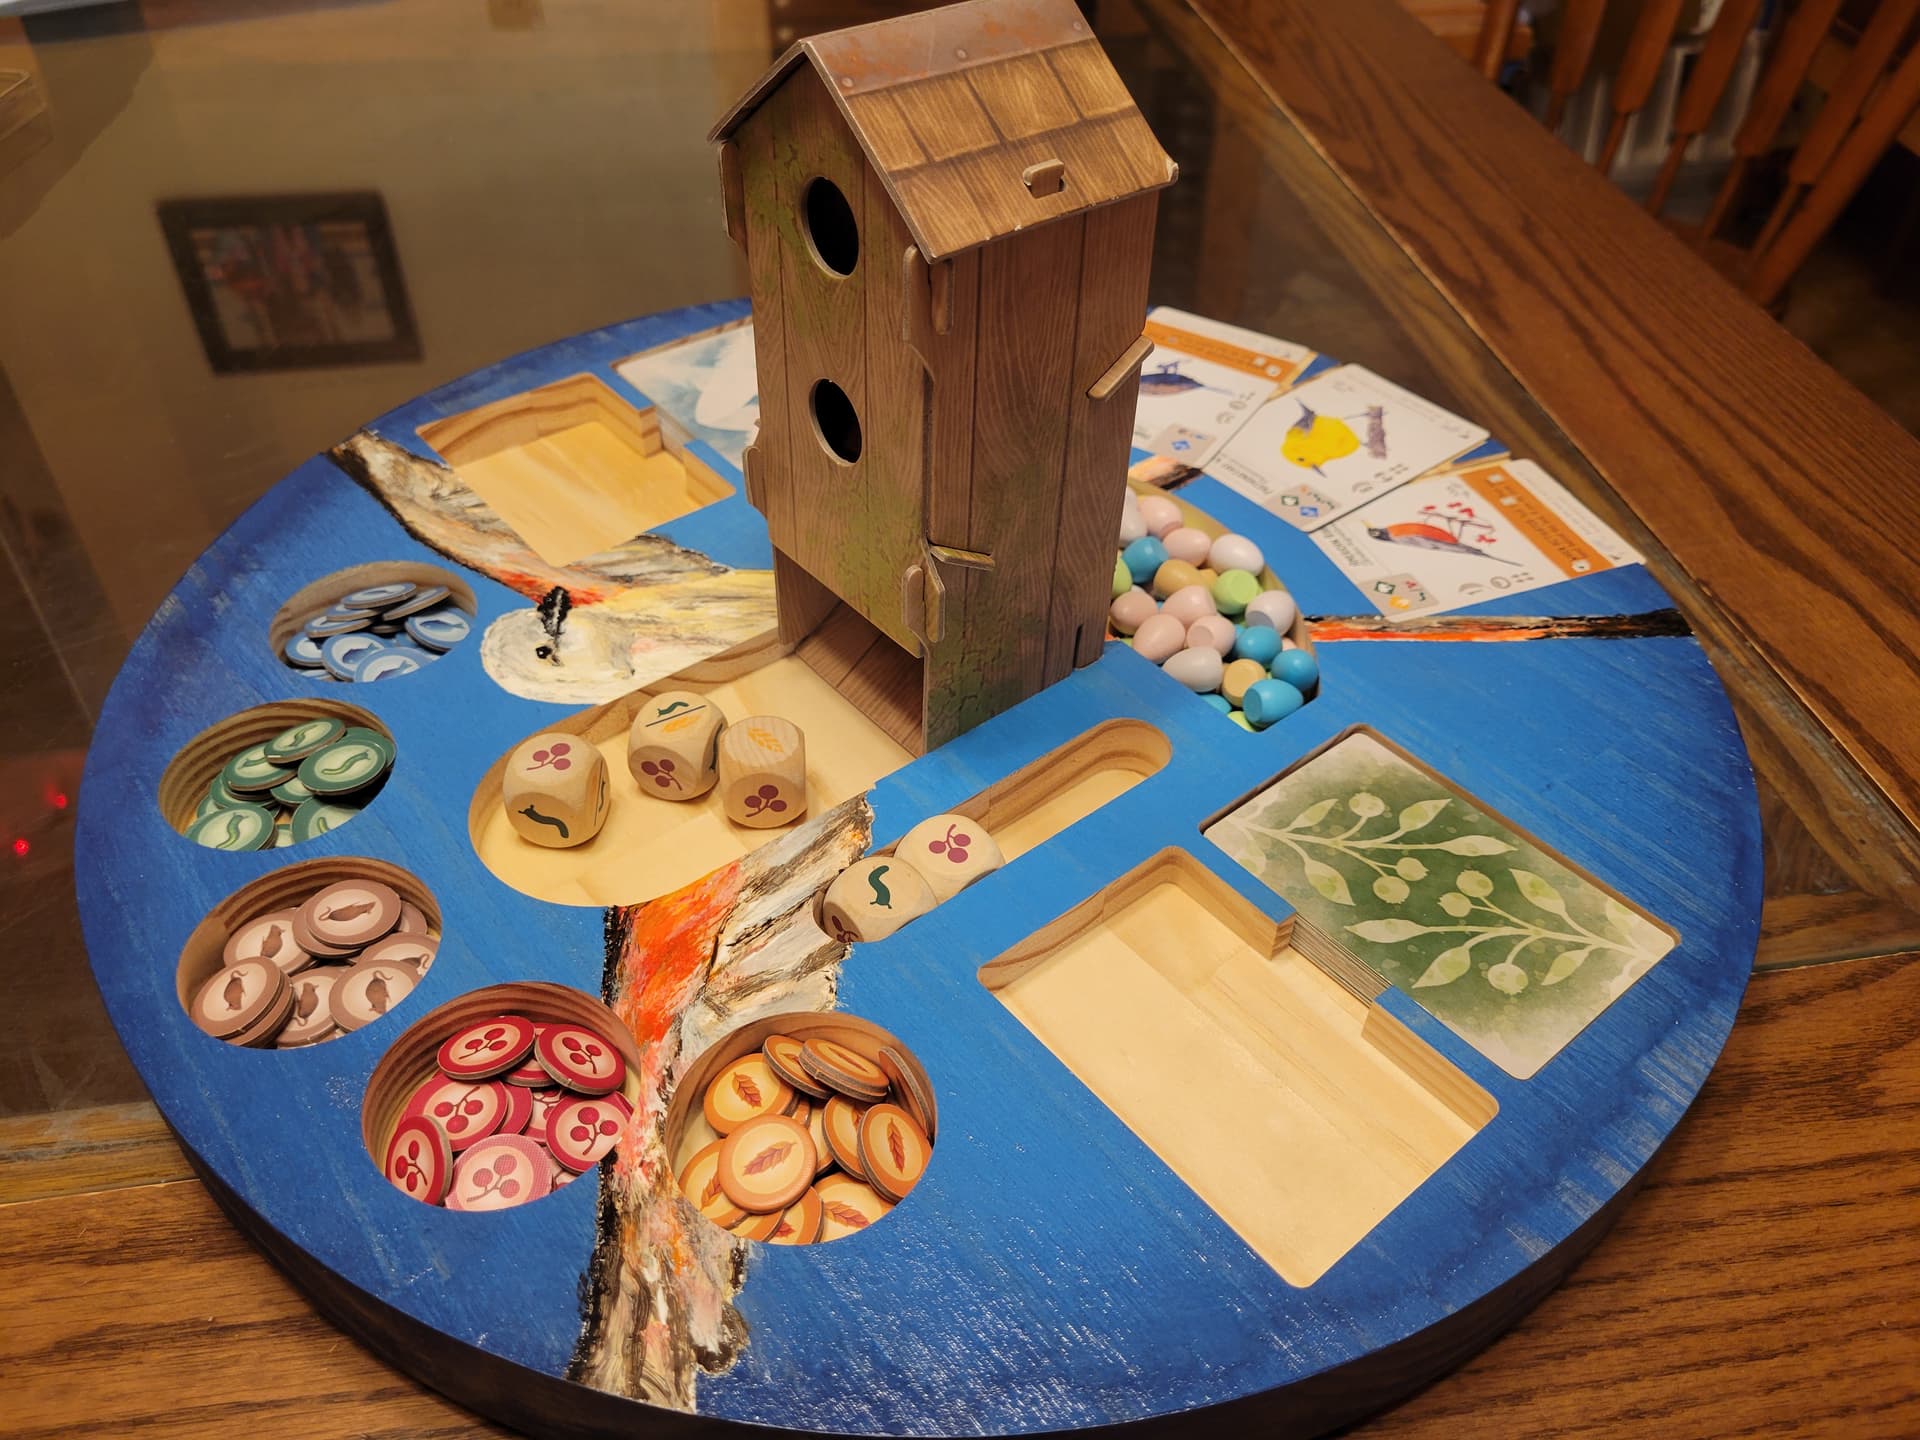
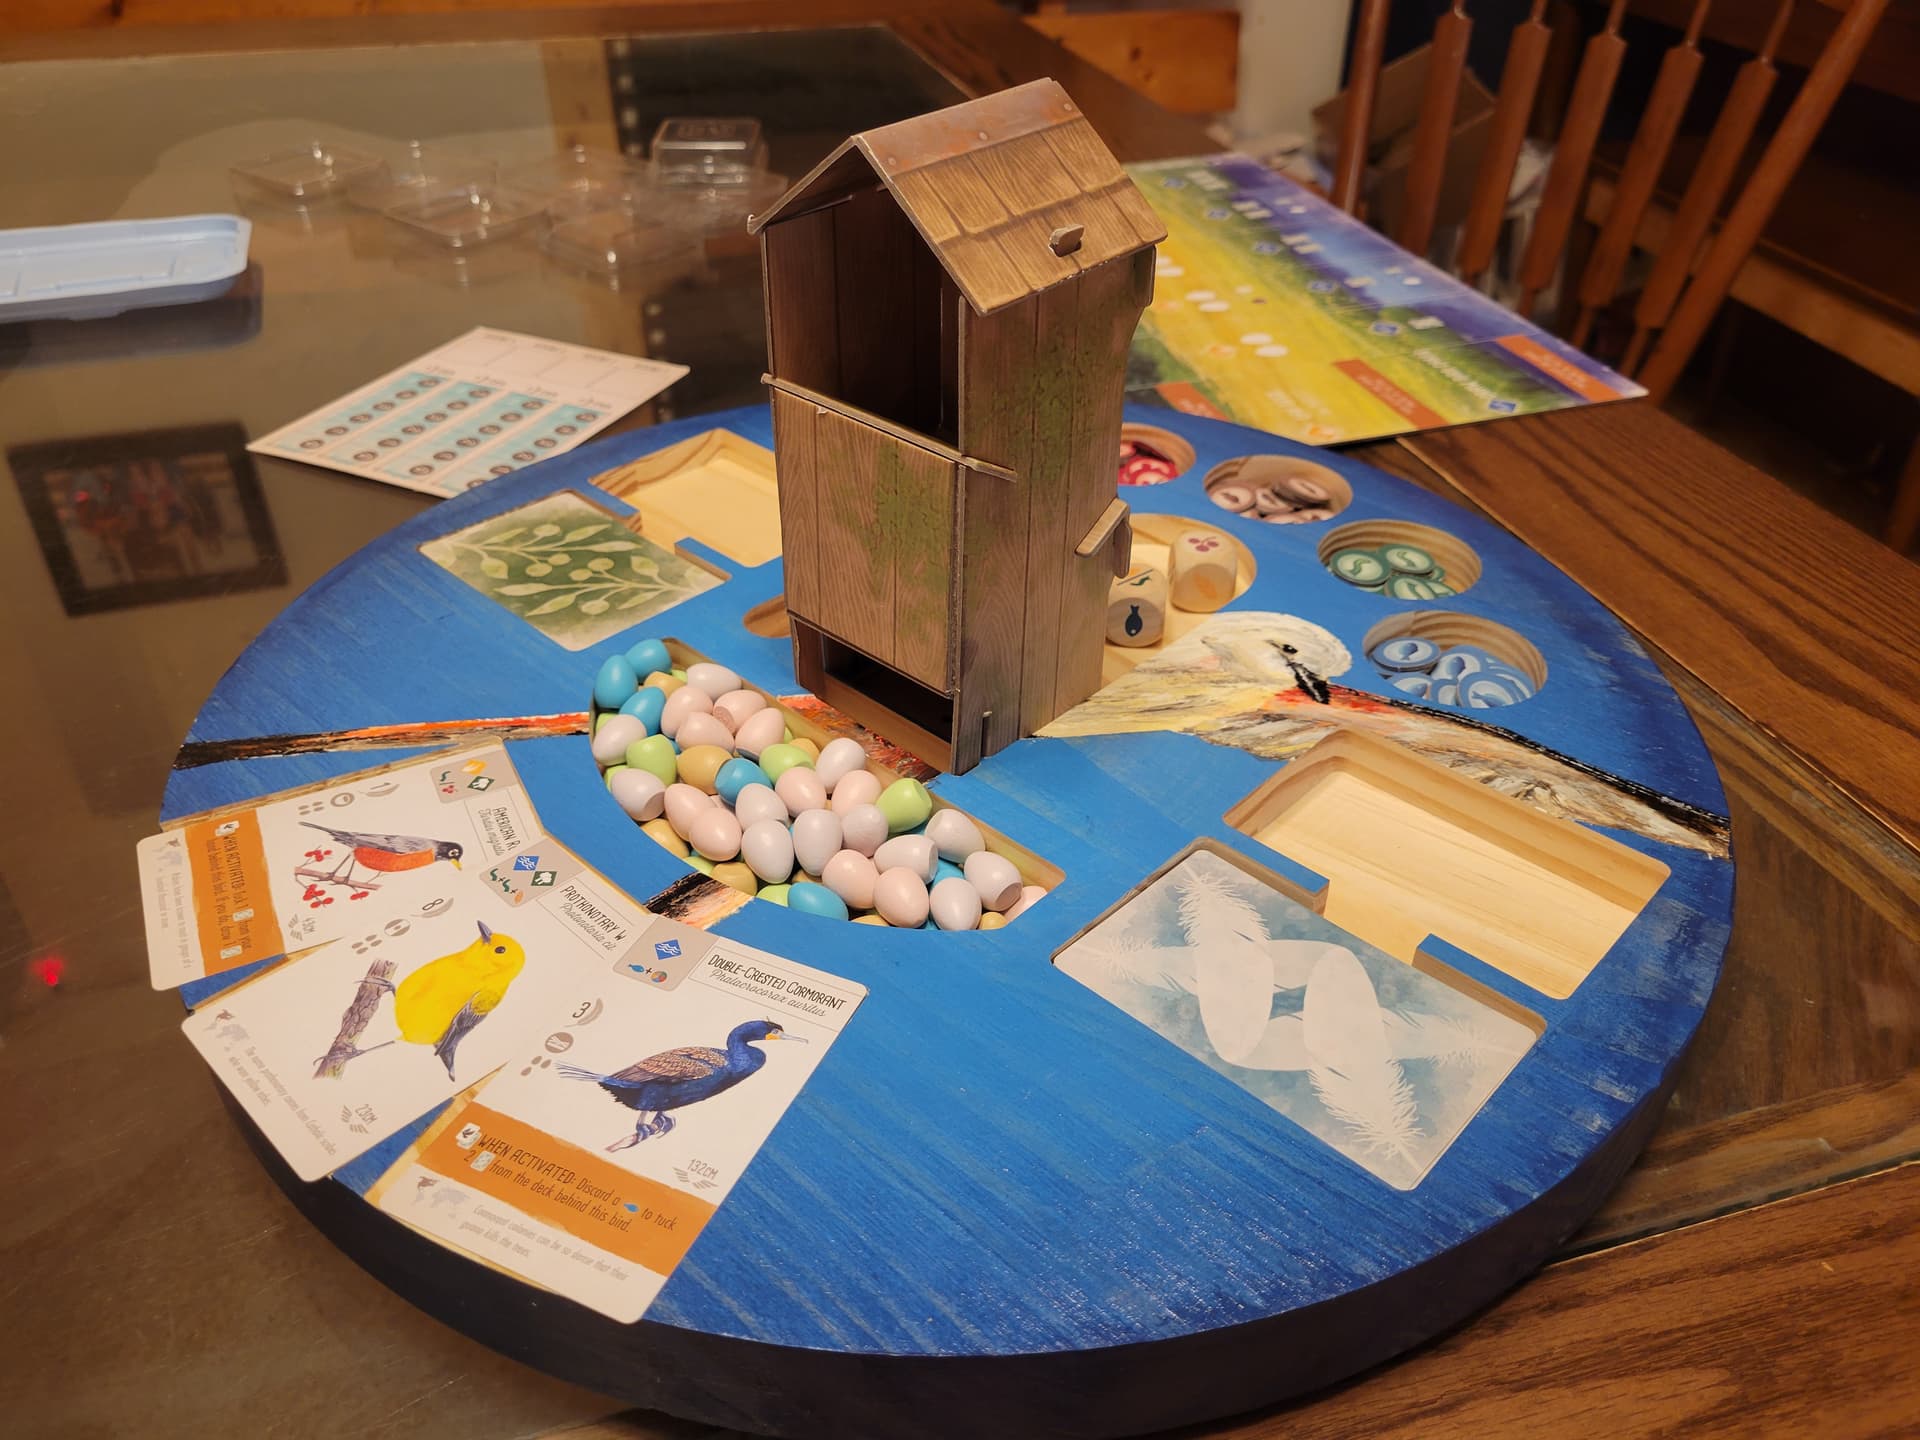
We play a bunch of board games. This year’s group loves the game Wingspan, so they requested a way to keep it organized. I decided to make it beautiful for fun.
I’ll post process photos if anyone is interested but it’s as easy as it looks.

18 Likes
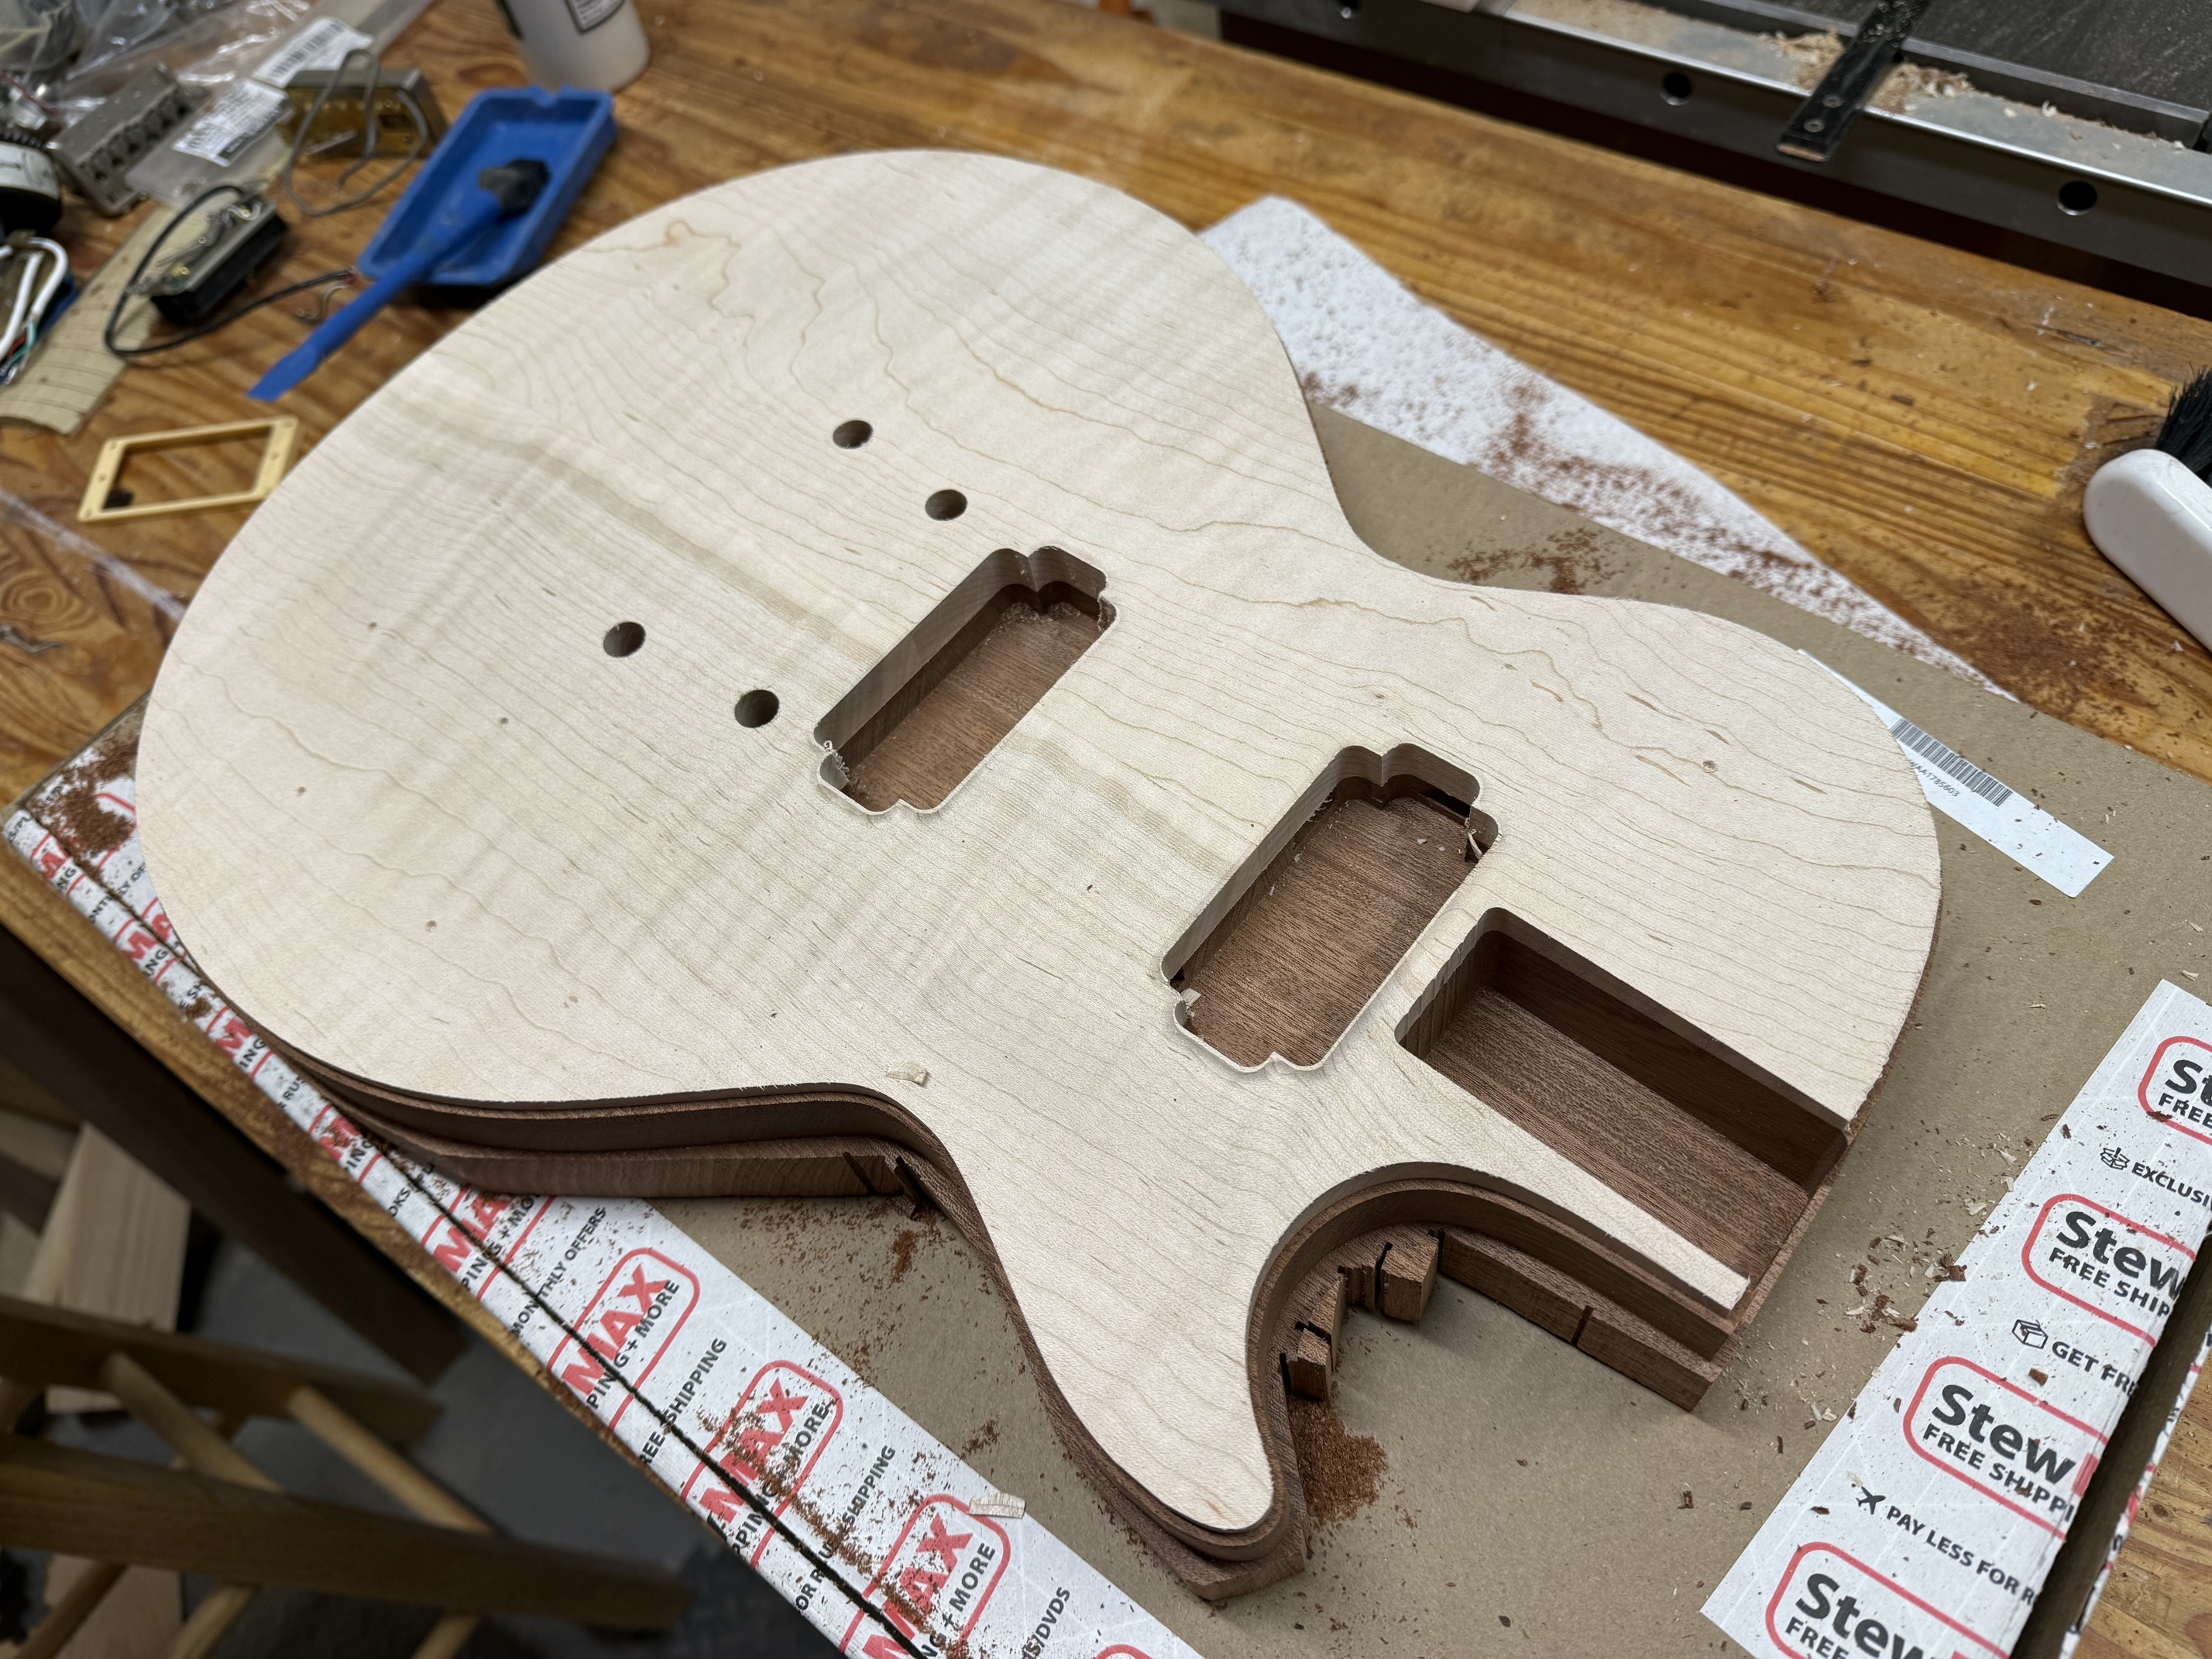
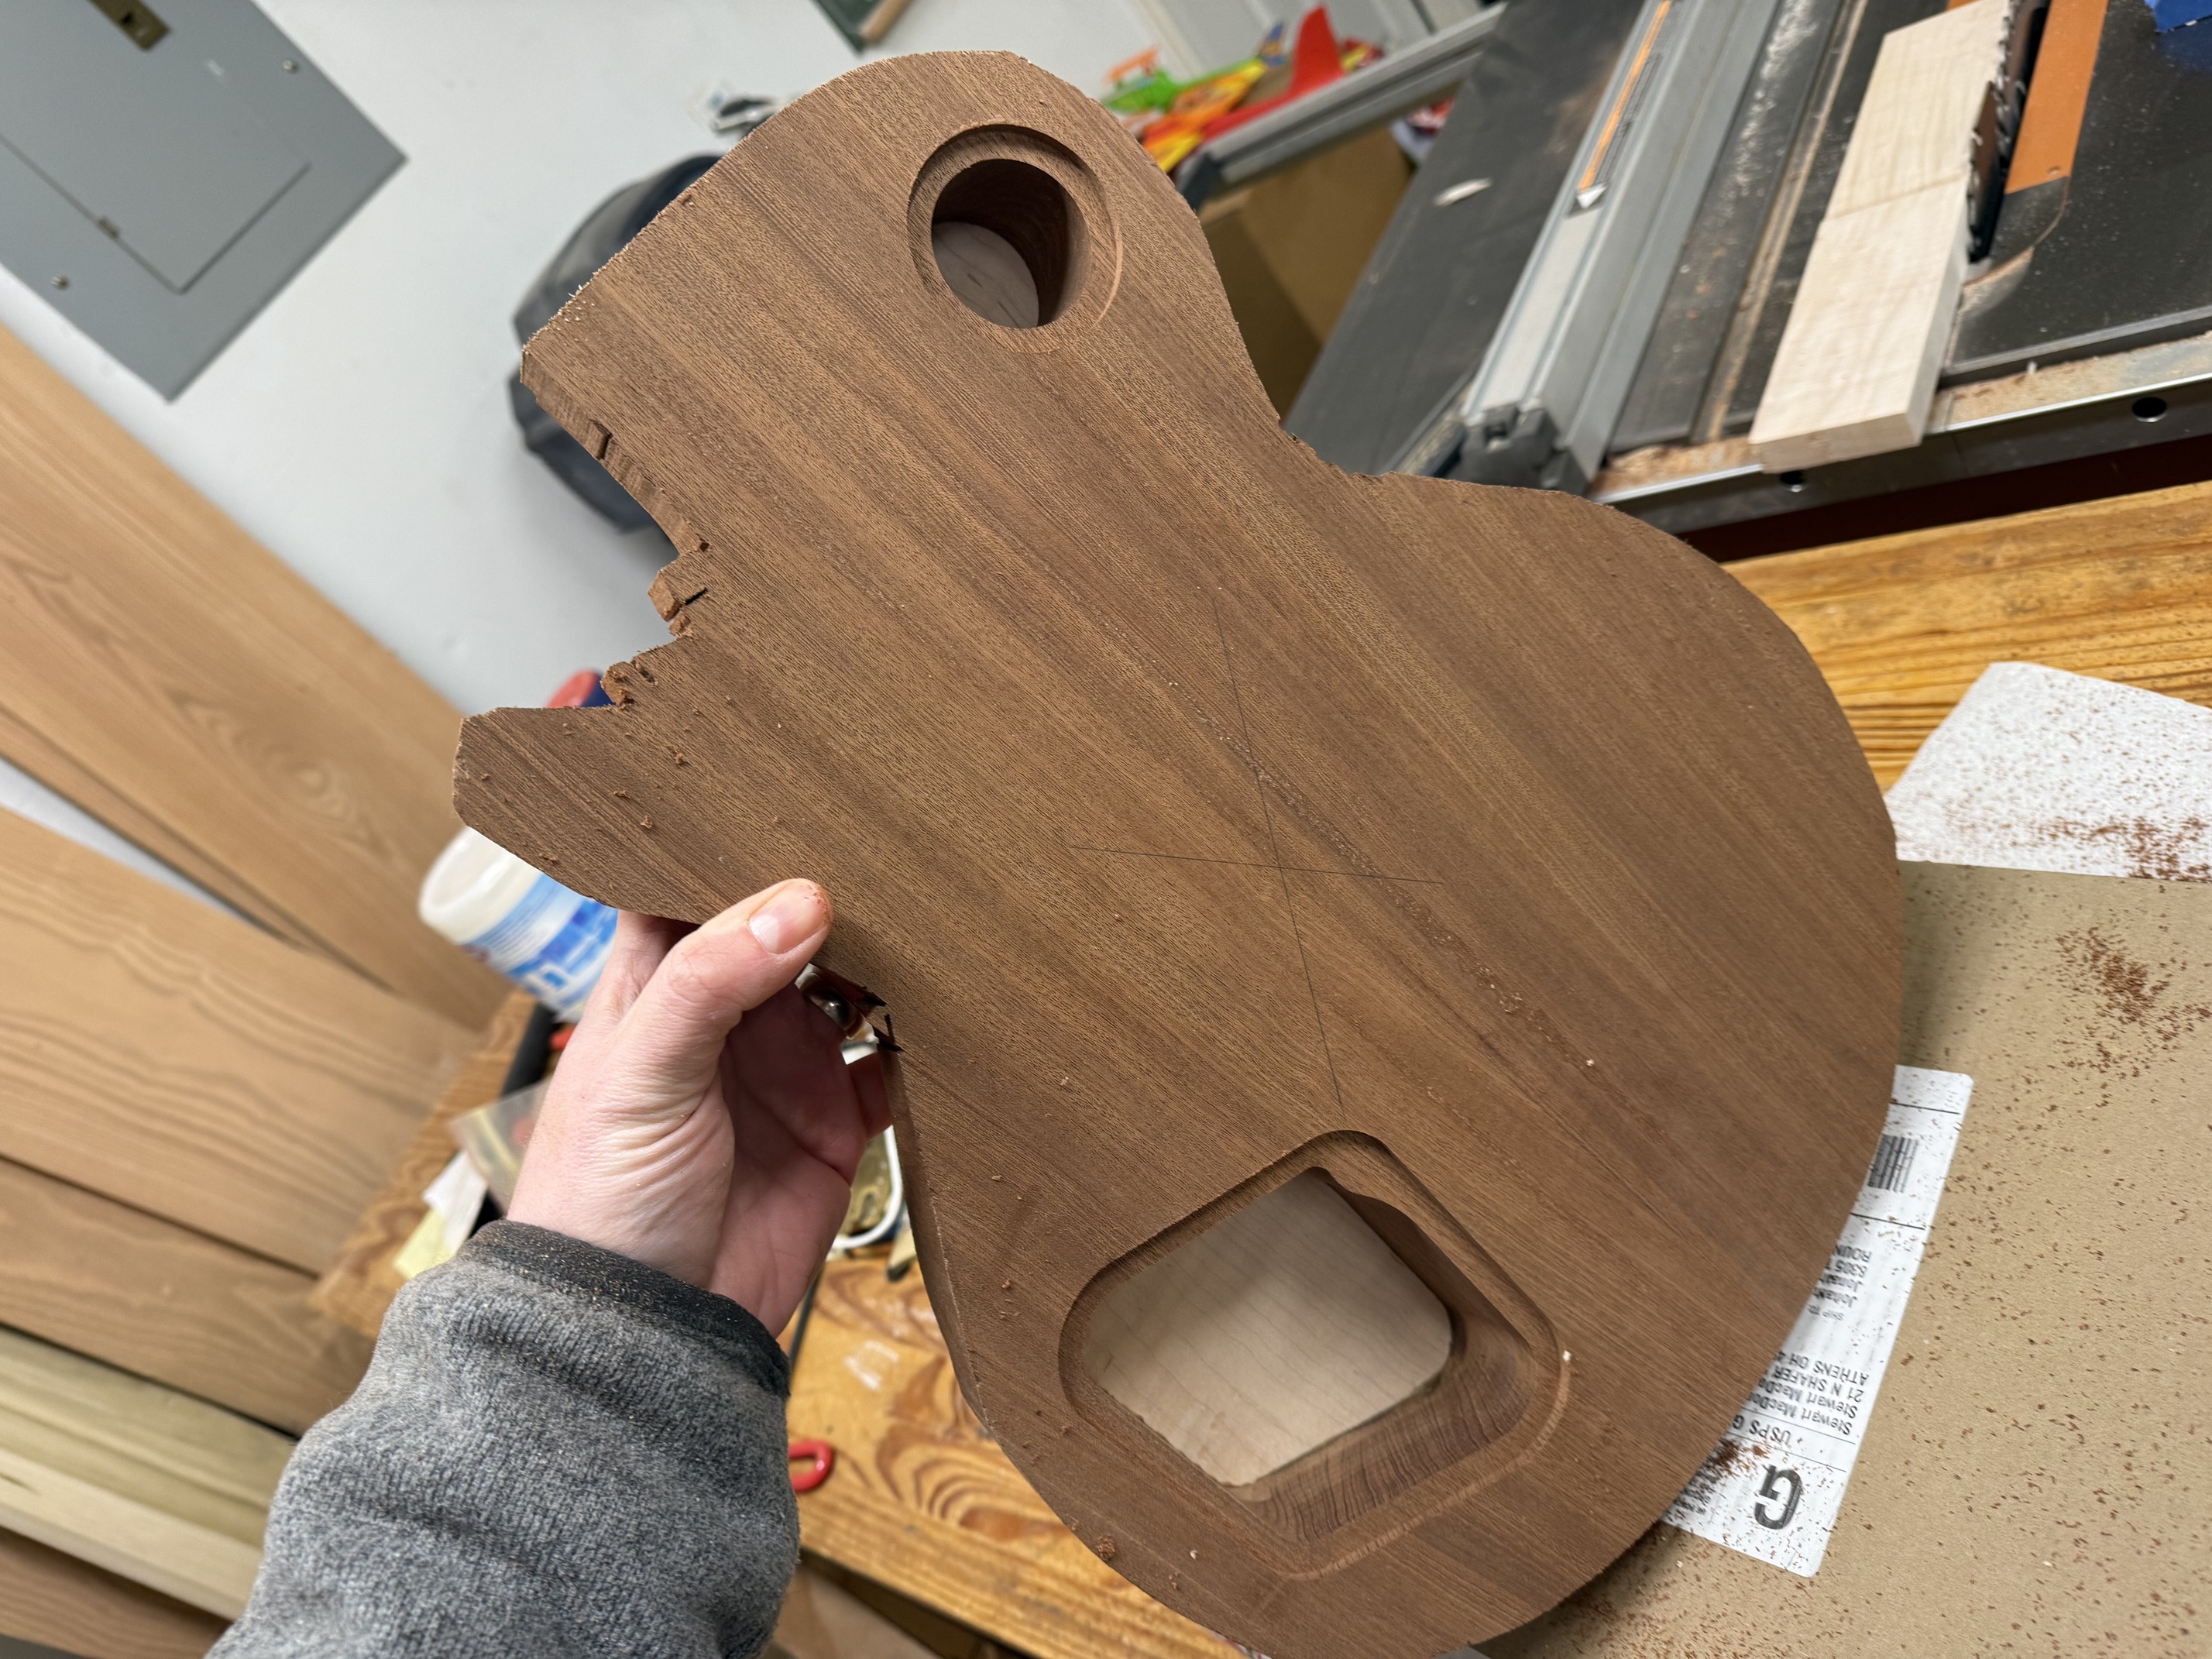
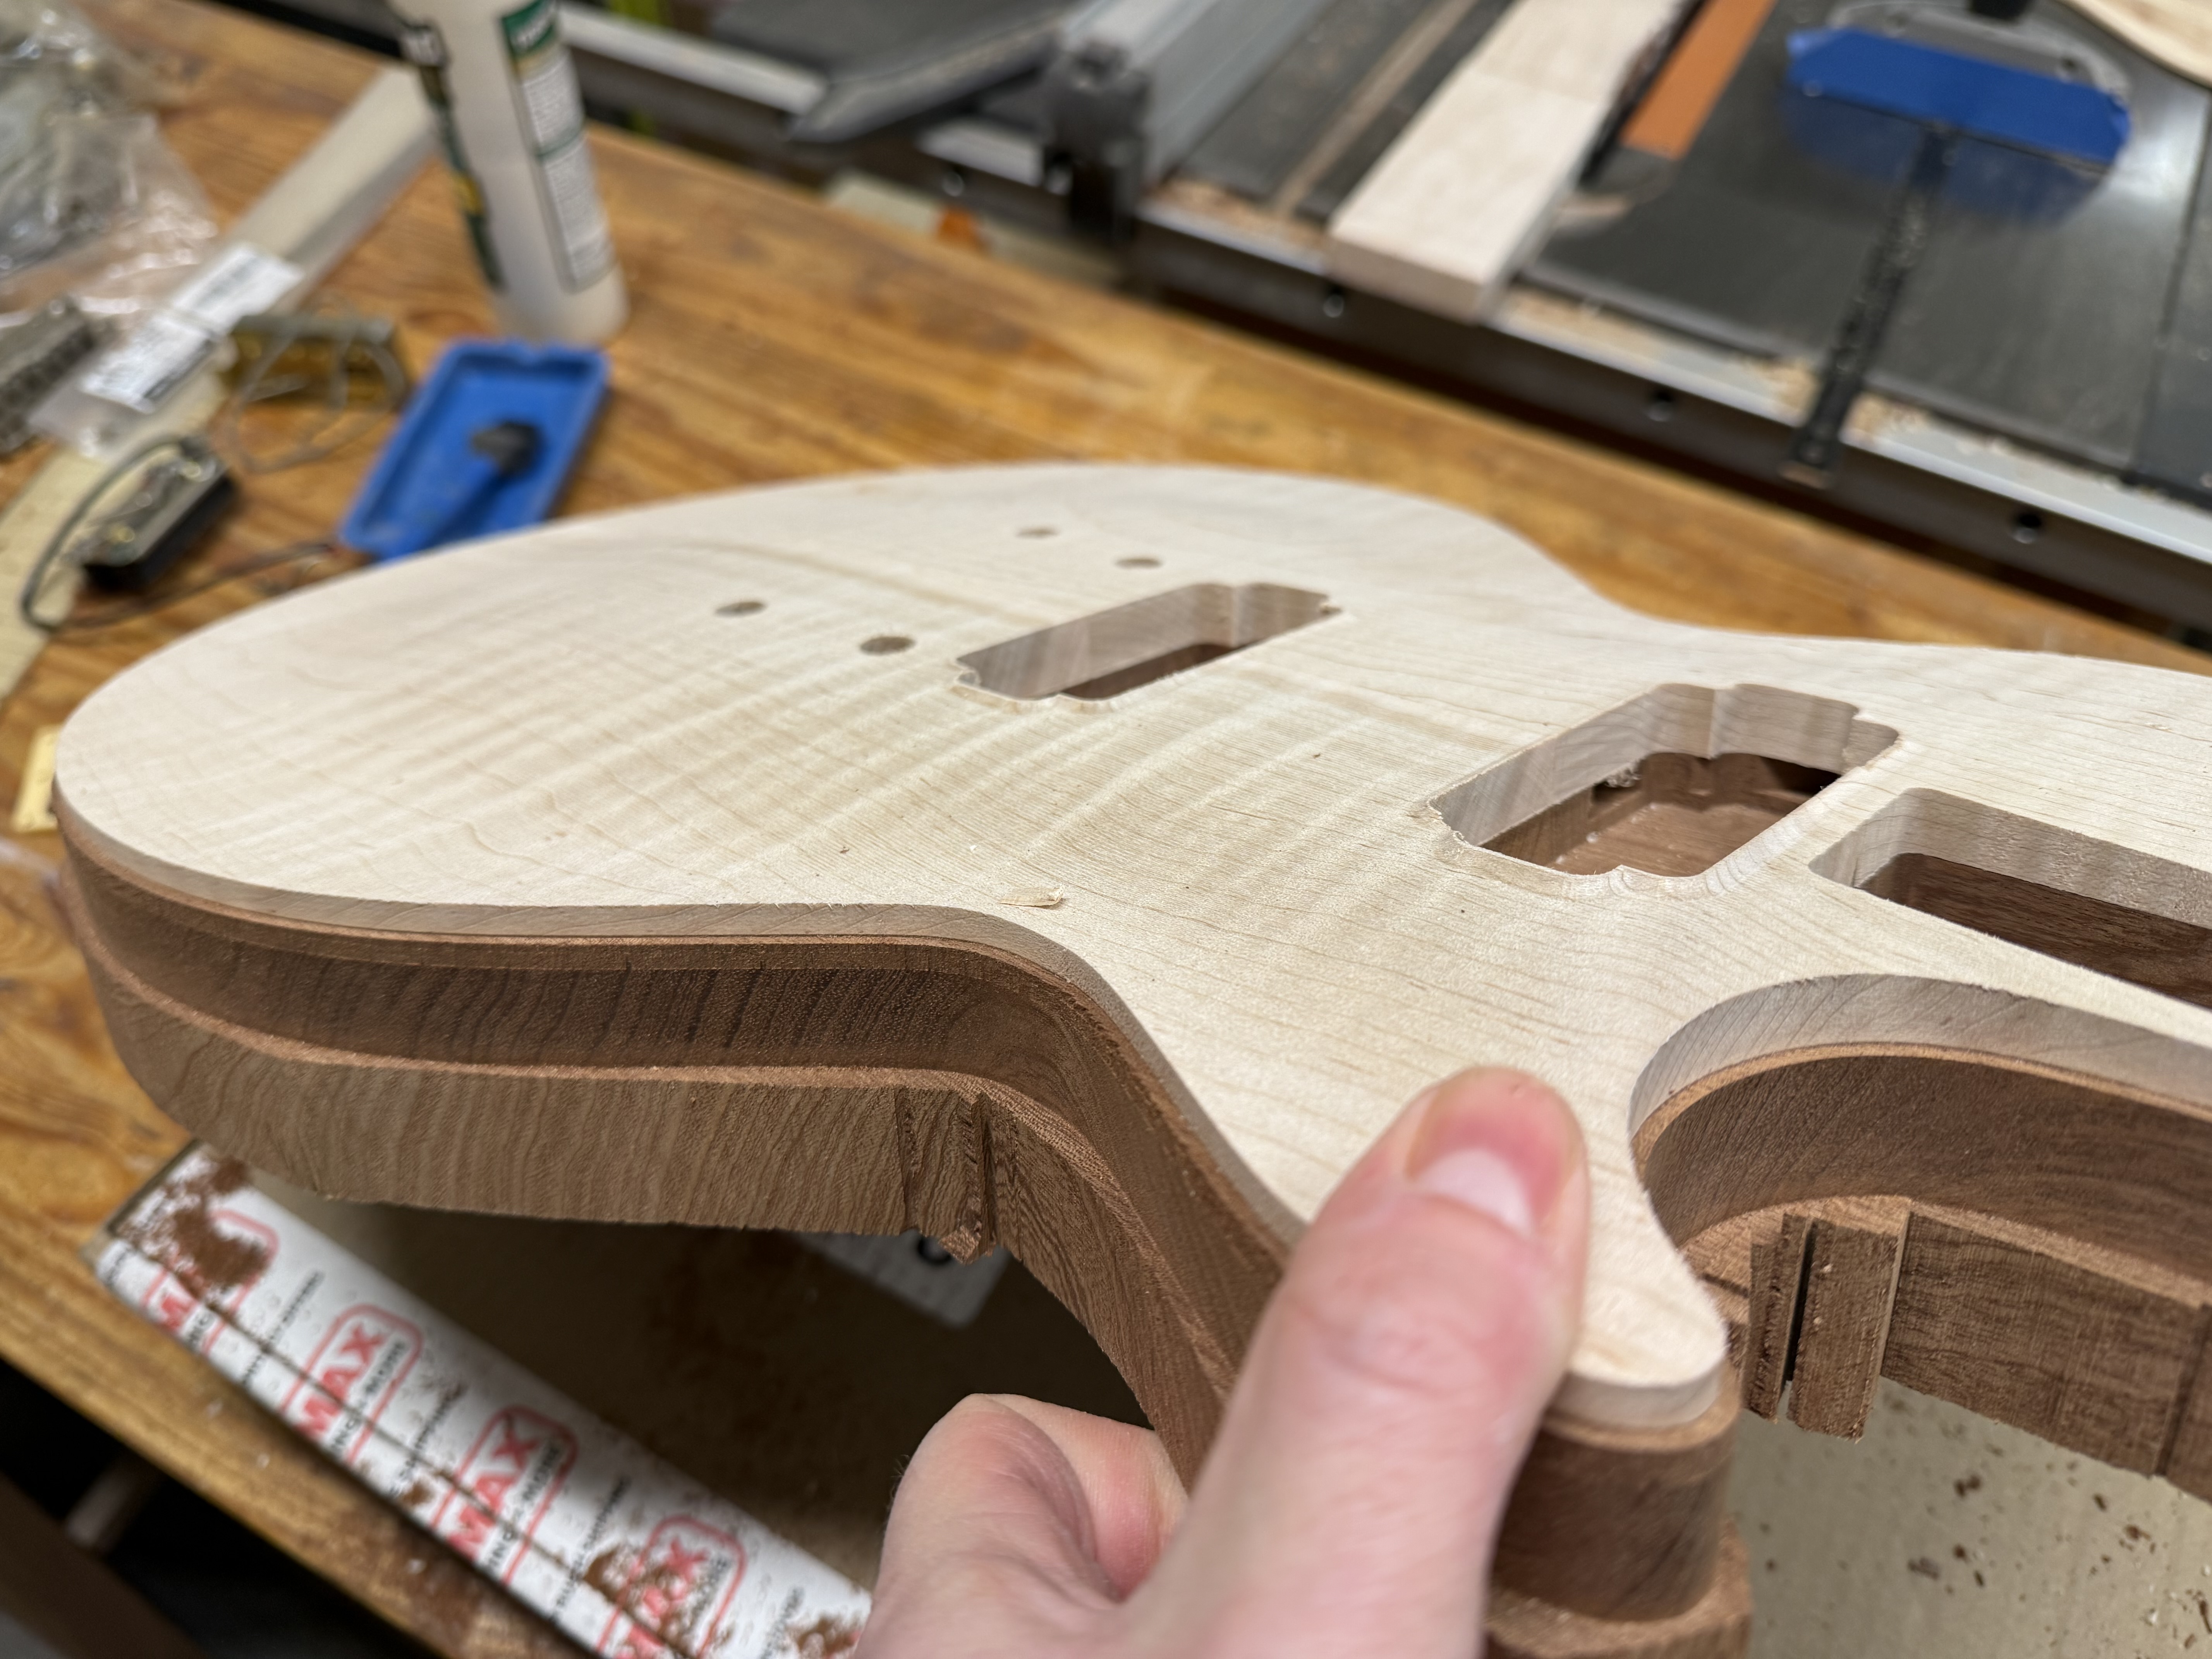
After spending more time than I should have agonizing over the details, I finally started my Les Paul project. The neck will be next big obstacle, and not sure yet if I’ll do it with the CNC or use the CNC to make jigs and do it by hand. Definitely going to do custom fretboard inlays though…I mean what’s the point of having a CNC machine if you don’t use it for custom inlays, right!!!
22 Likes
Right! As a previous luthier, inlays became an increasing focus of my guitars. I haven’t made a guitar in ten years but I still do inlay work. There are always boxes.
3 Likes
There is a whole series of youtube videos on famous guitar players playing with Les Paul. ZZ Top, Slash, Joe Walsh, Brian May etc…Worth watching.
1 Like
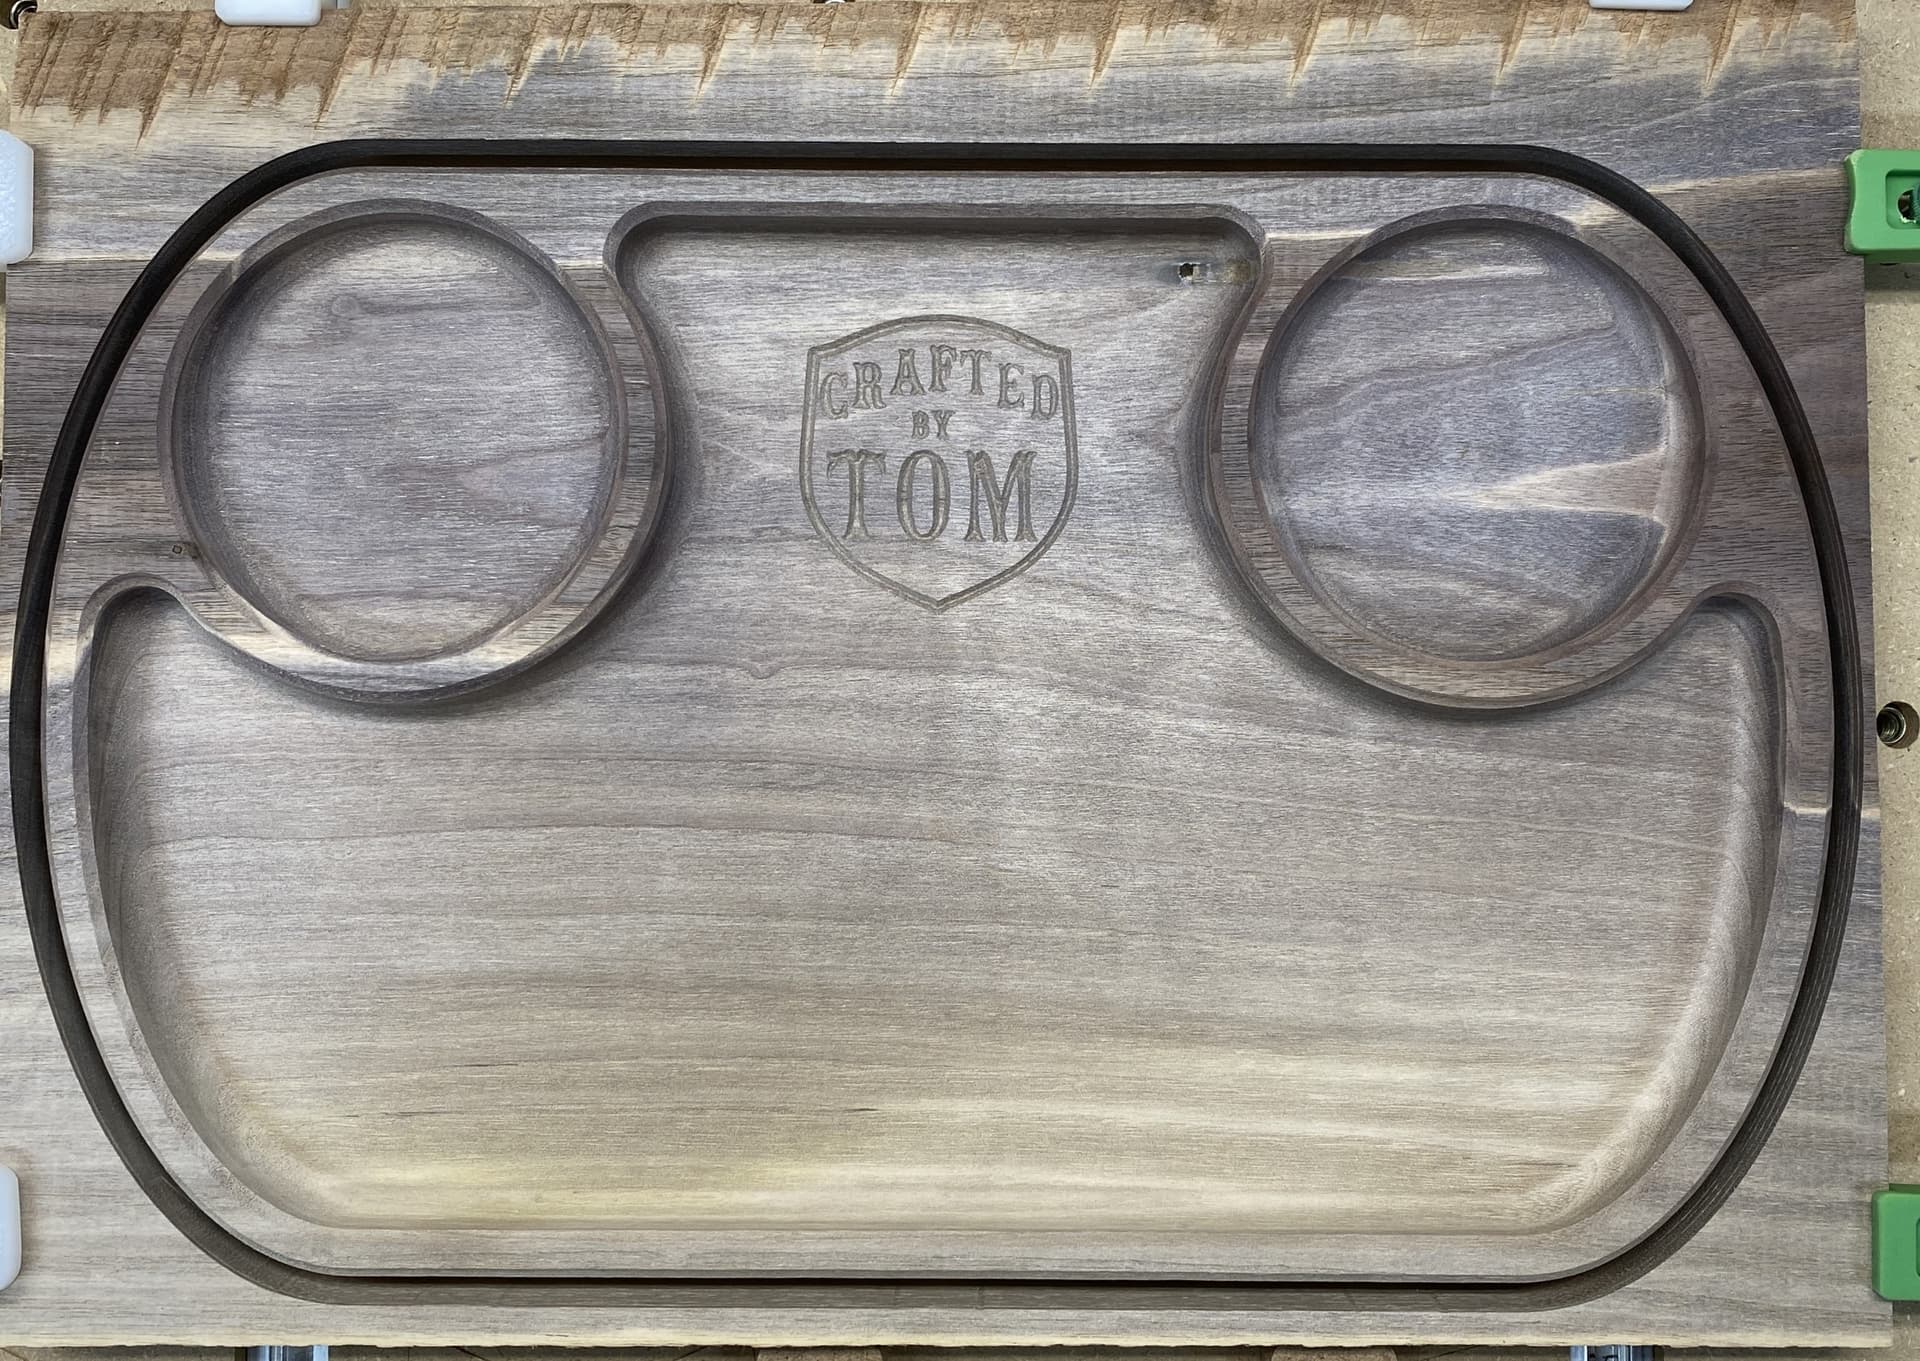
I am cutting a walnut serving tray to hold my drink, ghost pepper hot sauce and some chips. There is a little work left, but I am well on the way.
20 Likes
I have not eaten chips and hot sauce in a couple of years and lately have eaten 3 jars of hot sauce. Very timely project.
4 Likes
The tray needs to be about twice as deep, you definitely need room for more chips. there will need to be a larger hole for the bigger drink container so as to wash down your small snack. the hot sauce, a 5 gallon bucket will be just fine. Nice project.
1 Like
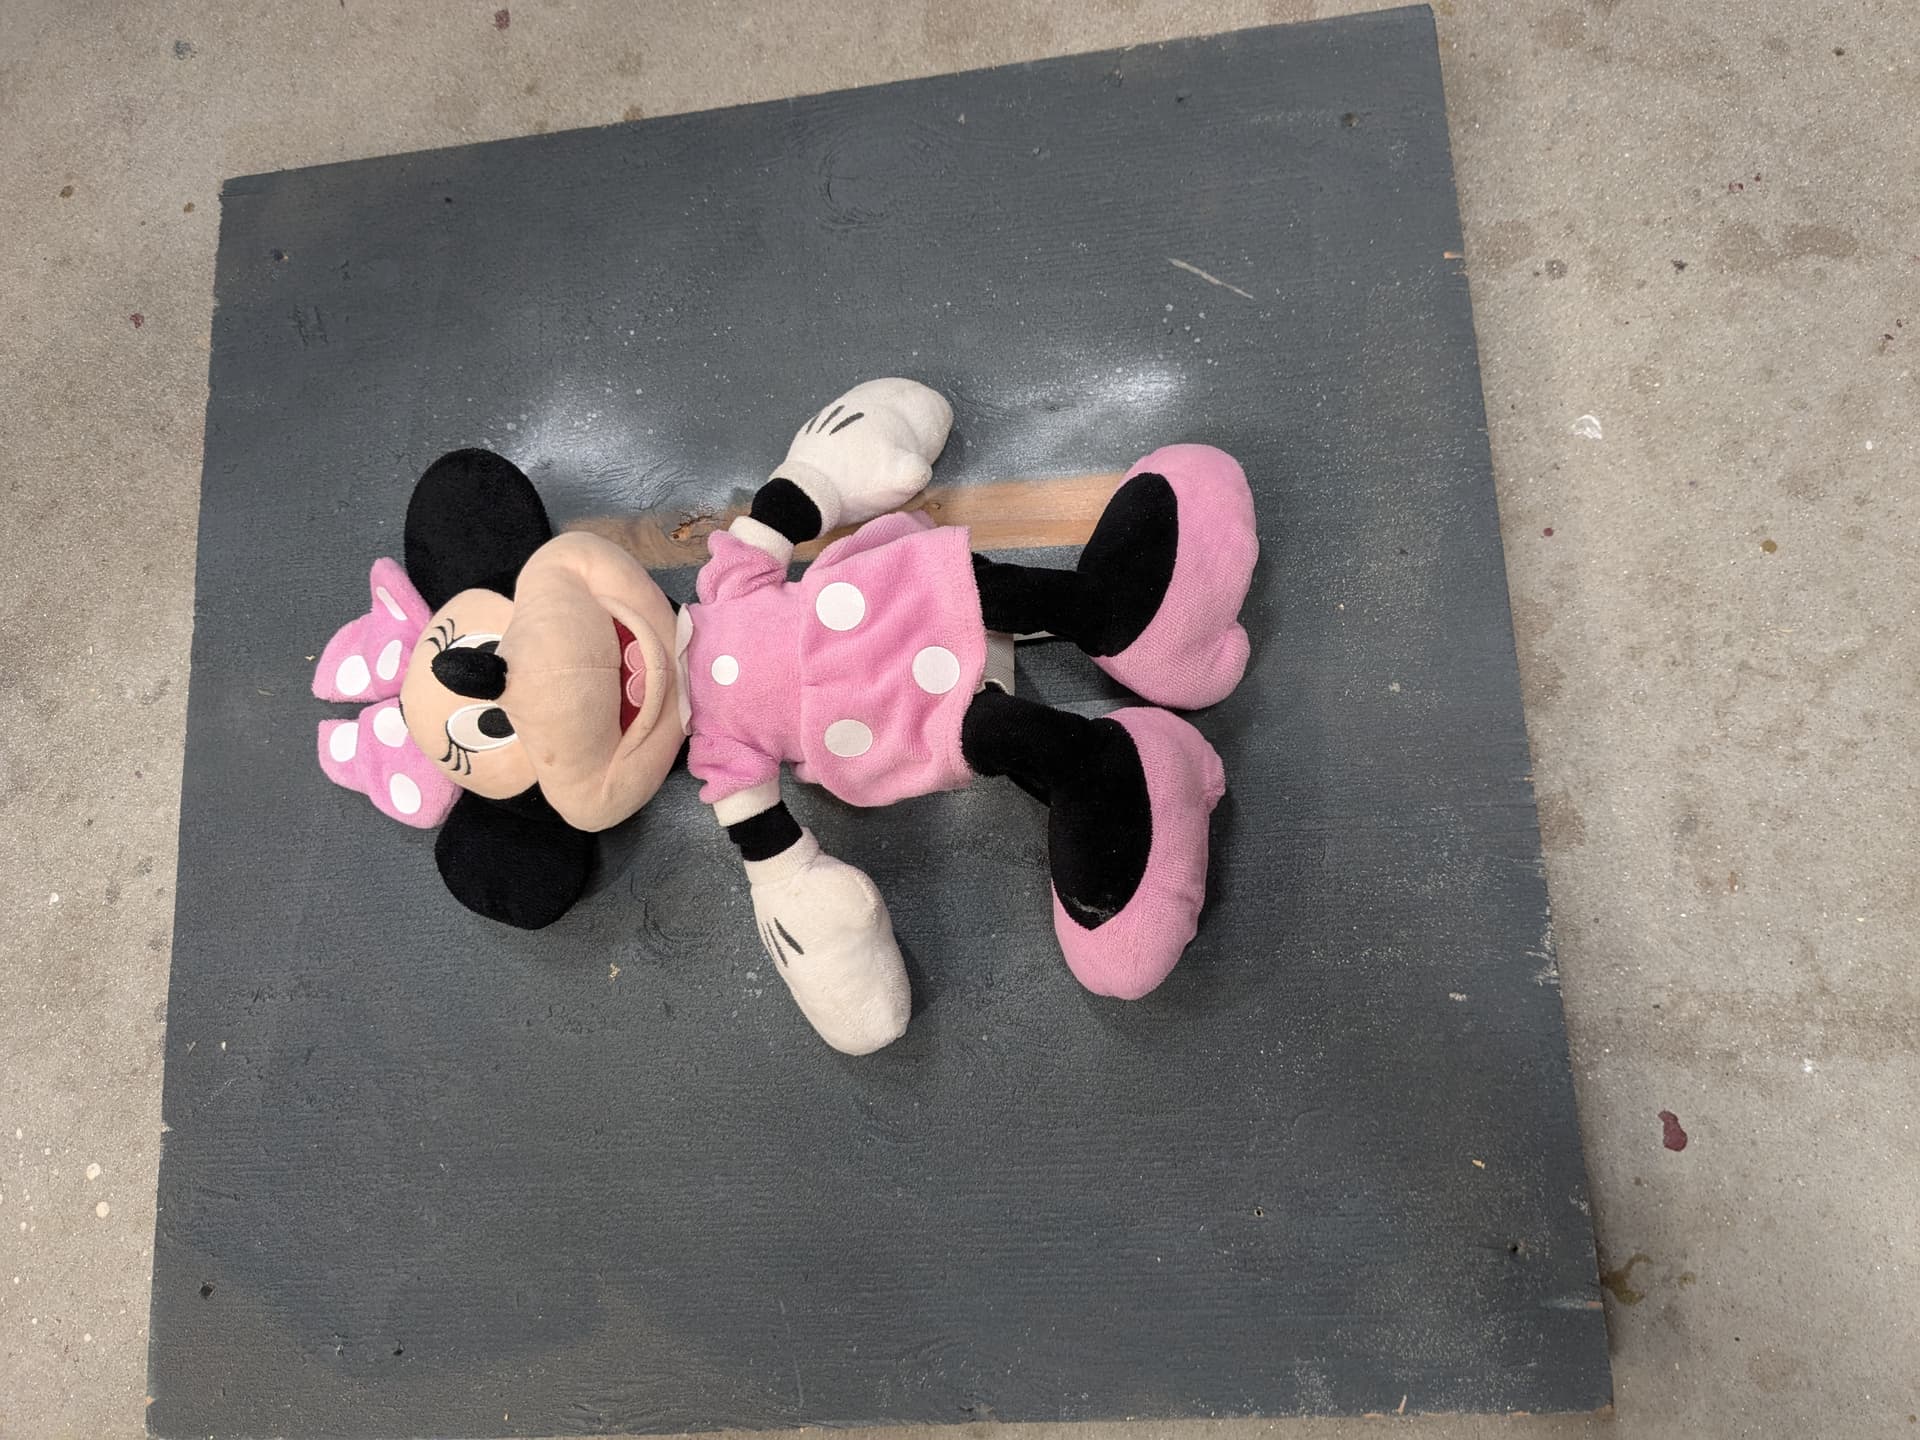
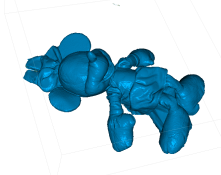
My 2 yr old granddaughter loves Minnie. I scanned of a Minnie doll (Lynx scanner, JMStudio app) and got a very good result. I have 3.5 " thk pine, so I had to cut it.
I have a turntable under that well used plywood so I could rotate the subject with my foot.
This made scanning much easier.
The JMStudio app, while a bit awkward, does work once you get a feel for it.
I was able to manually align two scans.
I spend 20 minutes clearing unwanted points. Saved as STL.
I used Fusion for Mesh clean up ( 30 minutes ) and CAM work. I realized that I had not paid attention to the heights of various features and had to tilt the model. I also clipped off the bottom.
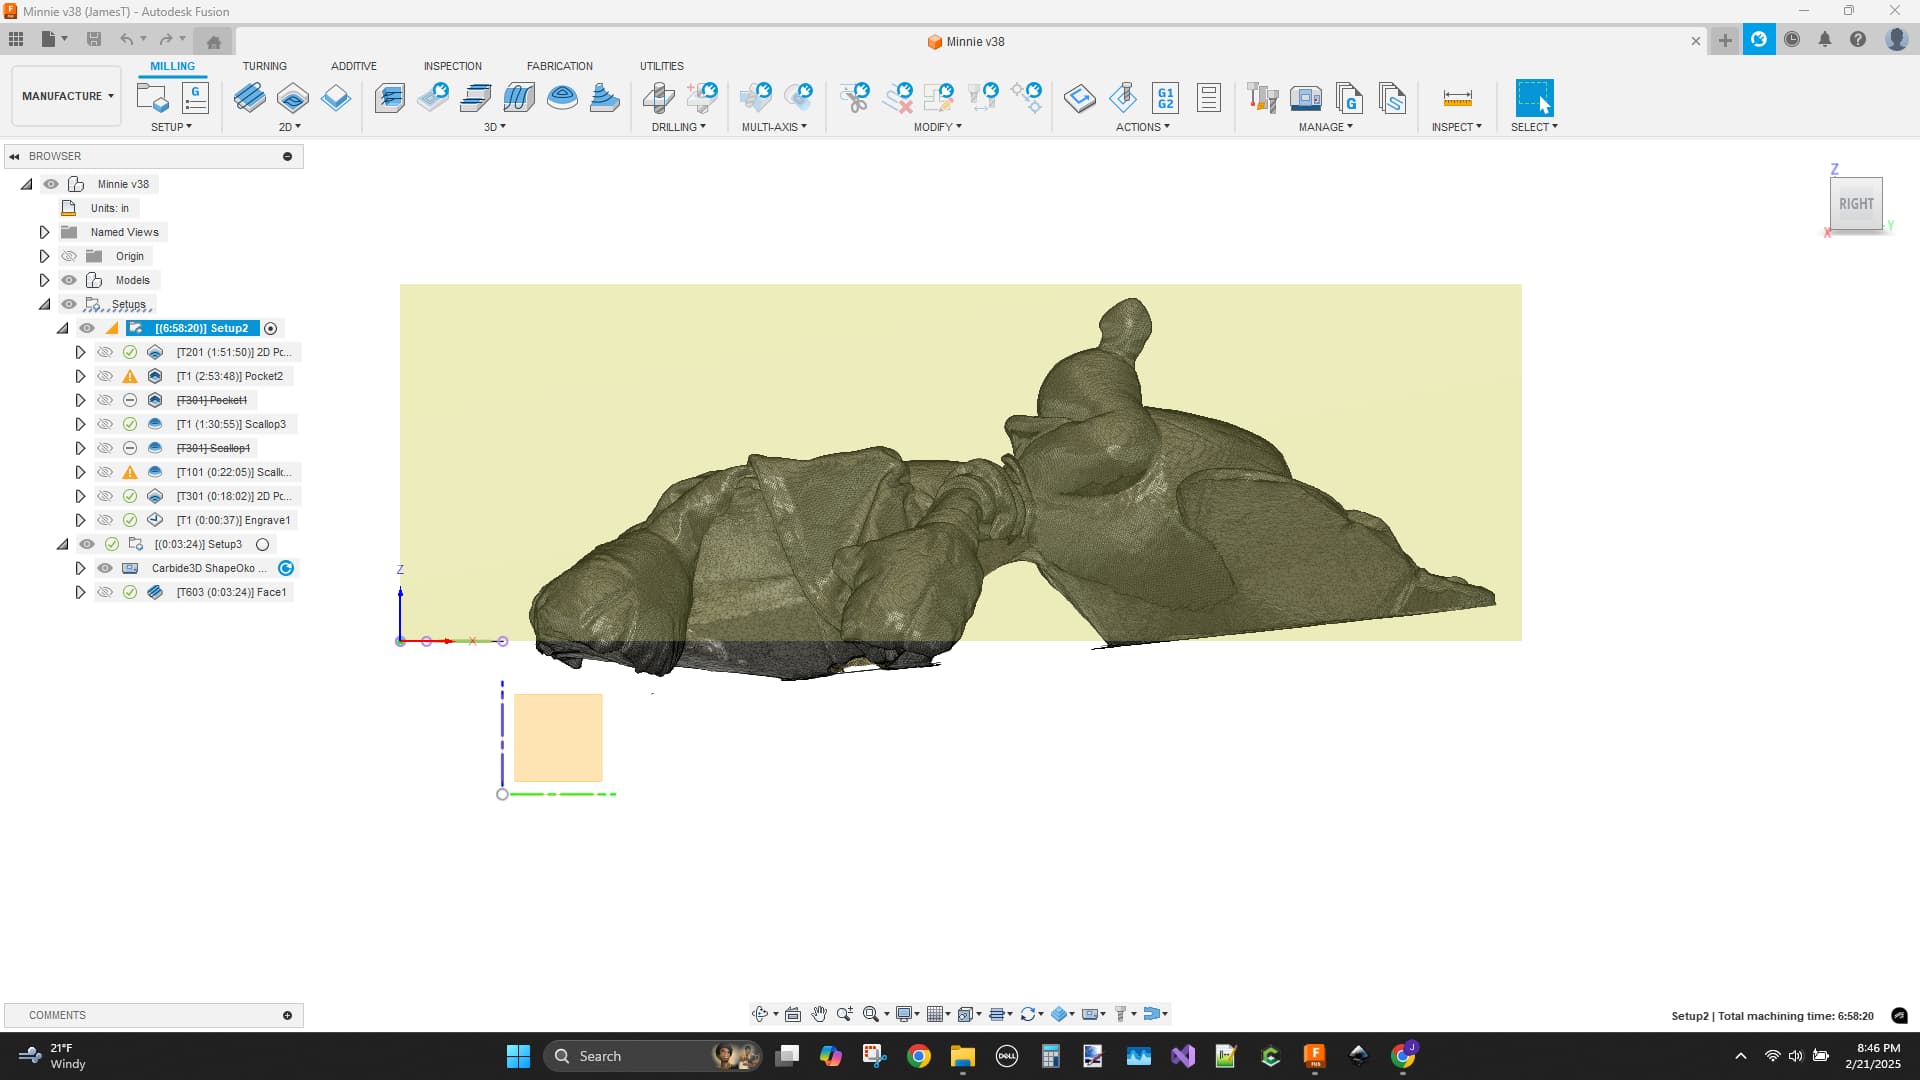
I used a Cadence downtown Jenny because I found that upcut tools make nasty hairs in the pine. I do have a few spots were the downcut left marks. I used a #101 1/8 ball end mill for detail ( REST) clean up which removed most of the downcut tool marks thankfully.
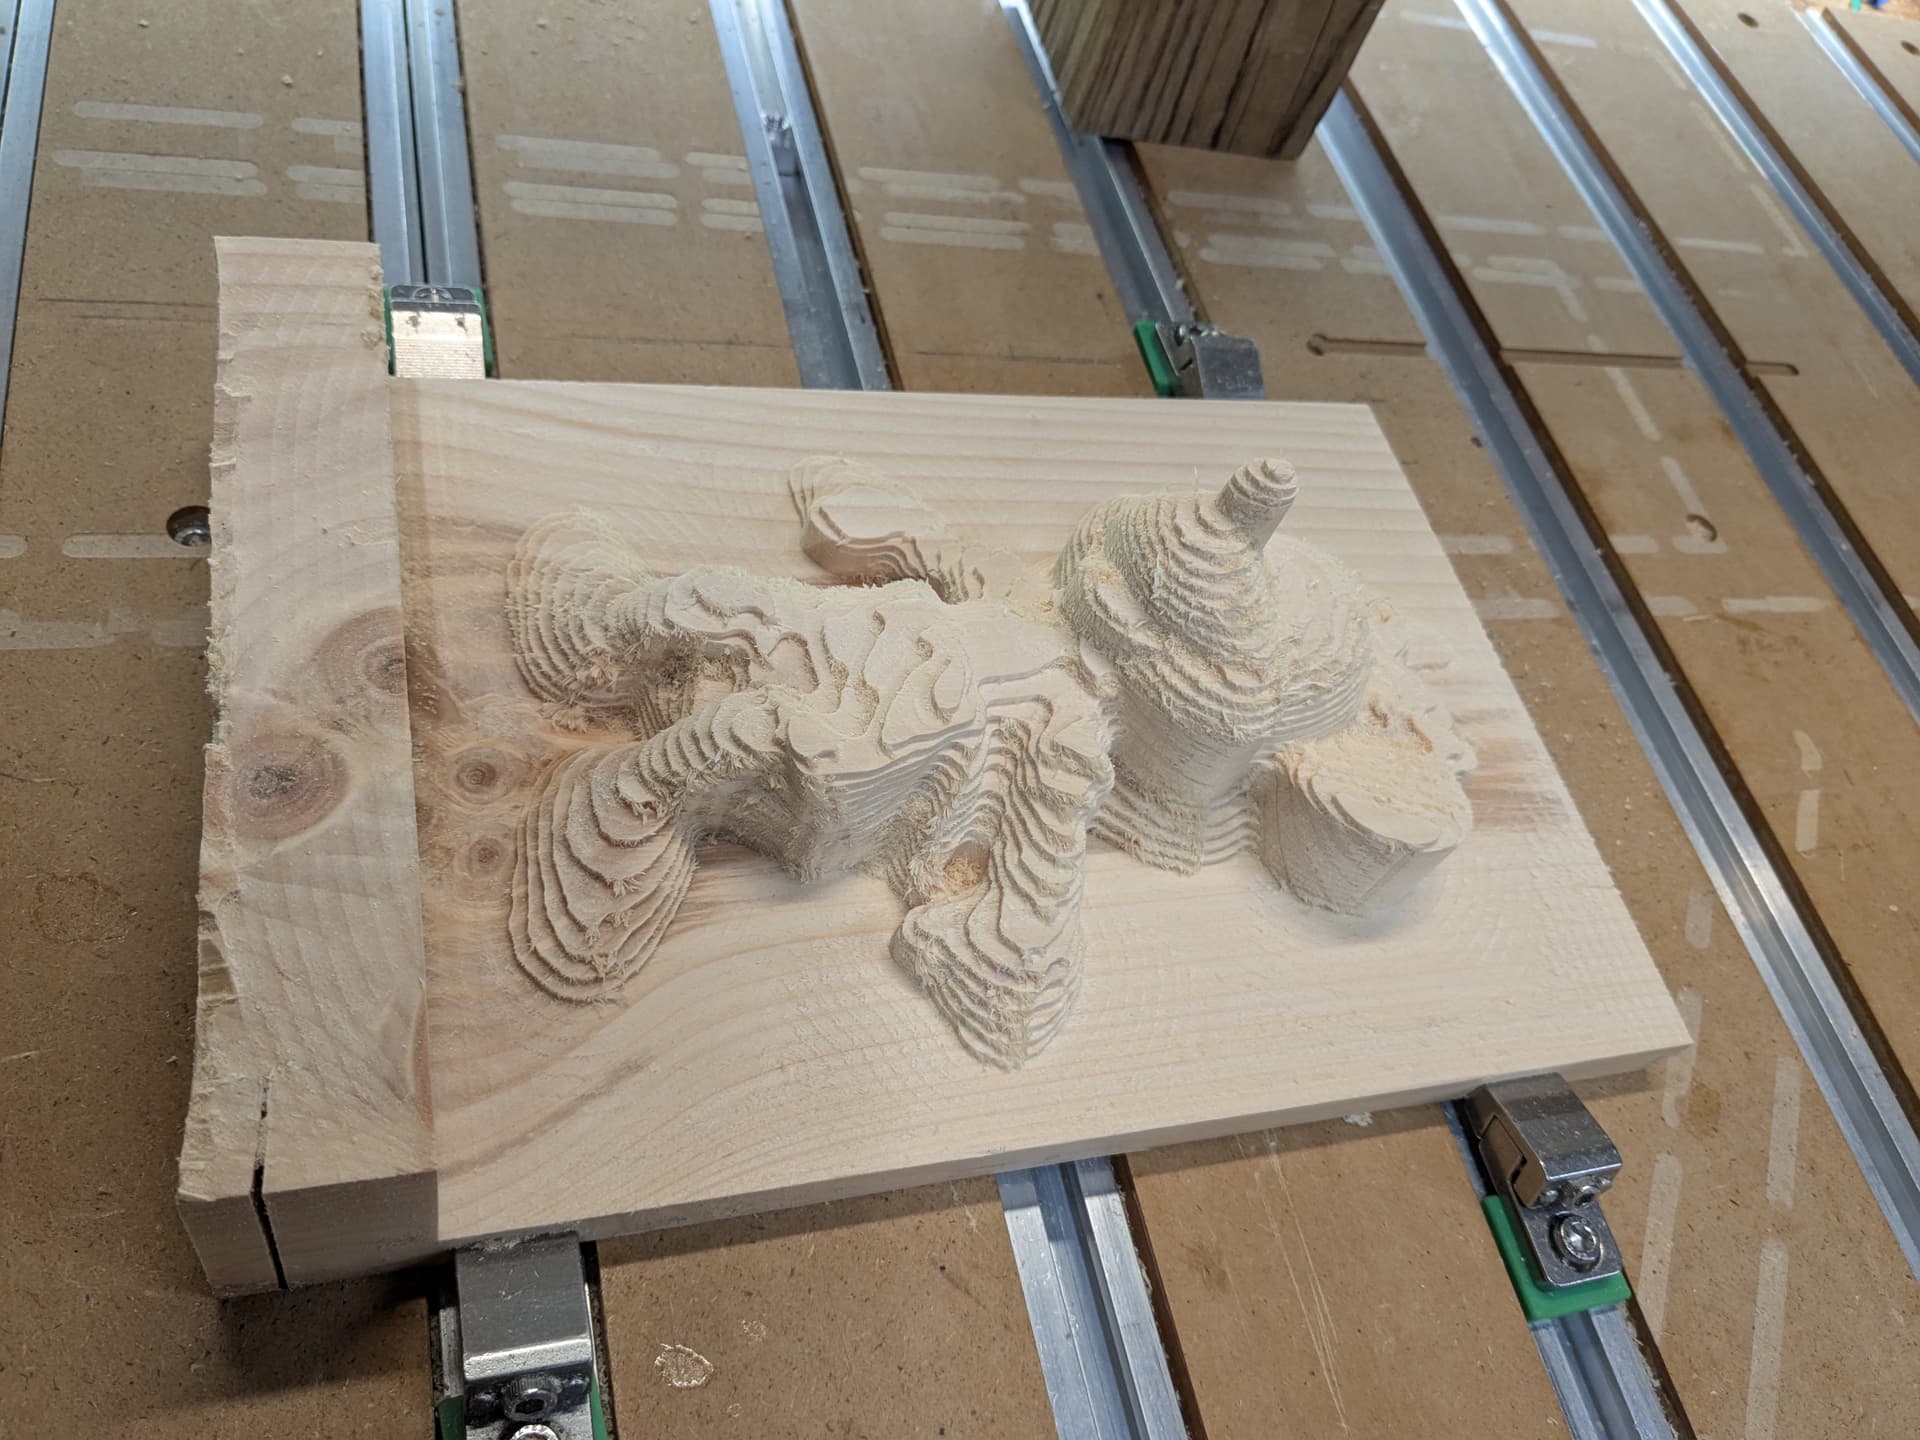
This still had an issue where I could not cut the top of the nose correctly due to the orientation
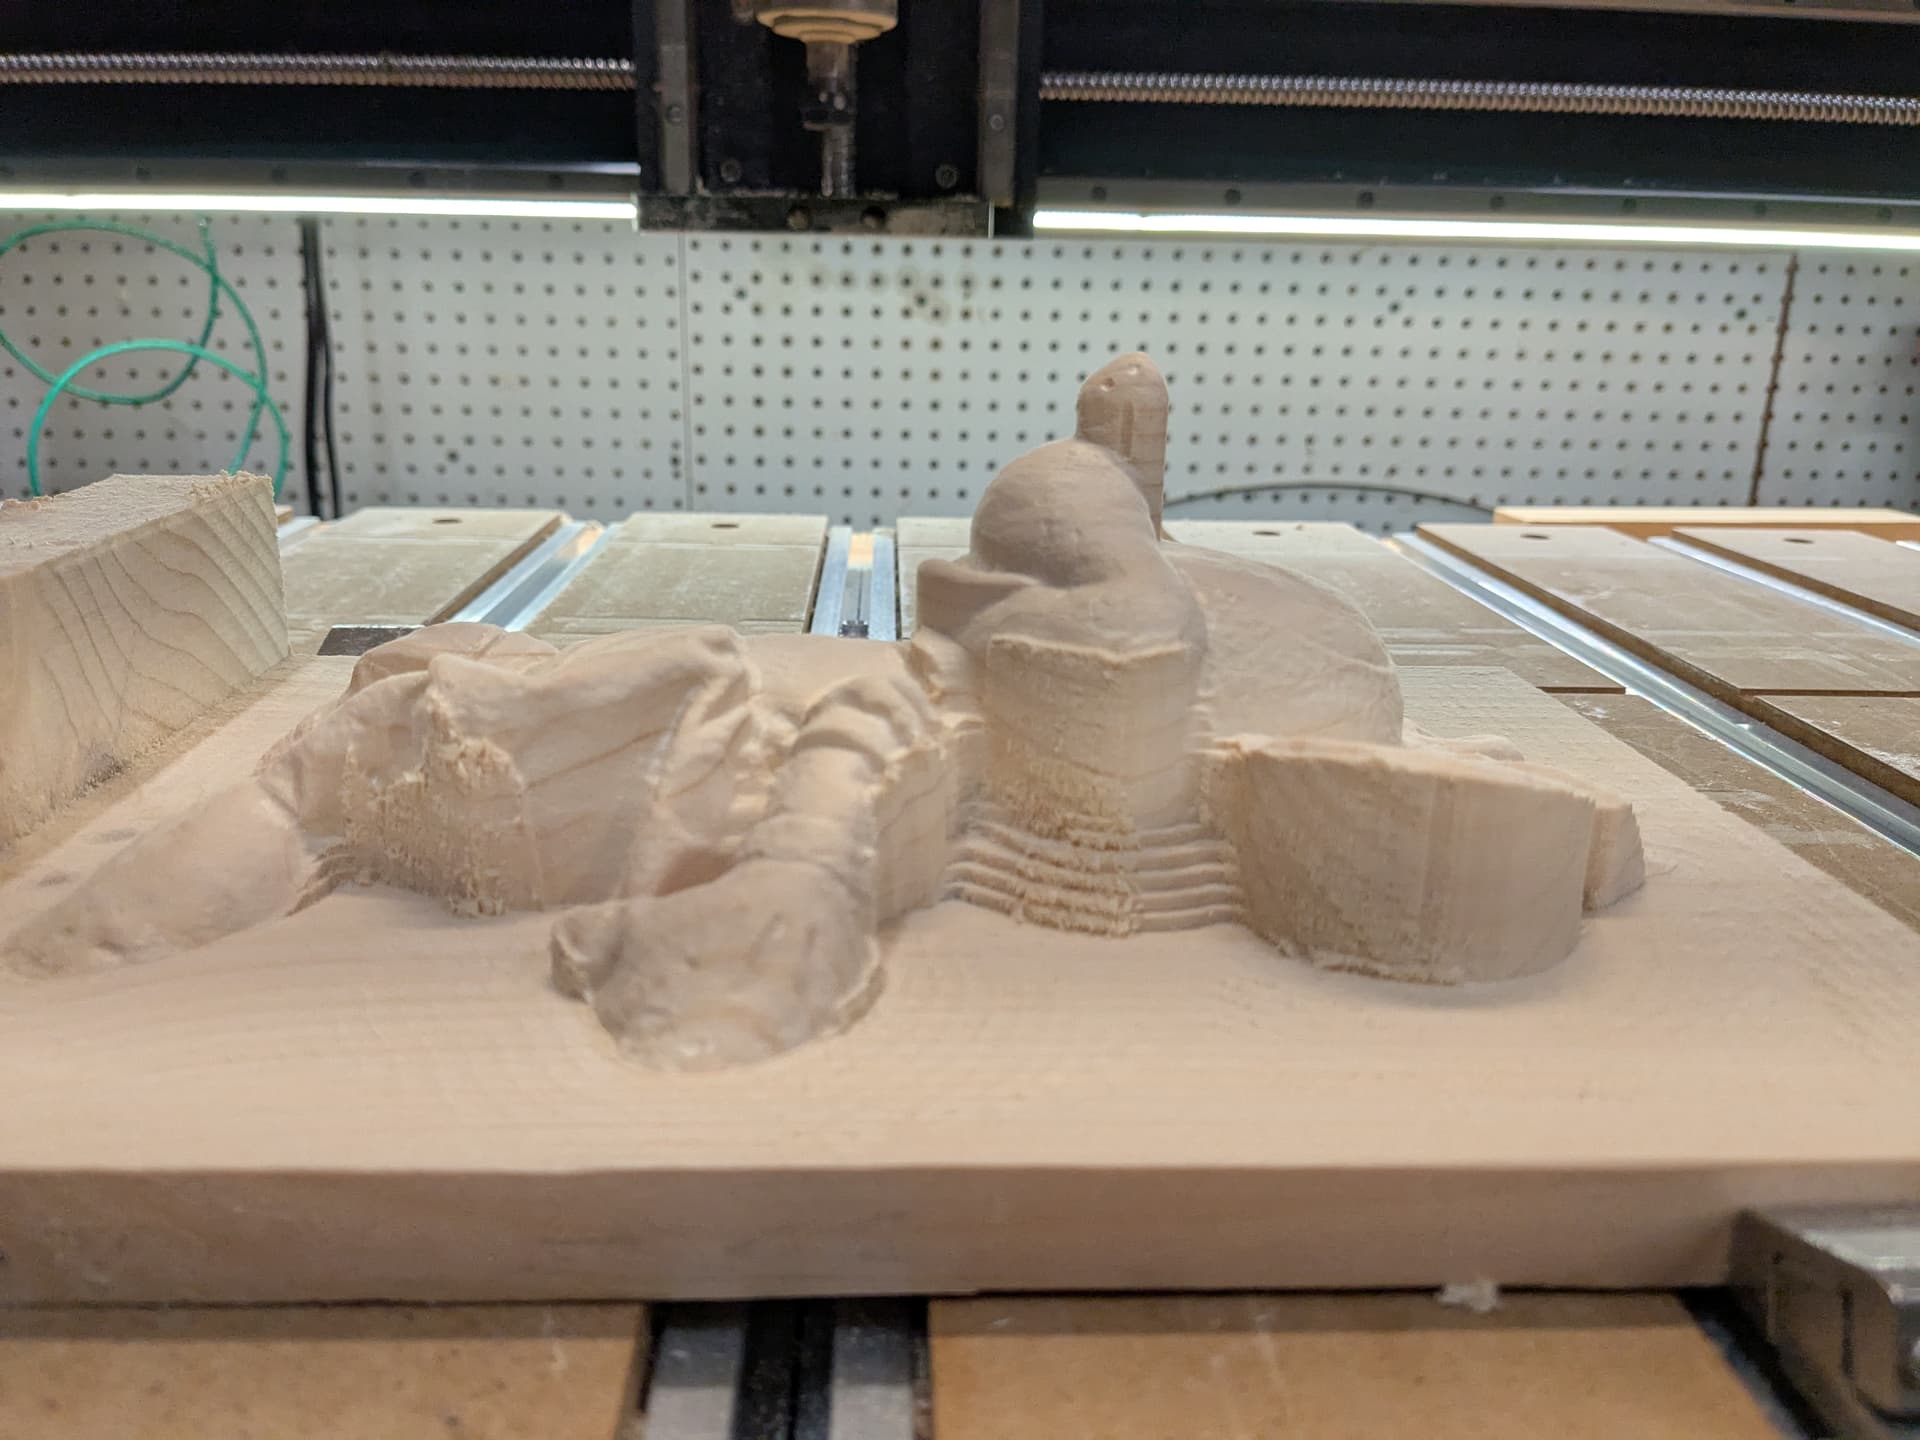
A little shellac and call it a week.

I plan on a rescan with attention to heights. I might try a 360 version.
30 Likes

1 Like
Impressive results. I considered a 3D scanner some time back and was concerned about achieving quality results. Looks like you have done that. A Quick Look shows that scanner at about $450 now which is high for an occasional use toy but reasonable if you have a consistent need.
I experimented with the LiDAR and apps on the iPhone and was underwhelmed but to be fair I didn’t spend a lot of time on it.
I had a very frustrating experience originally mostly due to the software.
They have improved the UI ( still a bit weird ), but it works.
The accuracy is good enough for my wood work efforts.
I bought the Lynx a couple of years ago and it had sat after scanning an Eagle carve.
The doll gave me some inspiration to try again. Now that I had a better results I will try larger objects. The Lynx is supposed to be good up to 2000 mm. I should be able to get part of a car in that.
I had found a website that hosts Lidar data from historical places.
https://openheritage3d.org/
I plan on using CloudCompare to convert the points to a mesh.

My current Laptop has 16GB of memory and ran out before I could do anything. New Dell Laptop (G16 32GB of memory and a nVidia 4070 gpu ) arrives on Wednesday. I have spent my yearly budget !!! If that doesn’t fit, I might have to go and get a job to pay for another PC with more memory.
3 Likes
I need to make a new window insert for the blonde girl’s laser. Thanks for sharing your design.
I made the cutout a pretty tight fit so it’s just pressed in there.