Nice project, can you elaborate on the “epoxy on mdf backer”? looks like white epoxy I pour on the mdf but its hard to see in the lower light. The led backlight is really nice.
1 Like
I used MDF and cut an offset of the full shape, then filled it with the black epoxy. After that cured, I cut the pockets for the grey fill, out of the black.

7 Likes
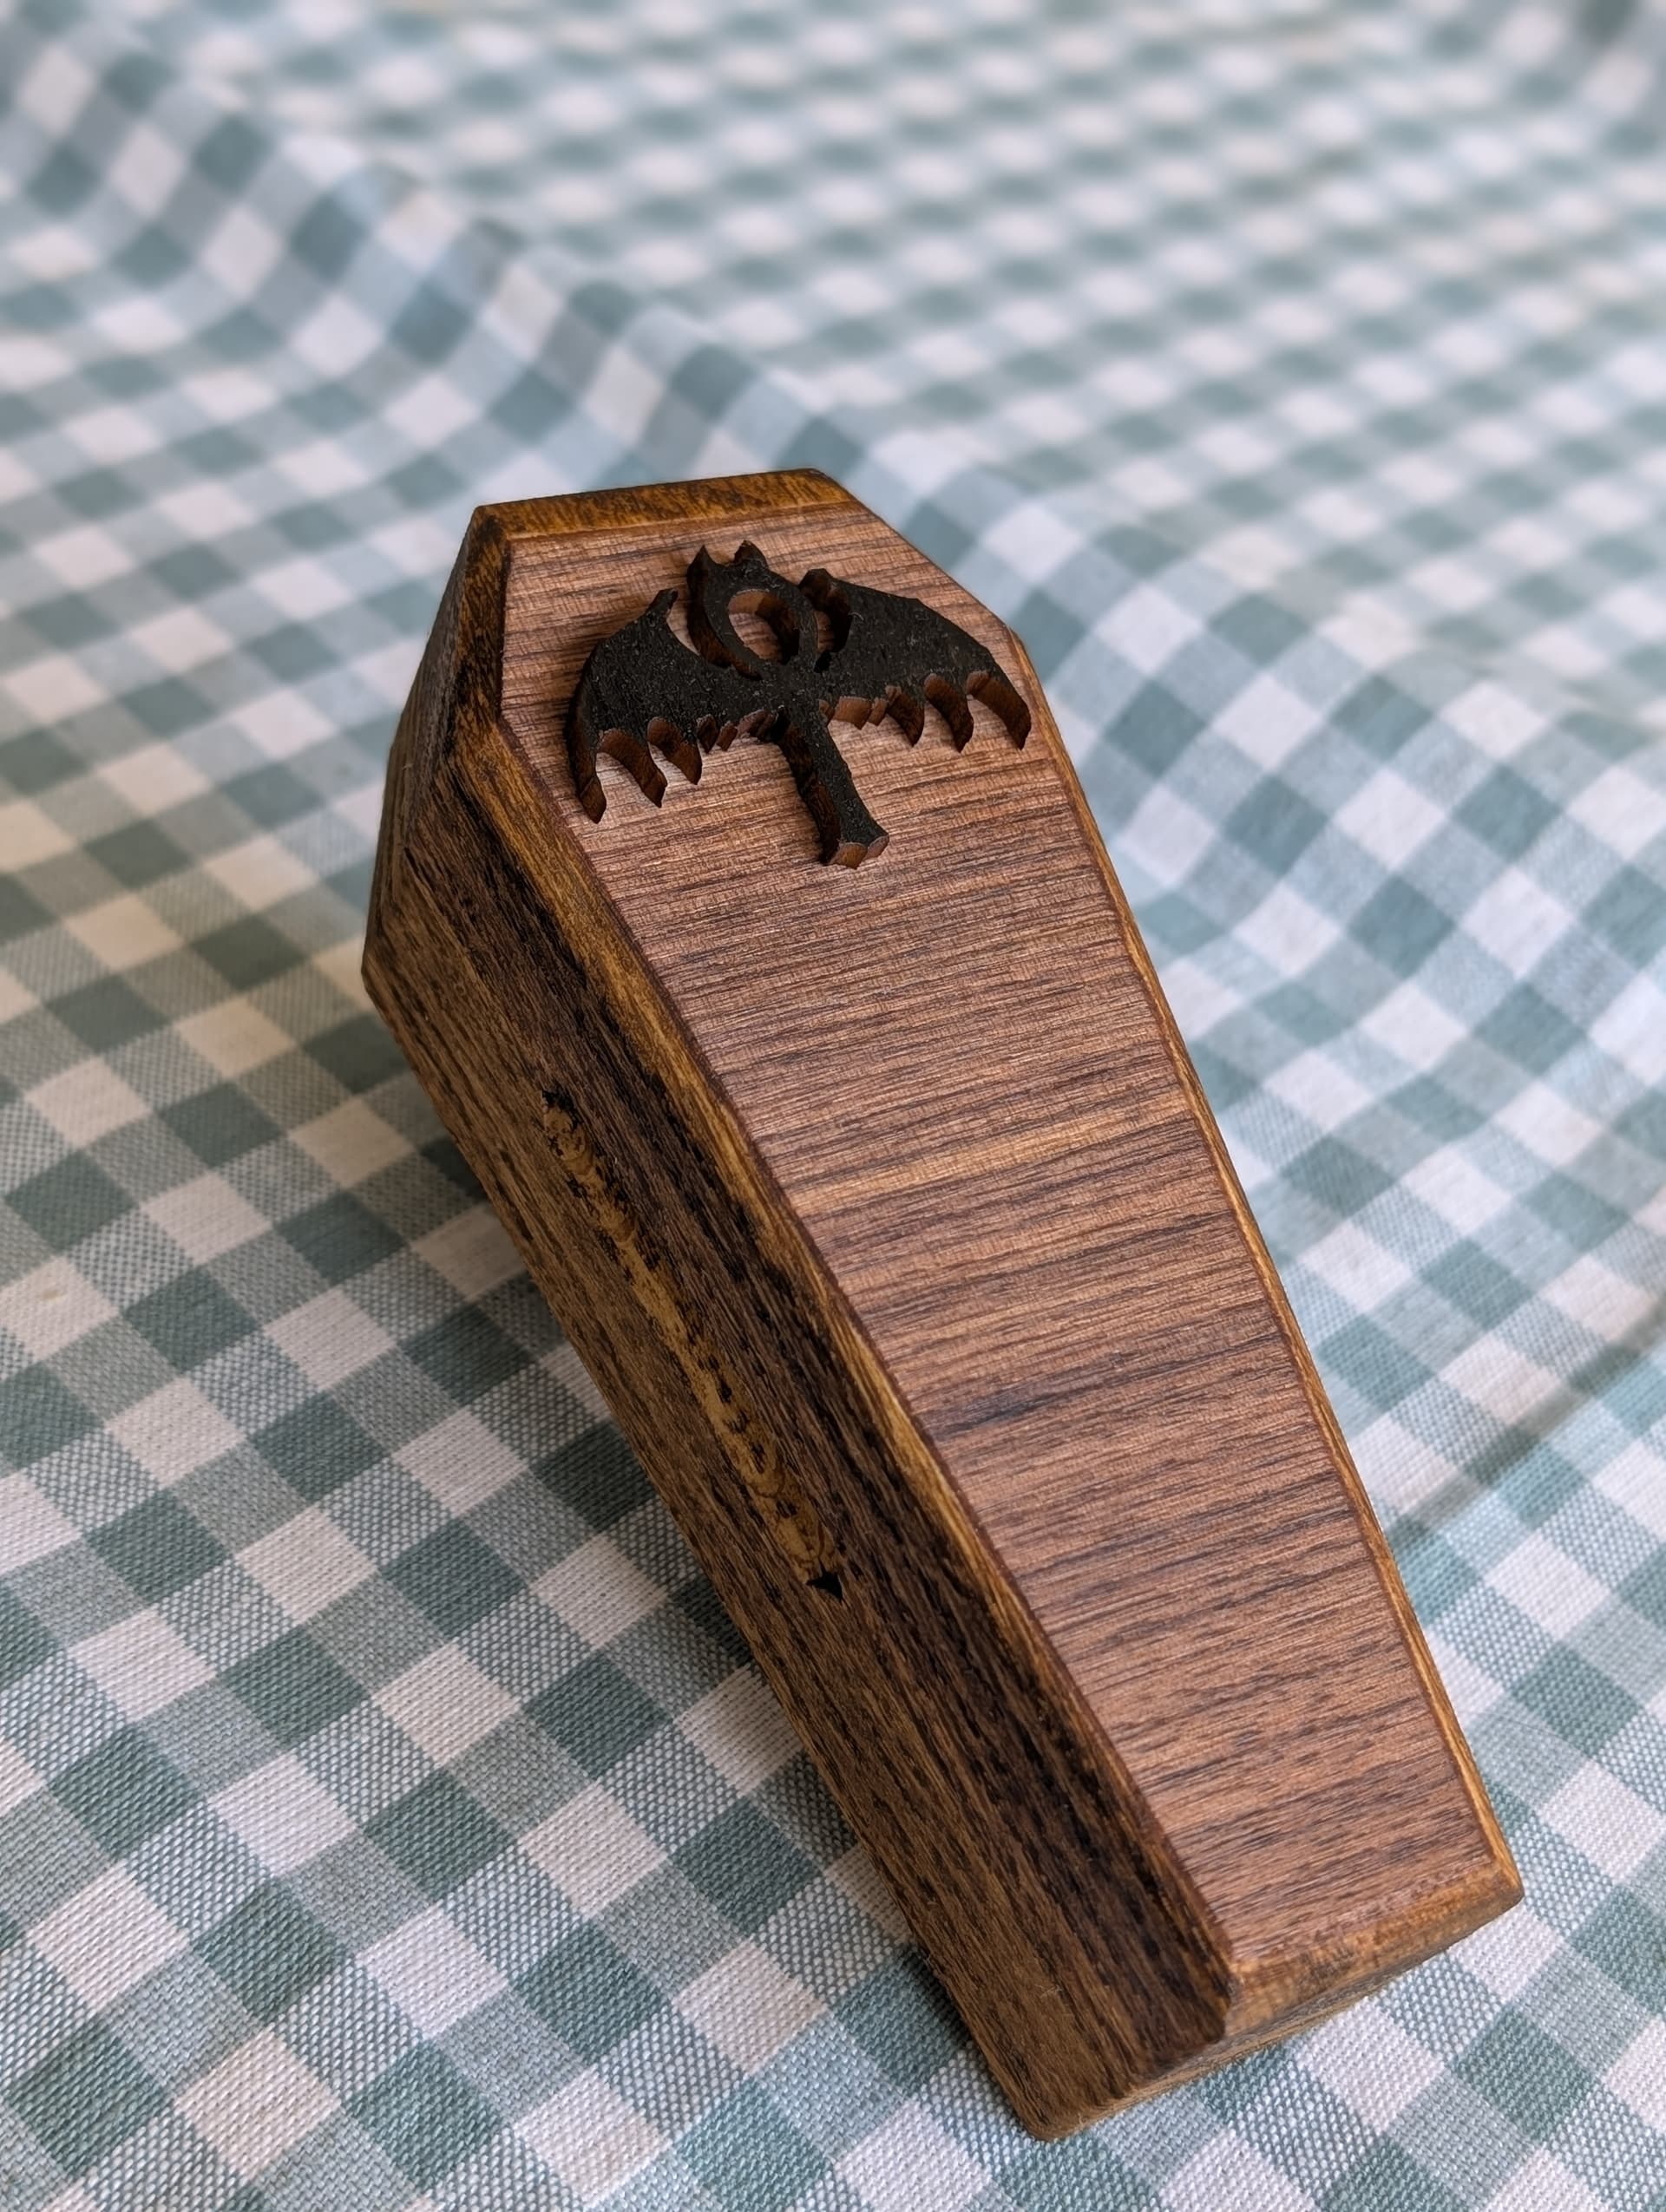
Hey Logan, It’s a contour cut with a 30° V bit, 1.5mm DOC. I scanned the coaster on my everyday printer/scanner then traced the file in CC. I had to do some node editing and deleting due to the fine details of the design where vectors when cut would cut over each other and the design would get distorted, but that worked out pretty good.
A Moorish Idol from a photo I took in Palau:
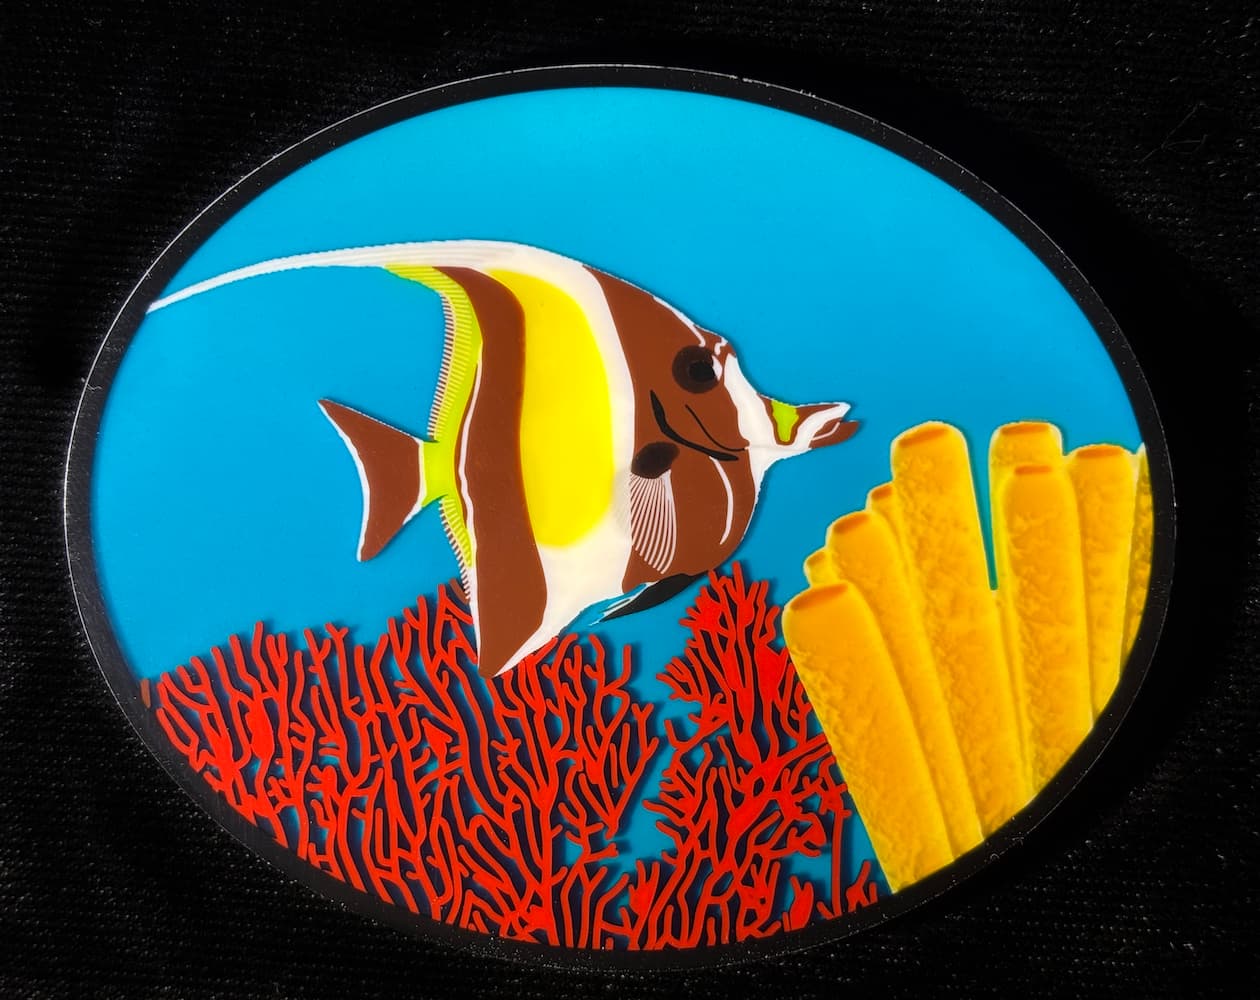
Same process as described for the ClownFish earlier. The gradation in the water is due to a ramped carving ranging from 2 mm deep at the bottom to about 1 mm deep at the top.
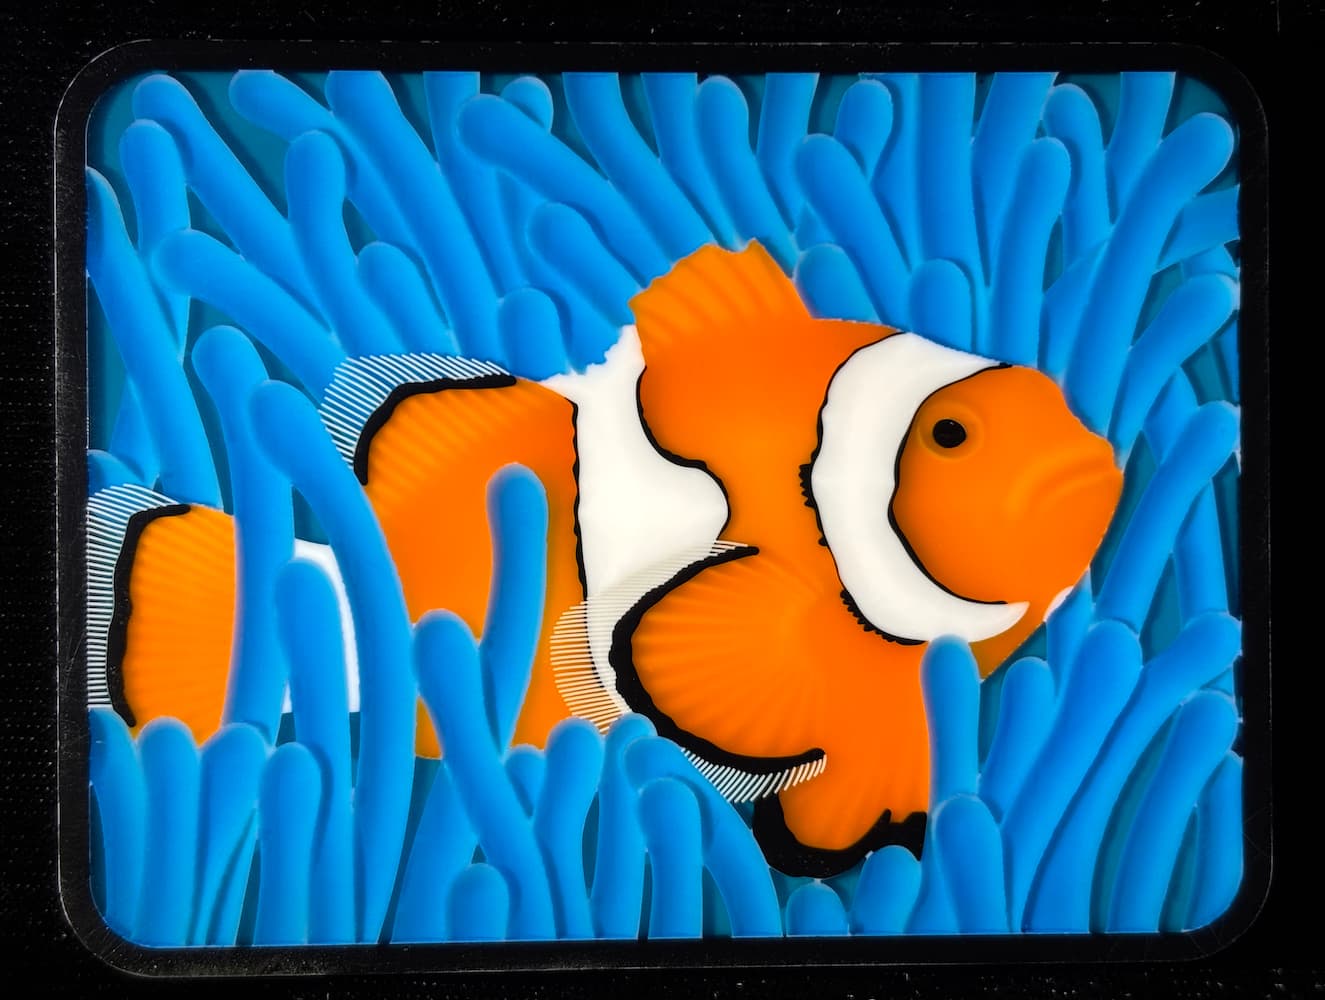
The ClownFish again with a single light to the side. The anemone, as well as the sponge in the MoorishIdol, “move around” when the light source changes.
13 Likes
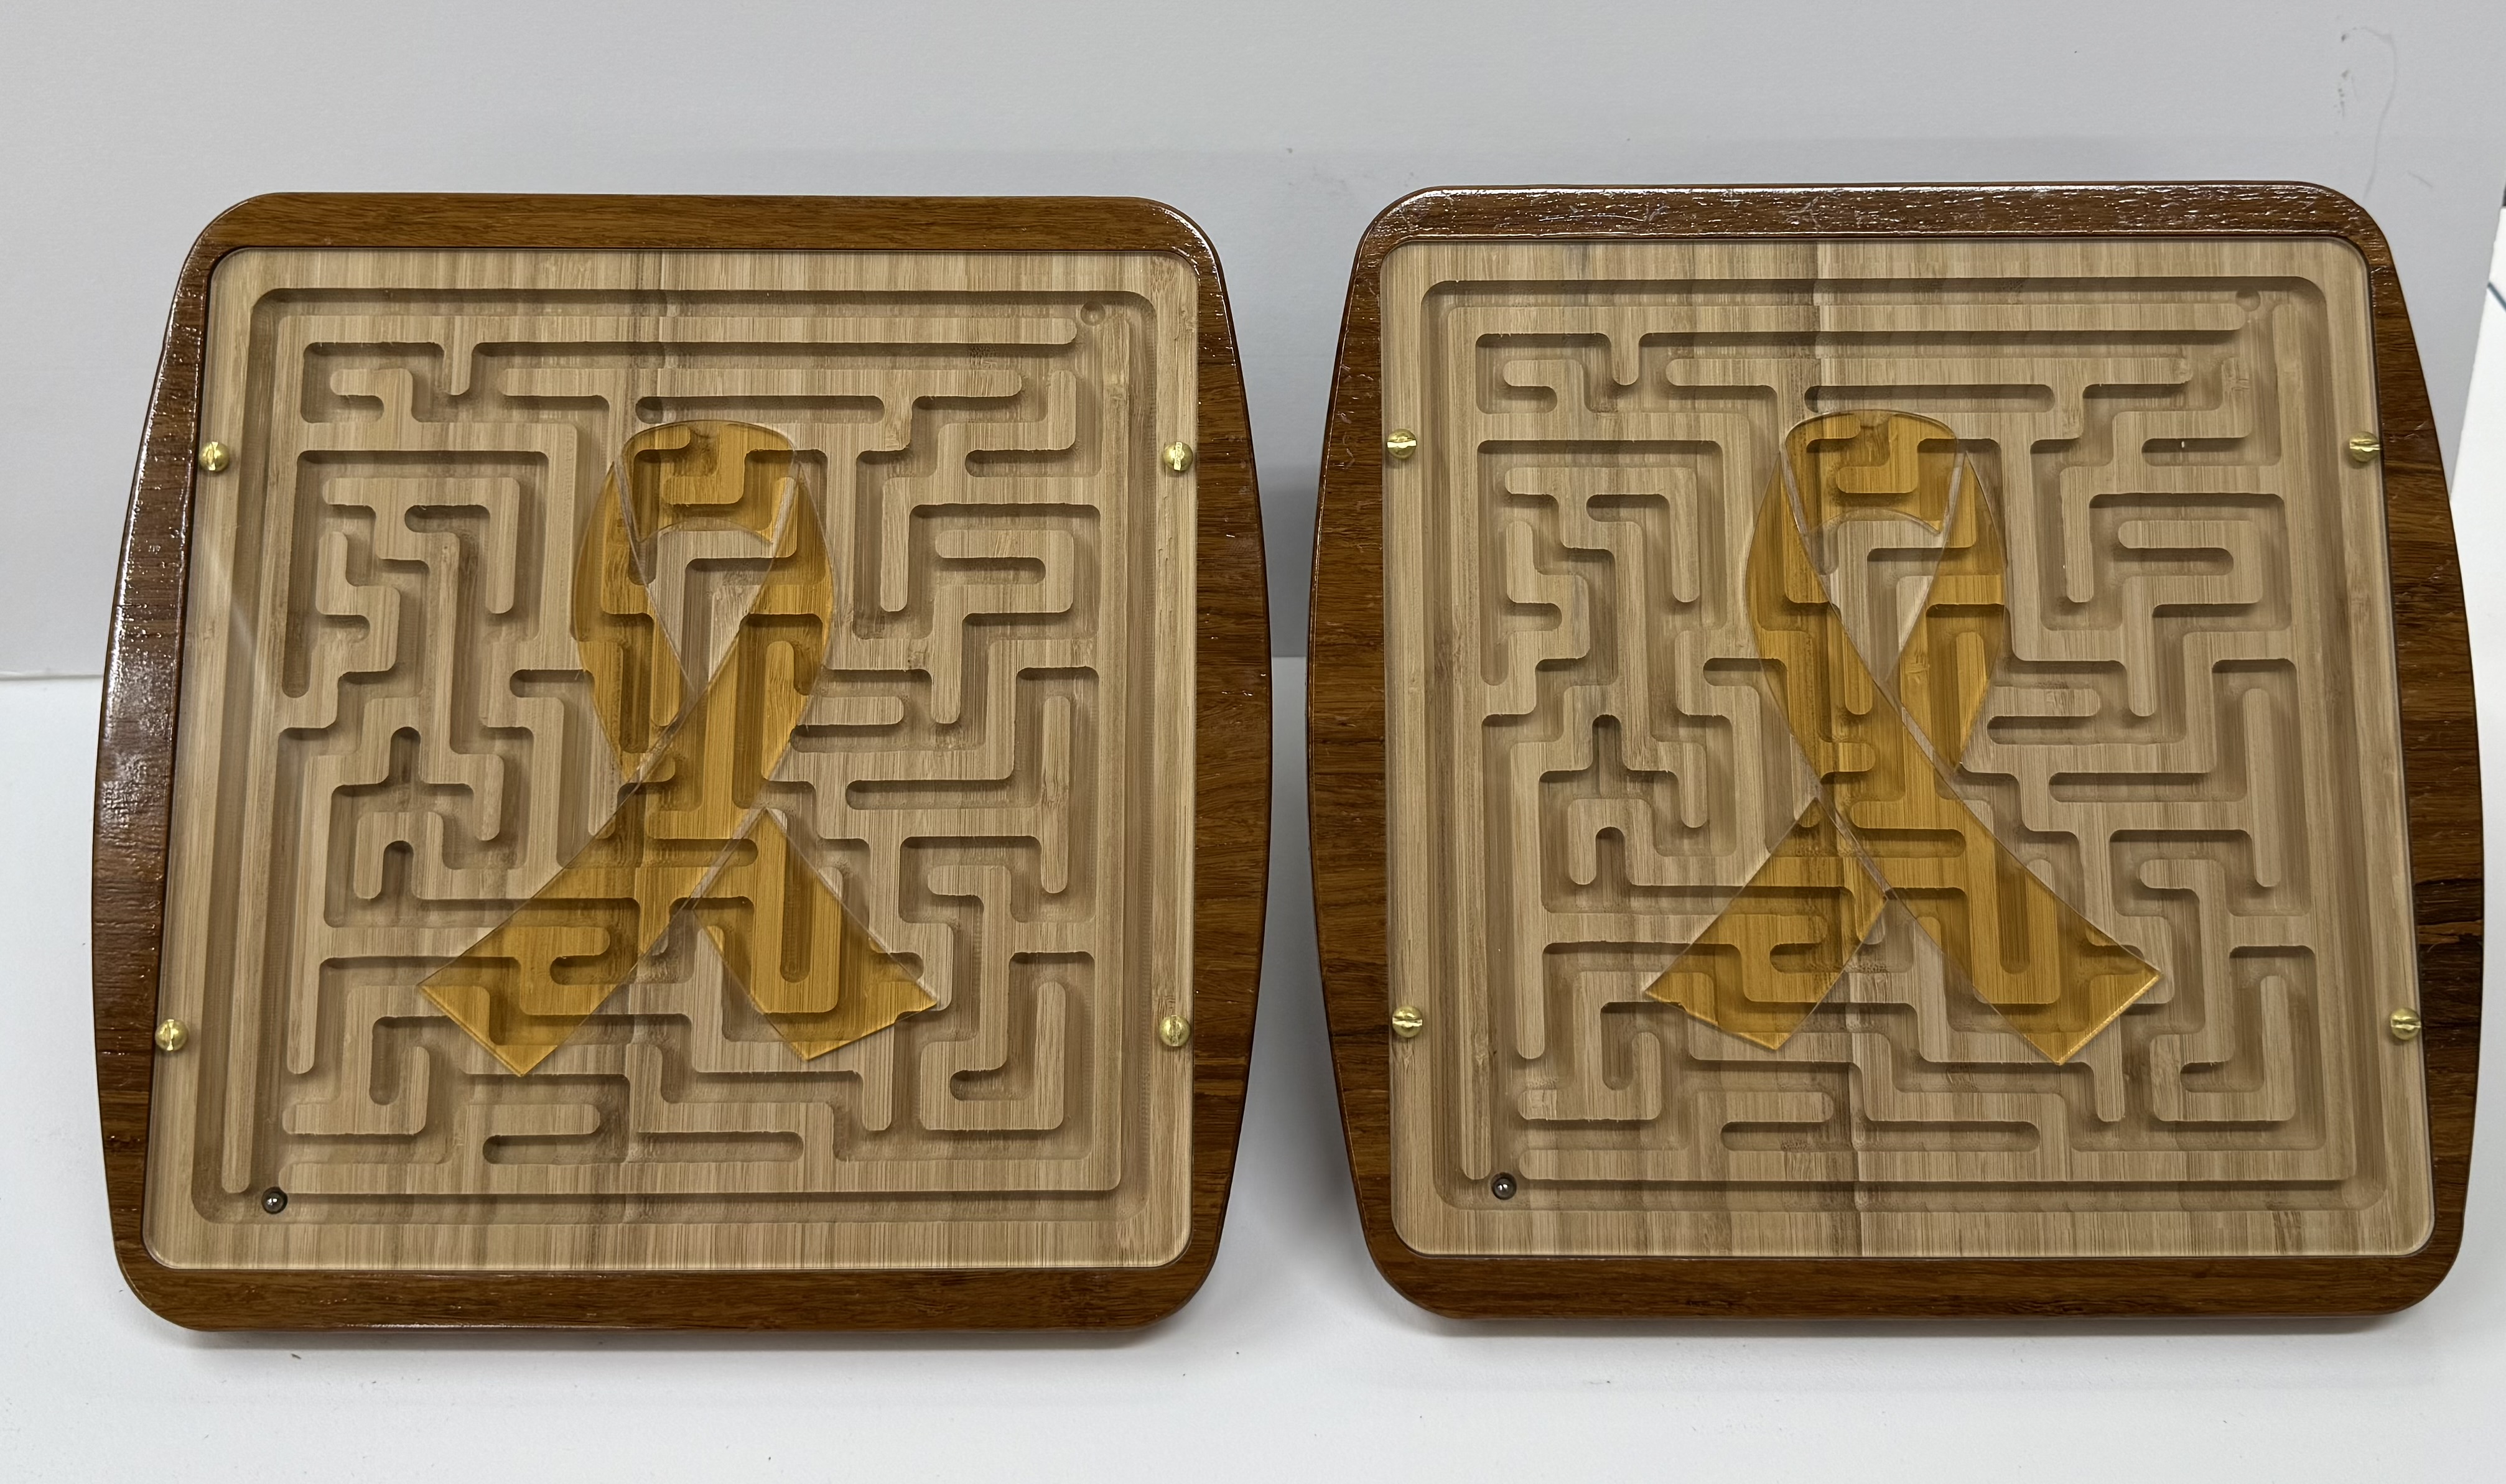
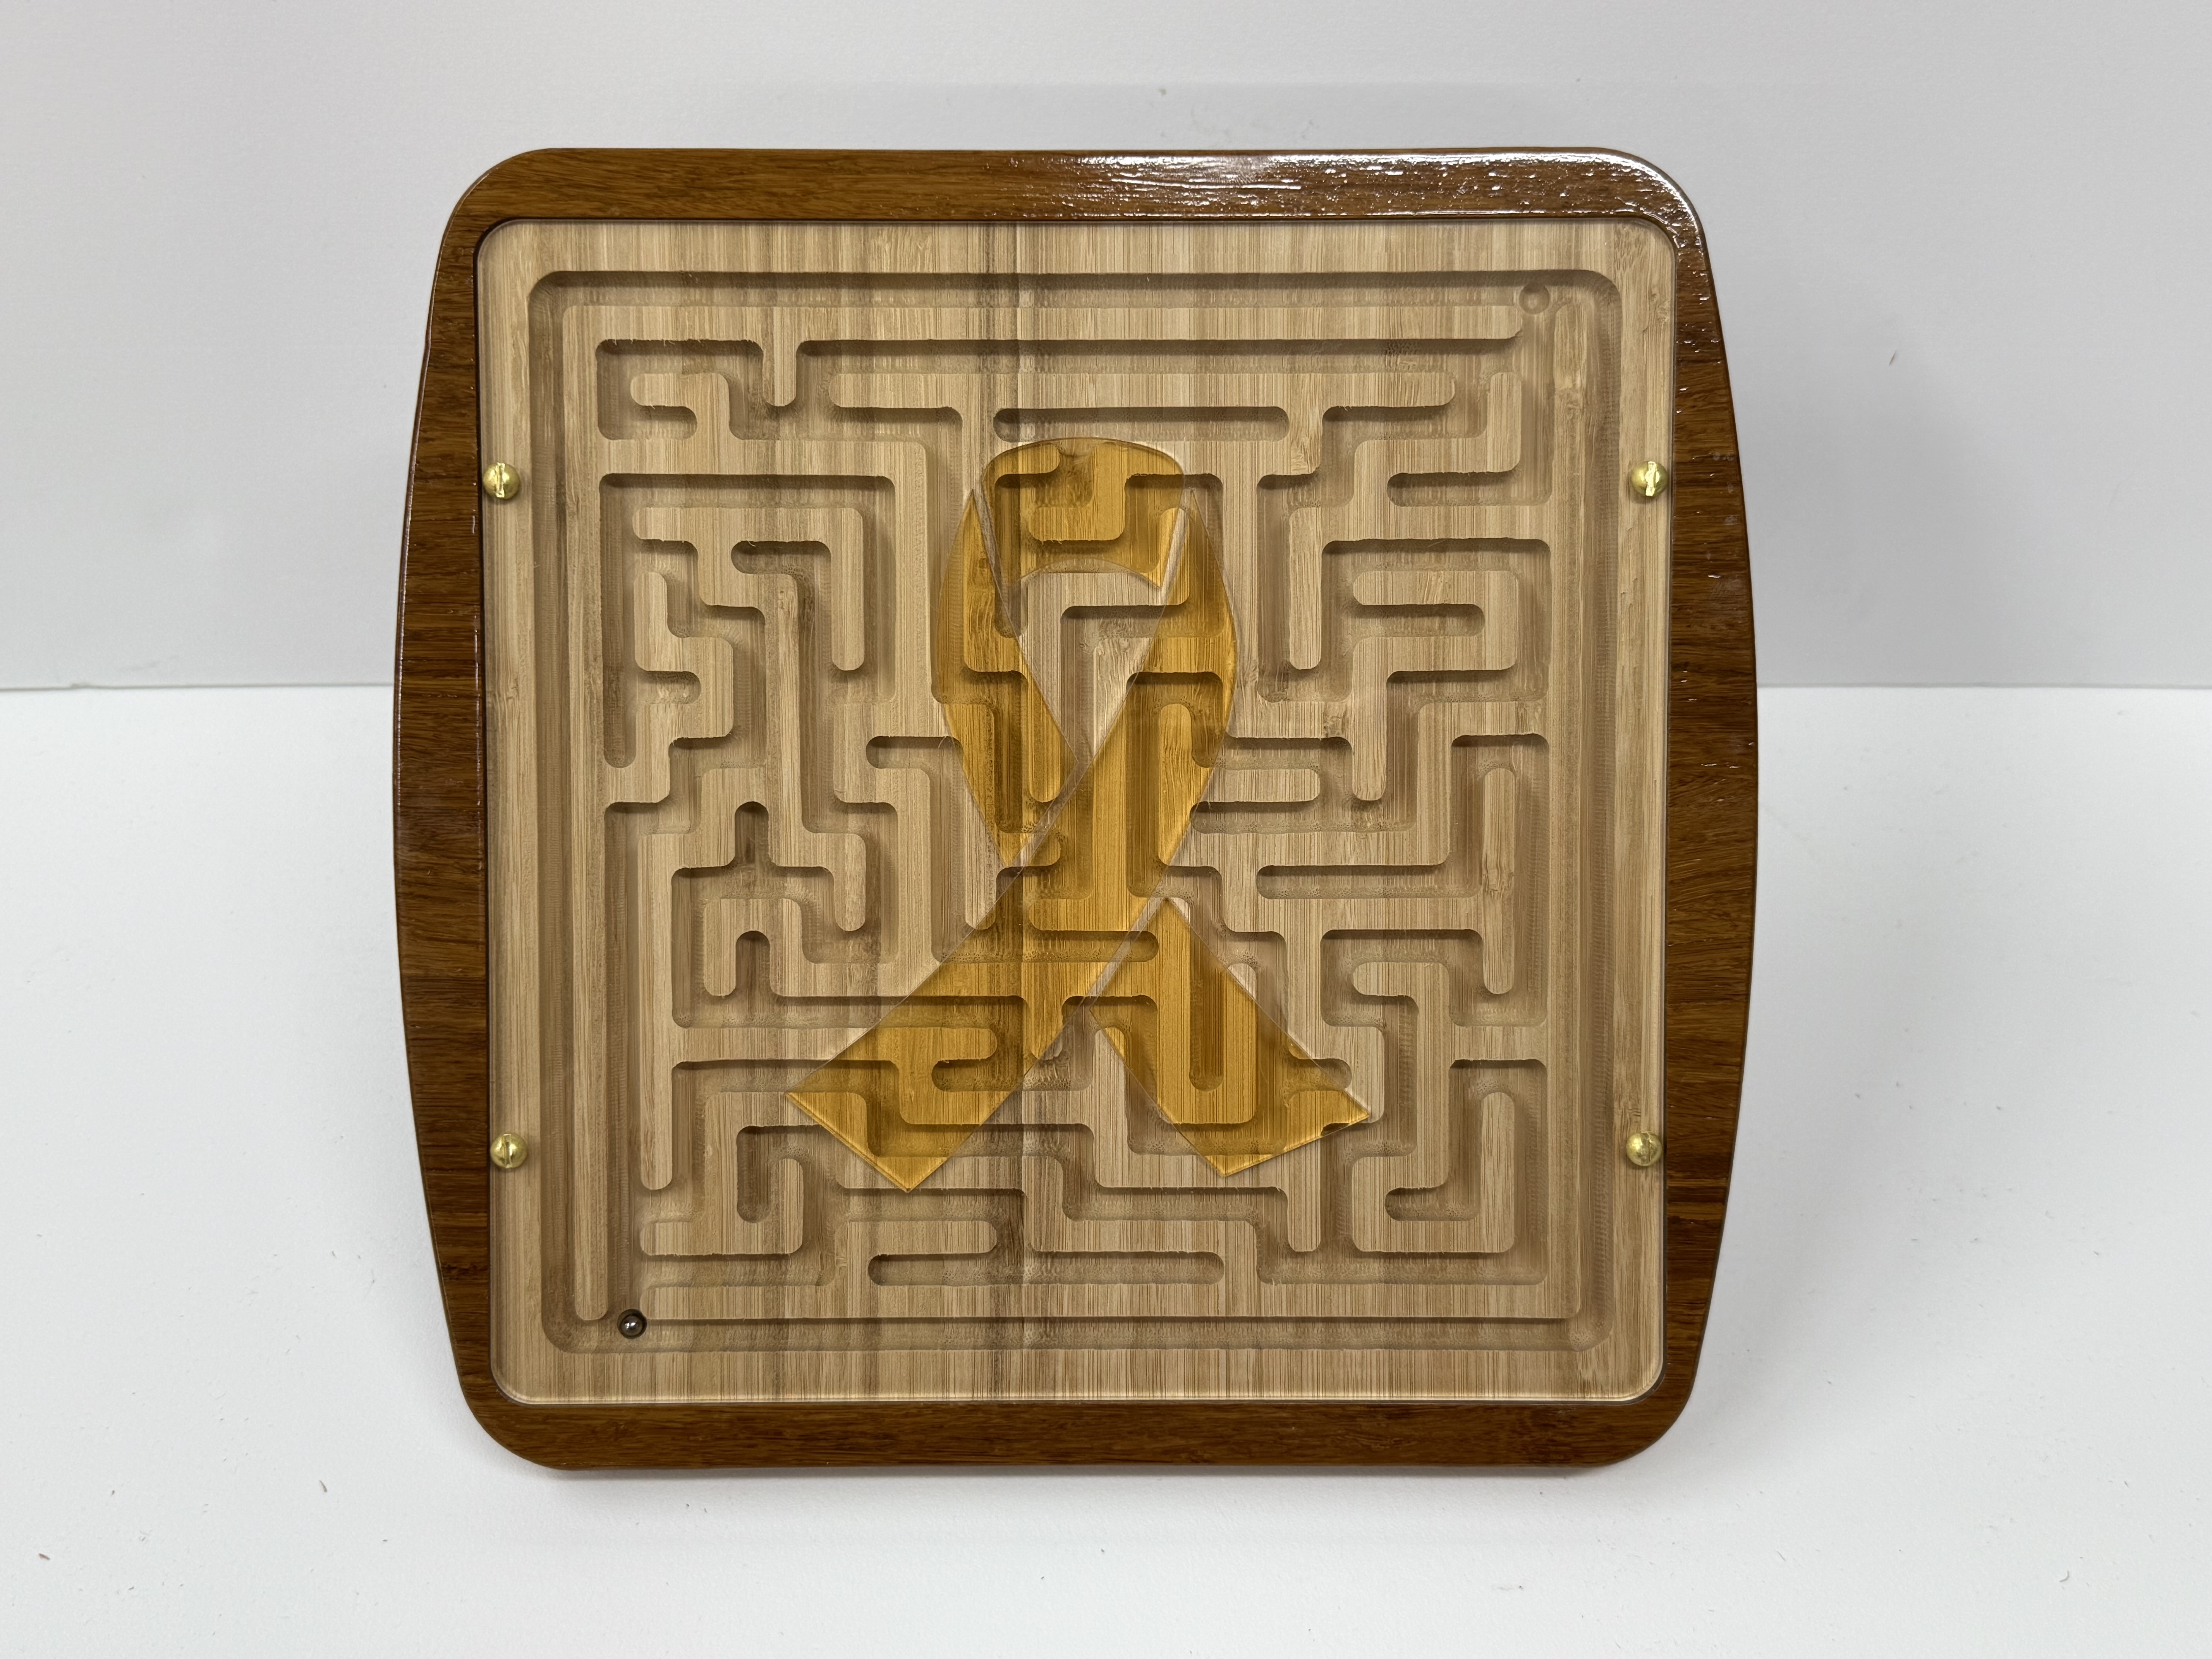
I created a couple of marble mazes from IDC Woodcraft on my CNC but used my XTool P2S laser for the acrylic cover and inlay. These are being donated to a school event for a silent auction to benefit Cure for childhood cancer. The Cure ribbon color for that is gold so I ordered translucent gold acrylic. The effect is a little more subtle than I had planned but it still works.
I cut the ribbon without any kerf offset specified. When doing the clear piece I selected the same vectors and used a -.18mm kerf offset. It’s a very snug fit. No glue.
20 Likes
Beautiful work! Thanks for the reply.
1 Like
I had no idea what an Xtool P2S is … Nice toy … I mean tool !
It’s a little of both. I have been making mugs, plaques and most recently baseballs trying to have it pay for itself.
Doesn’t have the same footprint capabilities as a JTech attachment on the CNC, but it has a lot of other nice features. One of which is being able to map a curved surface and then laser to the curve. It would be cool if you could export that mapped surface but that is not available yet.
I just read a review on the Xtool which seemed balanced. Hmmmm …
Do you have some of the accessories ? It sounds like you have the rotary one.
I’ll DM you so as not to flood this thread.
1 Like
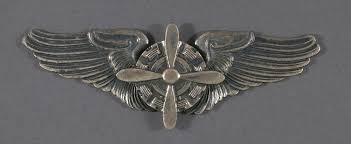
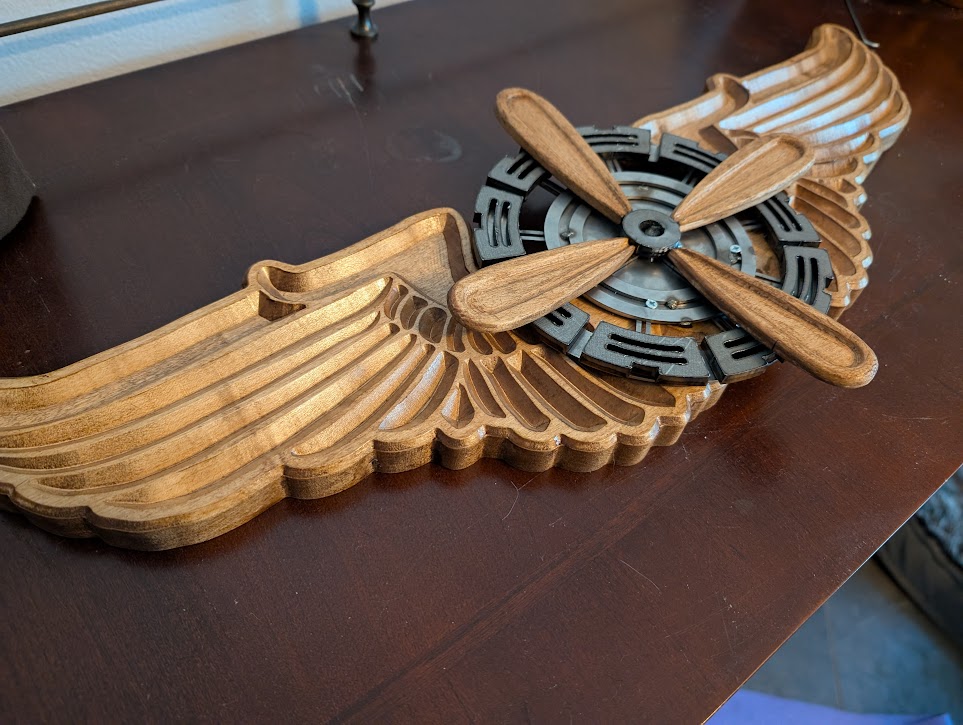
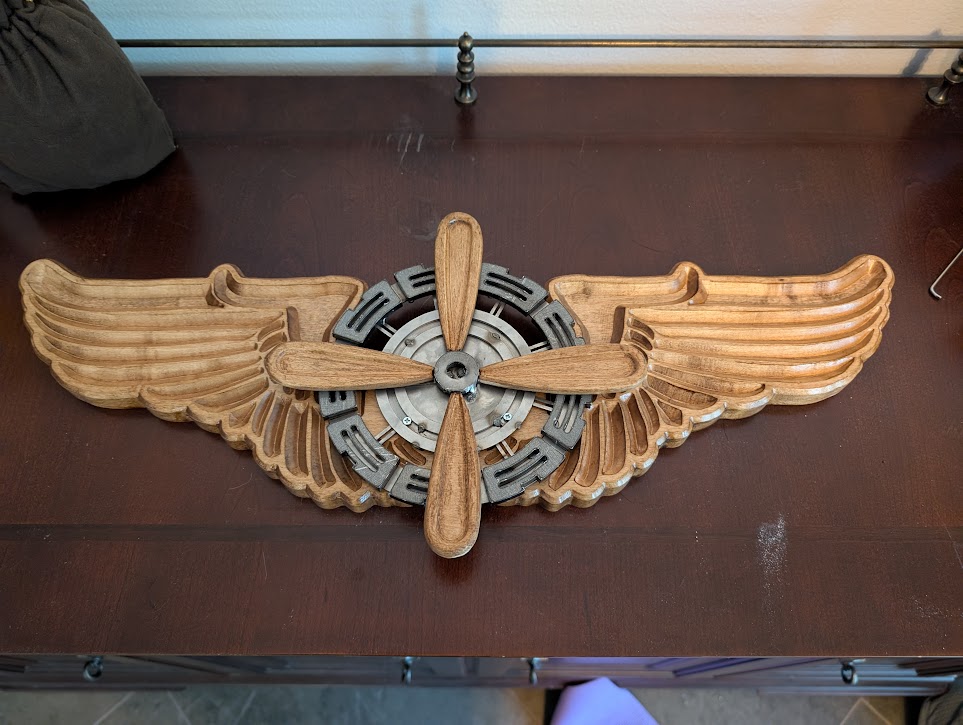
Flight engineer wings that I designed based on a ~2 inch cast uniform clip on. Had to take some artistic liberties to make it look good scaled up. 24 inches total width, maple board, vee cutter on Shapeoko 5.
Steel was laser cut with sendcutsend because the price was good enough to make me focus on the wood.
43 Likes
Very nice. When I saw the picture I instantly recognized the wings. You did a good job and will make someone very proud. It is so nice when a plan comes together. Keep them Flying ![]()
1 Like
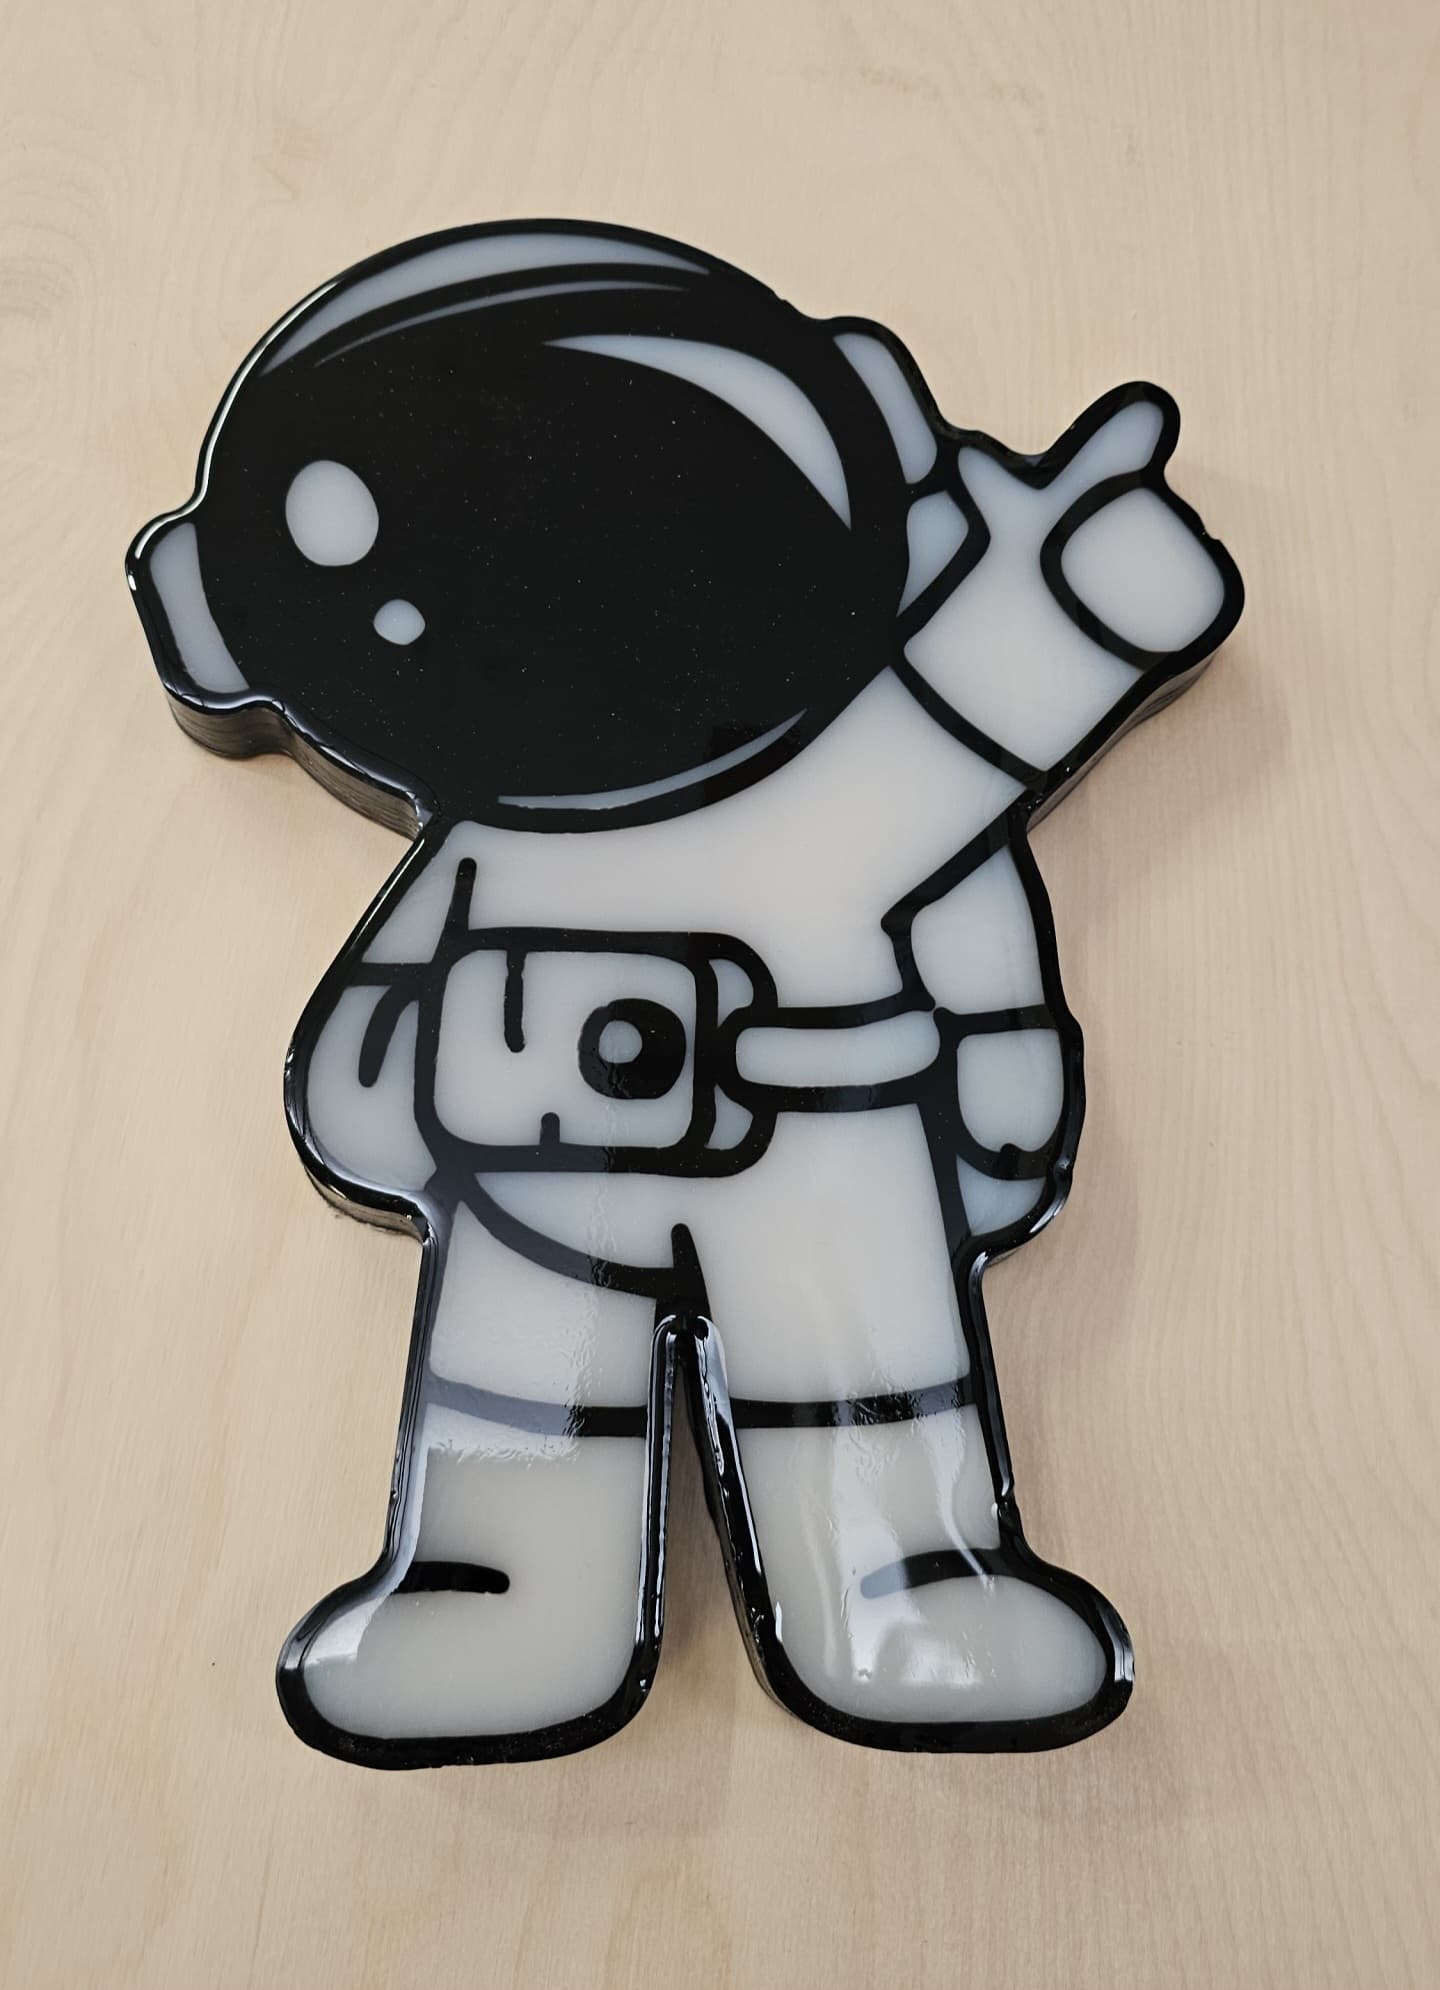
Space is a hot topic right now. With the ISS crew back on terra firma space travel is all over the news. Nice looking project. What is the size of your astronaut?
The astronaut is ~12" x 9"
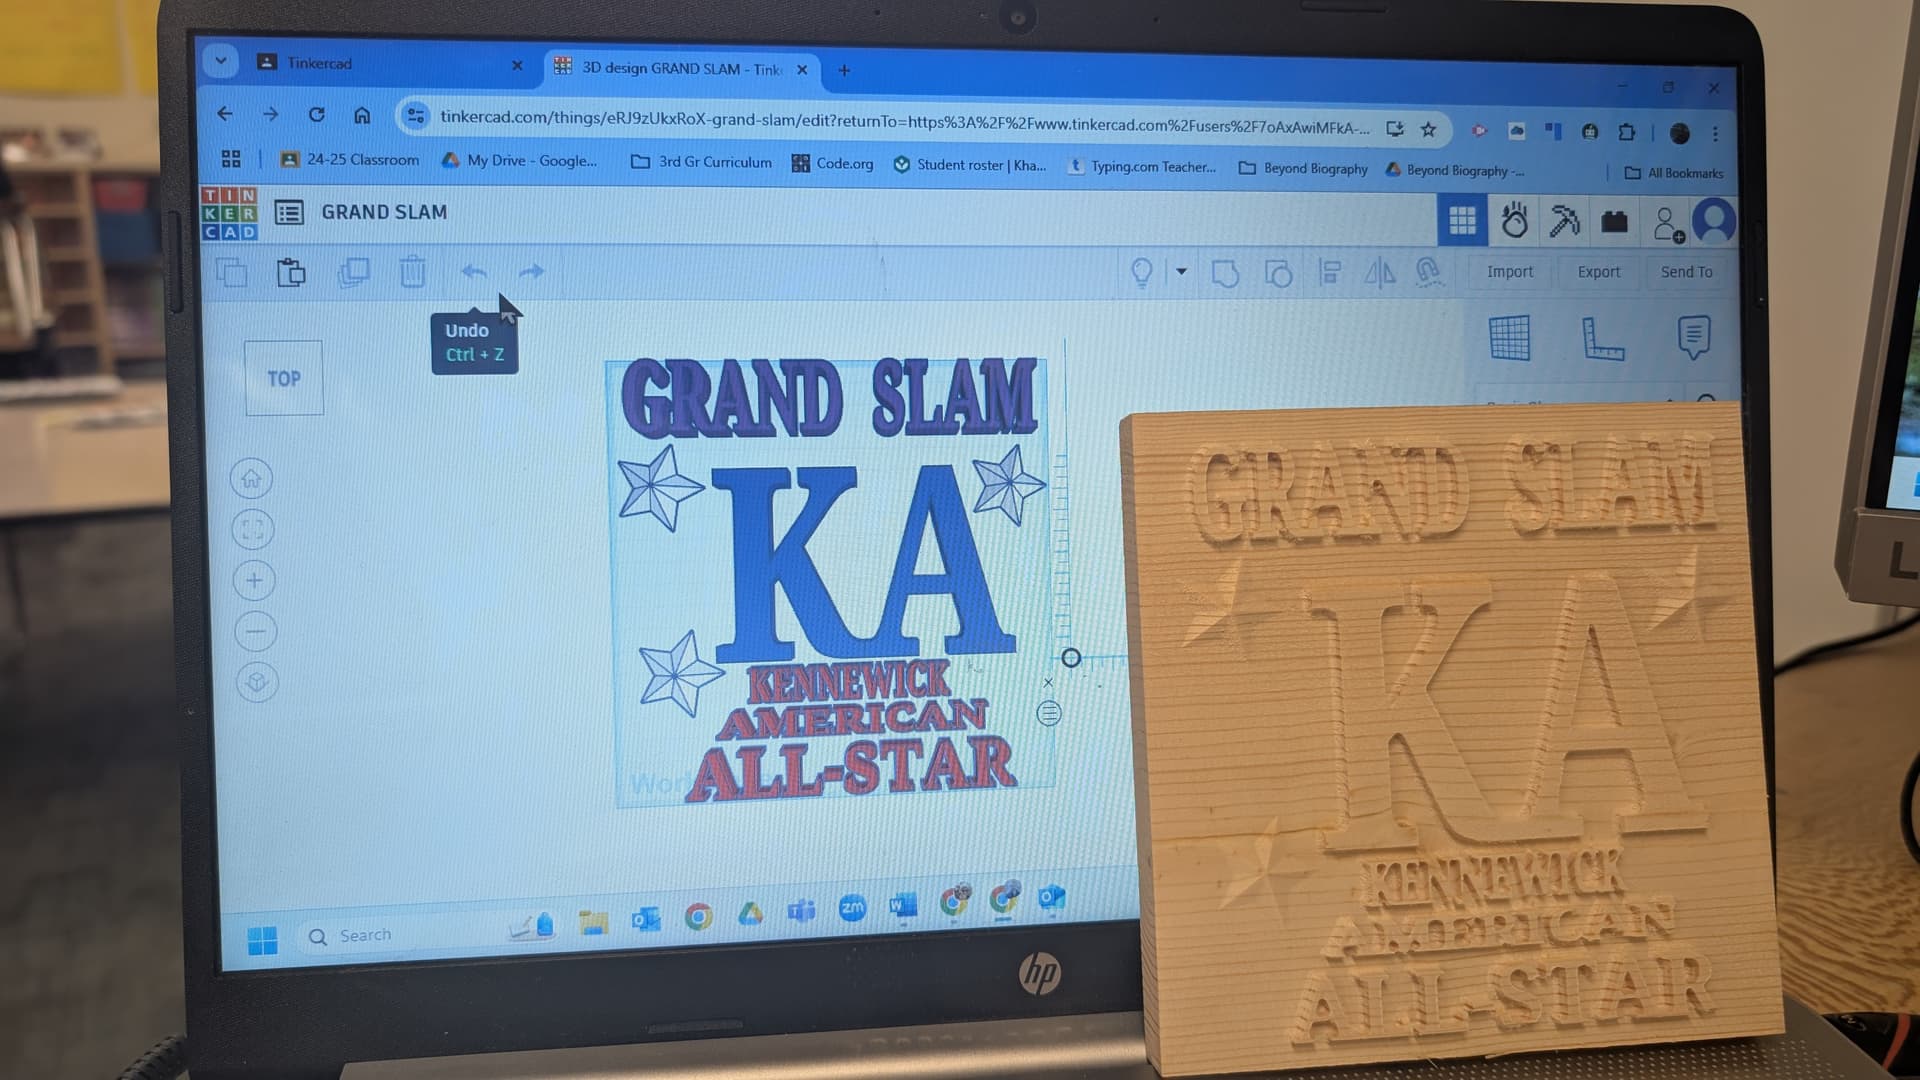
My 3rd grade student designed this.
I came across a website called Tinkercad, which is a CAD-type program designed to introduce kids to CAD. I quickly learned I could create free student accounts using Google Classroom, which then allows me a connection to each of their accounts. I found that you can create an STL file in Tinkercad. Knowing that, I told my kids that I would make one of their designs using my CNC. They were super excited. This is the first one. Yes, I’m using cheap pine, which chips out, but I’m not ready to foot the bill on a more expensive wood right now. I thought I’d share this in case there are CNCers who are educators. My kids have Chromebooks. I know that there are some companies that offer educational discounts for software, but this is free and great for the 3rd grade level.
23 Likes
A post was split to a new topic: Academic software options
The student will love the plaque no matter what kind of wood it is made of. When my grandson was about 10 (now 30) I made a scroll saw project of a horse and a picture of him sitting on a horse. He still has that hanging on the wall.
2 Likes