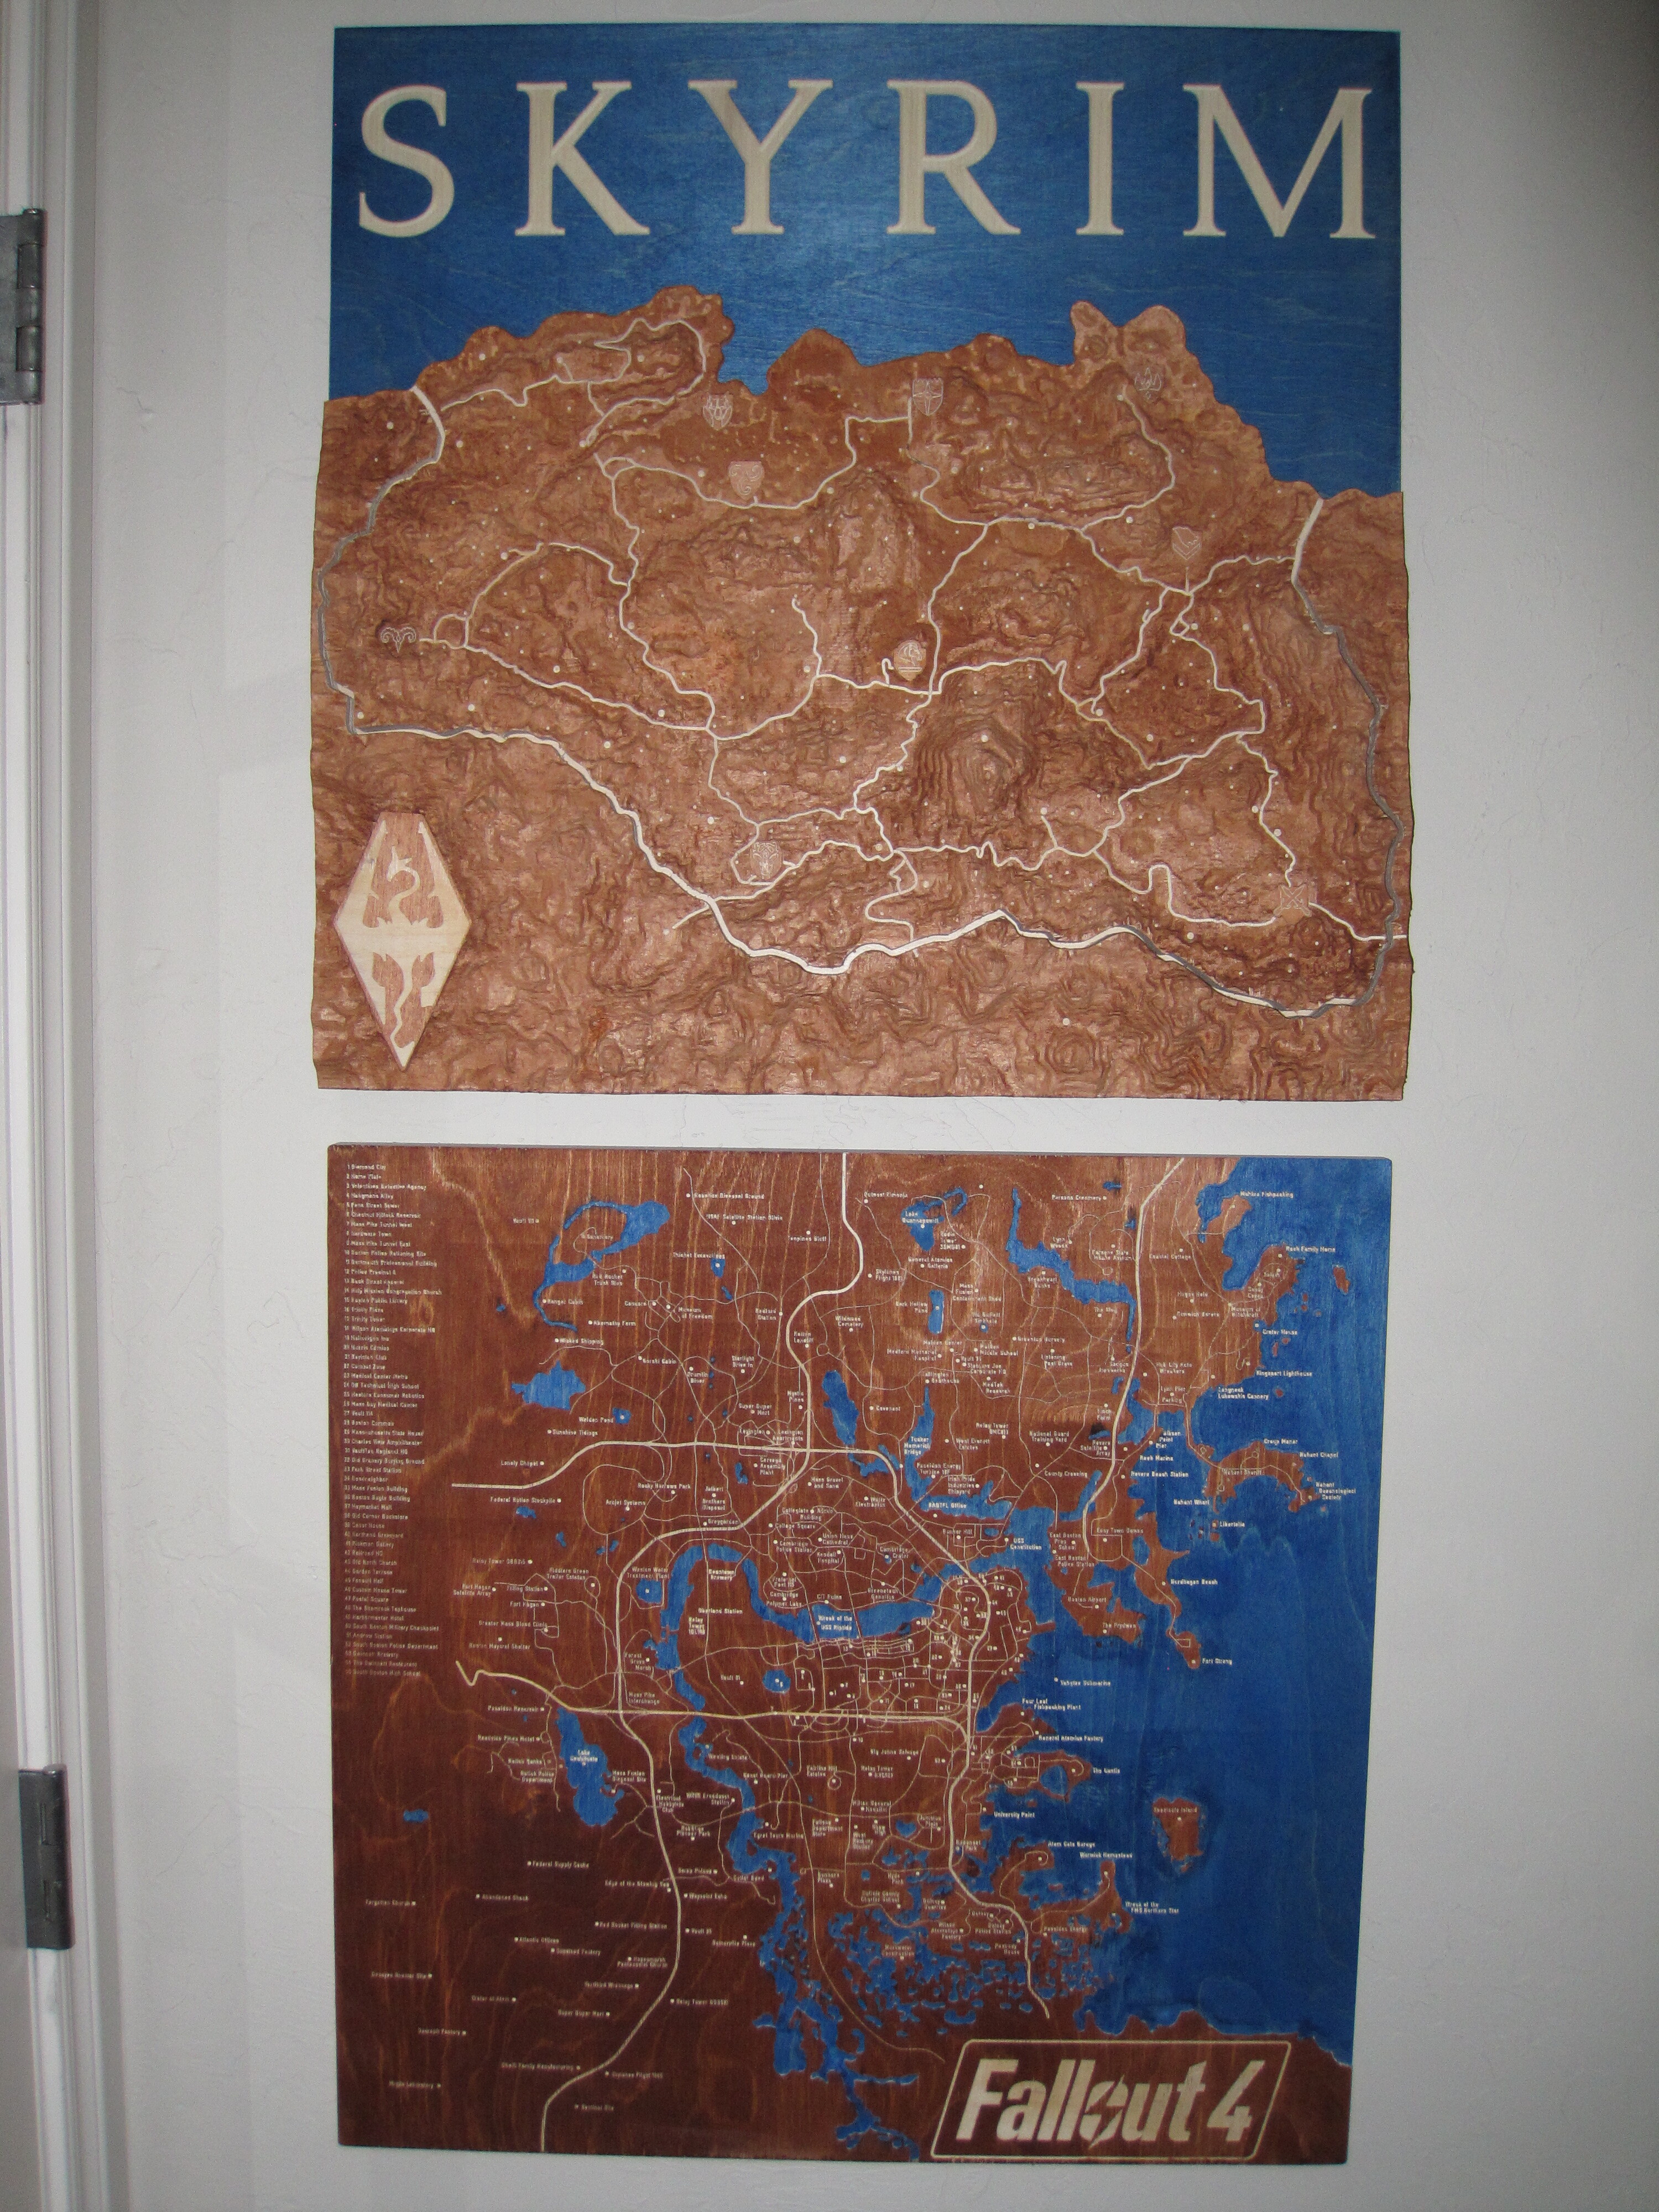
The community helped me make my topographic Skyrim map, and I learned a lot from that process. I wanted to make for another game-map that would look similar, but using a different technique. The same company that made Skyrim also makes a game called Fallout.
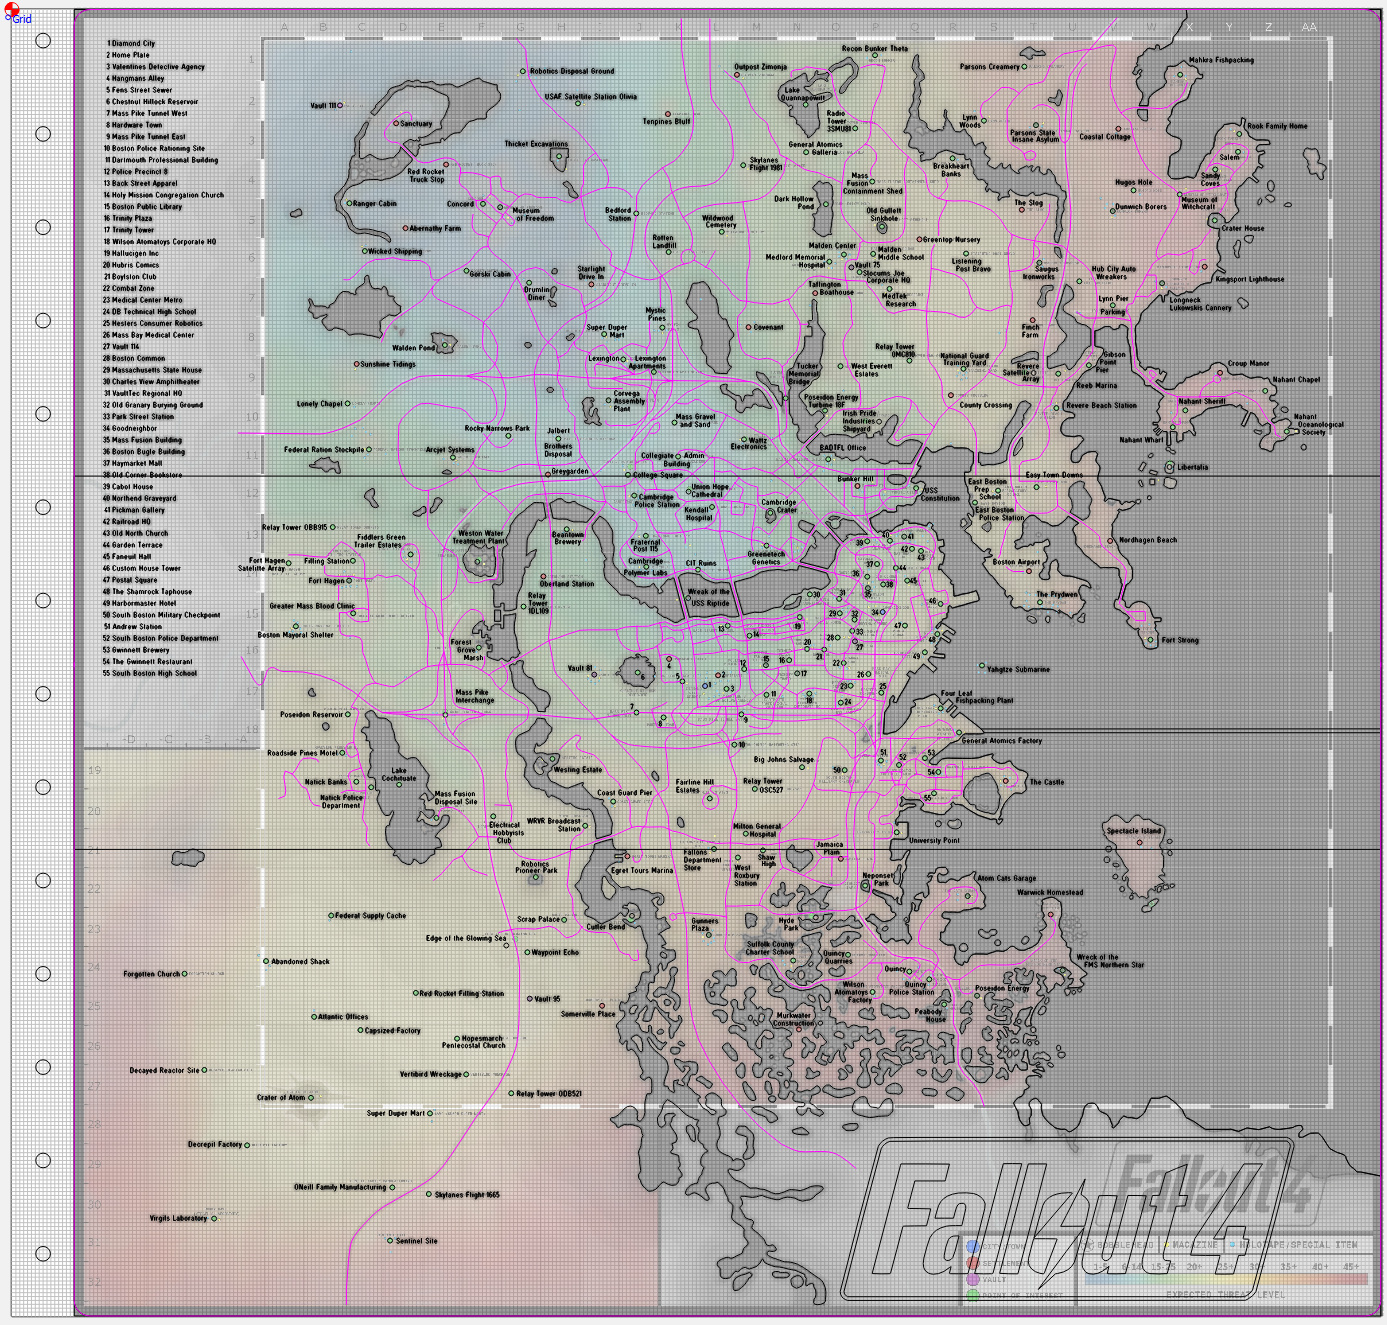
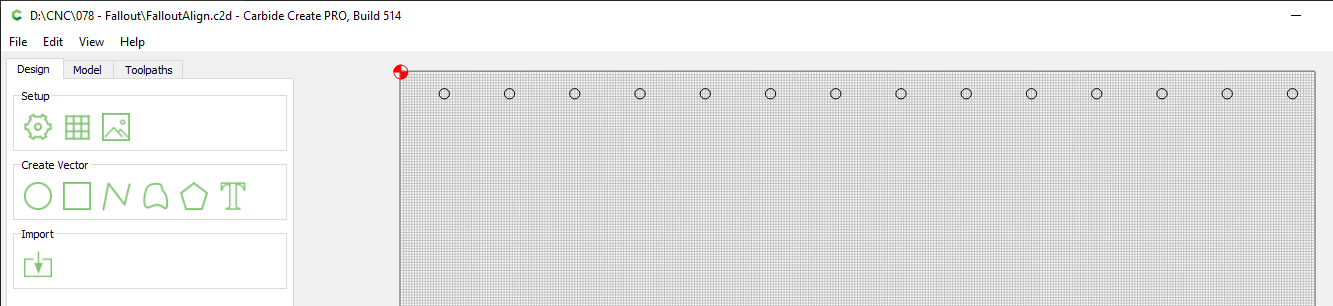
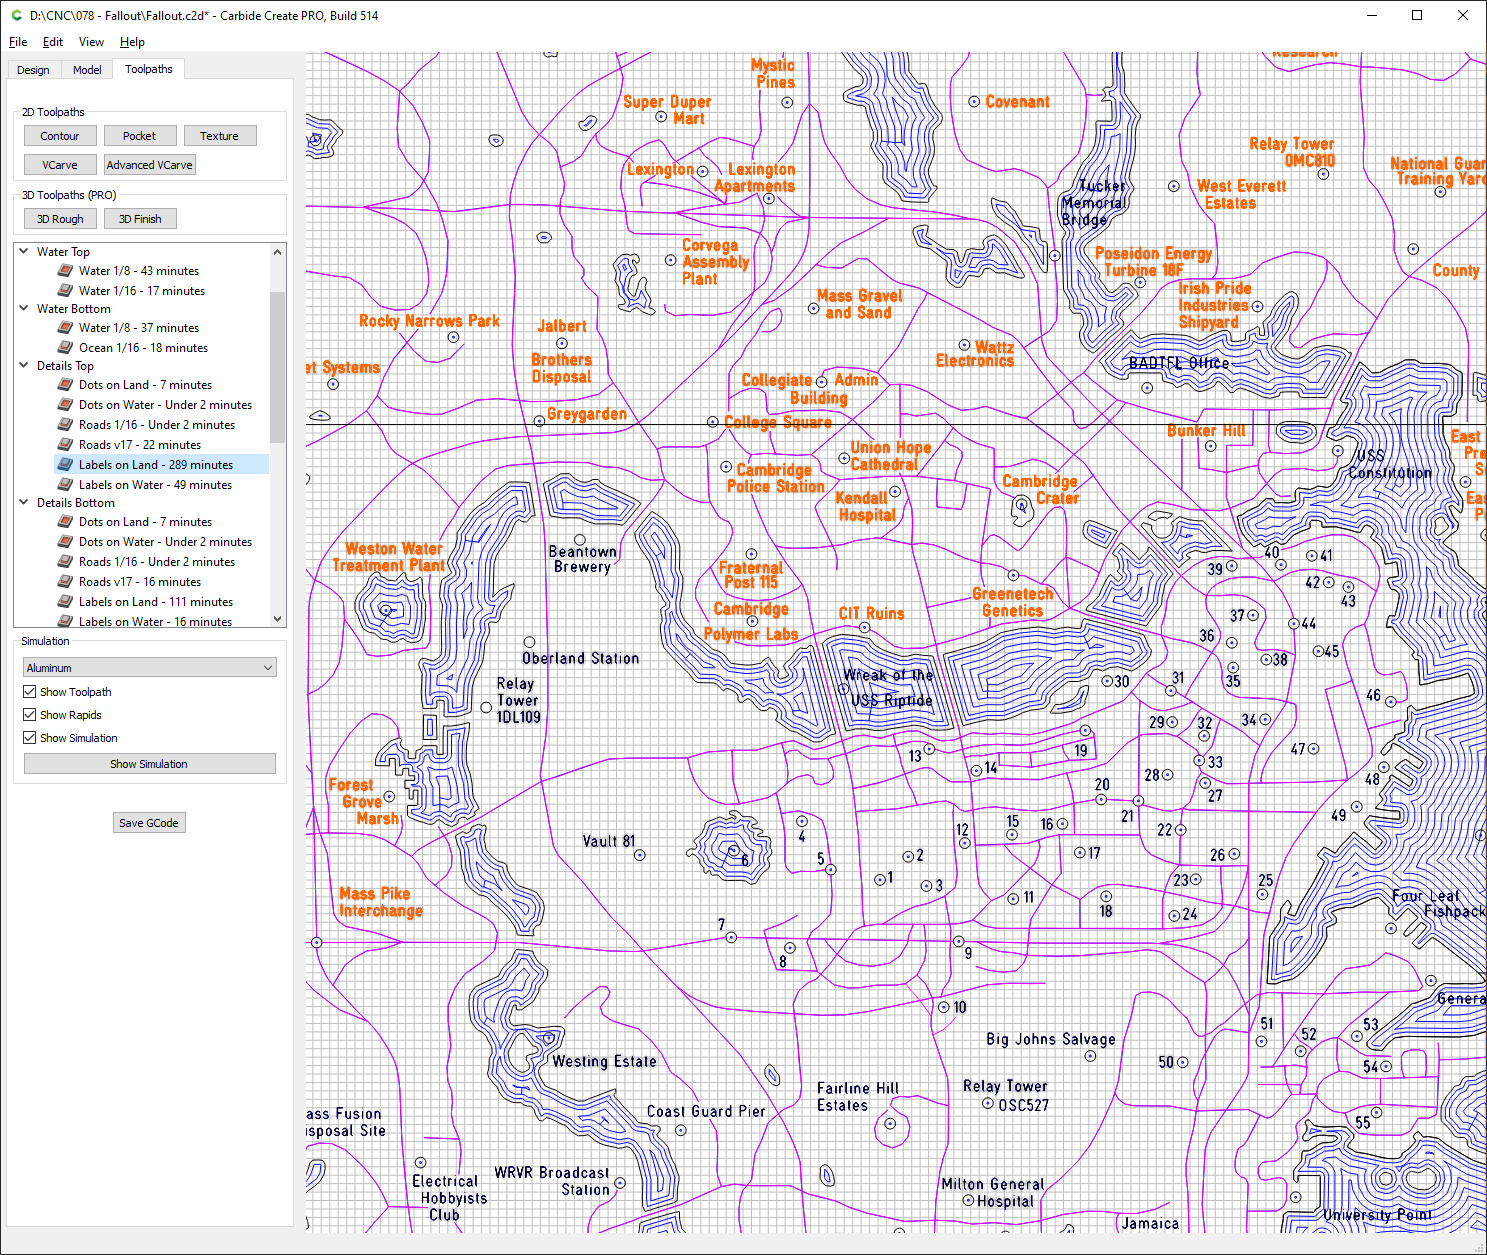
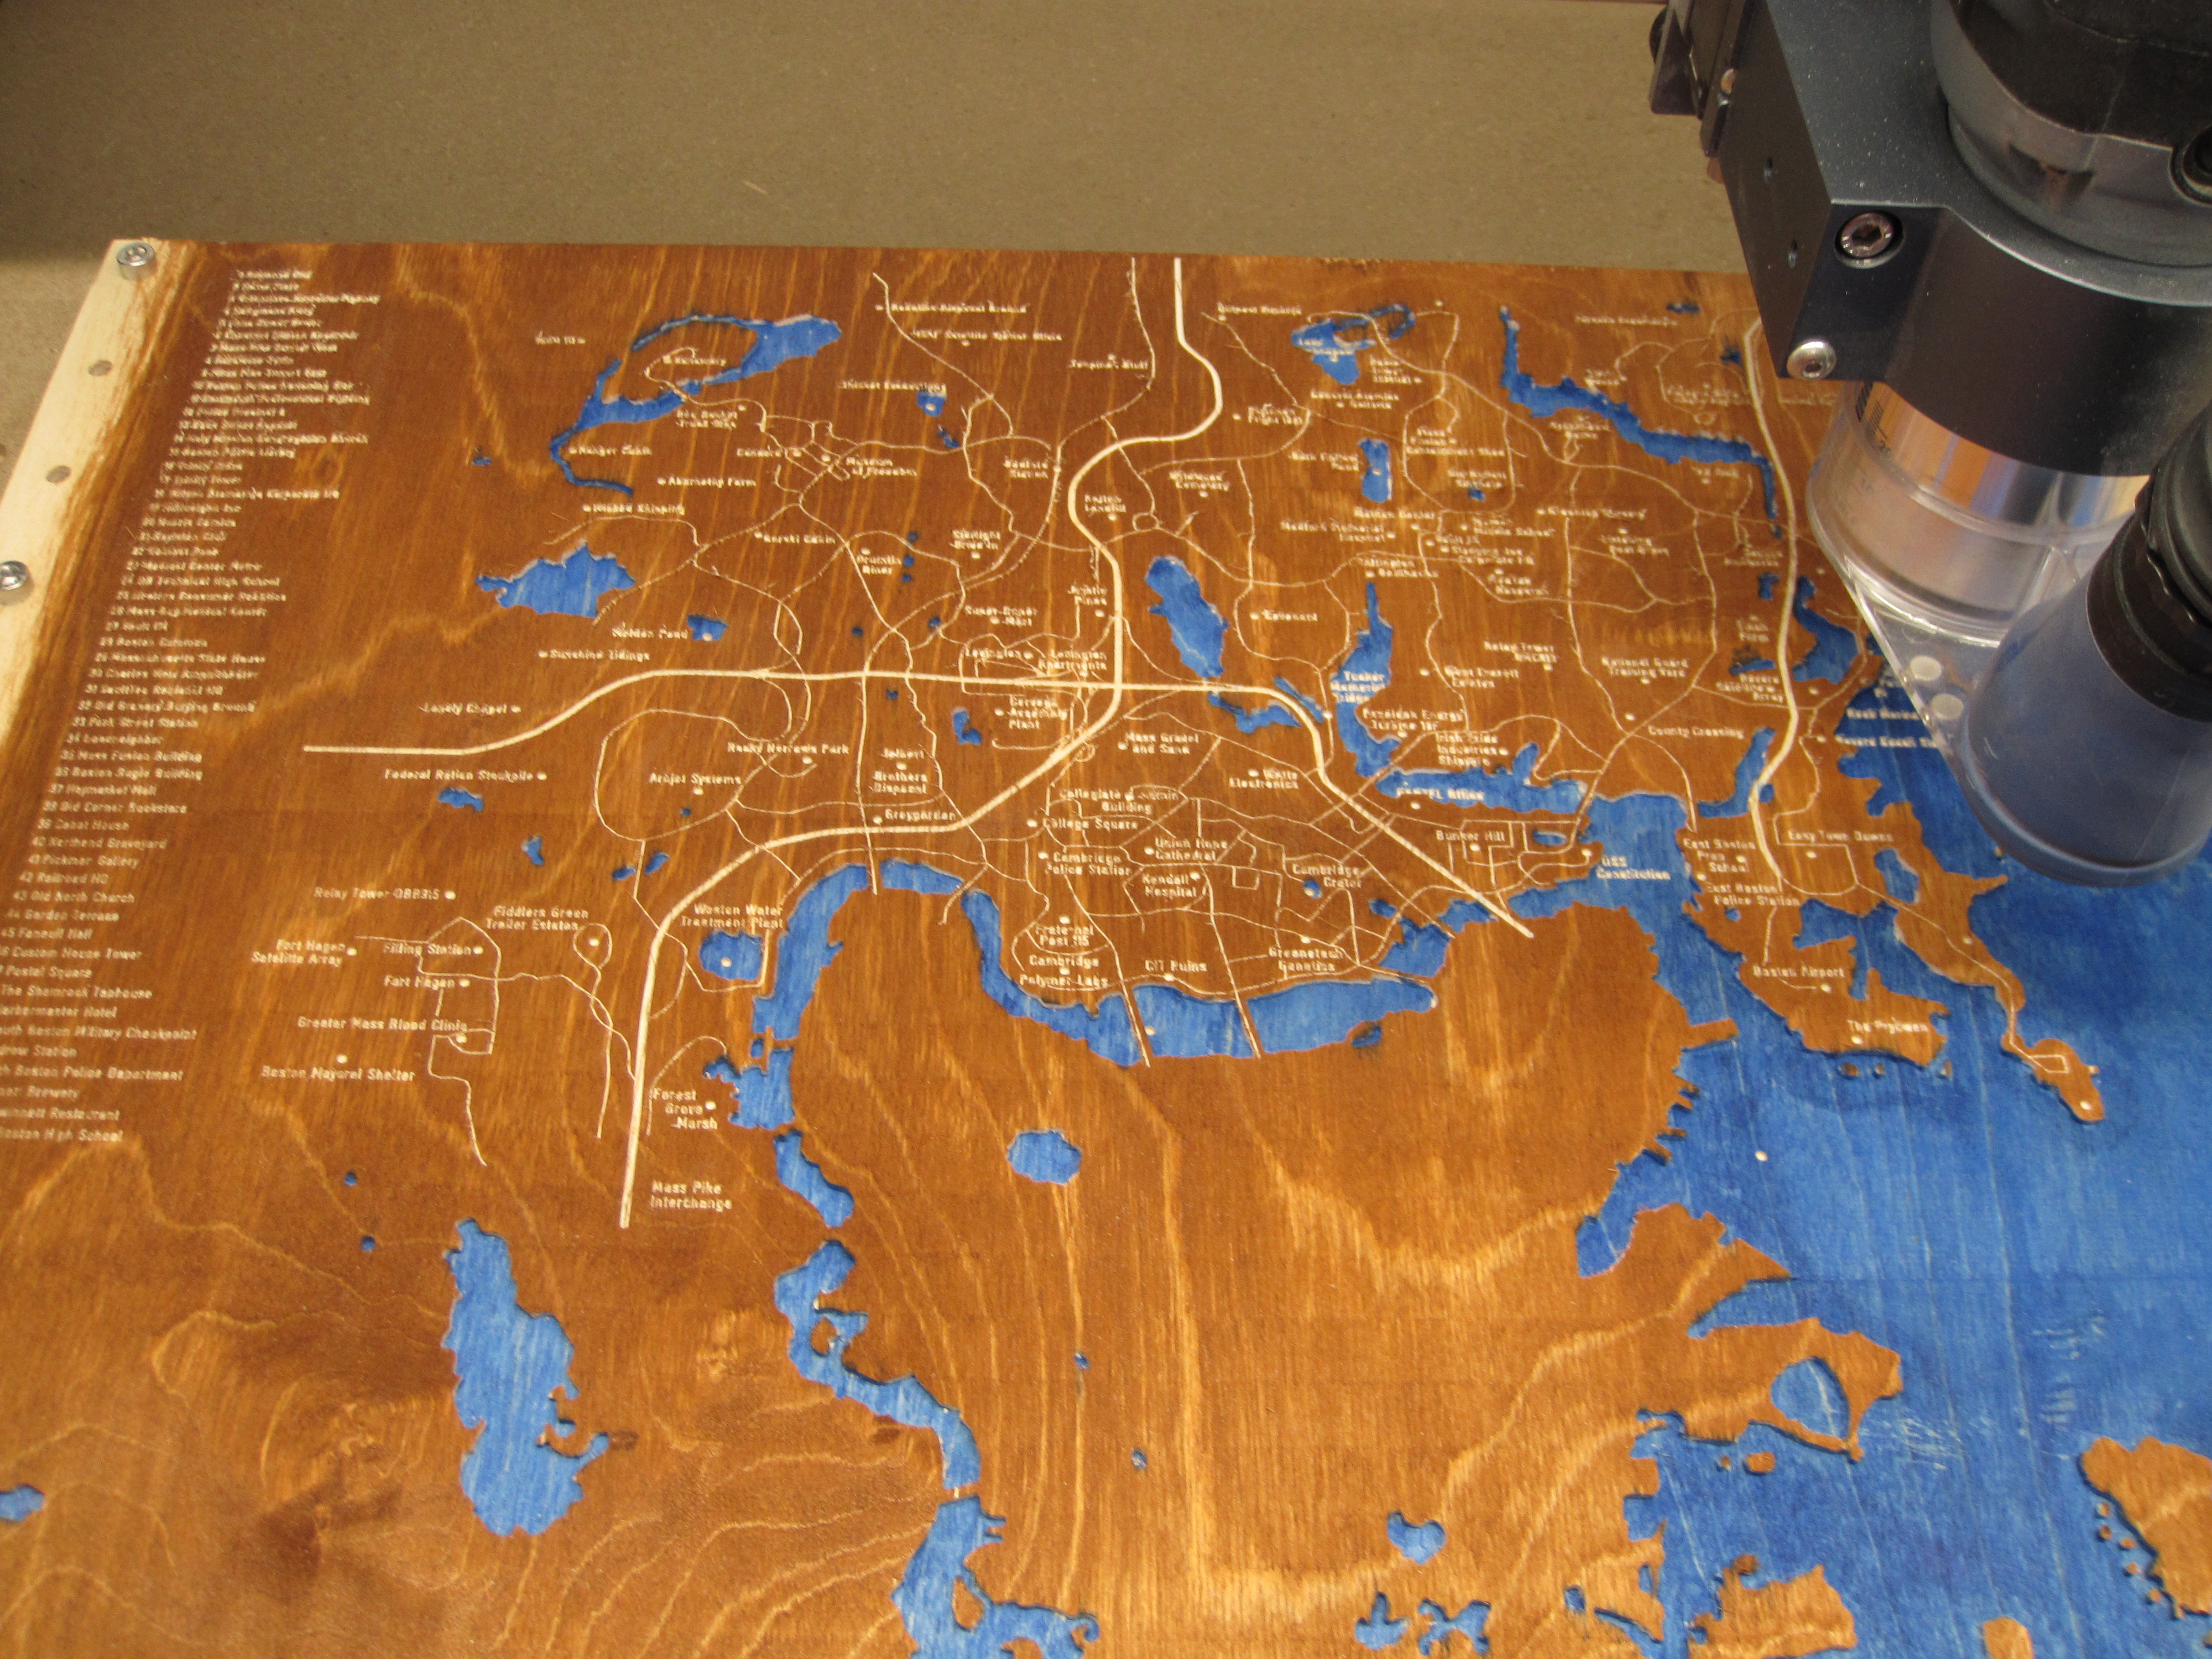
Unlike Skyrim, the Fallout games use real locations and Fallout 4 was based in Boston. To make this map I decided to do everything by hand. It was a VERY manual process as it took me roughly a week to build this design in Carbide Create, but I loaded an image from the game into Carbide Create using the “Set Background” feature. Then used the “Create Polyline” tool to draw EVERYTHING (except for the logo in the lower right corner). I really enjoyed this process, I would just listen to music and trace lines until it was time to go to bed.
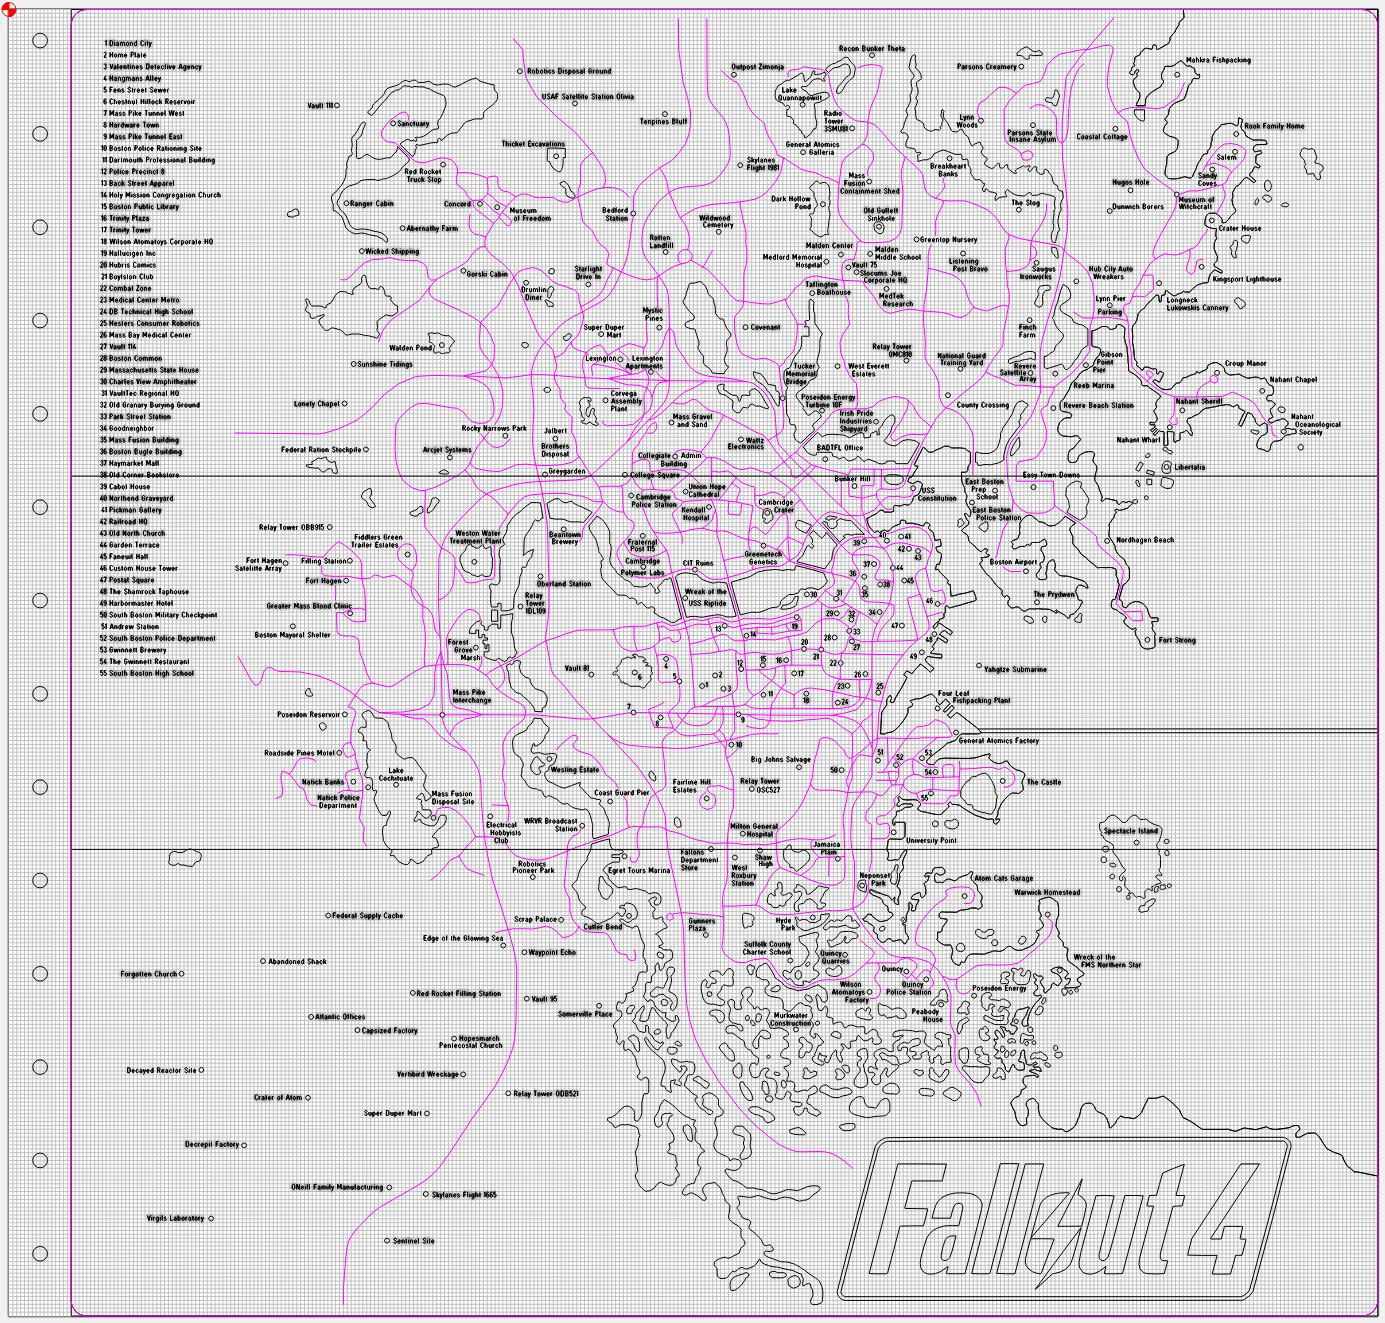
here is what that looks like with the background turned off.
My Skyrim map turned out to be 21 in by 21 in, but the land mass was only 21 in by 16 so I was able to do that without any tiling (I have an XL 16 x 32 limit).
For the Fallout map I would need to learn how to do tiling, which is why you see the holes along the left side of the map. The holes lined up with my threaded inserts, but to cut the (vertically aligned) holes I had to rotate the board and cut them horizontally. This was a good test to make sure my Shapeoko is setup perfectly square and X distances match Y distances.
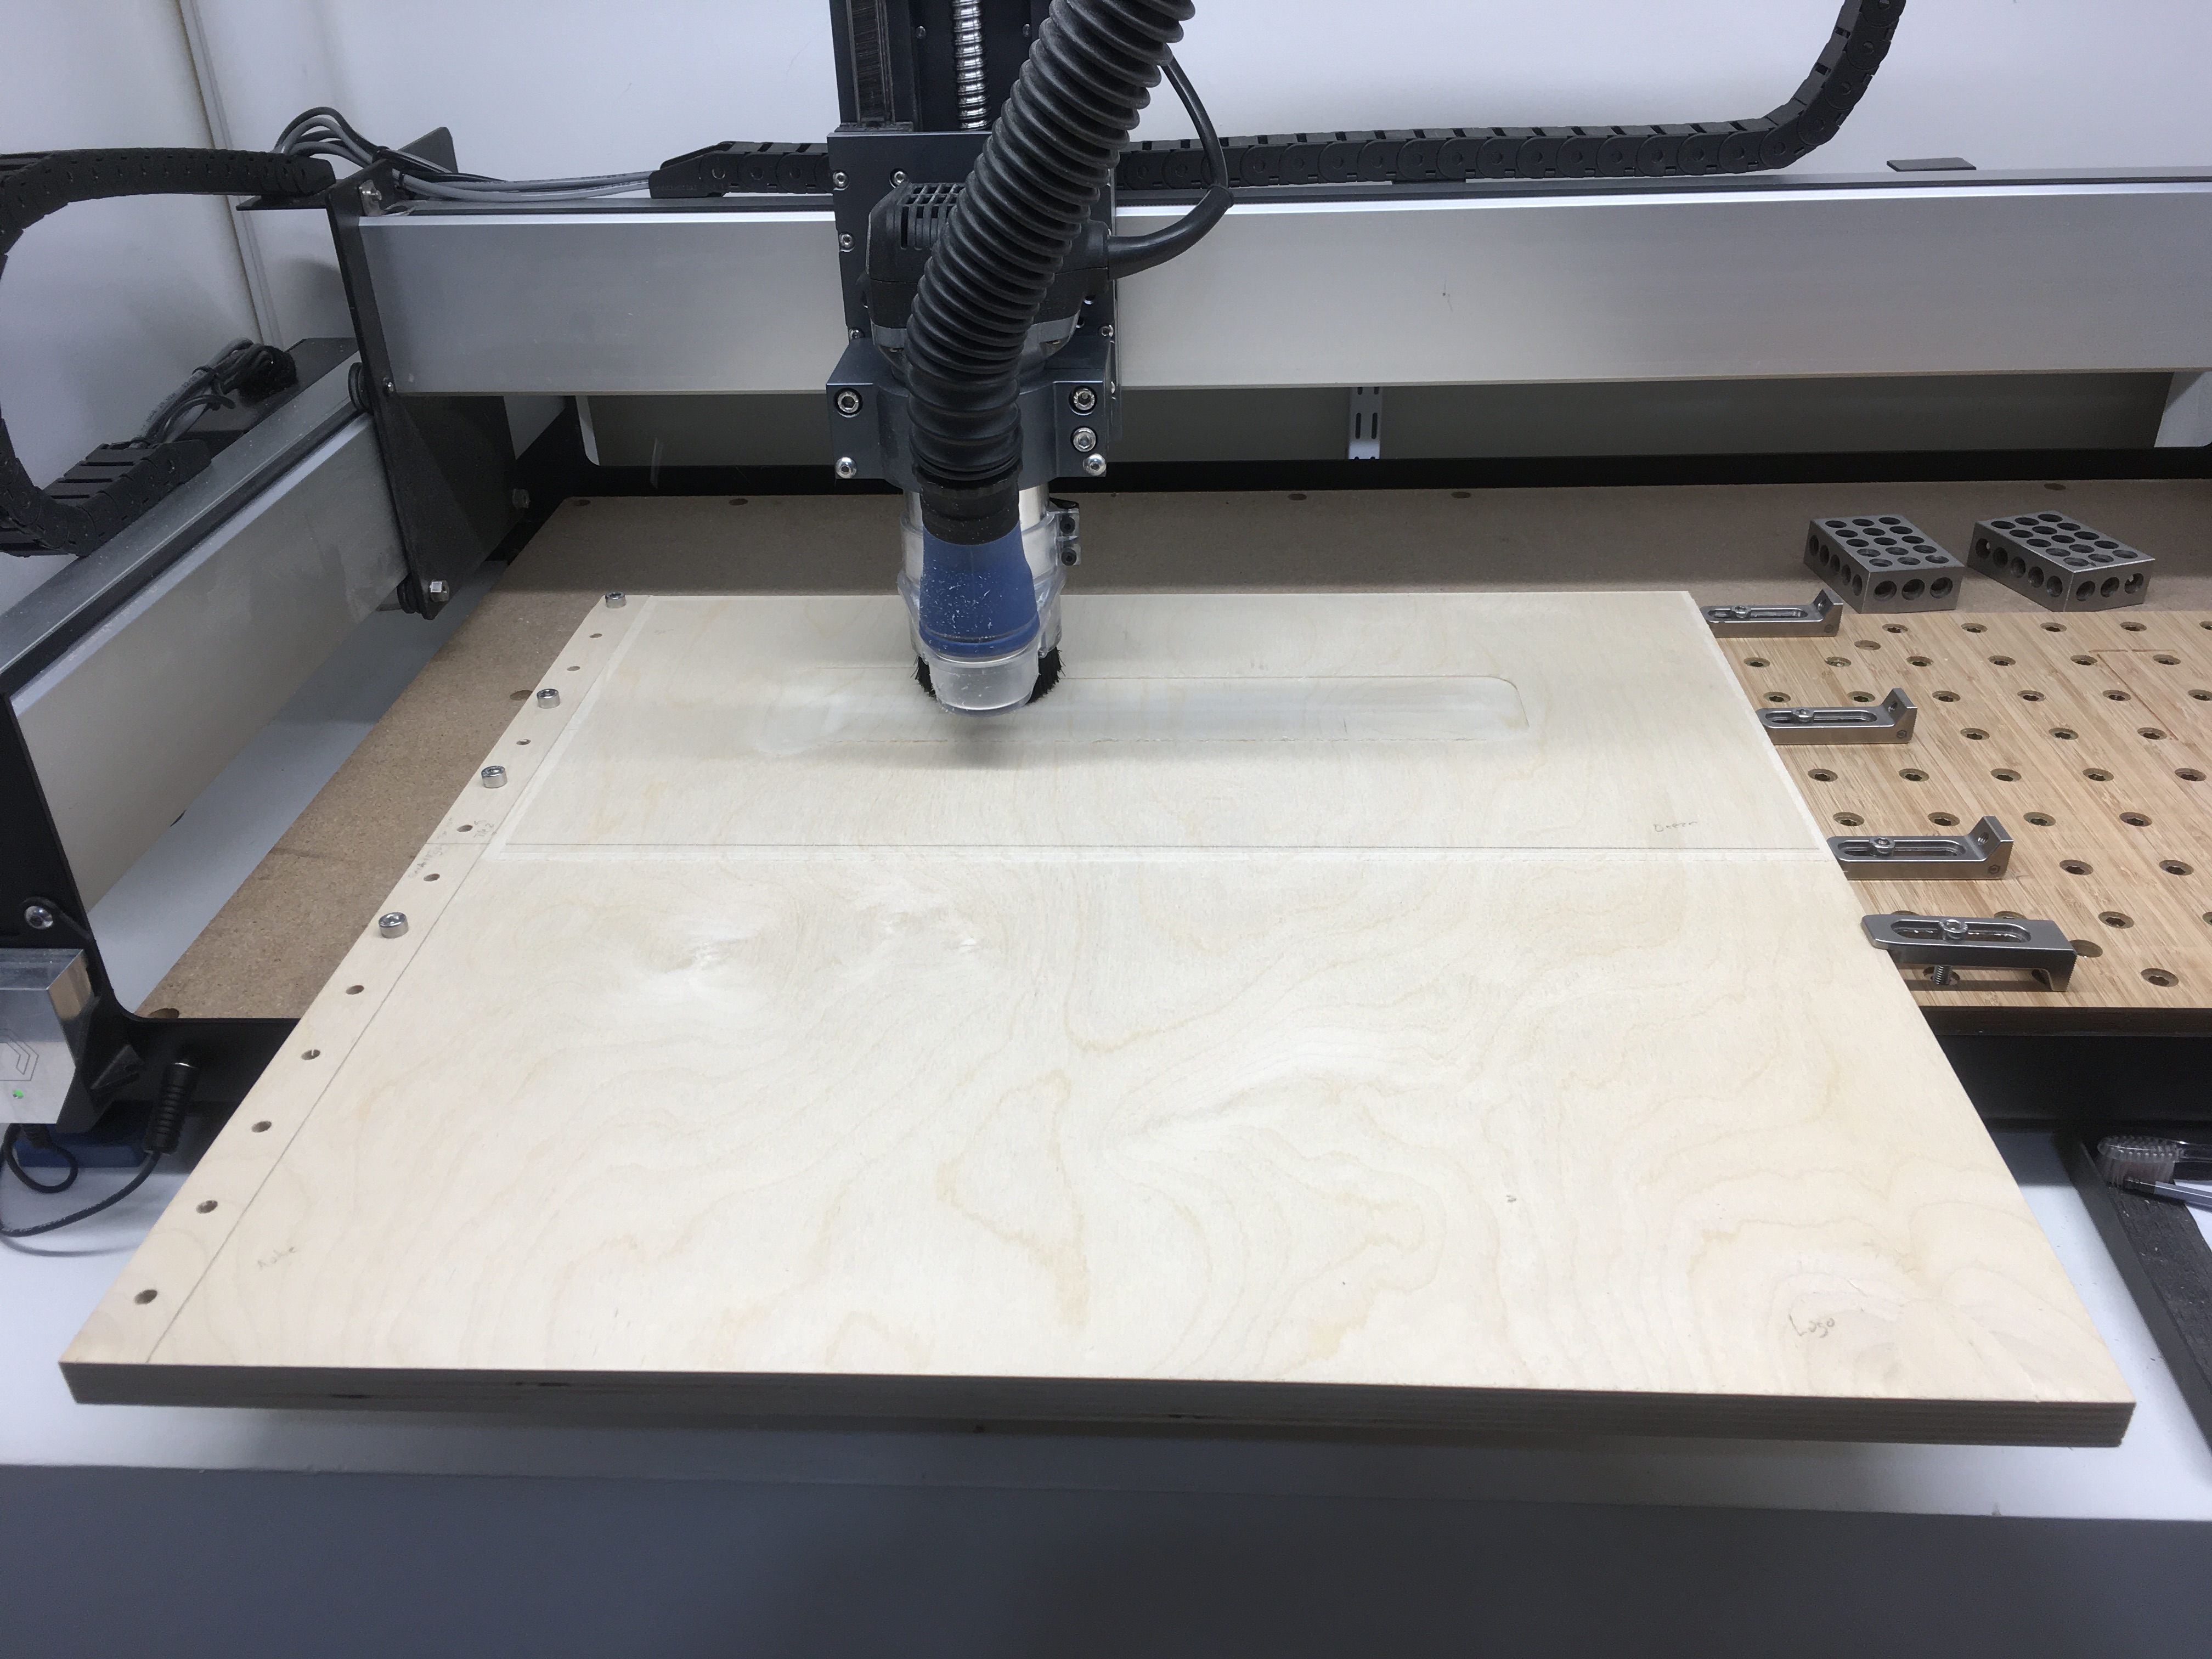
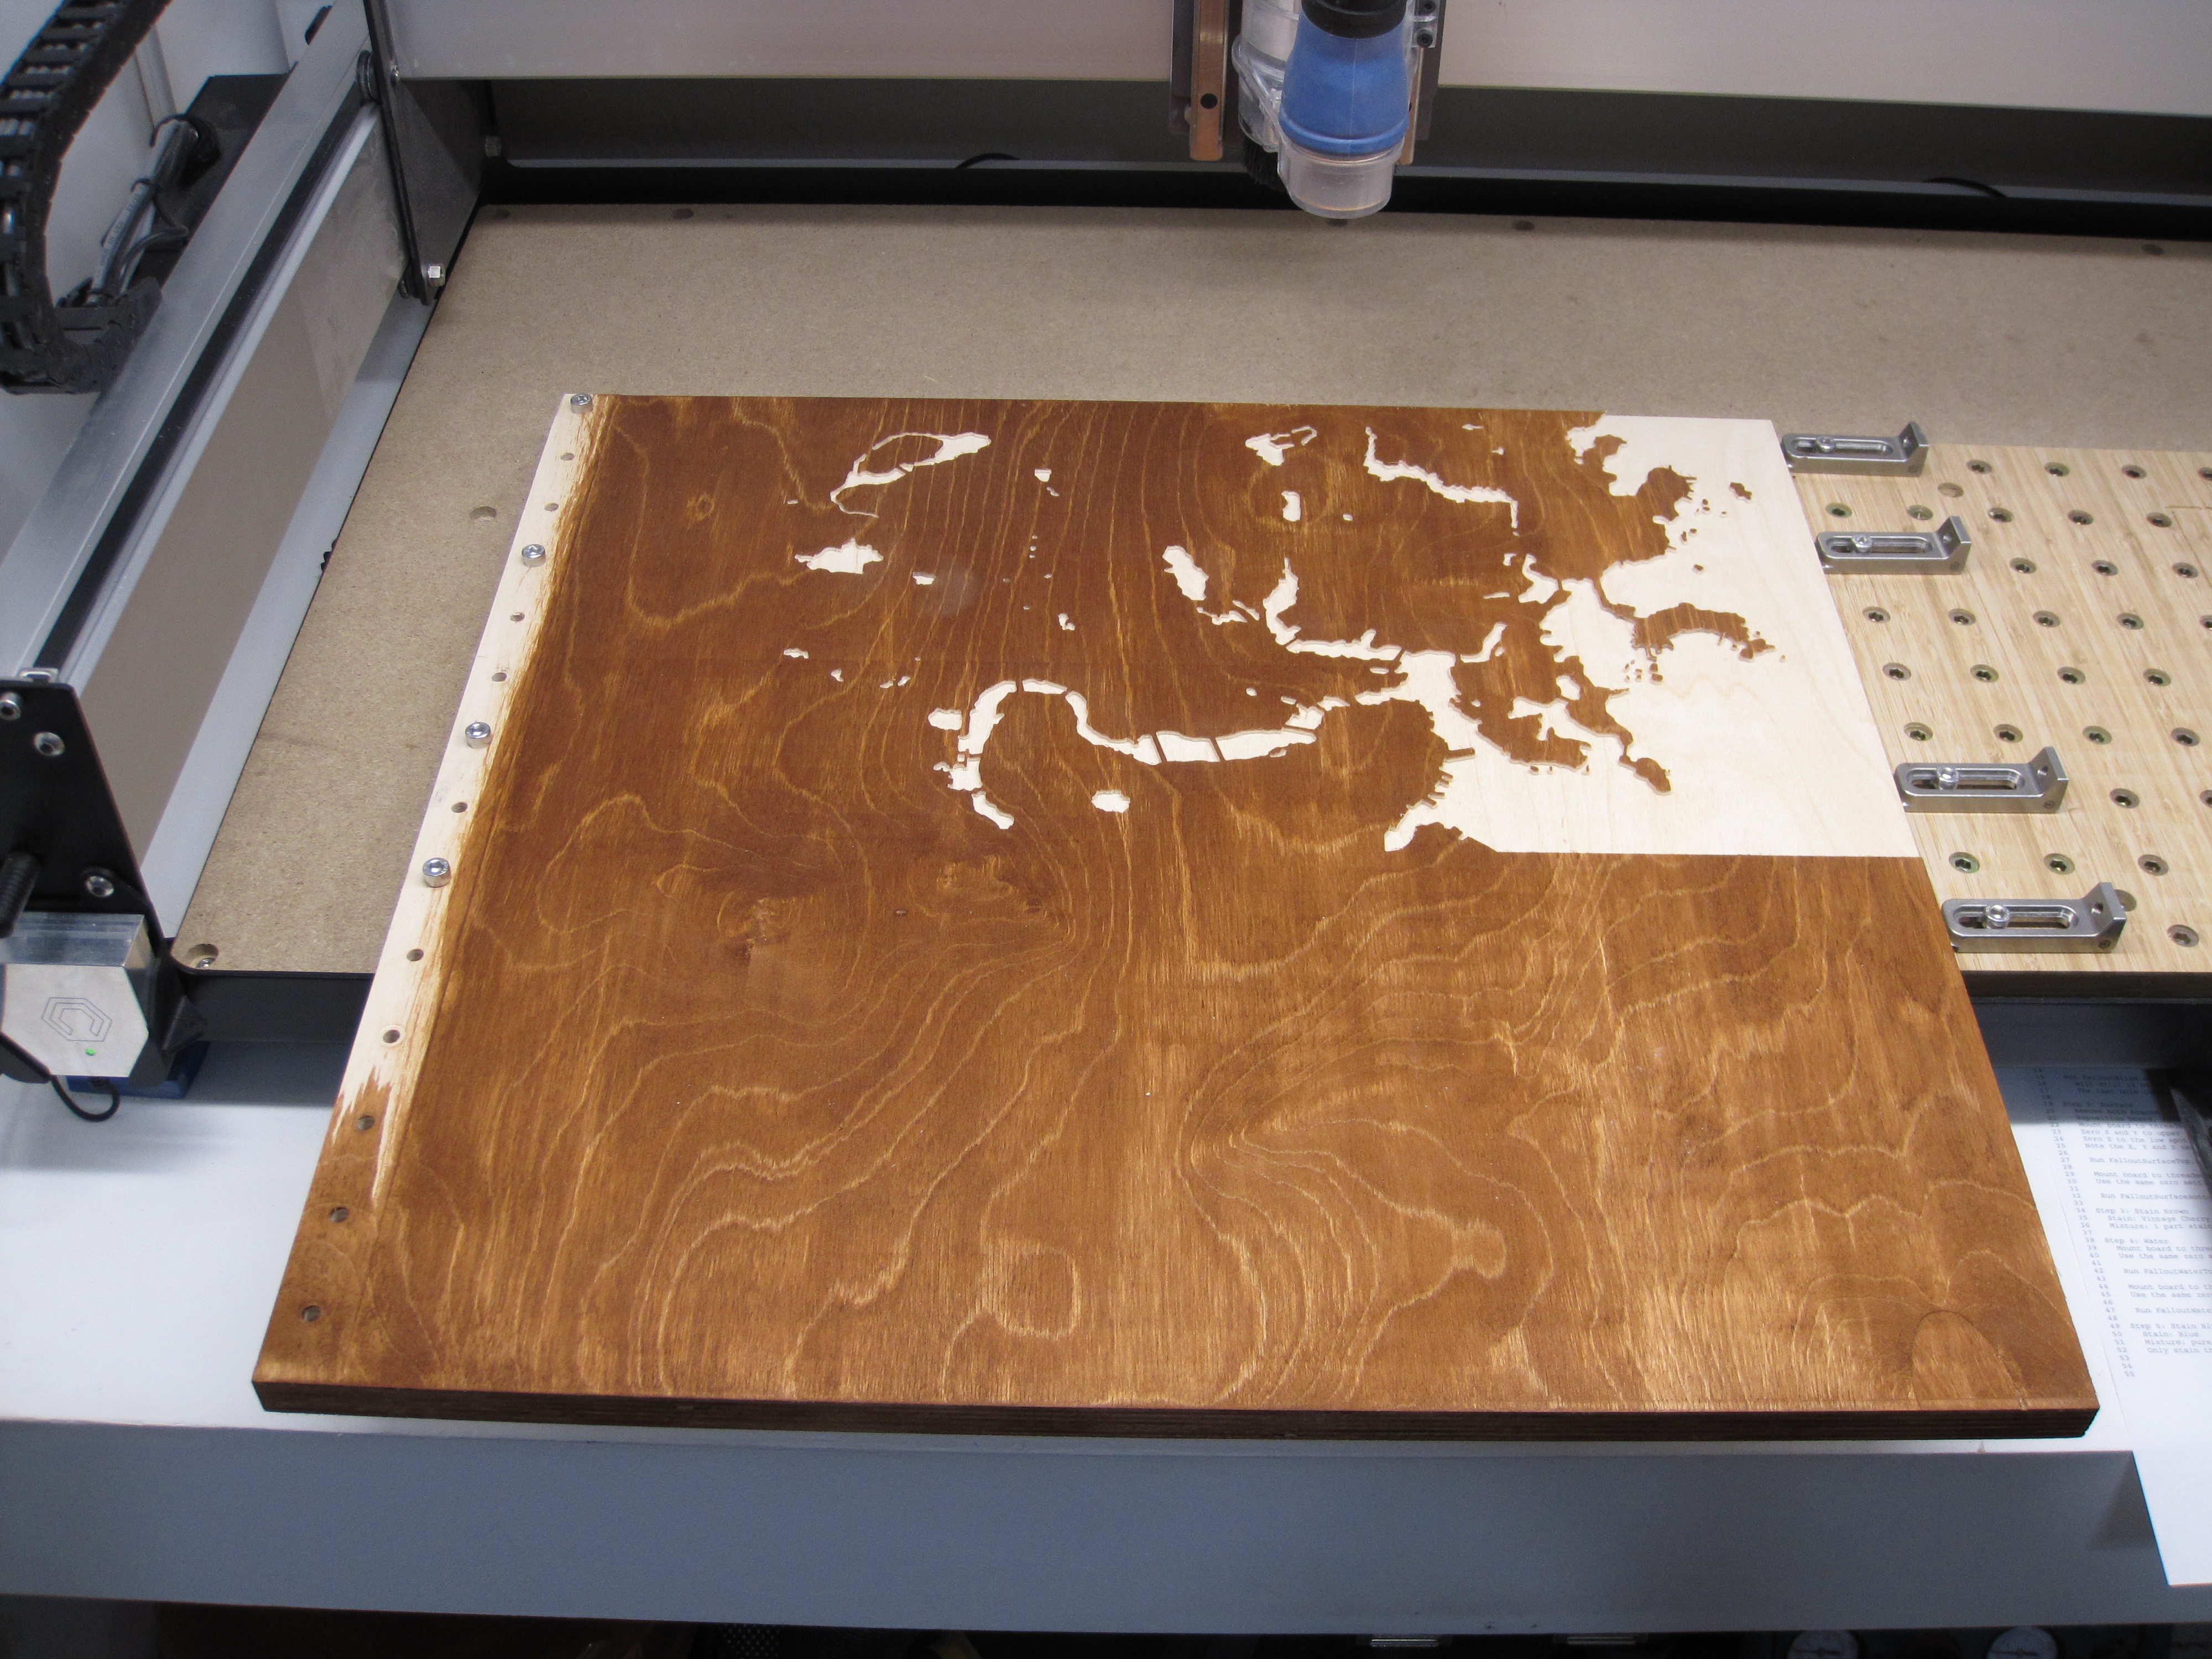
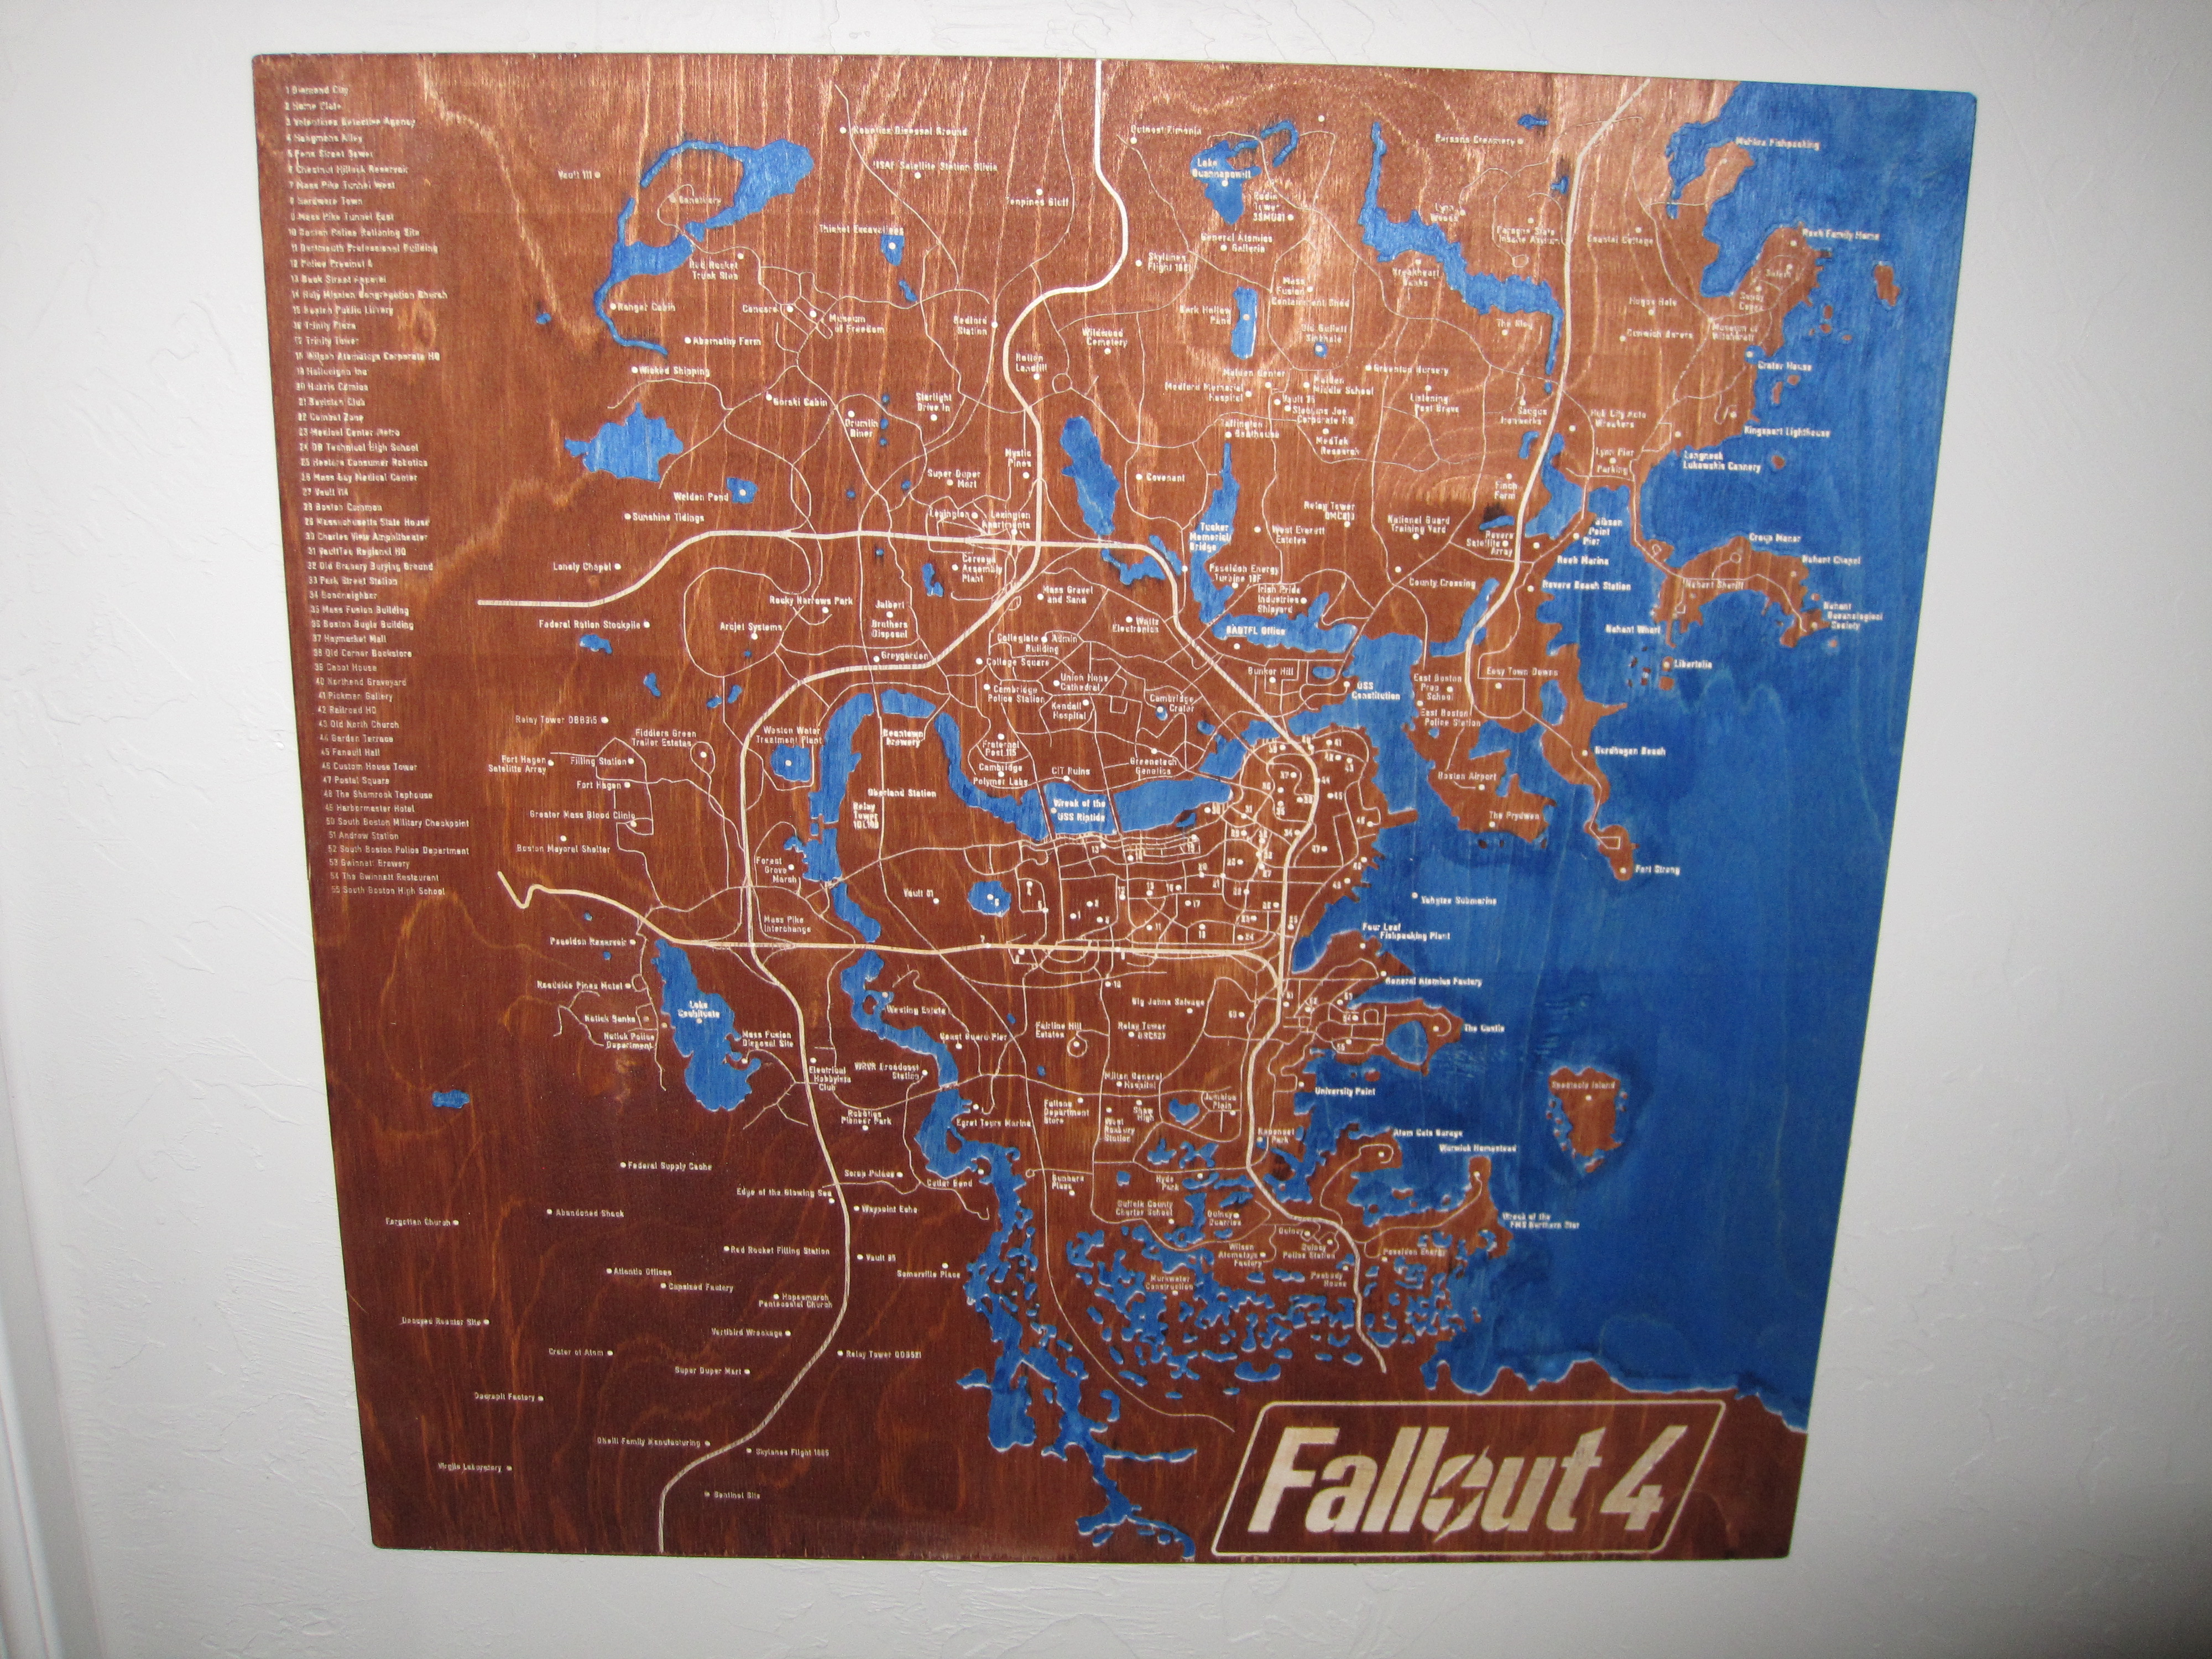
I then surfaced the top (tile 1 - cnc job 1), repositioned the material and surfaced the bottom (tile 2 - cnc job 2), and then stained the entire board. I could faintly make out the area that was effectively double surfaced, but was satisfied with the results.

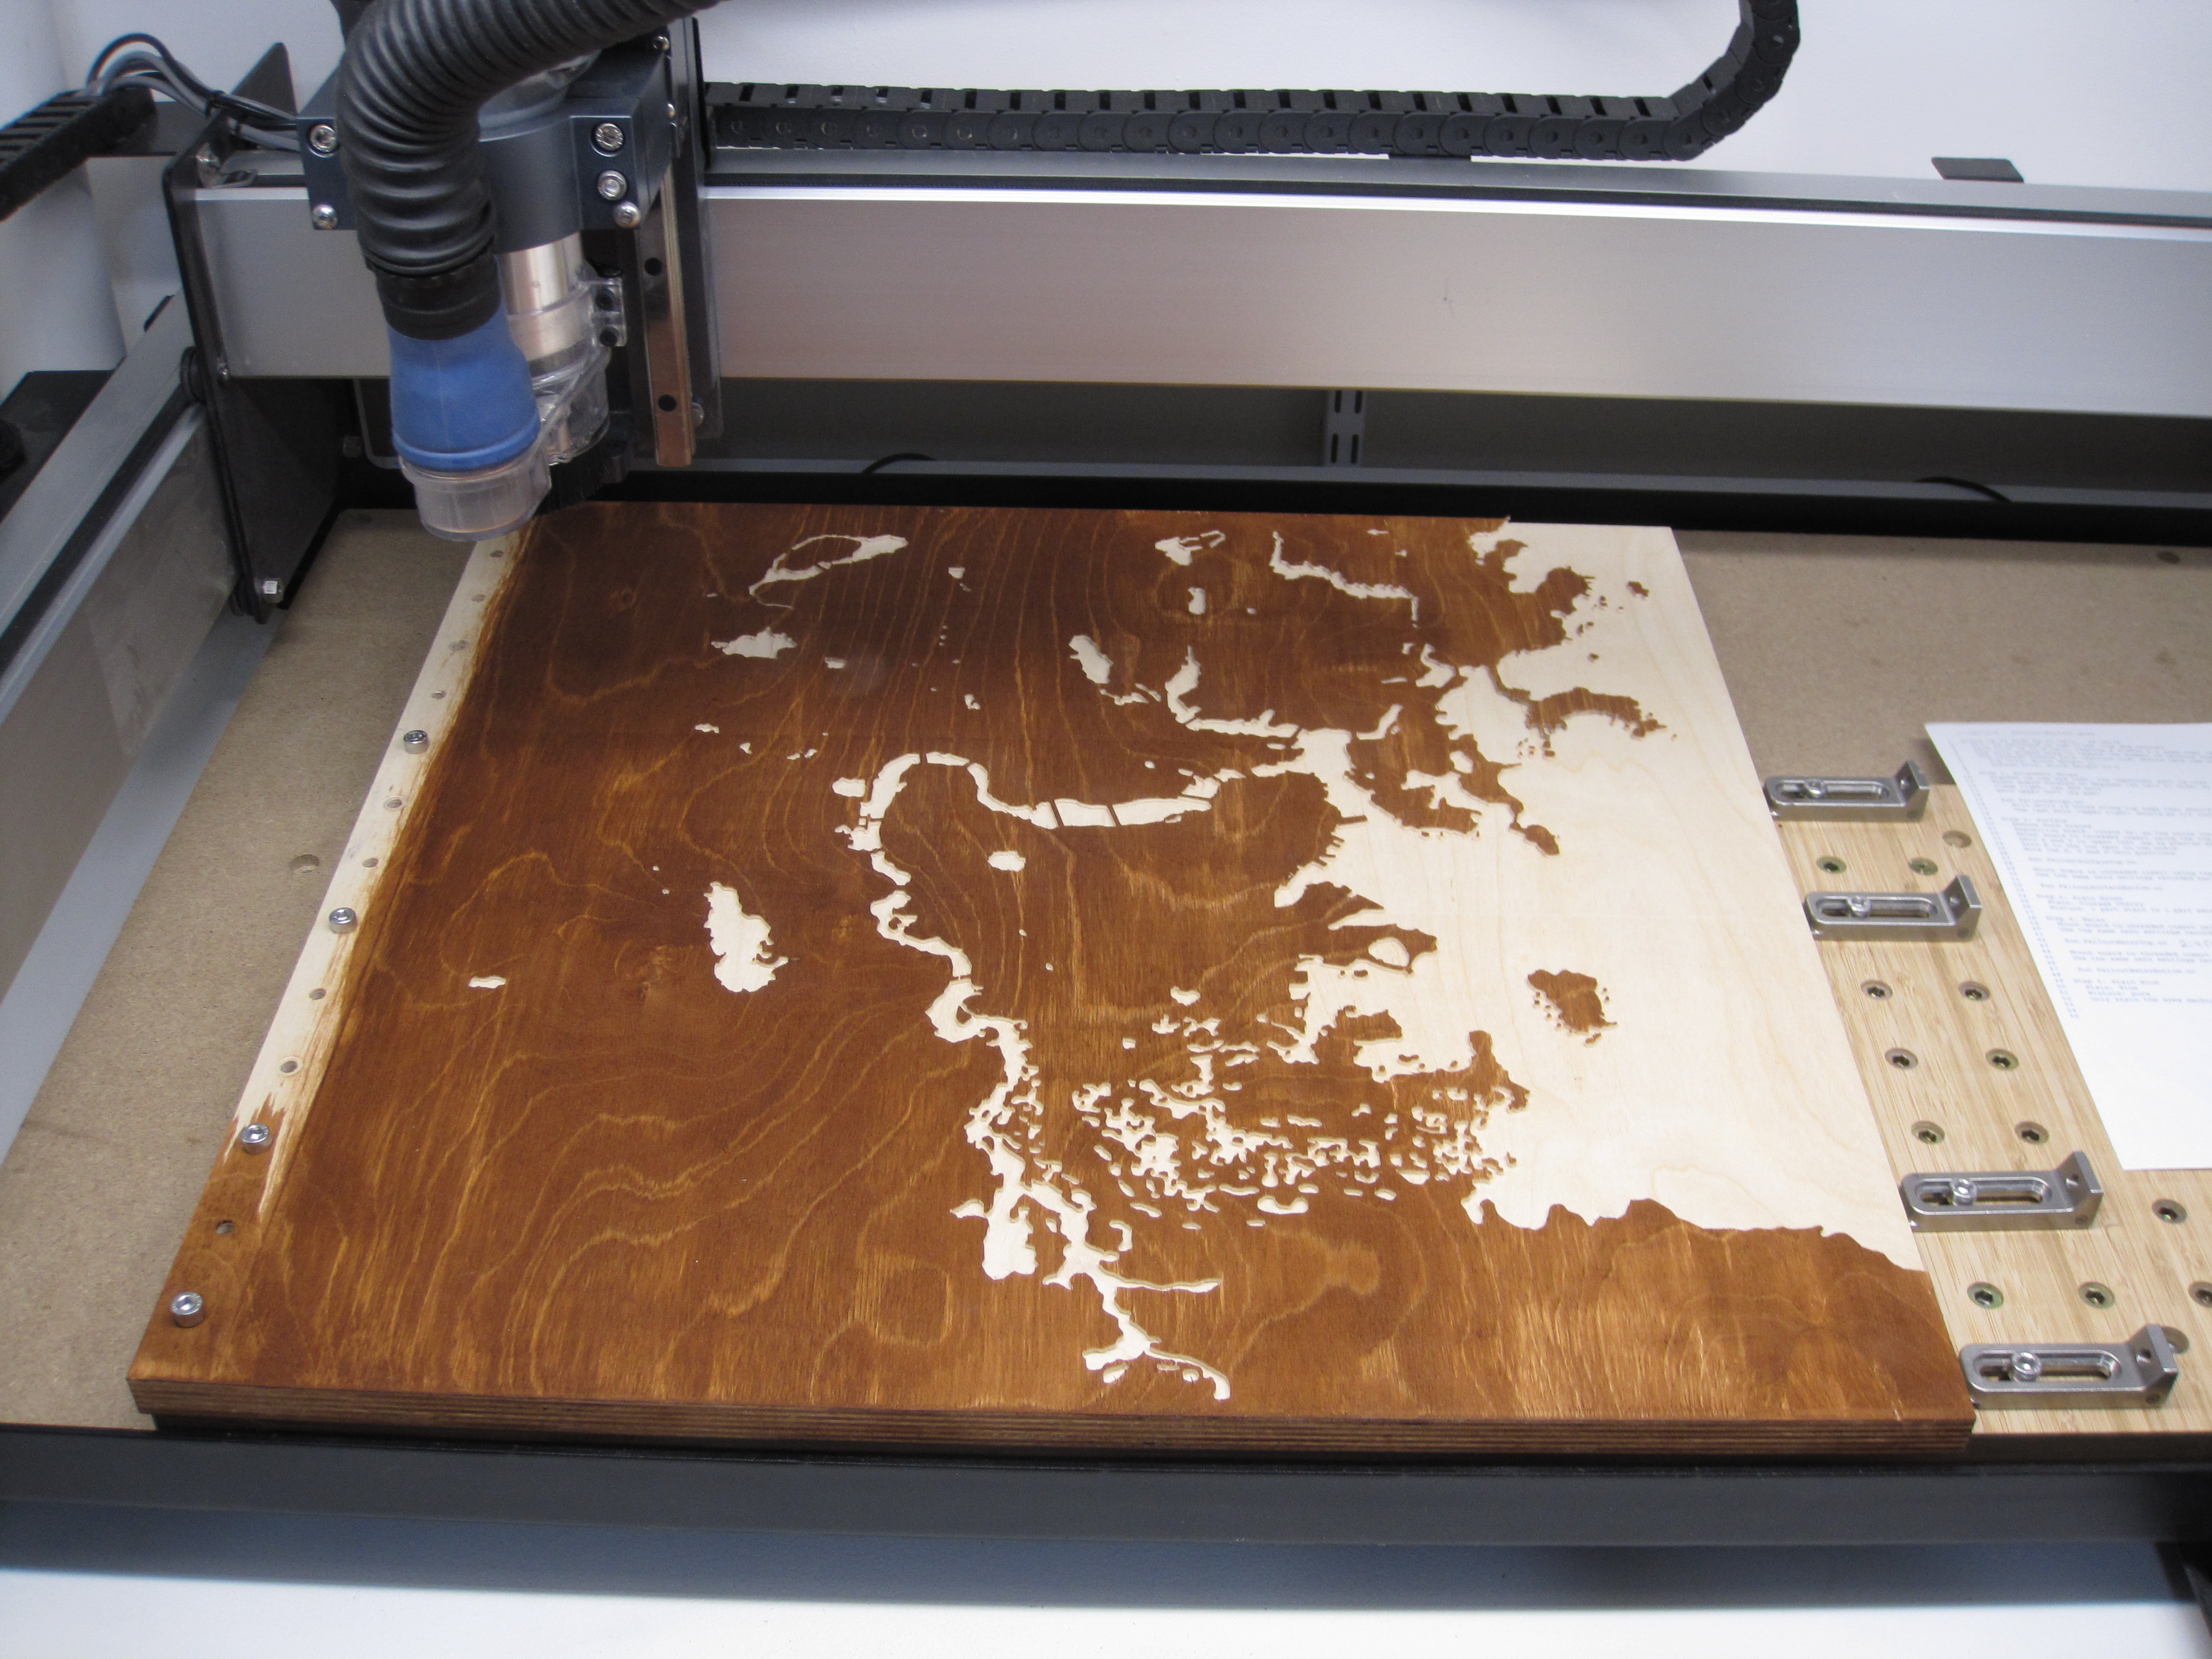
I then ran a pocketing pass on all of the water, but had to break that into a top and bottom tile (so that was cnc jobs 3 and 4). And the tiling worked great.
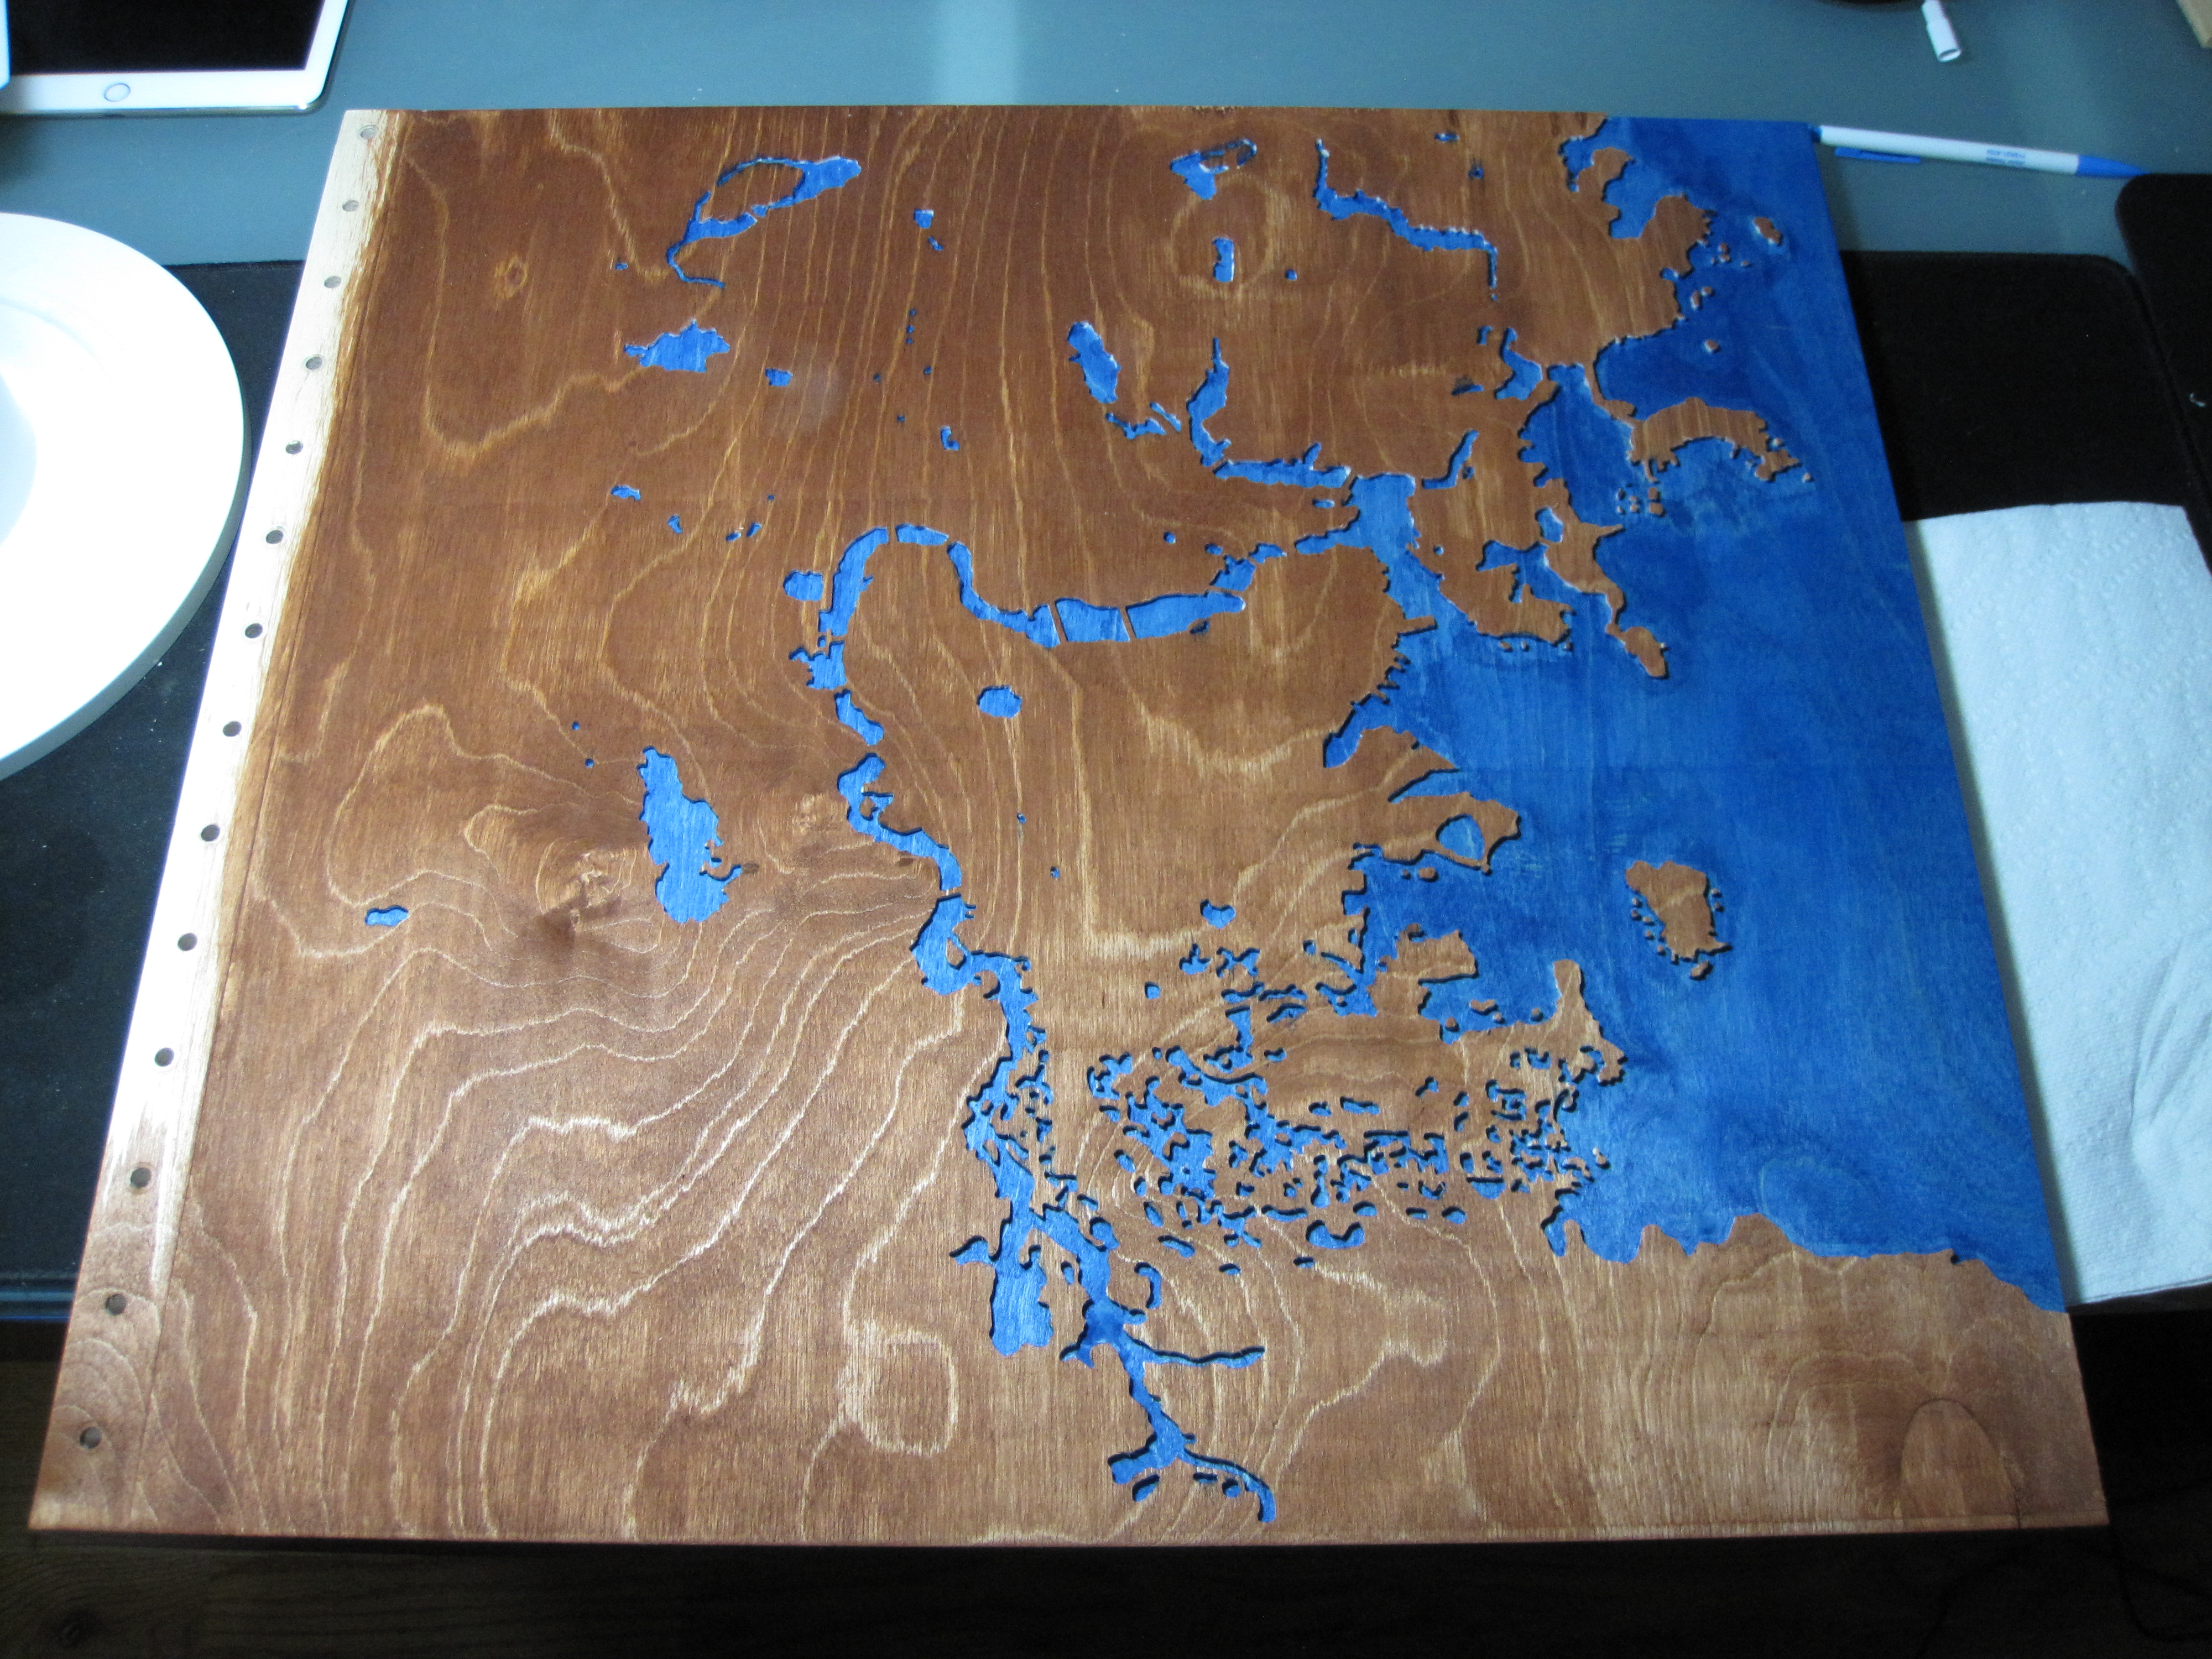
I then removed the board, and hand stained the pocketed areas with blue stain (everyone should try blue wood stain, it just looks great).
Then back onto the CNC to run some no-offset toolpaths on all of the roads, and some very shallow pockets for the dots, and my smallest 17 degree v bit was used to barely scratch the stained surface for the text. These were CNC jobs 5 and 6, the only trouble was deciding what to include on the north/top tile and south/bottom tile within the overlap. And keeping straight what details were on land vs water since the water was 0.1 inches lower than the land.
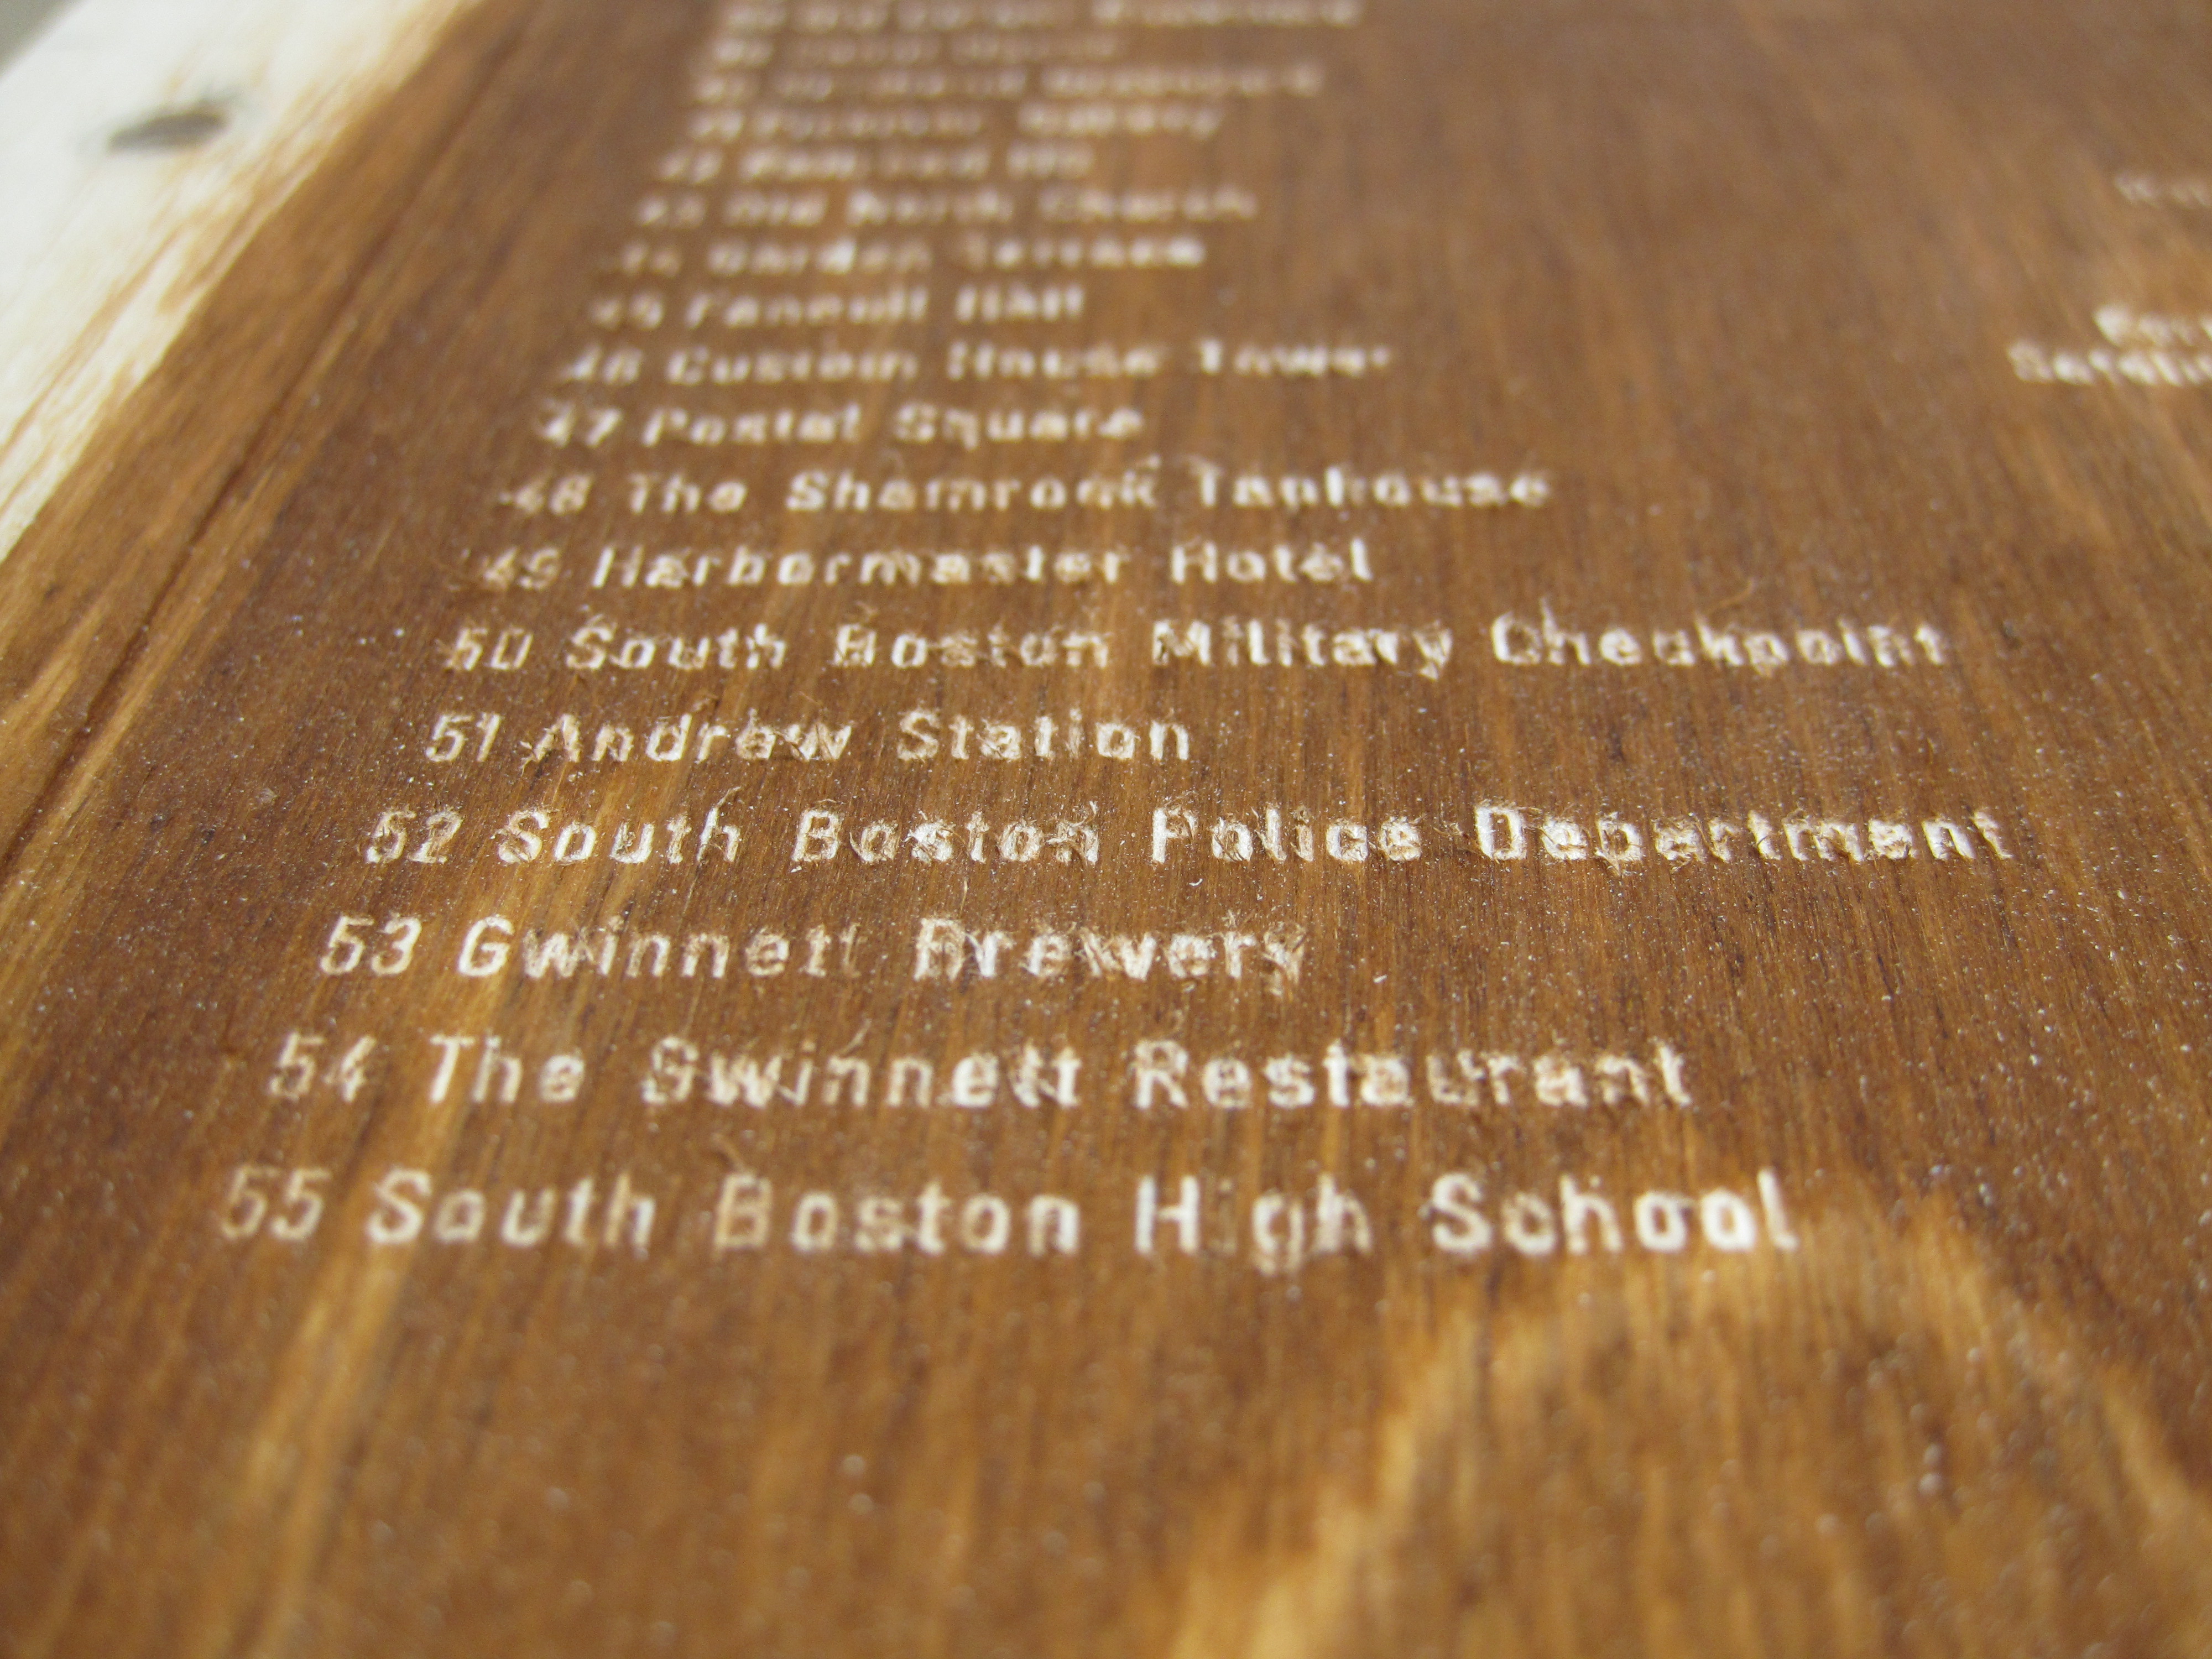
I was asking the wood to hold detail it could not really handle, the uppercase letters are 2mm tall and up close you could see the flaws. The Shapeoko did it’s job perfectly, all the flaws were due to the wood and/or stain, but I was more than pleased with the result.
The Carbide Create file for this project is 41.4mb, and this forum has a file size limit, and so does Cut Rocket. I tried exporting everything as an SVG, but that file was over 15mb. The link below connects to a file shared via dropbox, I’ll cleanup/delete the file in a couple weeks.