Trying to squeeze one in before the deadline!
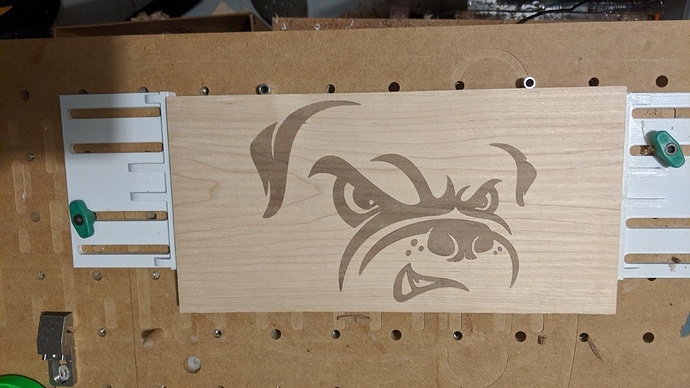
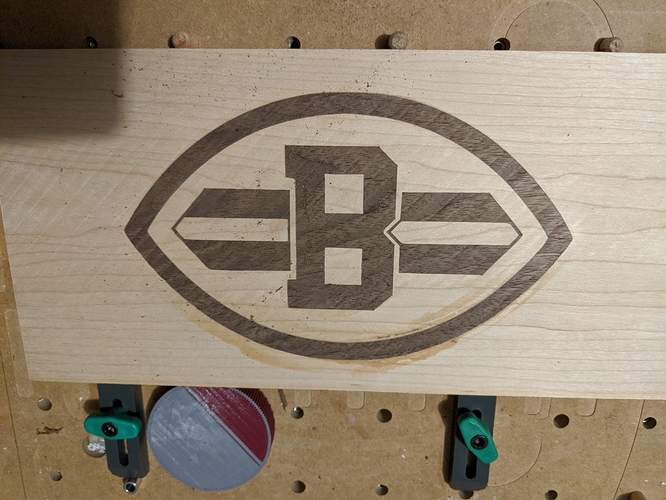
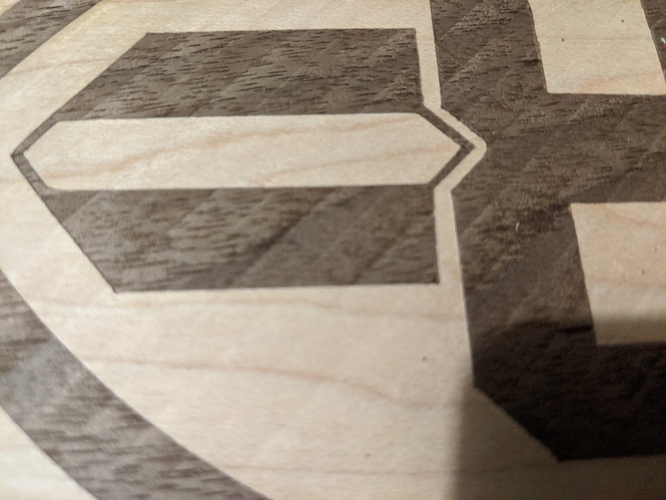
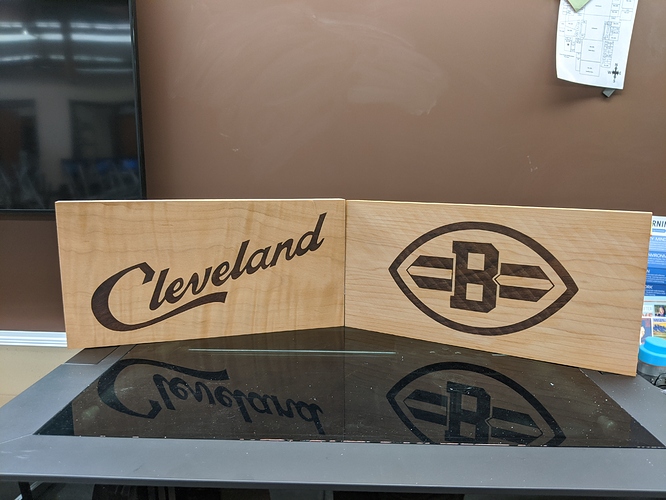
Nothing new here, but I think I have something to share in the how I did it. More Cleveland, Ohio themed work. Black Walnut V-inlaid in Maple. Finished with Danish Oil (Thanks @Griff for the advice a while back)
I’ve been meaning to write something up up about V-Carve inlays for a while, but I never seem to have the time to do it justice. I love the way the inlays fit together, and I enjoy making them in different ways. I’ll have to try the newer features in CC soon.
V-Carve (the software) has its tutorials and we’ve seen some examples in this contest. This is for my Fusion 360 users out there (and those who haven’t tried it). I’ve been making V-inlays without modeling a thing using Fusion. Here we go.
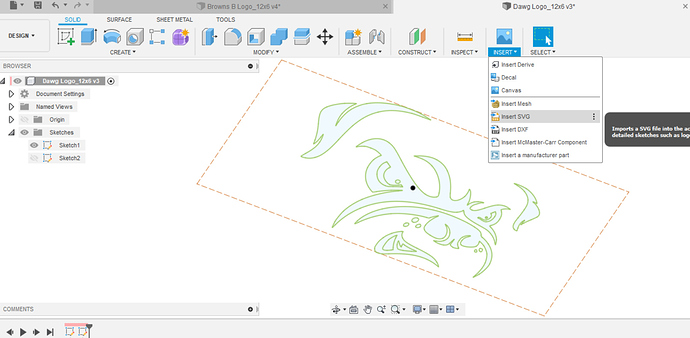
Start with the desired inlay as an SVG (mine was generated in Inkscape) and import it to a sketch in Fusion.
I used the construction rectangle for scaling (scale factor = 96/25.4). That’s it for the design! Now off to CAM (now “Manufacture” in Fusion).
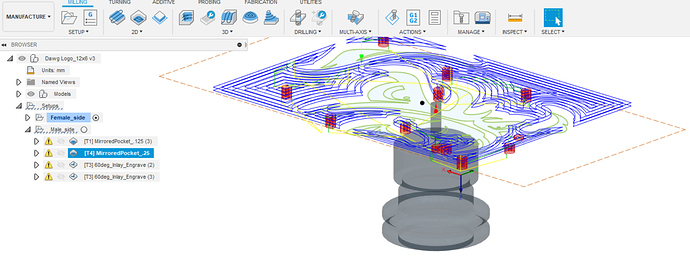
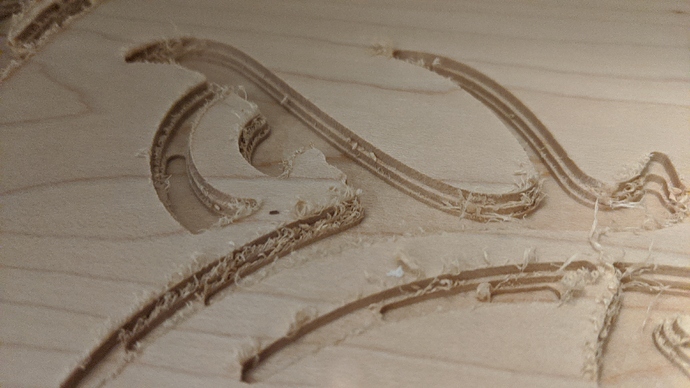
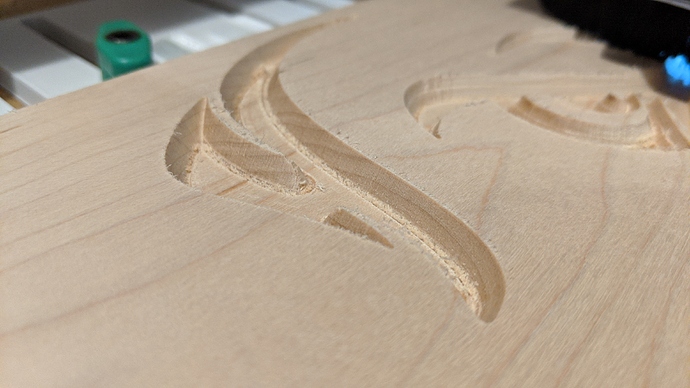
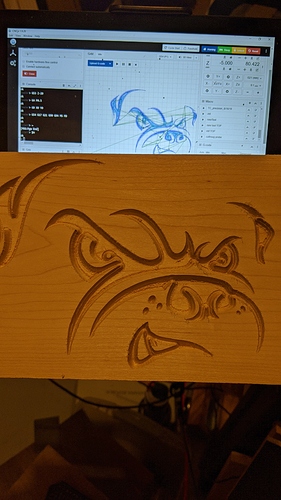
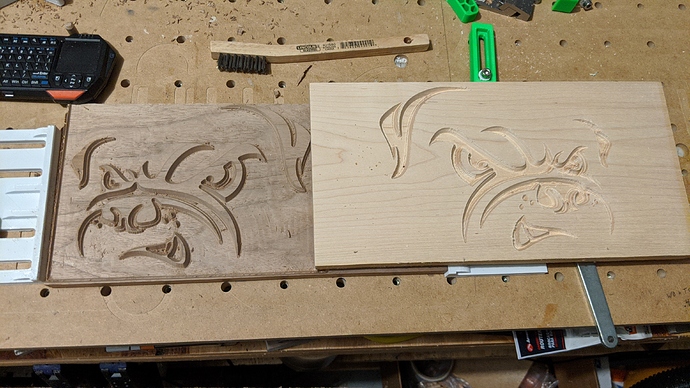
Started with the female side and created a clearance pocket using a 1/8" end mill, and then did the “engraving” with a 60deg bit from CMT.
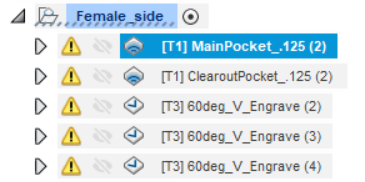
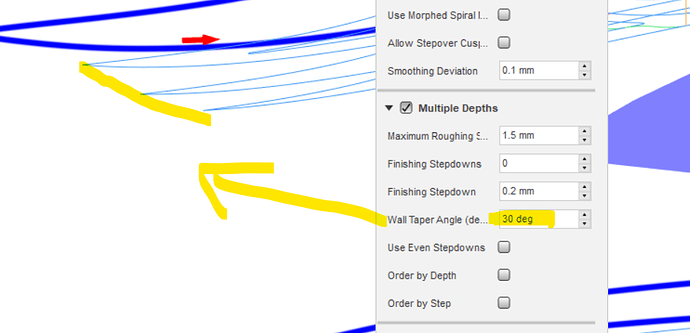
There are a couple of keys here. The clearance pocket needs to have a taper angle of 30deg (compliments the 60deg bit). This basically creates a rough V, leaving the actual V-bit to clean it up.
The pocket is set to have an overall depth of 5mm. The engraving with the 60deg bit is pretty straightforward. I used 3 passes to help keep the edges clean.
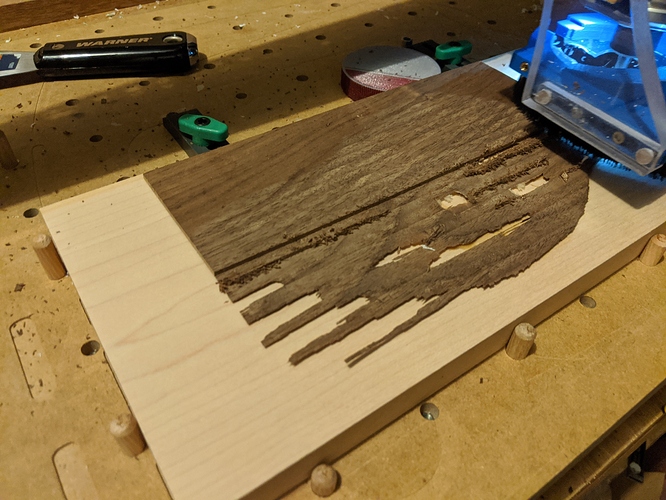
Side Note: It was during the first operation on this job that something I had noticed on my last few (fairly simple) jobs started to really bother me. The SO3 was stuttering and I noticed, in CNCjs, the buffer was reaching its max frequently. The carve looked ok, so I figured I’d restart the $60 tablet after this side was done. To be Continued…
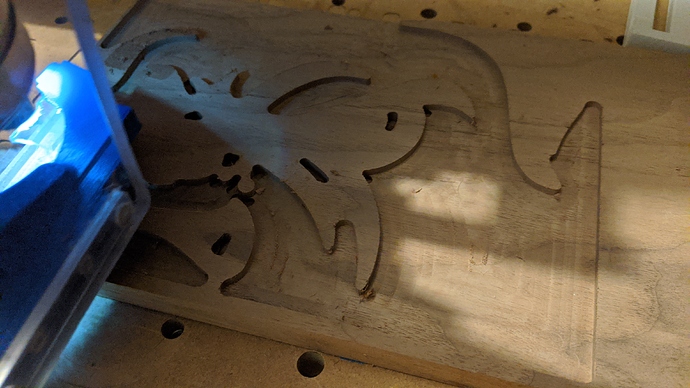
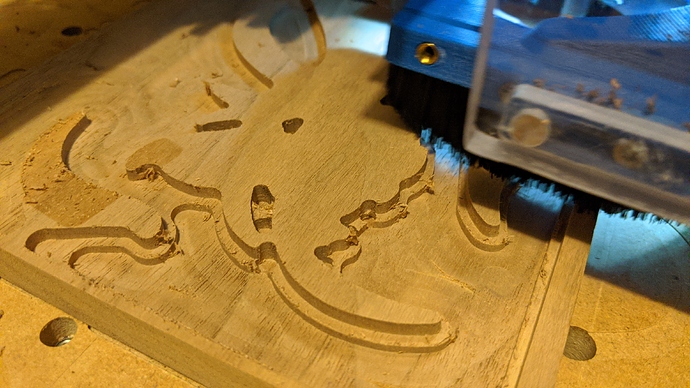
On the male side, I flipped the Z in the setup, so the operations are coming from the other side of the sketch.
With the clearance pockets on this side, I also went to 5mm. No wall taper here because you actually want the profile of your inlay to be below the surface of your stock. This is what ensures you’ll have a tight fit. You basically wedge the male side in until it matches the surface of the female side. This is where I like Fusion’s ability to control toolpaths. In V-Carve (software) or Aspire, you’d set your “Start Depth” to the depth you want the plug to sit below the female pocket. The issue I have with that is that you basically have to ignore the first couple millimeters of your stock. Your first pass has to be a minimum of that depth. My HDZ enabled SO3 is more than capable of that, but it limits those with lesser, non-C3D machines or those with Z-axis issues. Anyway, the pocket is just a pocket with an offset, so the flat endmill’s flatten out the bottom of the pocket. The offset is calculated based on the depth the V-bit will cut BEYOND the “Start Depth”. In my case, I wanted a 3mm start depth for the engrave toolpaths (that 3mm is the depth the male workpiece will sink into the pocketed female workpiece). I cut to a total depth of 5mm, so I took that 2mm and divided by the tangent of 60deg to get the pocket’s offset.
This is harder to explain than I thought it’d be.
The 60deg engraving on the male side used a couple of passes with an offset top height of 3mm below the selected profile.
The end result is that I have some toolpath operations that work for multiple designs. I just have to copy the setups and select the new design.
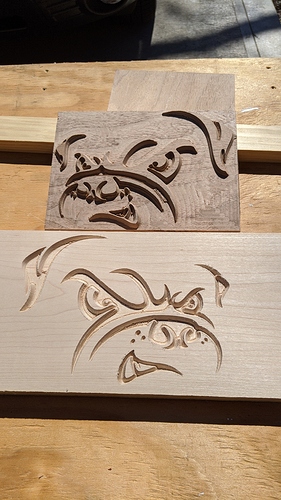
The pictures:
Here’s another:
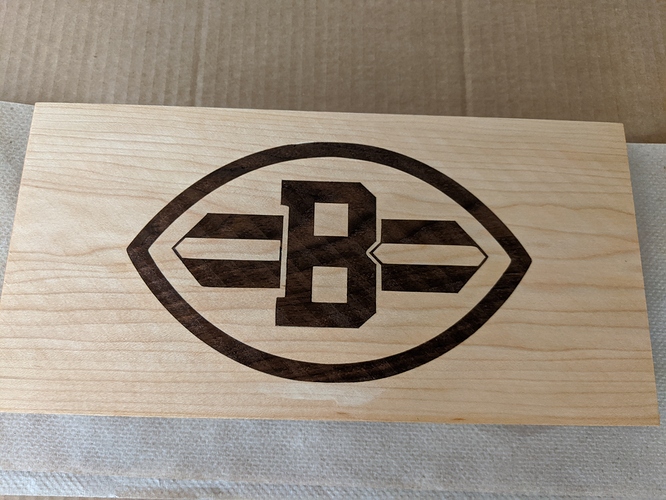
Forgot pre-inlay shots.
The “Cleveland” one was not done in Fusion (Easel… ![]()
![]() )
)
The Fusion files:
DAWG - Ignore warnings about “no model”…it’s just a sketch.
Browns B - Added stock models to this one.
Oh…to finish my side note from above: I realized that the choppiness in my carves were coming from the fact that I had not been connecting to my SO3 via USB, but from the HC-06 bluetooth module I had left dangling there since this! I hadn’t realized that I wasn’t selecting the USB port. I removed the dangling BT device and everything was running smoothly!
And…still loving the BitSetter!
