Really enjoying these contests and the creativity and talent that folks are gifted with!
A Lighthouse
Certainly not as glamorous as the projects currently here, but I hope that there are a few takeaways that could be useful.
My goals for this project were:
- Use only Carbide Create & Carbide Motion with Advanced V-Carve.
- I don’t have a bit setter, but still wanted to create simulating the “advanced V-carve toolpaths” that were recently added in Carbide Create.
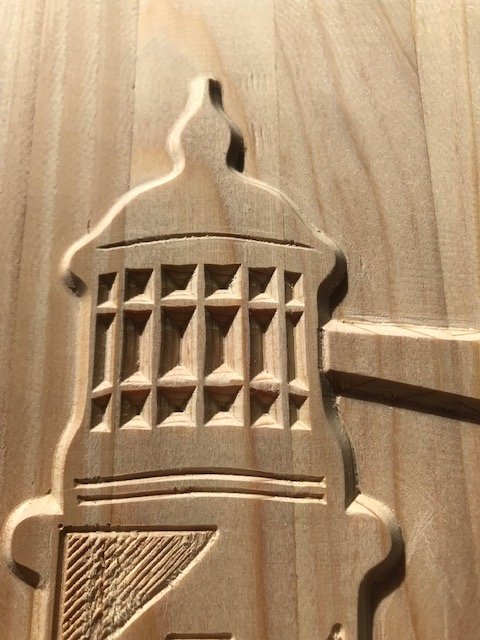
- Could detail, like windows, turn out using the 2-bit strategy? The lower windows and door glazing are pretty small and it would take a change to a 0.0625 end mill to cut these, which I wanted to avoid.
- And finally, cut a lighthouse because I like them.
The material is redwood 2X2s leftover from a honey do that I had laminated.
Design:
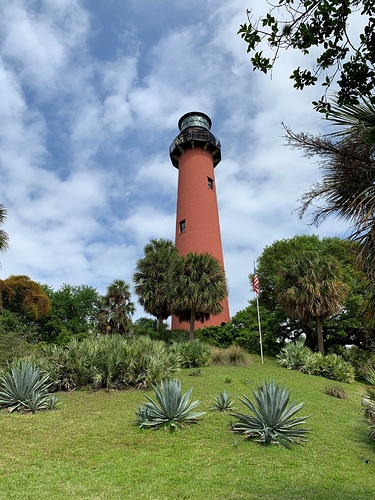
This is a mashup of a couple of different pictures I had taken over the years and searches for lighthouse images.
Once the design was finalized, I ran this through an online image vectorizer https://www.autotracer.org/, which I have good results with. Offset toolpaths were added to the vector image to simulate the advanced v-carving. @WillAdams covers doing this here: Could use some guidance on creating a carve - #2 by WillAdams
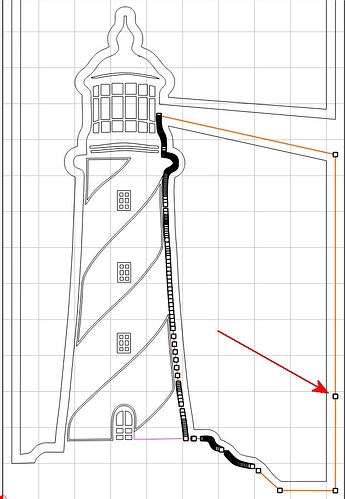
However, occasionally I have found in the simulation and subsequent cut v-carving will have an extra wavy or misaligned cut. There are a lot of posts about this and should be easy to search if interested. When doing these offset toolpaths. The trick for me has been to look very closely at the toolpaths in ‘Edit Node’ mode where I occasionally find random nodes which can simply be deleted, like this one:
Toolpaths:
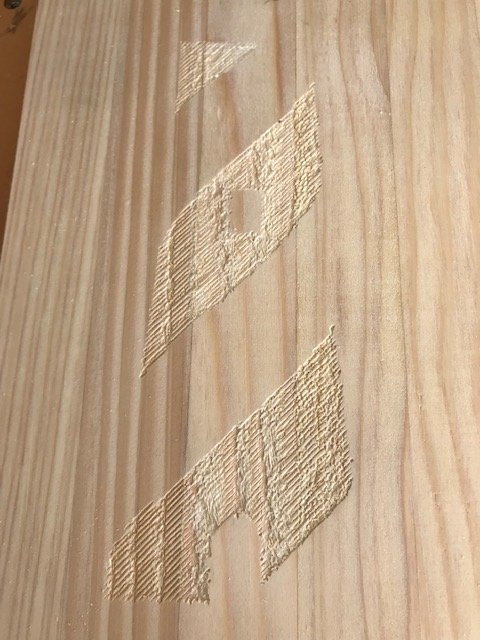
Really wanted to stick to the 2 bit self imposed limit, but a quick test found doing so would cause the cut to go past the boundaries of the borders on the tower stripes. Used tool #302 60 degree V for those, and then switched to the 90 V for the 2nd machining operation outline. Here’s an example of what I was trying to avoid and saw in a practice cut previously:
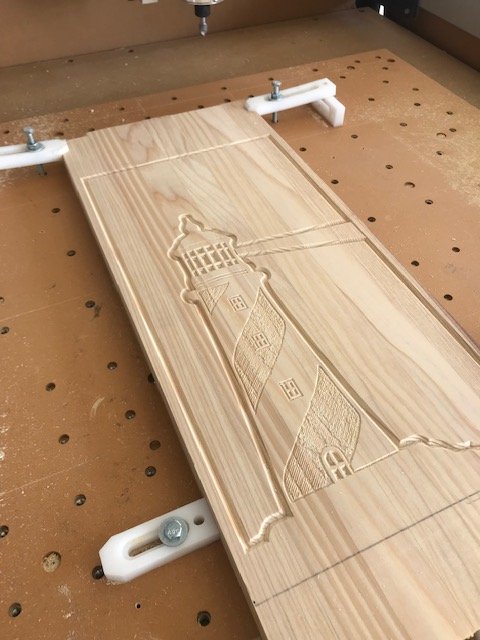
After the 60˚ V:
…the 90 V:
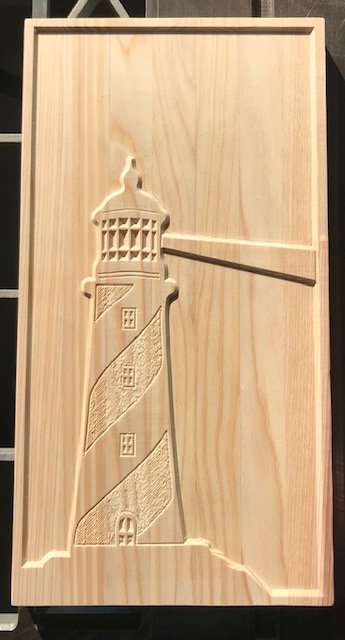
Finished:
Windows Close up:
Finishing:
The plan is to epoxy this using a fade from light to dark blue into the water. Need to apply a couple of coats of sanding sealer first to prevent epoxy air bubbles, again that soft redwood. Time constraints and cooler weather are preventing me from doing this, but I’ll post a finished picture to the gallery.
Notes:
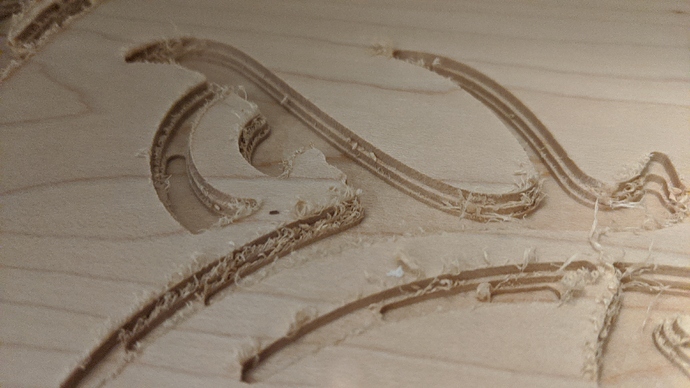
1) RW is not the best for machining as it is soft, open grained and leaves a lot of feathering/gouging. Tried to control this and get a better chip-load by running at 200% over speed from the default settings in CC with CM. But using a harder, better machining wood would result in a much better end product.
2) In the 2nd Group 90 V machining process, Carbide Motion stopped and gave repeated messages to do a bit change even though the Group was all the same bit. I suspect this is because I’m running CM 4.0.412 and a simple upgrade to the new version will fix it.
3) Cross cutting the blank and regluing so the grain would have been horizontal, or the direction of clouds and water would have been a good idea, but time constraints (darn contests!) stopped me.
4) There is no OS profile cutout because the stock I used for this project was exactly 9.5” wide, I just miter sawed the ends off.
CC File:
Lighthouse Fini.c2d (1.1 MB)
