as requested on support…
We will use the current beta:
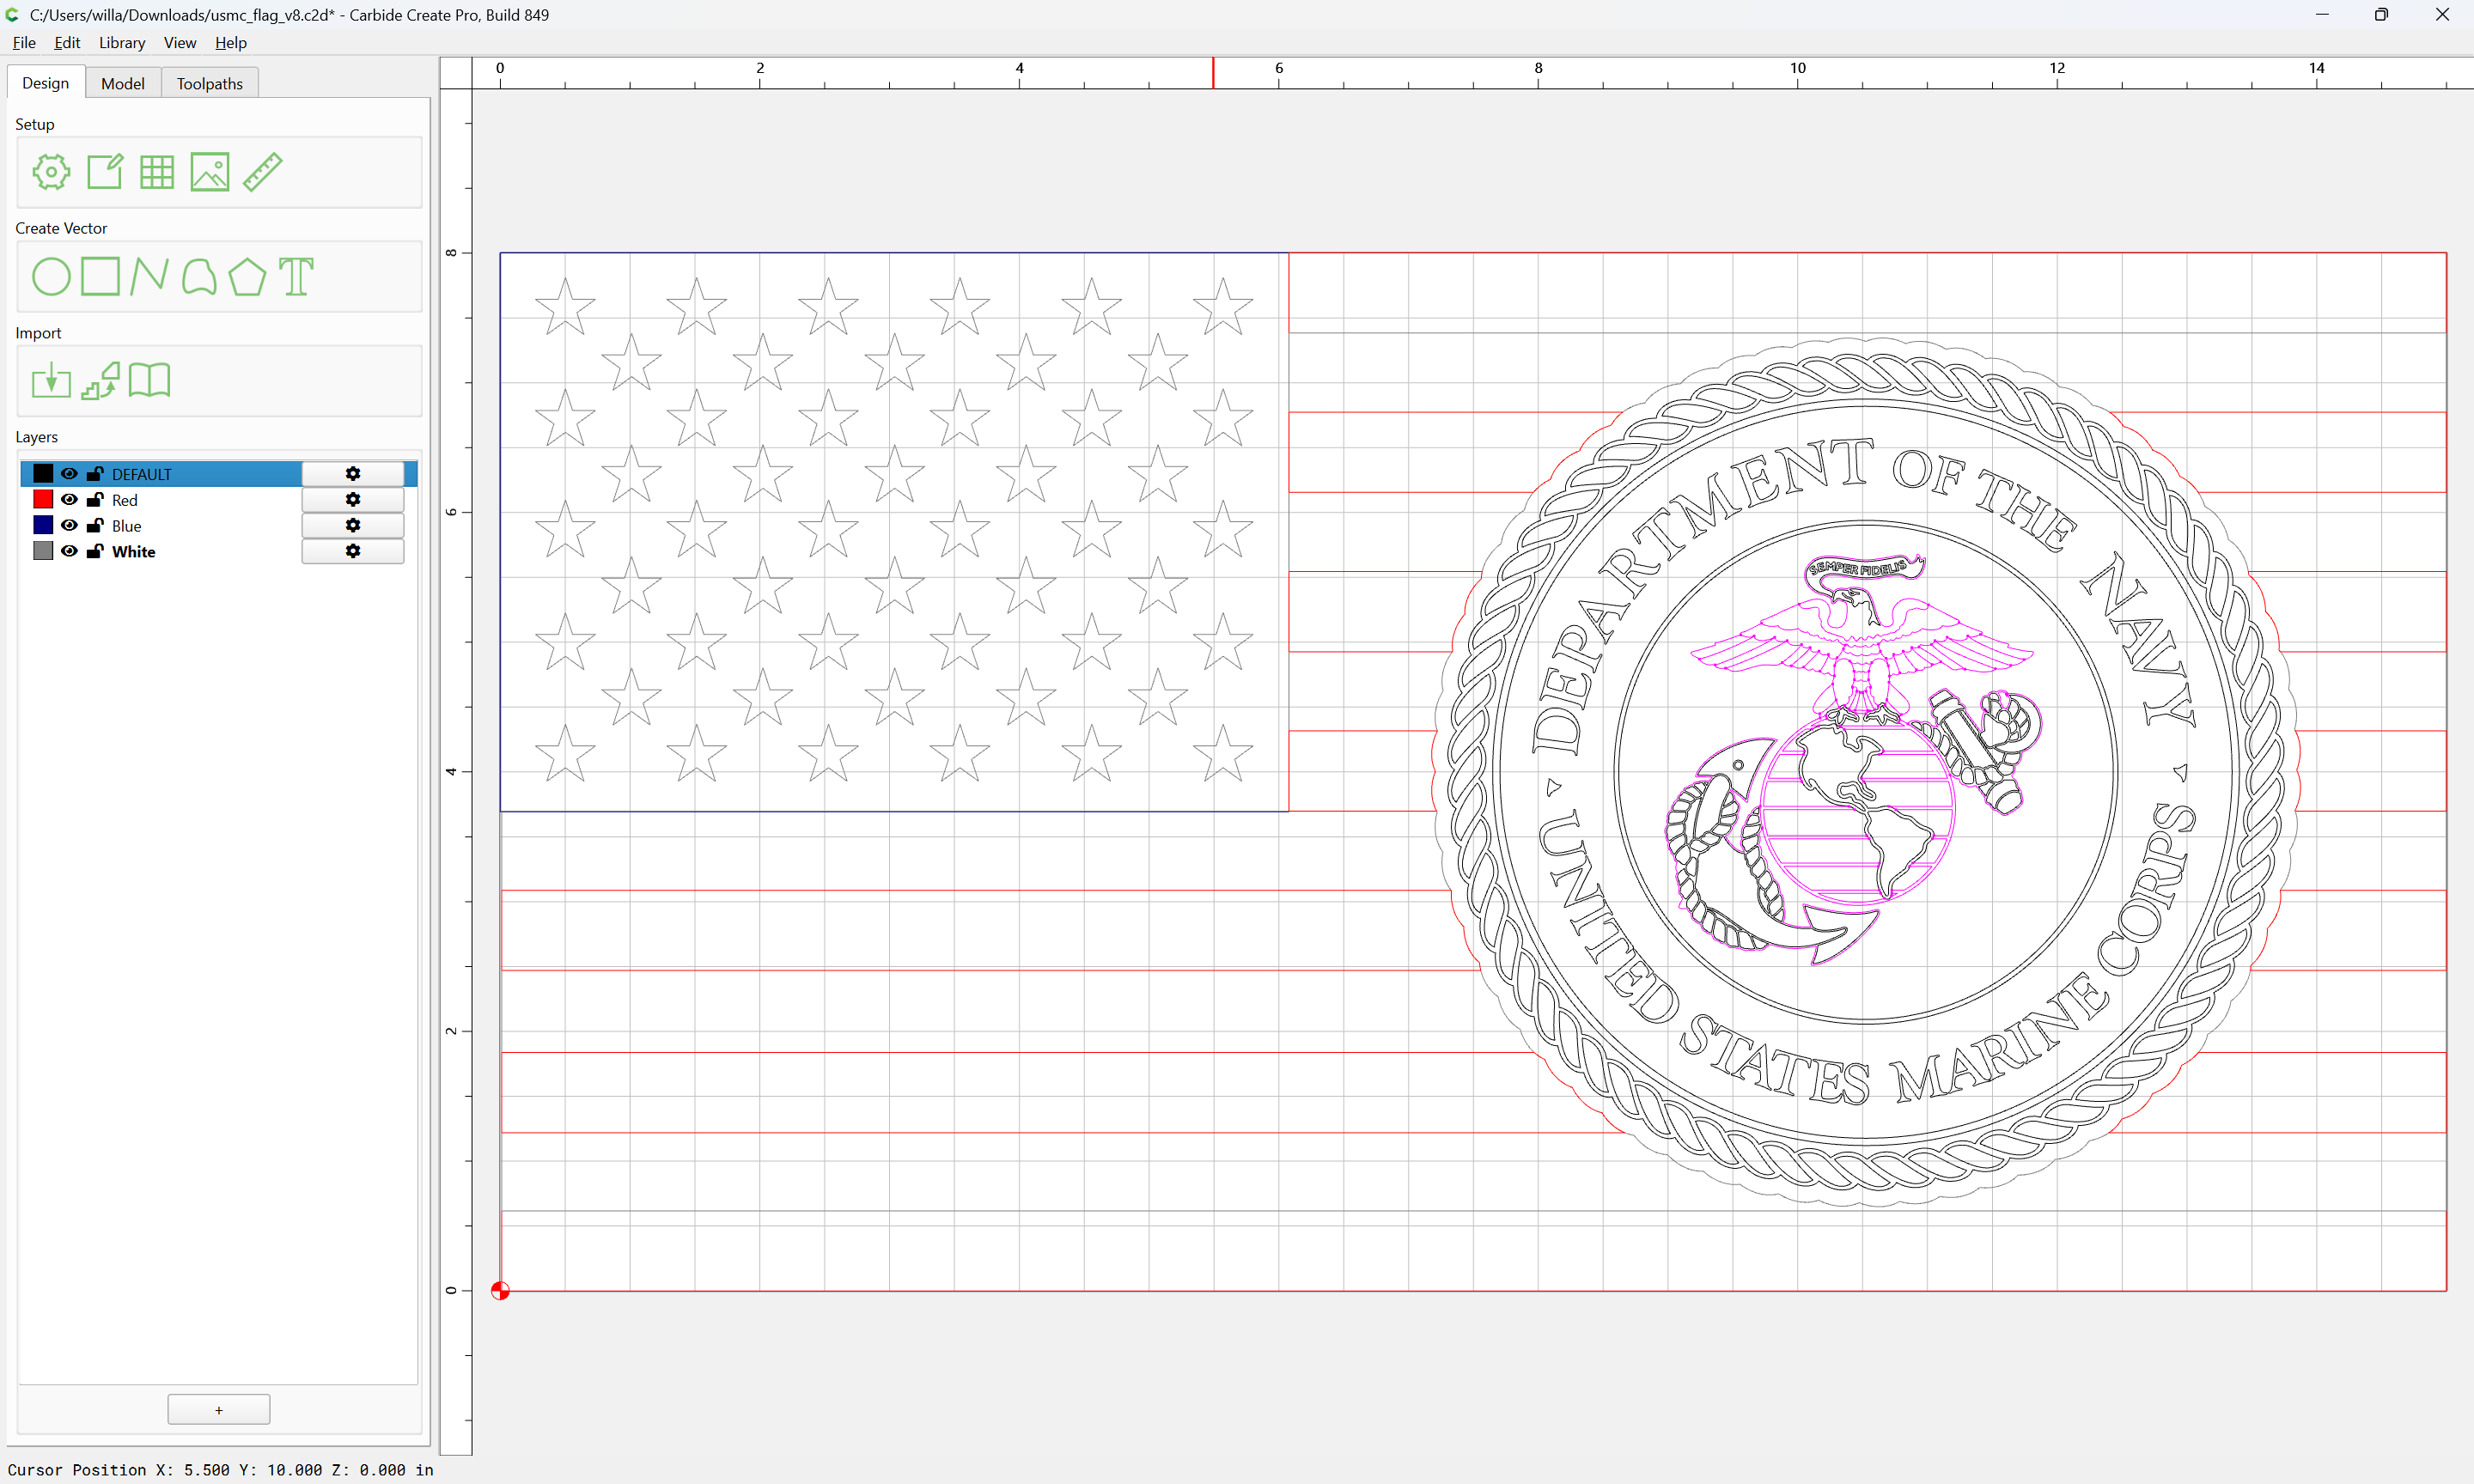
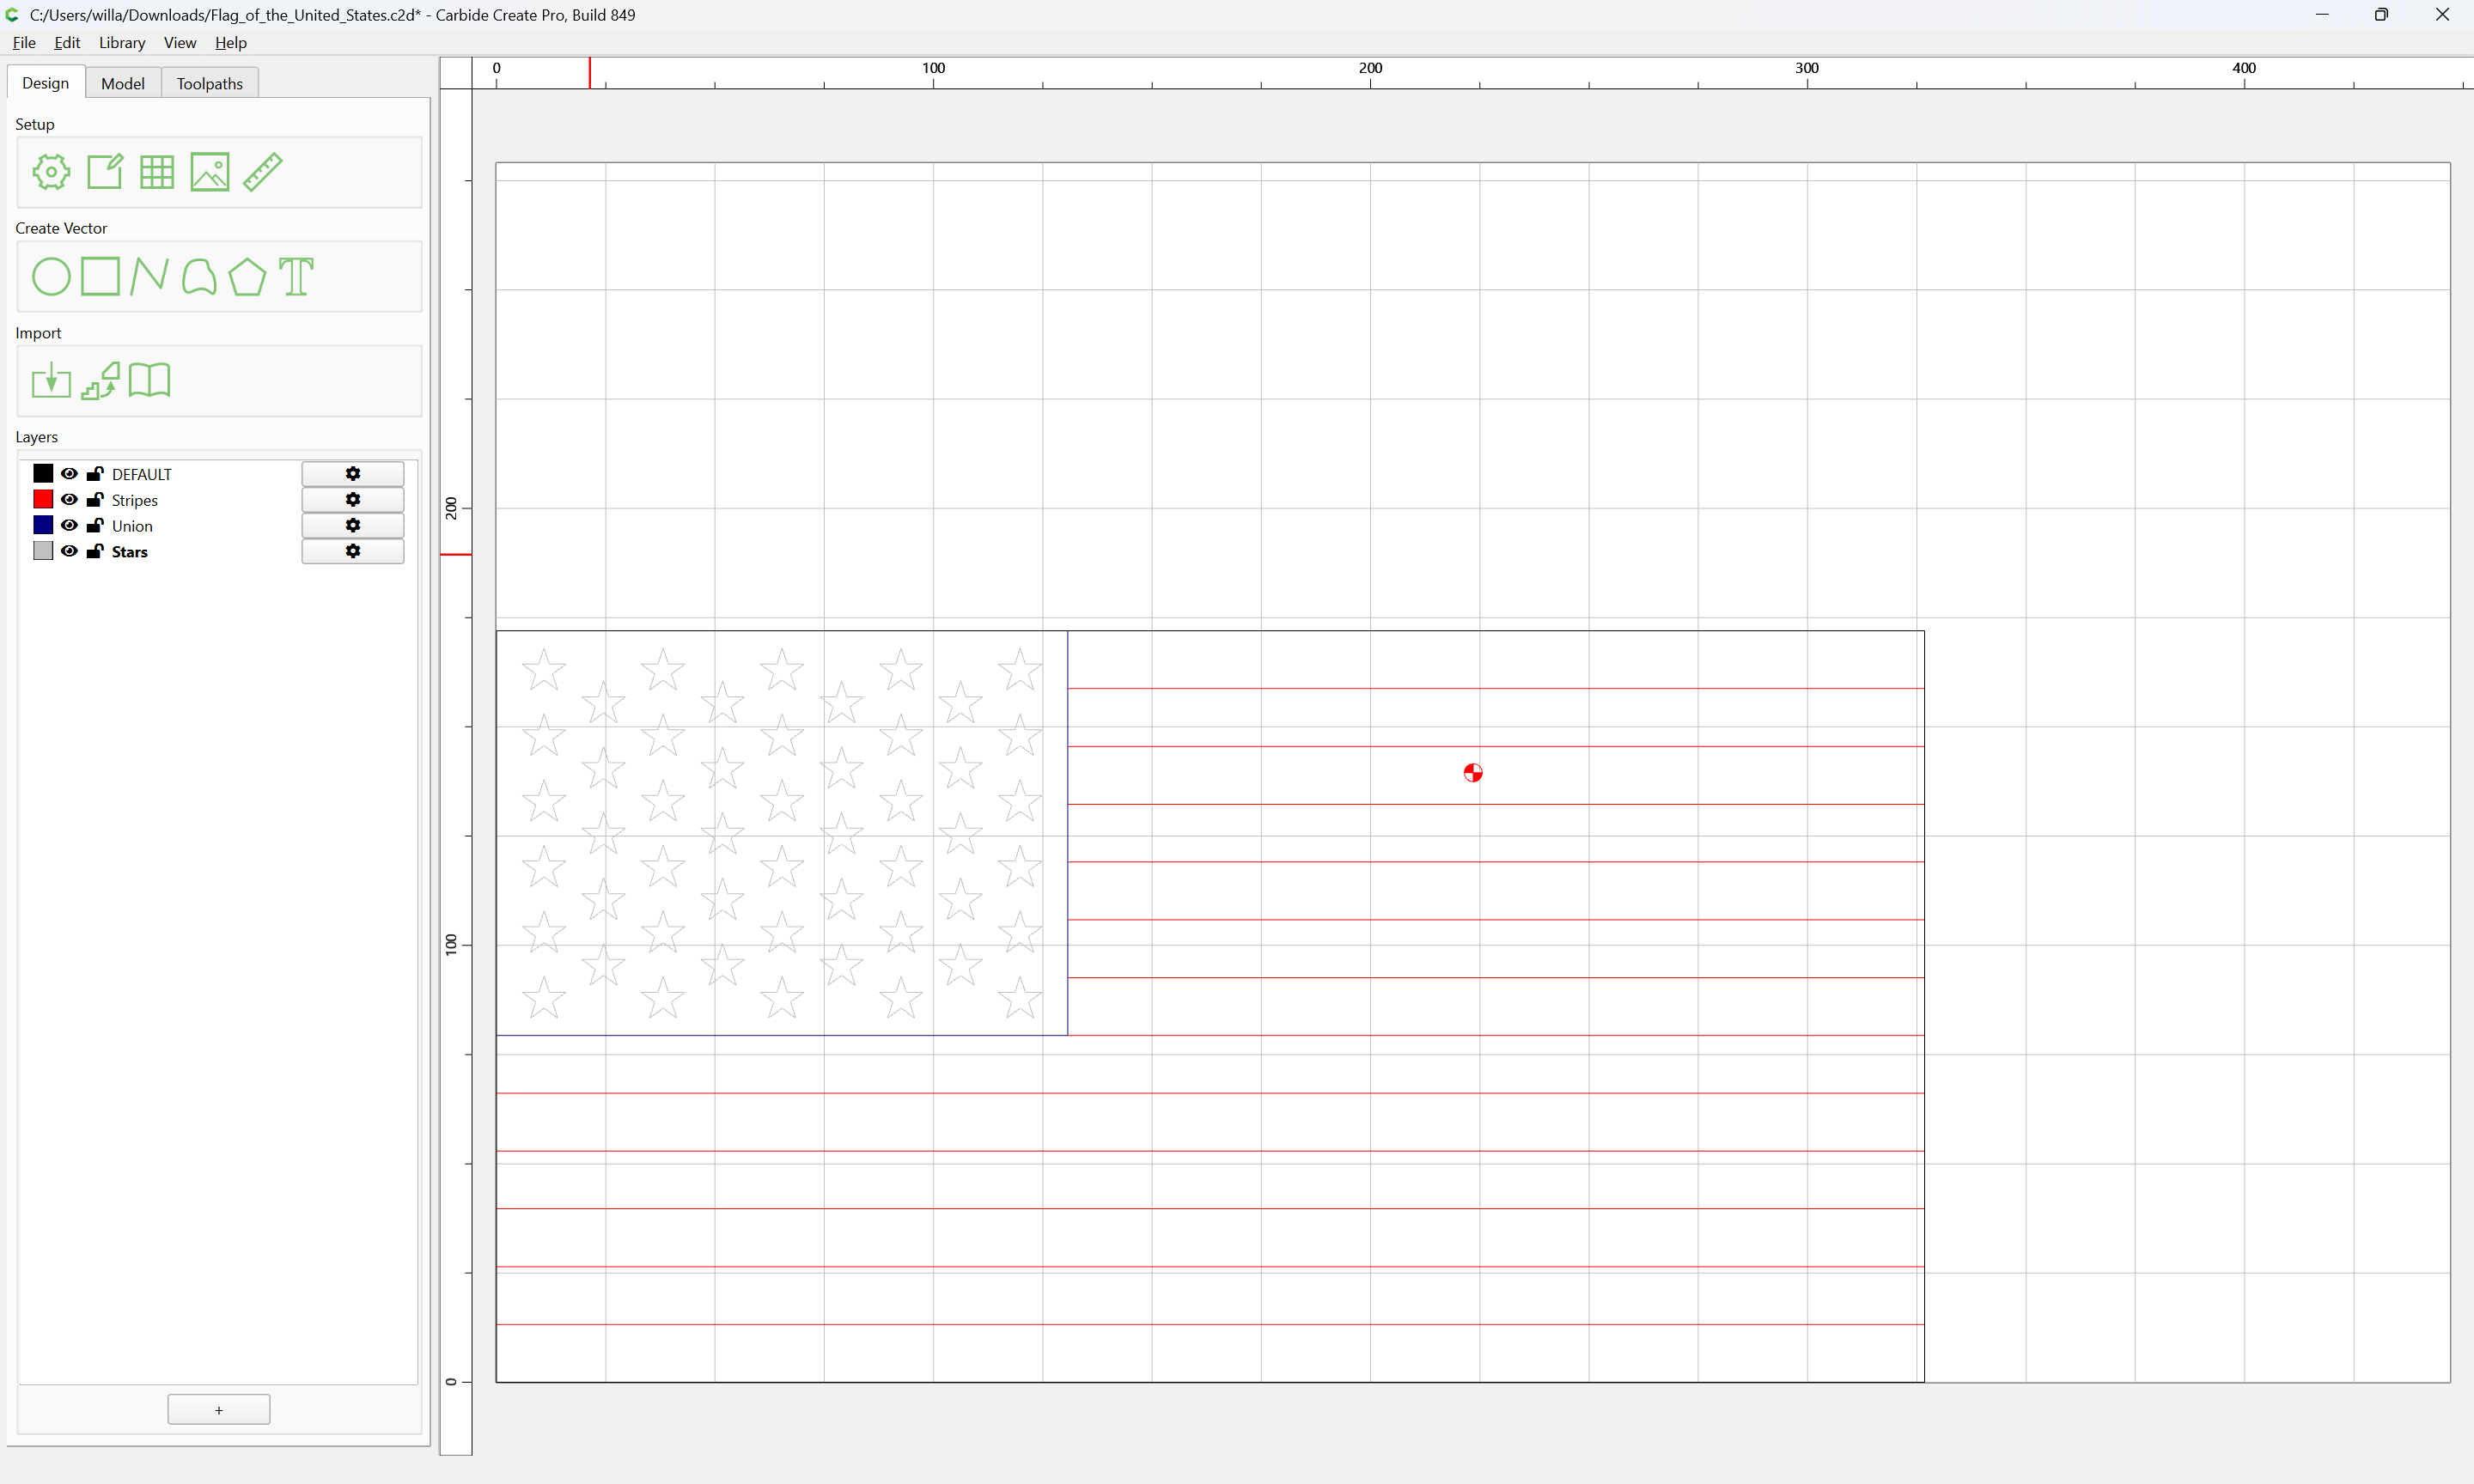
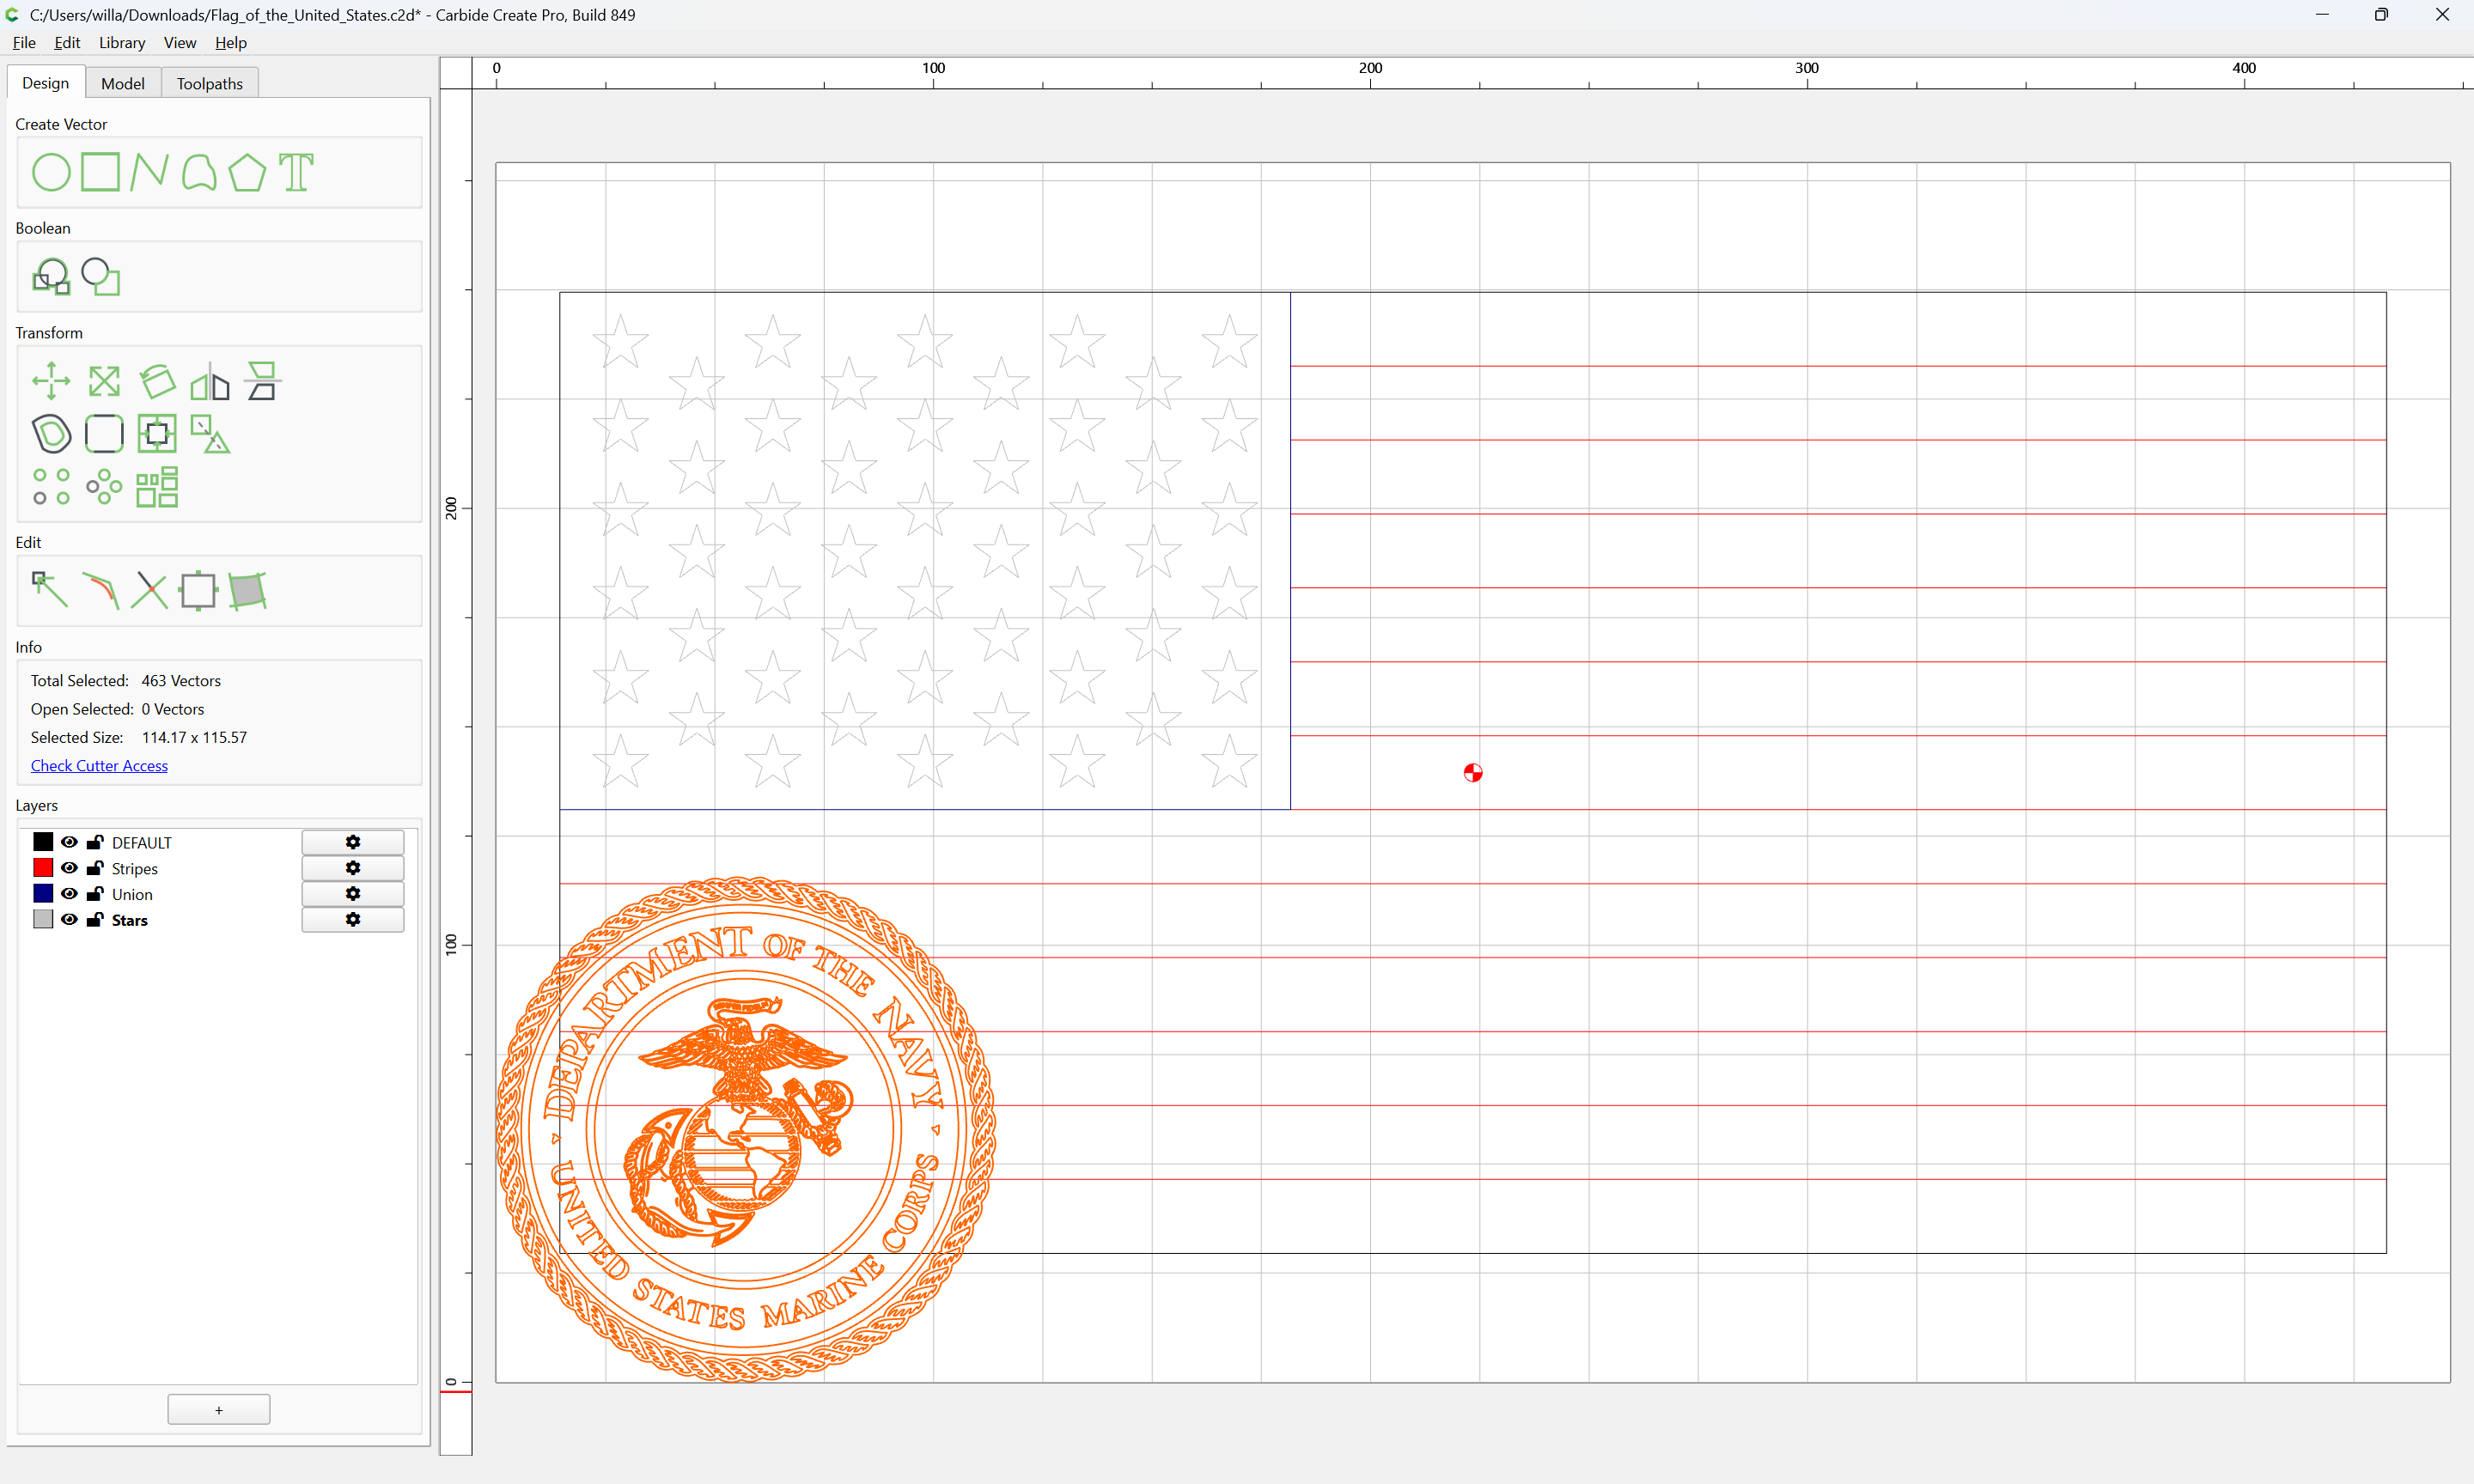
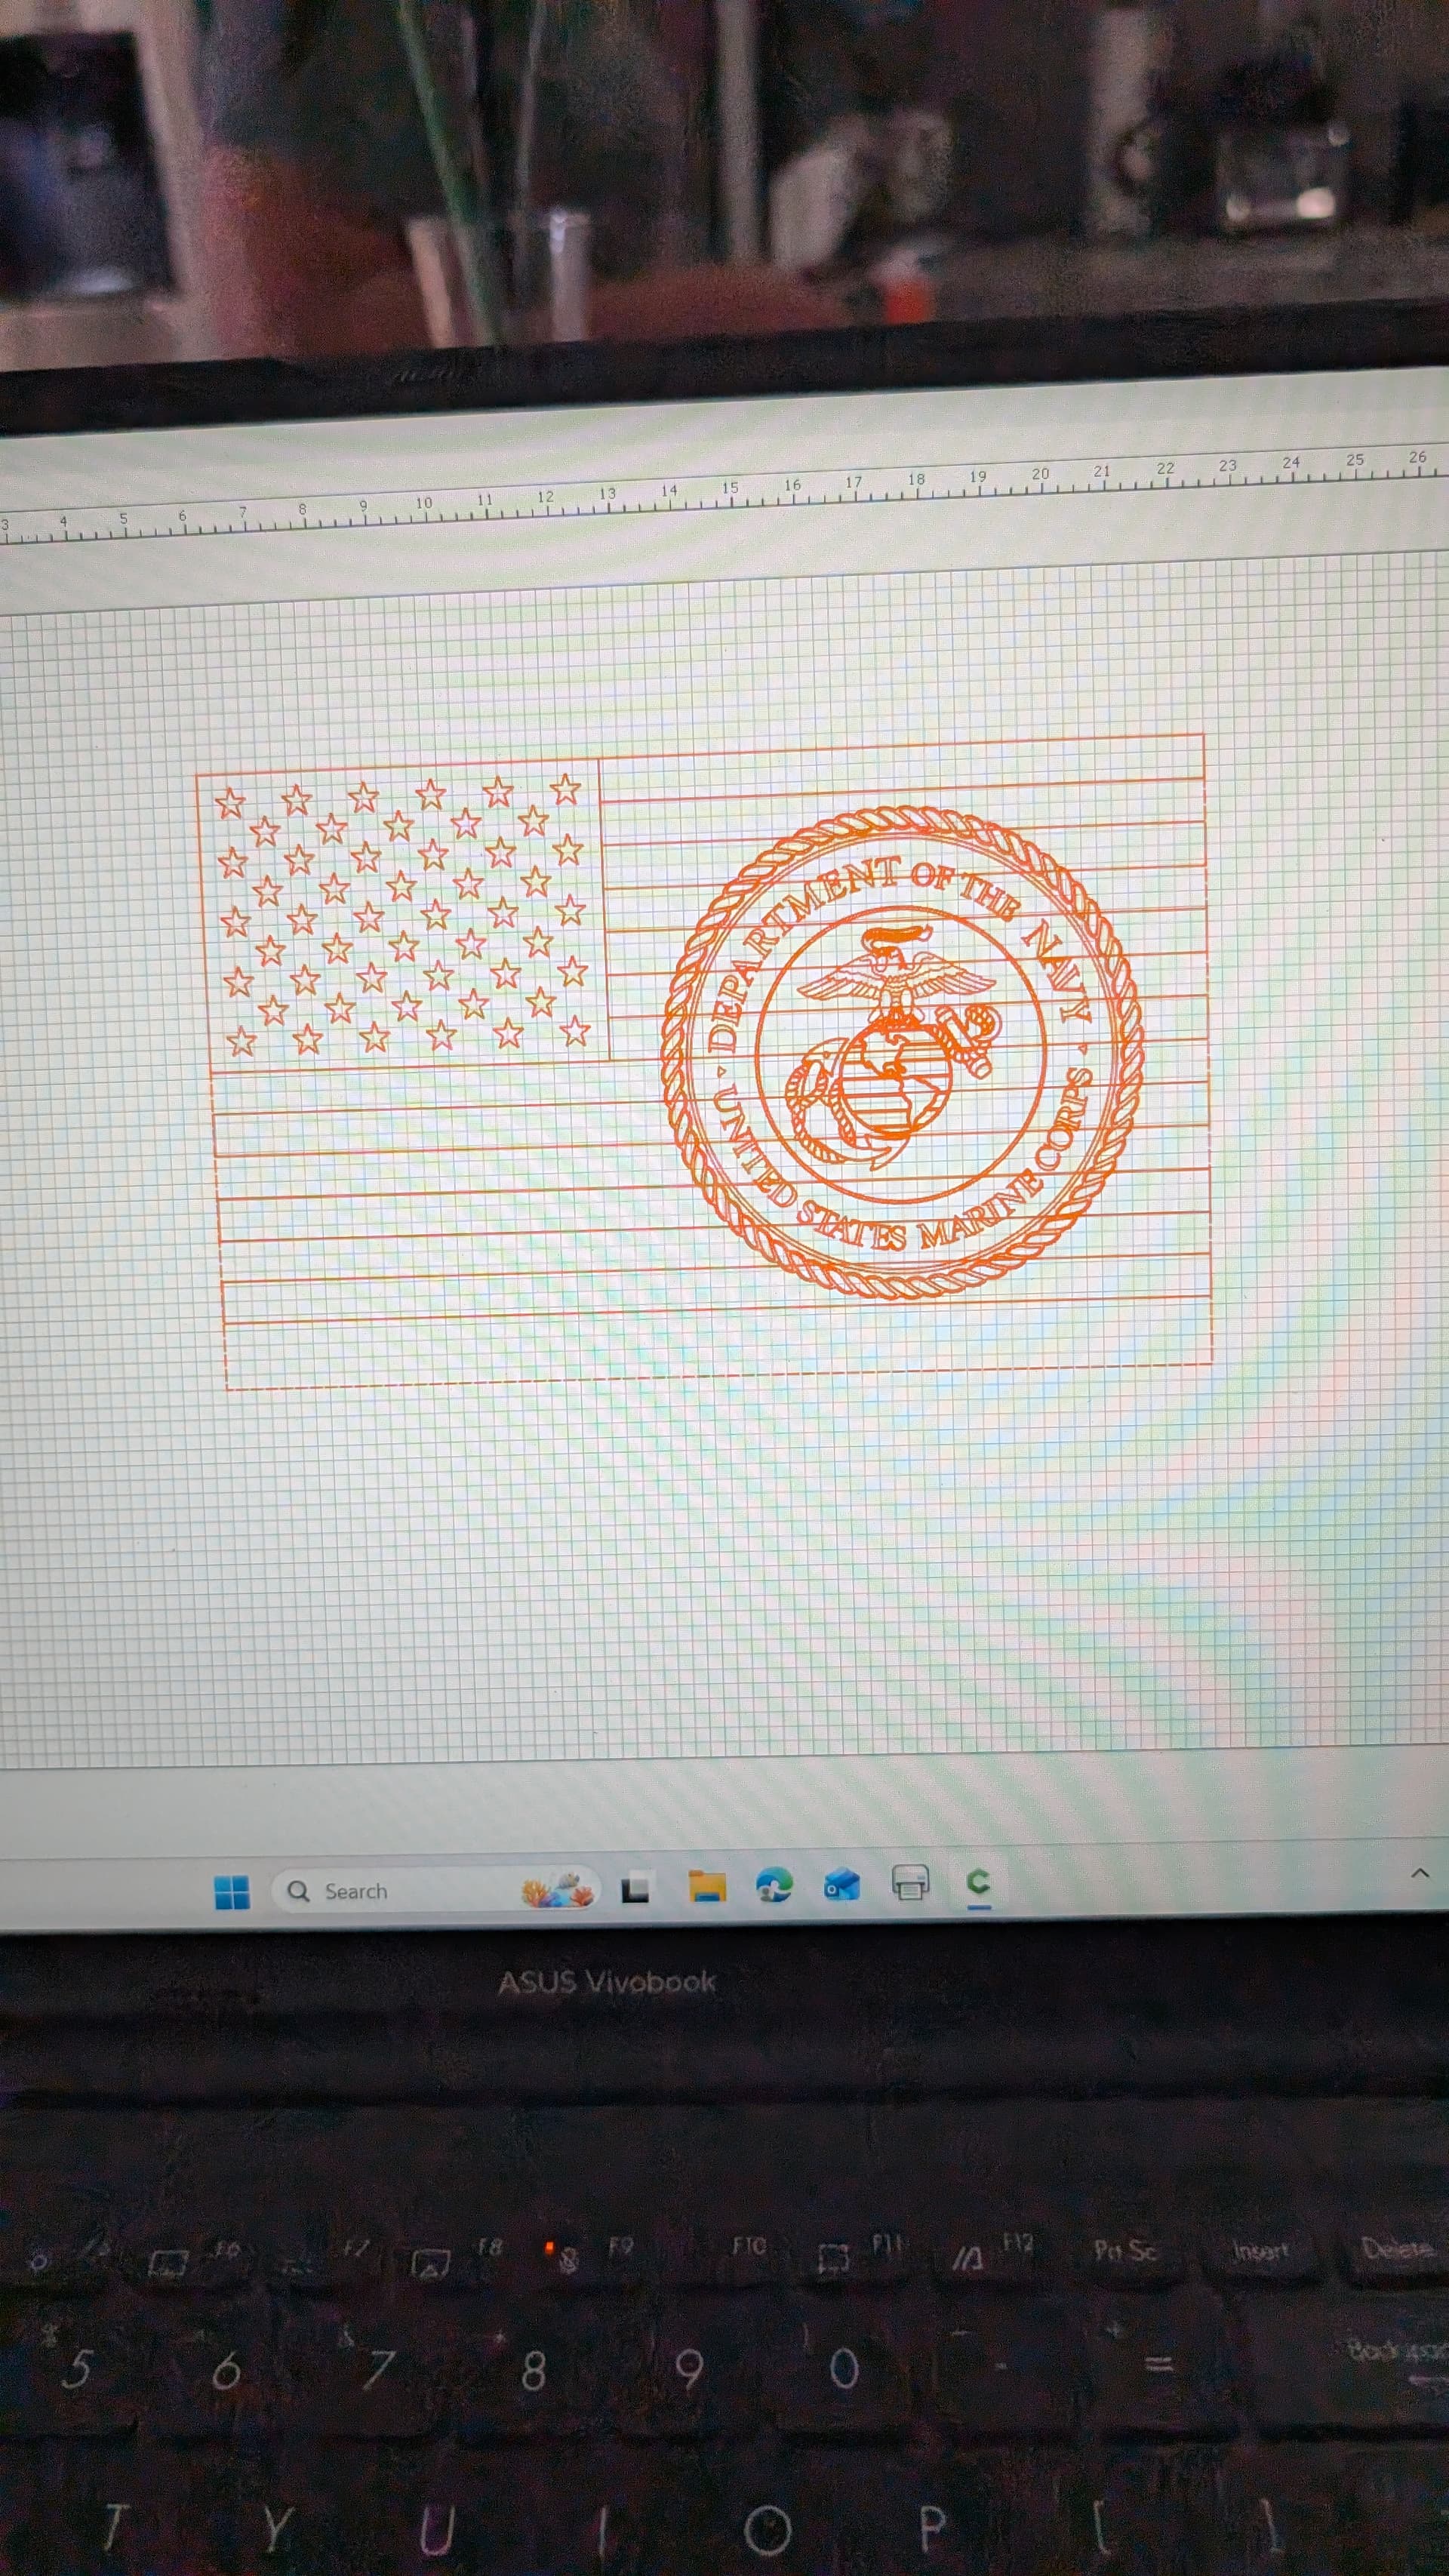
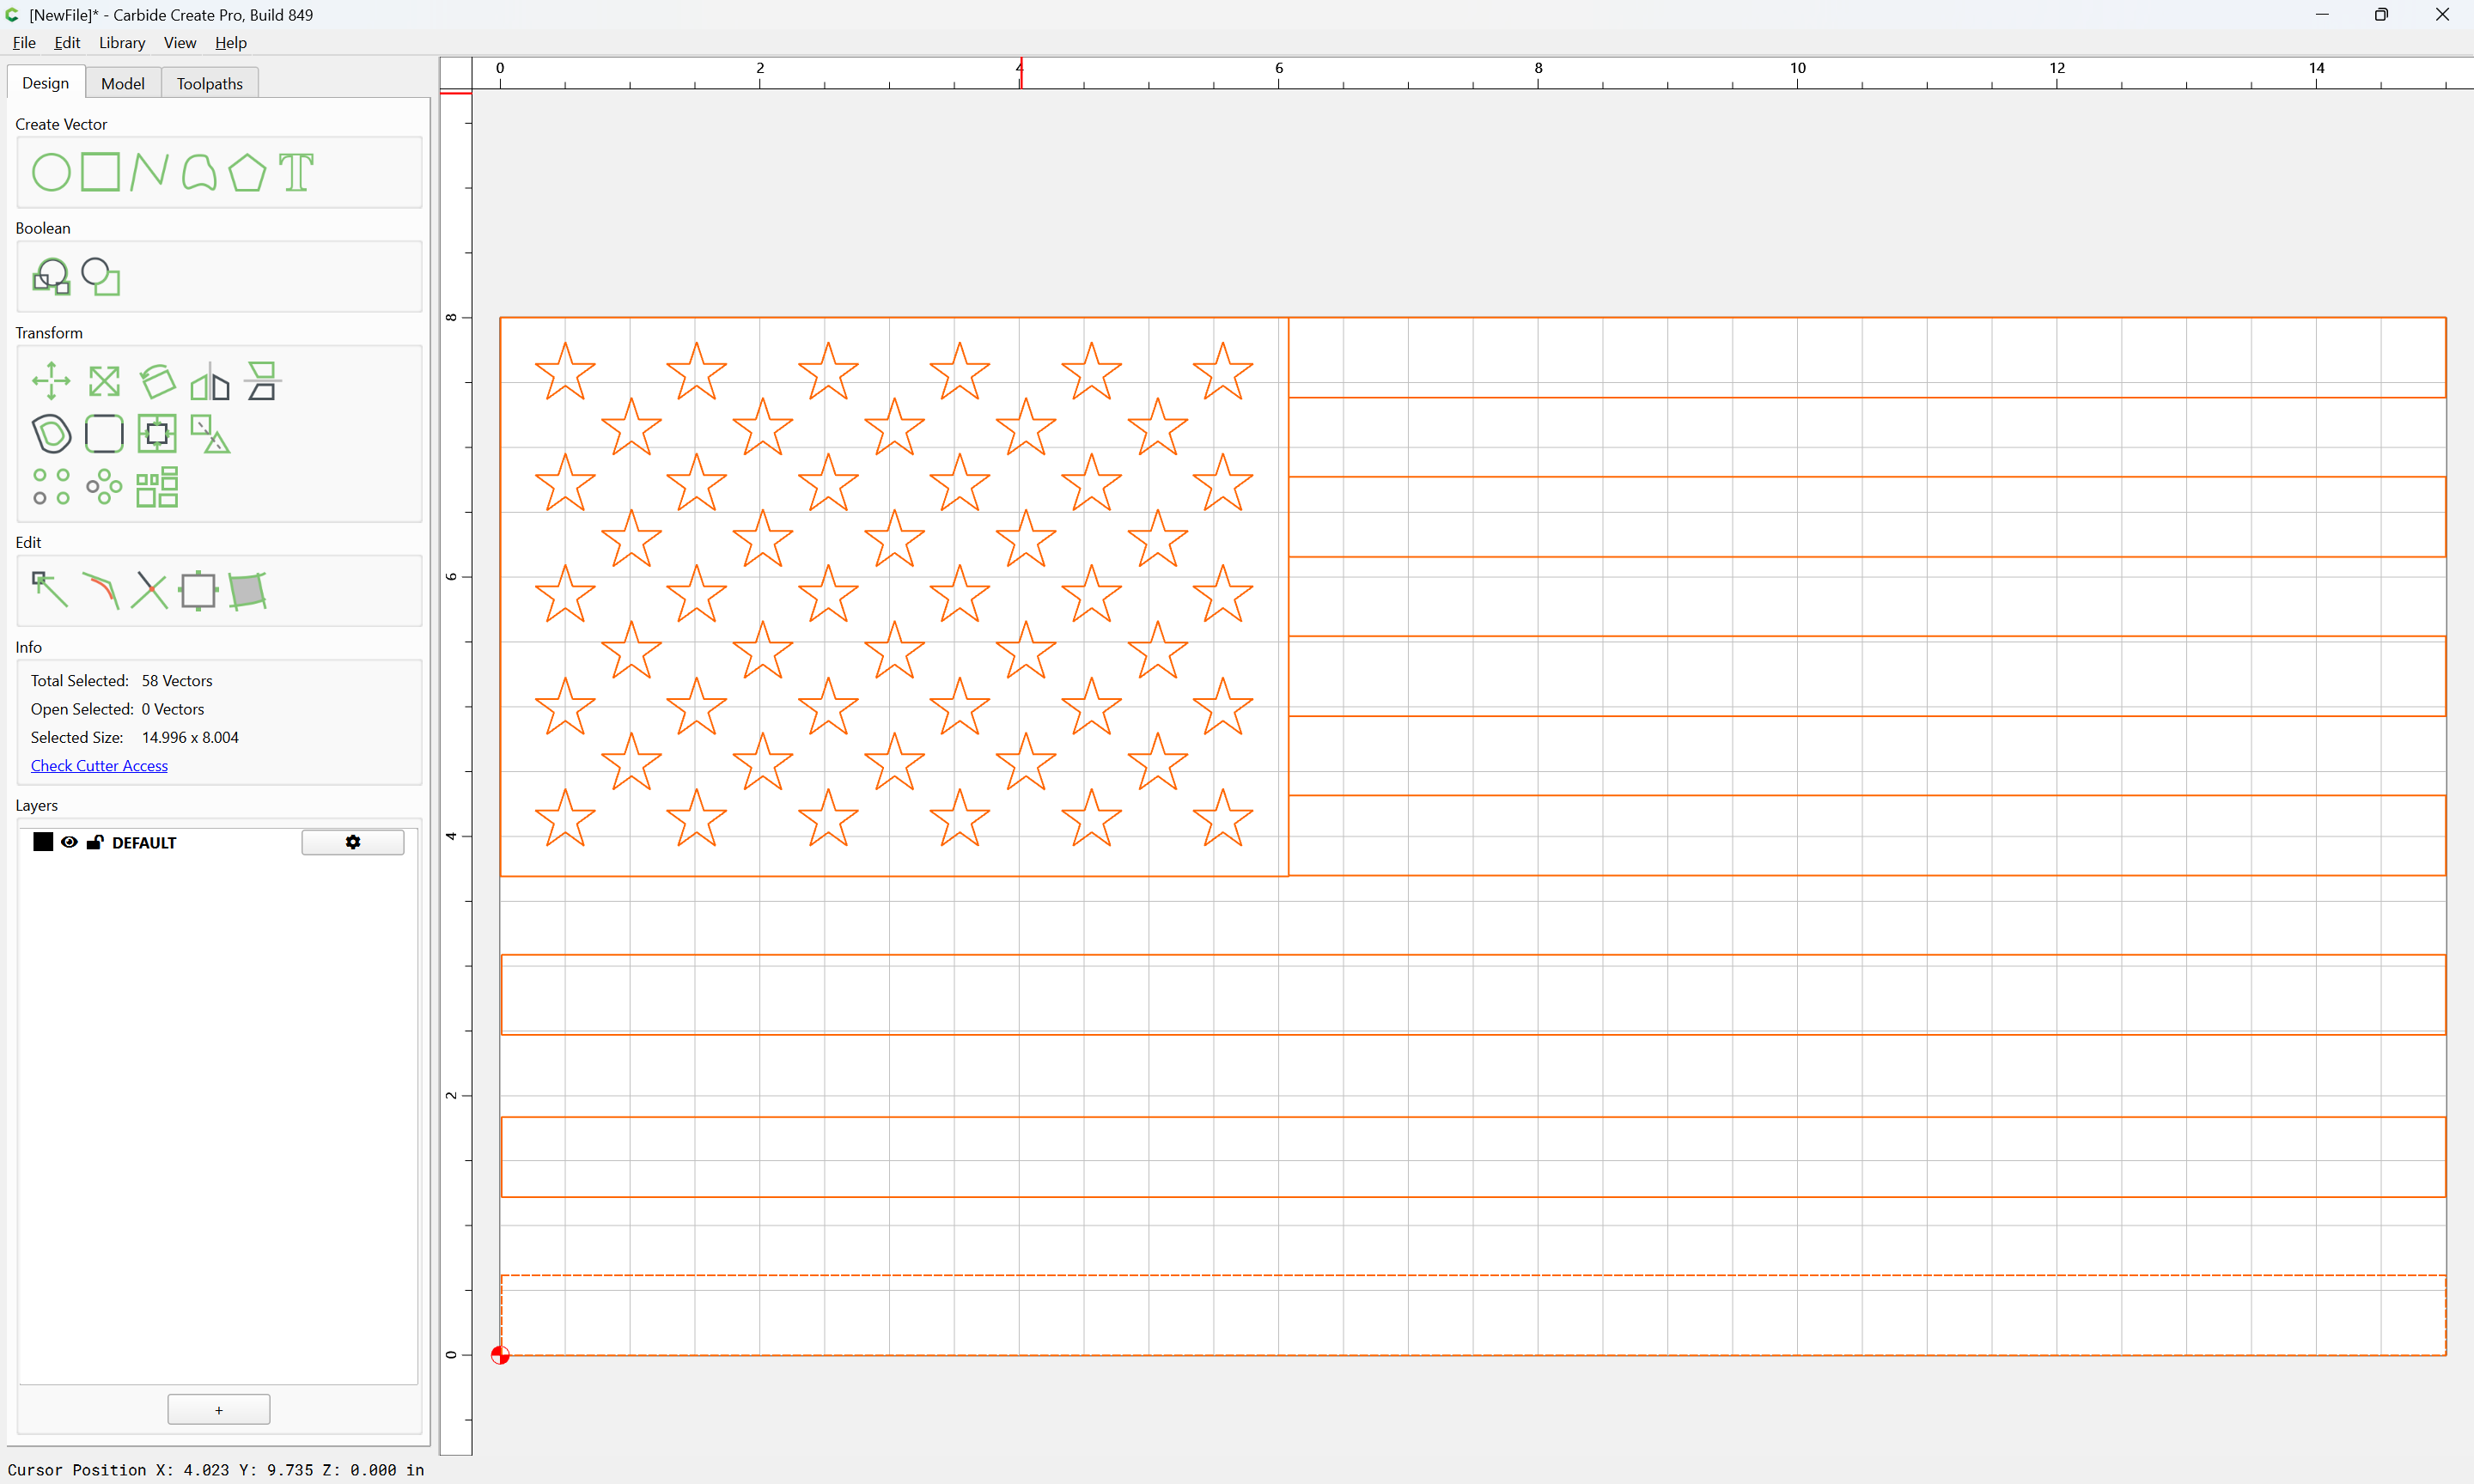
First, we import/open a flag:
https://cutrocket.com/elements/us_flags/united_states-flag
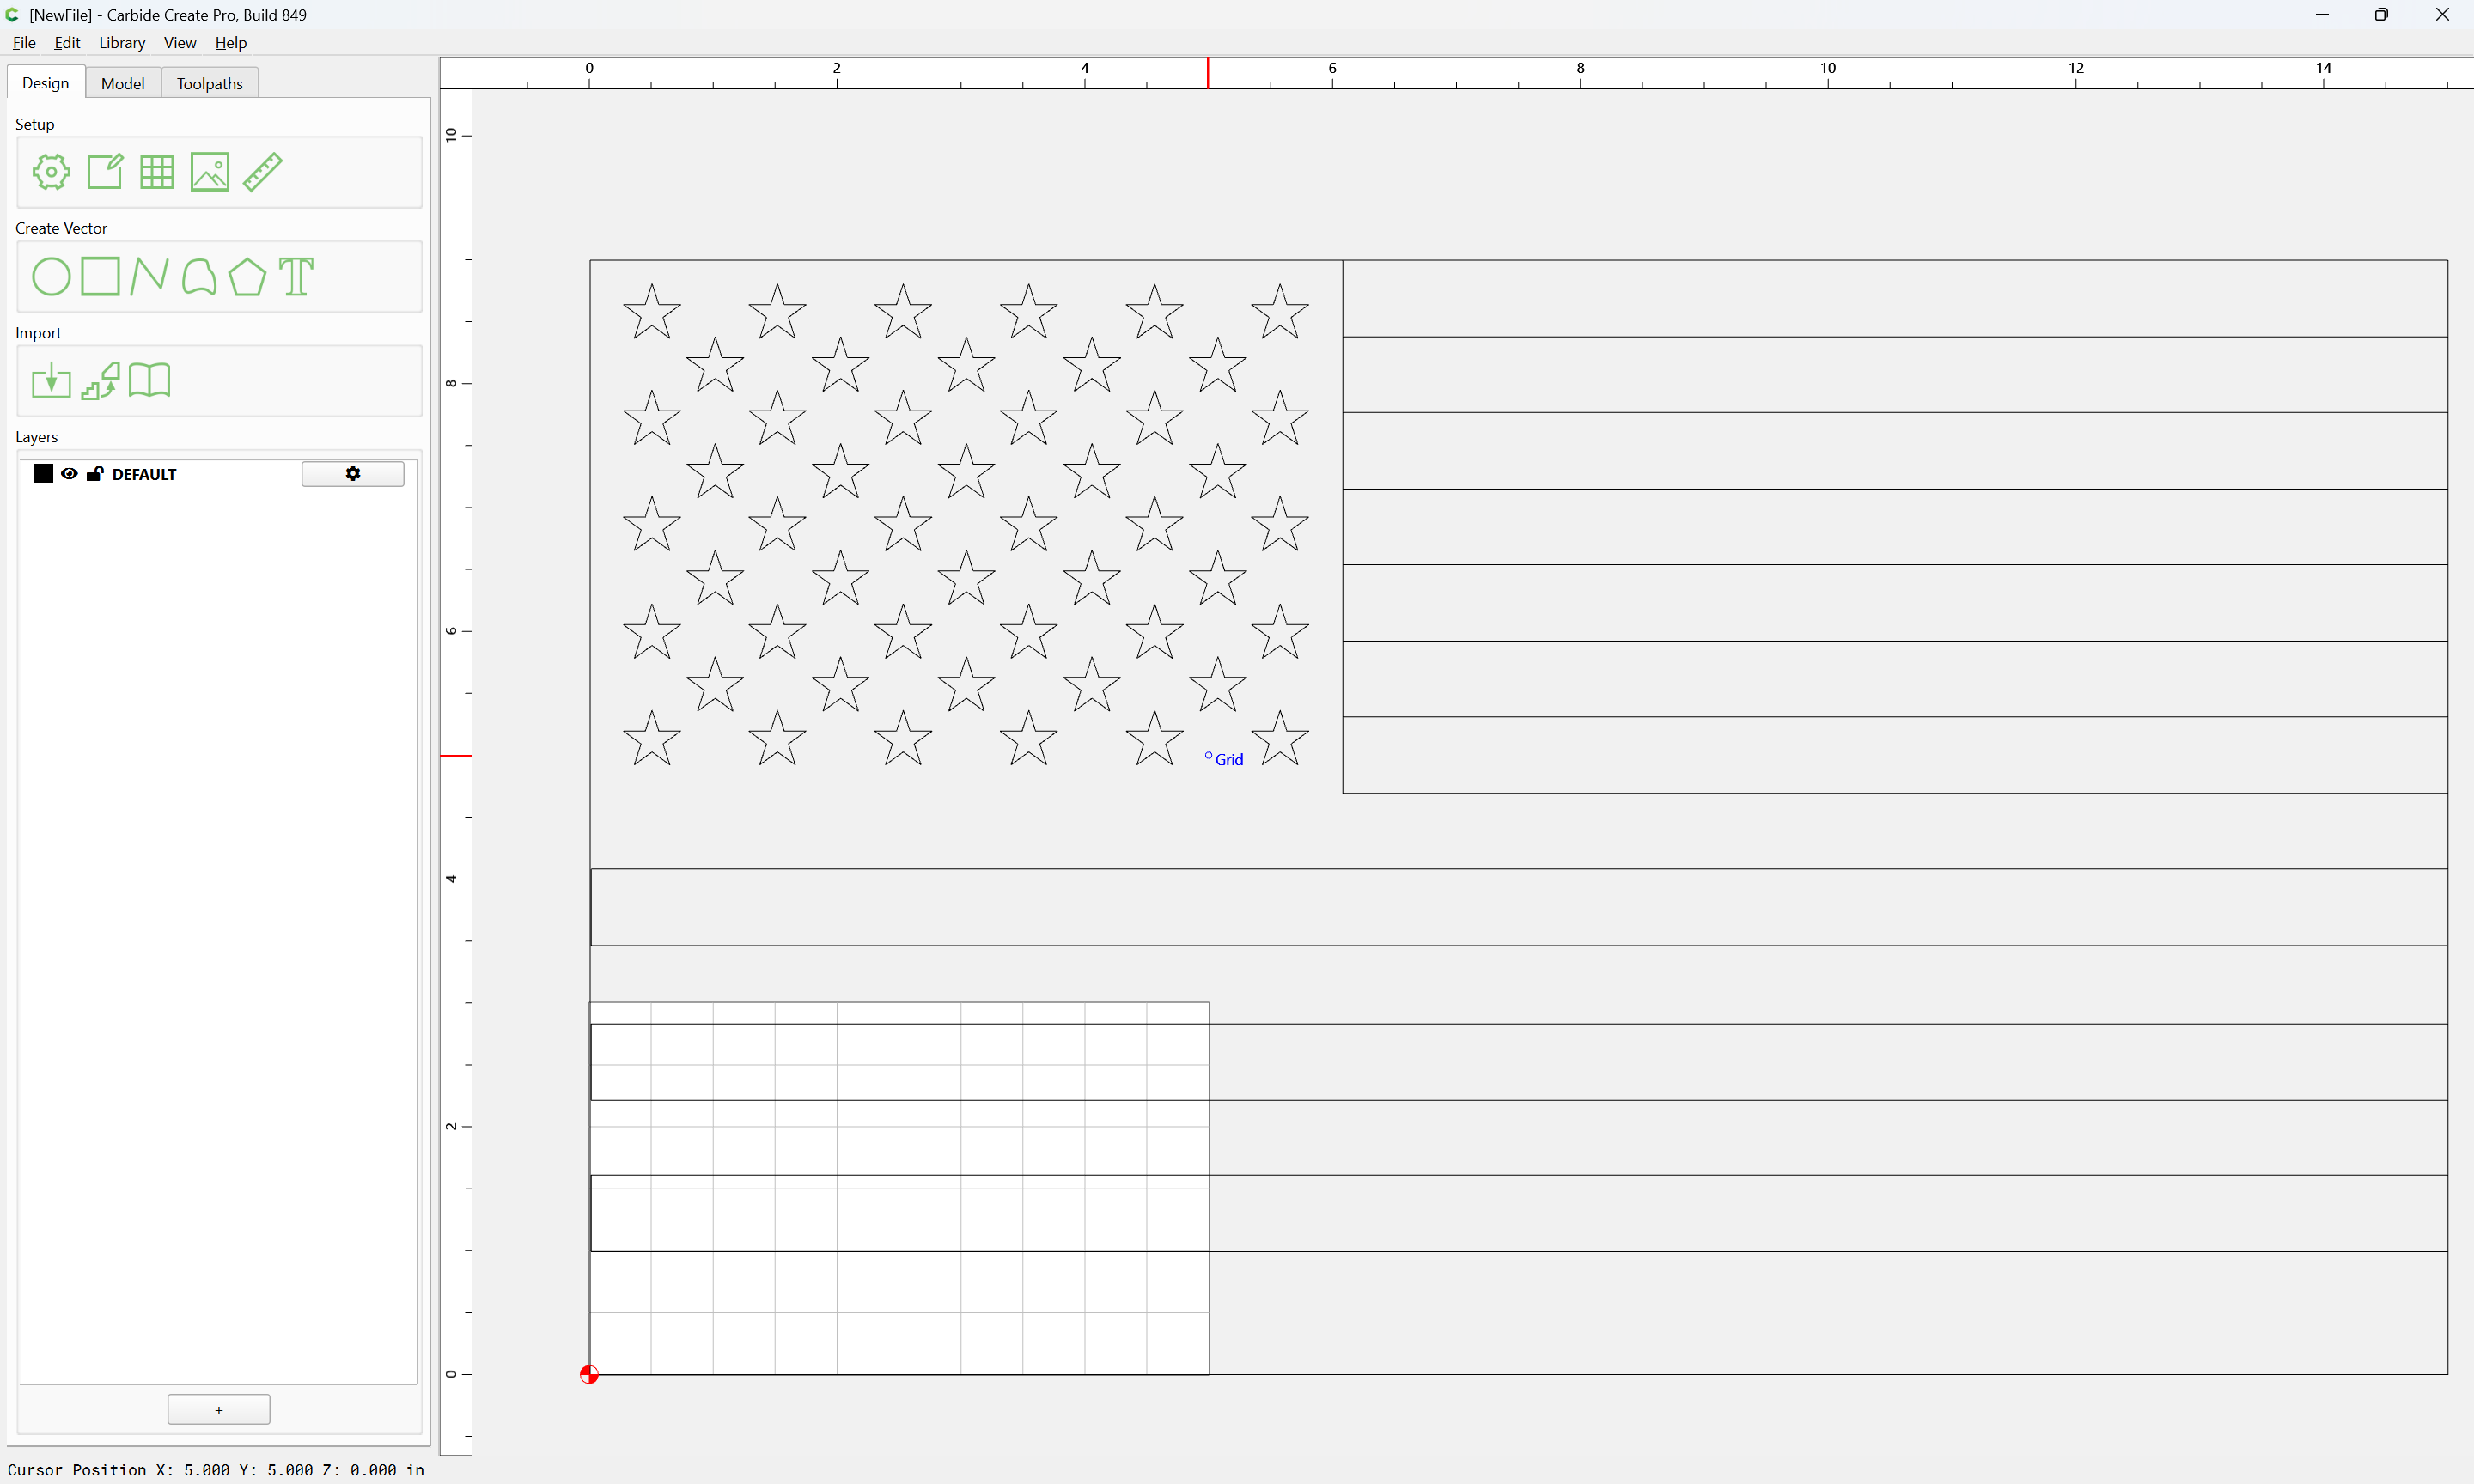
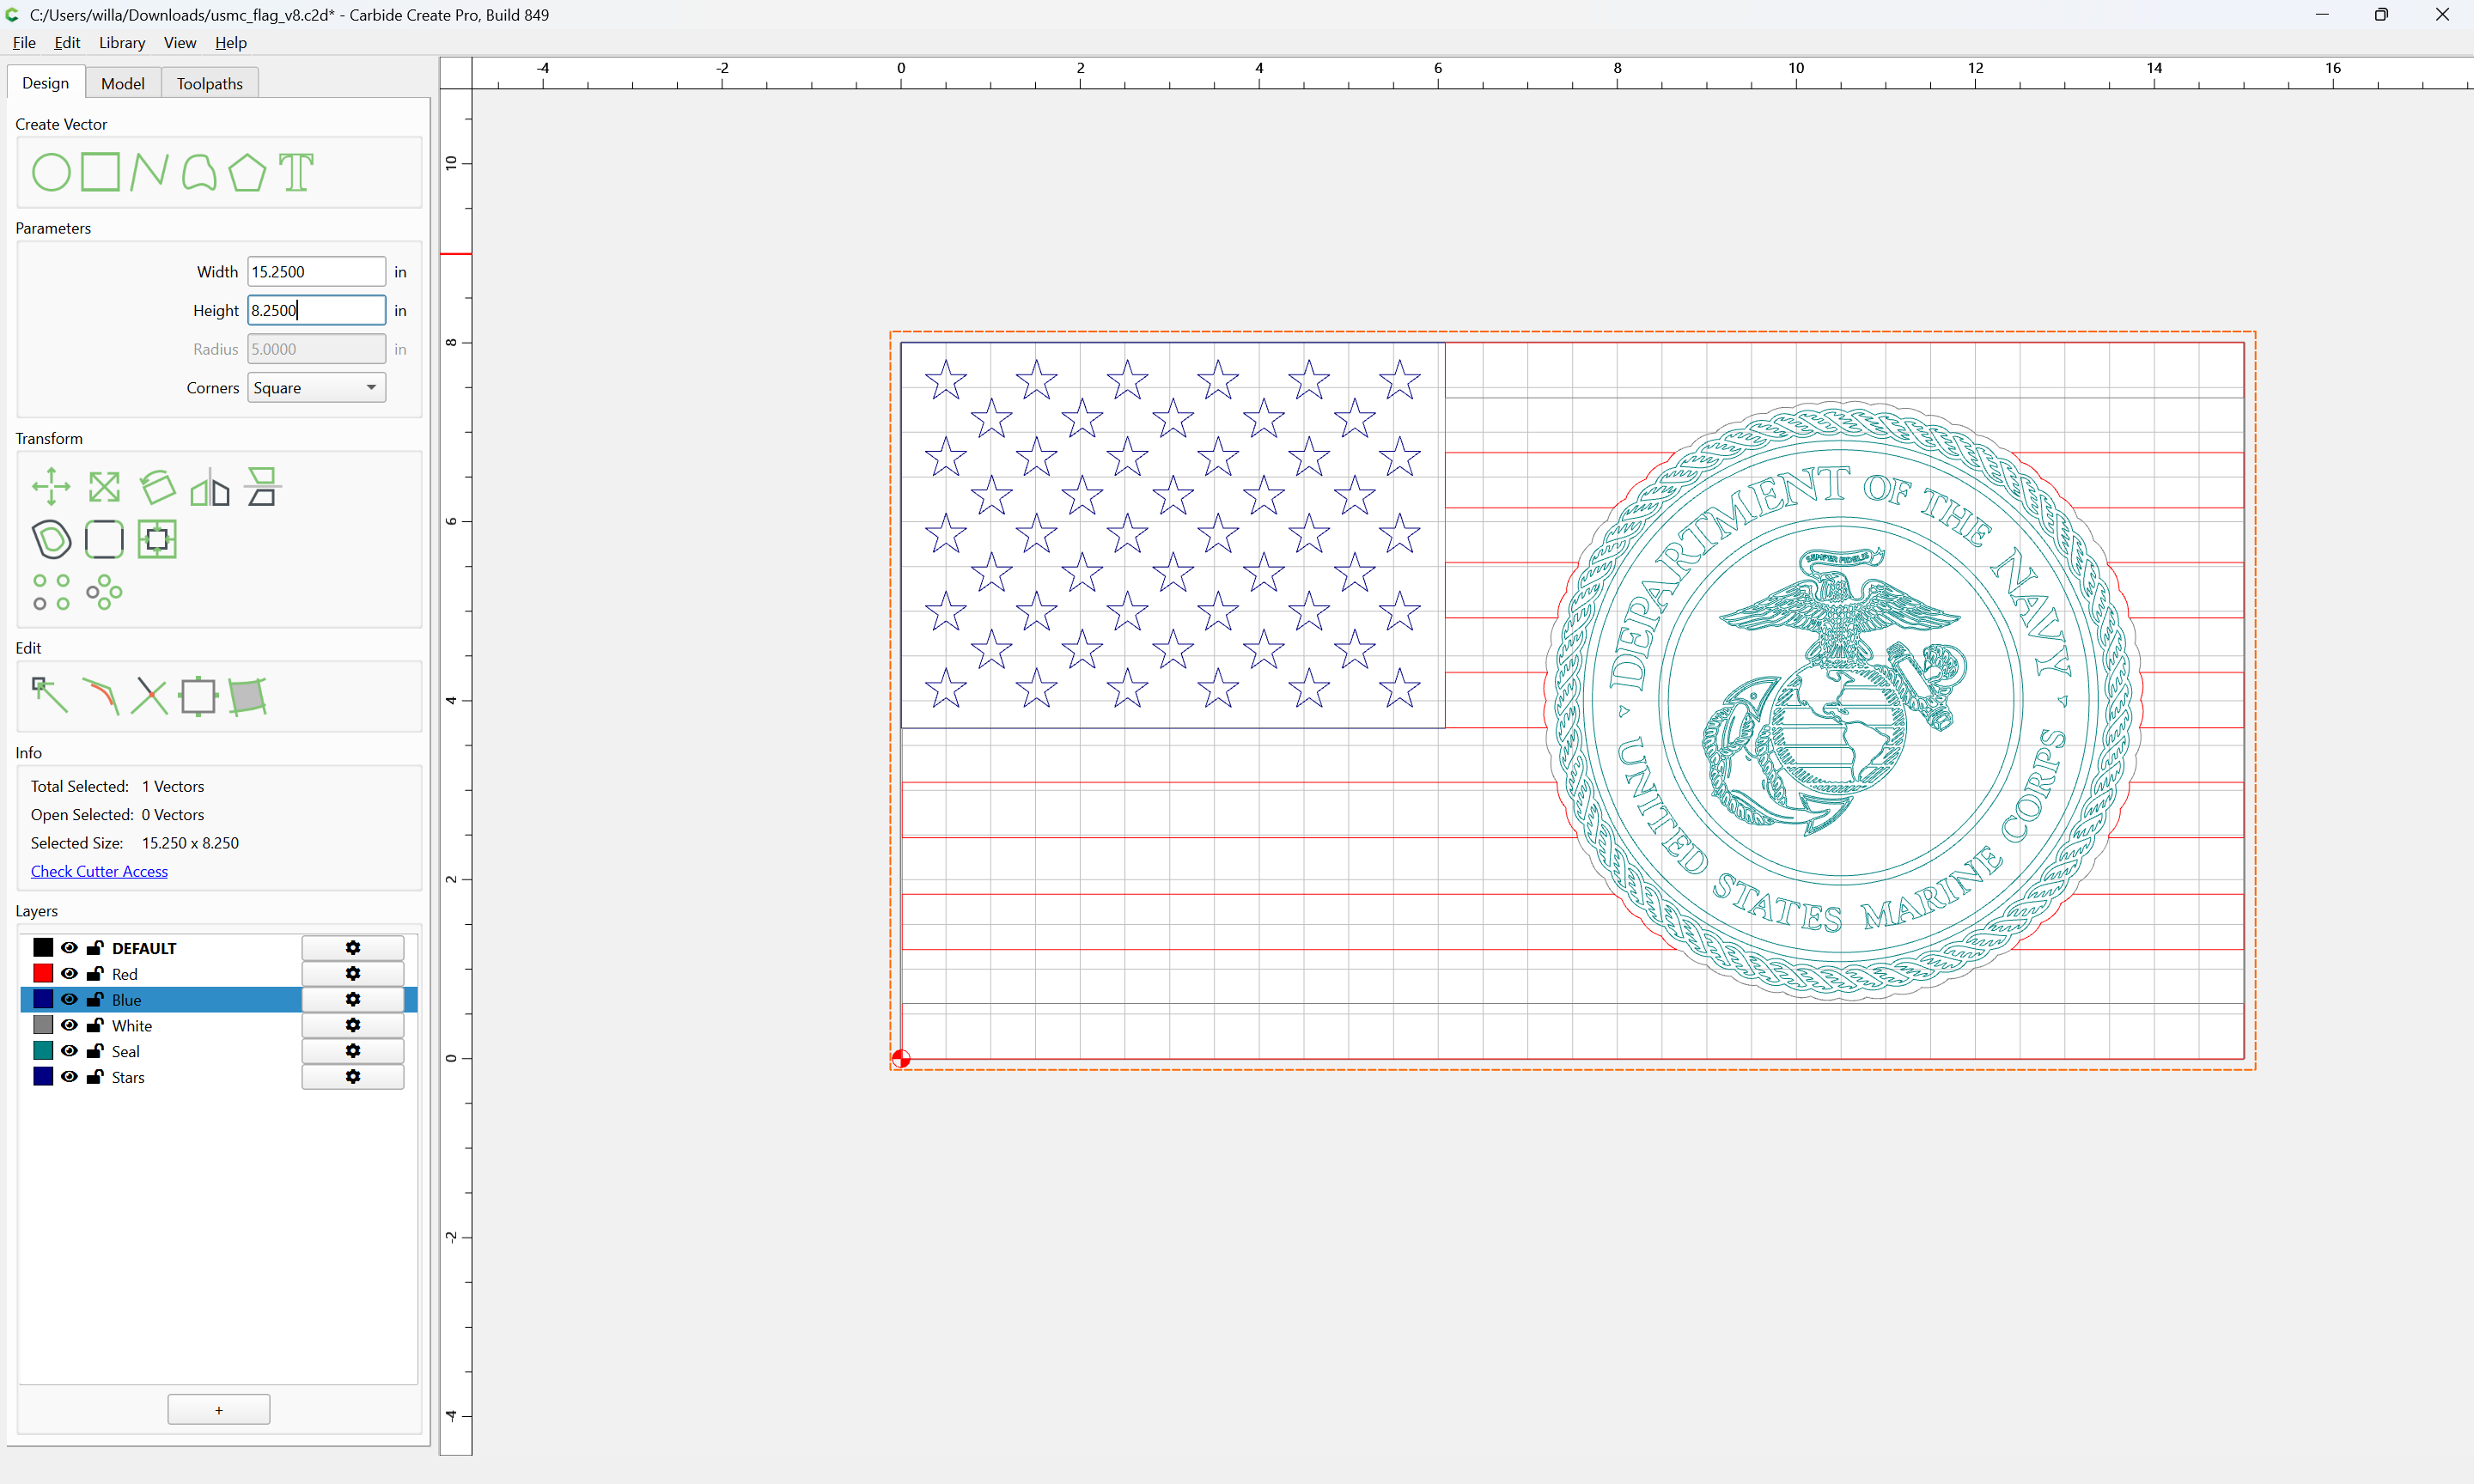
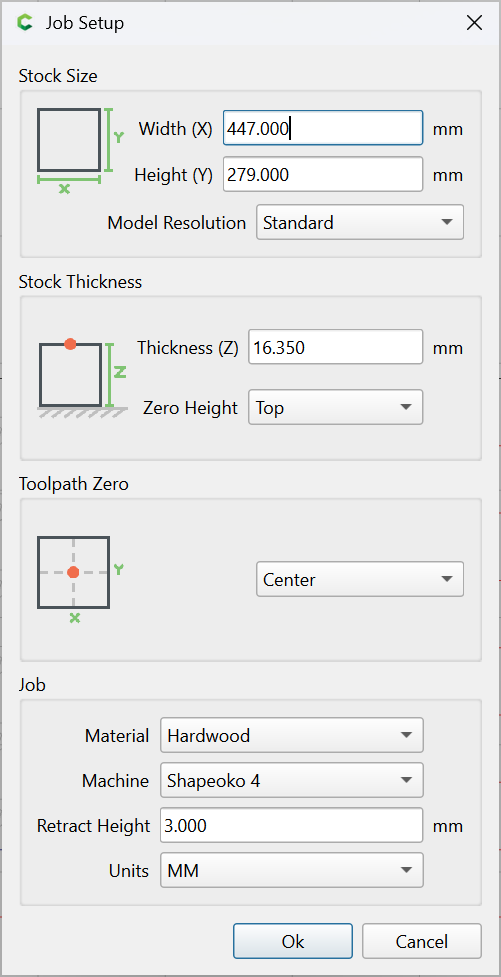
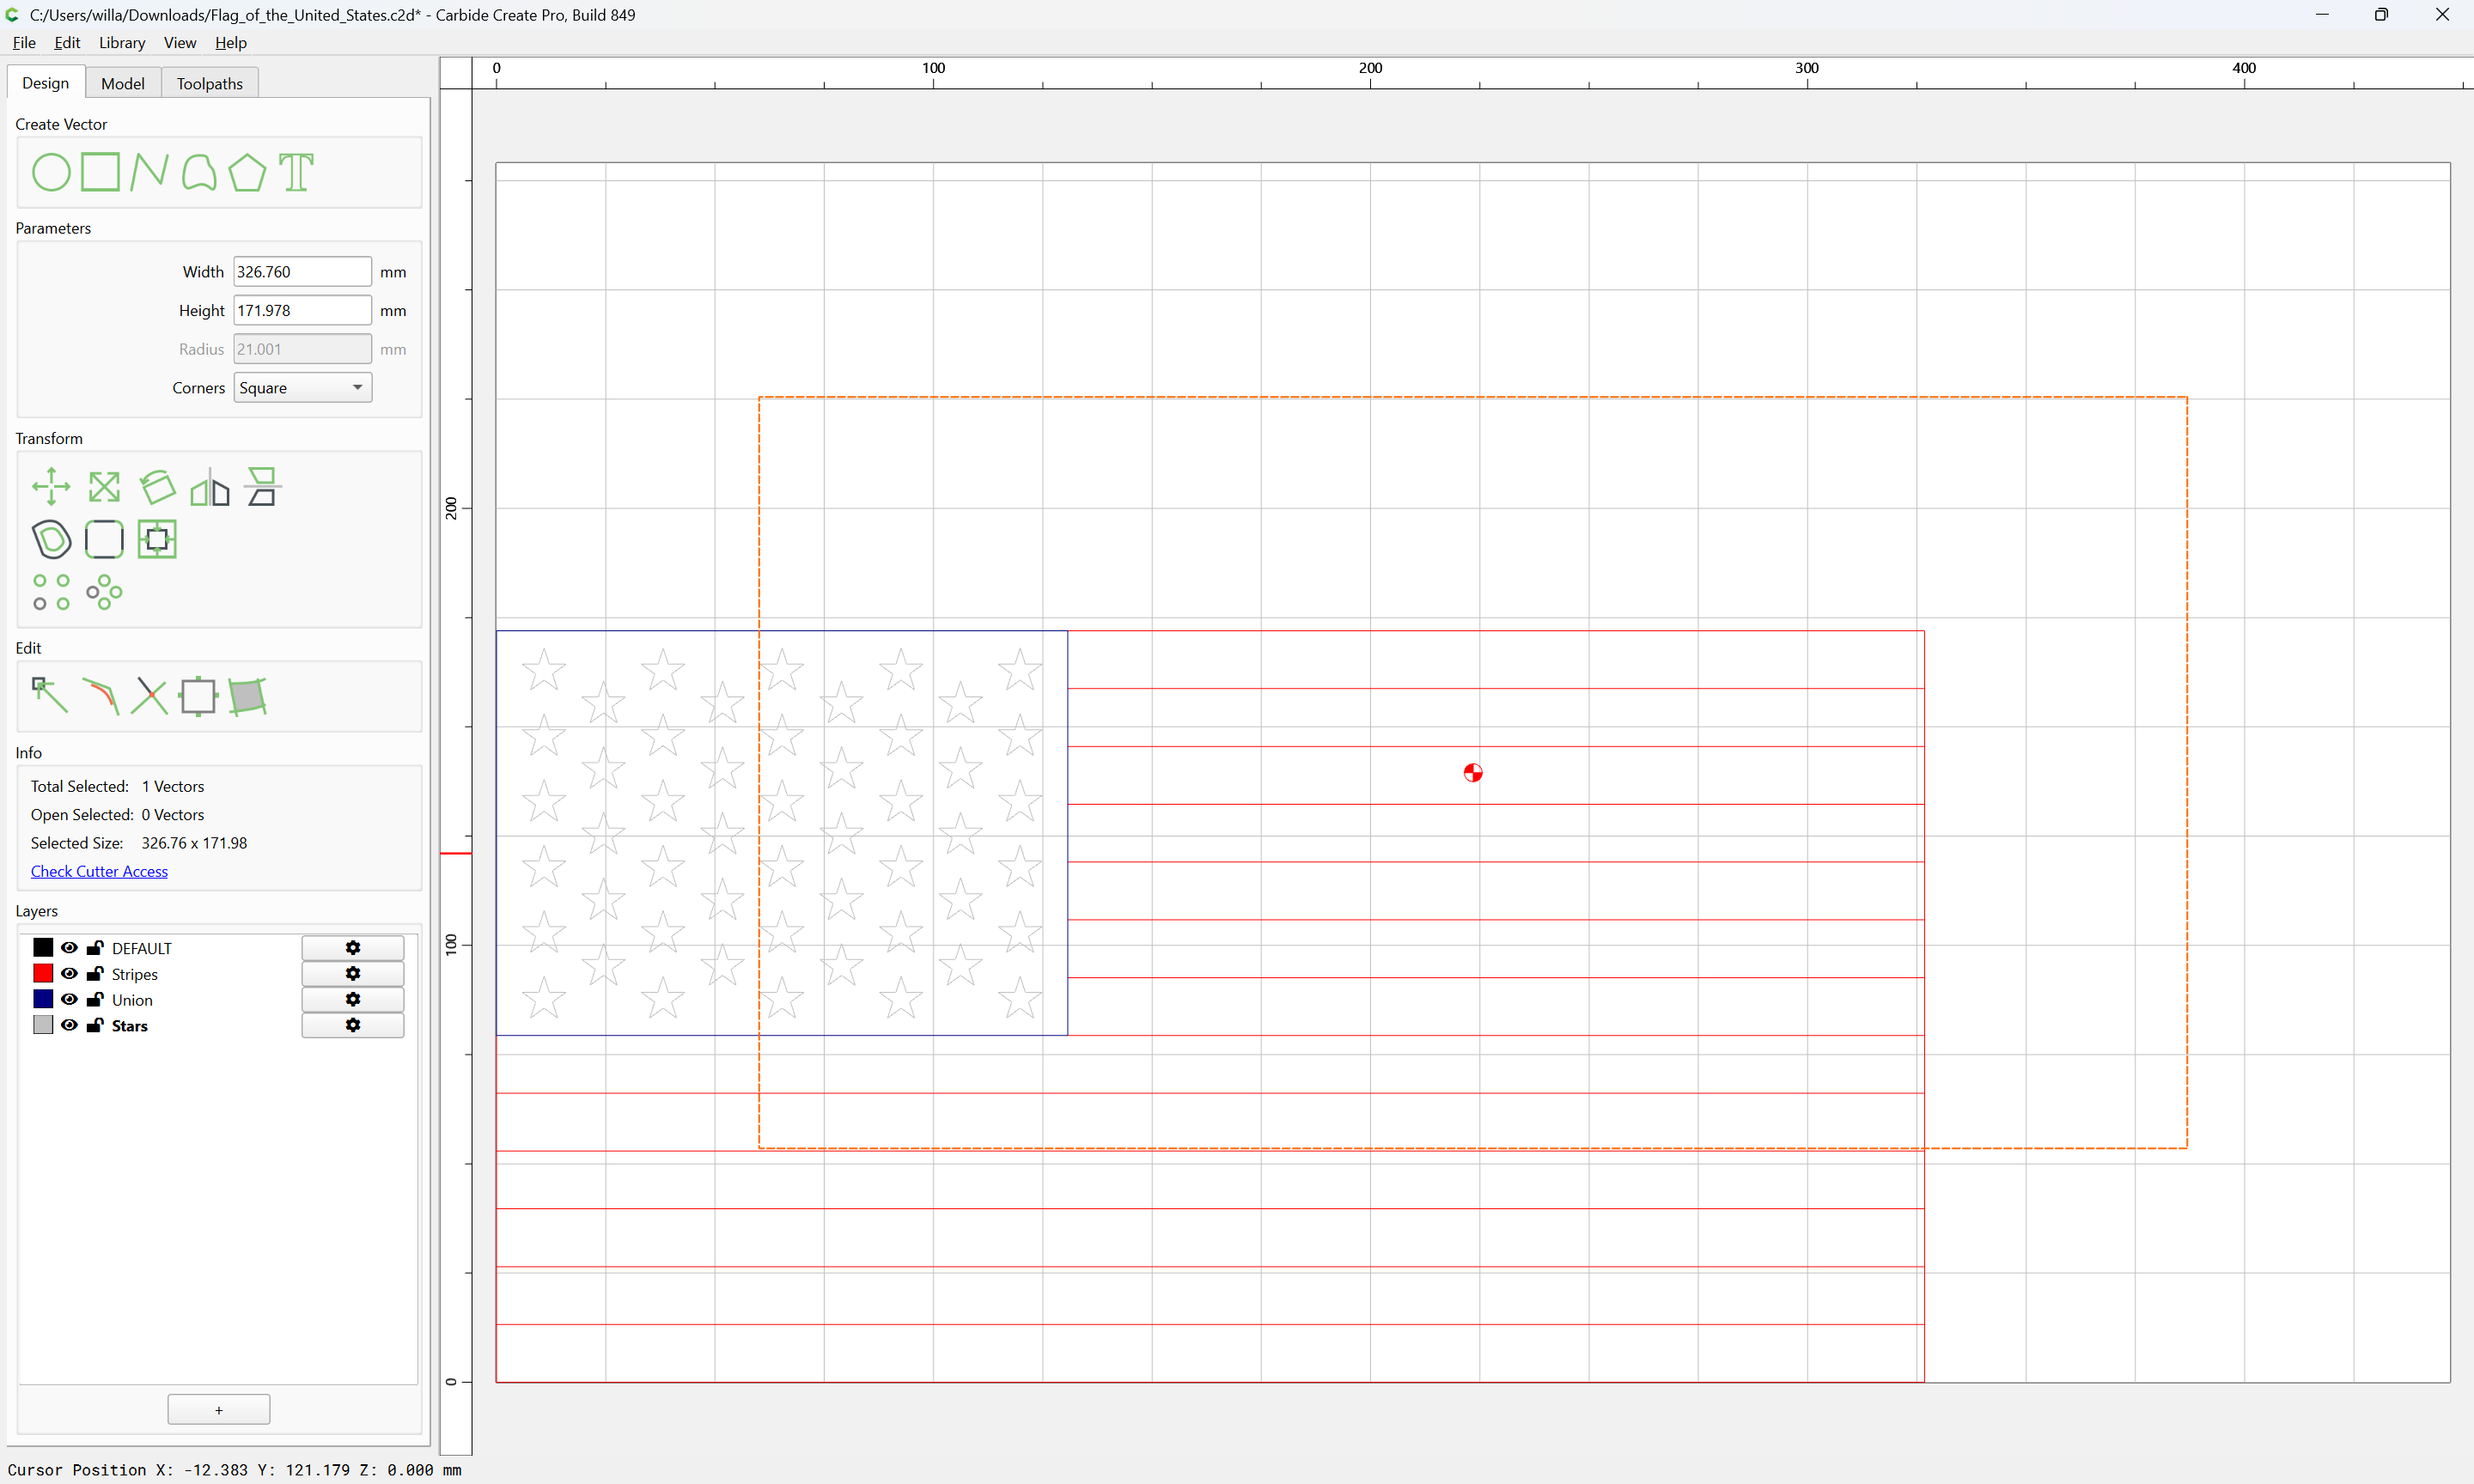
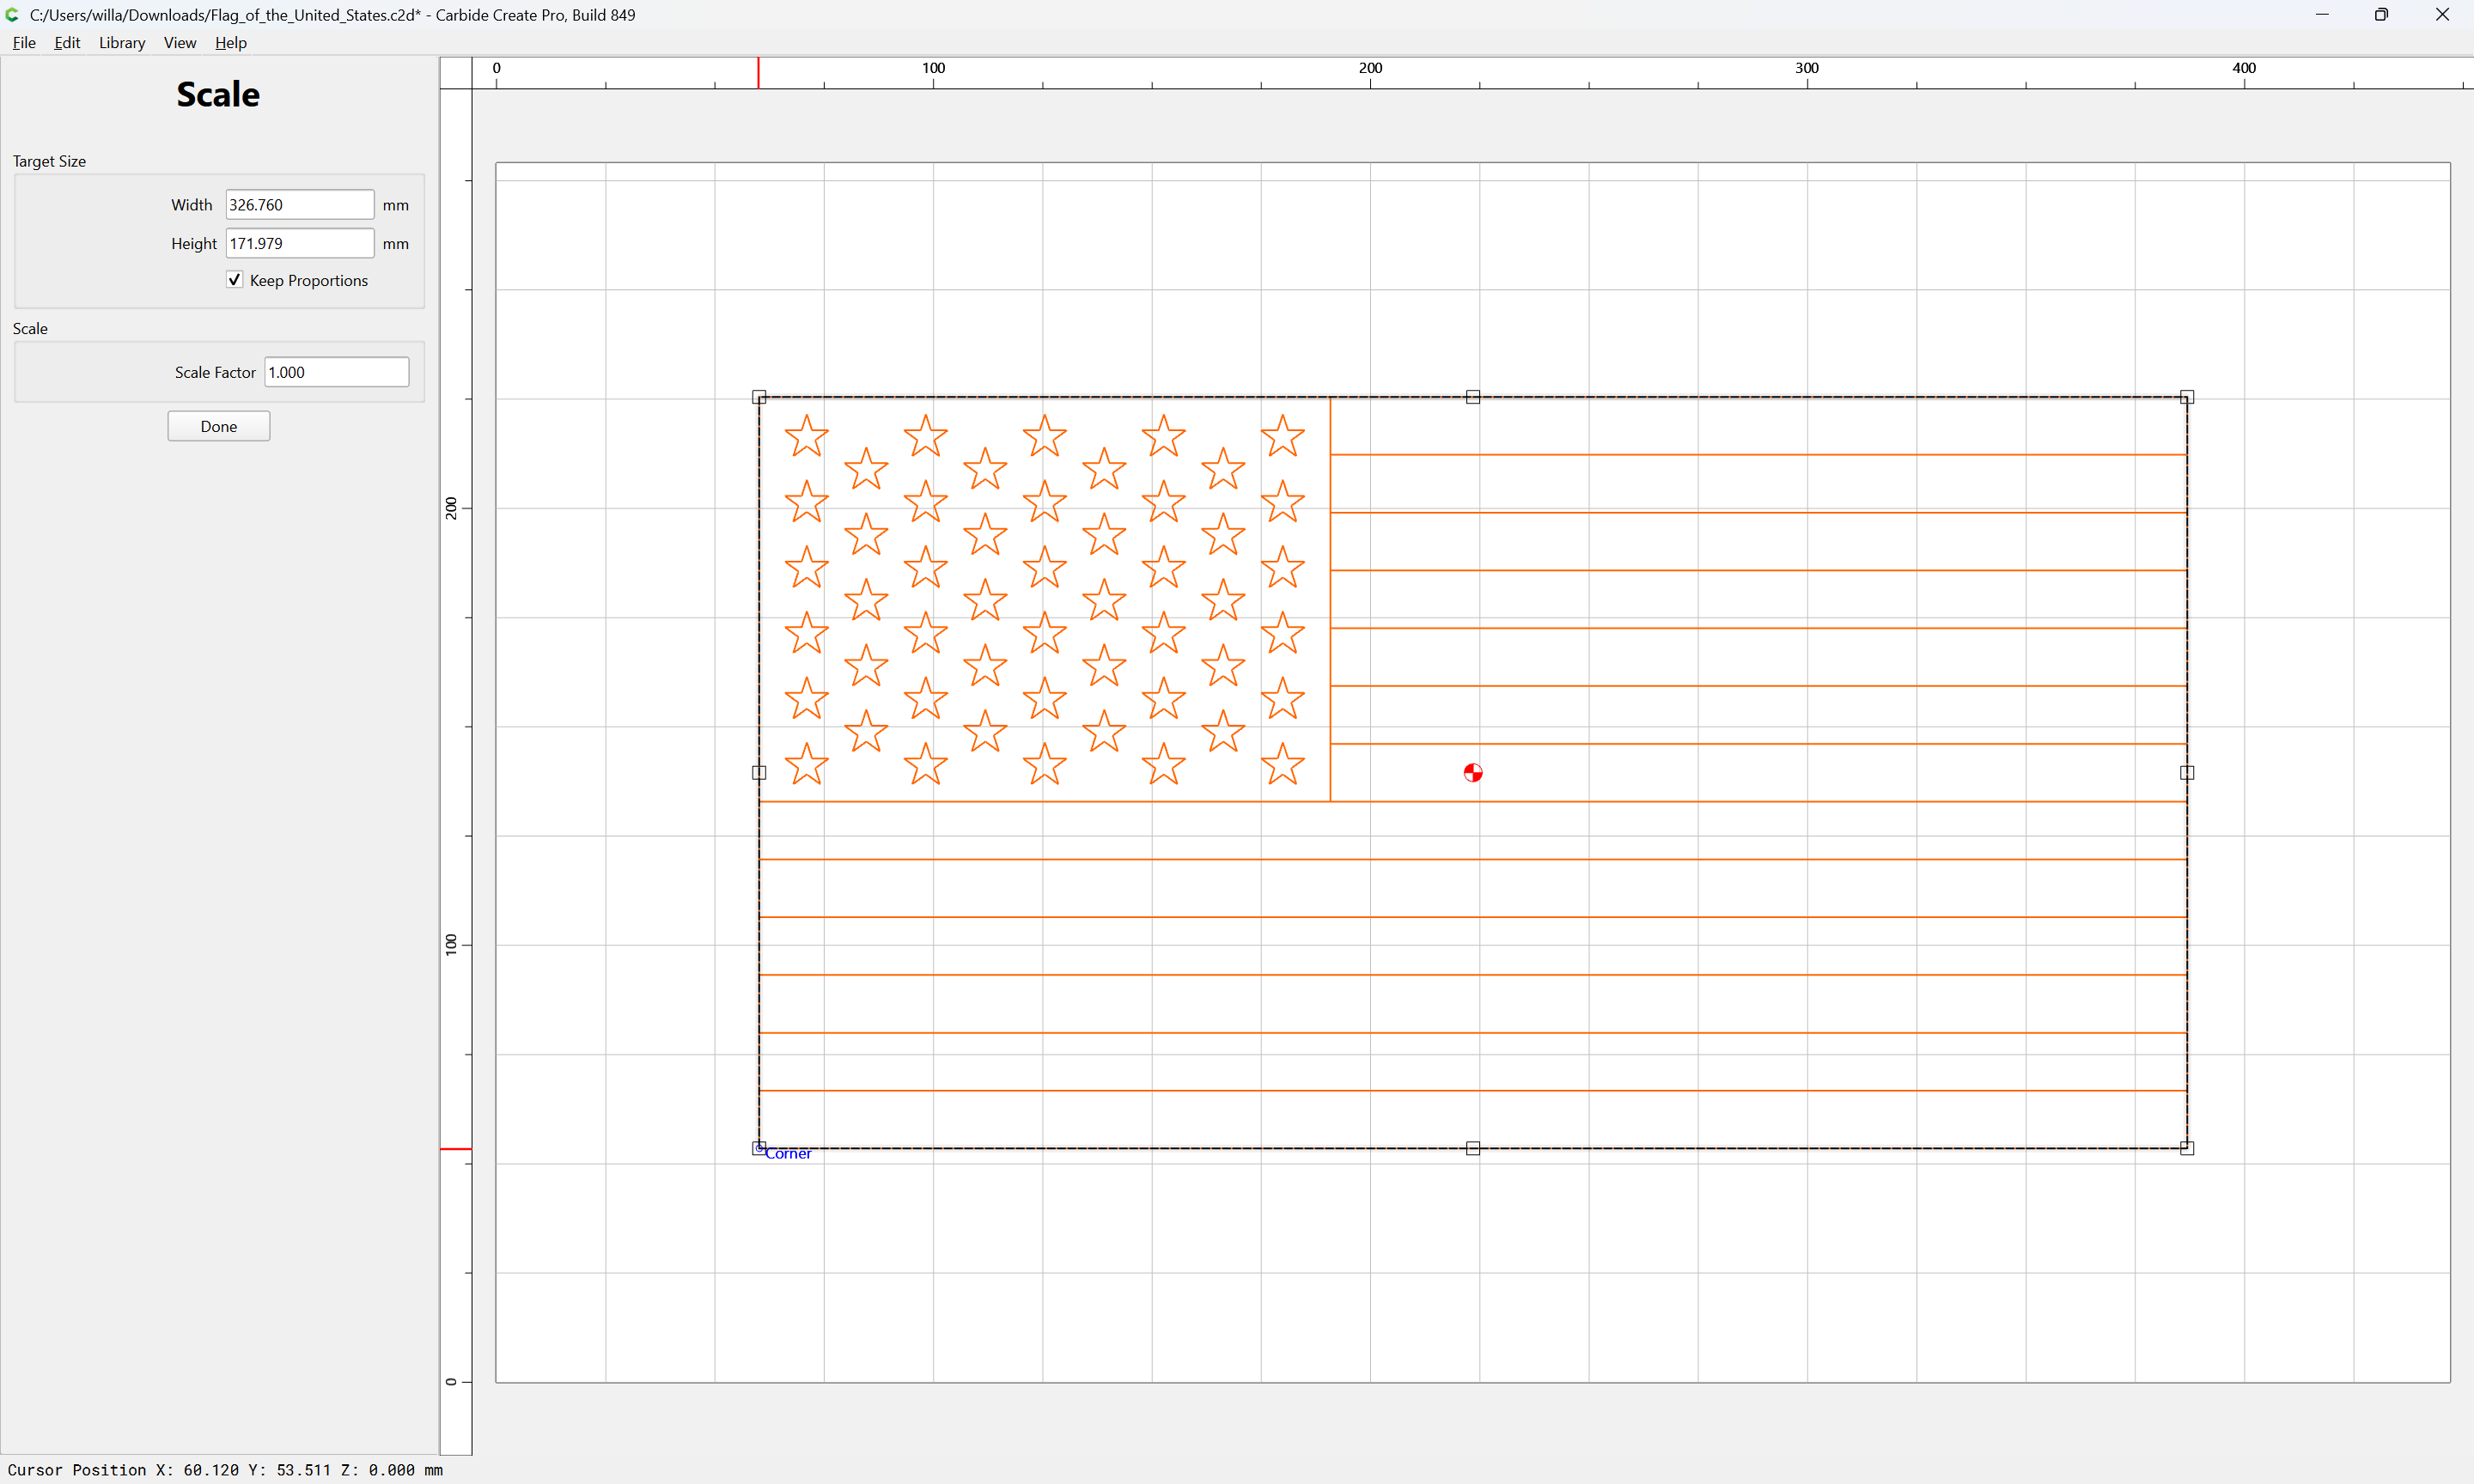
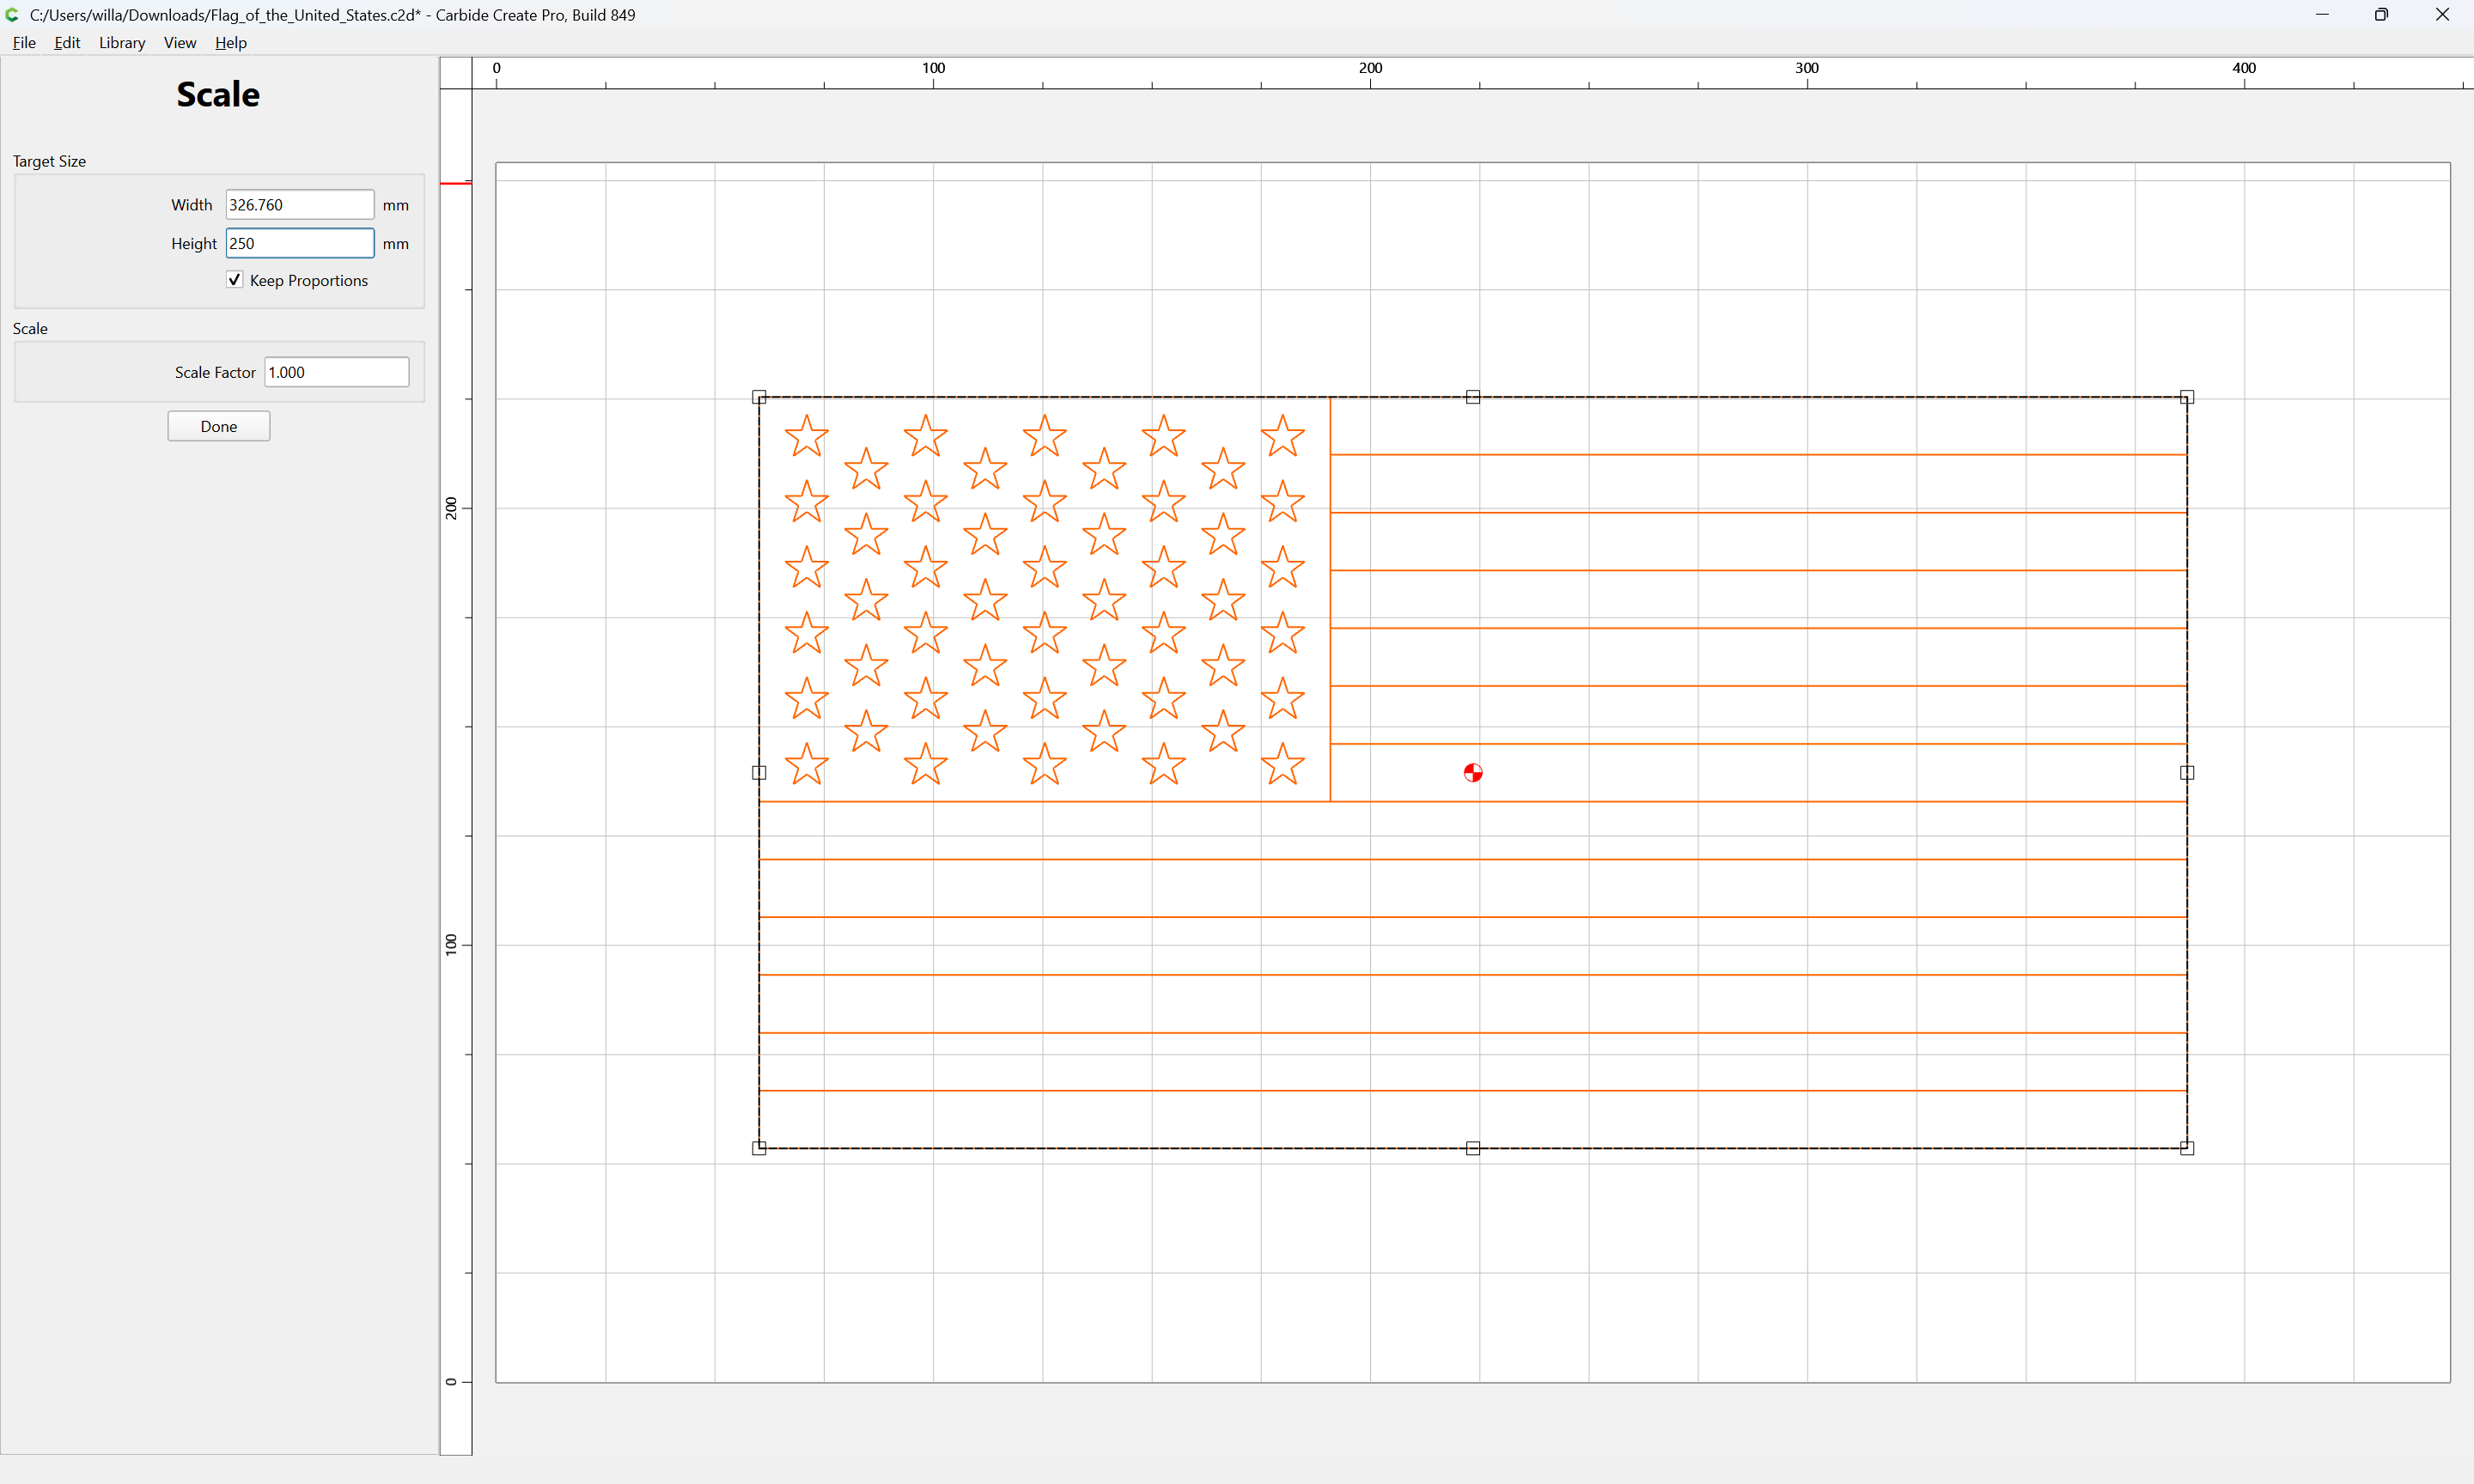
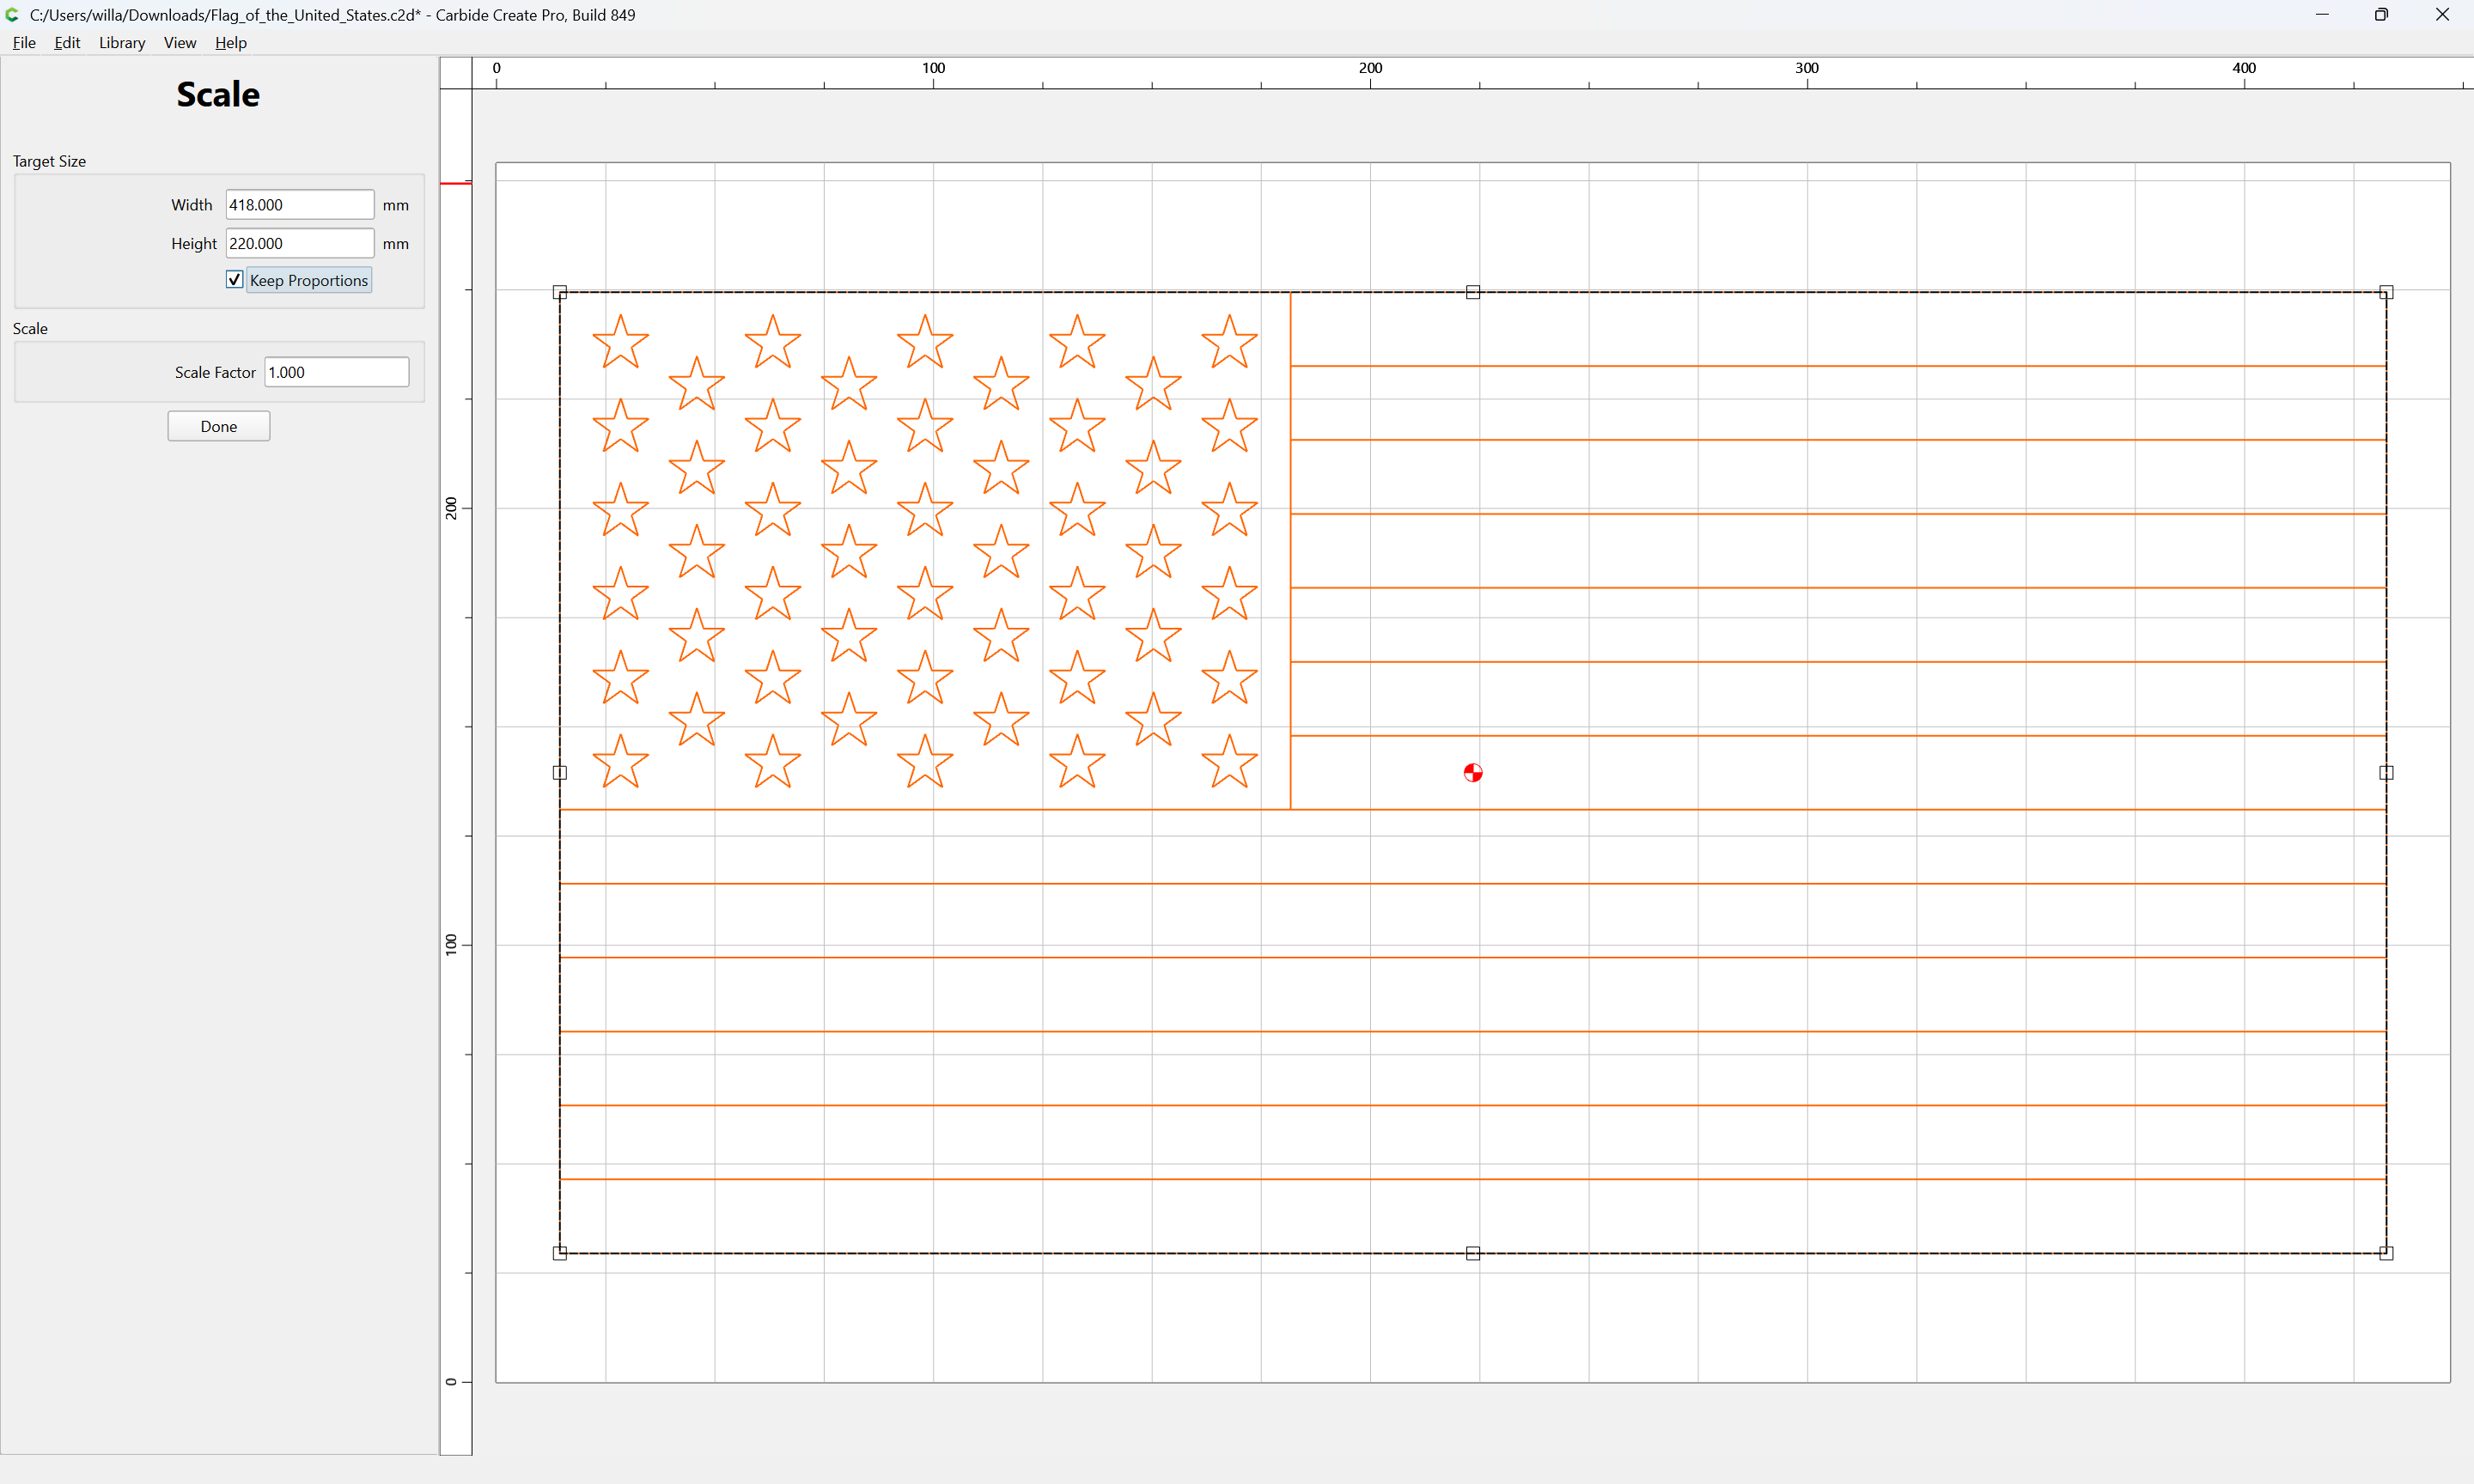
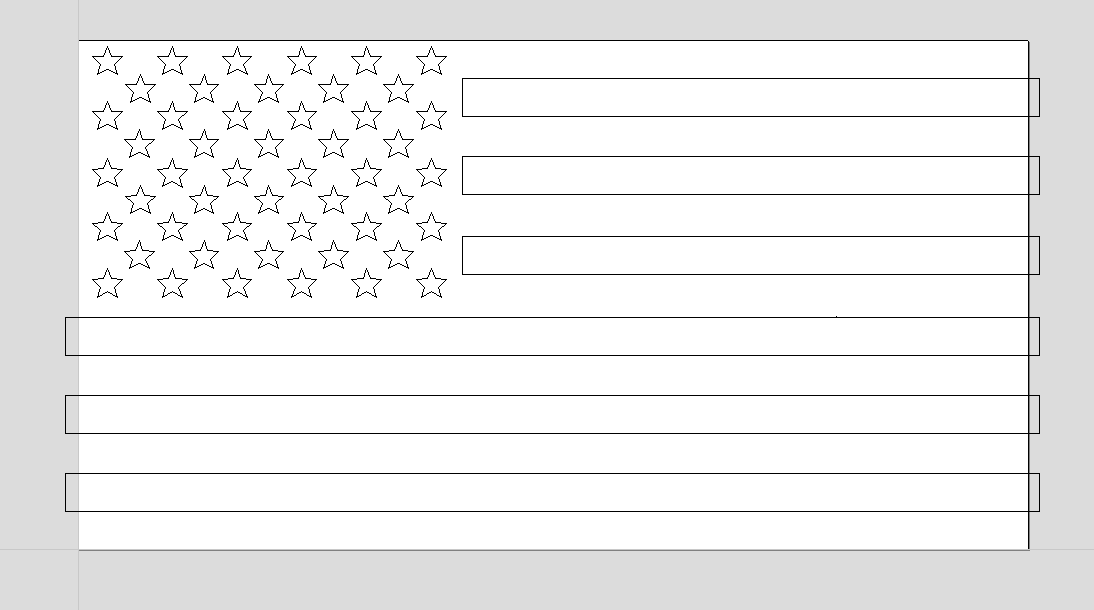
which raises the question of size, since this was unspecified, we will accept the imported dimensions after deleting the surrounding rectangle:
(the white strips will be drawn in presently)
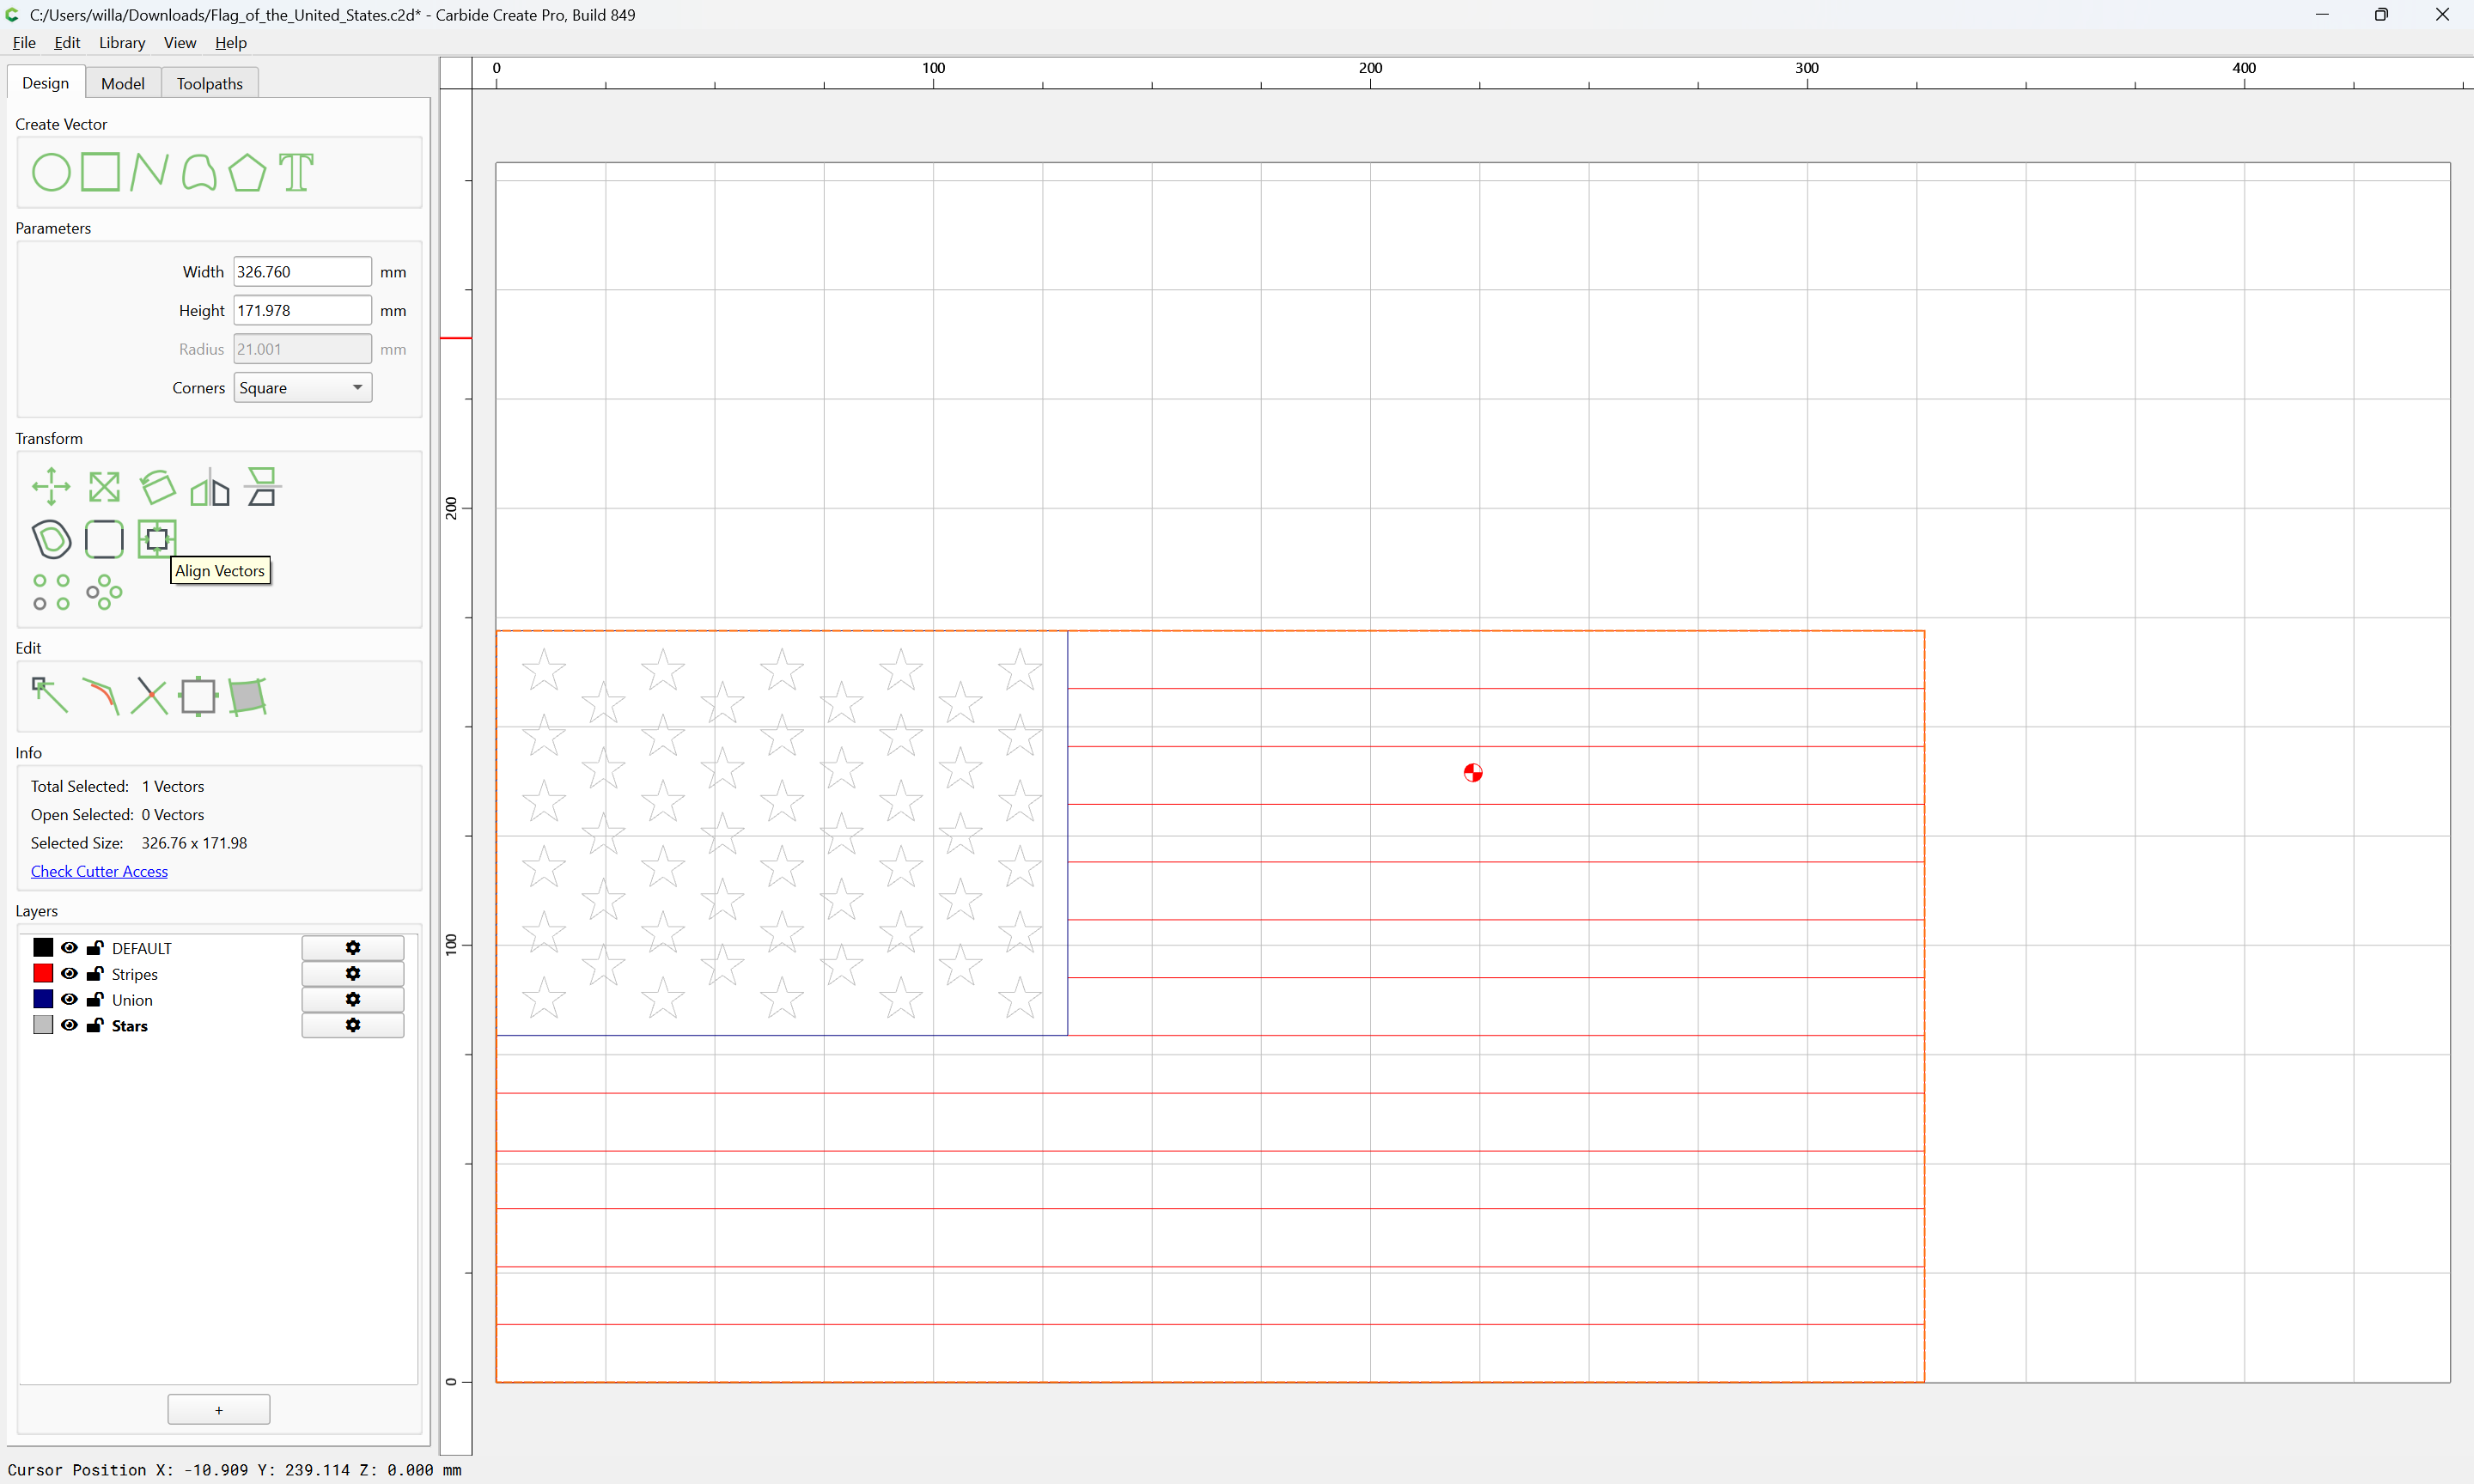
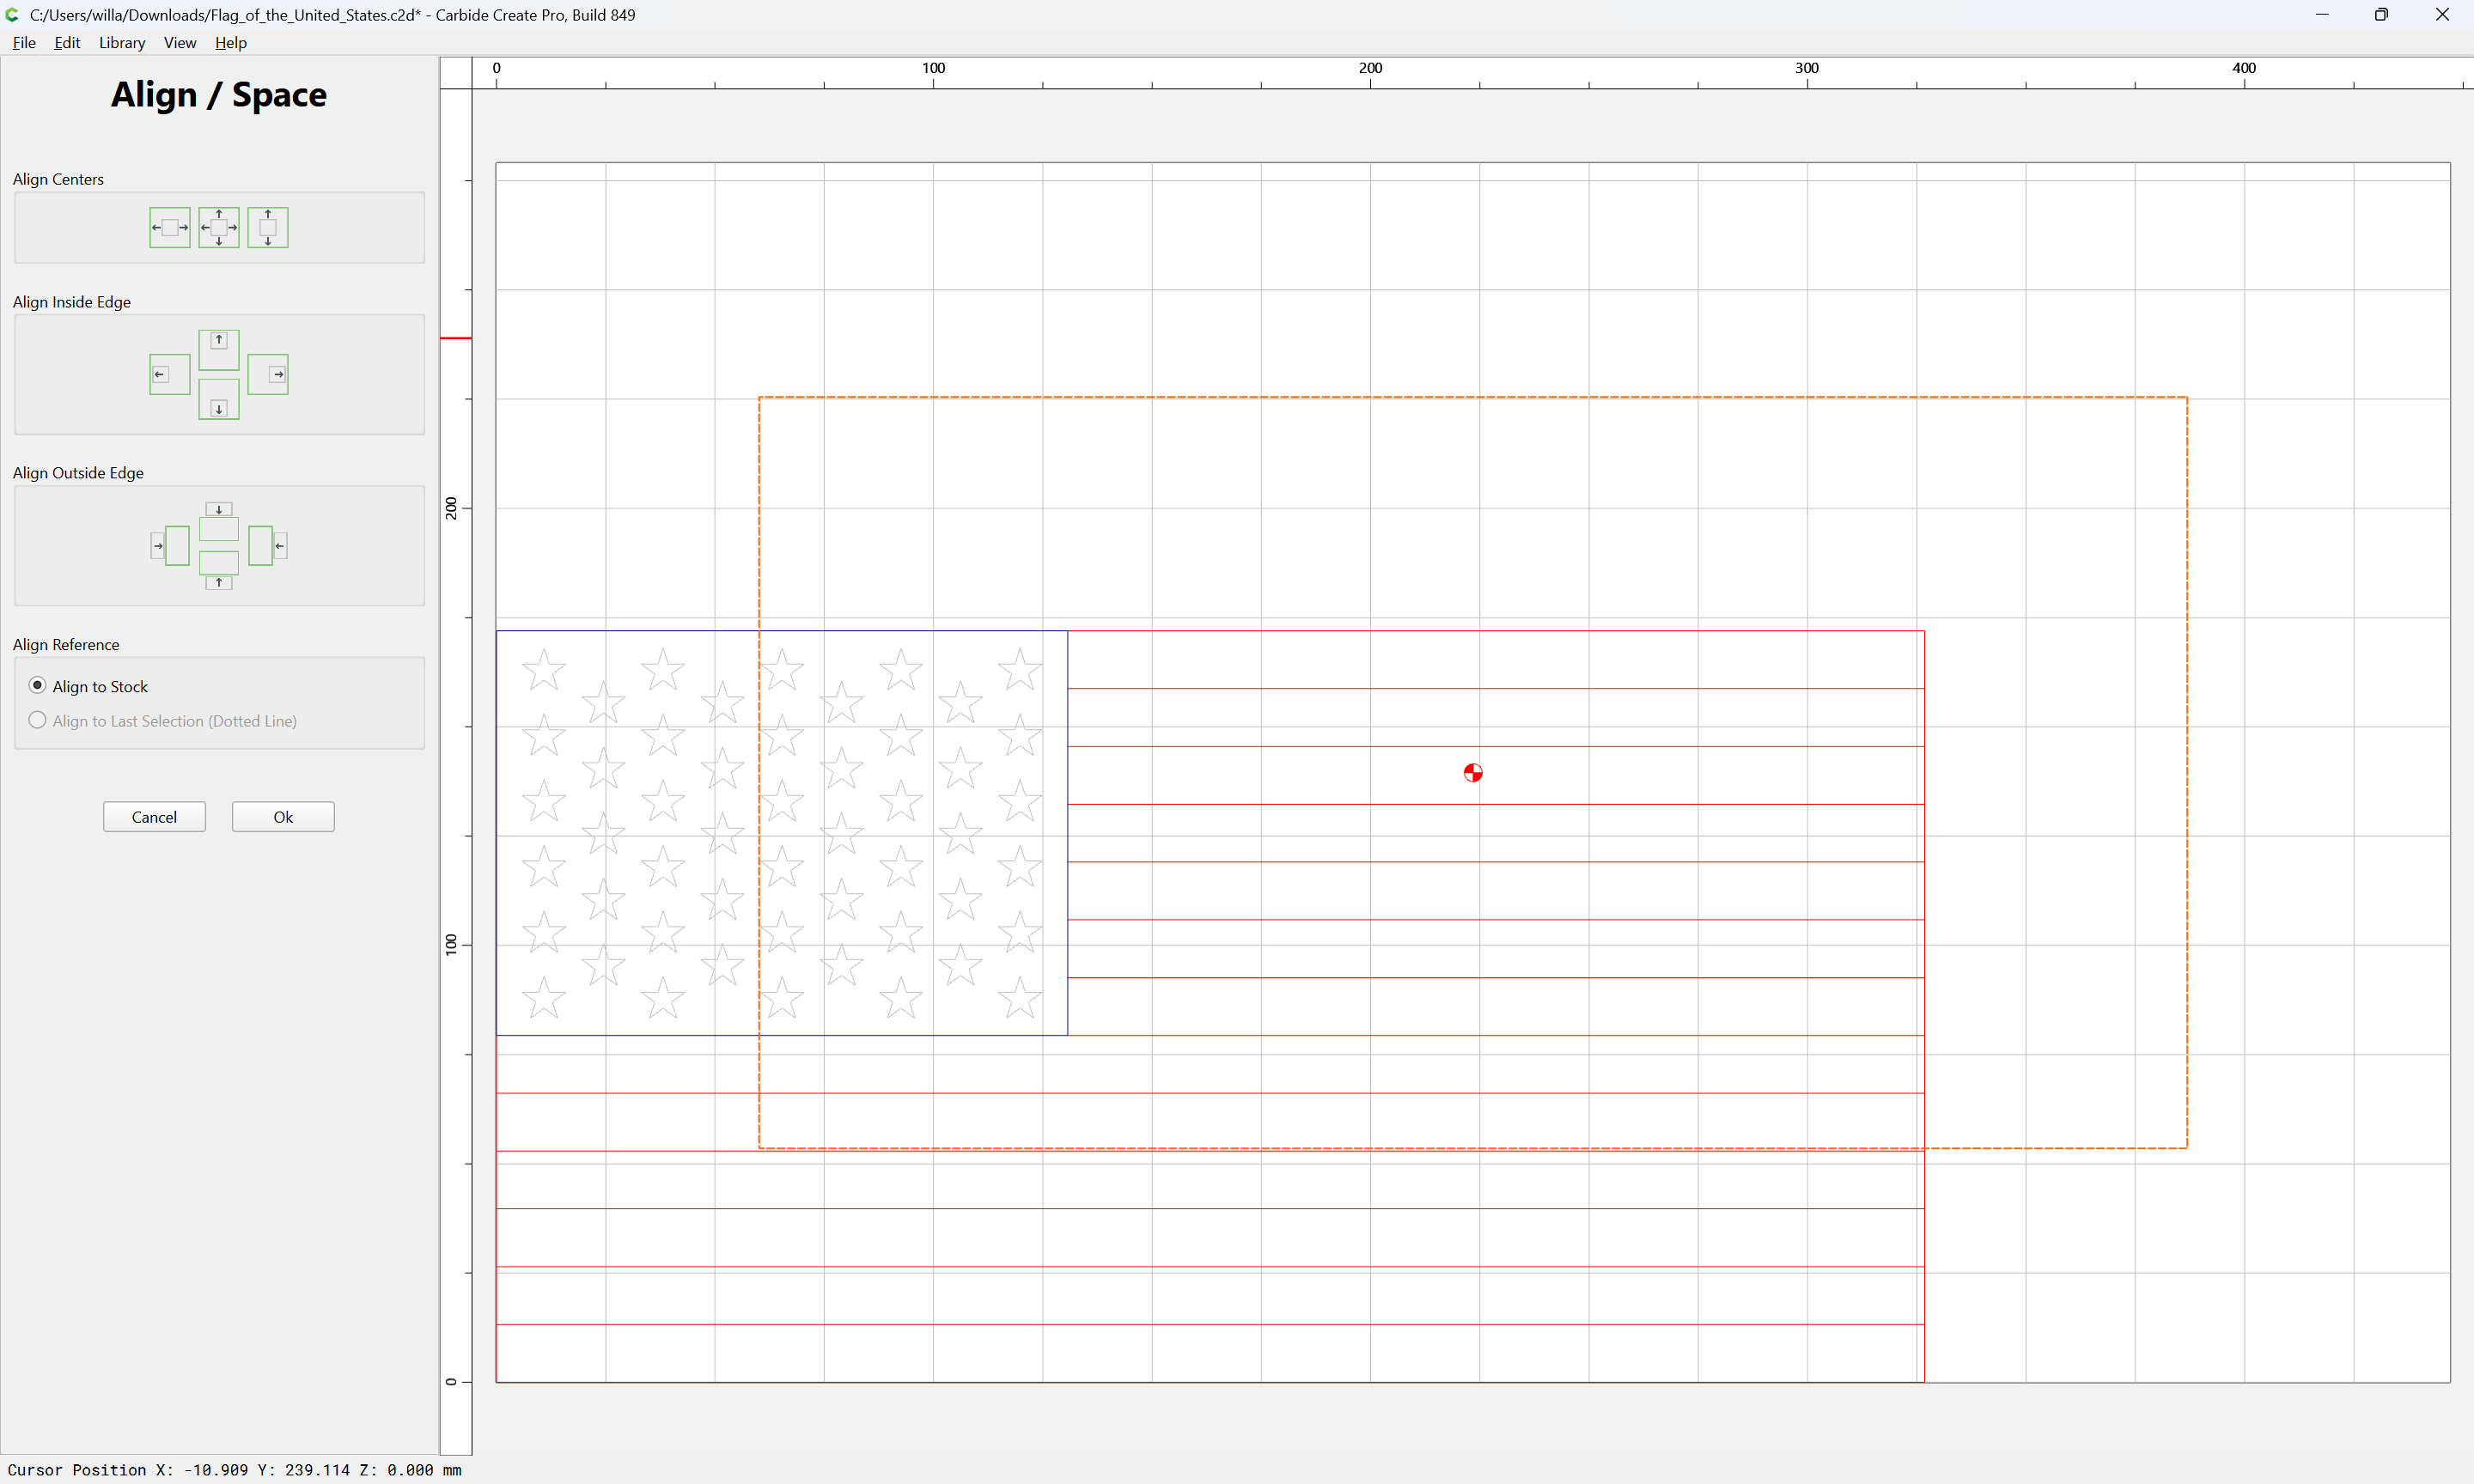
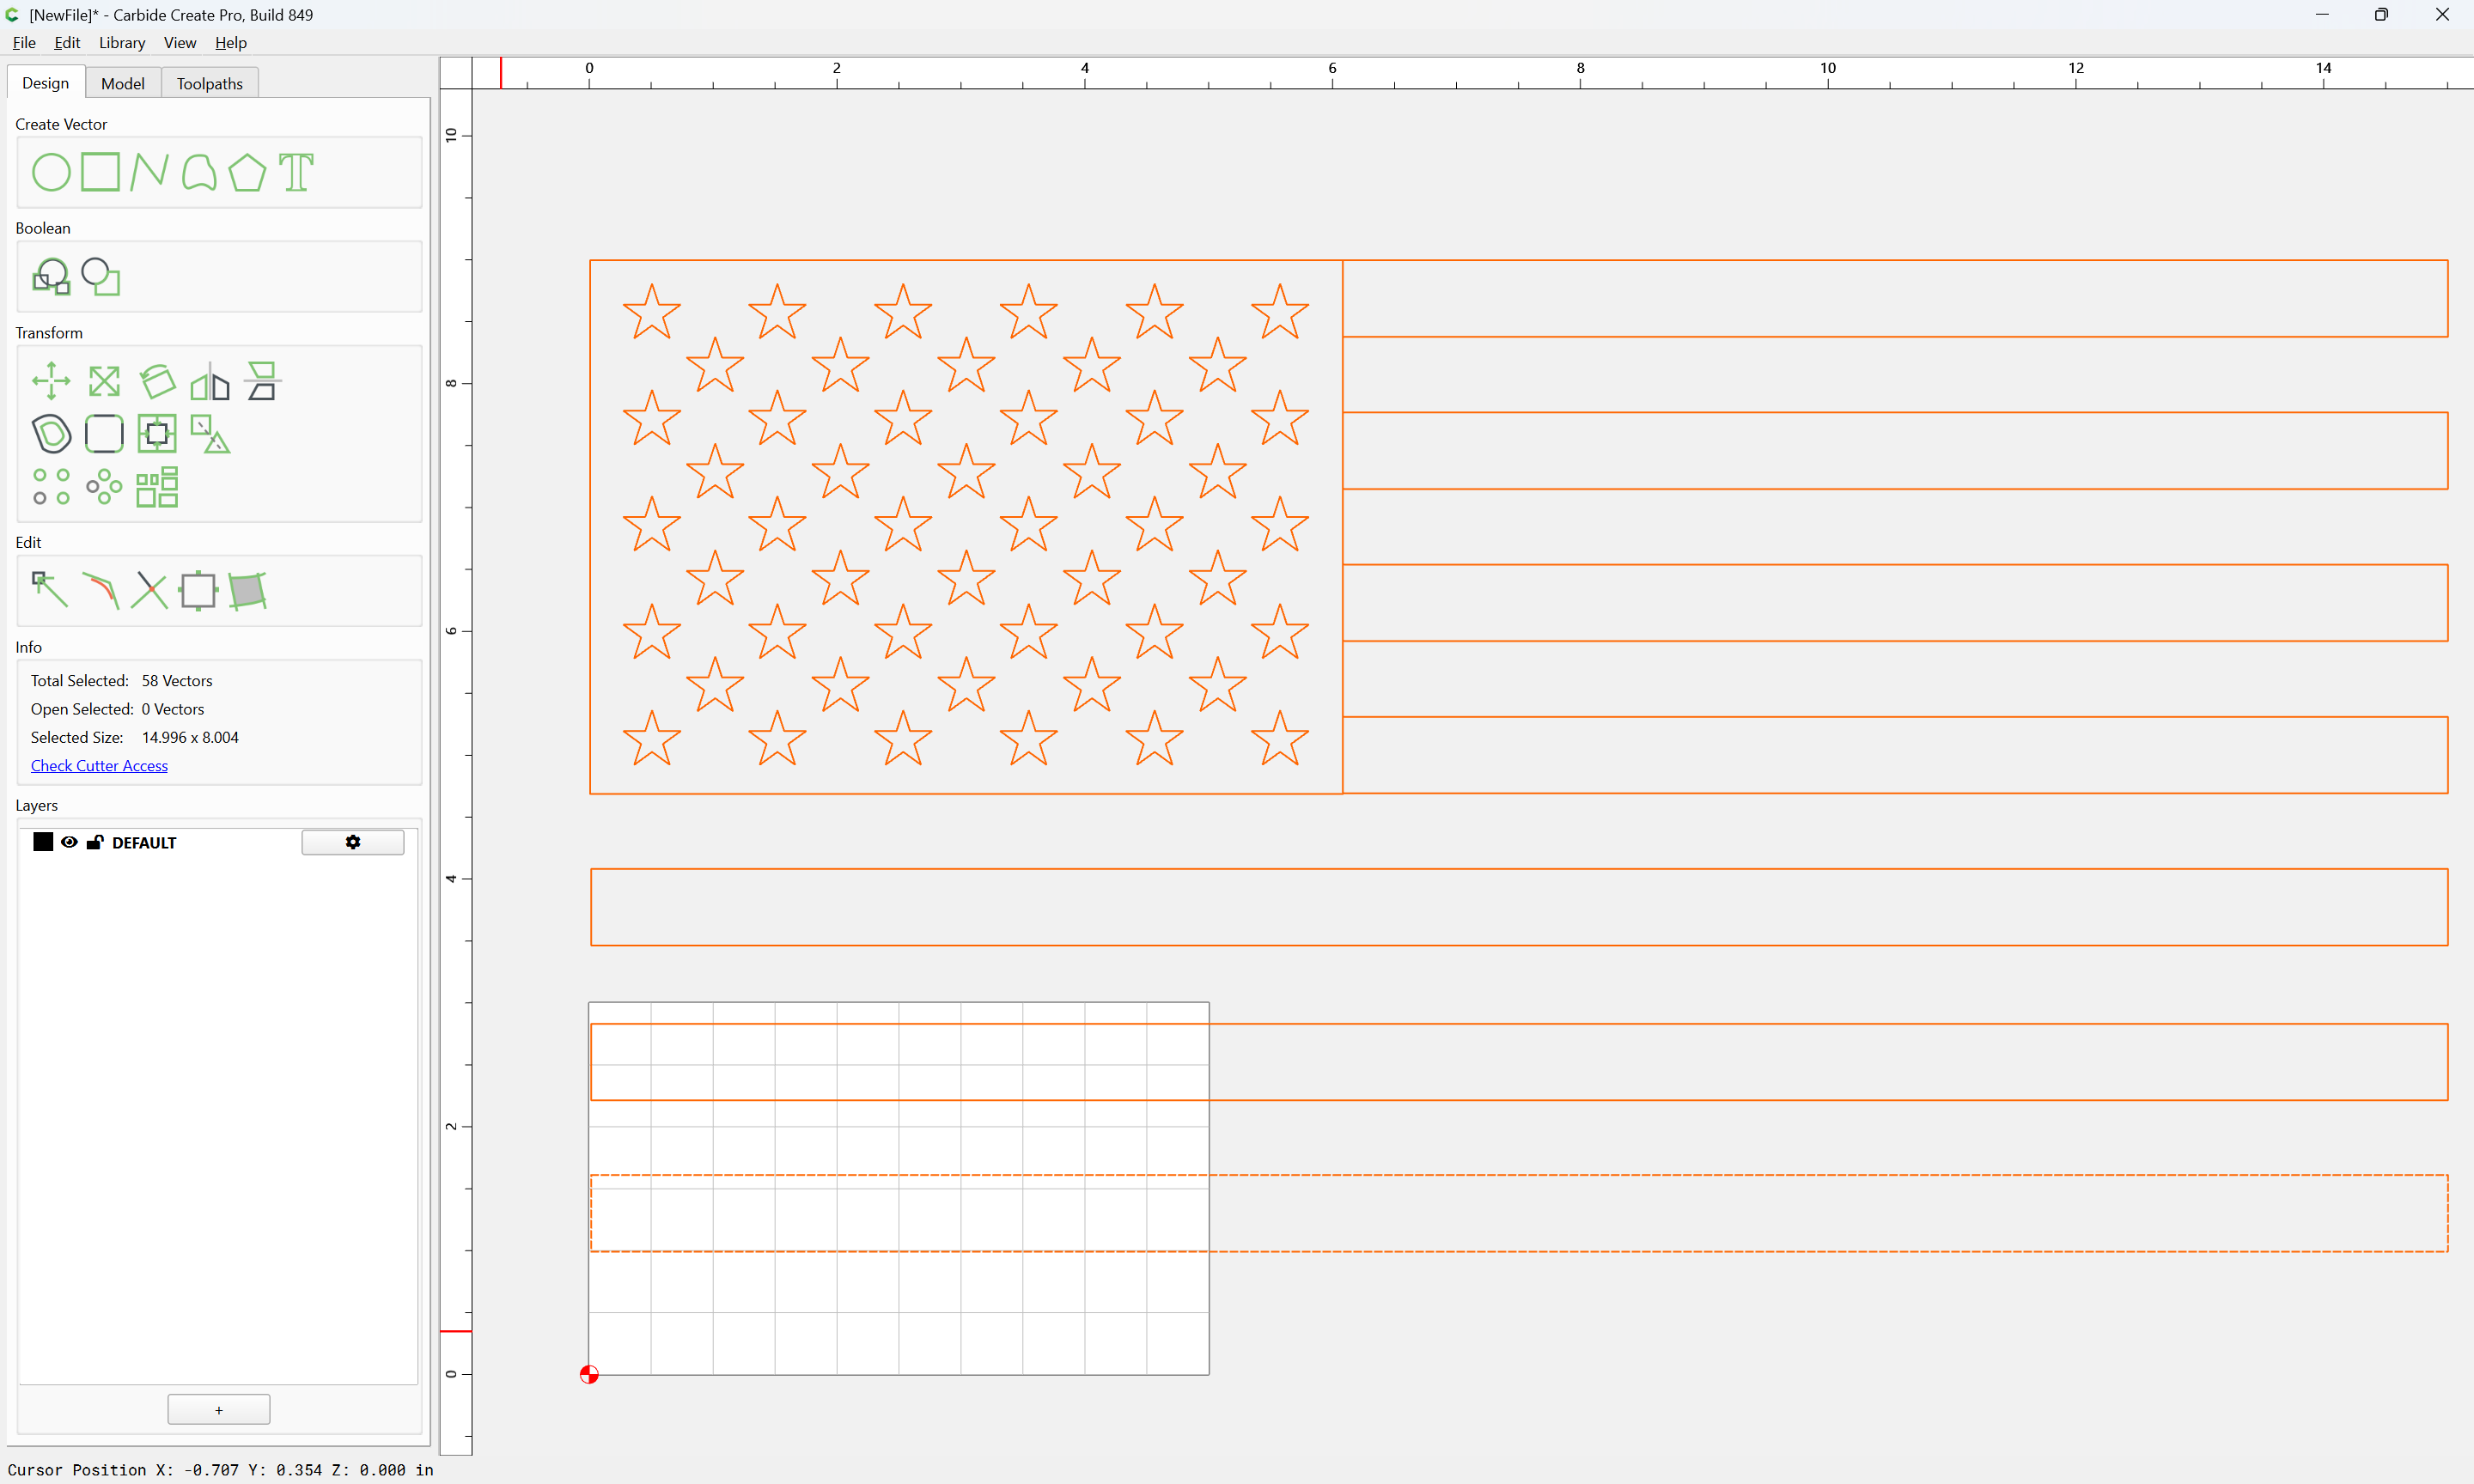
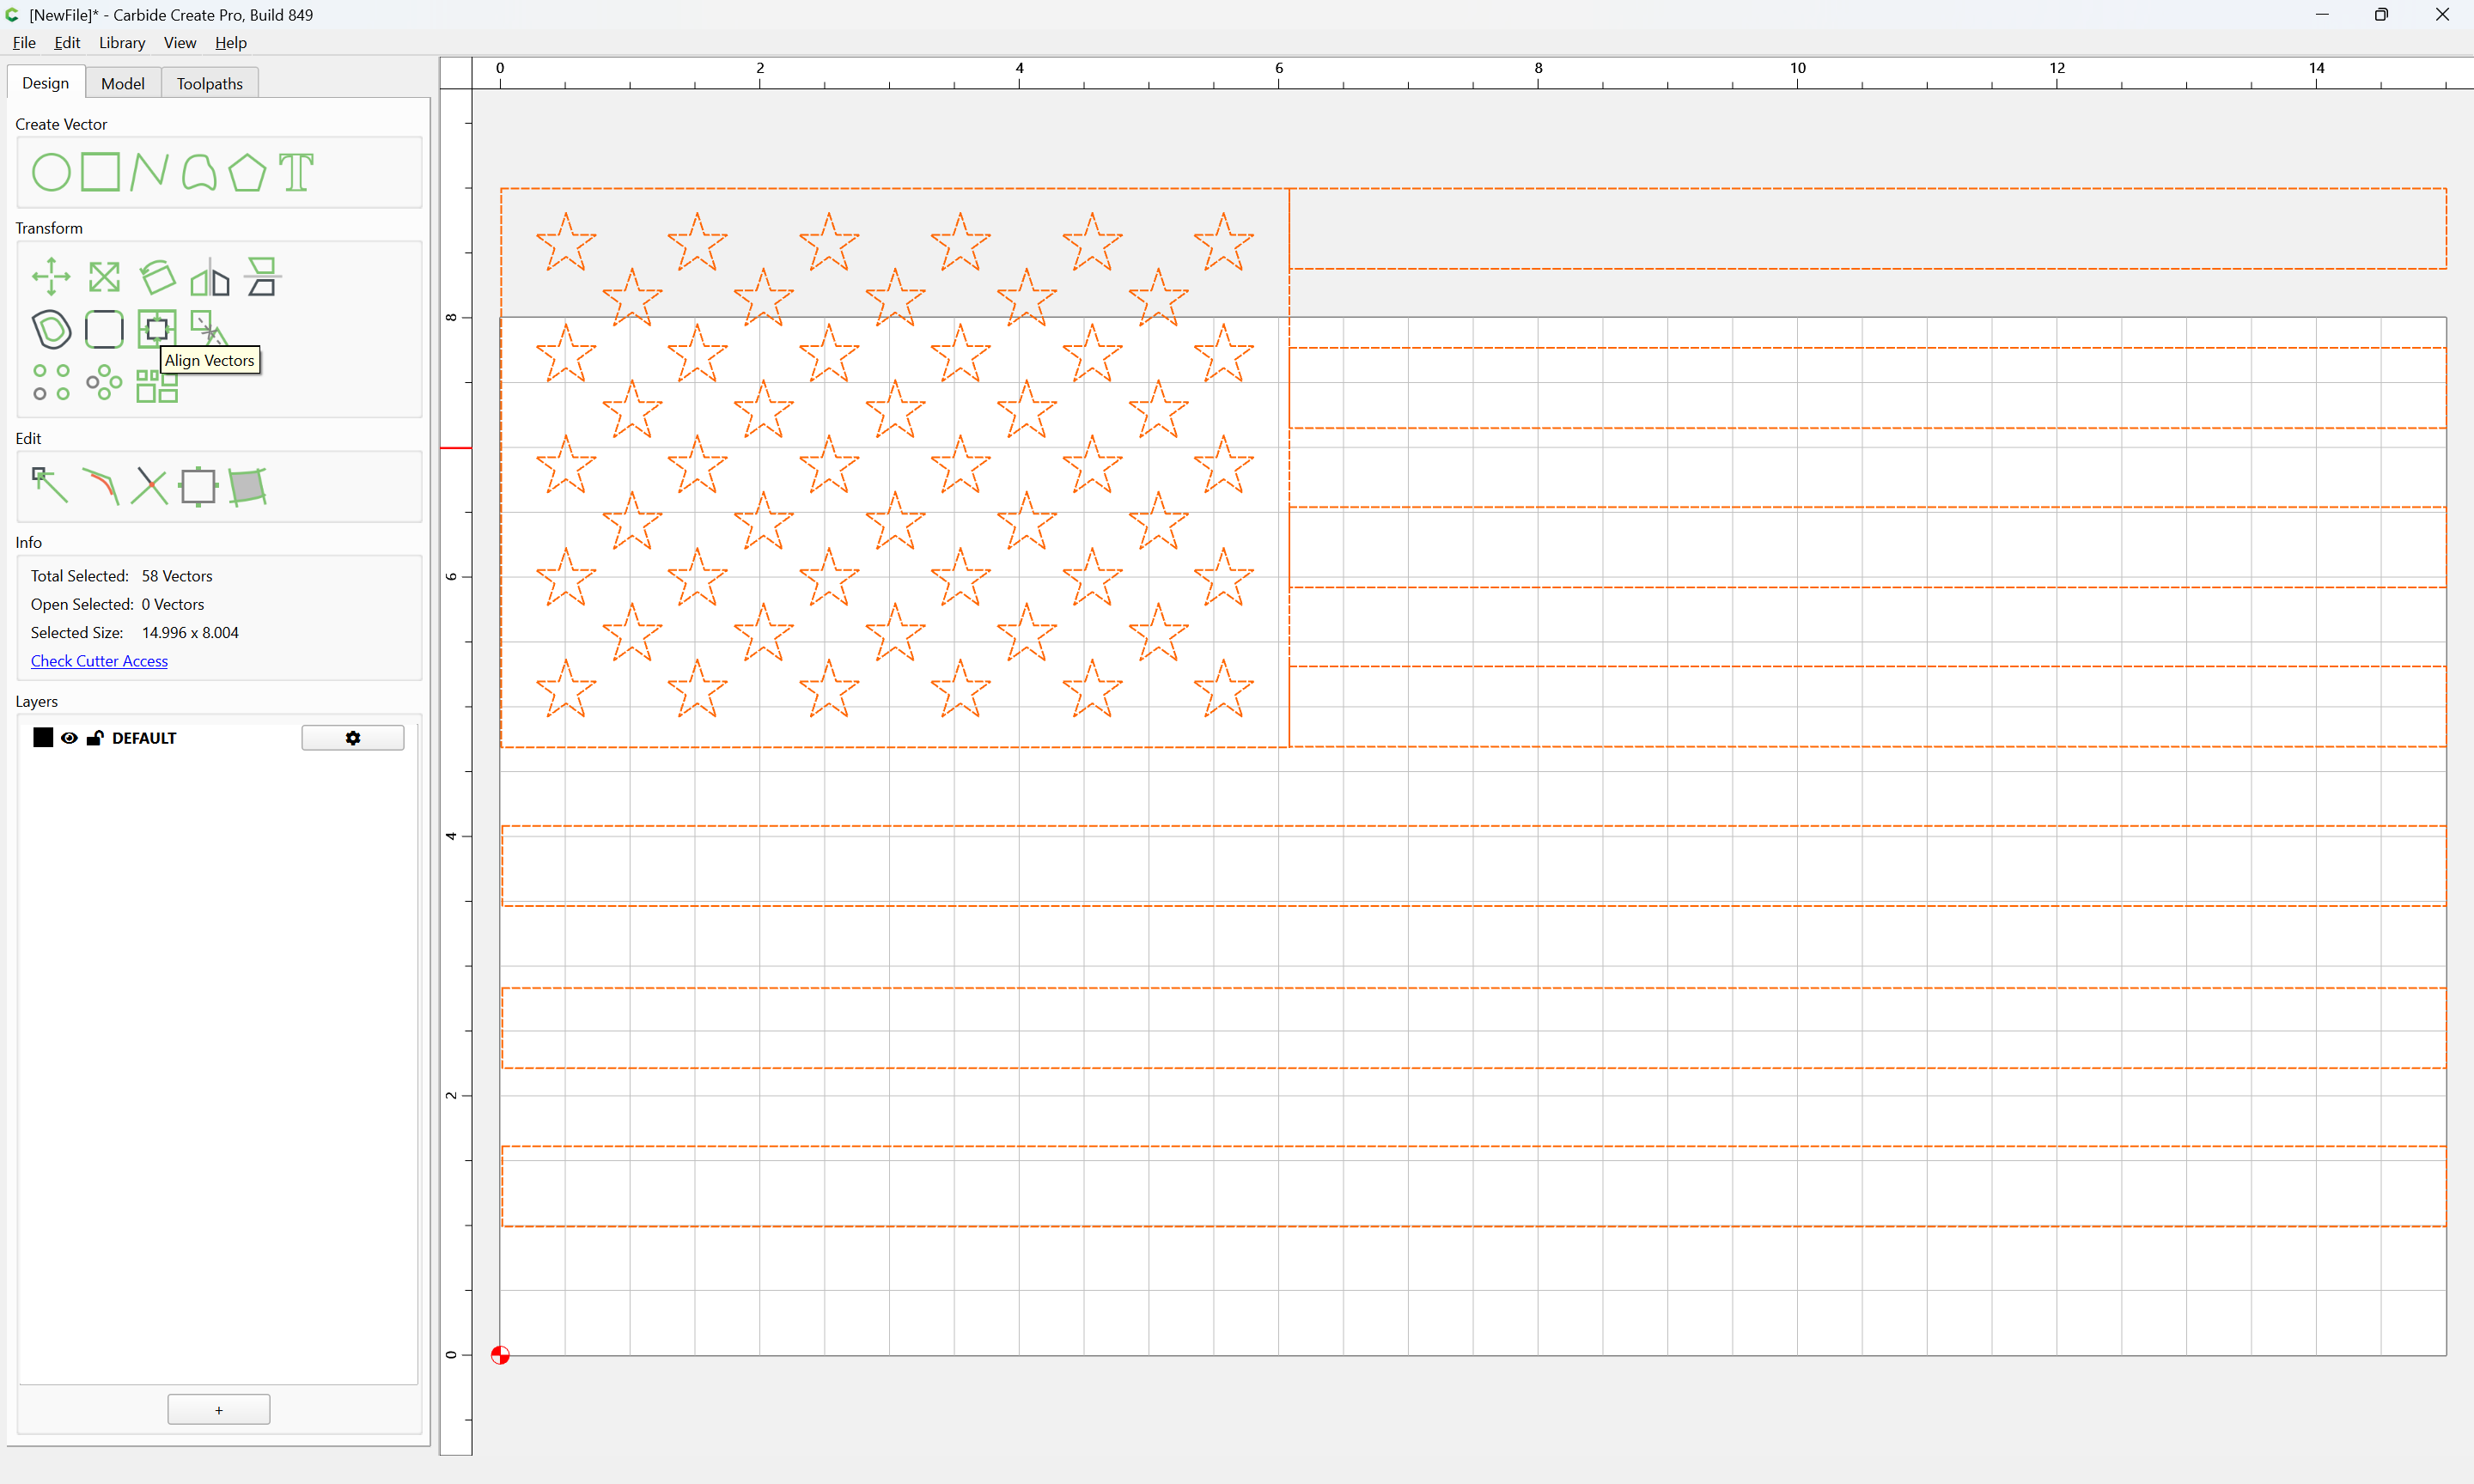
If the flag is grouped:
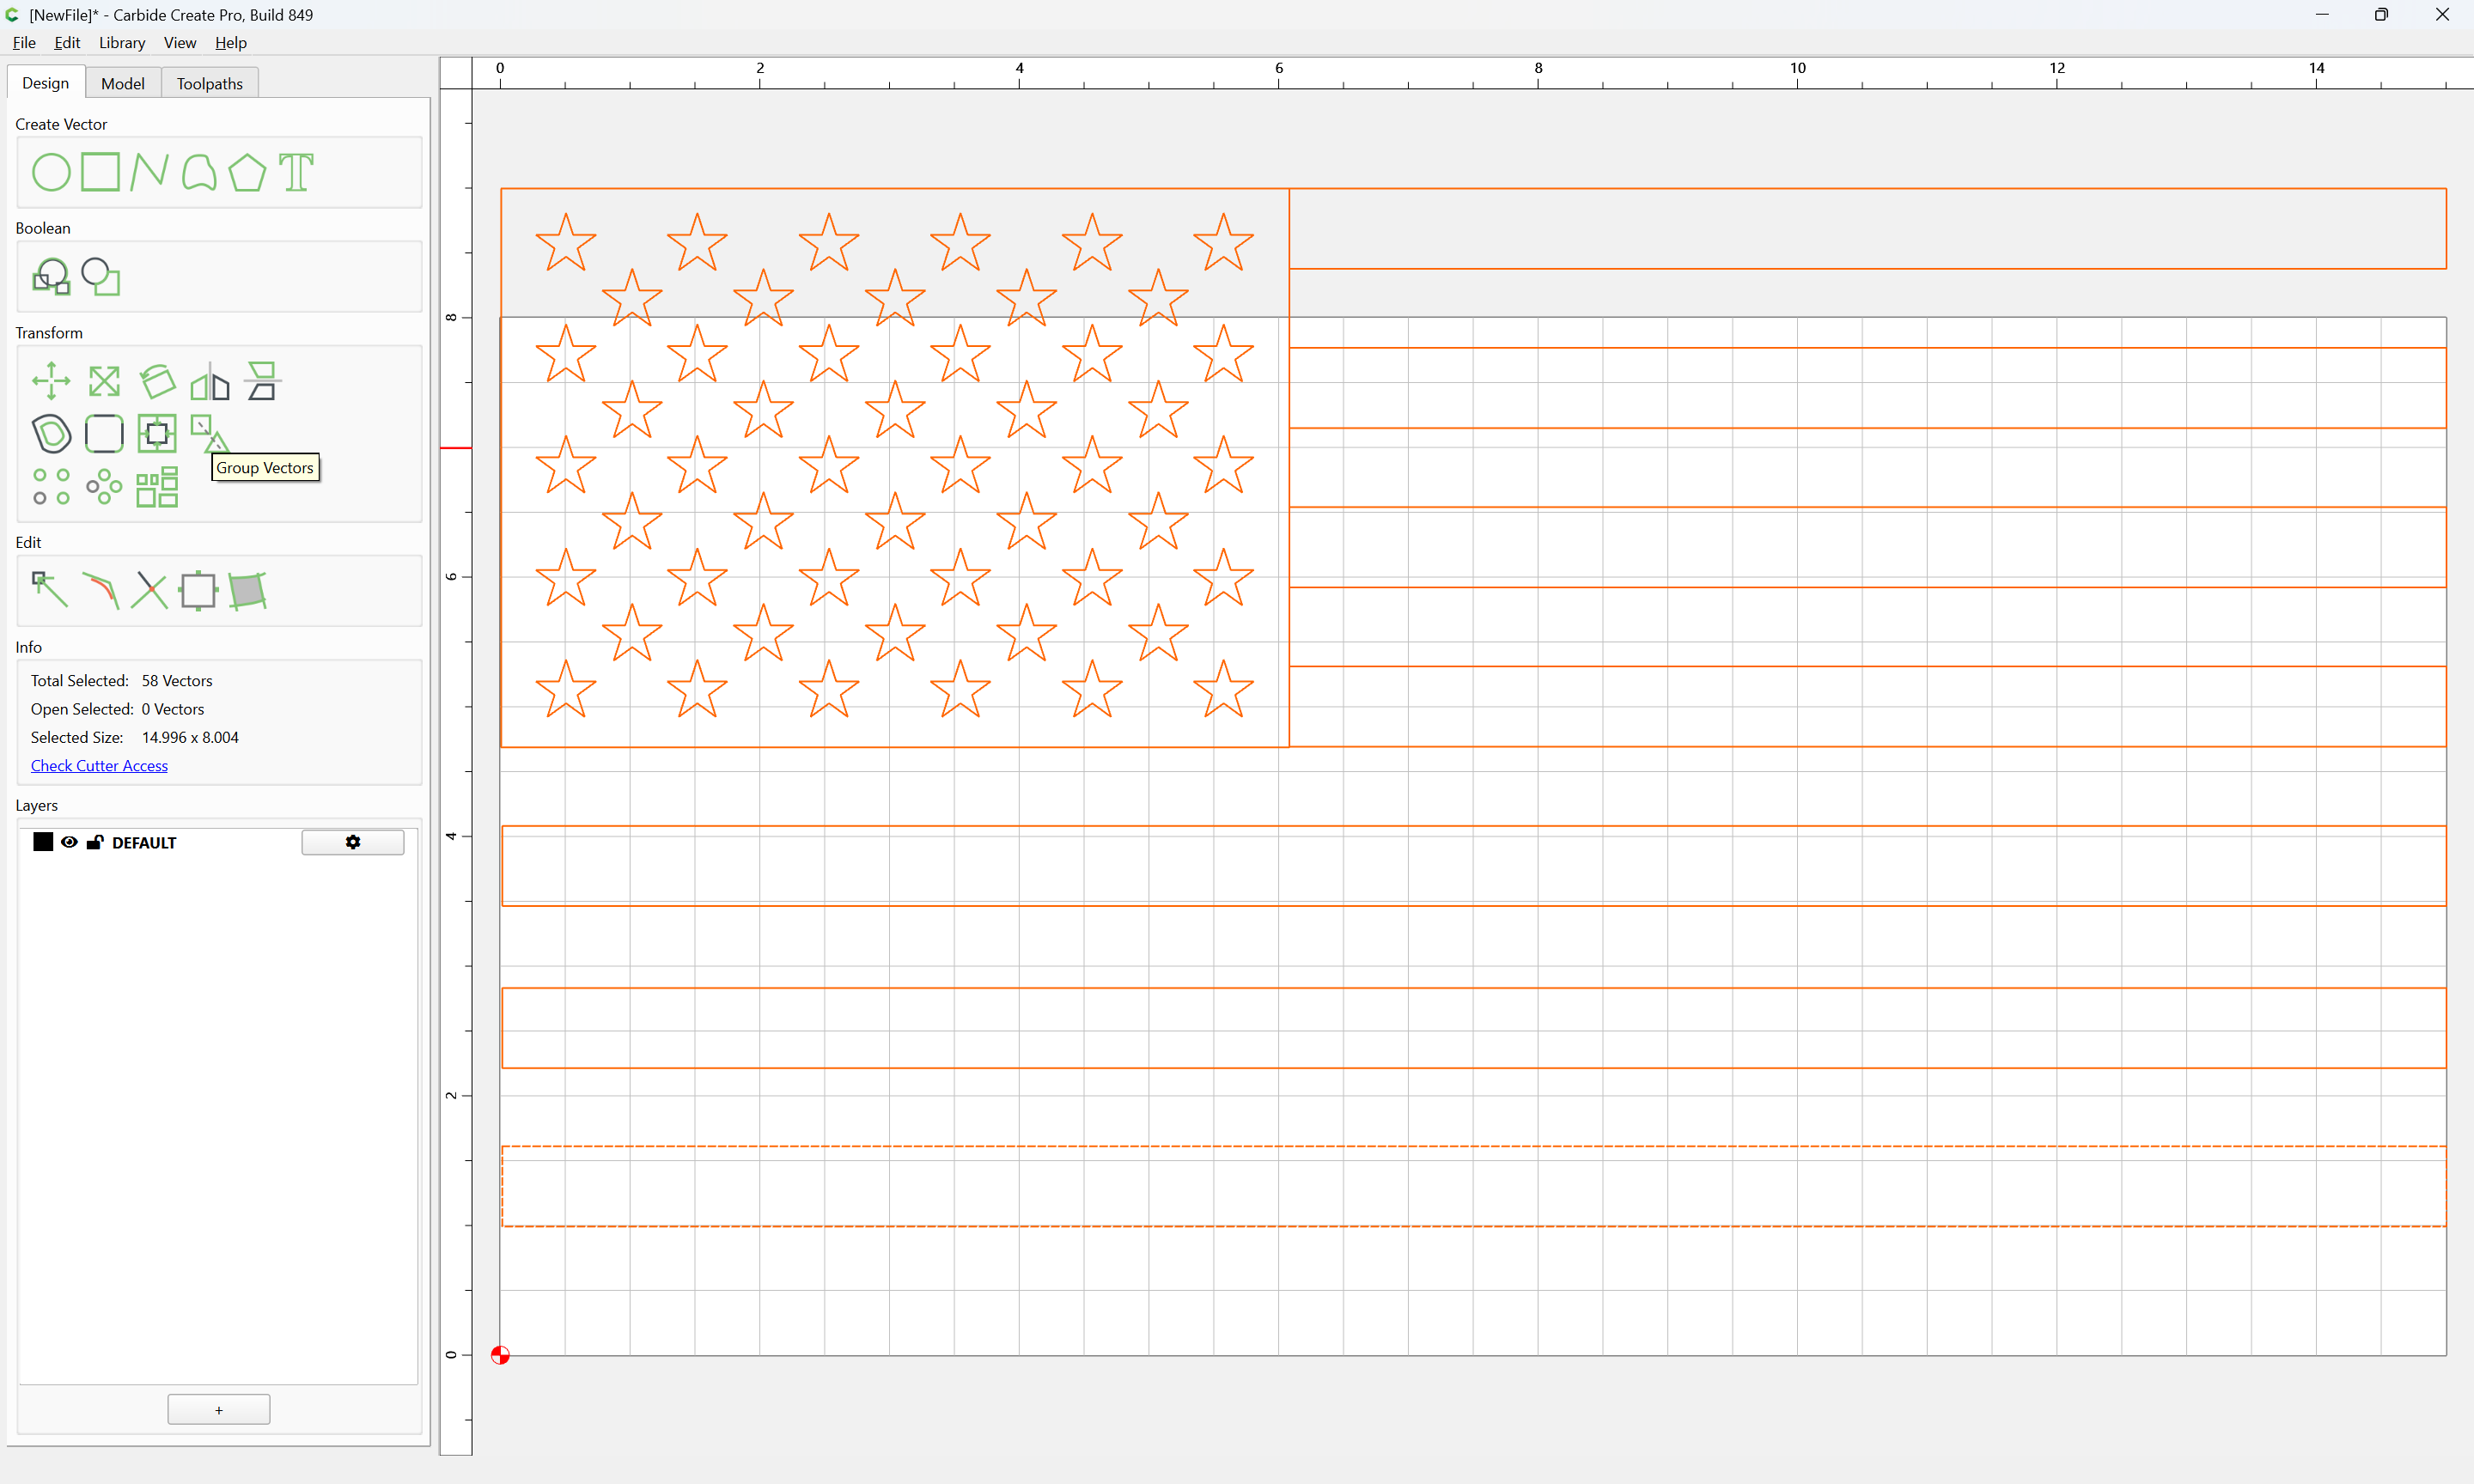
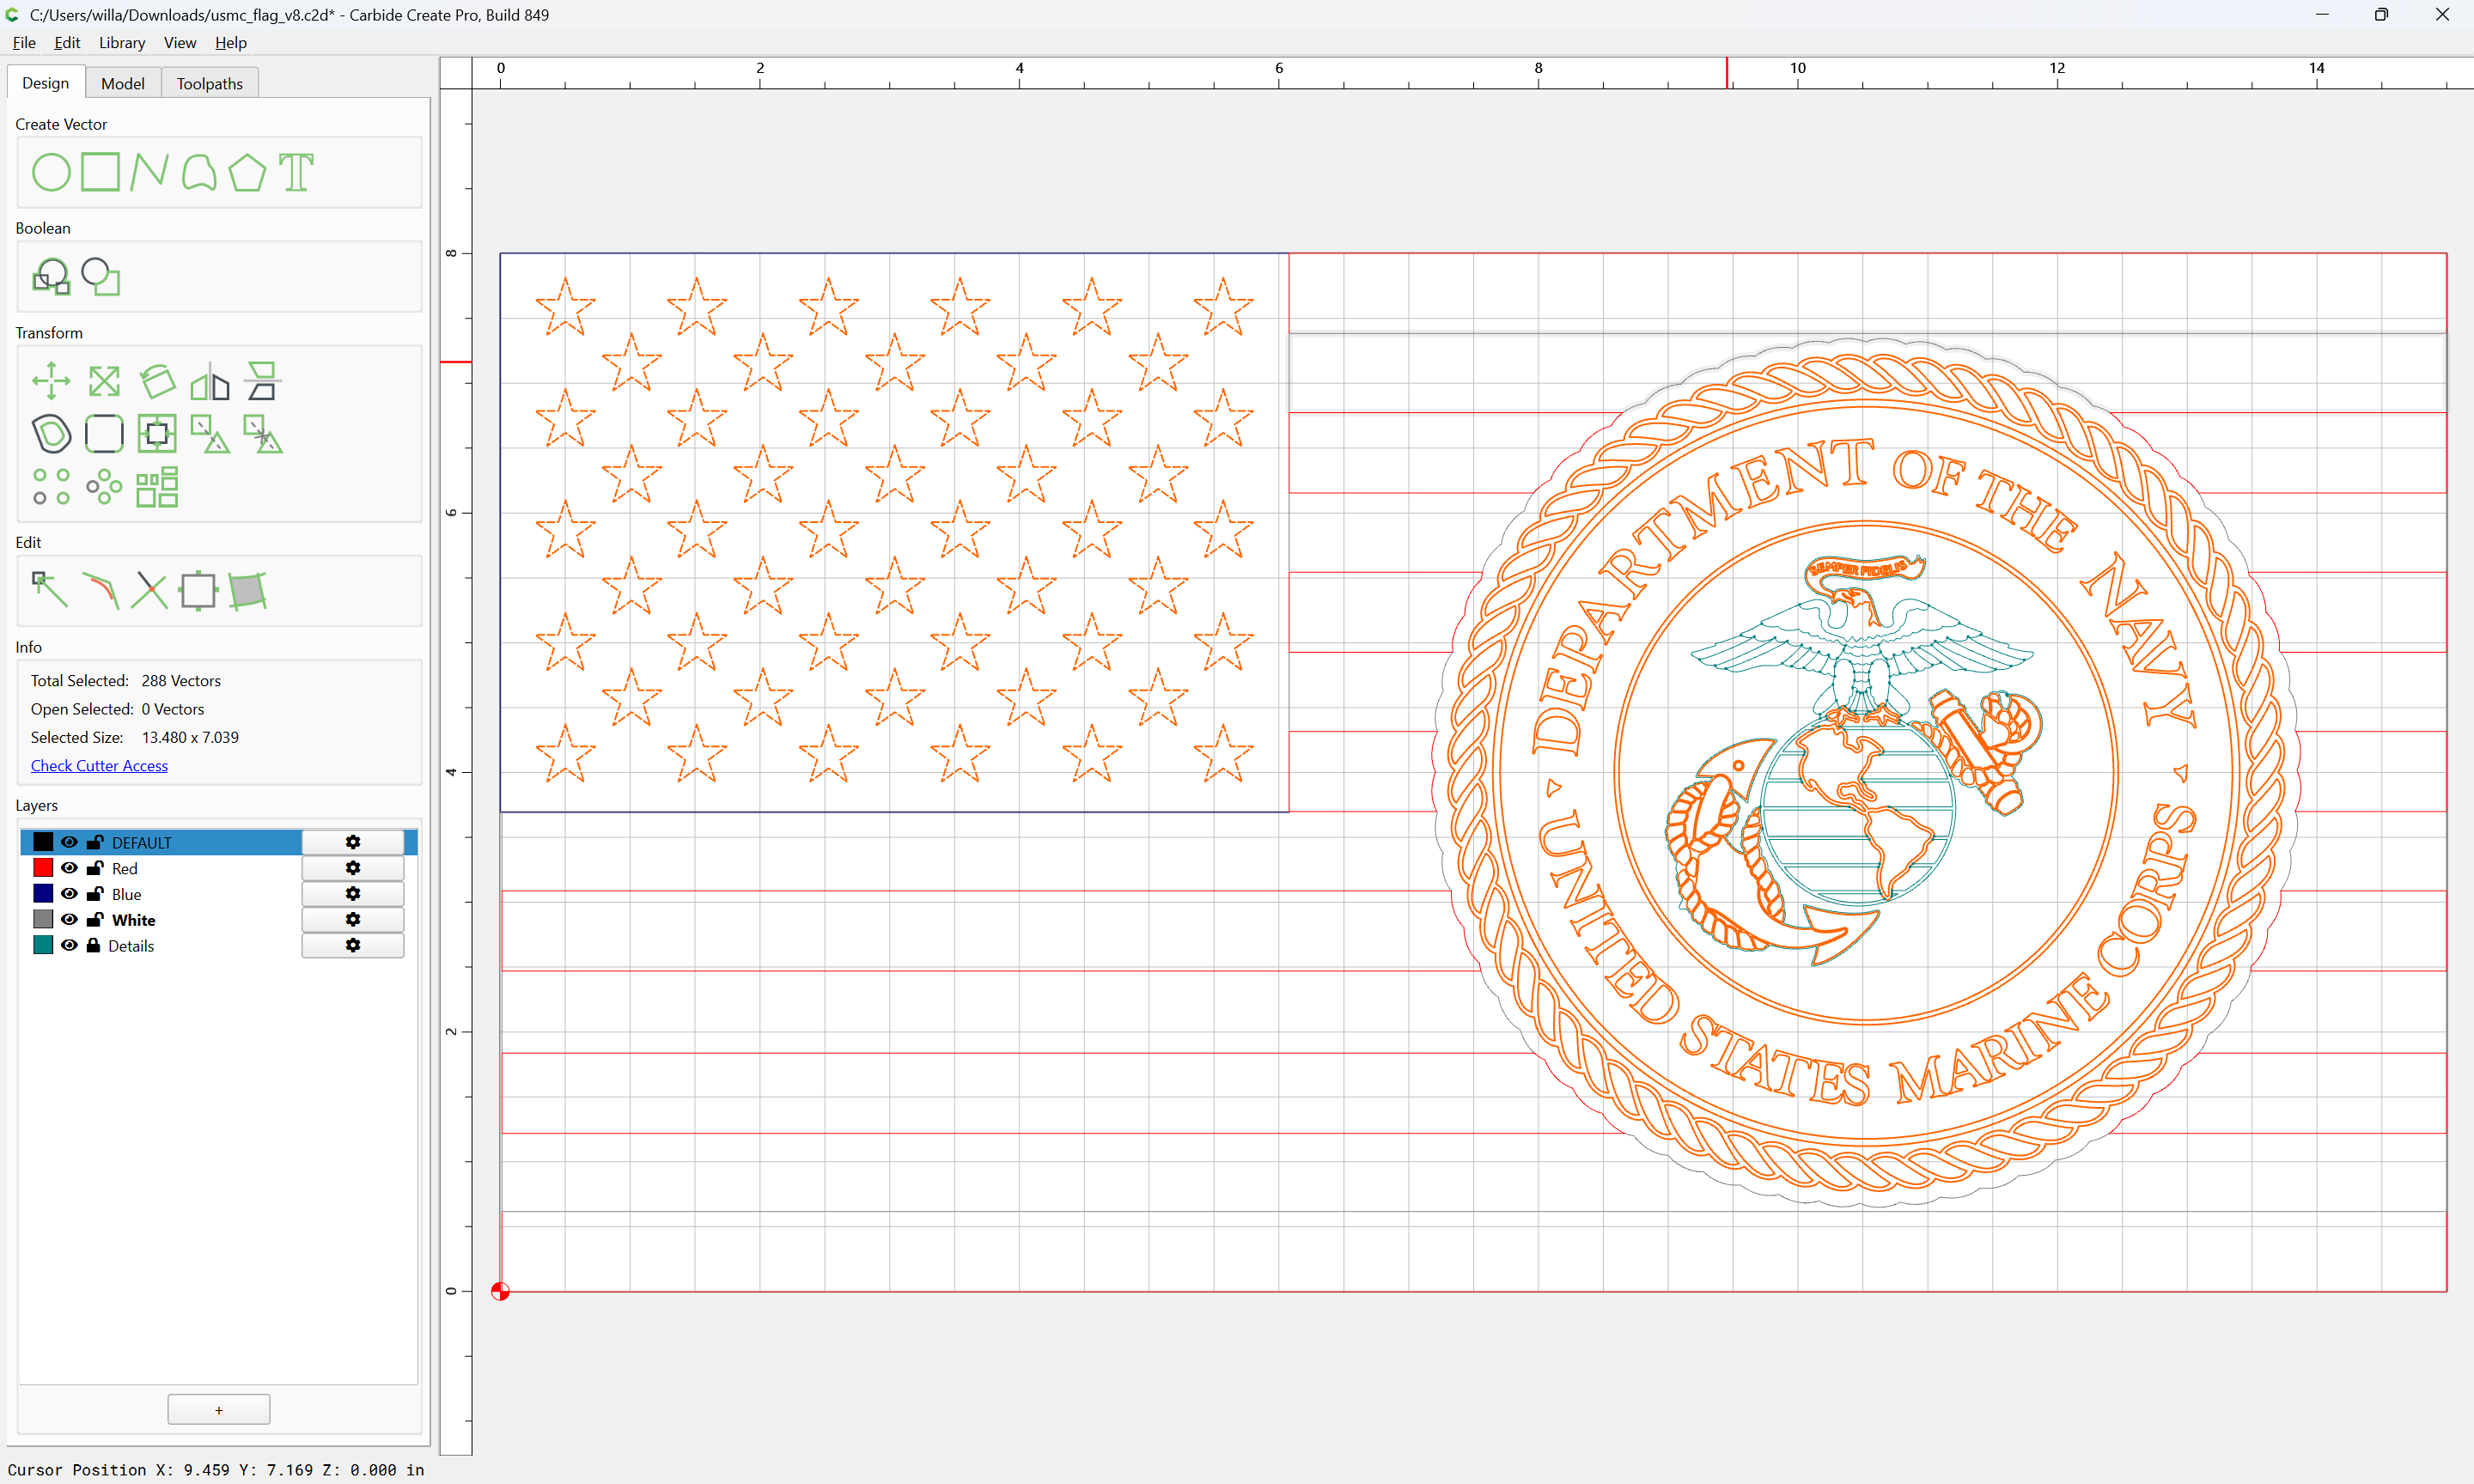
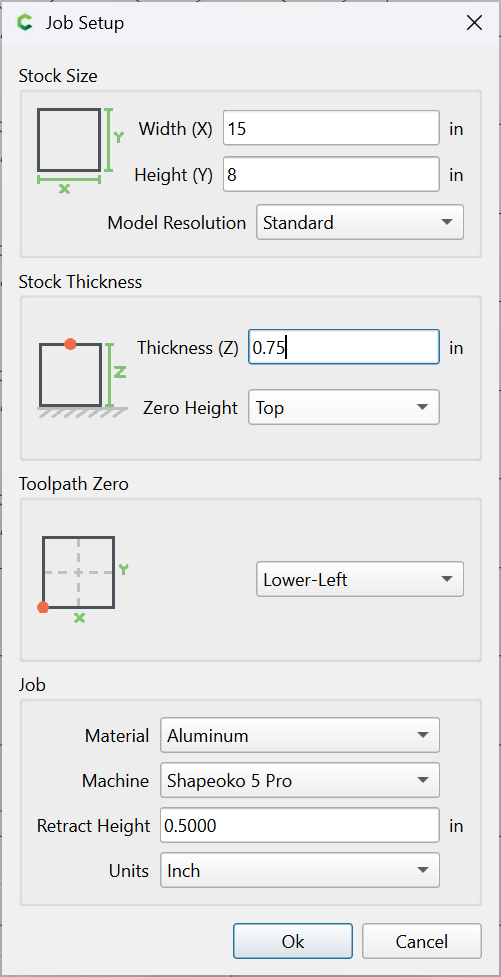
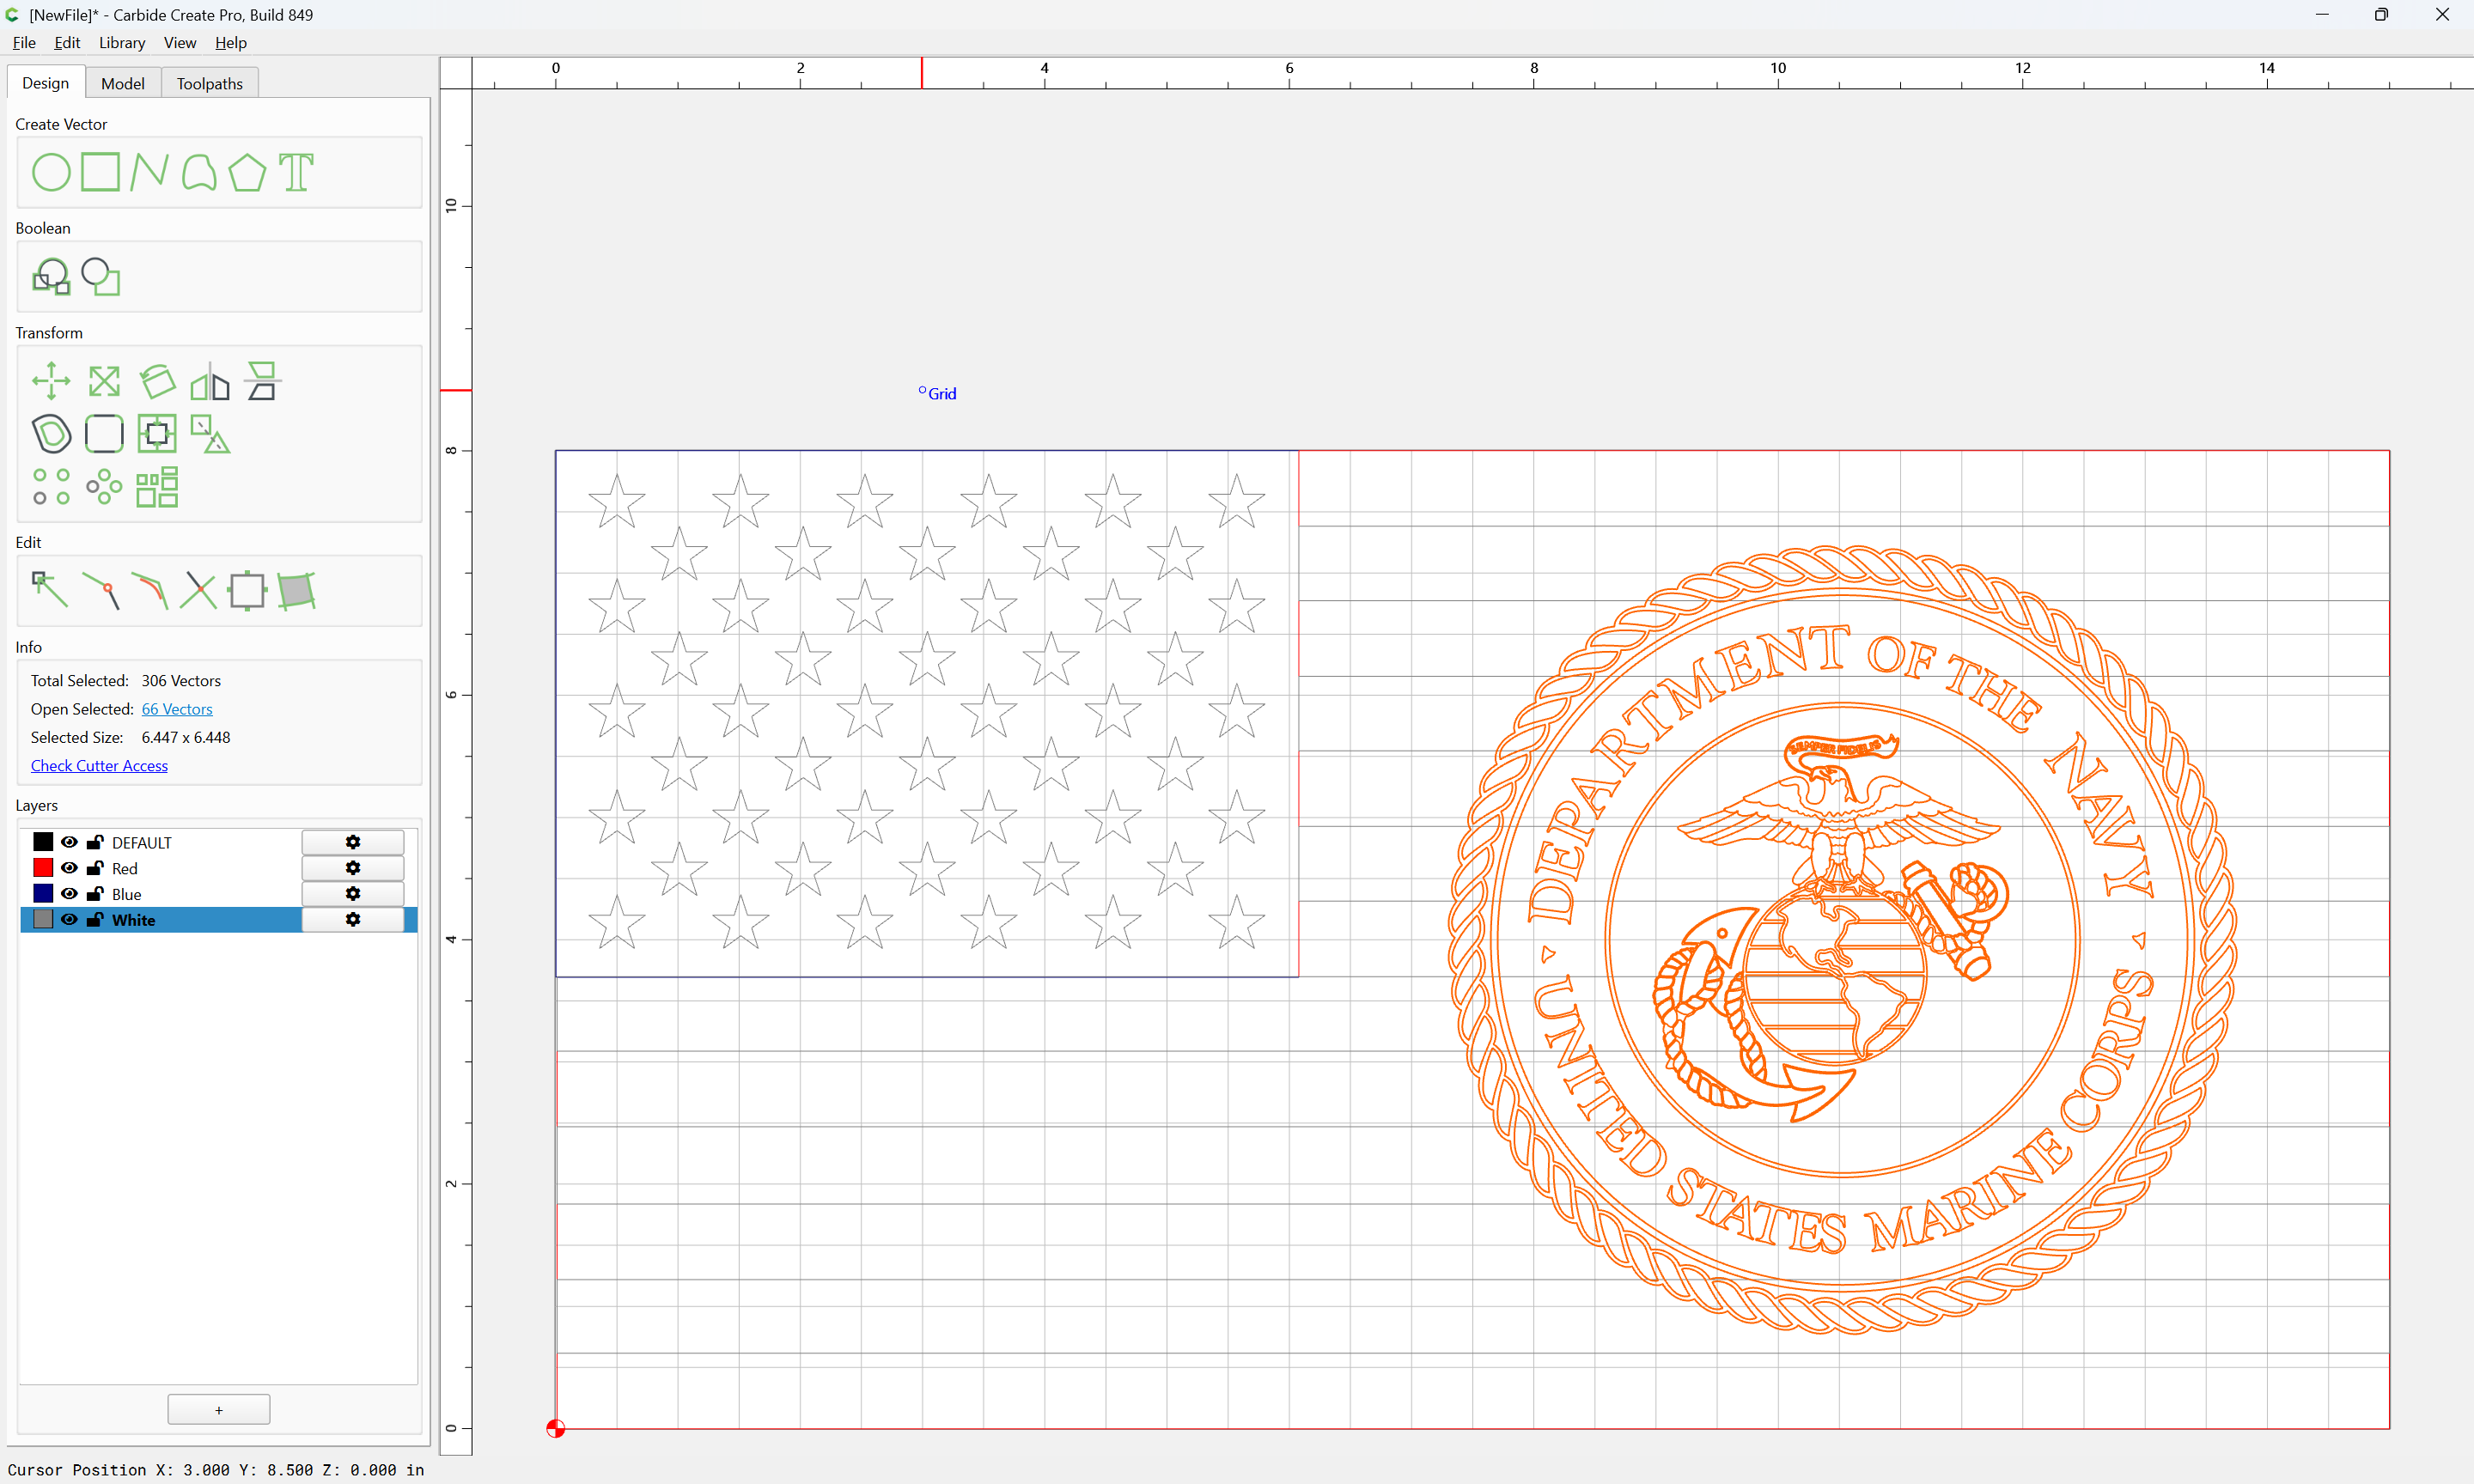
it may then be aligned to the Stock Area:
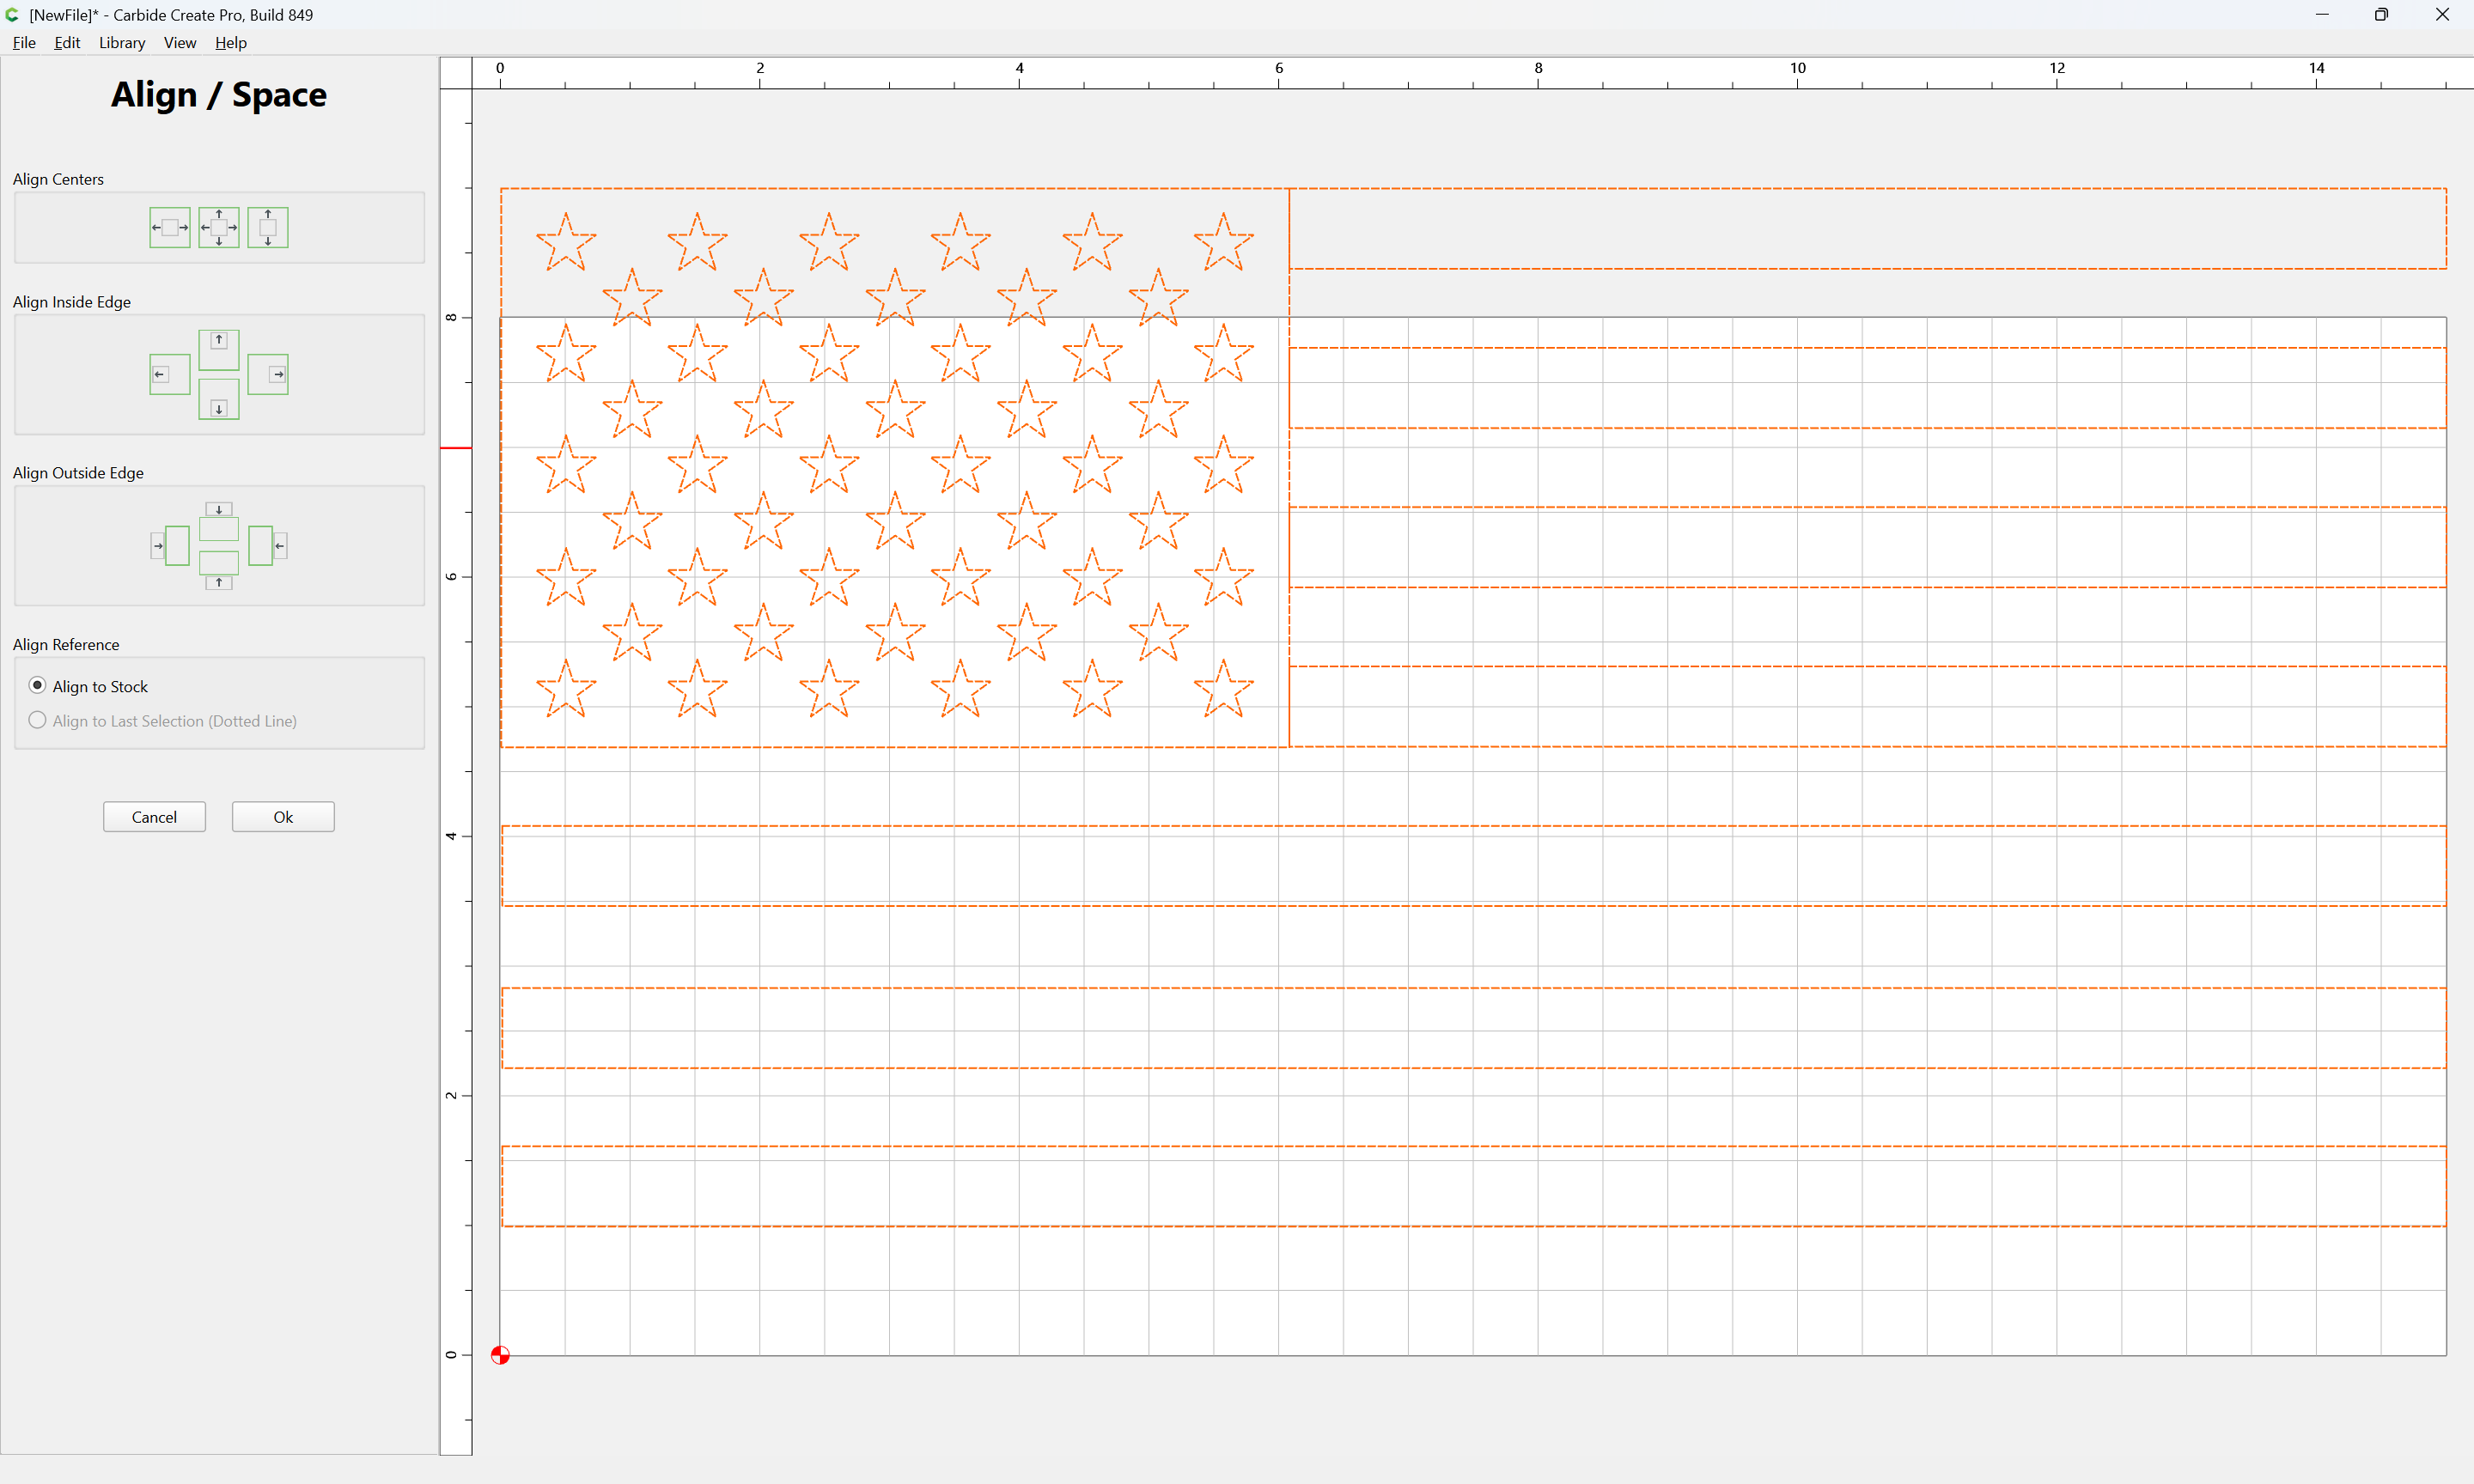
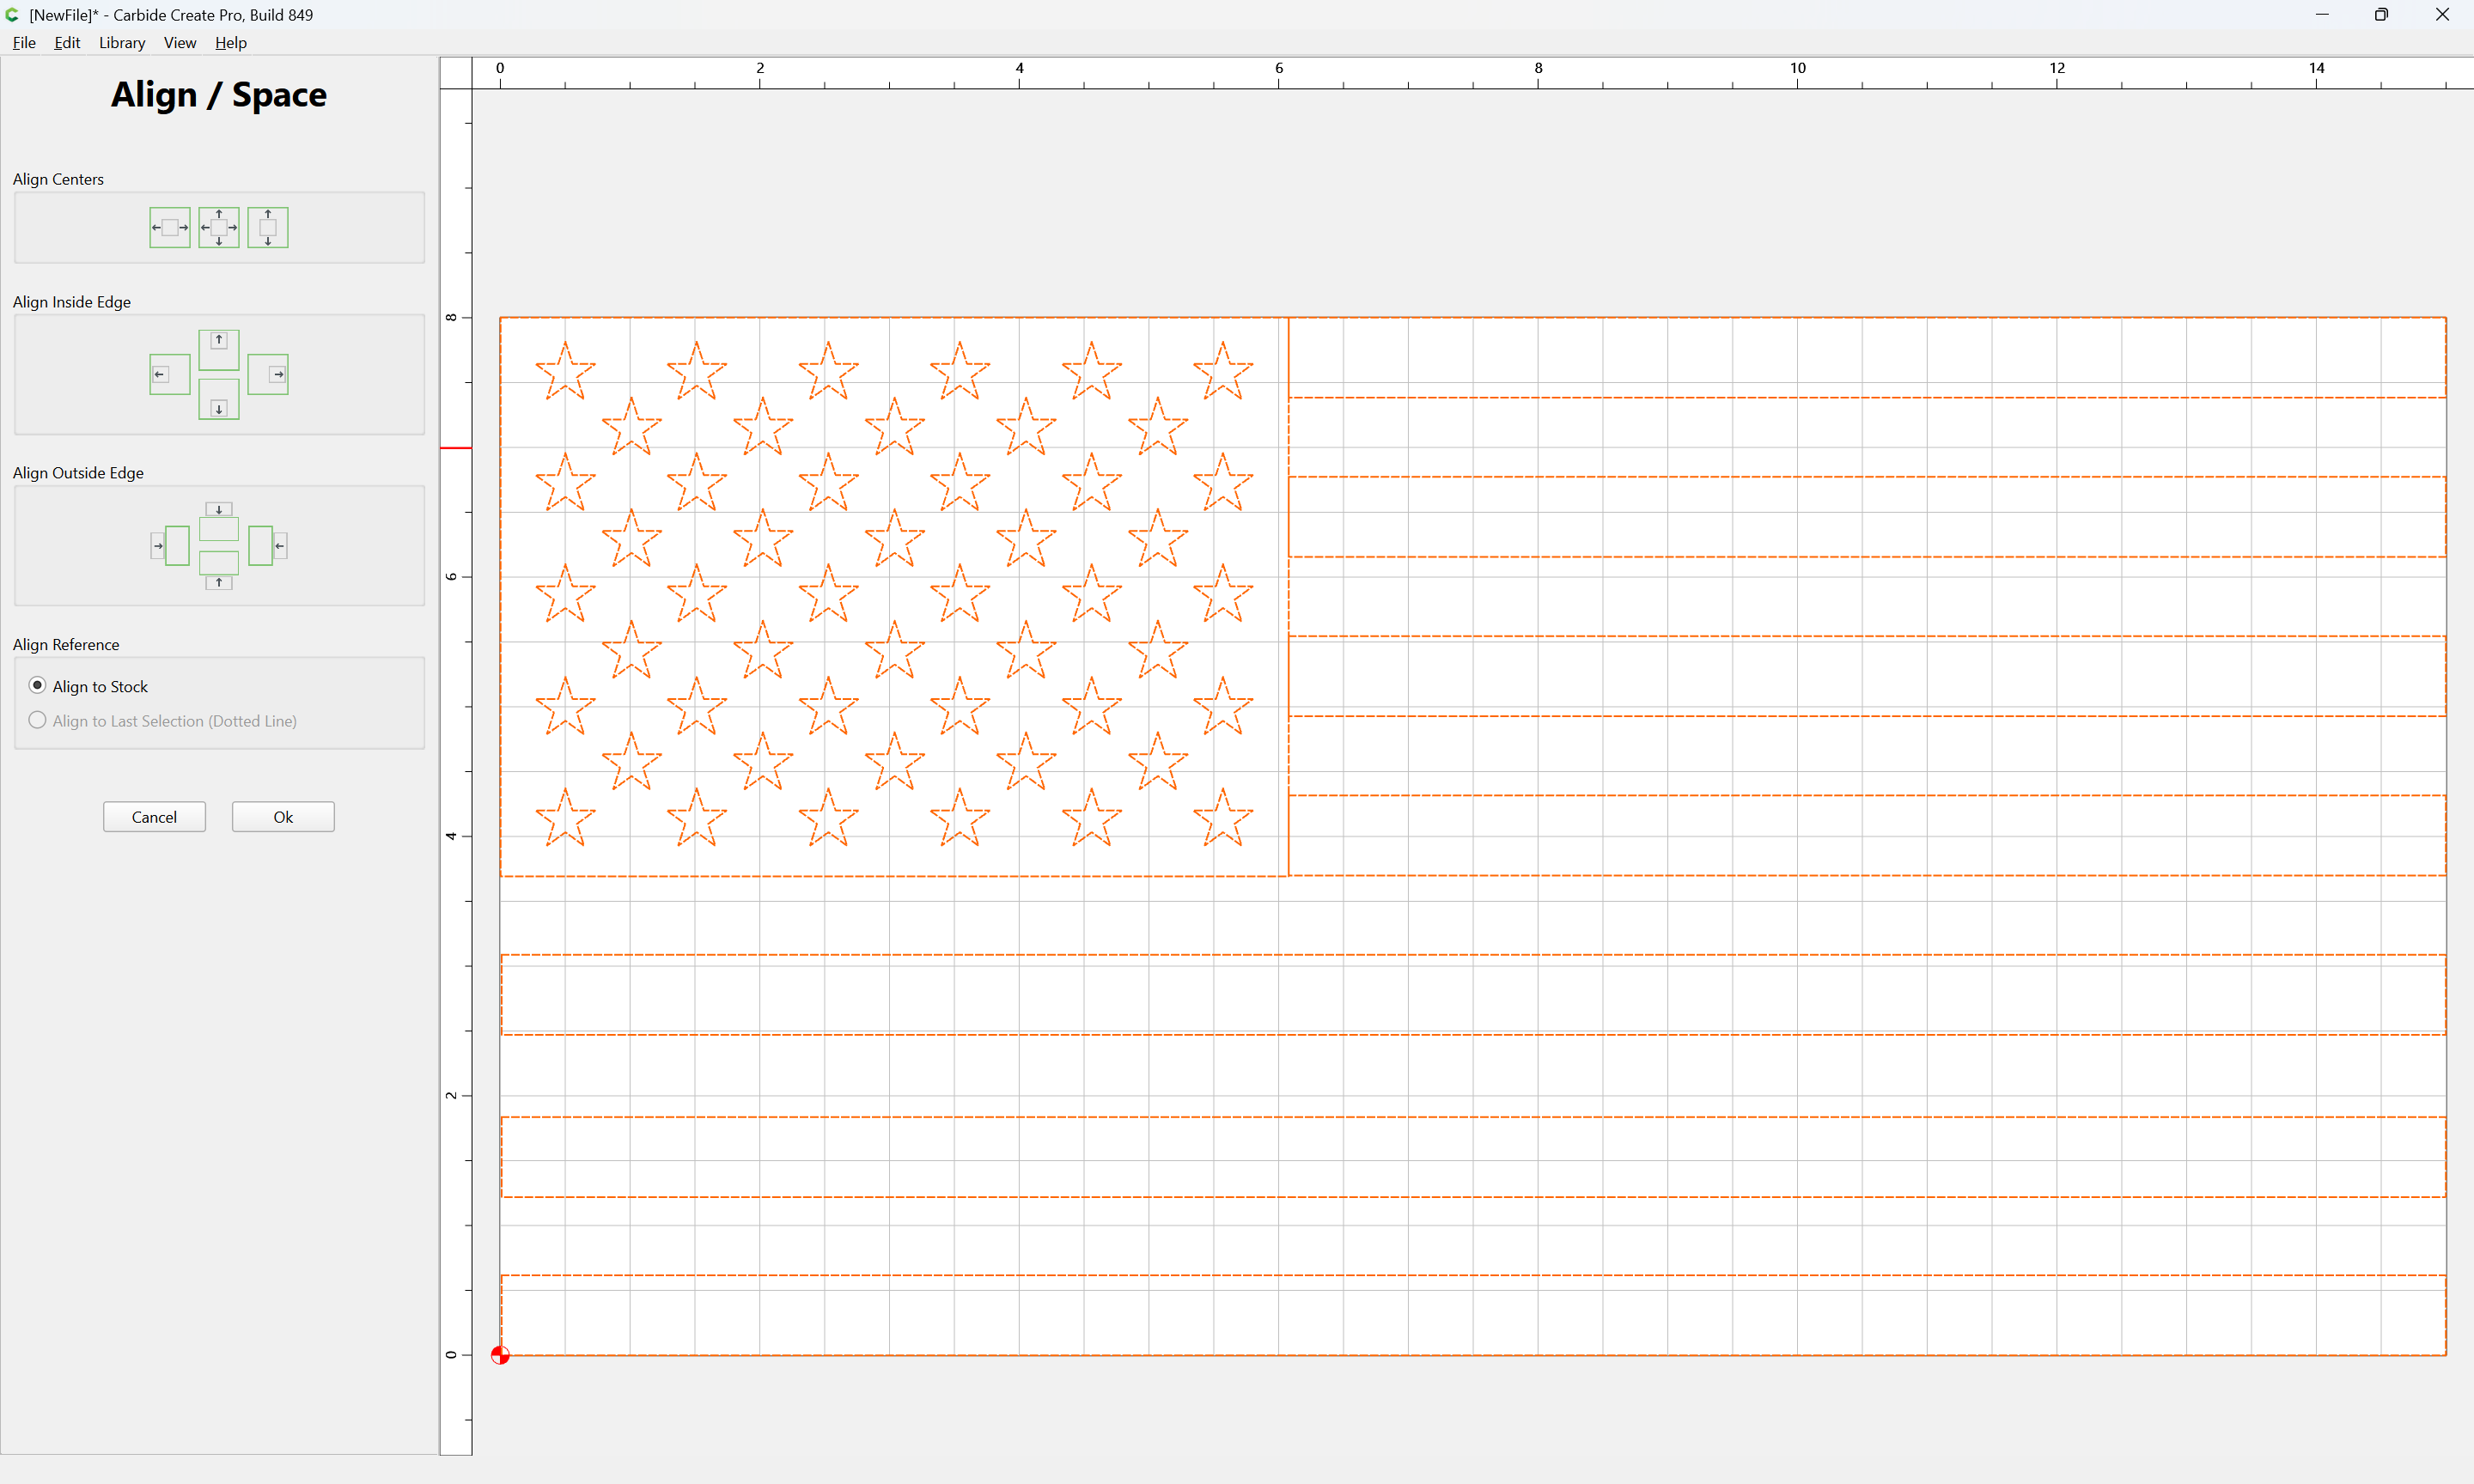
Ok
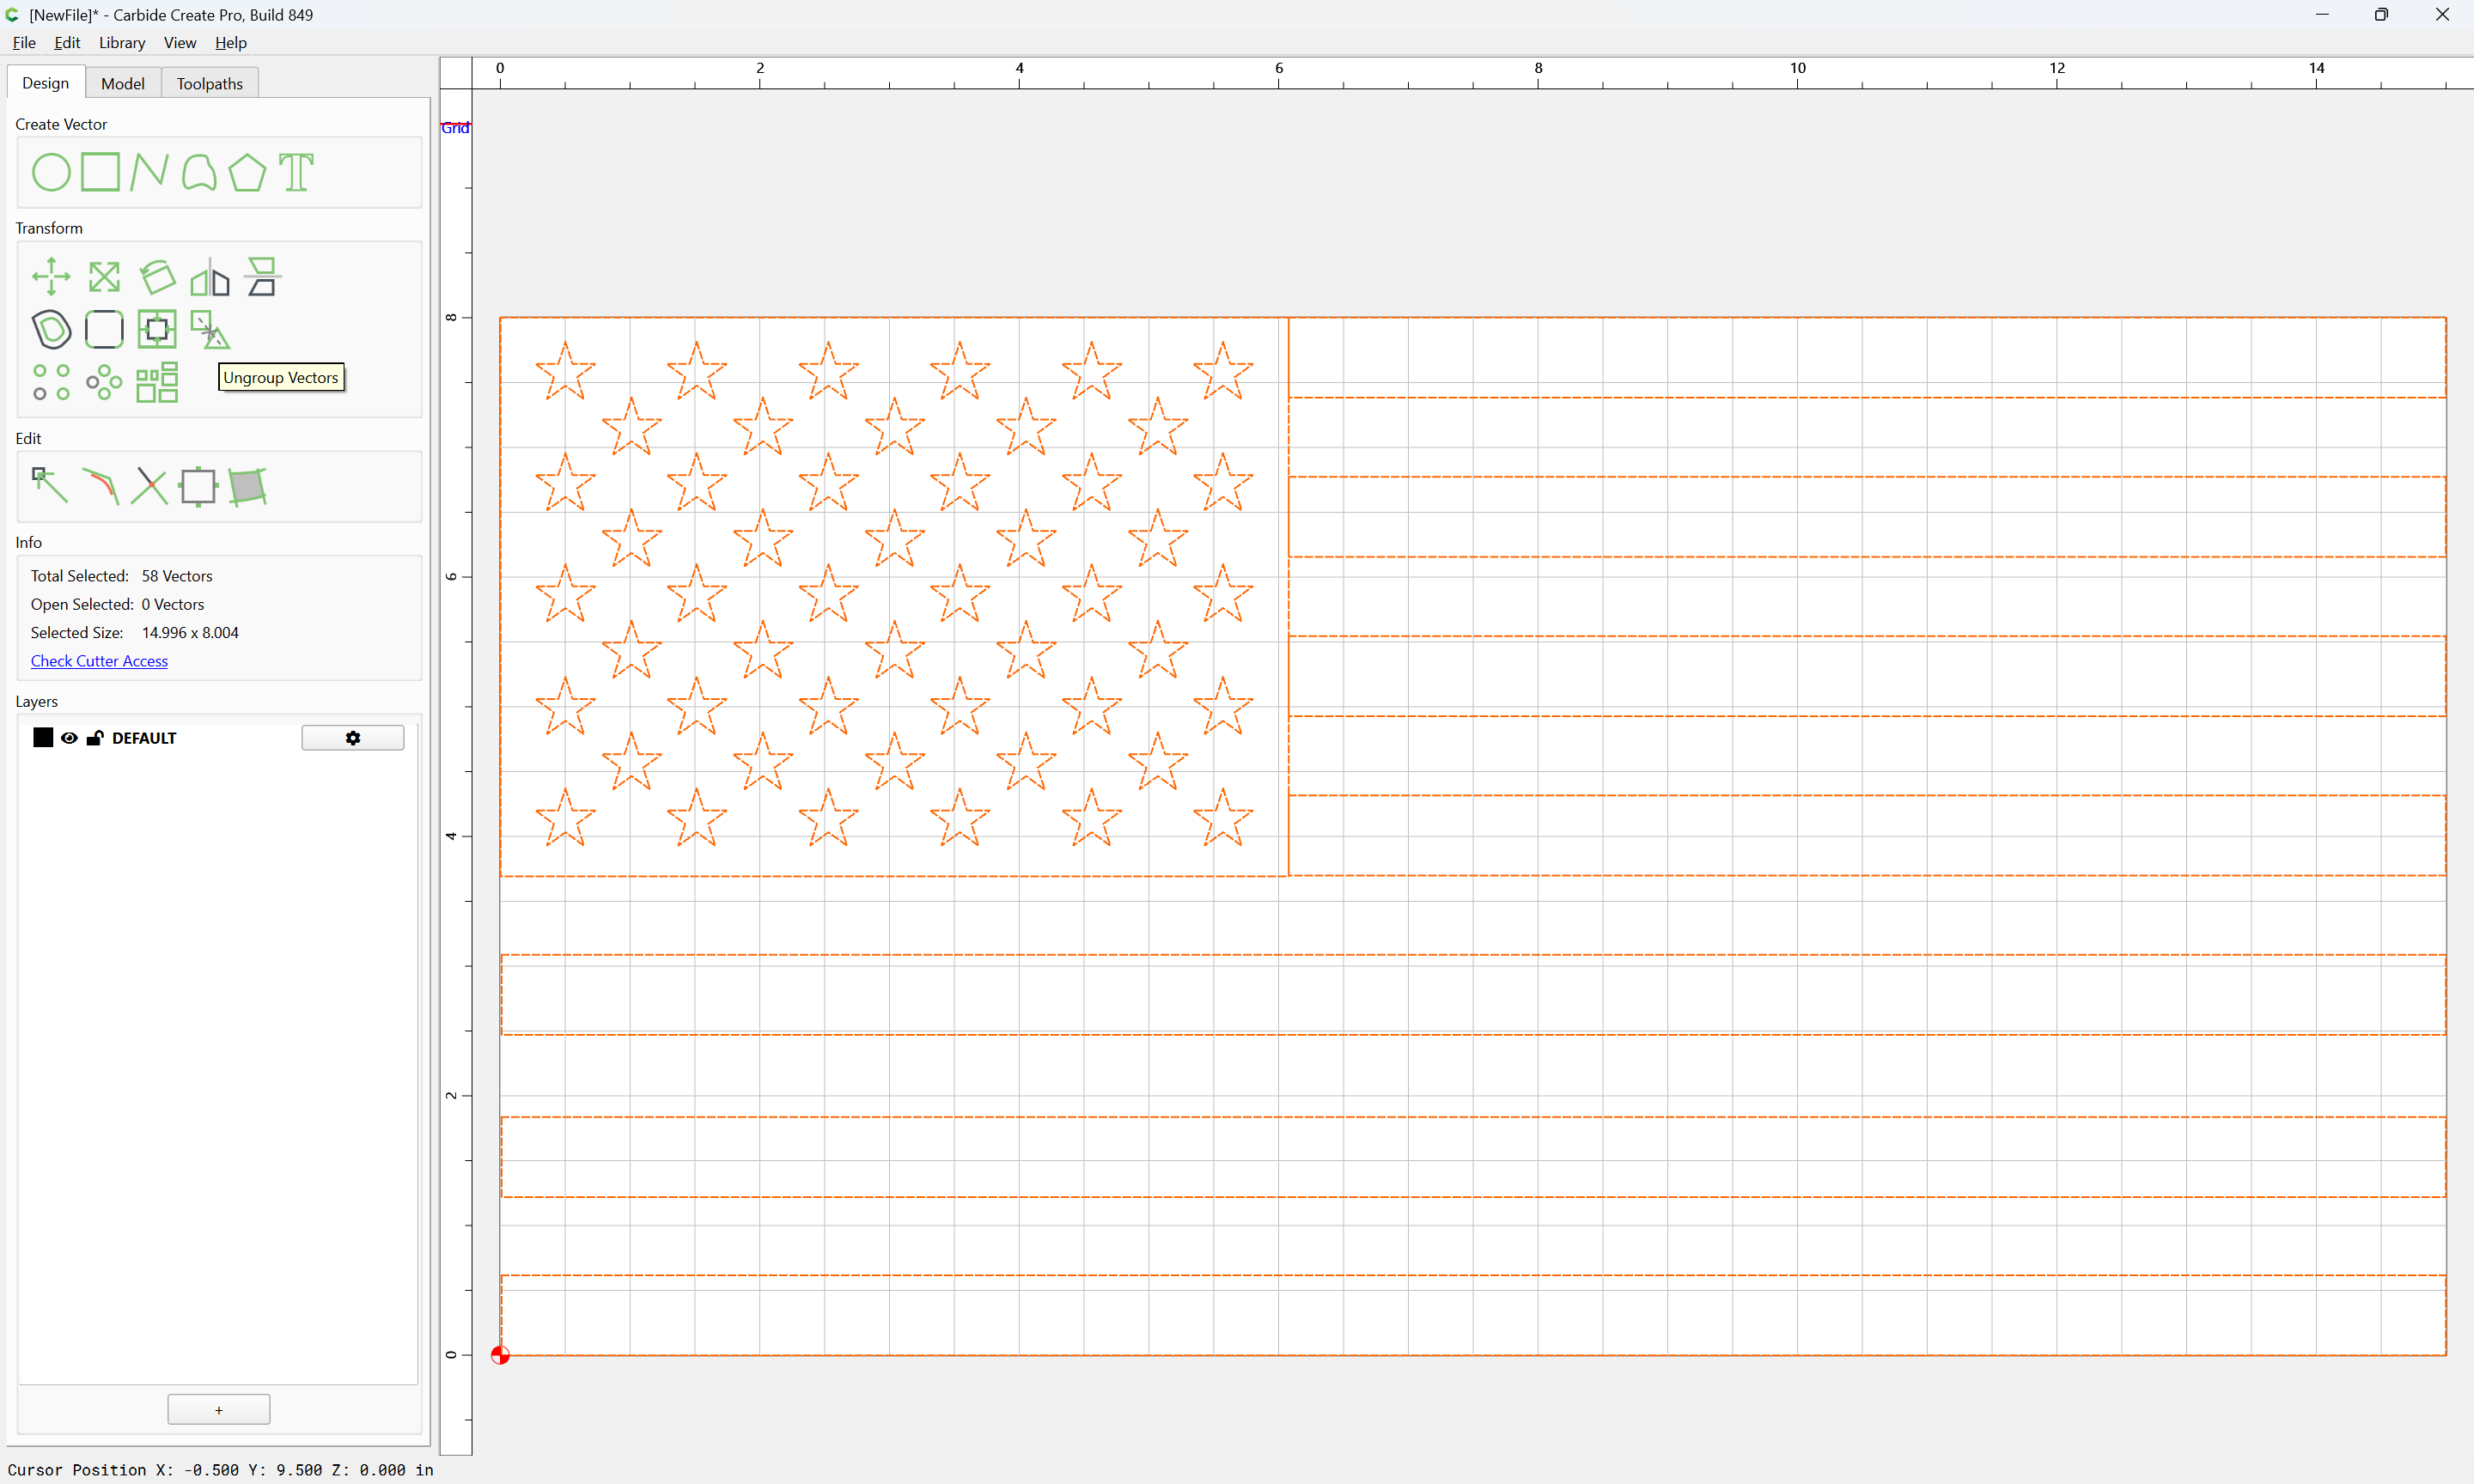
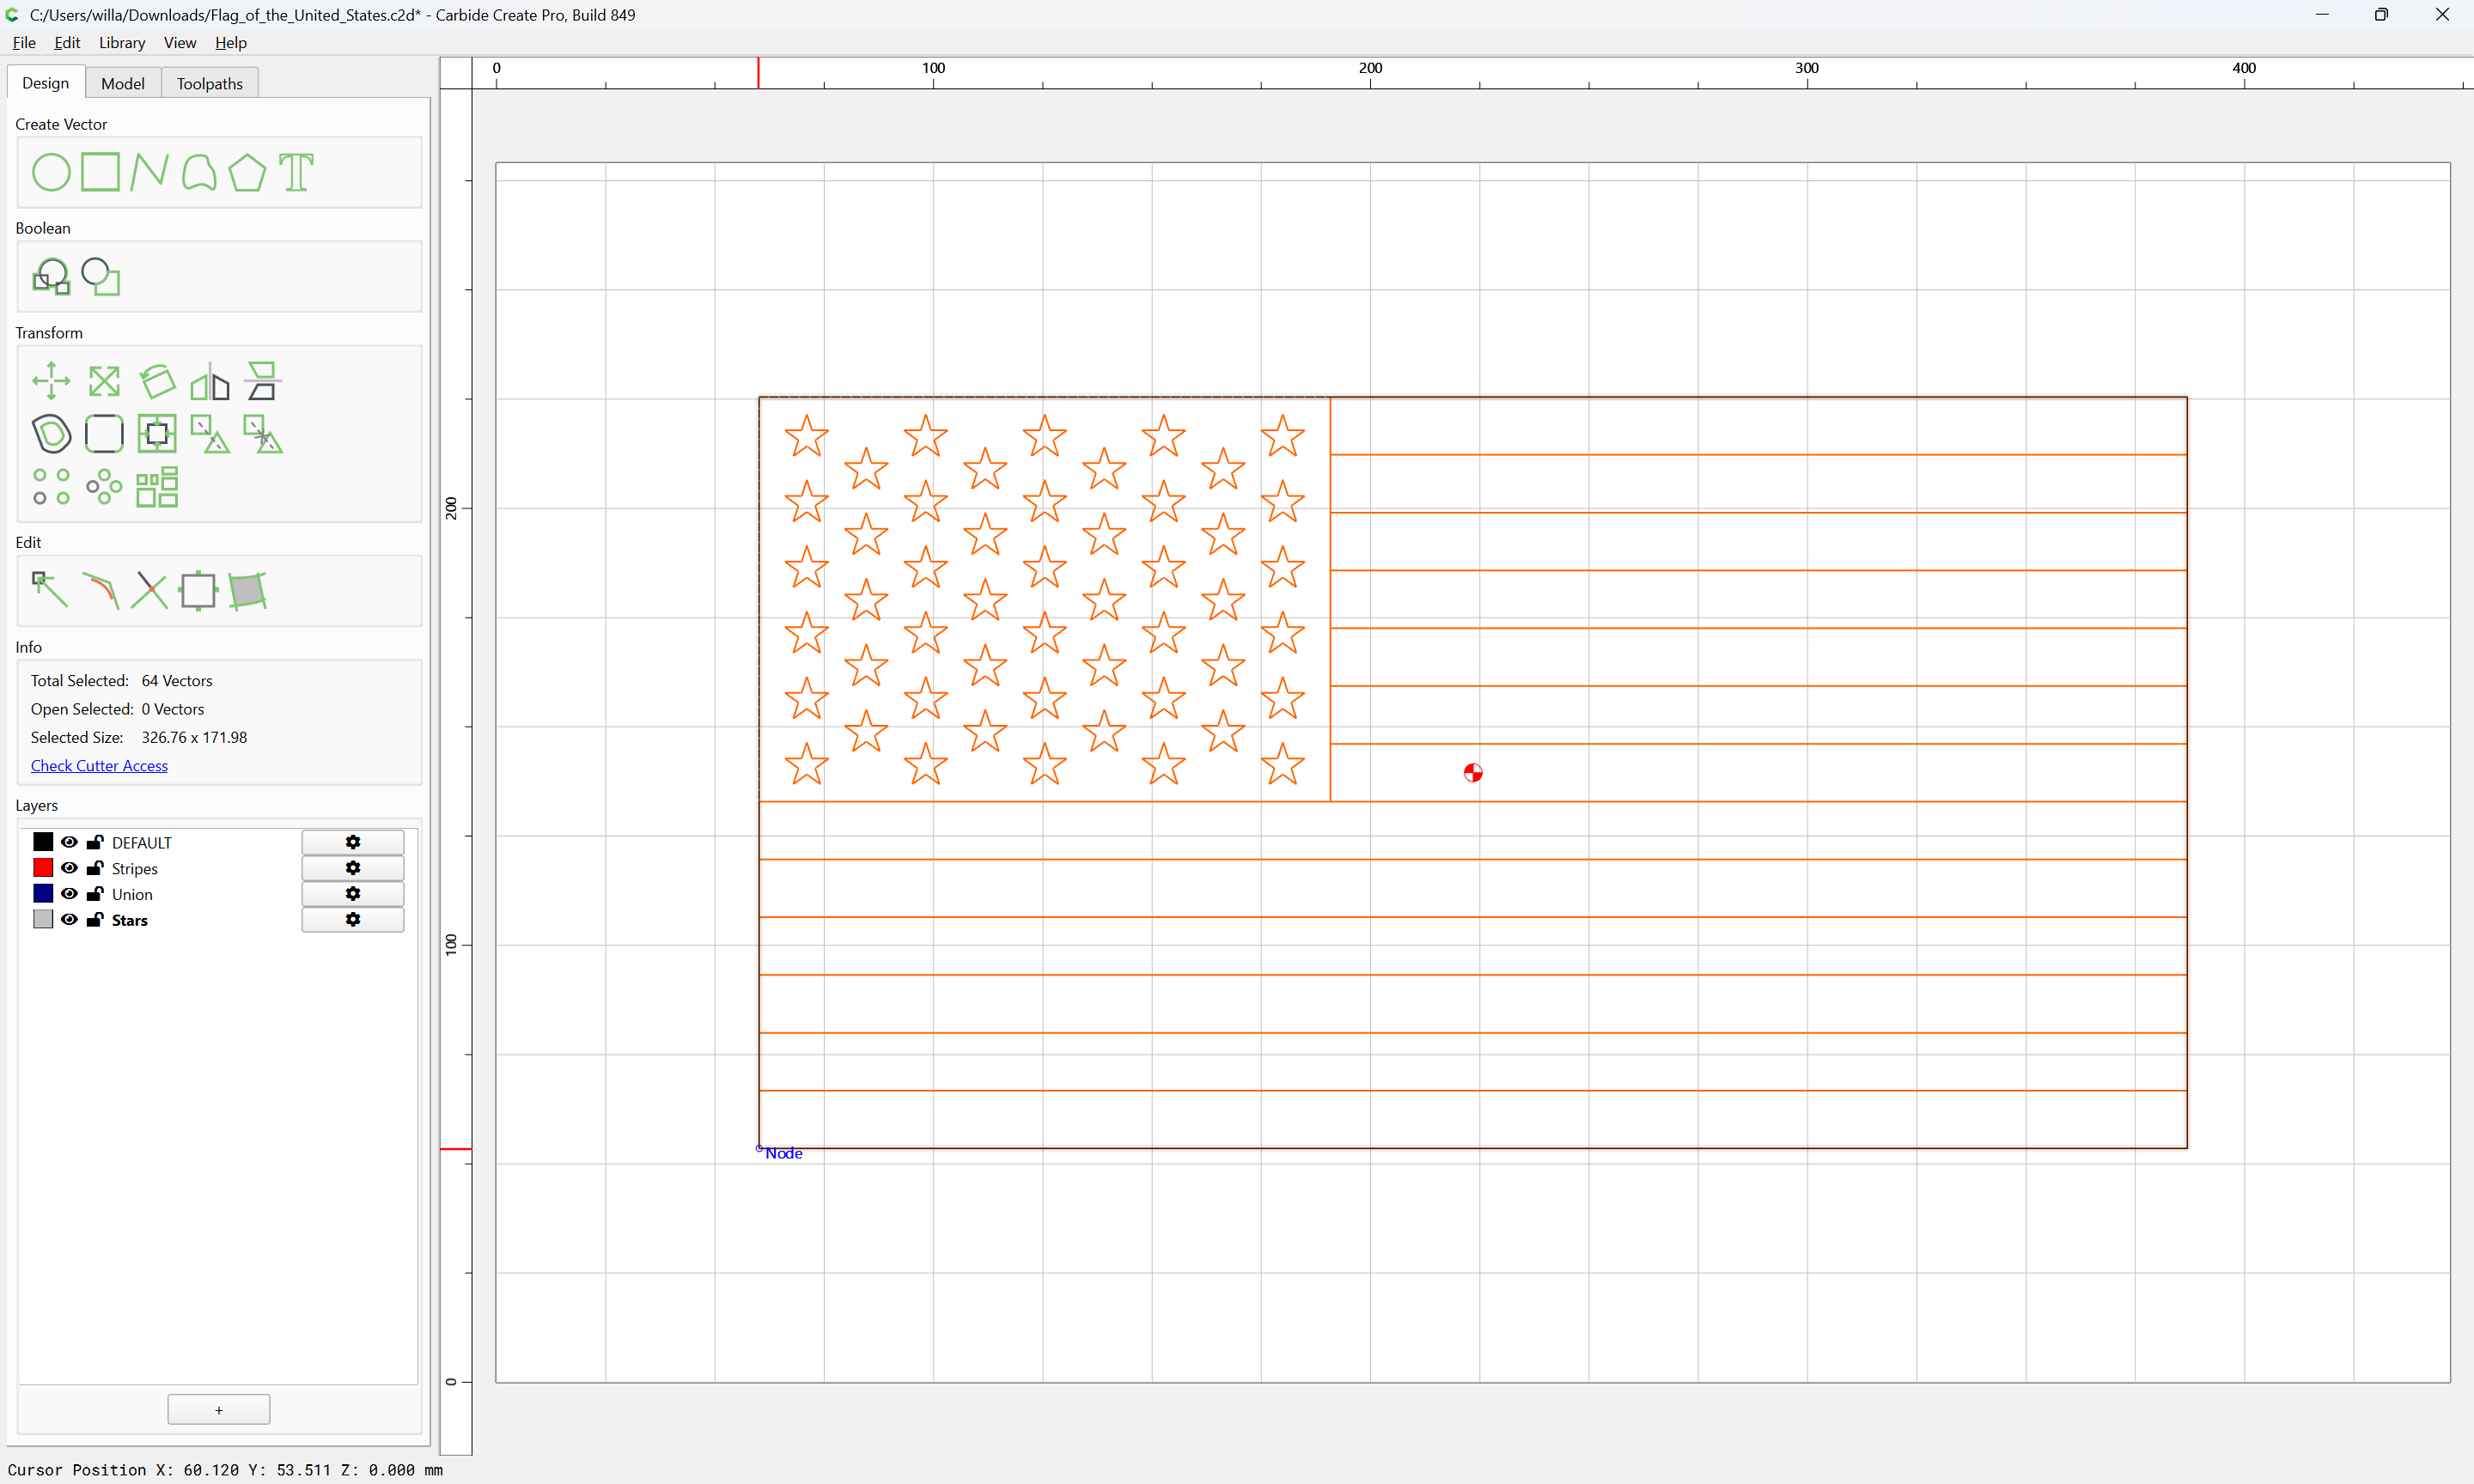
Ungroup
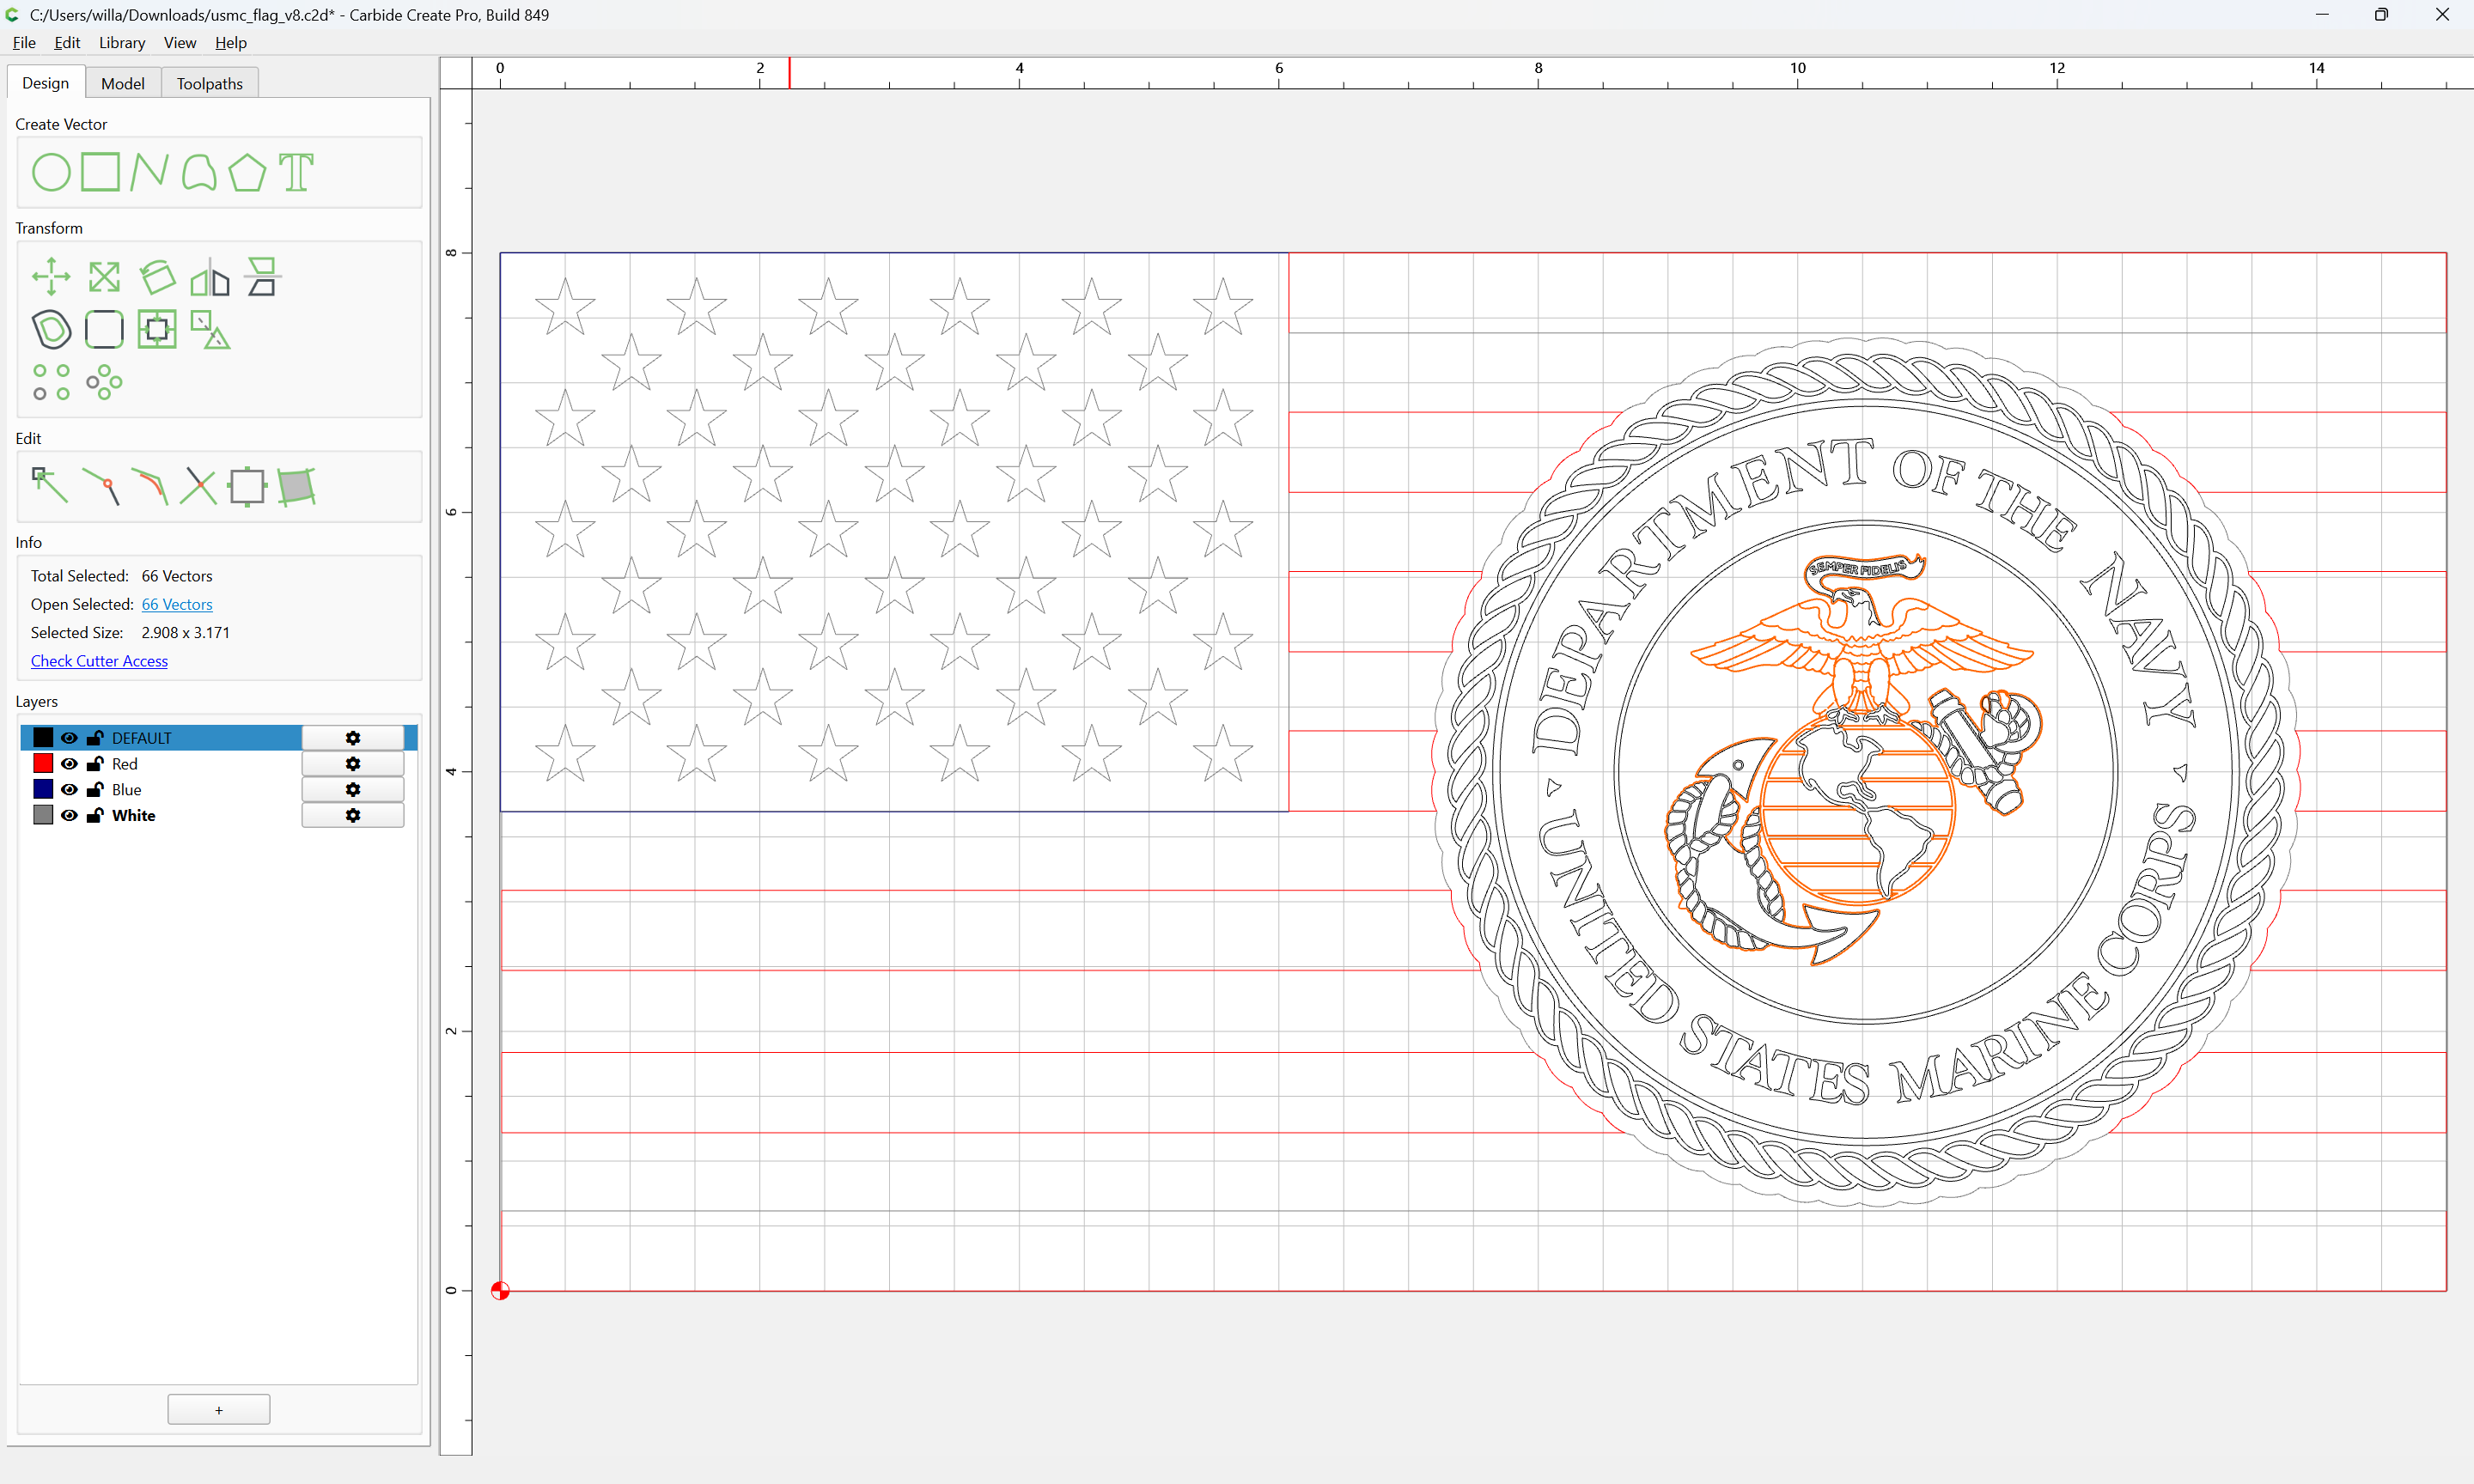
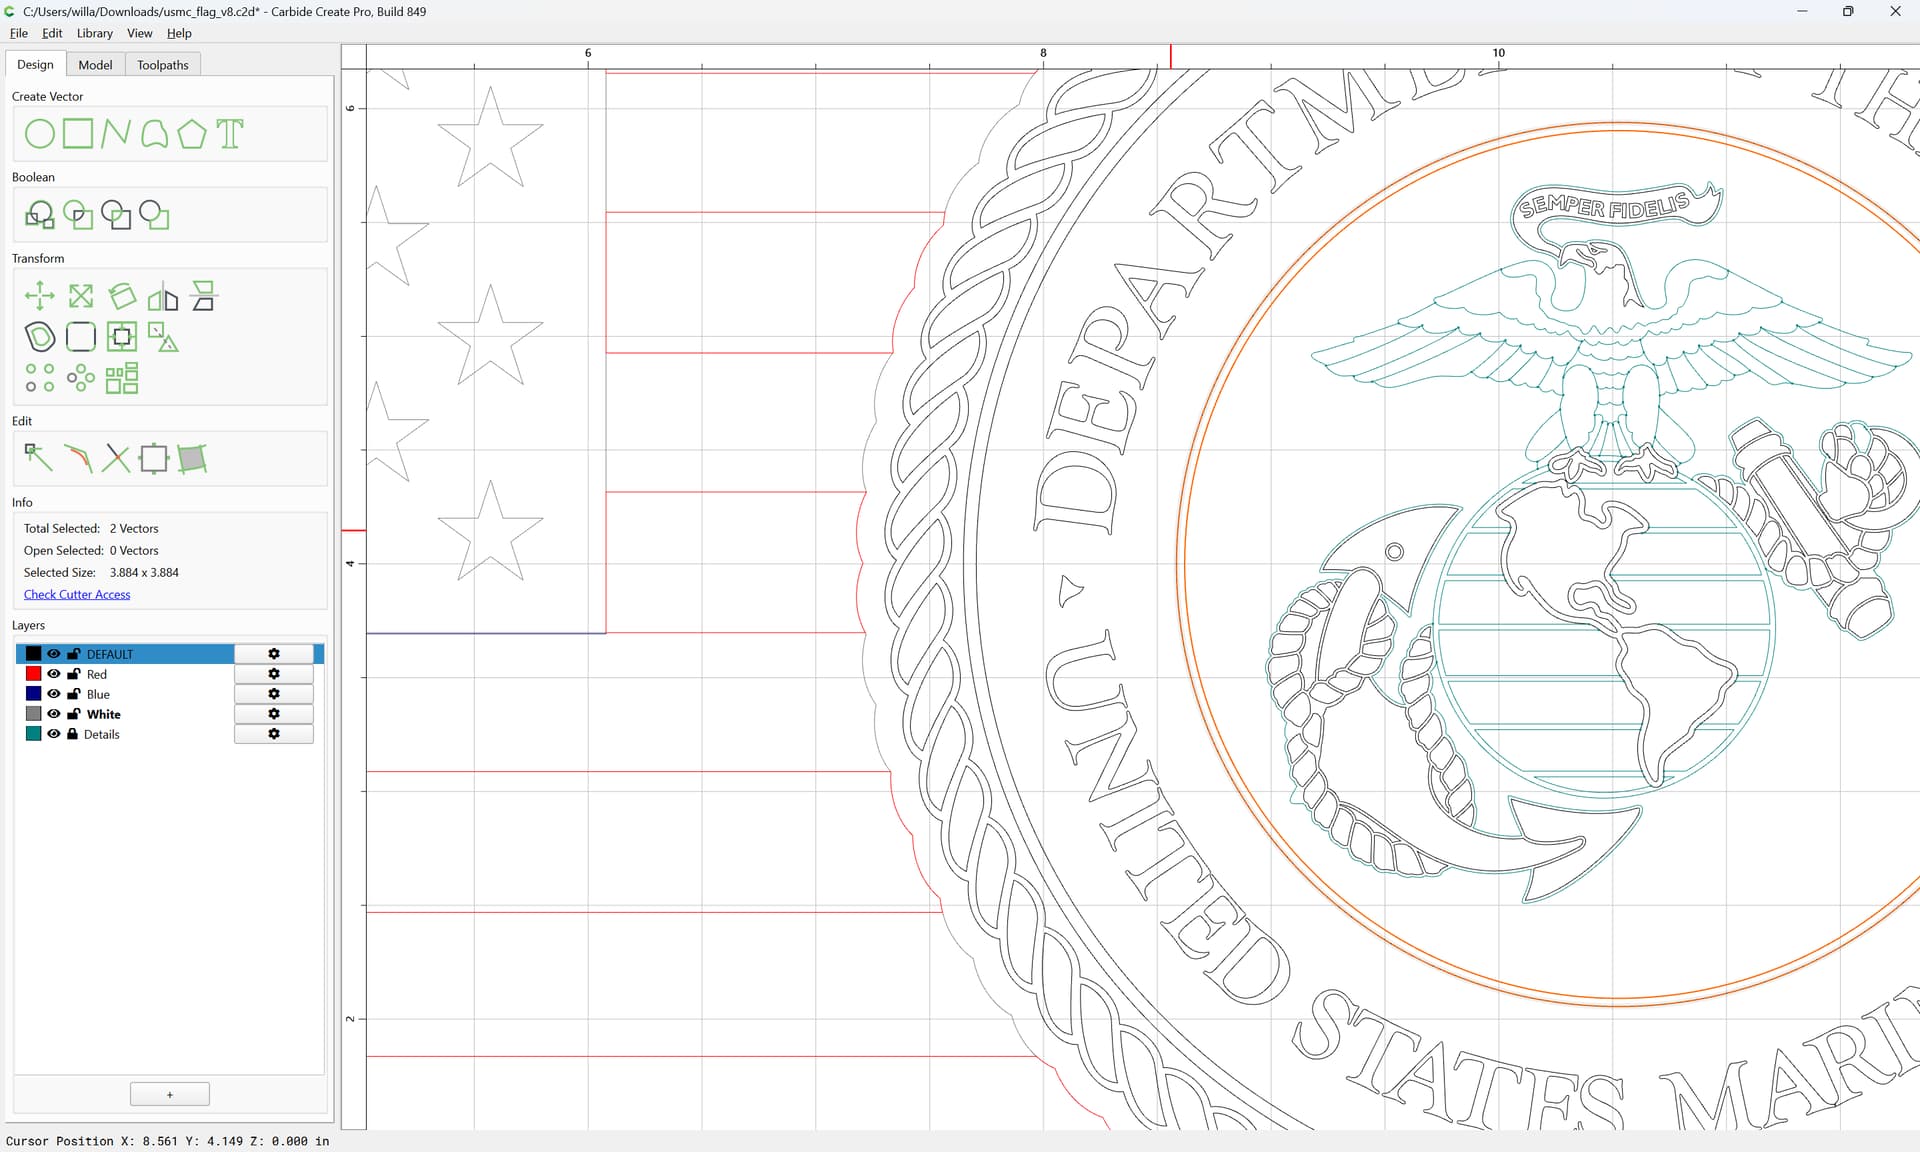
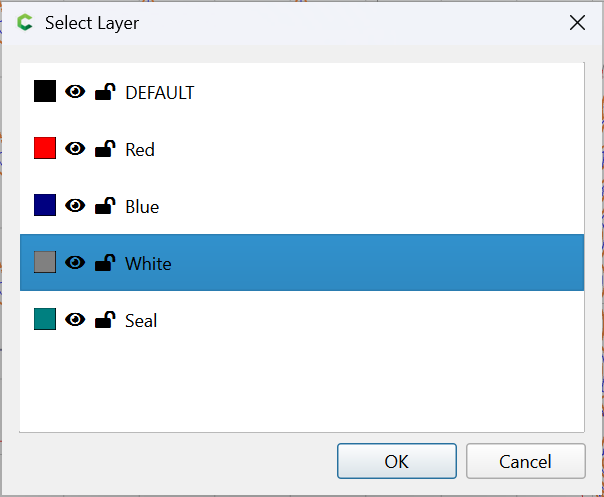
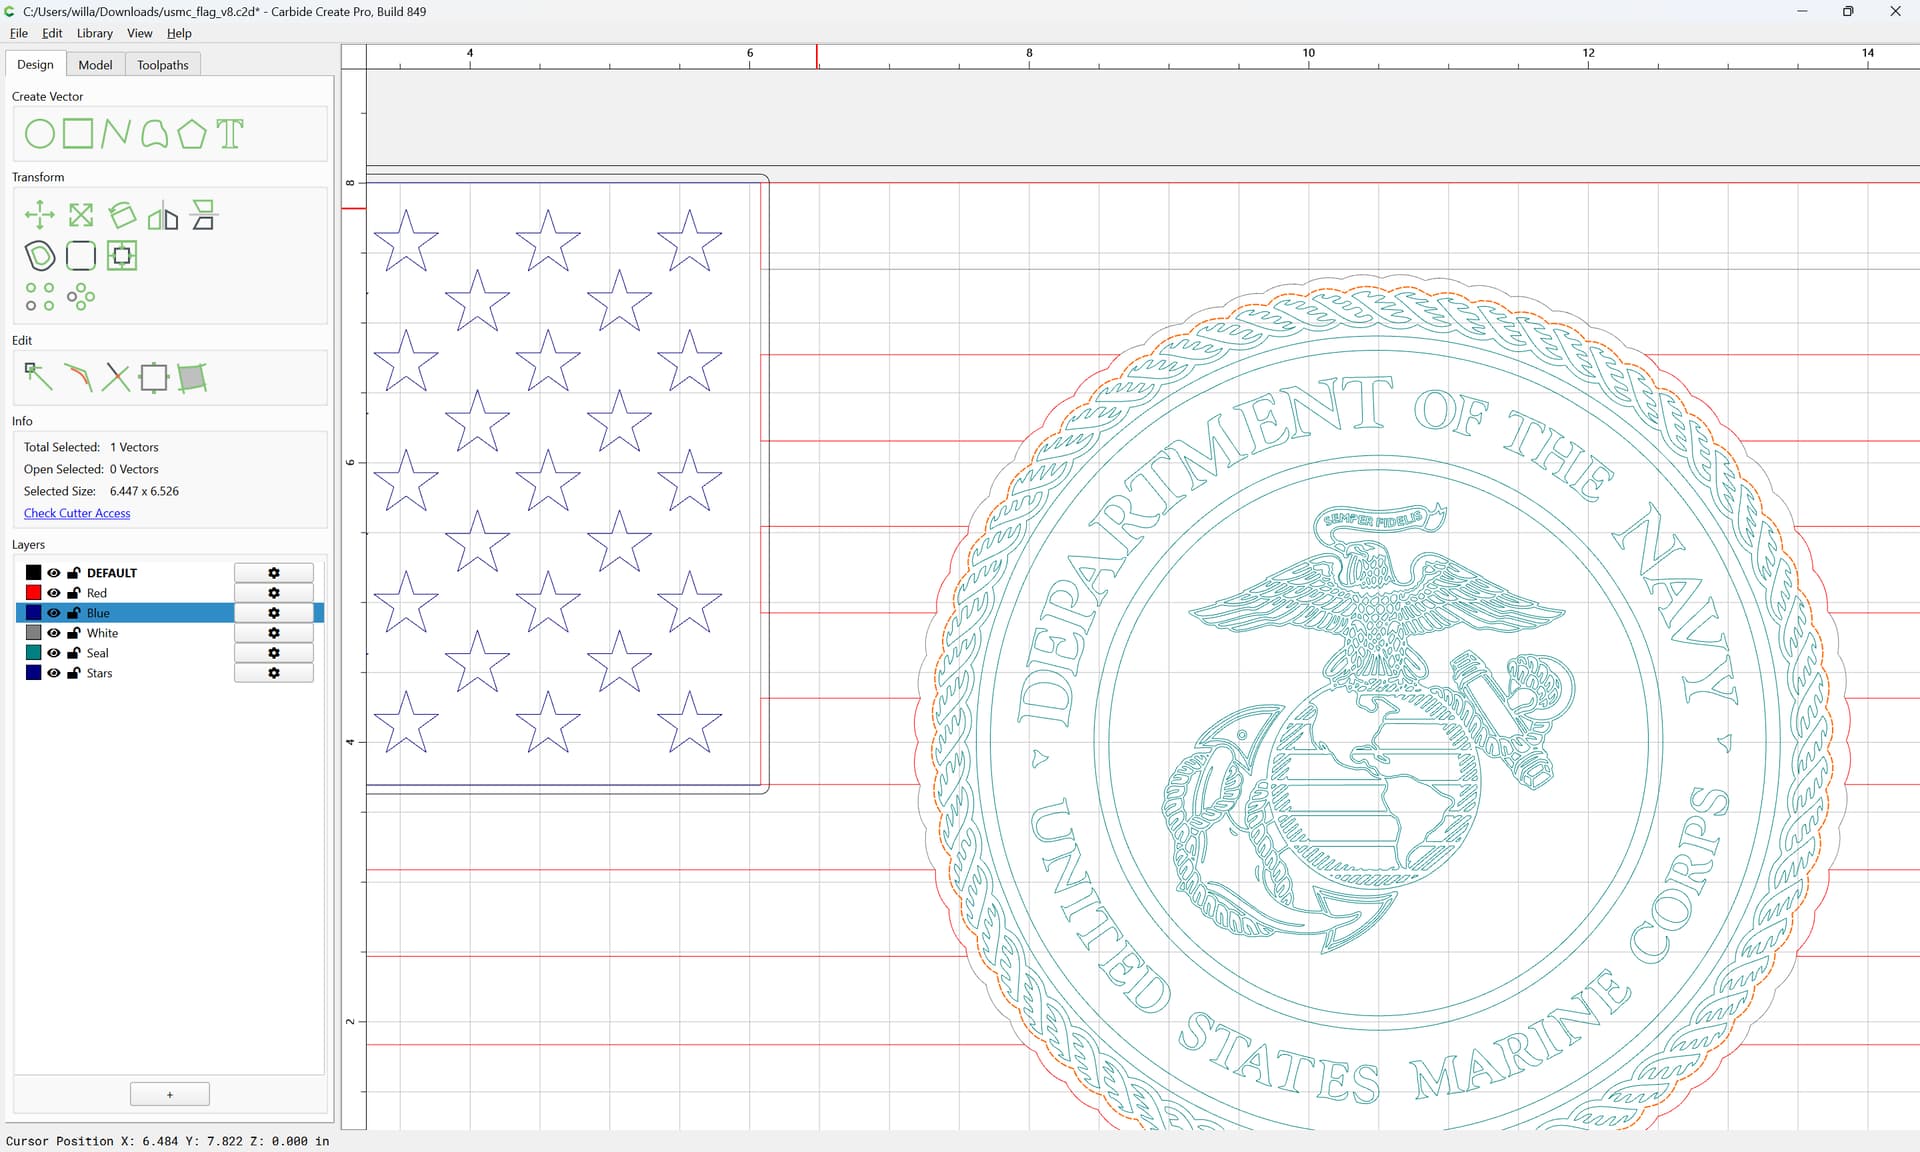
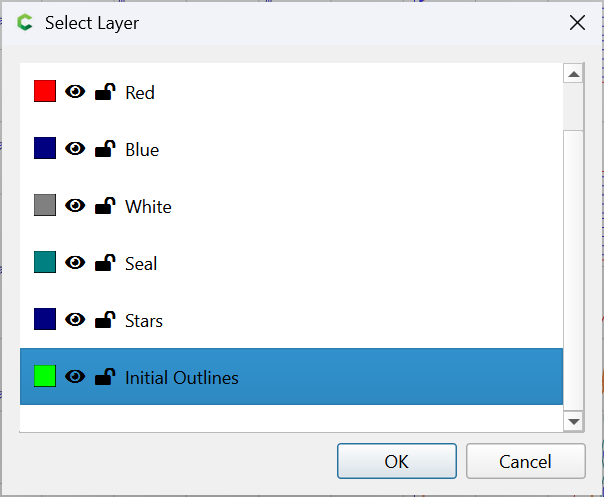
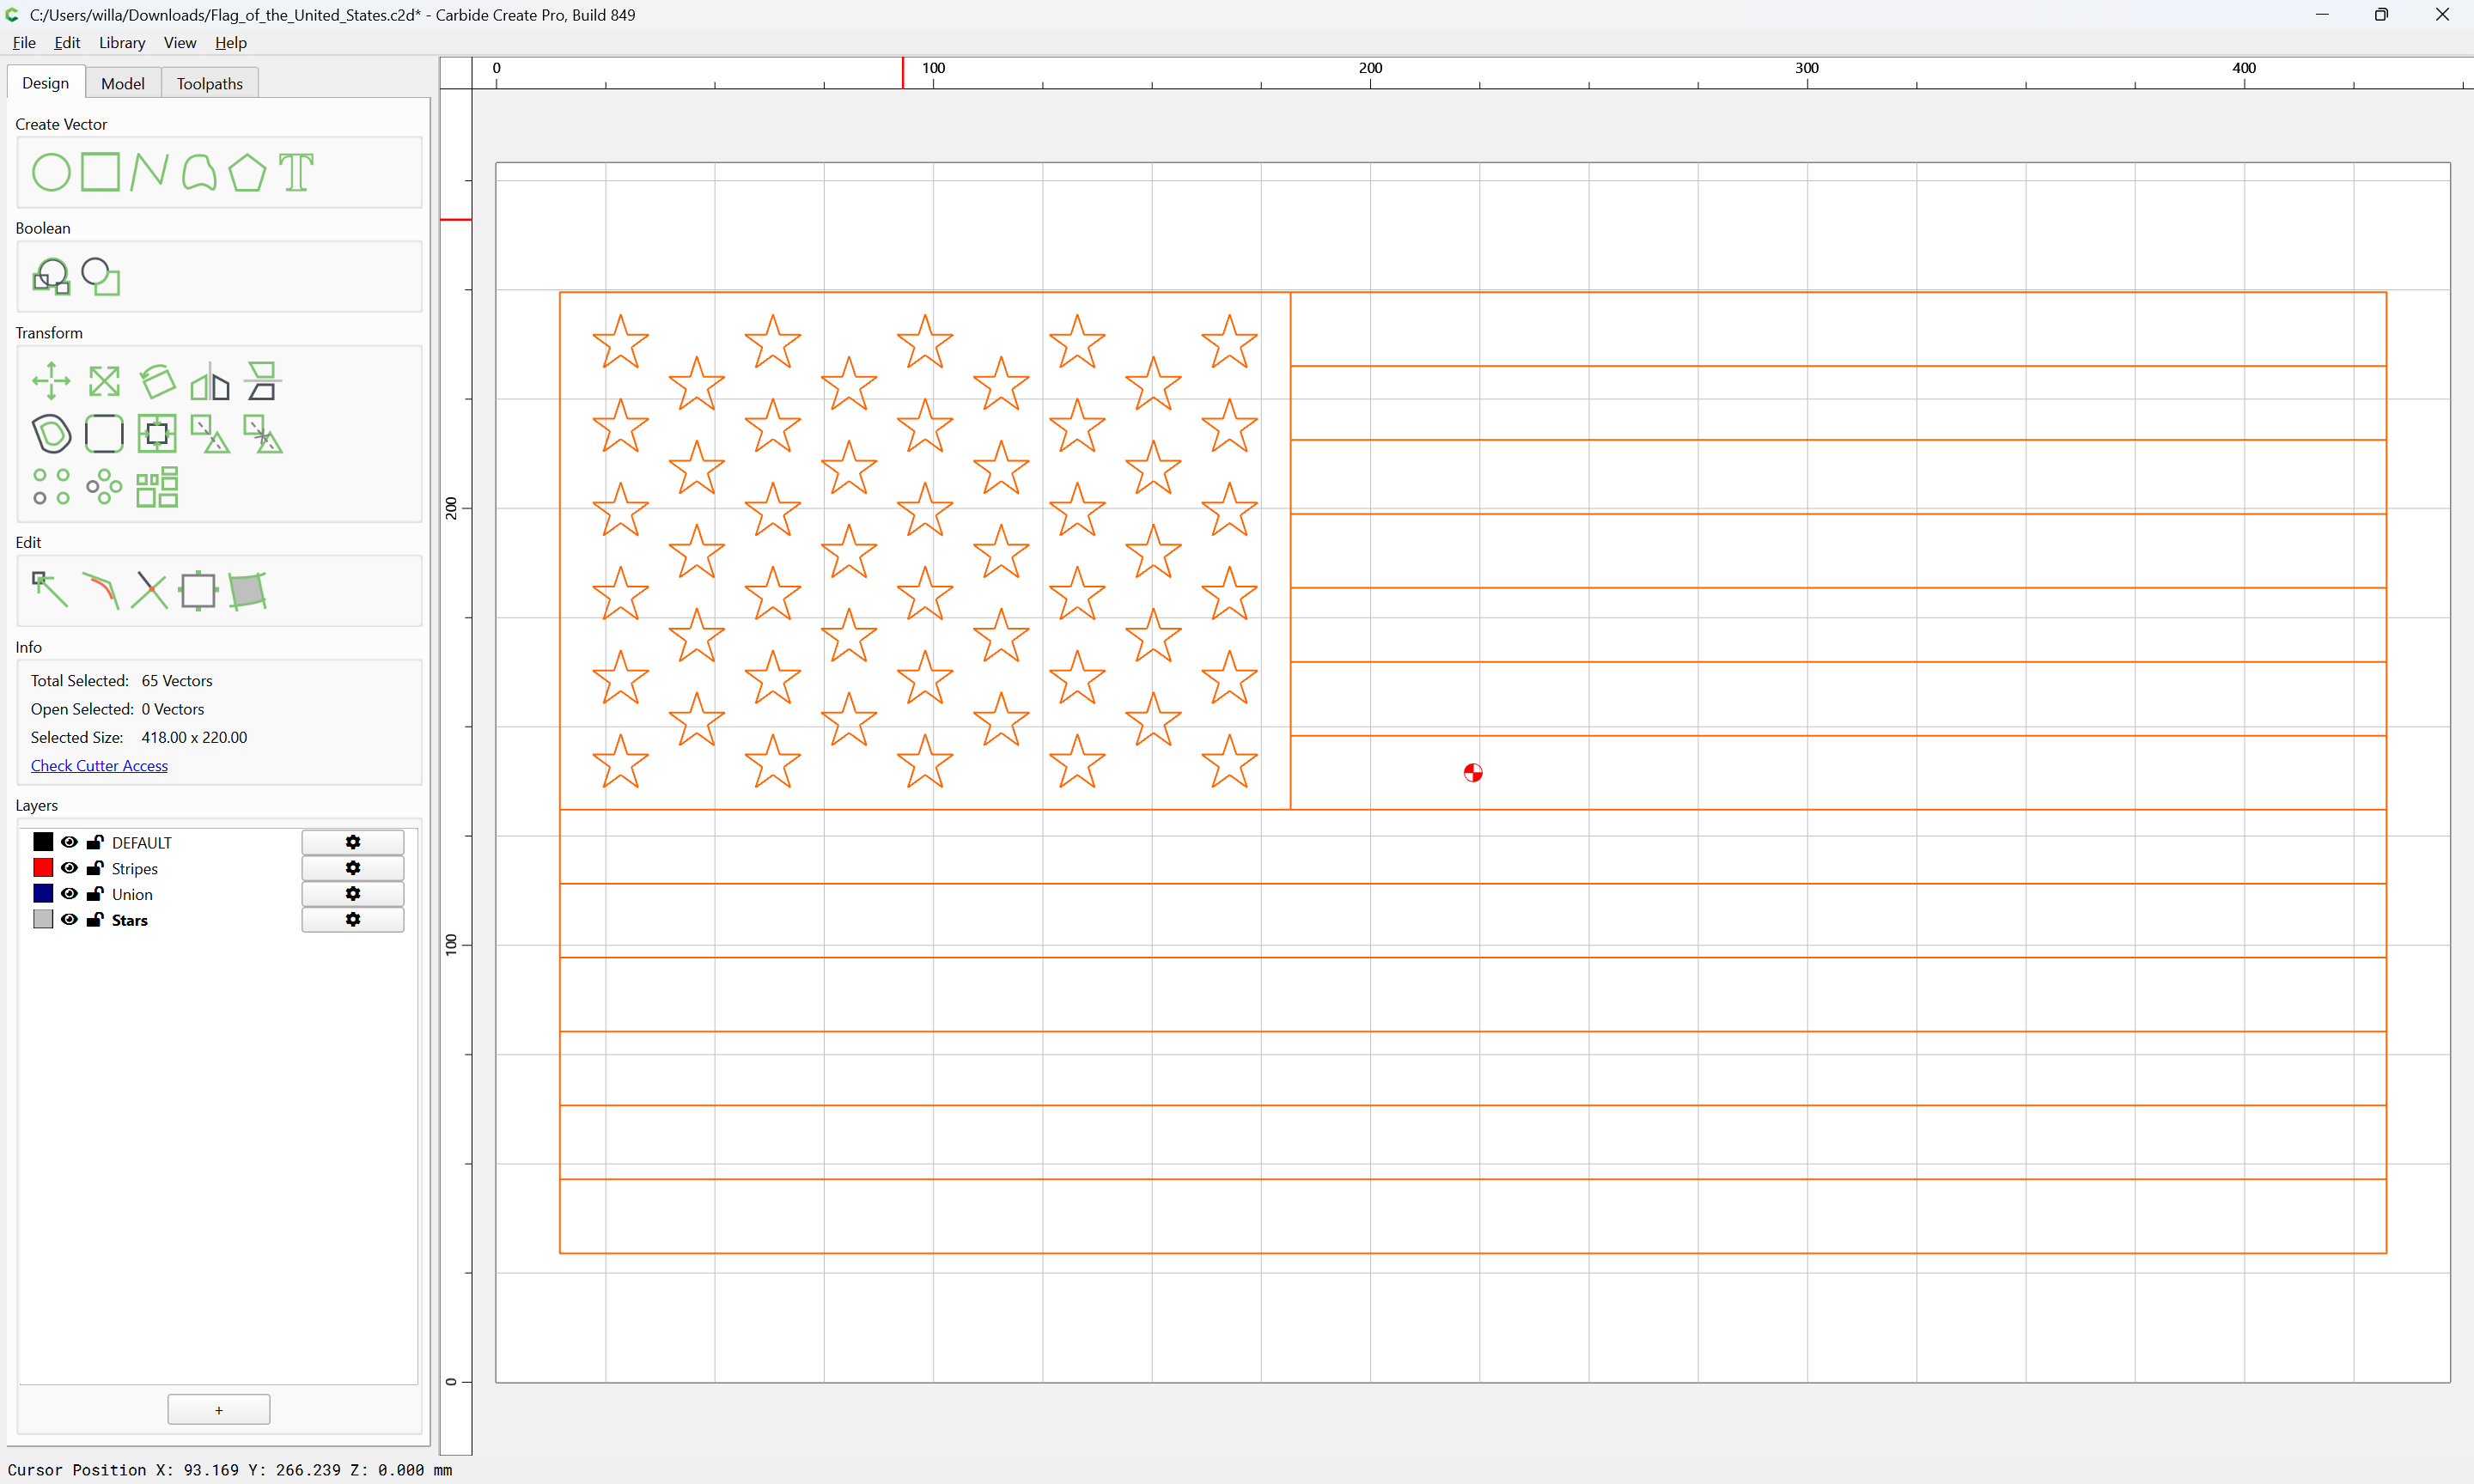
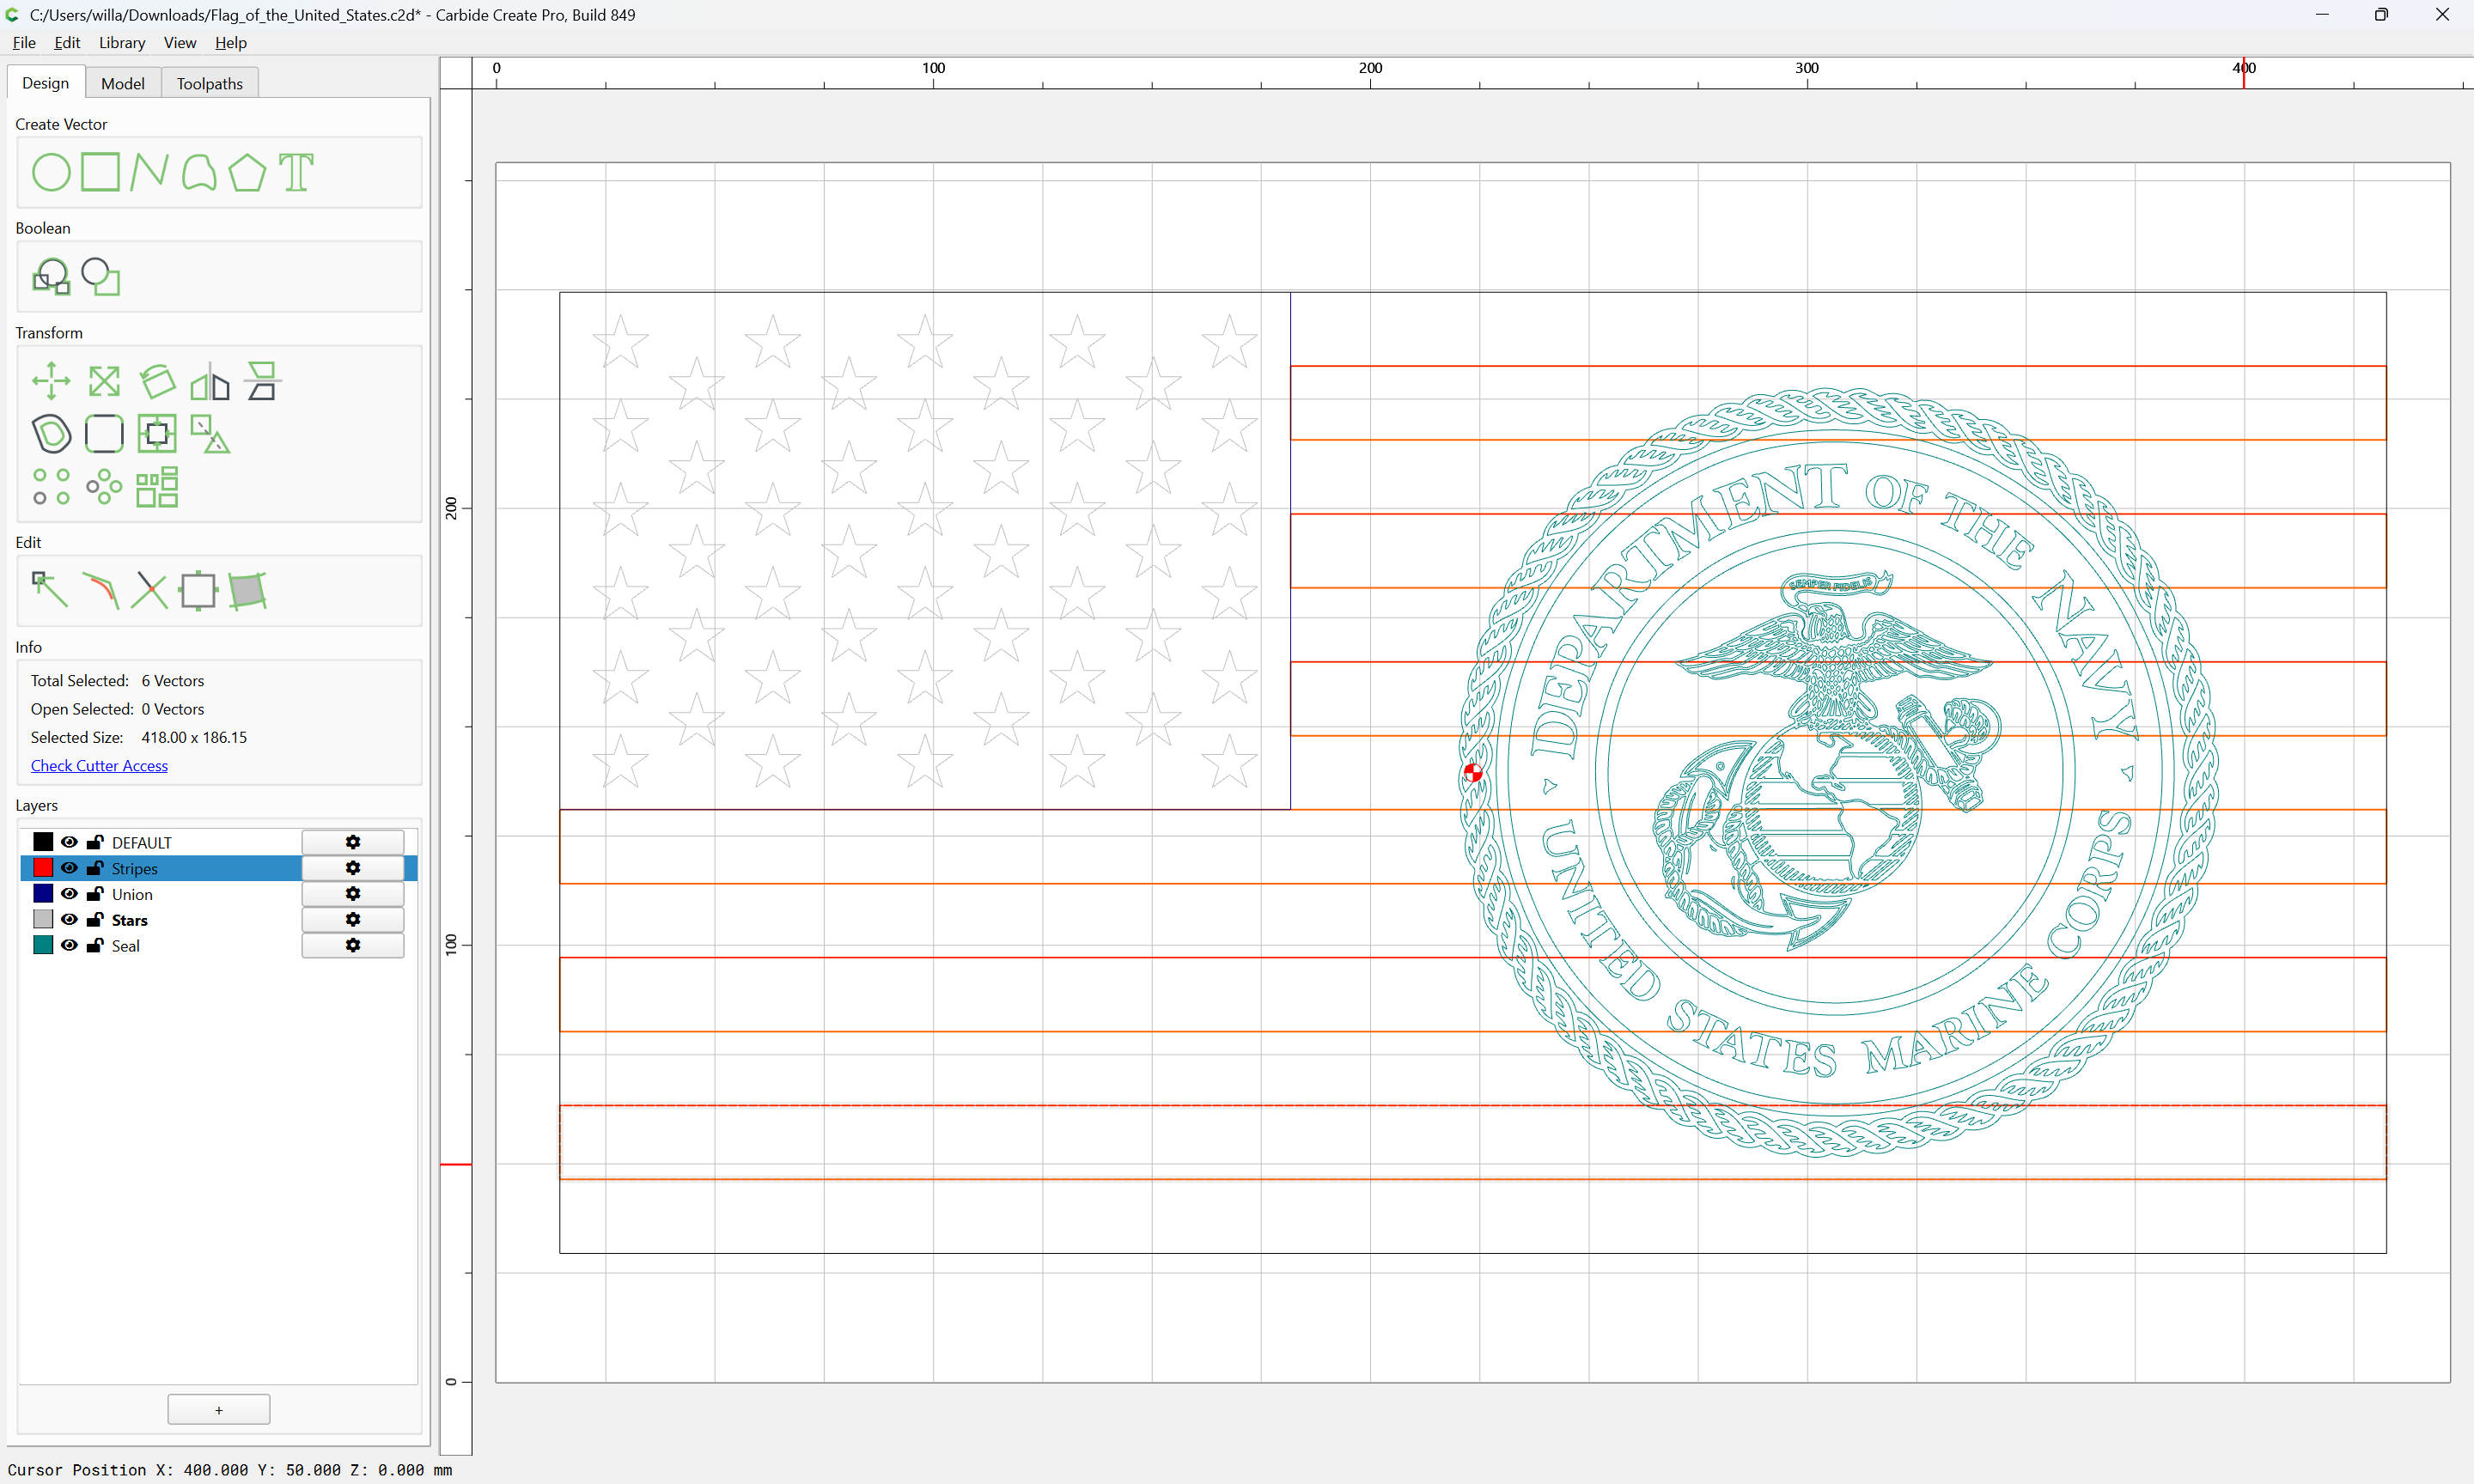
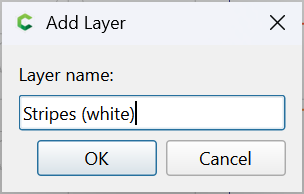
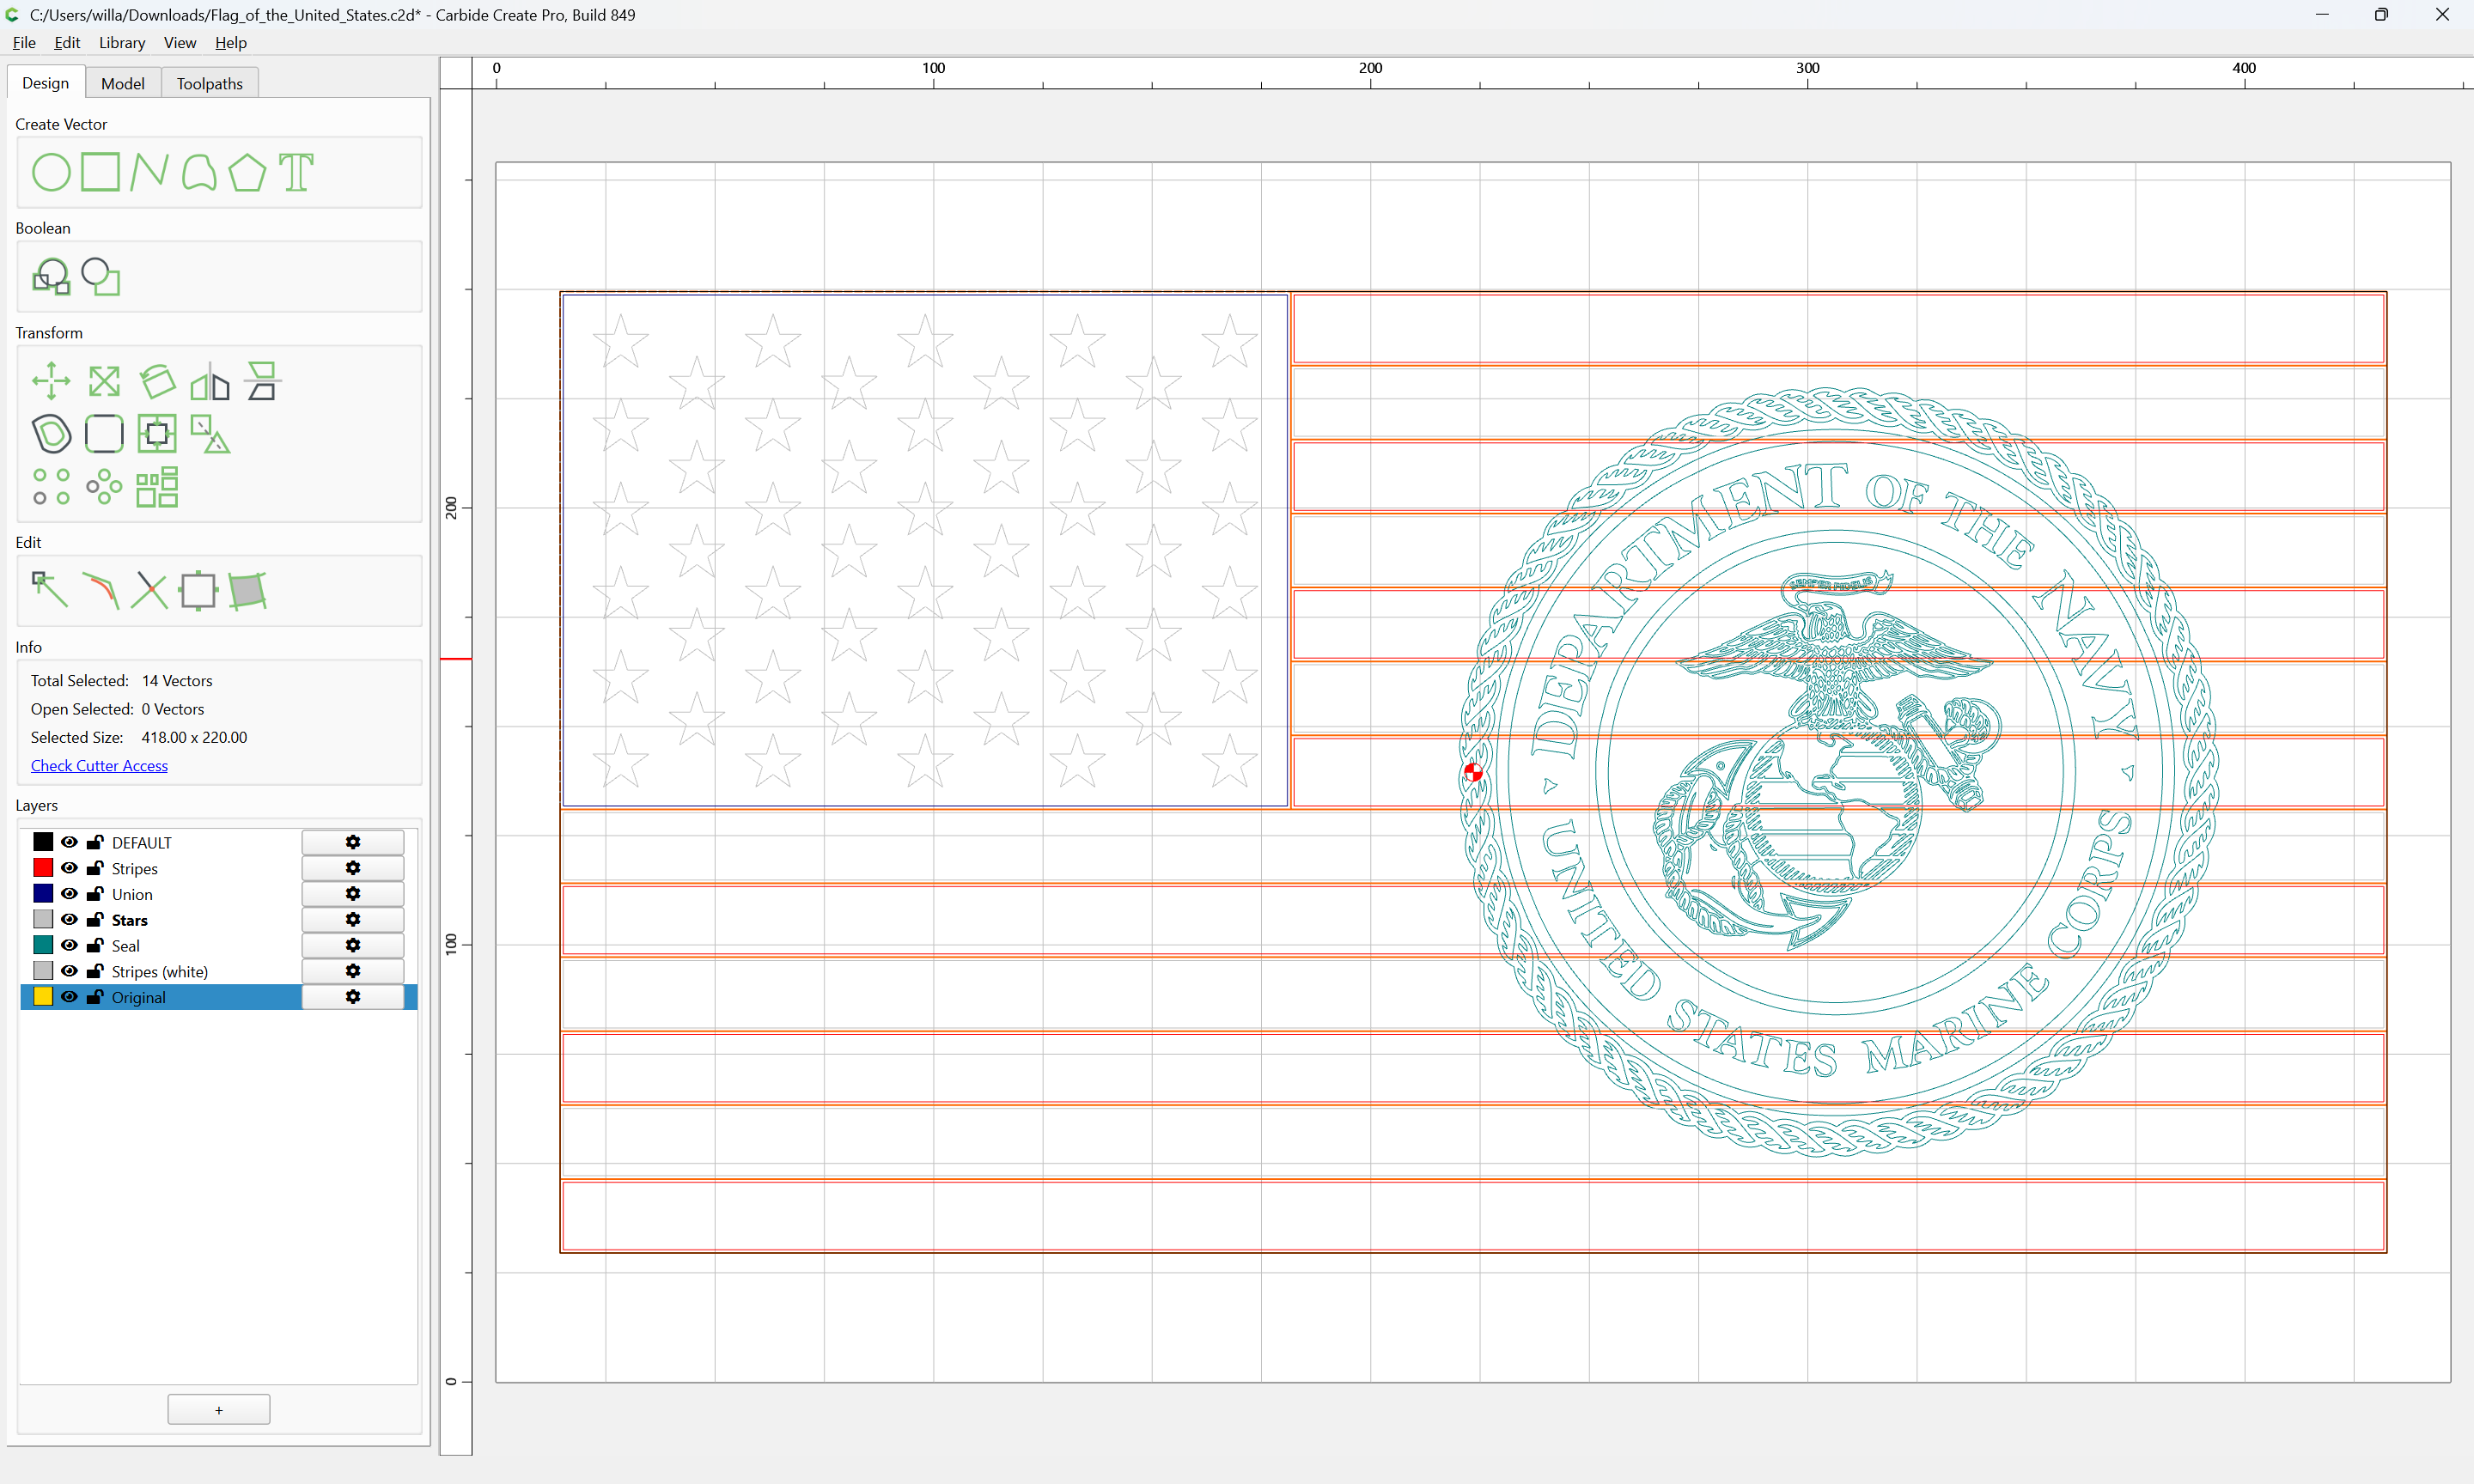
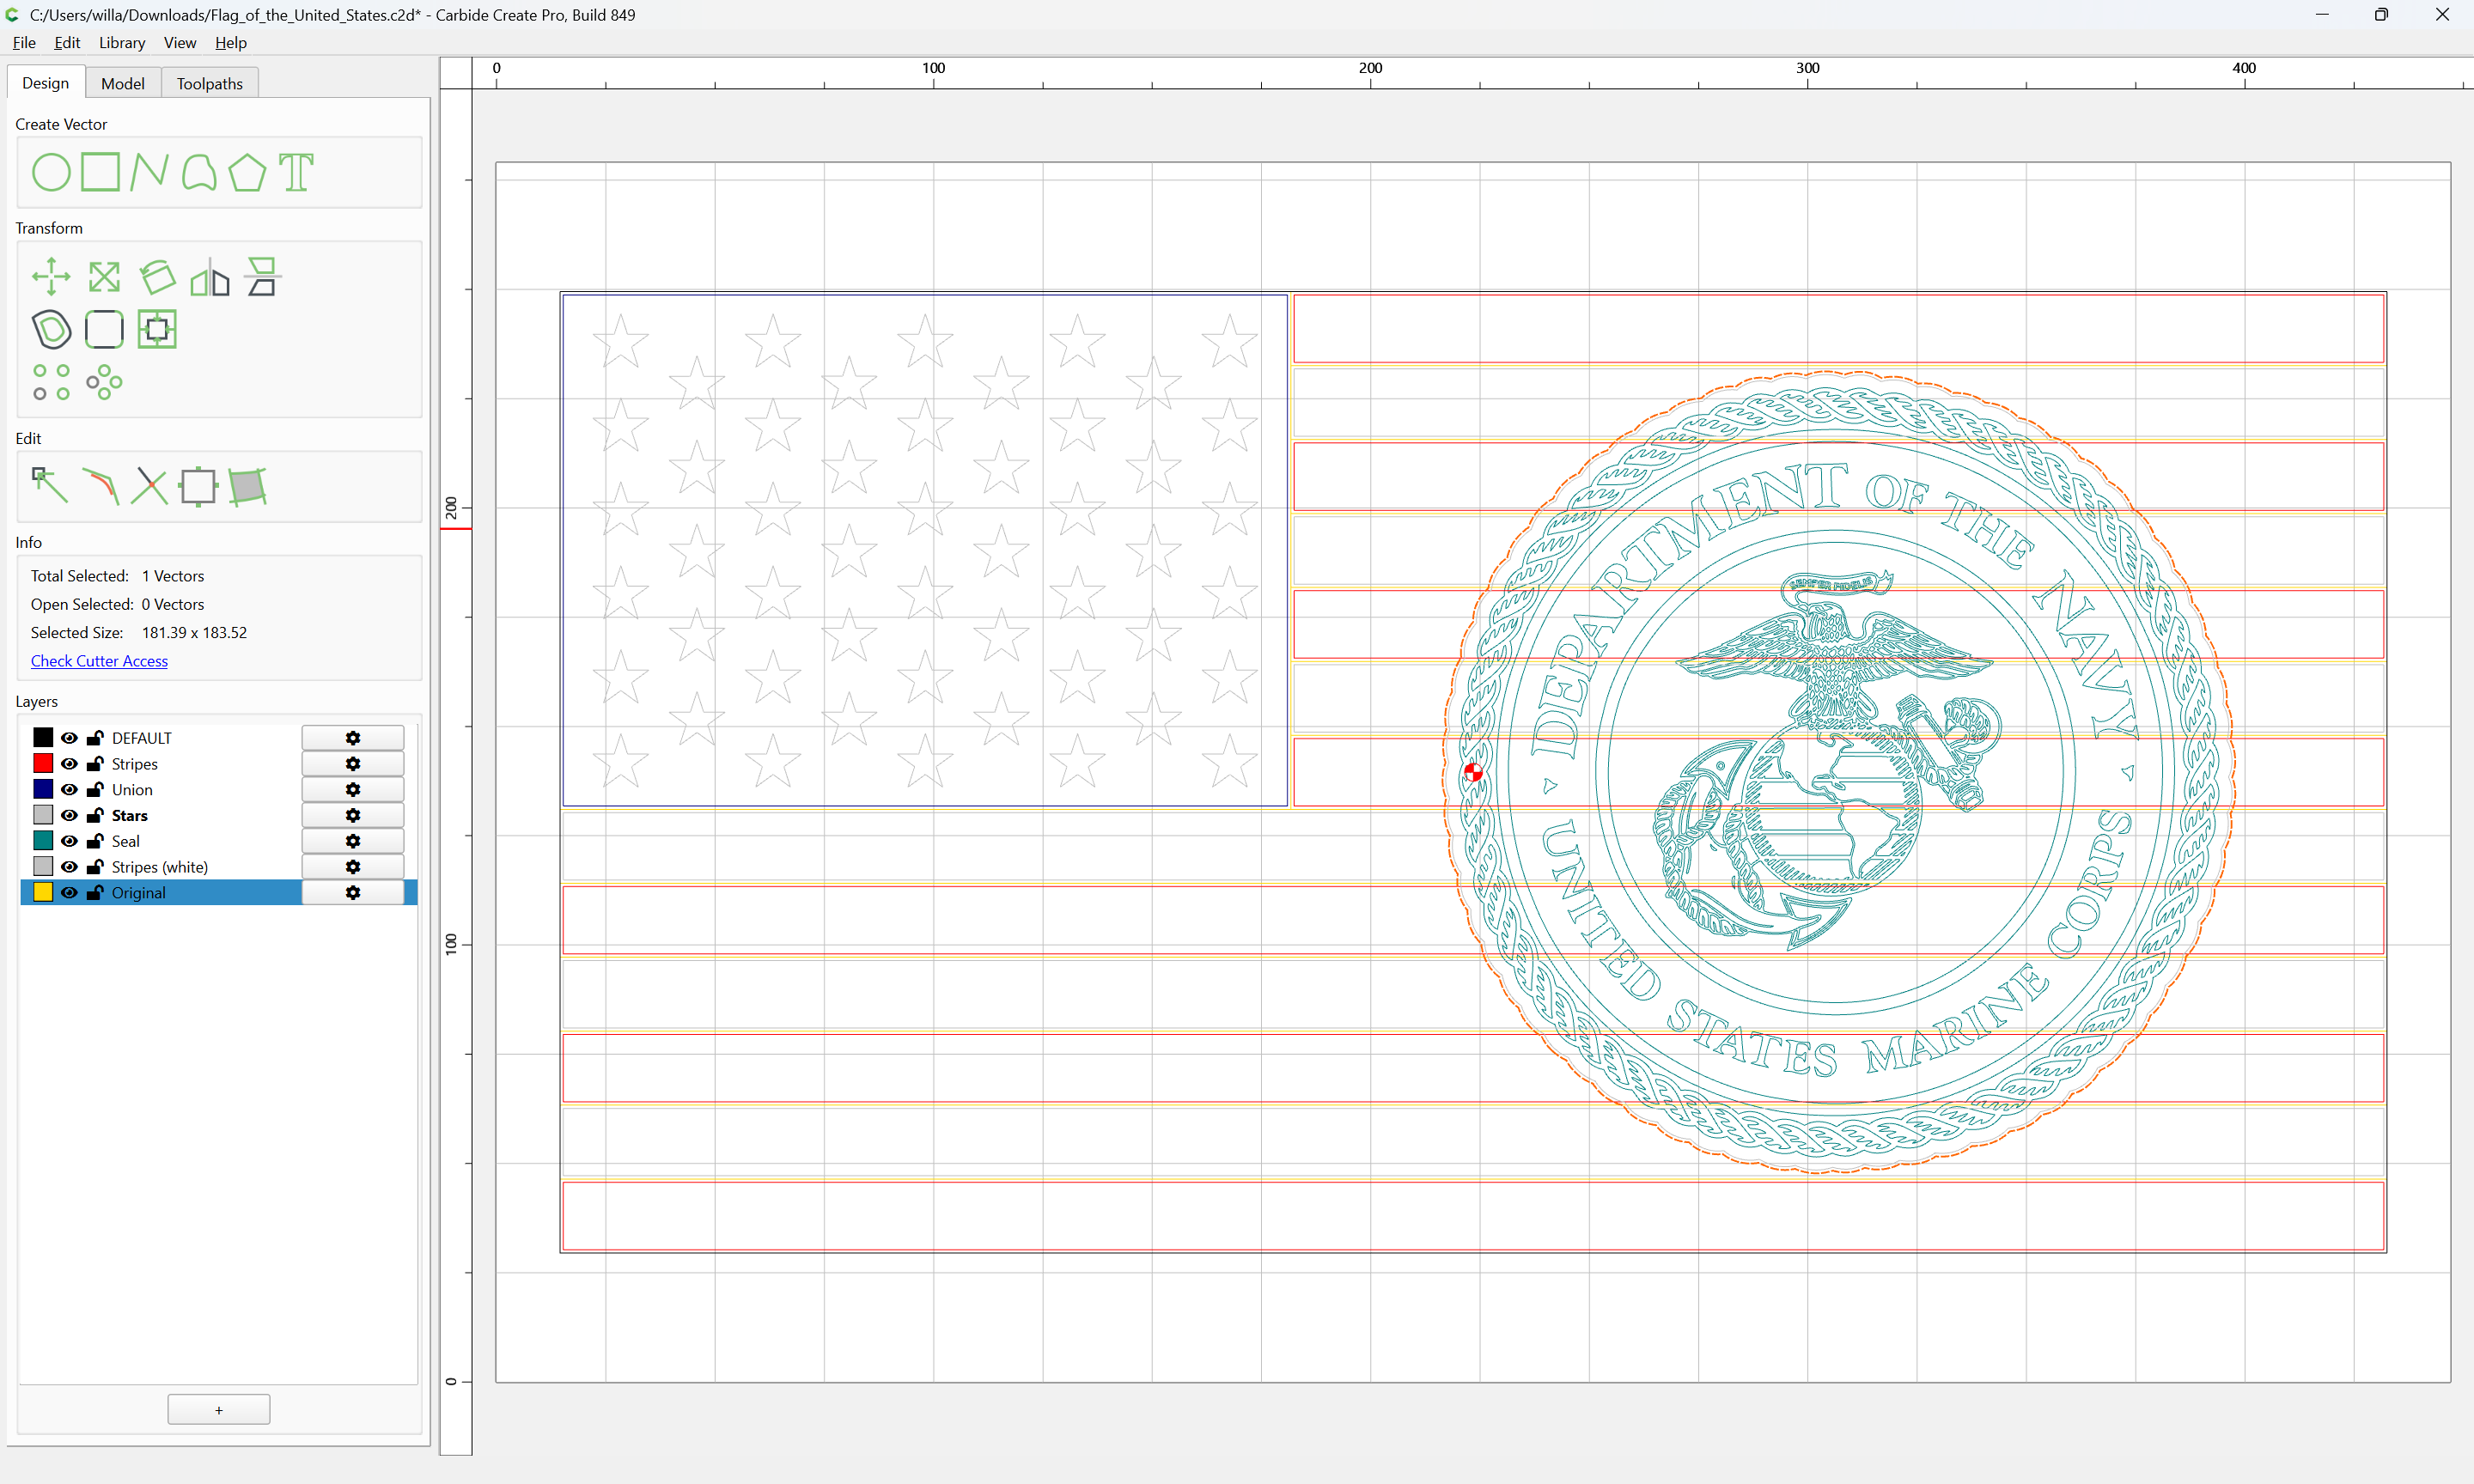
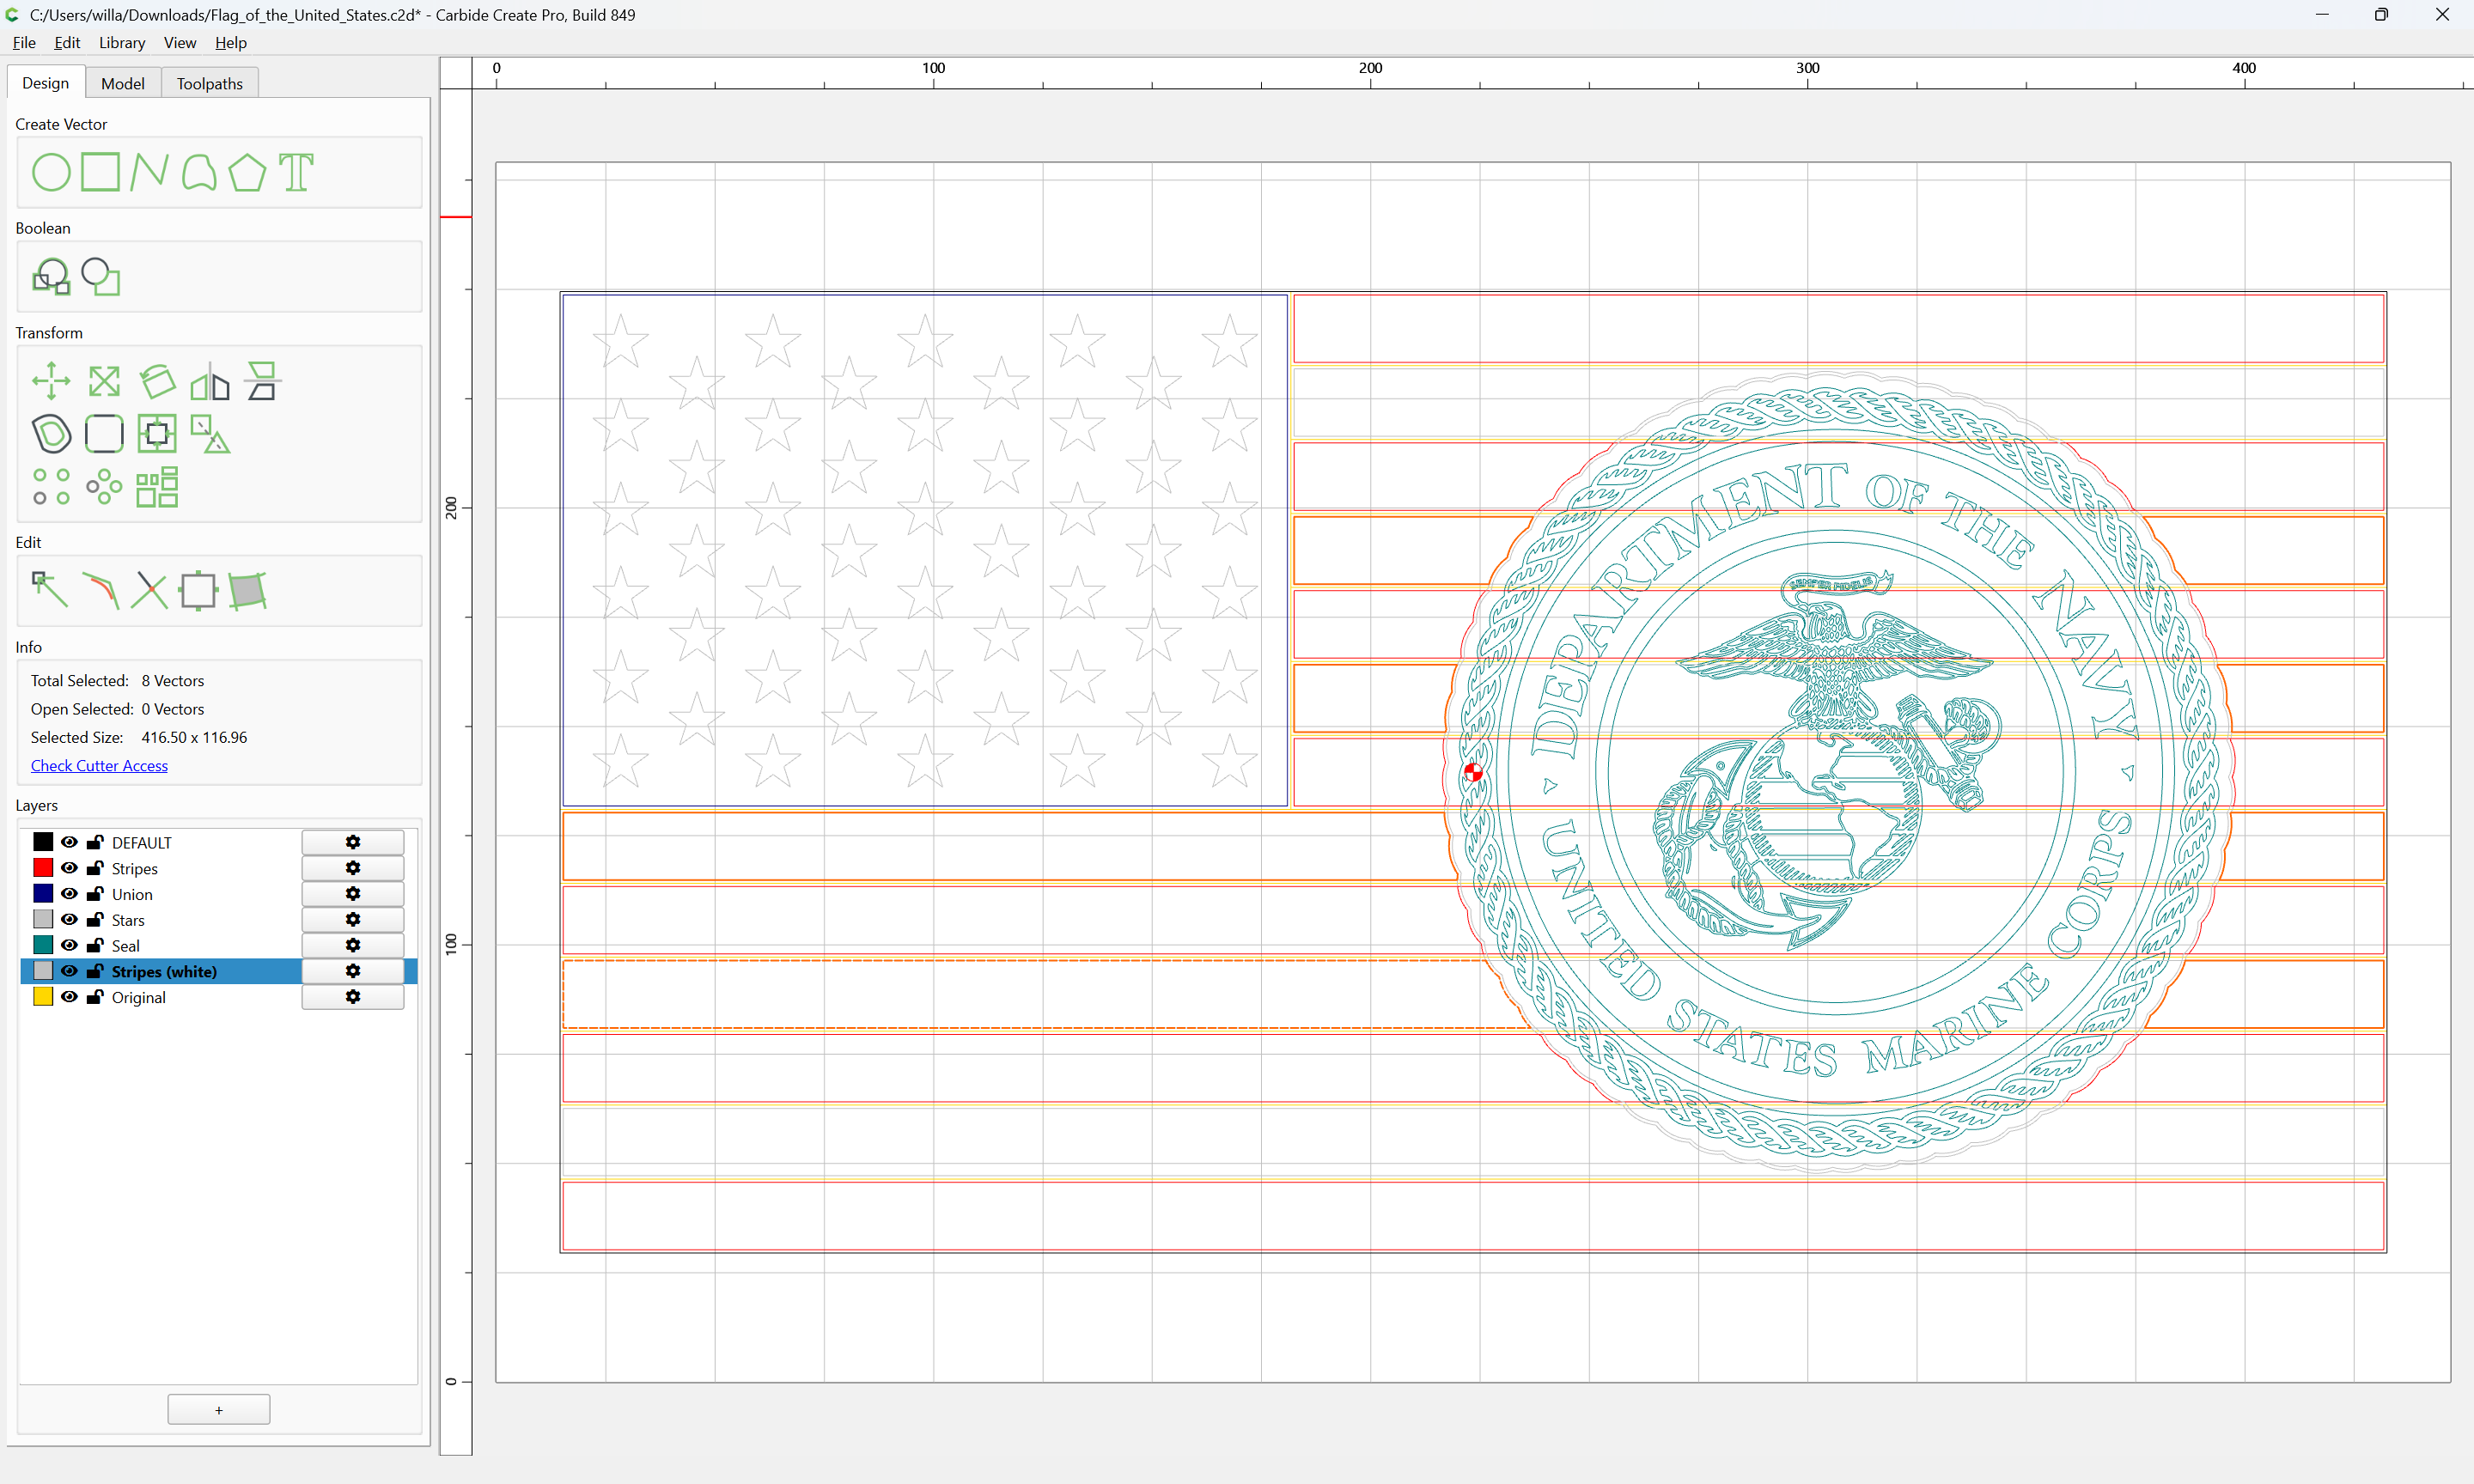
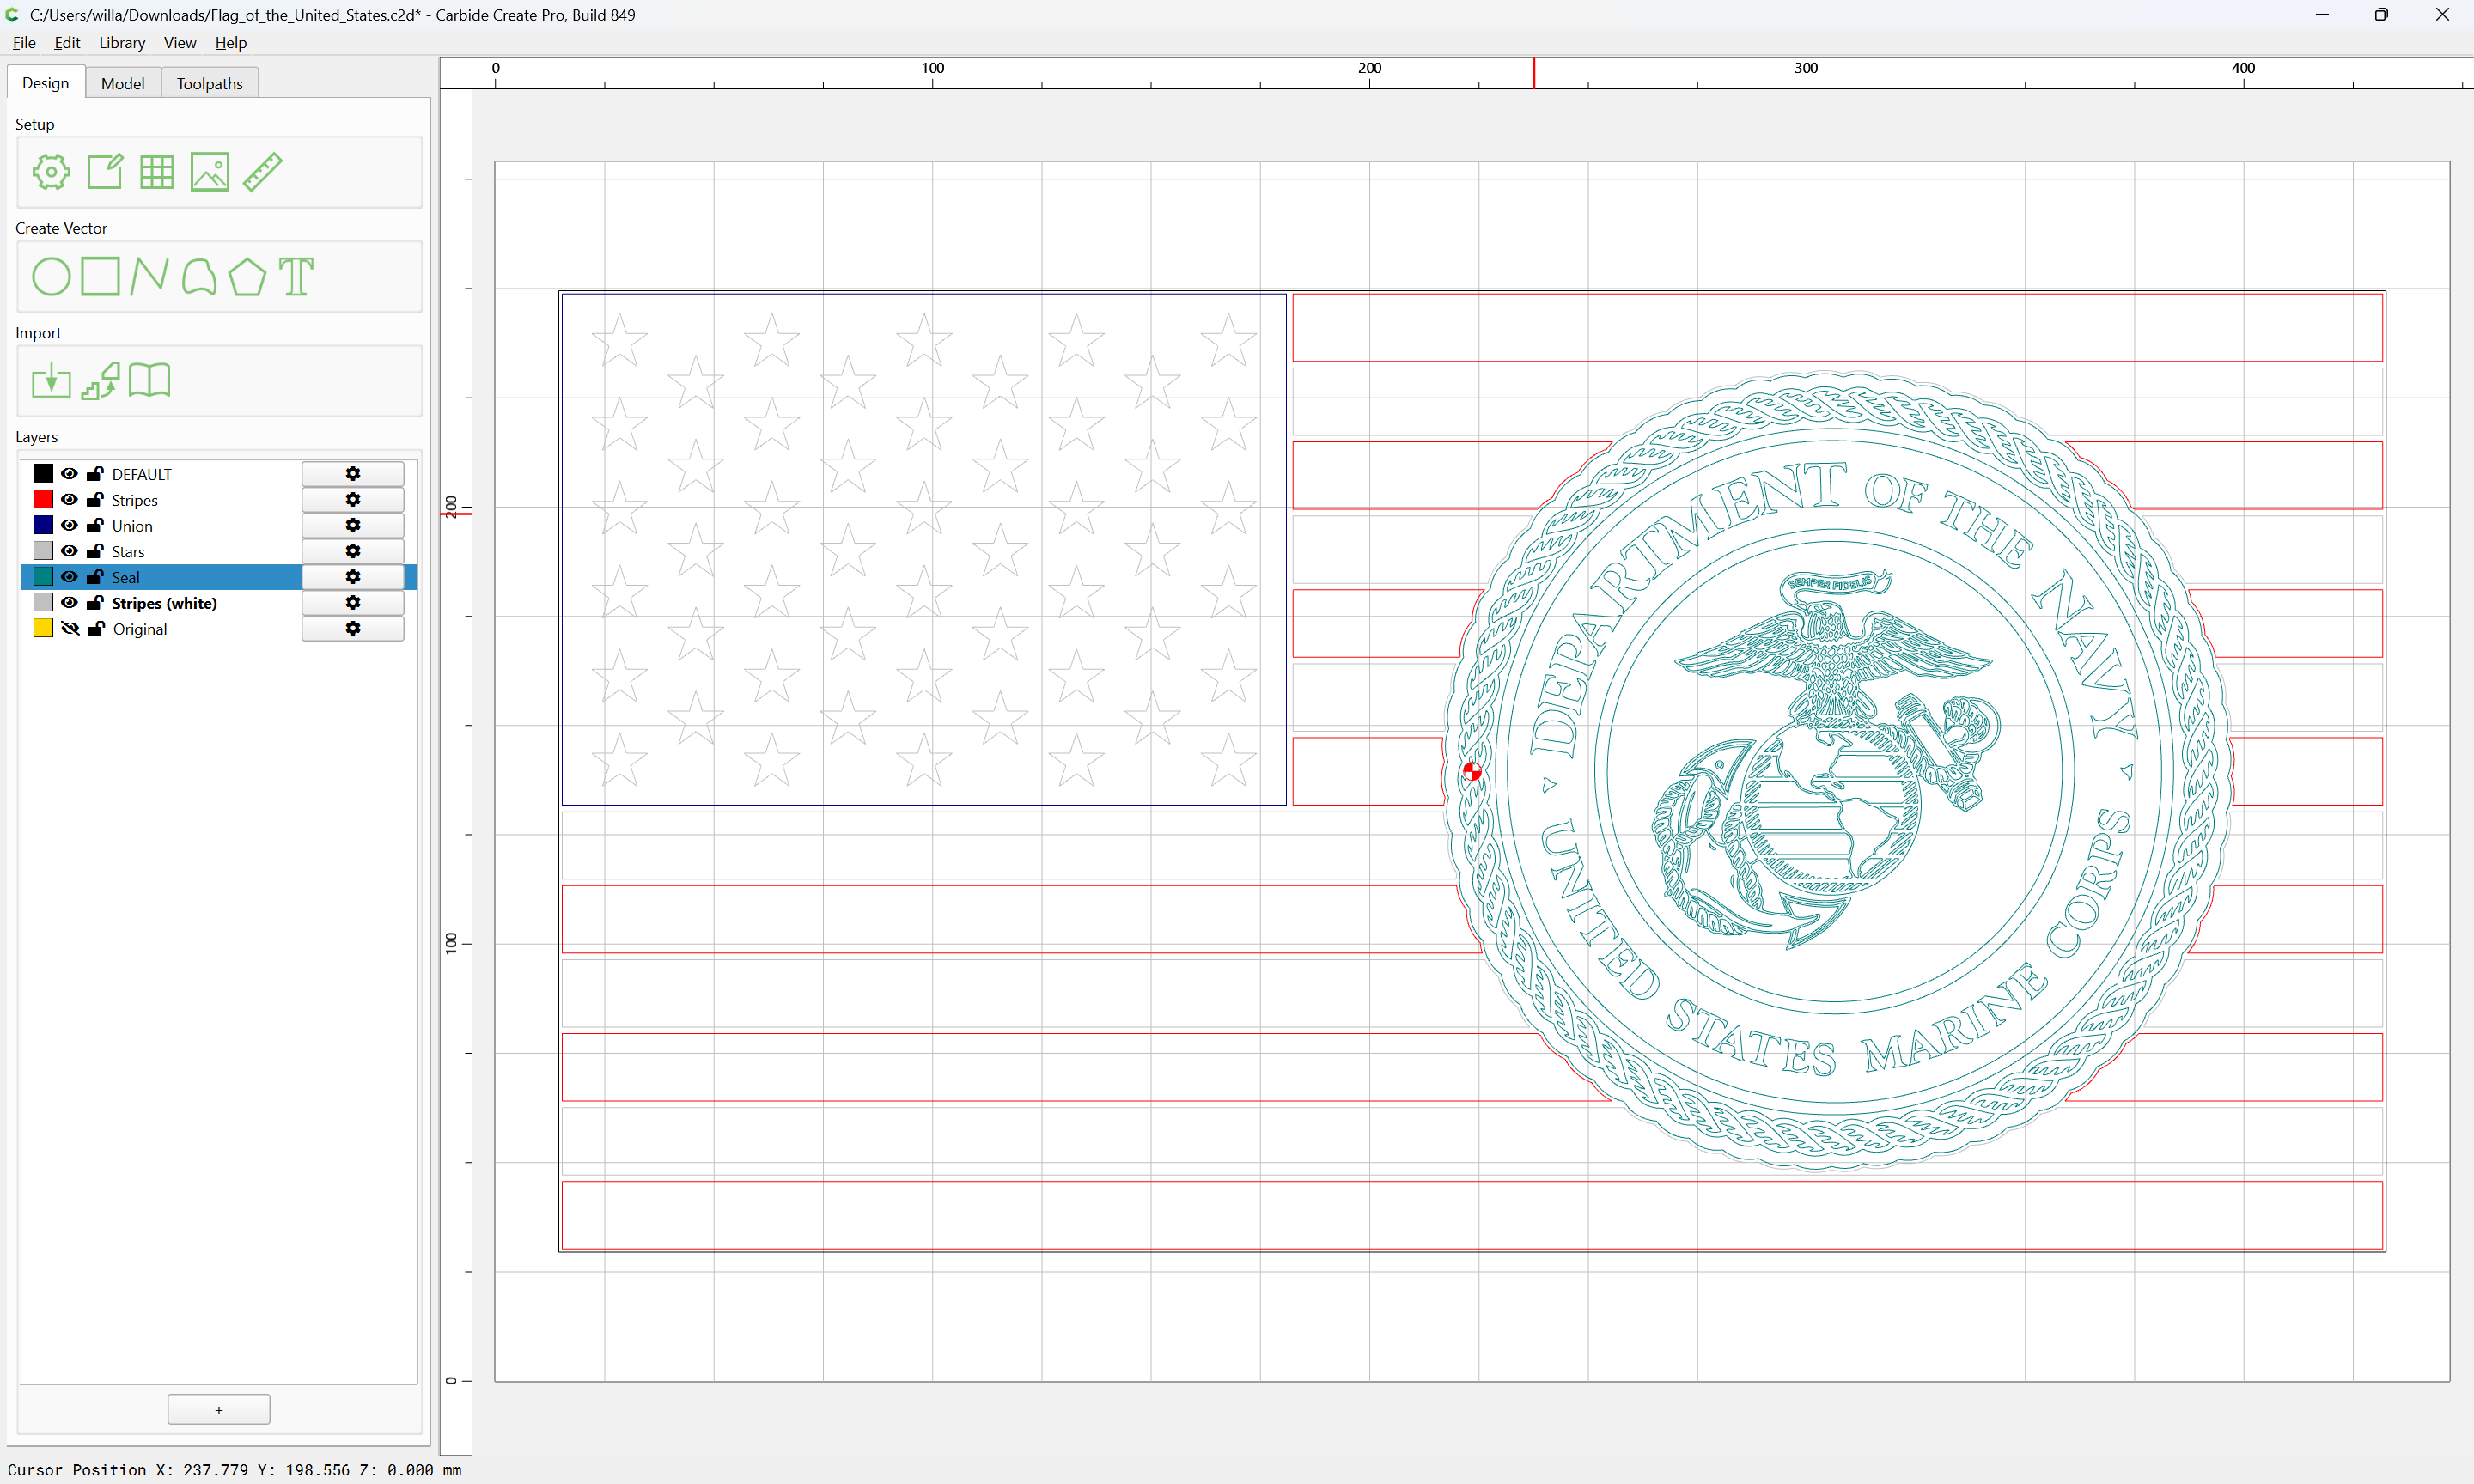
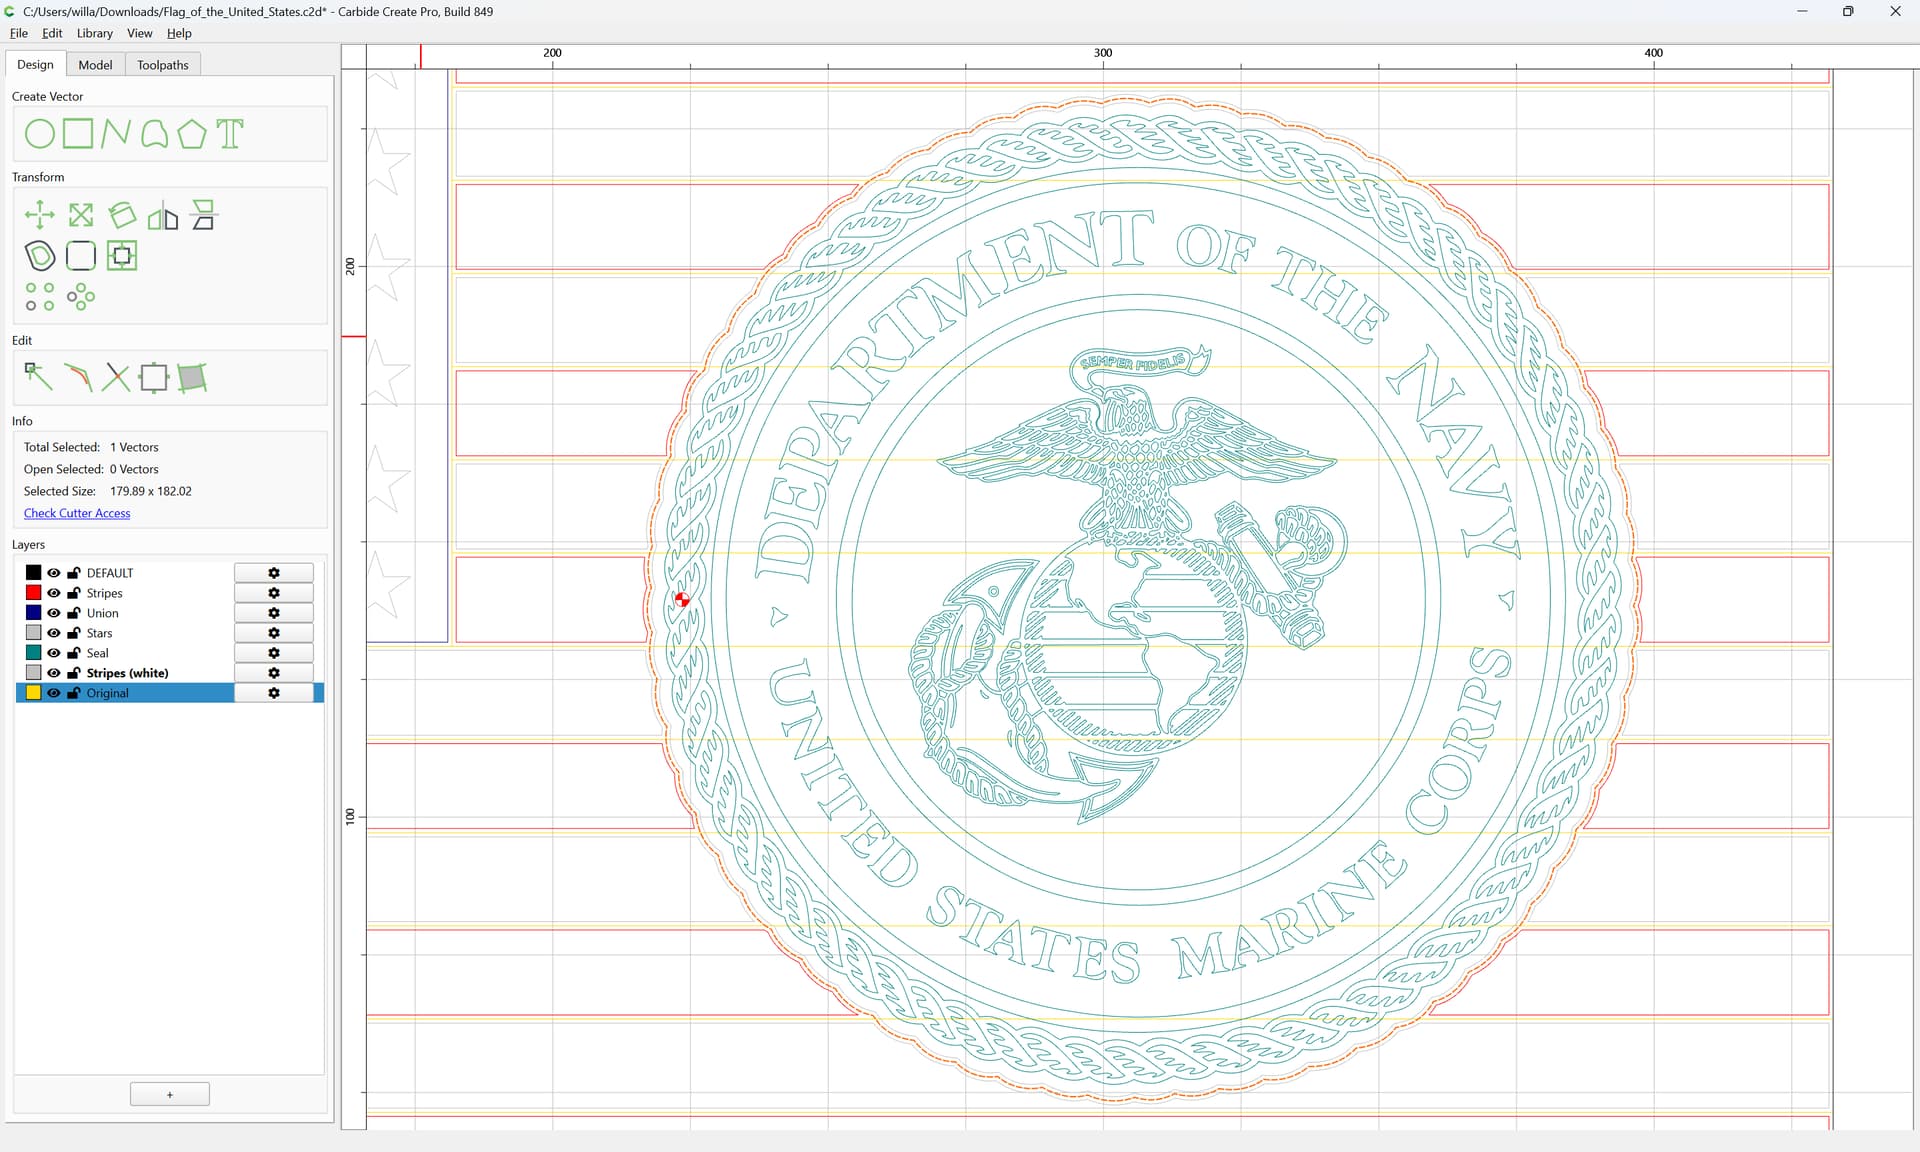
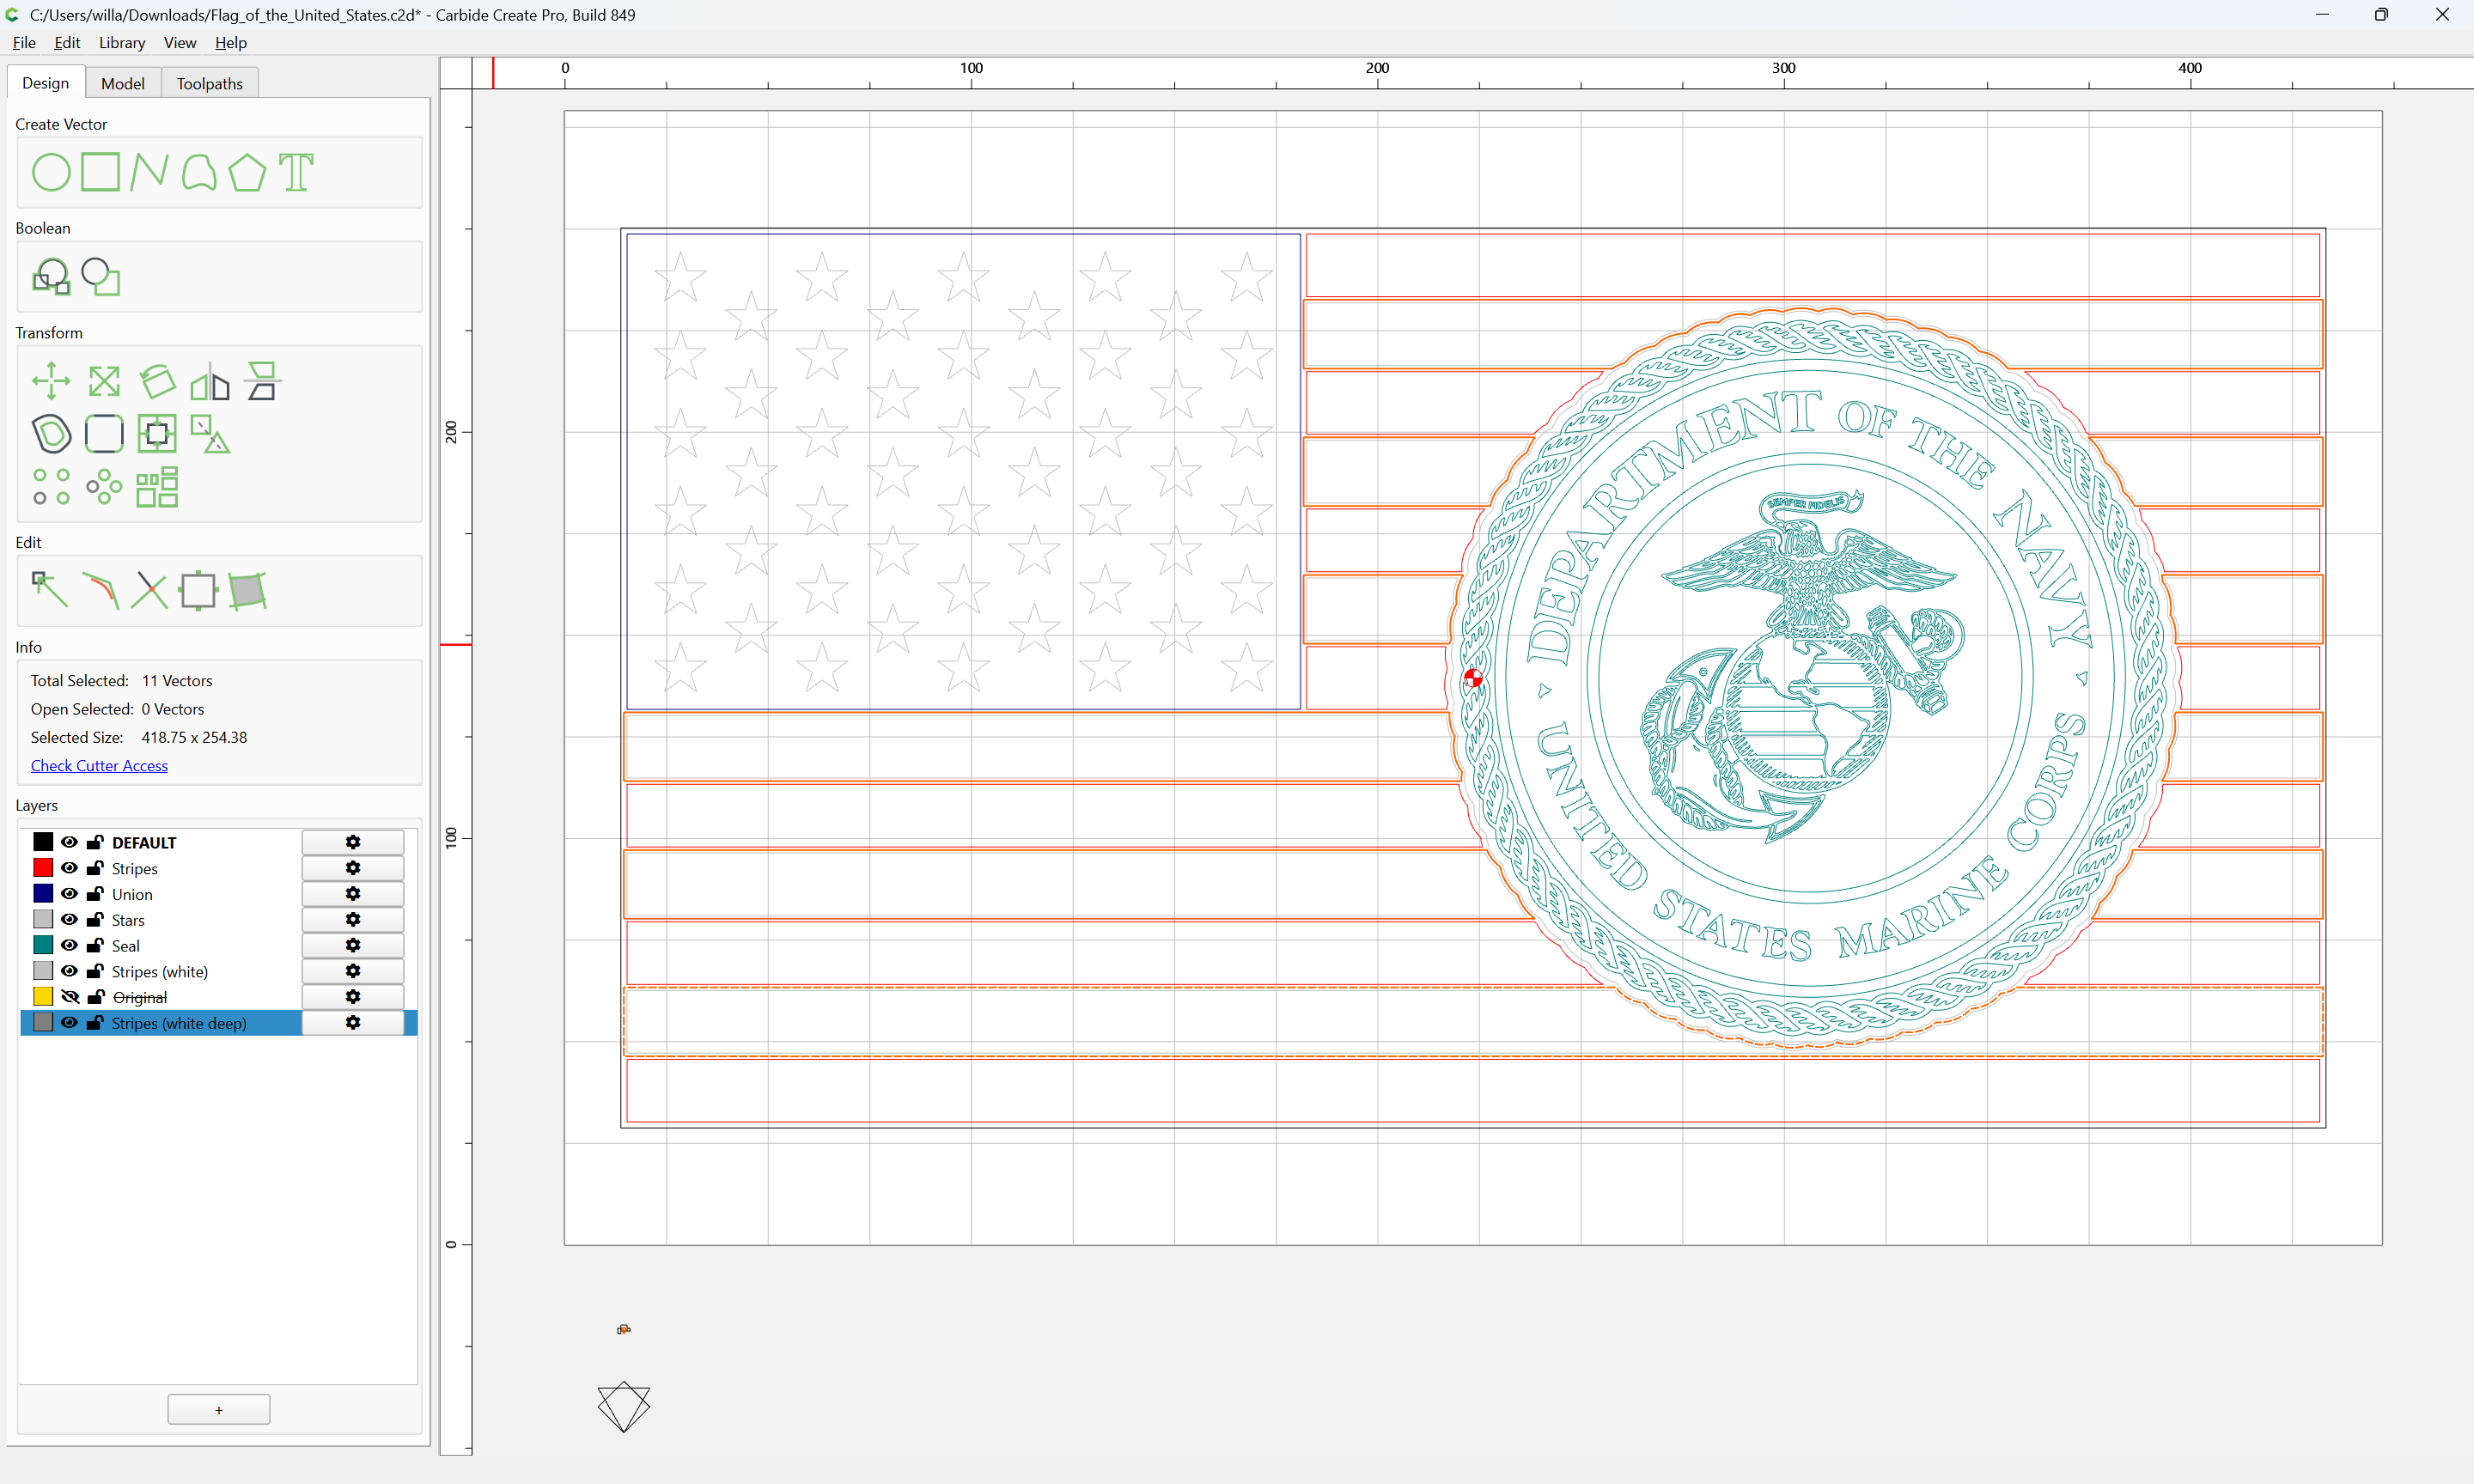
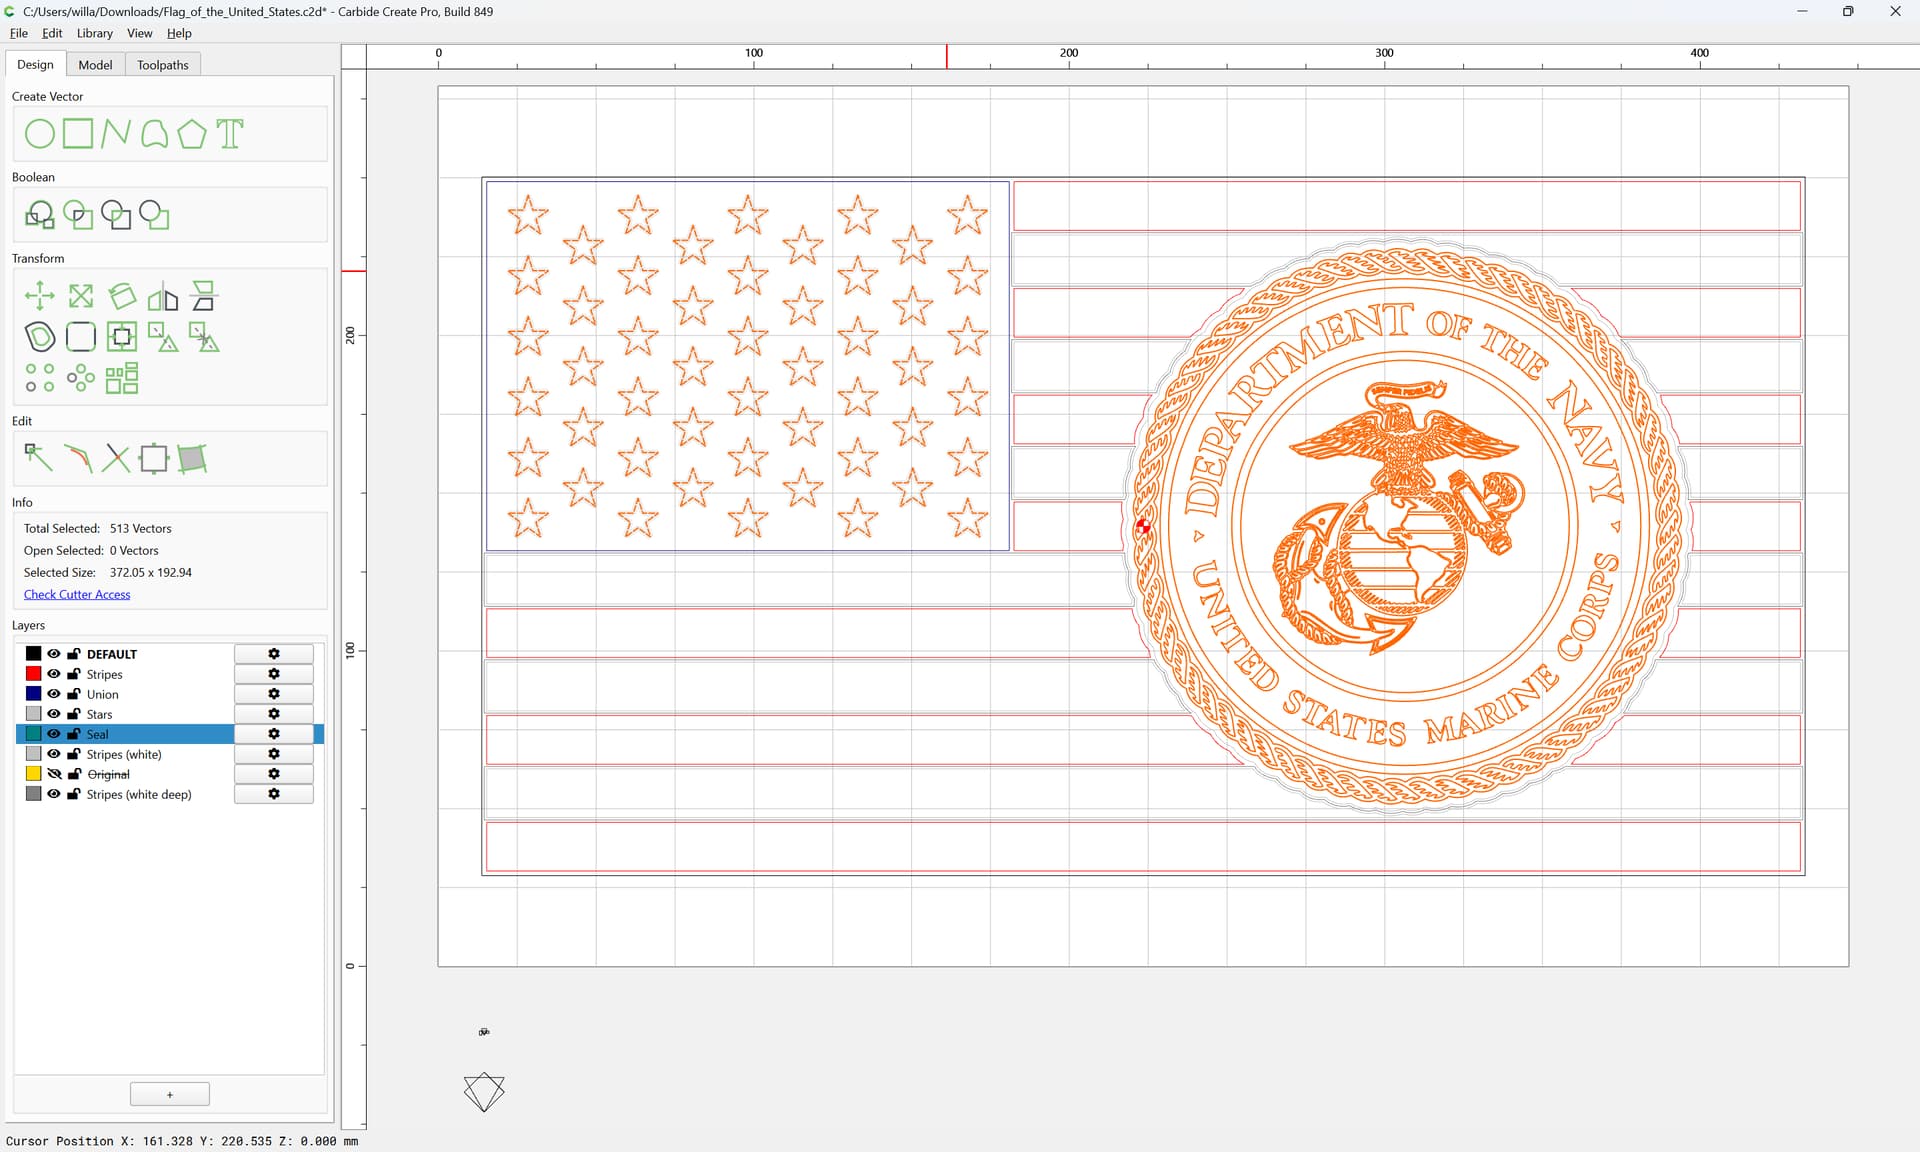
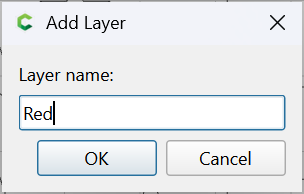
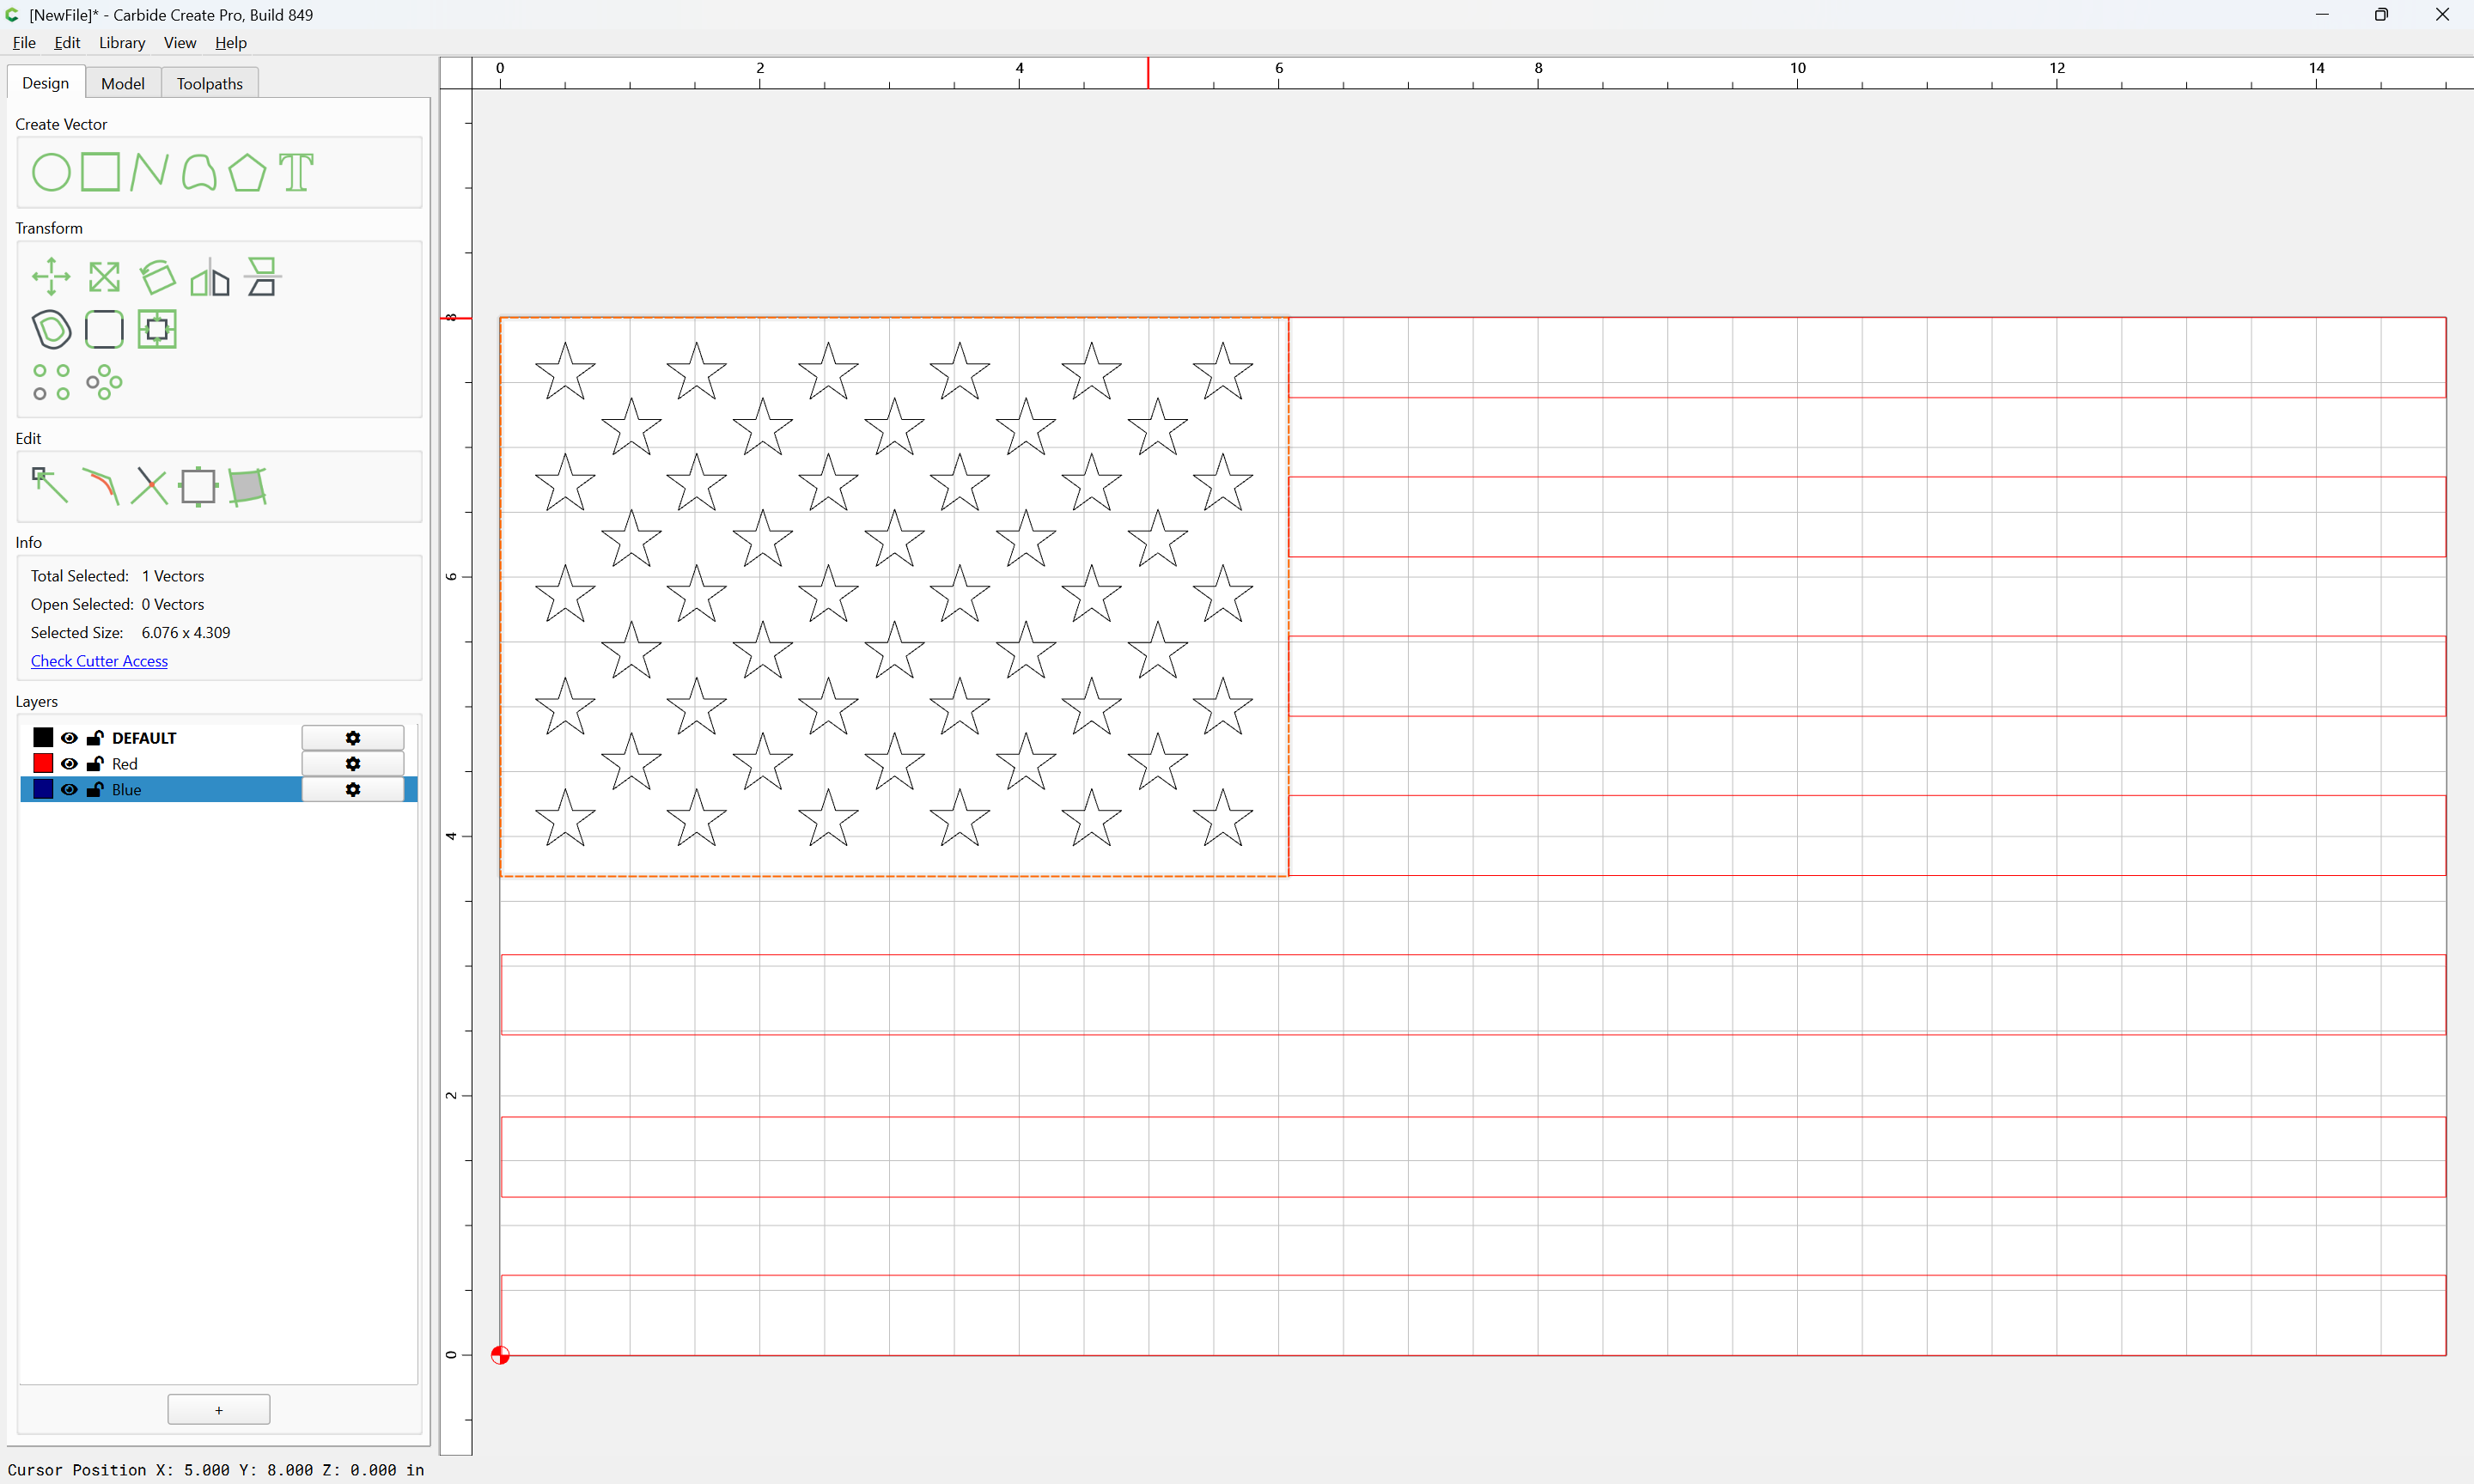
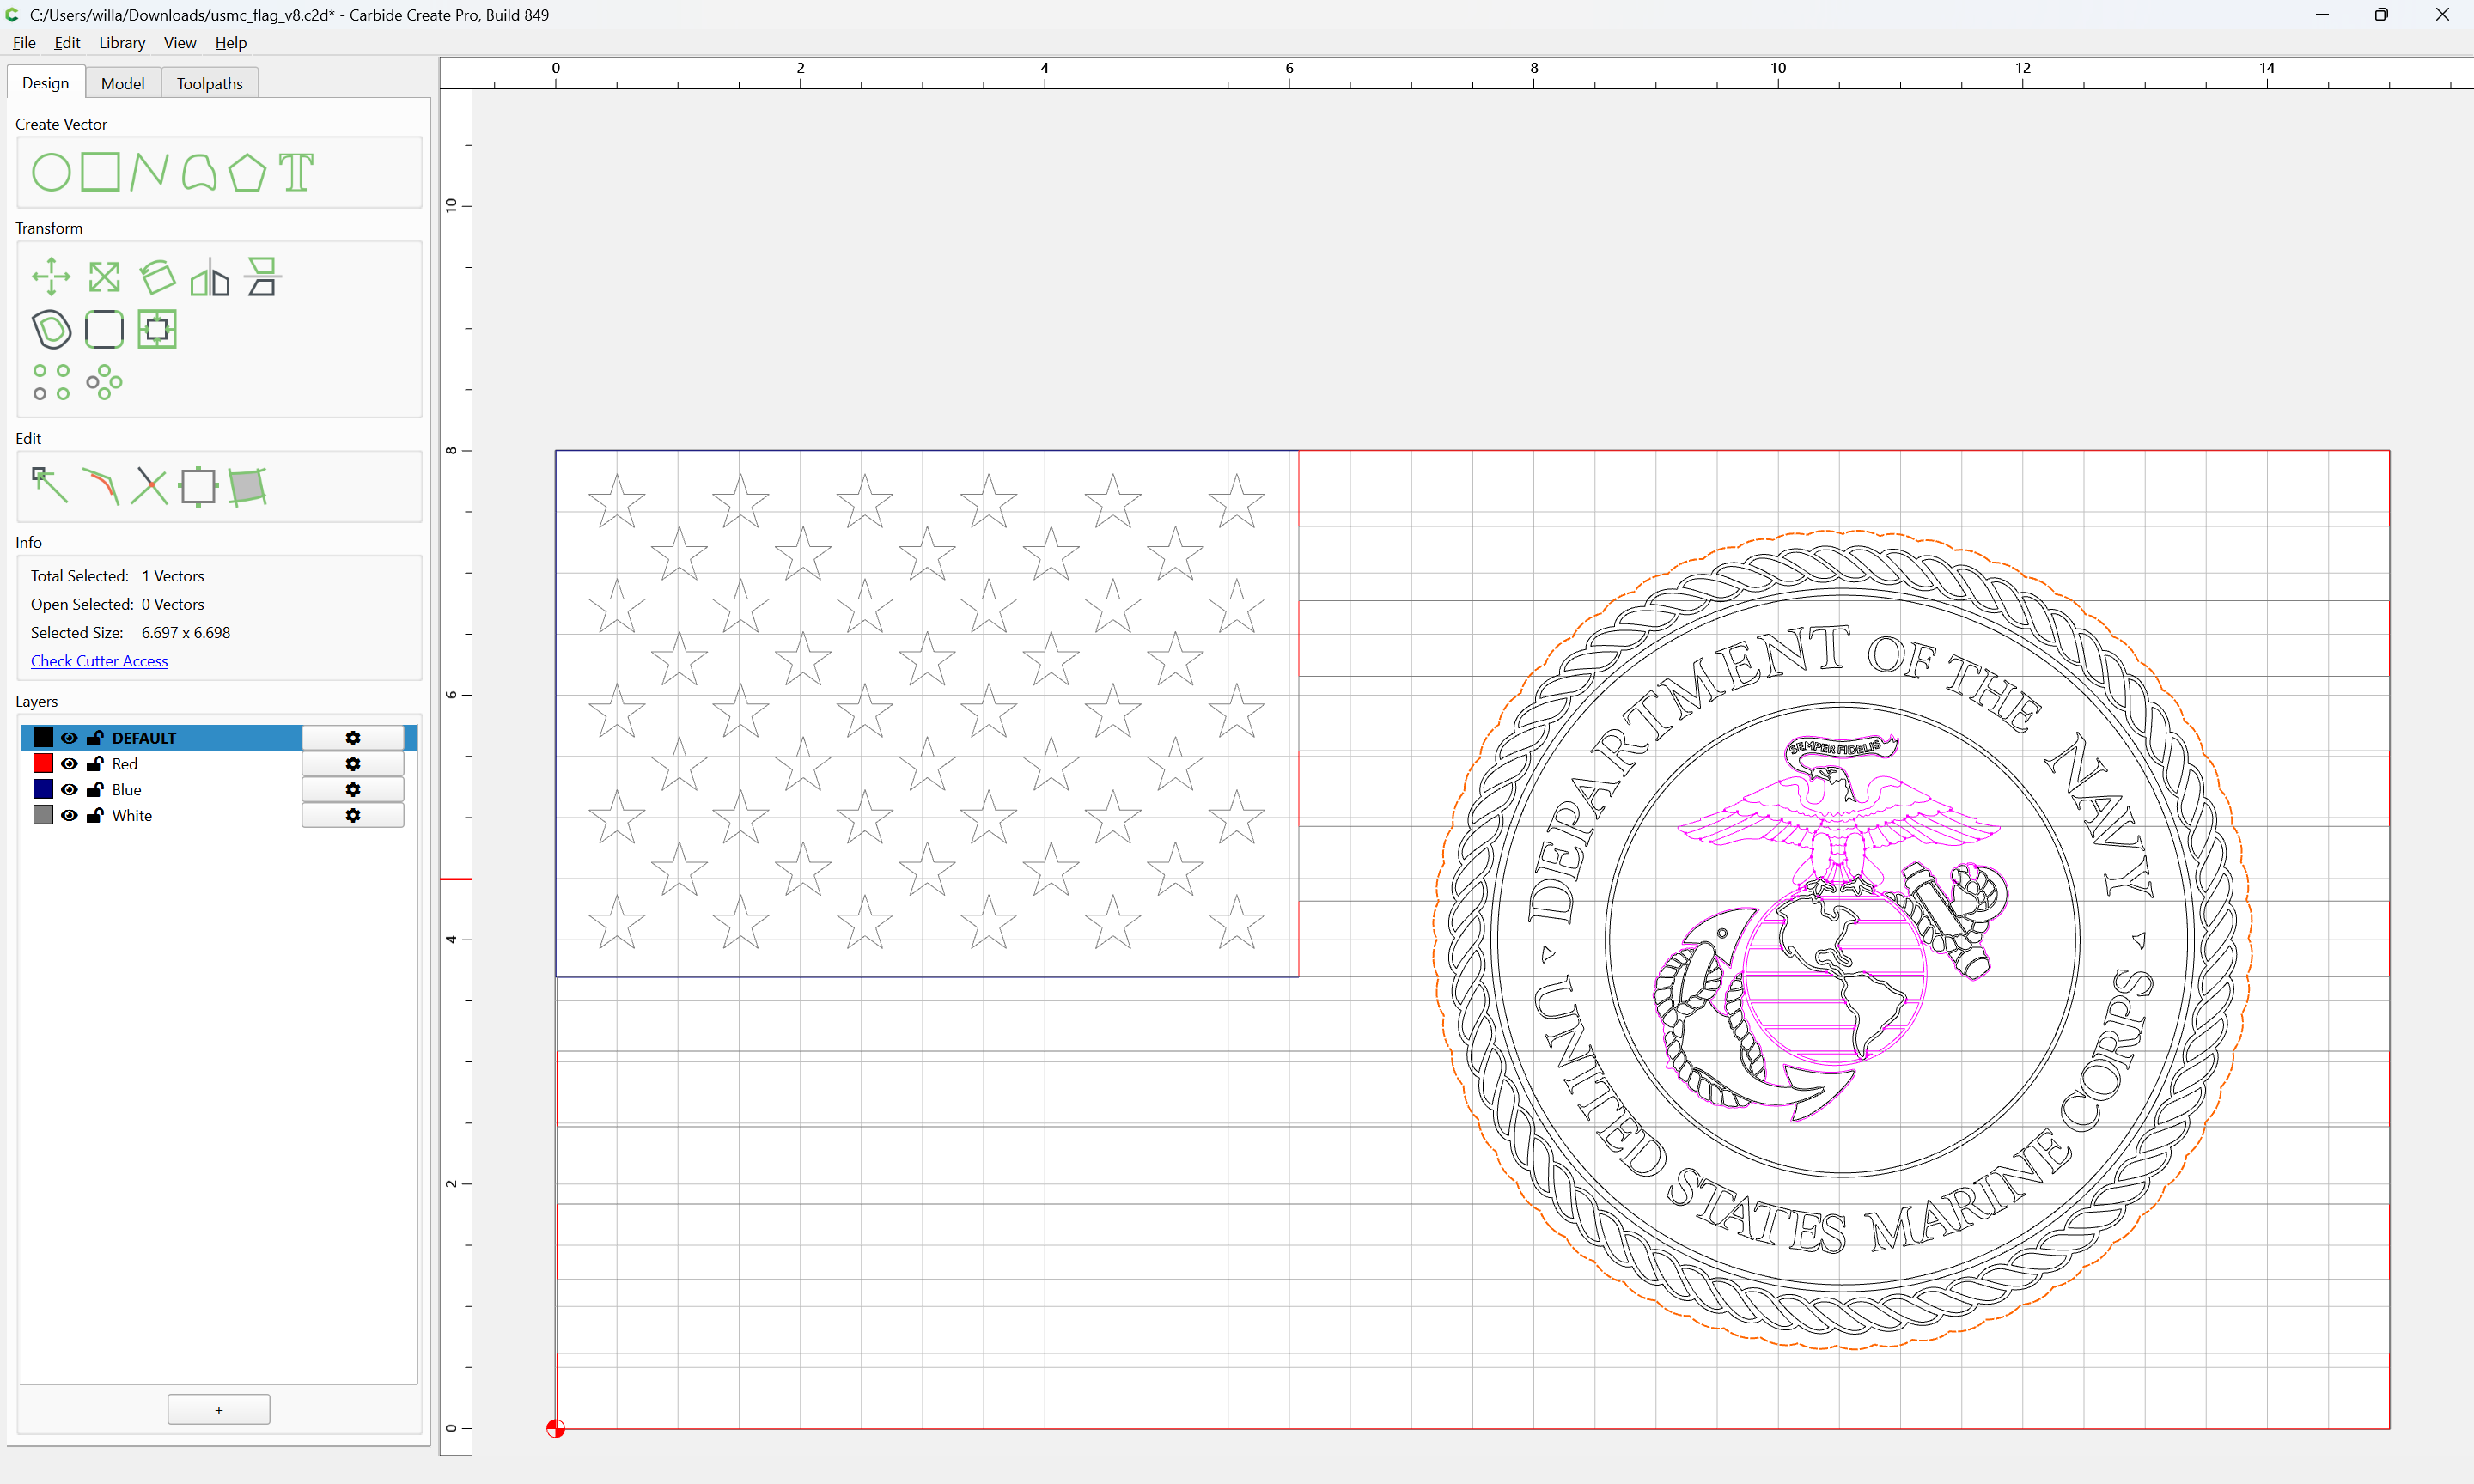
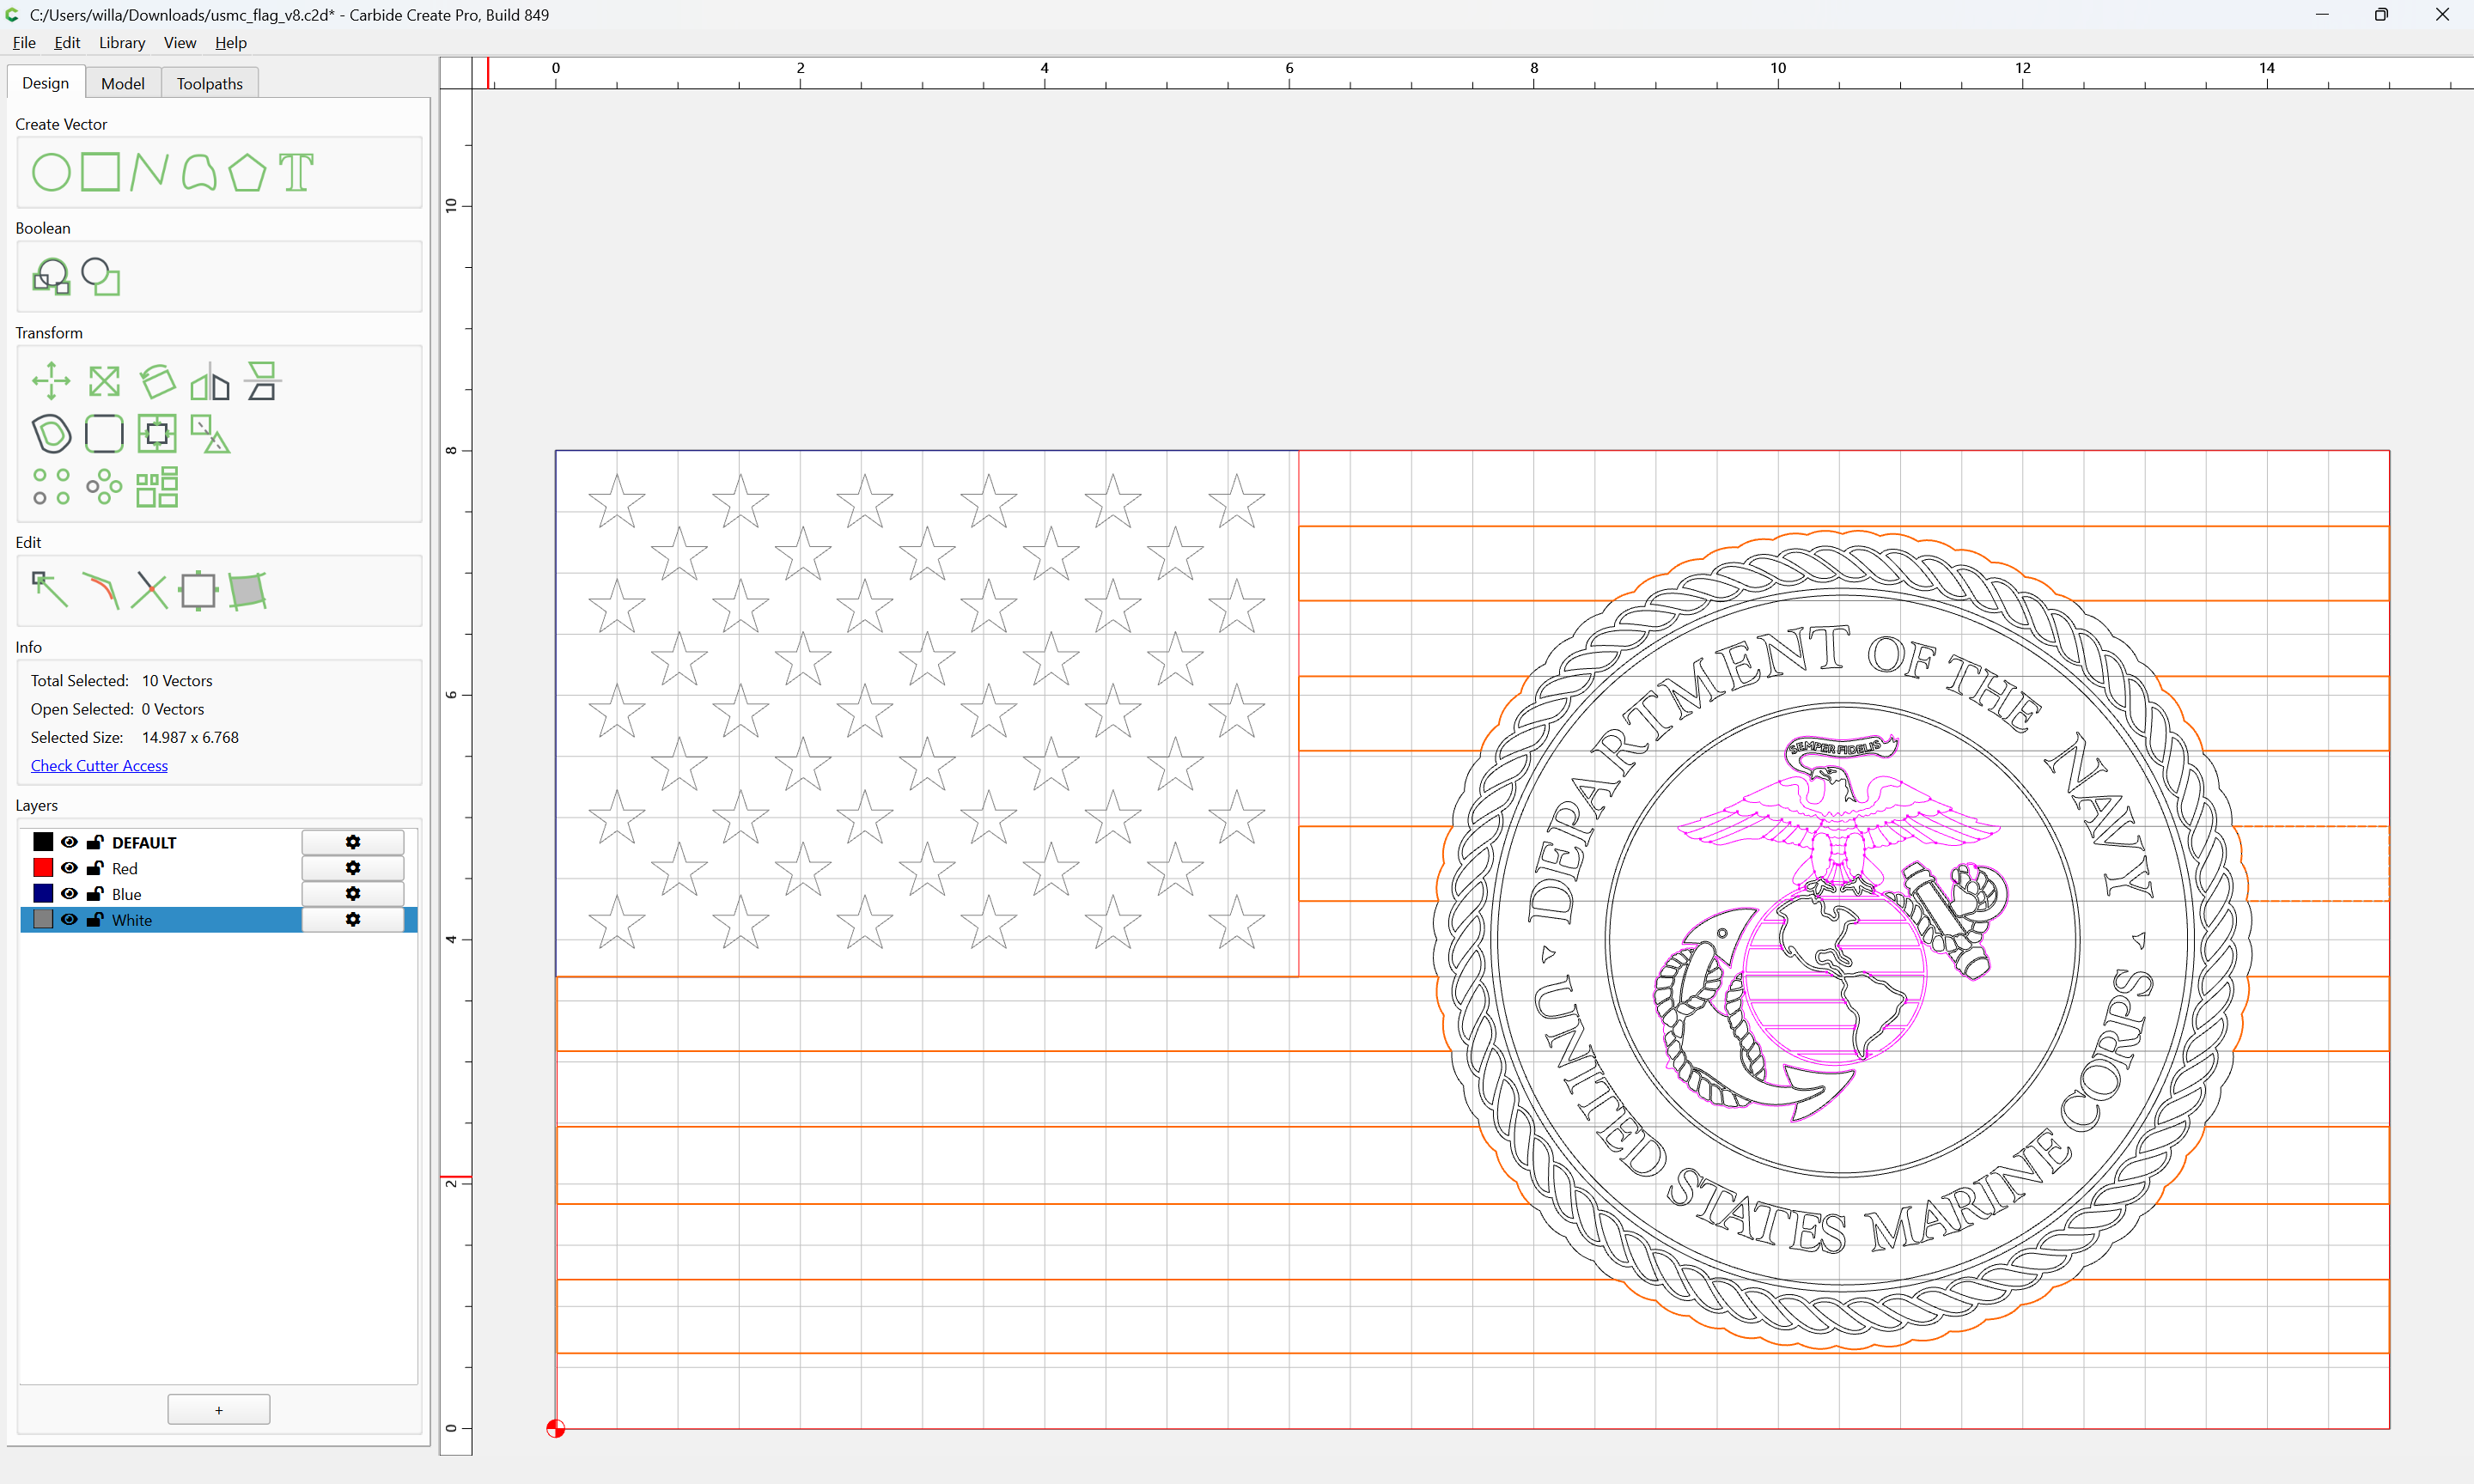
Create layers for each colour:
then select the elements for each layer:
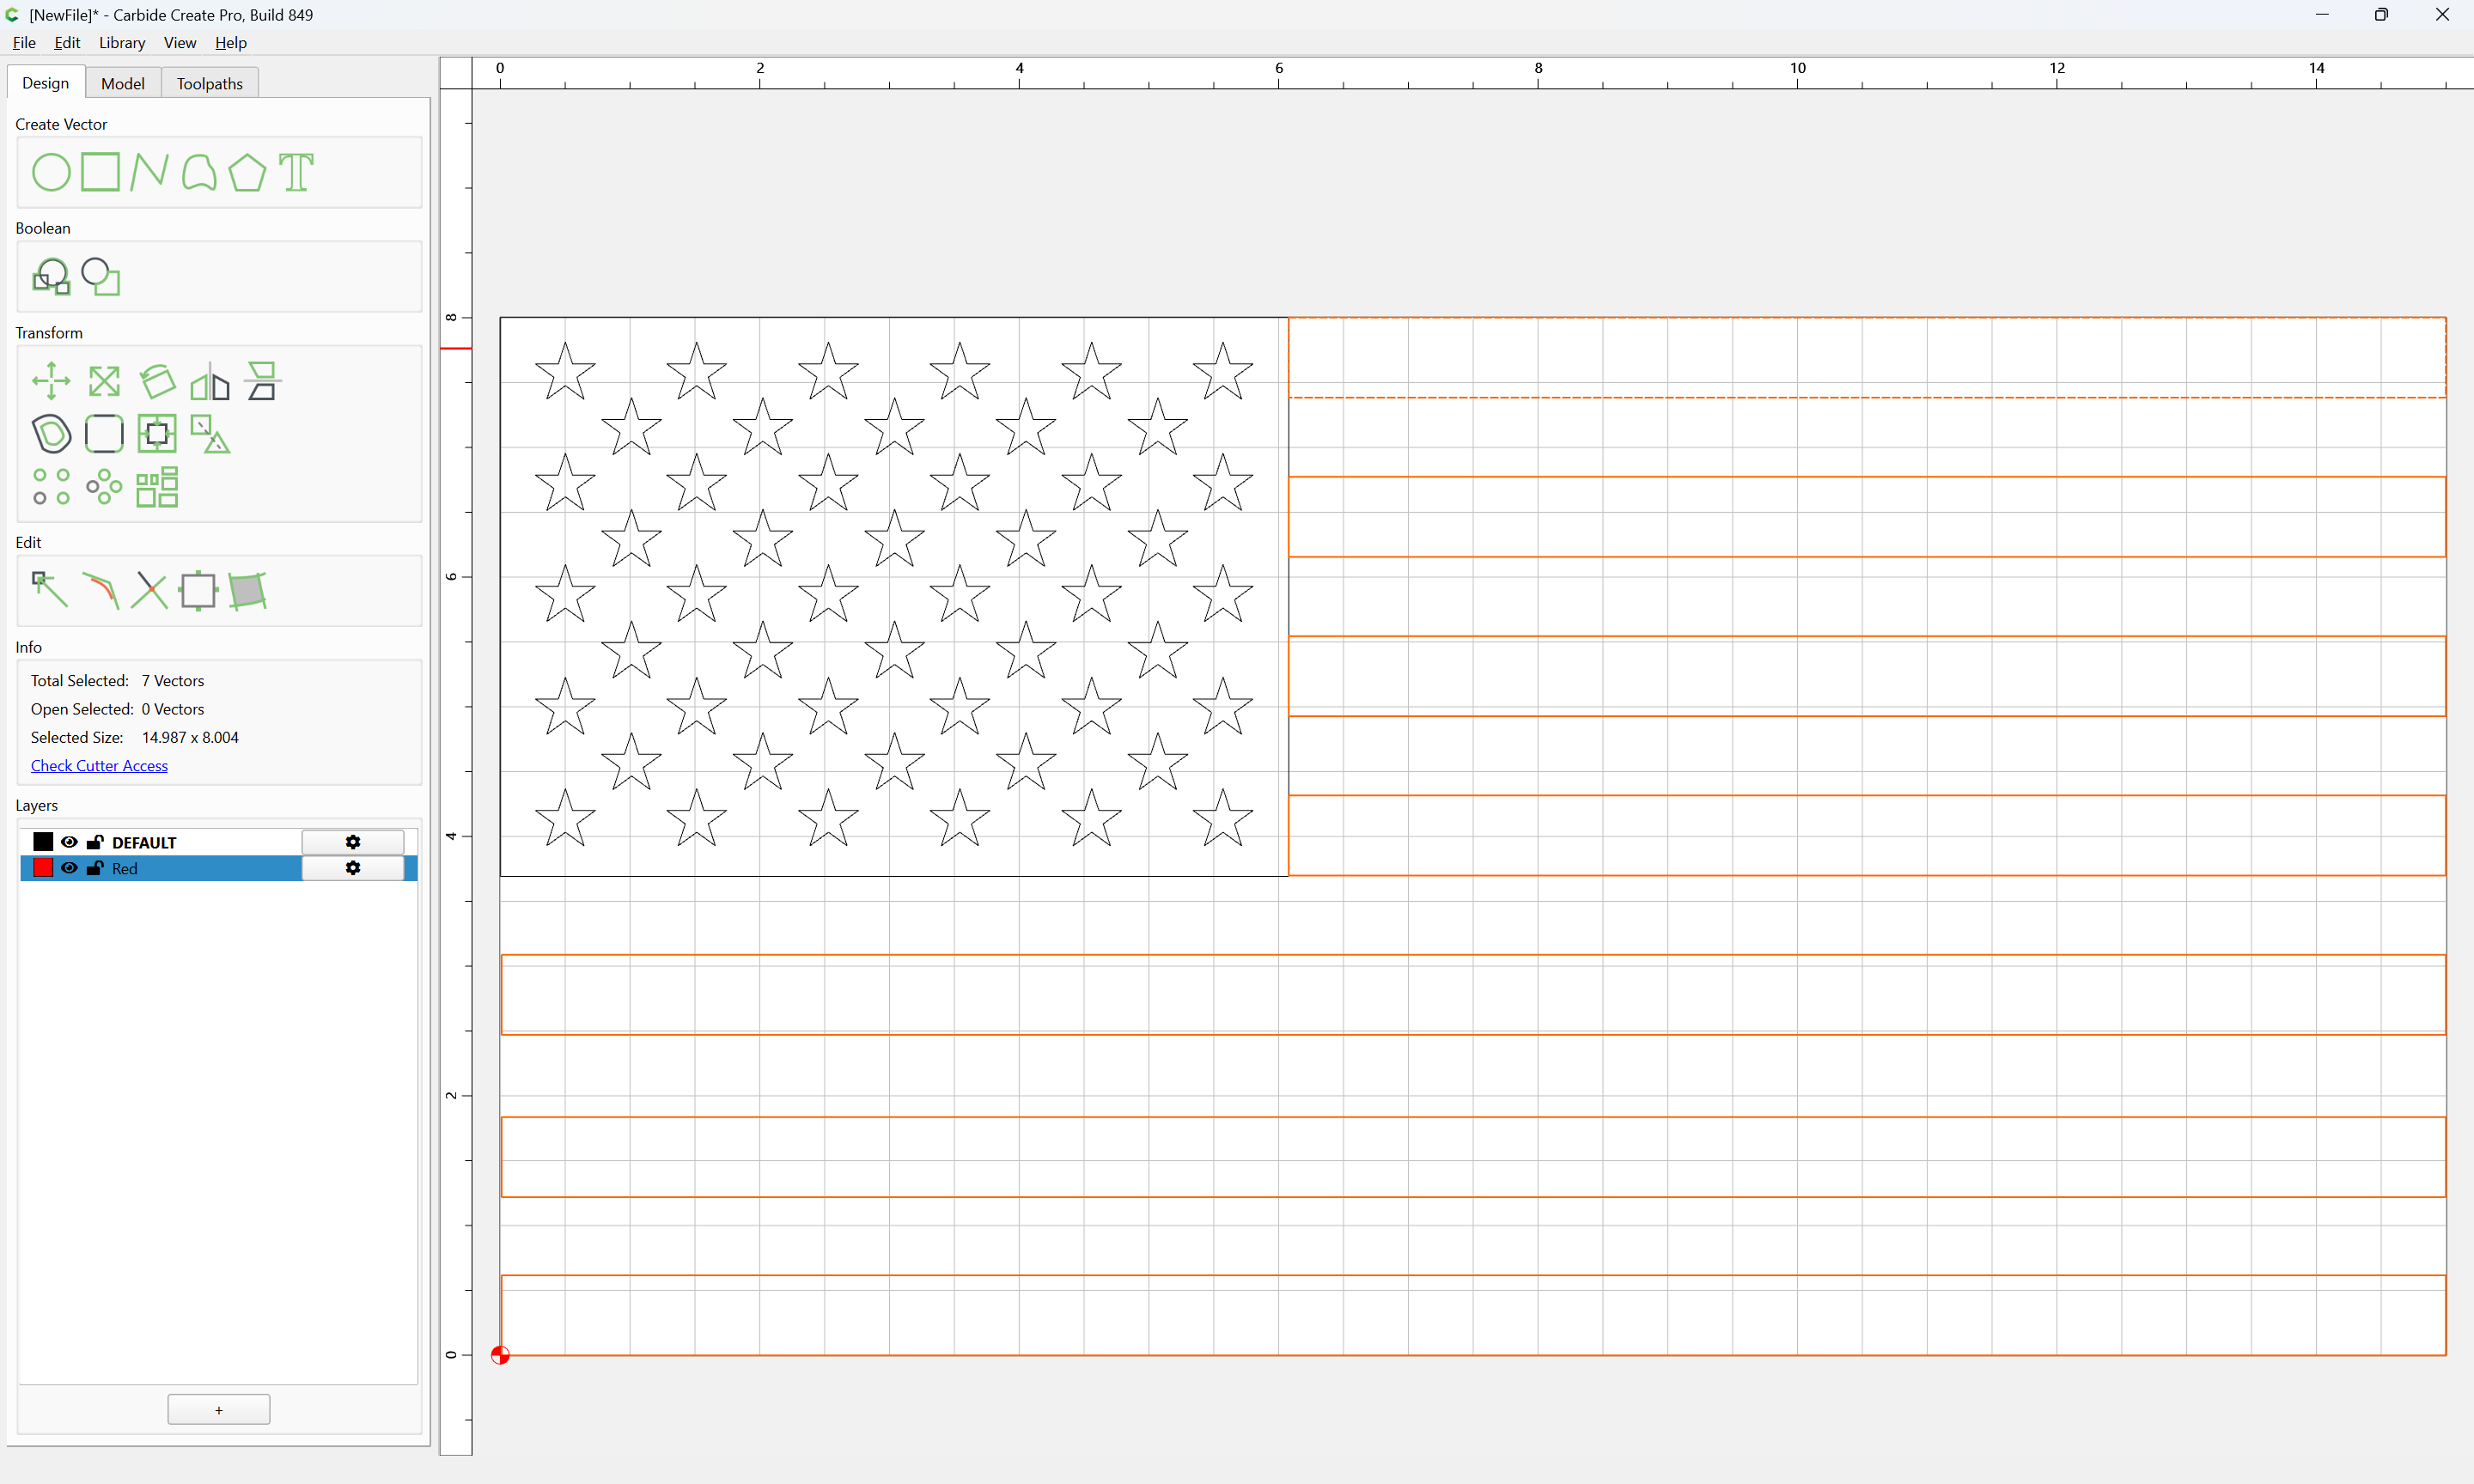
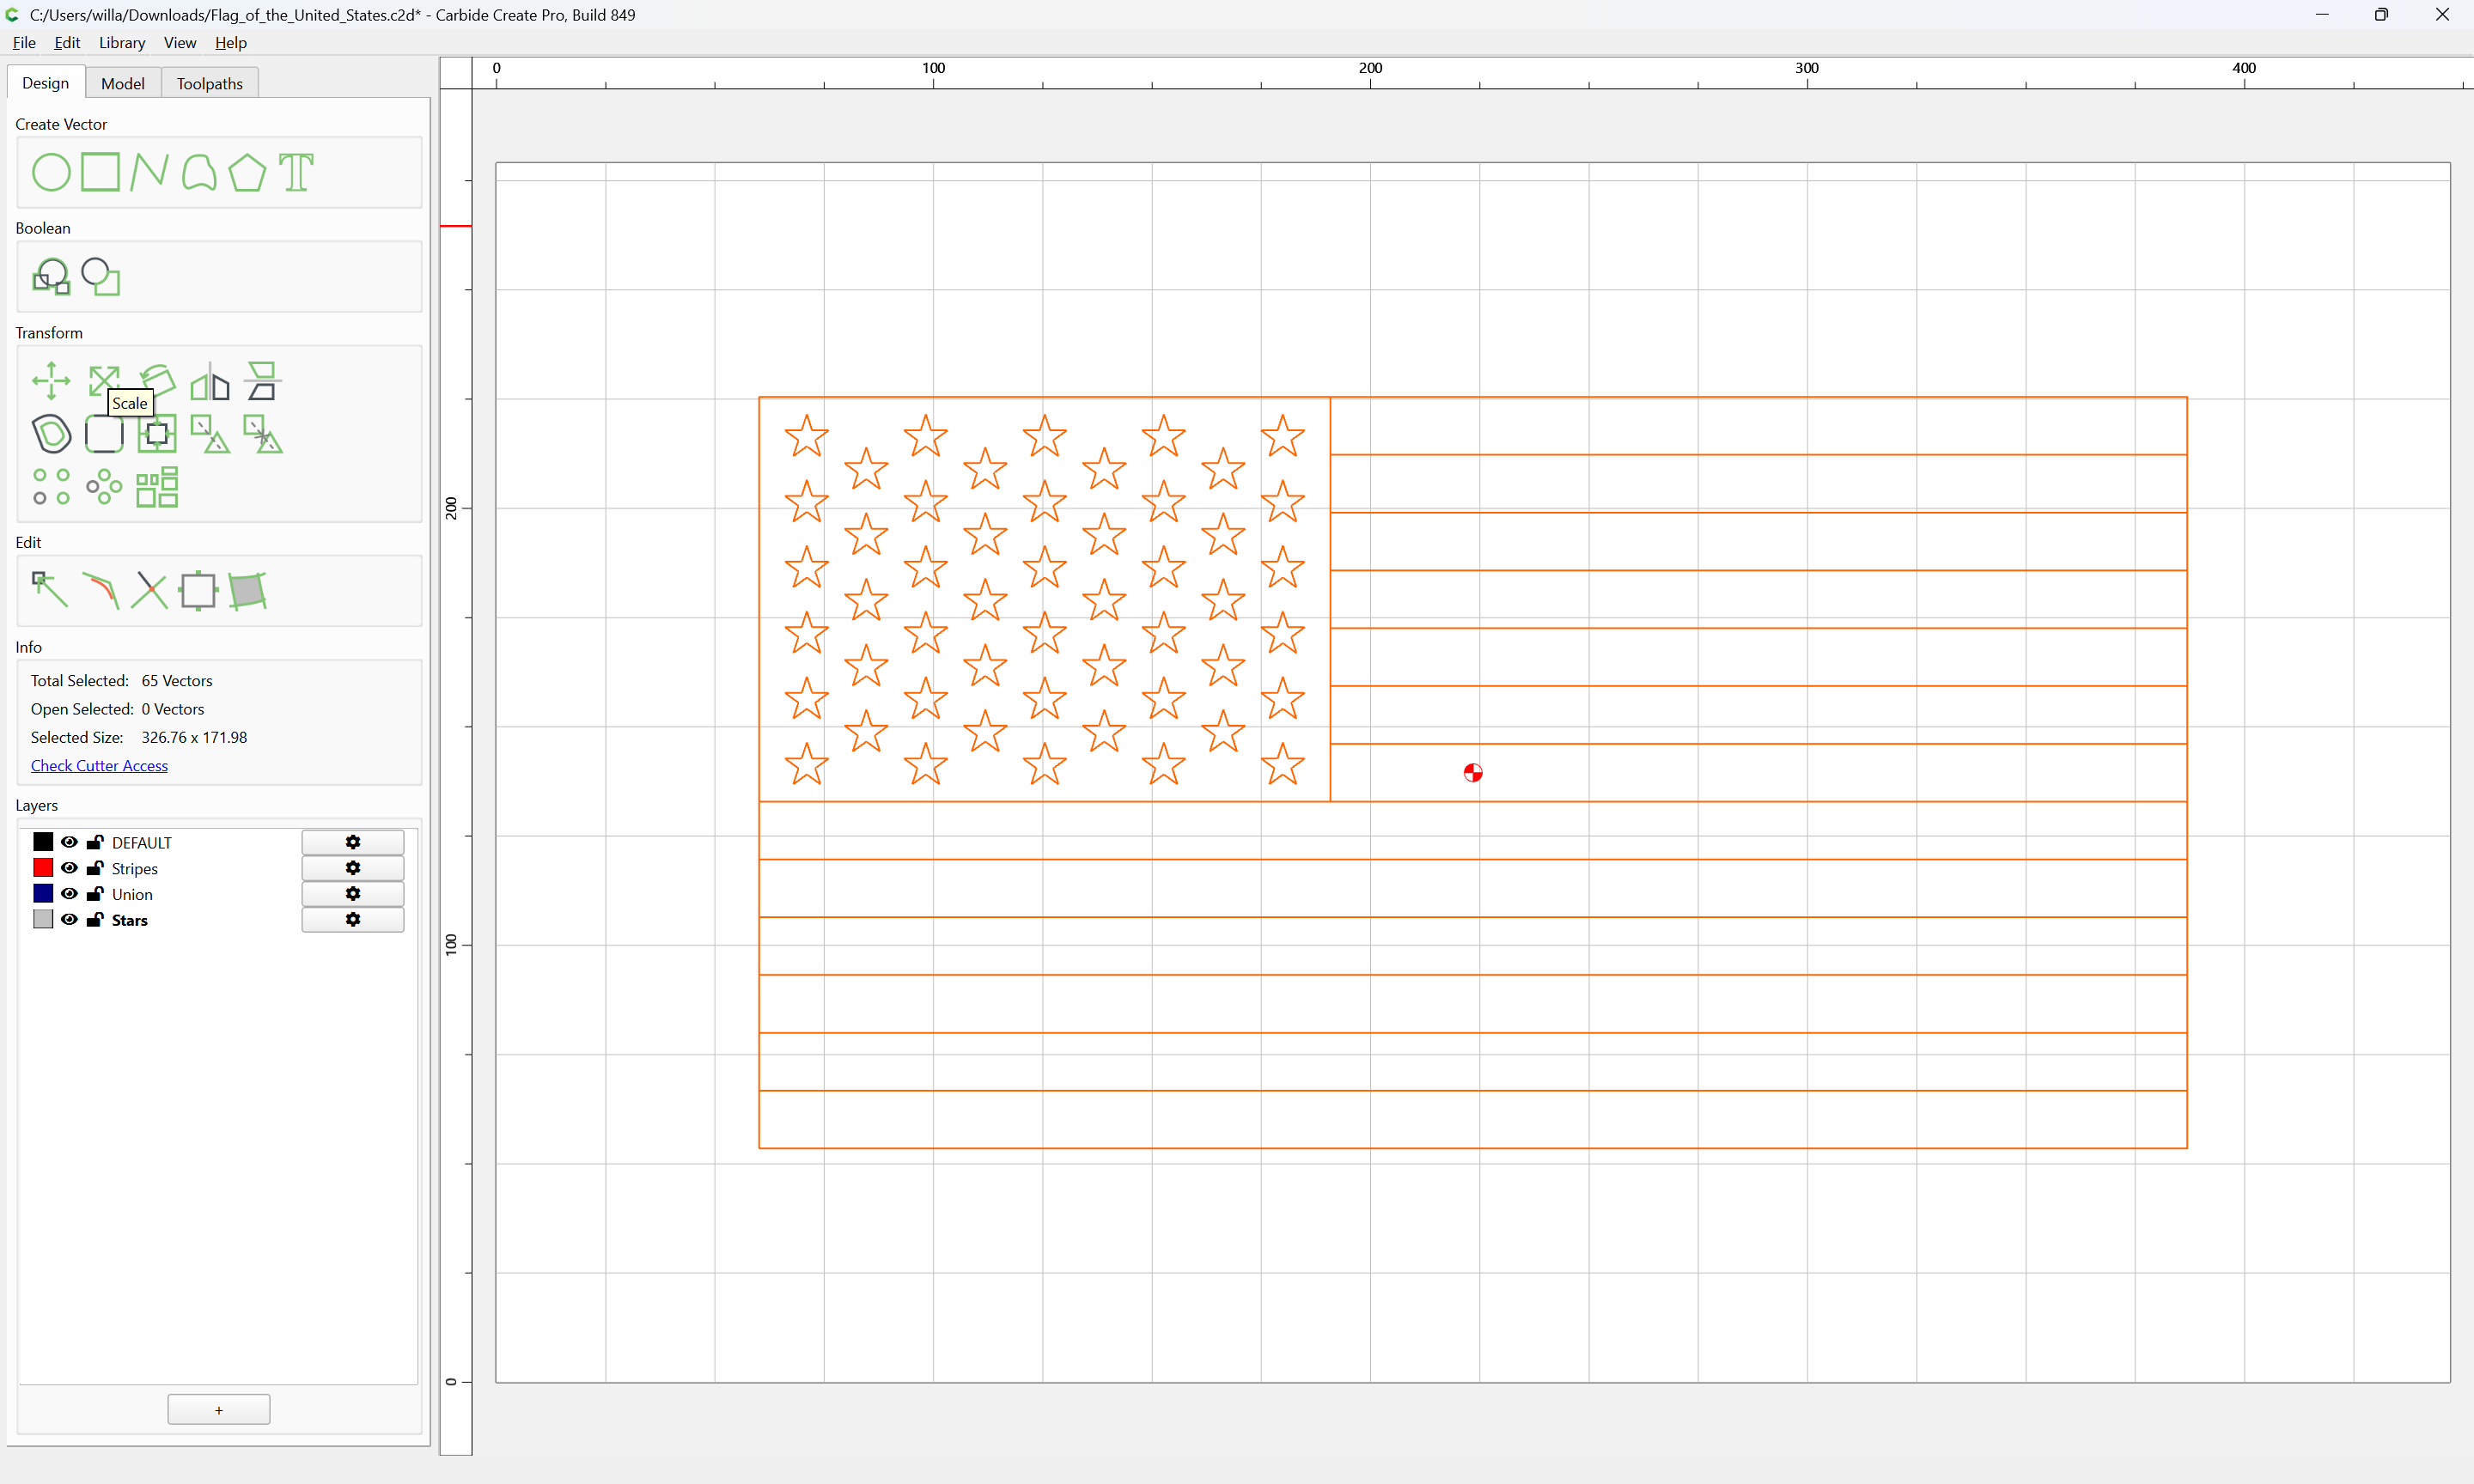
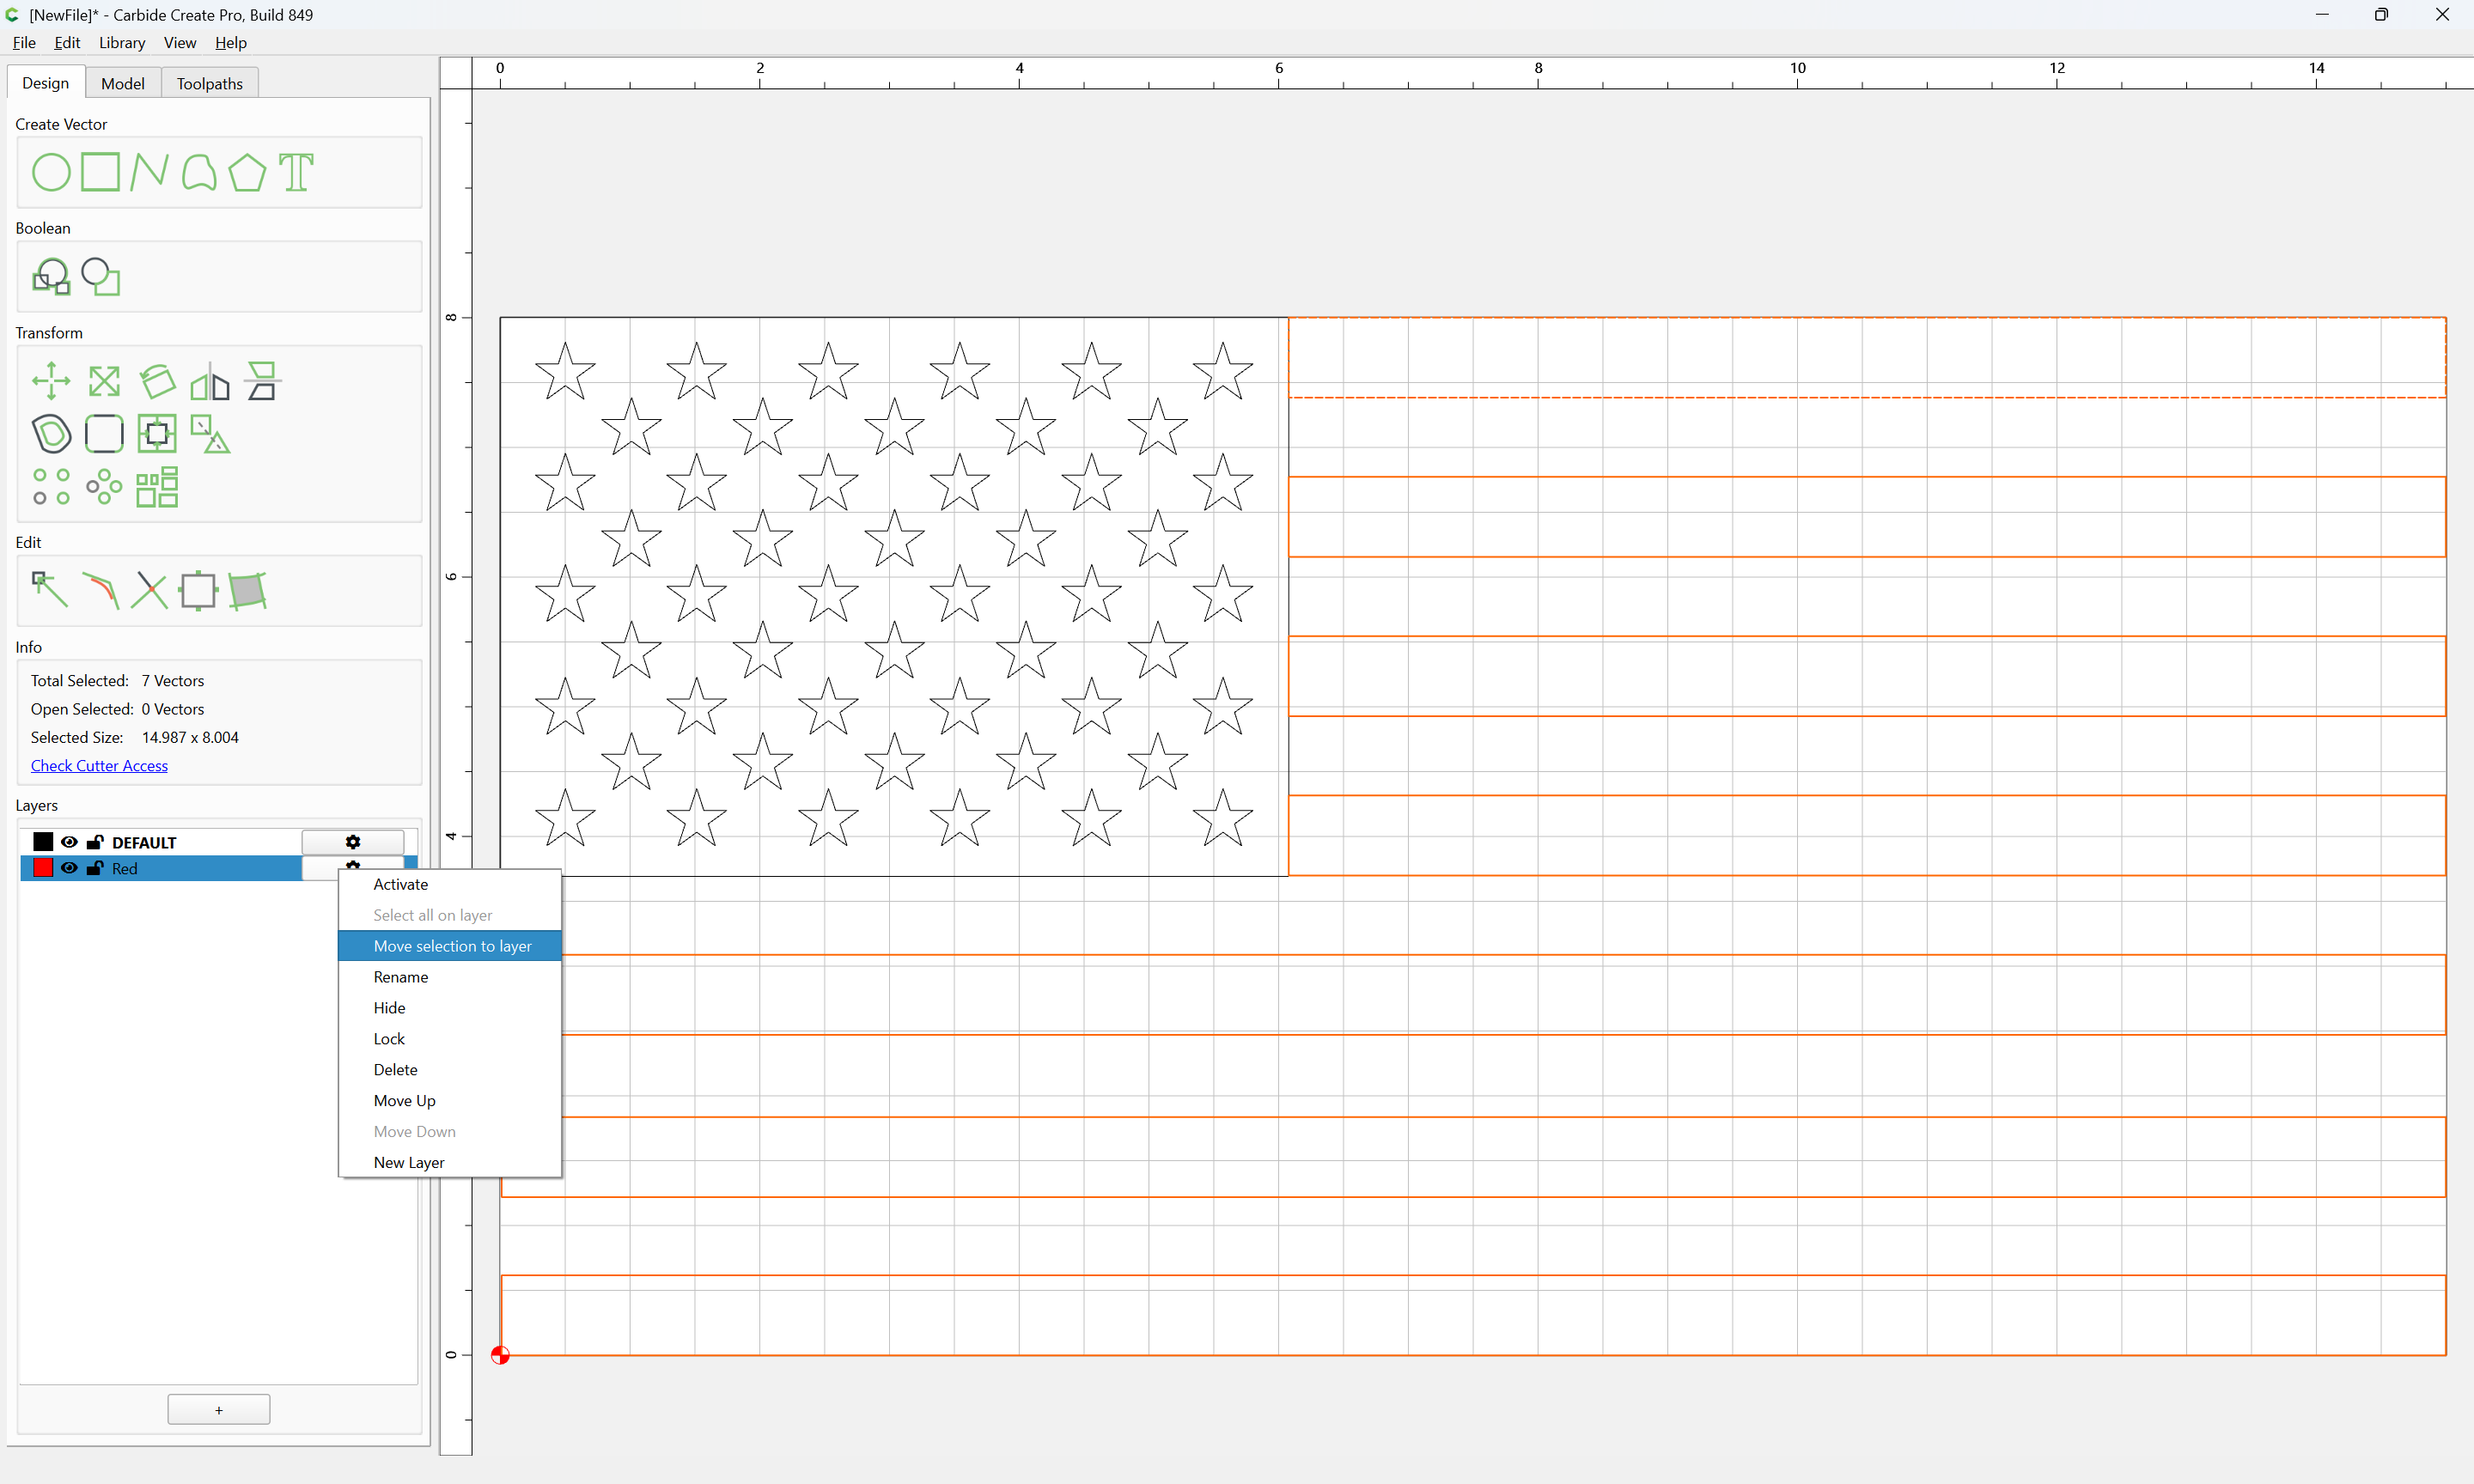
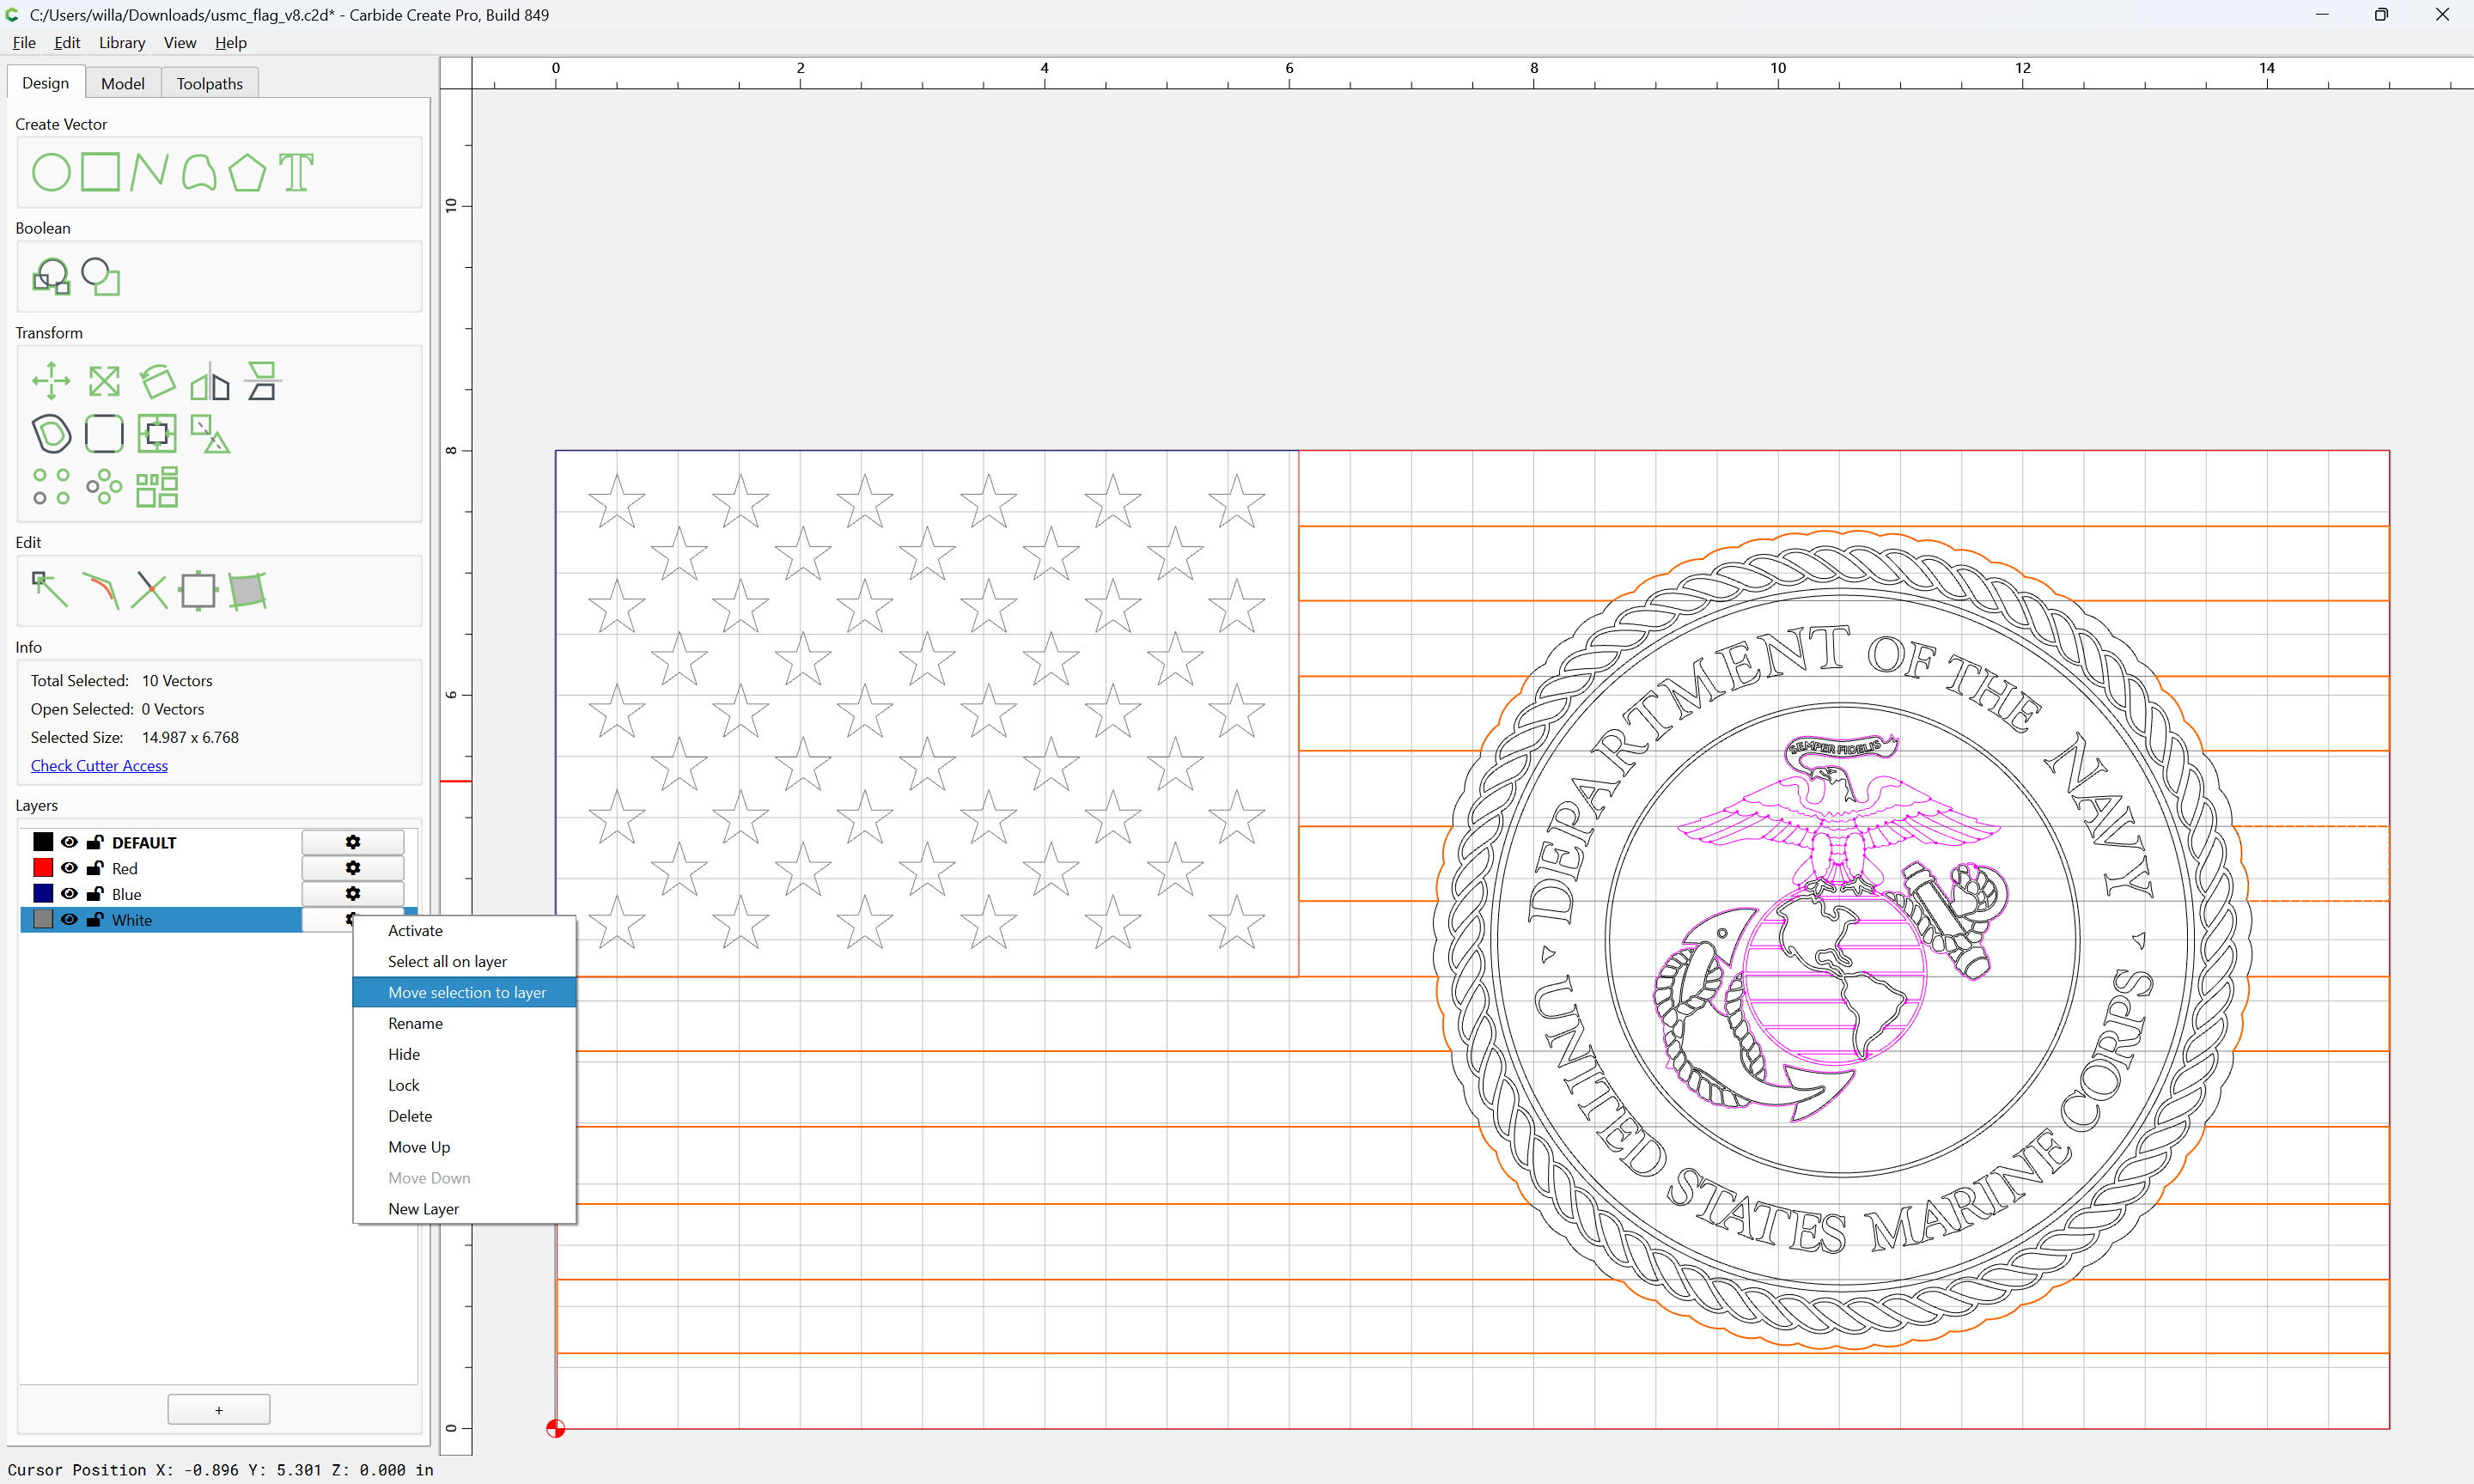
and move them to that layer:
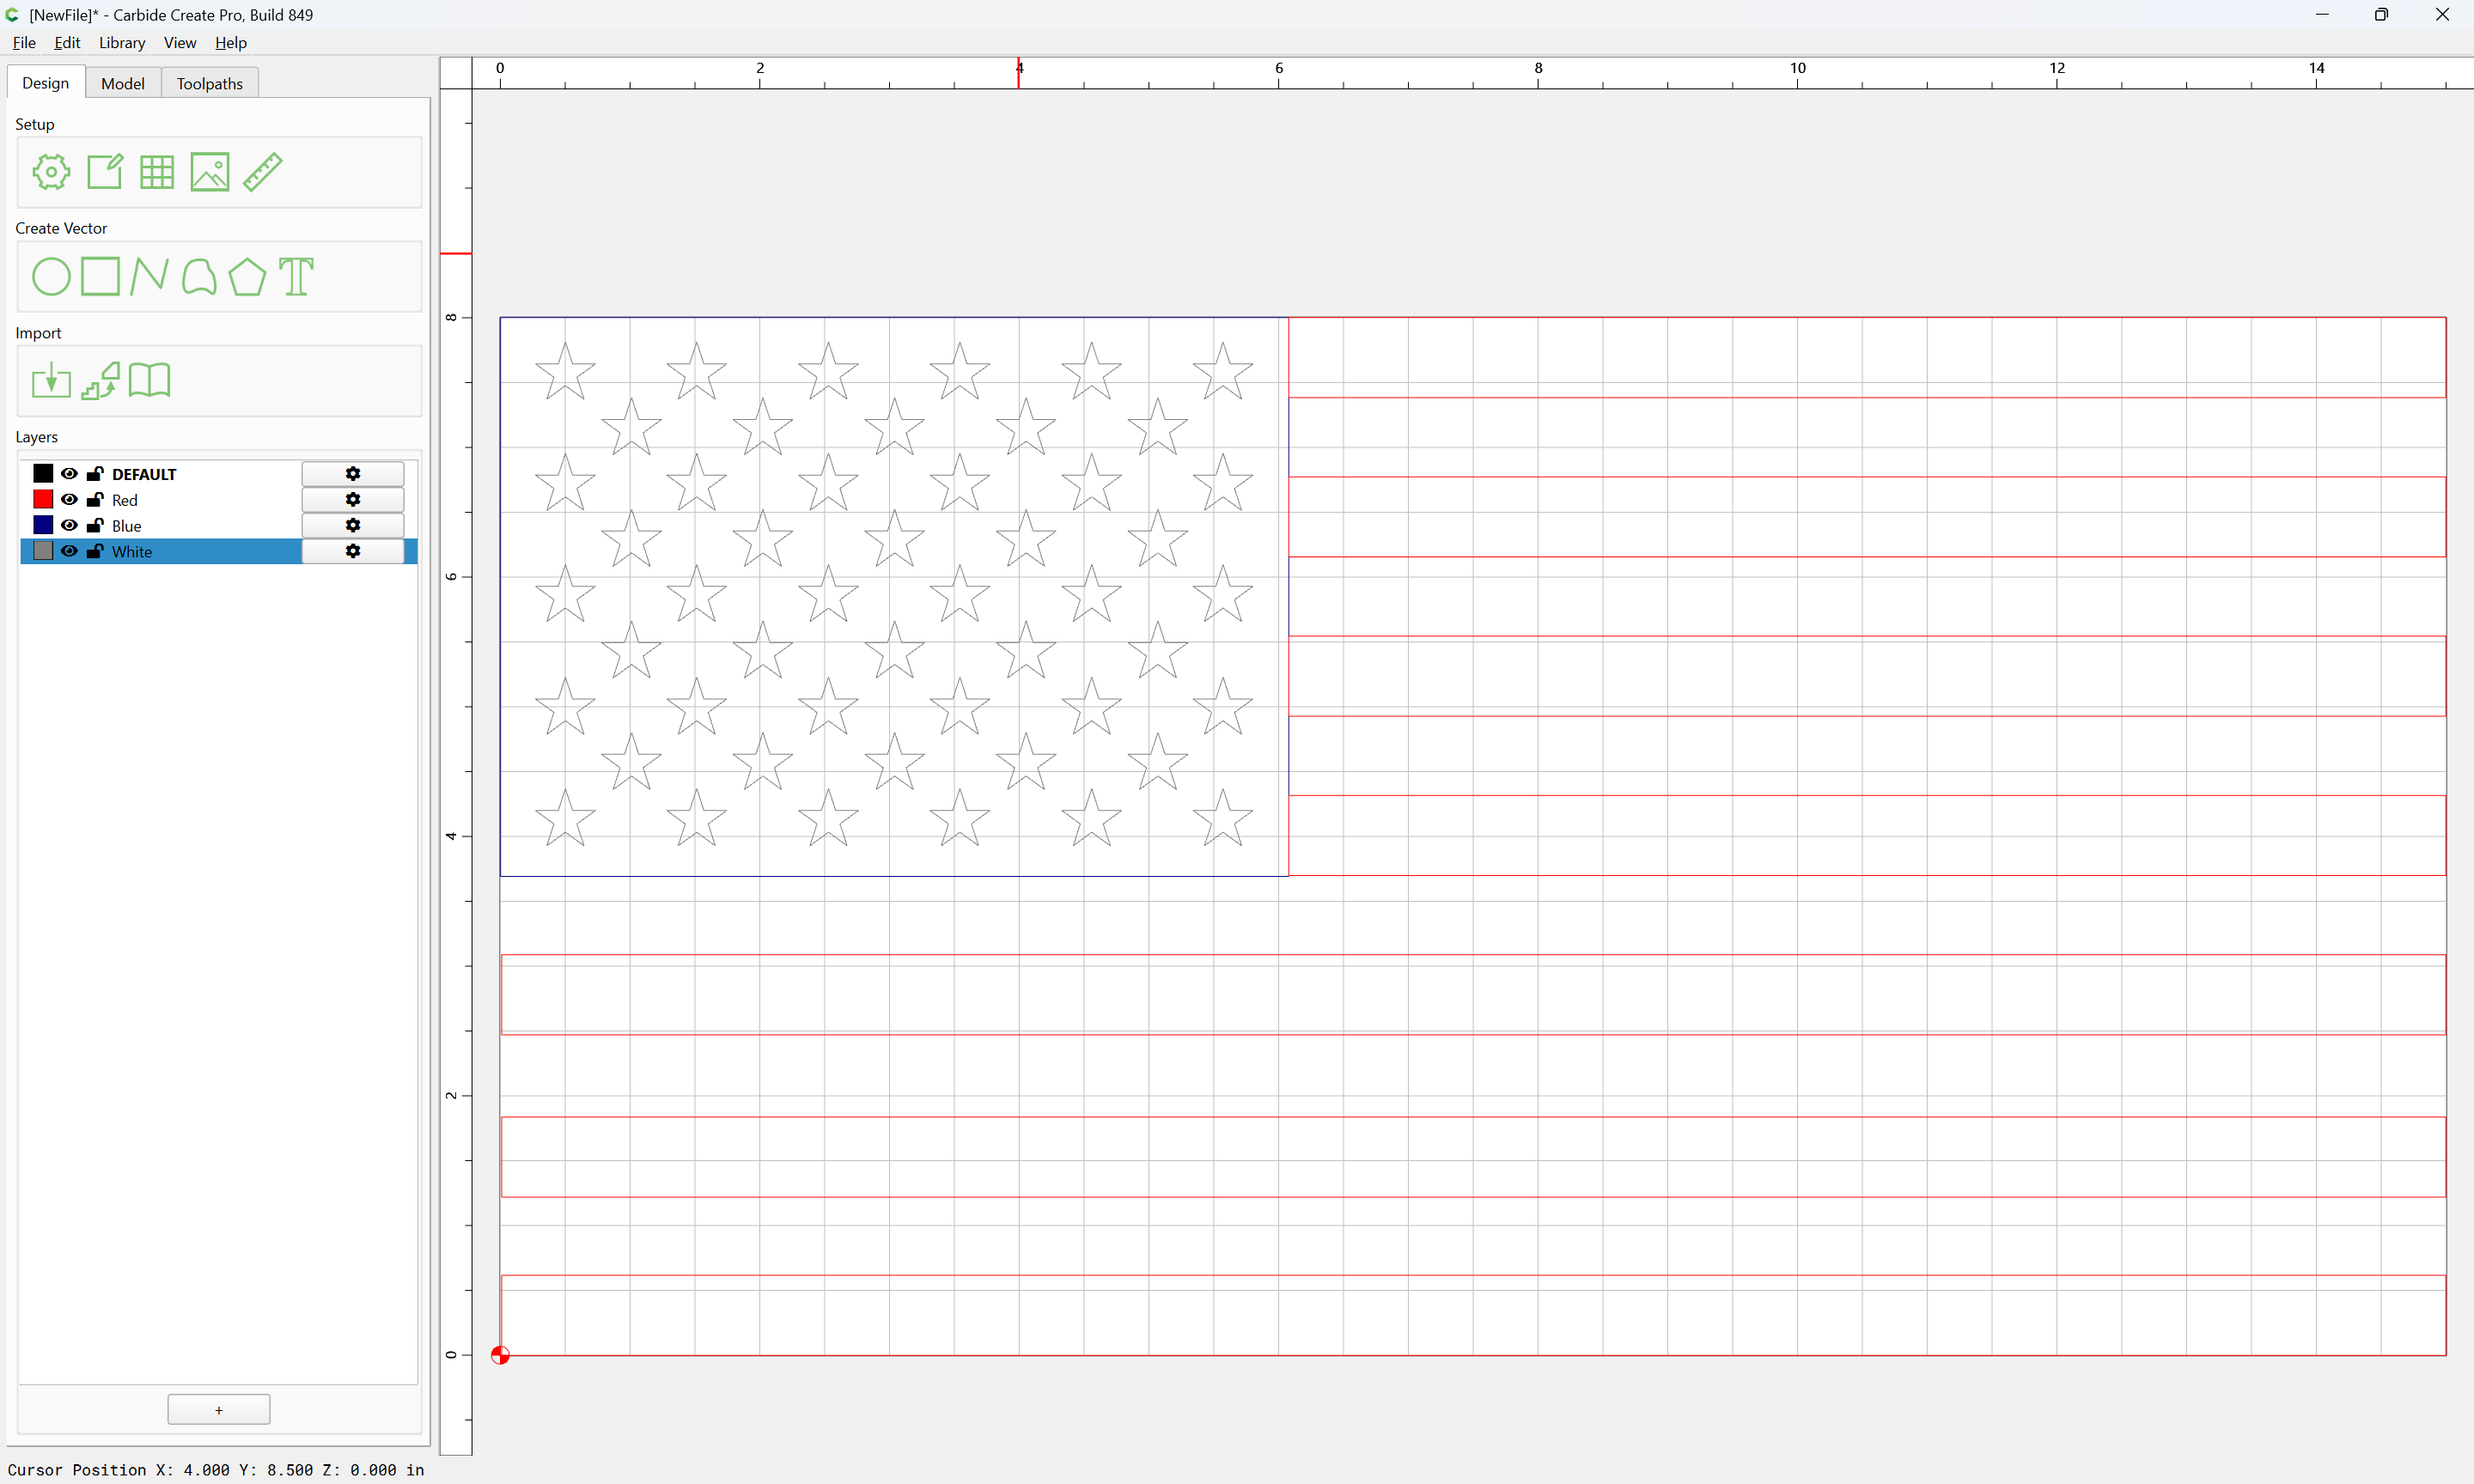
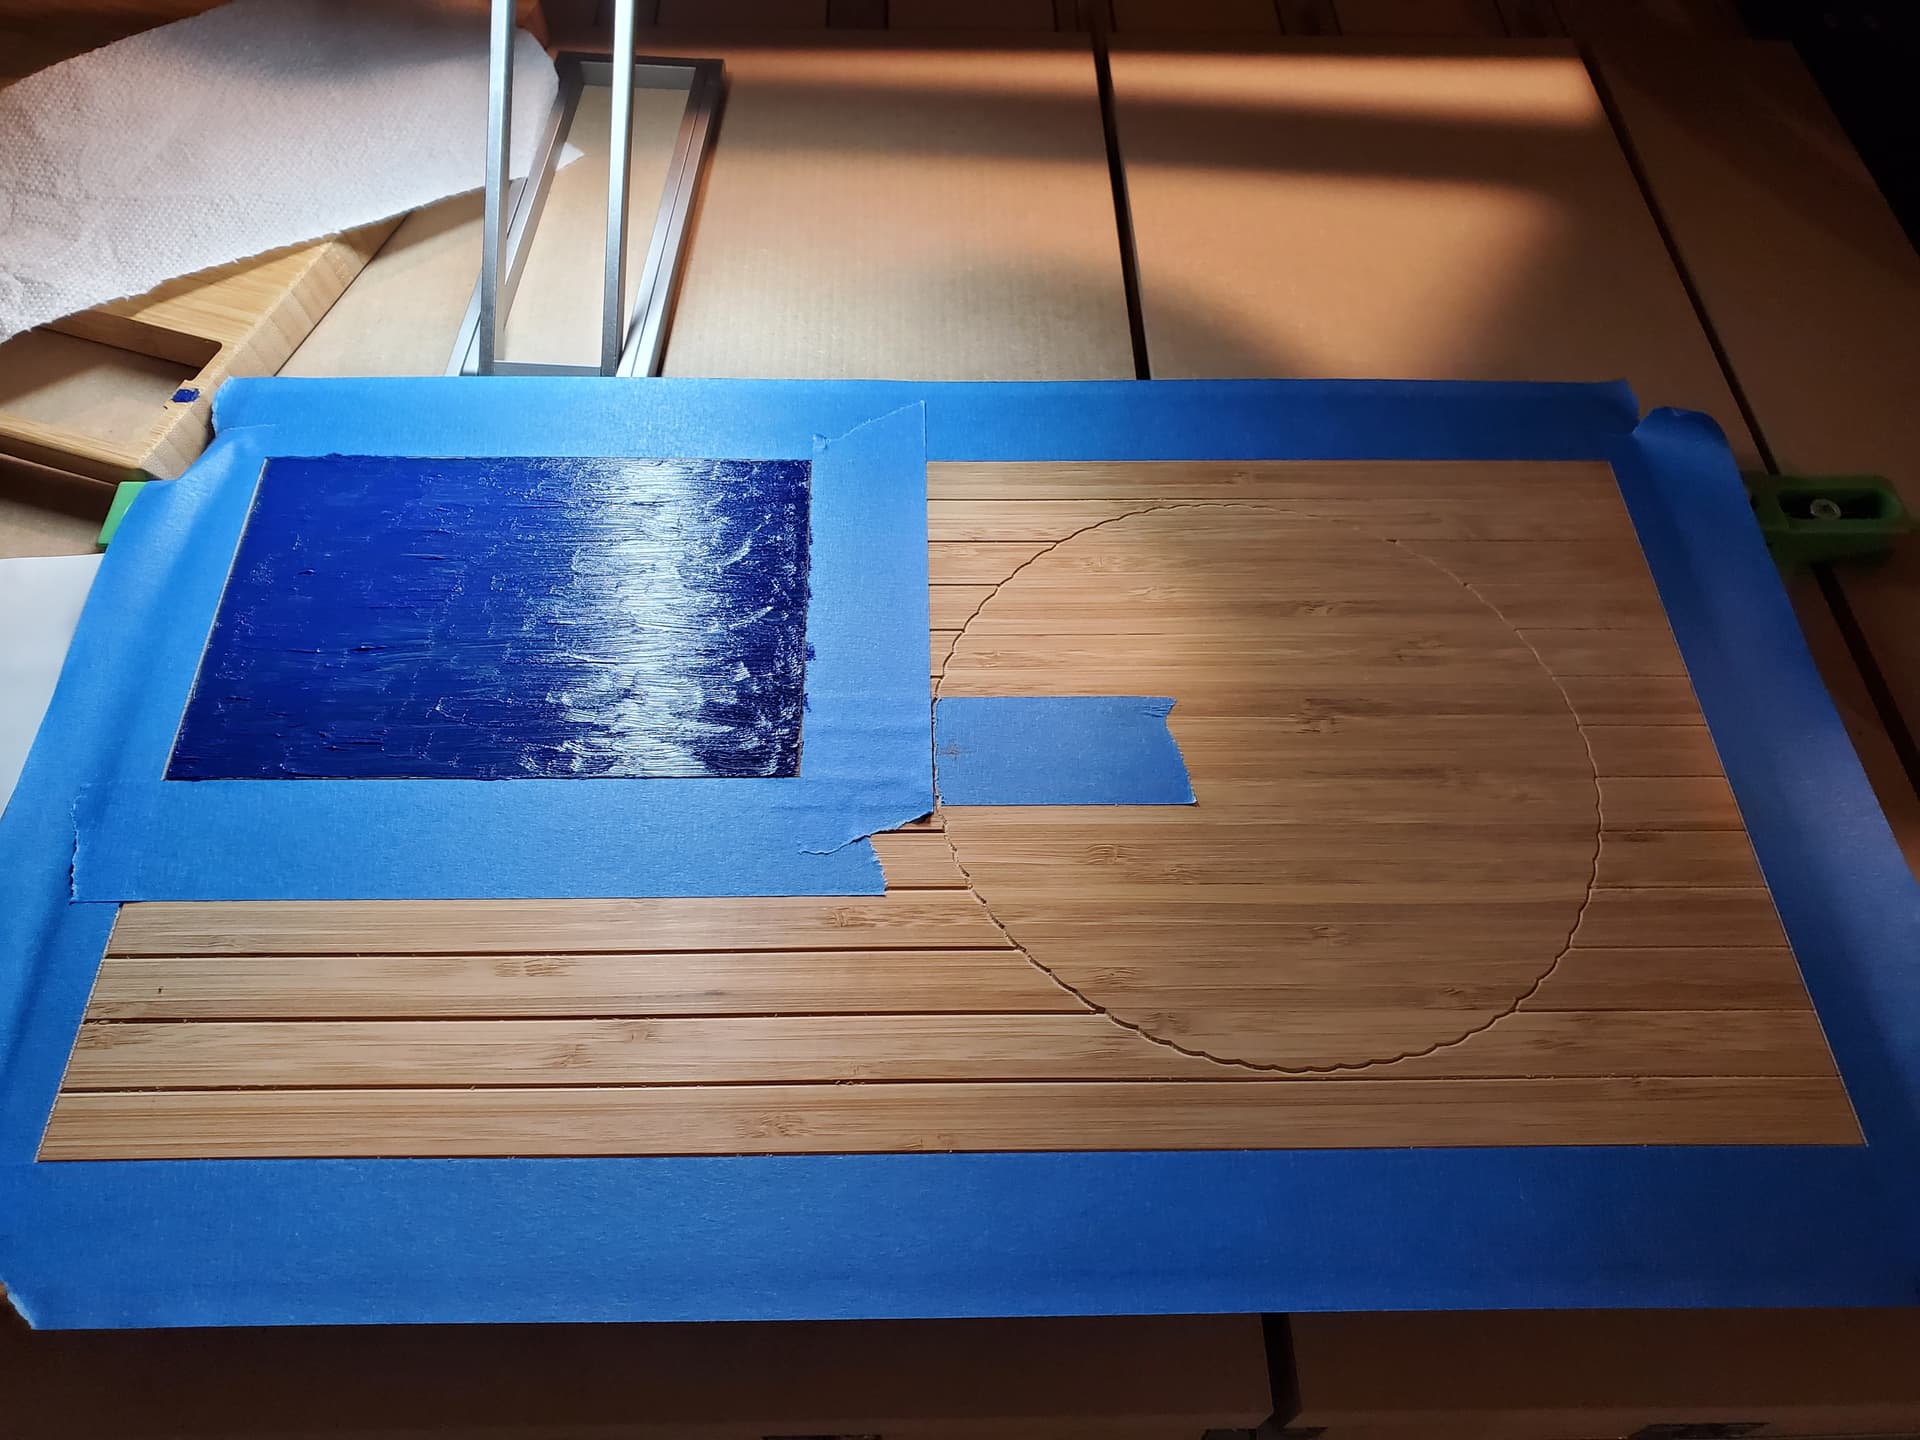
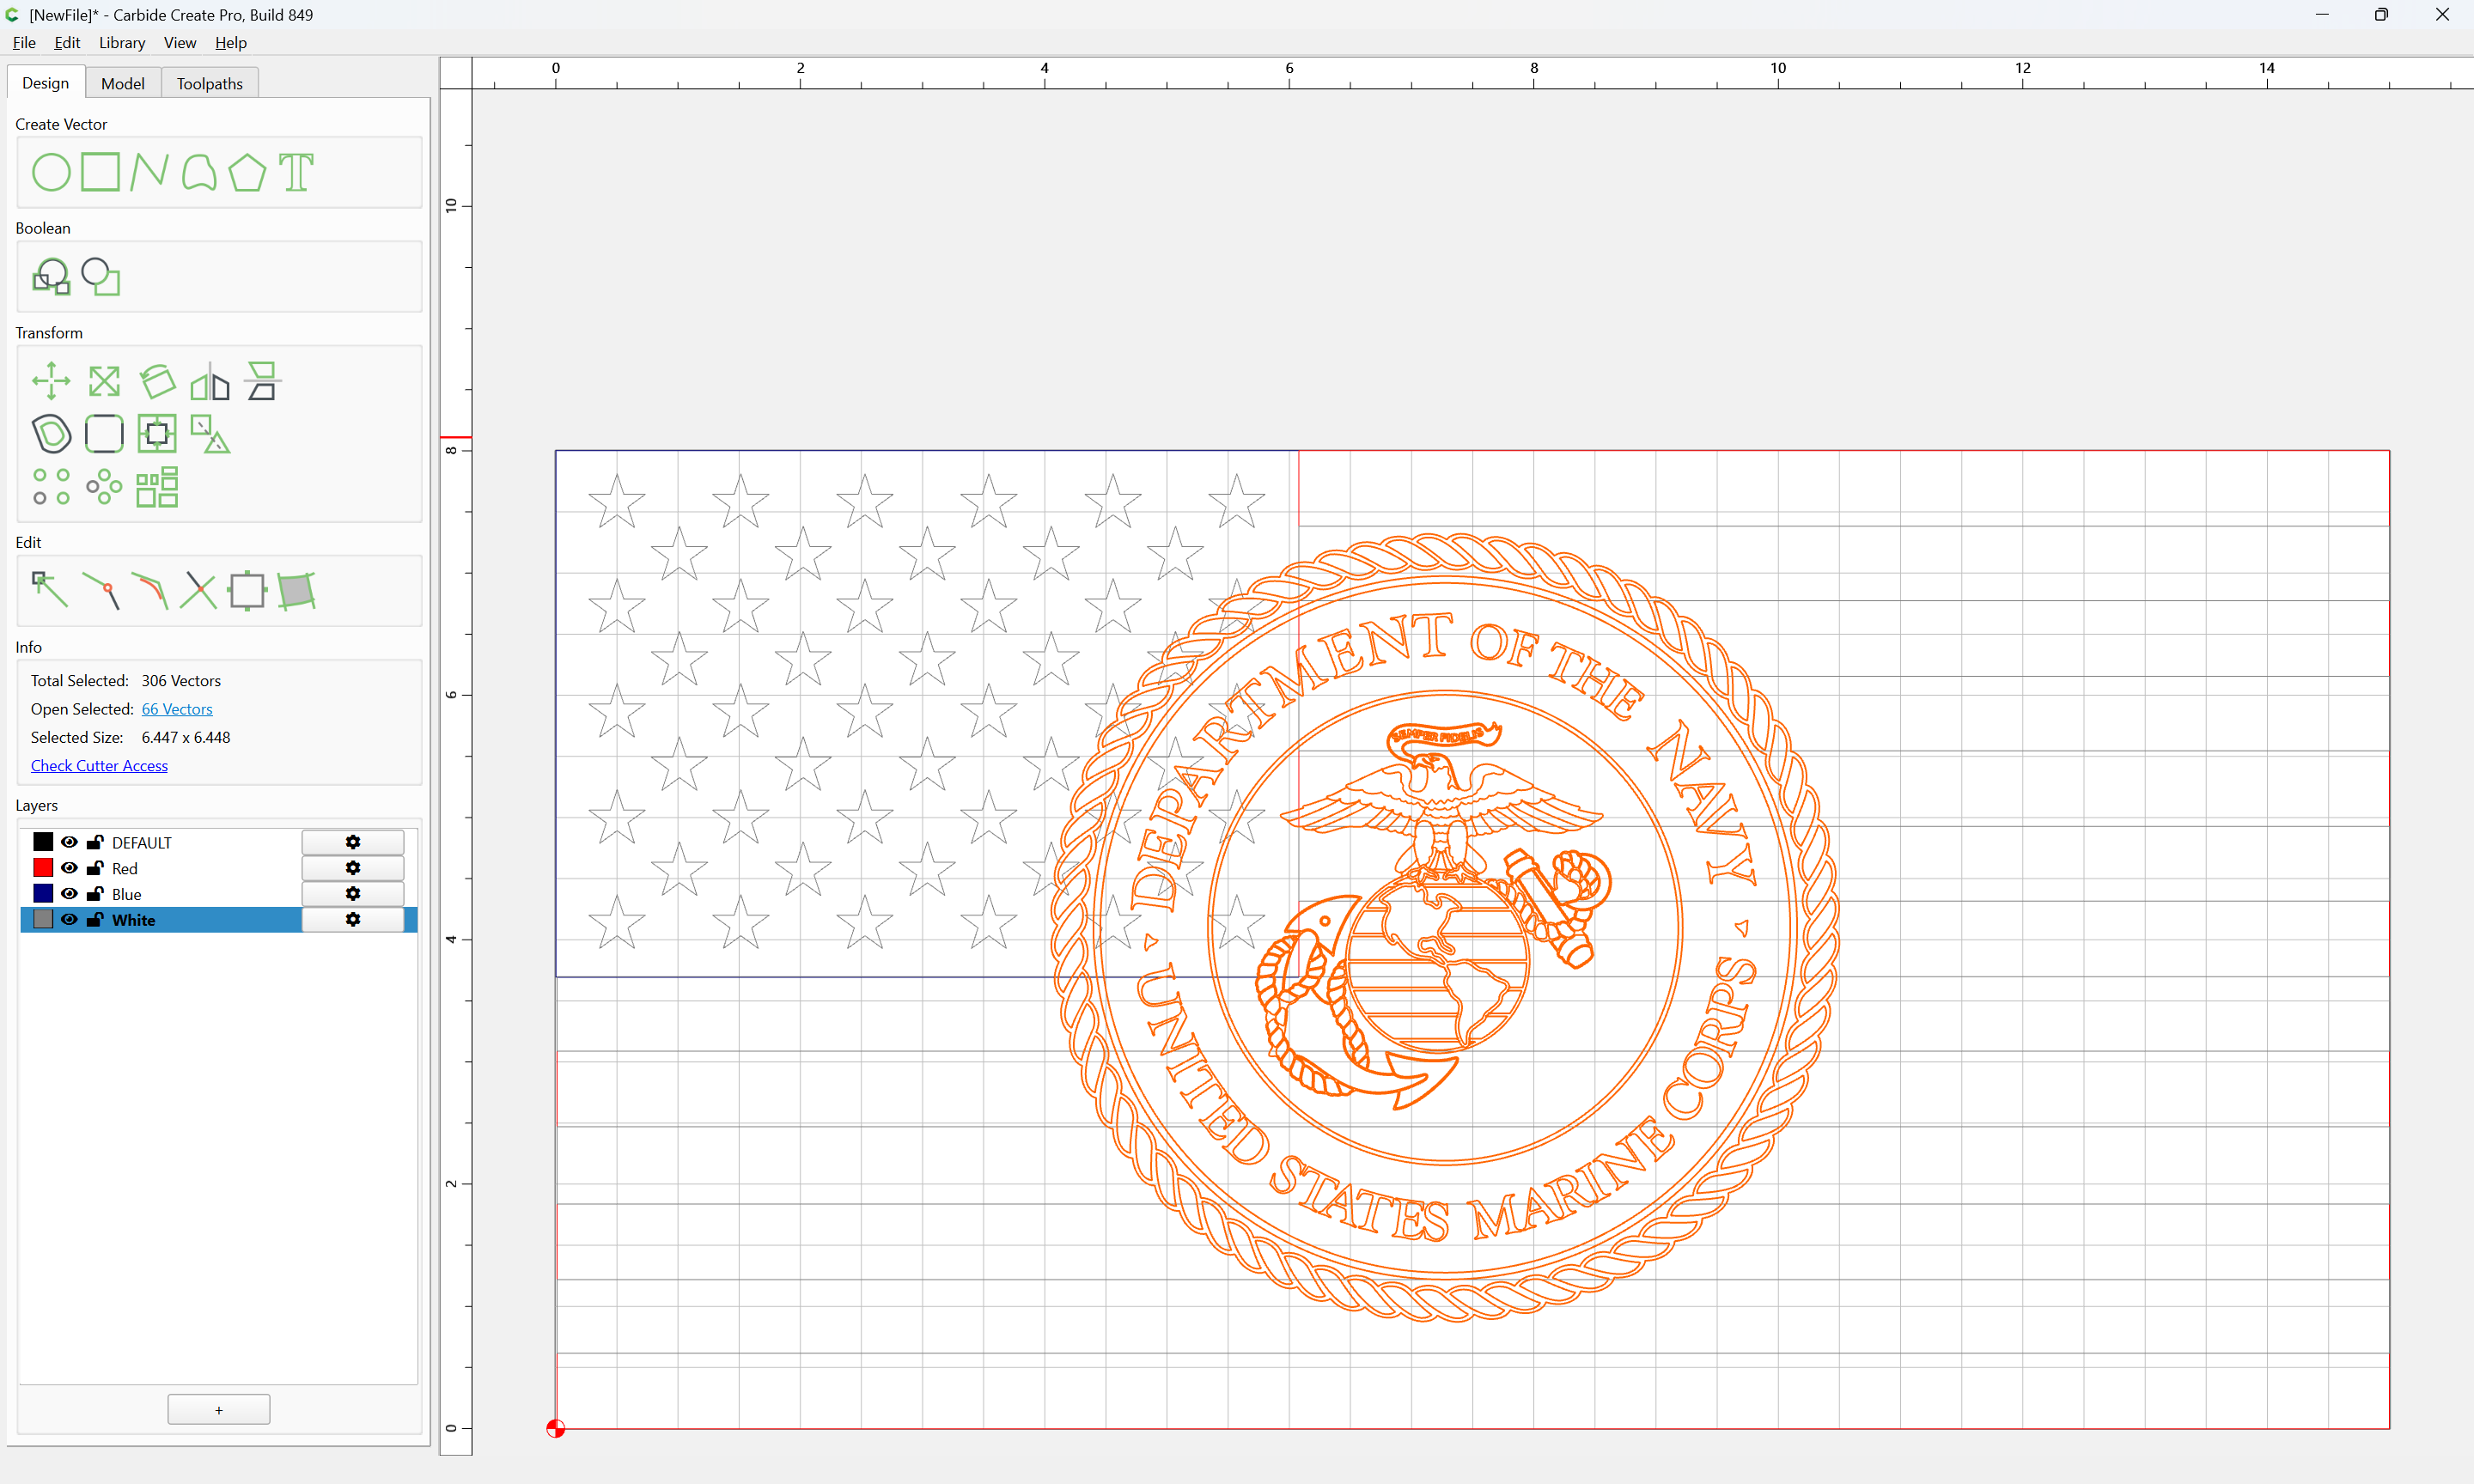
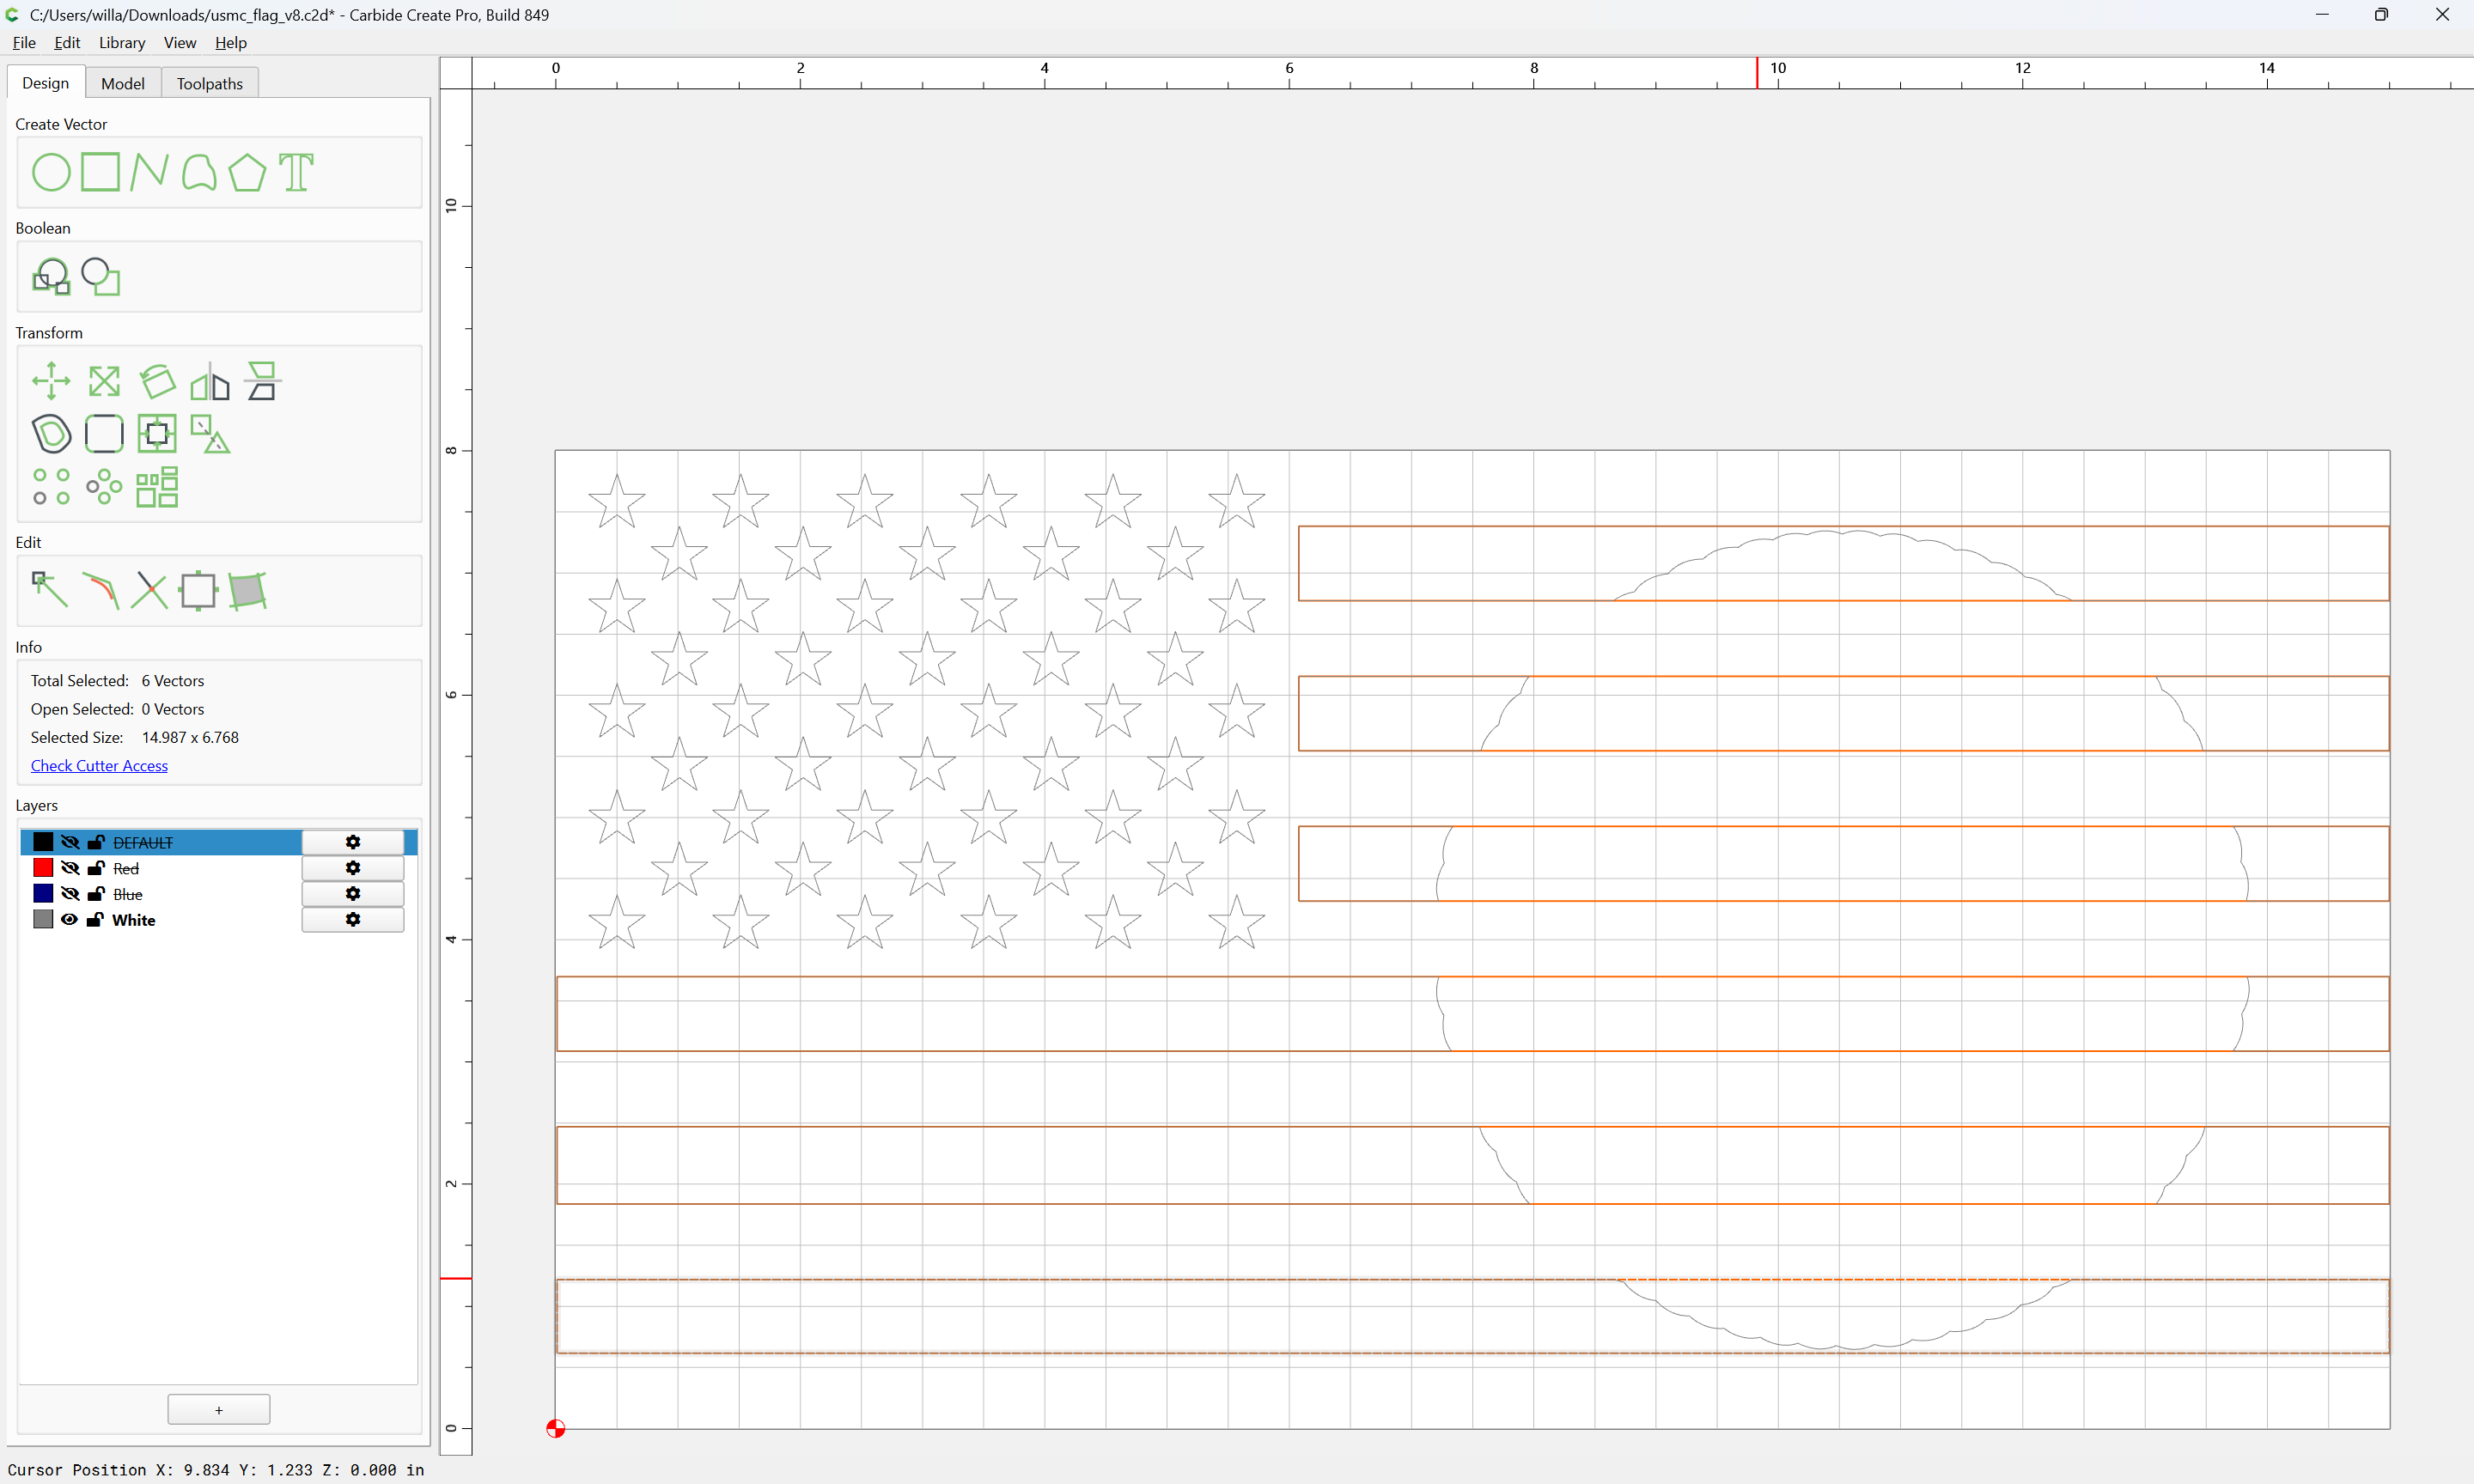
For the missing white stripes, draw them in using the rectangle tool:
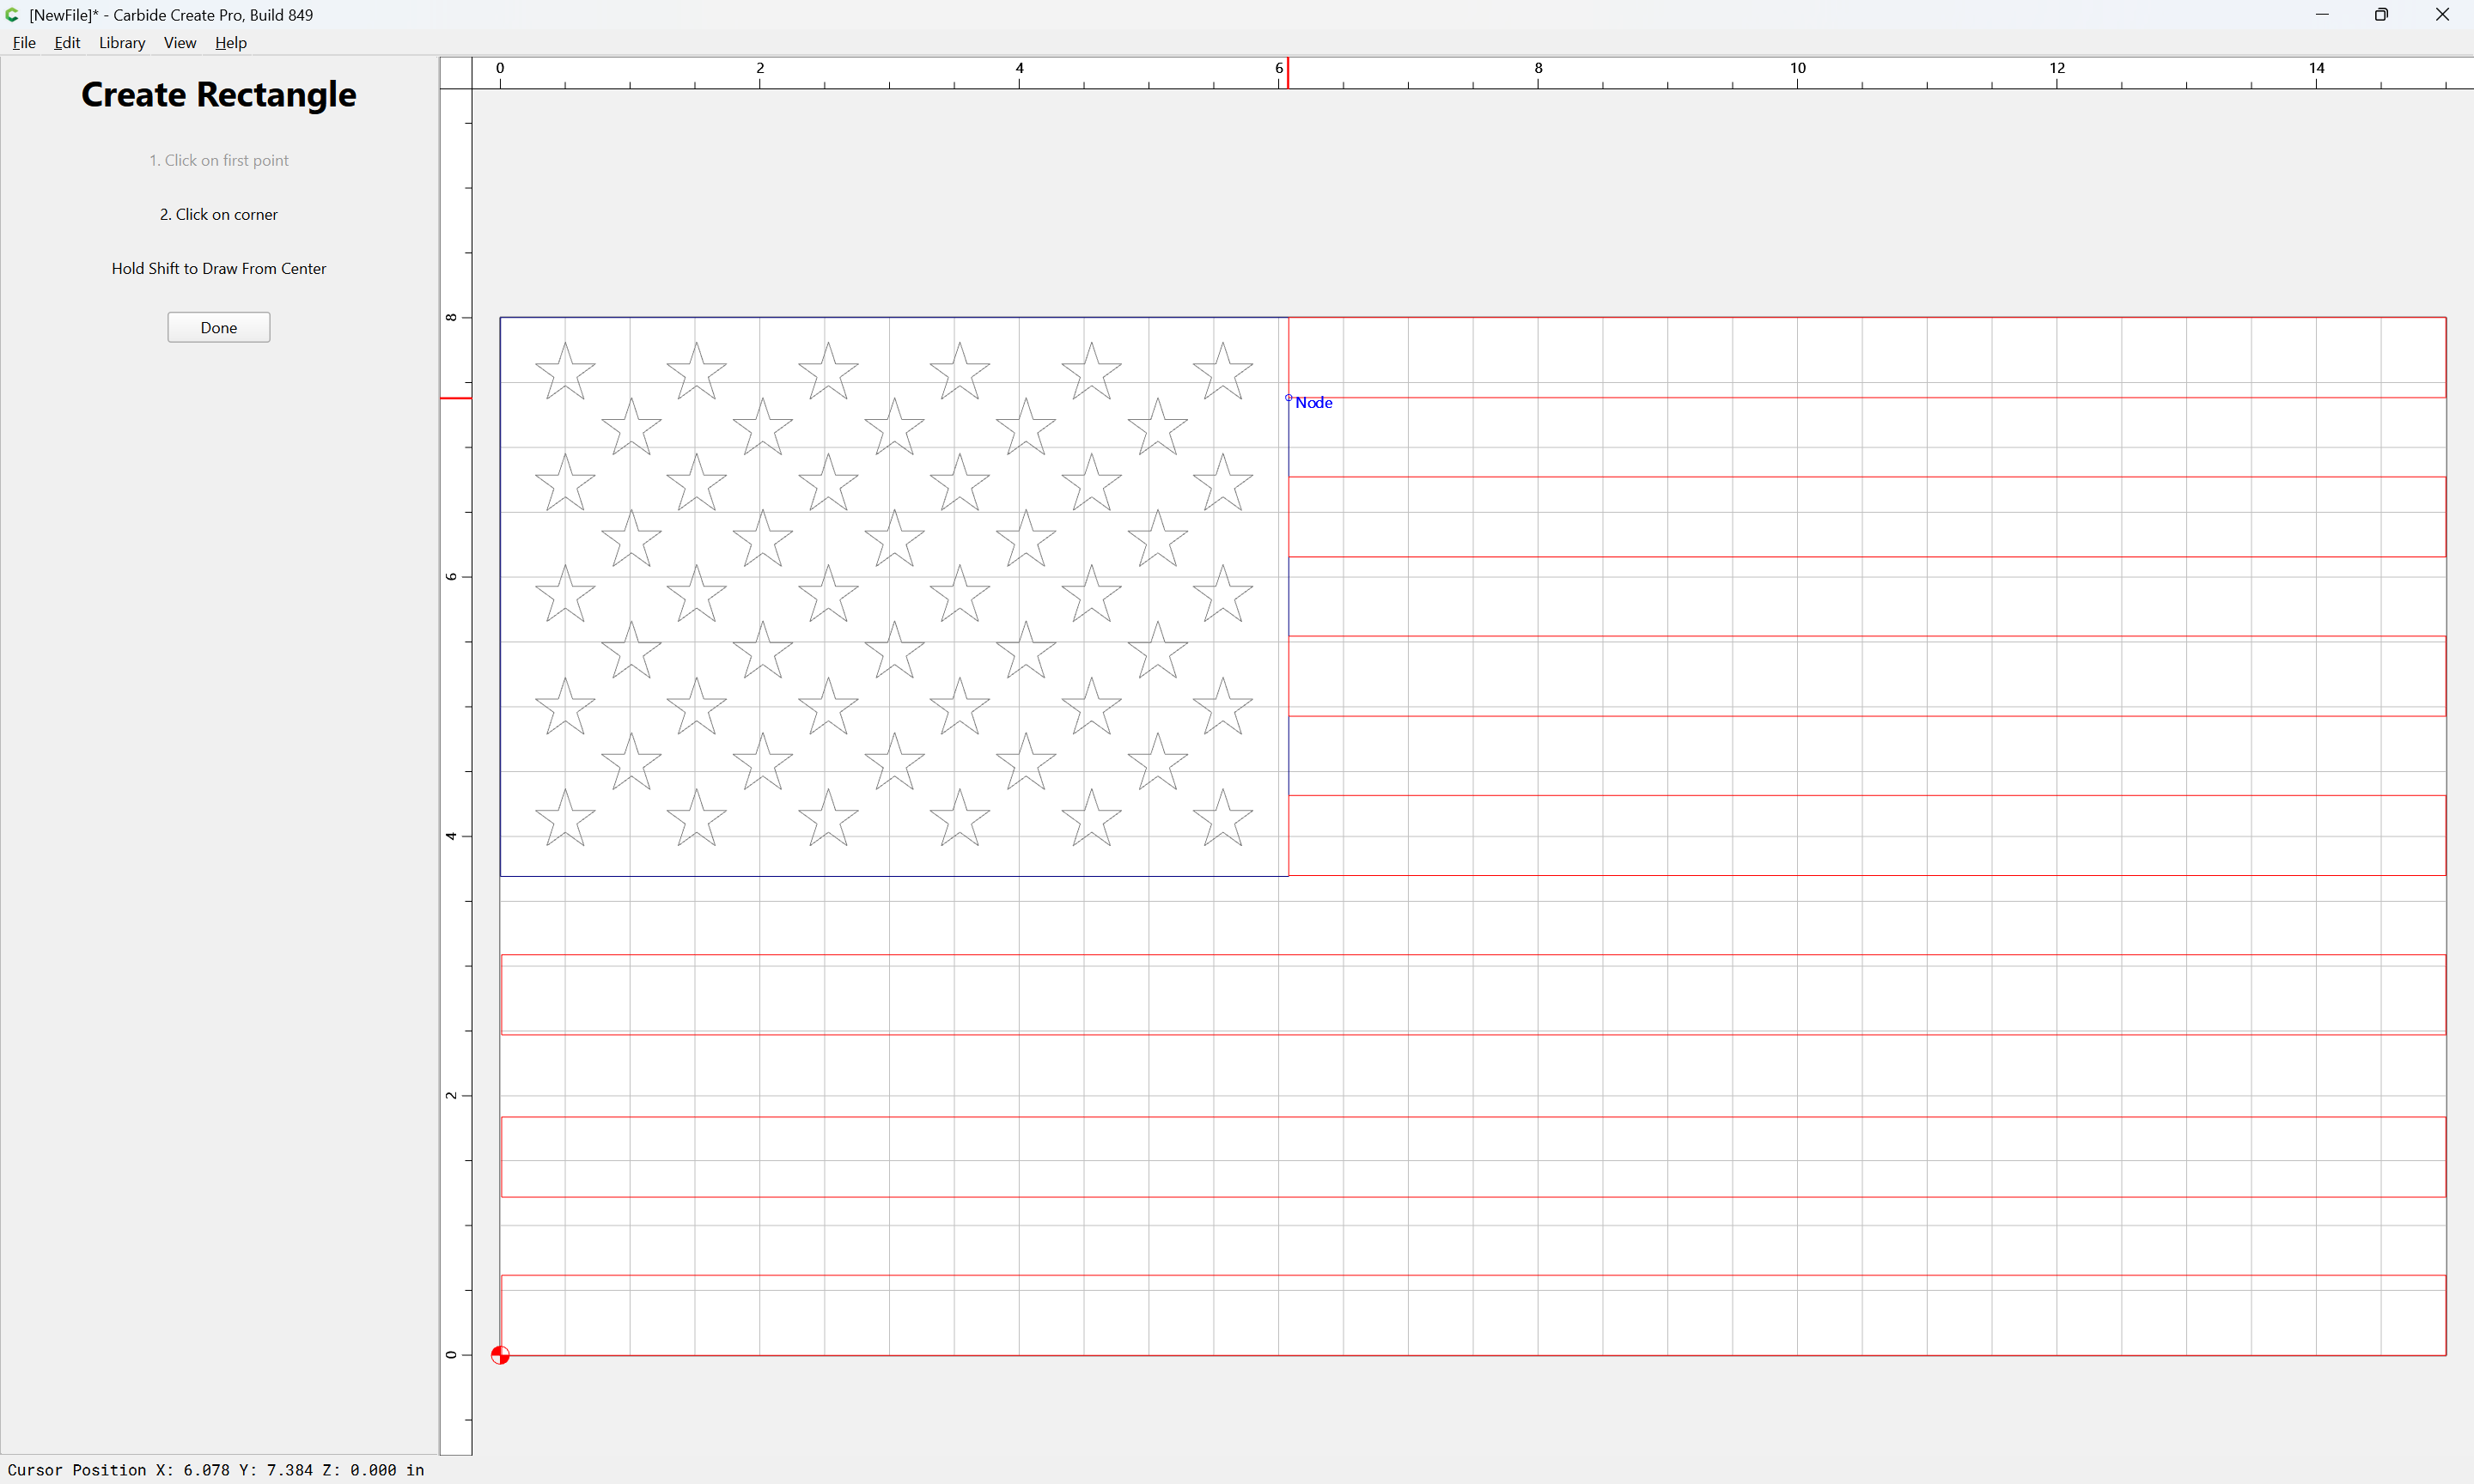
(after double-clicking on the White layer to make it Active)
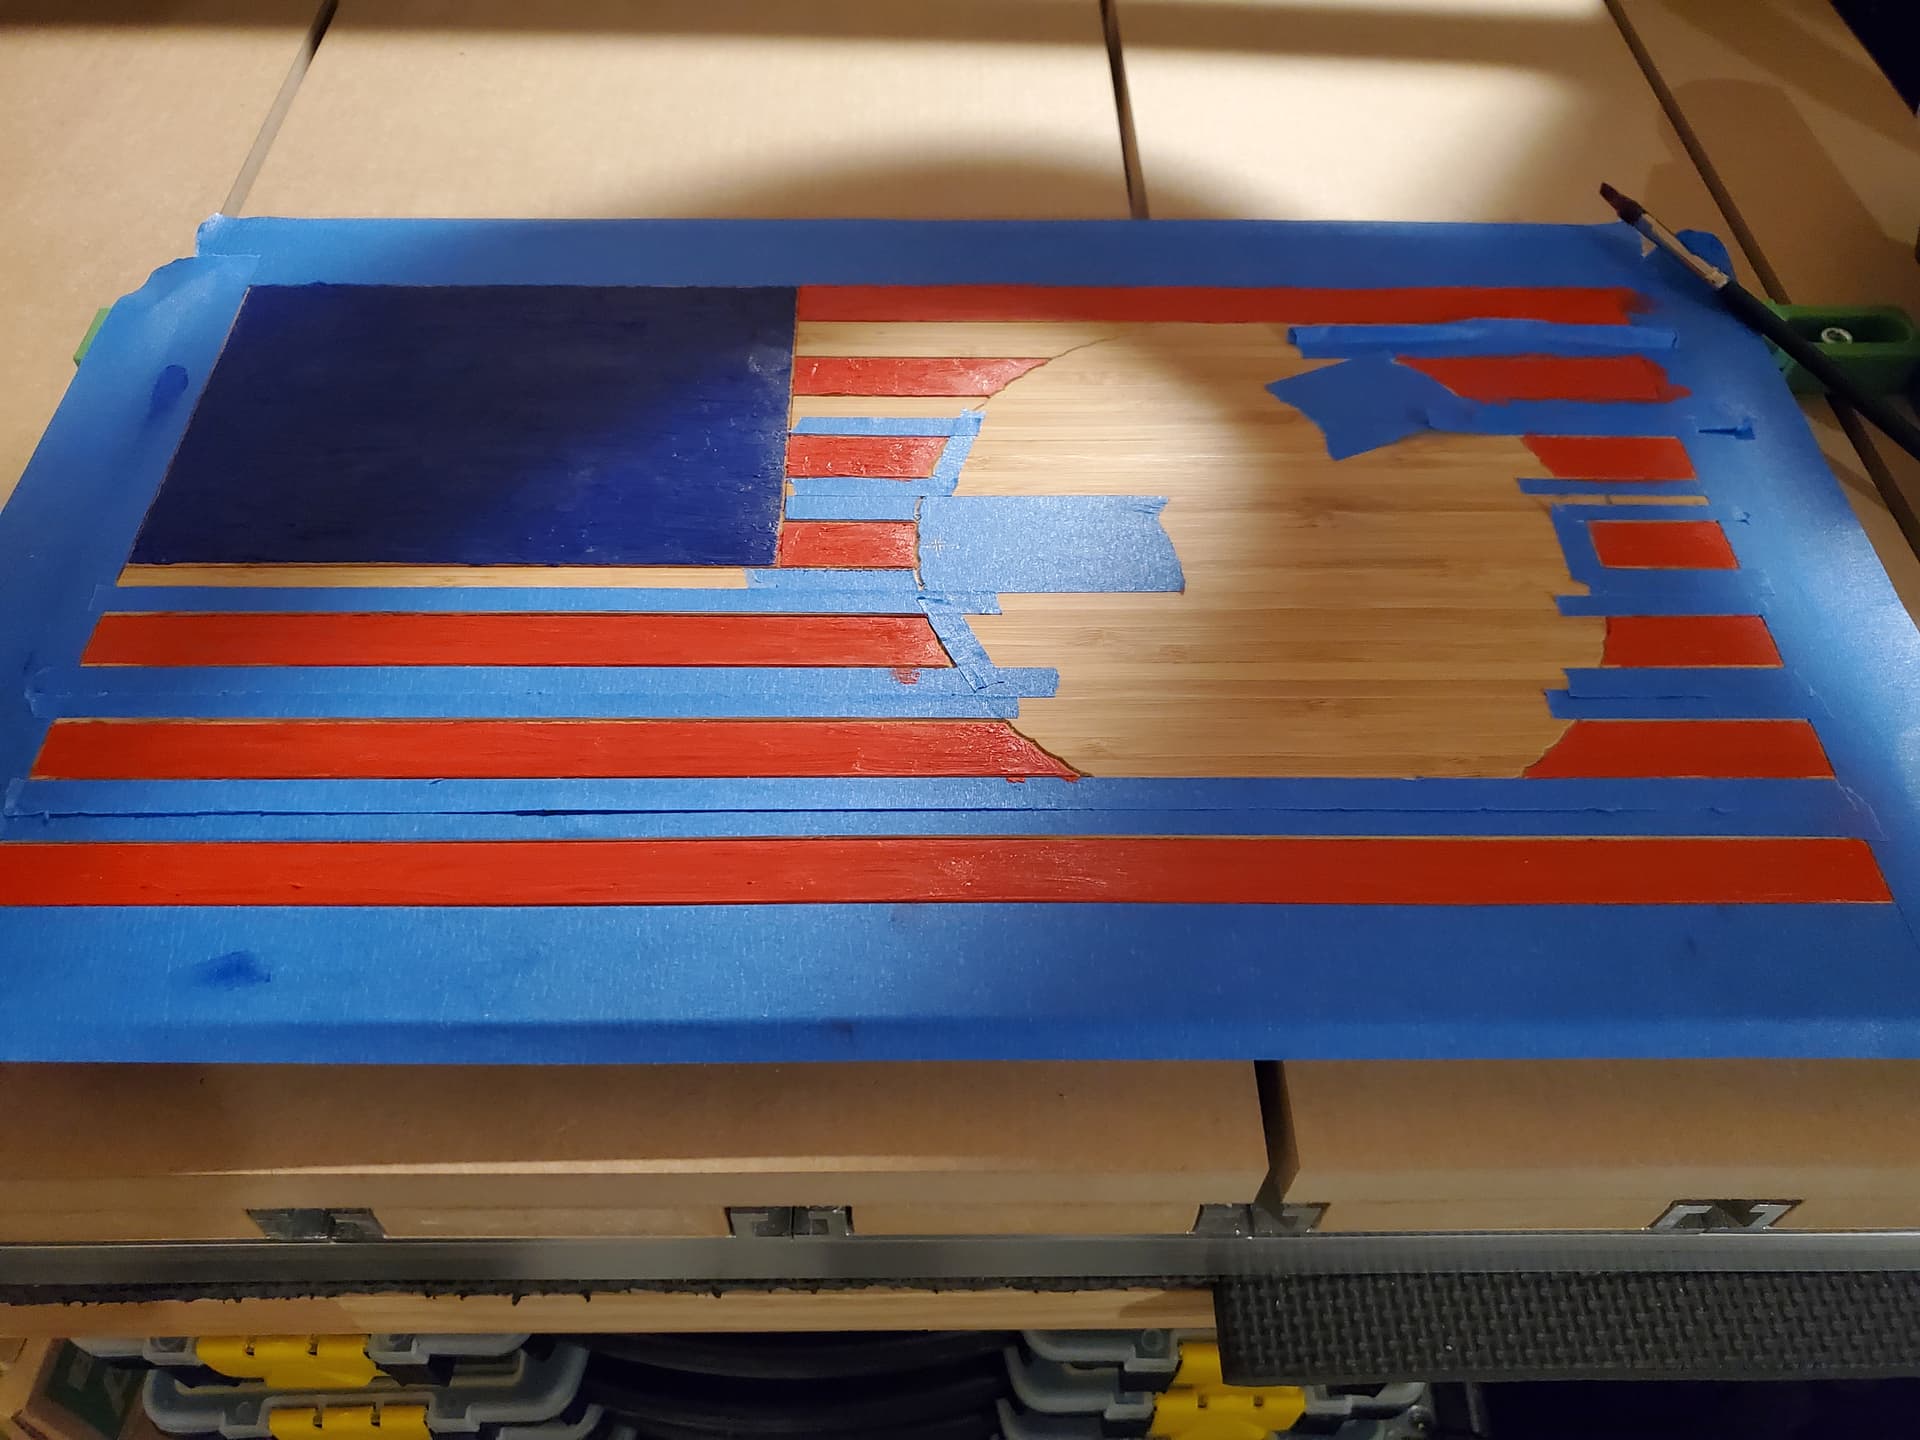
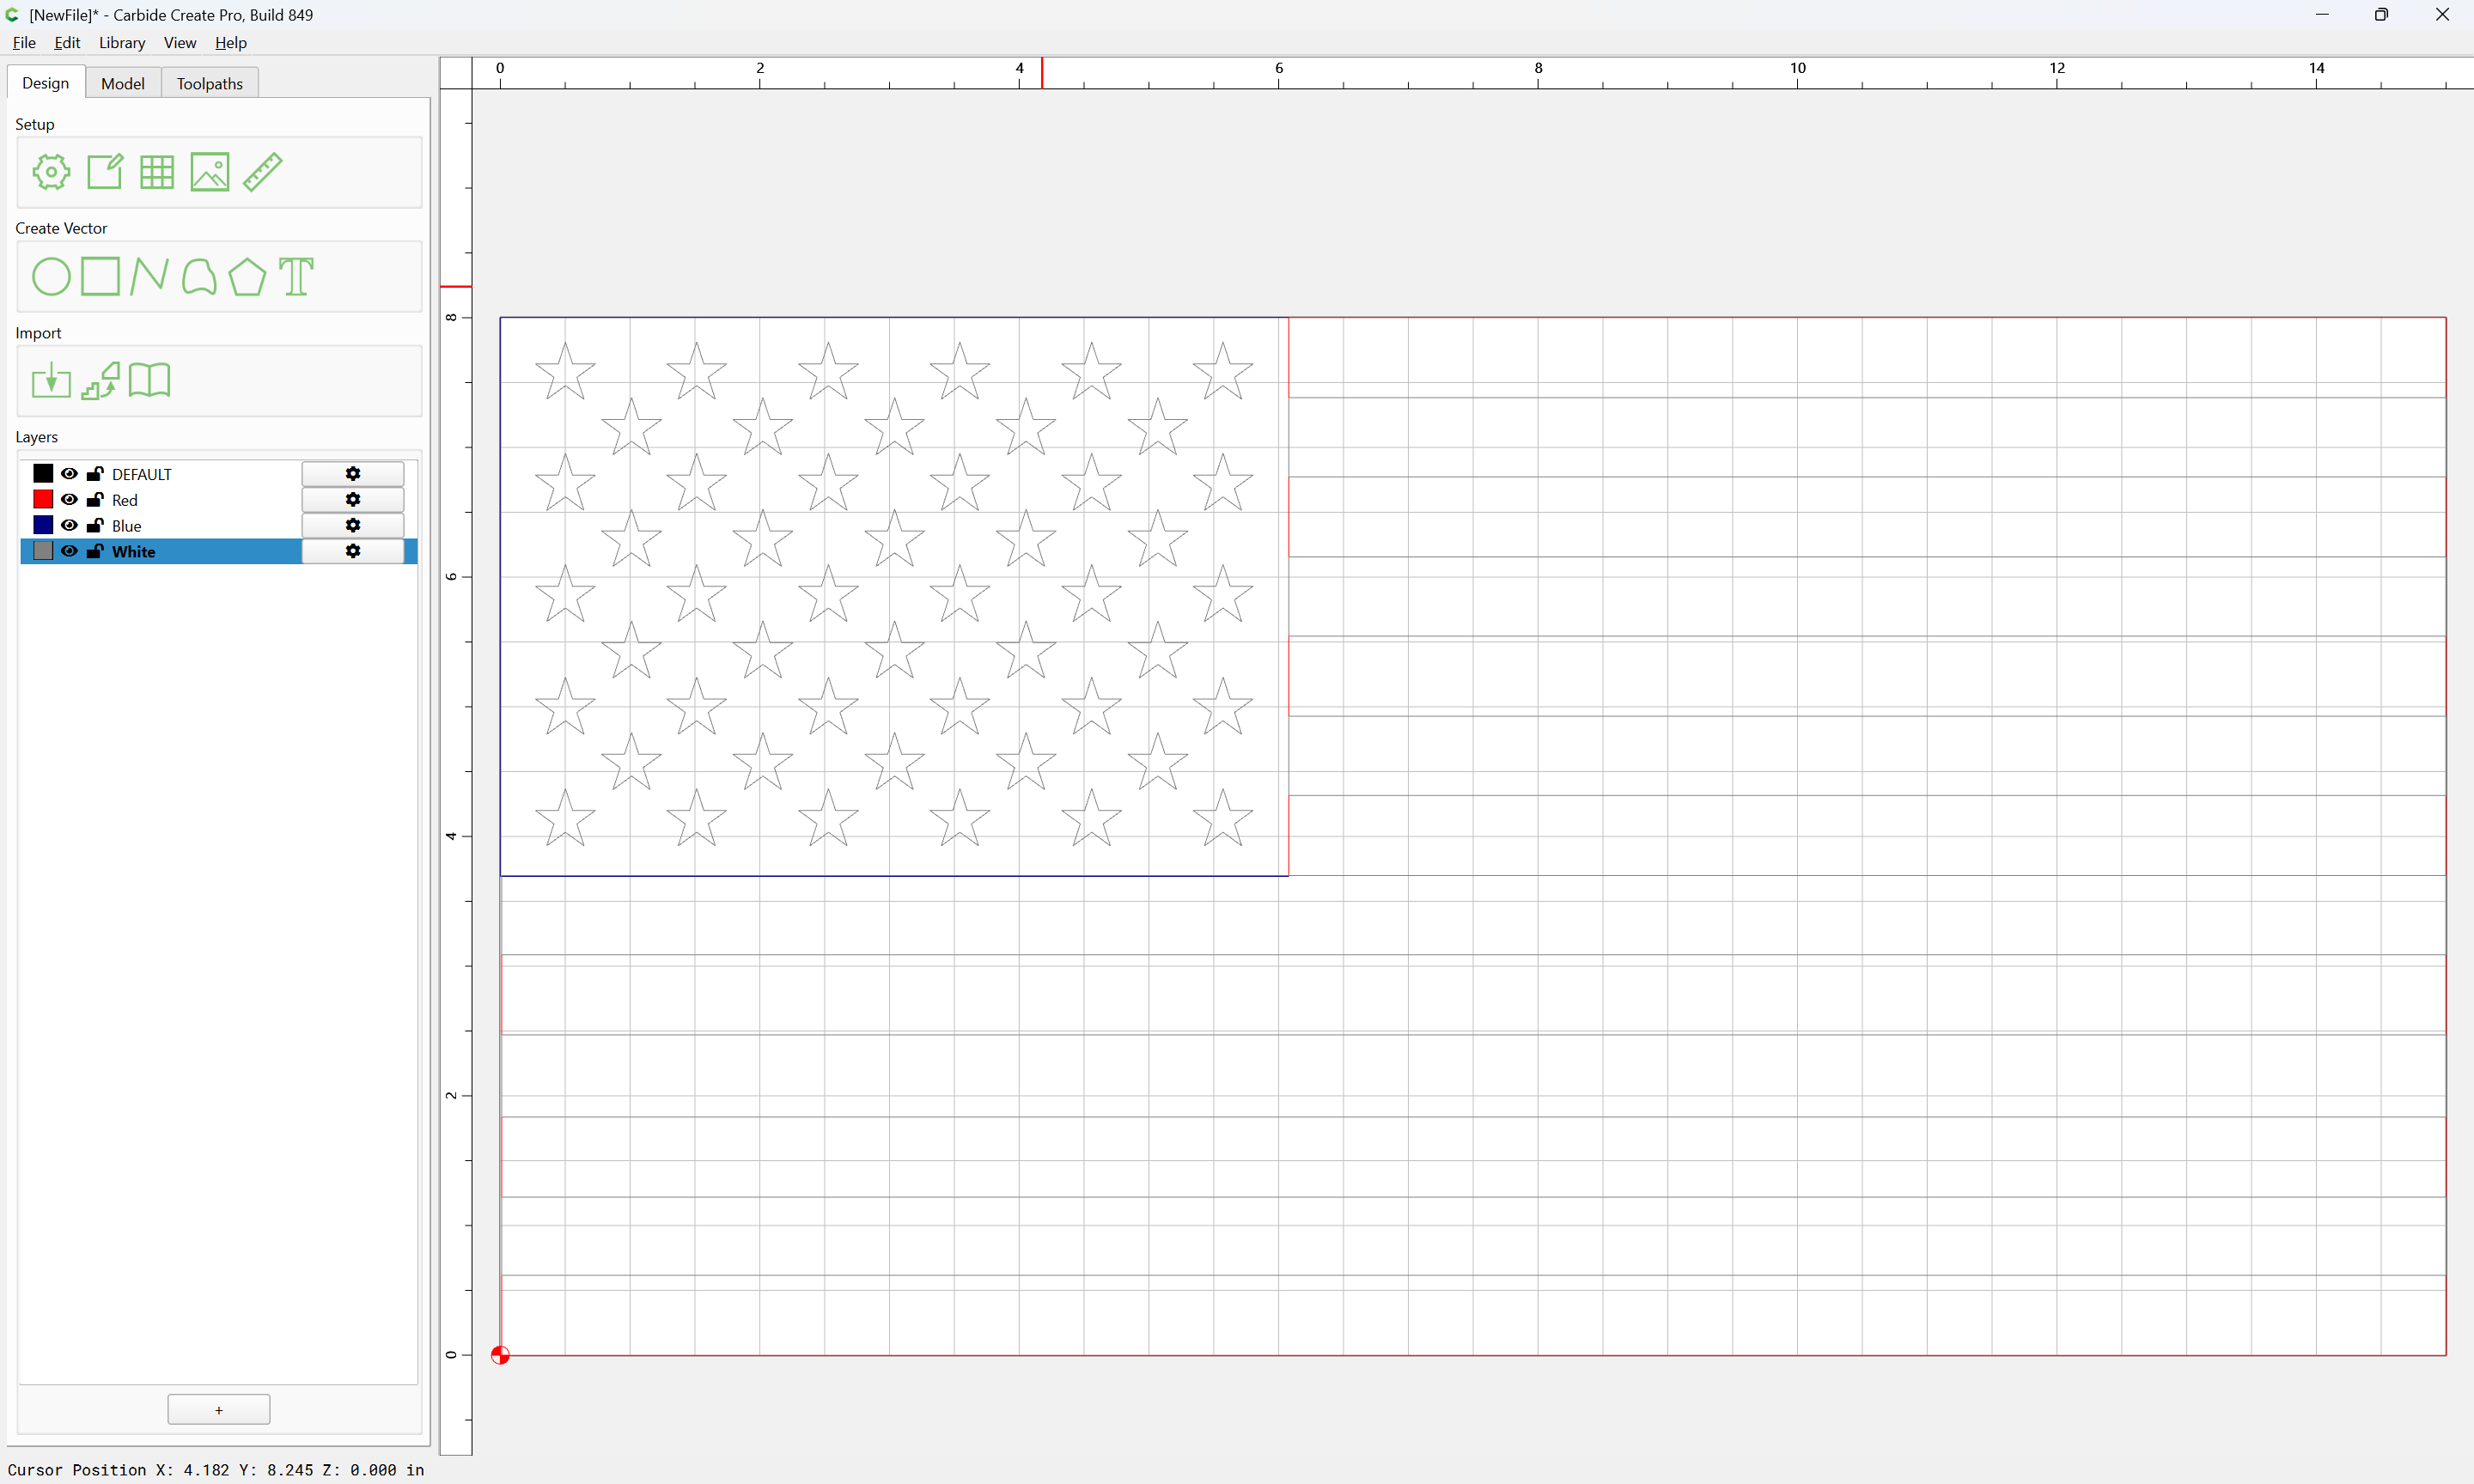
repeat for all other stripes:
Alternately, use the technique or file from:
(the balance of that thread may be of interest)
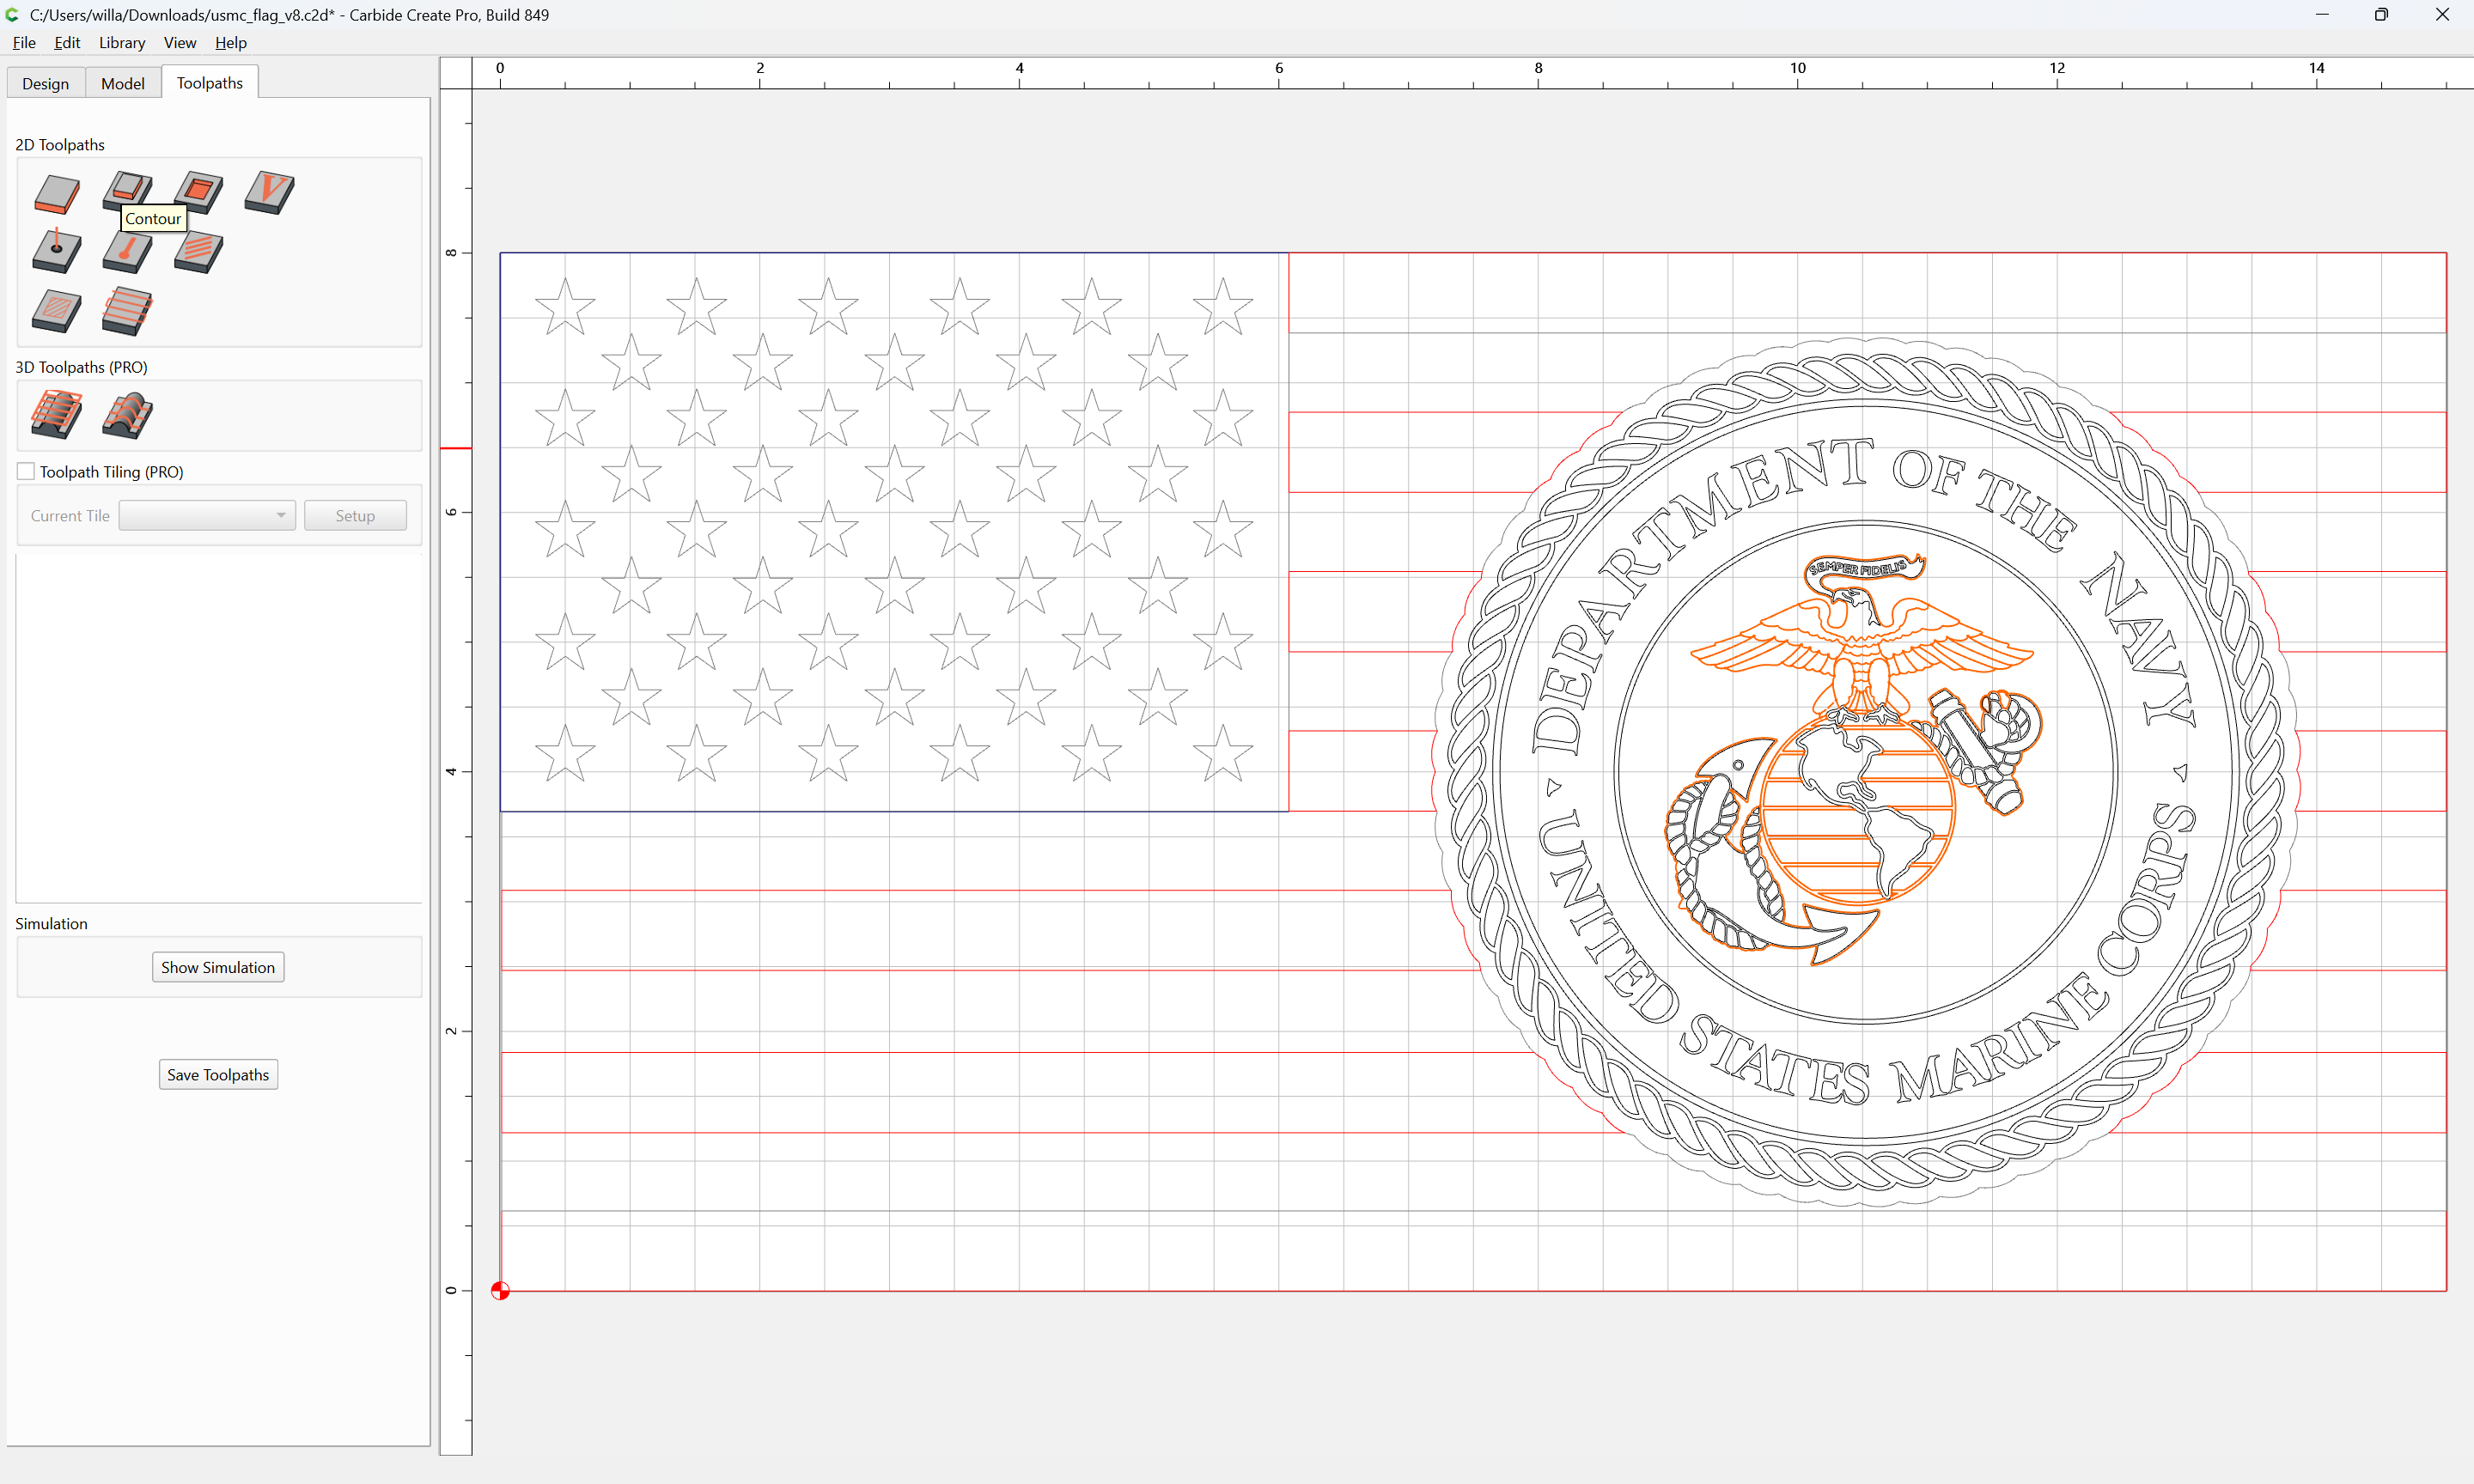
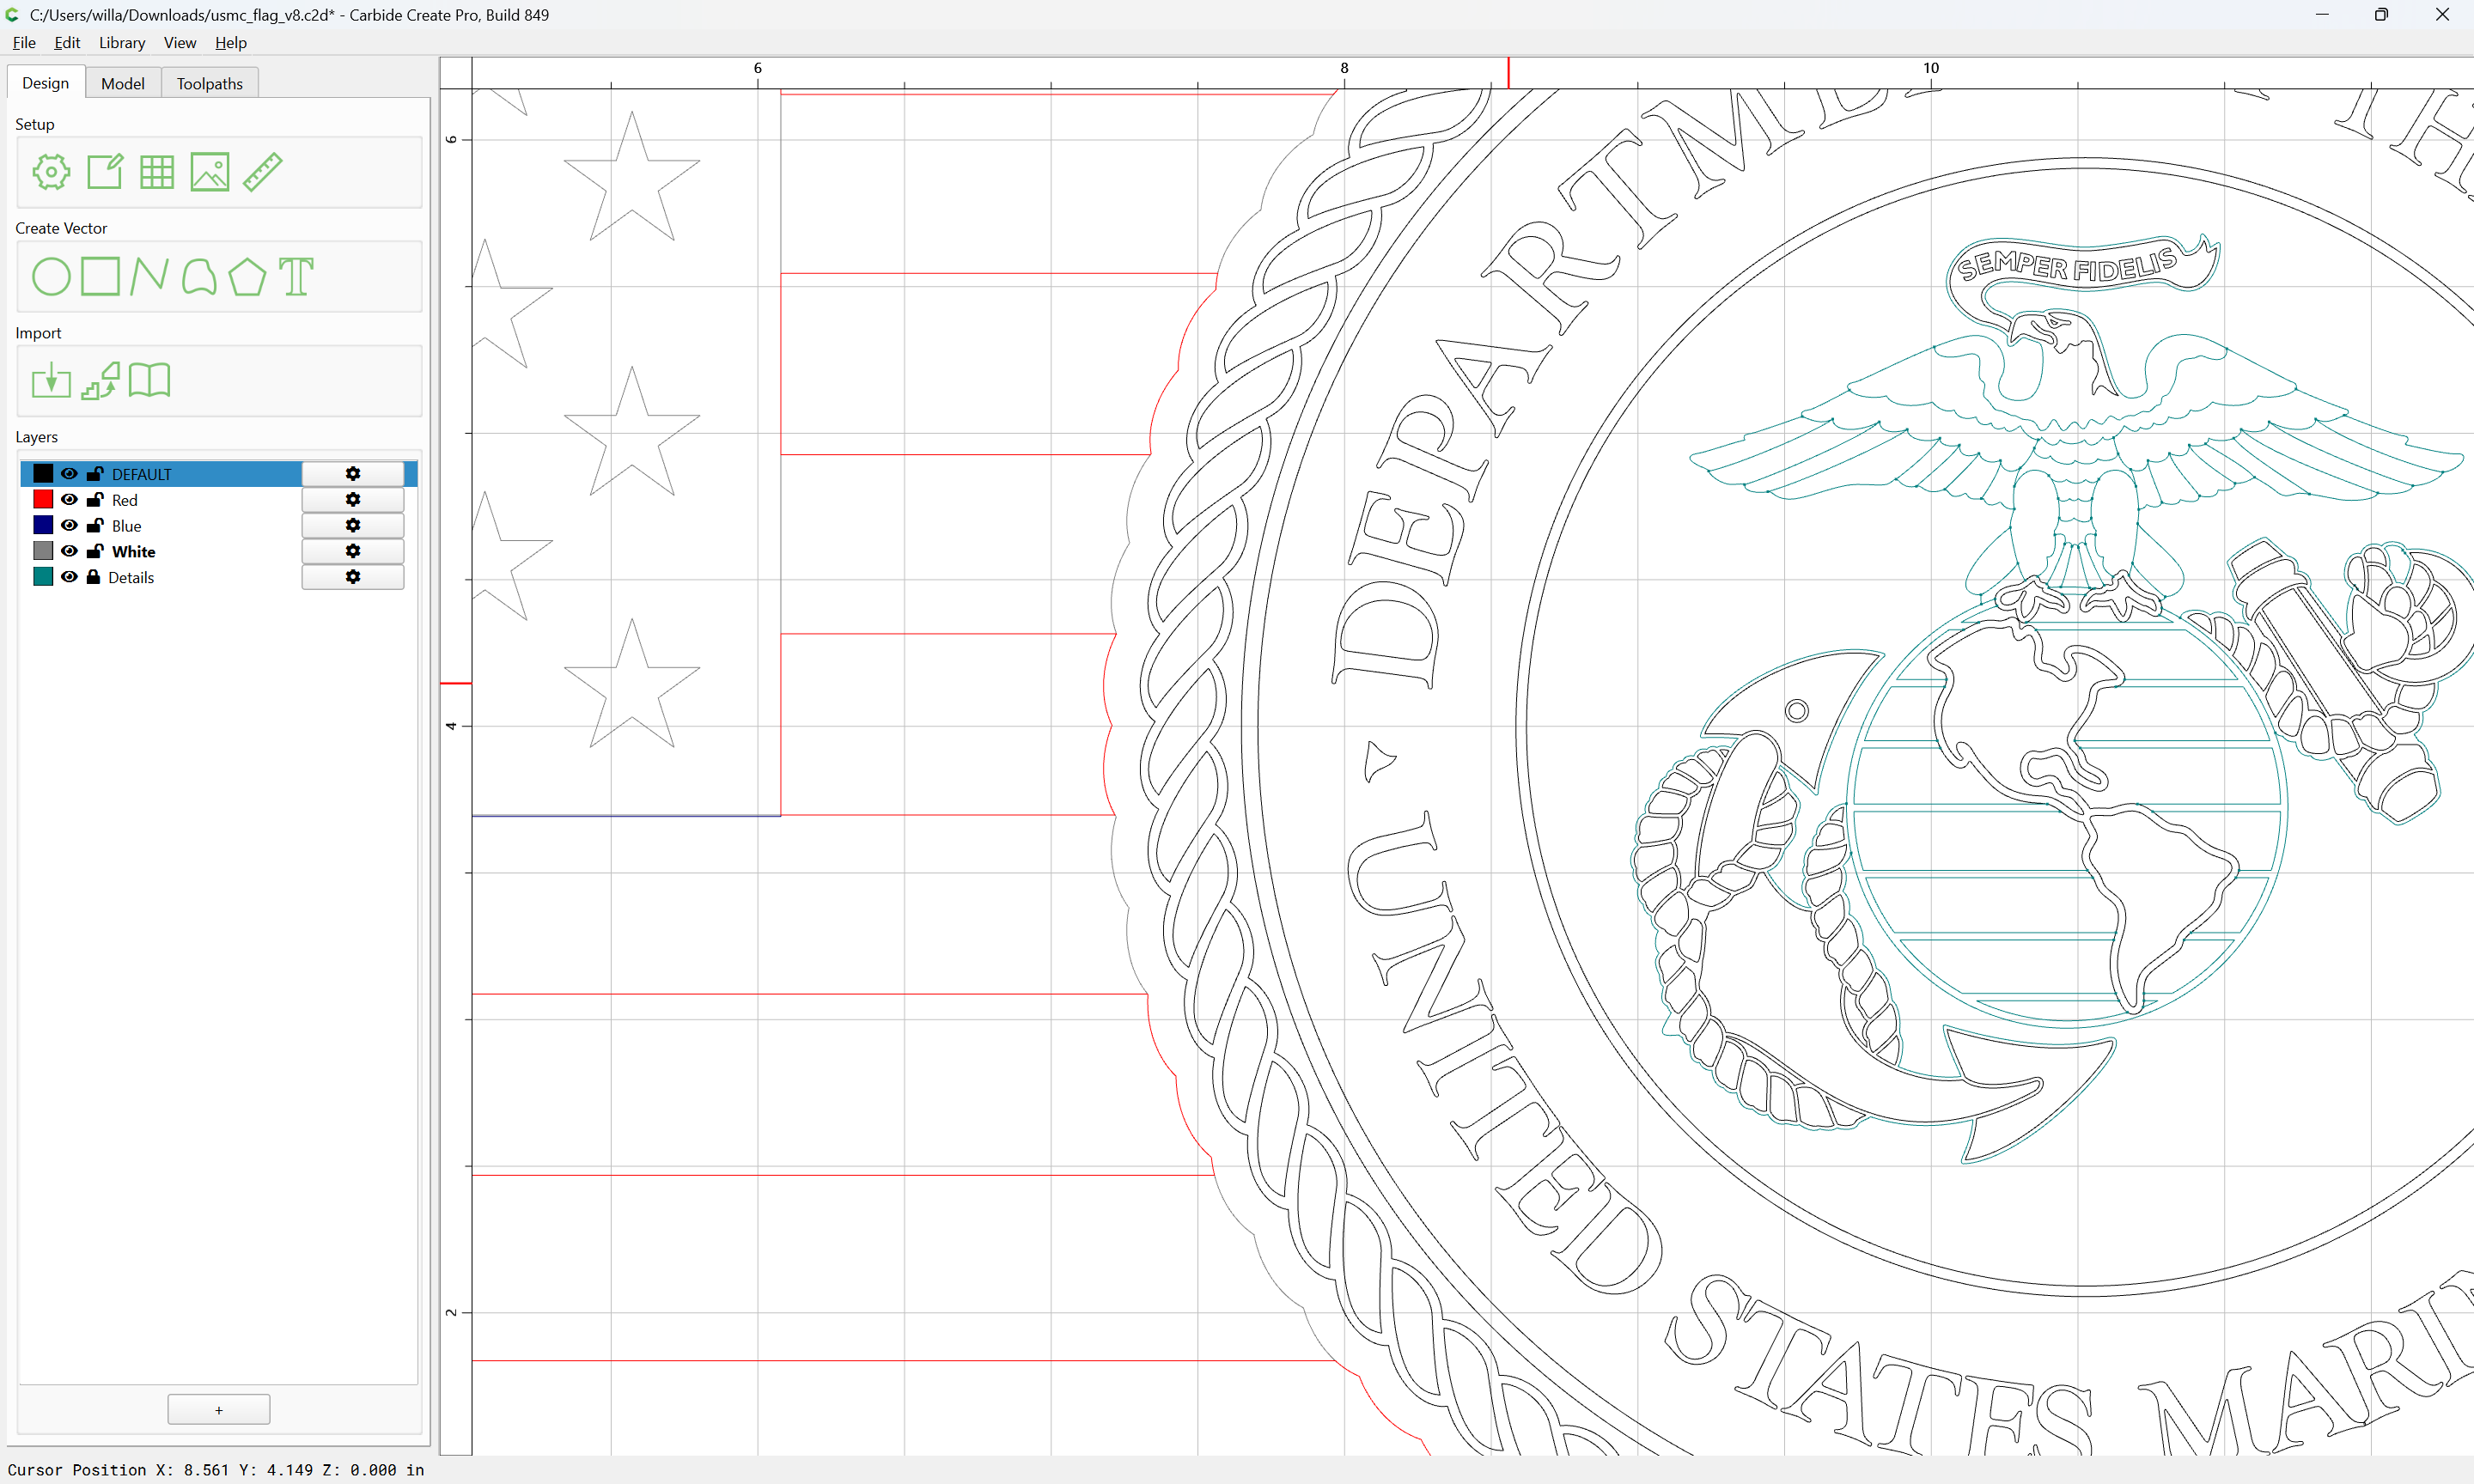
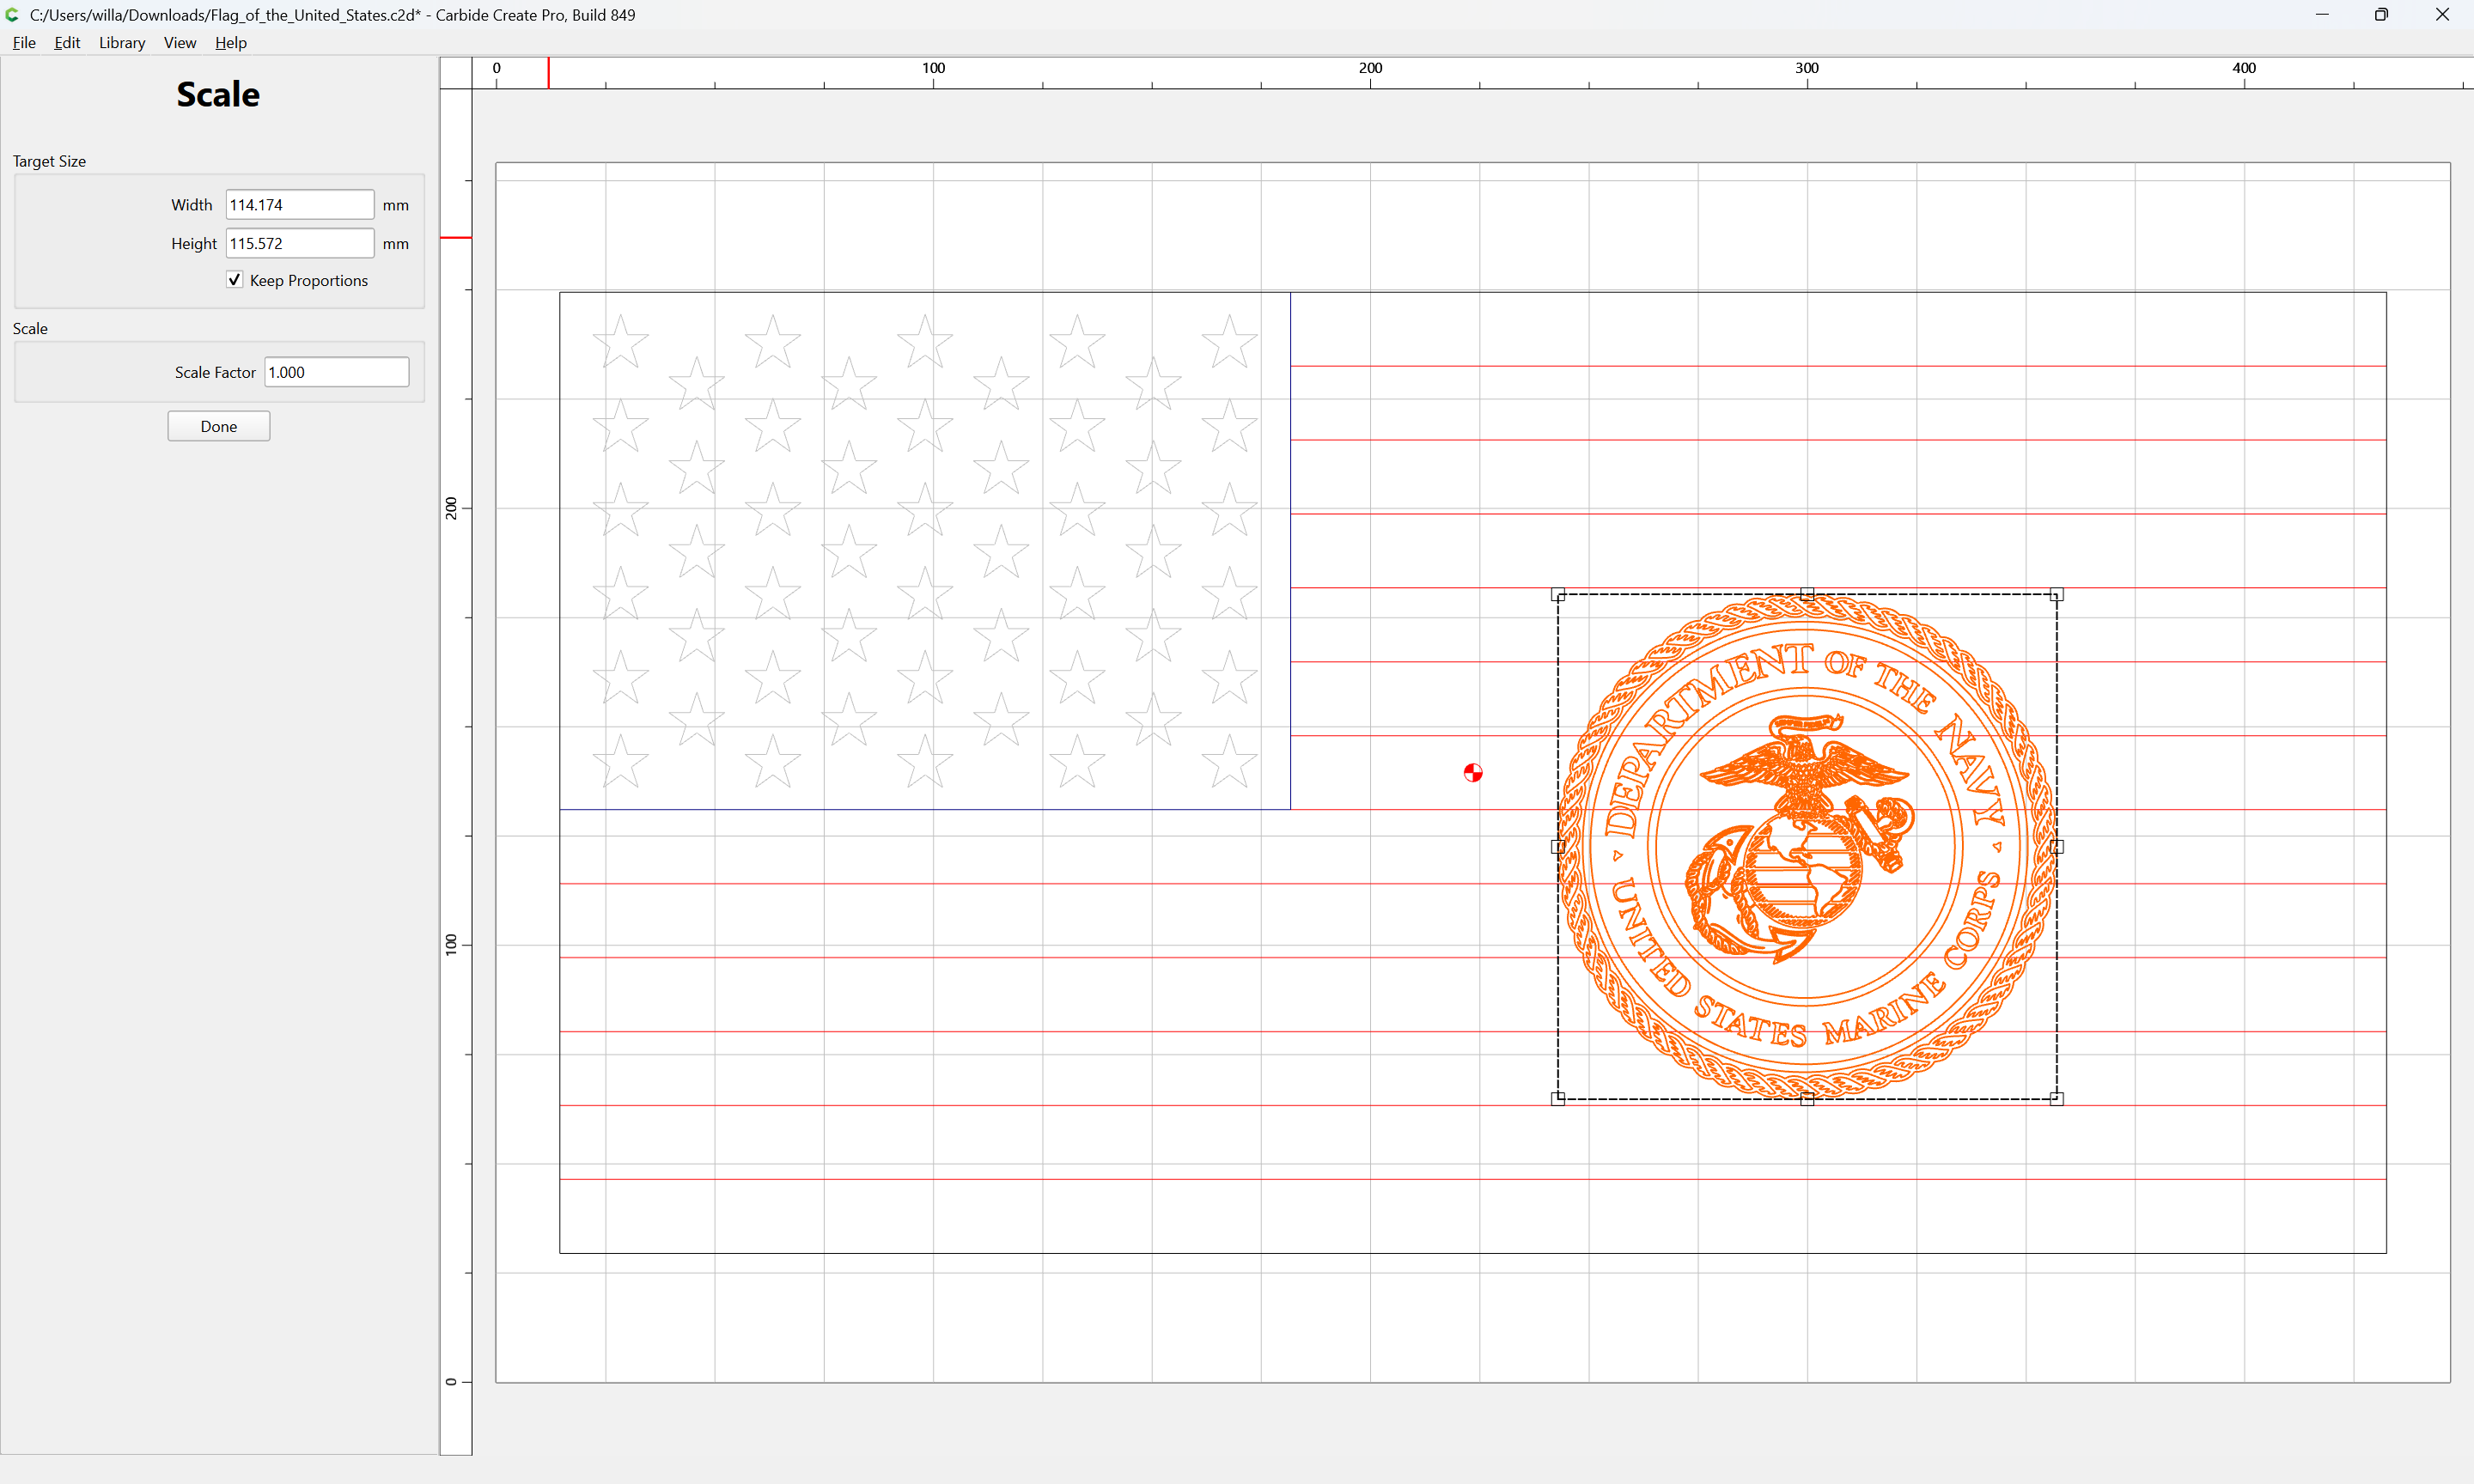
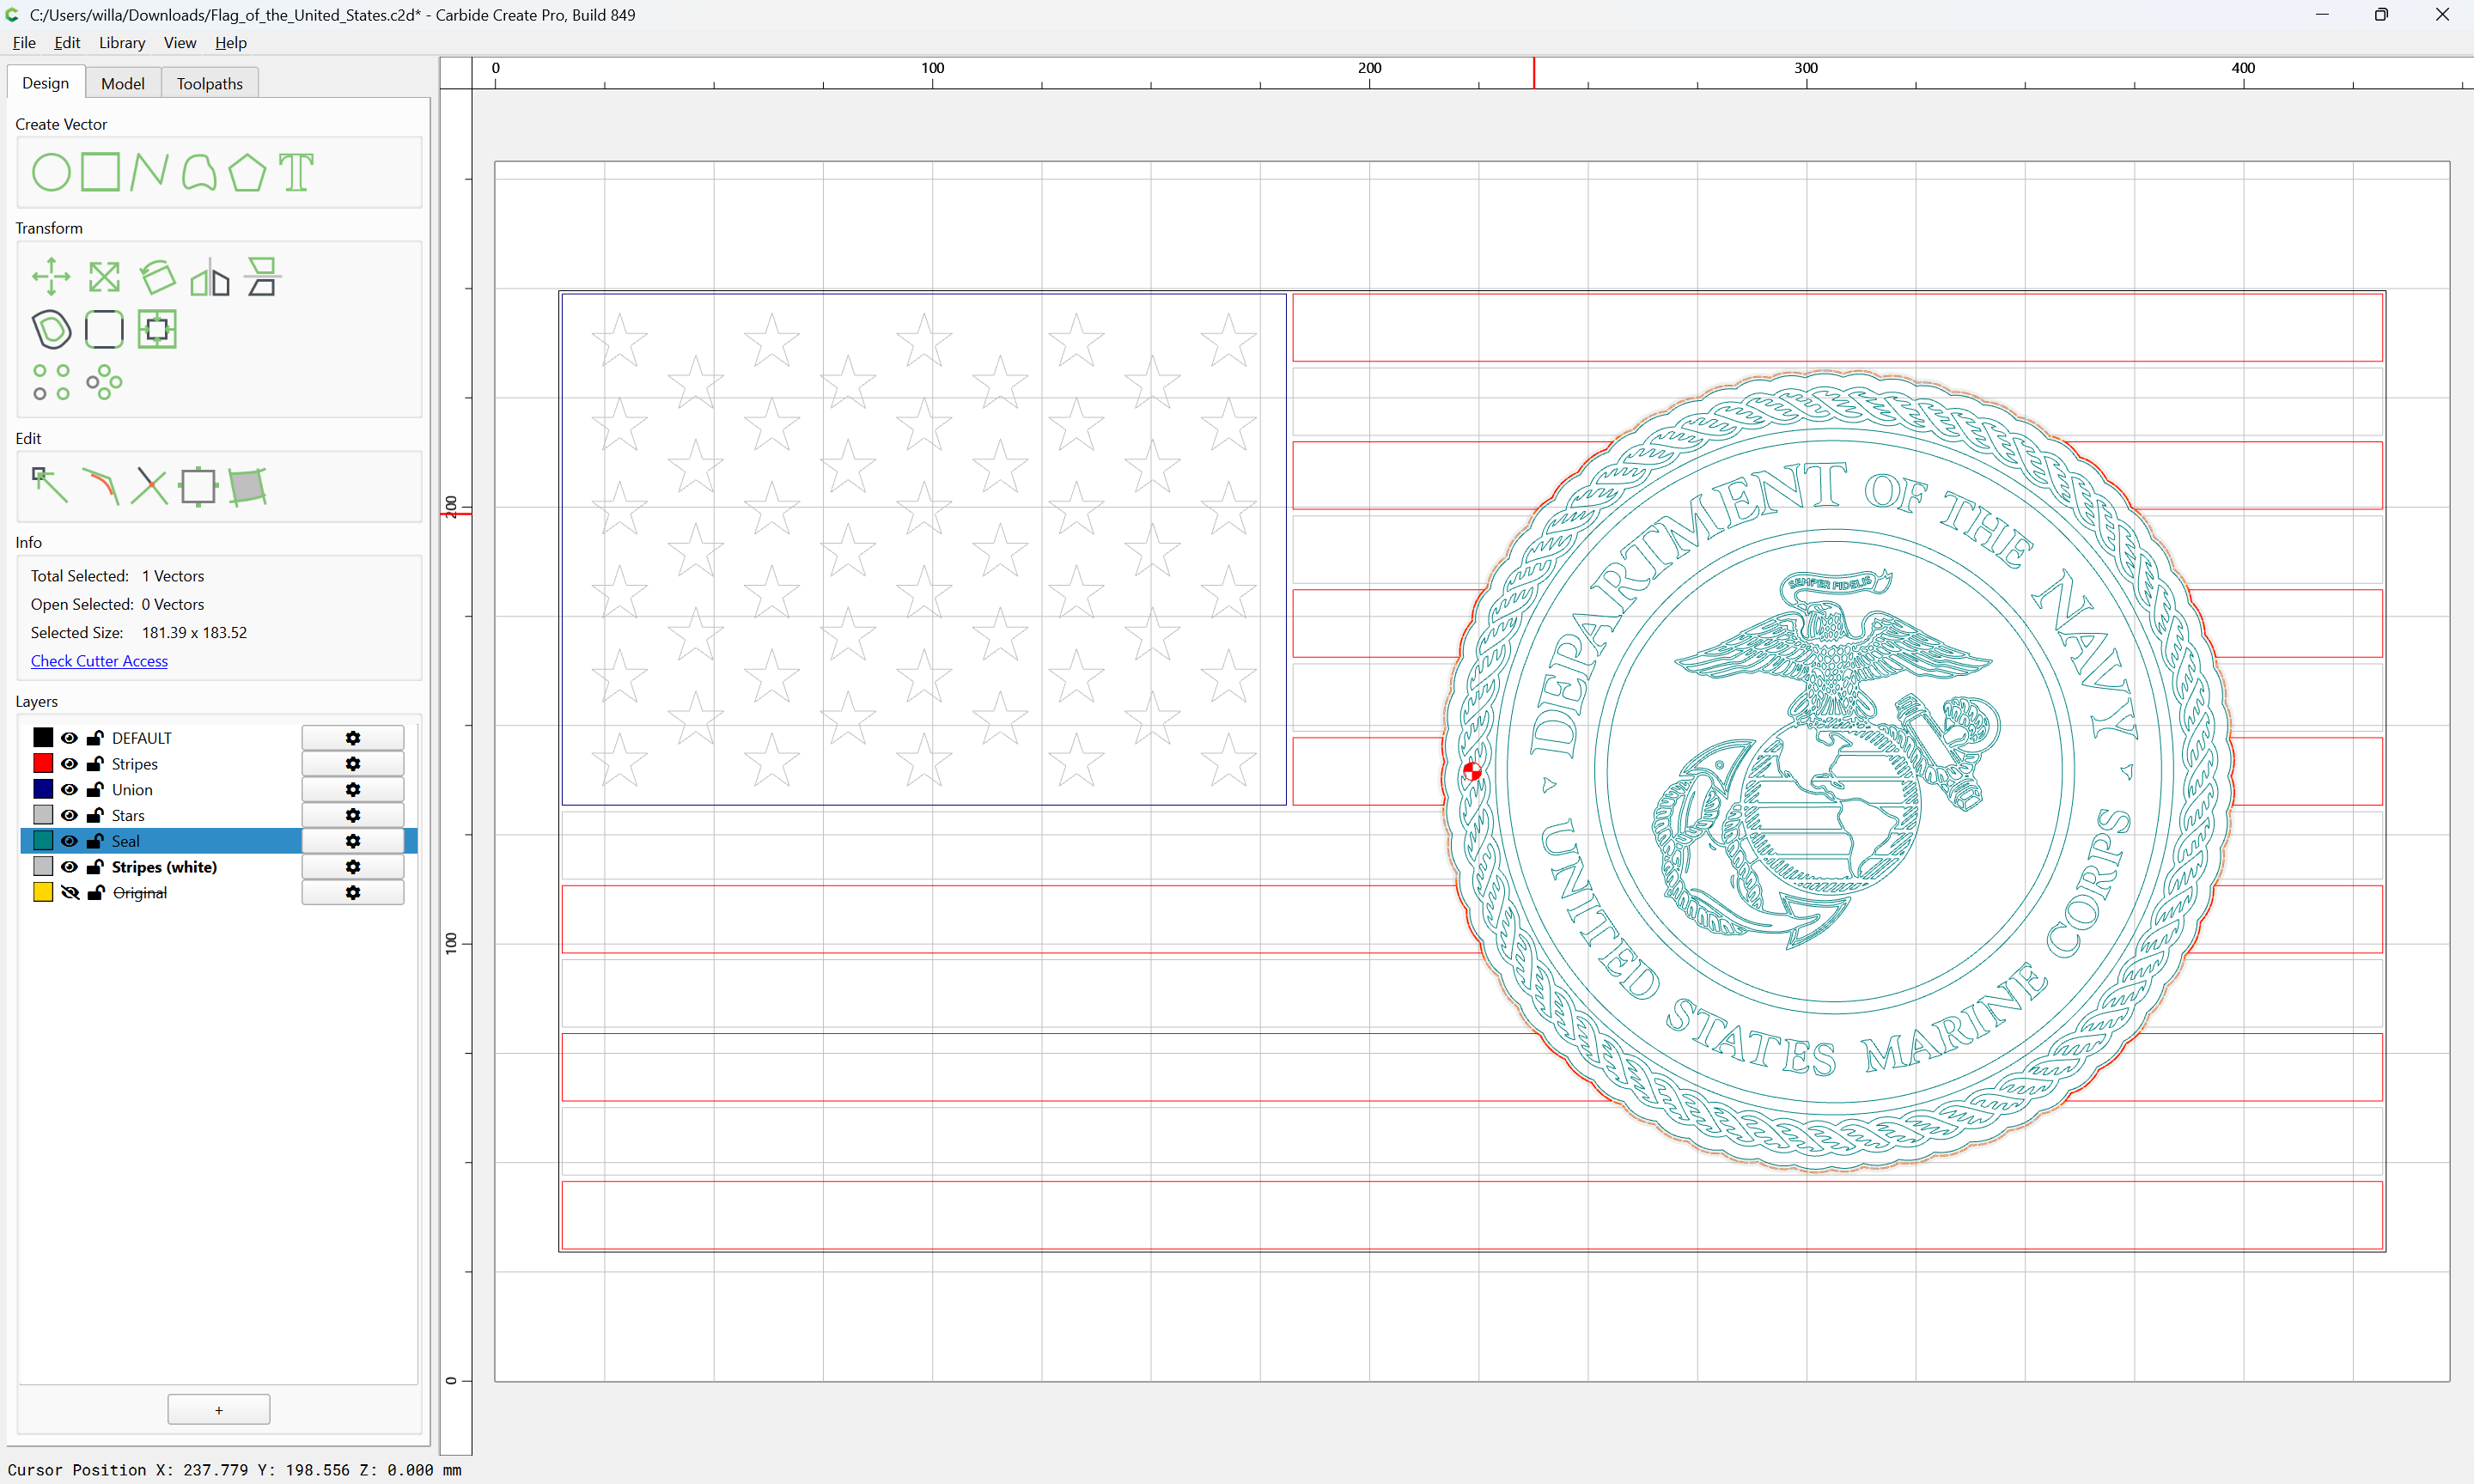
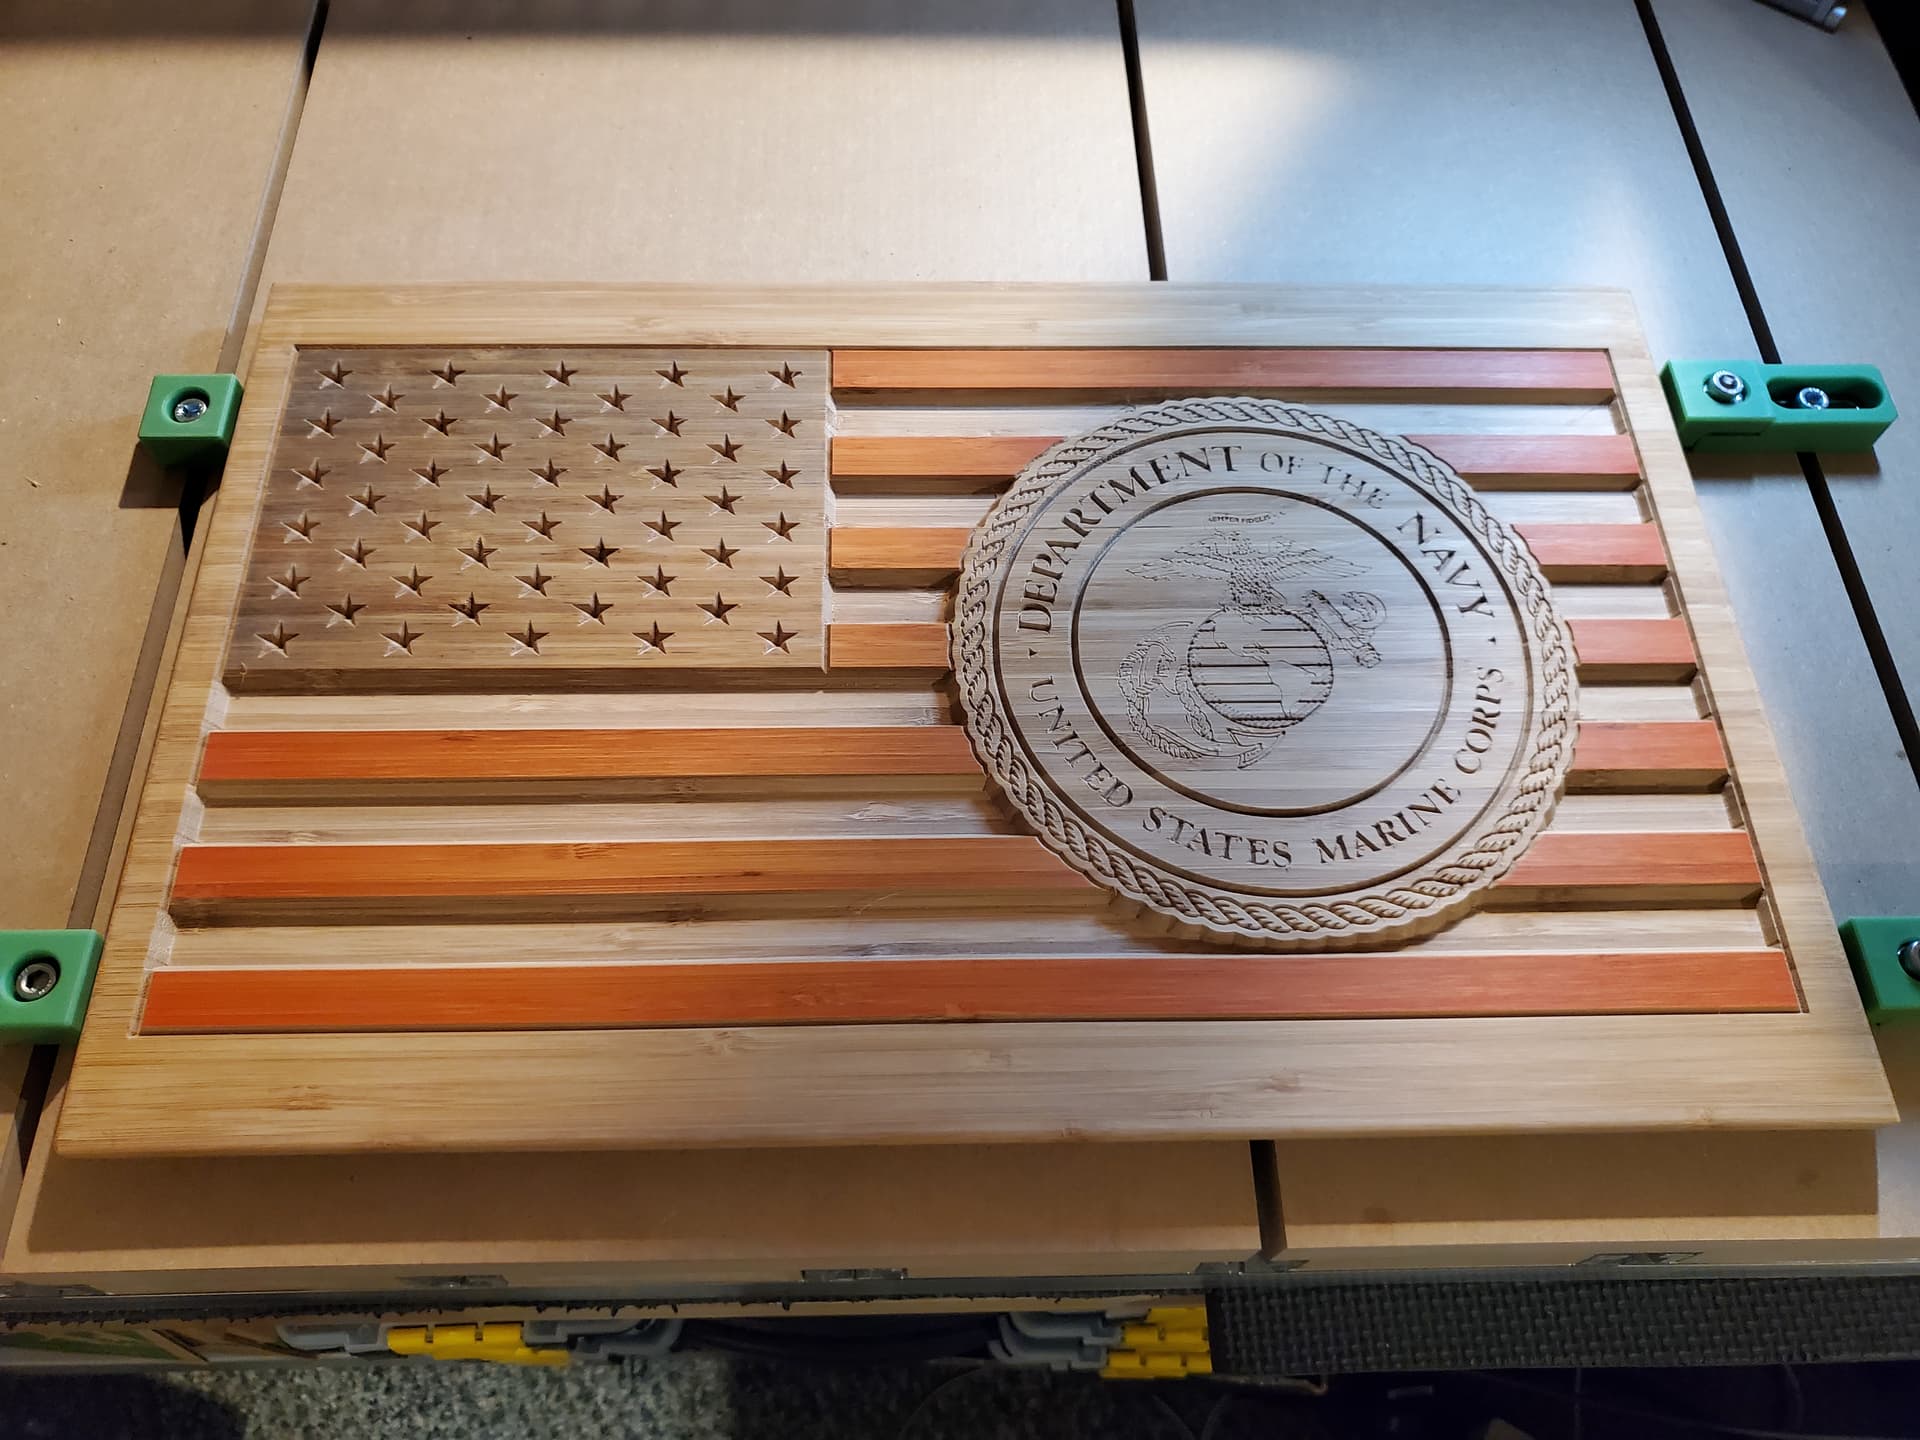
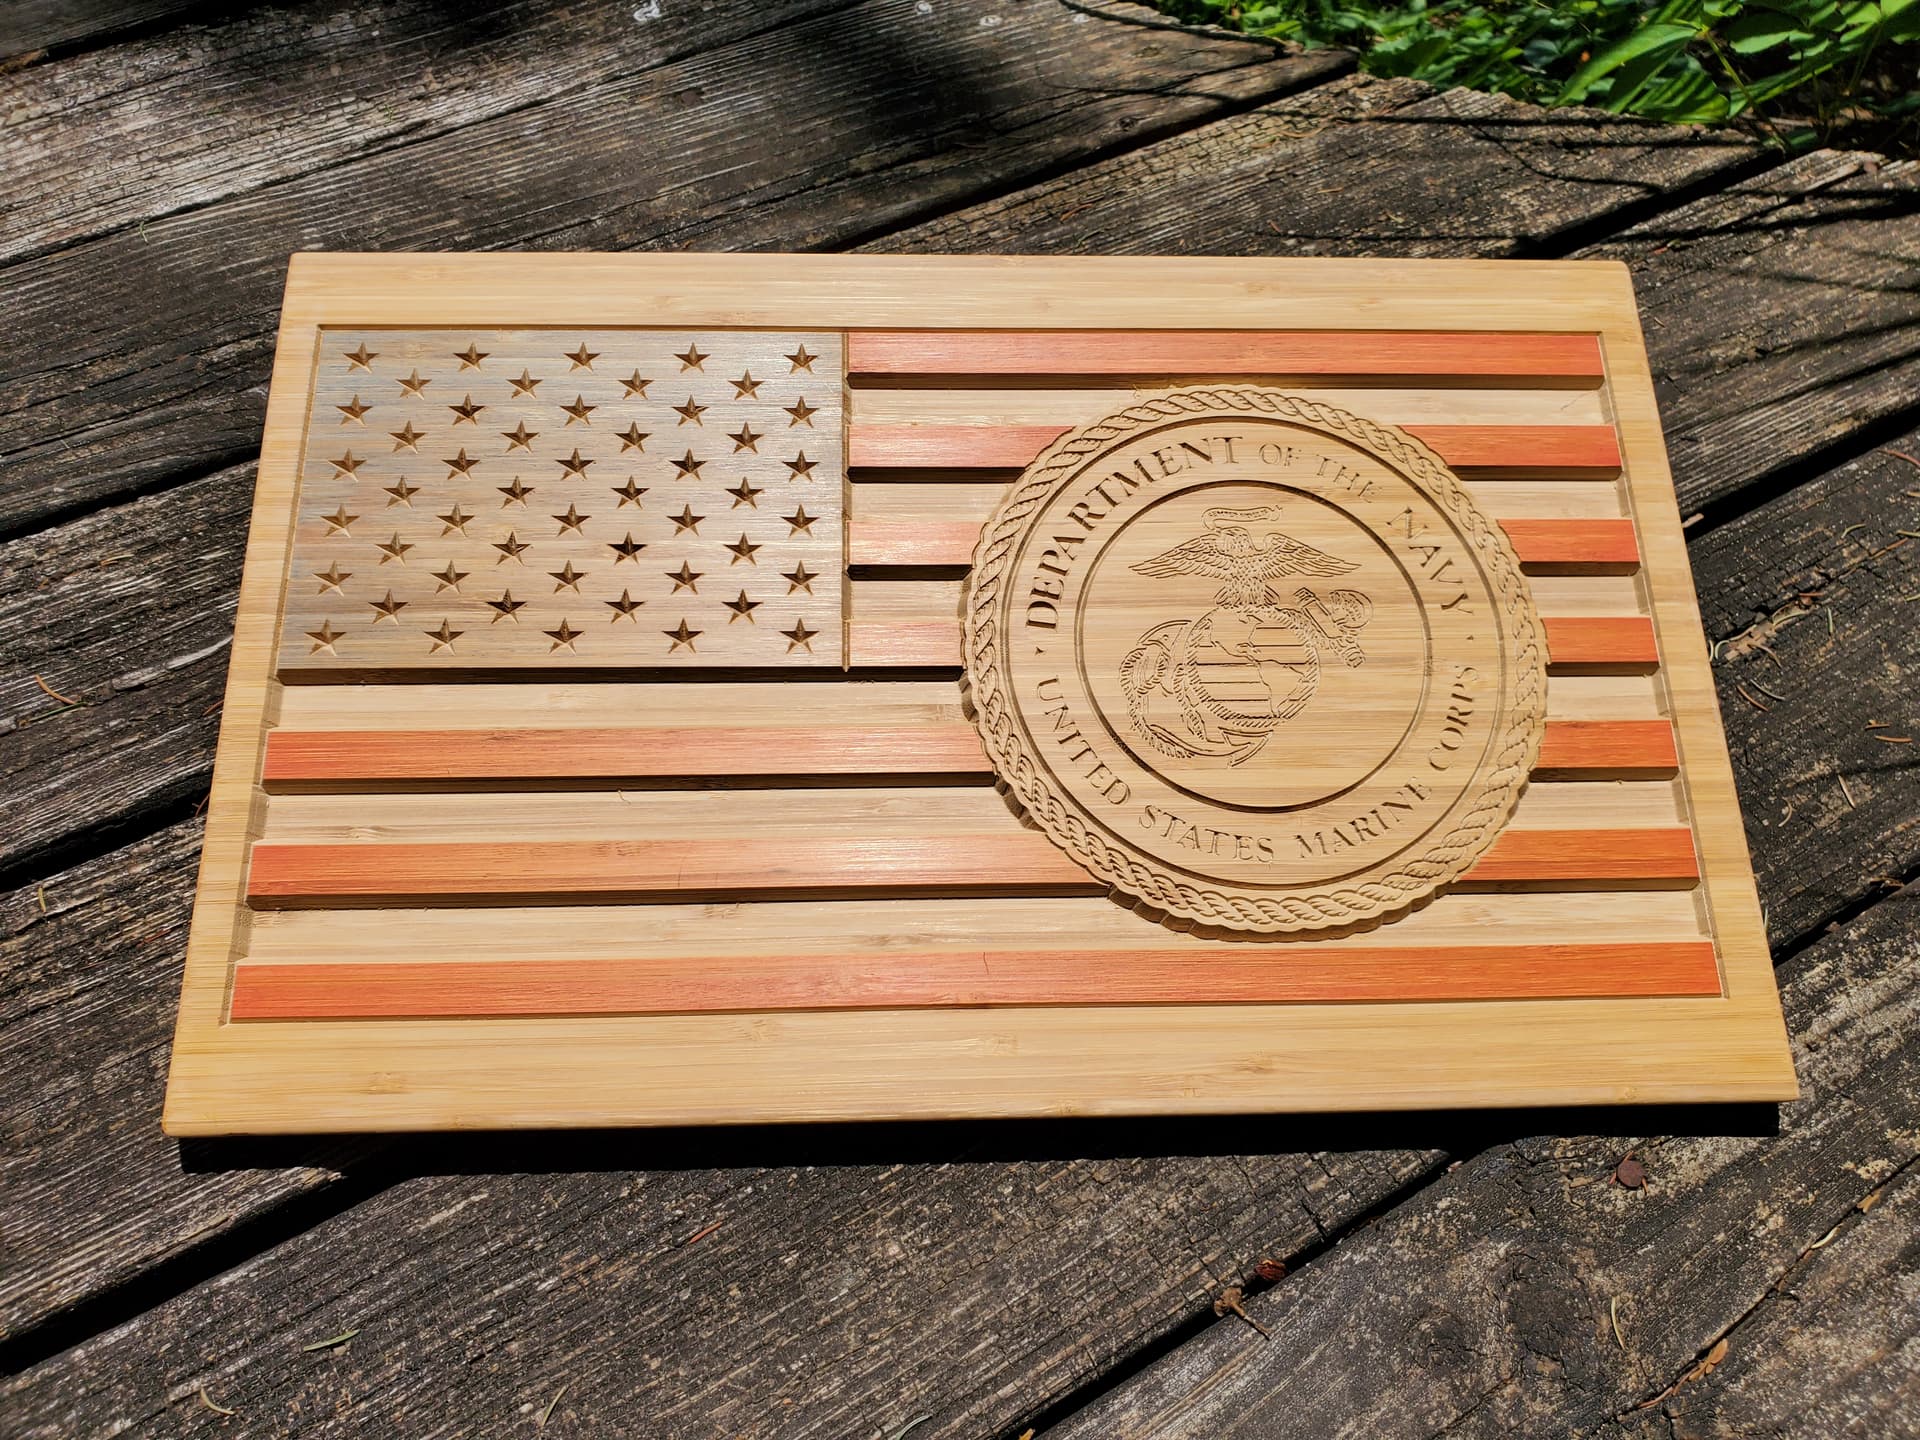
Import the USMC seal (after double-clicking on “Default” to make it the Active layer):

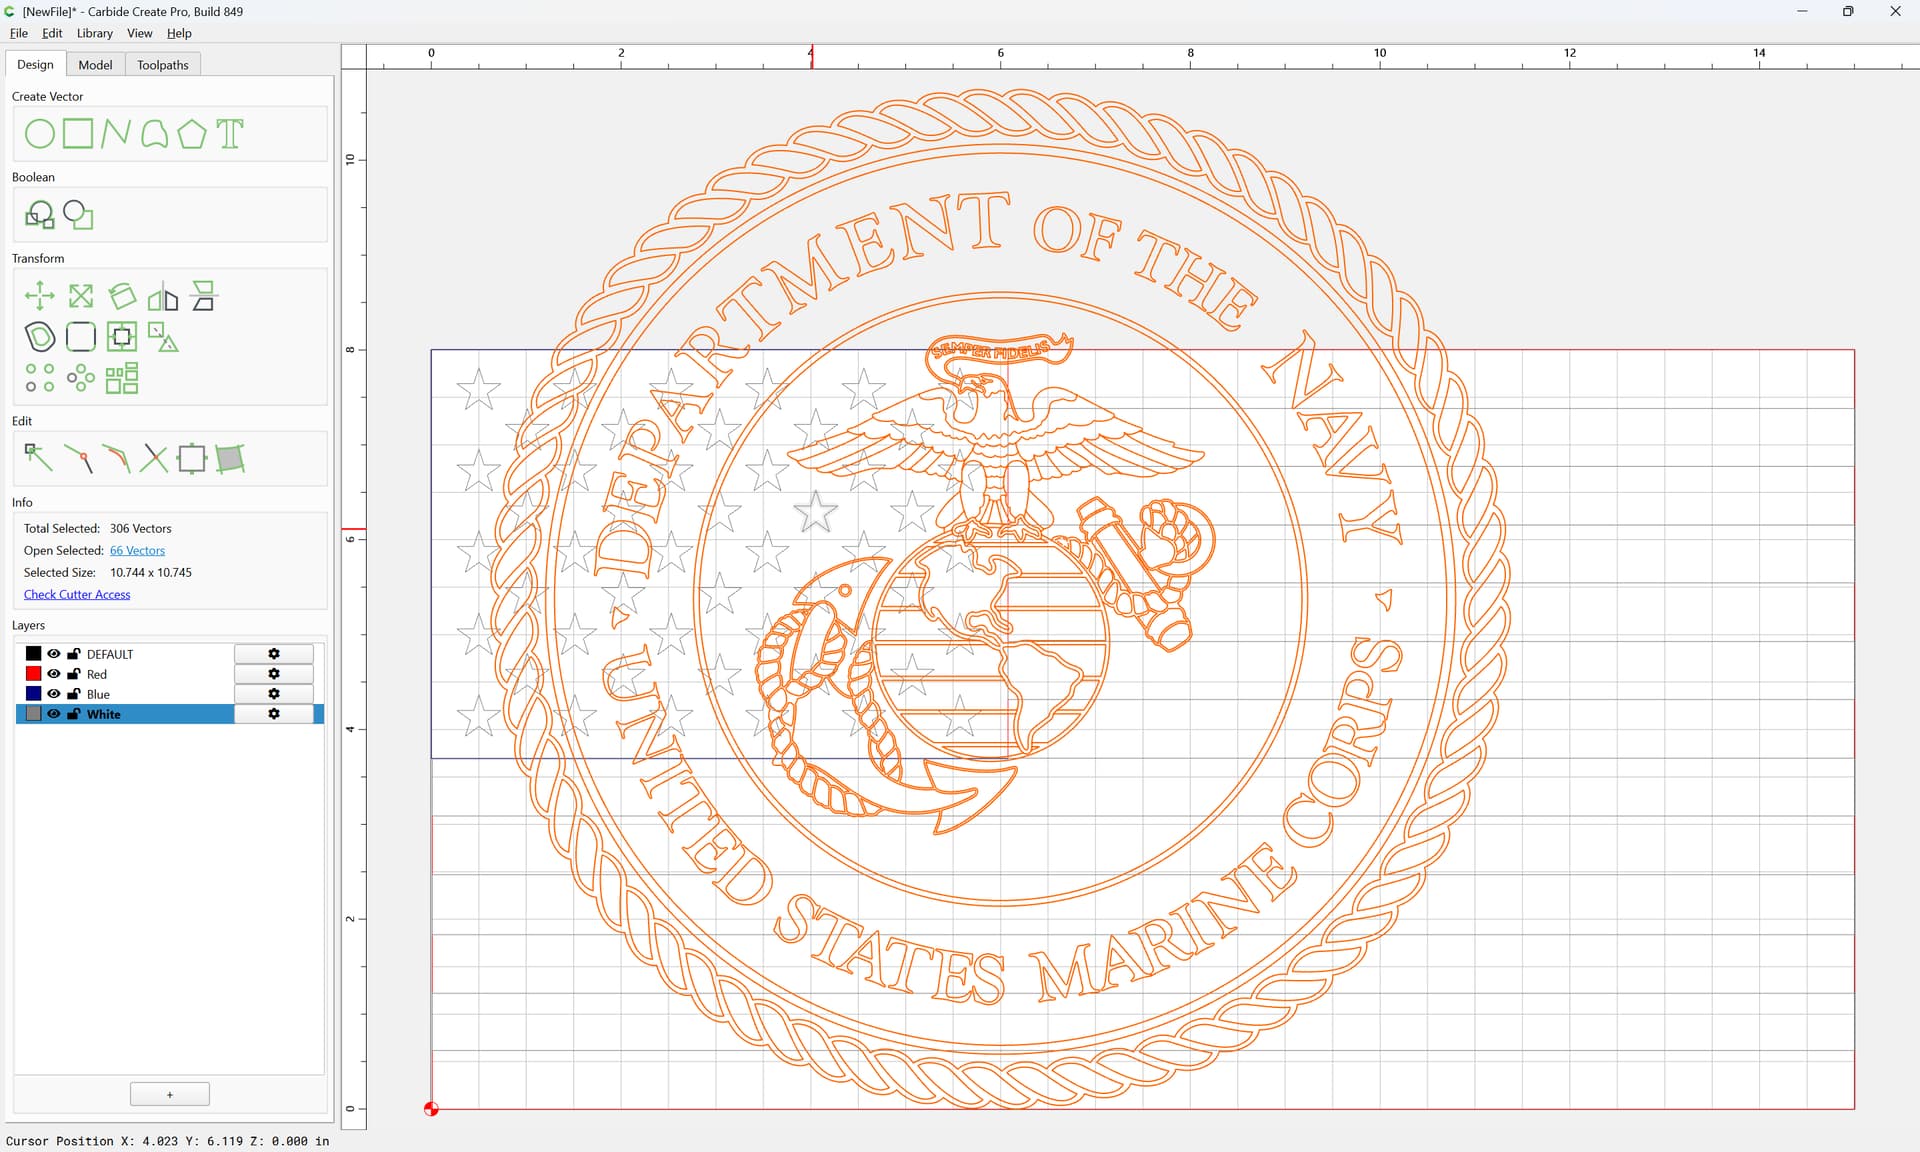
c.f.,
and adjust its size and placement as desired:

Done
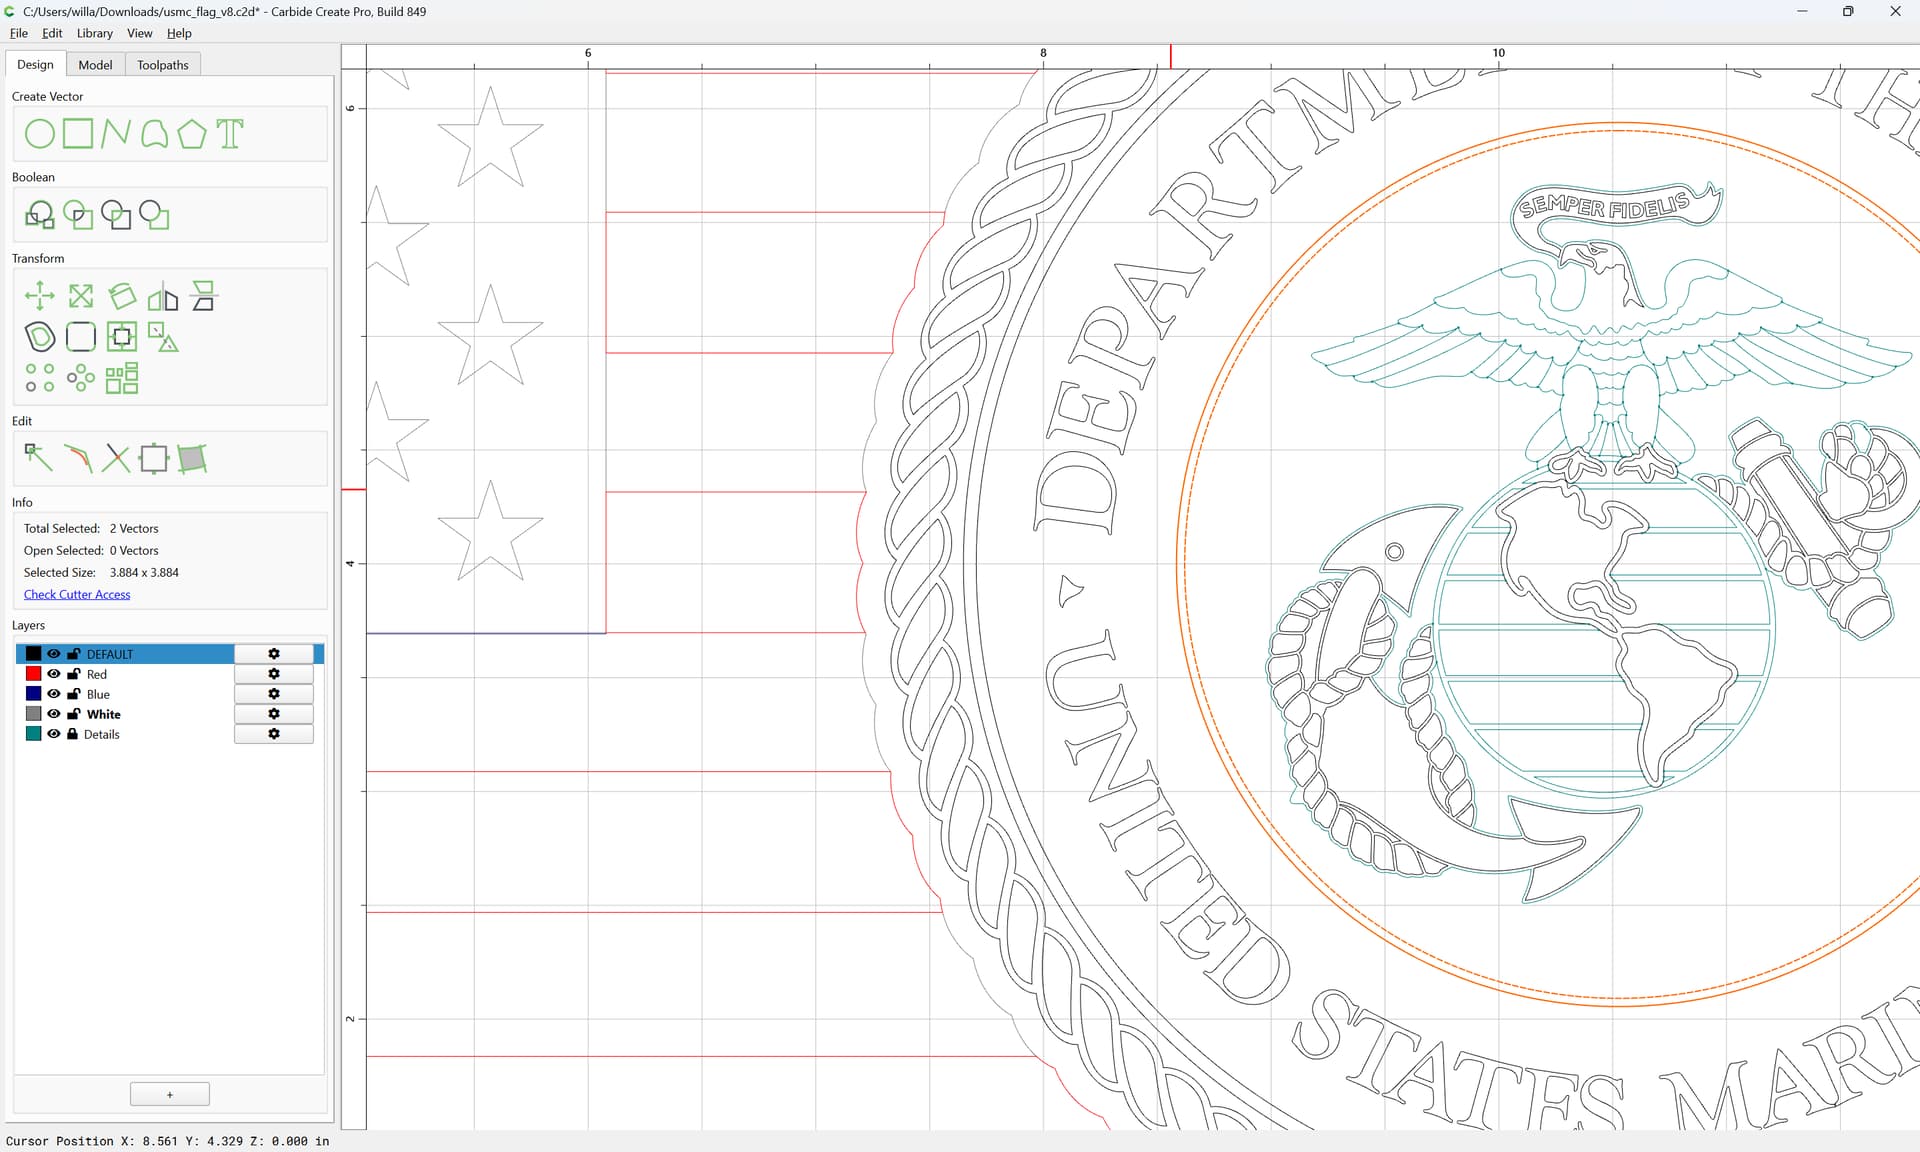
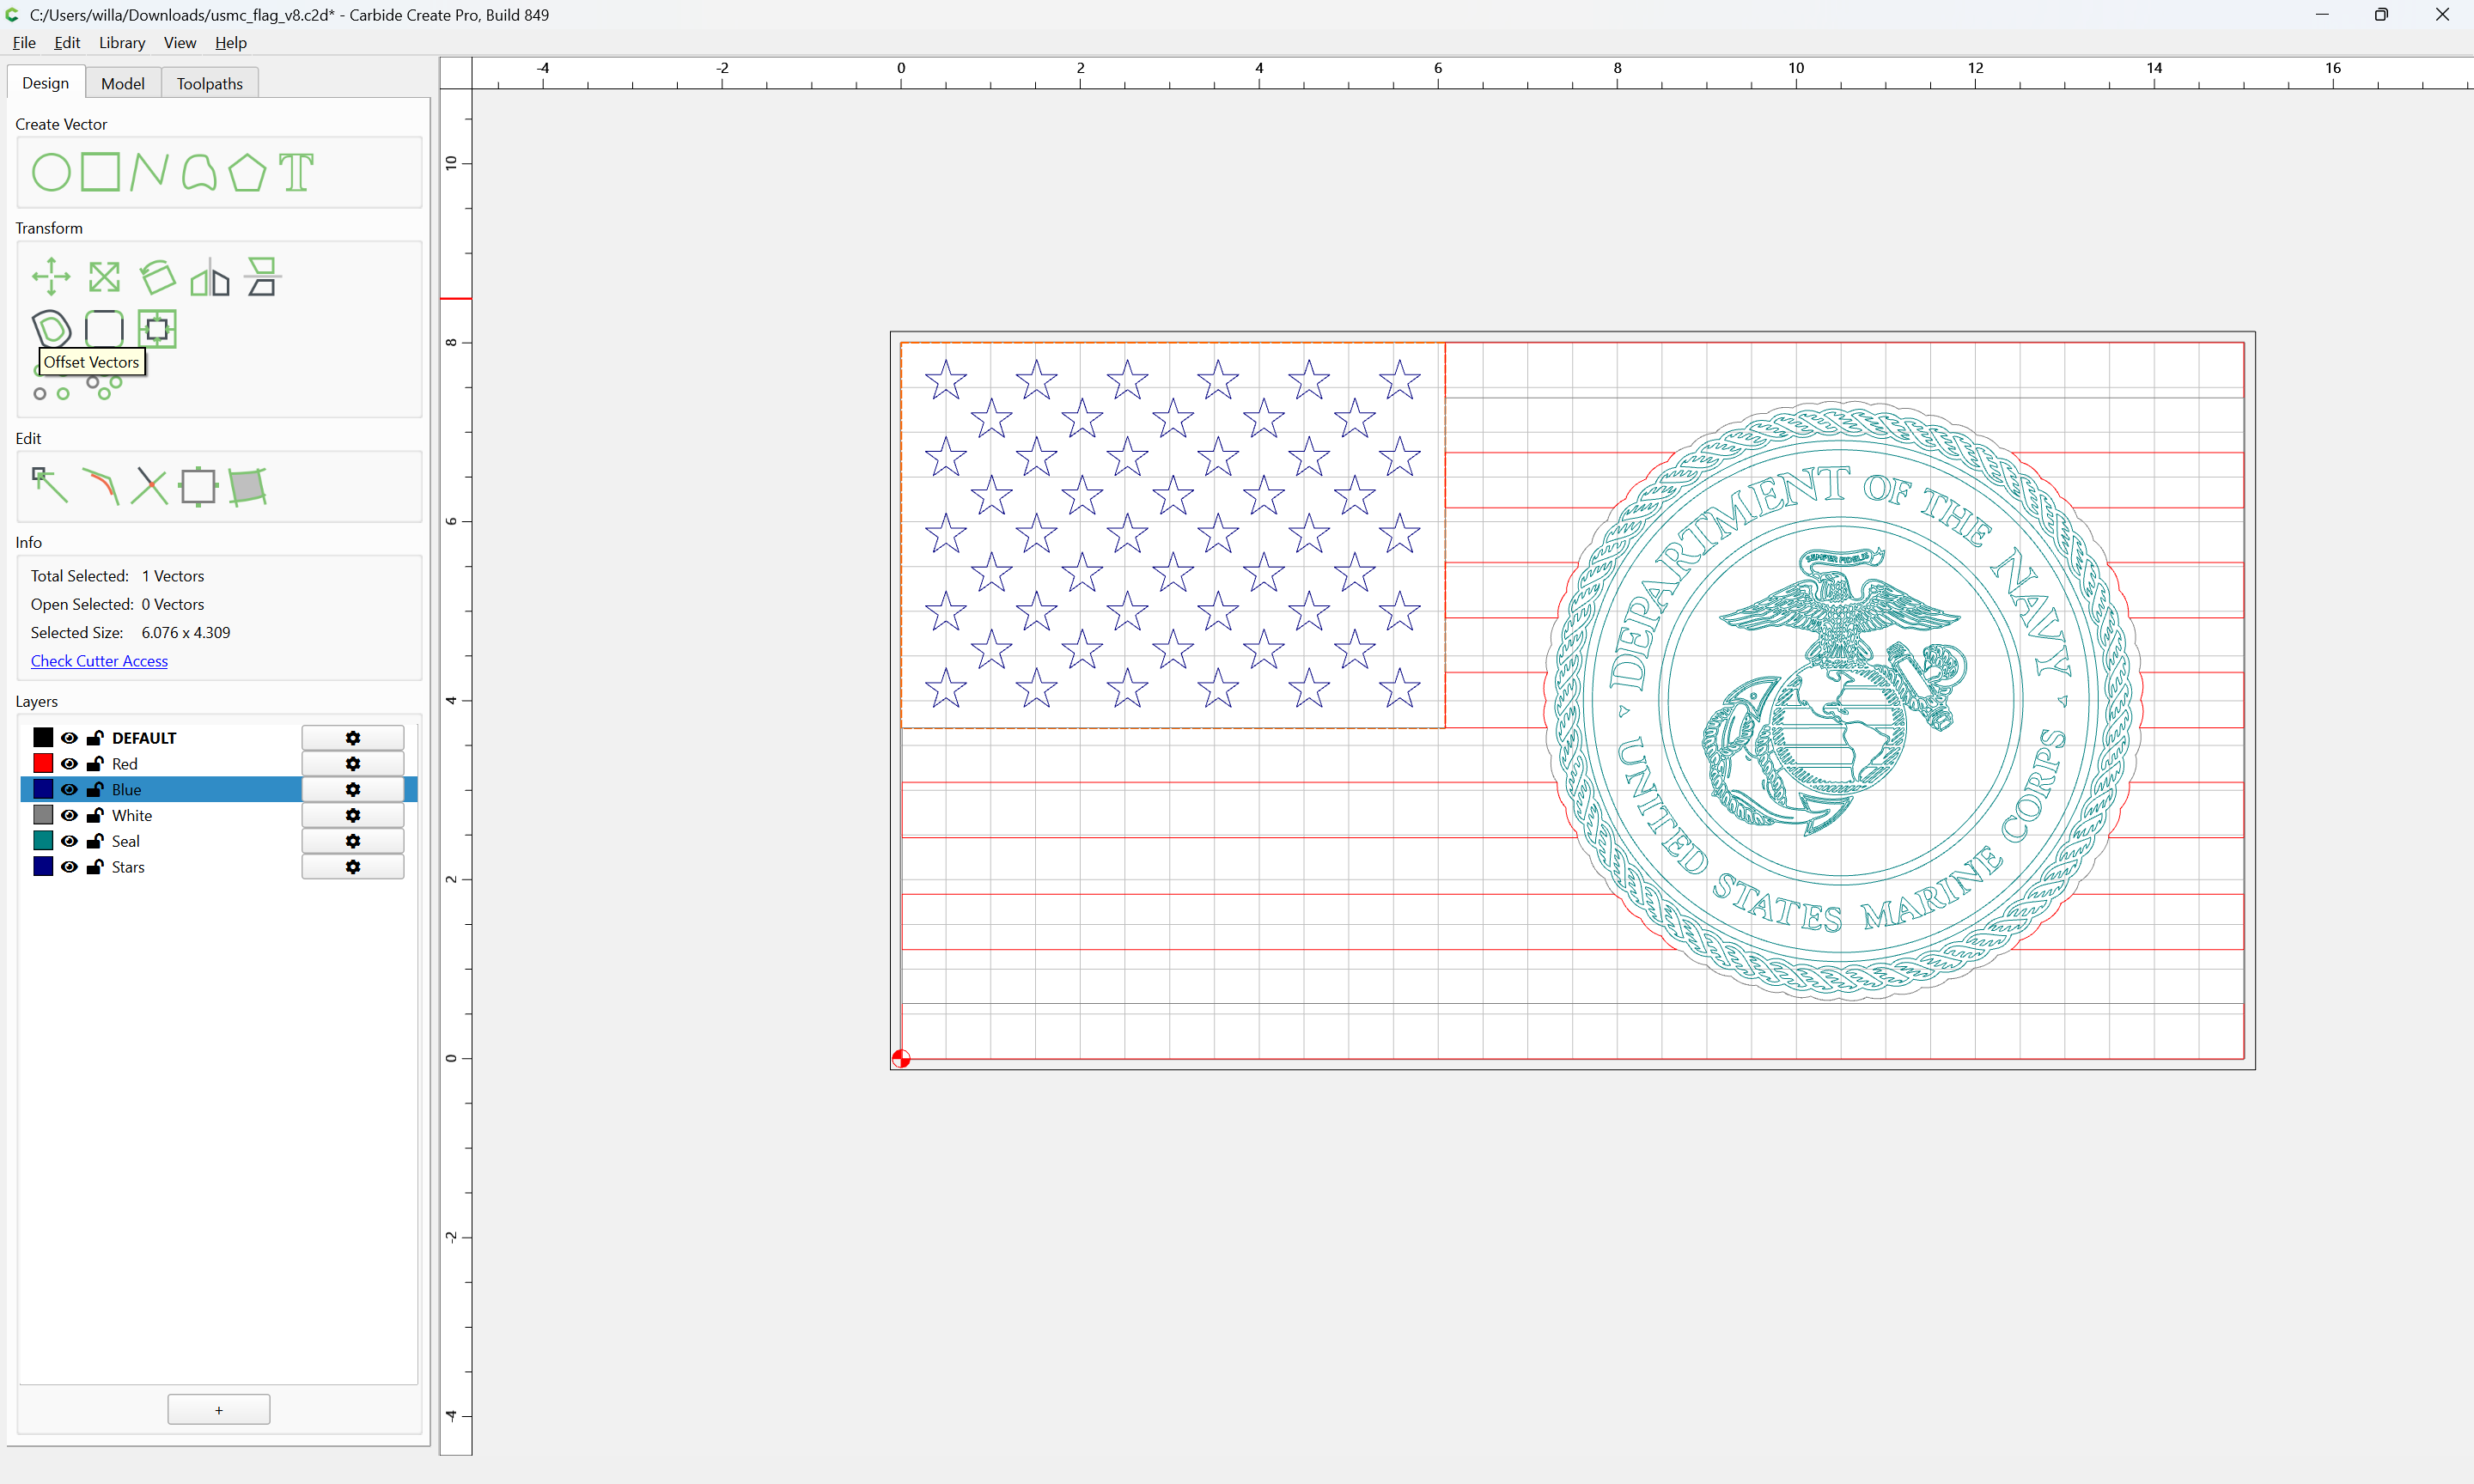
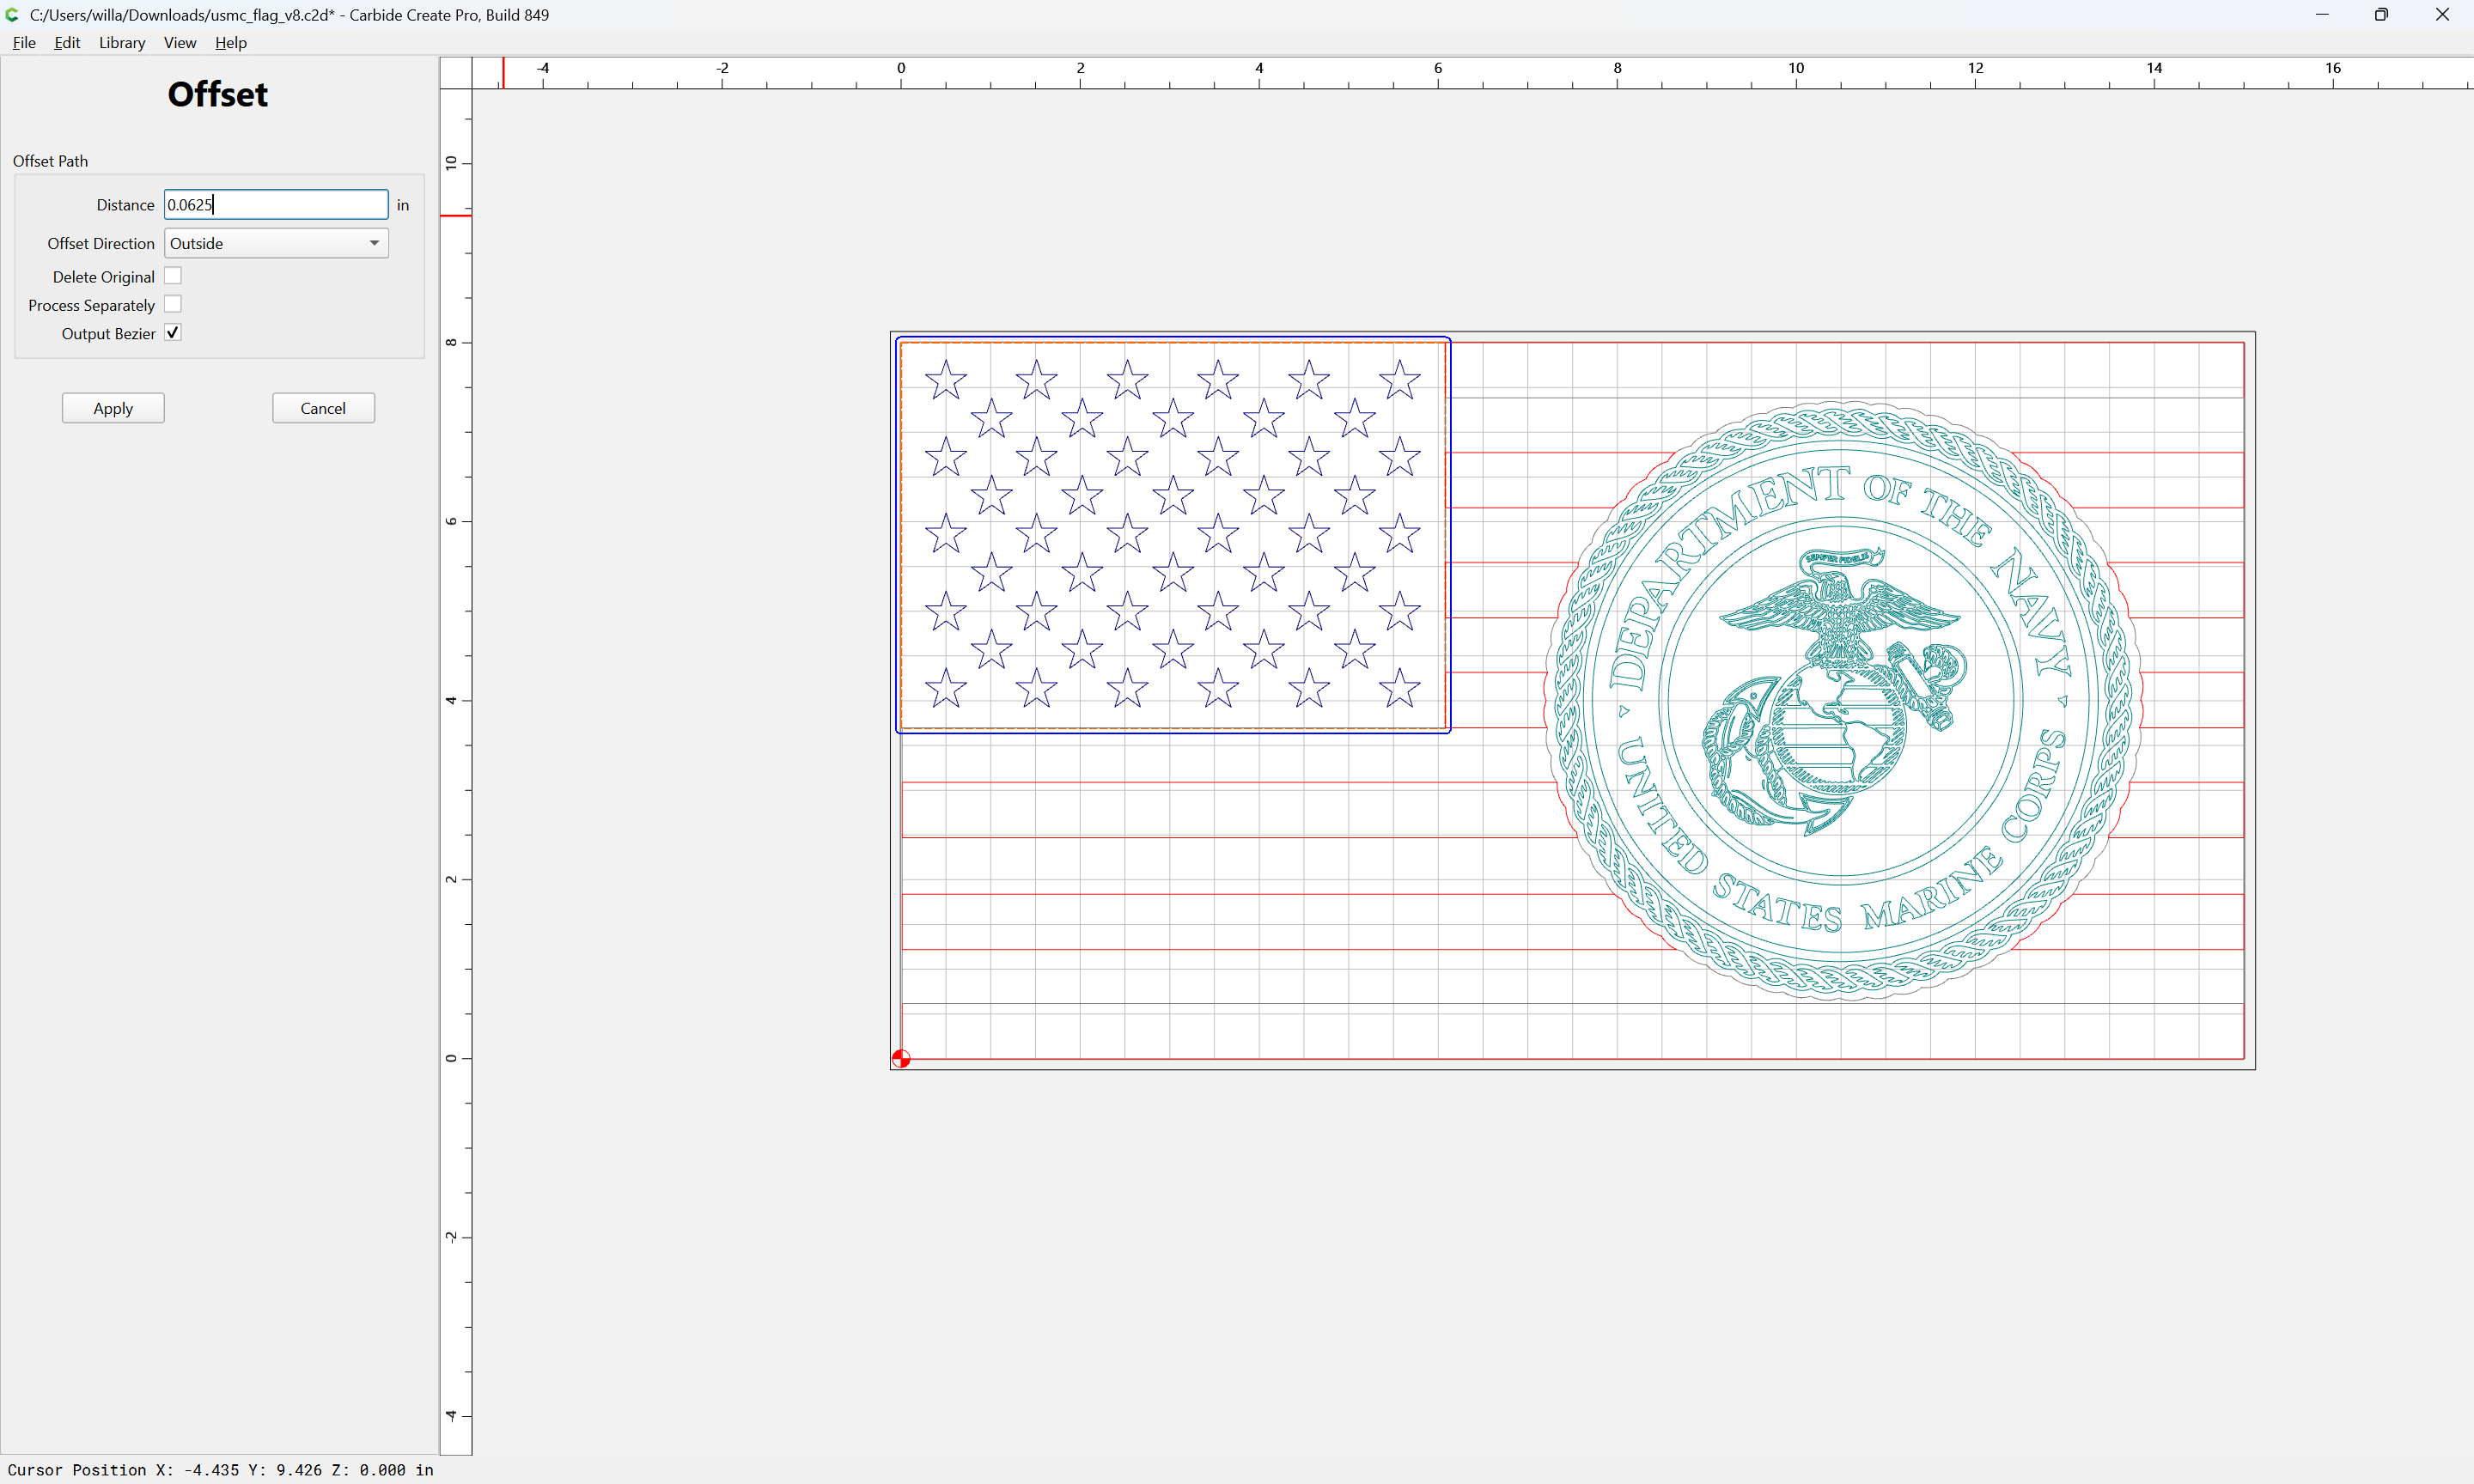
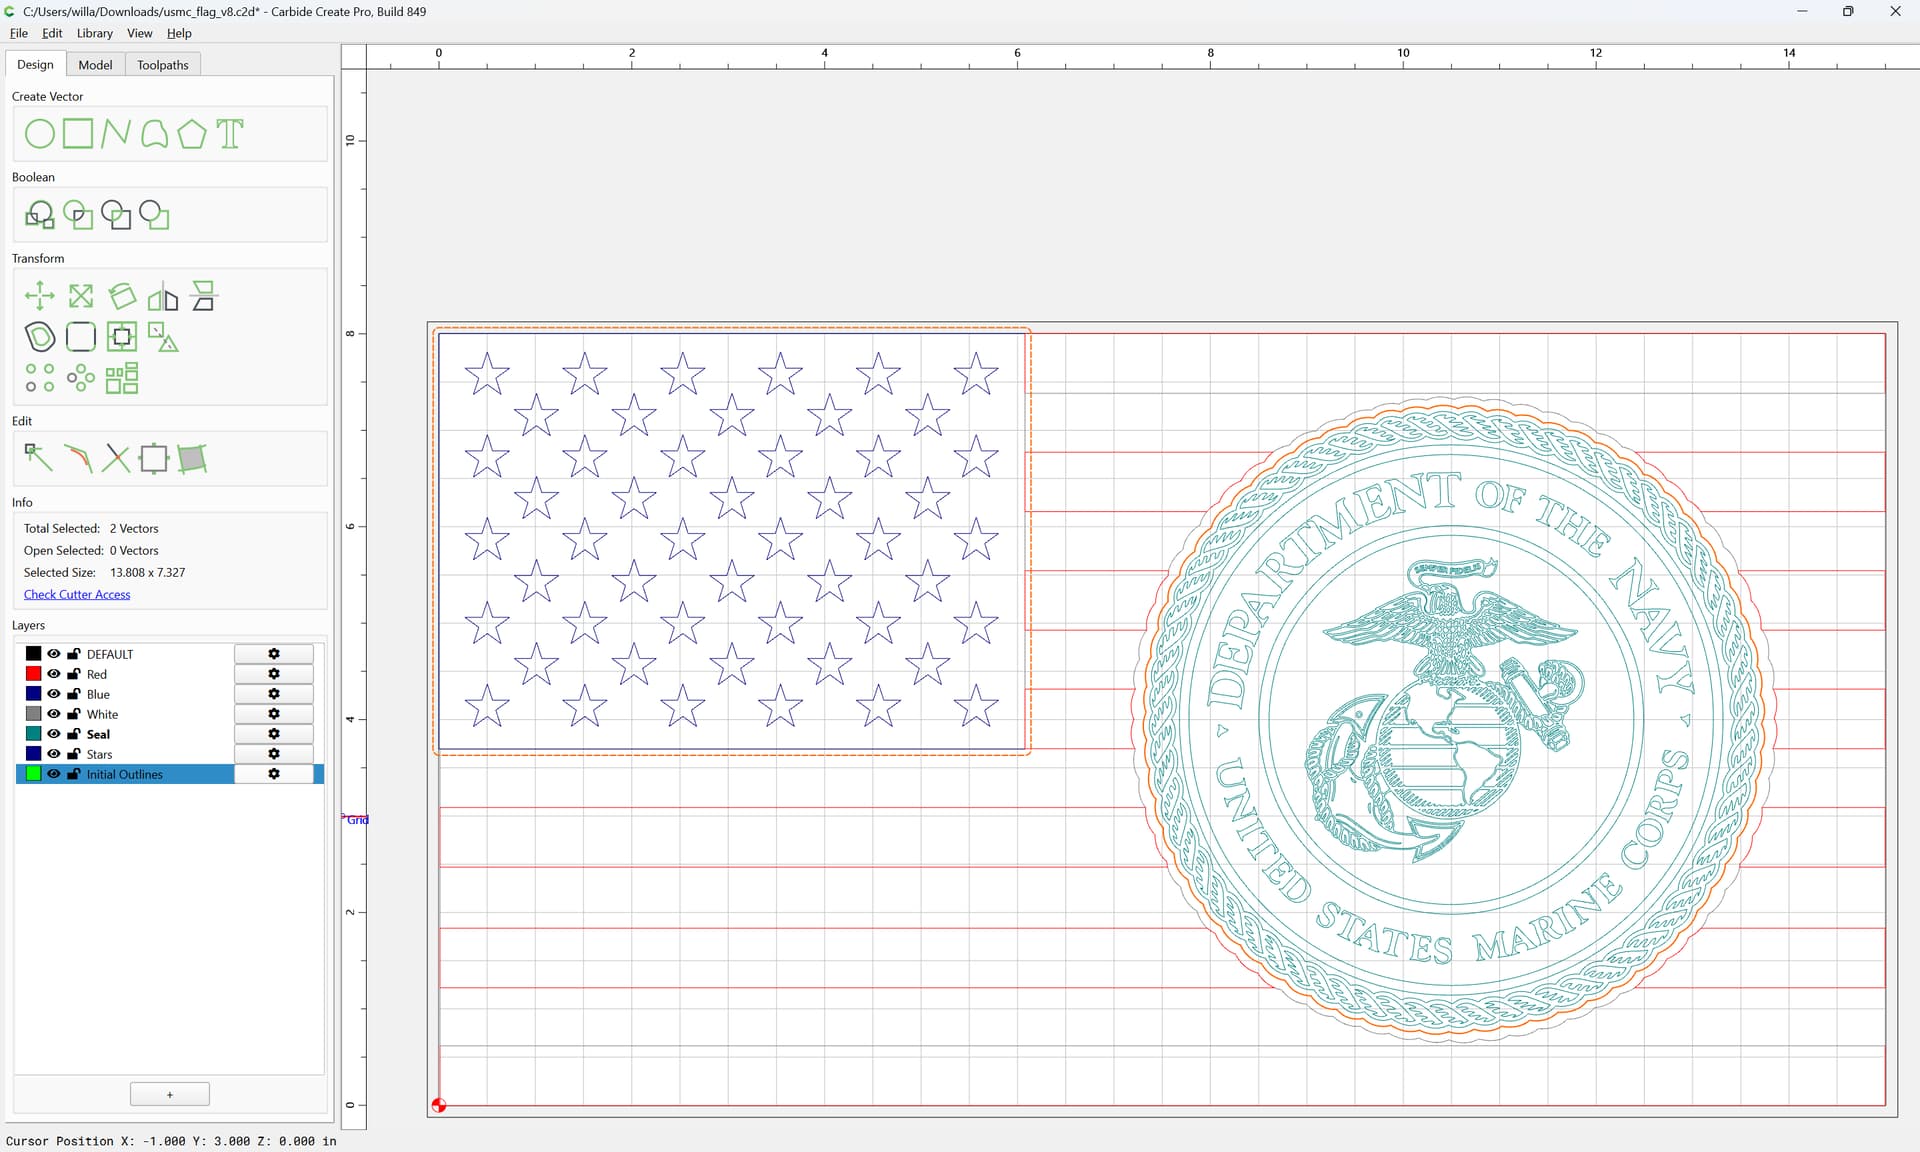
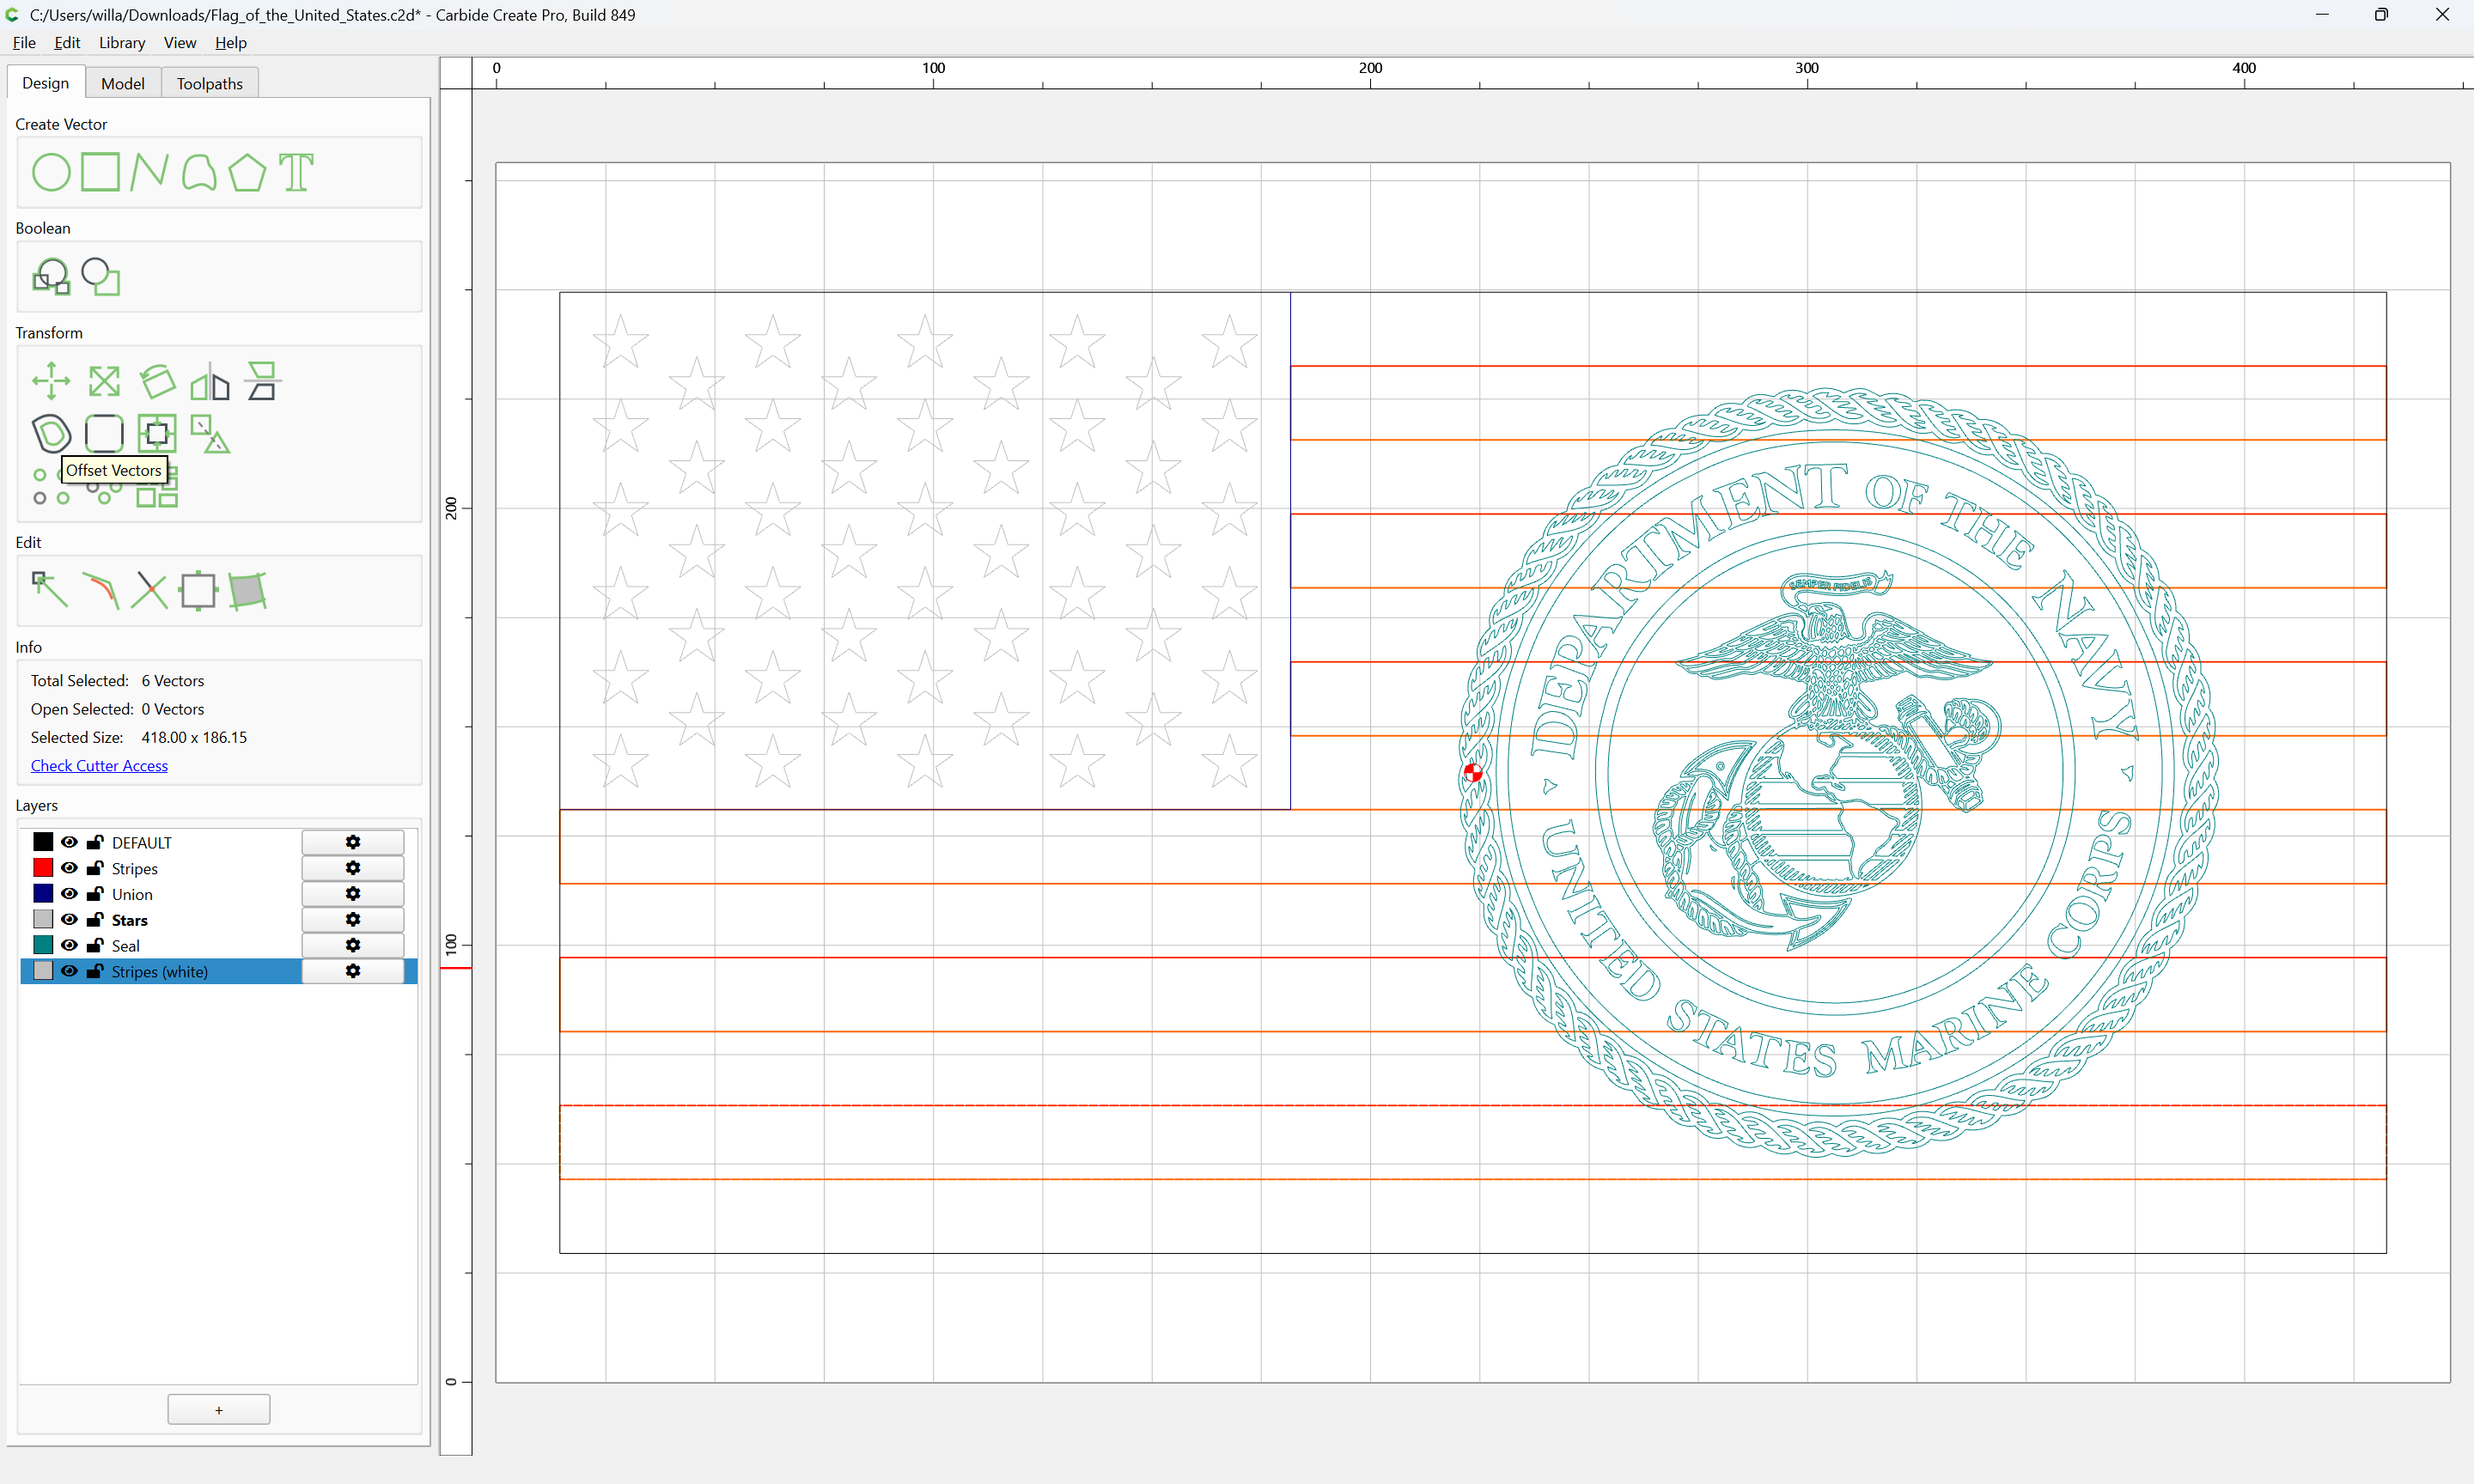
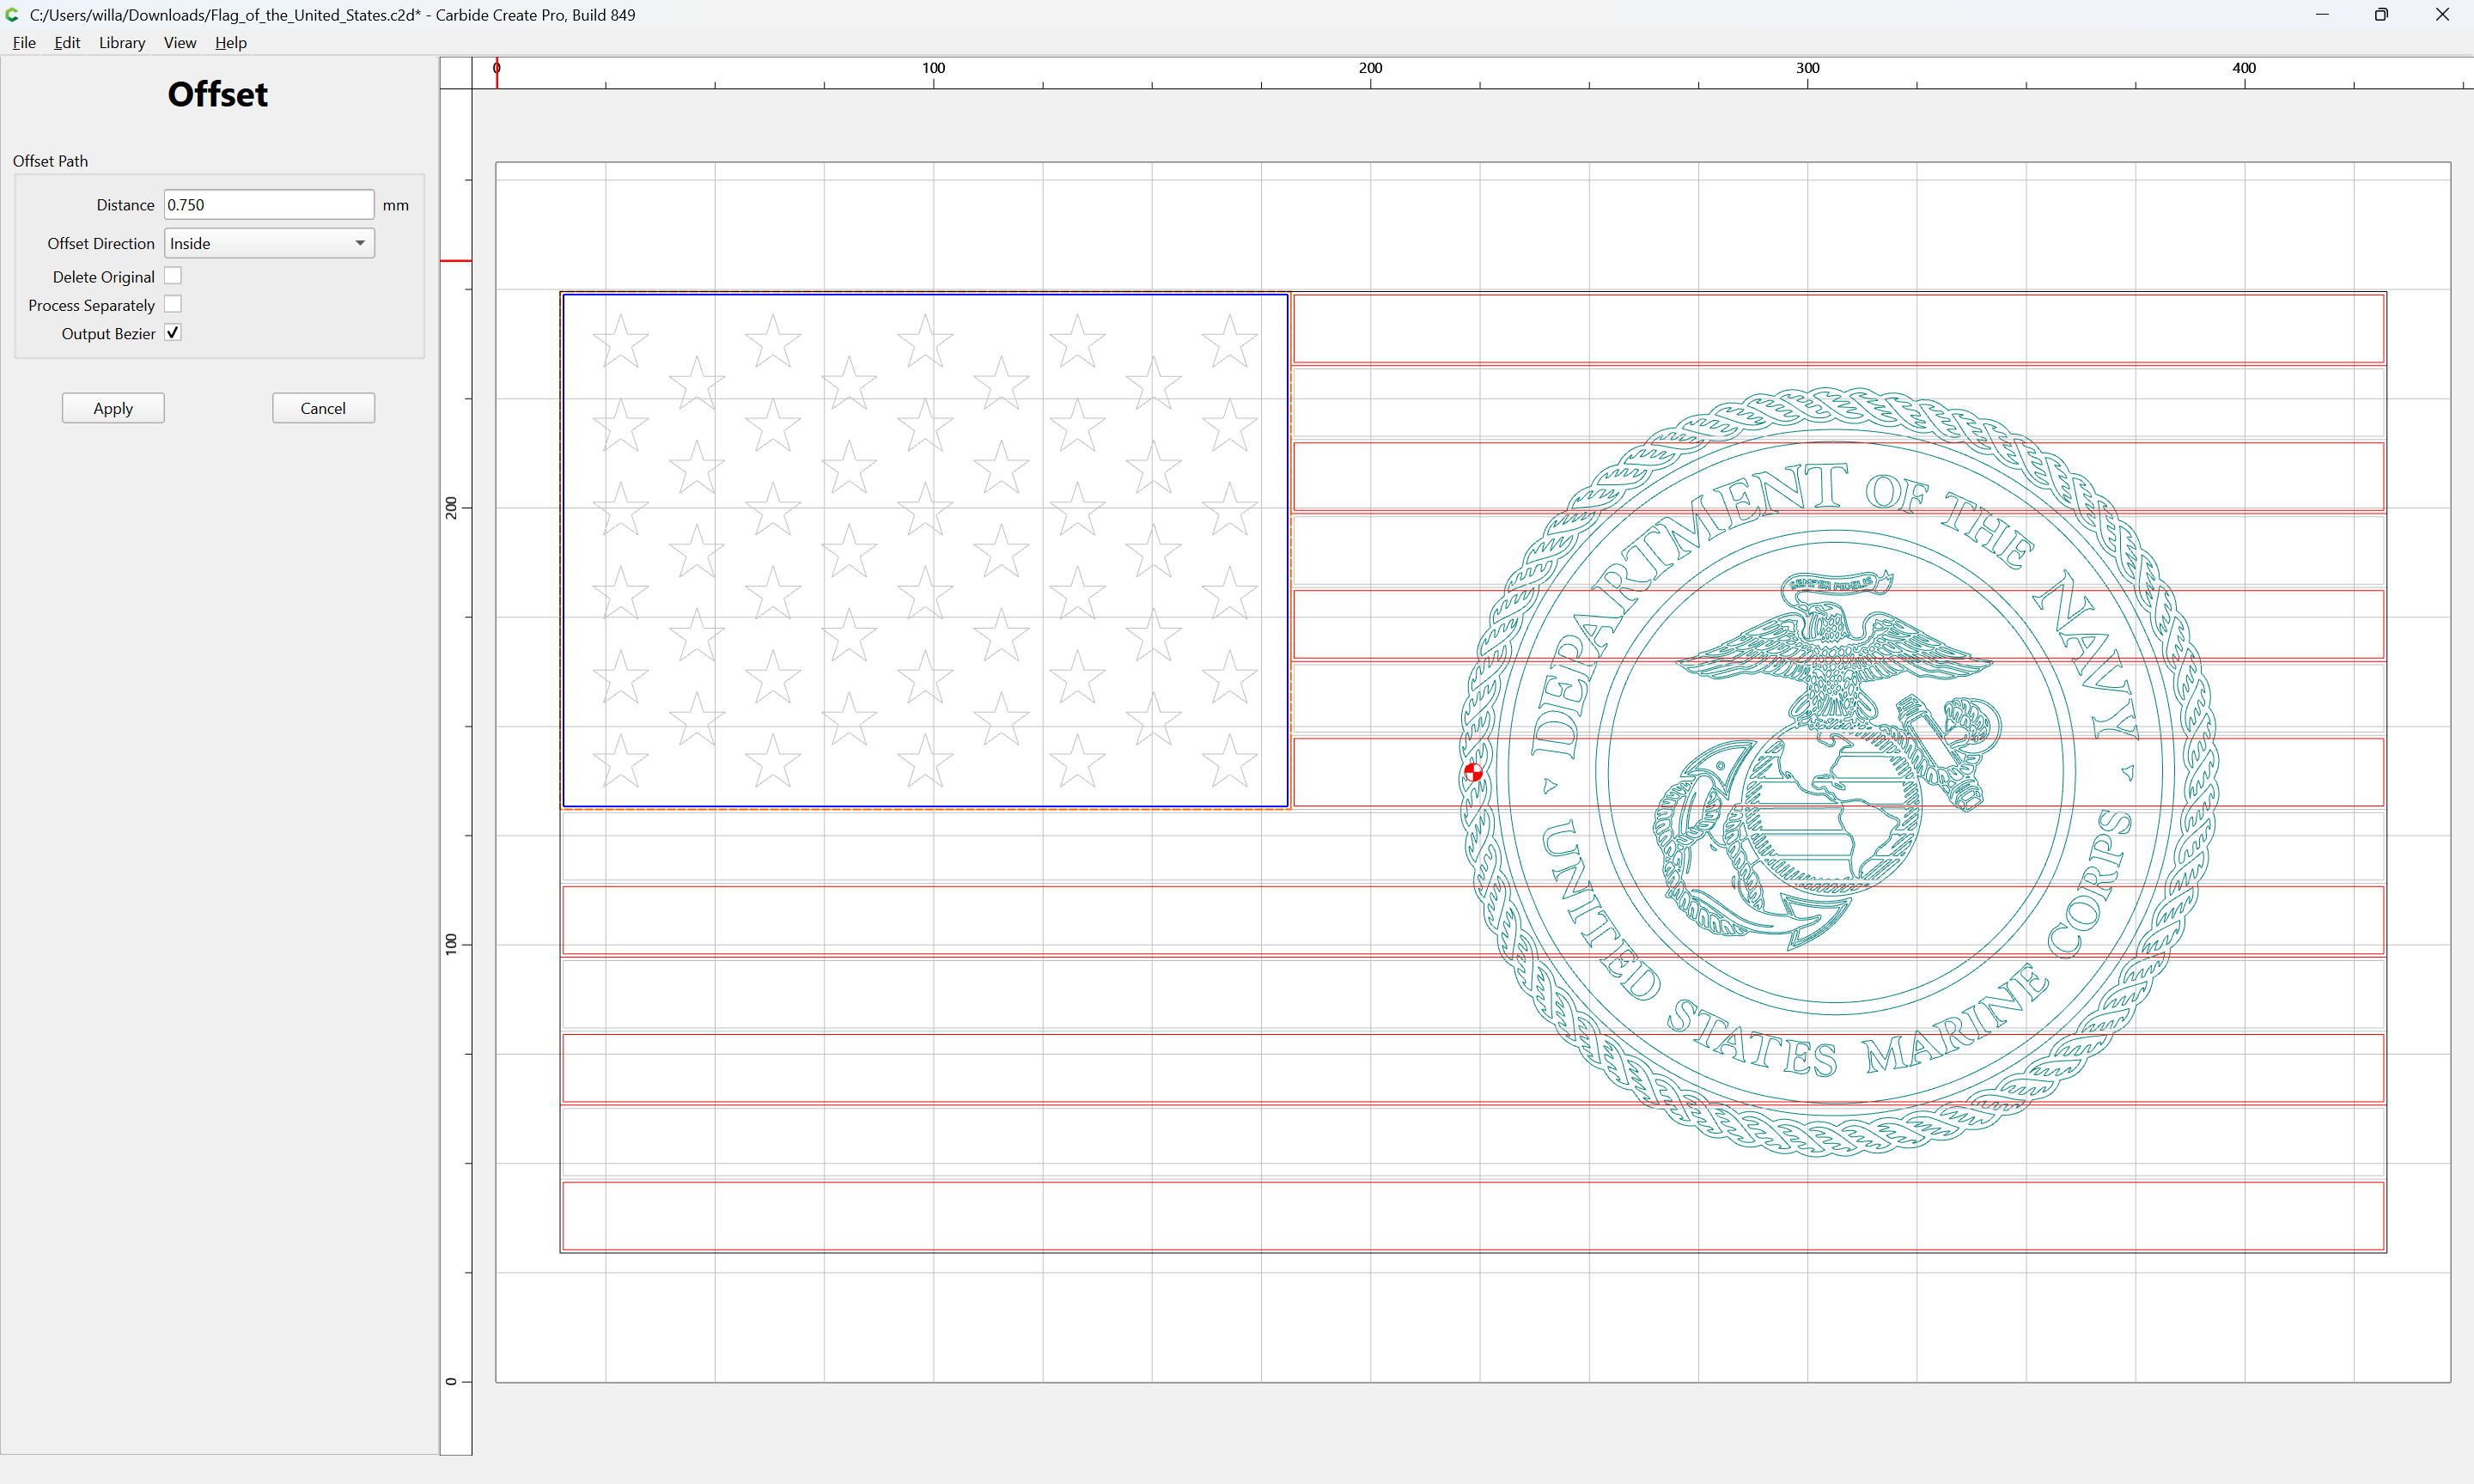
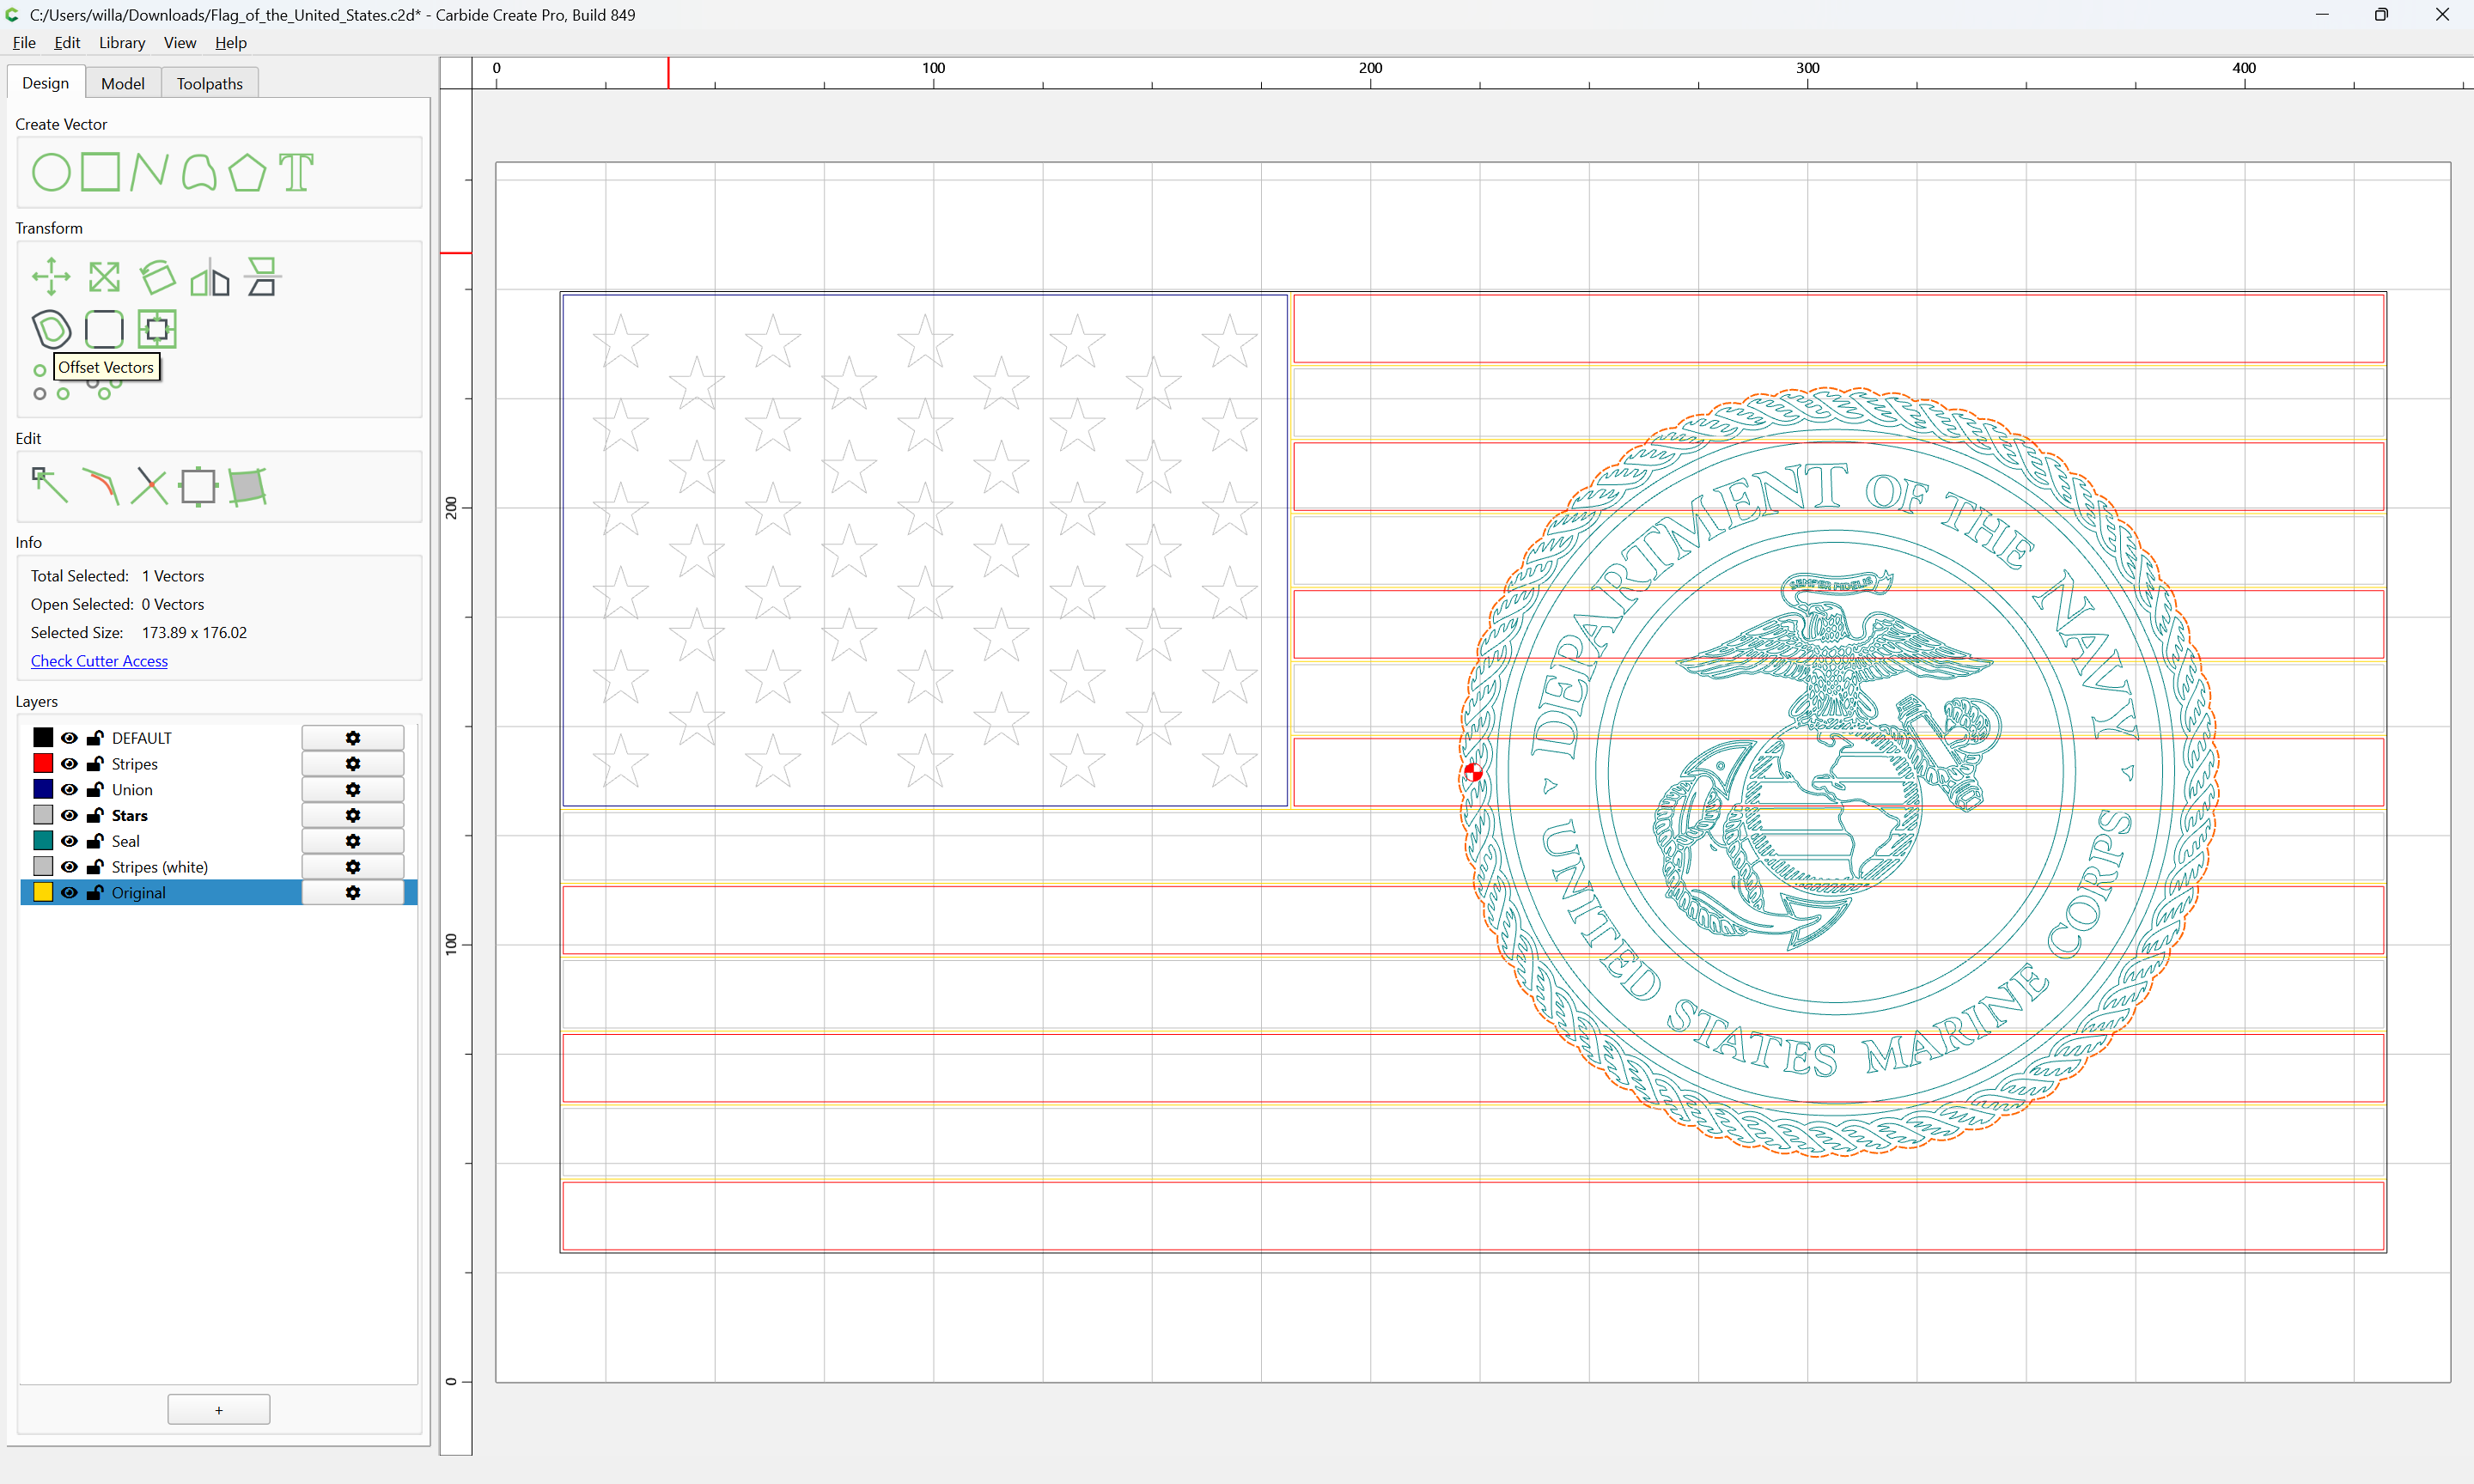
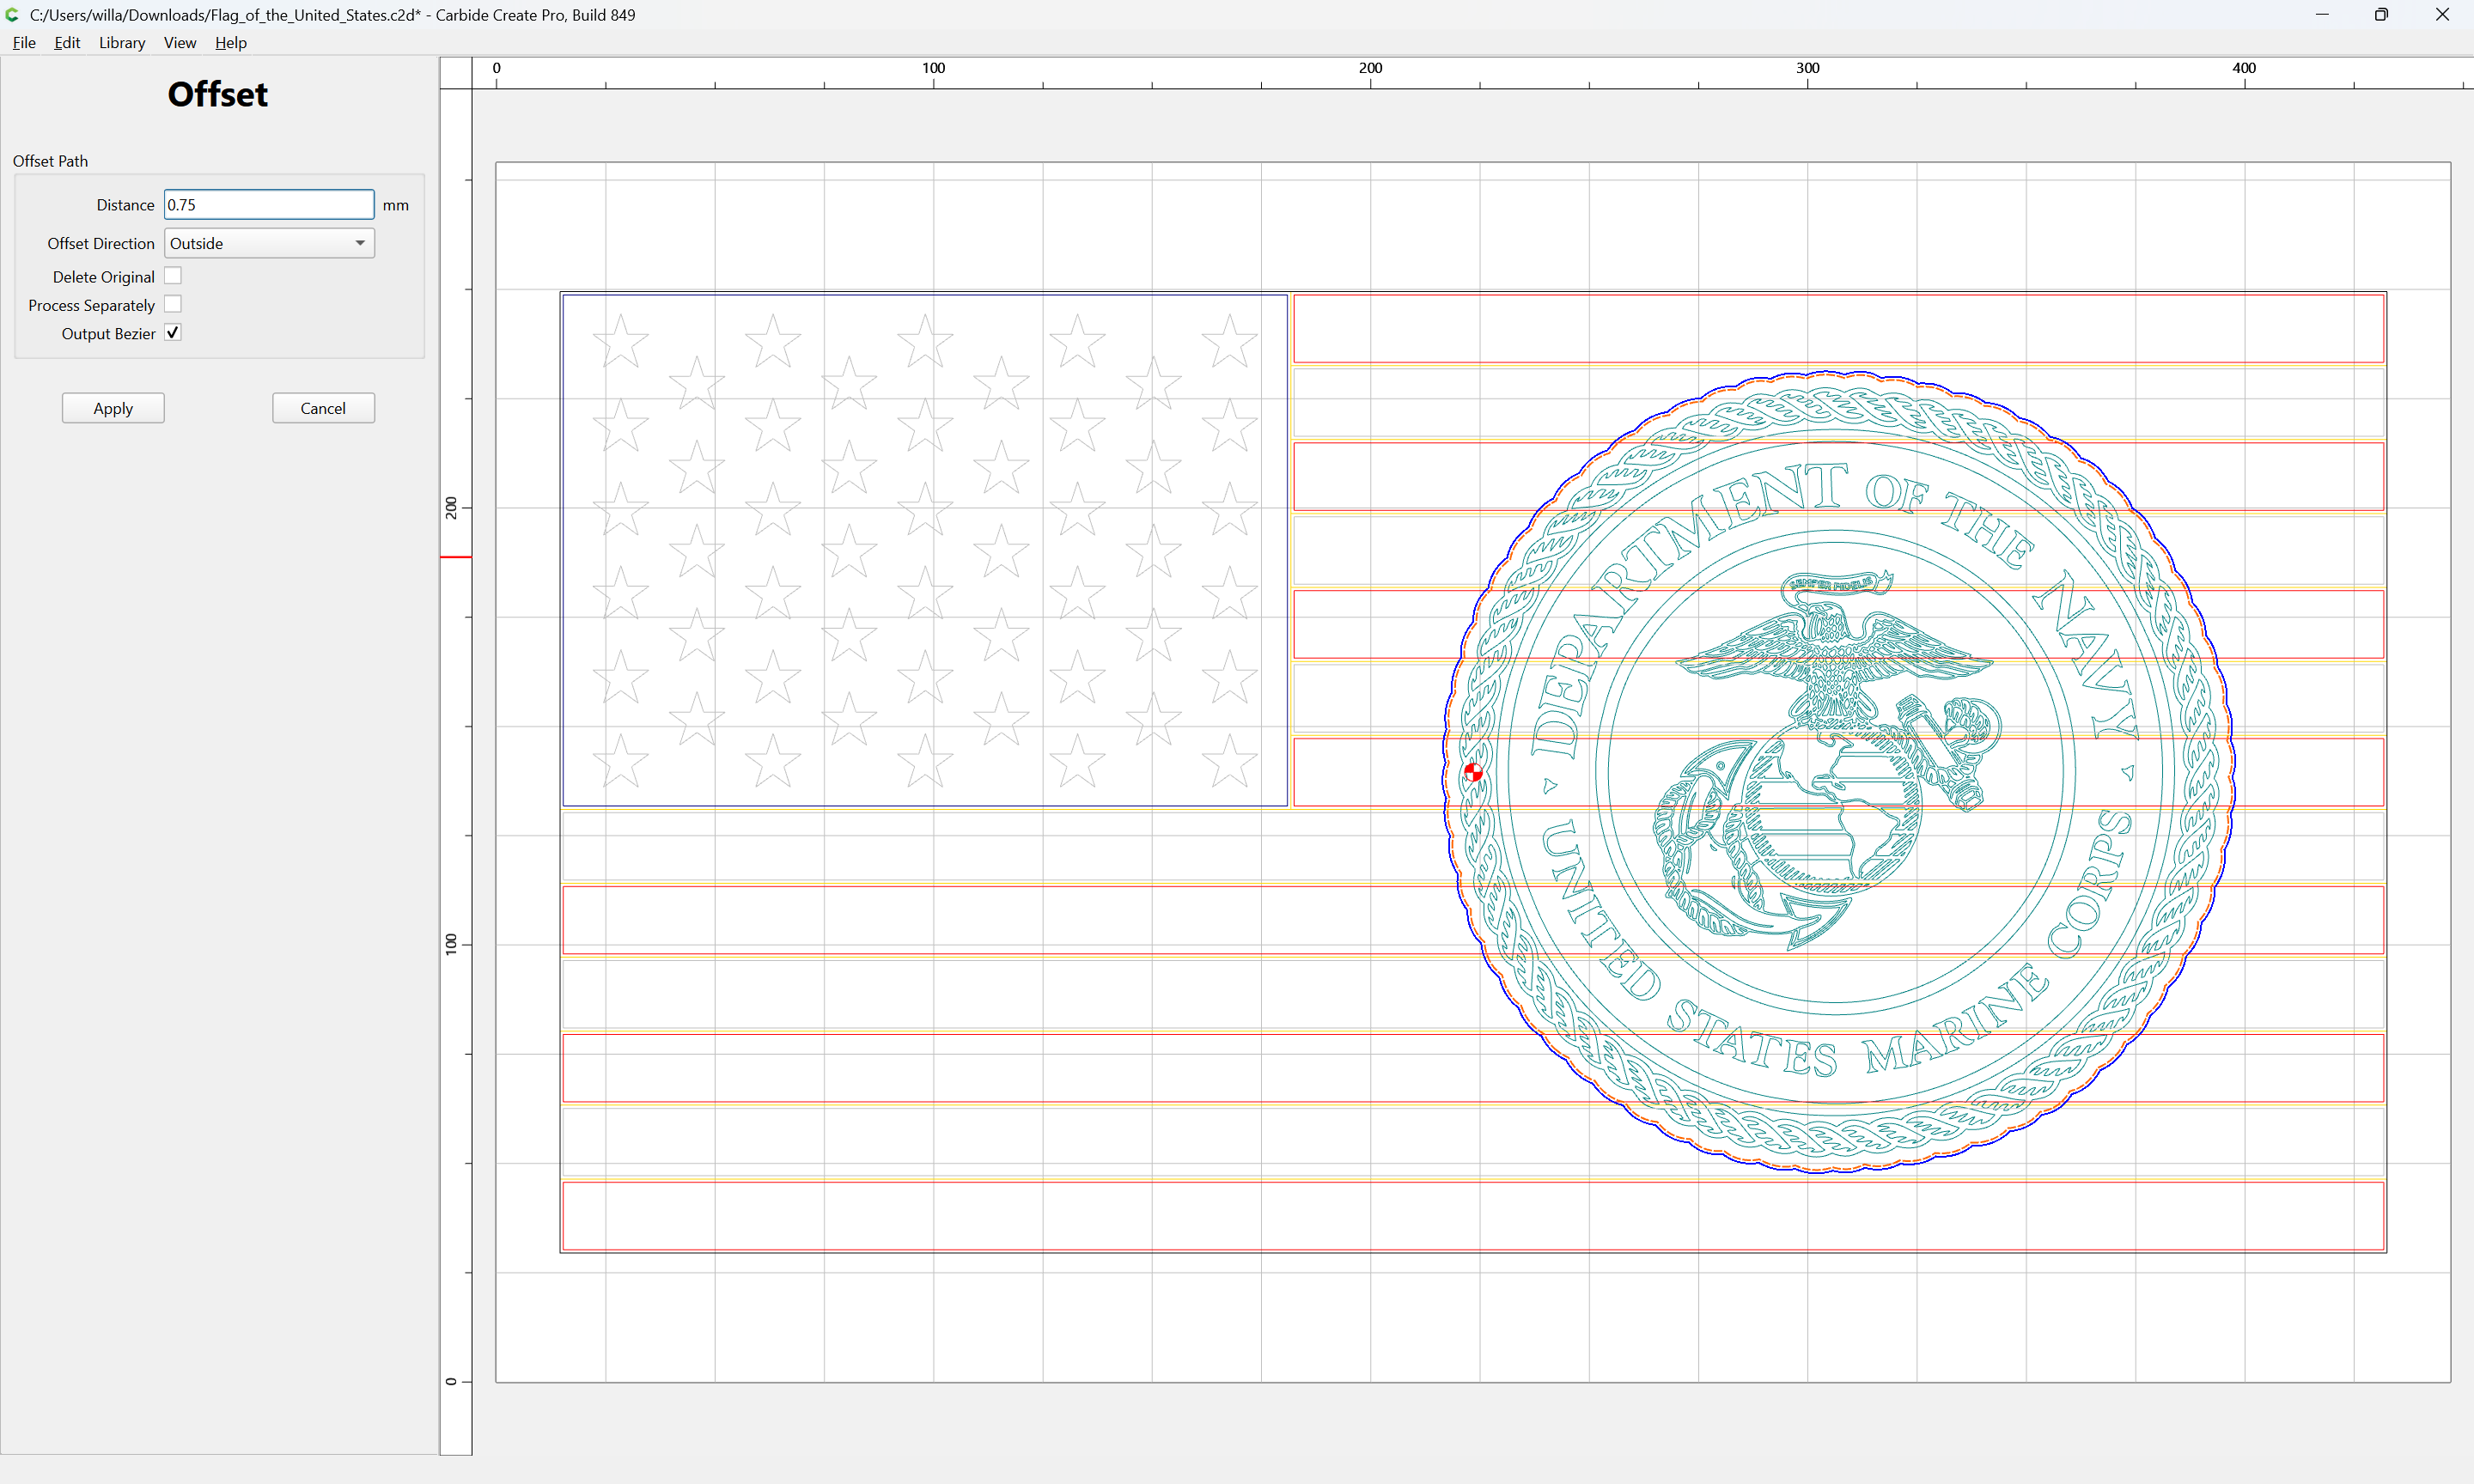
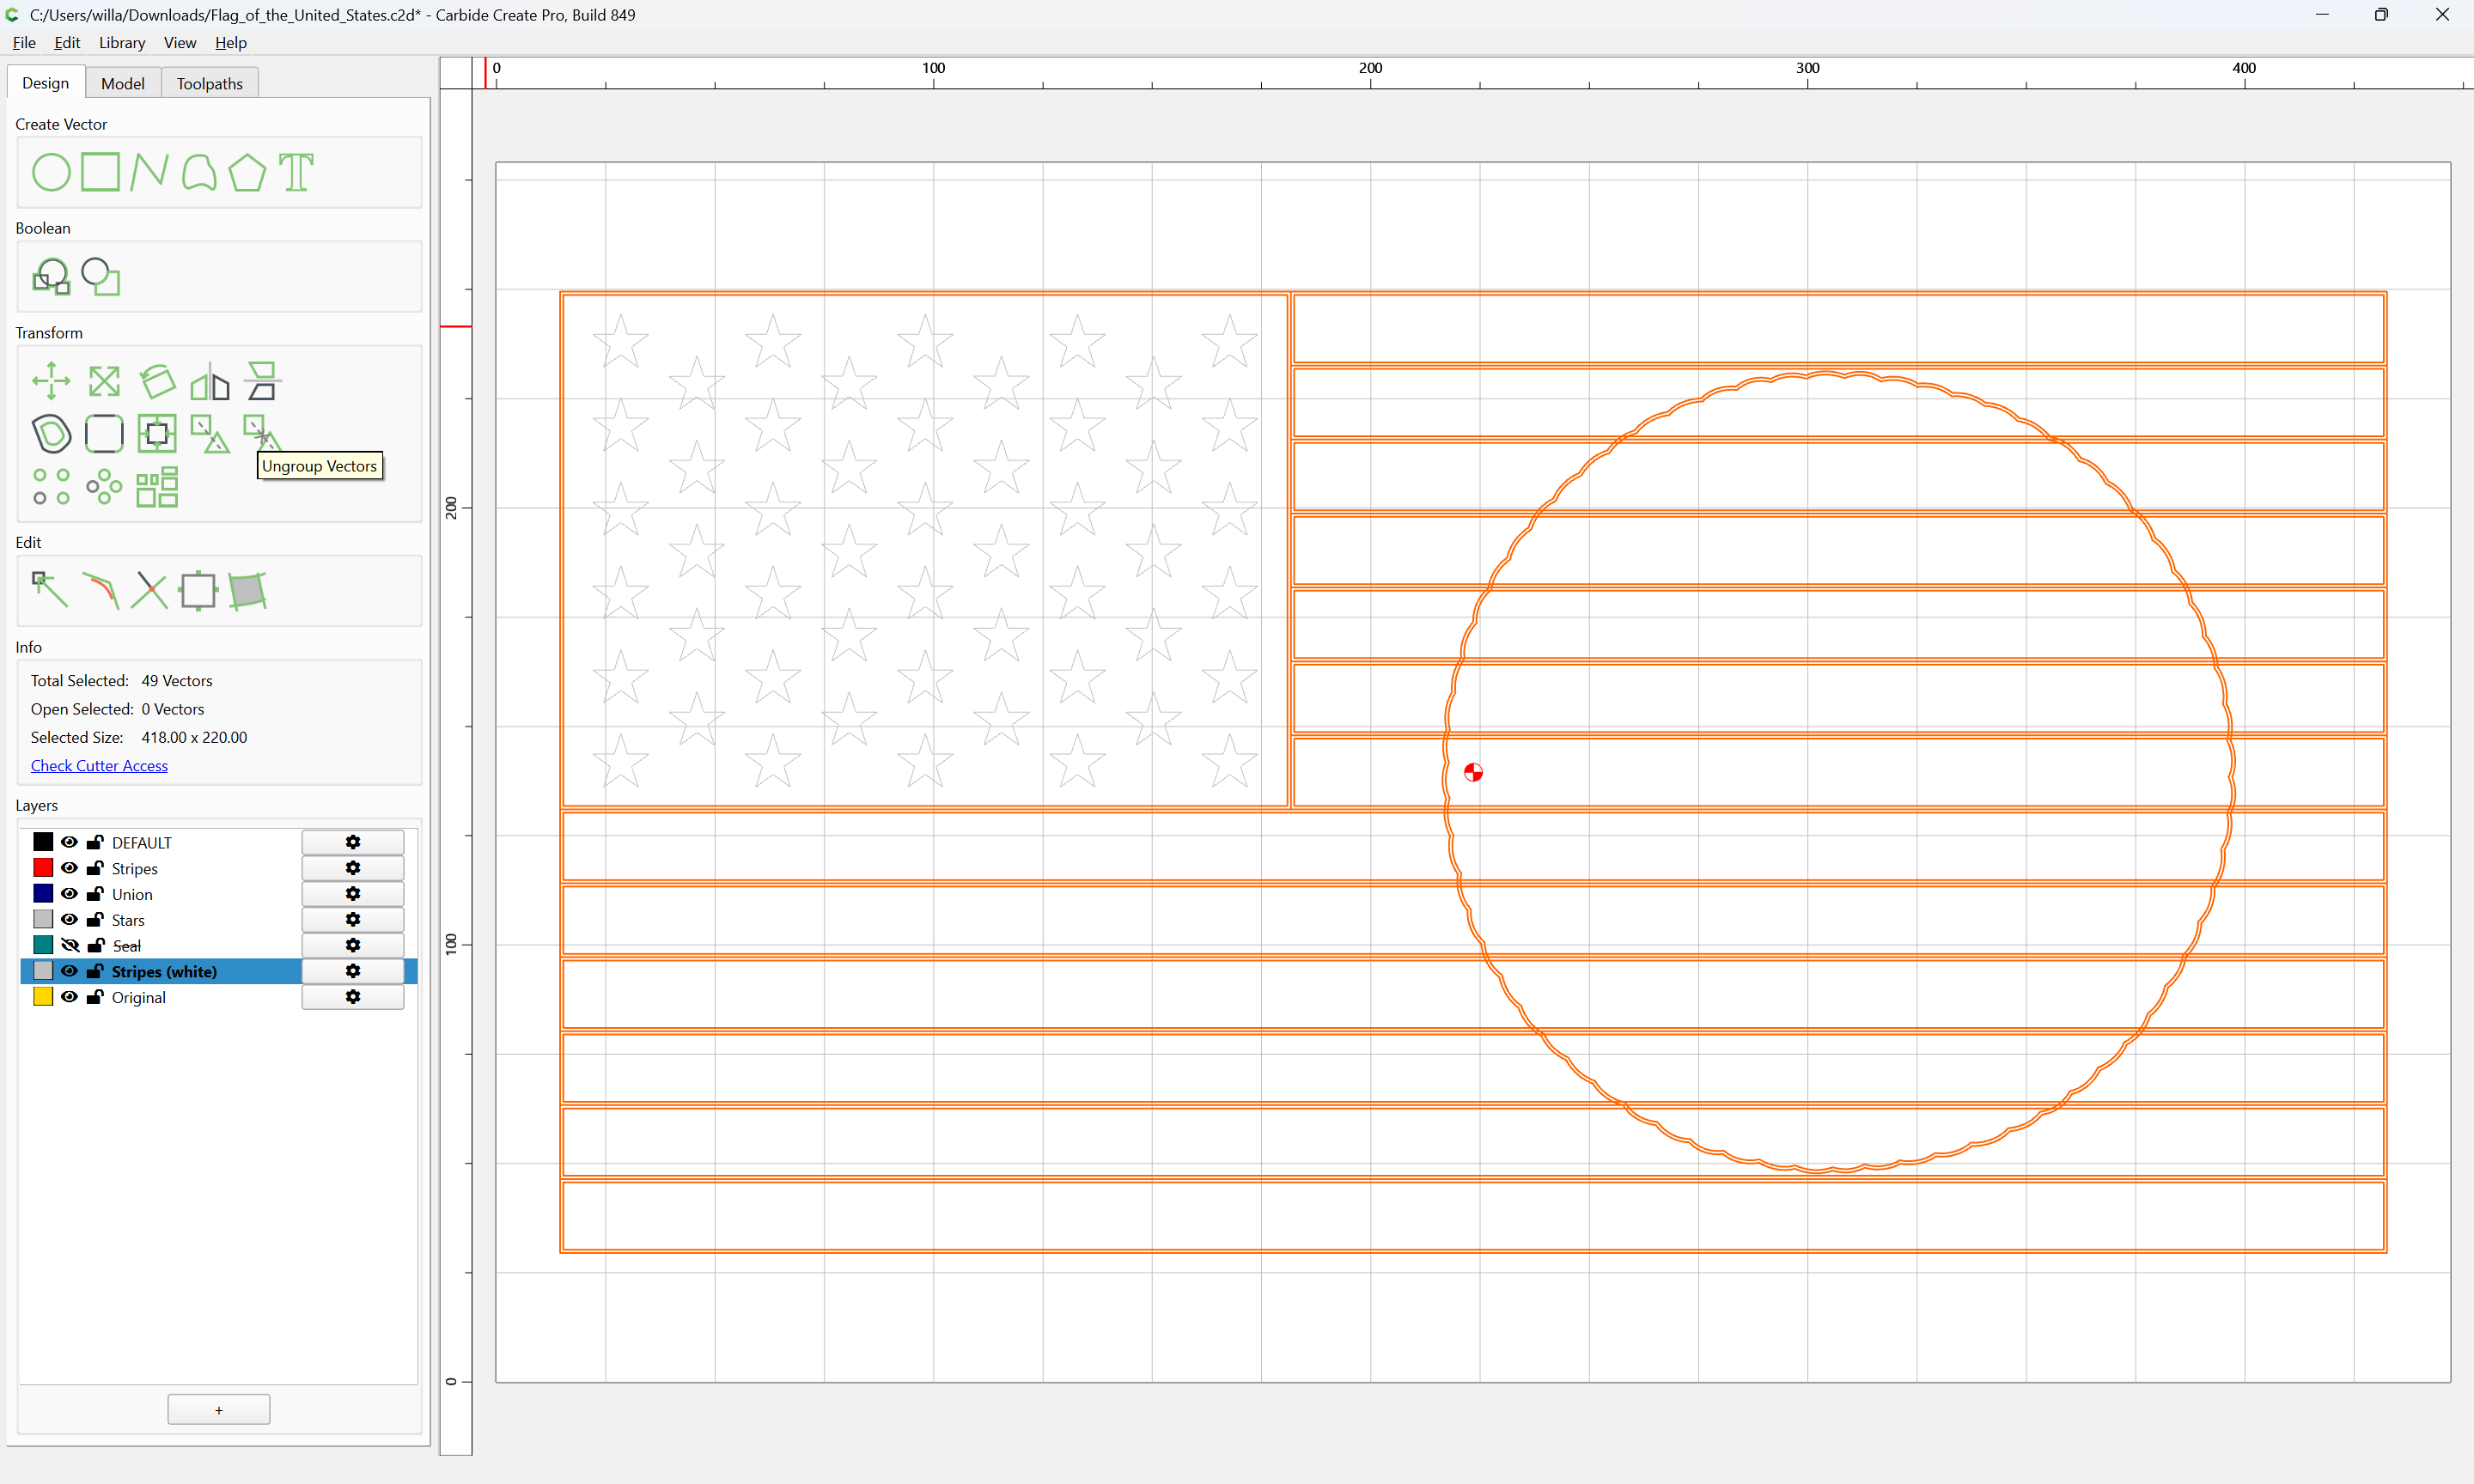
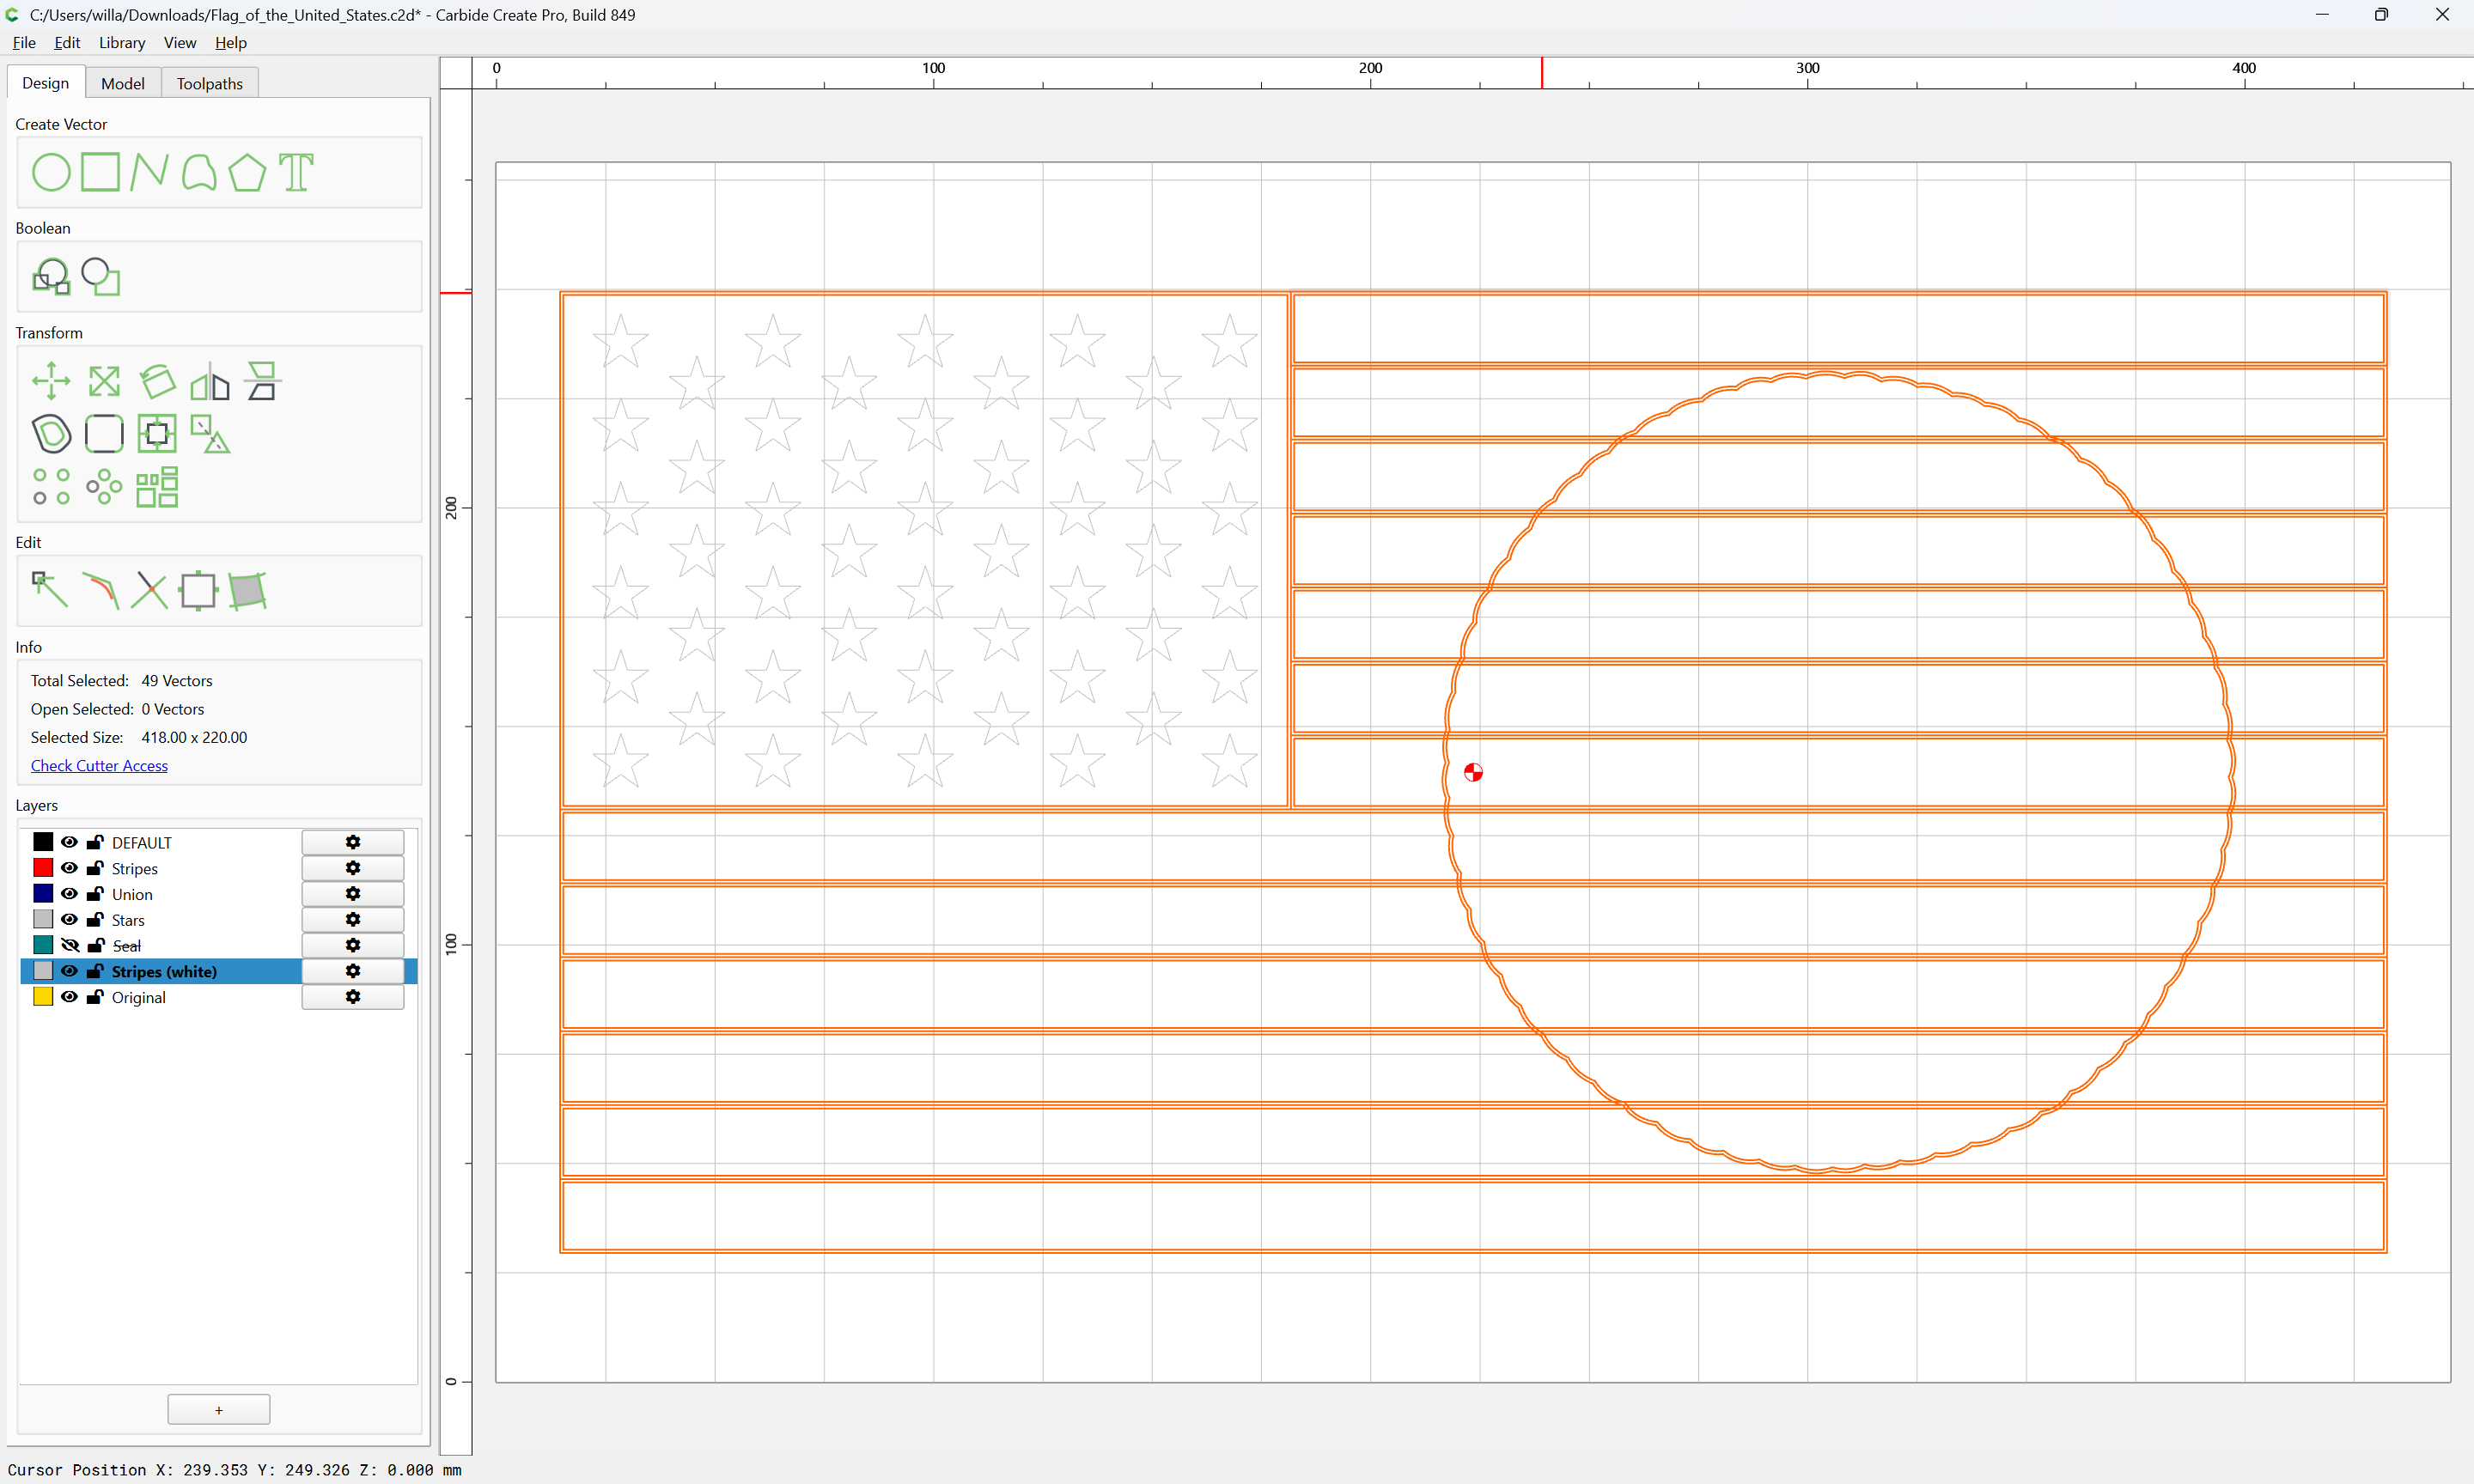
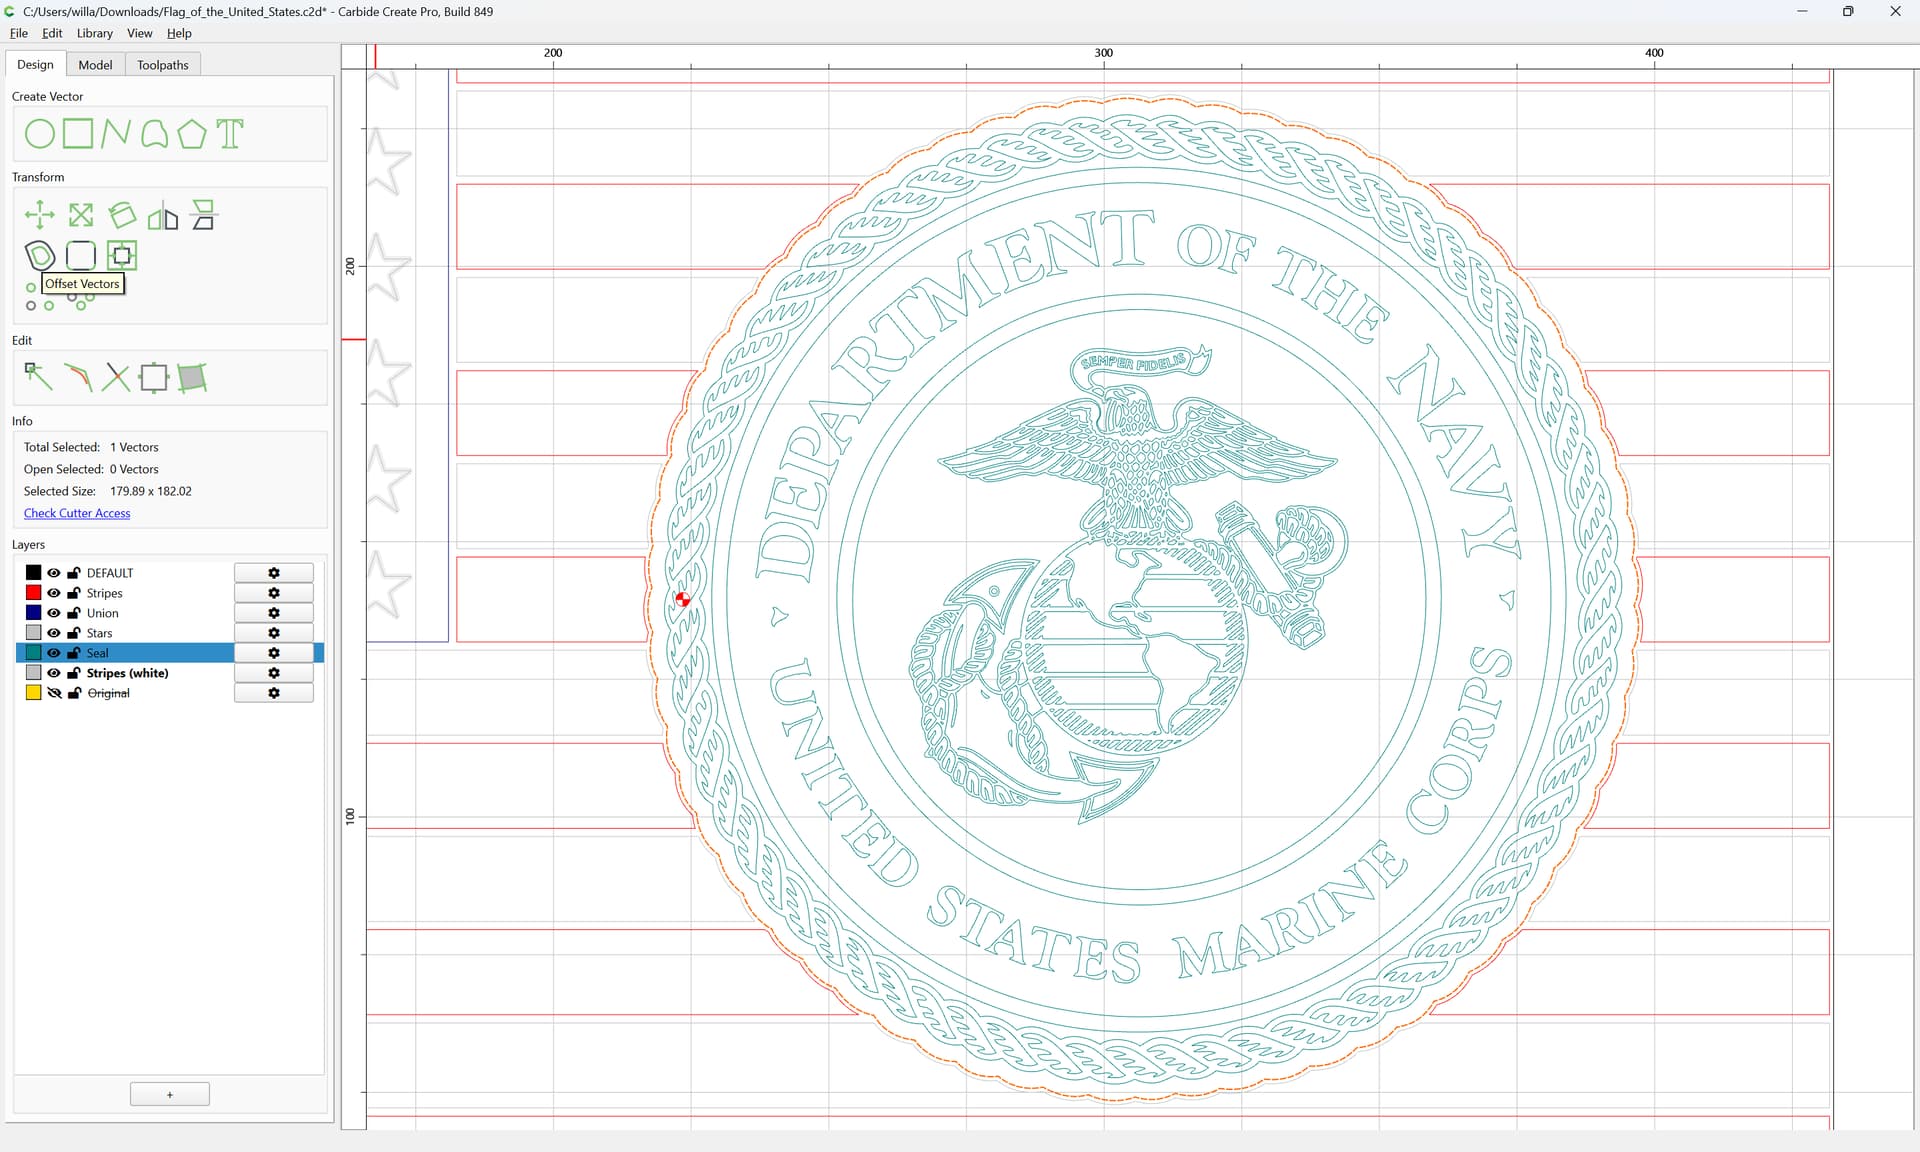
Next, it will be necessary to create geometry around the emblem for a separation:

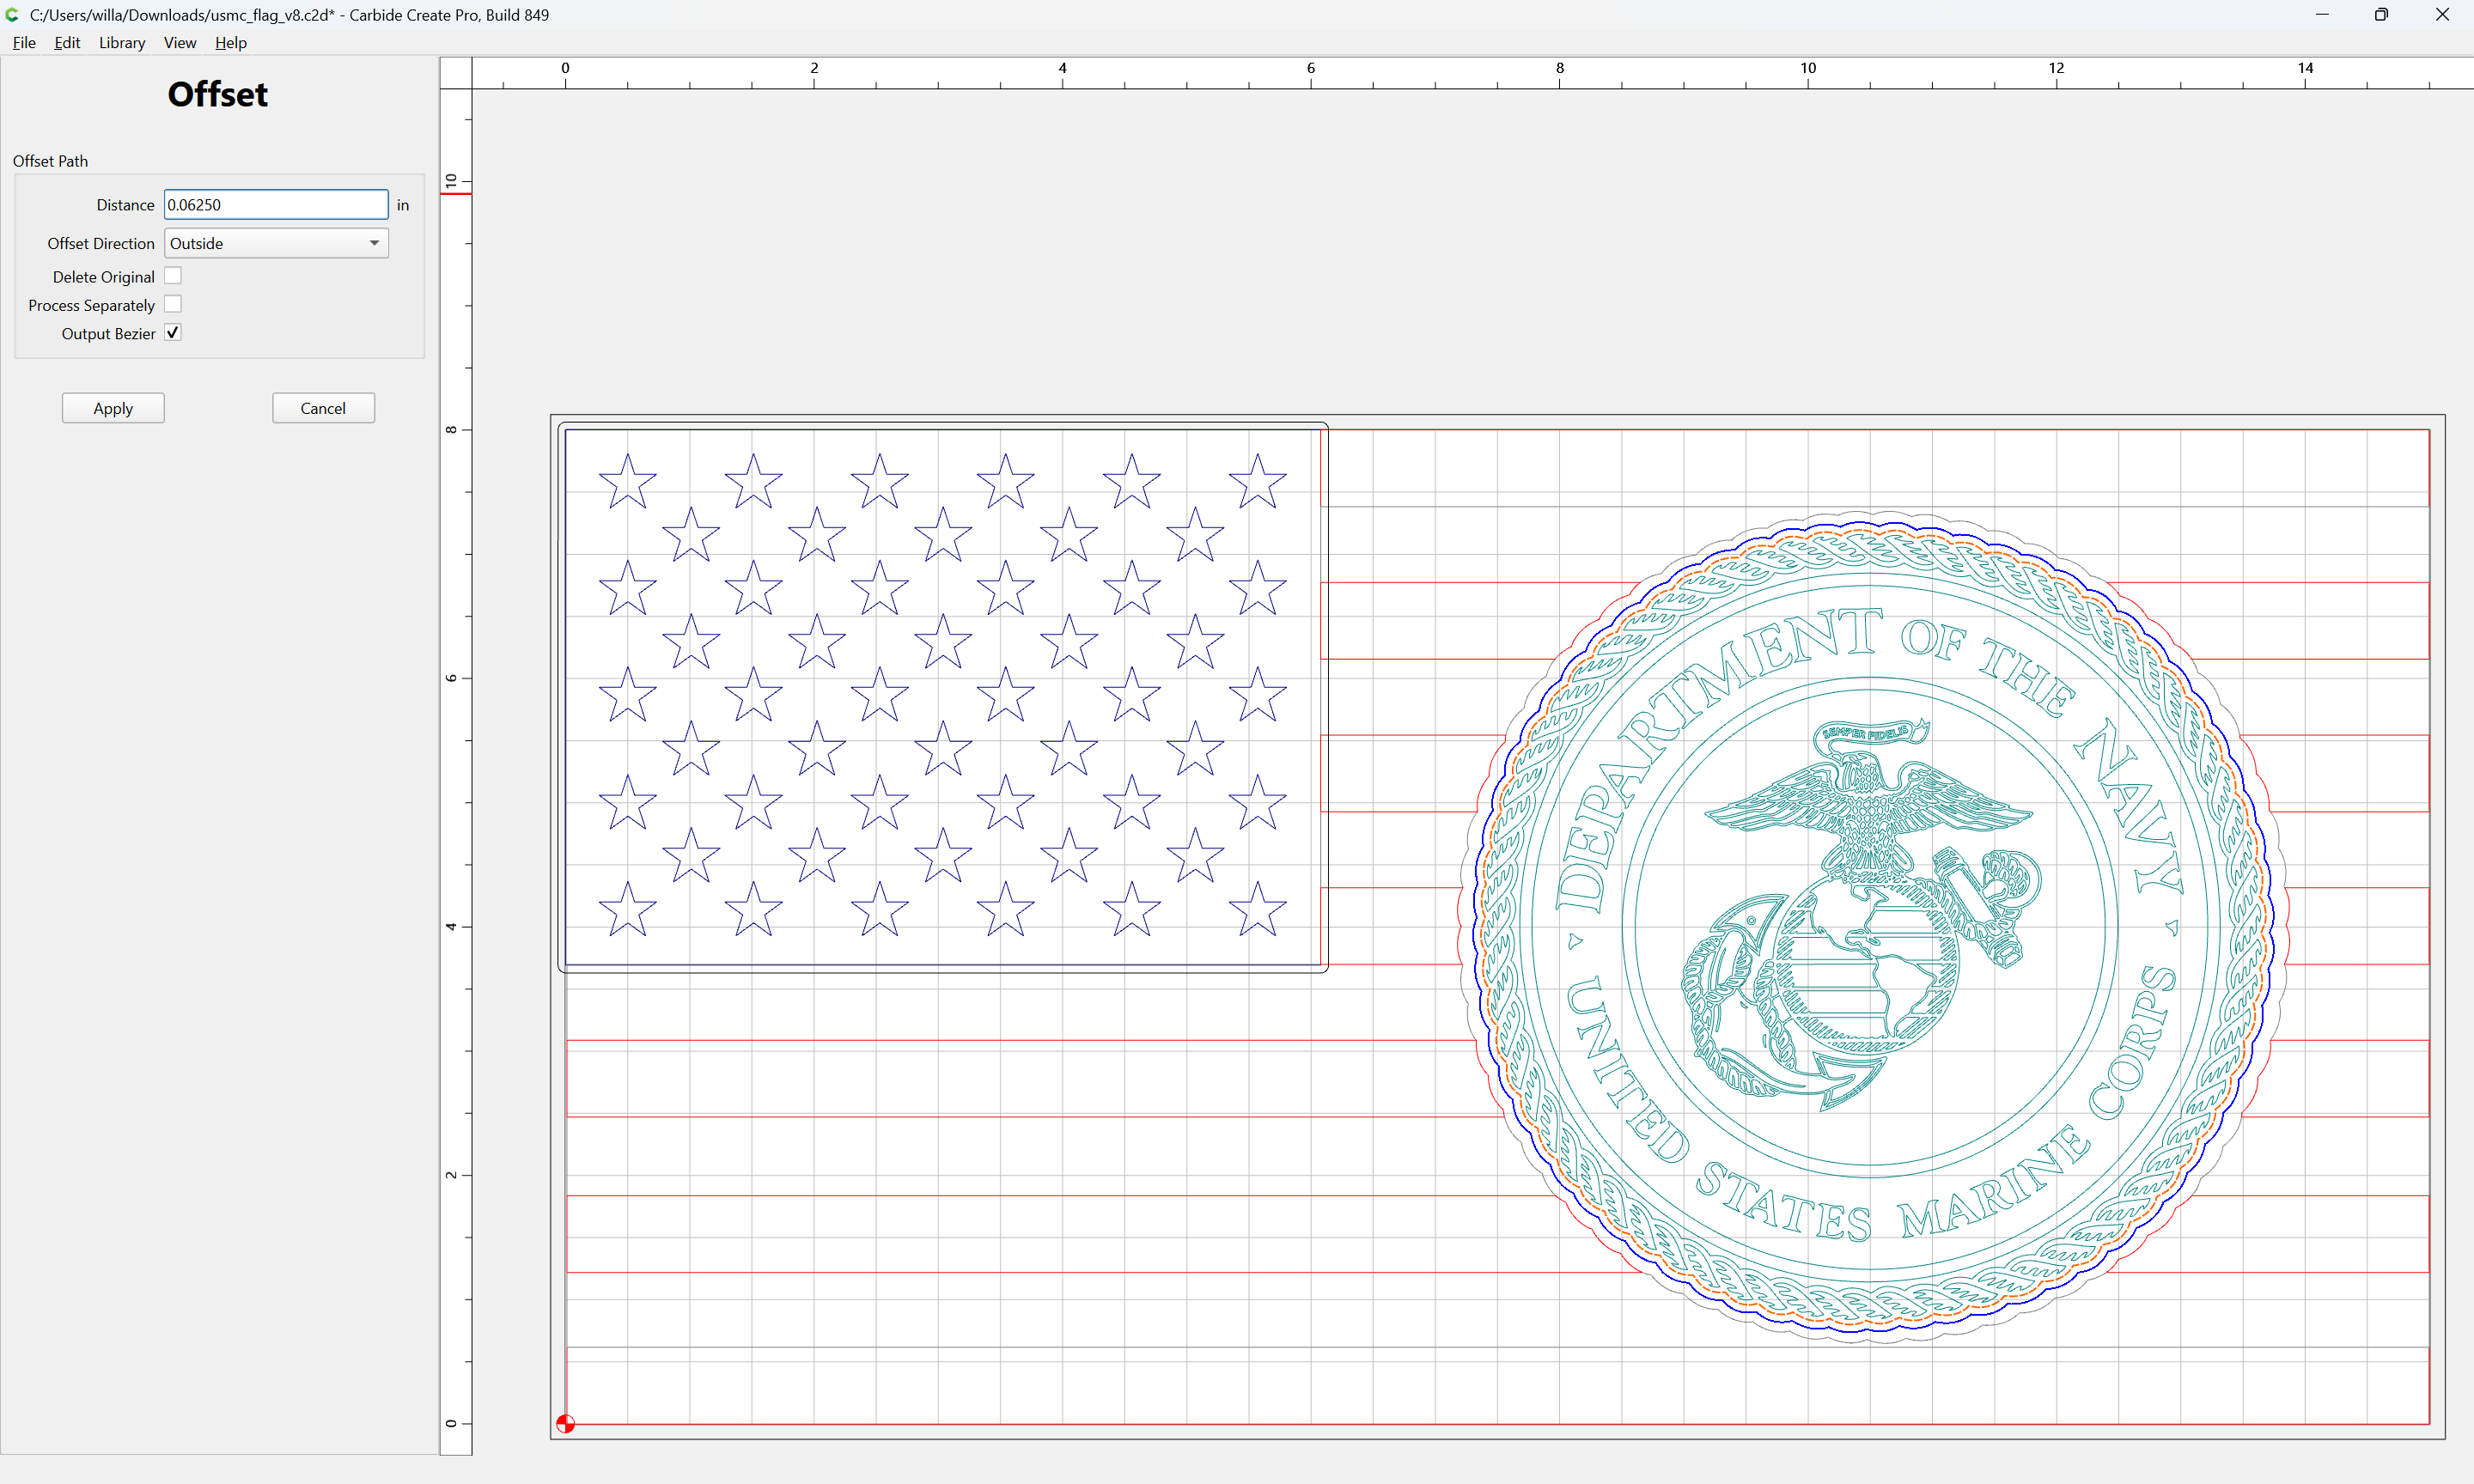
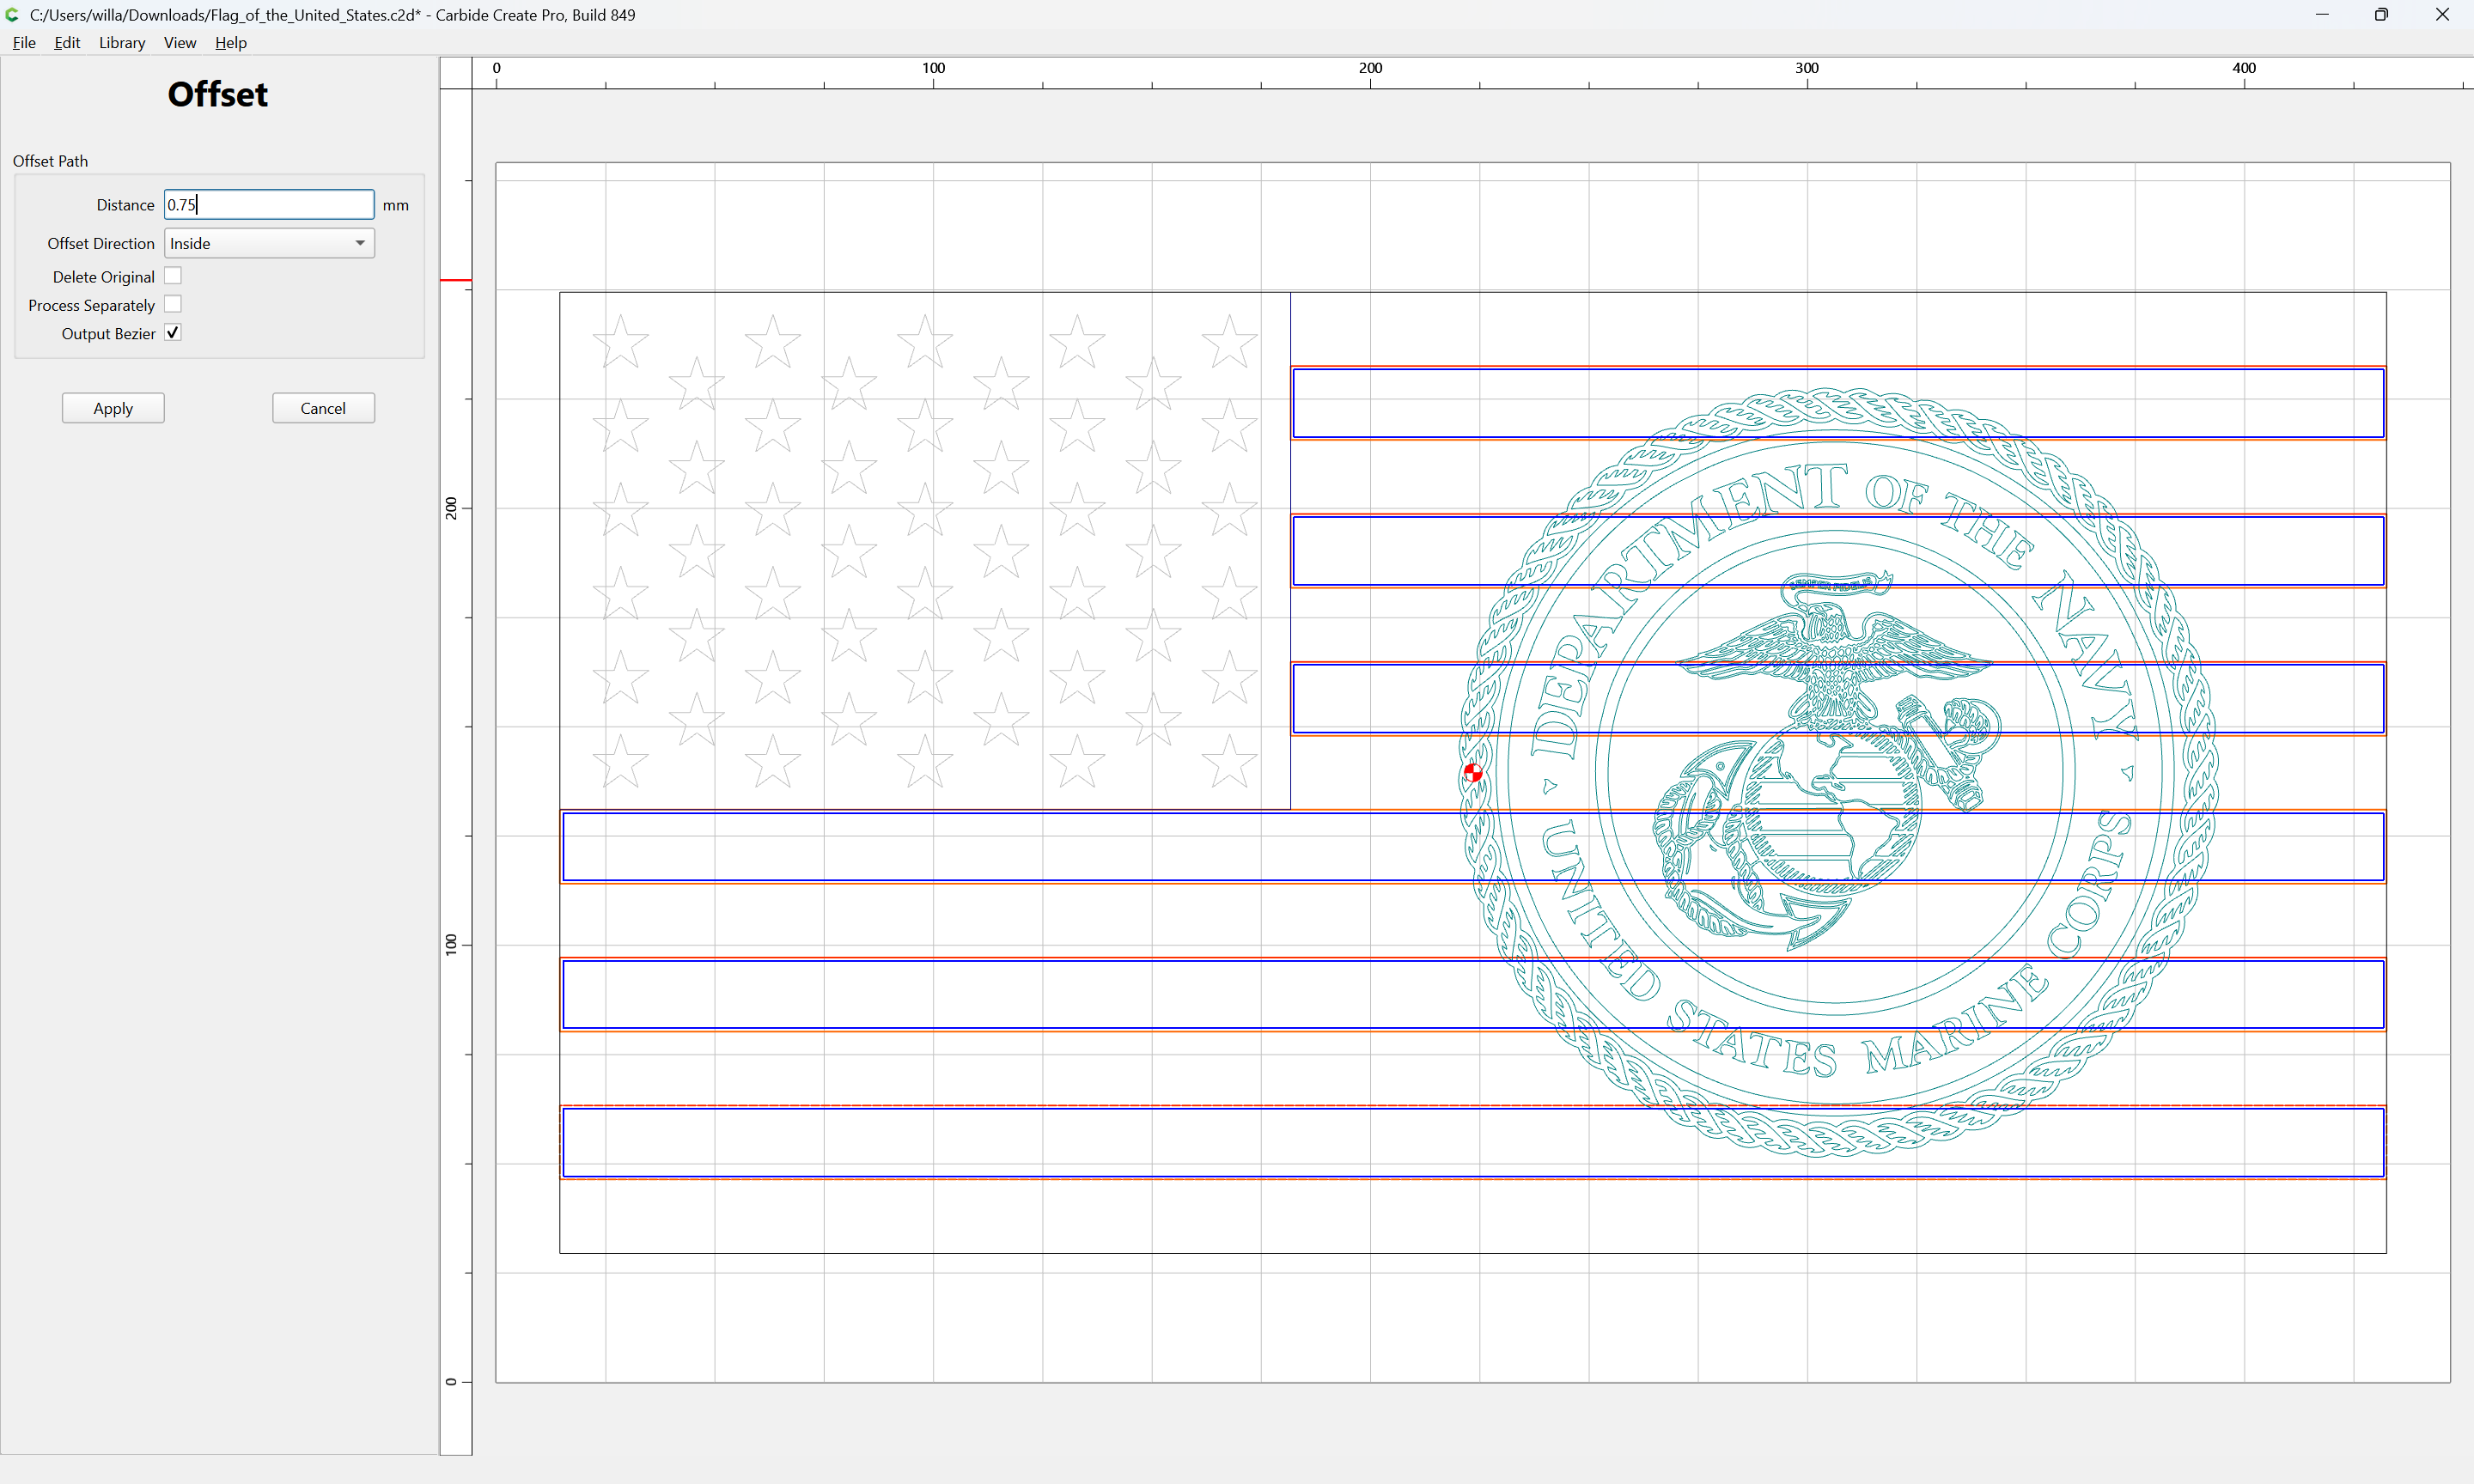
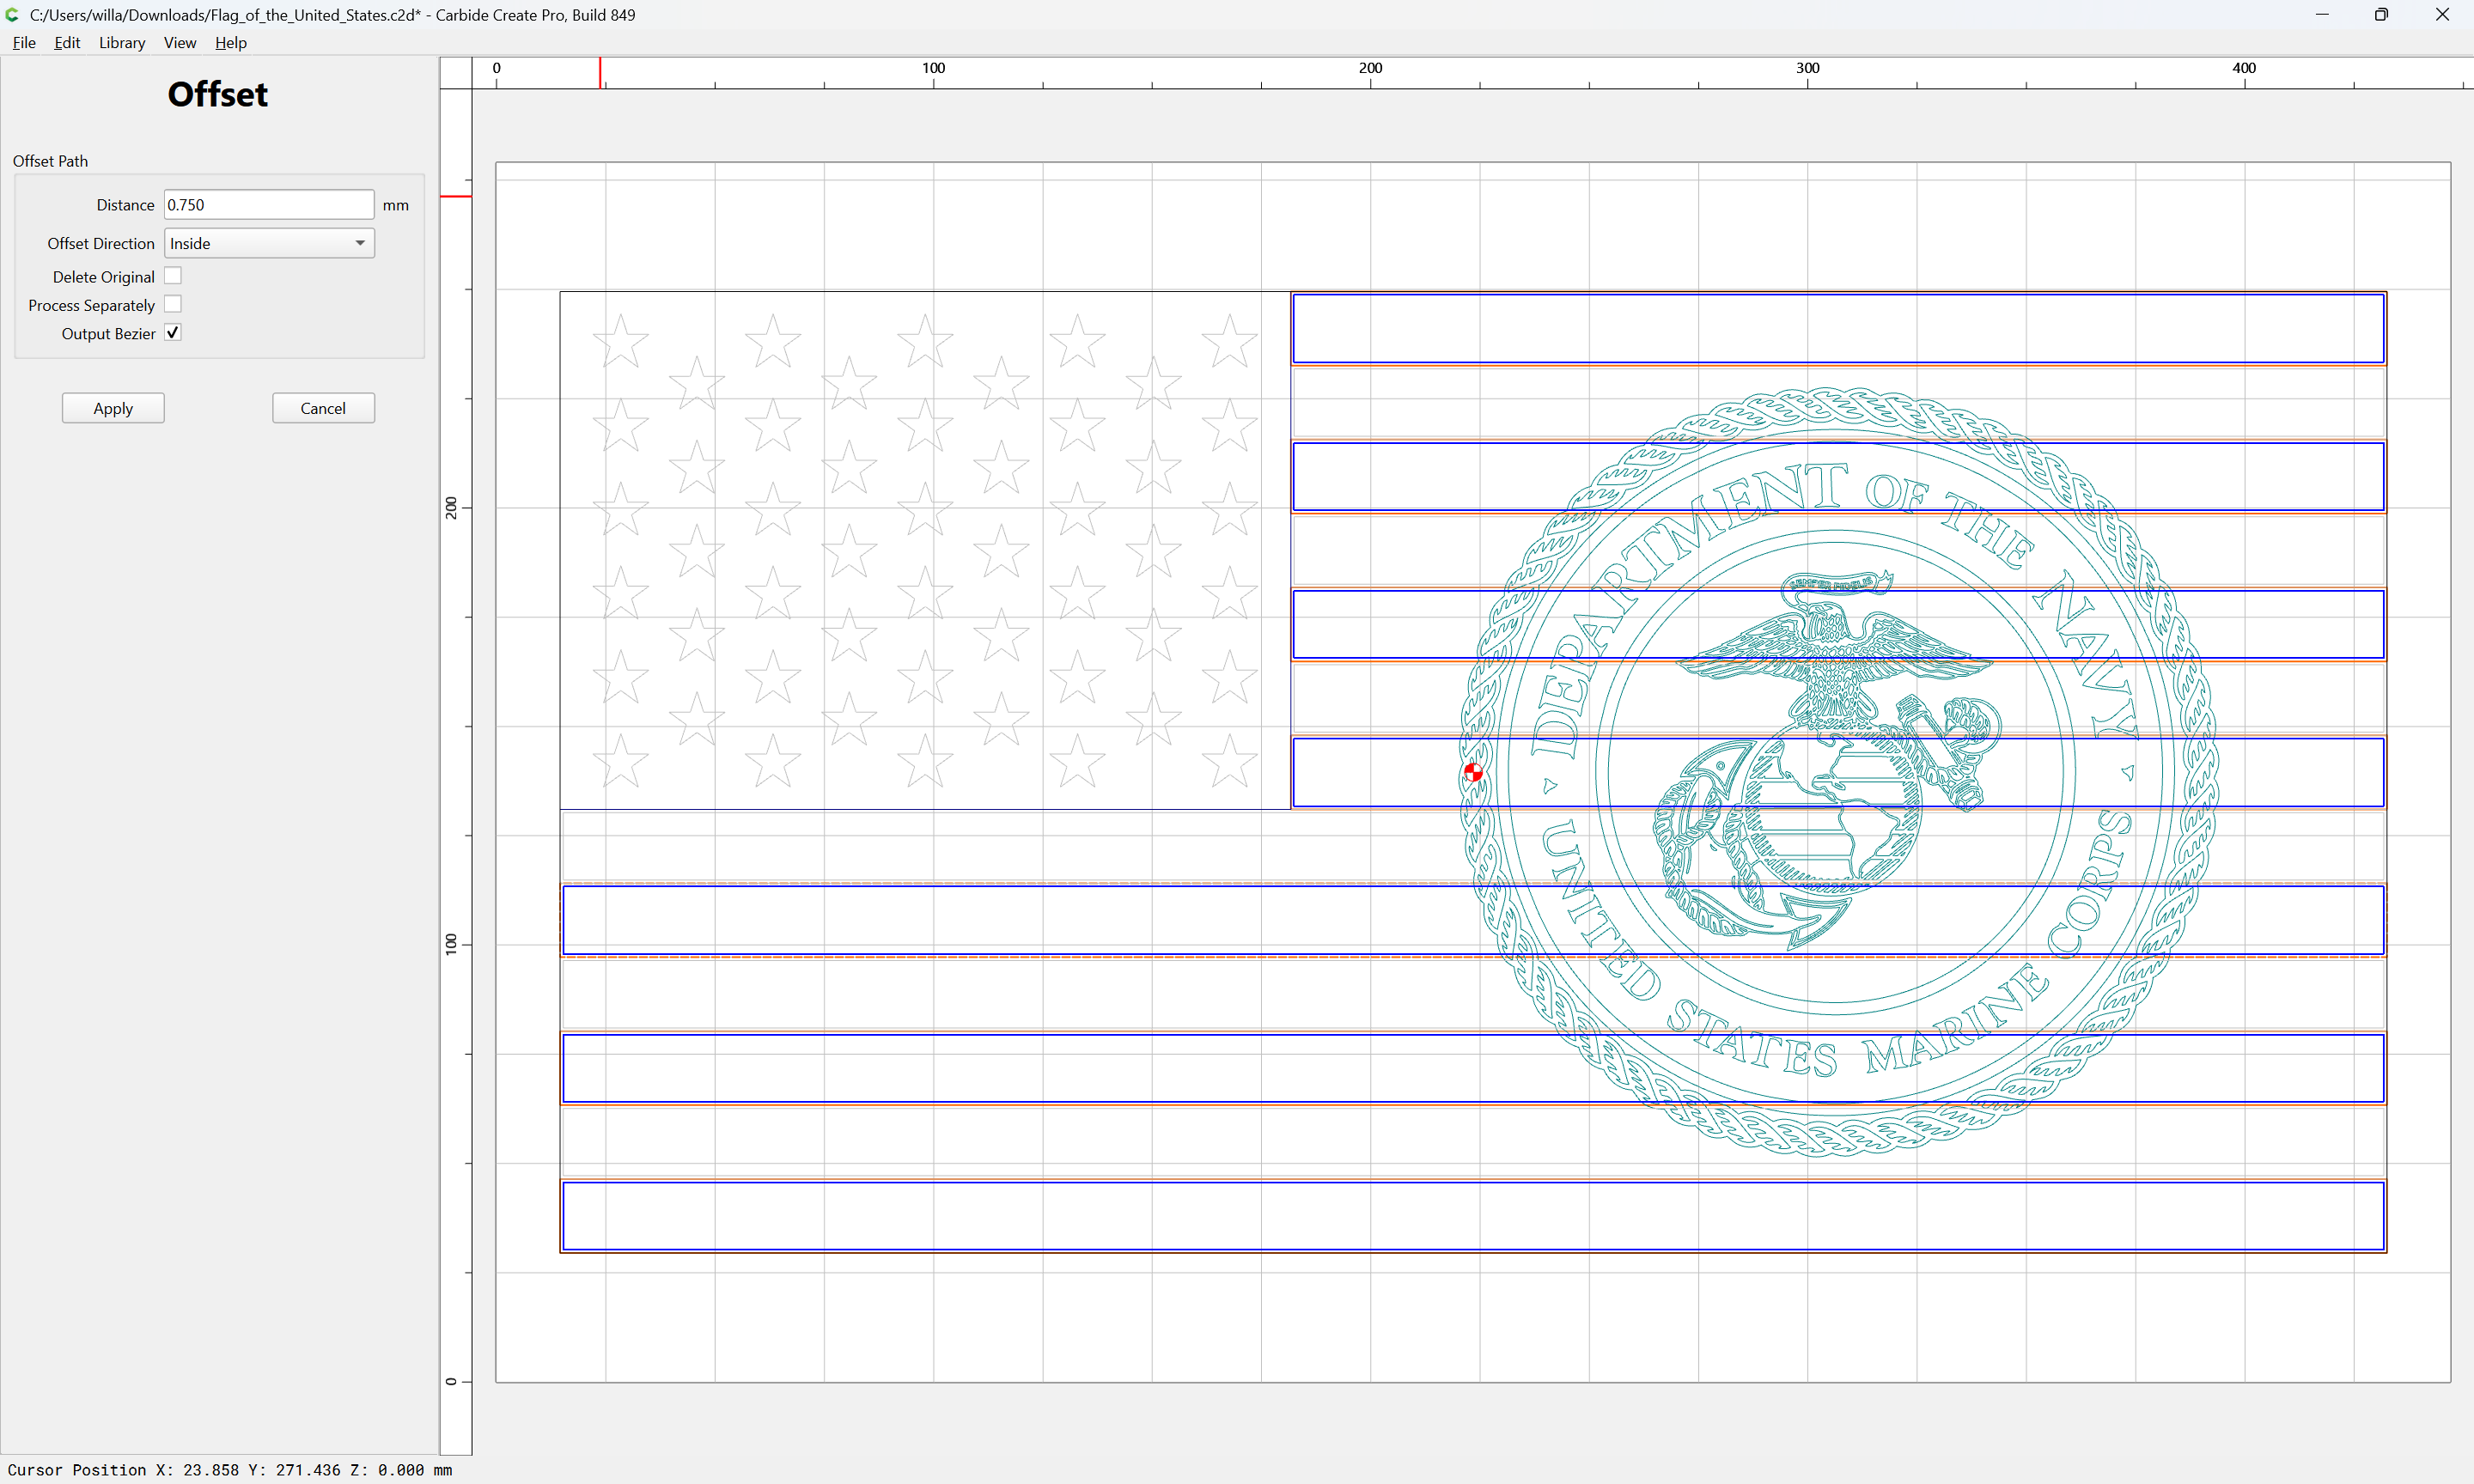
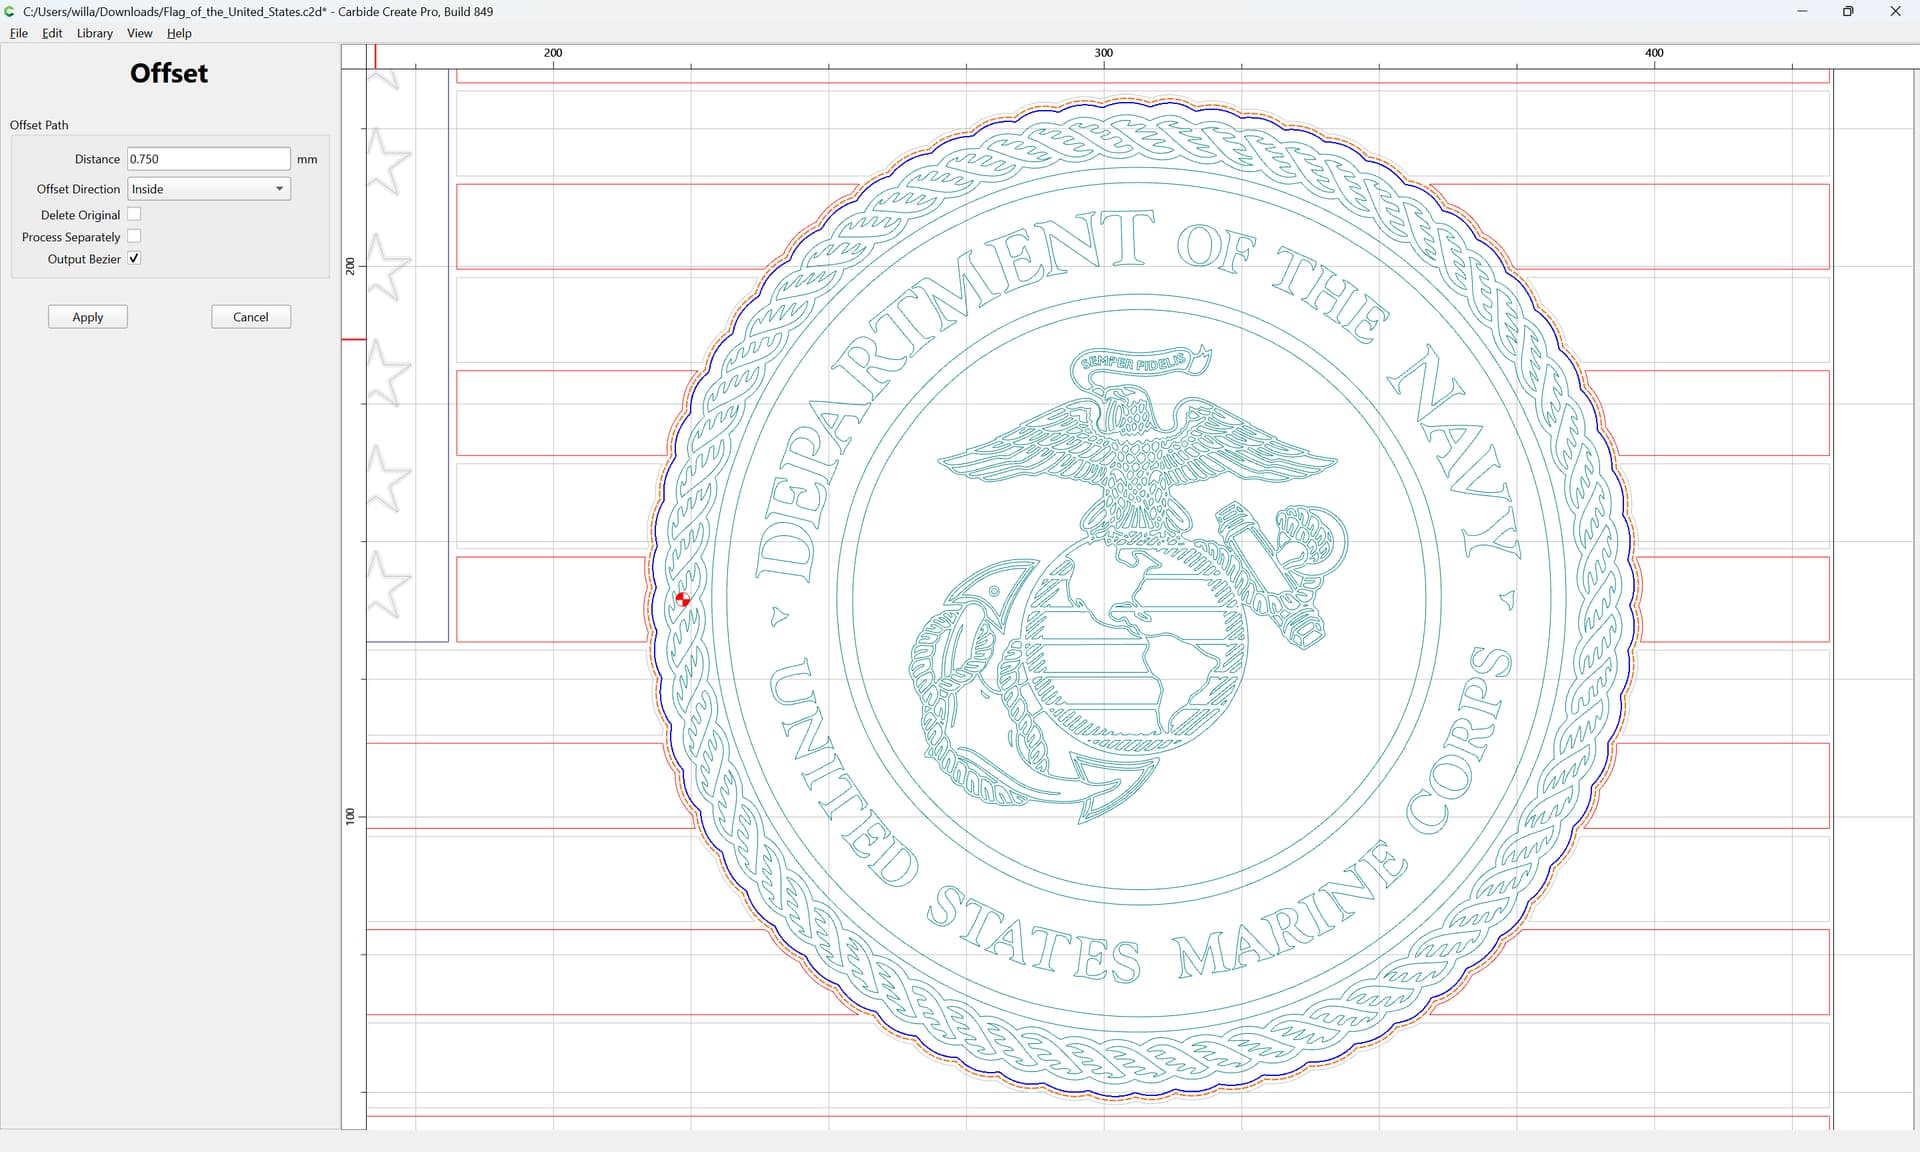
Offset Vectors
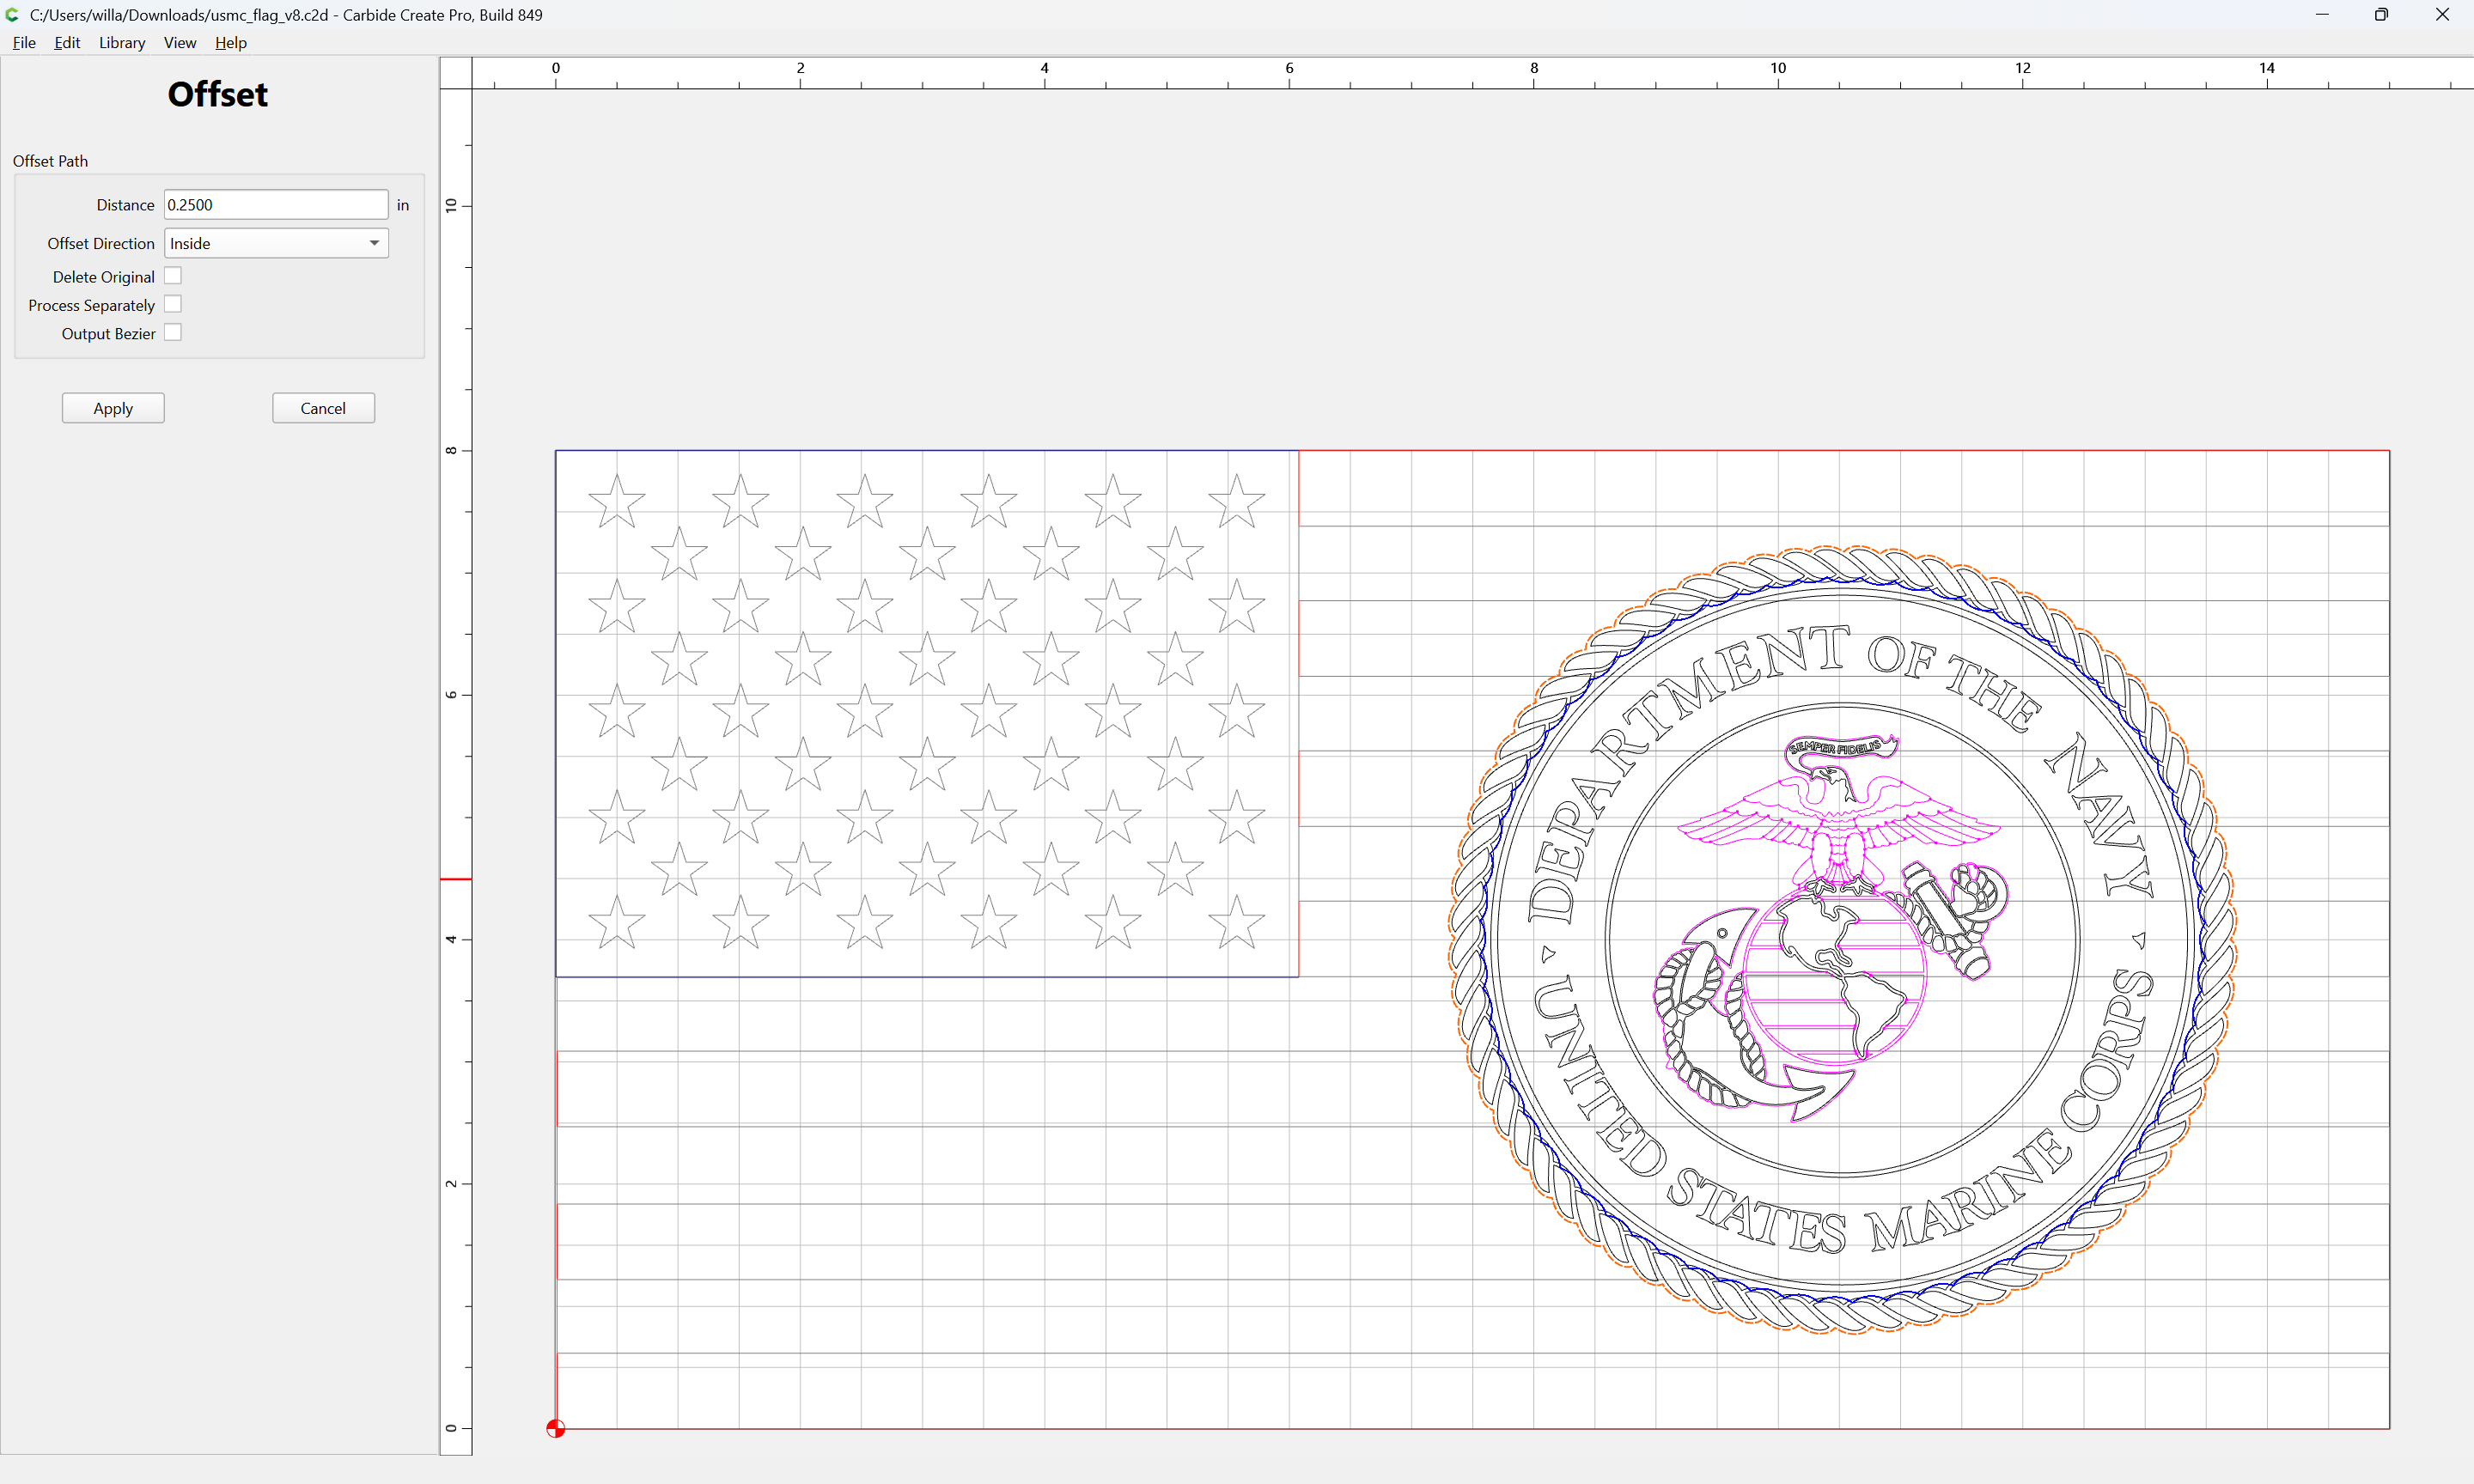
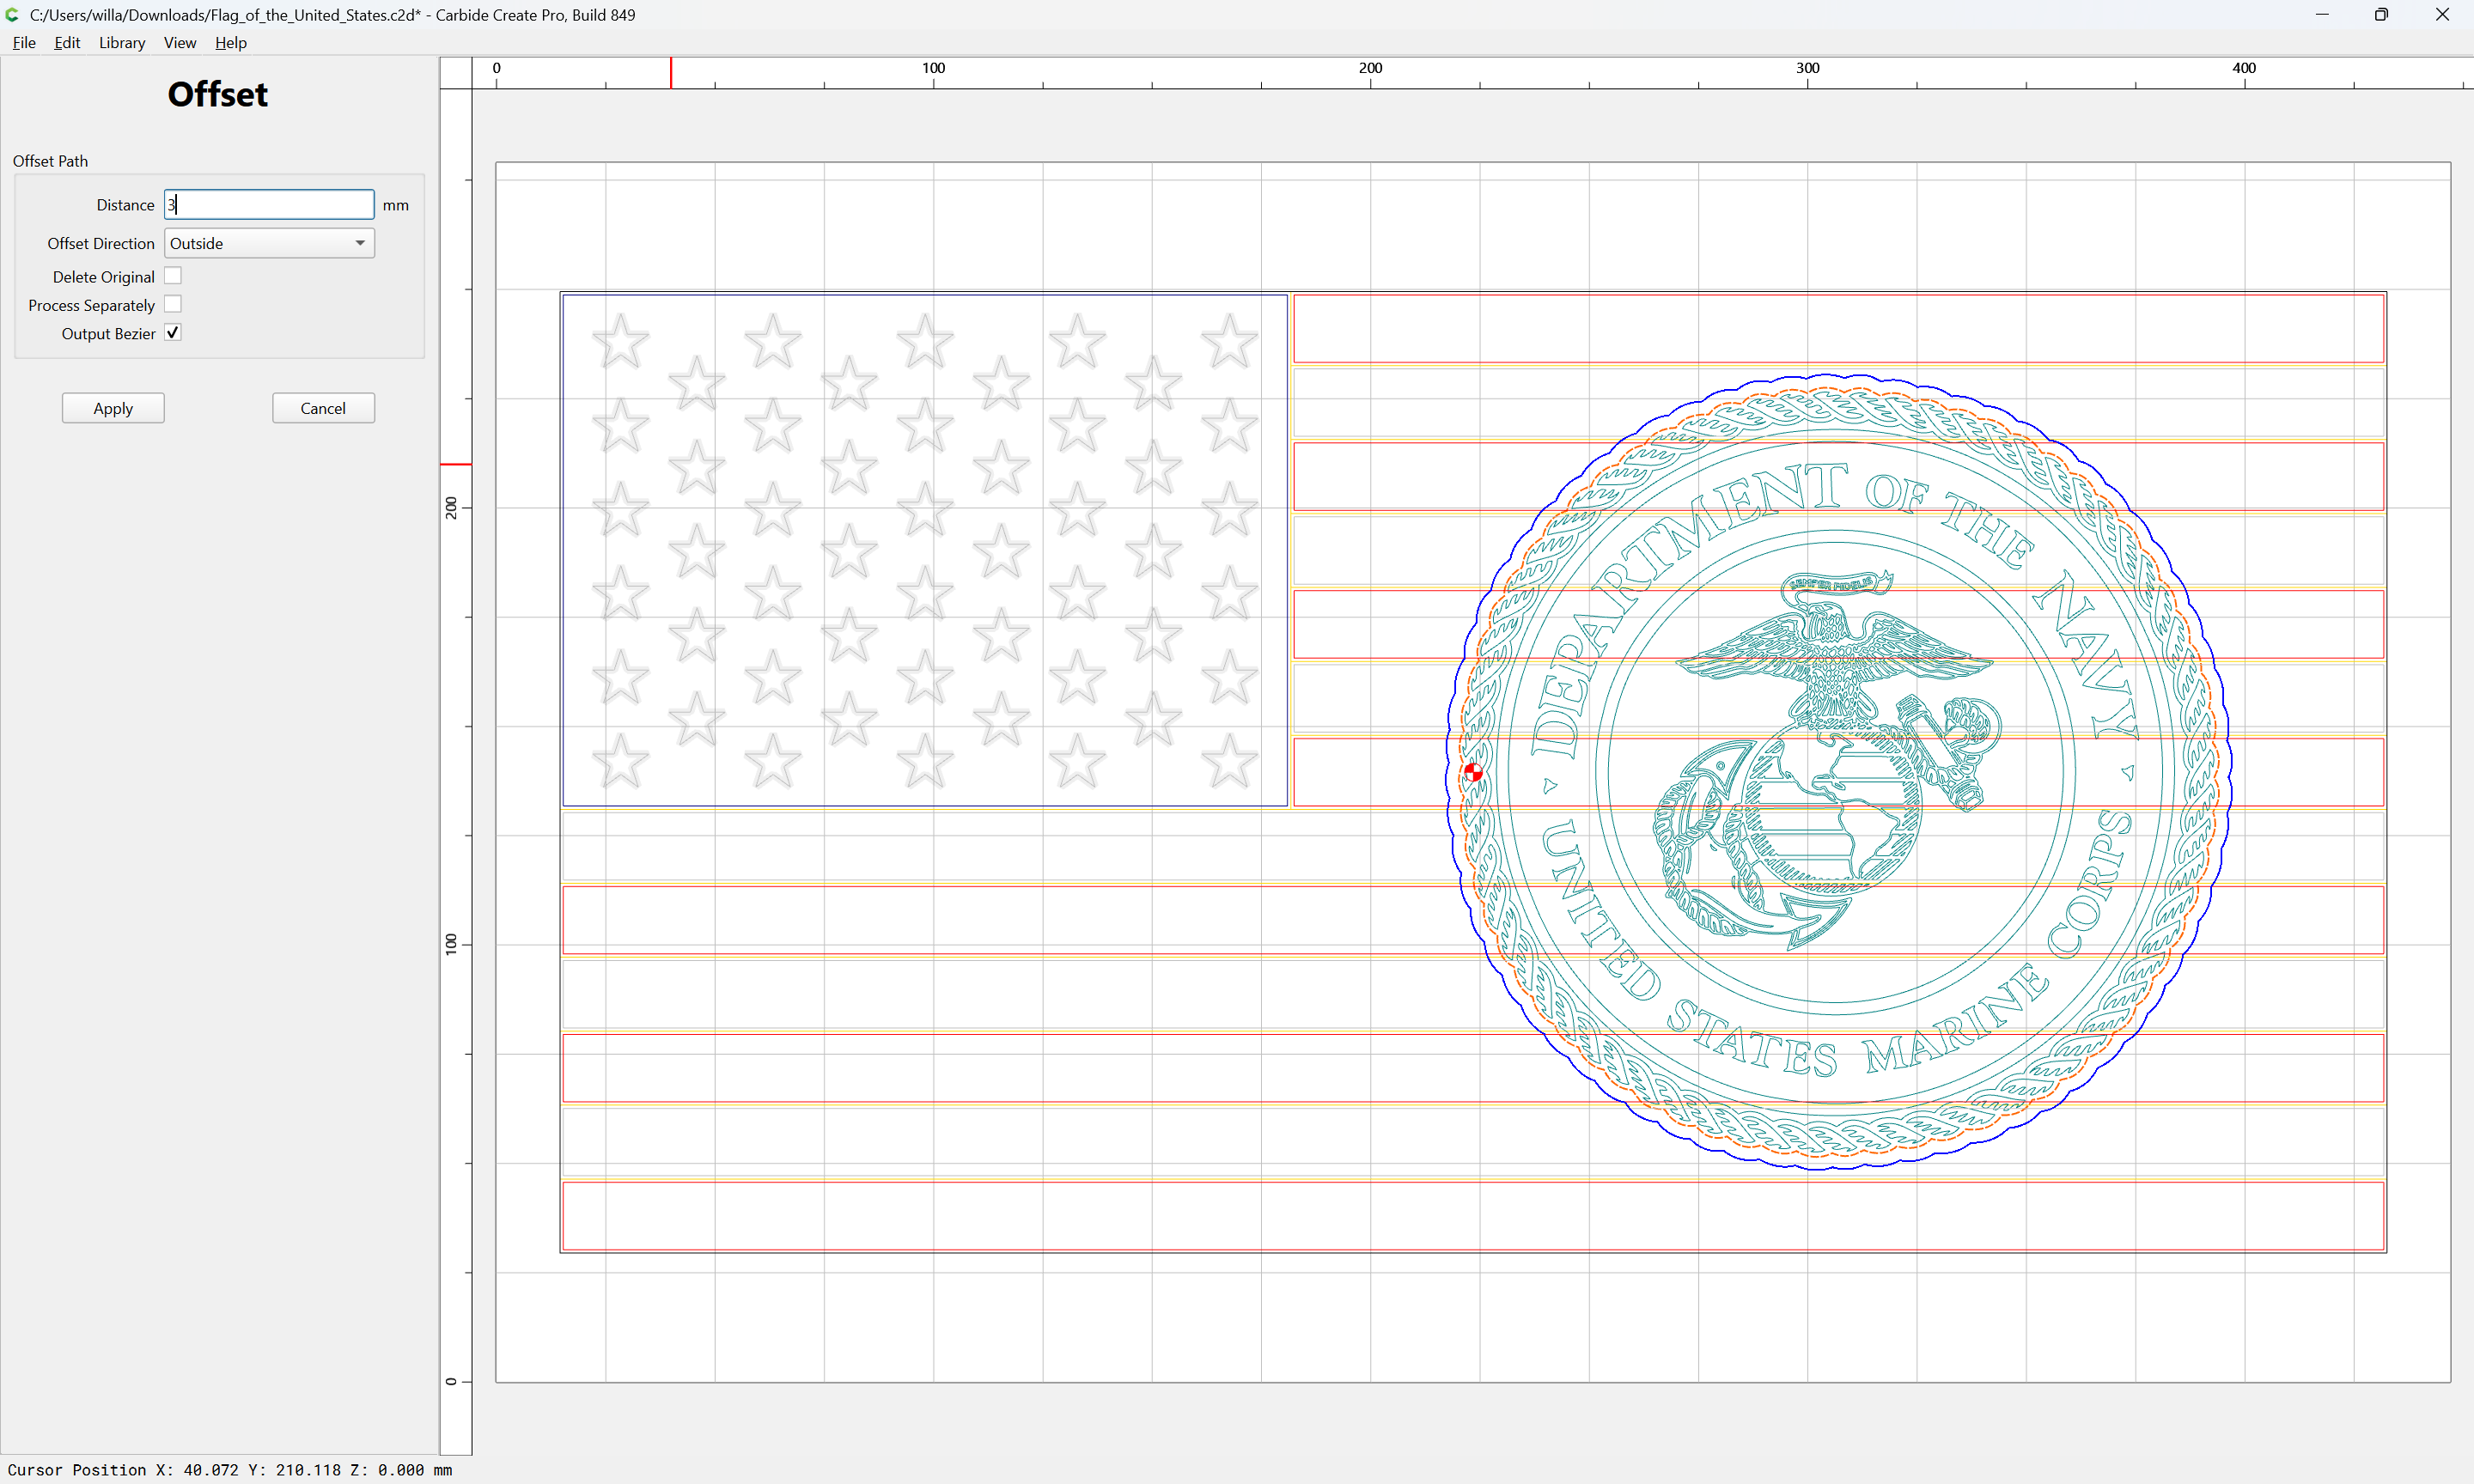
adjust the settings
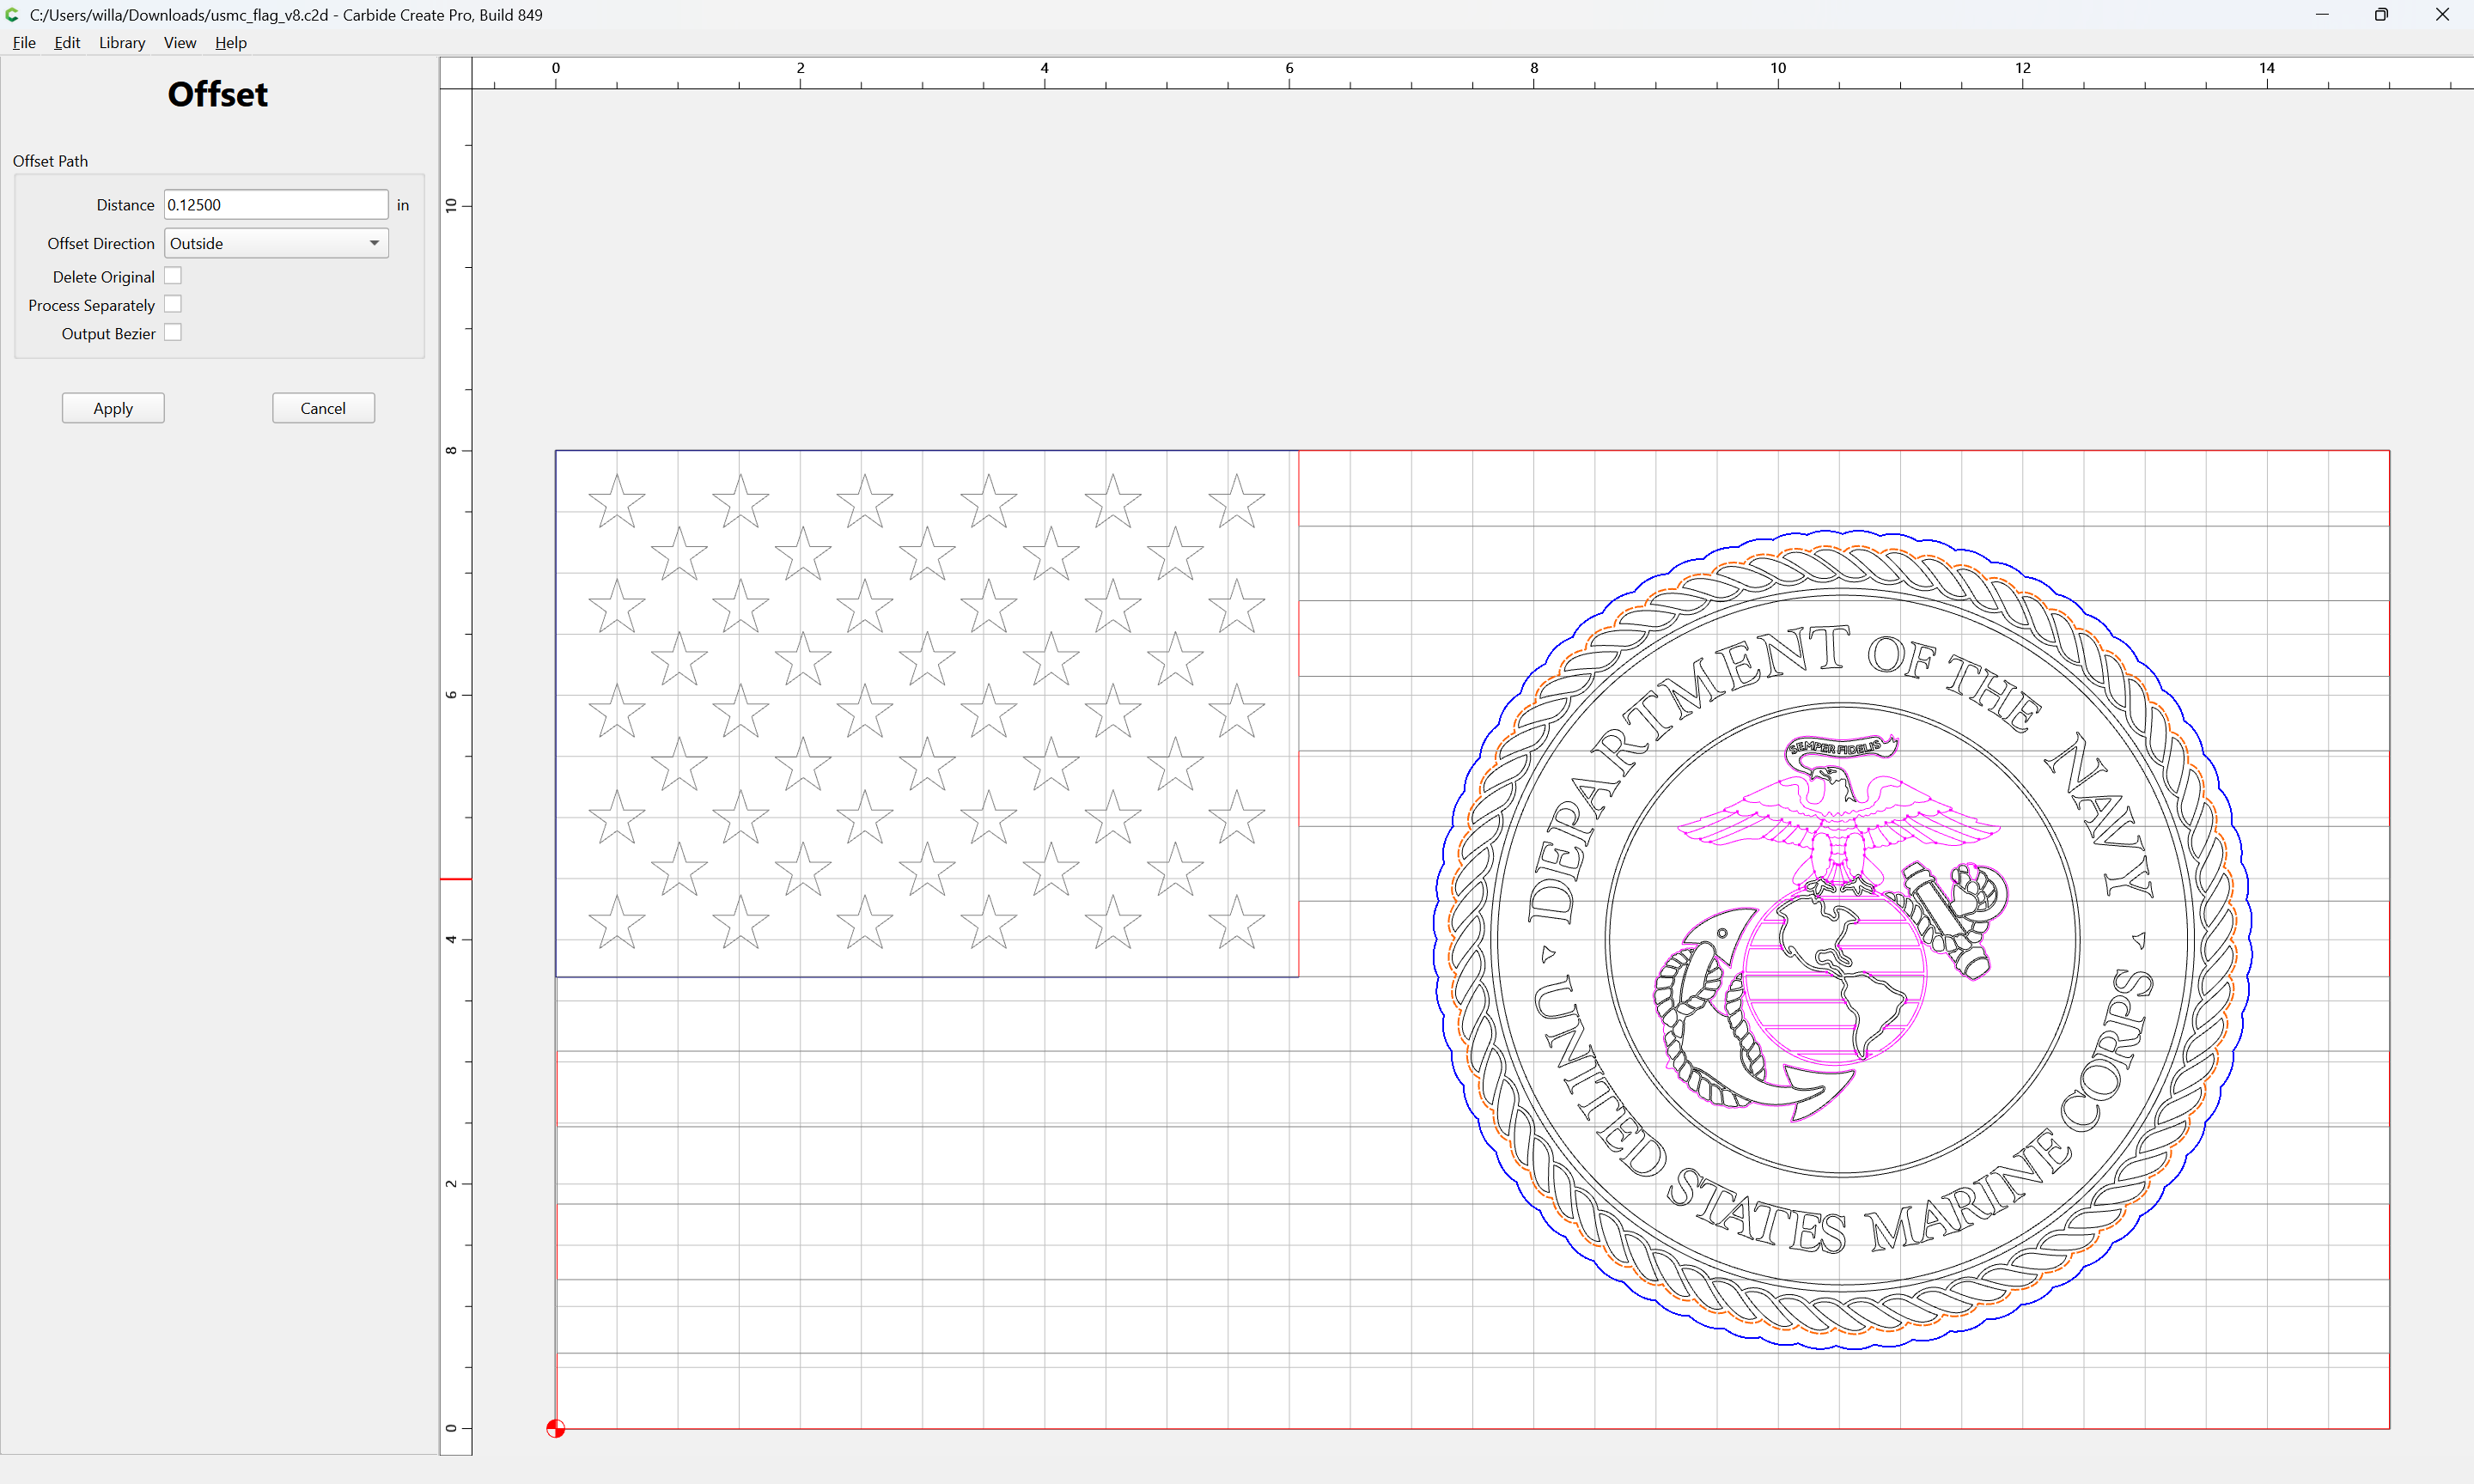
Apply
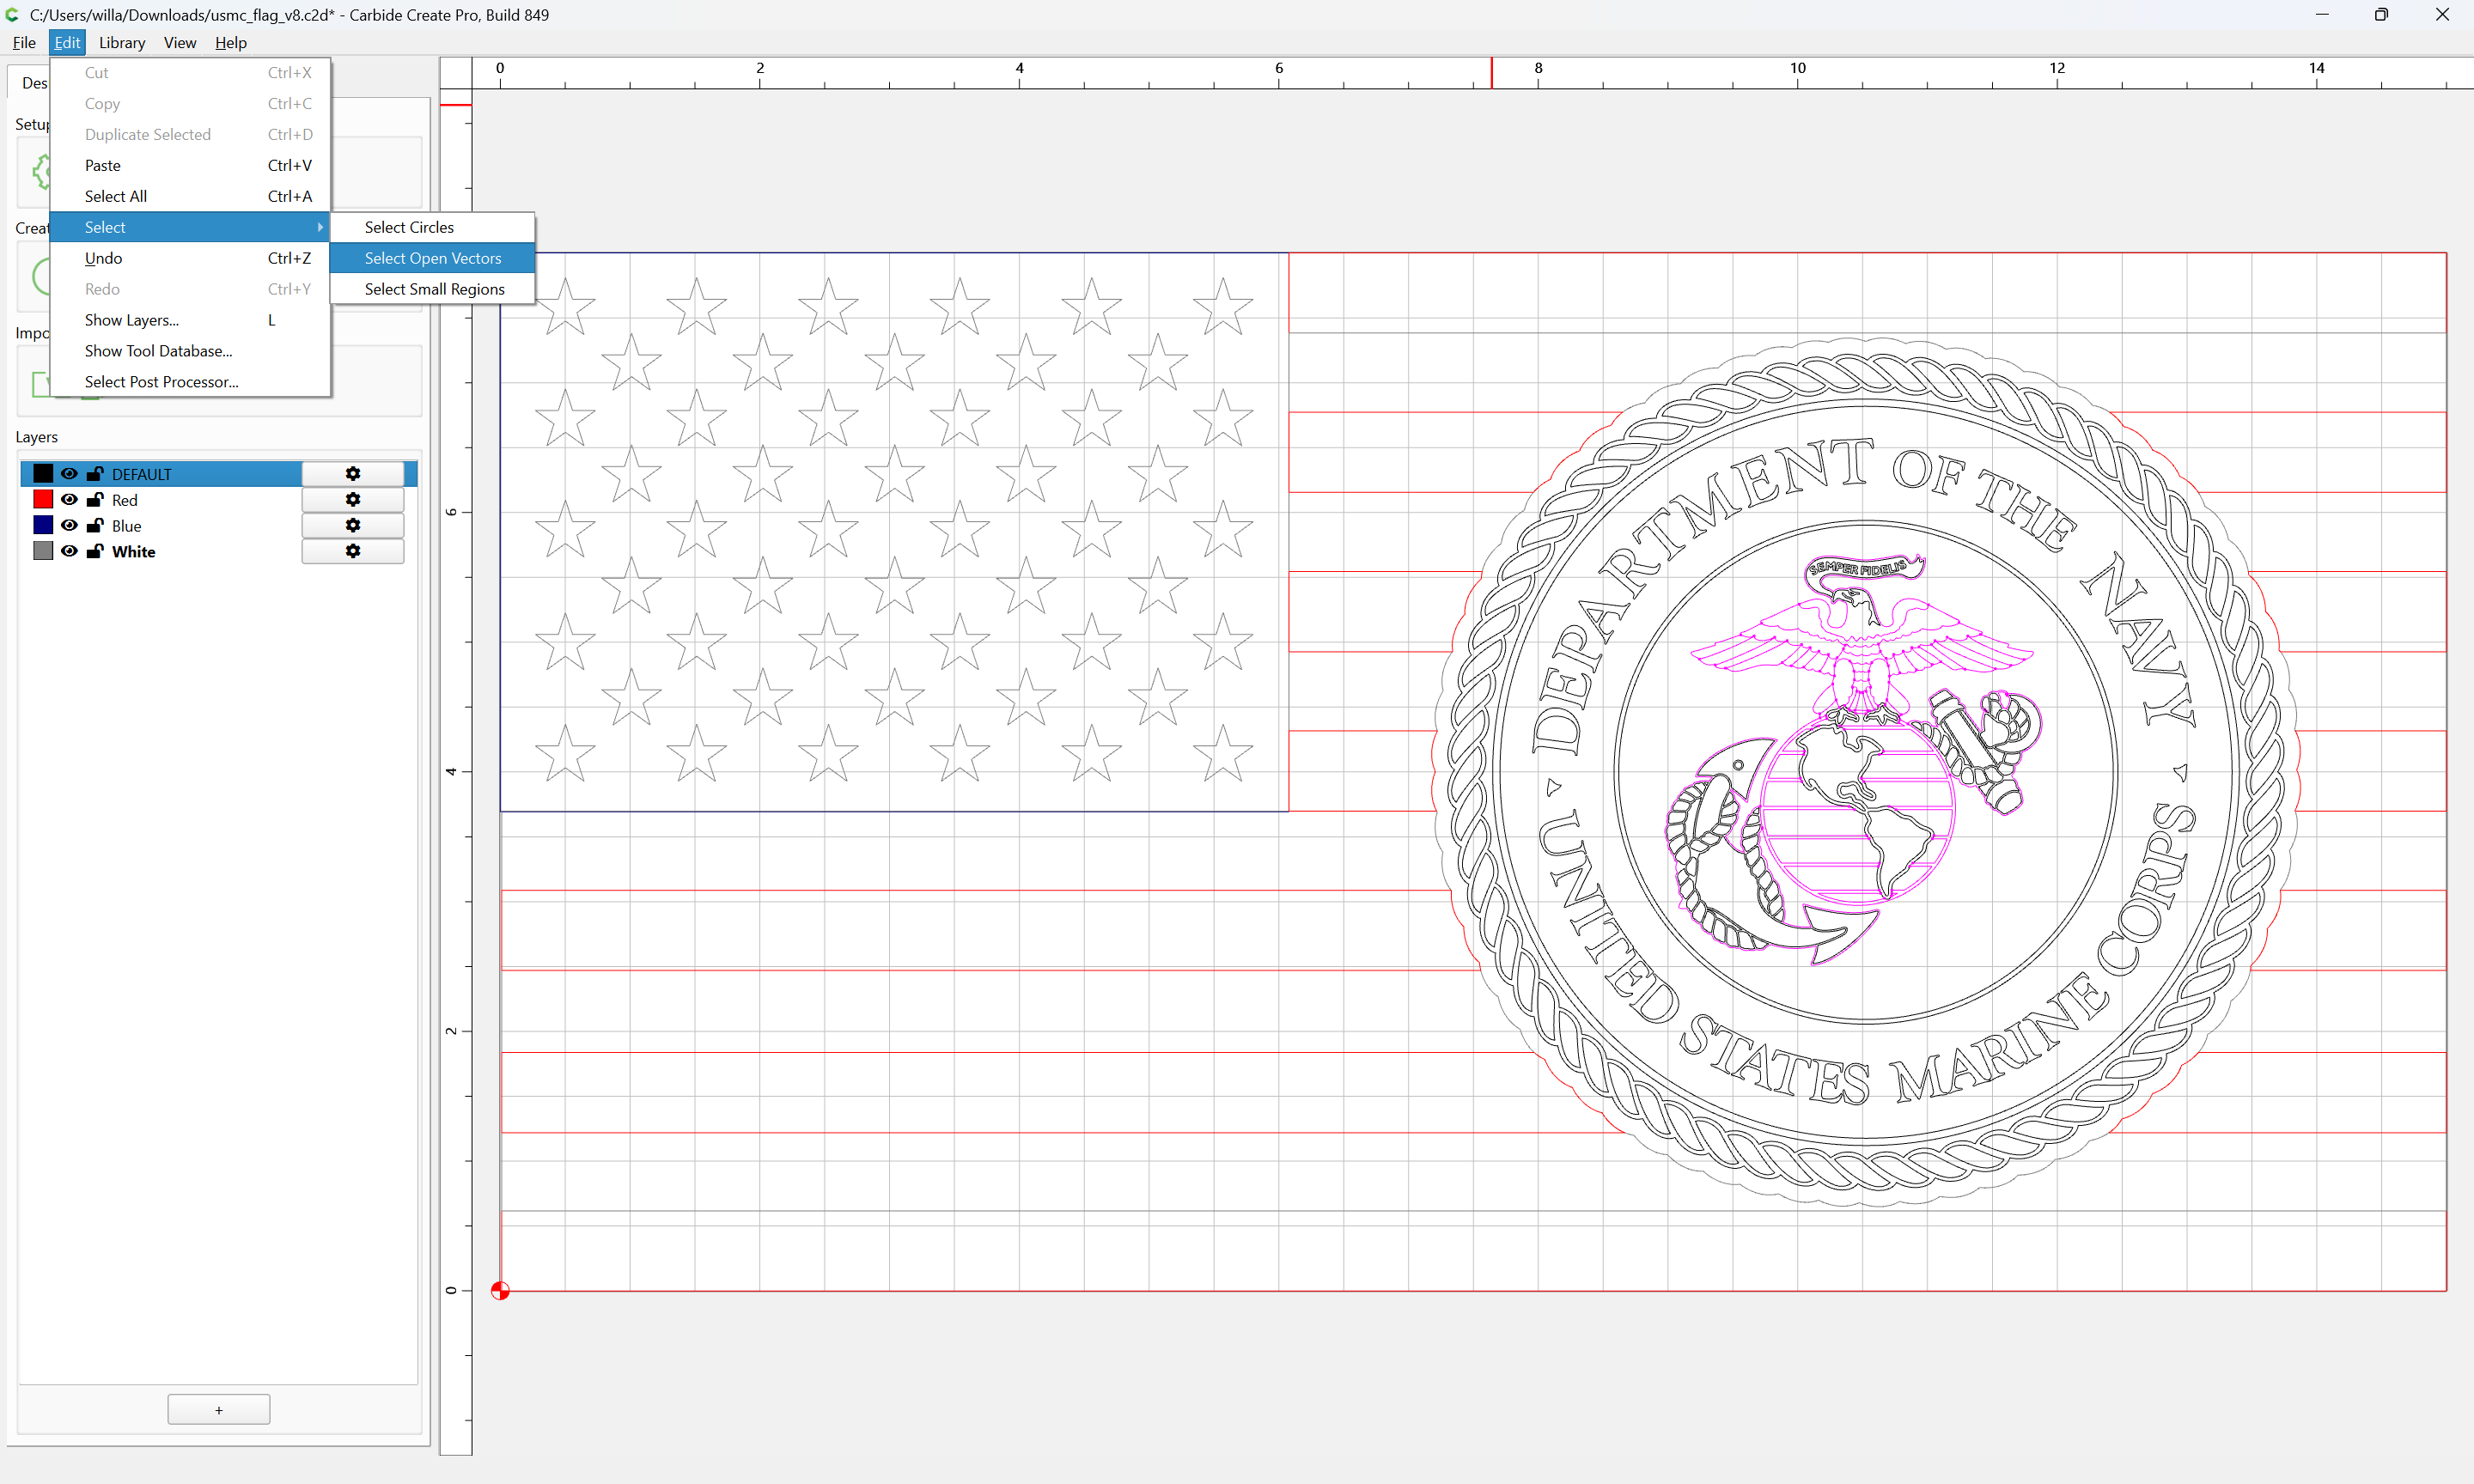
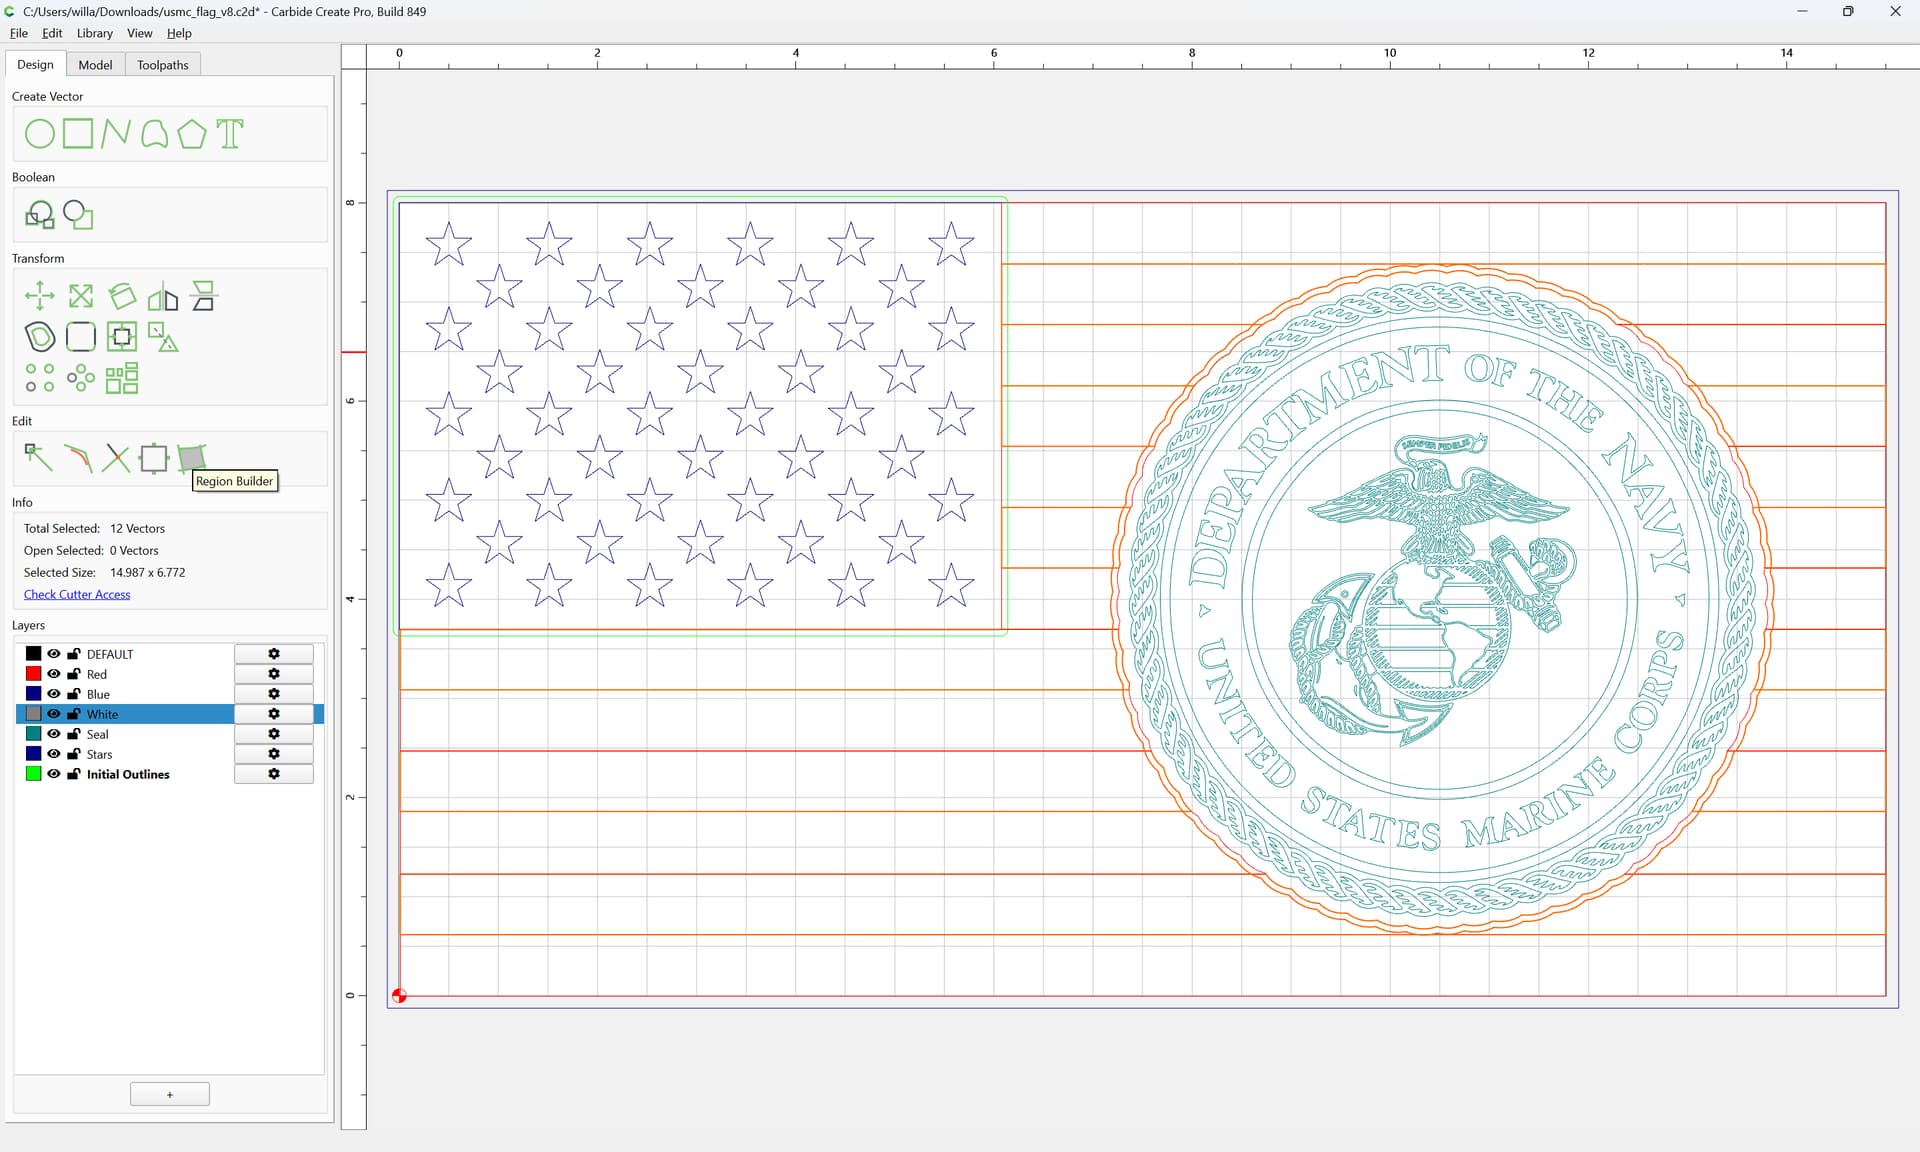
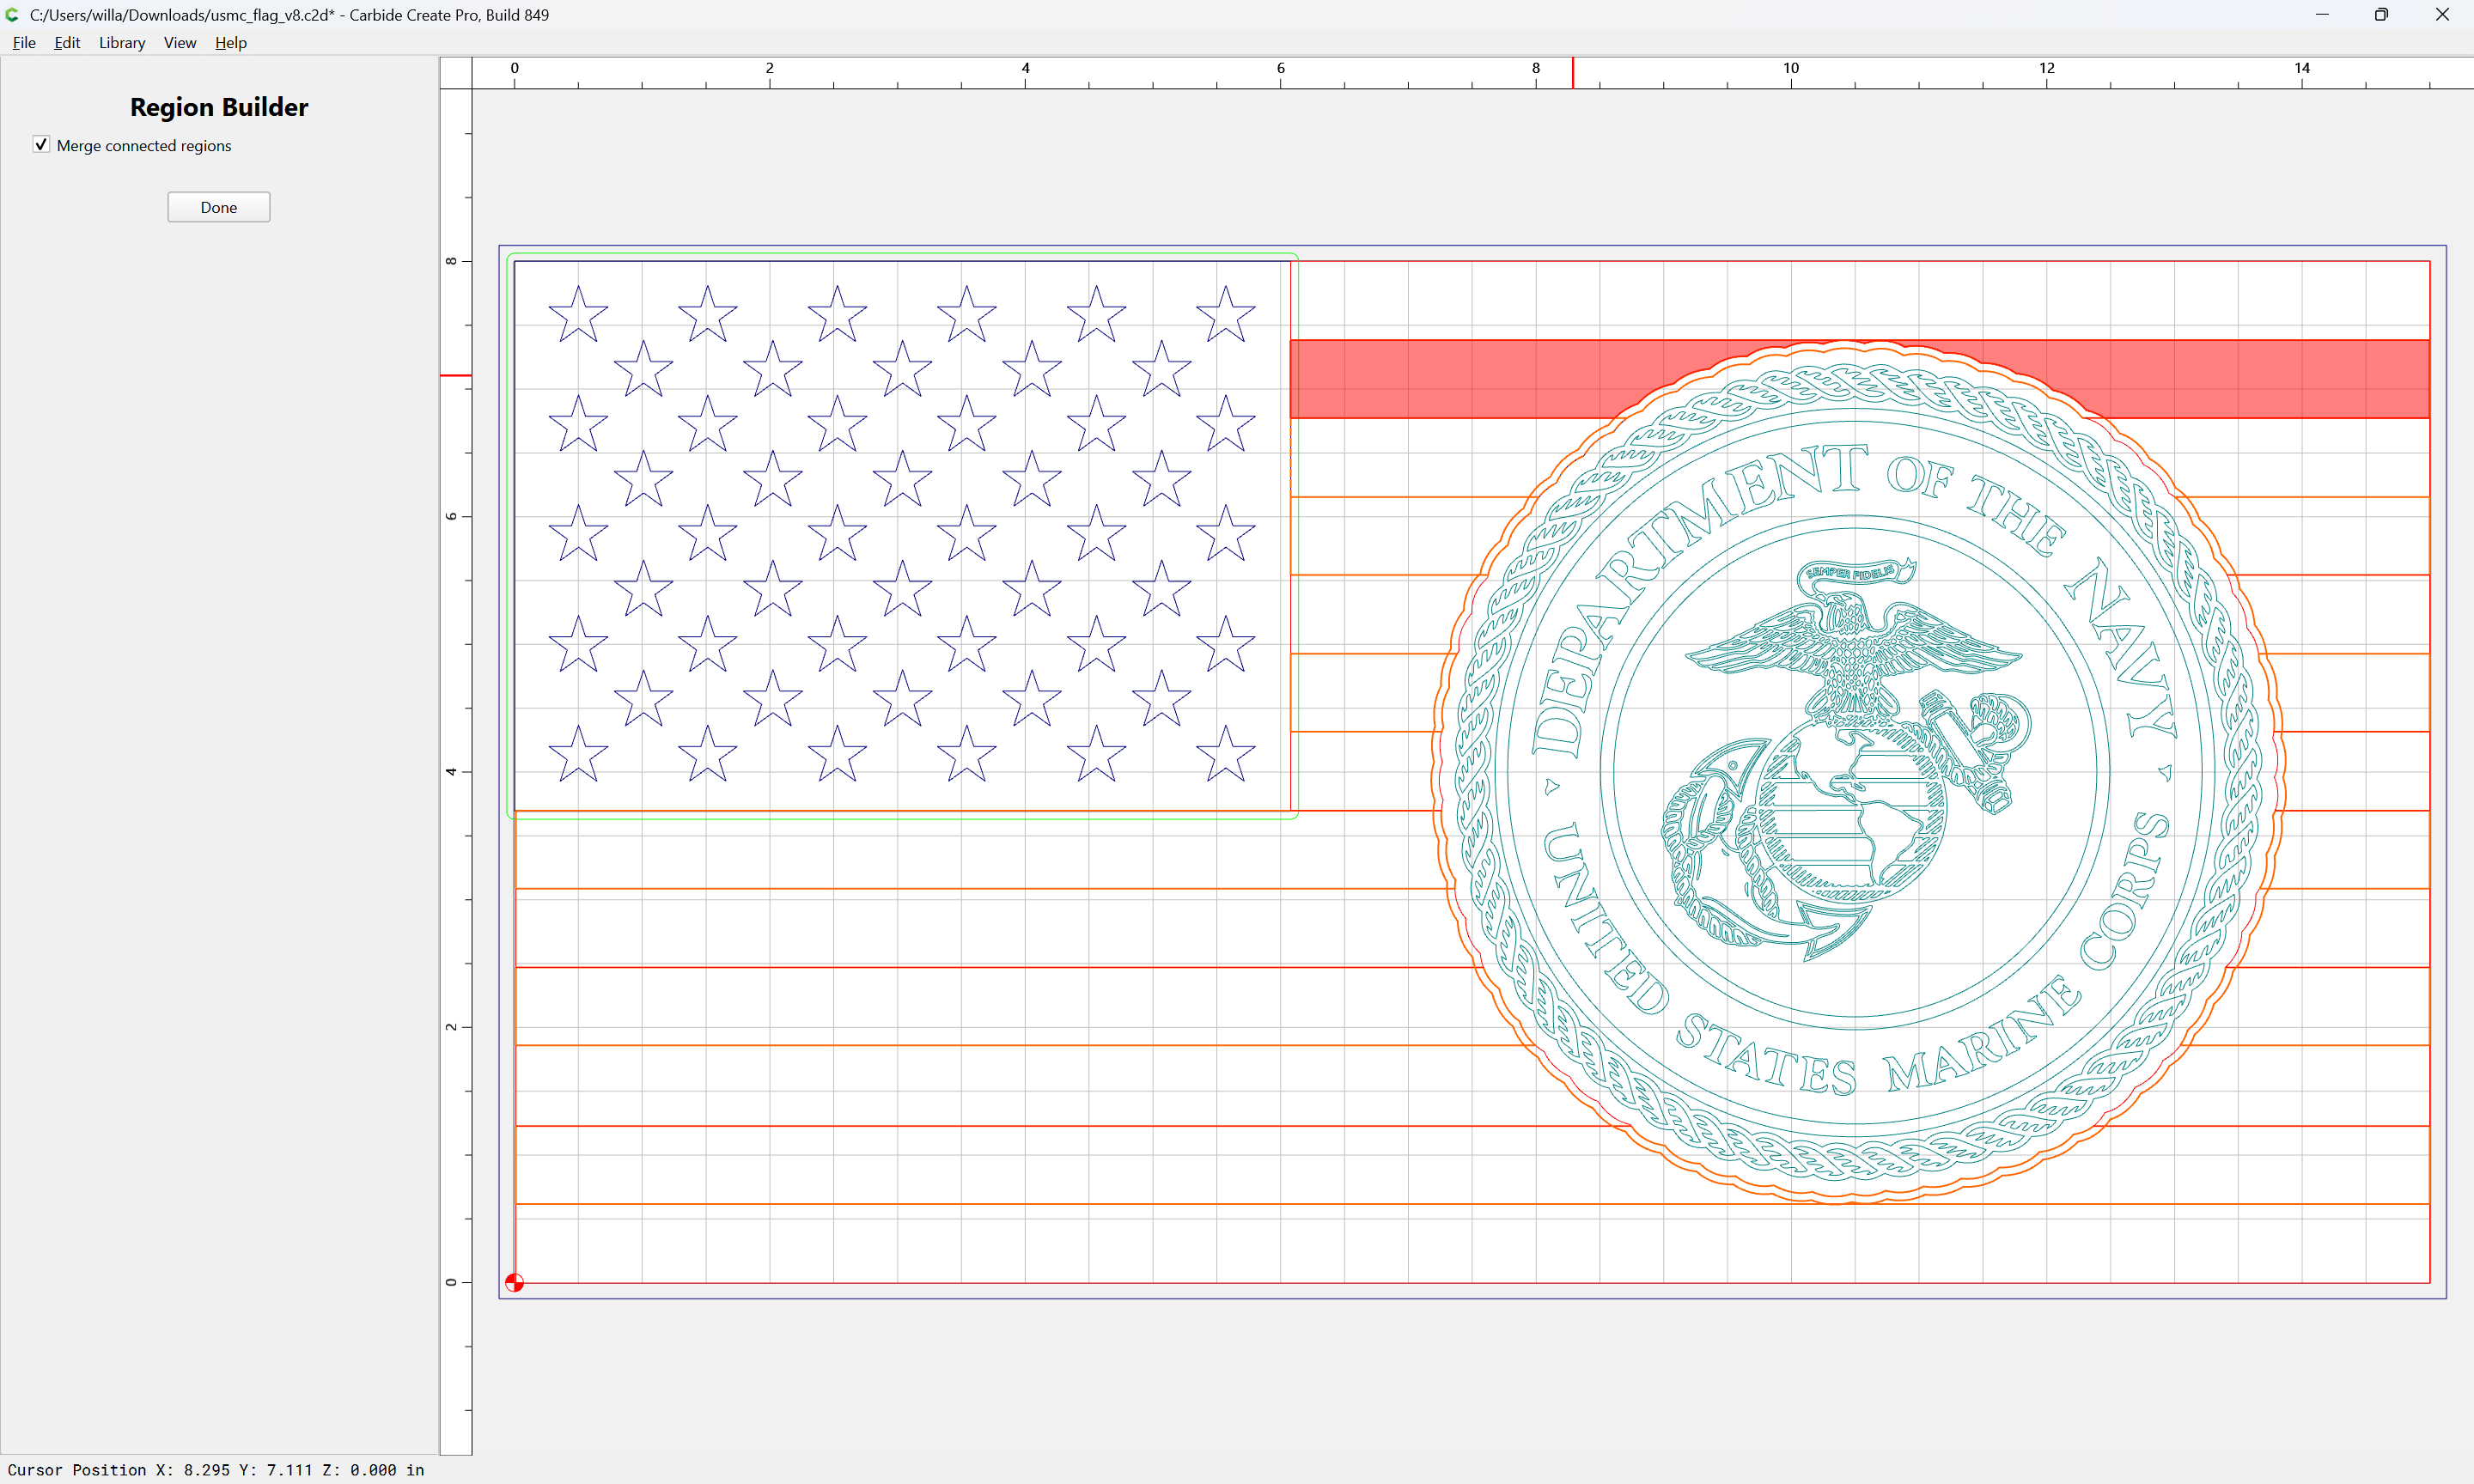
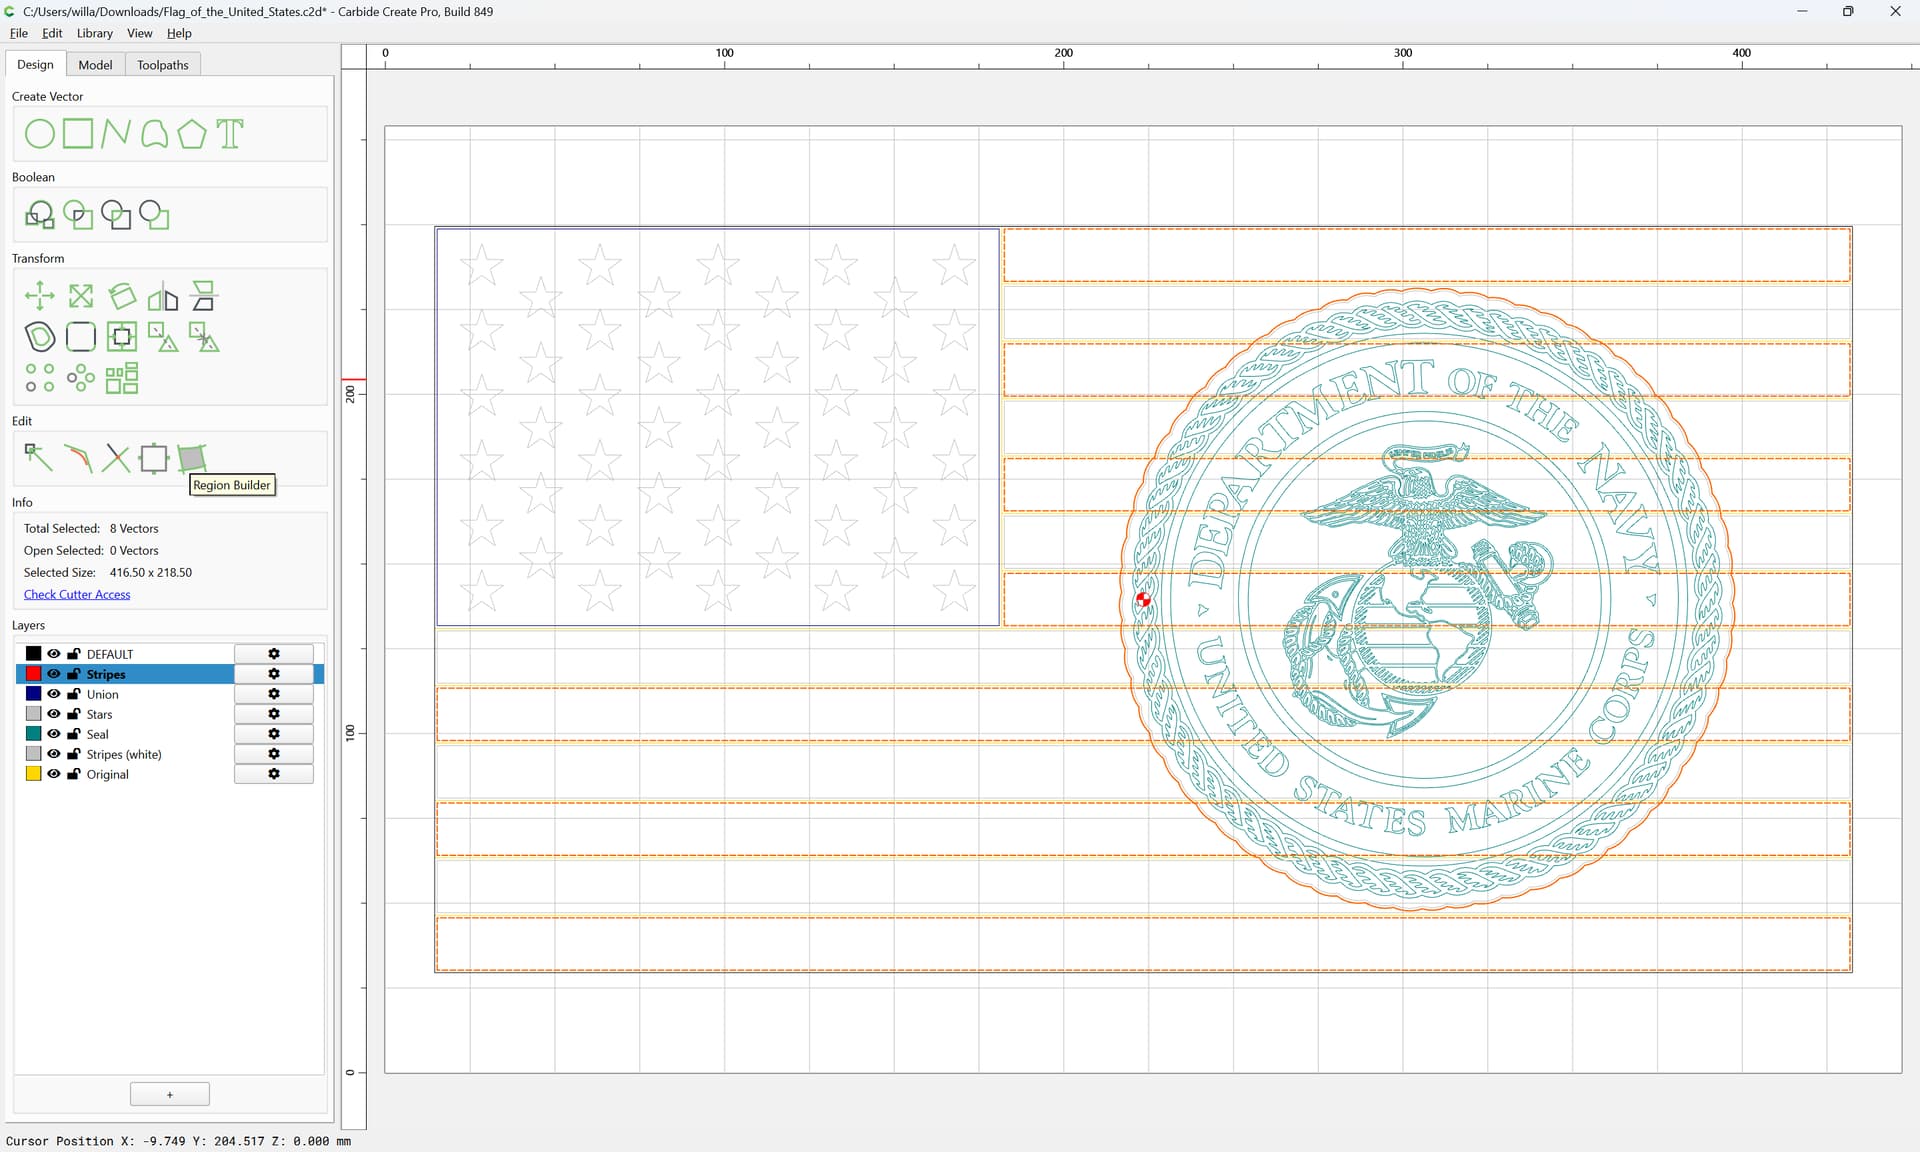
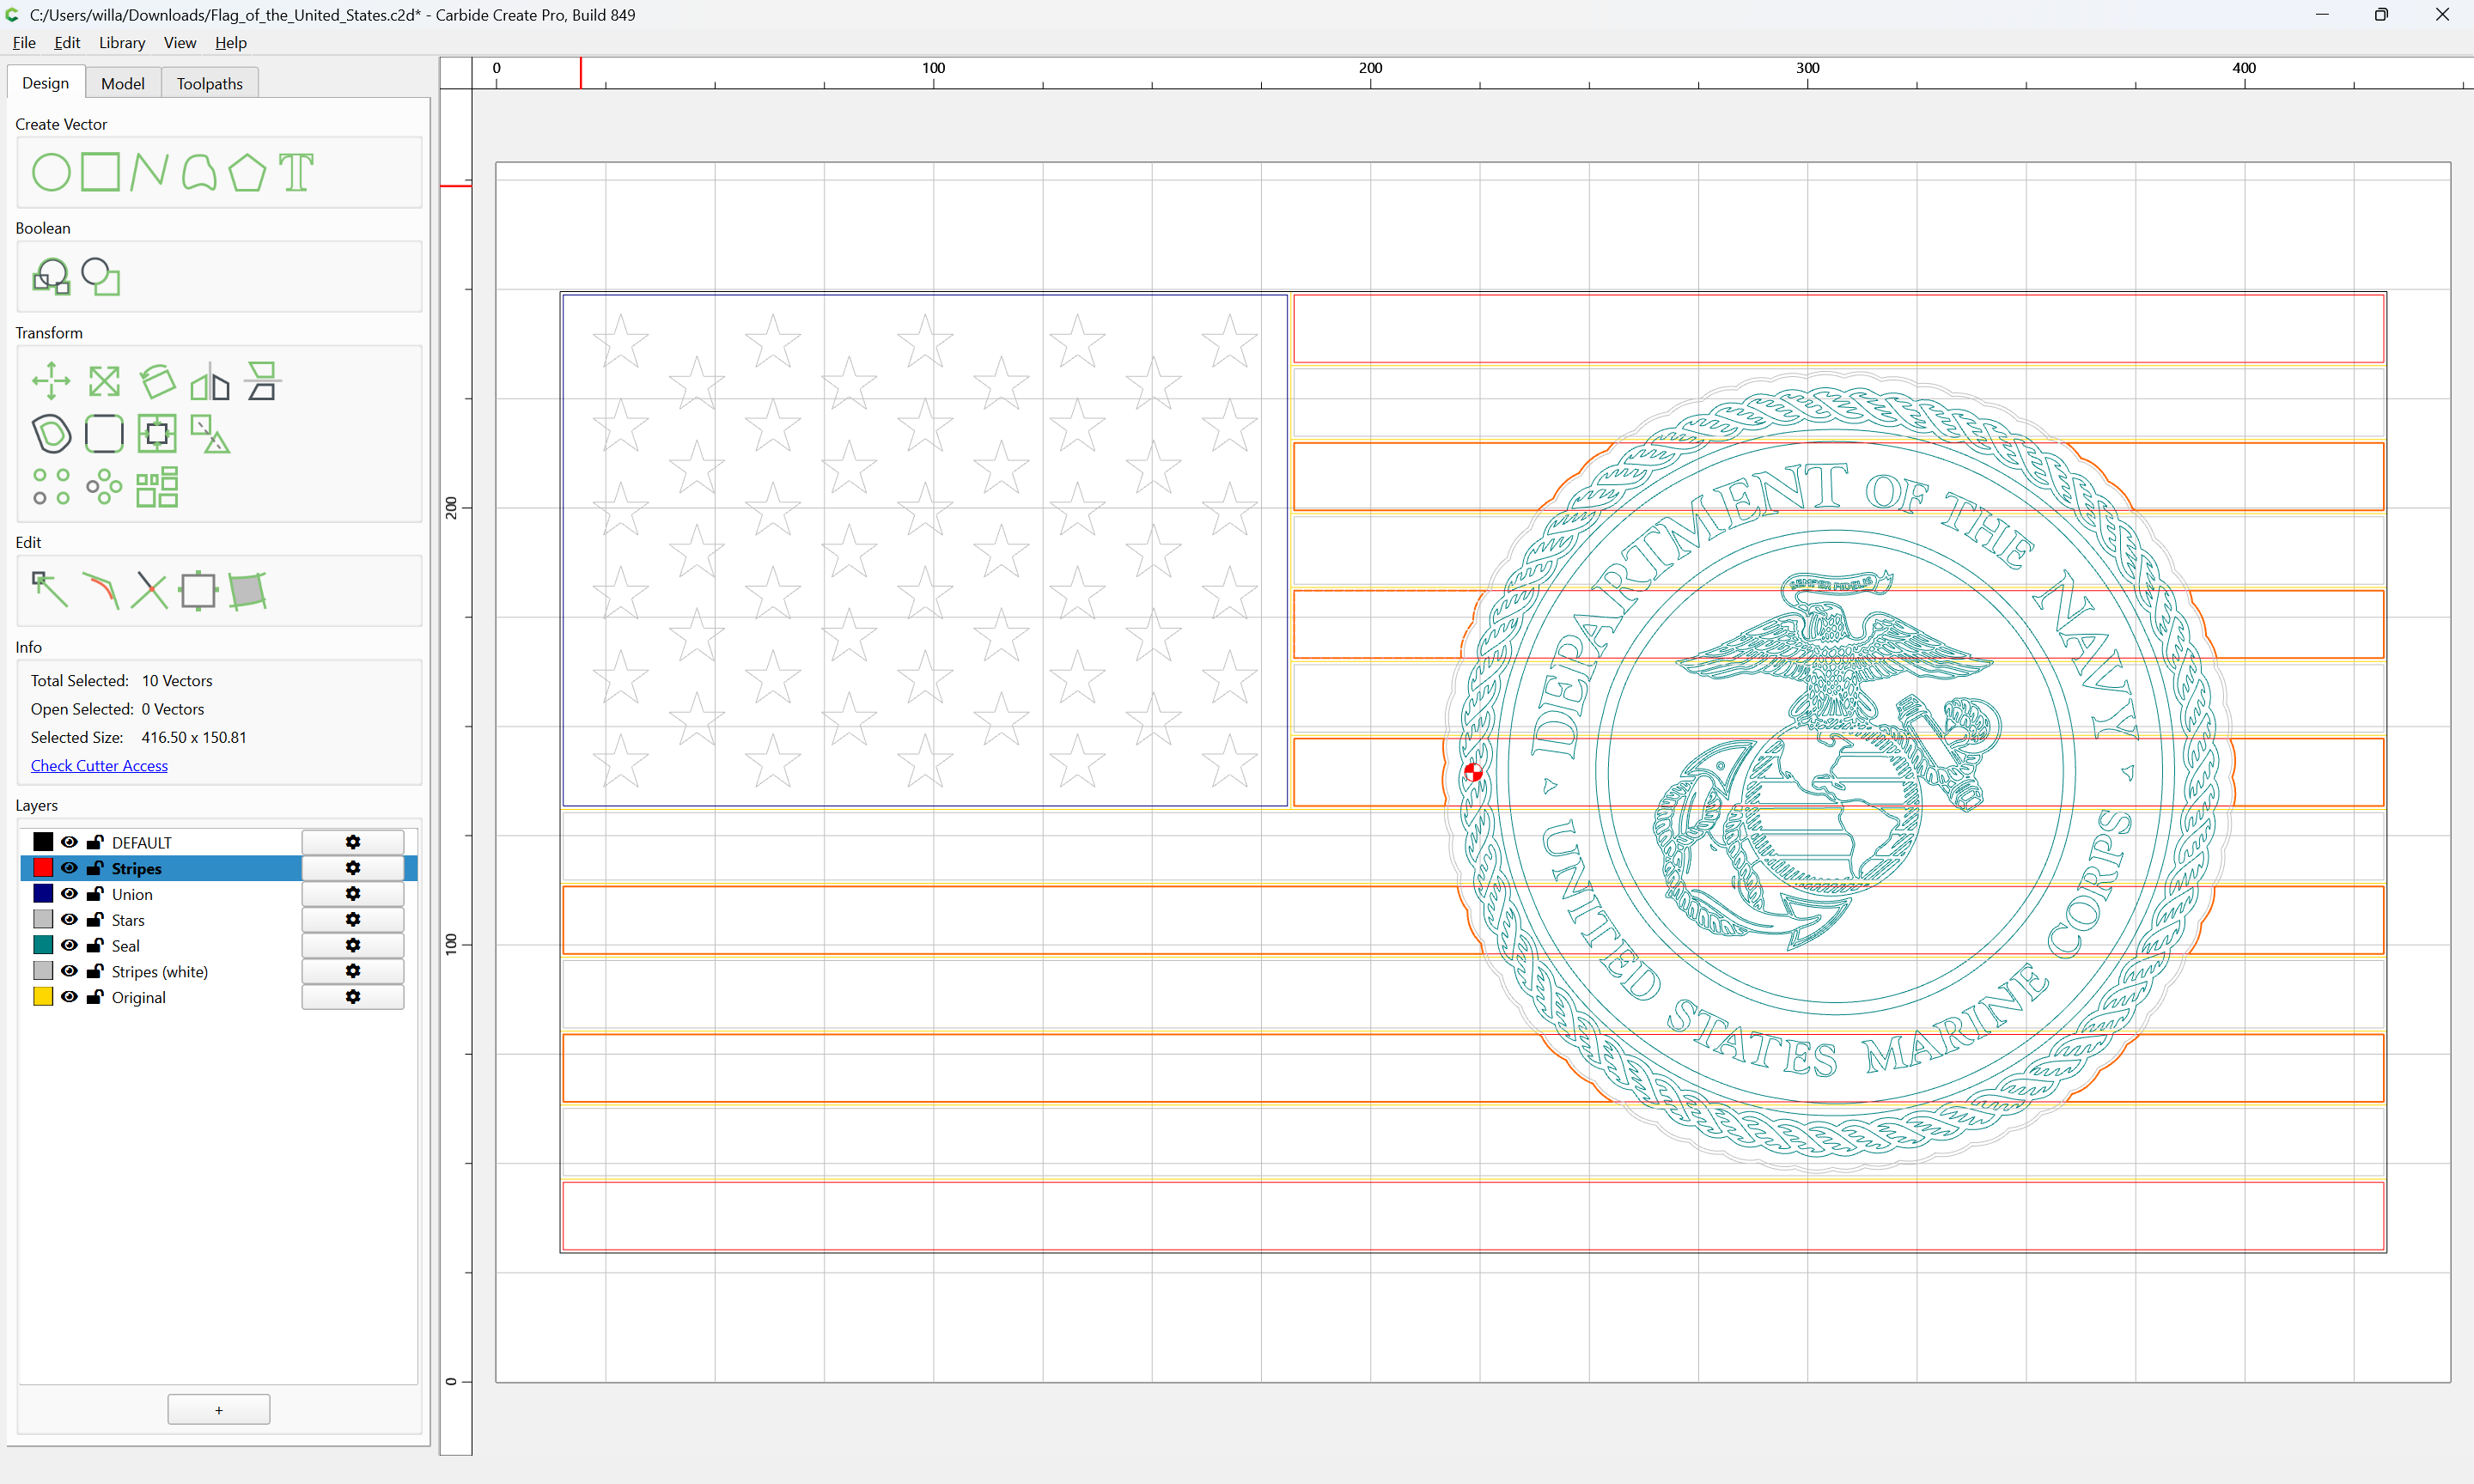
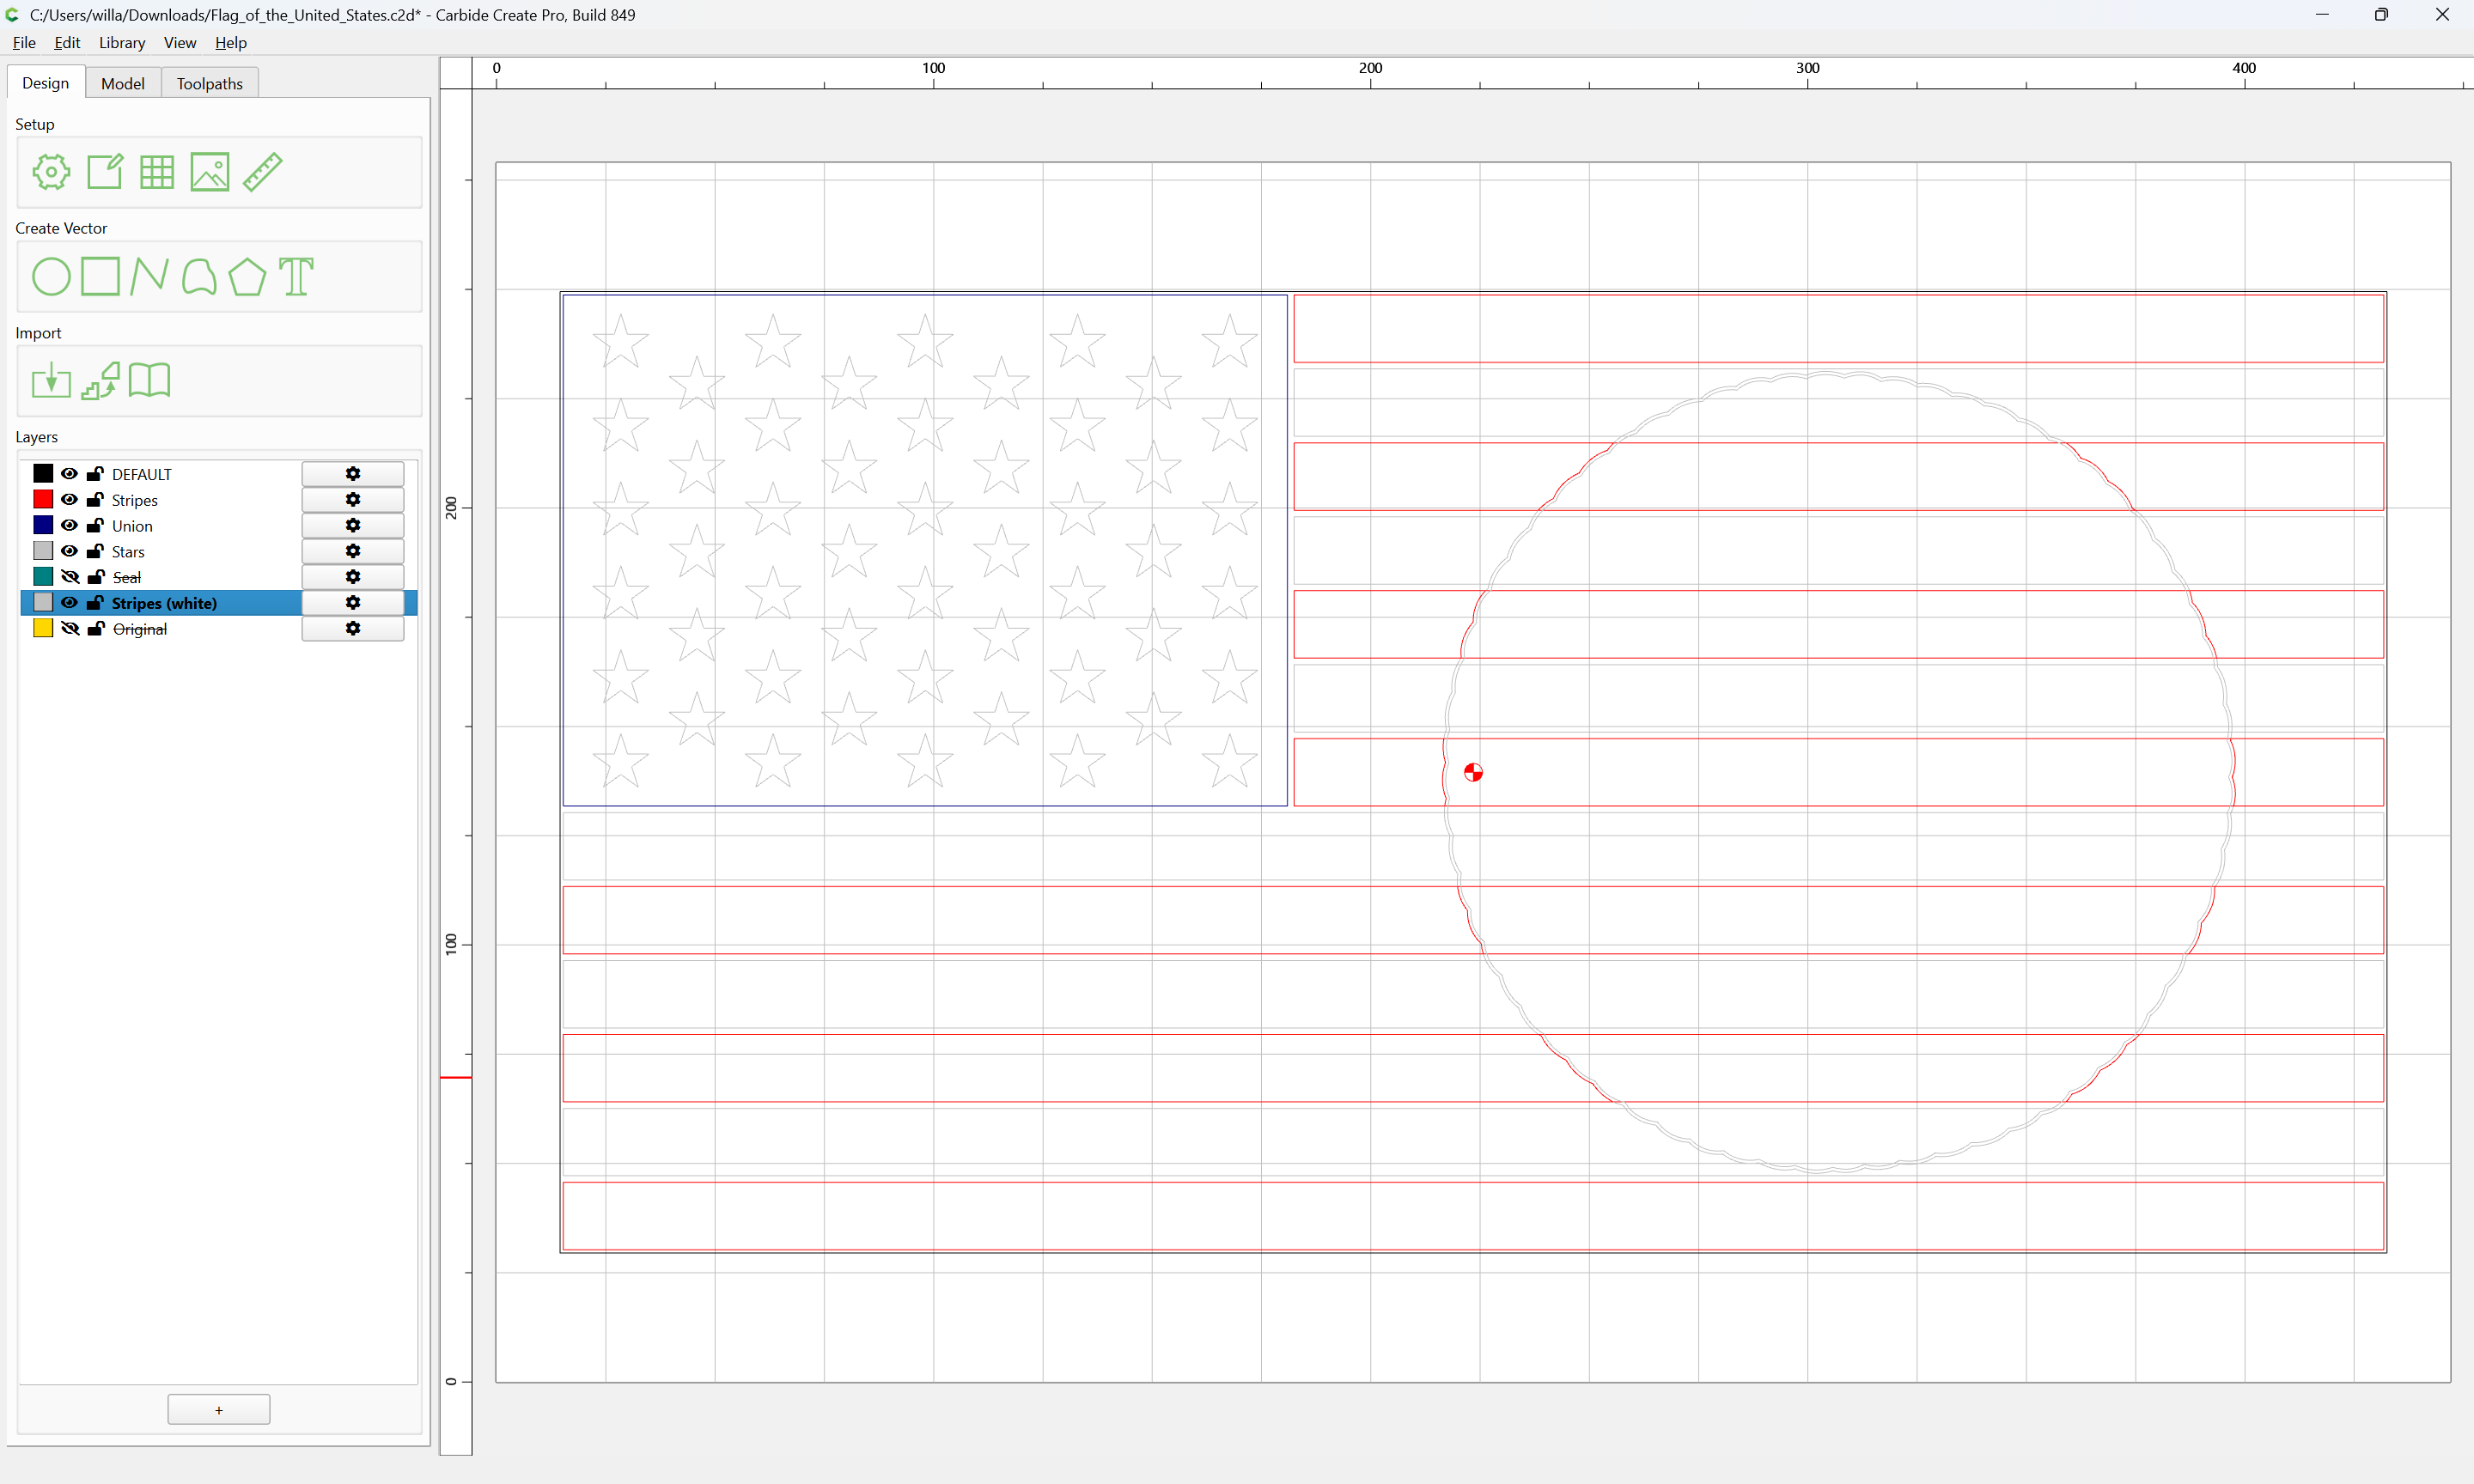
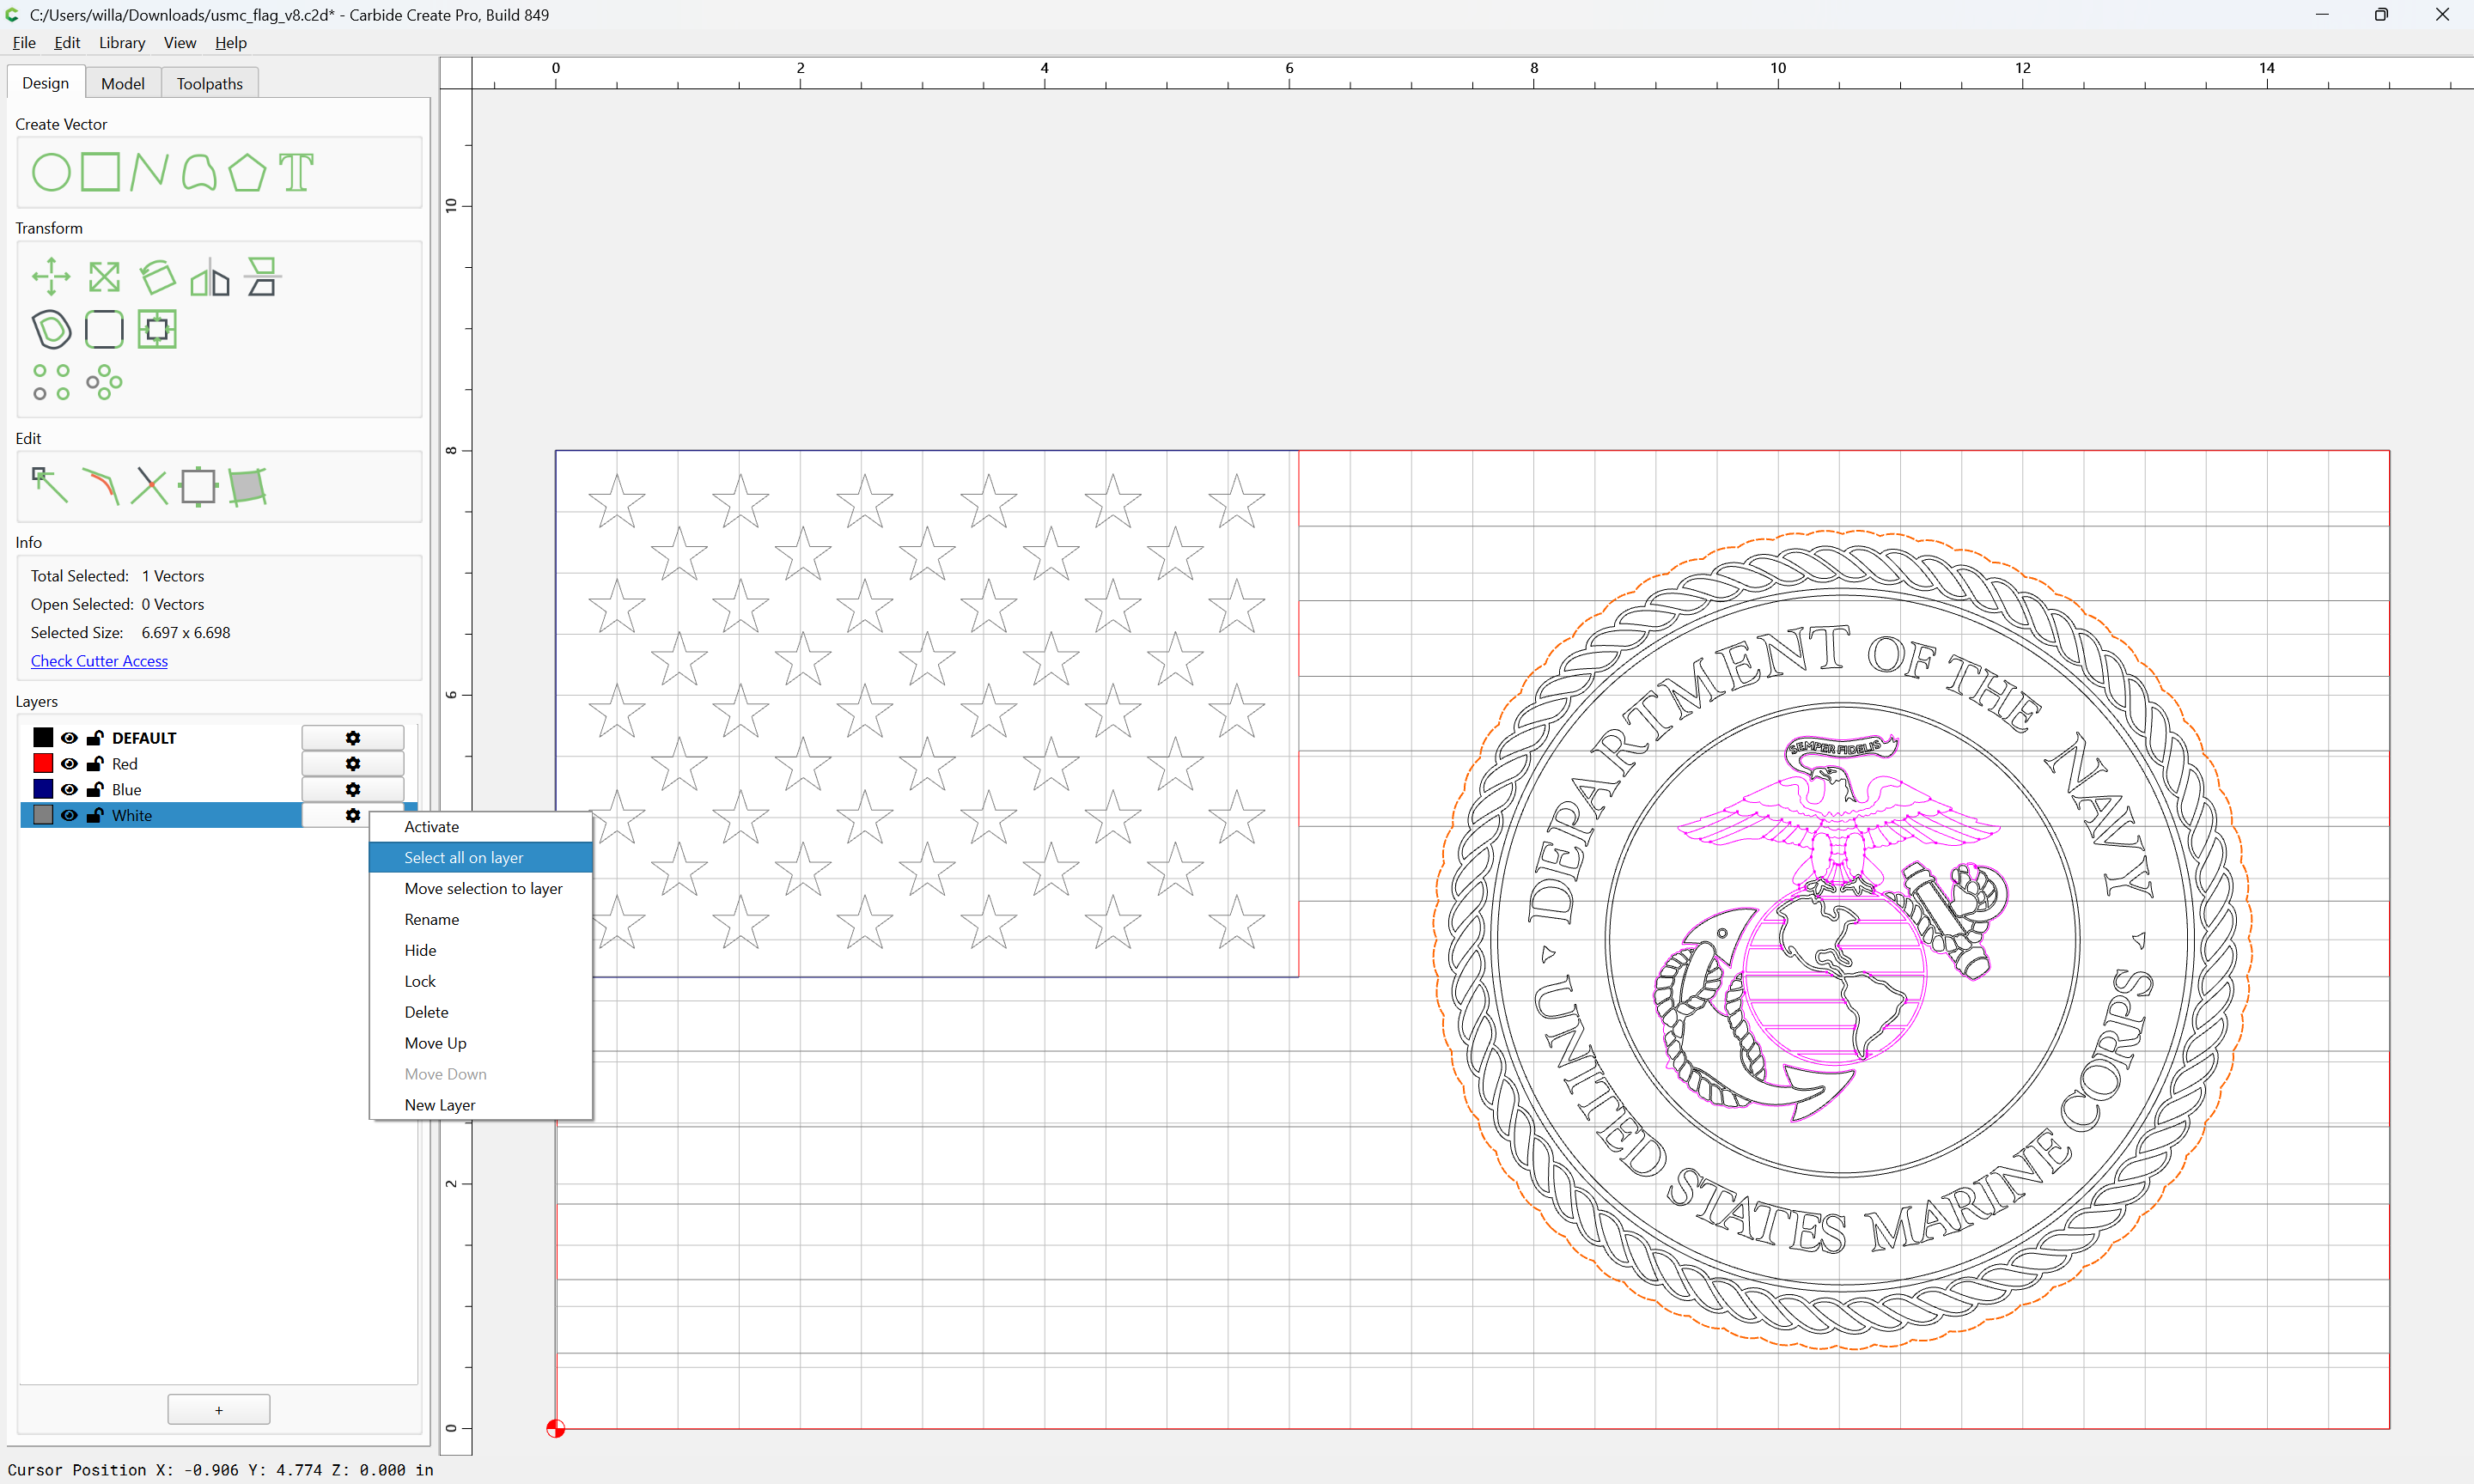
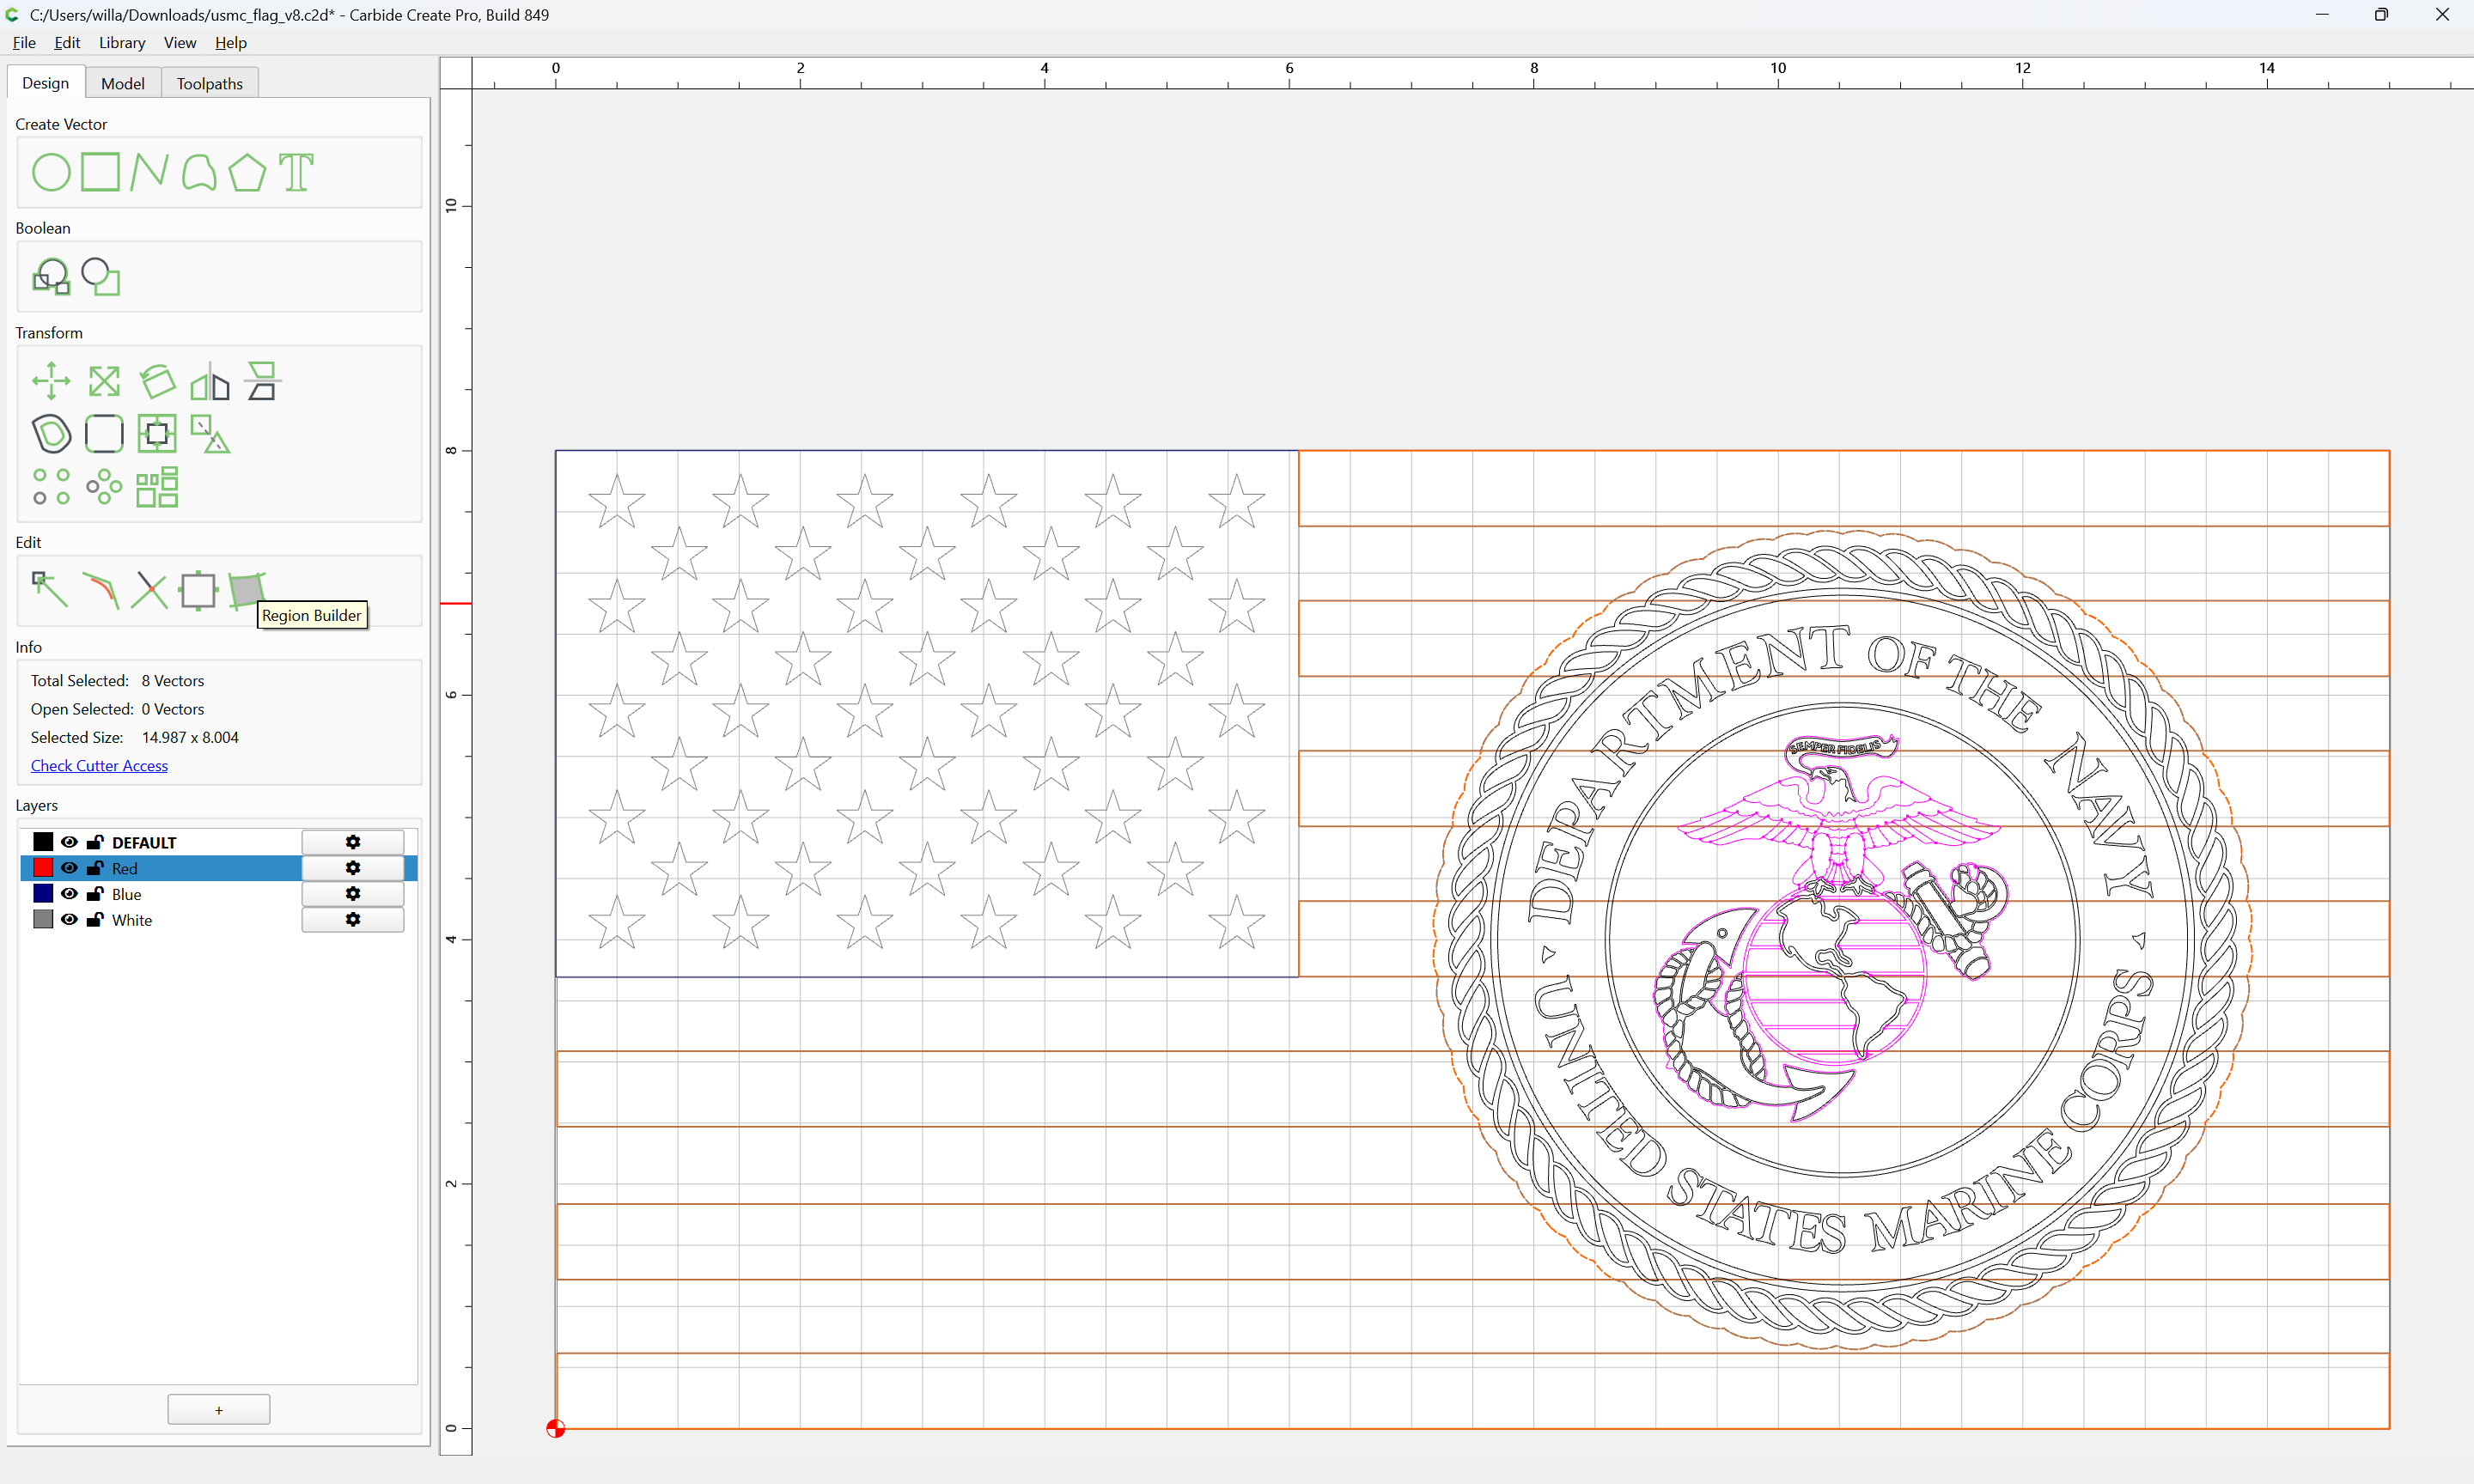
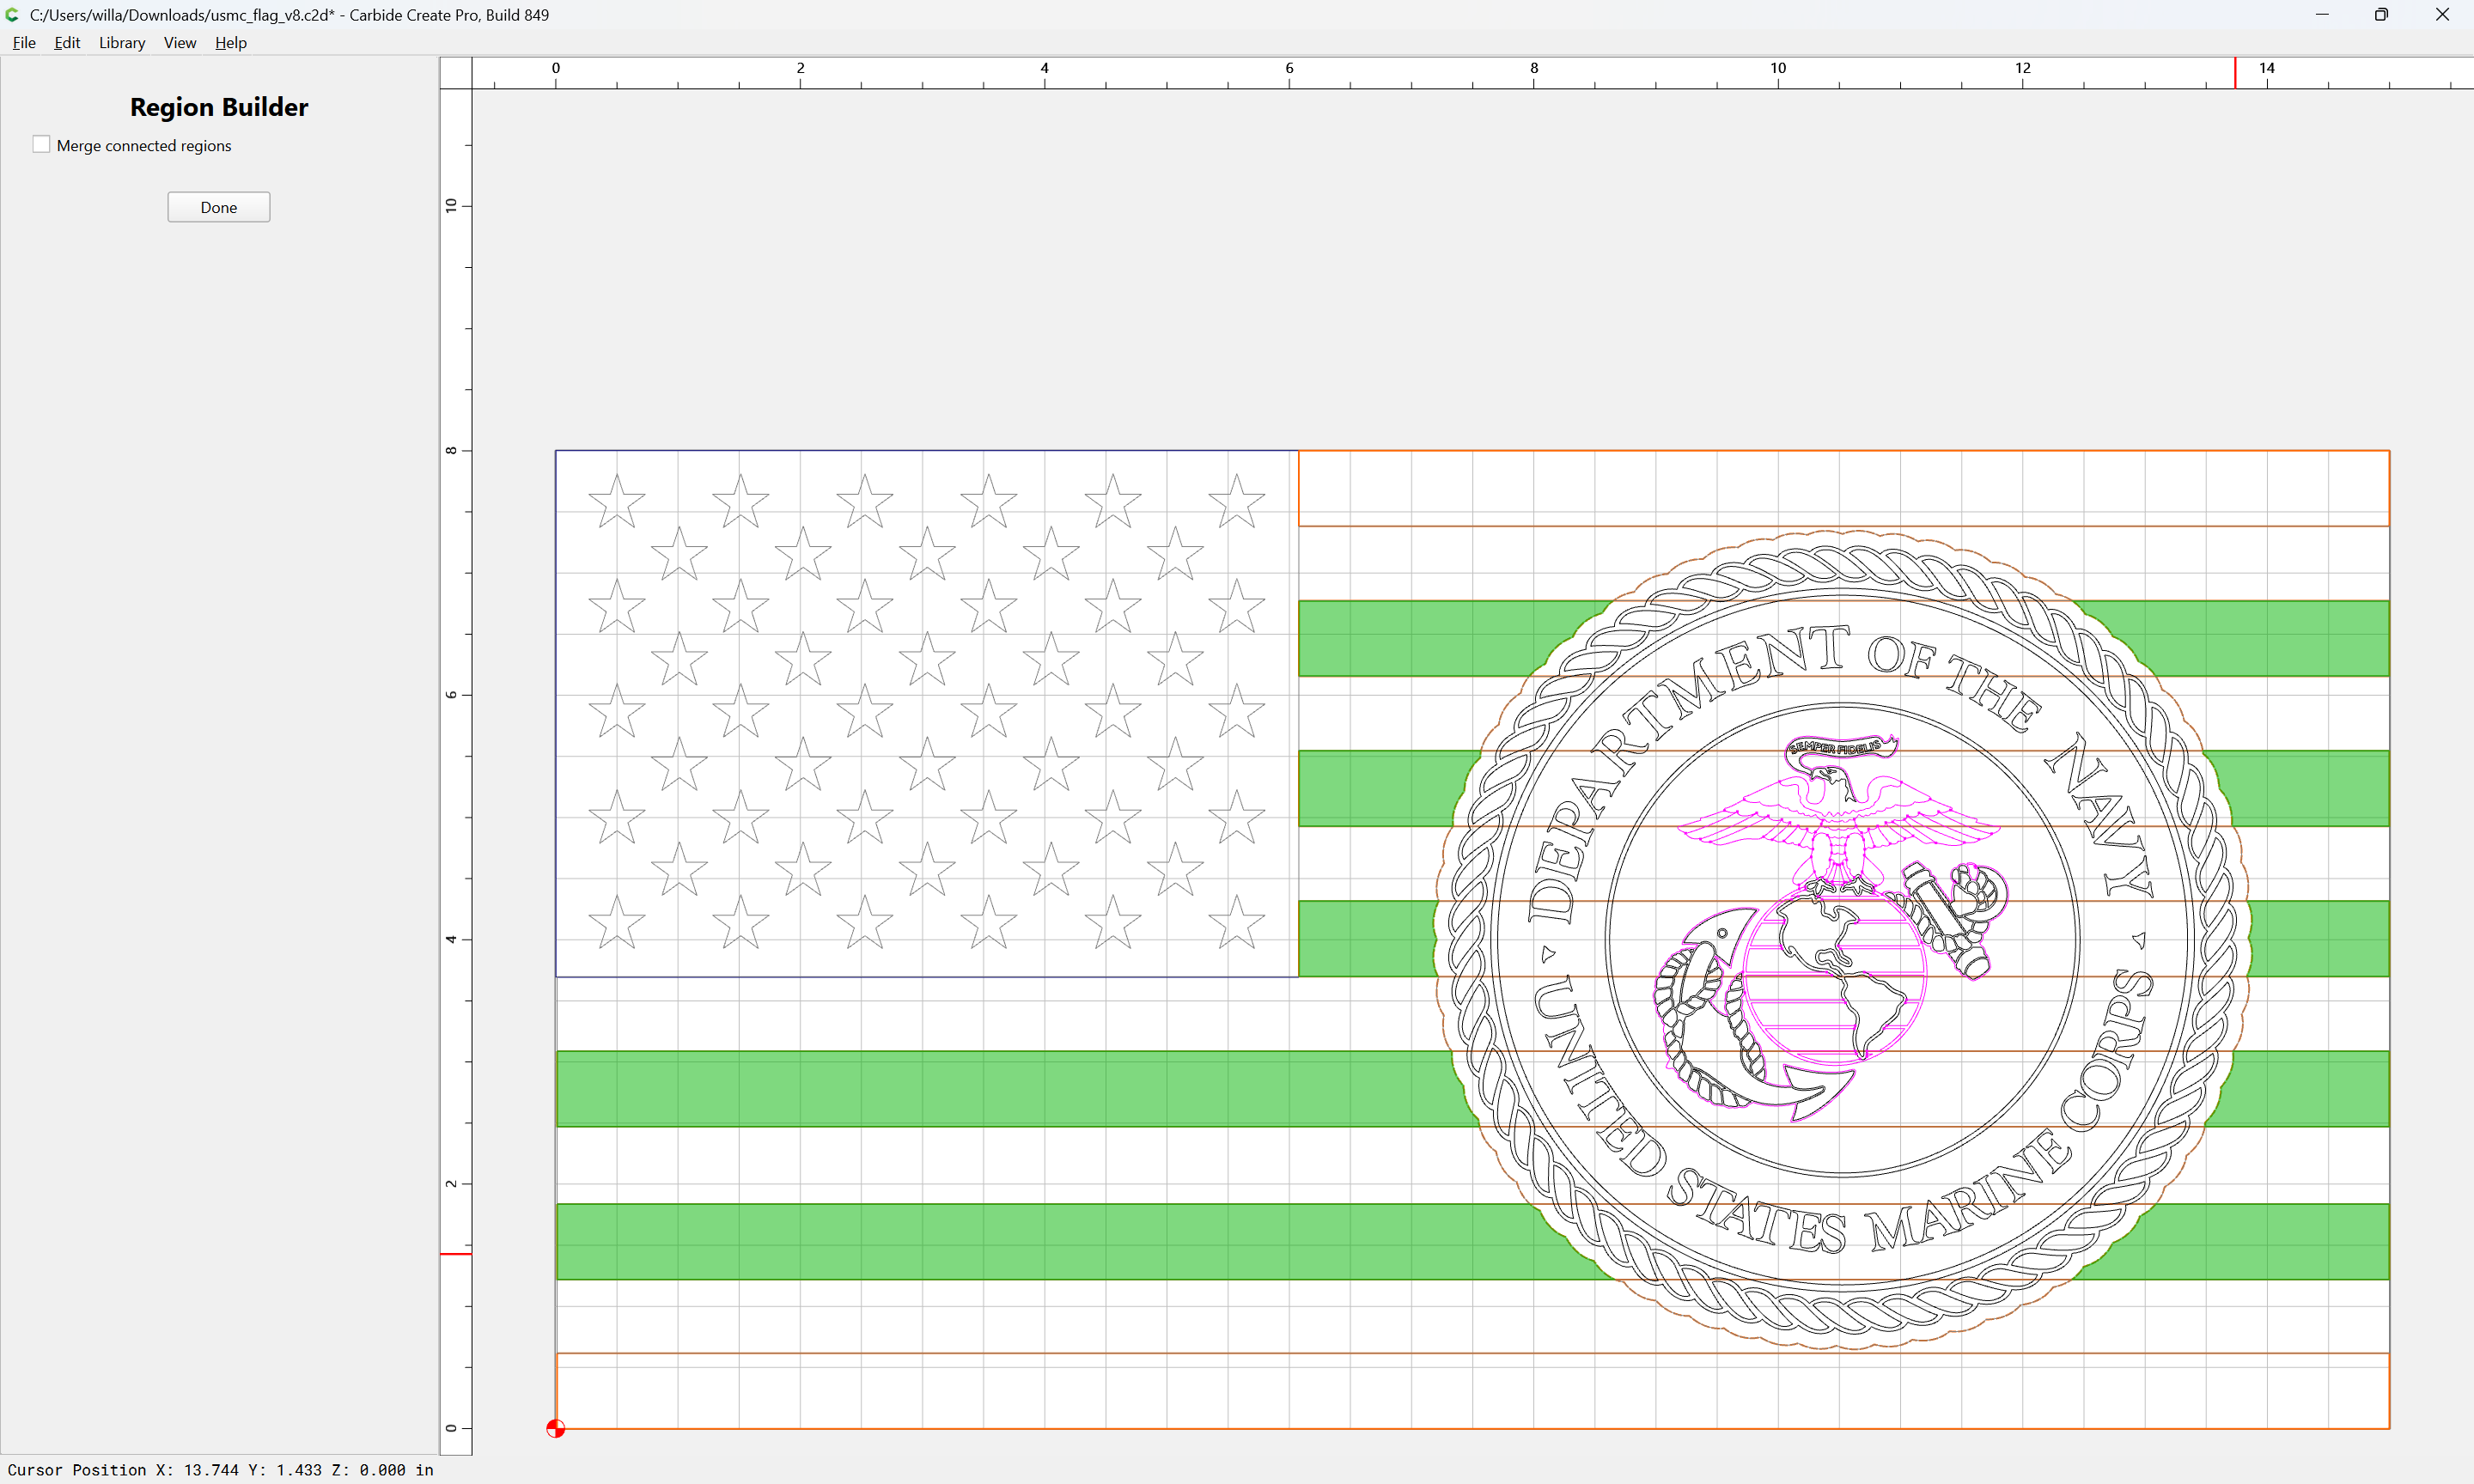
For each set of stripes, select them:
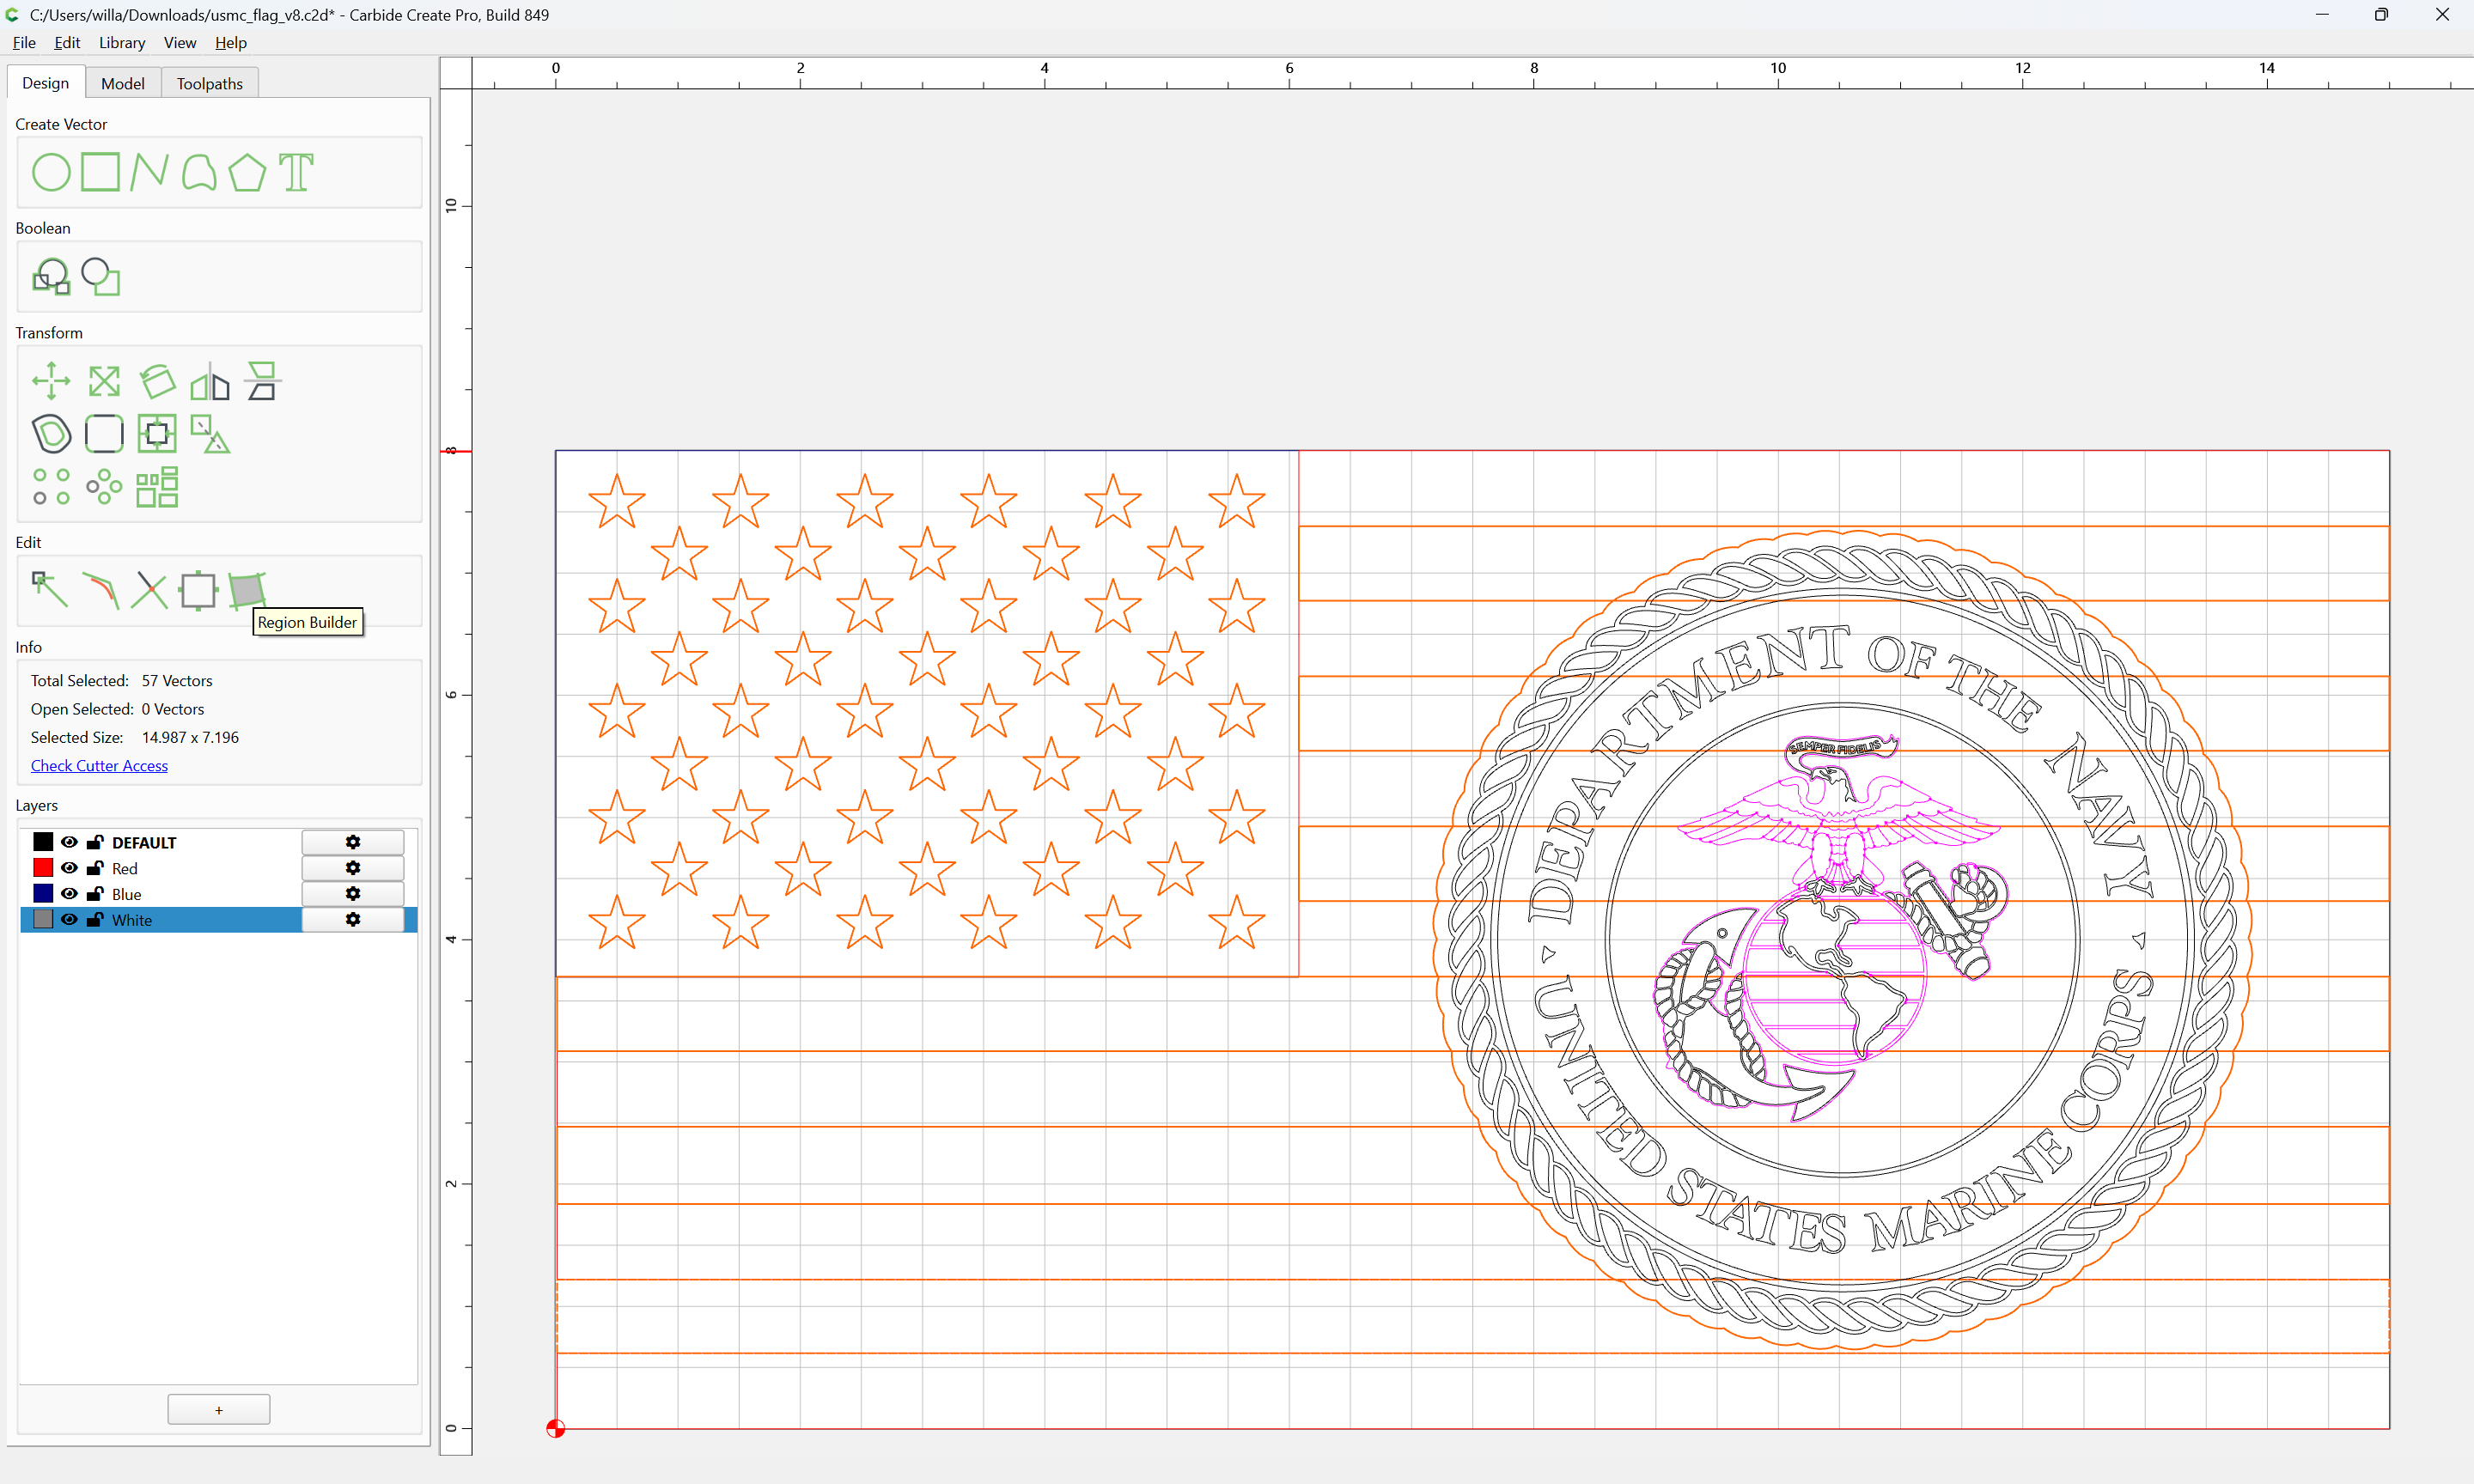
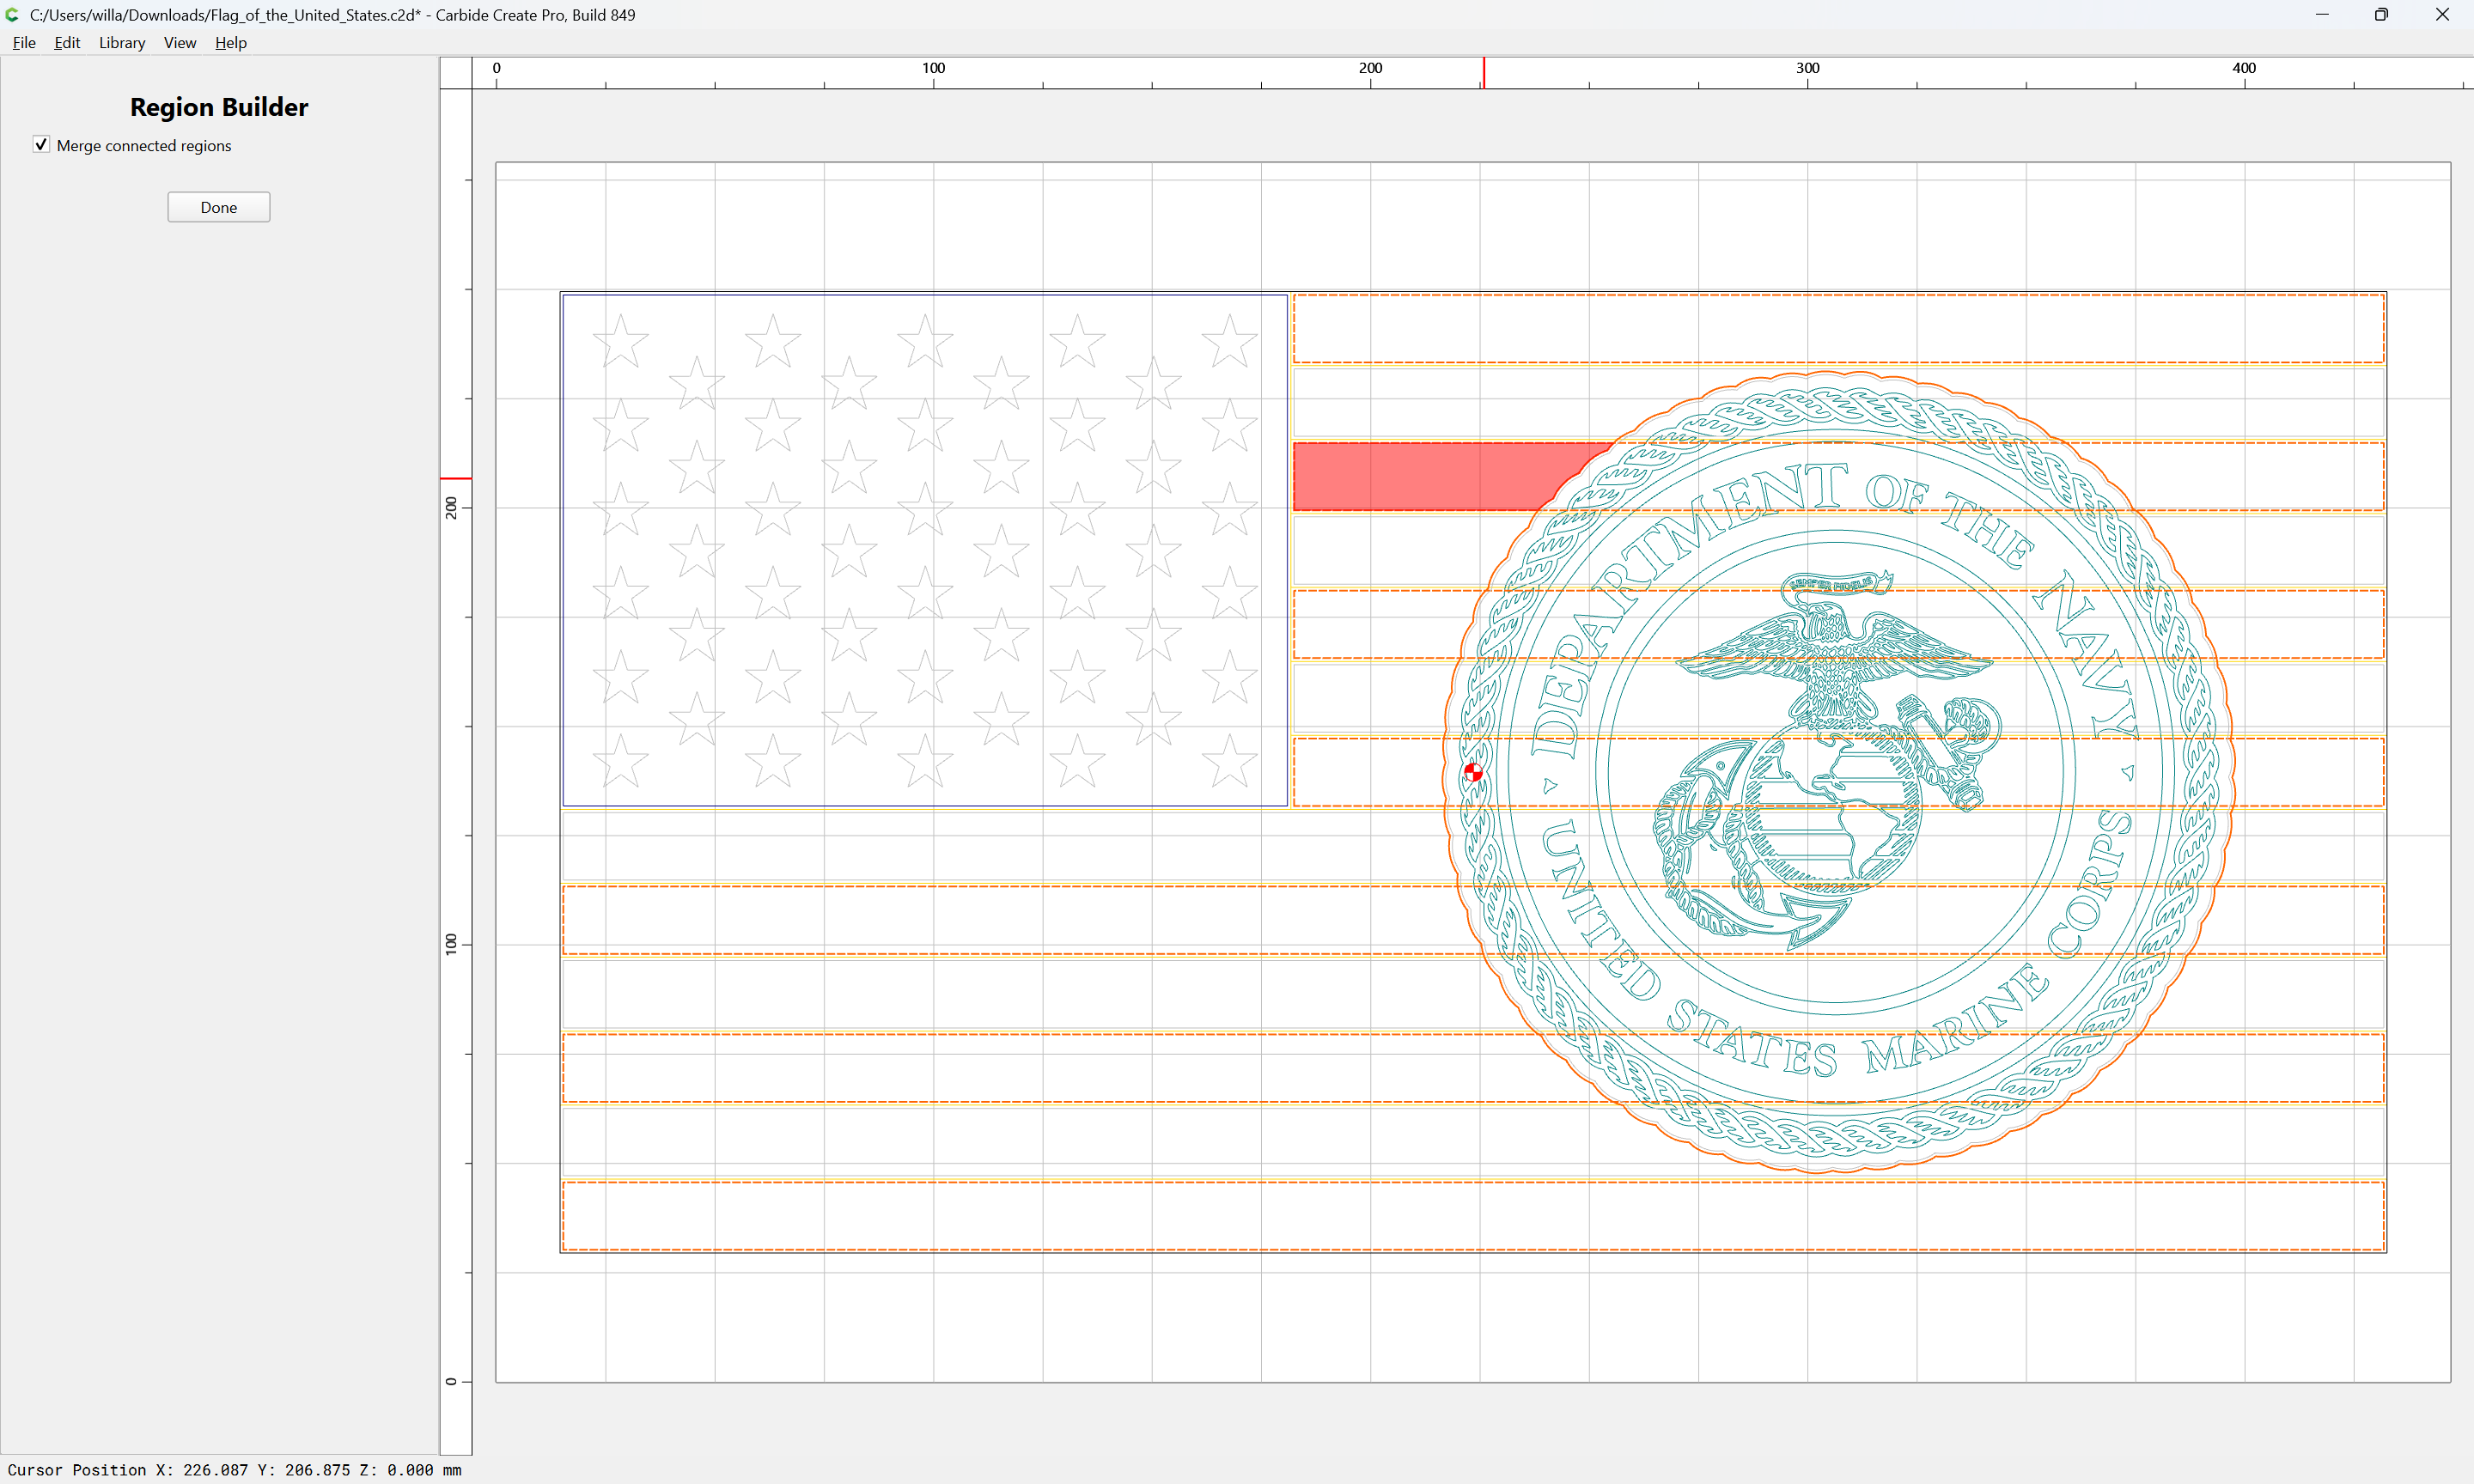
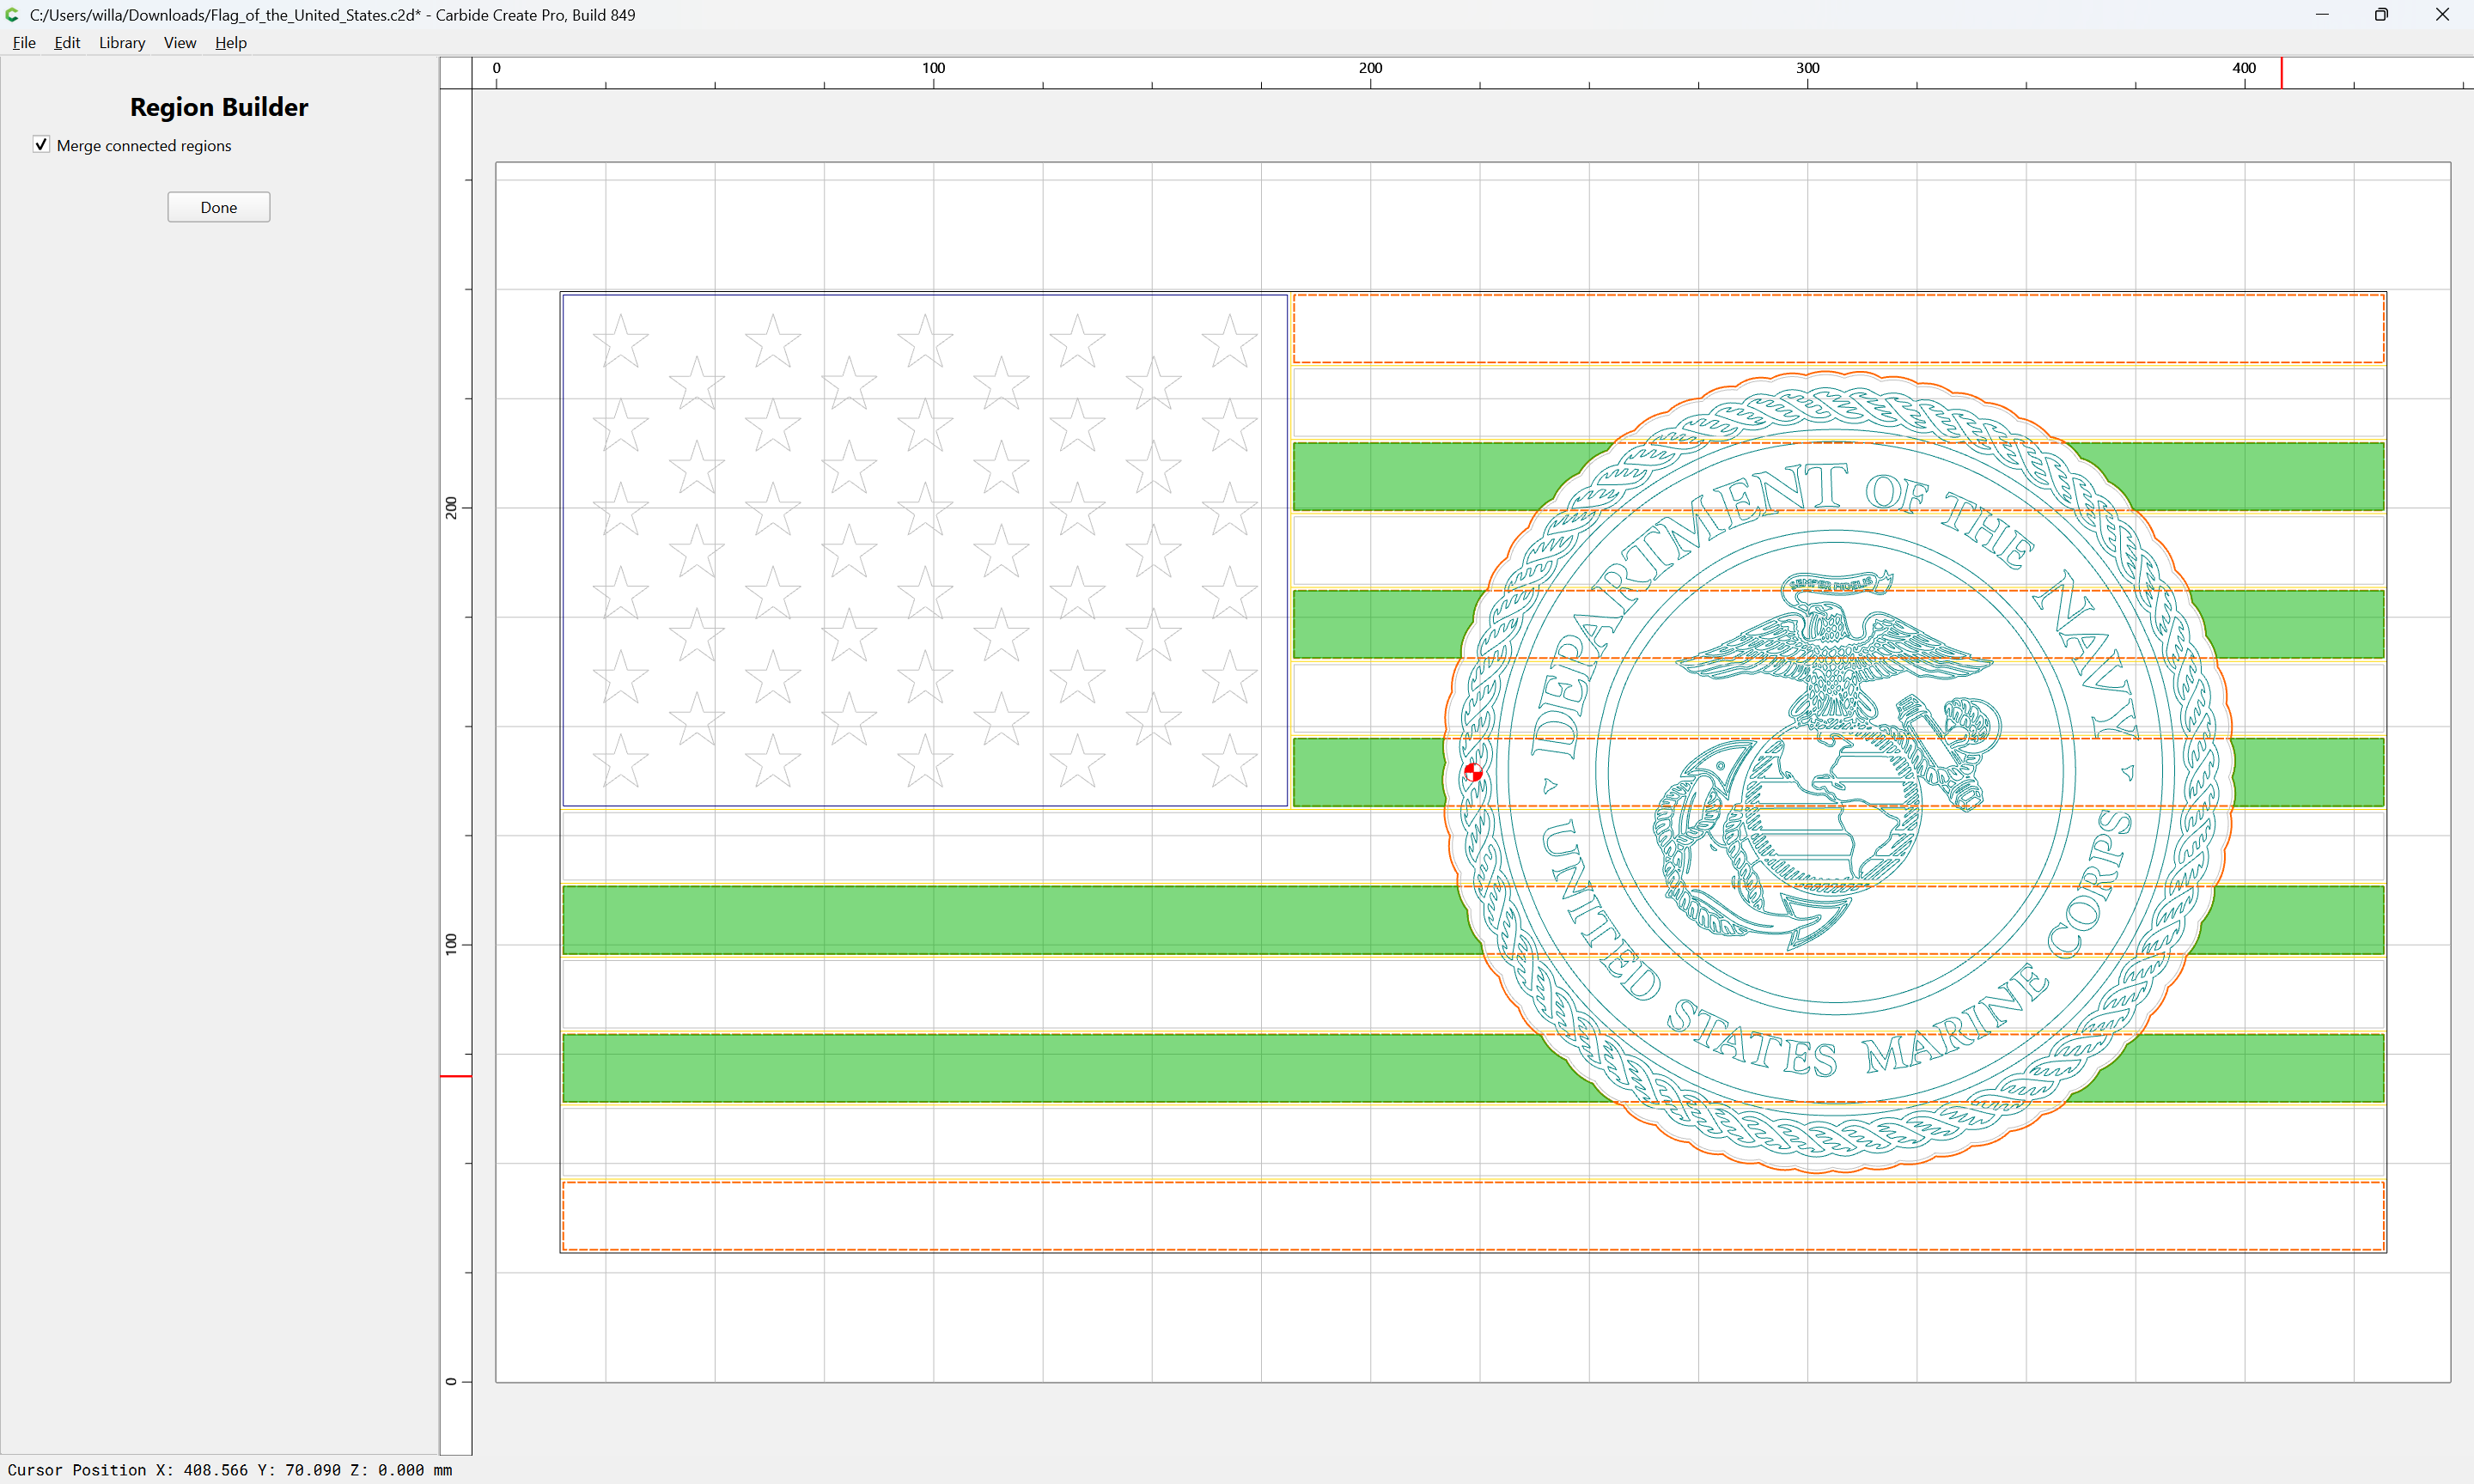
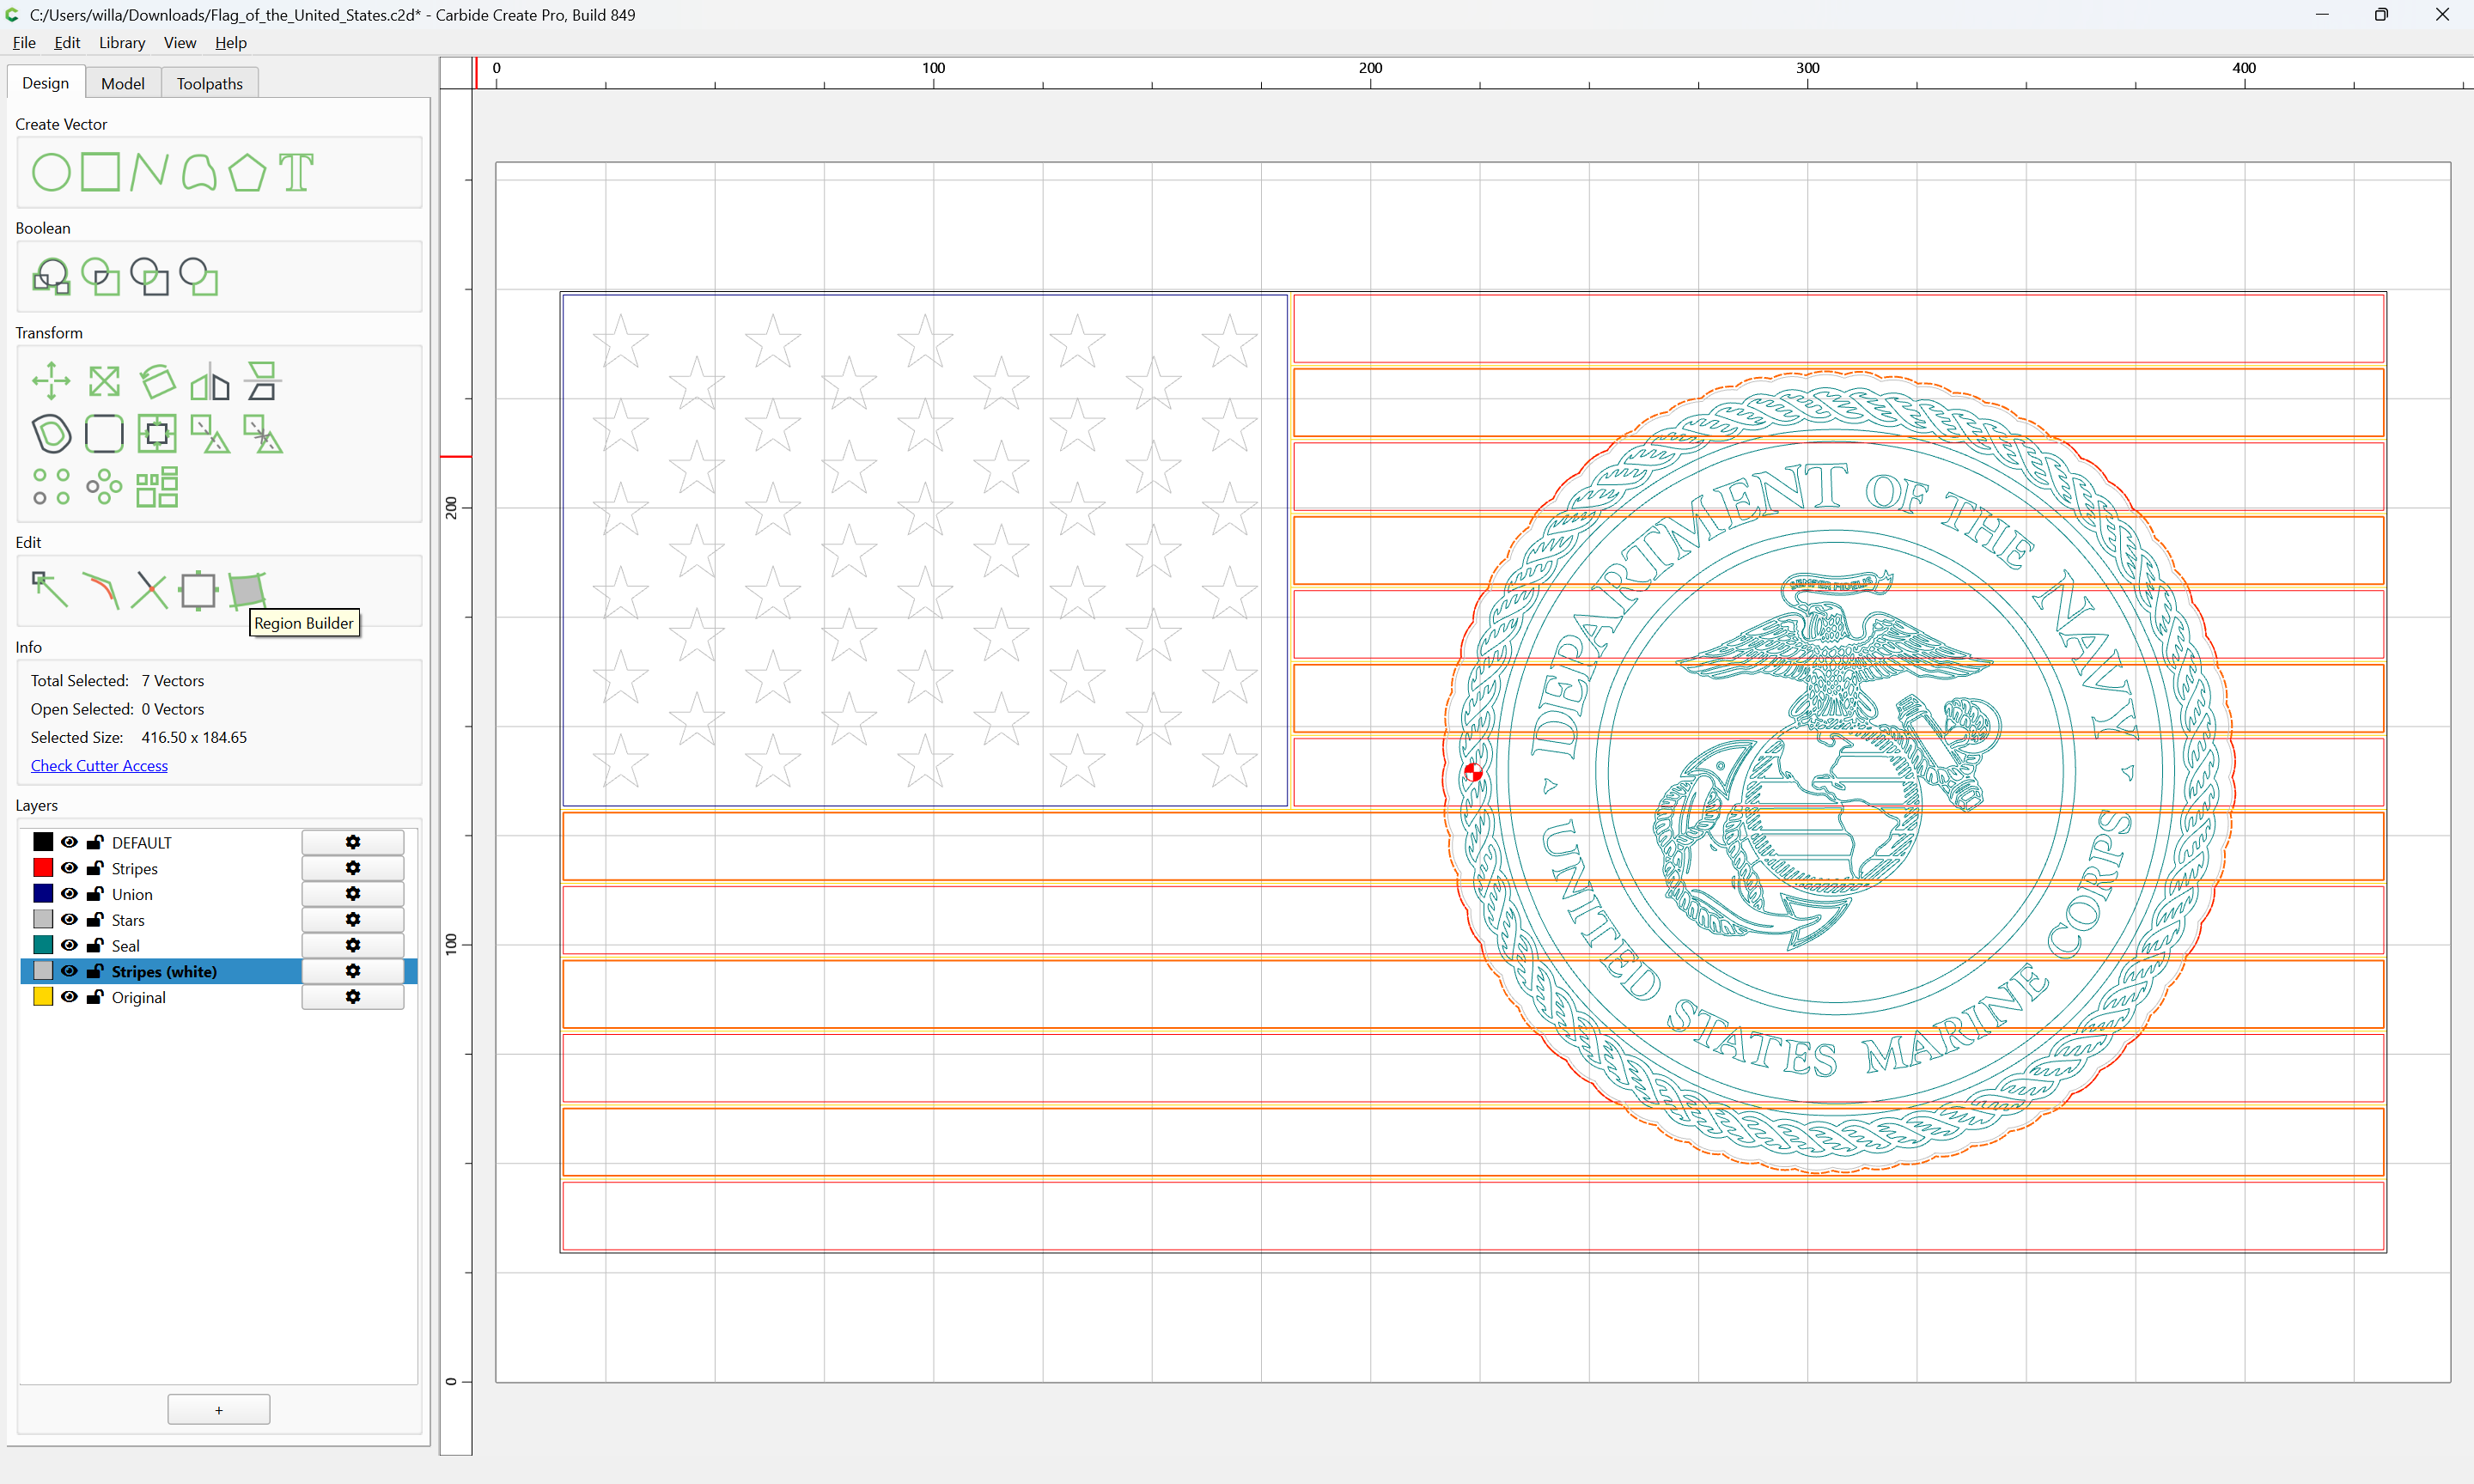
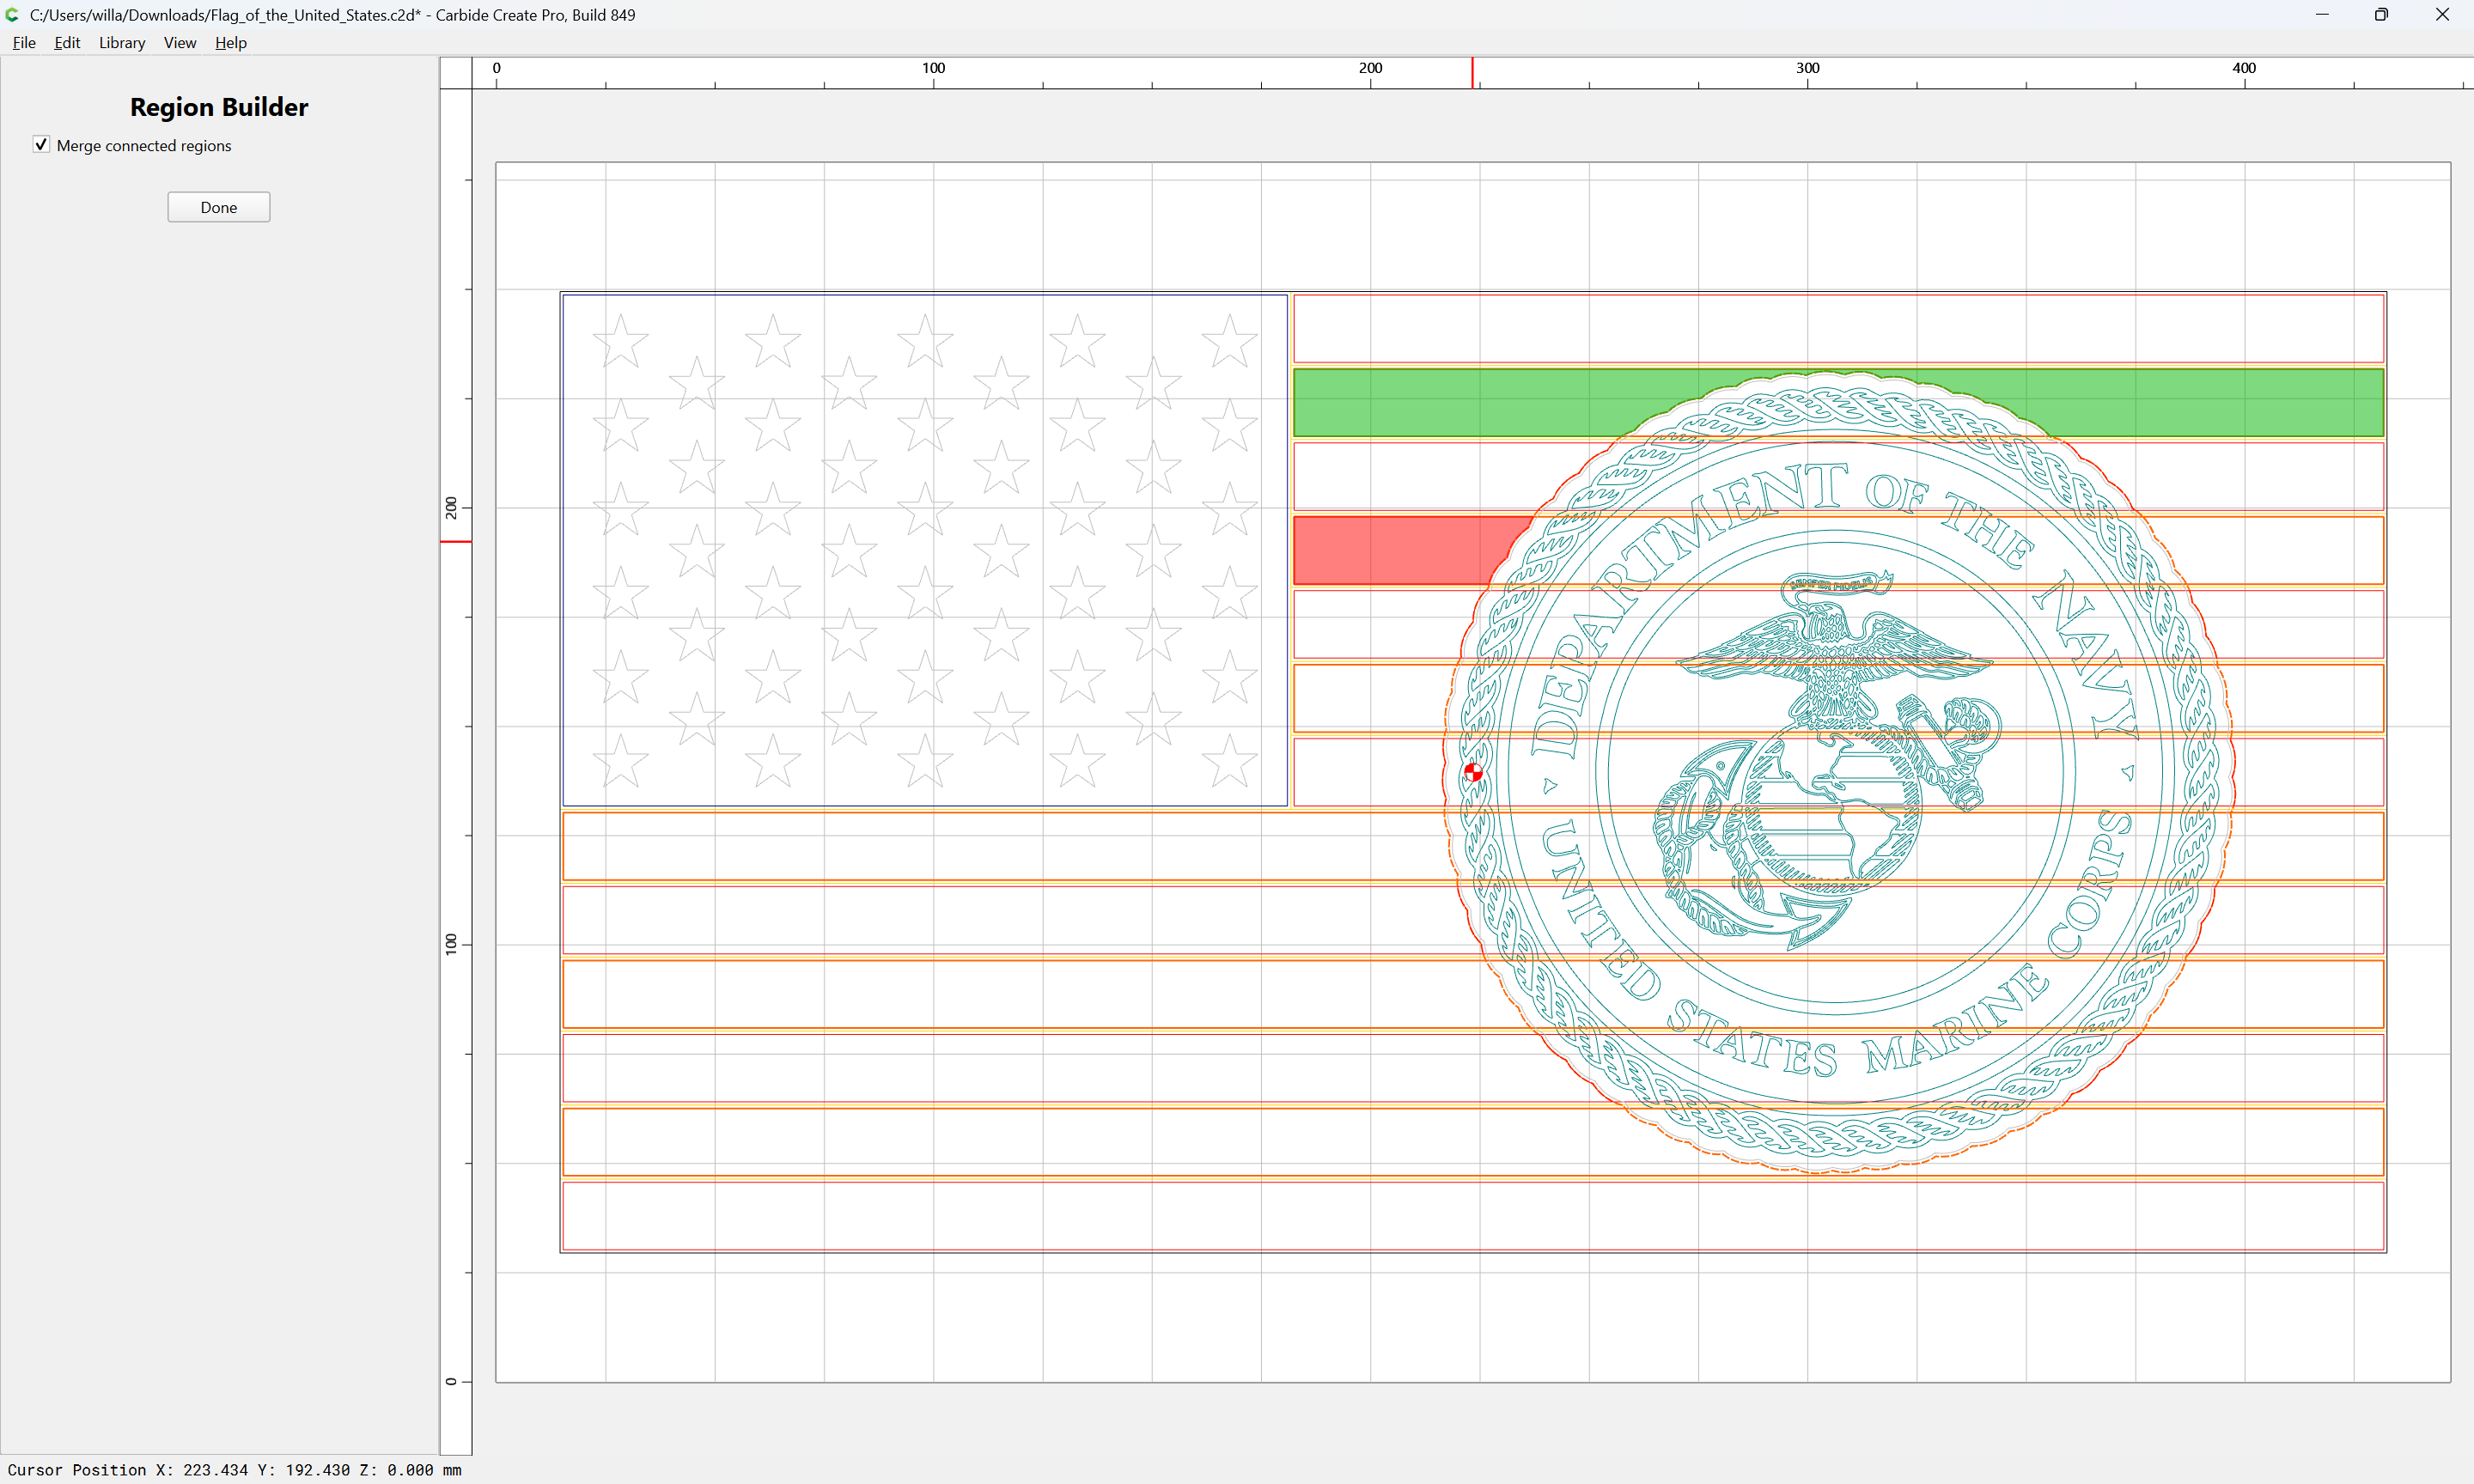
and then use the Region Builder to identify the geometry which one wants:

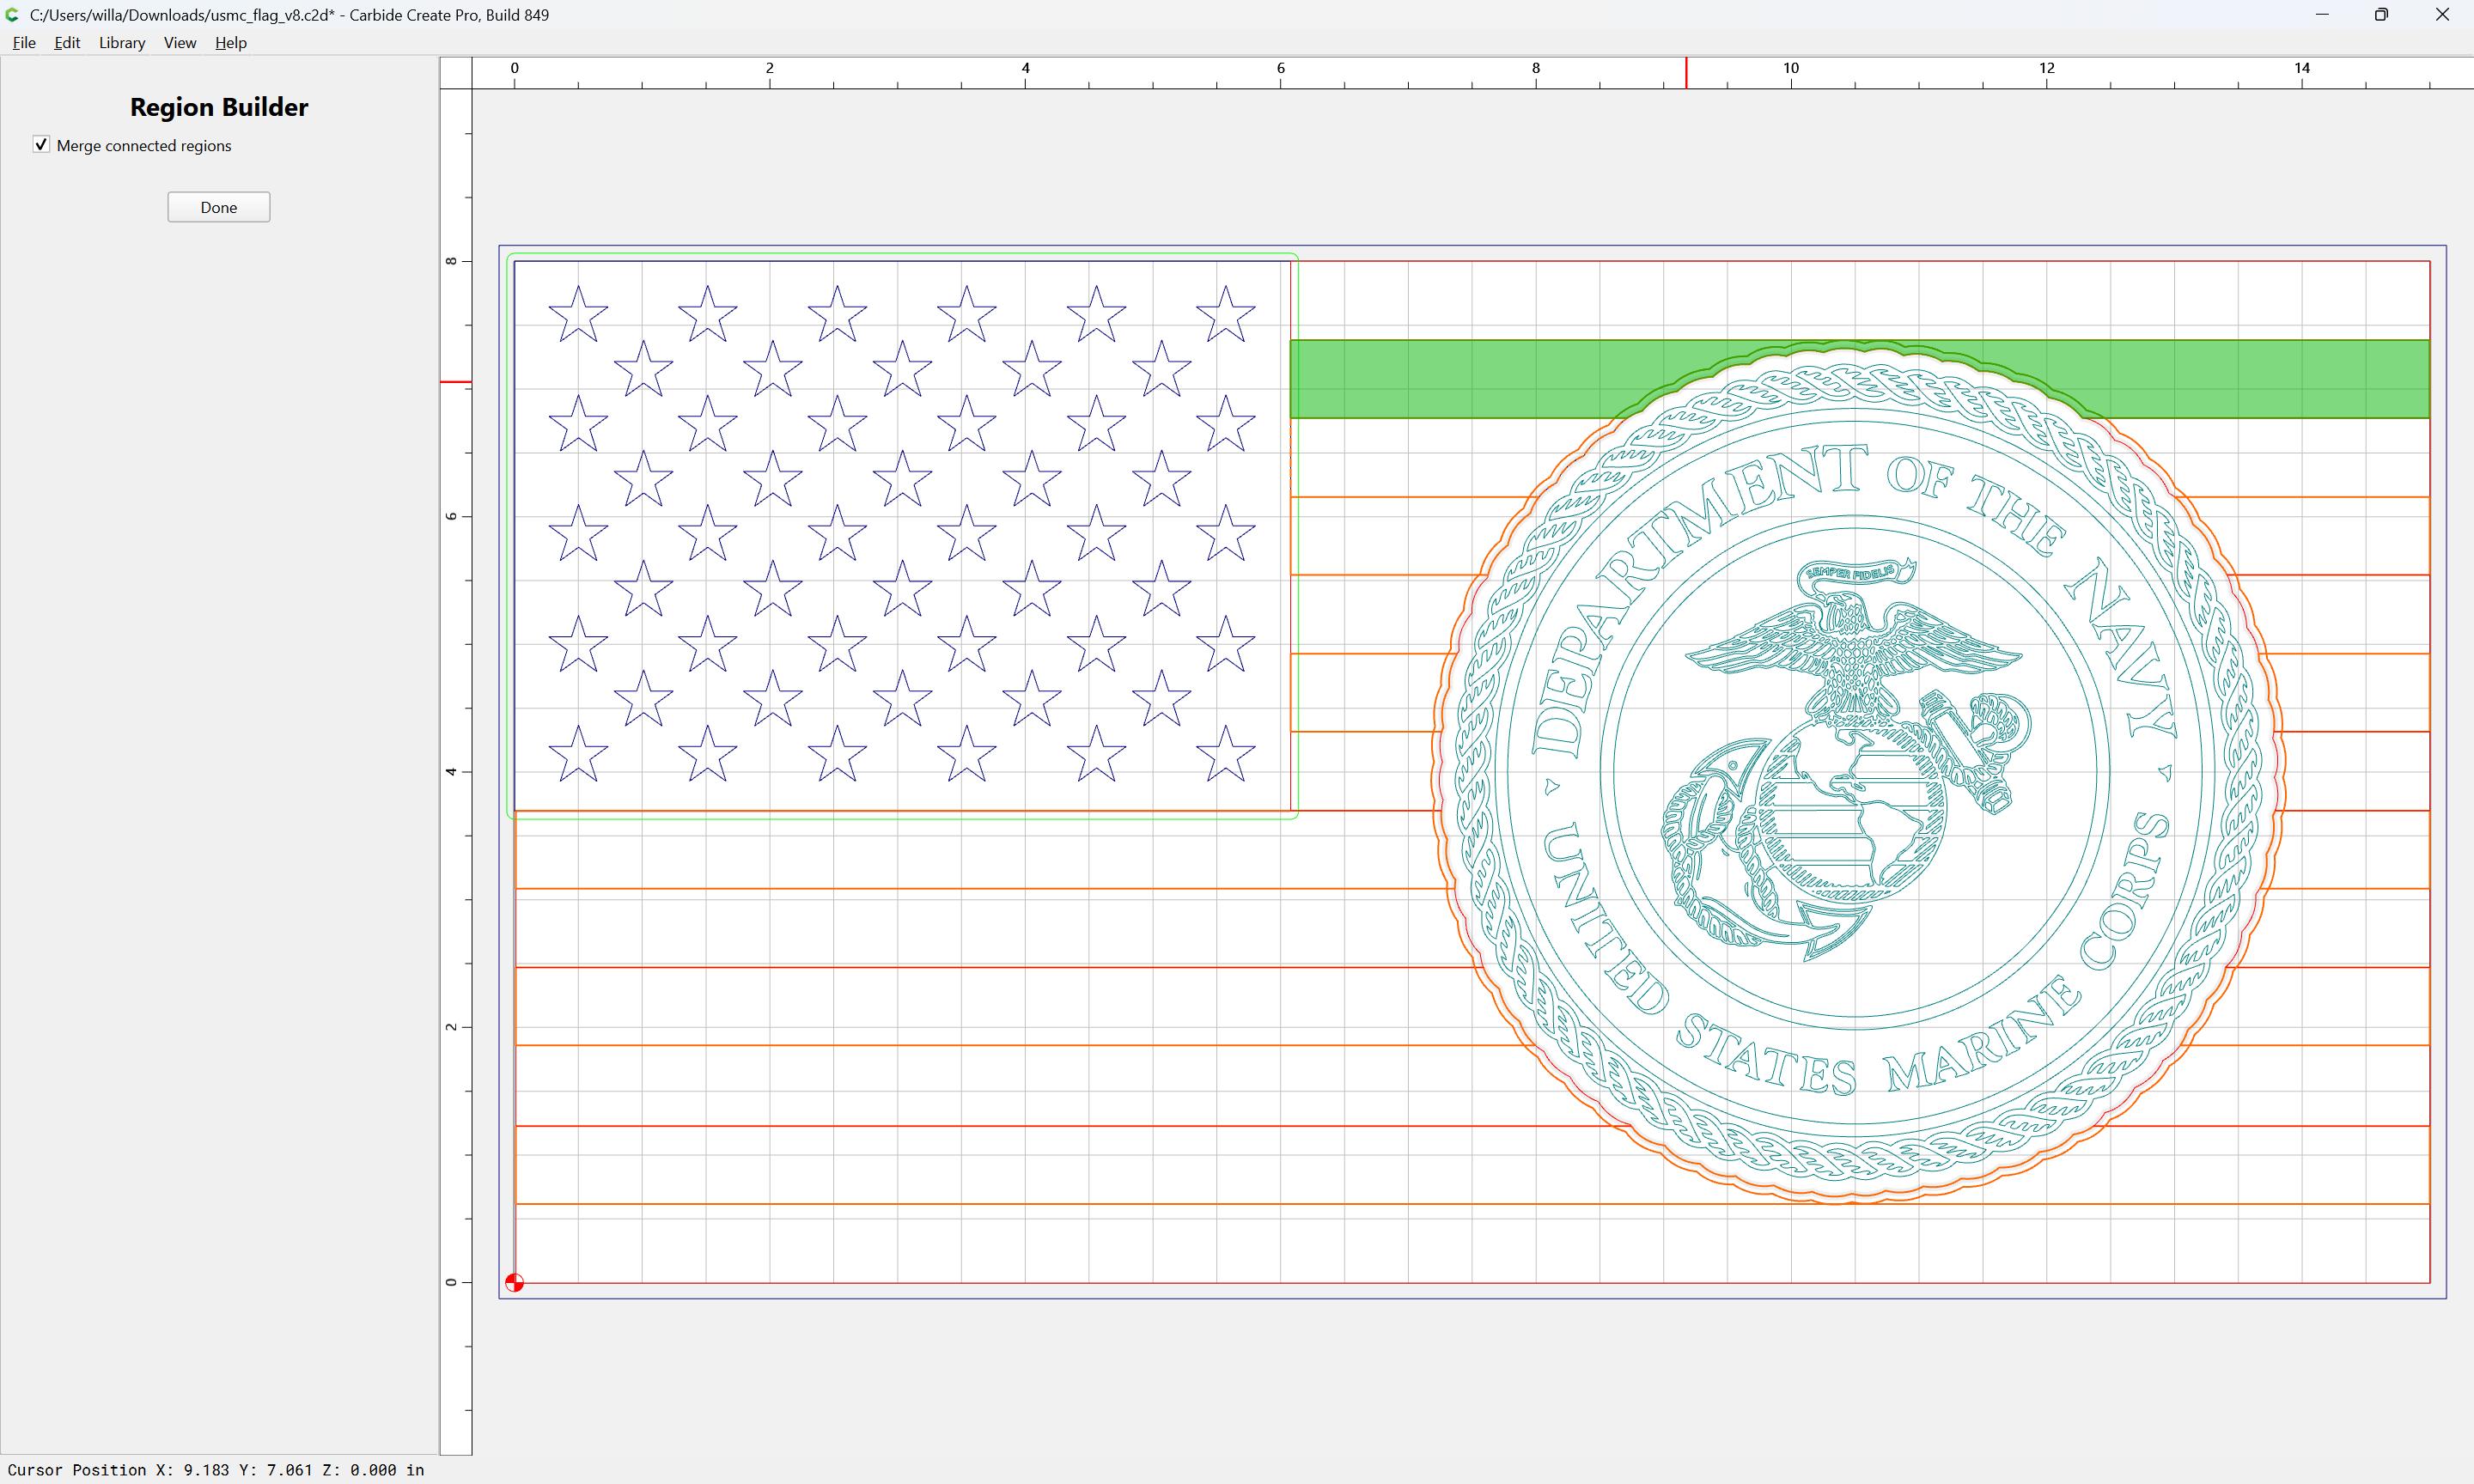
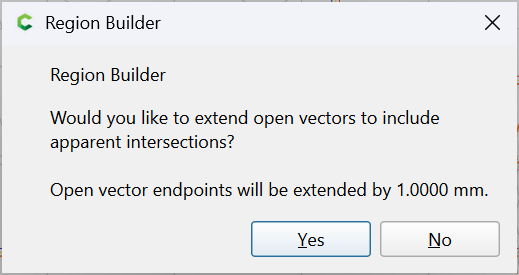
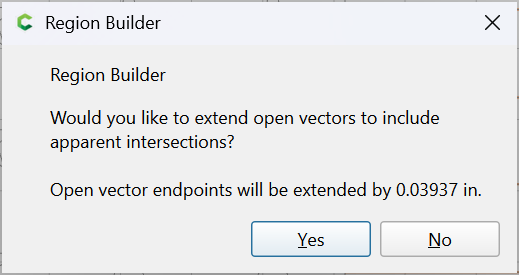
Yes
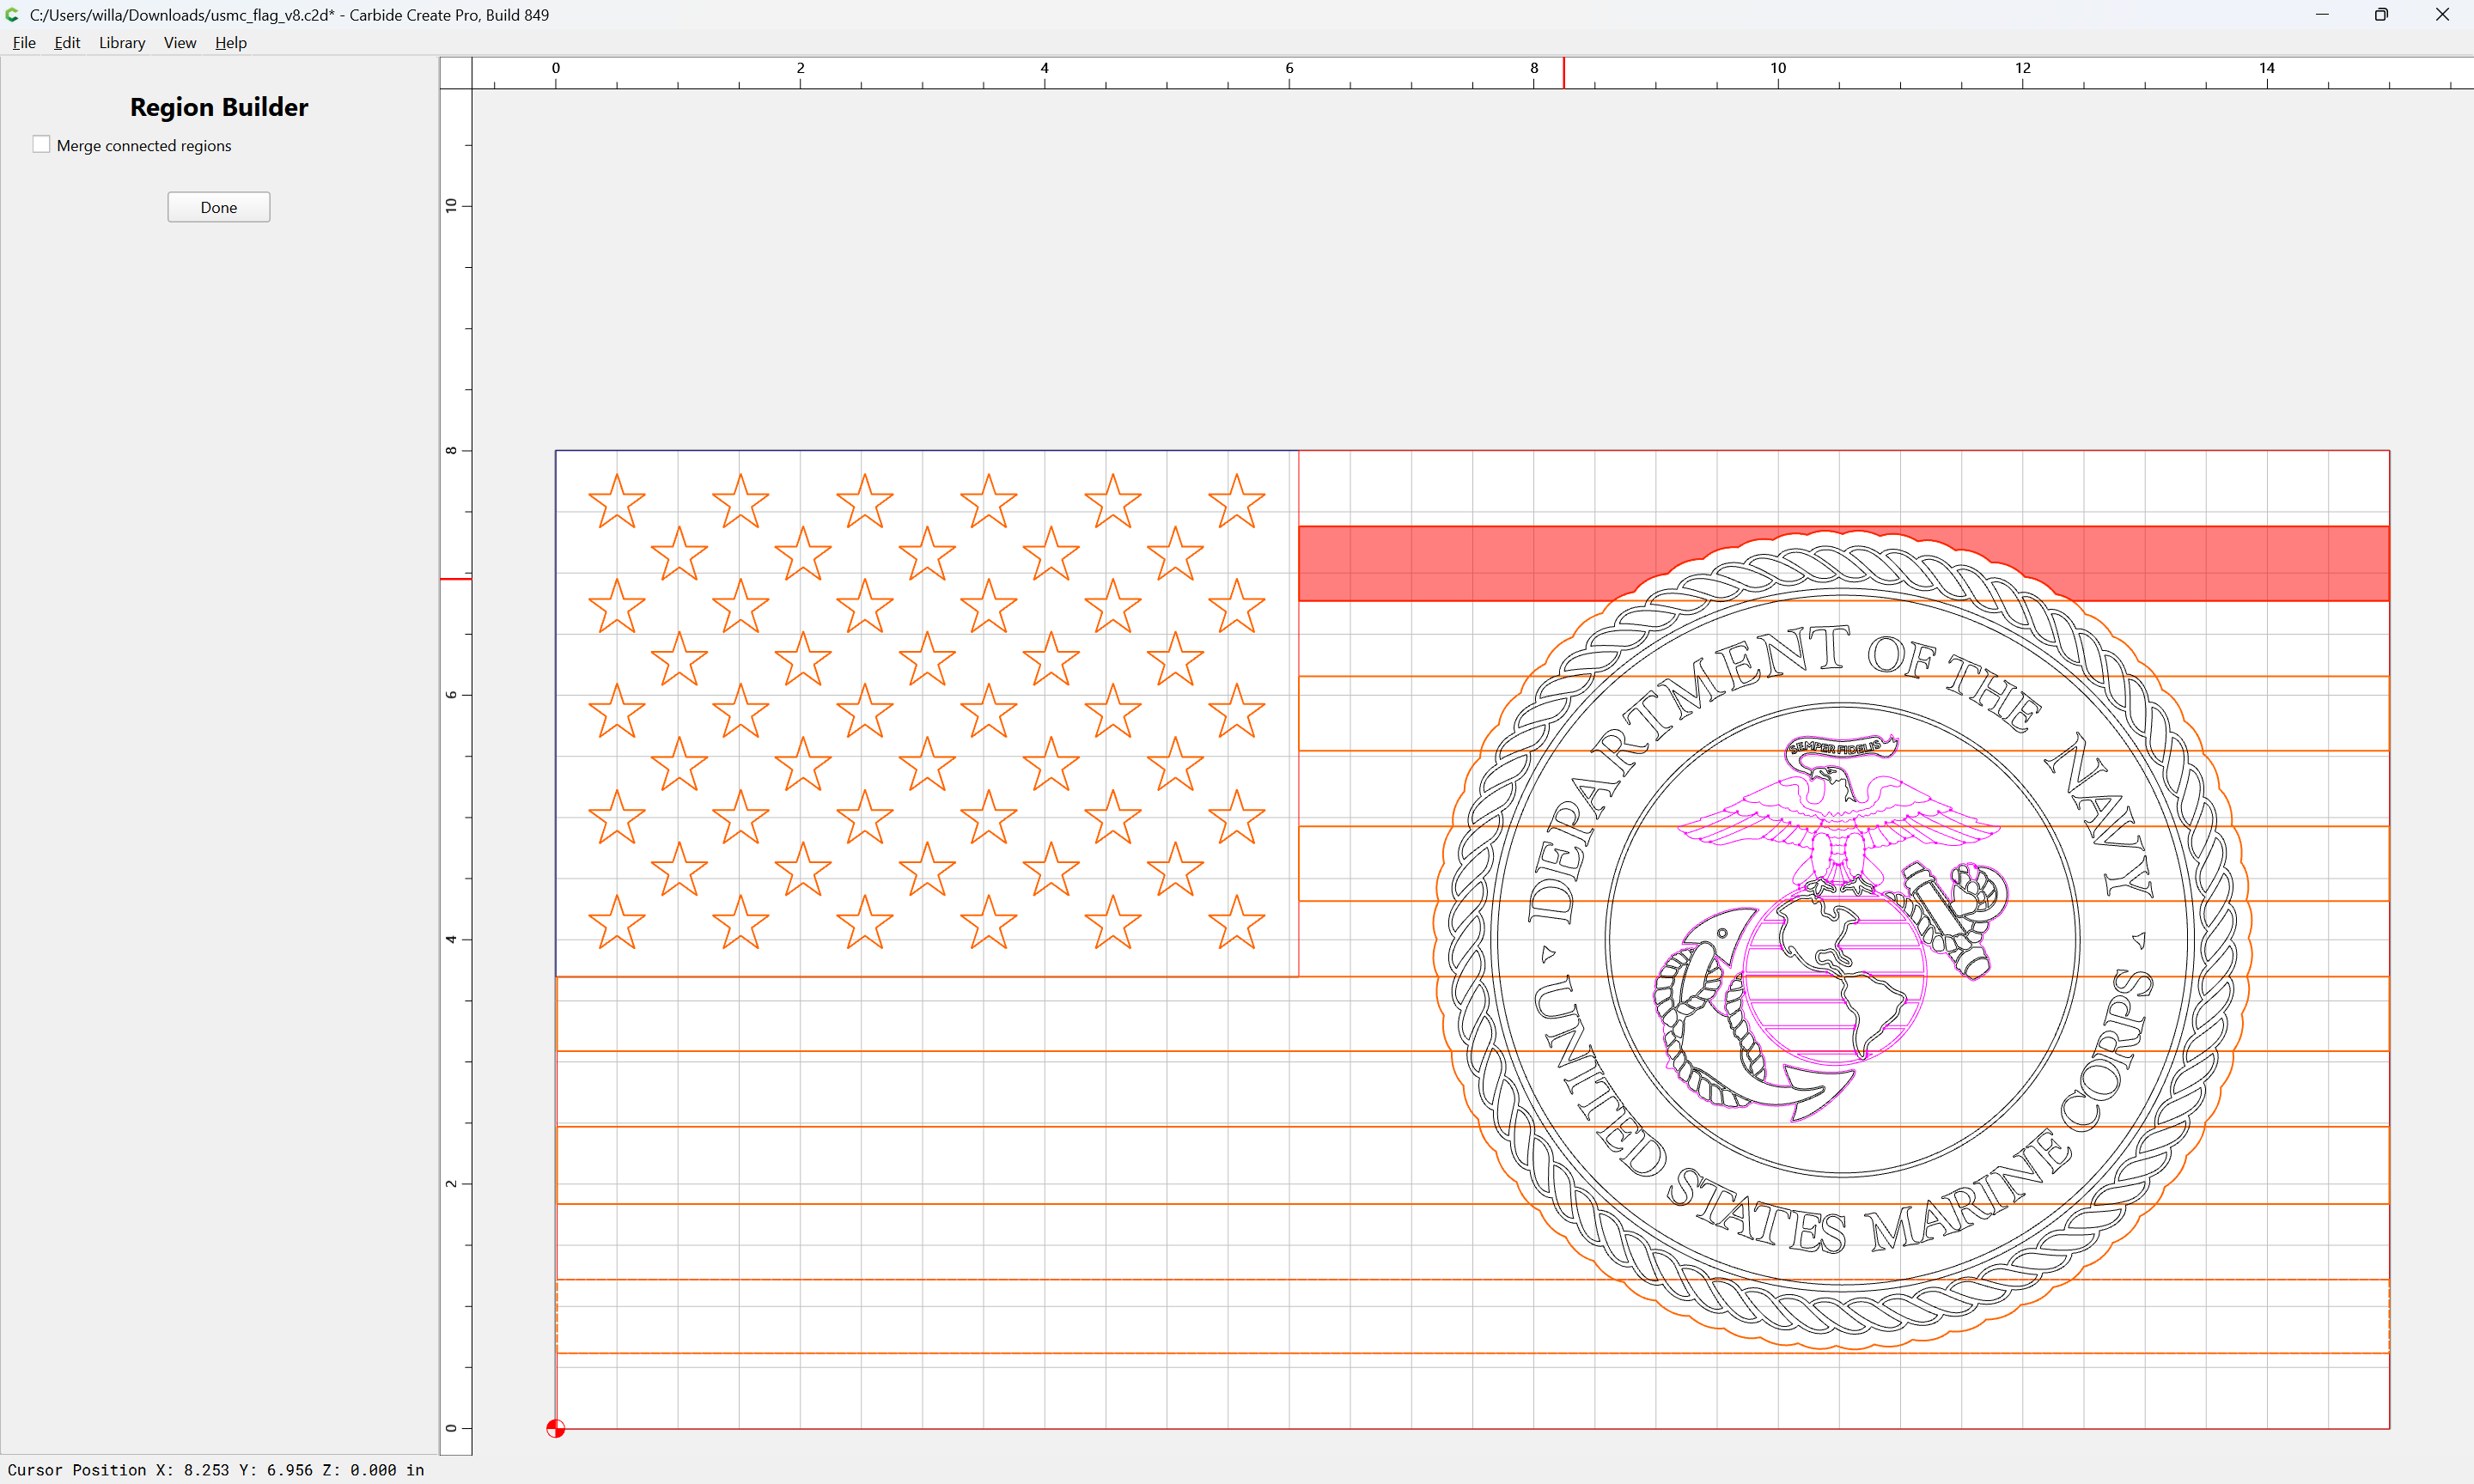
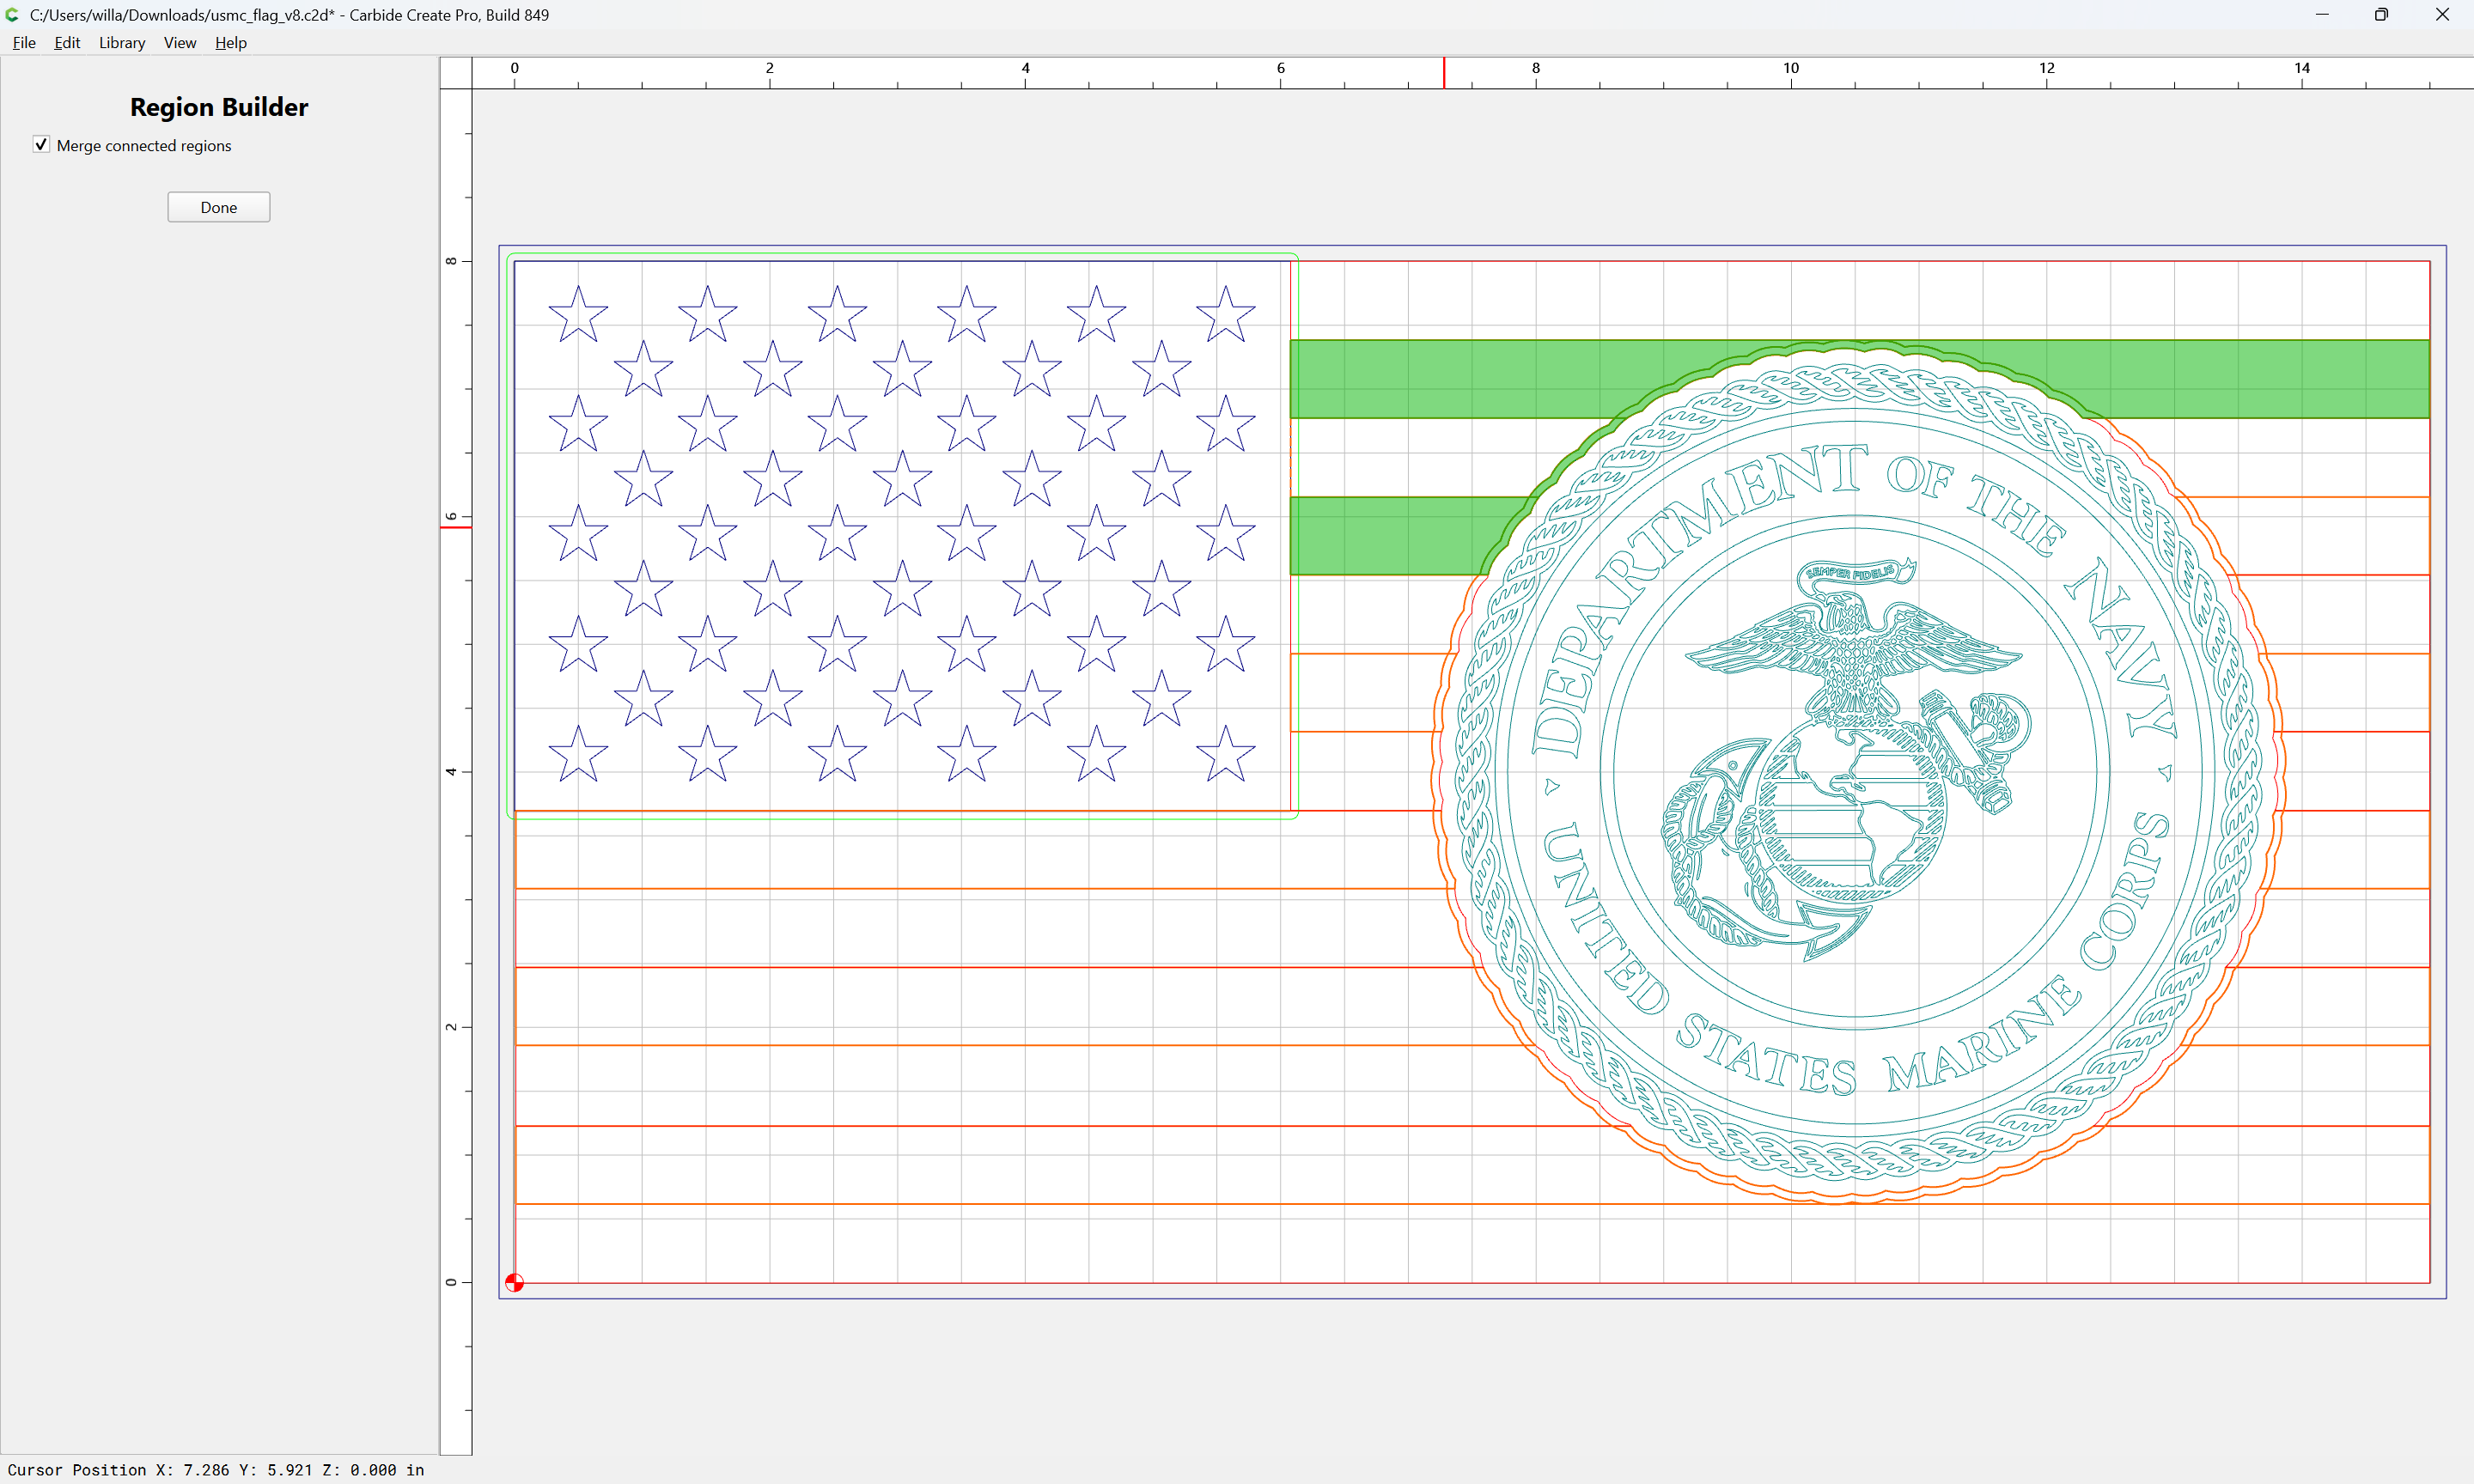
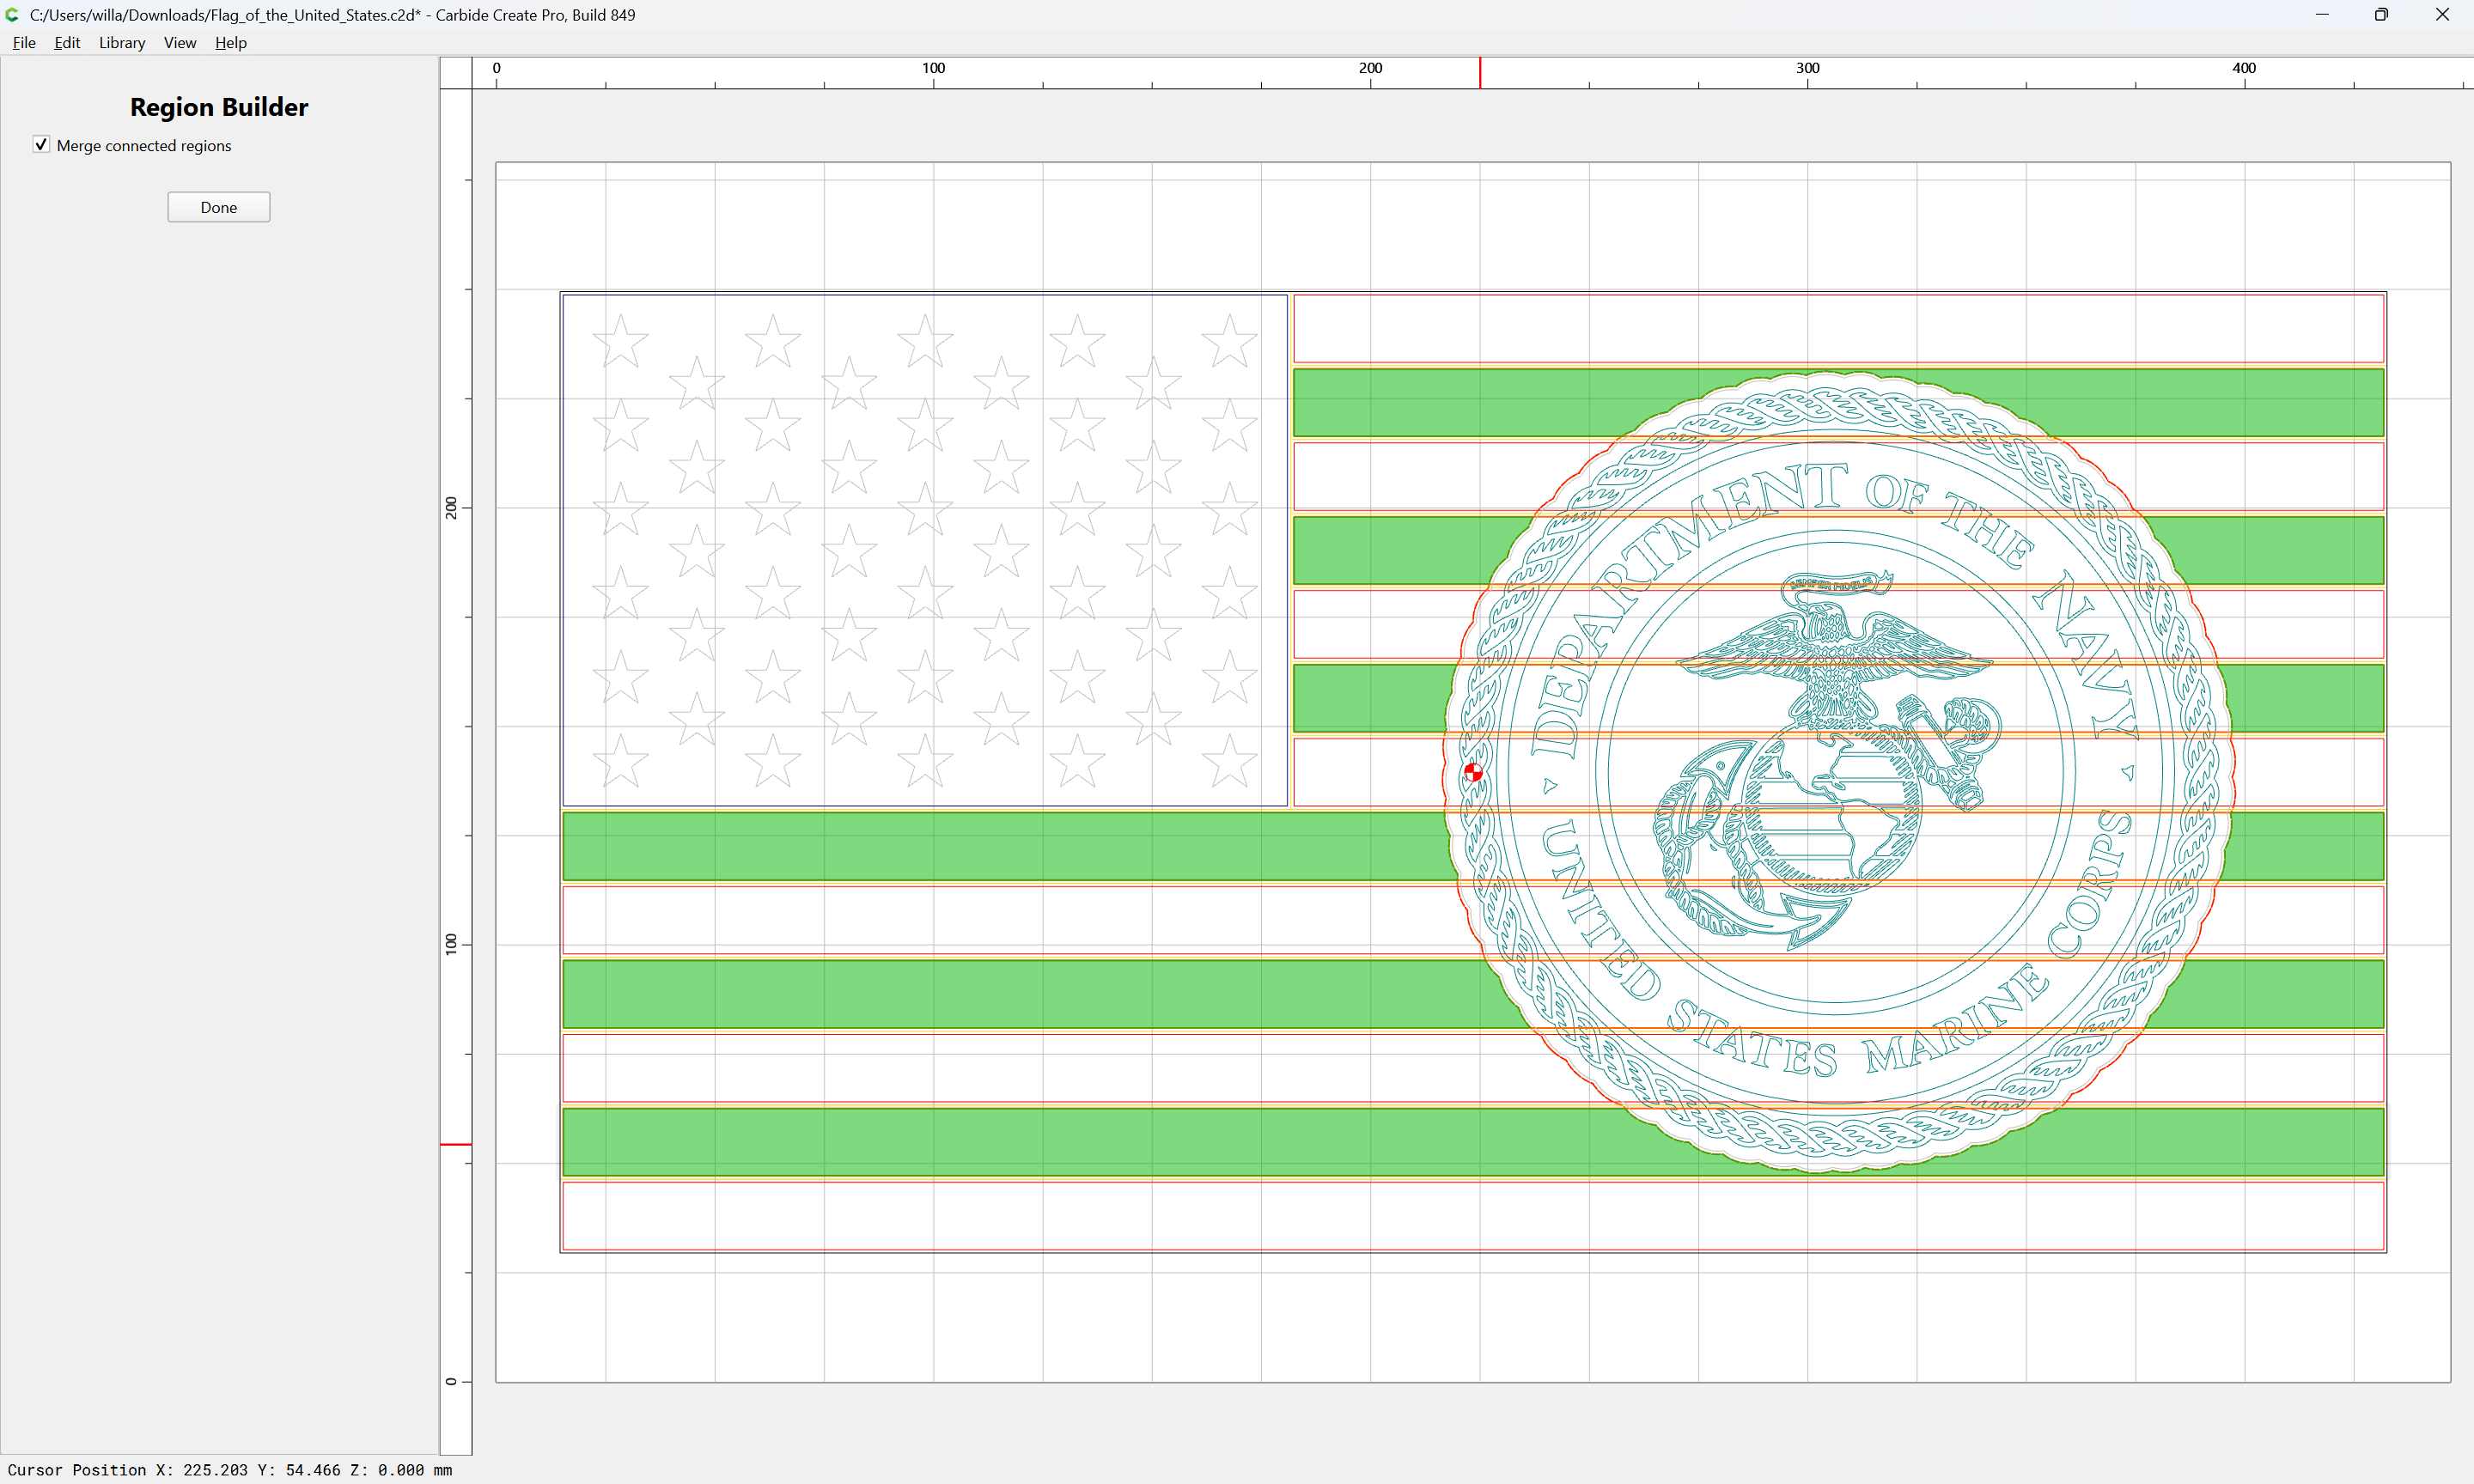
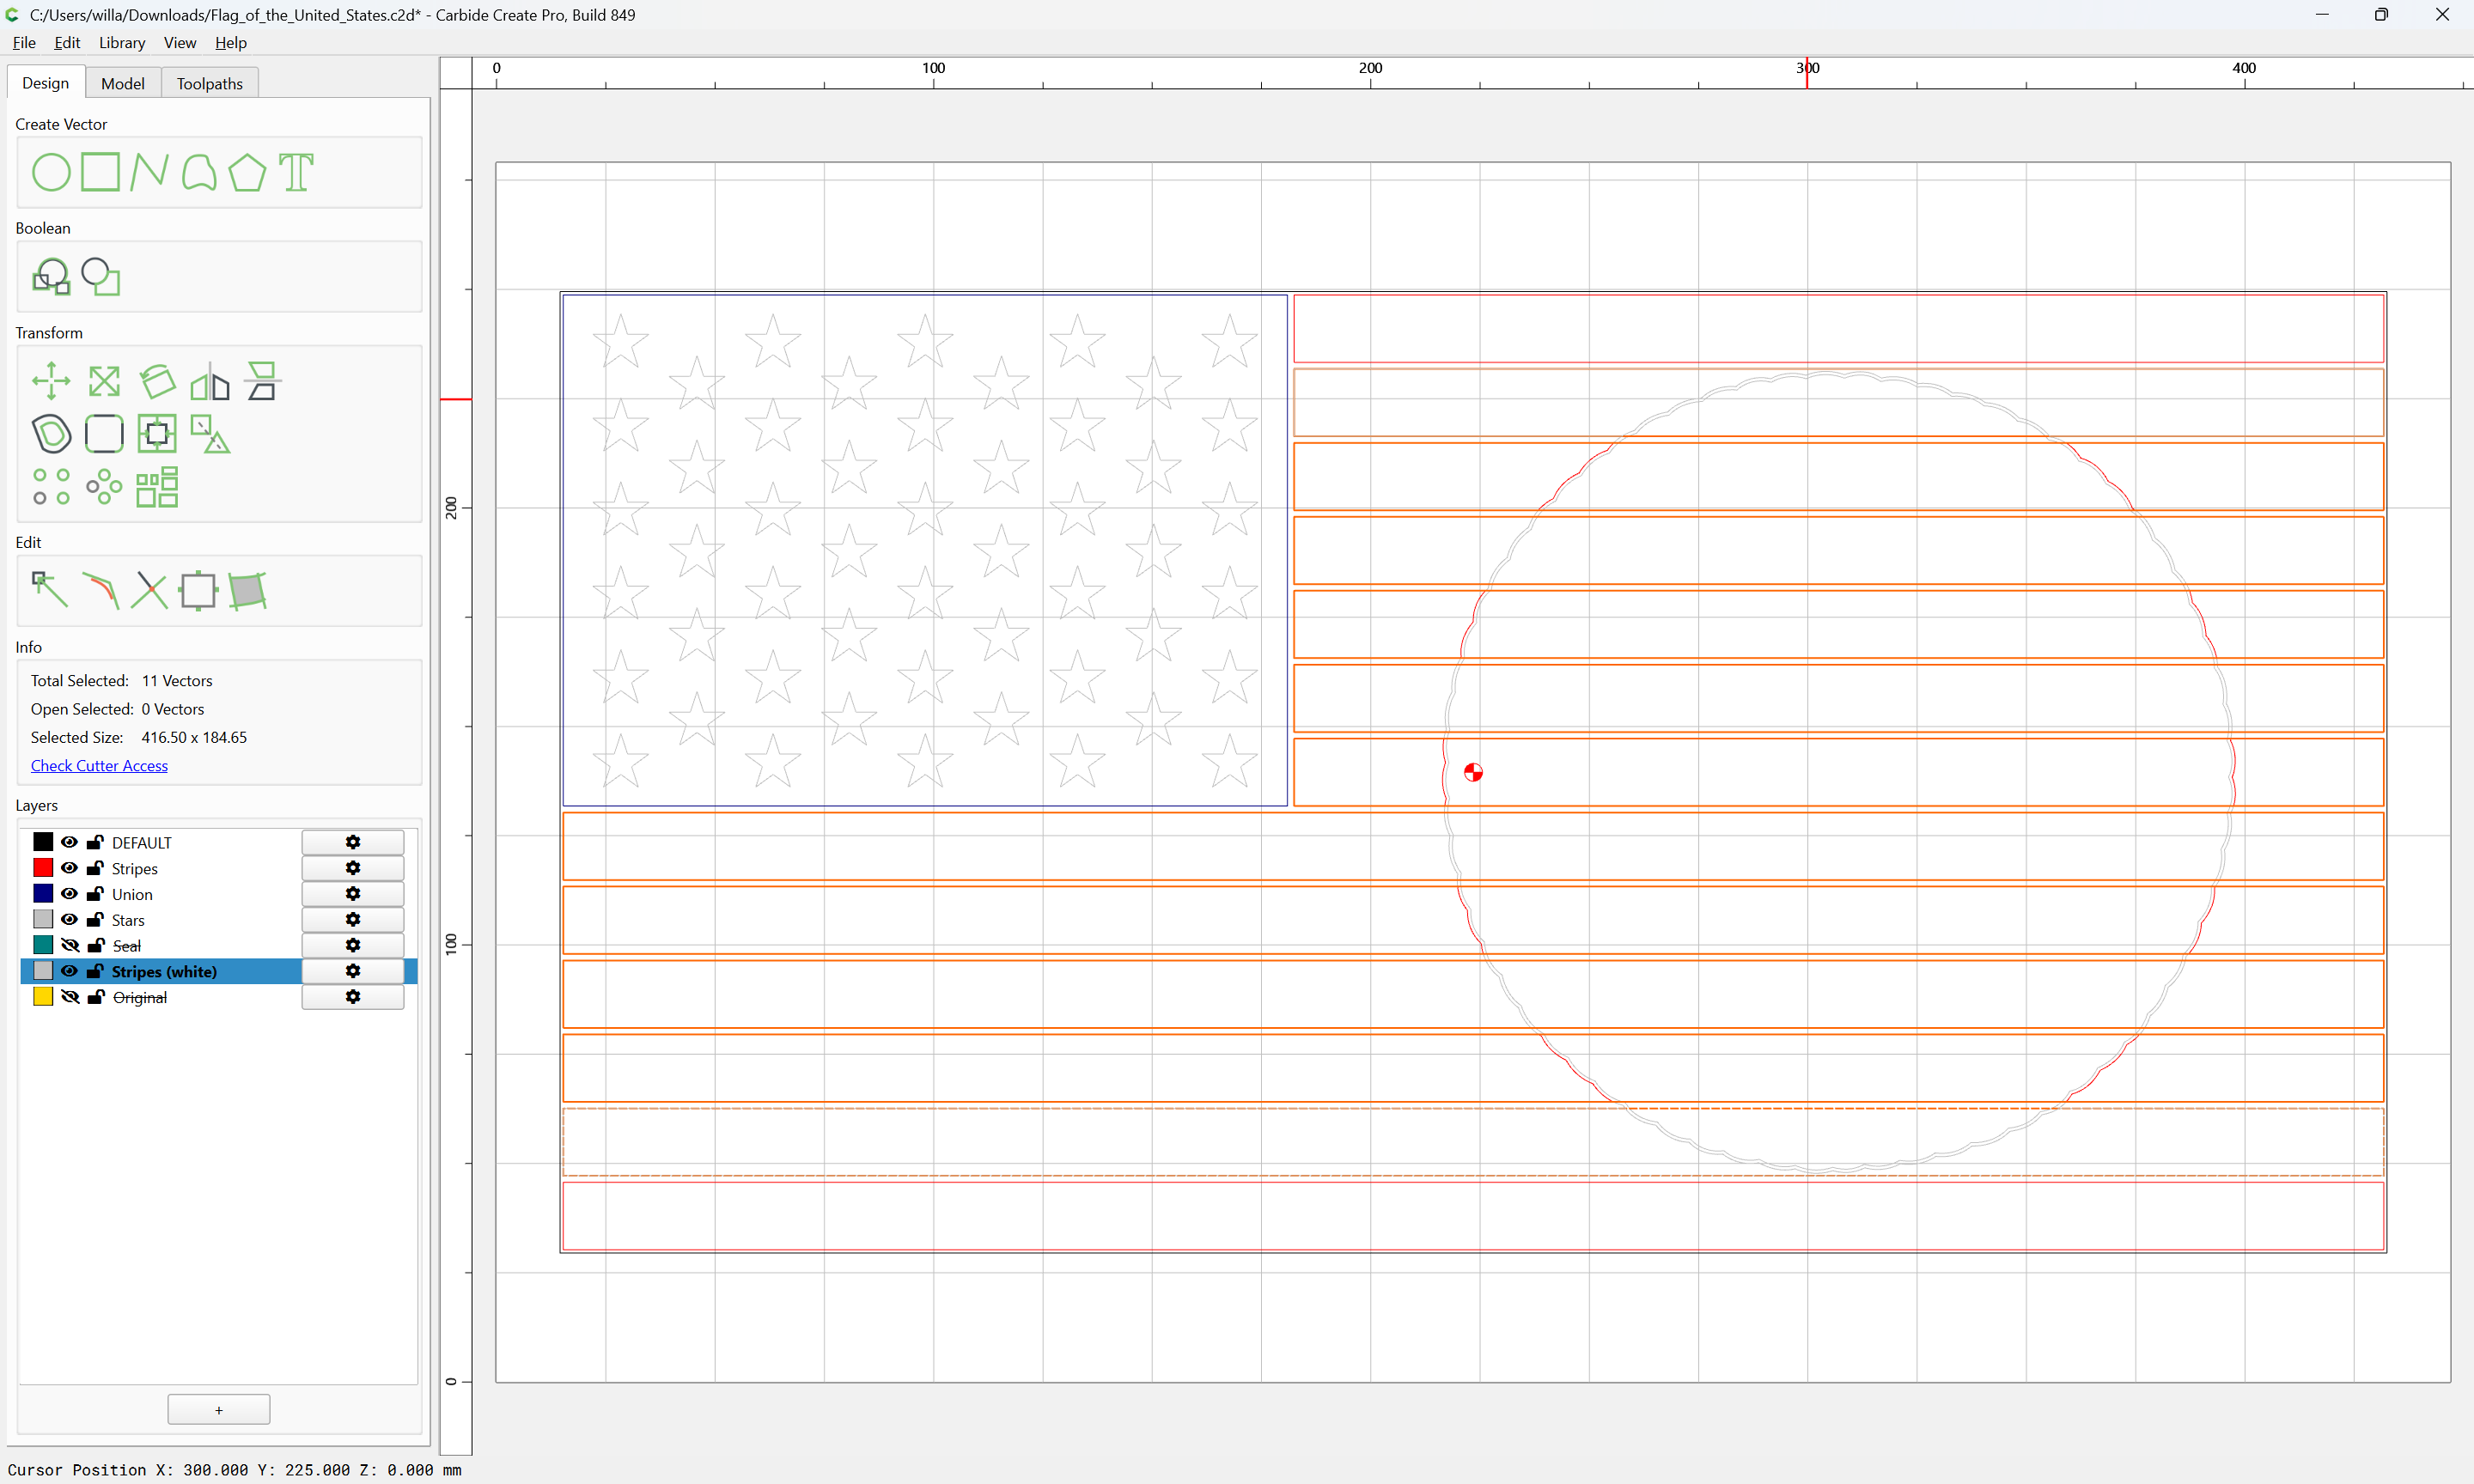
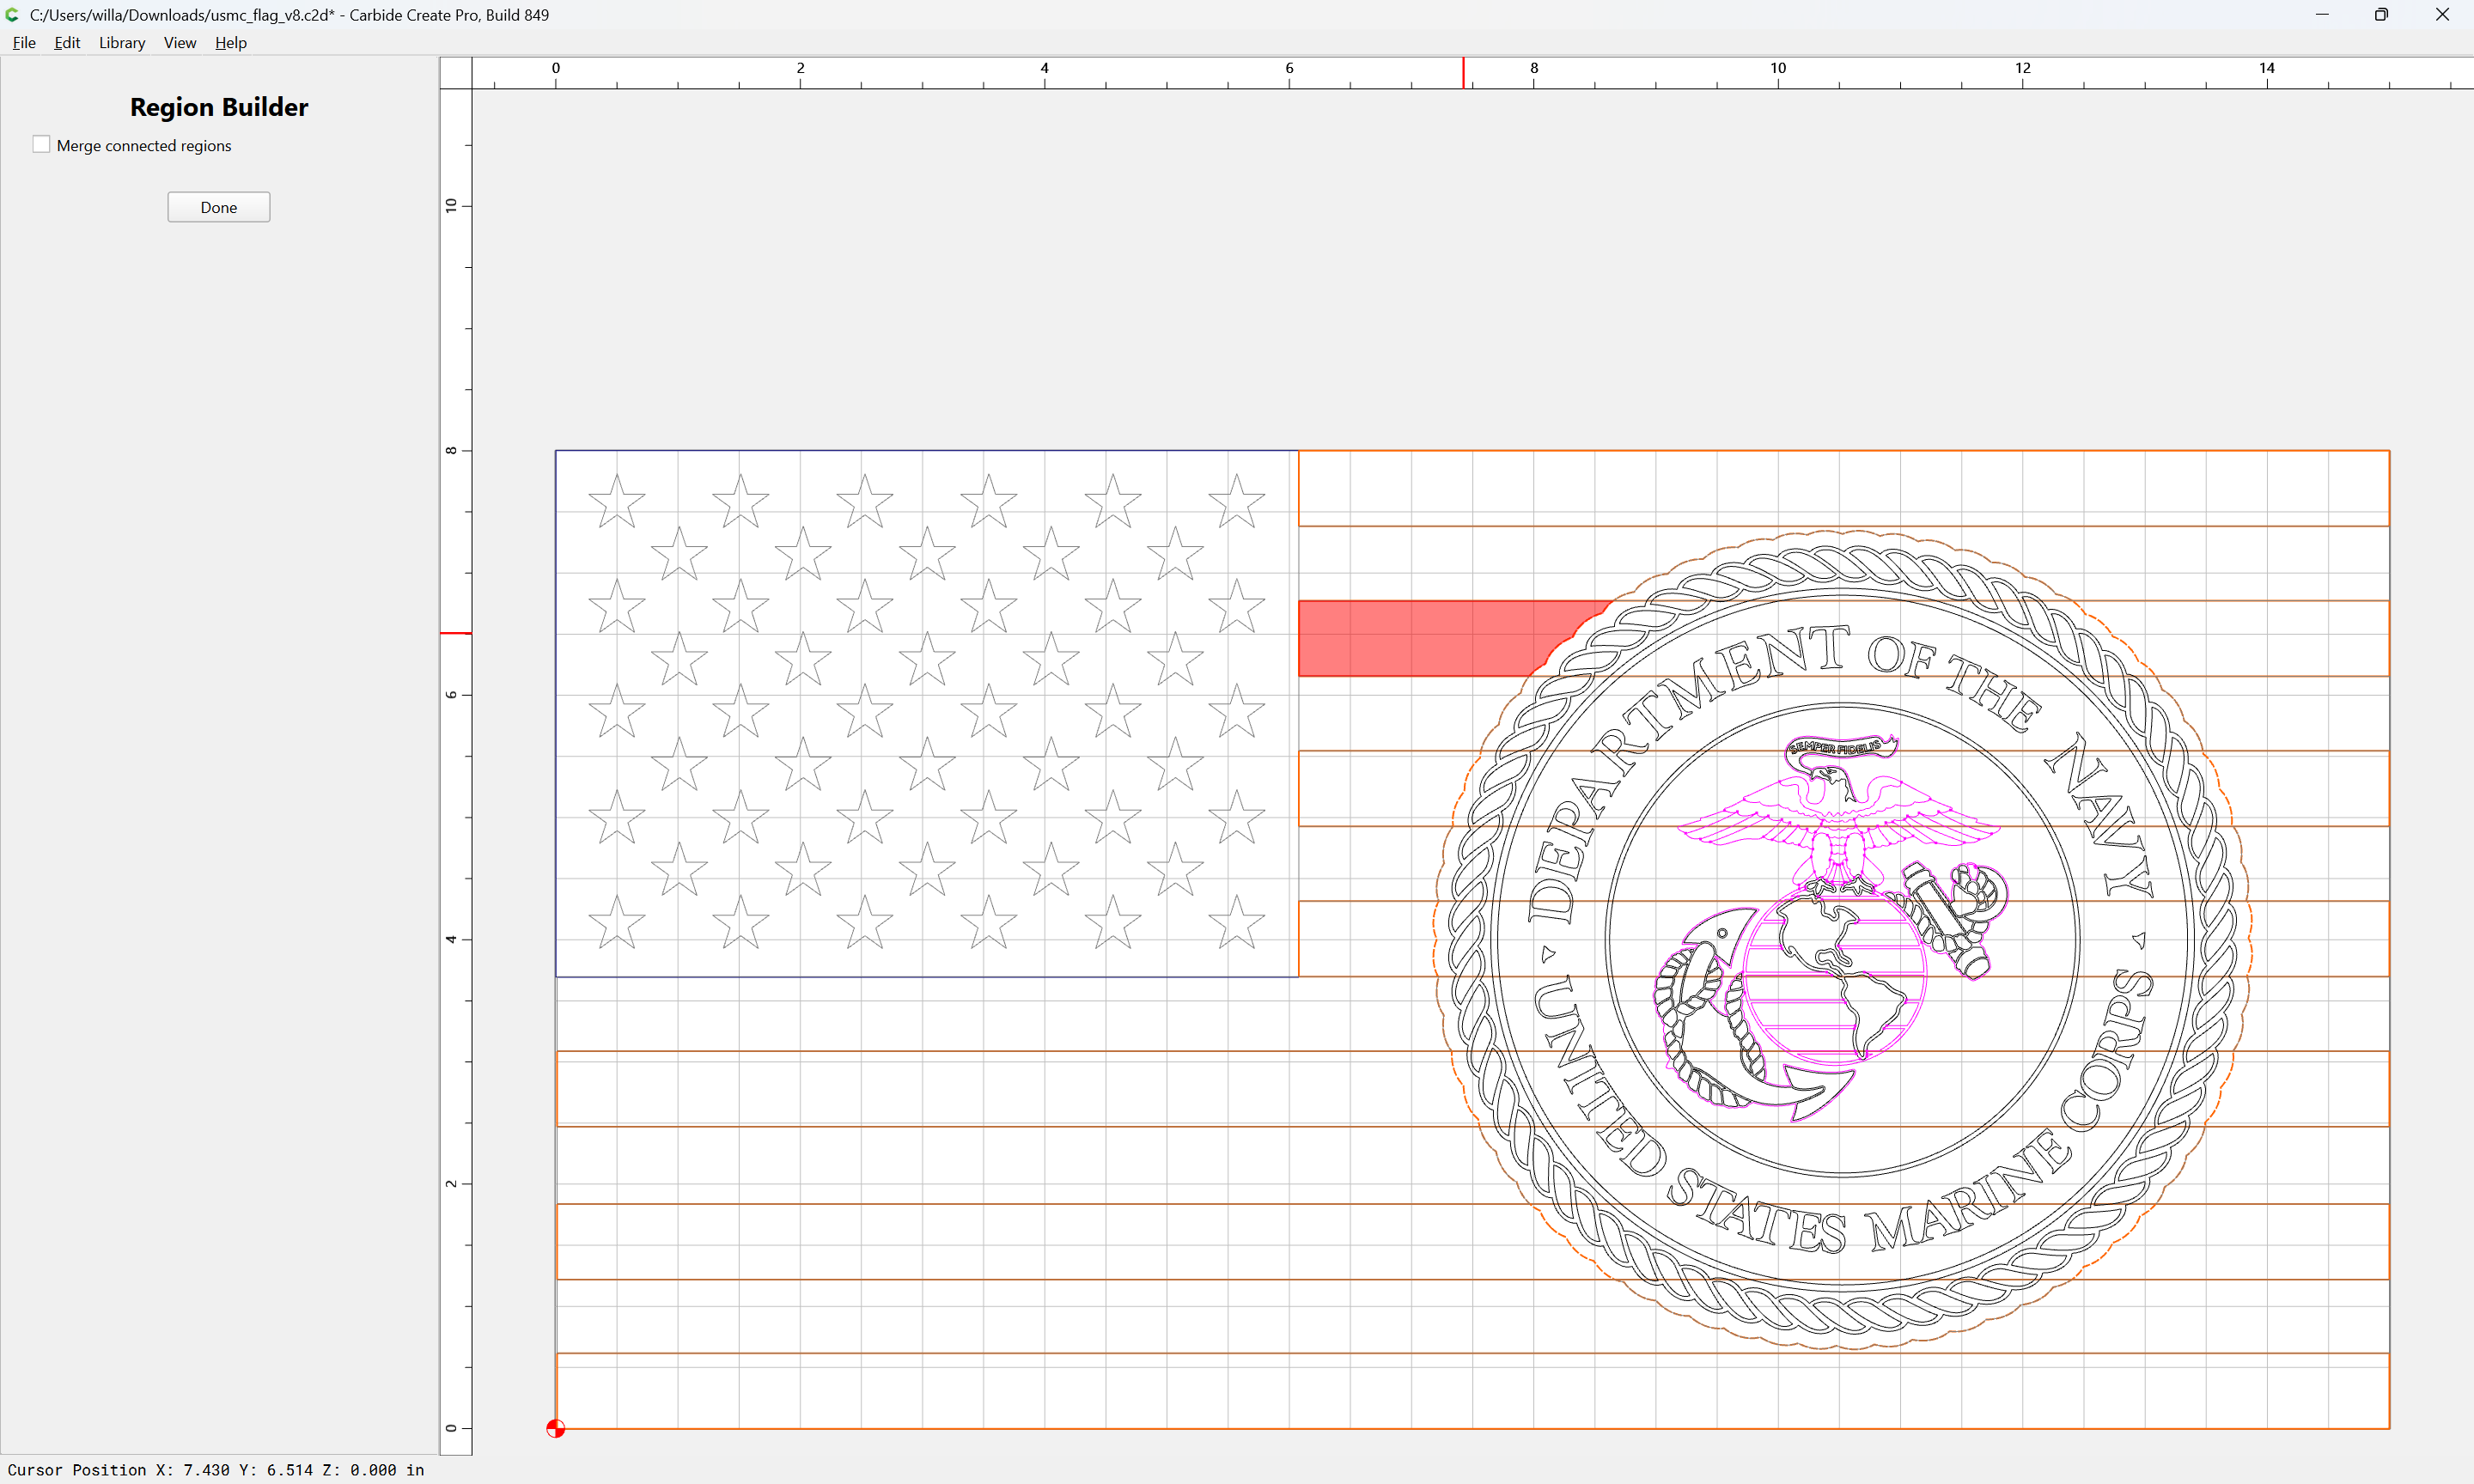
click on each region:
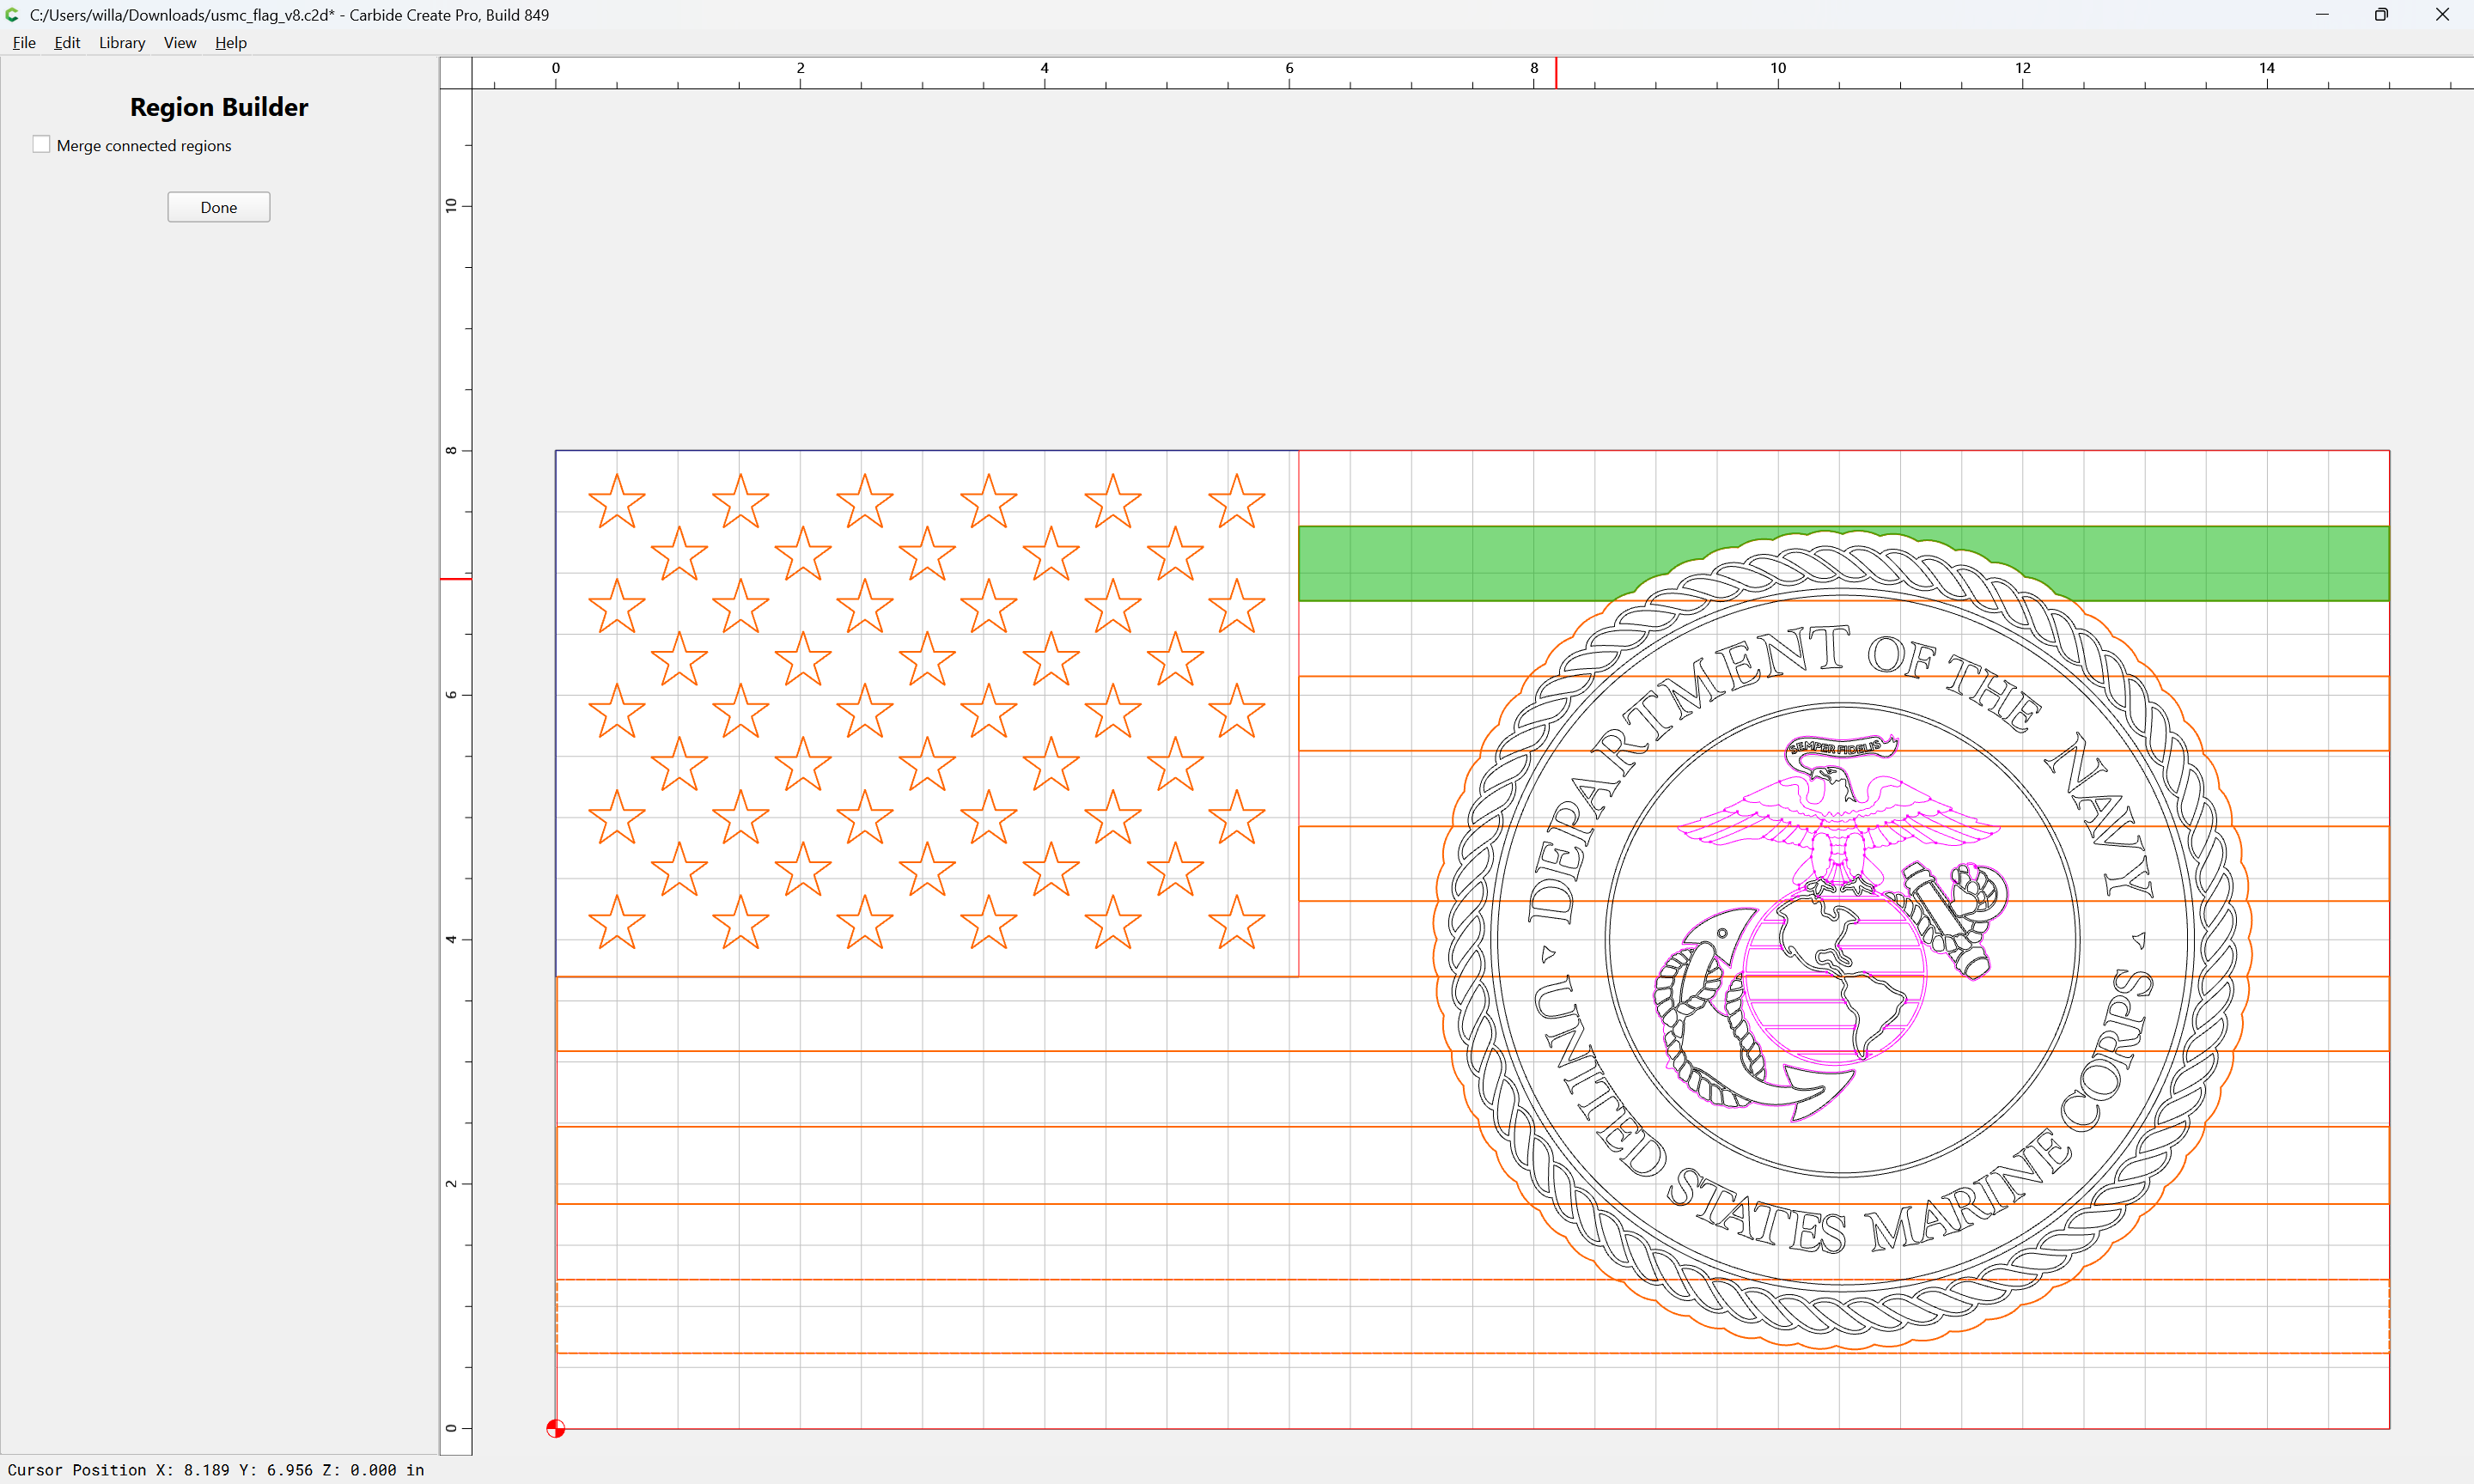
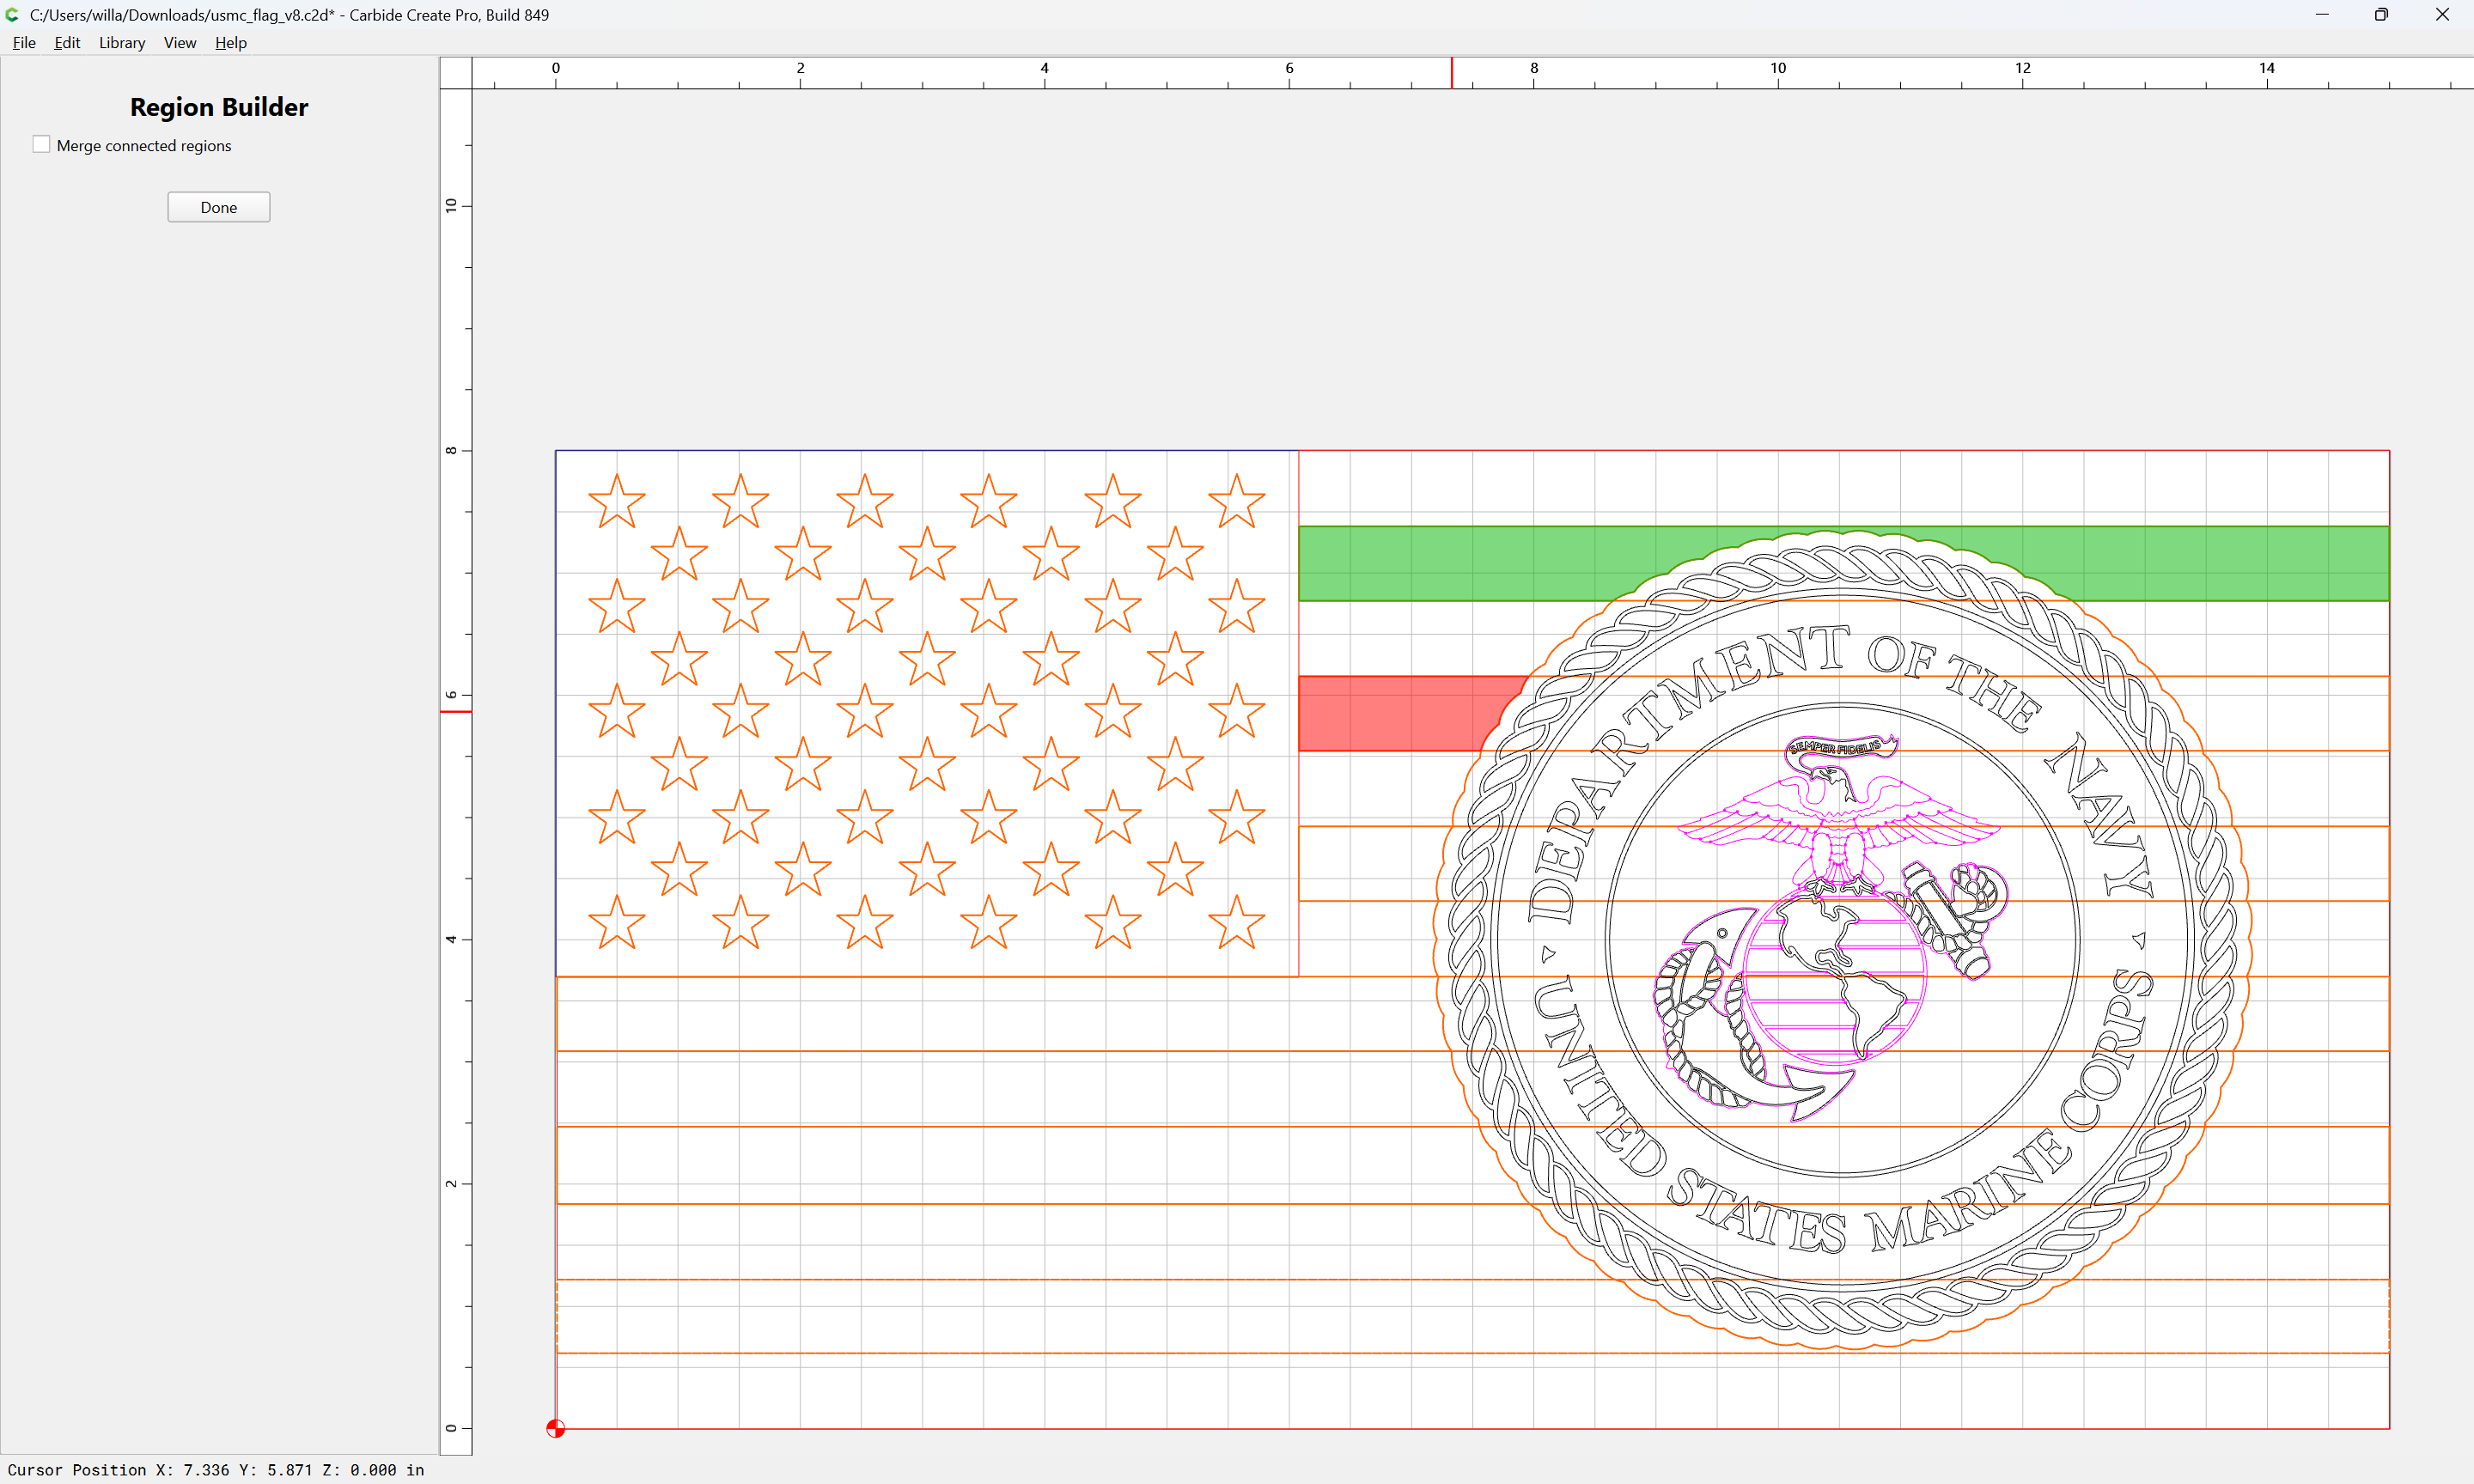
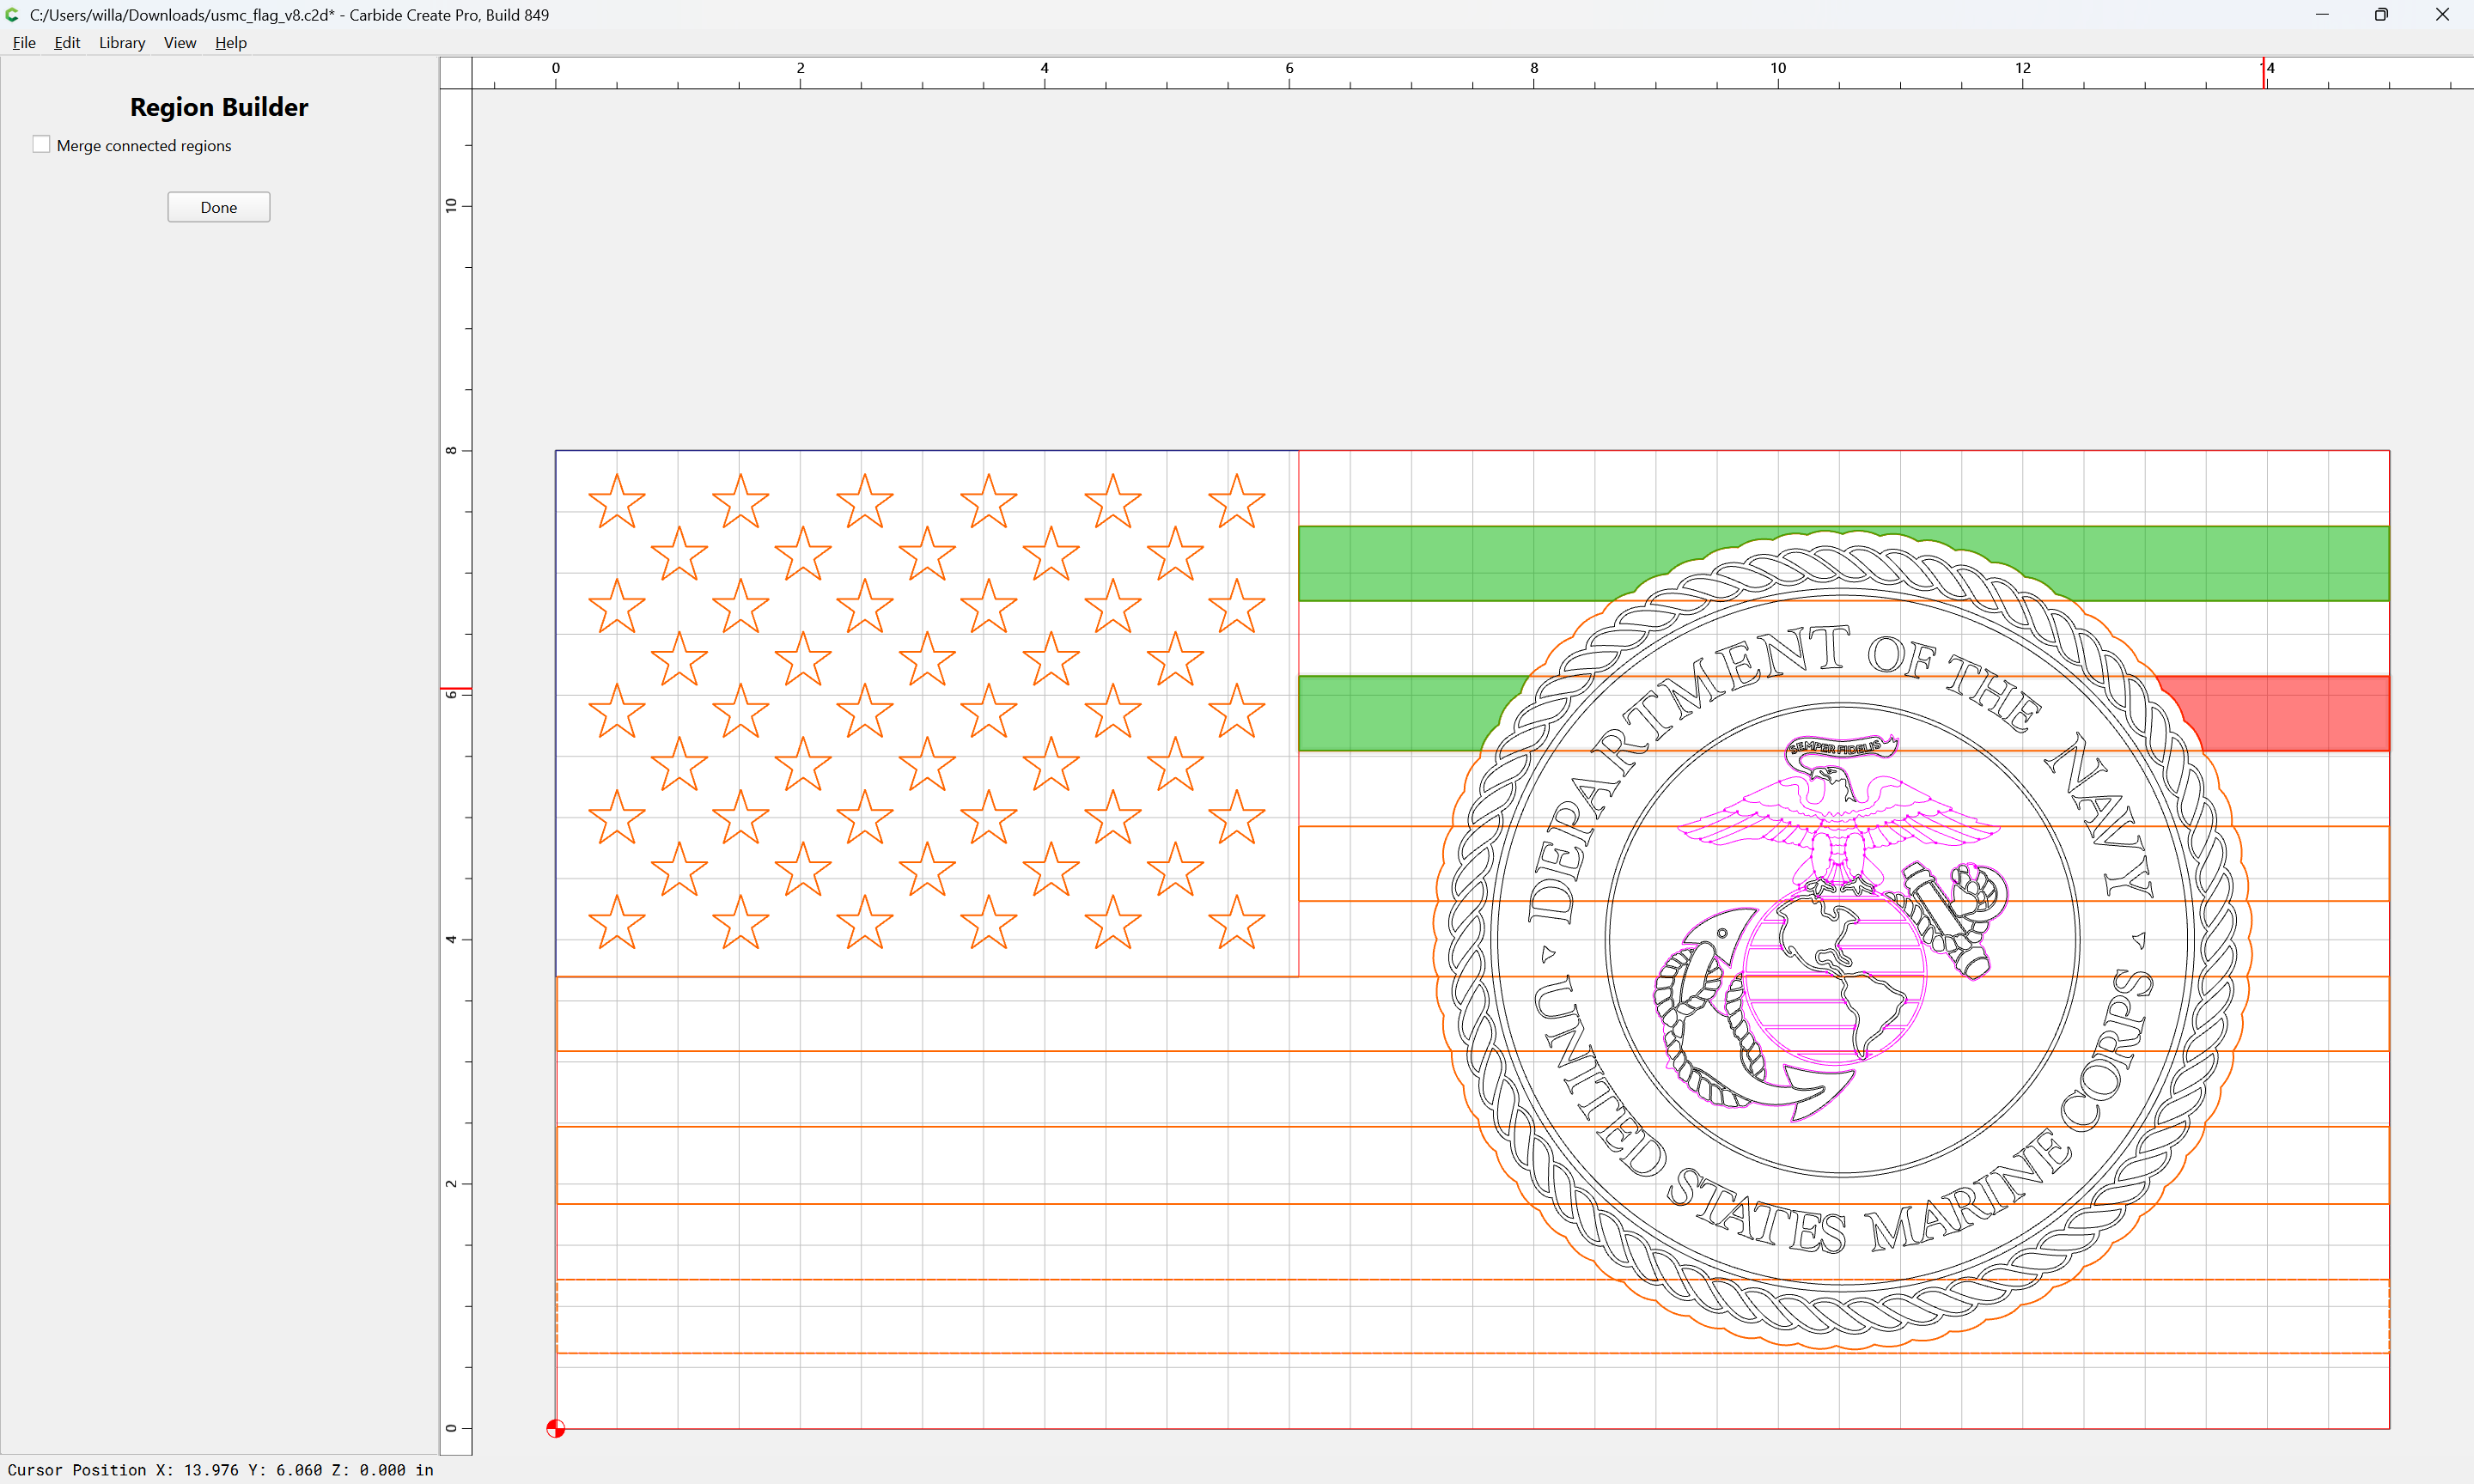
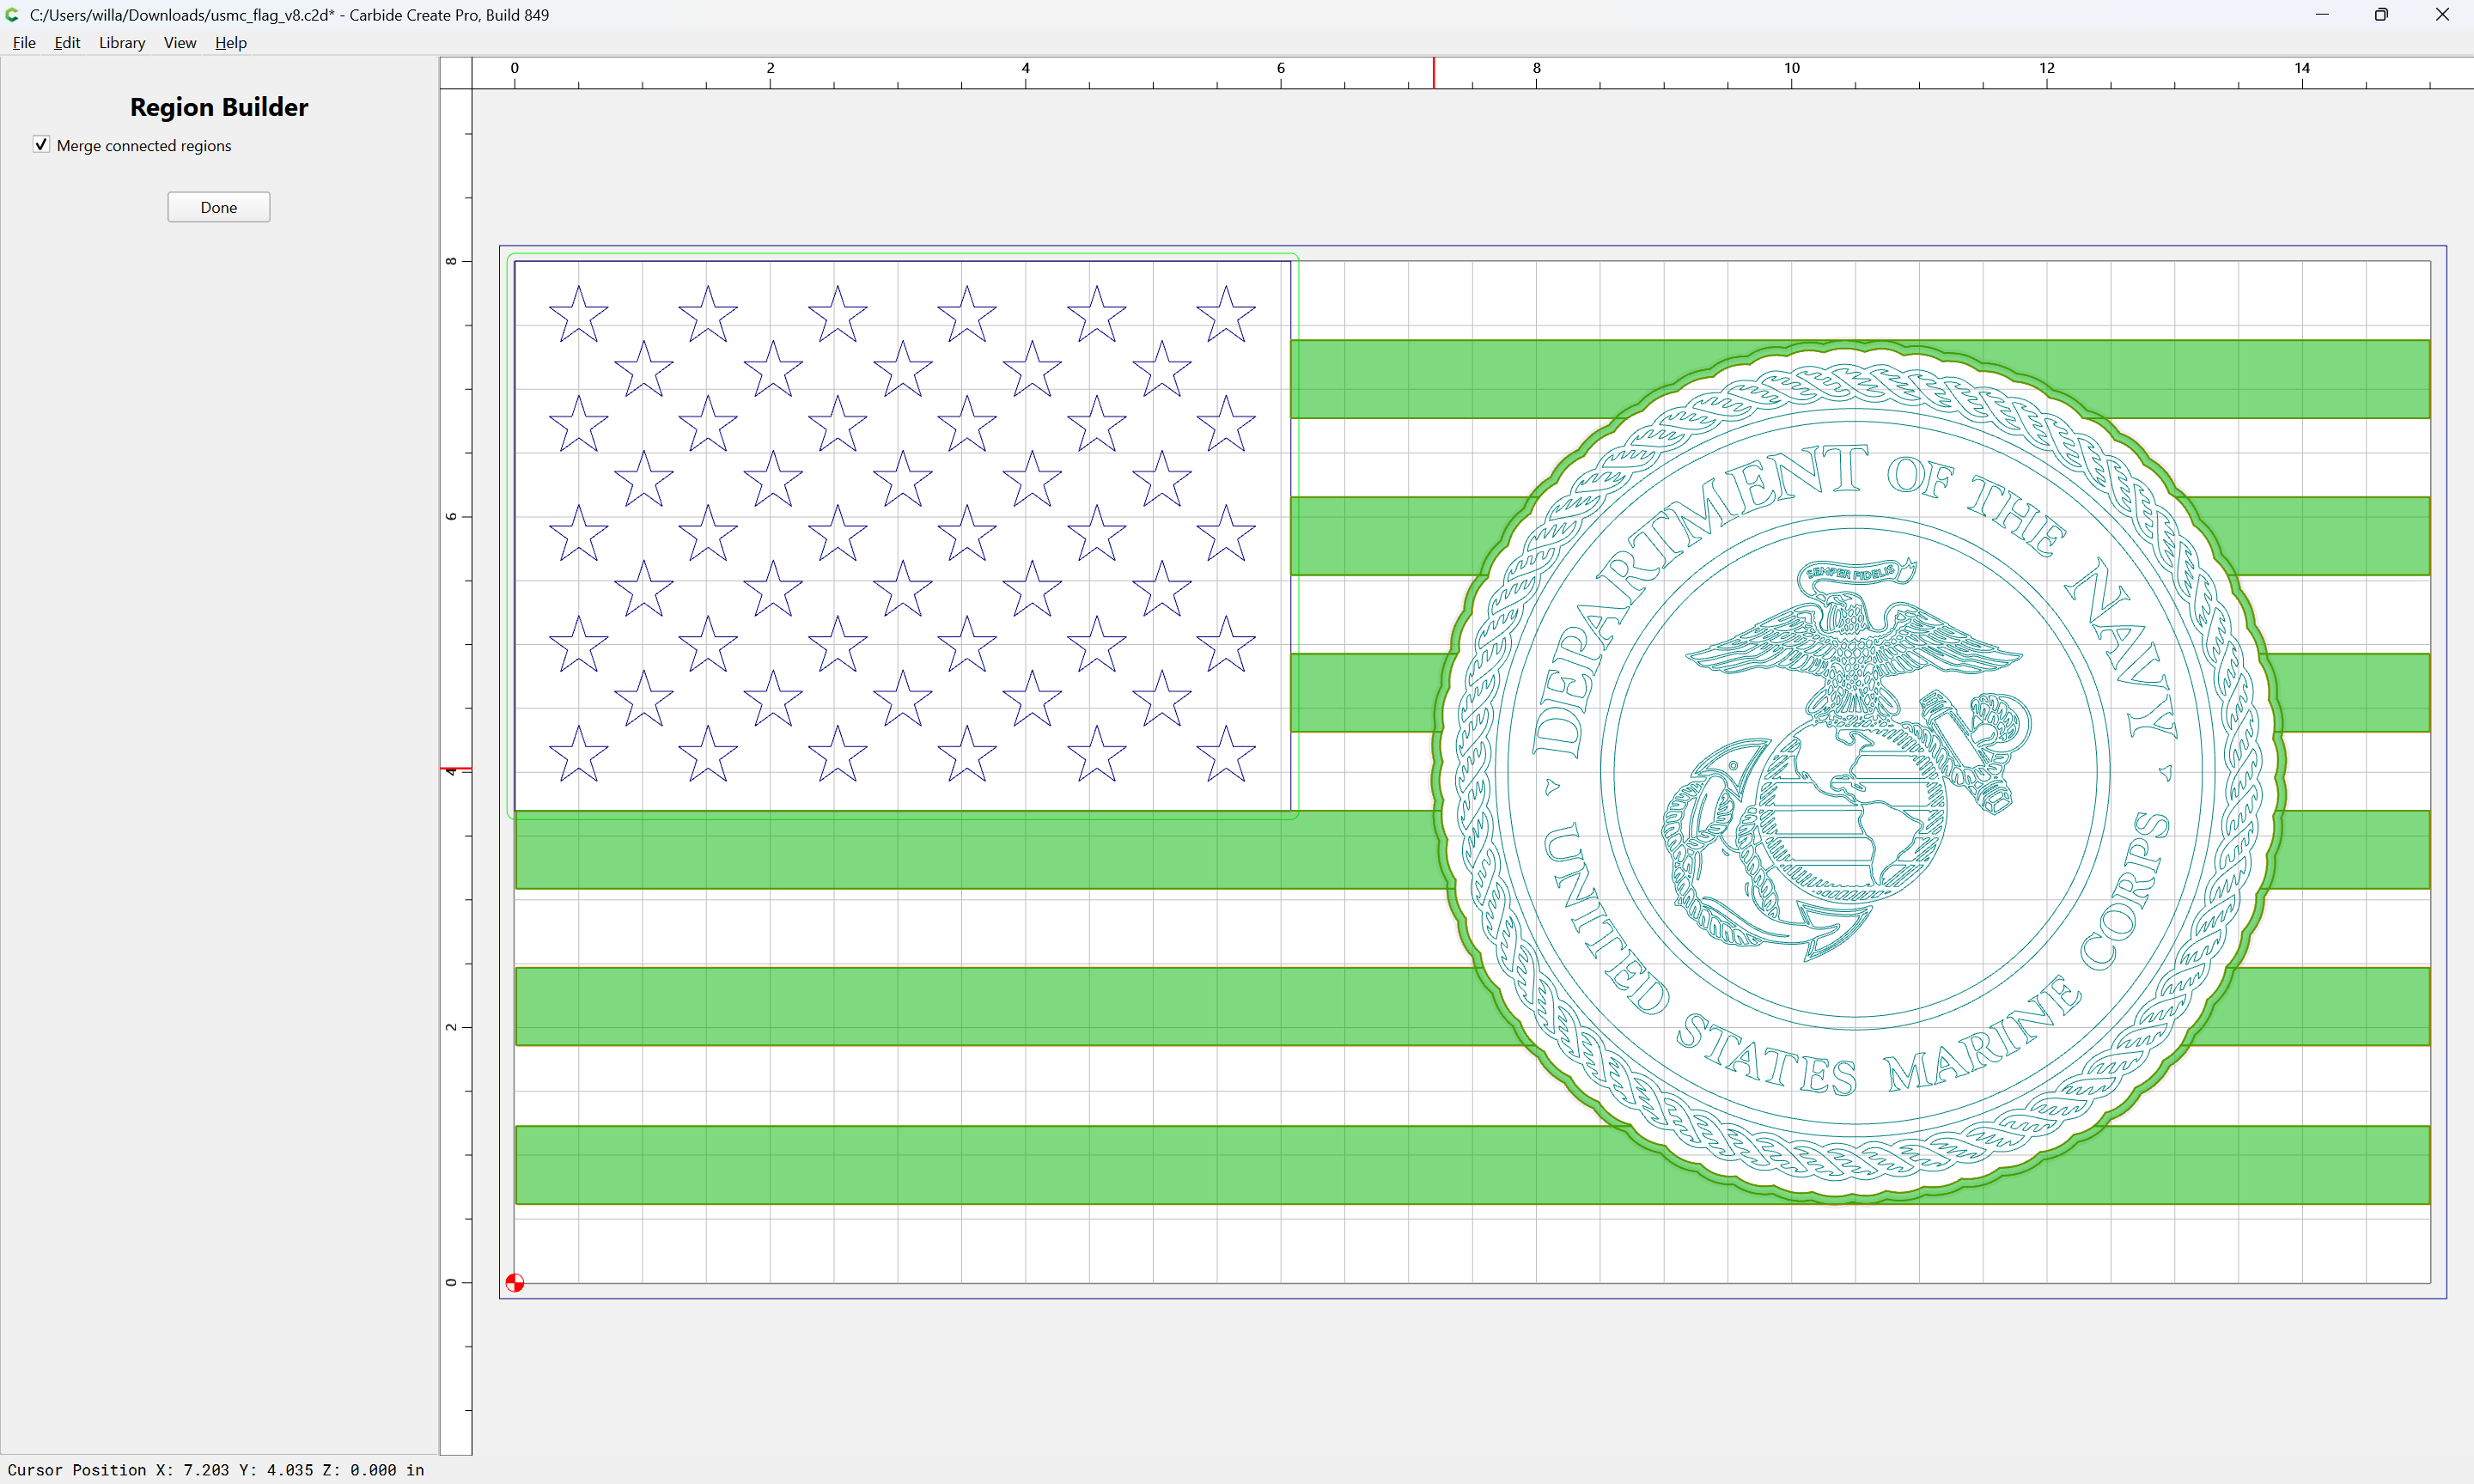
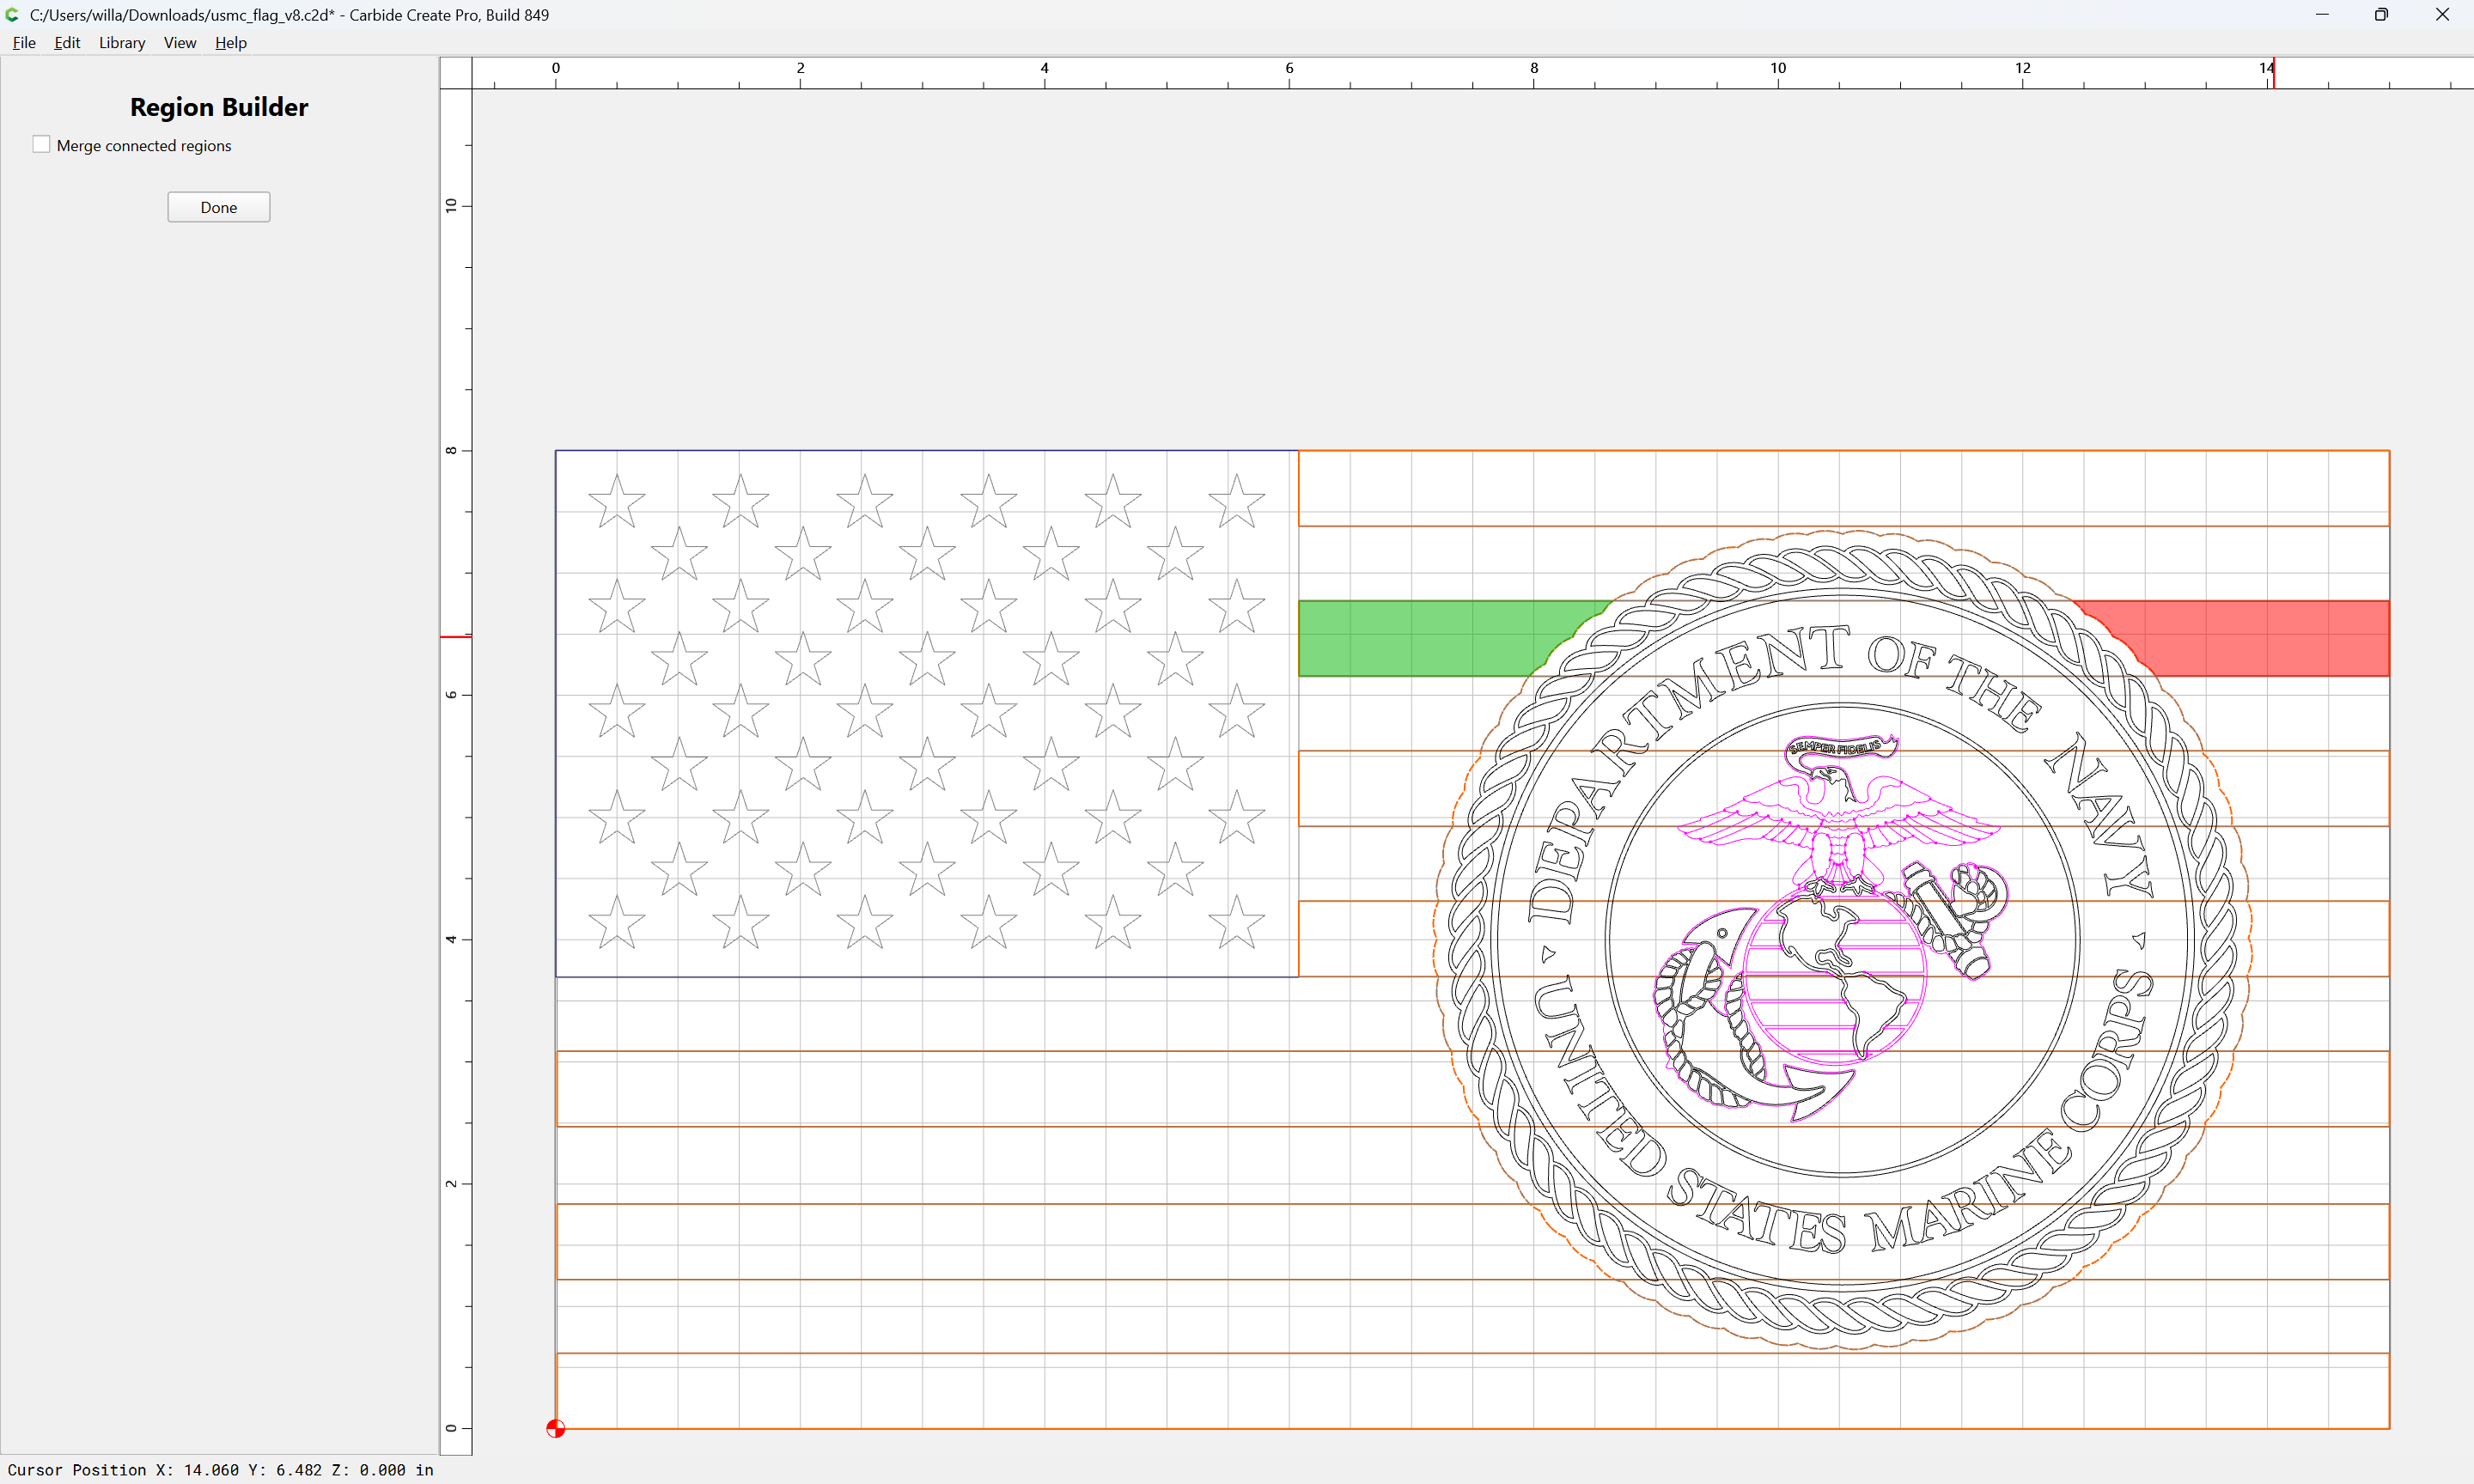
repeating until one arrives at:
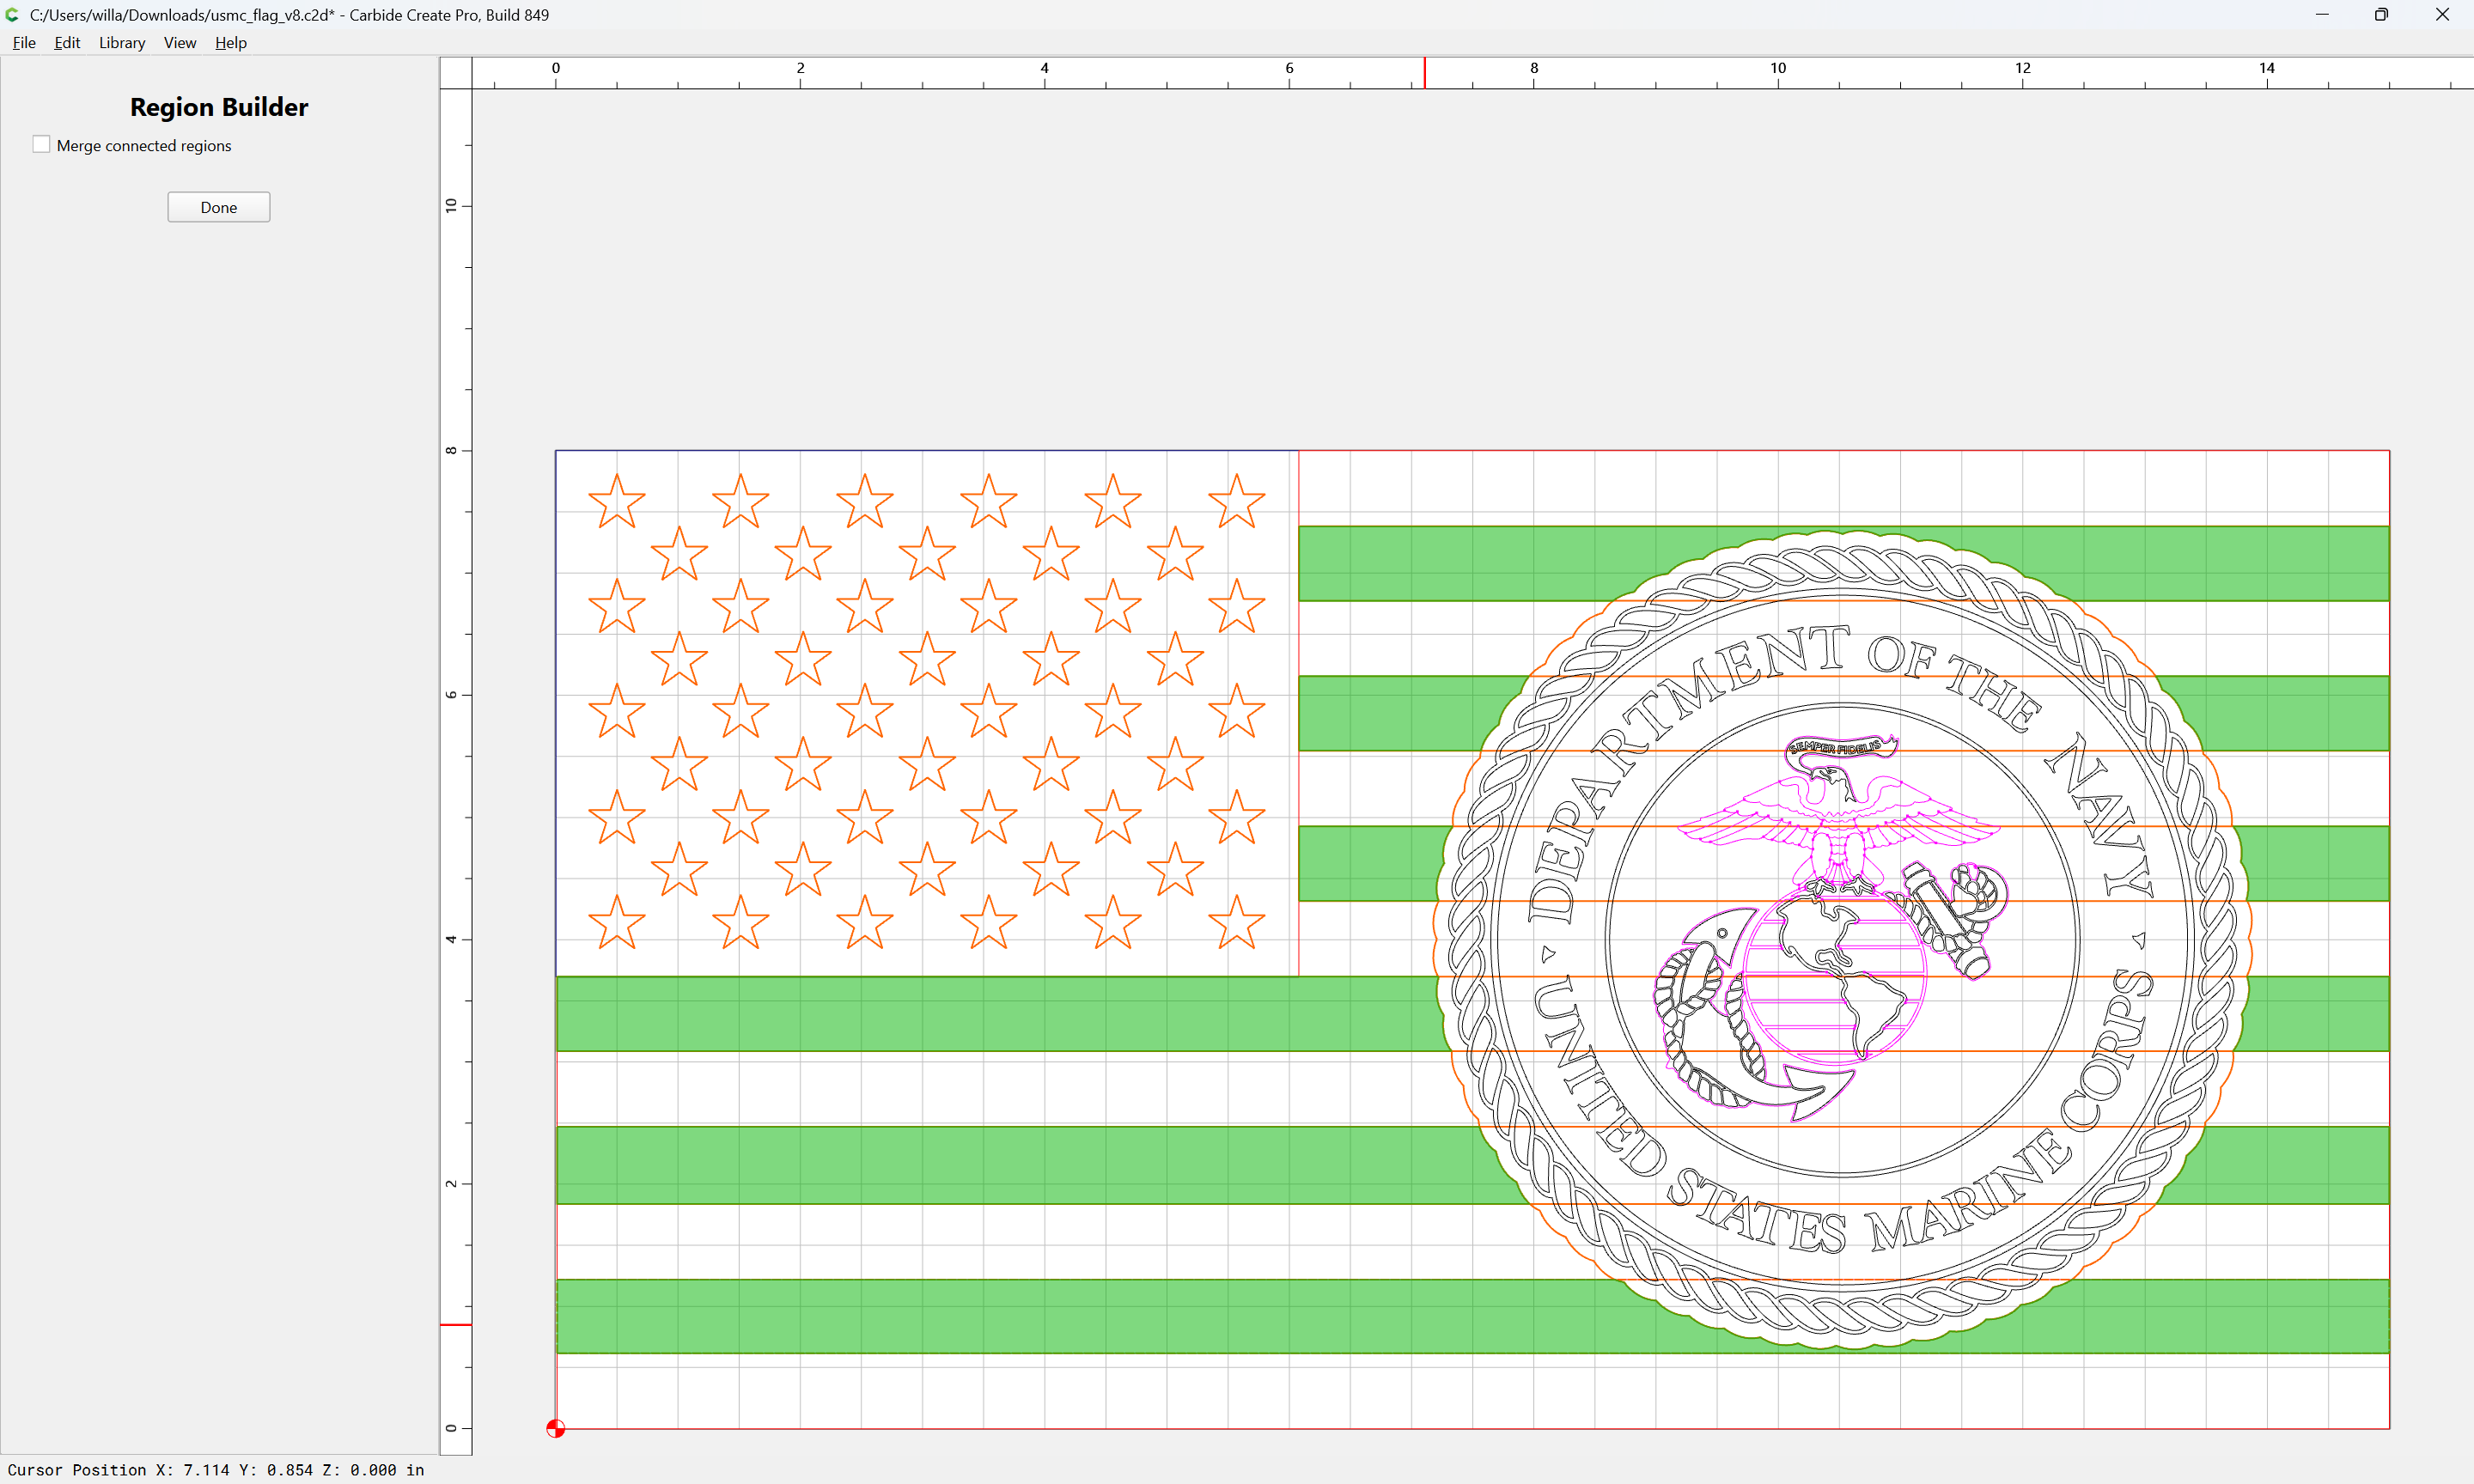
Done
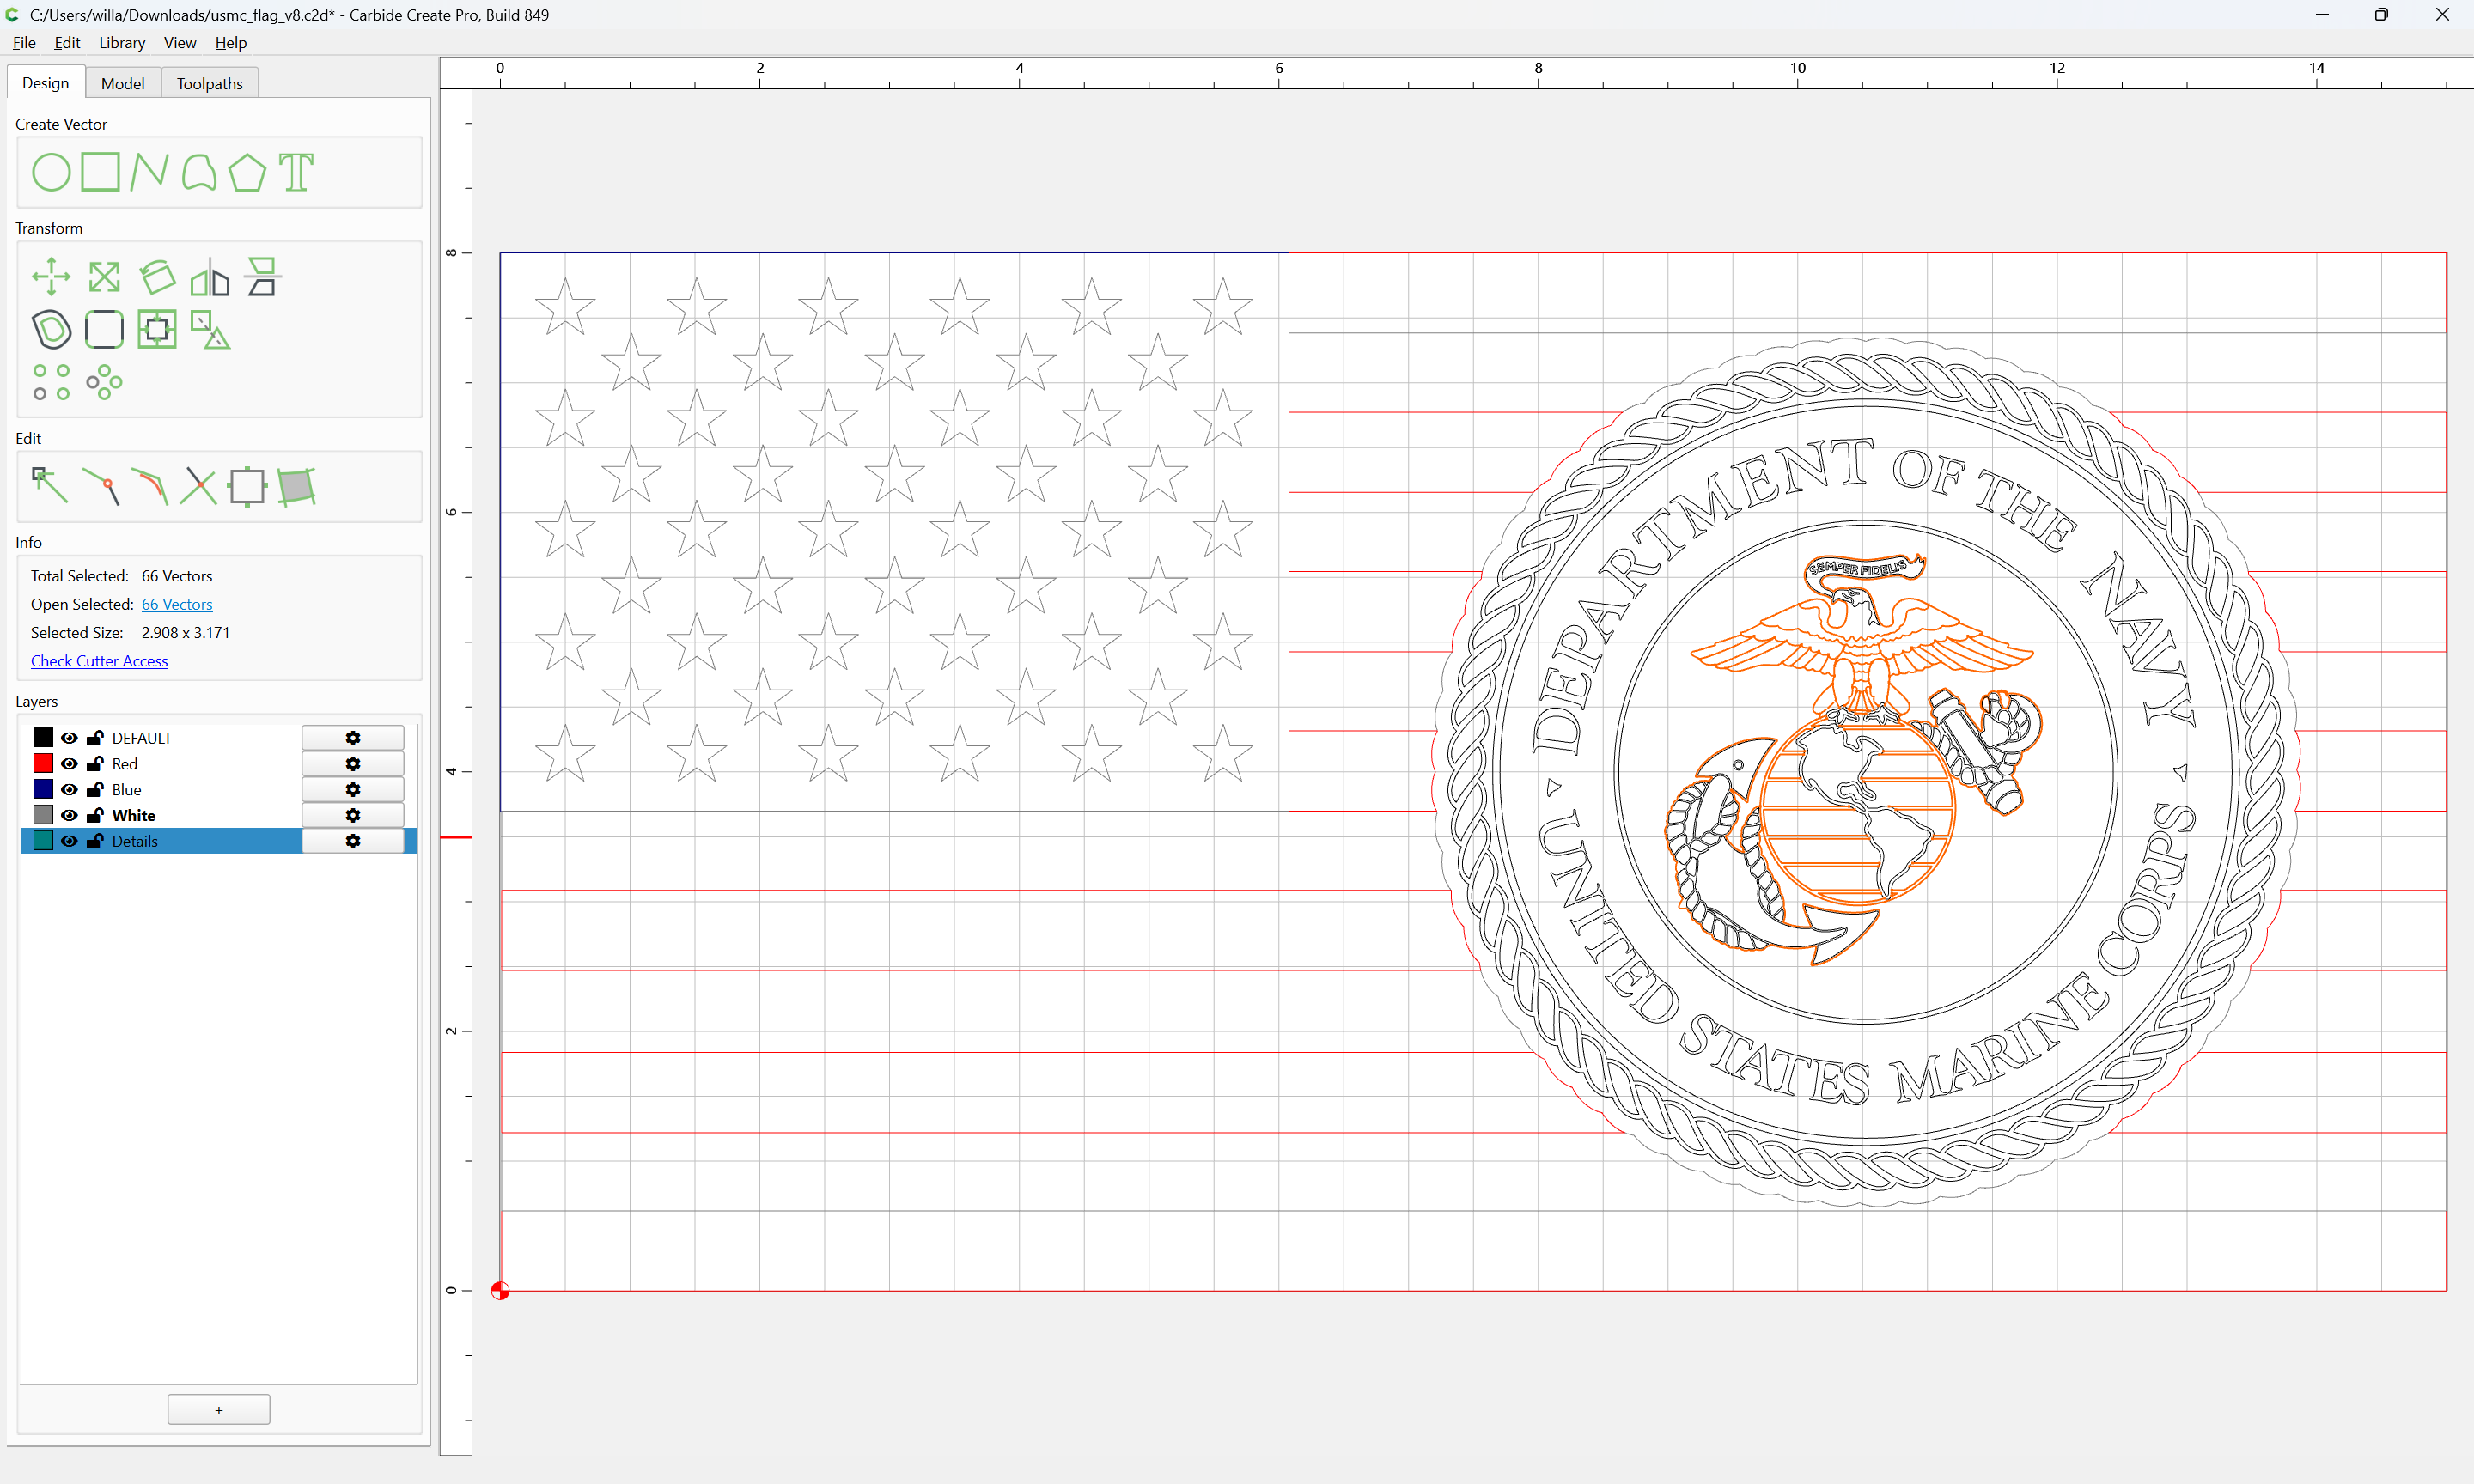
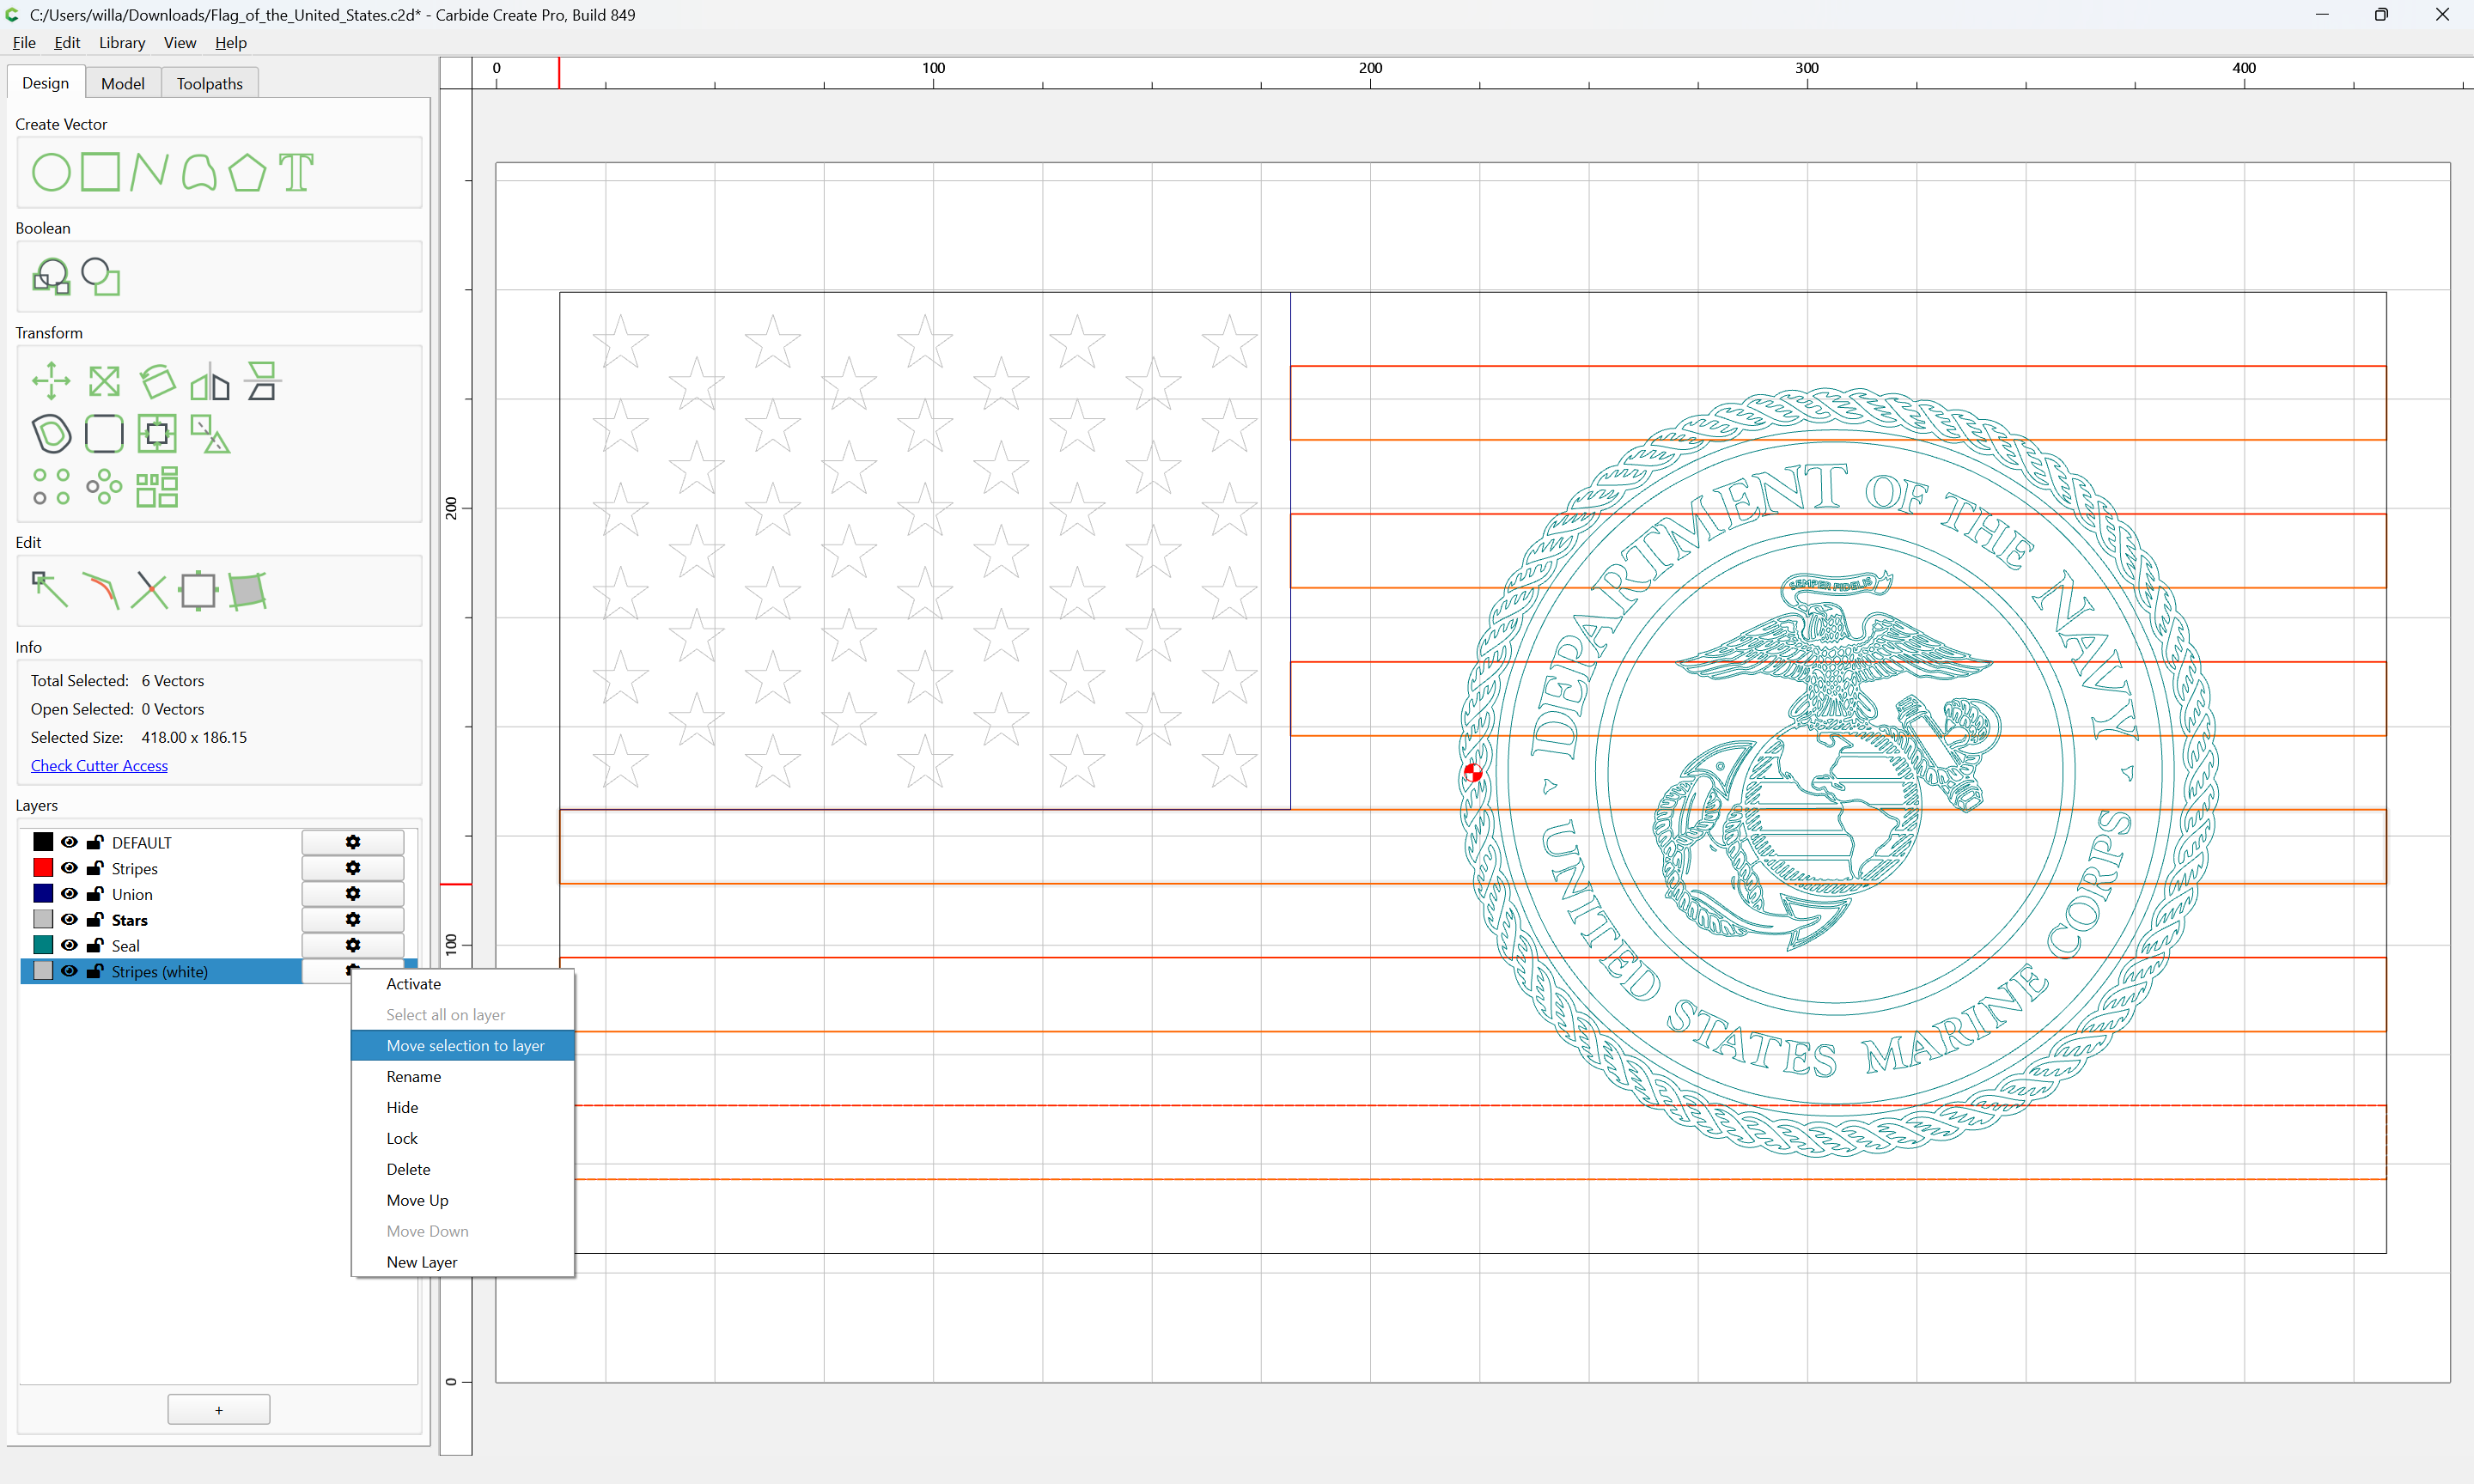
If one forgot to double-click on the matching layer to make it active, move the geometry to that layer:
Repeat for the other set of stripes:

Done
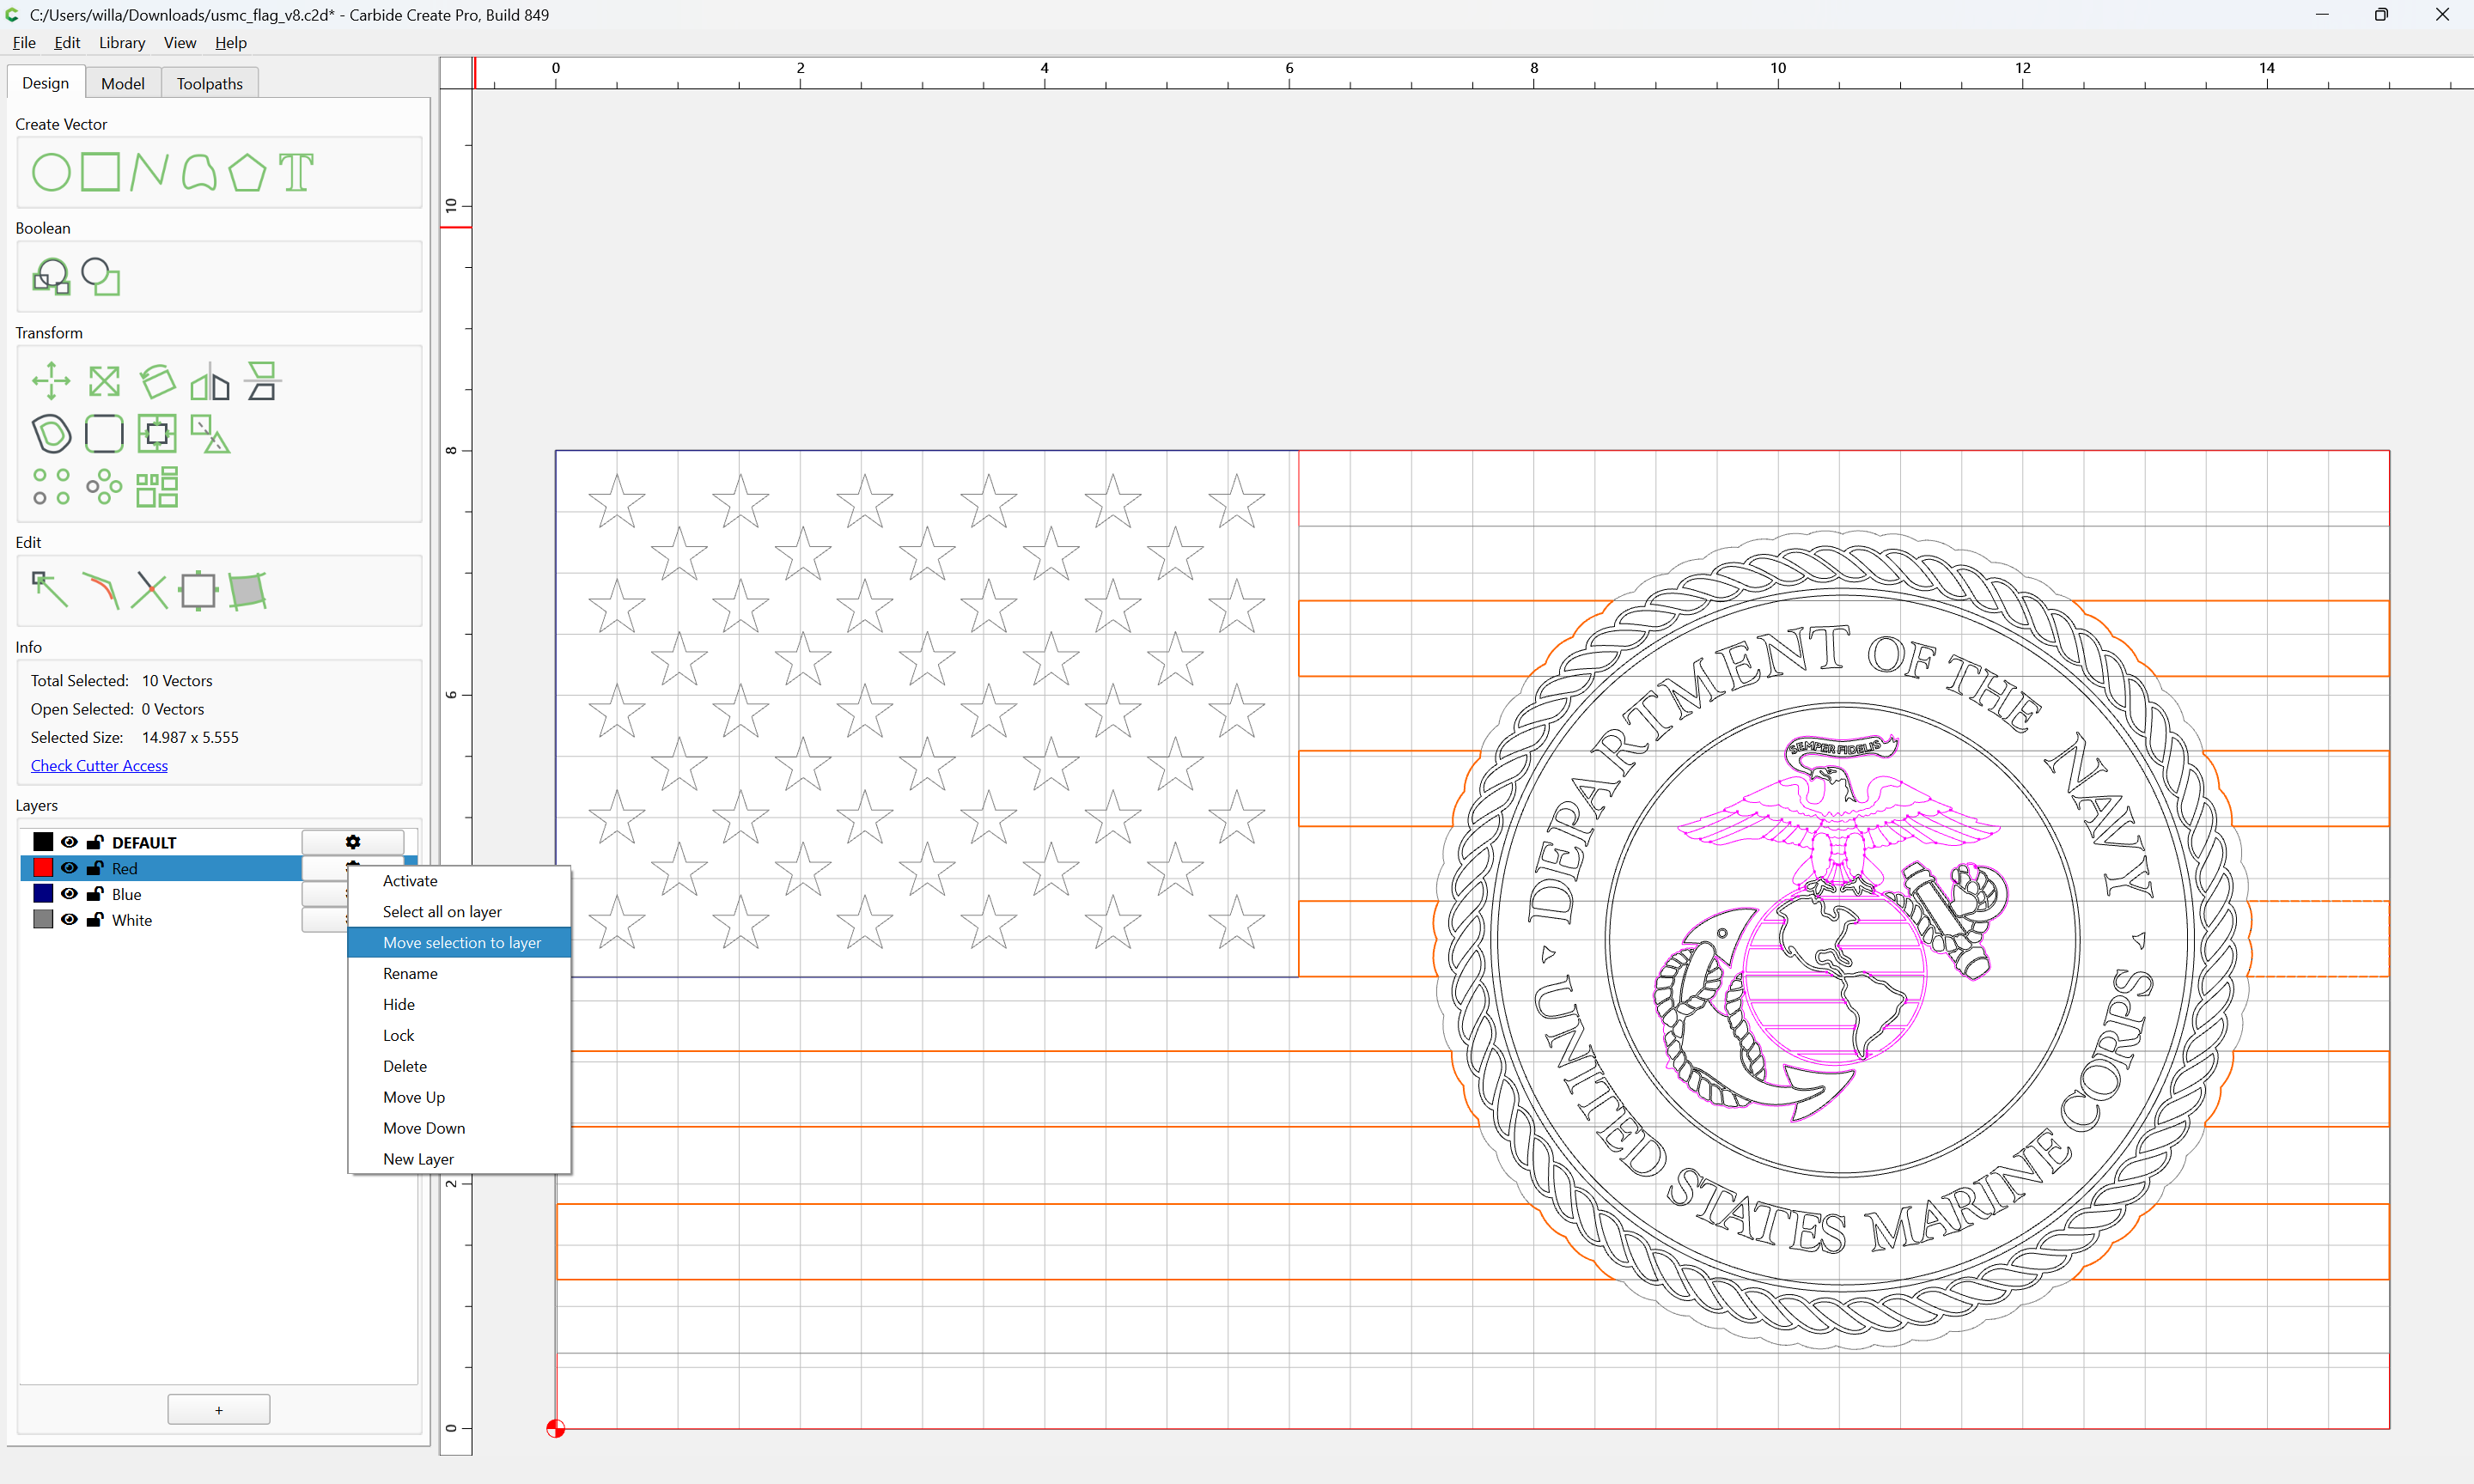
if necessary, Move Selection to Layer
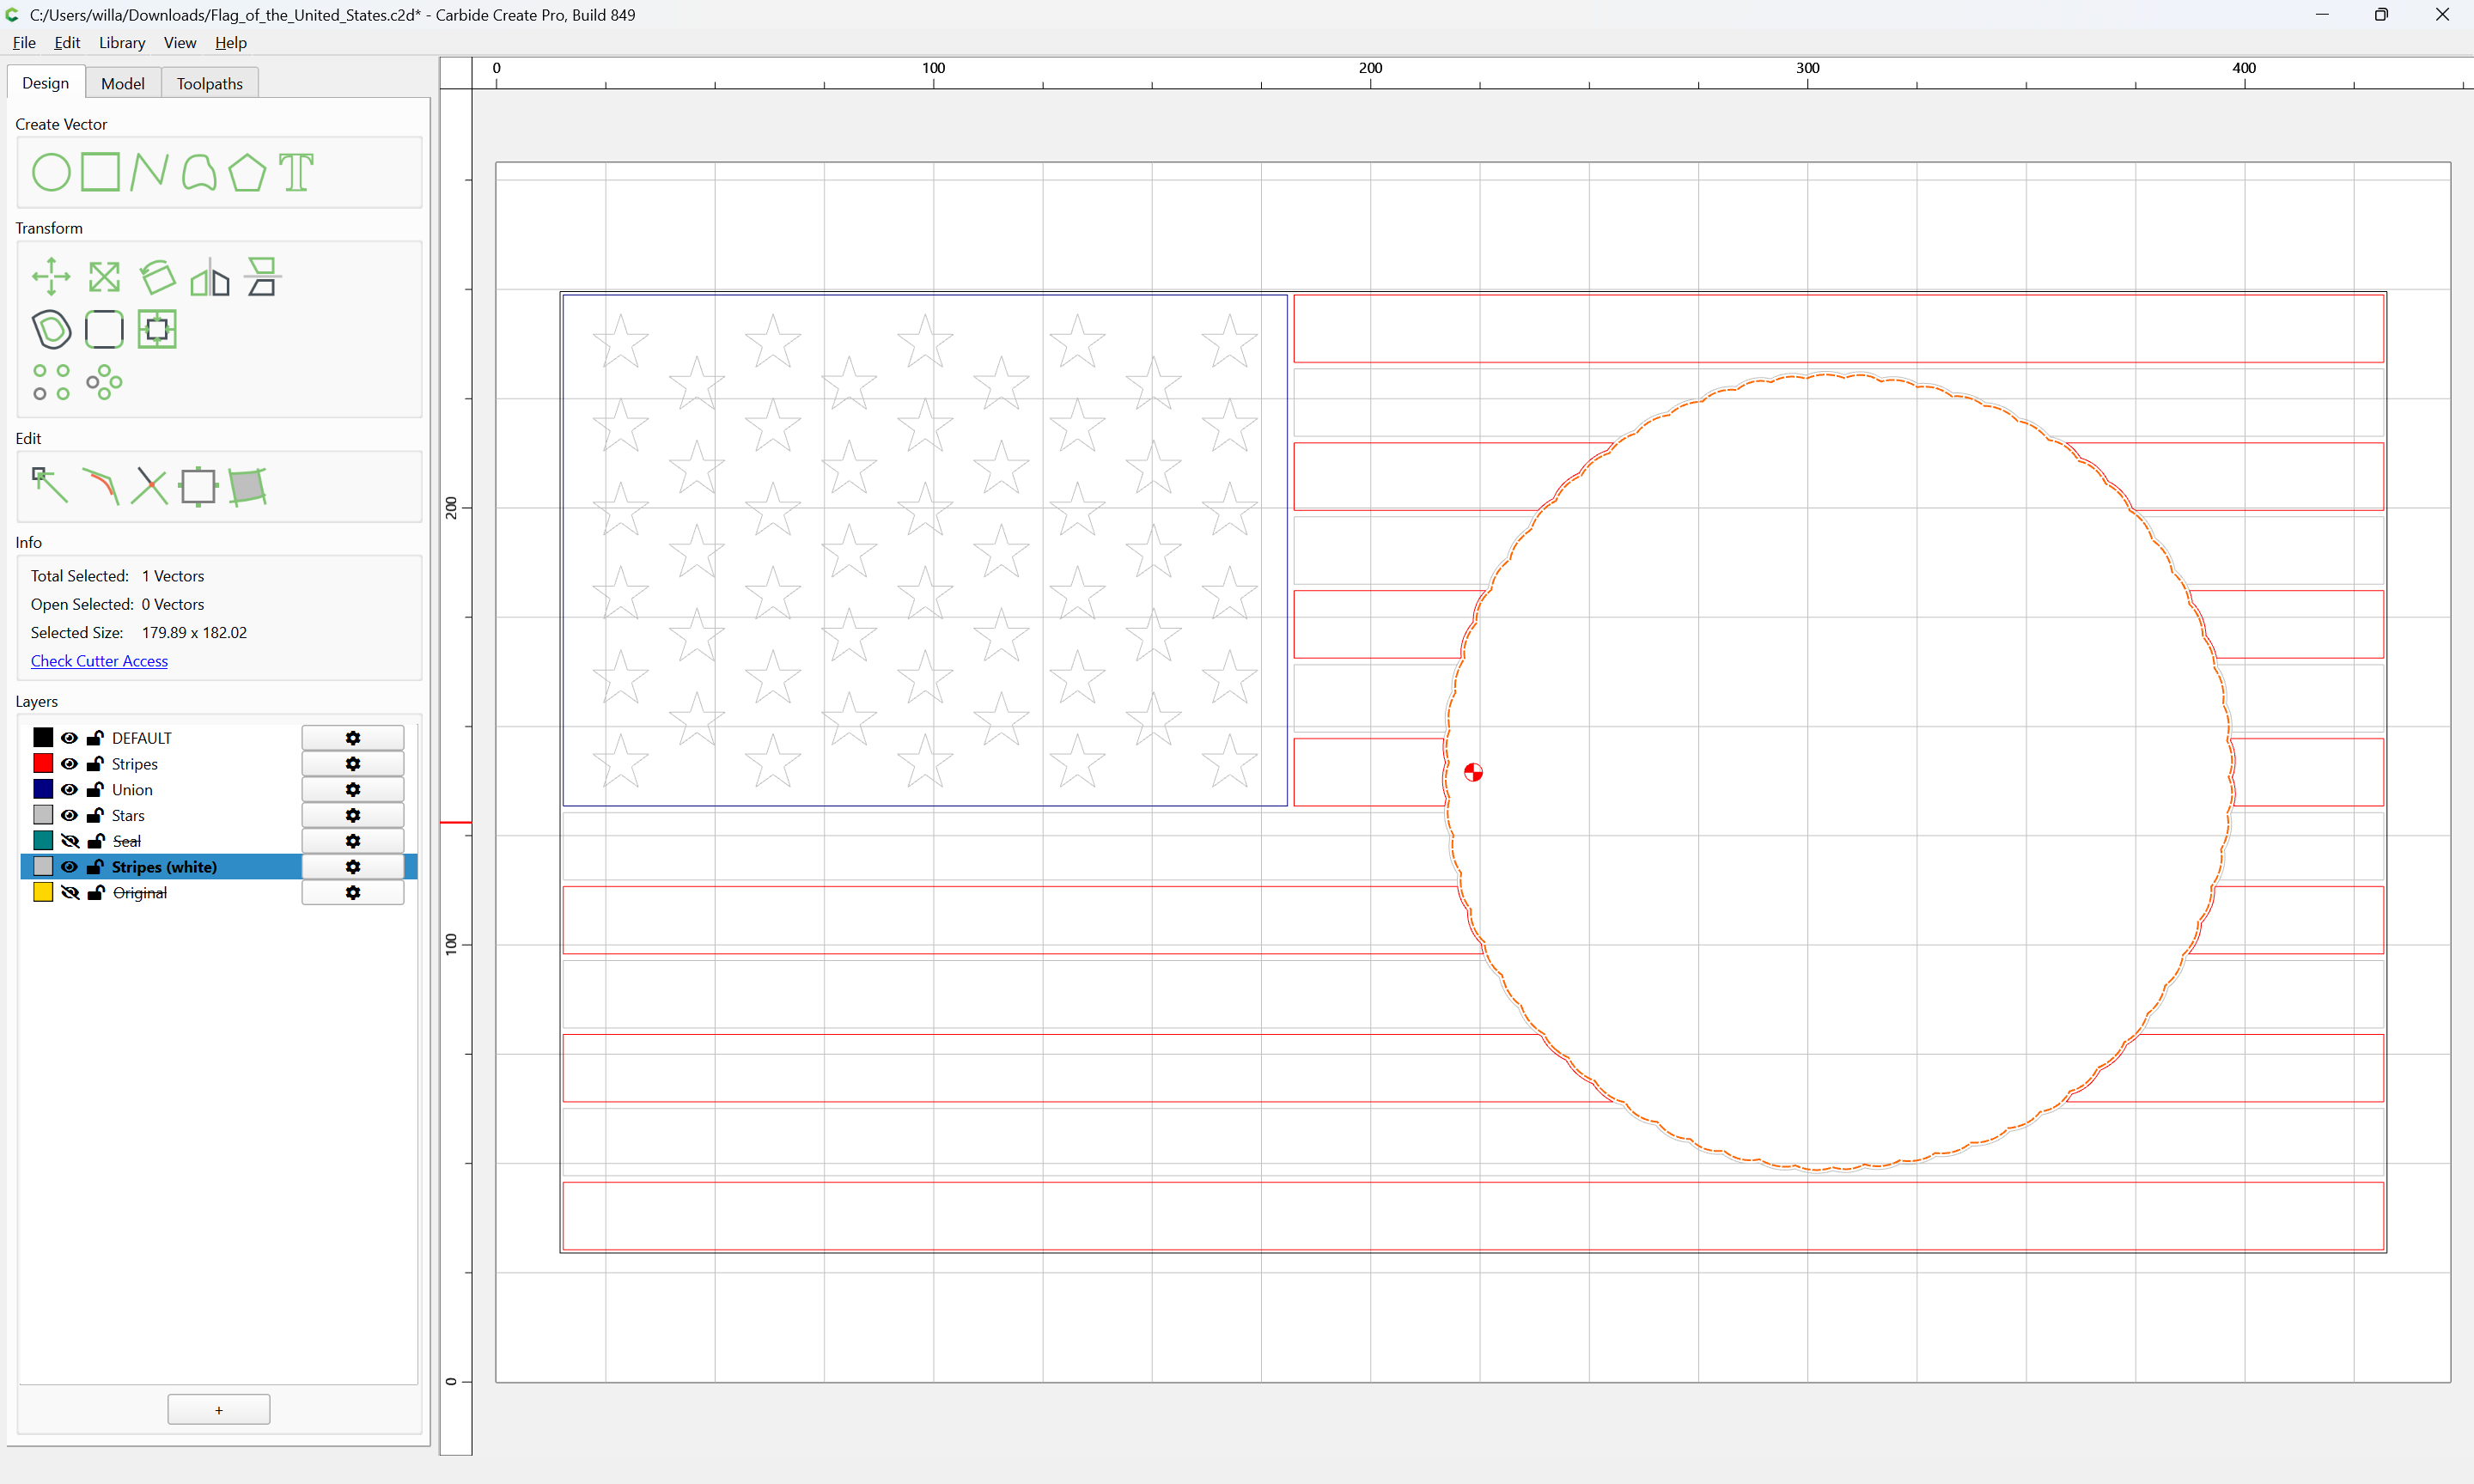
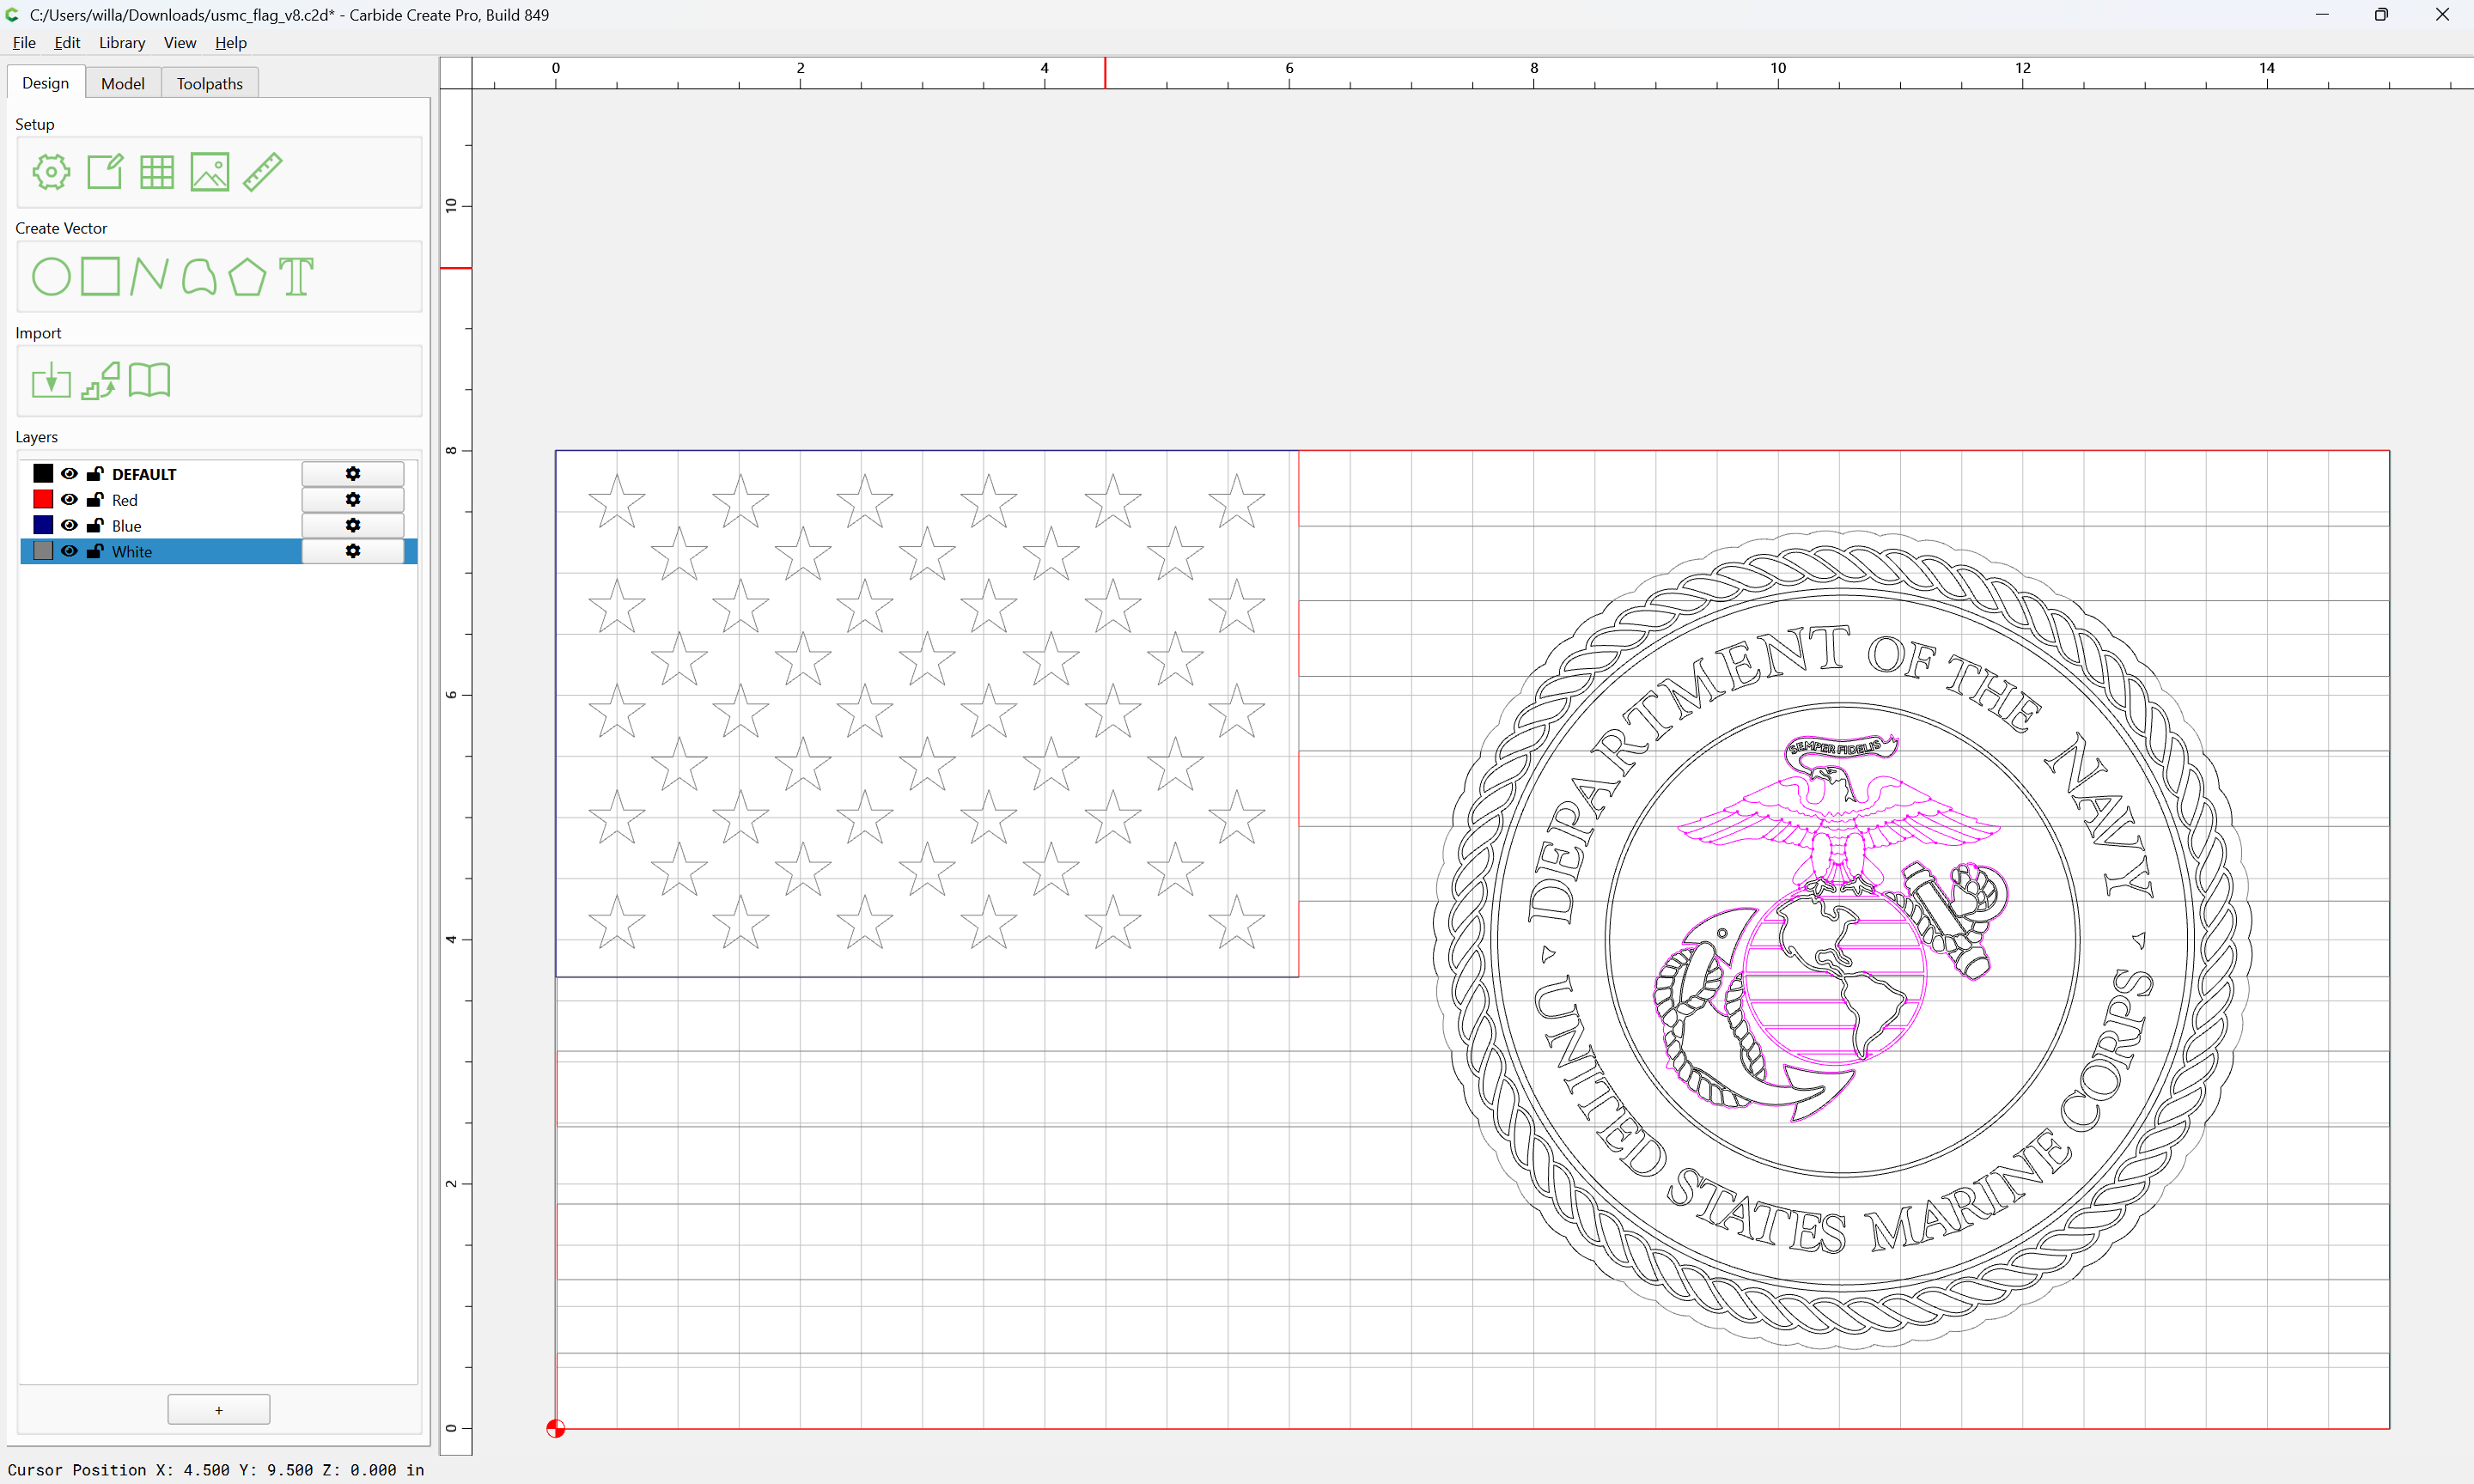
Hide all but a single layer:
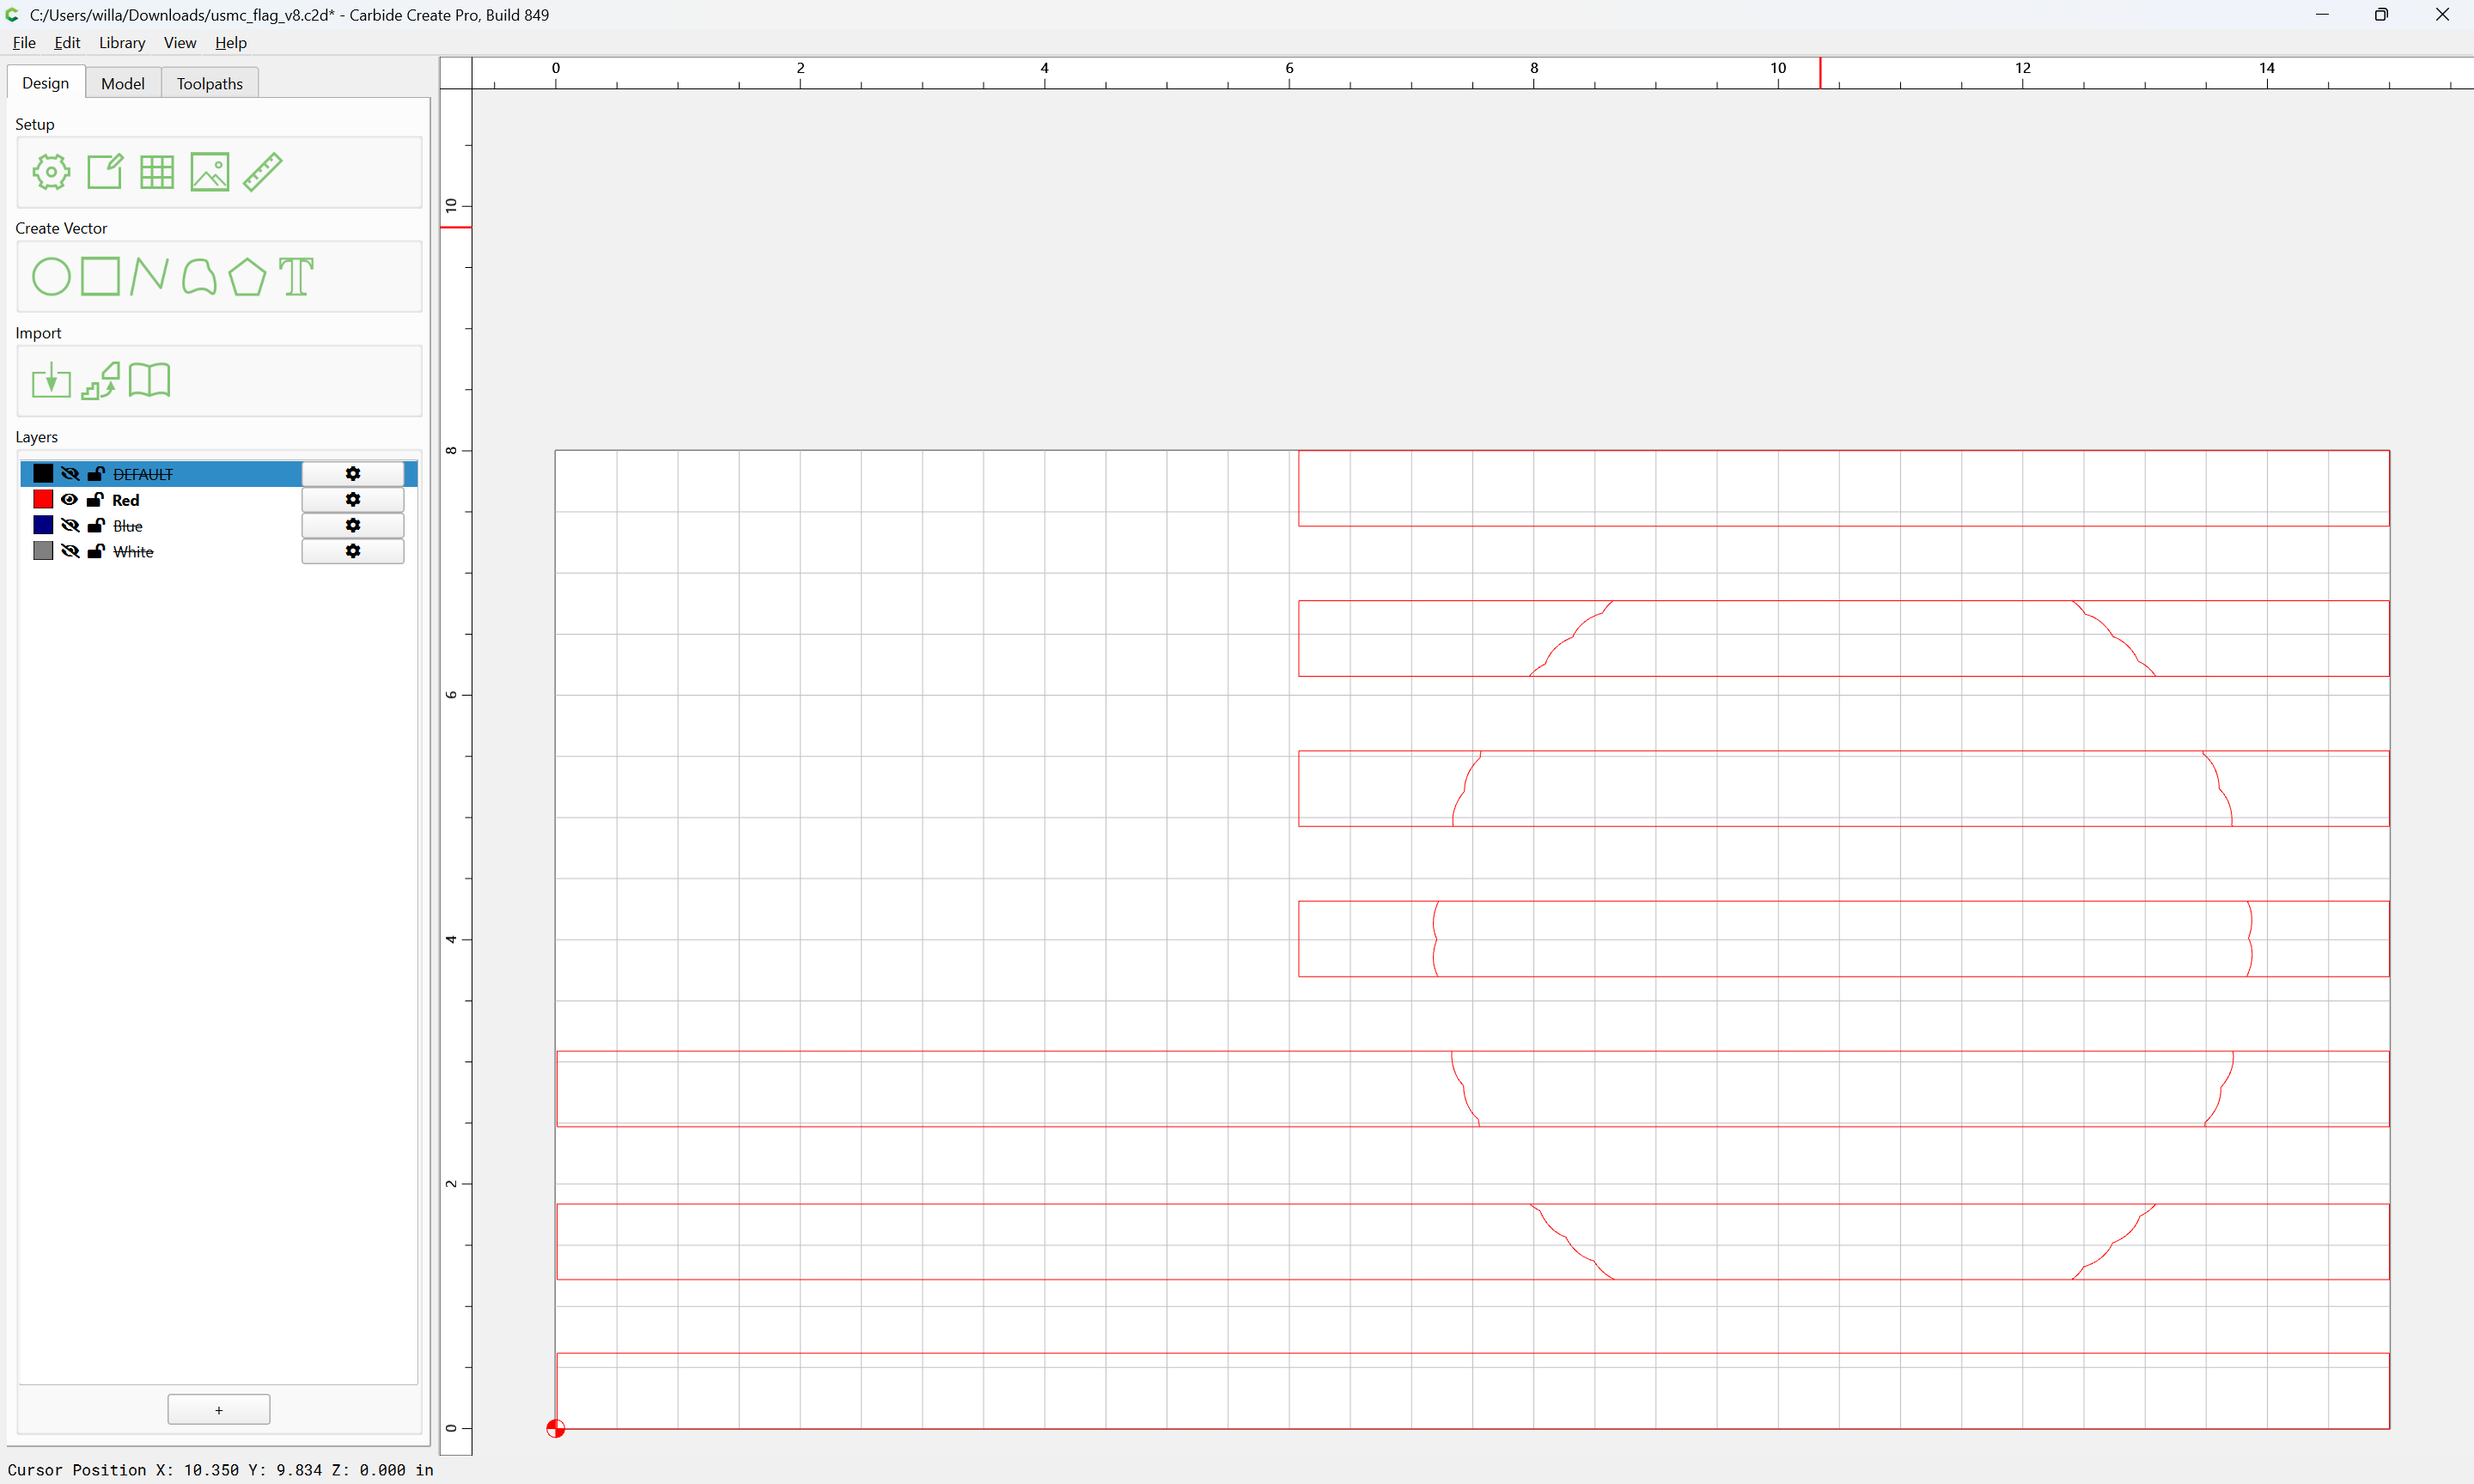
and remove the original stripes which were redundant
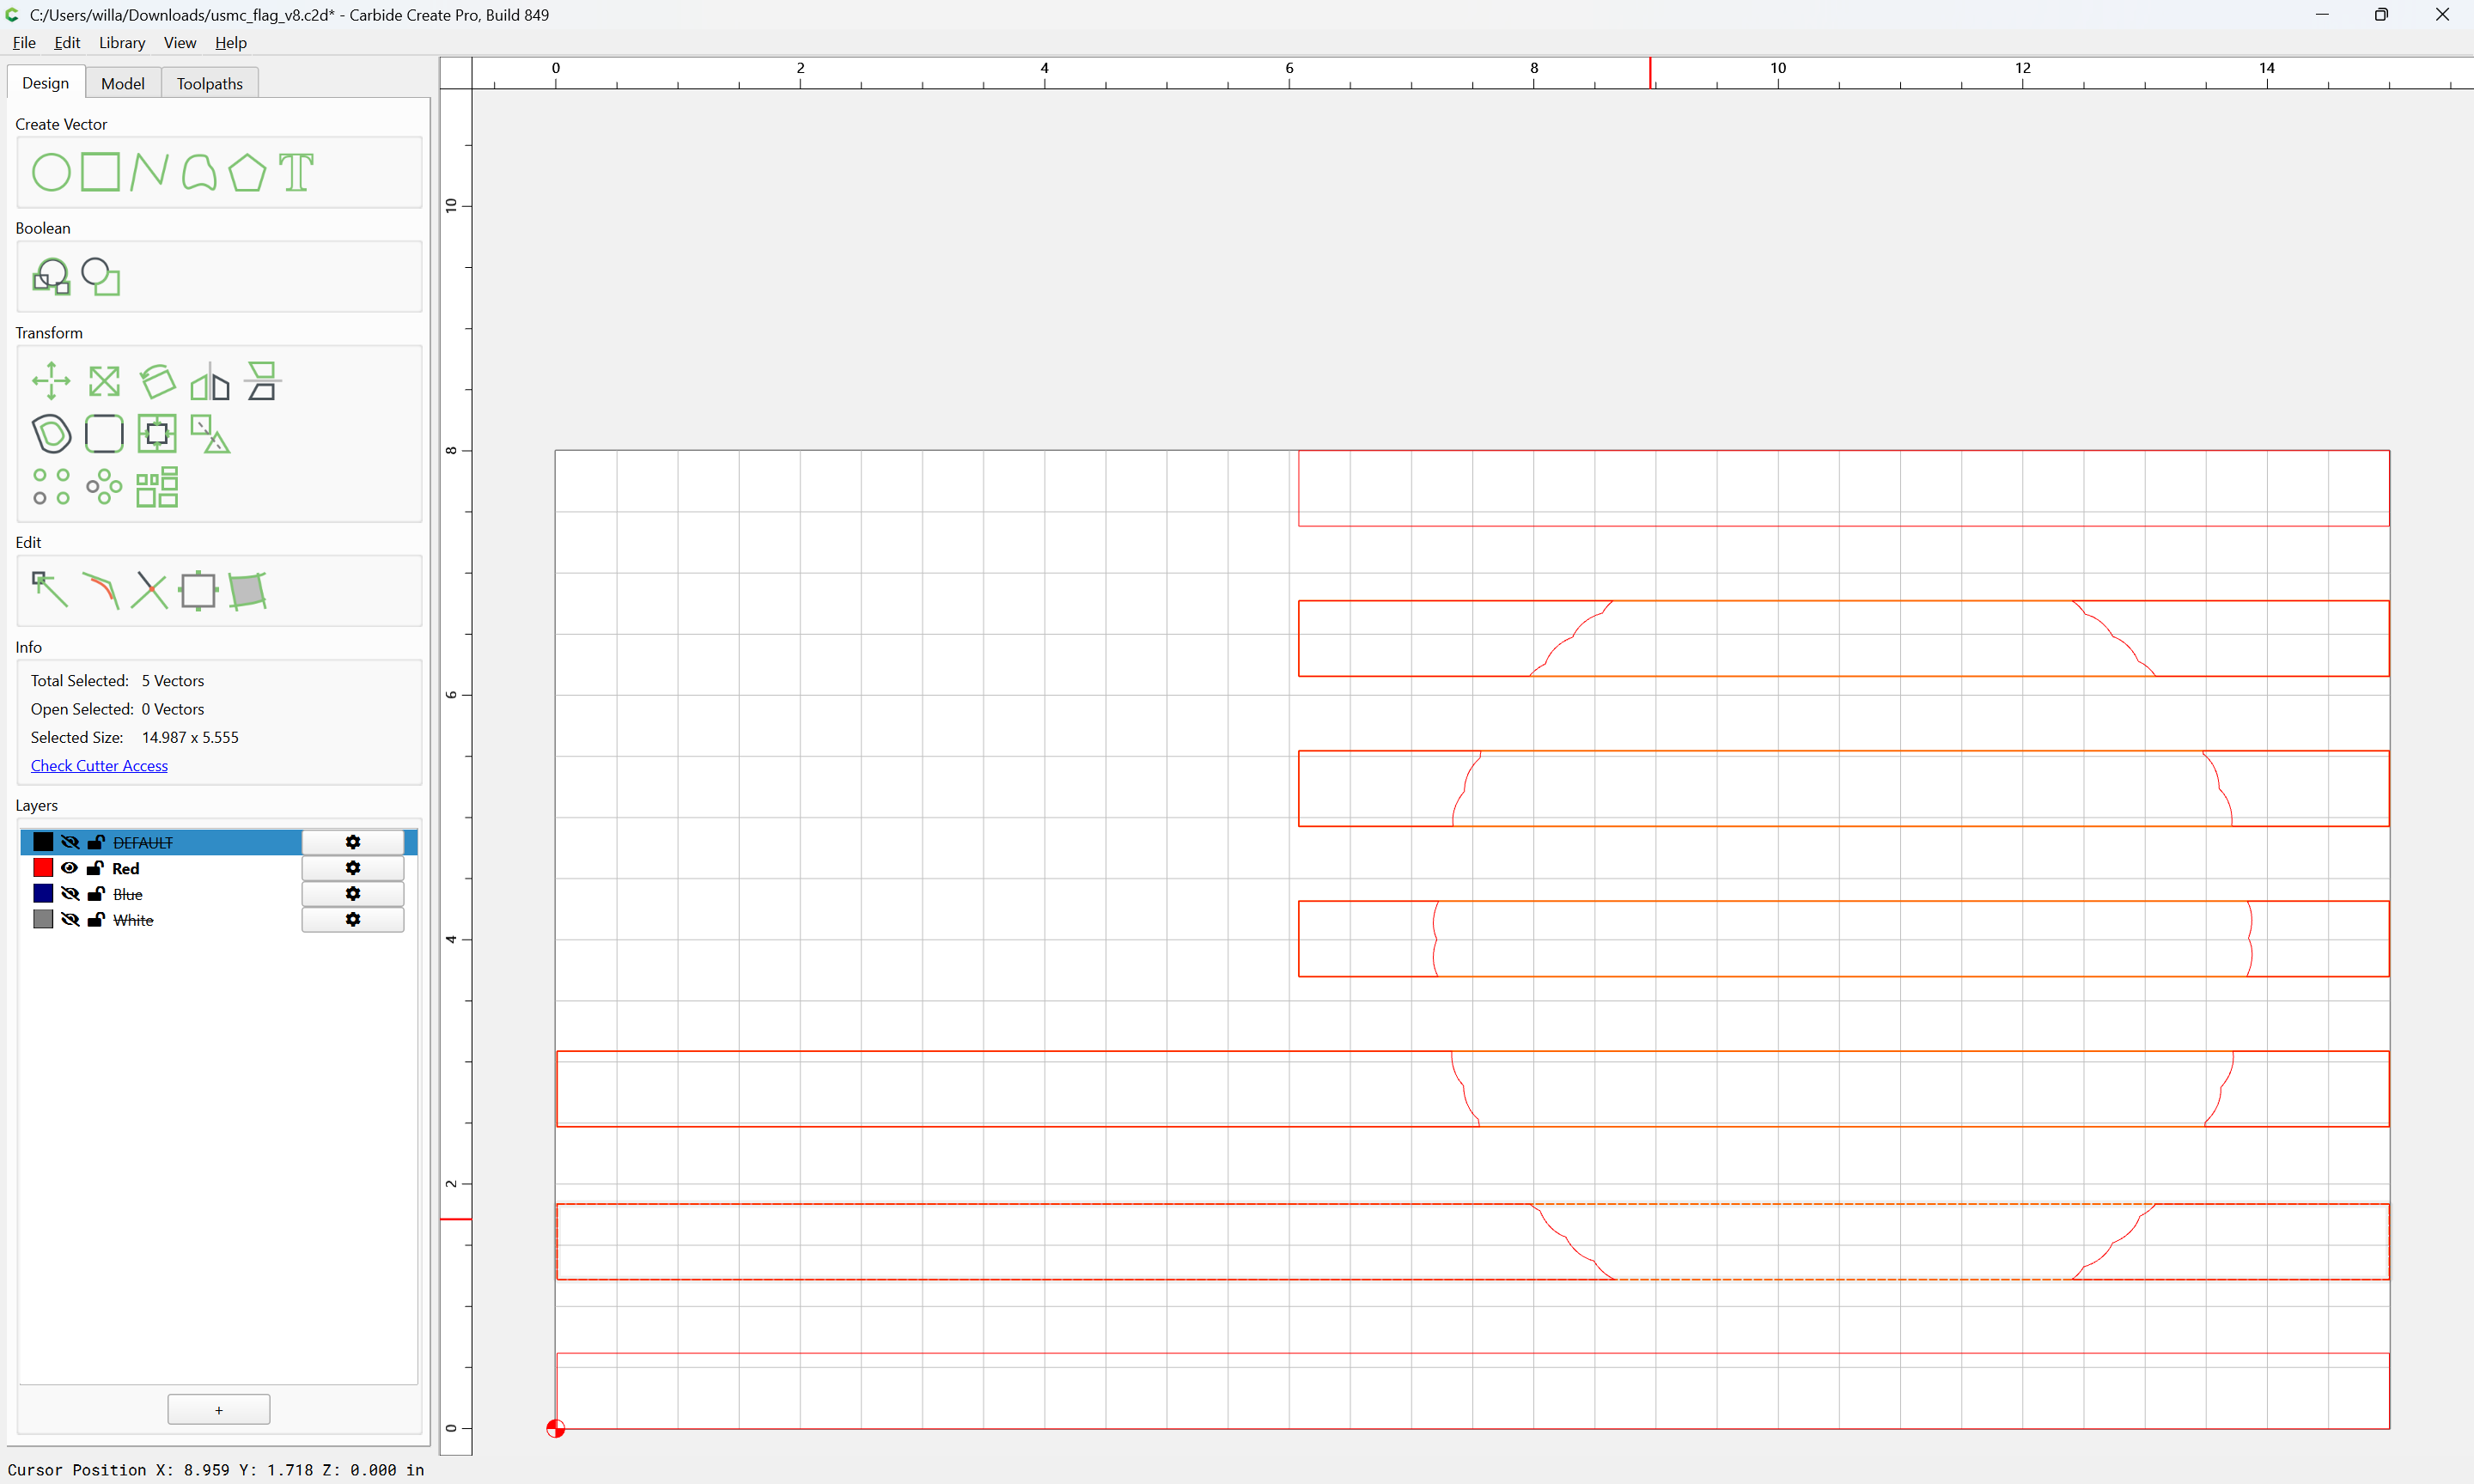

Repeat as needed:


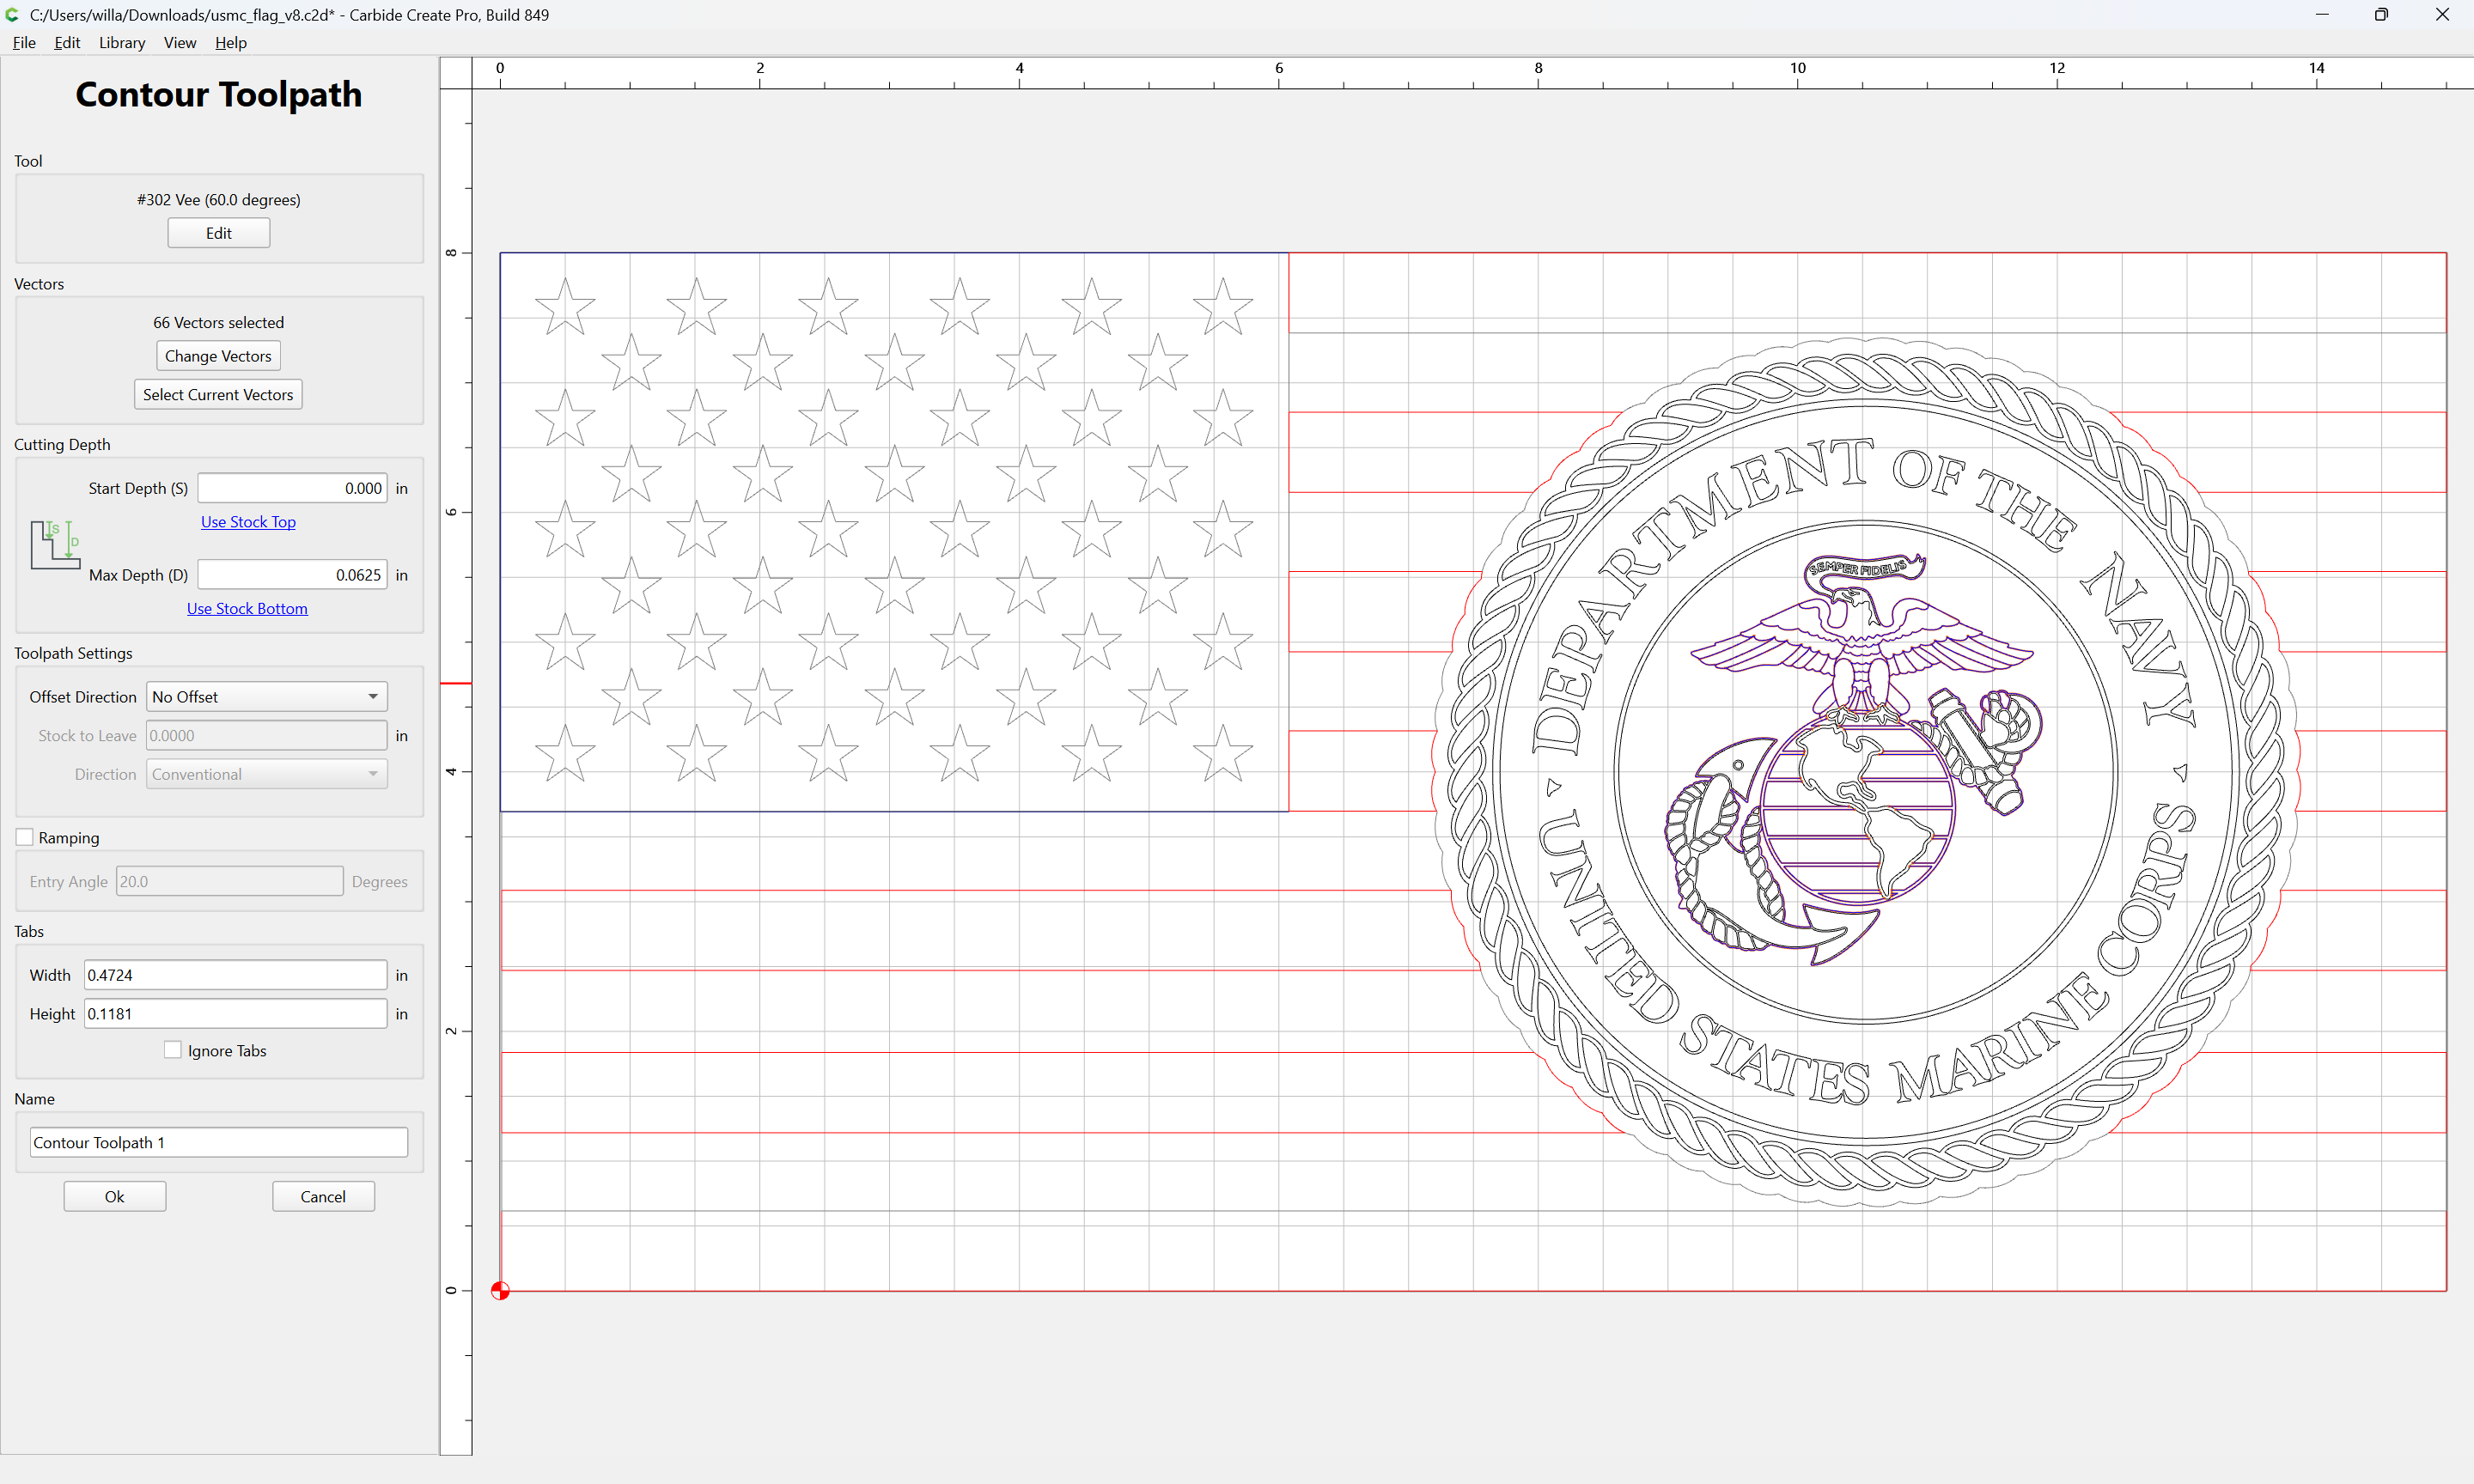
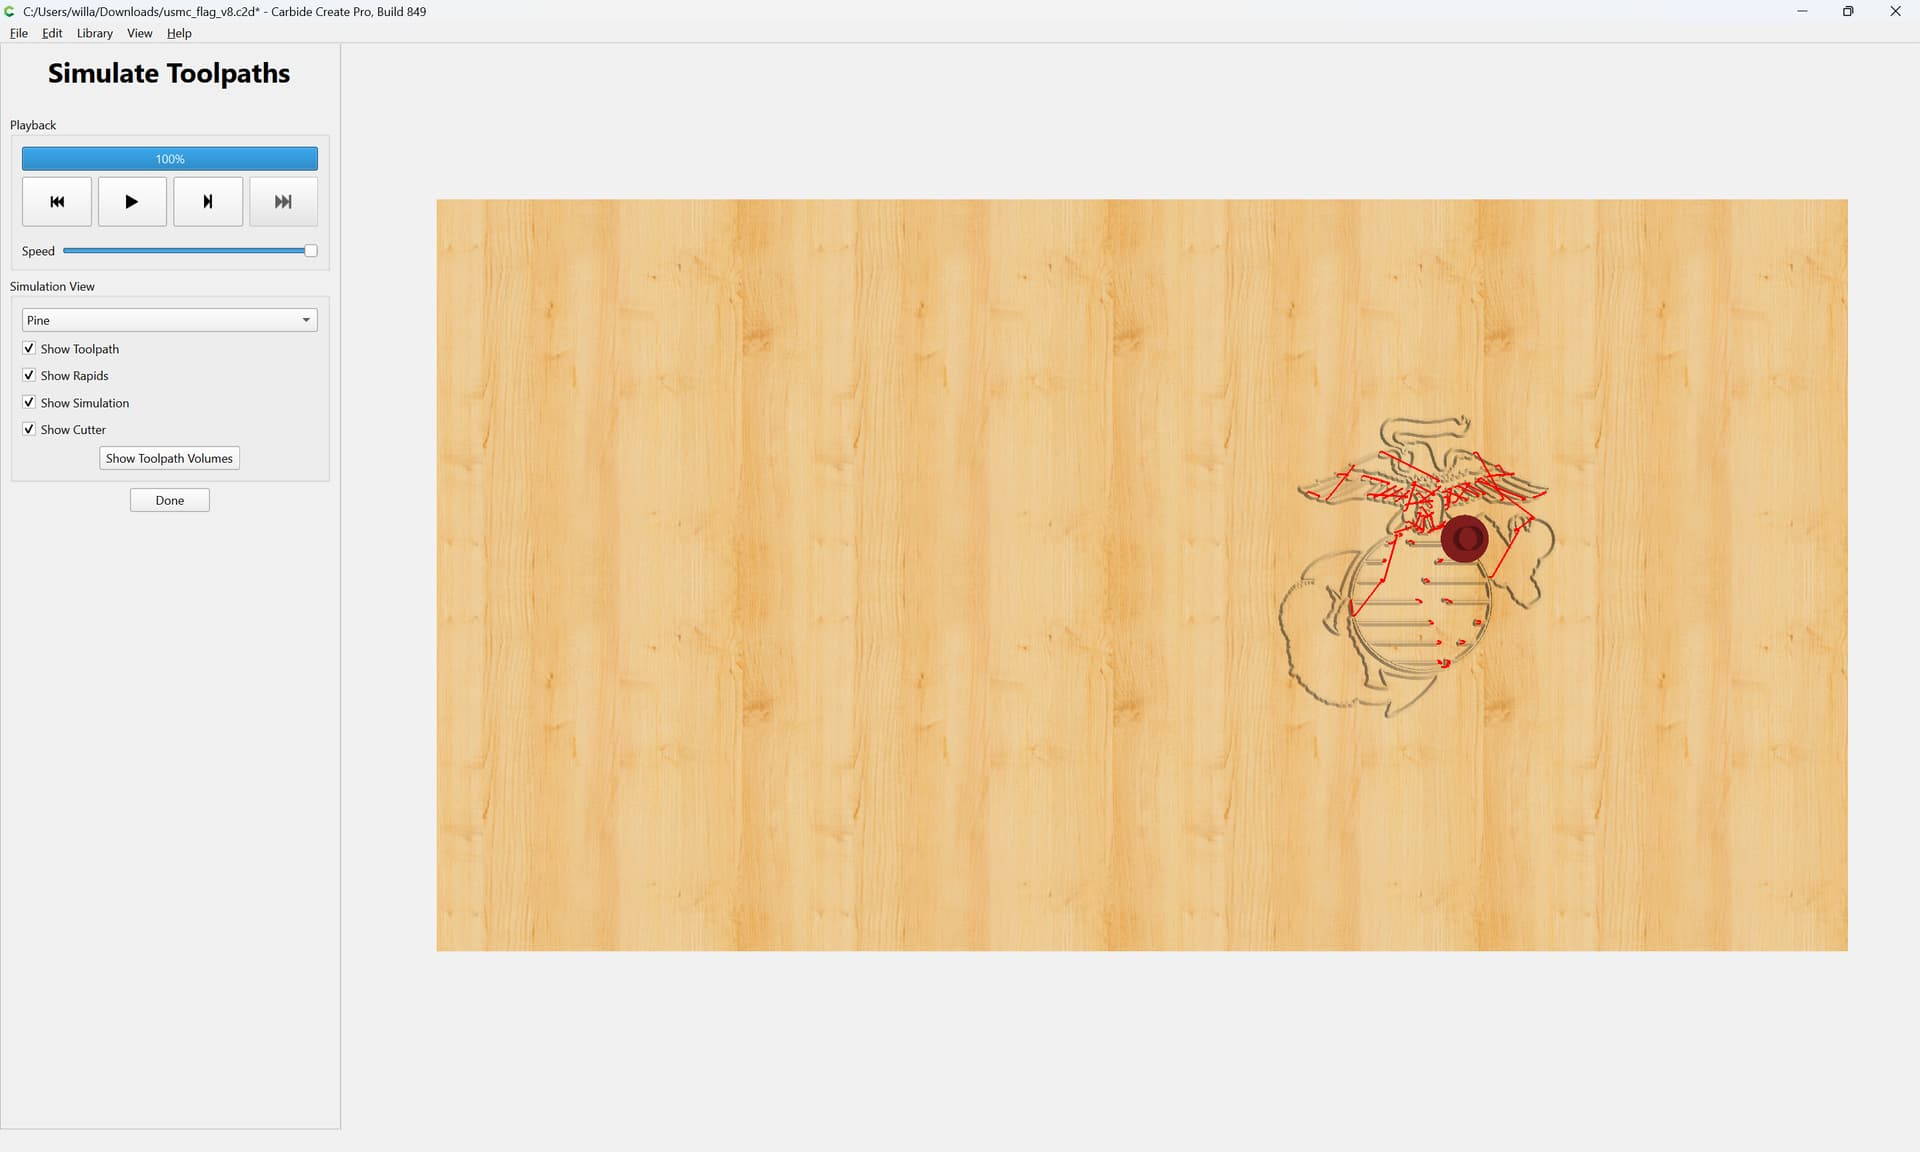
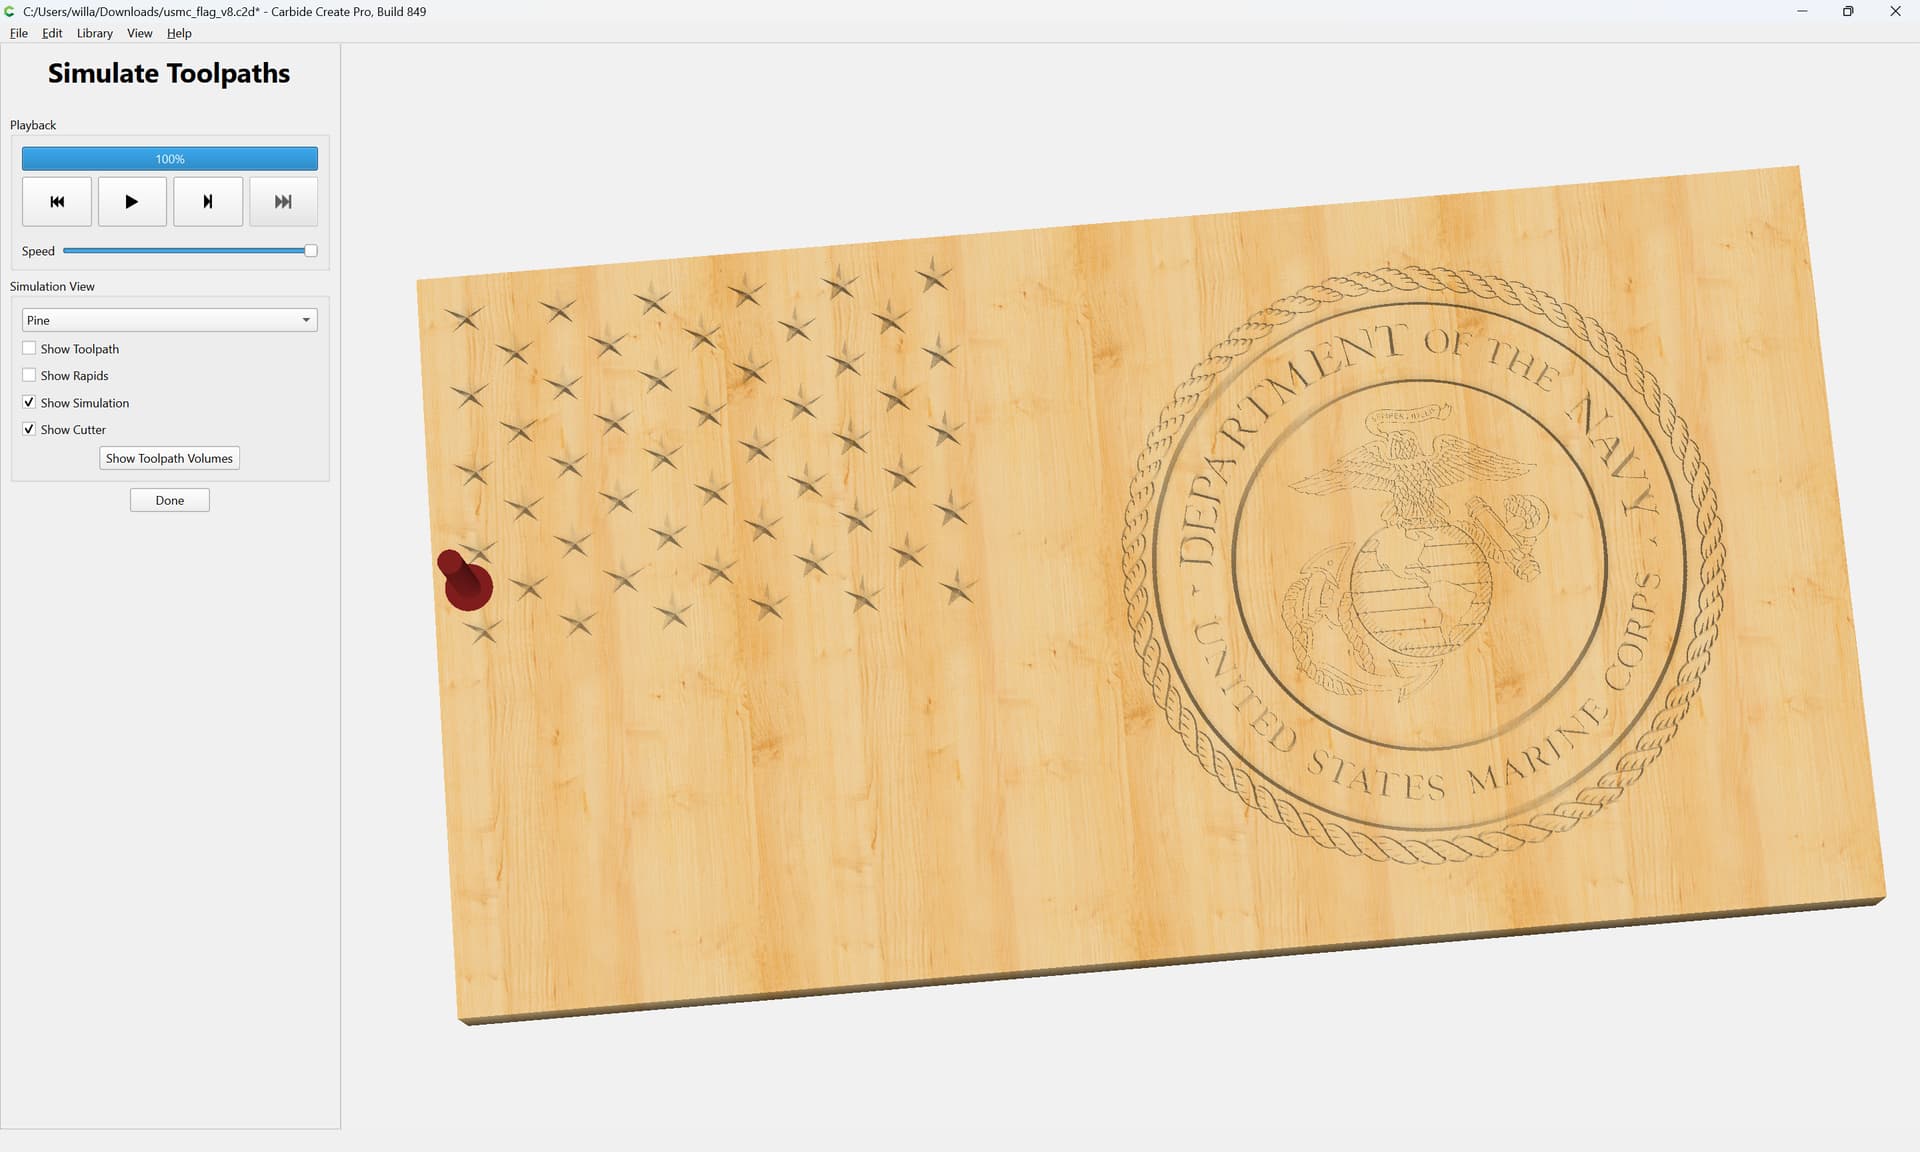
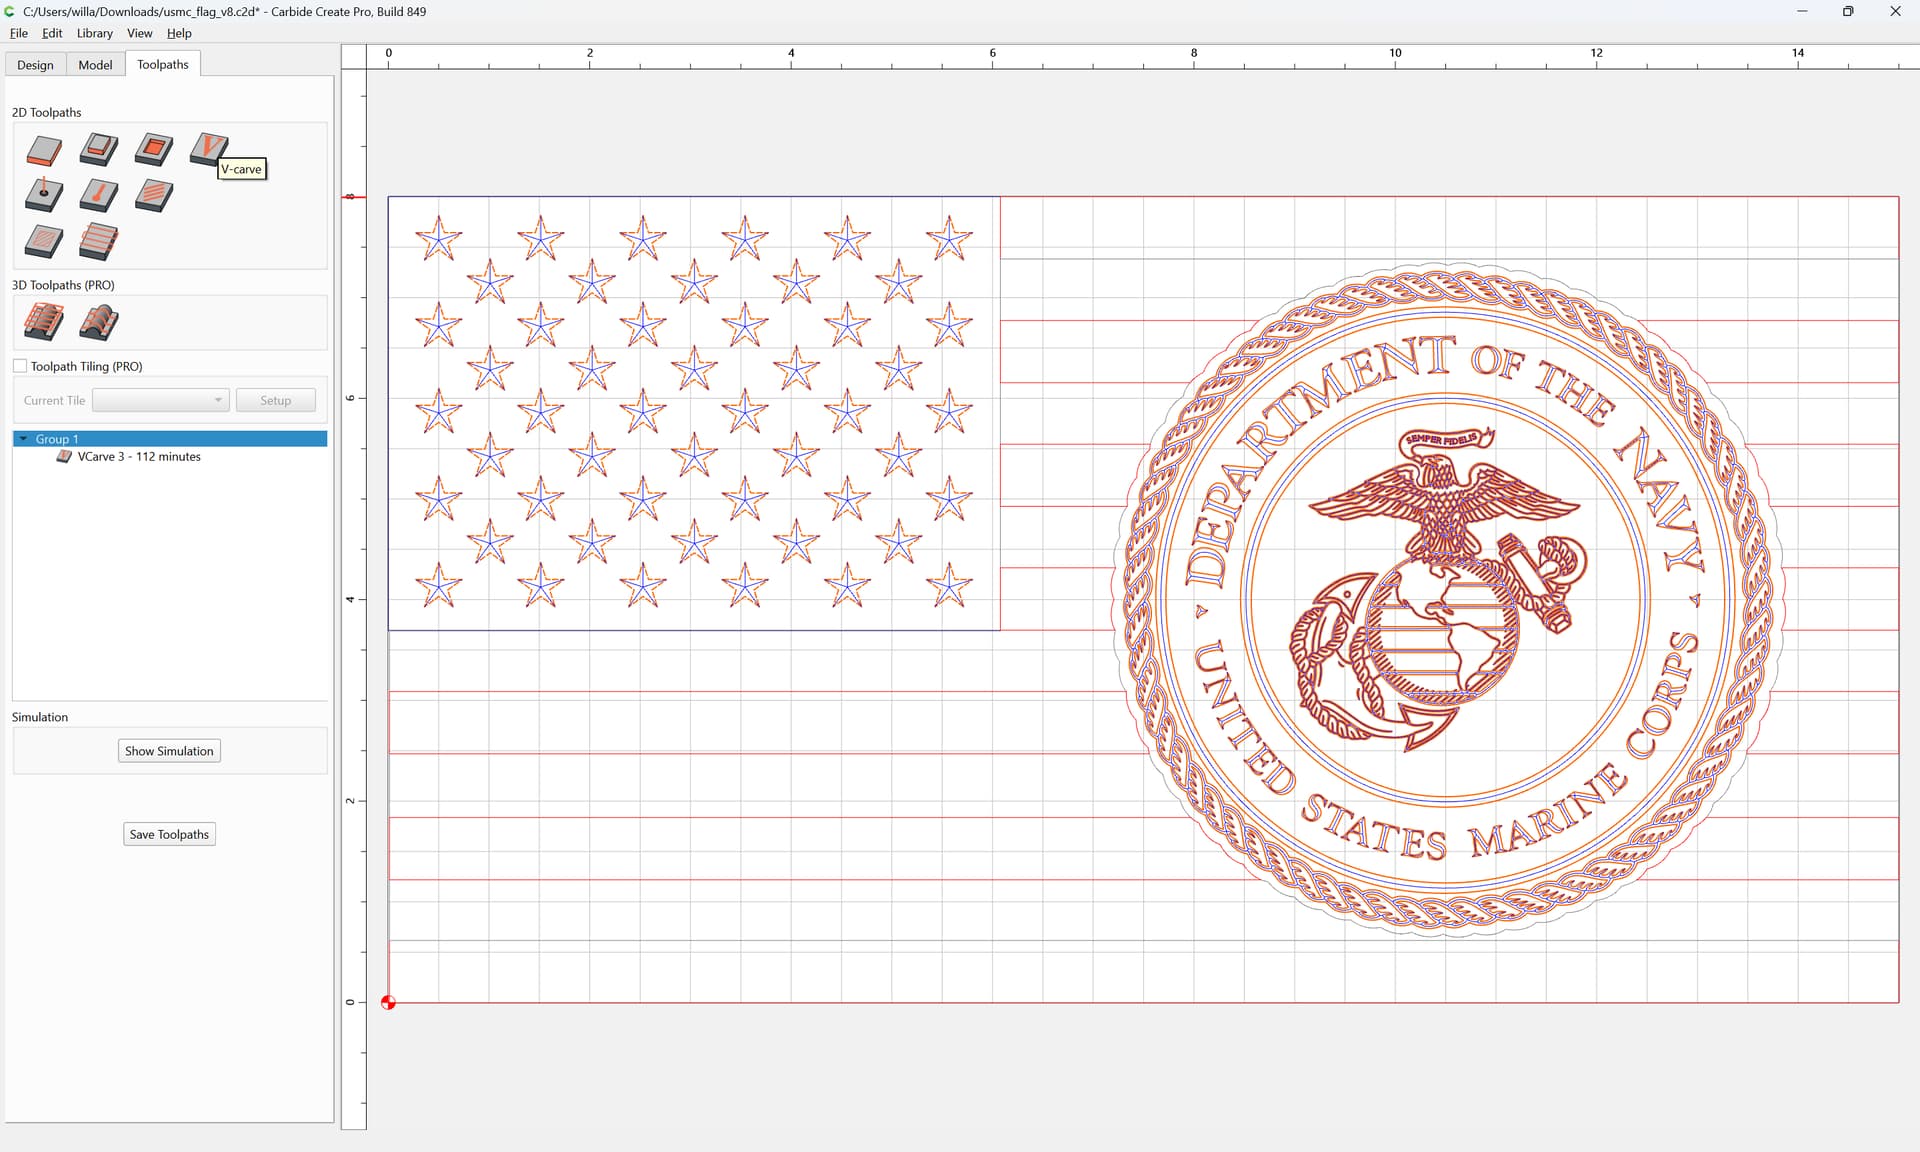
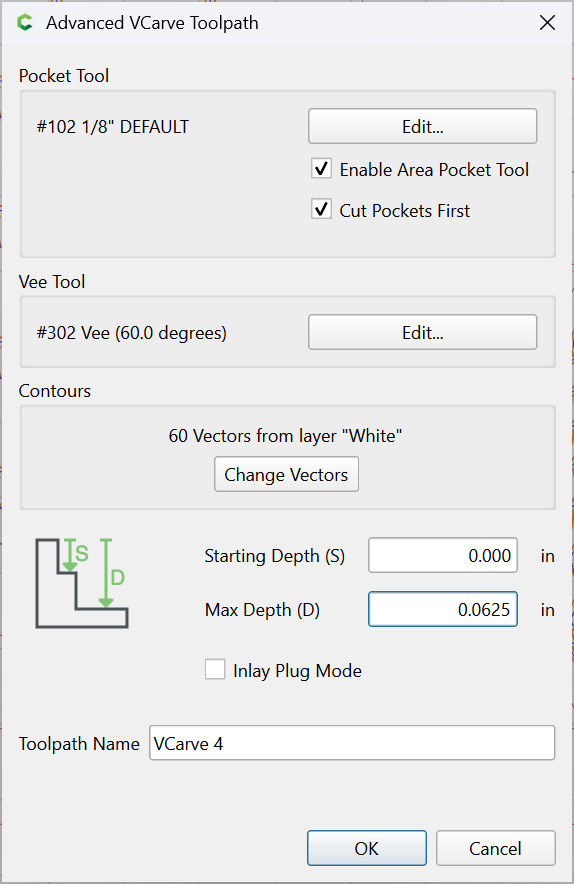
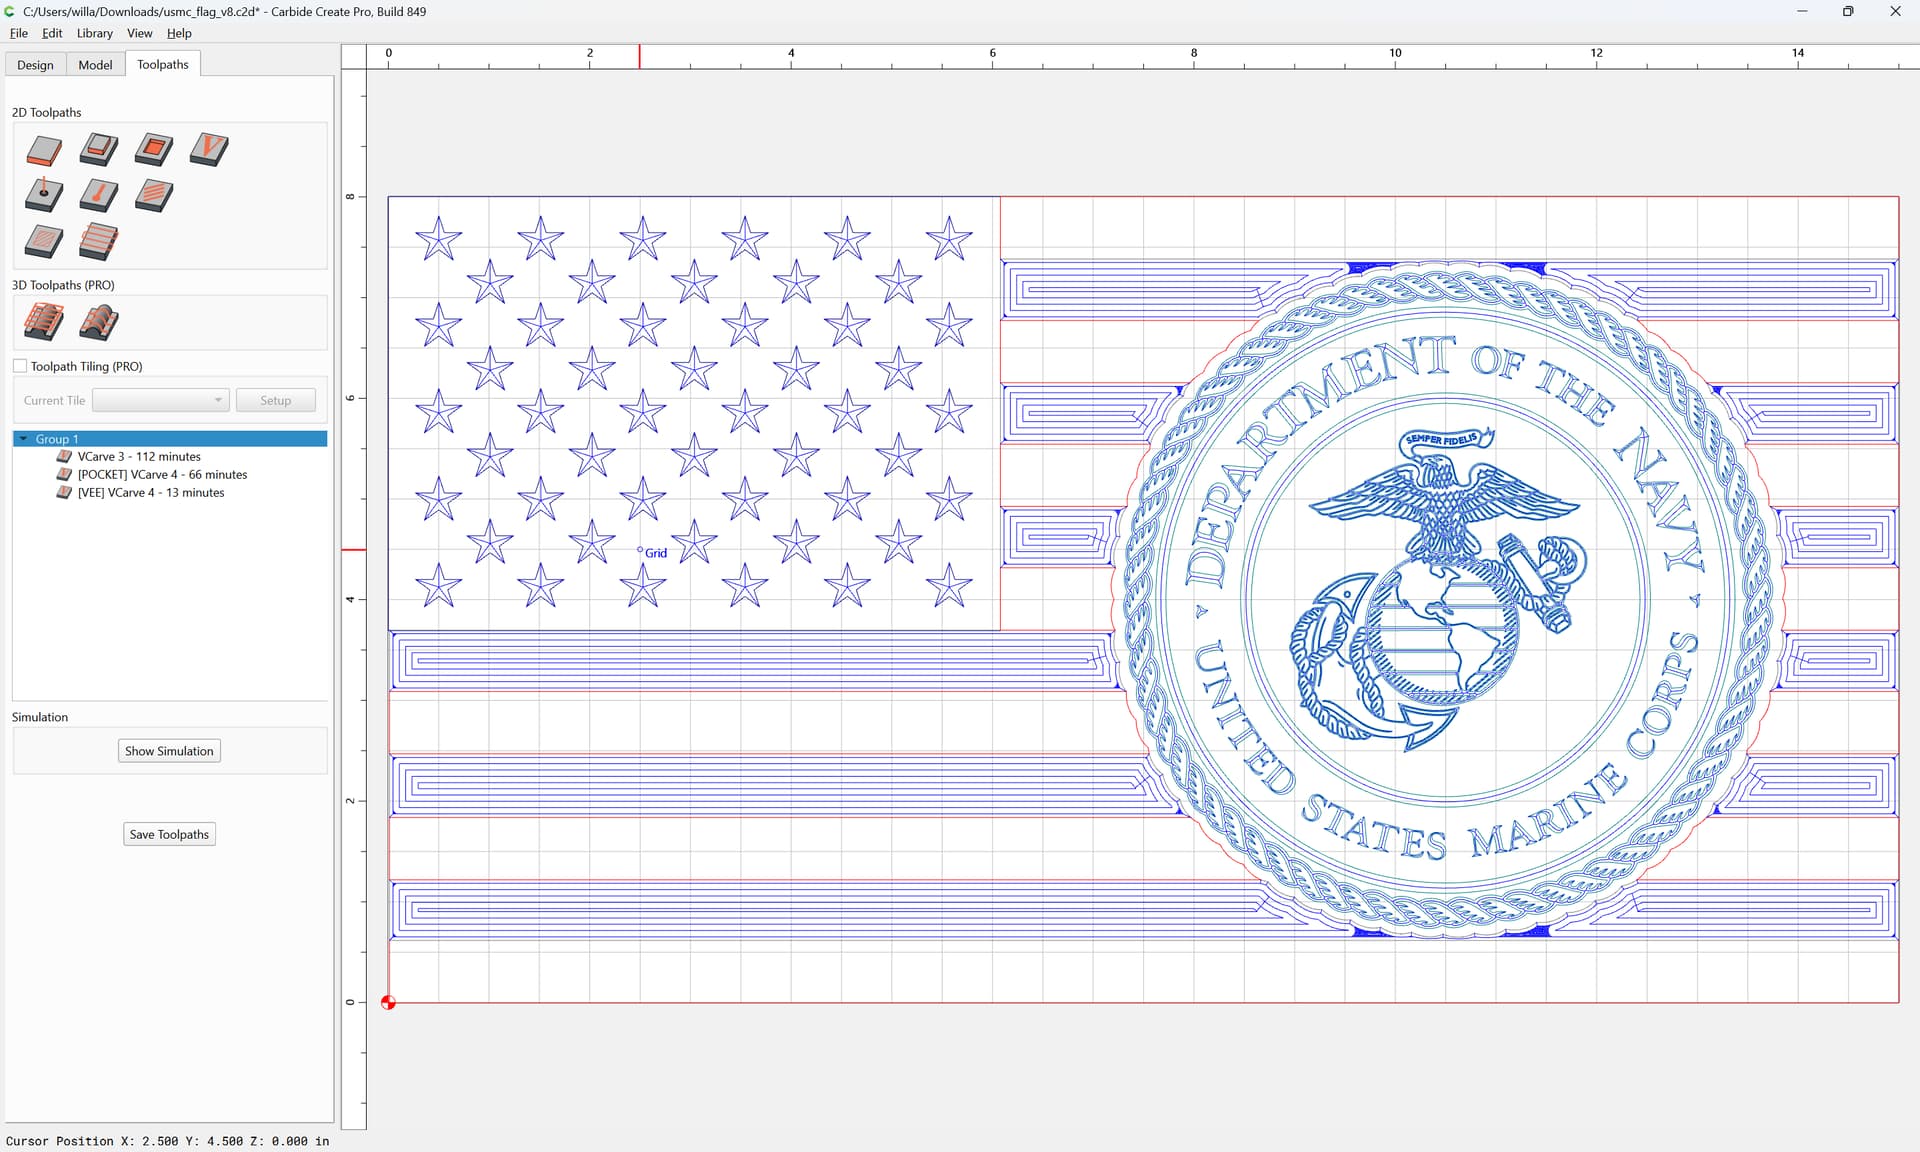
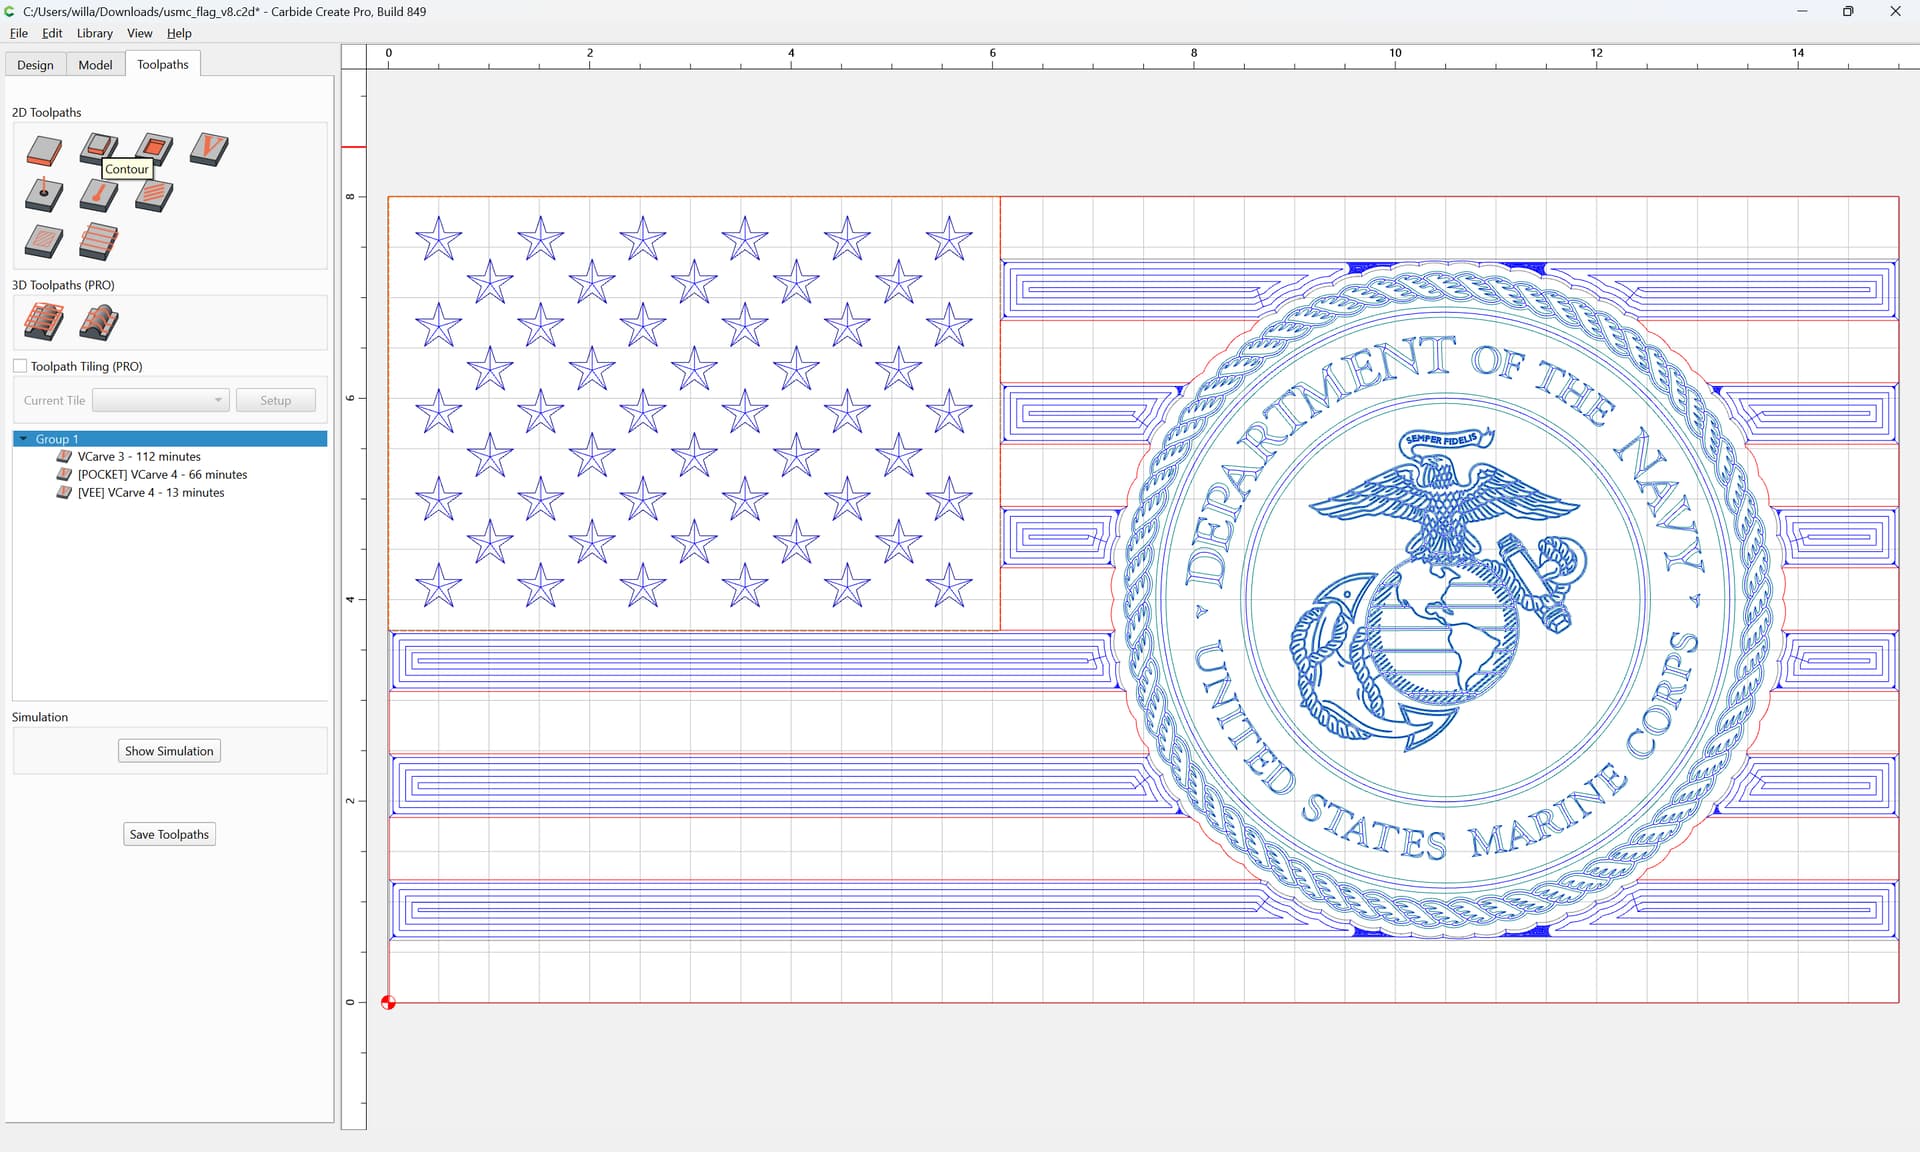
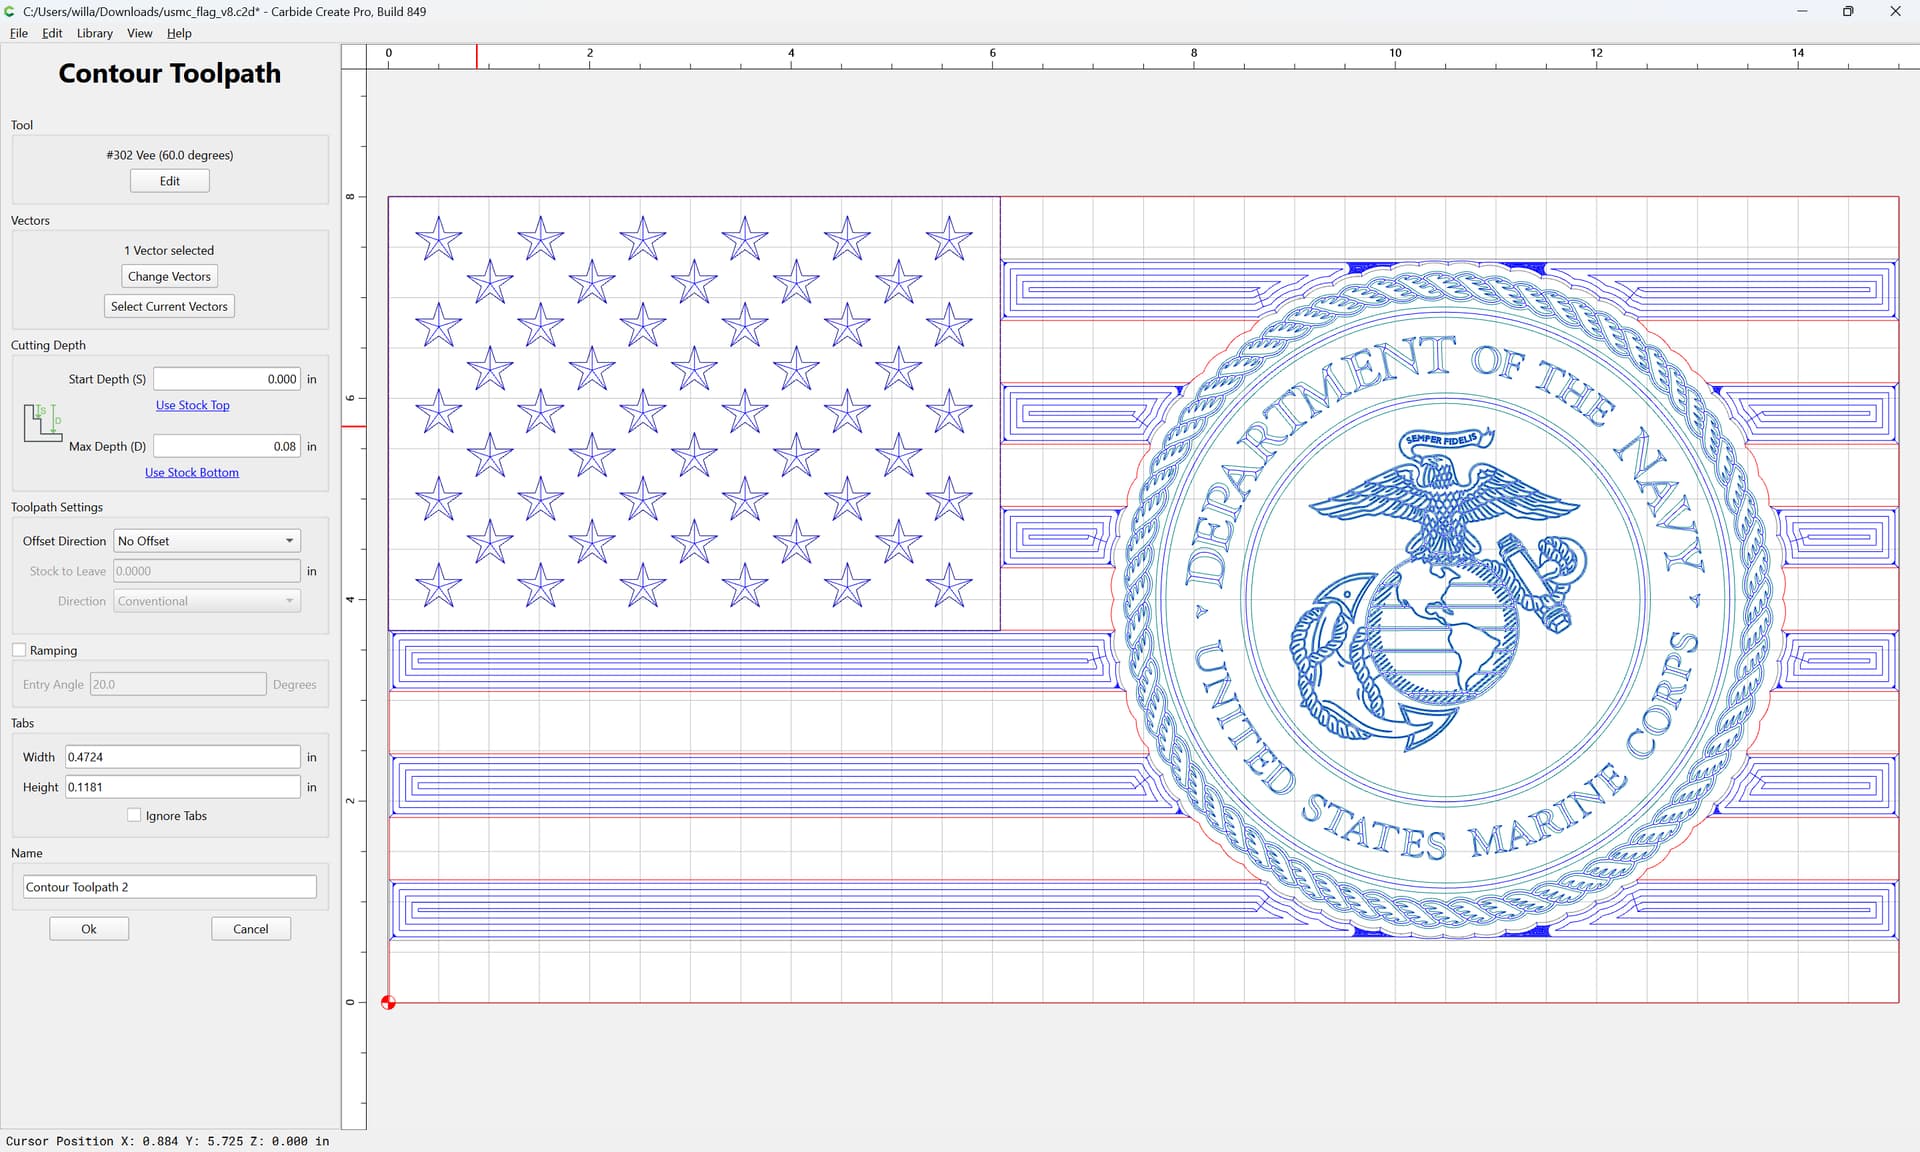
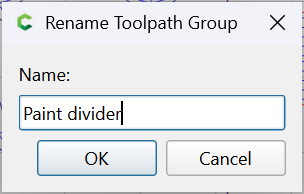
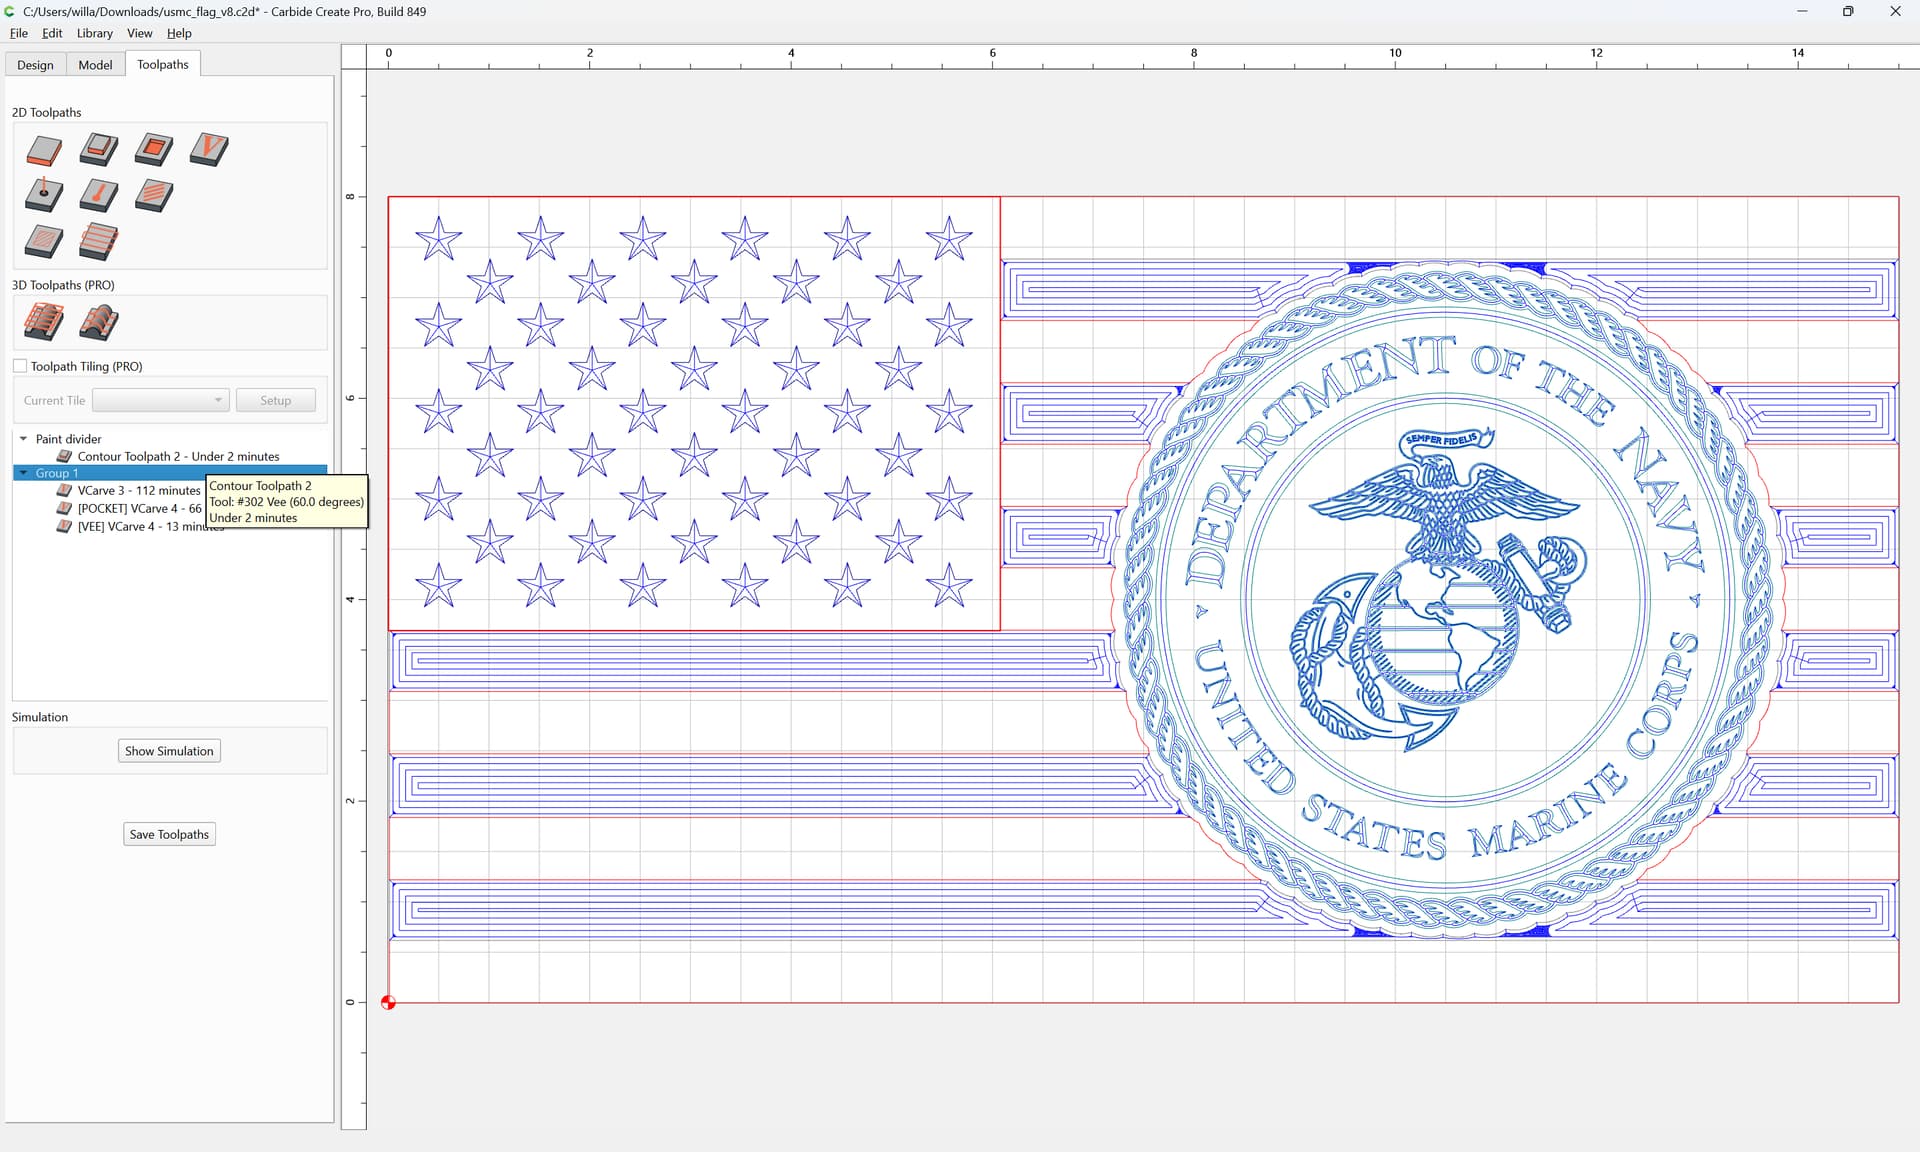
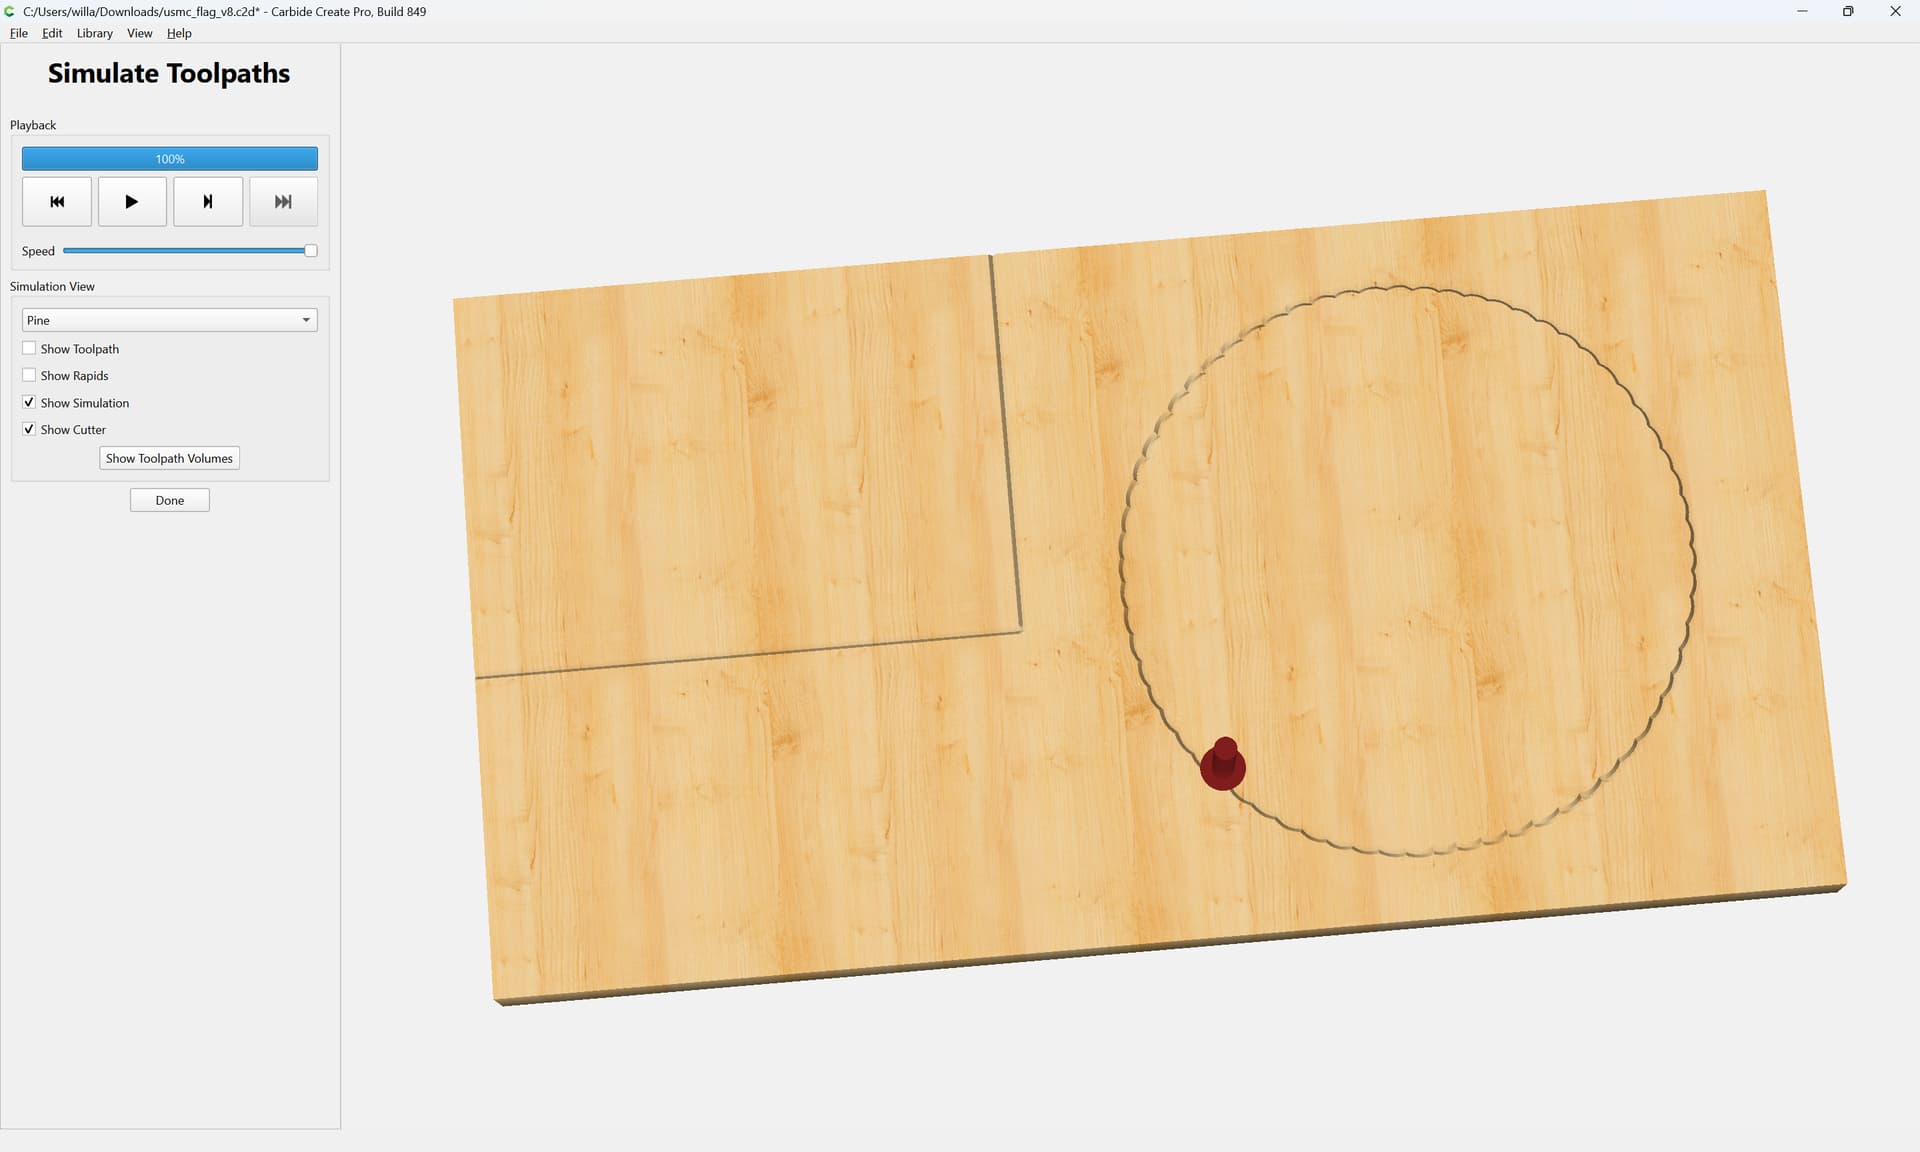
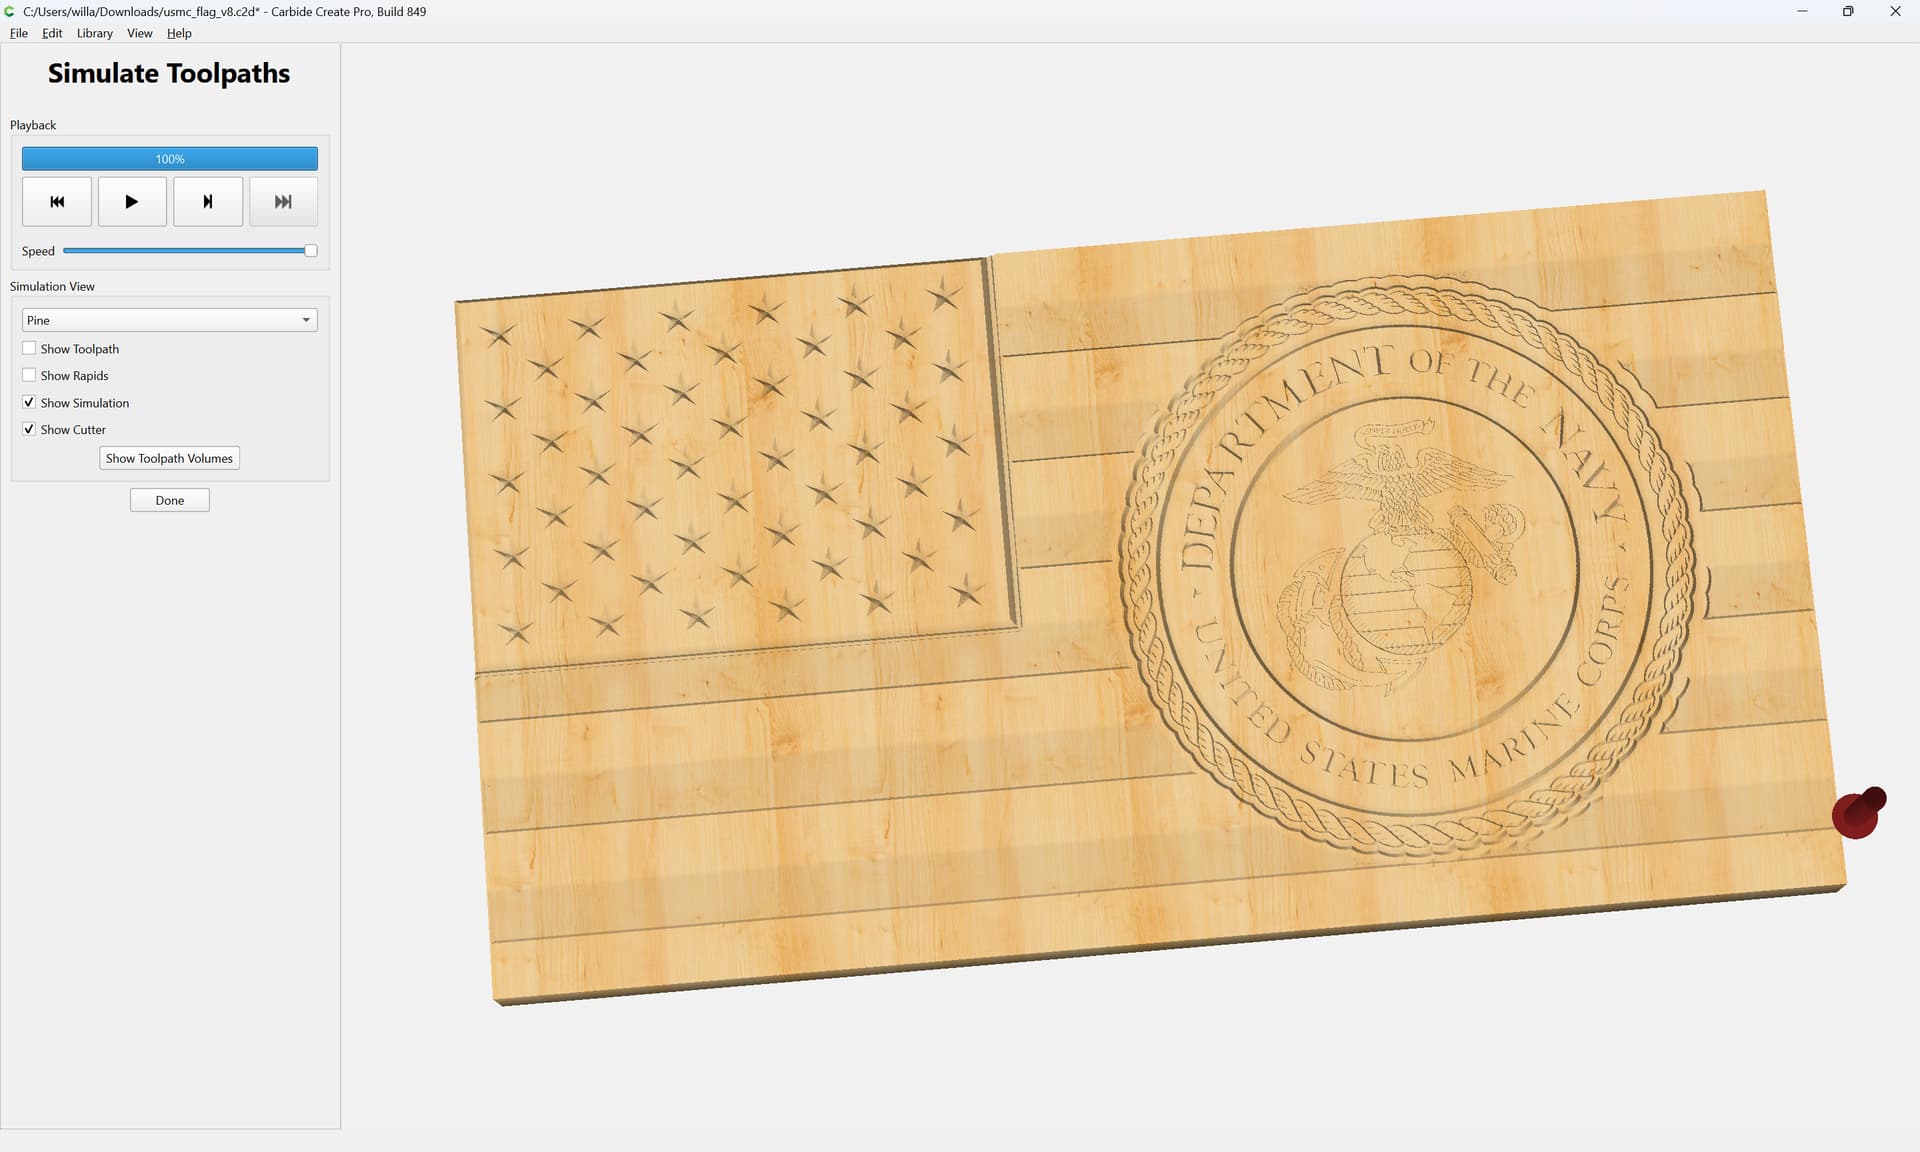
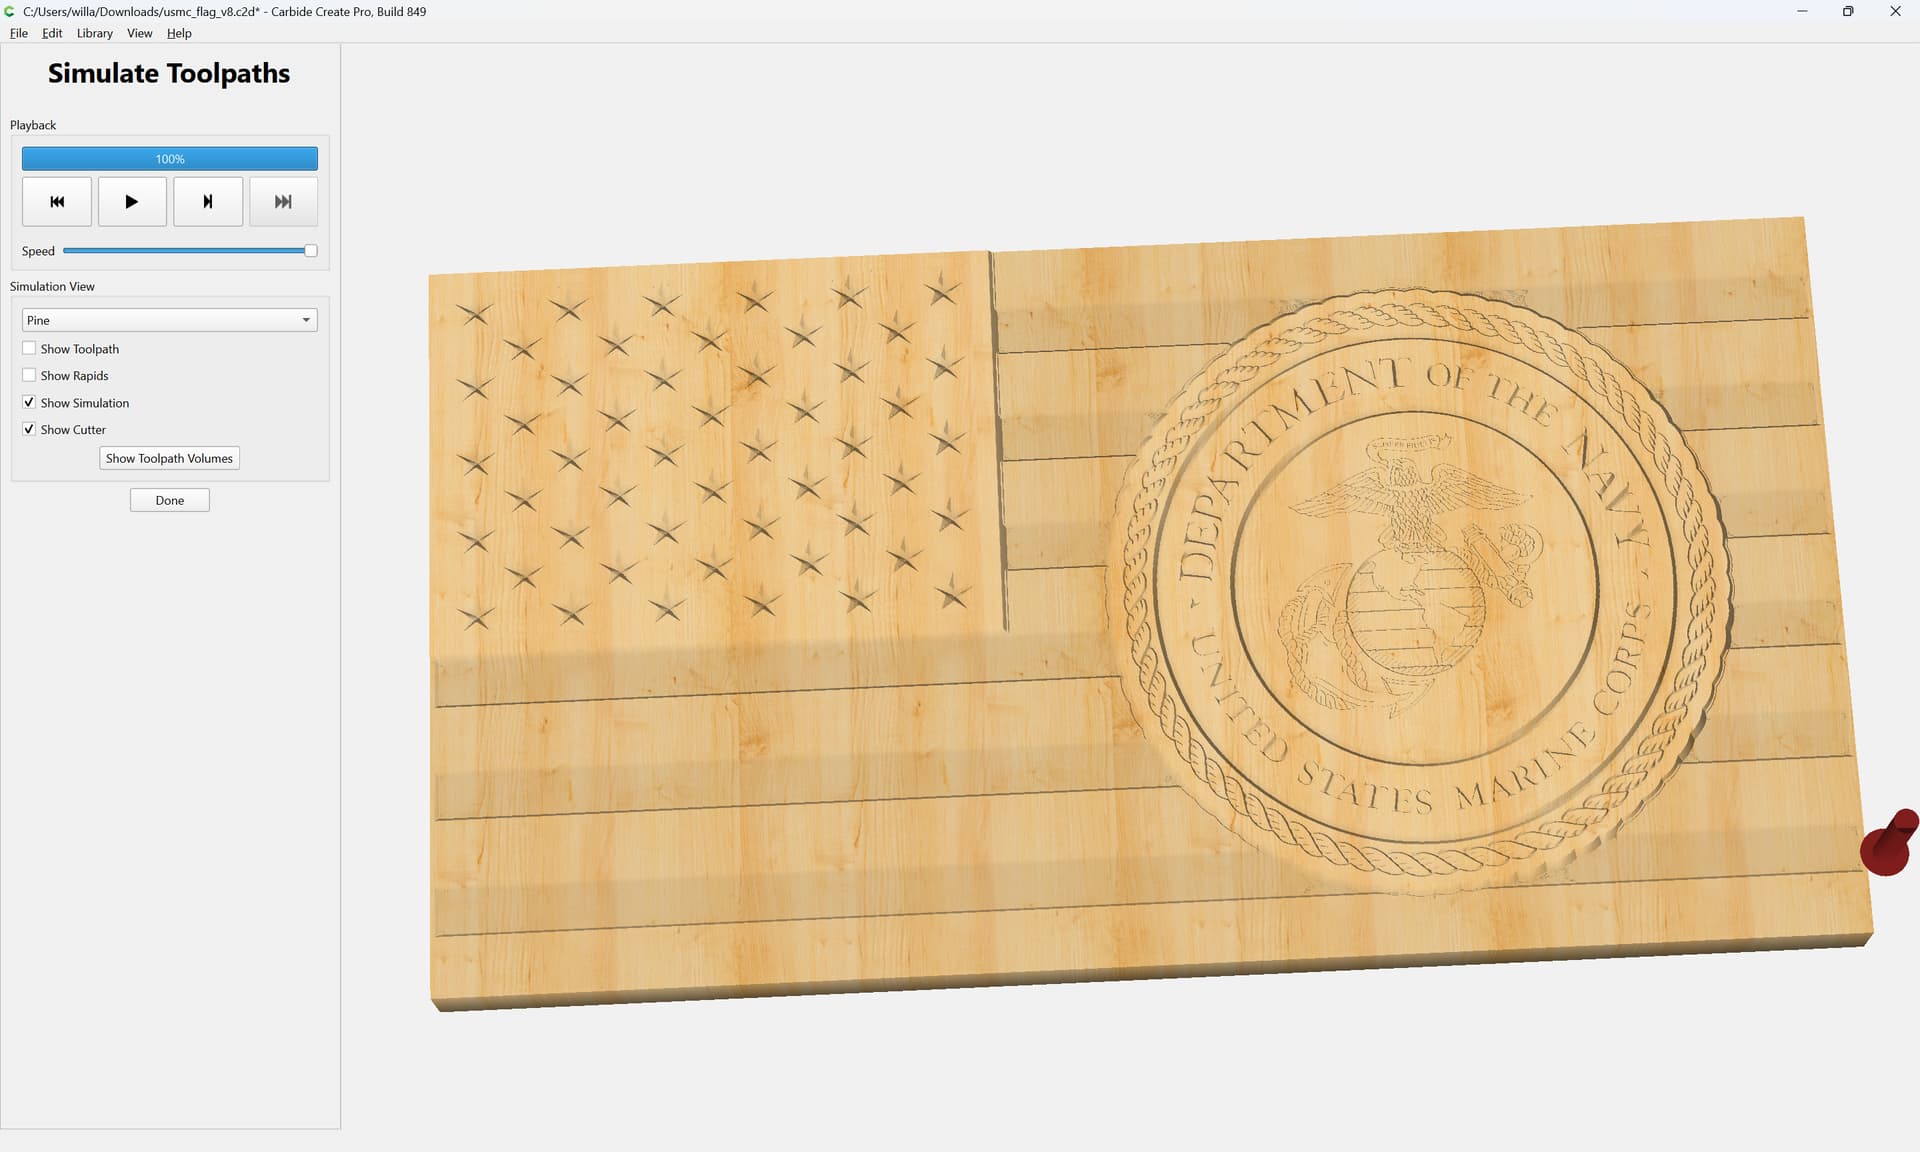
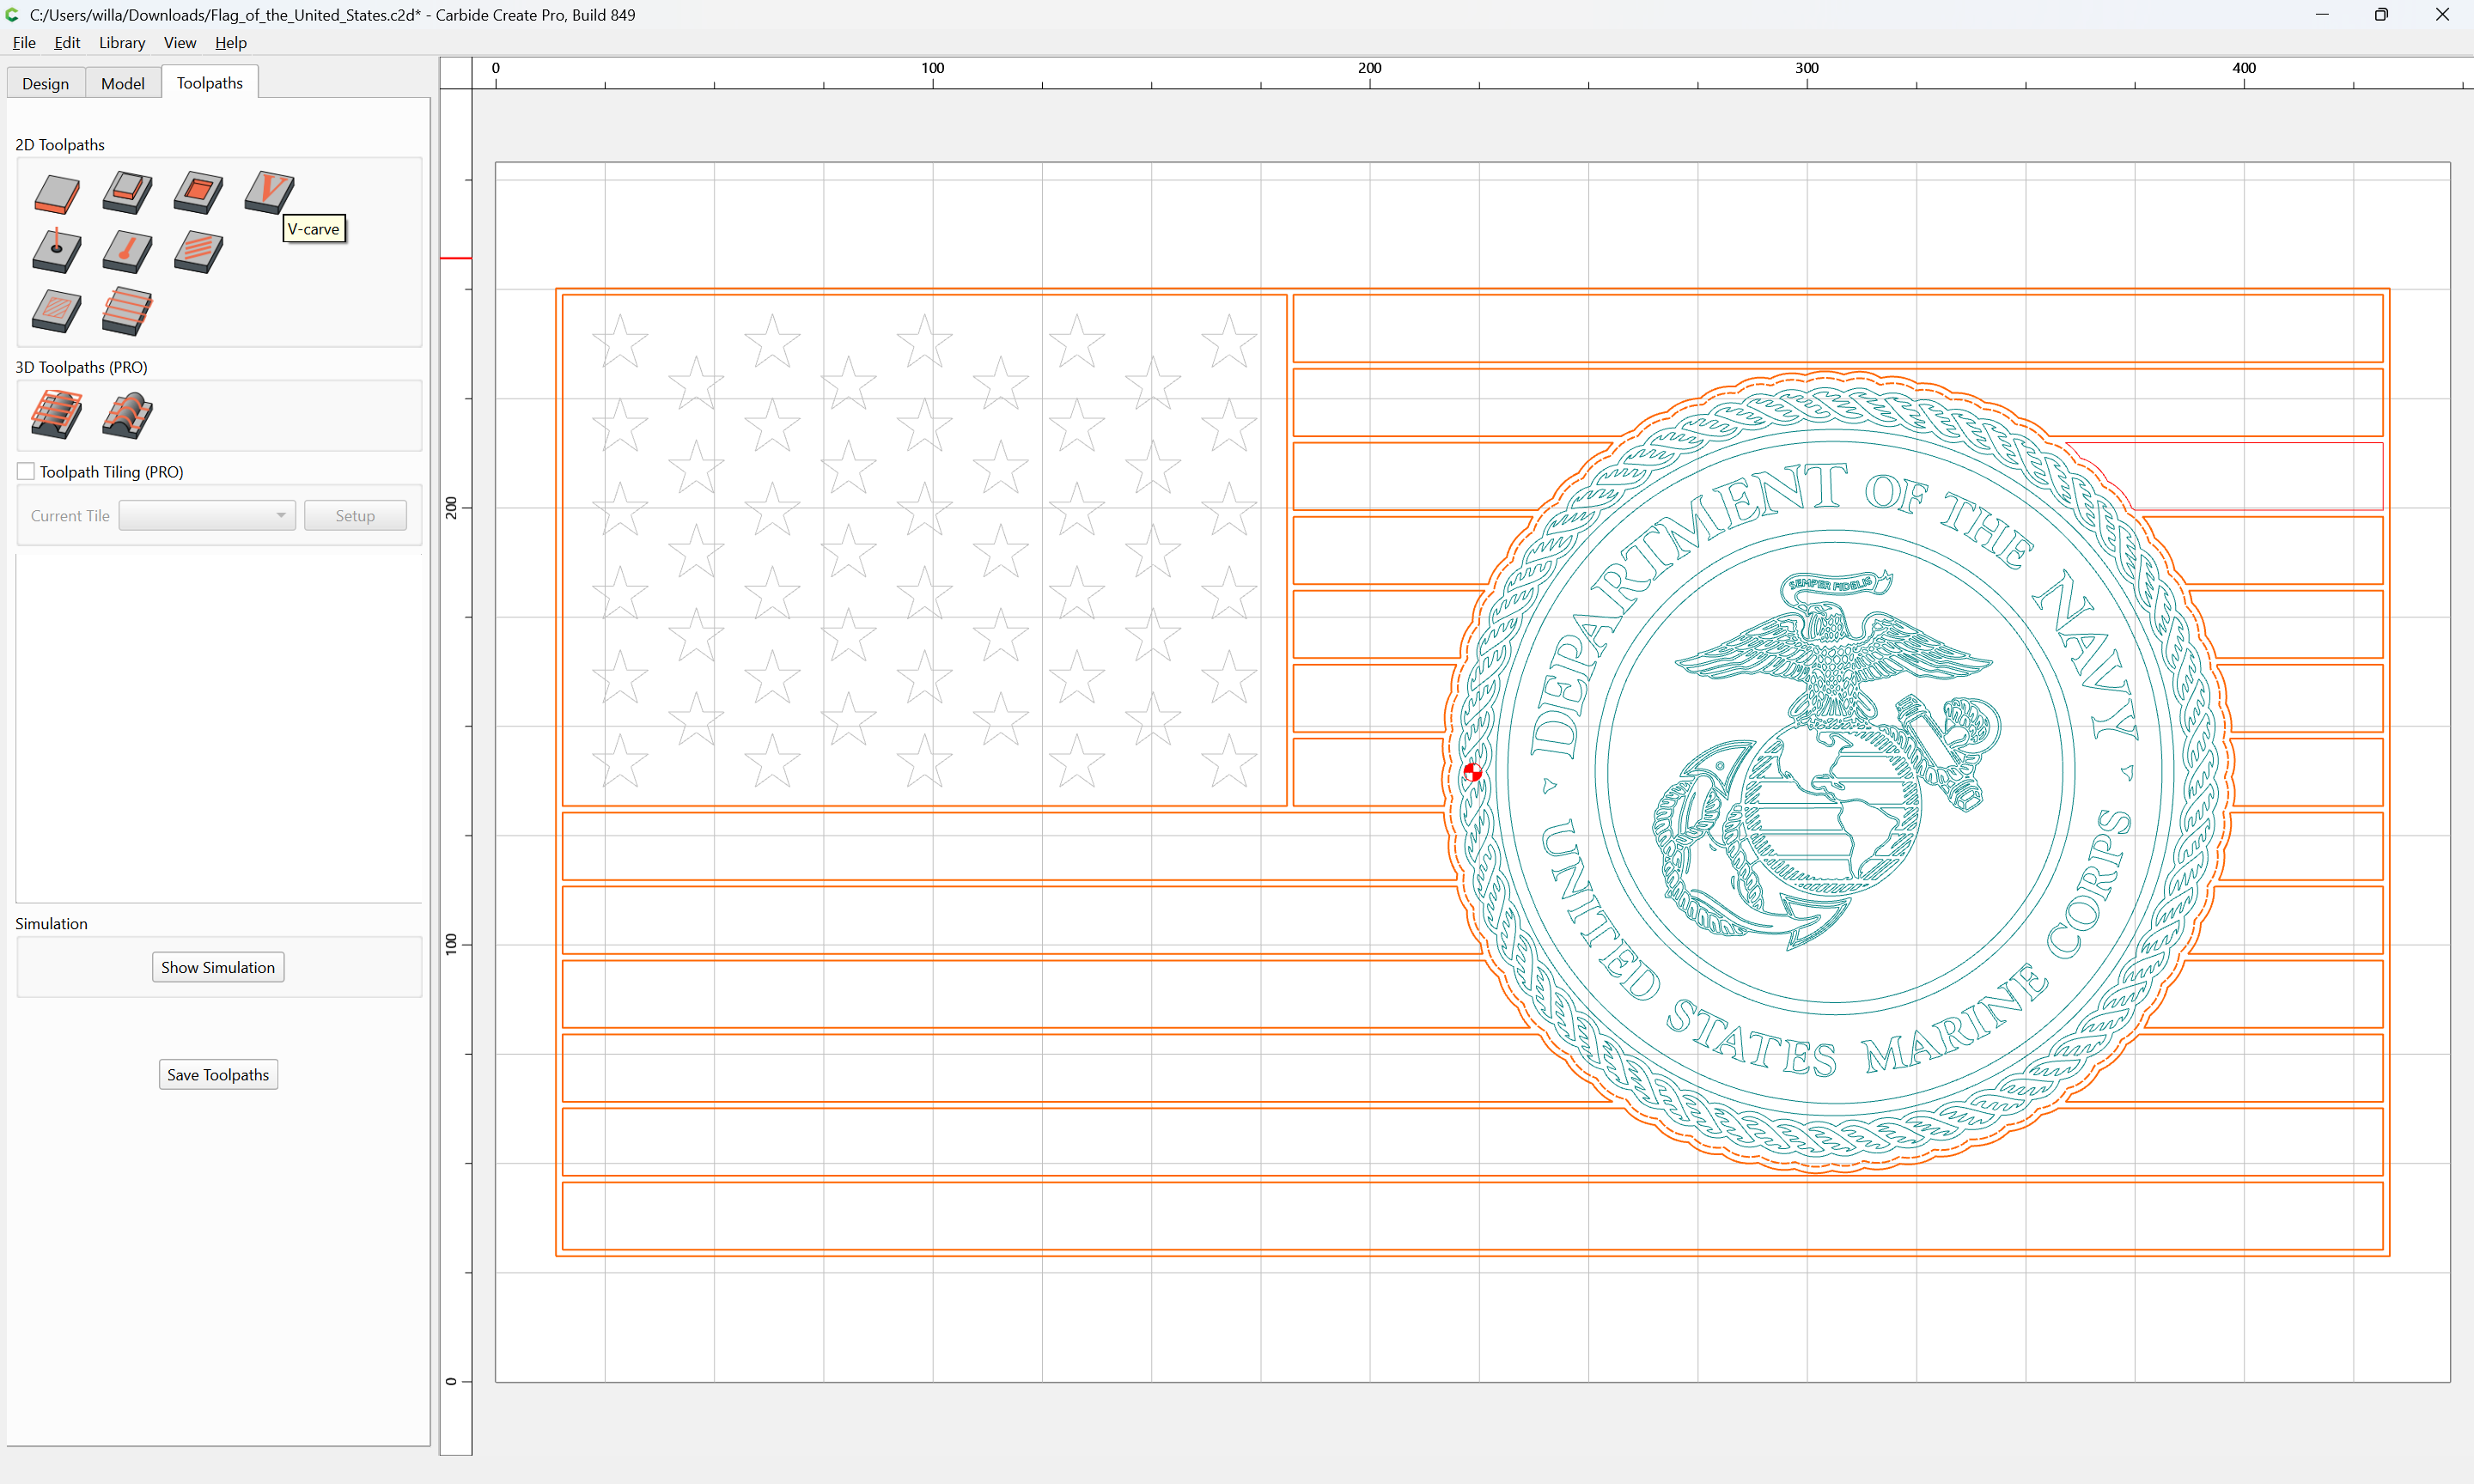
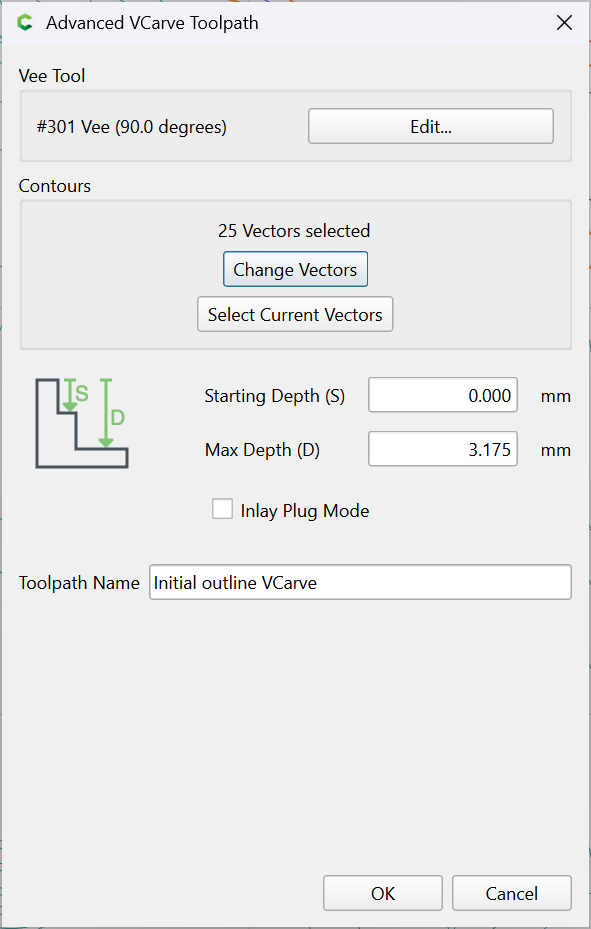
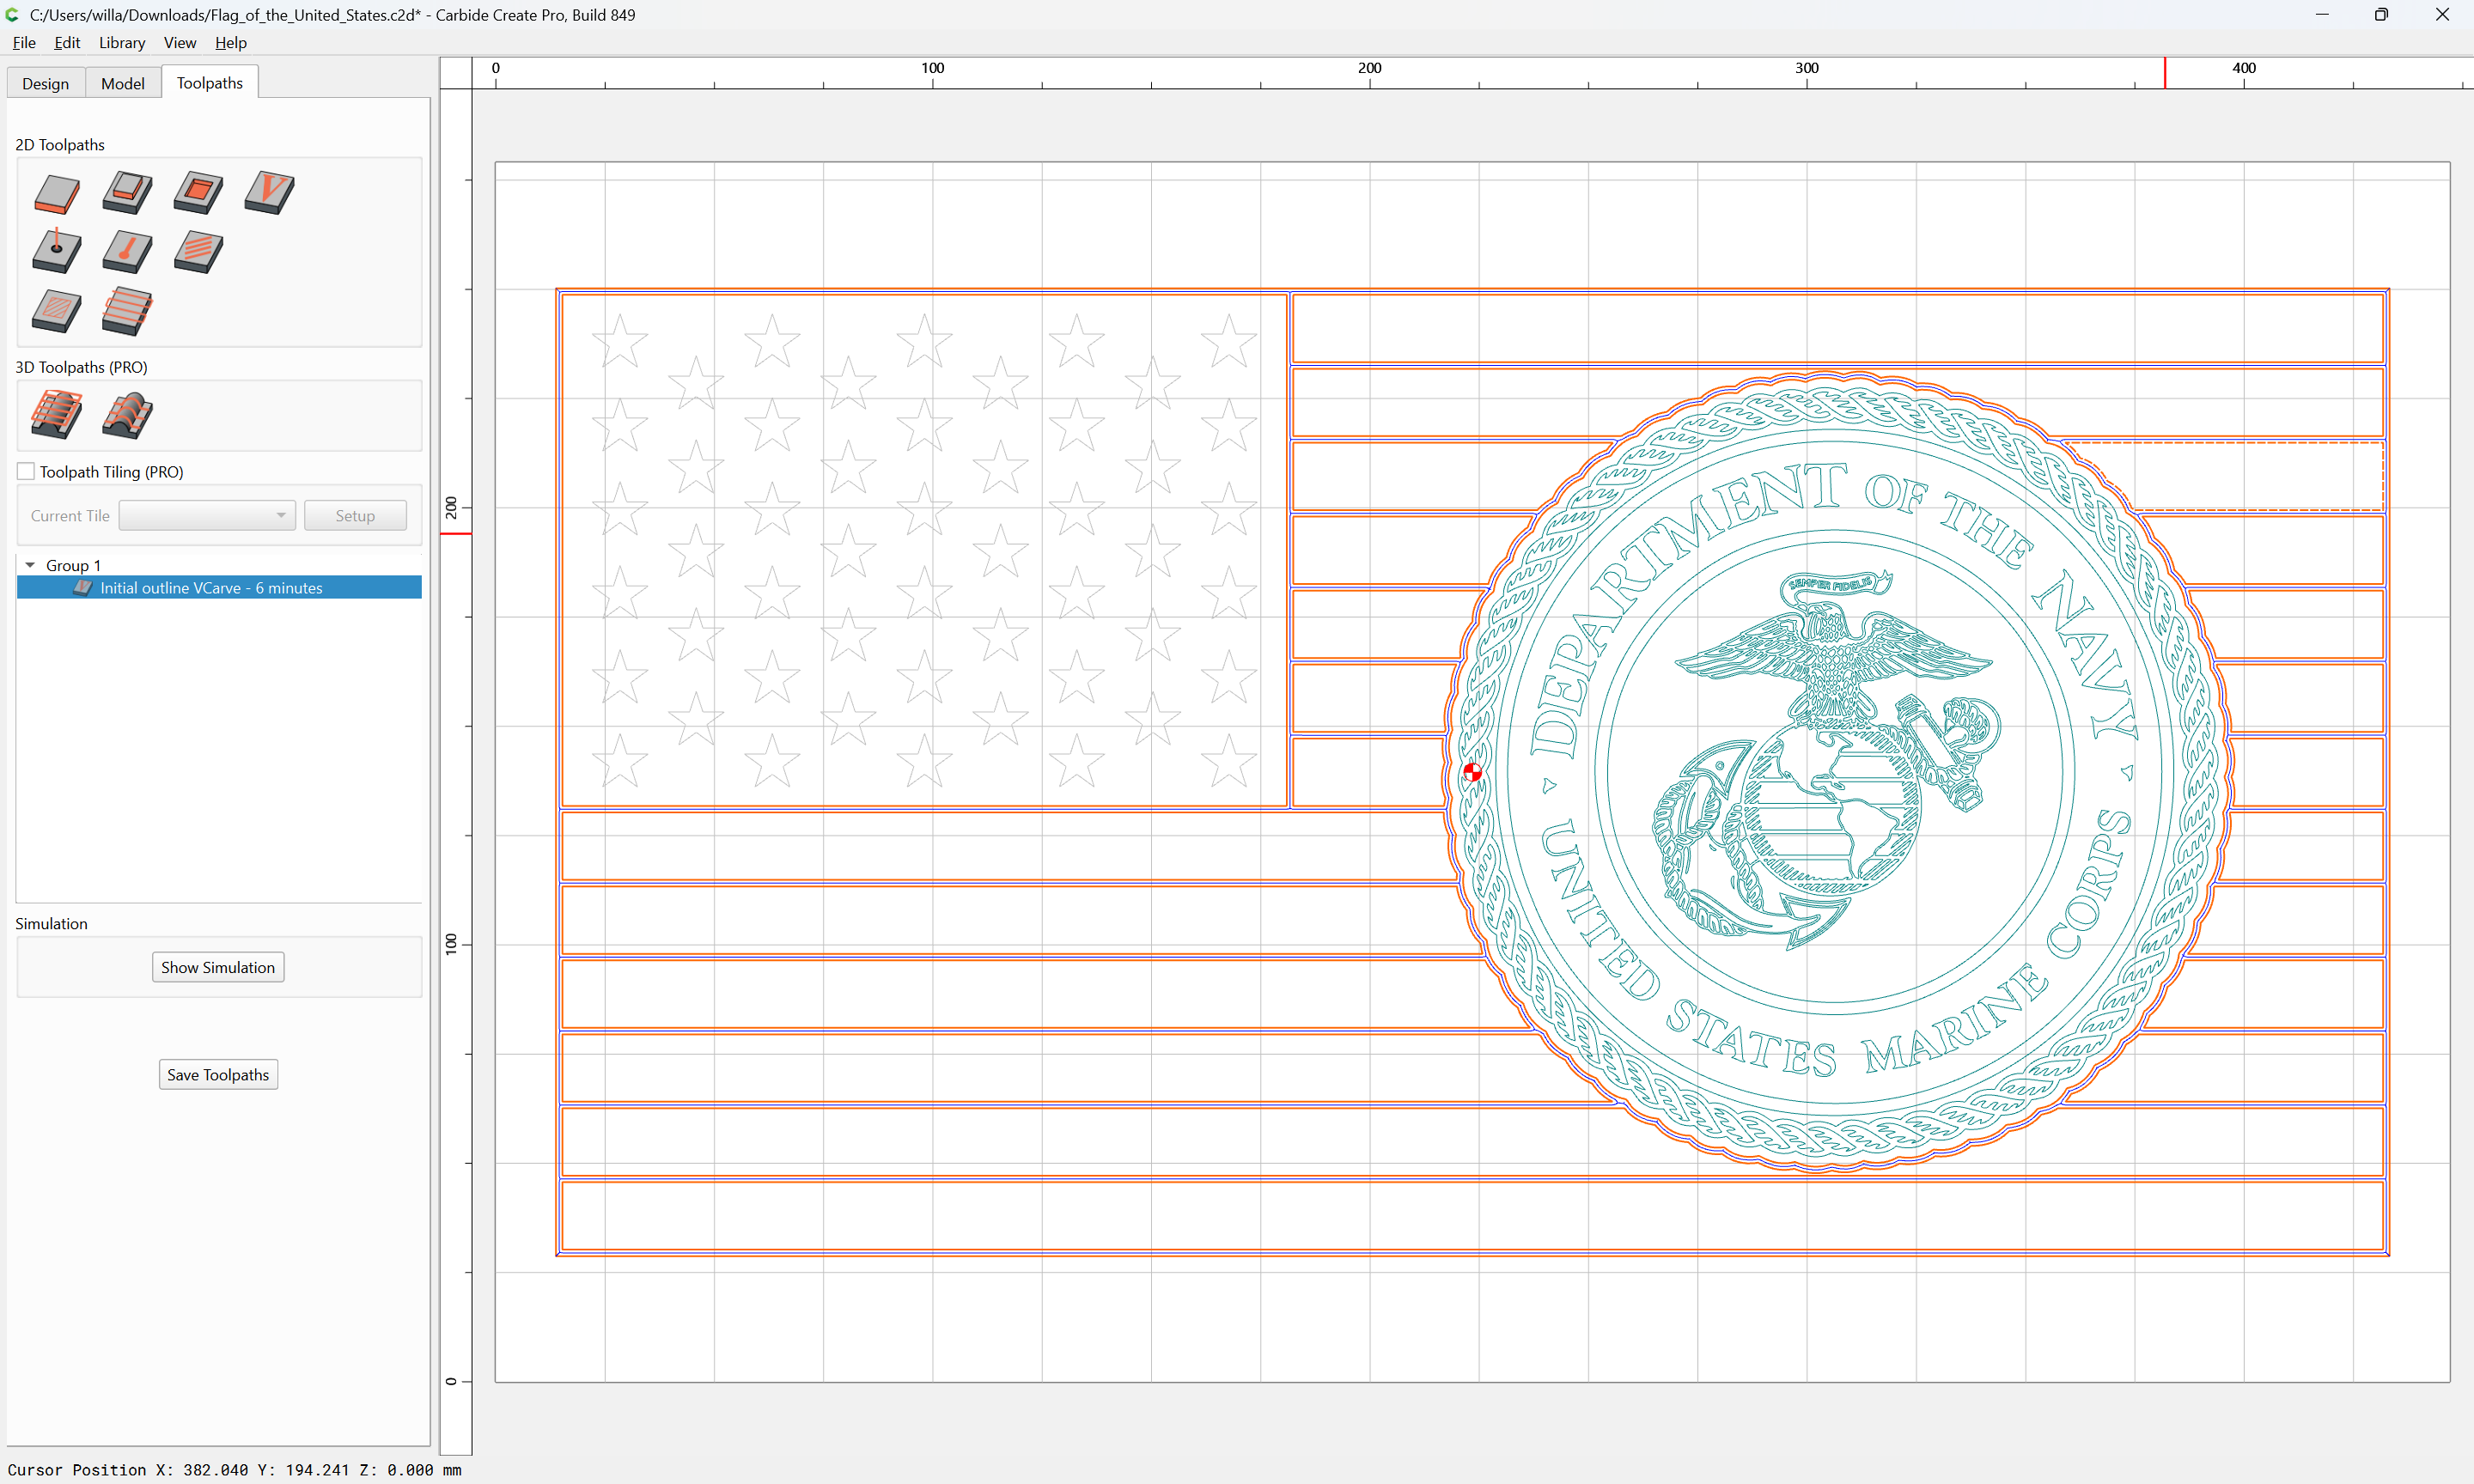
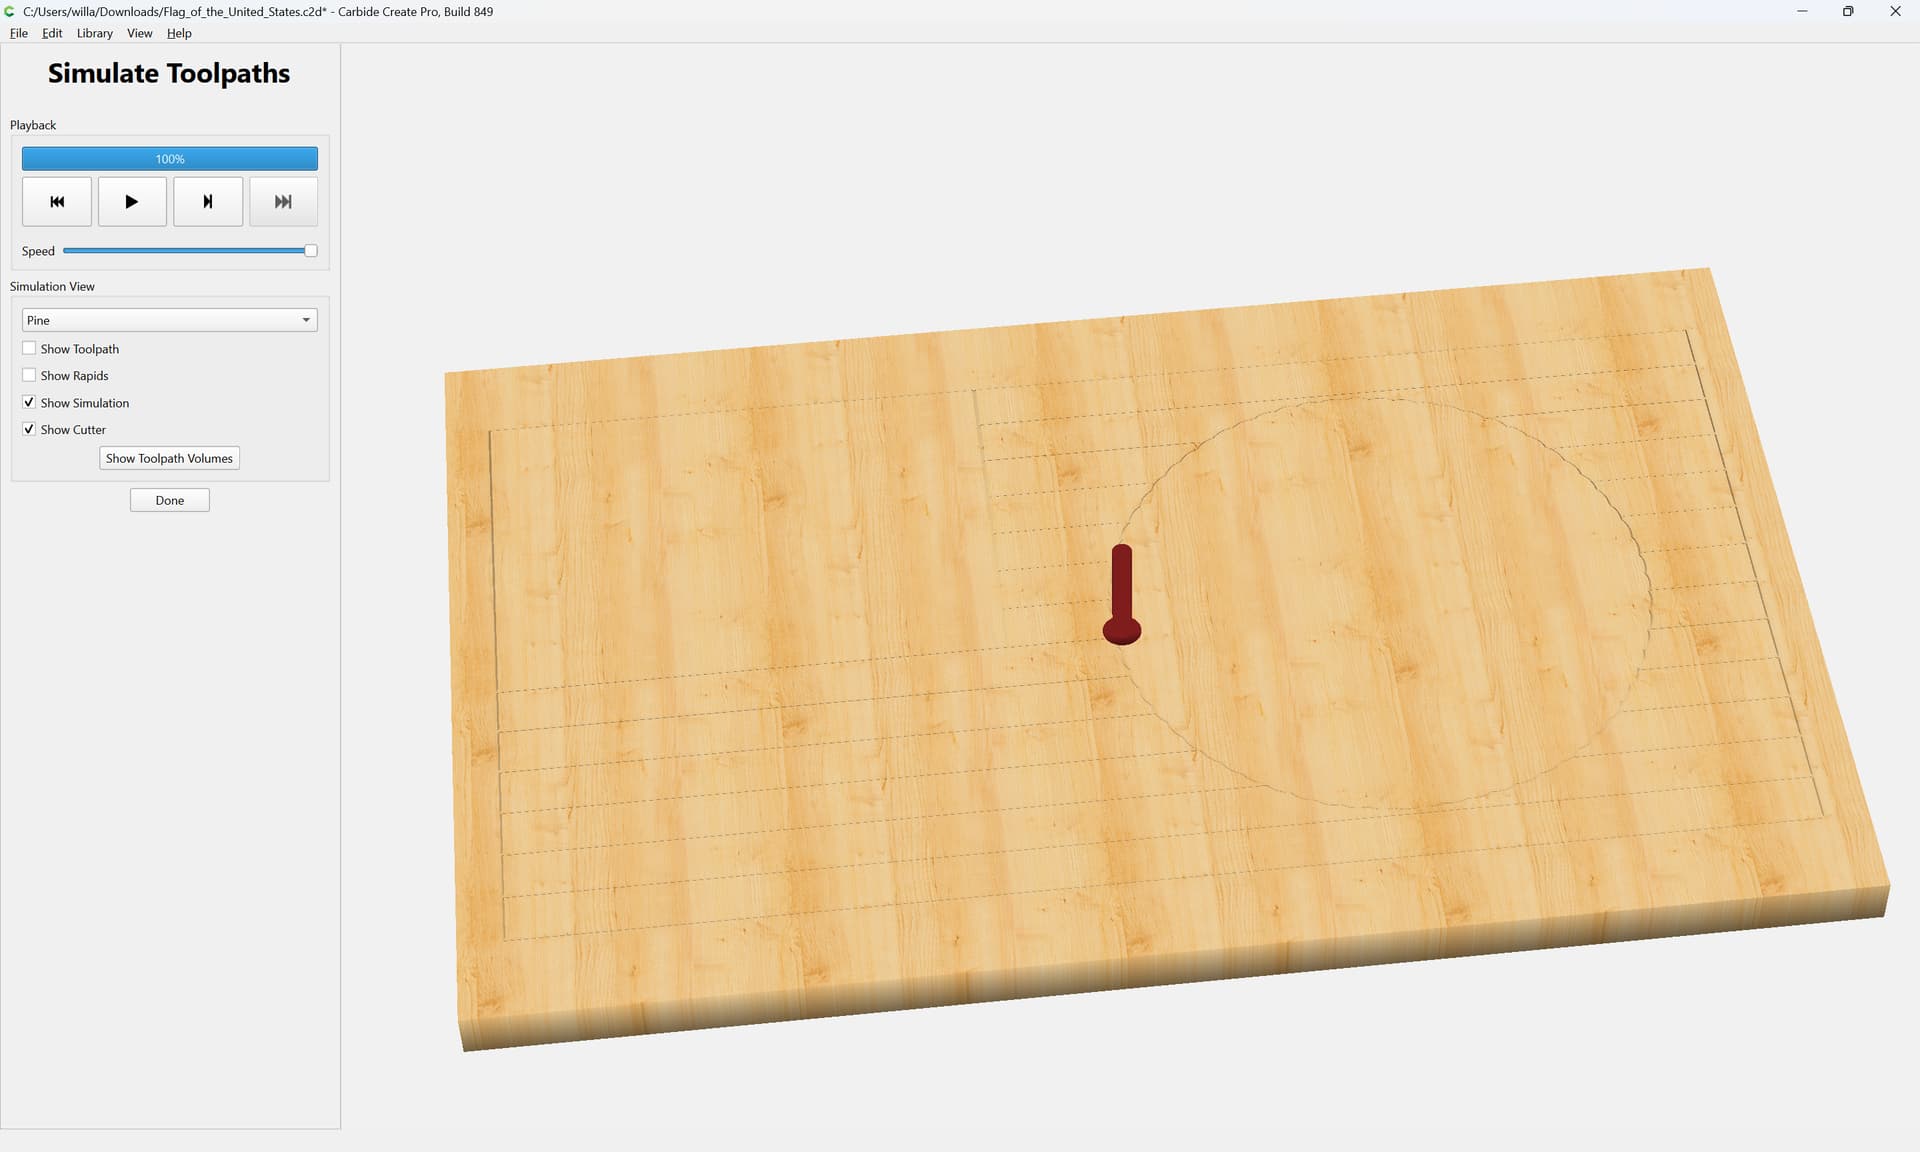
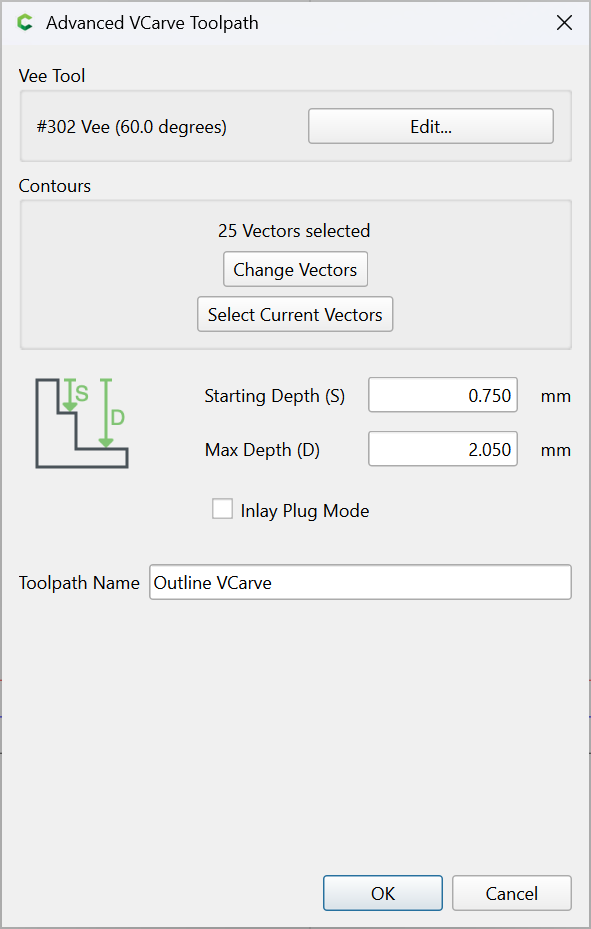
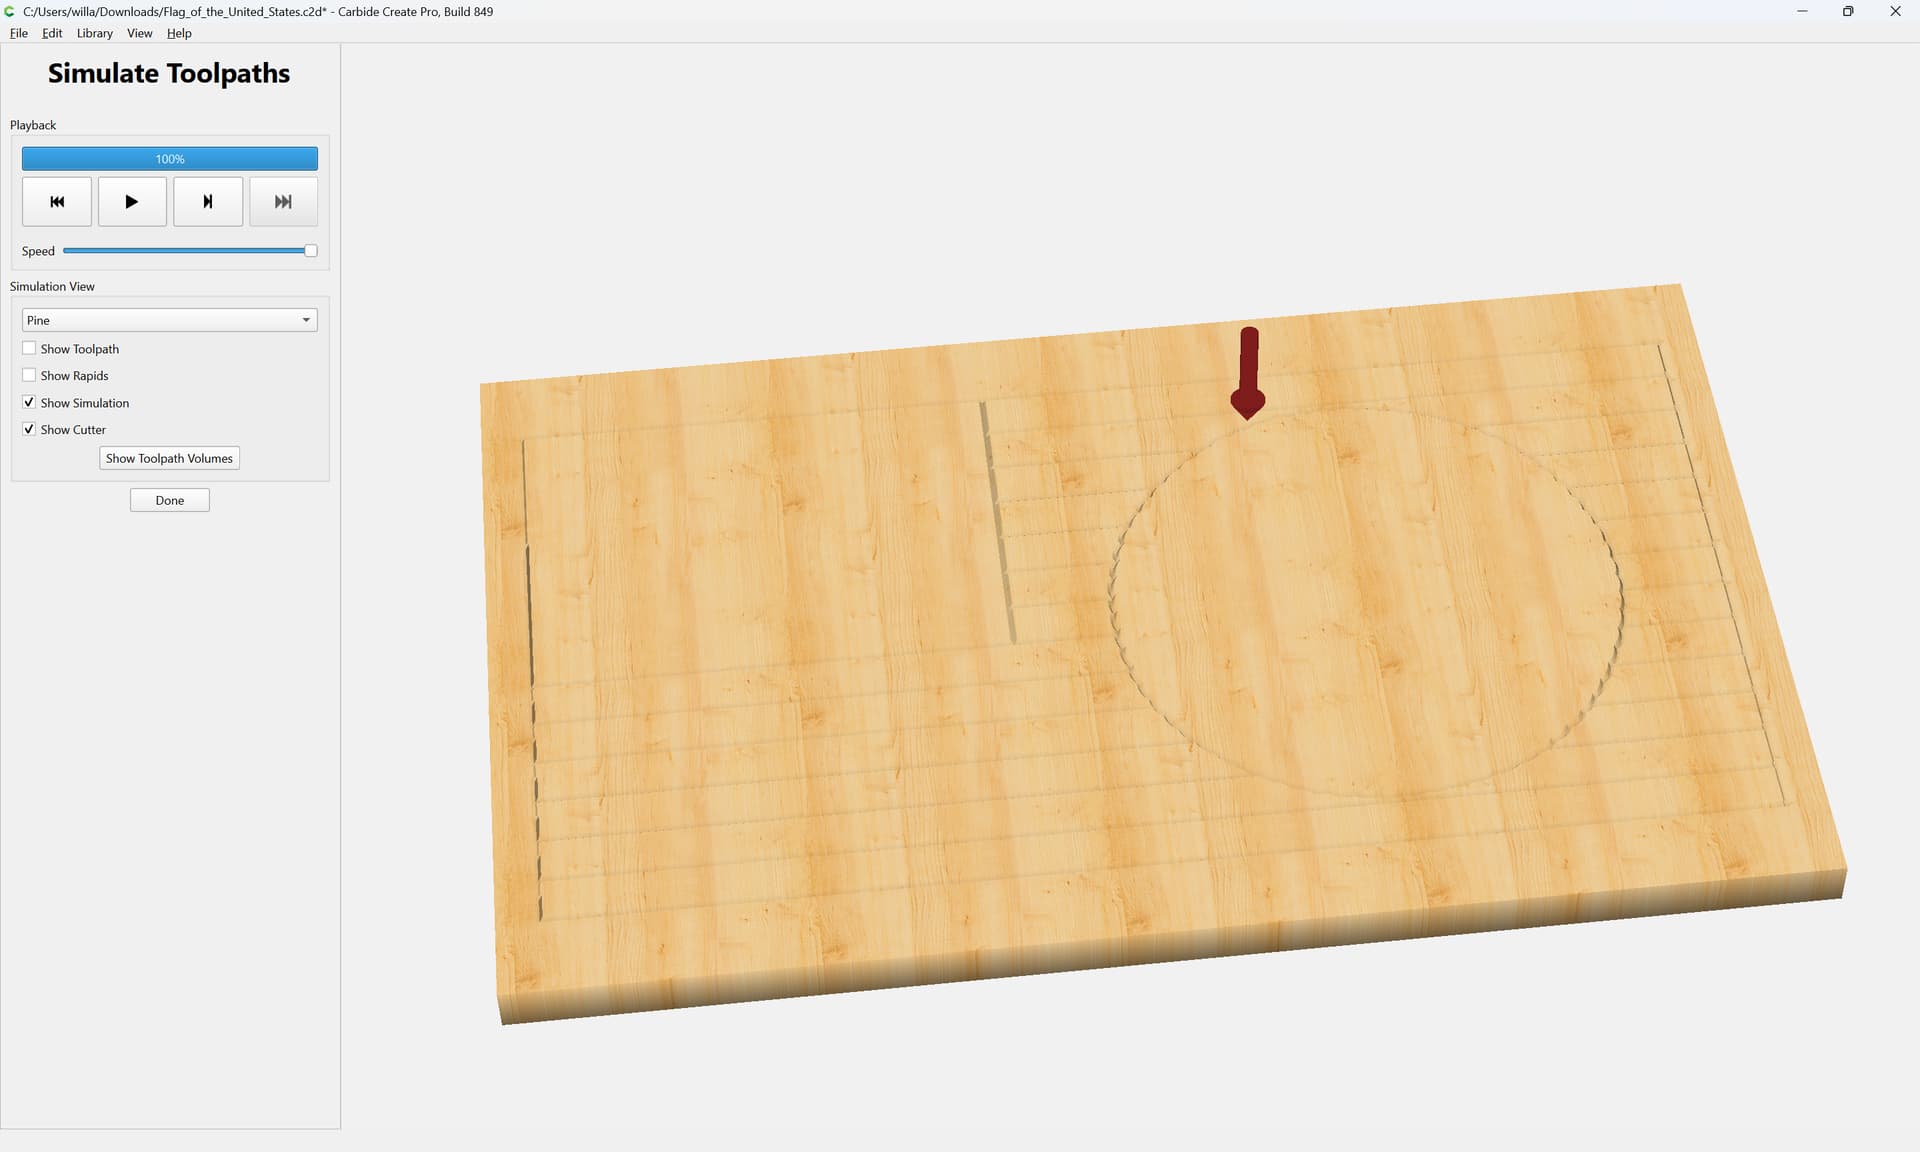
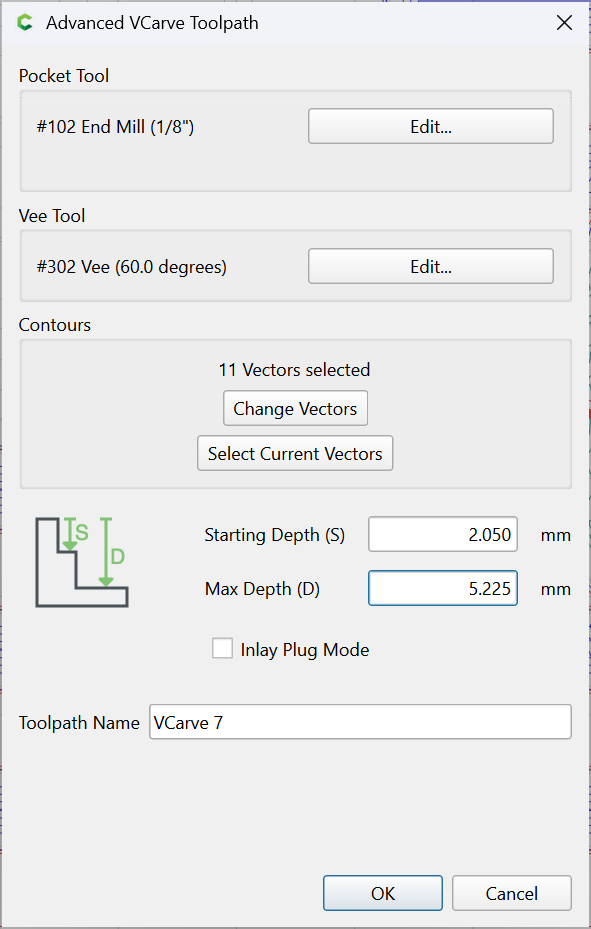
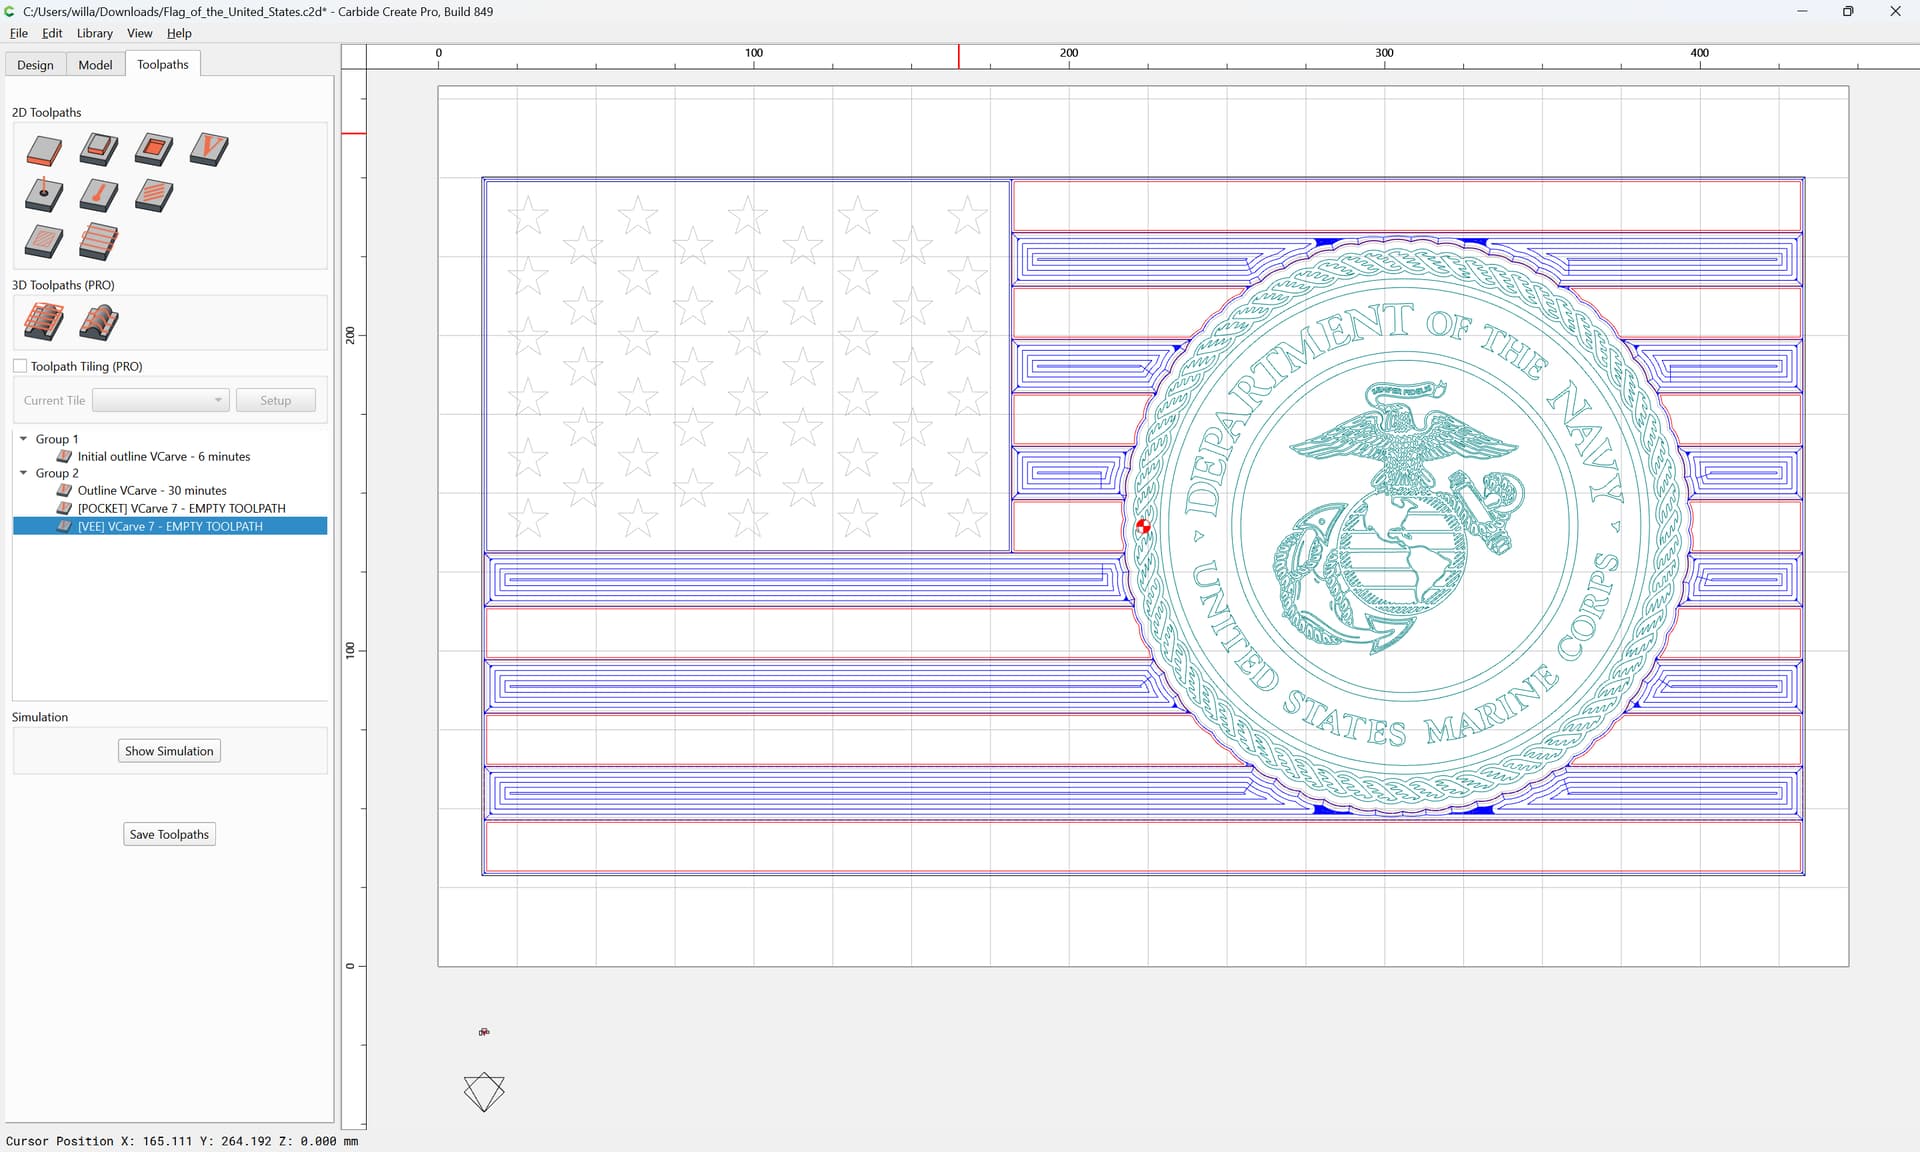
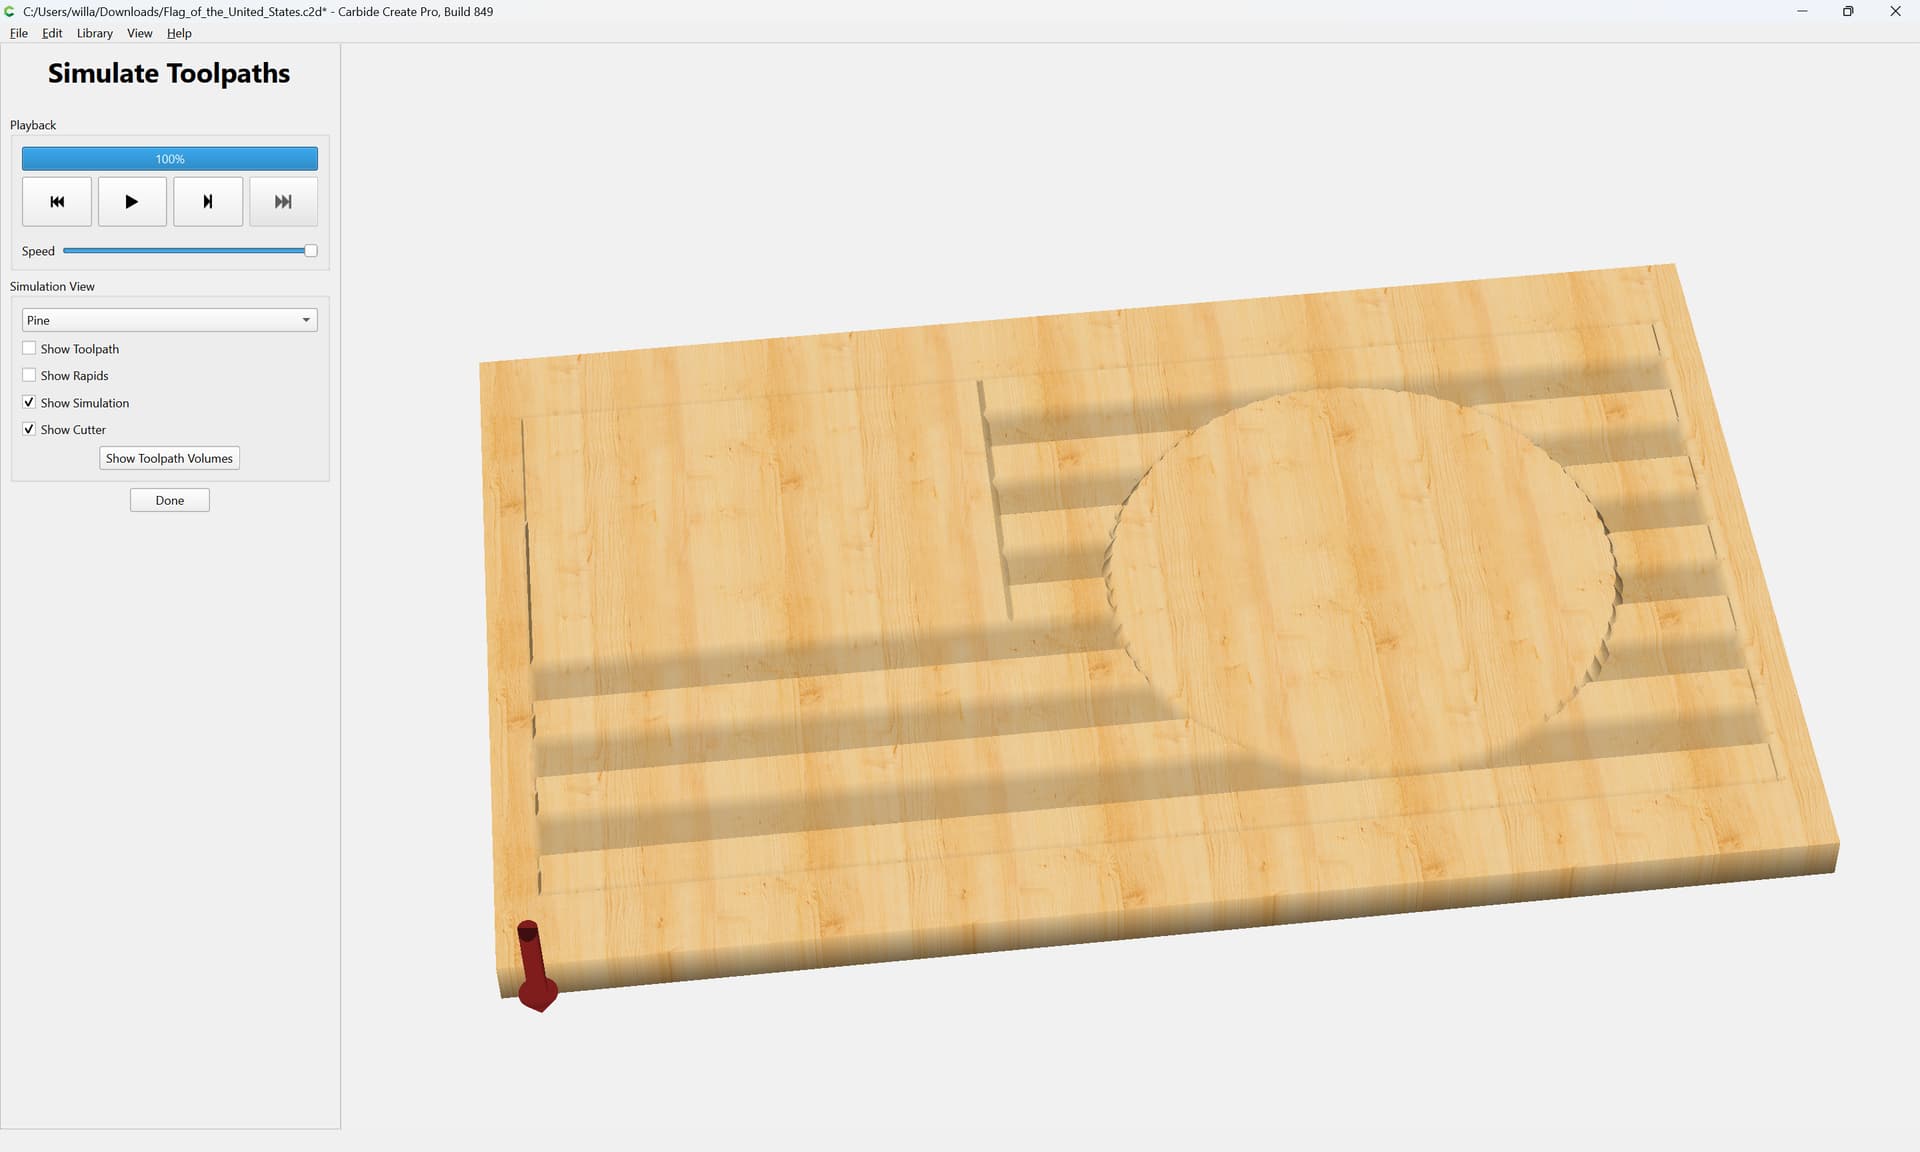
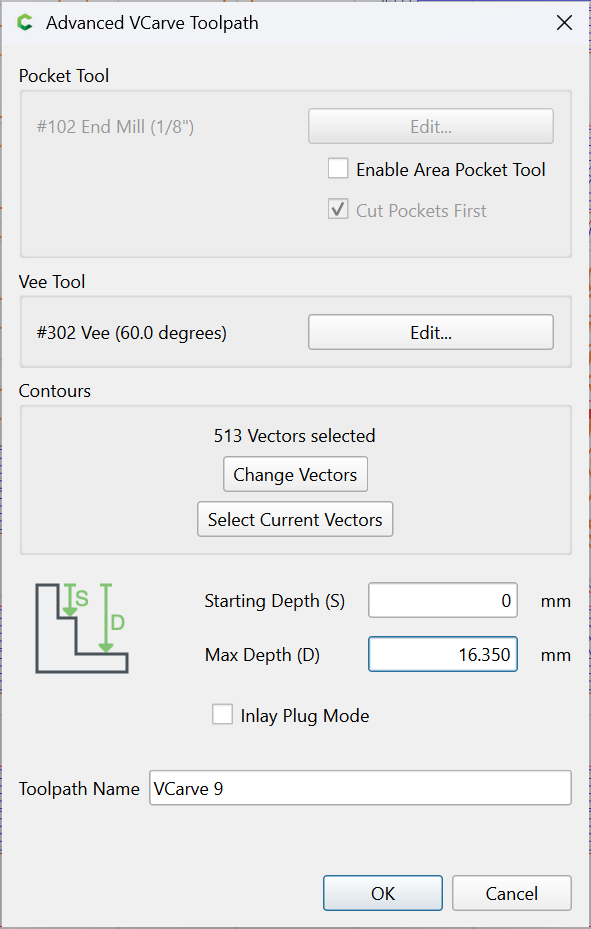
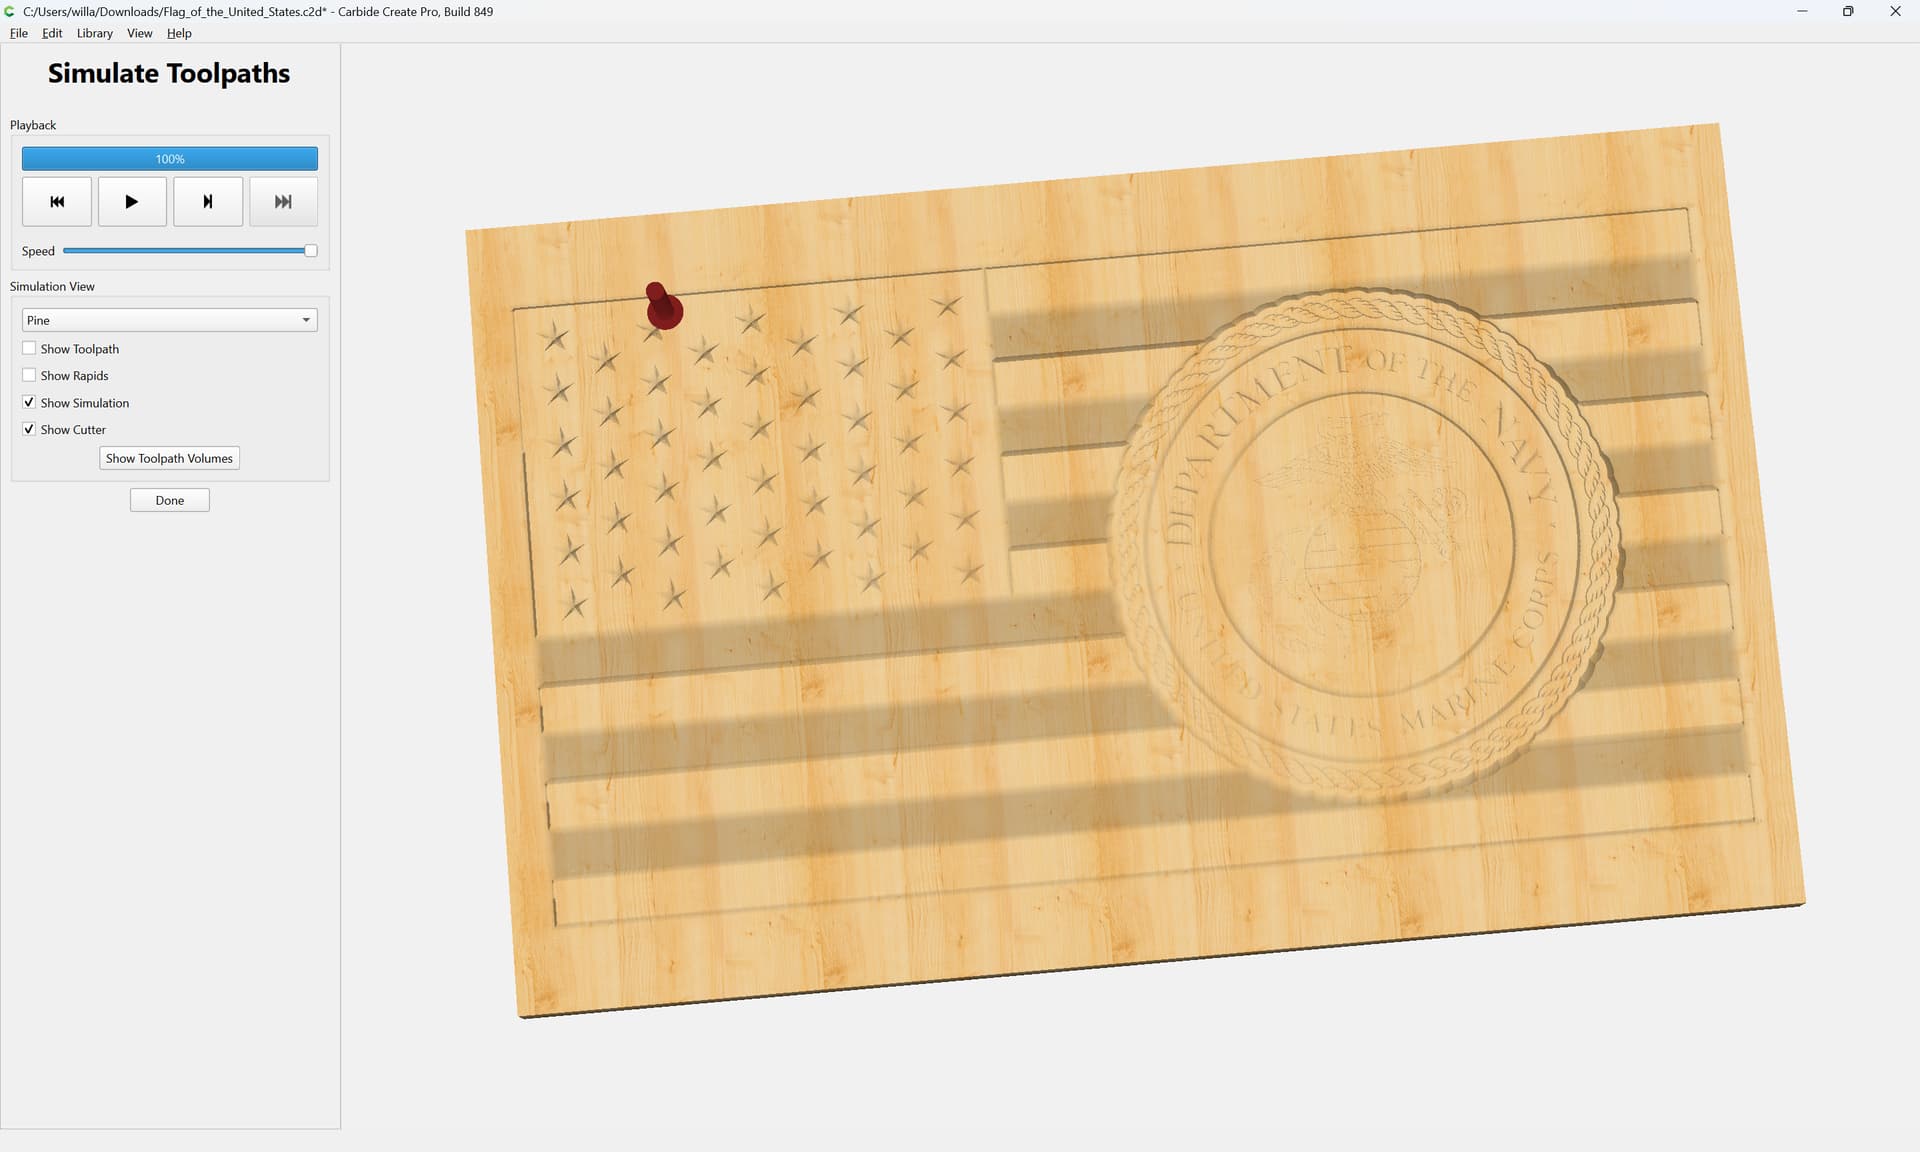
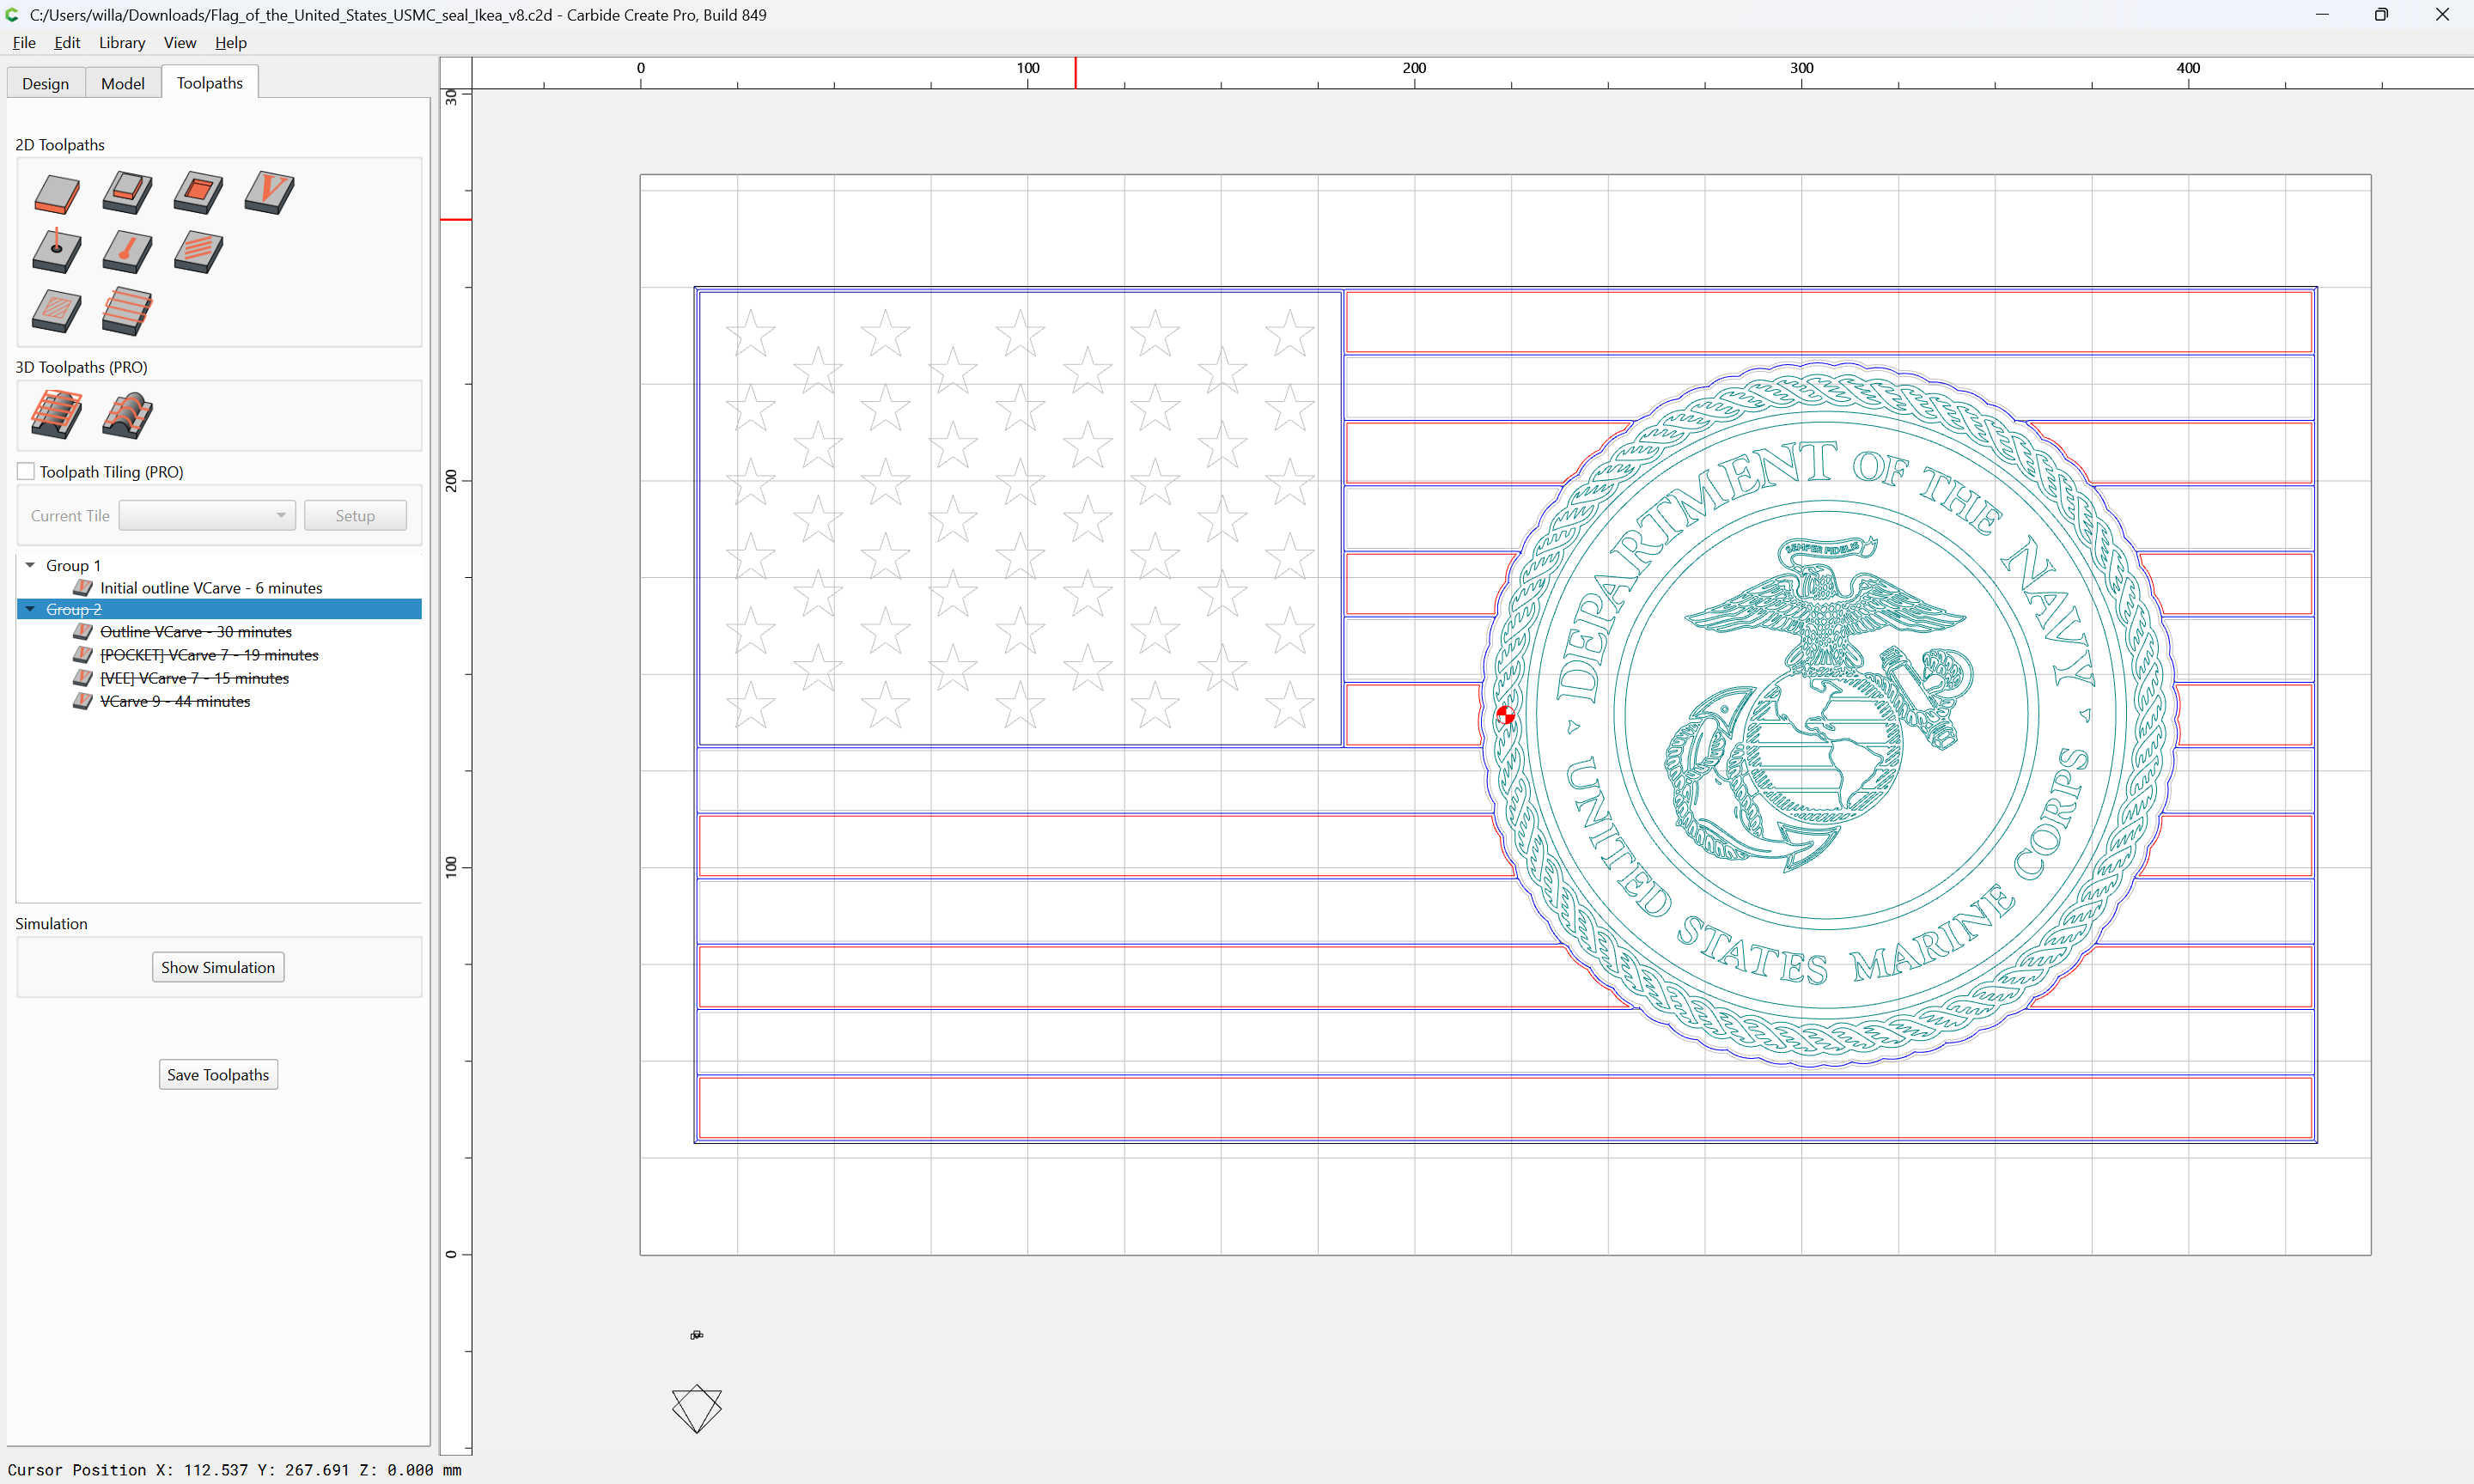
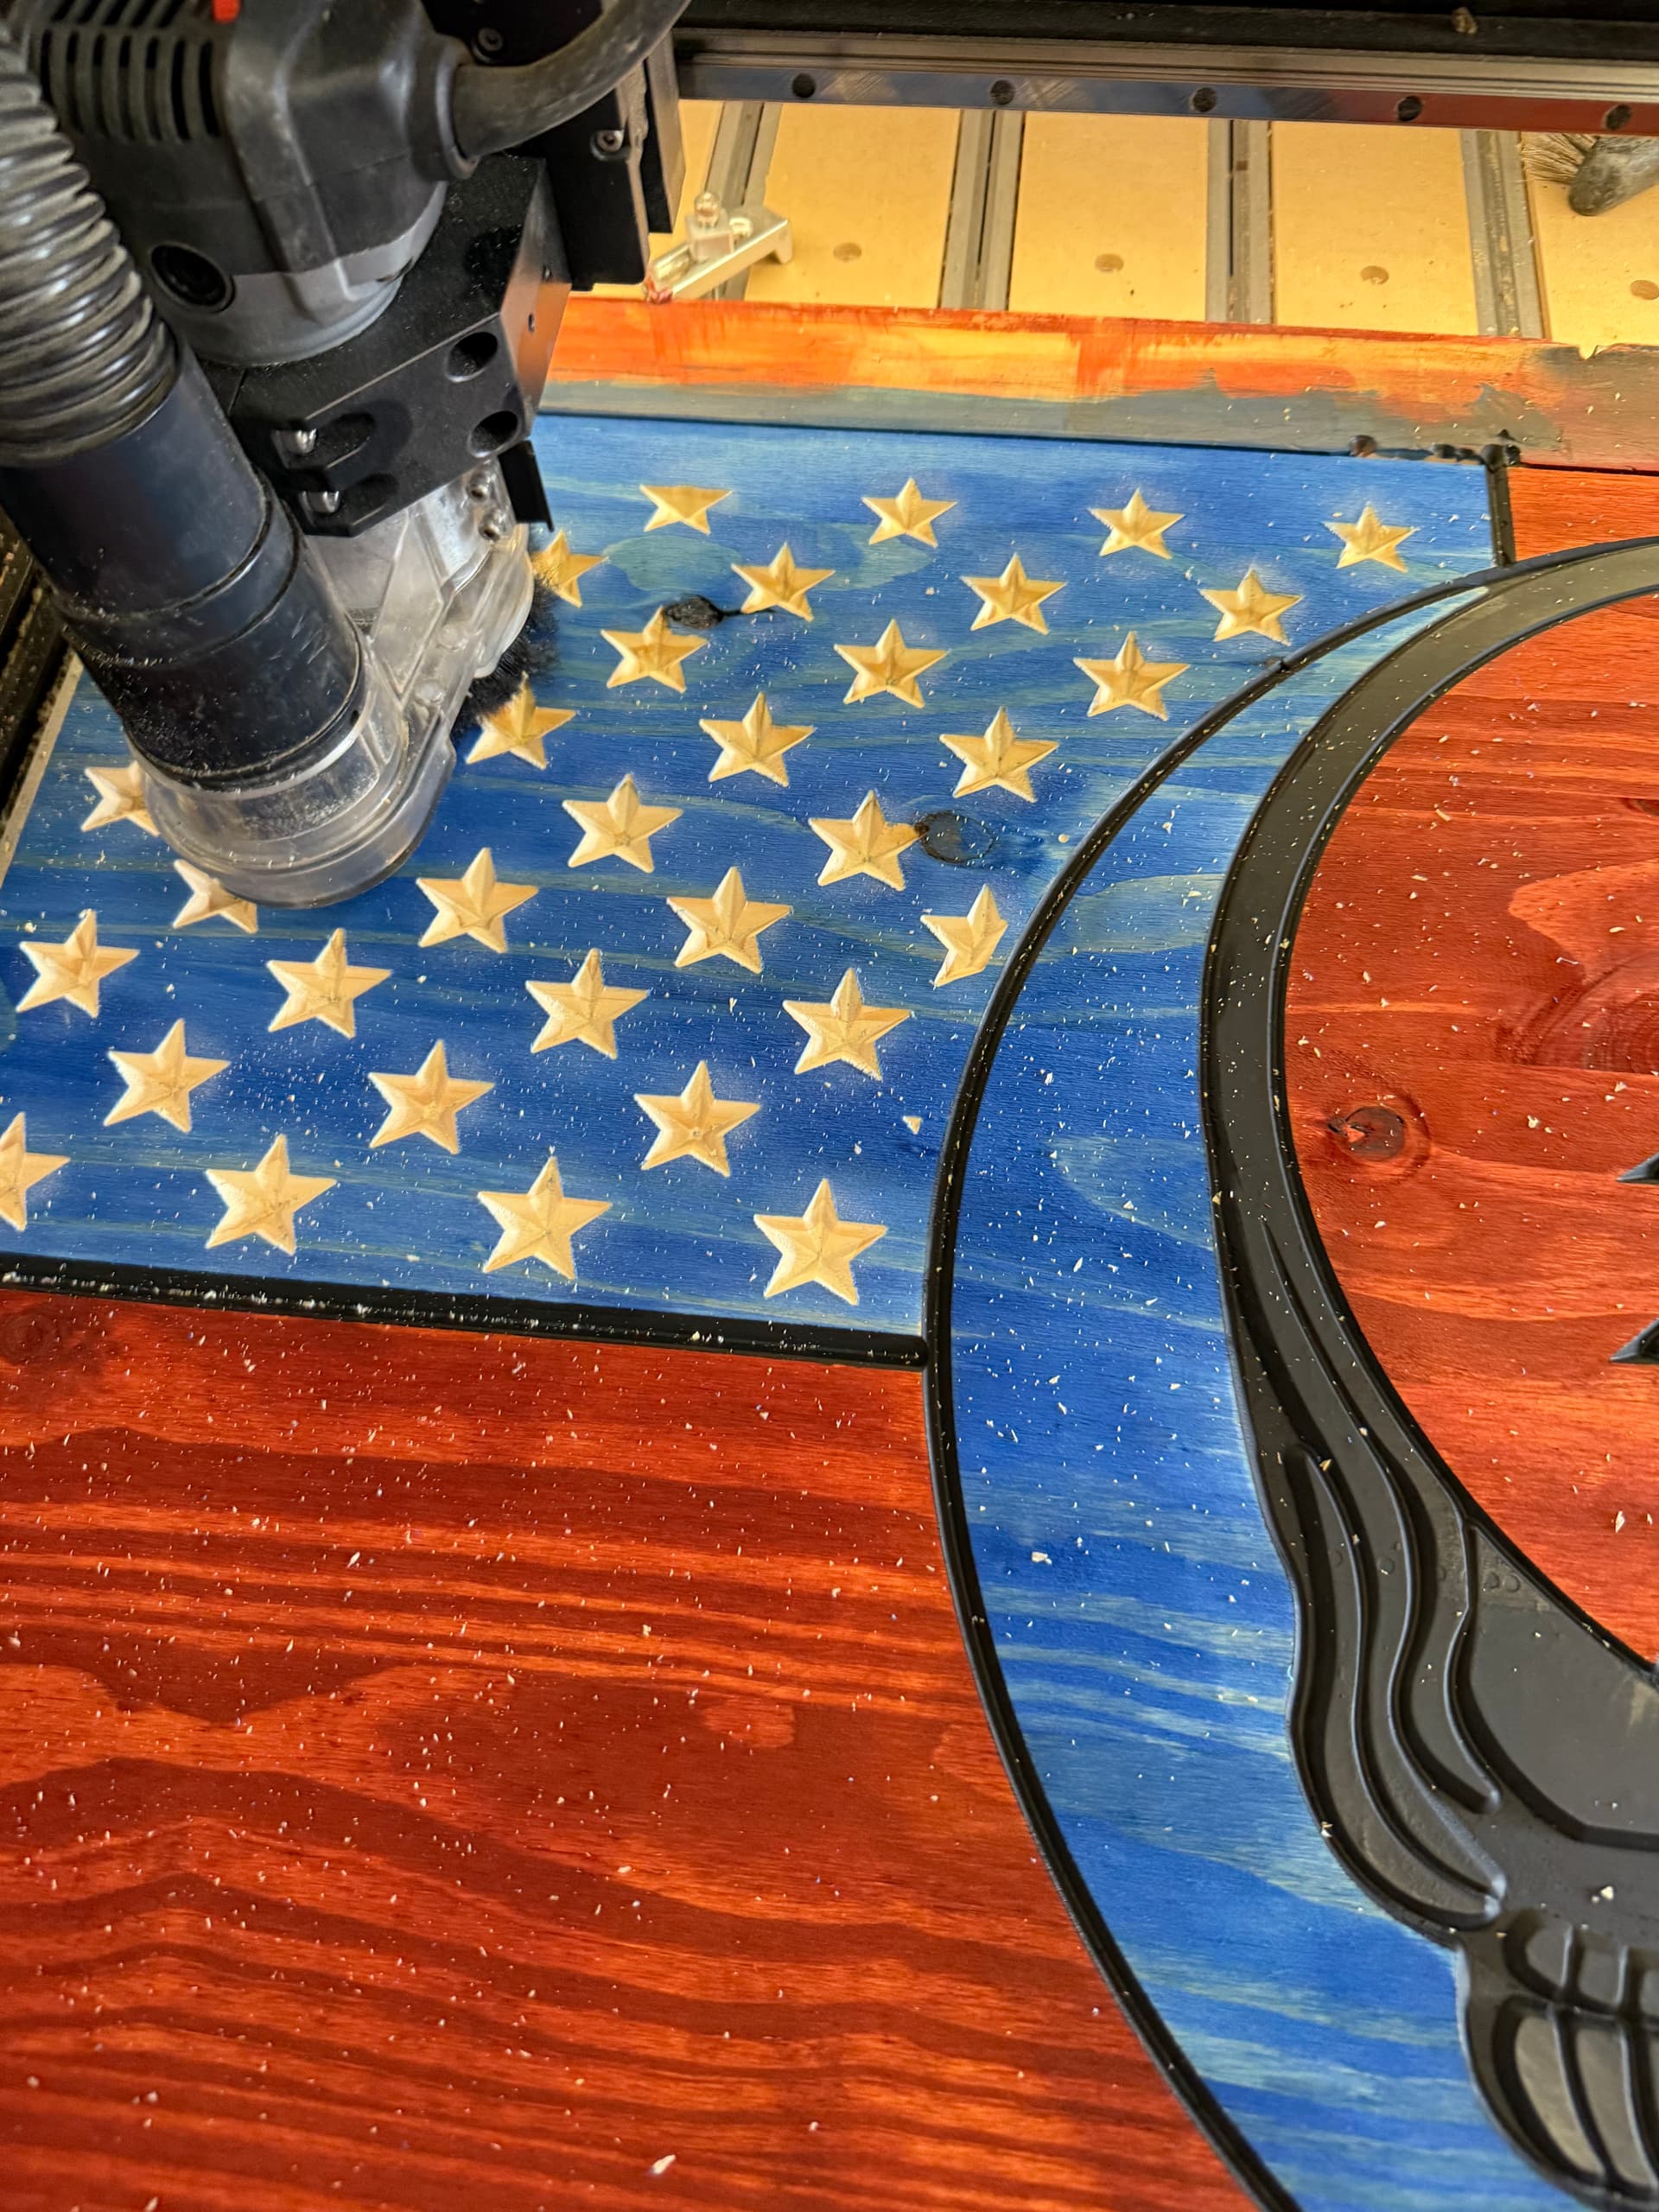
Lastly, assign toolpaths…