hi all, new here… Have a question about double sided carving I can’t seem to get my head around… Vcarve has a feature where you can specify a double sided carve, and you position your model once and you can “flip” and work on both sides.
Is there anything like this in Carbide Create? When I import my 3d model I have to pick top/bottom and you can only work on that face. I understand the concept of using dowels for positioning when cutting so you have a reference to flip the material over, but how do you prepare the model in Carbide Create to make sure all your positions are exactly accurate on 2 imports of the same model? (face up and face down)
With regular vectors you at least get to the see the X/Y position when moving but when you are moving the 3d model there isn’t information of exact X/Y position? Any advice would be much appreciated!
One for each side and import the model into each with appropriate settings, then for the flip, use Lower-Left for origin for the top-half, and Upper-Left for the lower.
but it’s a tough row to hoe and for v8 at least, it doesn’t seem likely one could do an entire guitar in 3D in a reasonable fashion with the current UI — the neck at least thus far folks have been modeling in a 3rd part tool such as Alibre:
Hi @WillAdams - thank you for all of your helpful advice on this forum. I have personally benefited from your suggestions, particularly in the area of 3D modeling. However… - your comment about the full design capabilities of V8 and guitars might need a challenge.
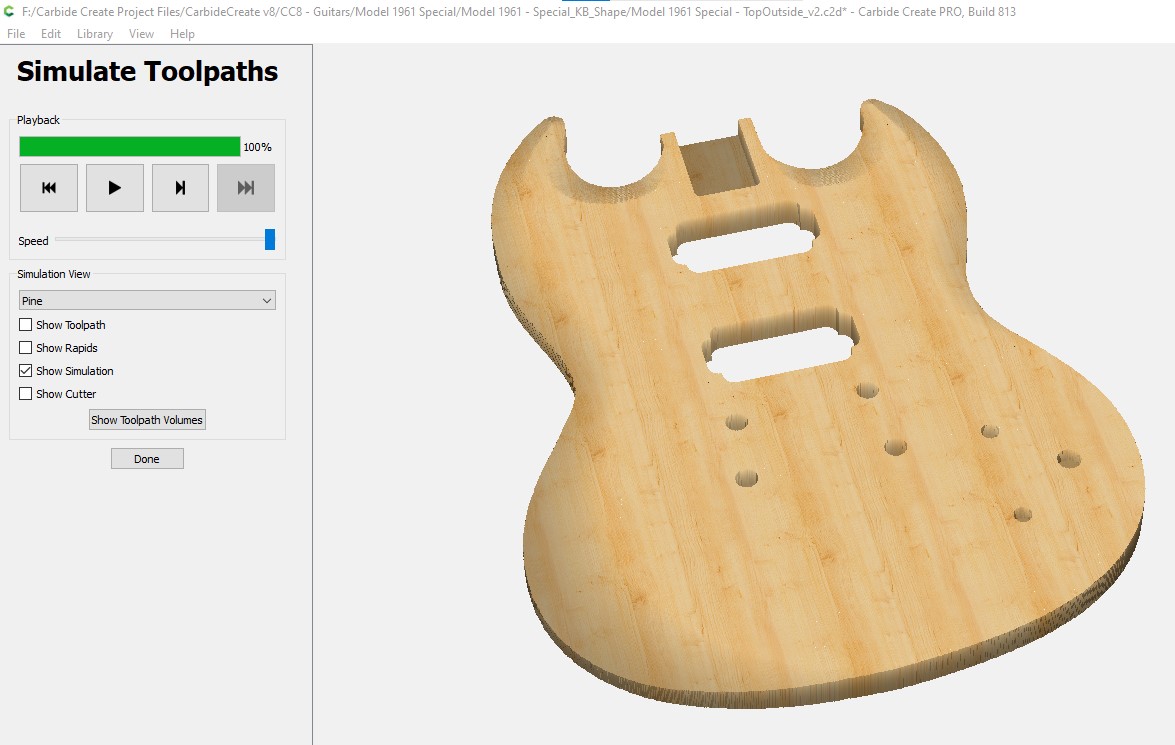
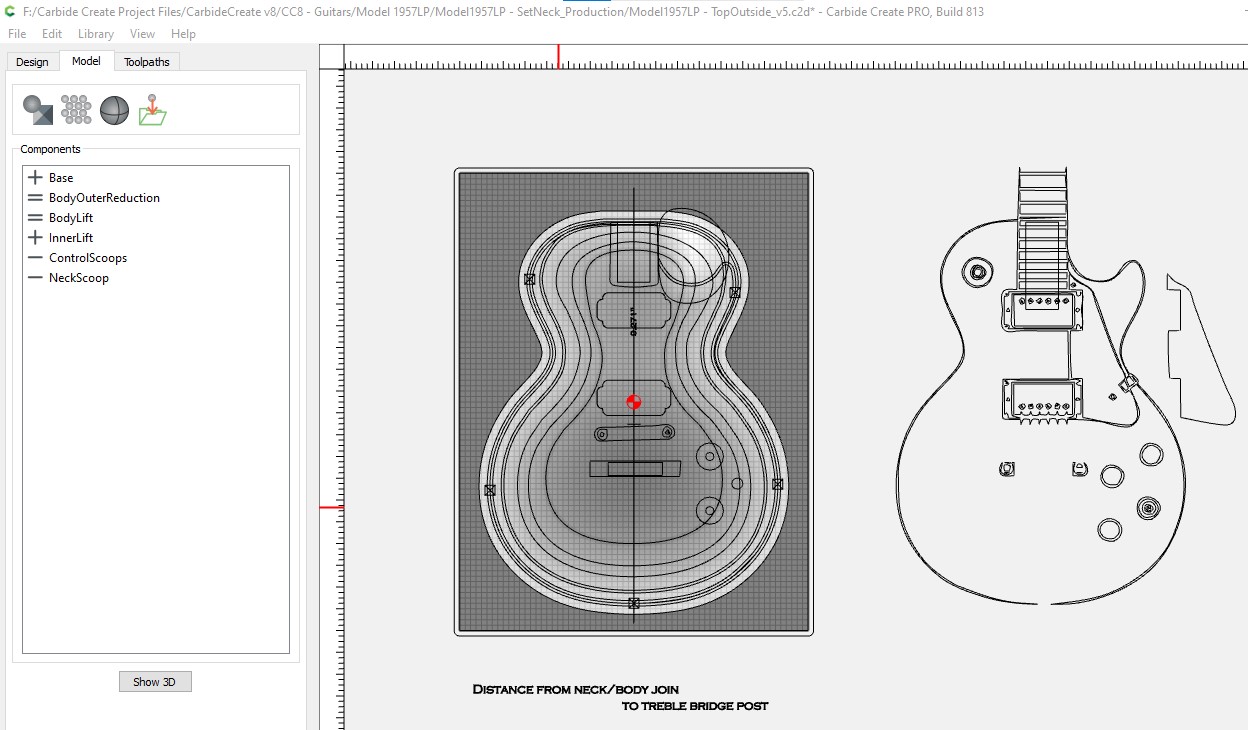
I’ve attached a couple of photos of guitars I’ve designed entirely within CC Pro v8. These include the system simulations as well as the modeling pages. I create my instruments as separate tops & backs, with carving done on the inside as well as the outer faces. I would love your feedback and any suggestions for improvements.
Thanks, and keep up the great work!
acknowledges that one can pretty much make anything — it’s just a matter of patience and one’s willingness to deal w/ a set of toolpaths which scrolls off the bottom of the screen, even on a 4K monitor in portrait mode.
Use the “upload” button in the post toolbar to post a photo:
Please understand - I have benefited from your understanding and observations, and your willingness to answer the many questions that get thrown onto this forum. Definitely no challenges to your position as Person of Knowledge!
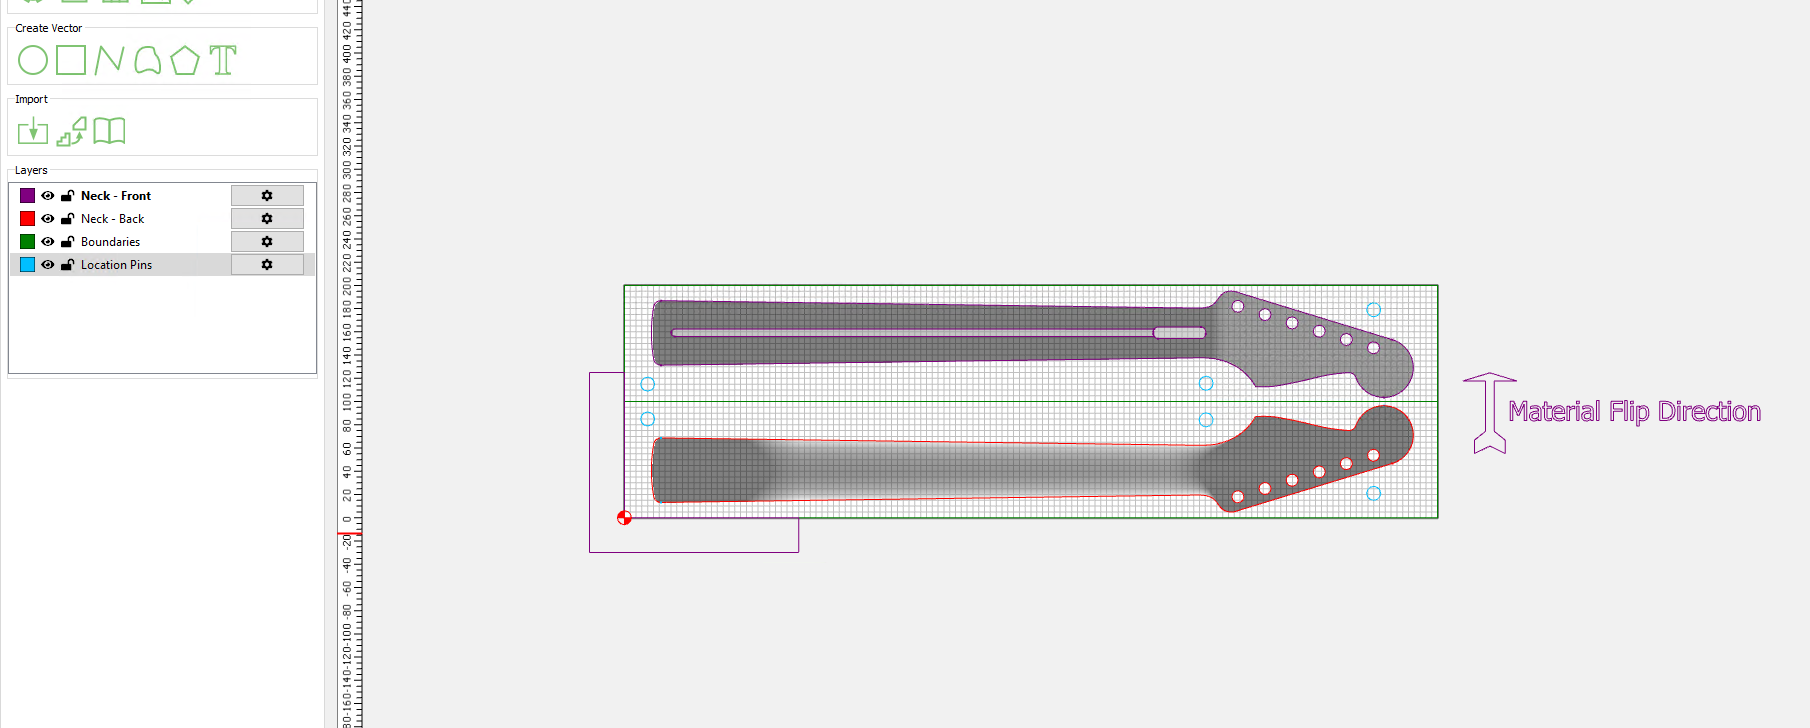
hi again - apologies in advance, but I think I’m slowly getting there… I’m having to teach my brain to think in mirror images and reverses and it’s not going terribly well
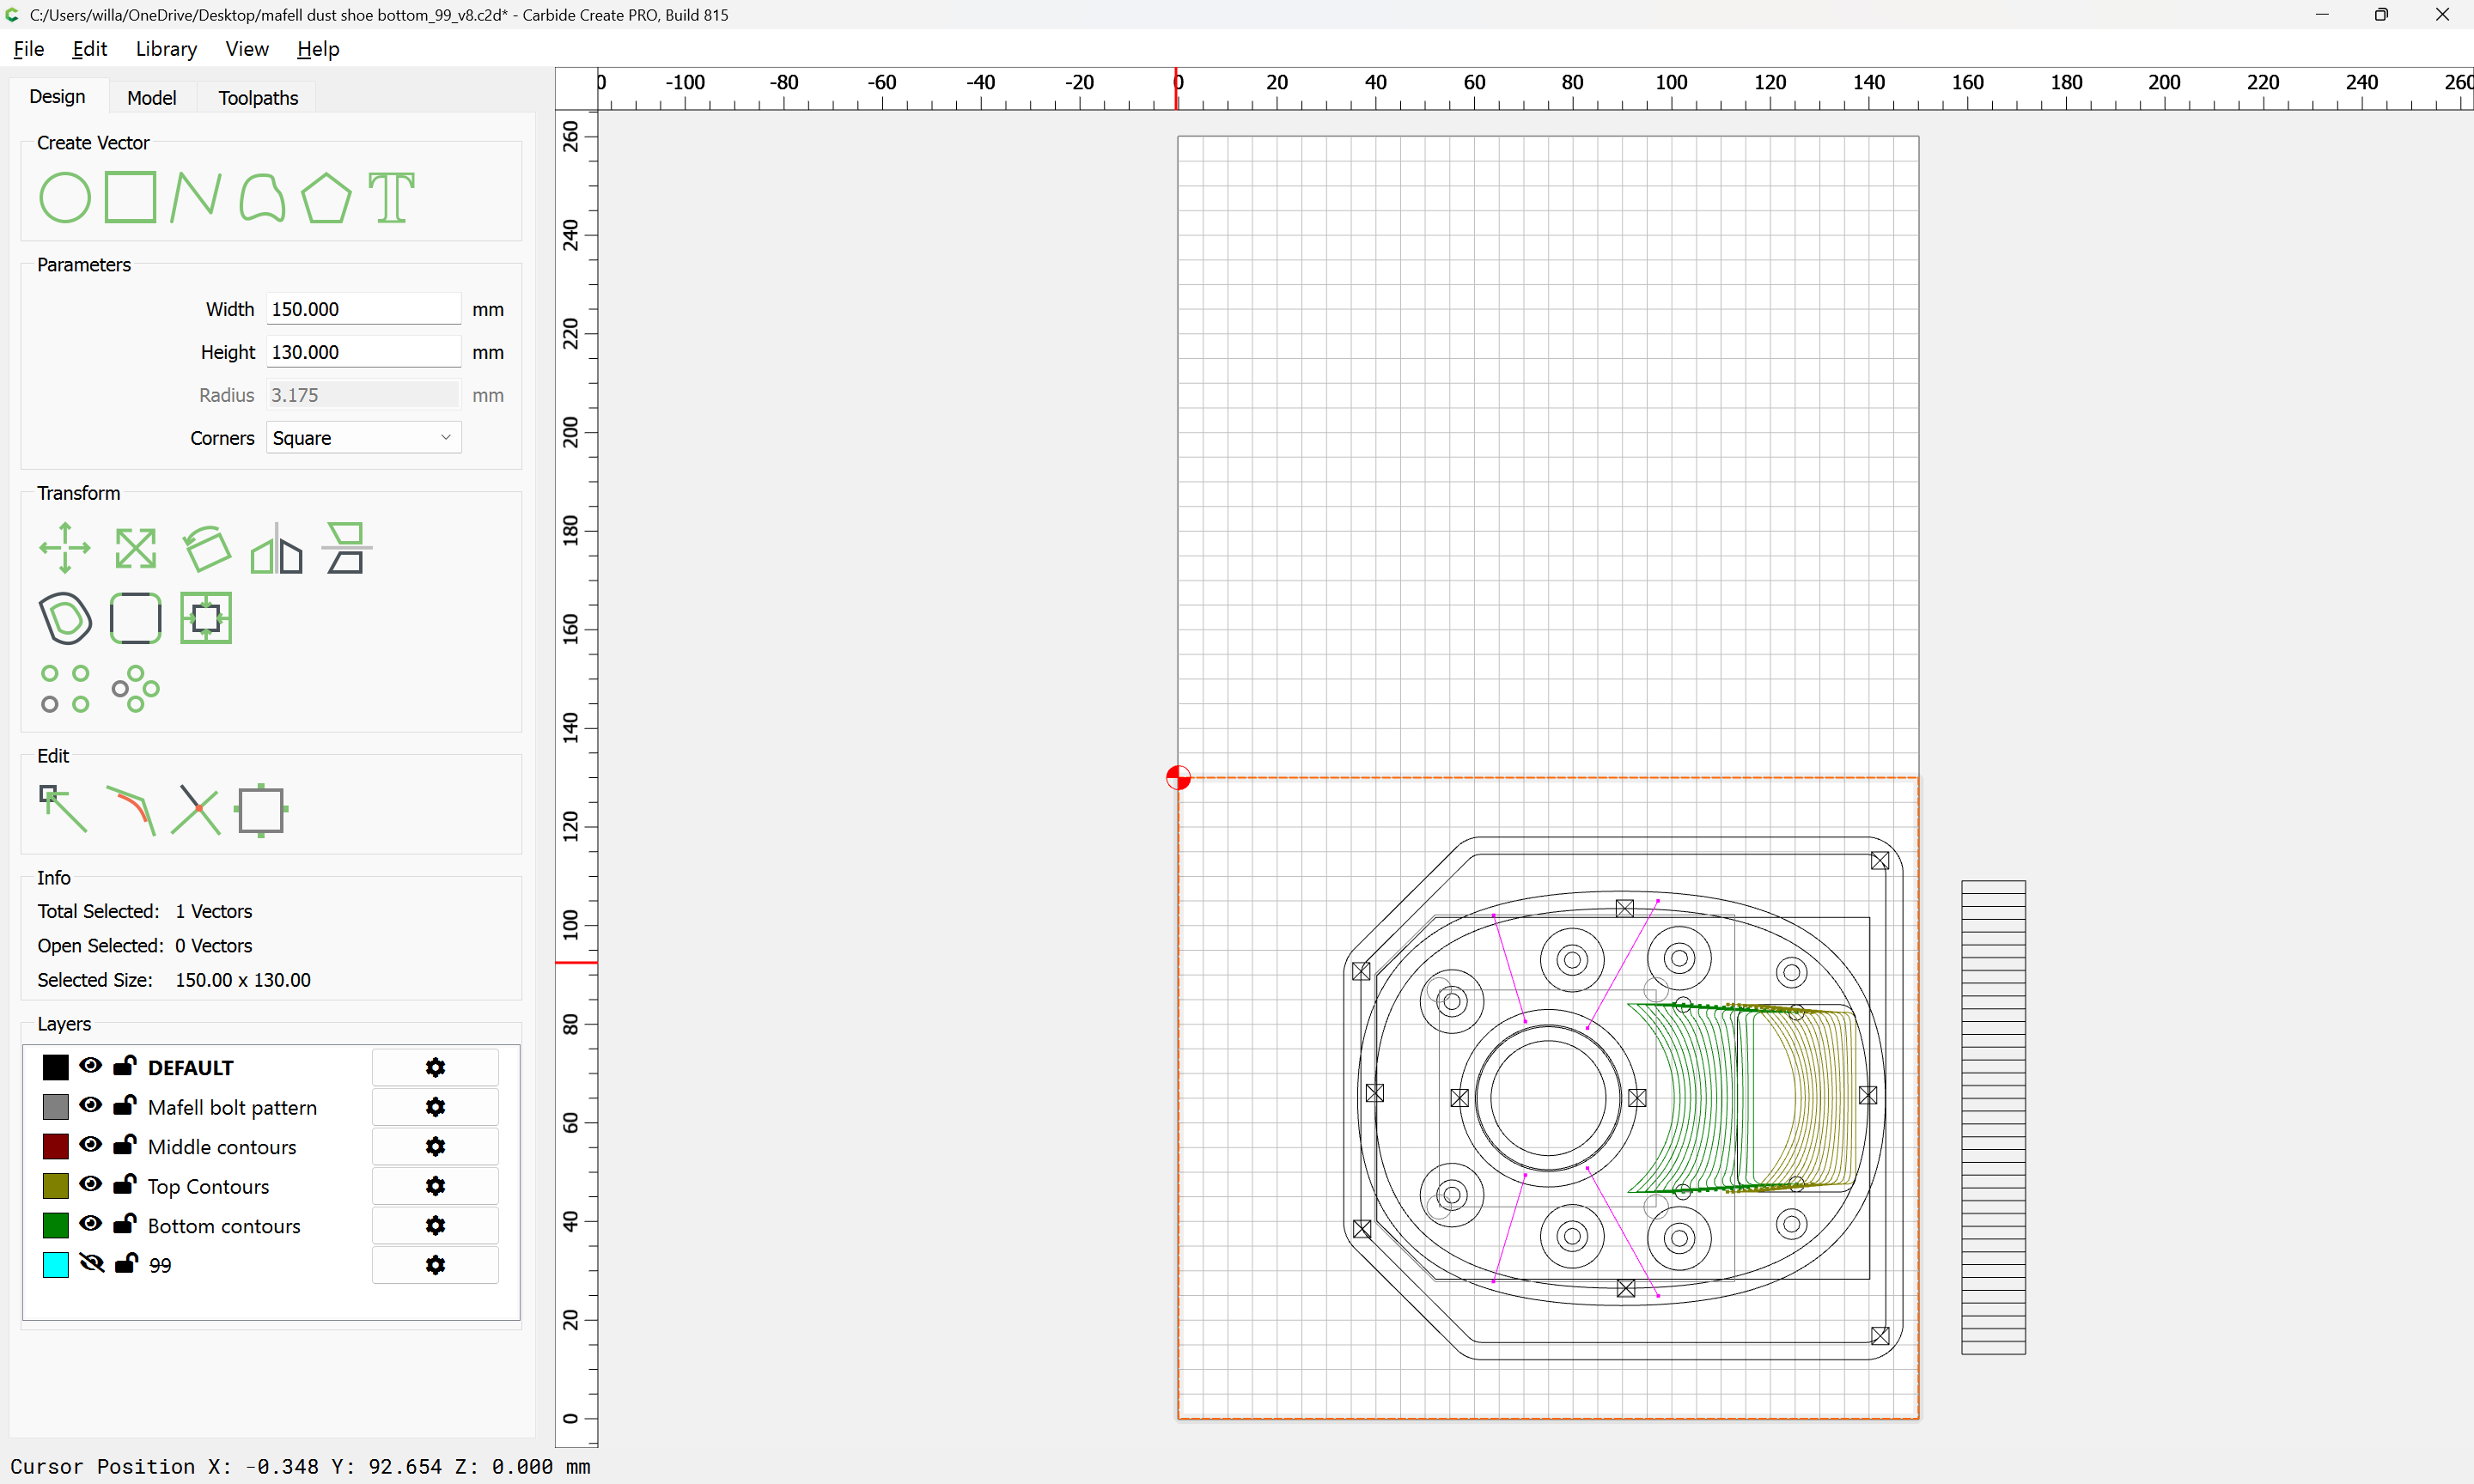
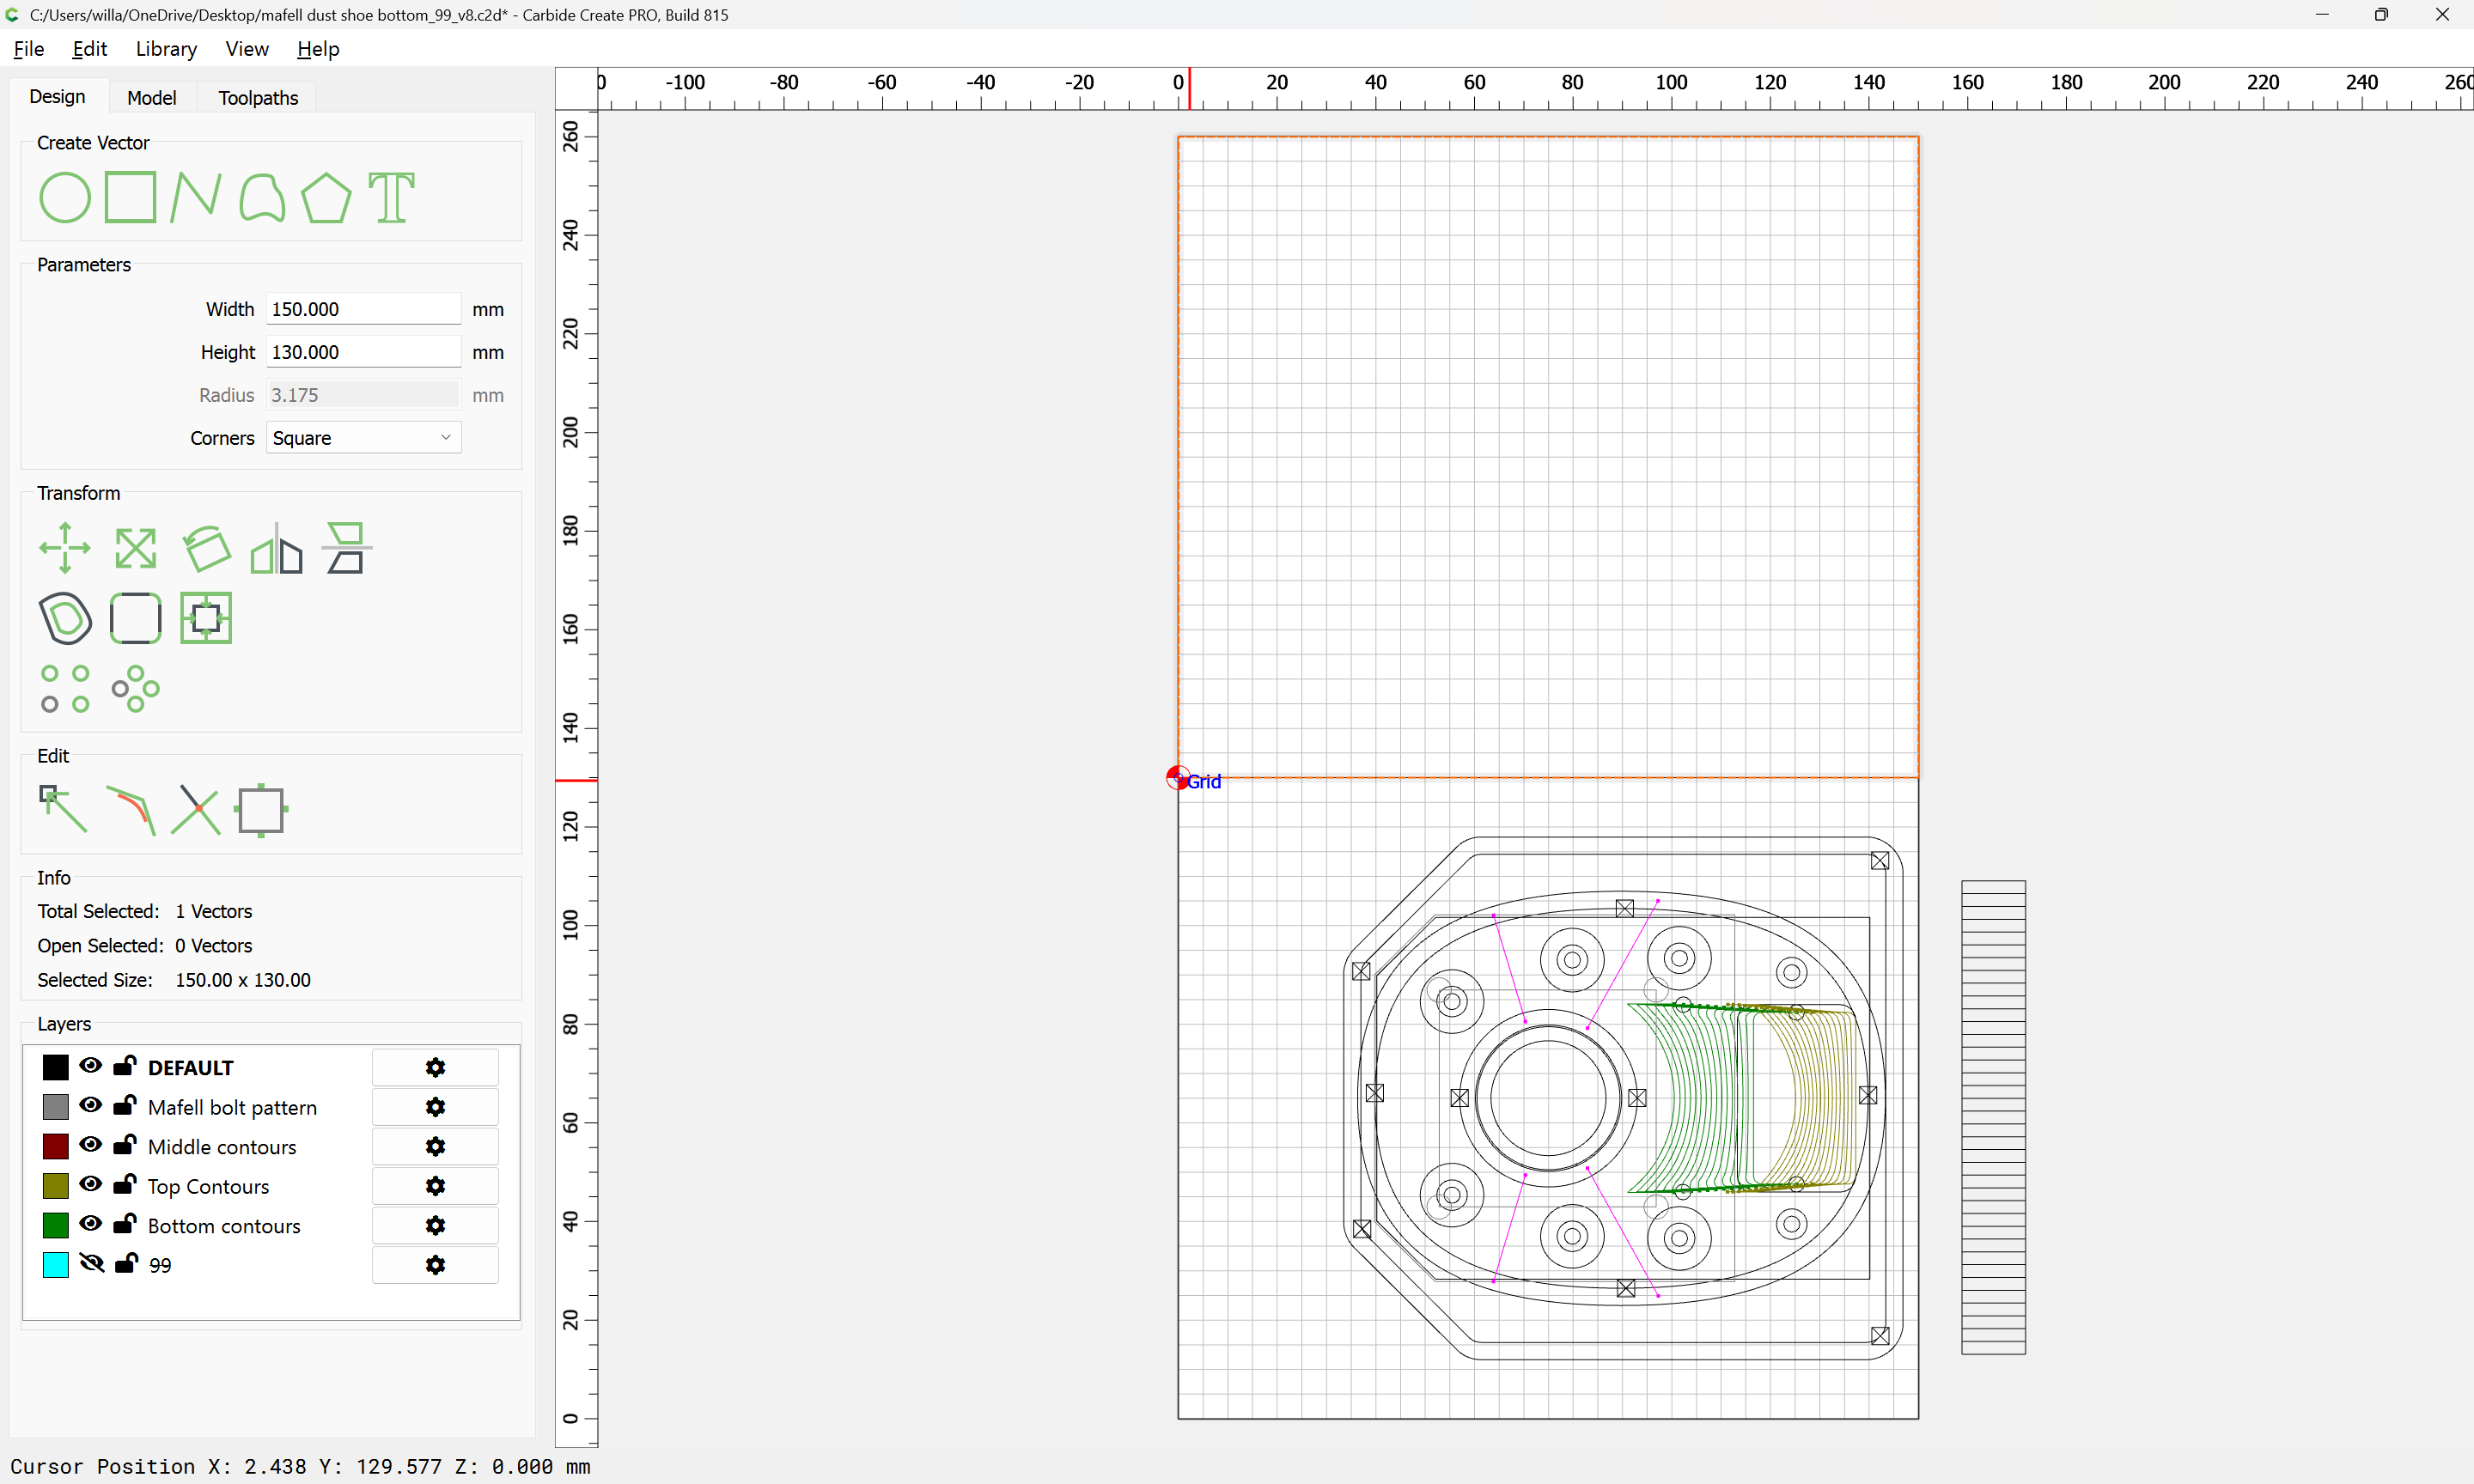
so i have started getting my project set up as such (not complete, need to add tabs etc)
I have the 3d models, and will go along the same lines as the other video and create the vectors and toolpaths, but i wanted to check my brain logic first…
My question is, you said “use Lower-Left for origin for the top-half, and Upper-Left for the lower.” but wouldn’t that create toolpaths for lower section that would be moving in negative direction? ideally I want to fix a static L shape 90 degree reference from a point I can macro the location of and start both carve sides from the same work coordinate - similar to the video you posted. Not necessarily a problem if I have to start one carve from 0,0 and then the 2nd from 0,100 but I just wanted to make sure I’m understanding it correctly or if I’m missing a step somewhere!
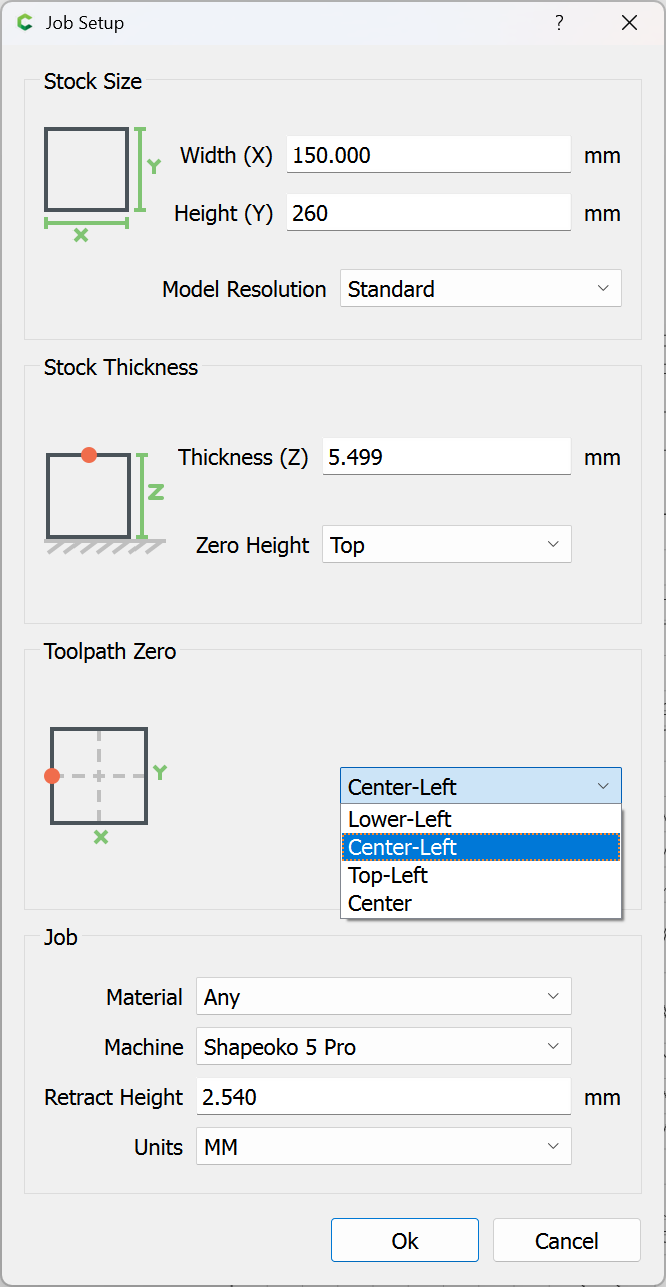
great… I’ve changed the Job Setup Toolpath Zero to Center Left as you said, but this might be a dumb question (forgive my ignorance, I’ve only been doing this a couple of months and easy things like coasters so this is quite a step up for me… :D) but what’s the difference between the Job Setup Toolpath Zero and the origin you mentioned in your earlier post? Is that the work coordinate when I am setting up to carve?
“use Lower-Left for origin for the top-half, and Upper-Left for the lower.”
My suggestion here is to make a really simple test file set up as described above, then walk through cutting it — if you have difficulties, let us know and we’ll do our best to work through them with you.
You set it up Left-Center in CC. On the machine you use front-left for one side, and back-left for the flip side. So you are using the same physical corner for both setups.
This allows you to design both sides in the same file and visualize them both.
Back in the pattern/model making world, we would mark one corner with a black triangle. This was the “J-corner”, and all dimensions & measurements were made from that physical corner regardless of the part’s orientation.
Mike Thanks for asking the double sided guitar neck question. I have been trying to figure this same thing out for a while now. I am excited to try this approach. I think I understand it. Thanks guys.