I’ve started messing around with etching on challenge coins with MC Etcher tools and noticed that the etched areas are a little rough to the touch. Is there a way to knock down that roughness a little without damaging the etching?
Thanks!
Side note, it would be handy if the default MC Etcher tools in the library included the degree of angle in their name, but easy enough to see it and note it in the toolpath. Just a ‘I wish’ comment there.
I had tried a regular cloth and fibers were just shedding from it. Also used an old toothbrush which seemed to help, but wanted to see if there was ‘best practice’ I should be doing.
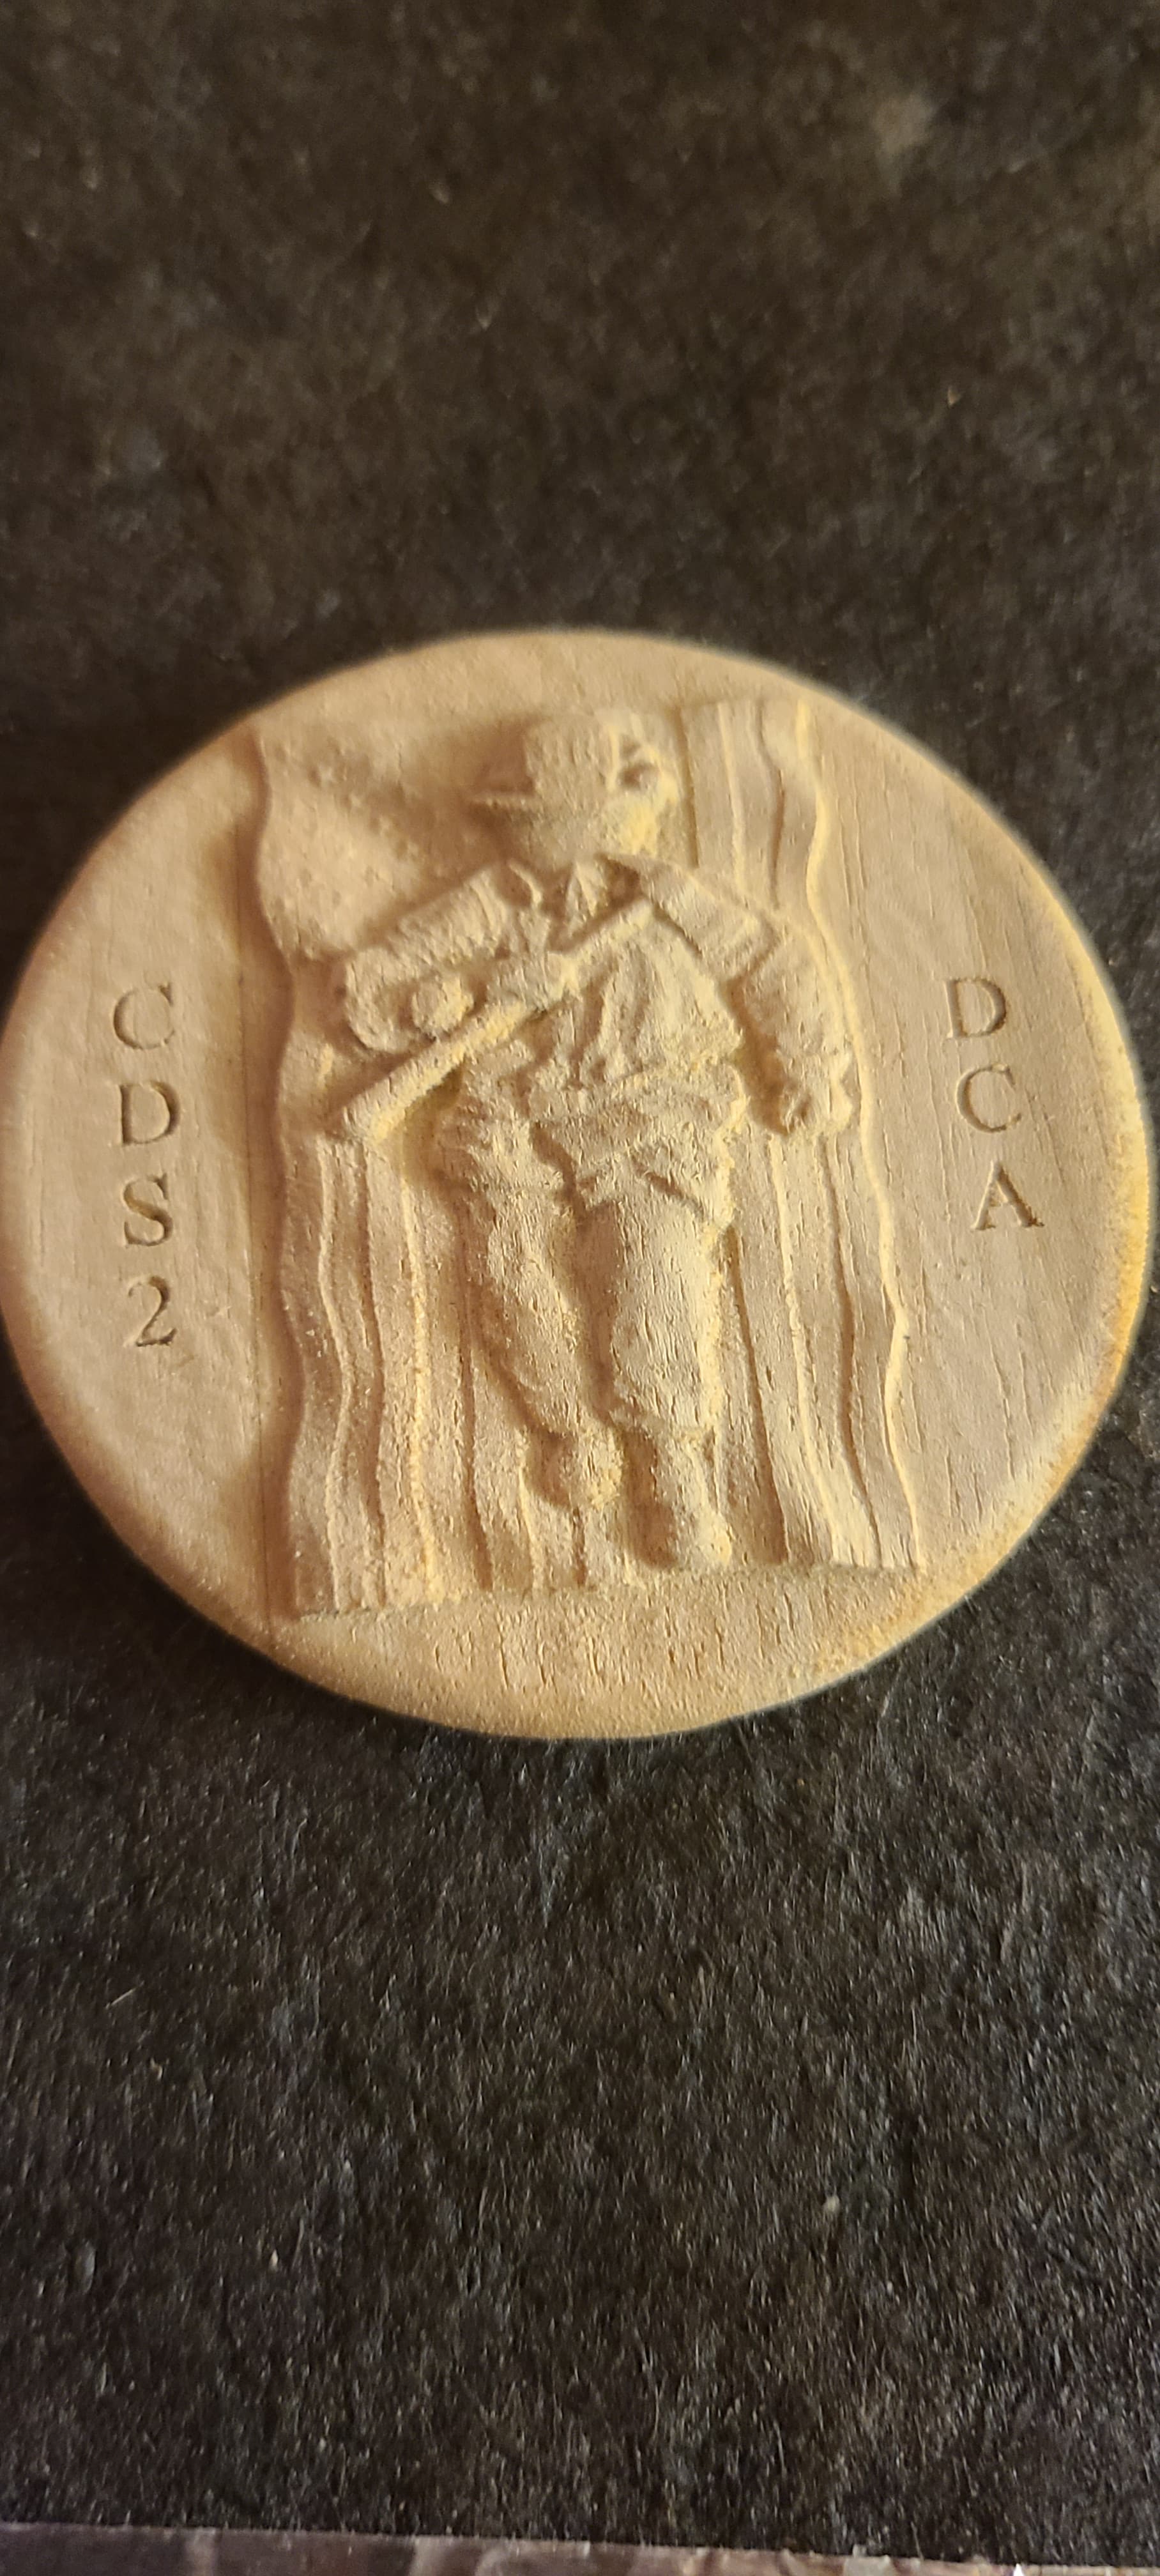
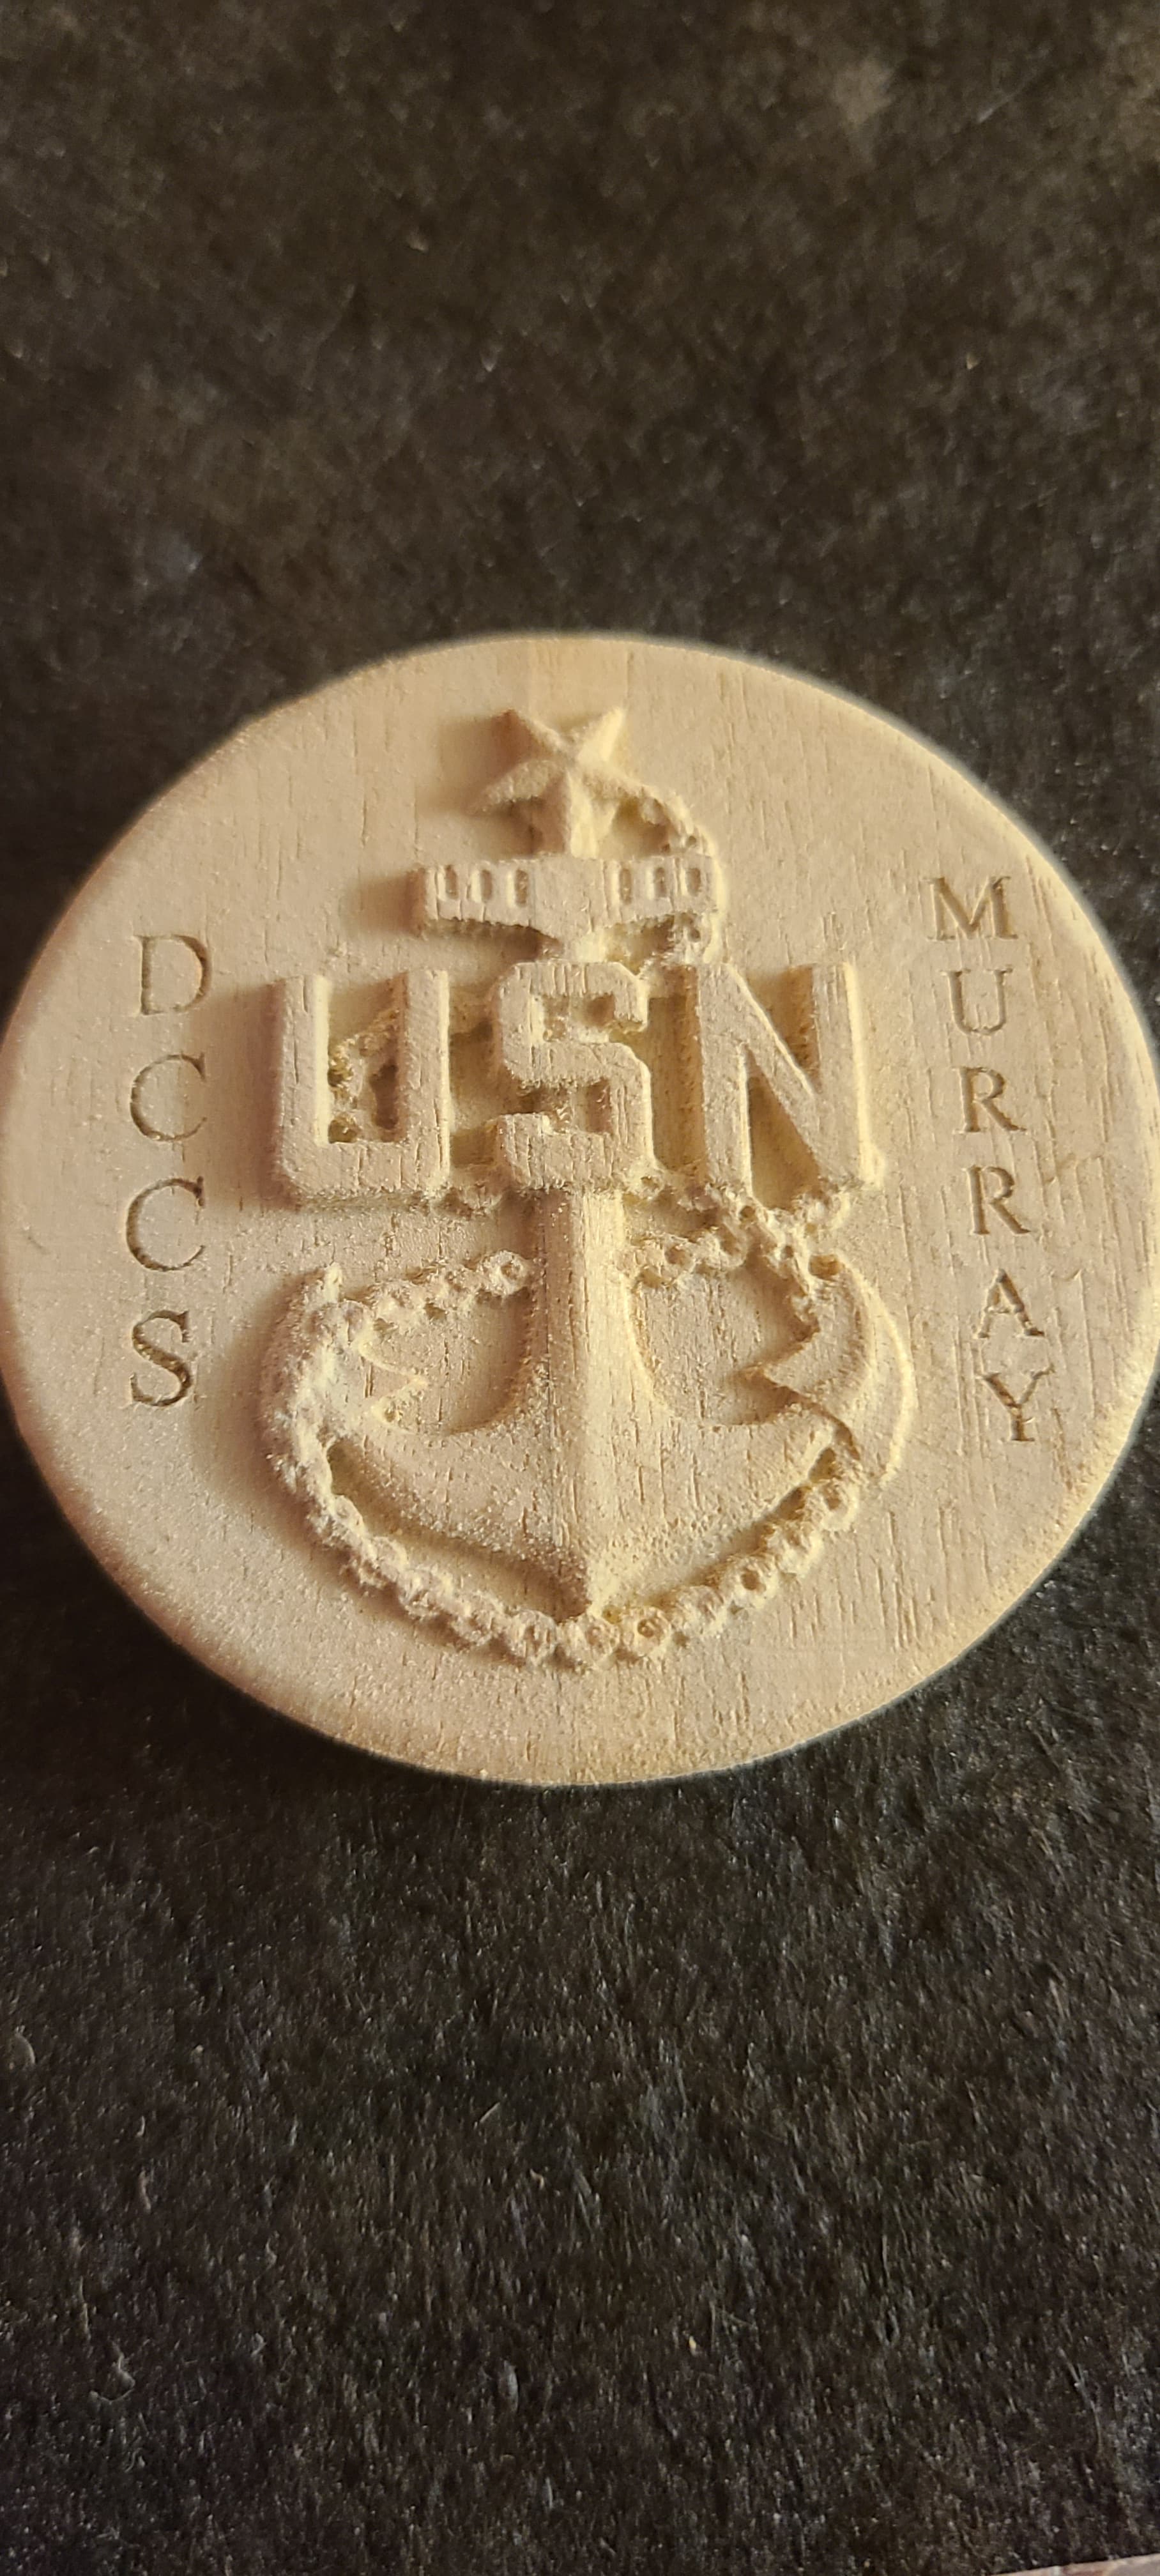
@RichM I am working on my own challenge coins (Navy Guy here) wanting to try some metal and MC etcher so following along. Currently i have been making some out of 1" teak, with good results.
I am trying more complex 3D designs as I go using #121 1/32 ball nose just to see how detailed I can get. Also thought about looking into making my own molds to try and epoxy pour or something. The wood works but not very heavy and durability factor is still being tested.
@pcperks hey brother I am trying to get there few more years left. That is mainly what i have been doing is CPO/Navy stuff! Lots of good stls on Etsy and stuff us where I started now working my own designs.
I ended up using a blank 3x5 notecard, kind of like sandpaper under my thumb, just to see if I could knockdown the tiny burrs I could feel on some of the edges and that actually worked pretty well. May not be the best solution, but it did what I wanted to accomplish in the moment.
Would 4000 grit sandpaper be too aggressive for what you need done with the burrs? If surface finish is a major concern, a really high grit sandpaper can be used, and if you are working on metal, tile, ceramics, etc, then wet sanding may be ideal for your burr issues.
The thing is, sandpaper should only be applied to a surface which has defects or a layer which one wishes to remove similar in size to the grain of the sandpaper.
If you apply a piece of sandpaper to a piece which has such defects you end up with a smooth/rounded bump where each defect was.
If need be, use a fine flat file to take things down to a flat surface, but you’ll still have burrs inside each area along the perimeter of where the cuts were made.
Correct on the flat file. Burrs are any machinist’s worst enemy. I havent tried any etching yet, but have two of the etchers and am about to start practicing on some tiles to see how well I can work with them. Found a place that has around 50 tiles for $10. Thinking that this many tiles at that price isnt bad and it gives me some material to practice on.
I am genuinely just as concerned about the burrs within etching because I have a coin type design that I would like to create, and have already started designing it, but not being familiar with Mc Etchy tools, I dont know what to expect in finish. Practice runs are a must to see and adjust.
You might have luck just by reducing the pressure /DOC on the Etcher. It really depends on the look you are trying to achieve. By not going too deep, I can let the Etcher zoom and get very smooth engravings. The Etchers are definitely my favorite. No router noise, no vacuum noise, very forgiving for rookies yet still make cool things fast.
Engraved 24 stainless discs on both sides with a 90 degree MCEtcher. DOC was 0.07 inch determined by trial and error. My DOC will not equate to yours due to the nature of the Etcher (adjustable spring which I tweak as the diamond gets dull). Feed rate 200, plunge 60. I ran 200% override. No smoothing necessary. I pocketed in the wood 0.05 inch deep to hold each disc and covered the bottom of each disc with double sided tape before pressing into place. This sometimes holds the discs adequately, sometimes not, but in this example I did not lose any of the 24. But I did get to clean tape residue from the discs (yippee!). This is my home business where I buy cheap stuff, spend countless hours embellishing it, and then give it away for free. The demand is crazy. Business is booming.
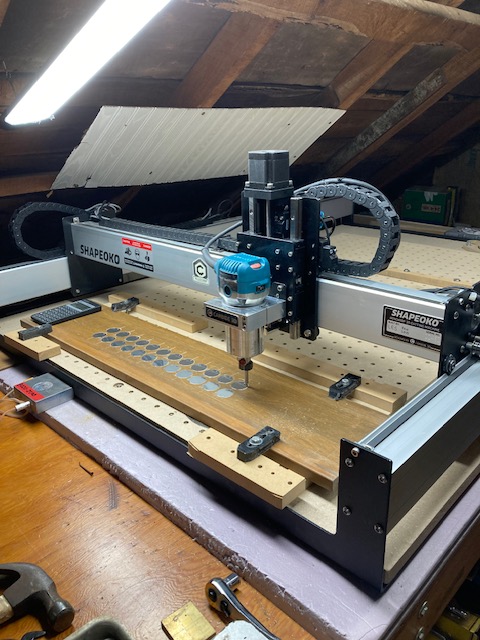
Yes, the attic of a shed where it can be inconveniently accessed by a steep stair case. I’m trying to win the “biggest Shapeoko in the smallest space” challenge.