I believe if you try to seal it with clear, it may disappear. Stick them in some water, and see what happens first.
2 Likes
@HeuristicBishop yeah I like that look as well. I did make a couple extra so may test some things on the spares. Thanks for the suggestion!
Yeah they do fade in water but dont dissappear completely but since I have made a couple extra I may try to seal or I may try some pastel paste to see what happens. Thanks for the suggestion and you may be right it may fade beyond and not be well seen.
1 Like
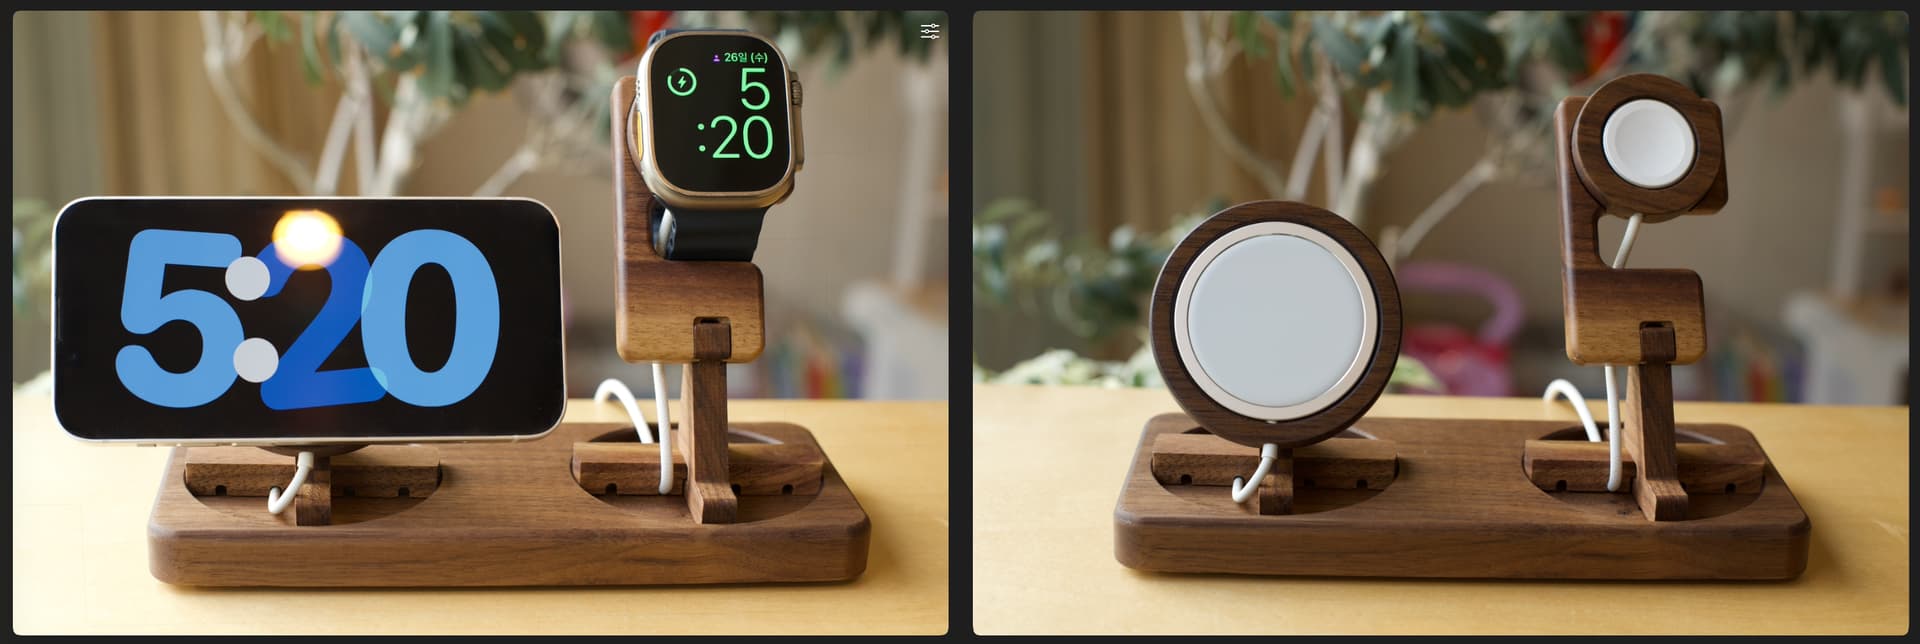
I’d like to share one of my projects.
I created a stand that can hold an iPhone and Apple Watch charger.
It’s made from parts and can be assembled and disassembled using joints and magnets.
I developed it with the intention of selling it as a product, but there are still some issues to be resolved.
It requires precise dimensional processing, and wood, a material with many variables, poses challenges, making it unsuitable for mass production. I’m concerned about this.
I used various cutters to machine it, and the only post-processing involved was sanding, oiling, and attaching magnets.
20 Likes
For dimensional issues w/ wood, I’ve found that:
- calibrating for belt stretch (on belt-drive machines):
- and leaving a roughing clearance/making a finishing pass:
allows me to me to arrive at dimensionally-accurate/fitting parts despite the vagaries of tree growth — for more on that see:
2 Likes
In the laser forums there is a raging debate about weather to top coat slate coasters. Some say it removes their absorption capability and renders them useless. Others say the have to real absorption capability so coat away.
You said yours are porcelain so figure regardless of the slate debate absorption isn’t an issue.
I think you do what looks good to you and ask the person you give them to to report back in a month on their opinion.
I like your plan! I will try some different things as a test and just go with whatever works best.
@Jeffish 's answer to Step Blocks…and now my answer as well! This will save me a lot of drawer space in which I had a small pile of 1/4" and 3/4" blocks to support the “back end” of my material clamps. Of course “The Finishing Lady” got involved, sanding and throwing a finishing coat on them for me. Everything is better with her 
3/4" Maple. ALWAYS great to use scrap lumber…can’t throw any of it away!
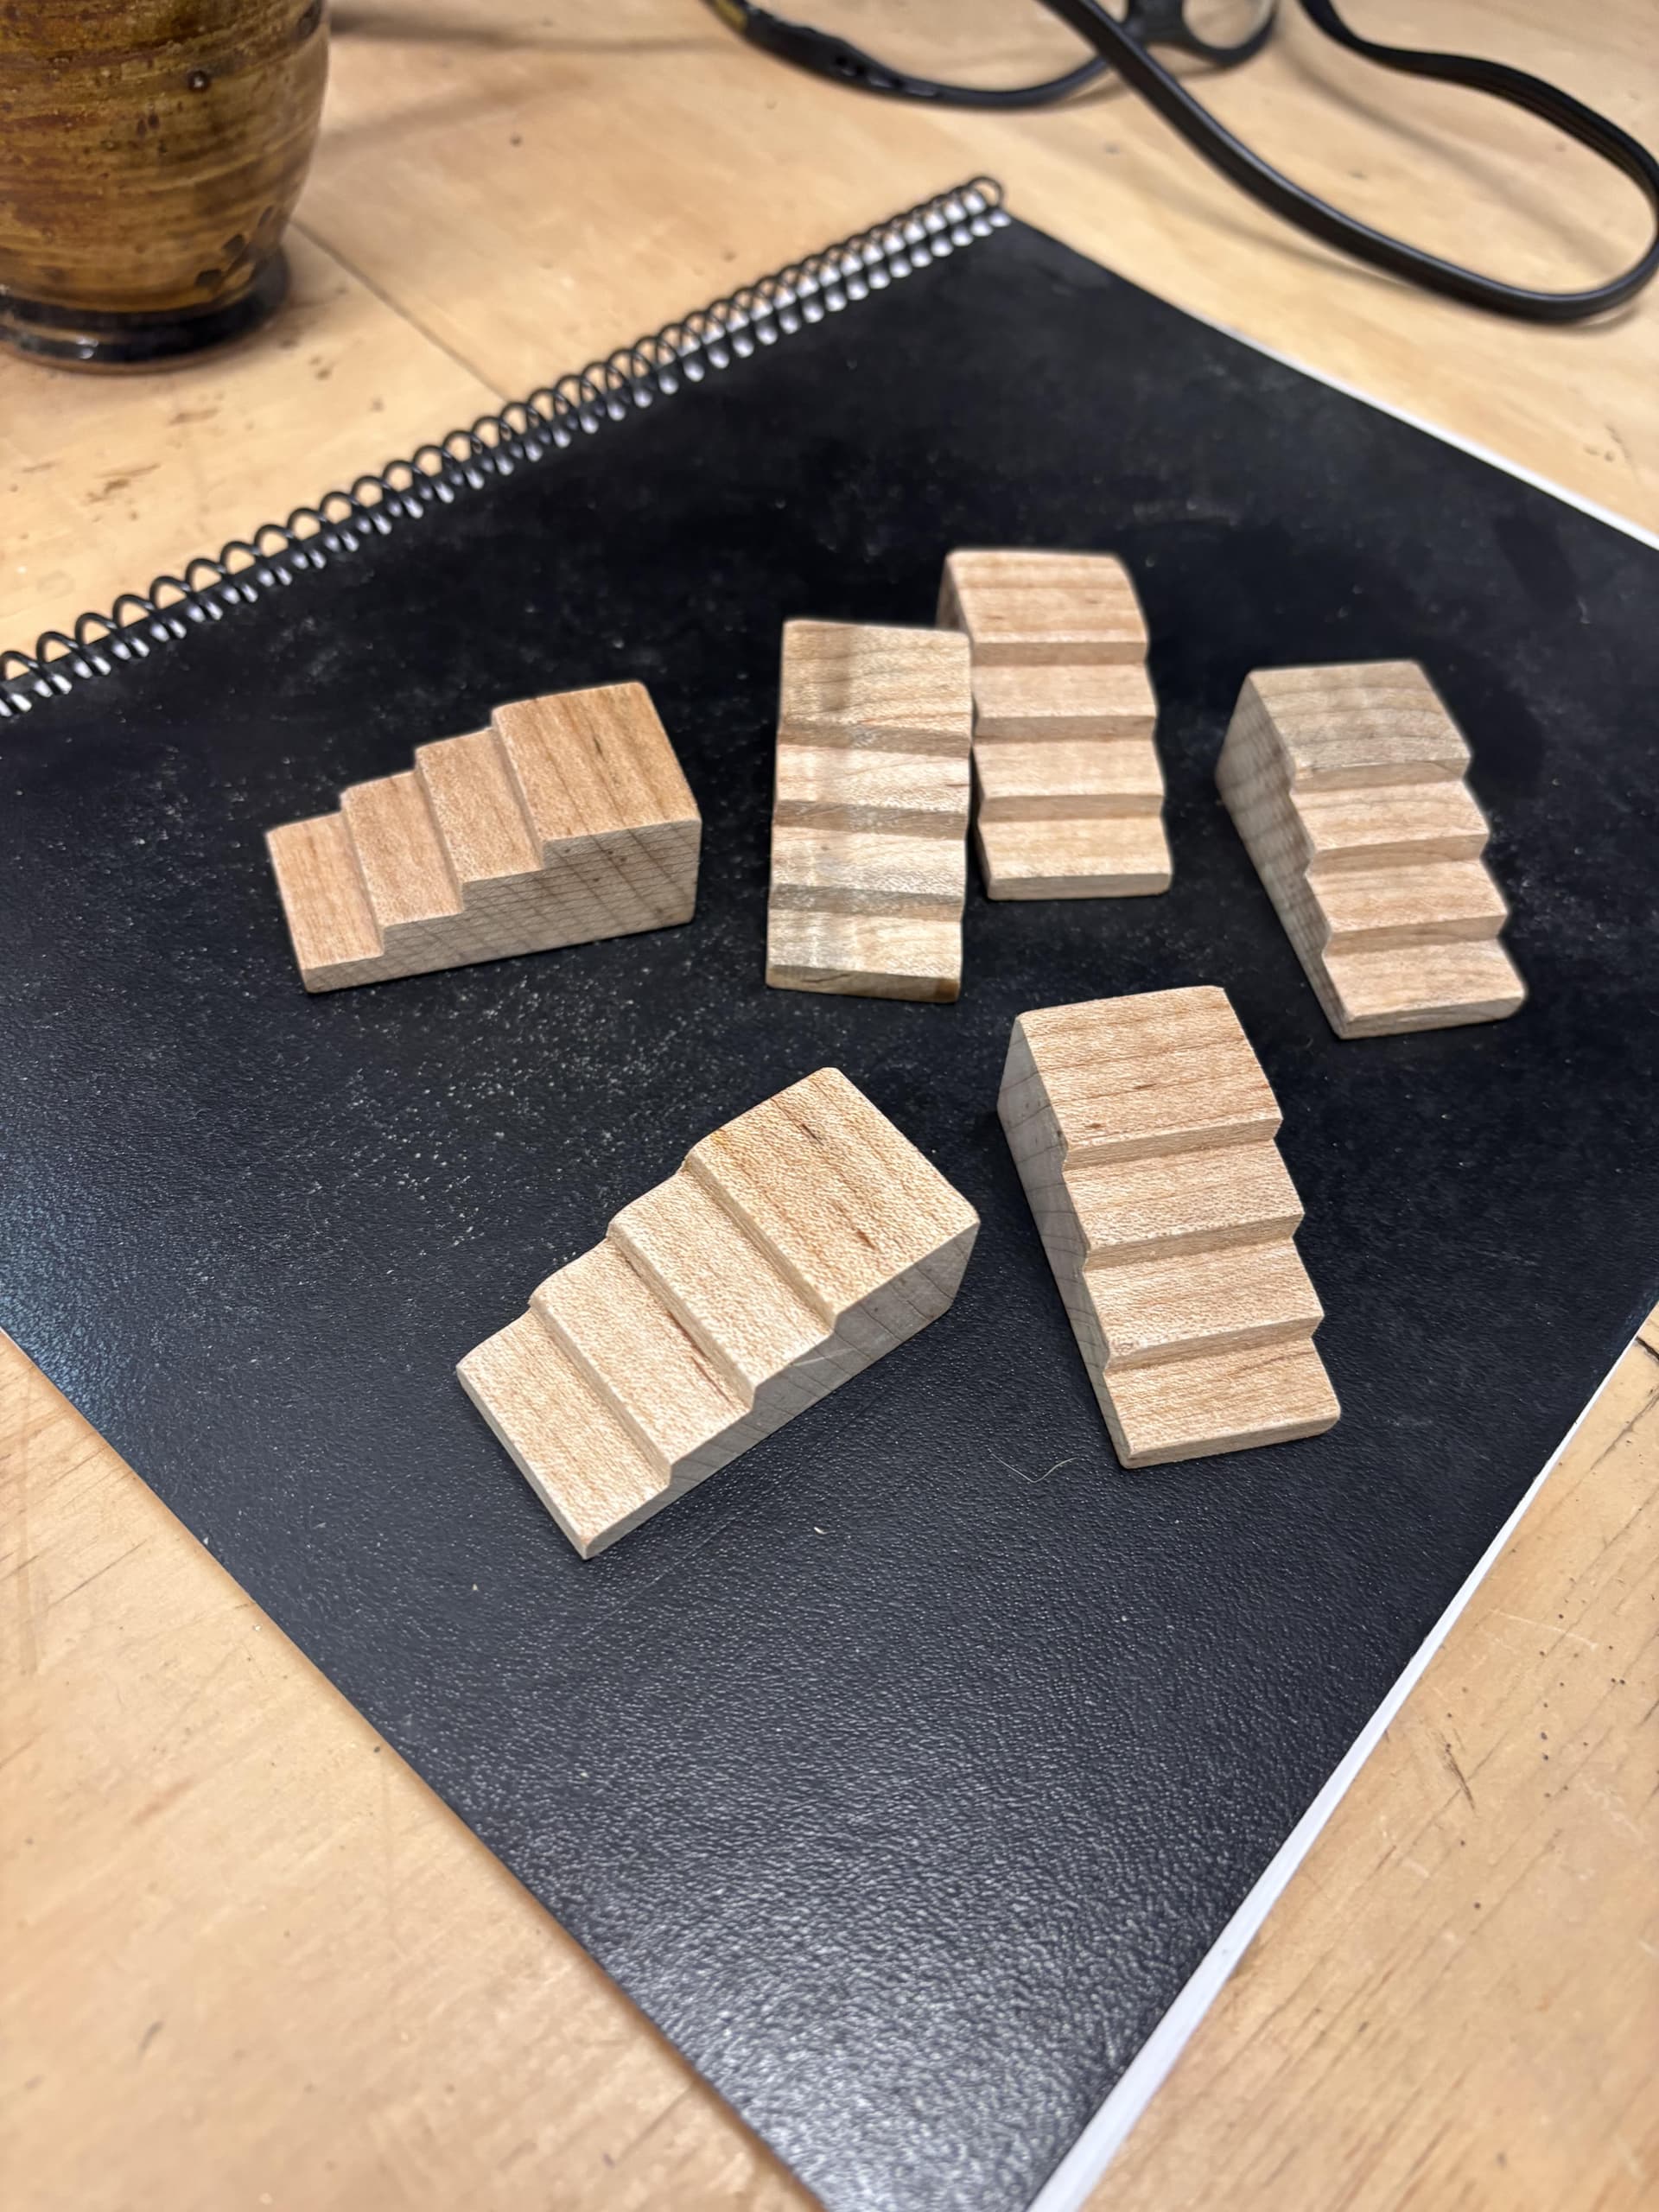
You can find the plans on CutRocket here:
6 Likes
@SirGariff Thanks for the shout out Gary! Glad the file worked out good for you. My original MDF ones are still in good shape but now that I see yours… 
I flip one over and stack them together… saves space in my limited size bench drawer
2 Likes
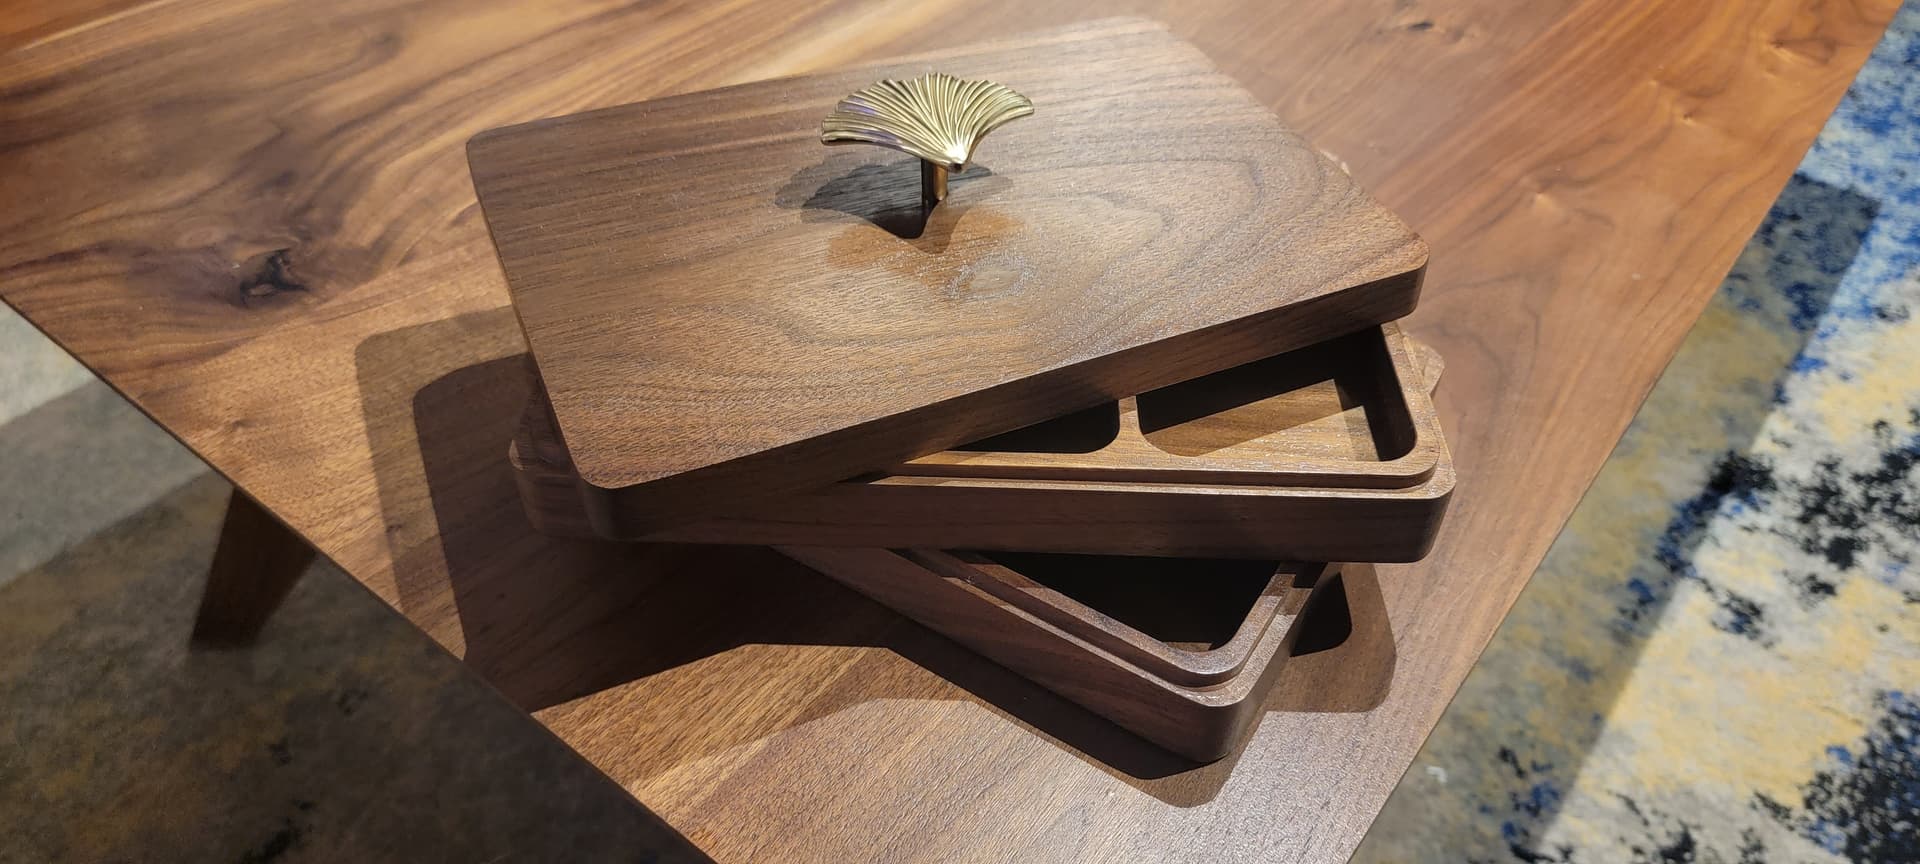
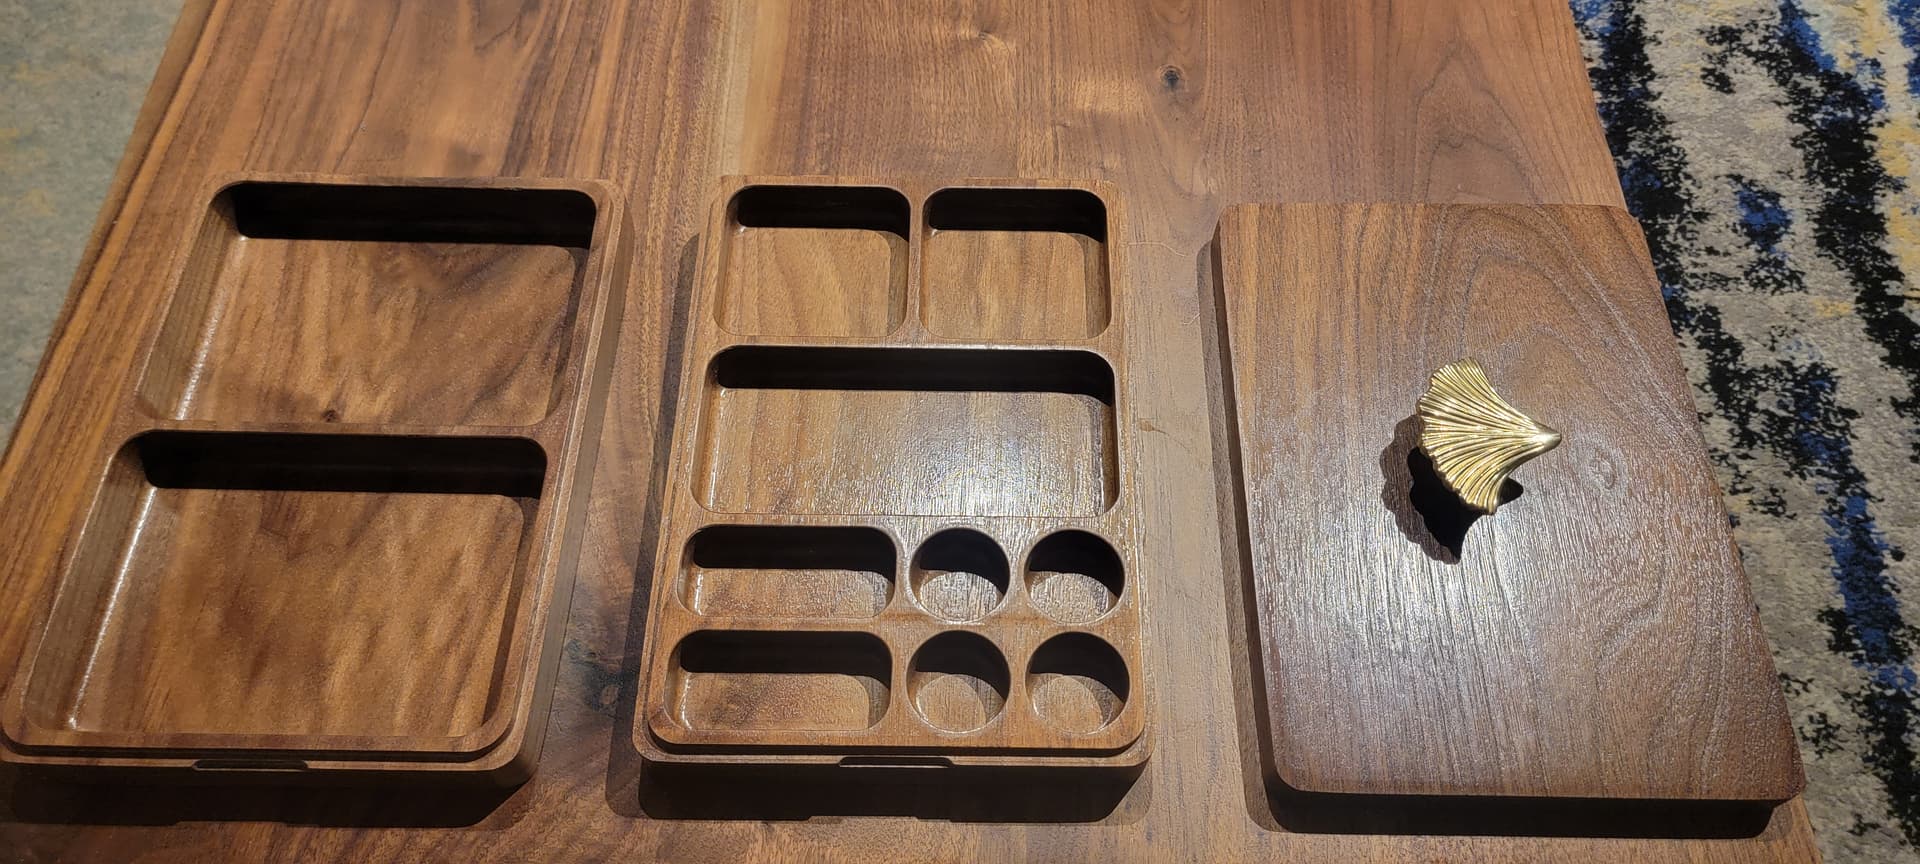
Another jewelry box or stash box.
I used a locating pin setup for flip machining but it just isn’t working perfectly. Definitely needs some dialing in. I had to sand maybe 0.25-0.5mm due to some y-axis offset.
Finish: shellac and water based 2k poly.

29 Likes
Very nice. I like your hardware. What did you finish with?
1 Like
Awesome looking box! Flip machining is a challenge!
1 Like
One spray of shellac to bring out the grain and then gloss water based 2k poly for protection.
2 Likes
So can they pop out? So you can do a true super bowl shuffle!!
Yes, I didn’t want them to be permanent, or be damaged if I needed to remove them to remake the sign…or shuffle them. I just used a bit of booger glue to hold them in the pocket. Plus I liked the look of them being slightly proud of the surface.
Latest family project ( losing money as always ).
Thanks to @xenith for the image to relief application to get a good STL file after many unsuccessful hours trying to manipulate the grey scale of the image.
A little sanding and primer to go. No I am not going to paint it, that’s the customers issue.
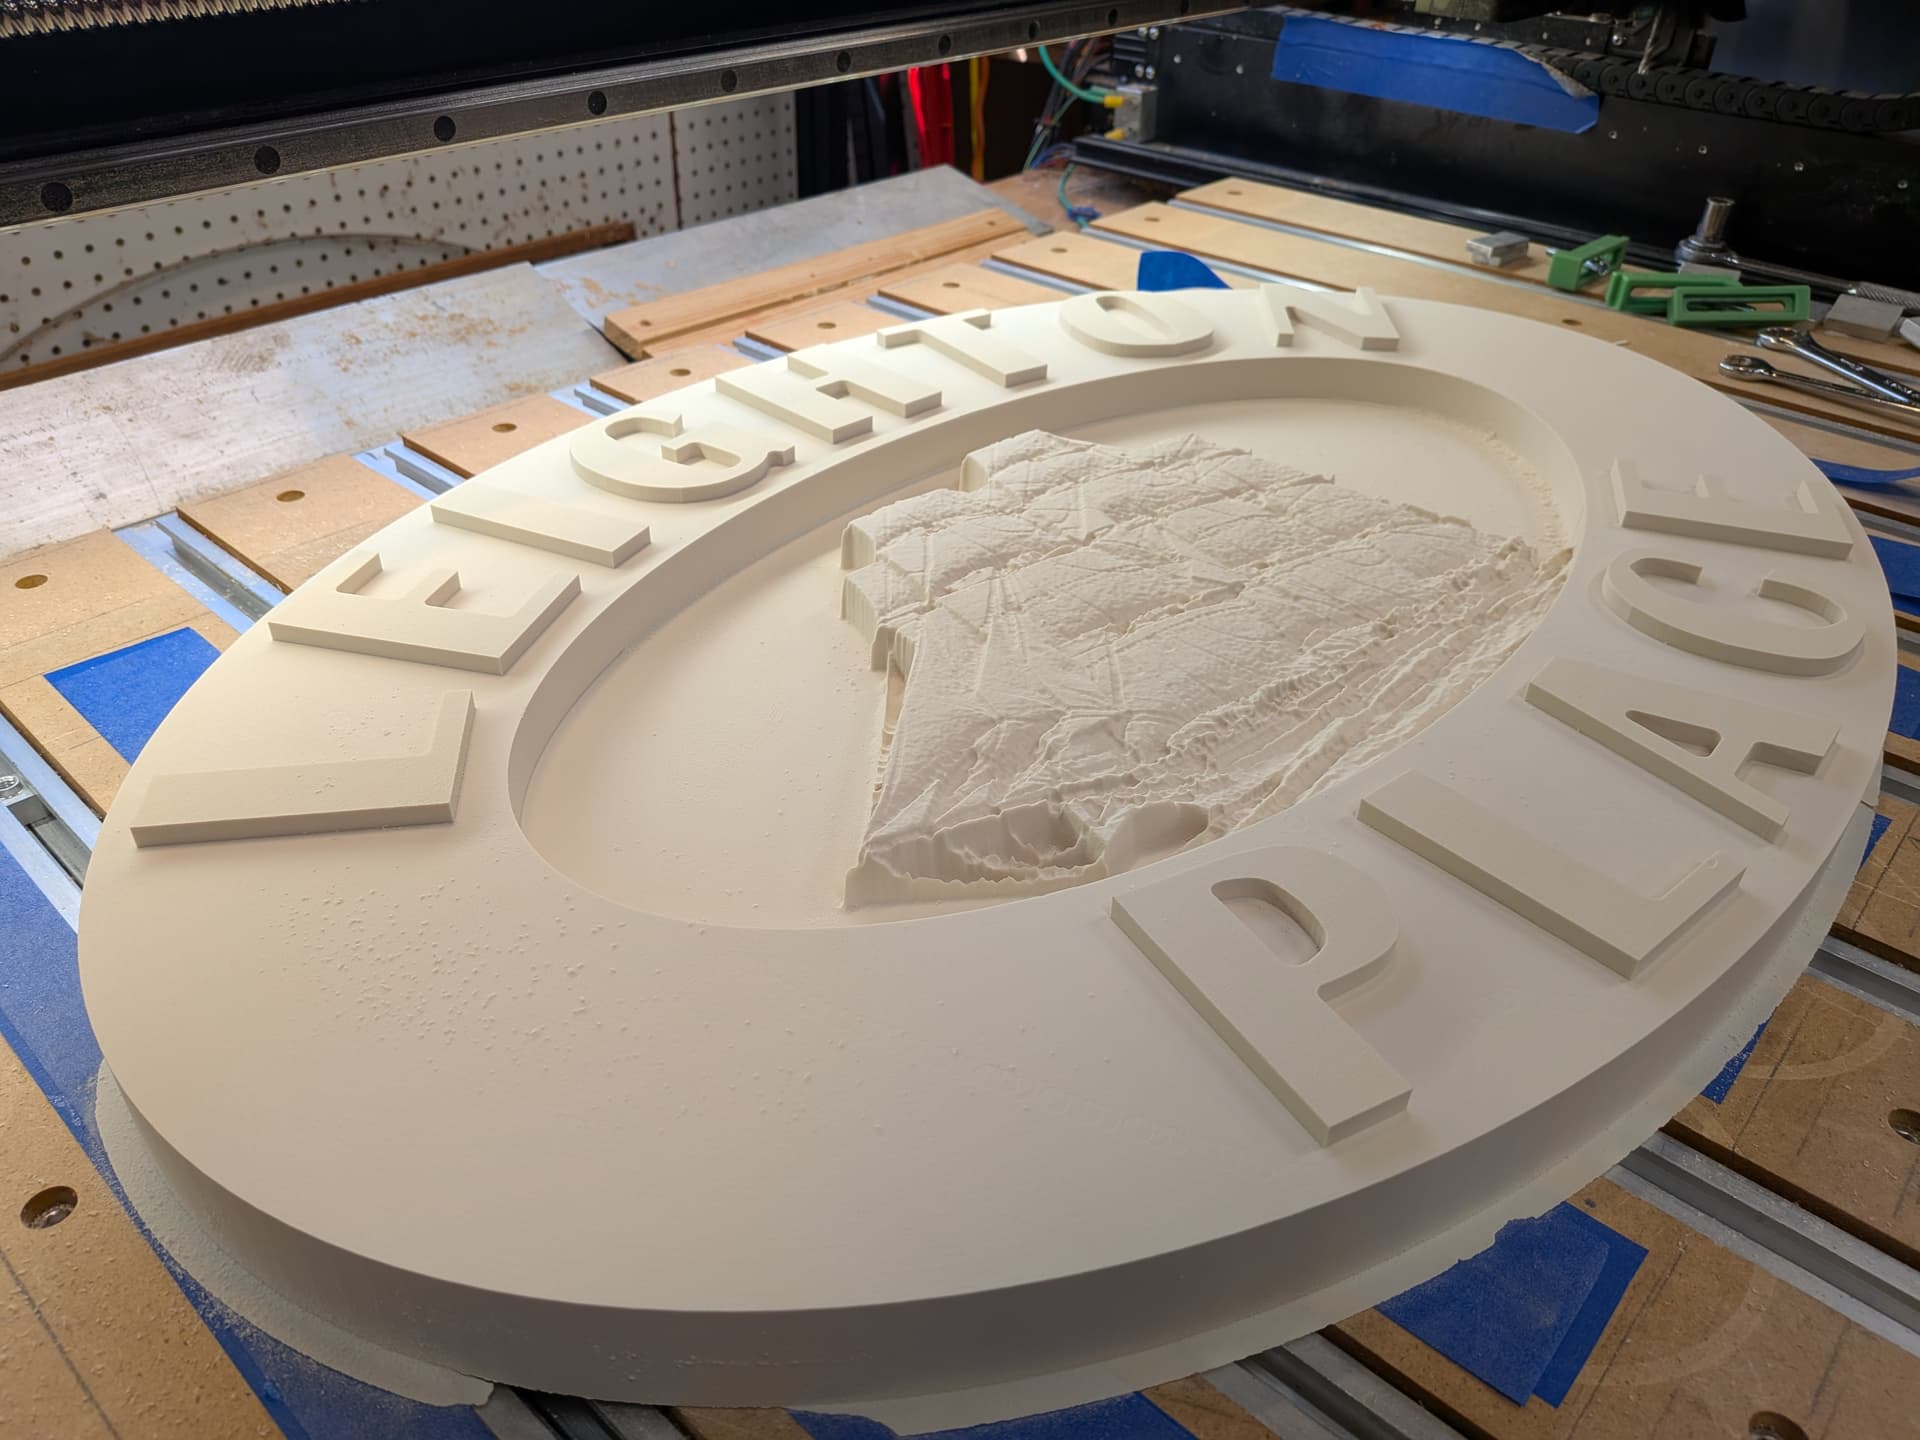
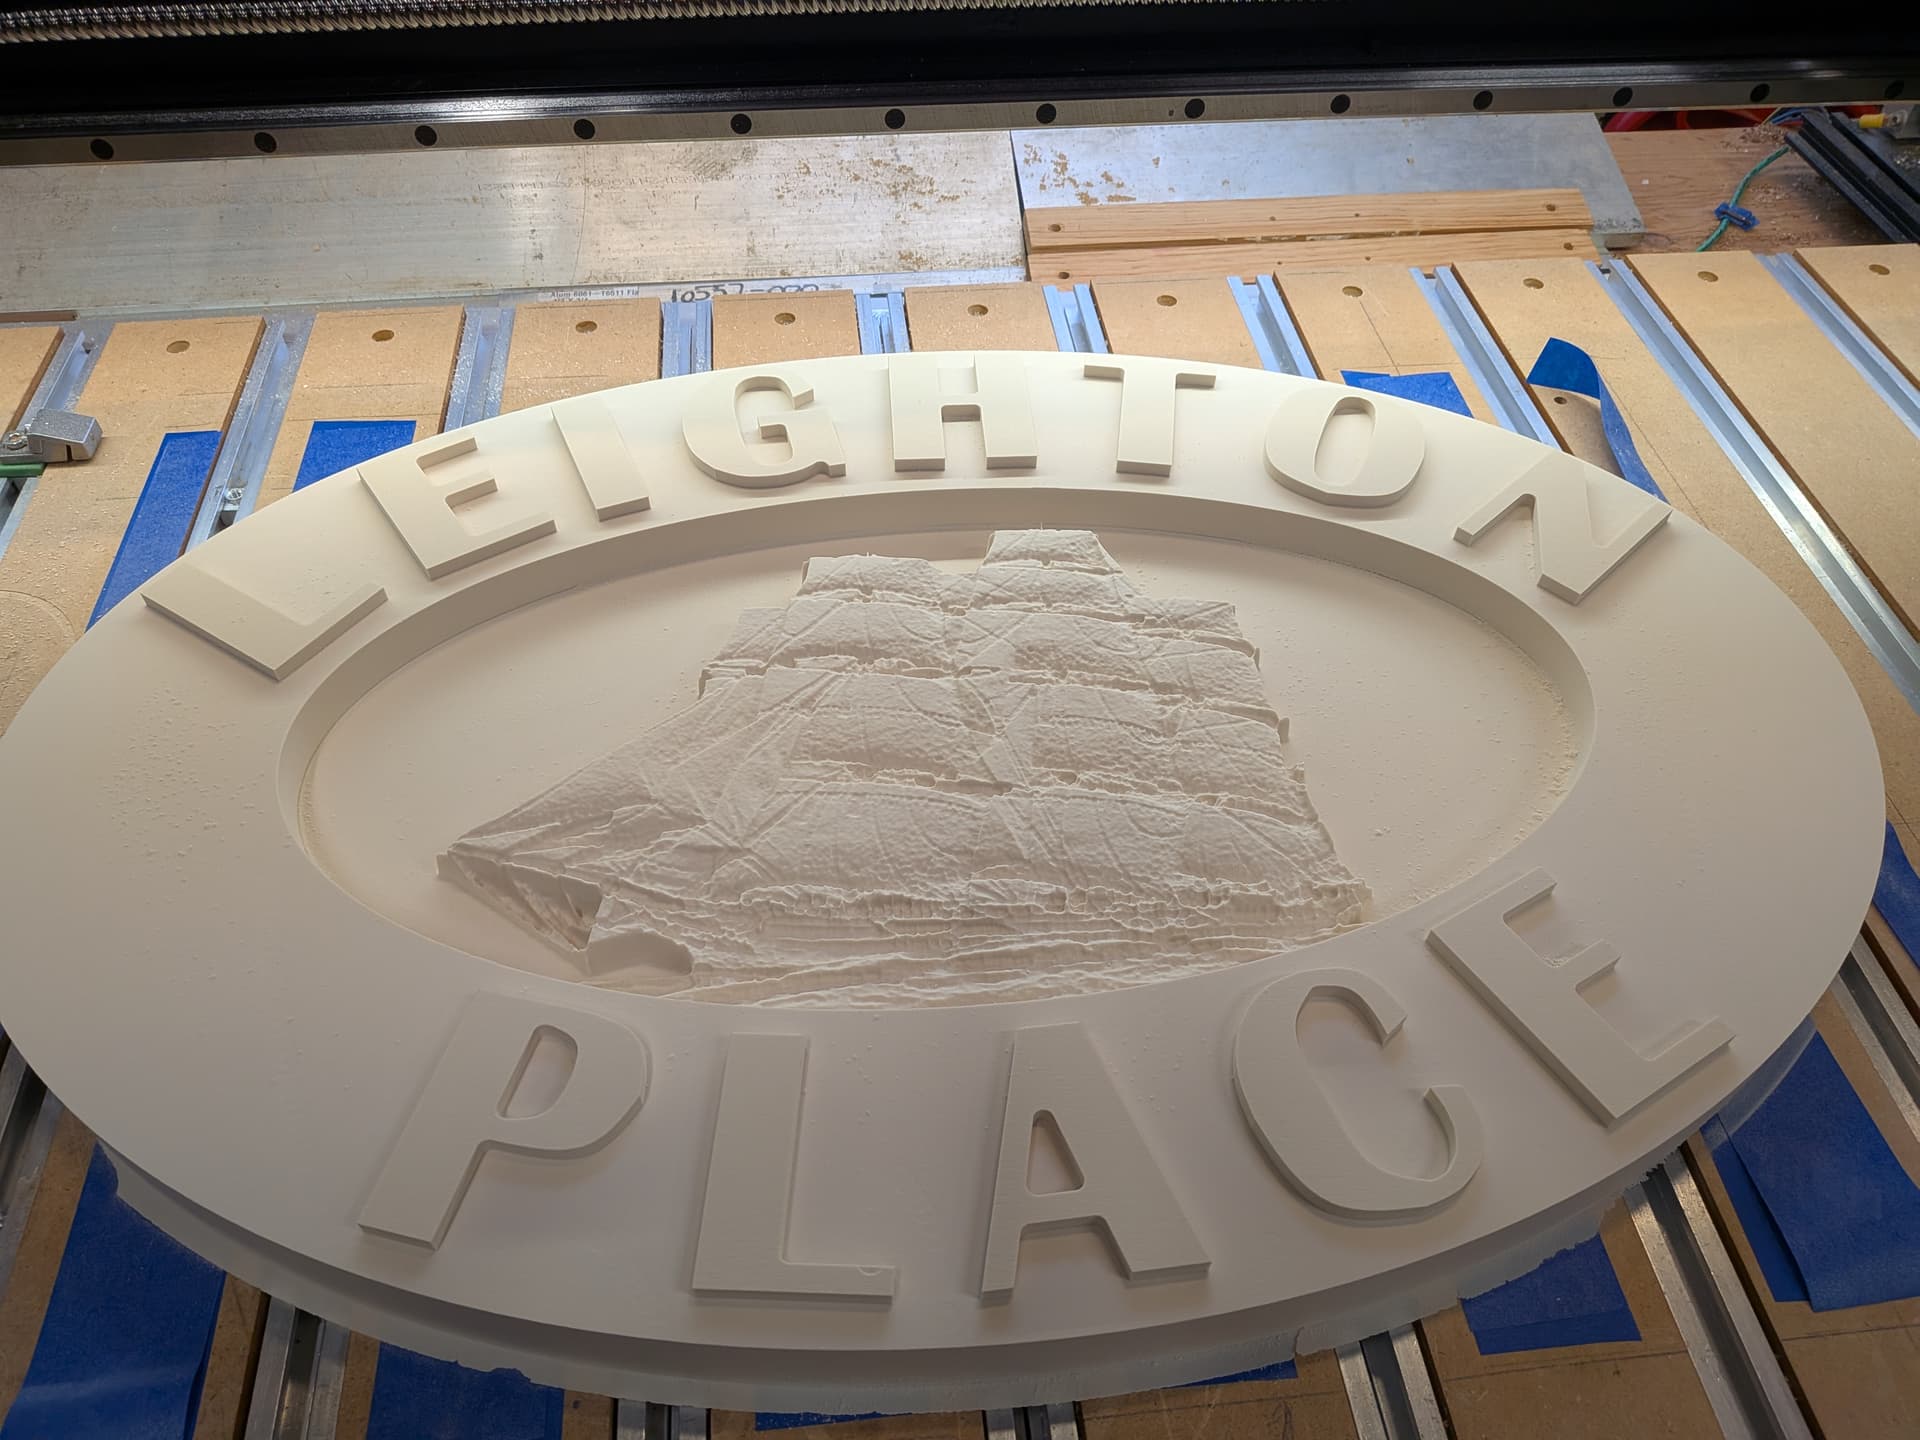
23 Likes
The ship turned out great! I’ve been playing around with @xenith app too and really like the ease of use and the end result…fast and easy.
2 Likes
Agree with client. Like the raised look more.
2 Likes
This is the 3D version of a logo I did yesterday. It took about 9 hours under the endmill. Just need to decide if I’m going to use a light stain to bring out the features a bit more or just give it a coat of clear matte sealer. The wood is very yellow under normal light and I want to tone it down a bit. Decisions, decisions.
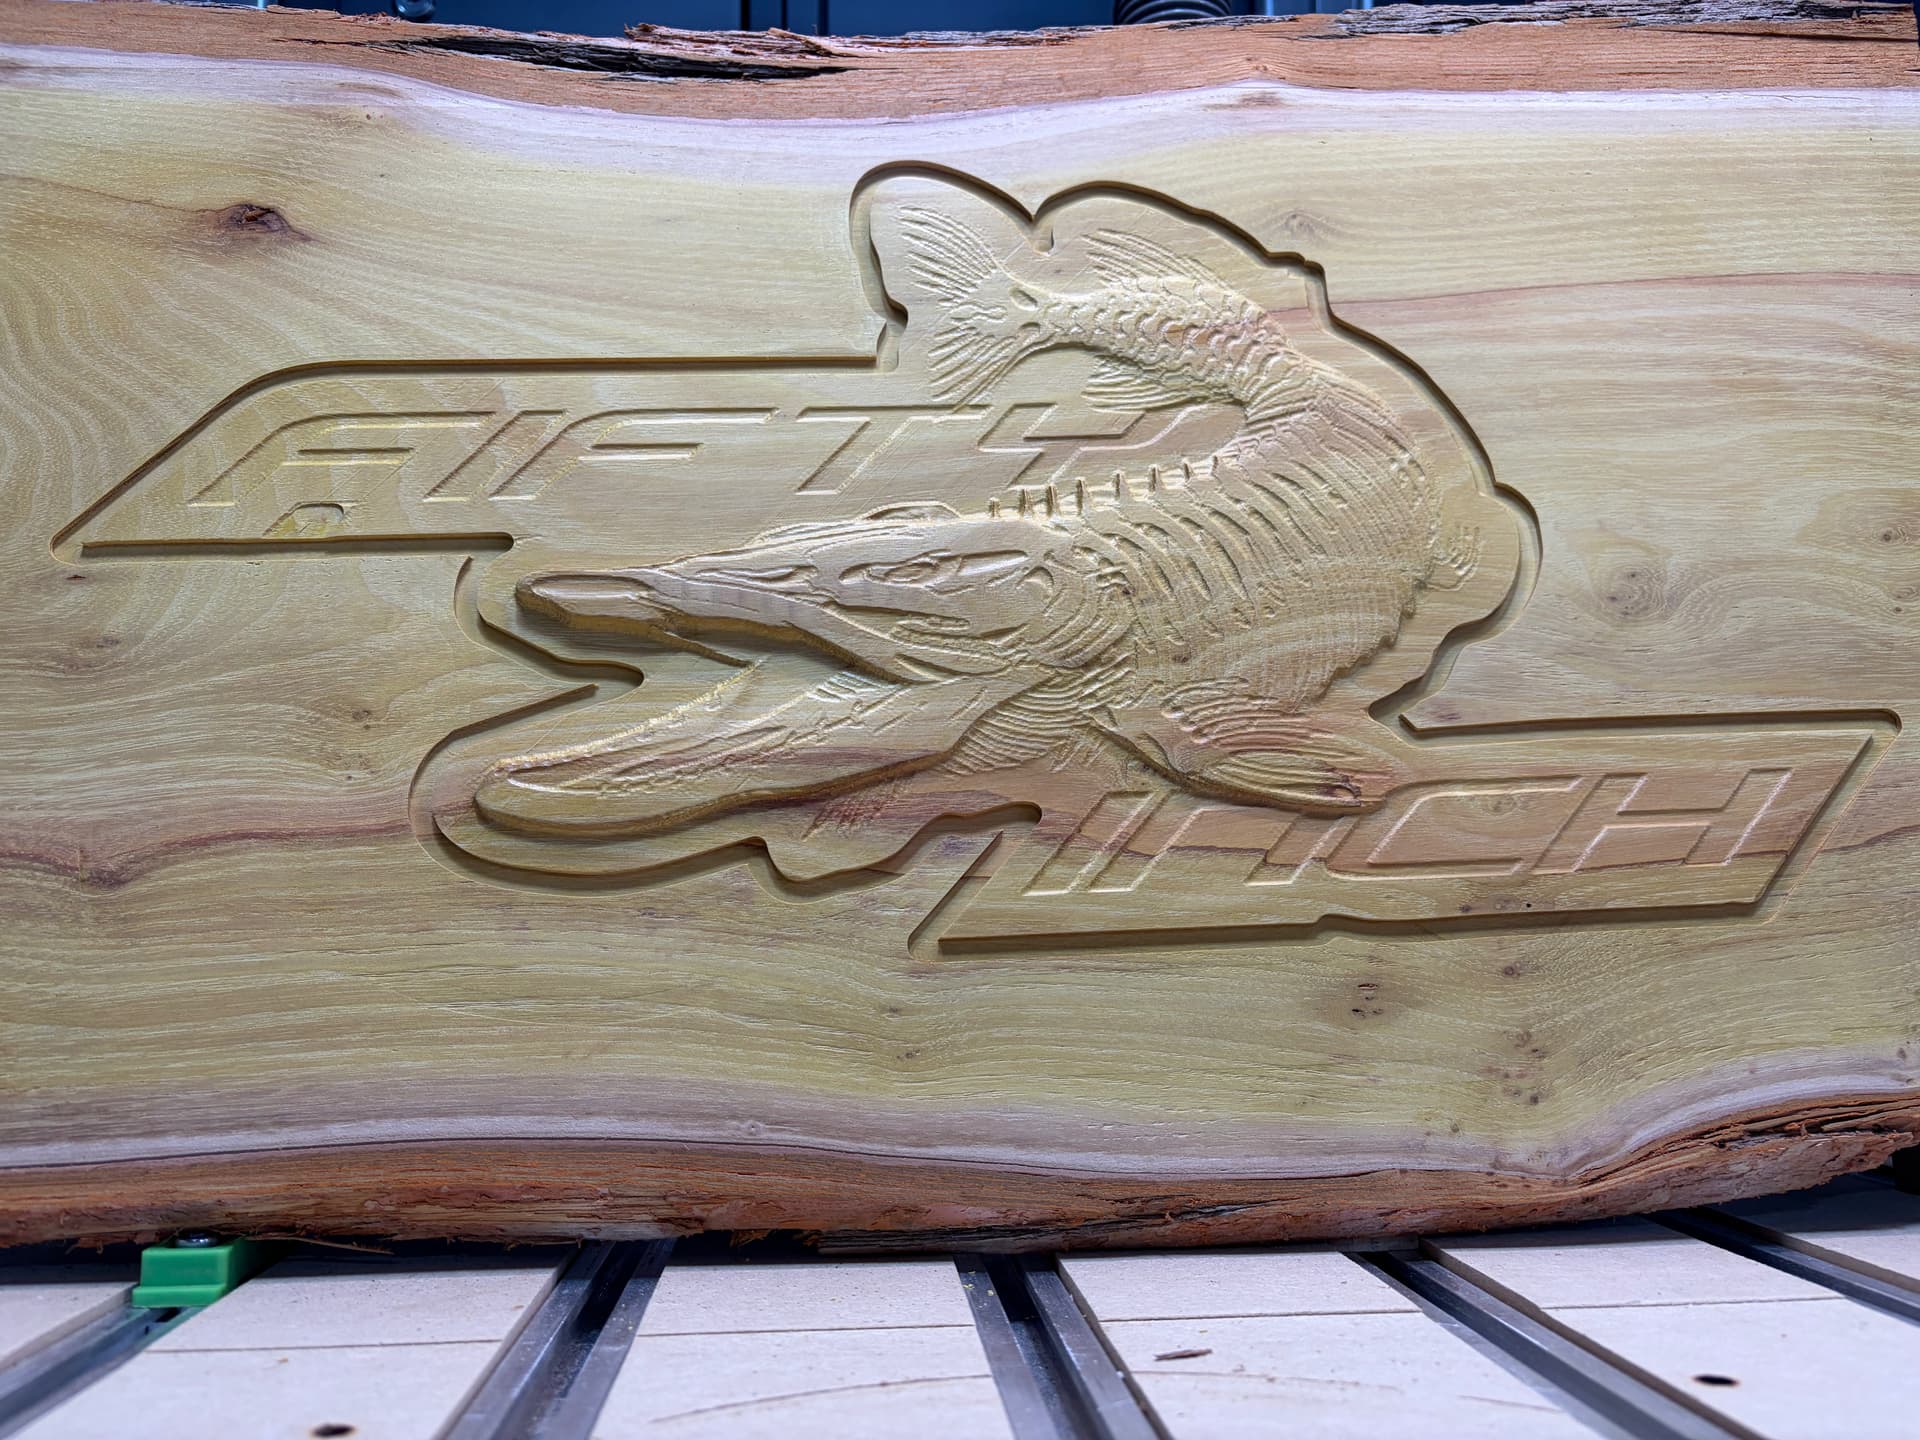
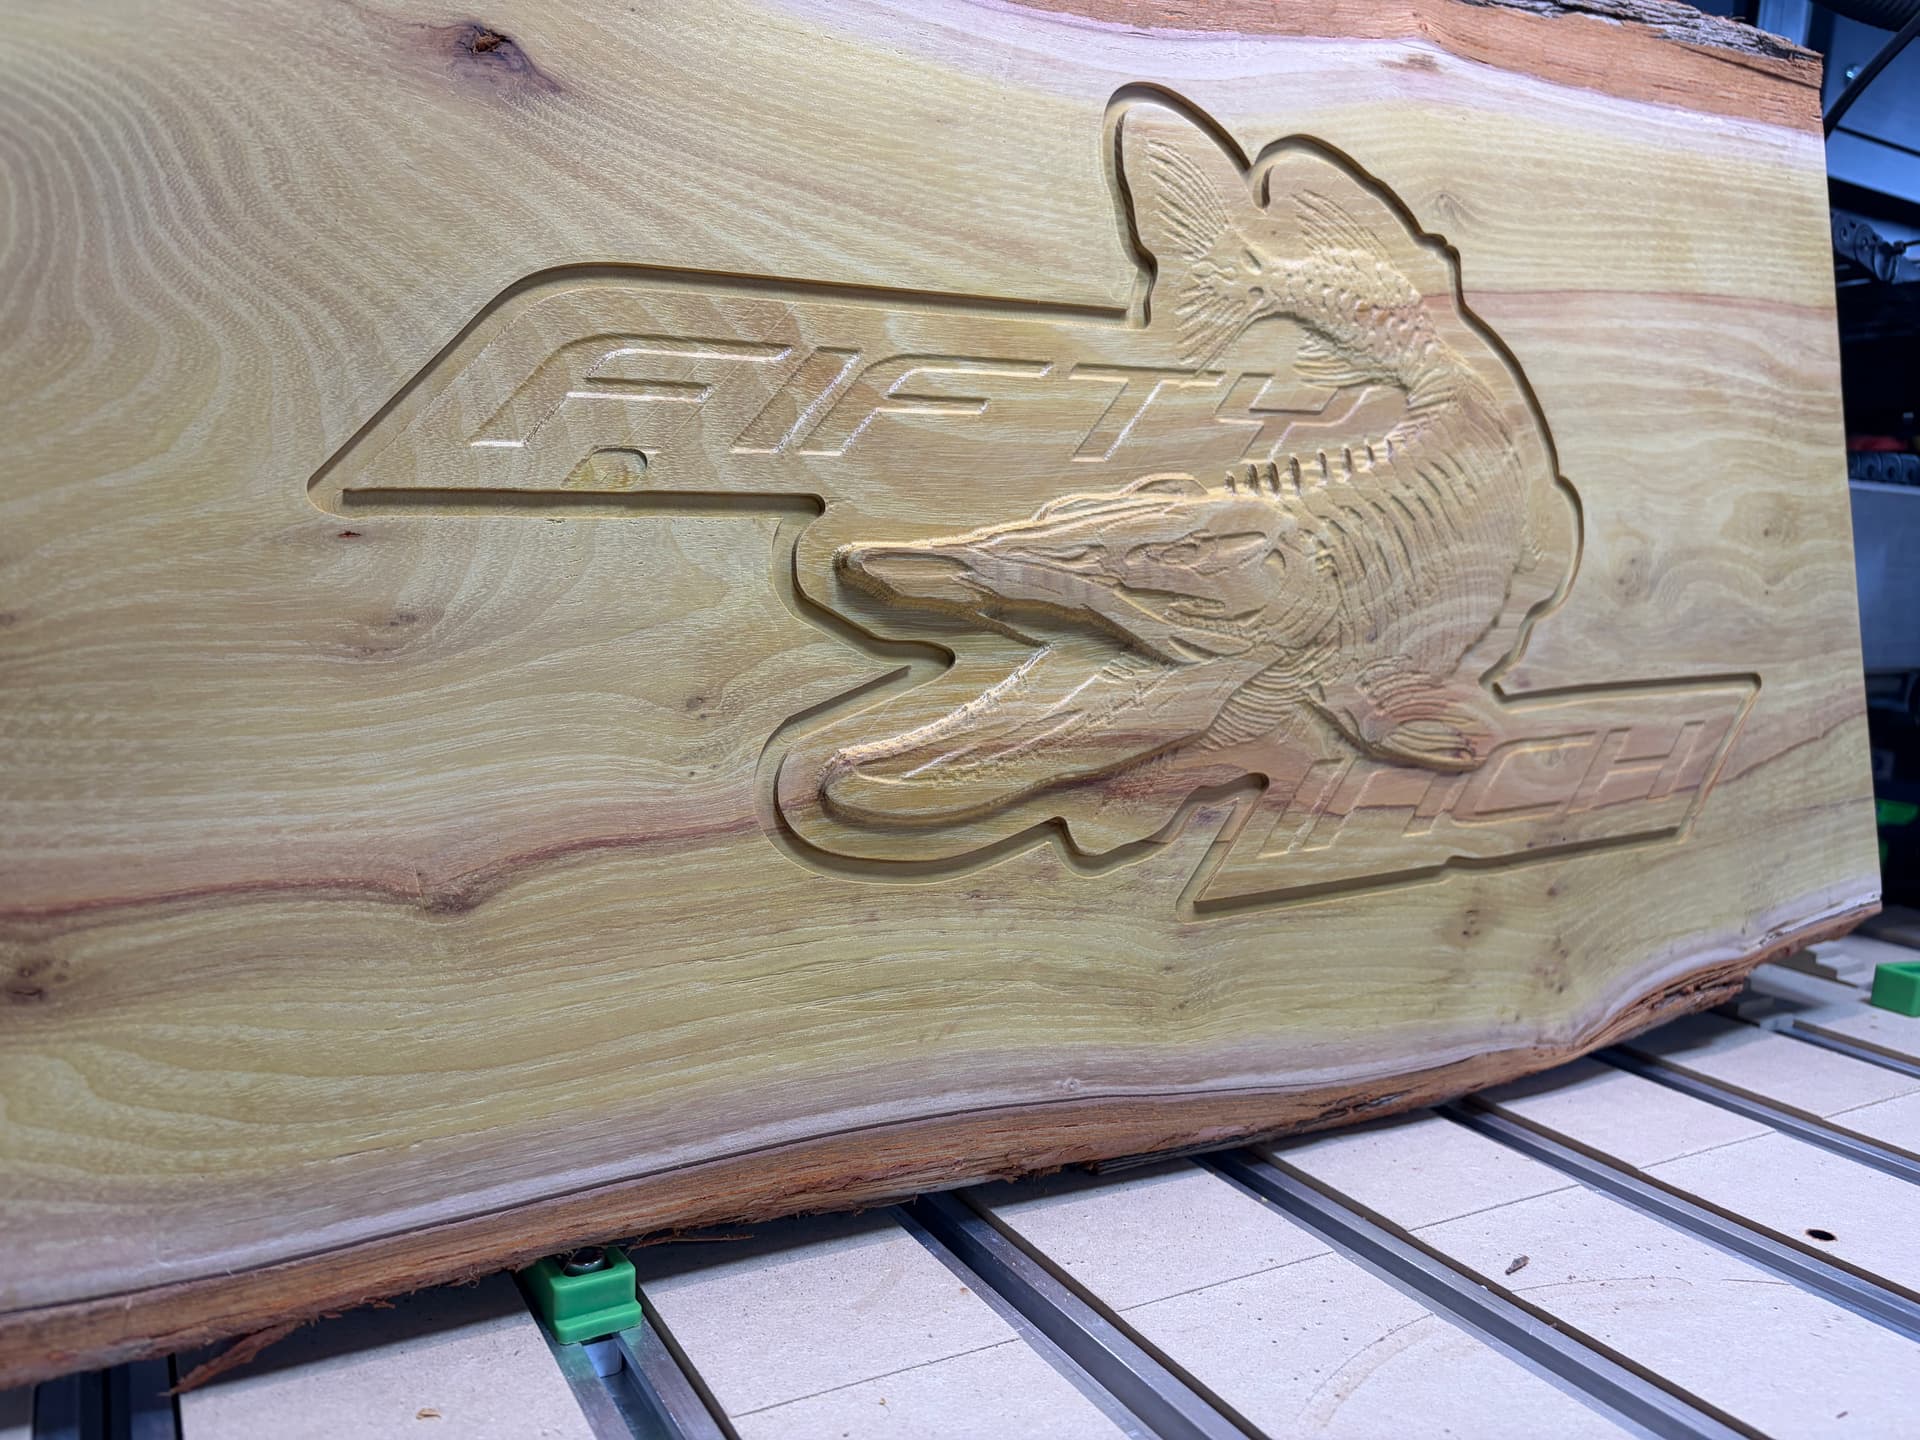
17 Likes
A quickie but one of the many reasons I love my CNC. I have “The Finishing Lady’s” downdraft table’s 4" dust collection system set up in a storage area on the other side of the wall and needed to have a tight, bug proof collet for the hose . This turned out just right. I had to slightly force the hose through. Maple.
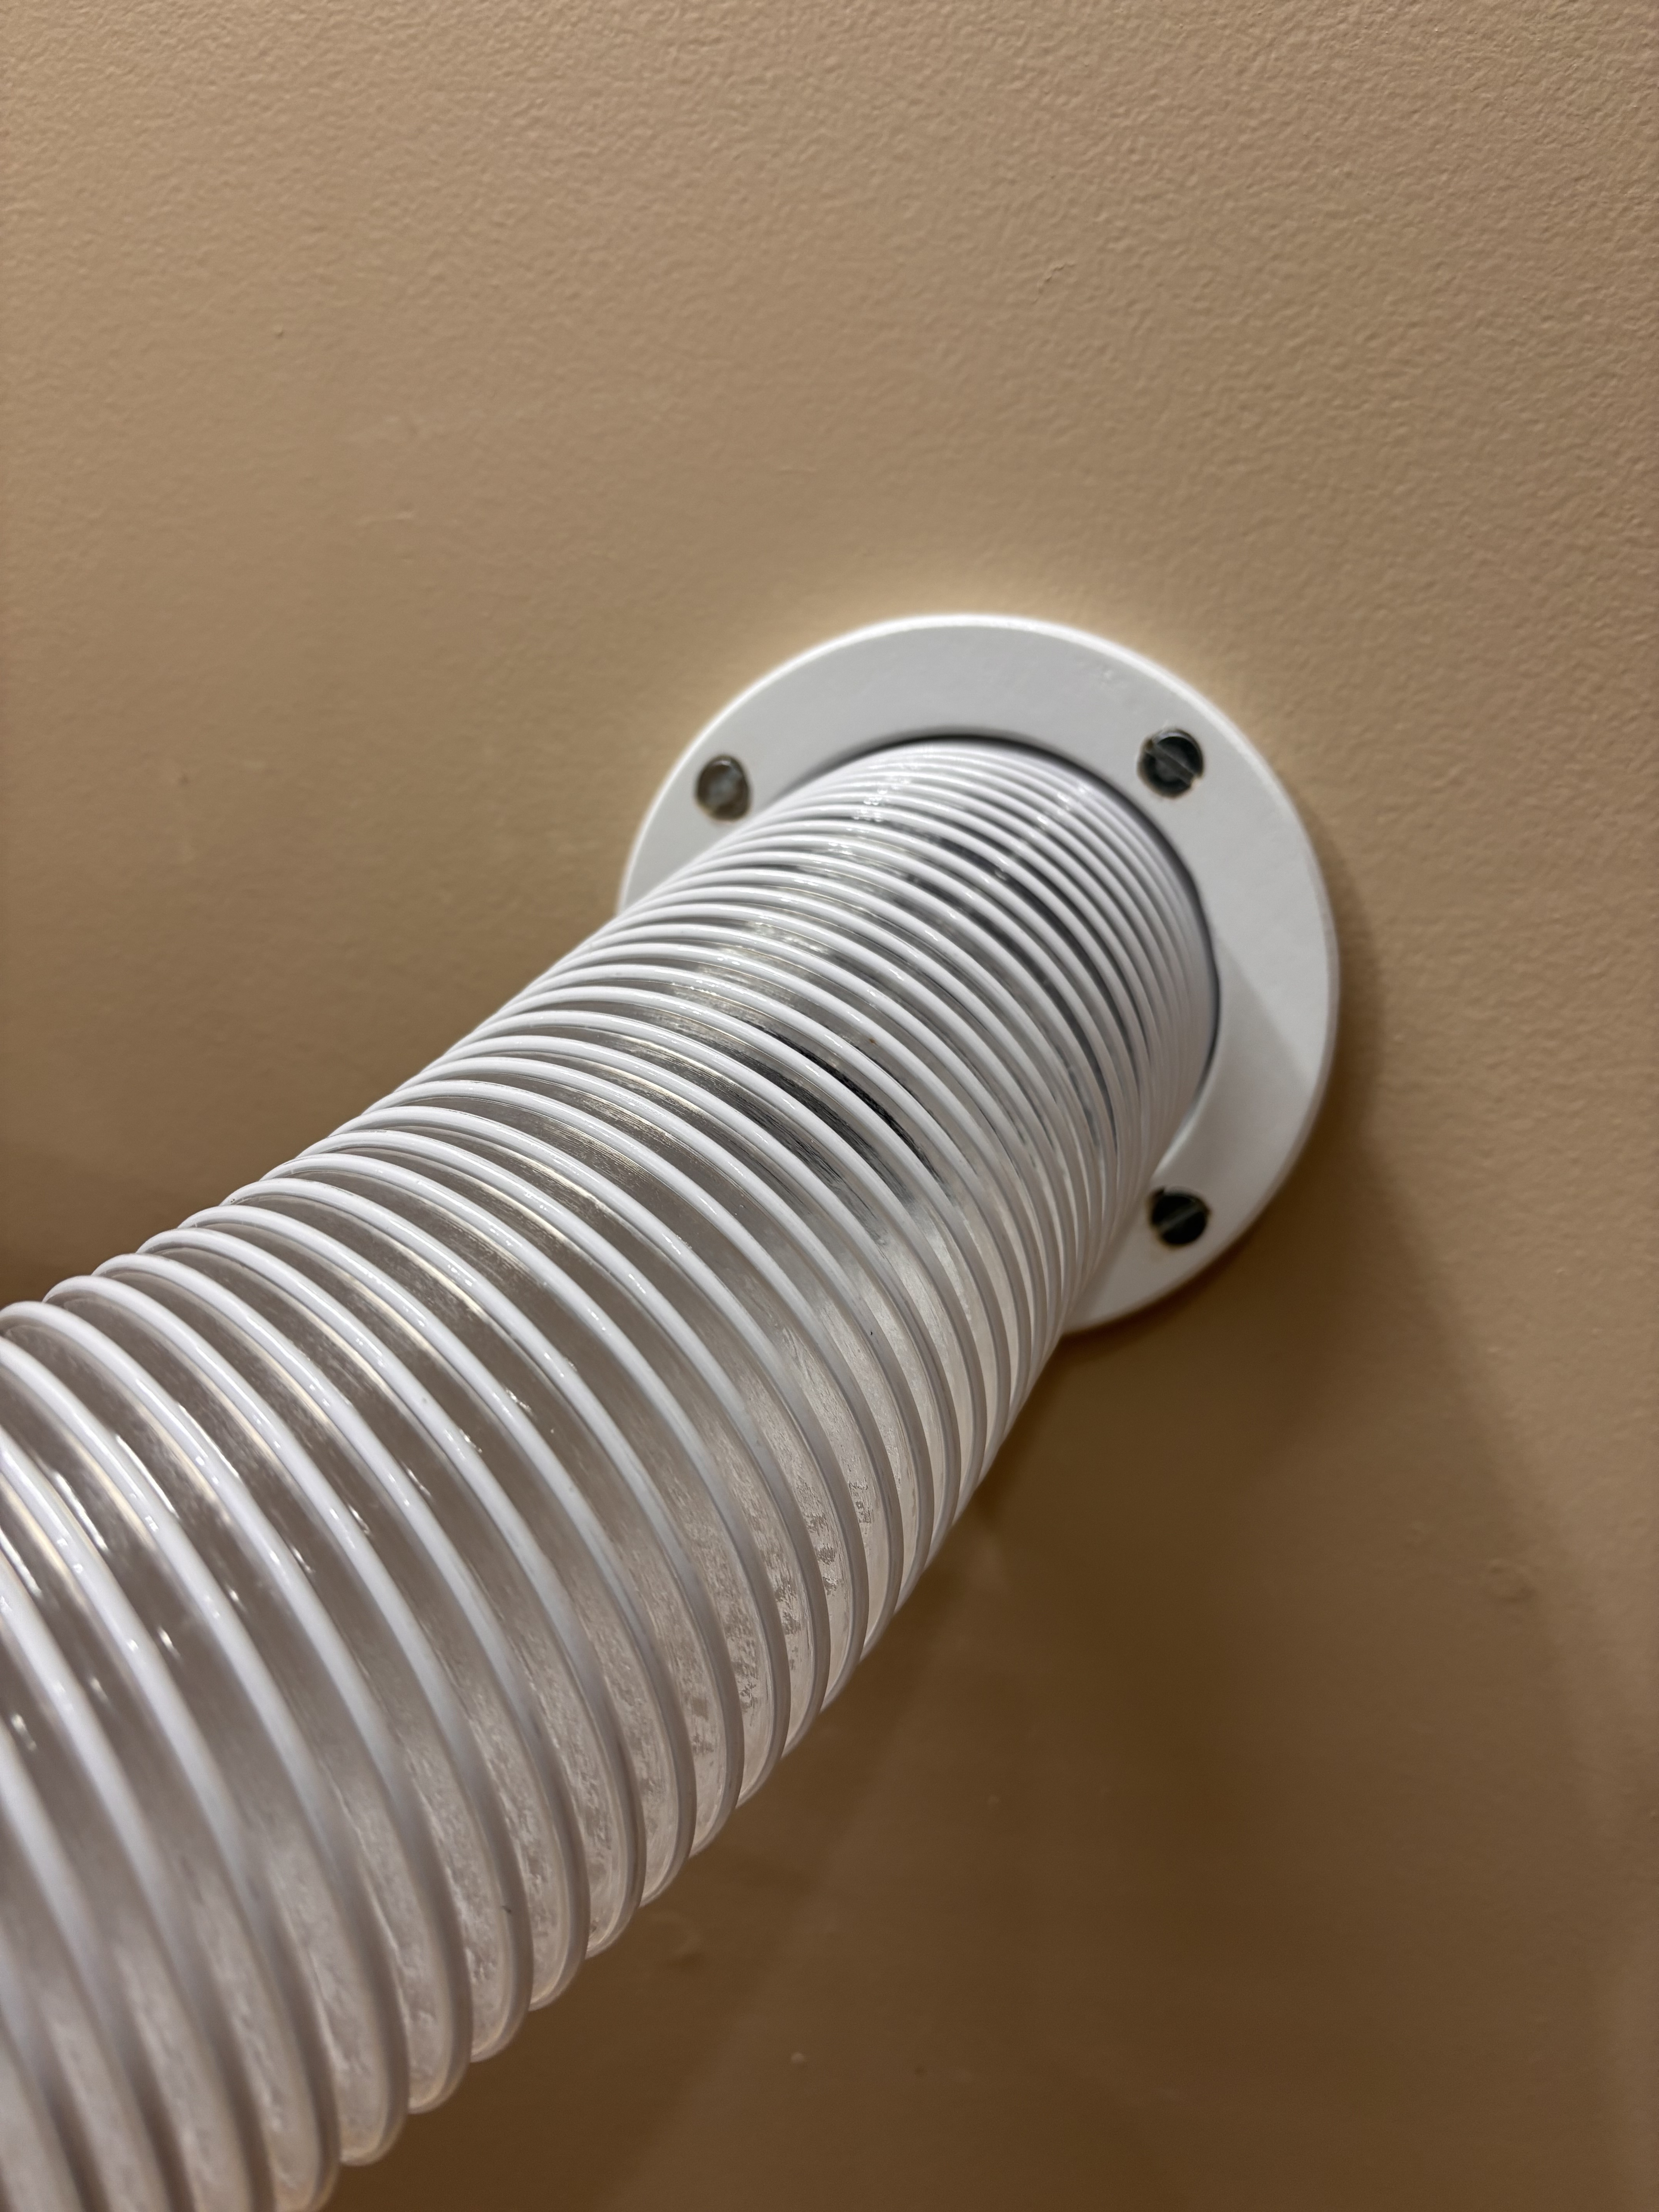
.
13 Likes