I wanted to share my design with you guys. Probably will make some changes to the pin-slot system. I will add a hole for a vacuum hose and another one for some ventilation and wiring. This design is similar to a JOT-router that I used to work with back in the day. I really like the door mechanism. Already got the parts and will be putting it together in couple of days. The material is 16mm MDF. Also got some piano hinges for the door. I think the door needs a couple of gas springs, but gladly those things are pretty inexpensive.
In the process of over engineering my enclosure for an XL too. The door has me stuck since I want access but don’t eat to deal with the swing out if a large door. Anyways.
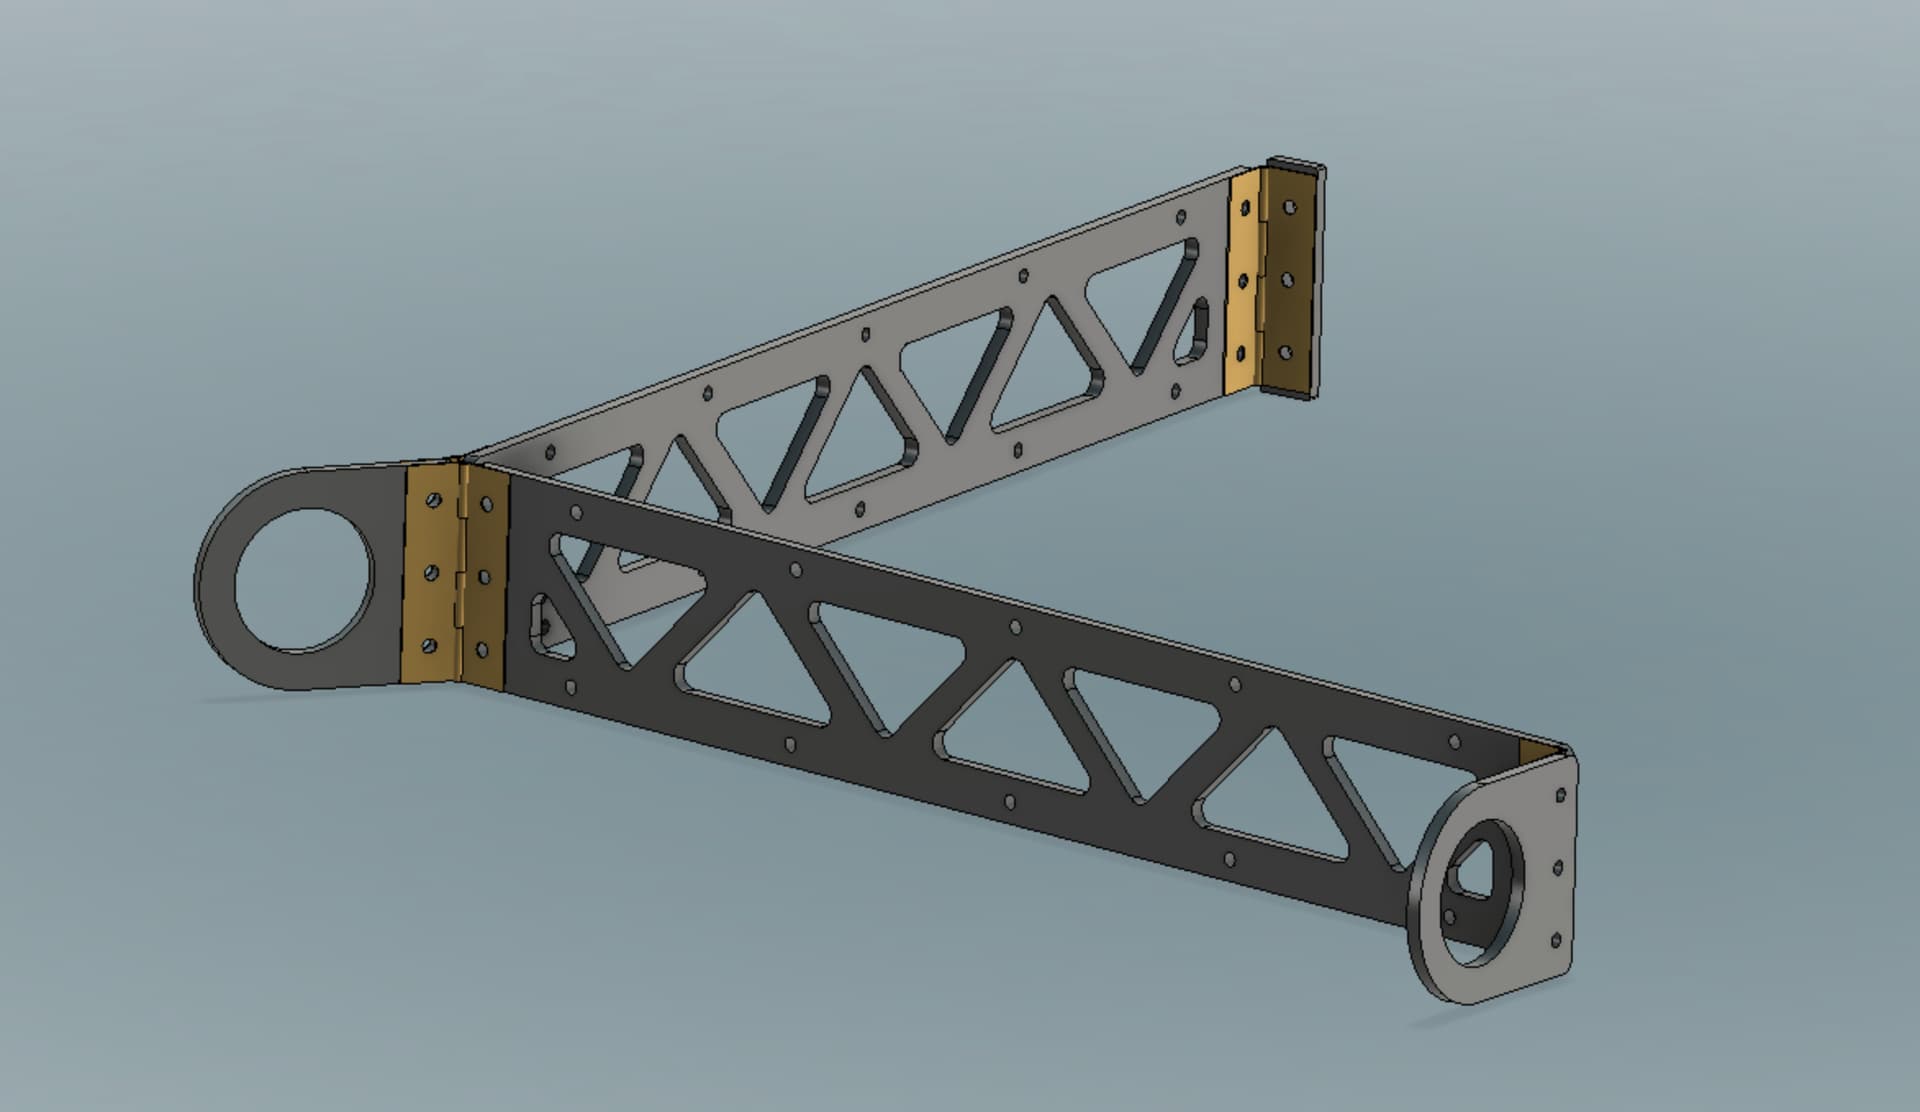
If you took the channel back further before going into the j detent you’d be able to lean further in to do activities.
I didn’t want to deal with swinging doors either. My work space is already limited. I think I will make to door go as far as it can so I won’t be hitting my head to it
There’s quite a few examples of different dust hose routings in the older threads here for inspiration, here’s a couple, search terms “hose” “extraction” “dust boot” etc…
The concept looks interesting- Im curious how it works when assembled. The captured sides
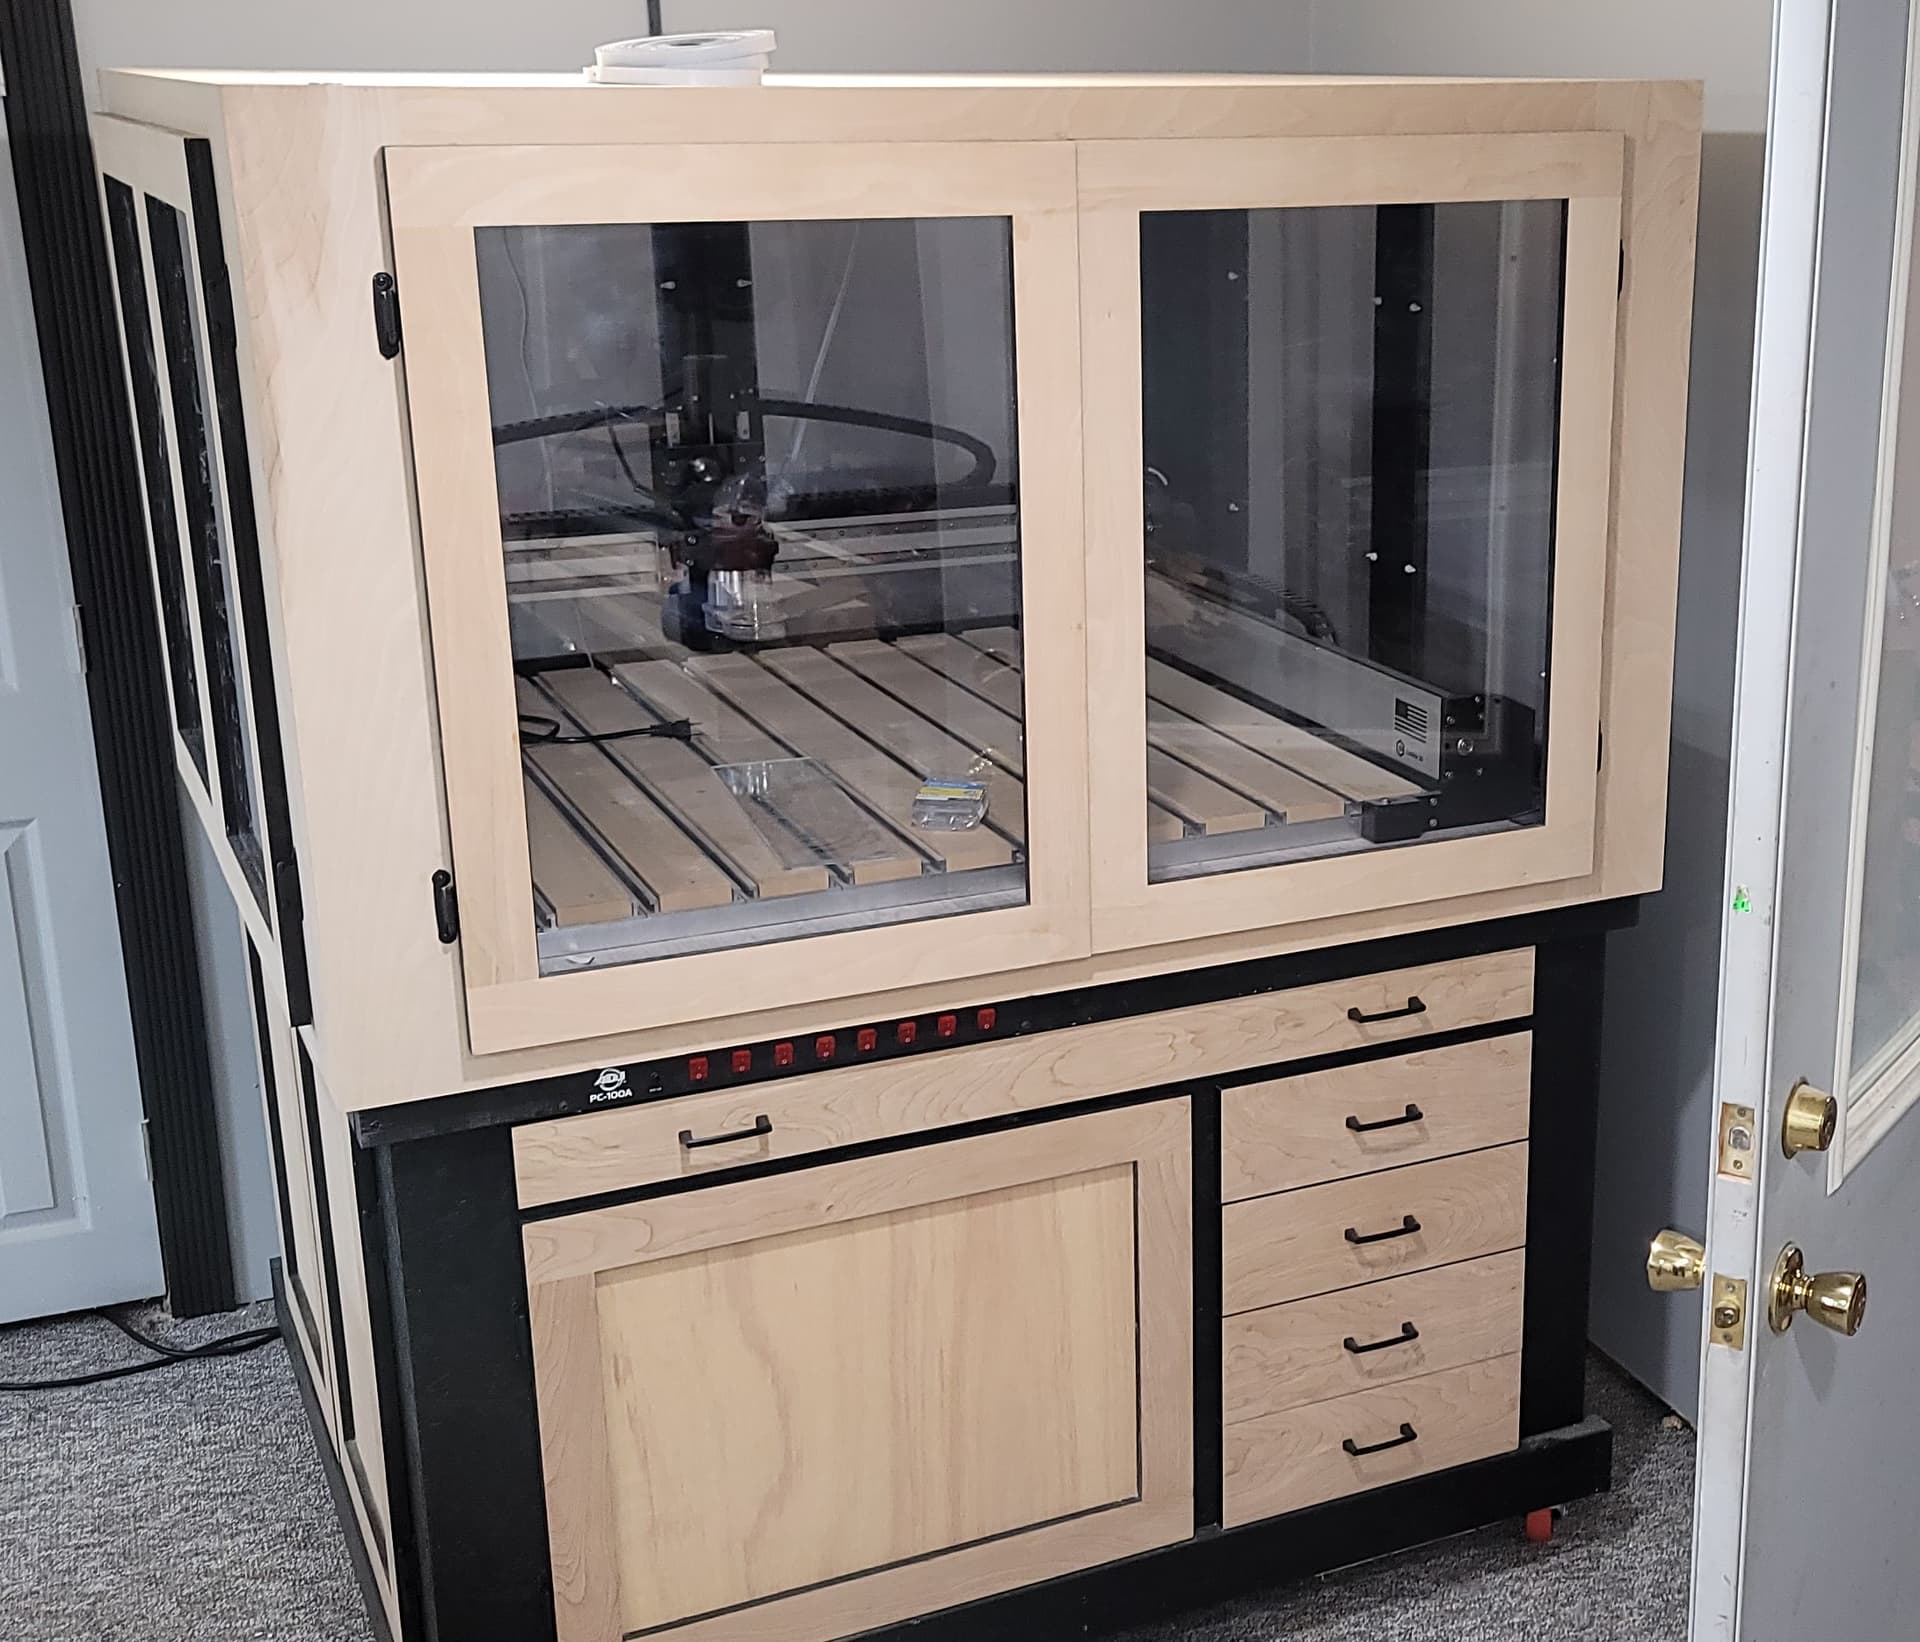
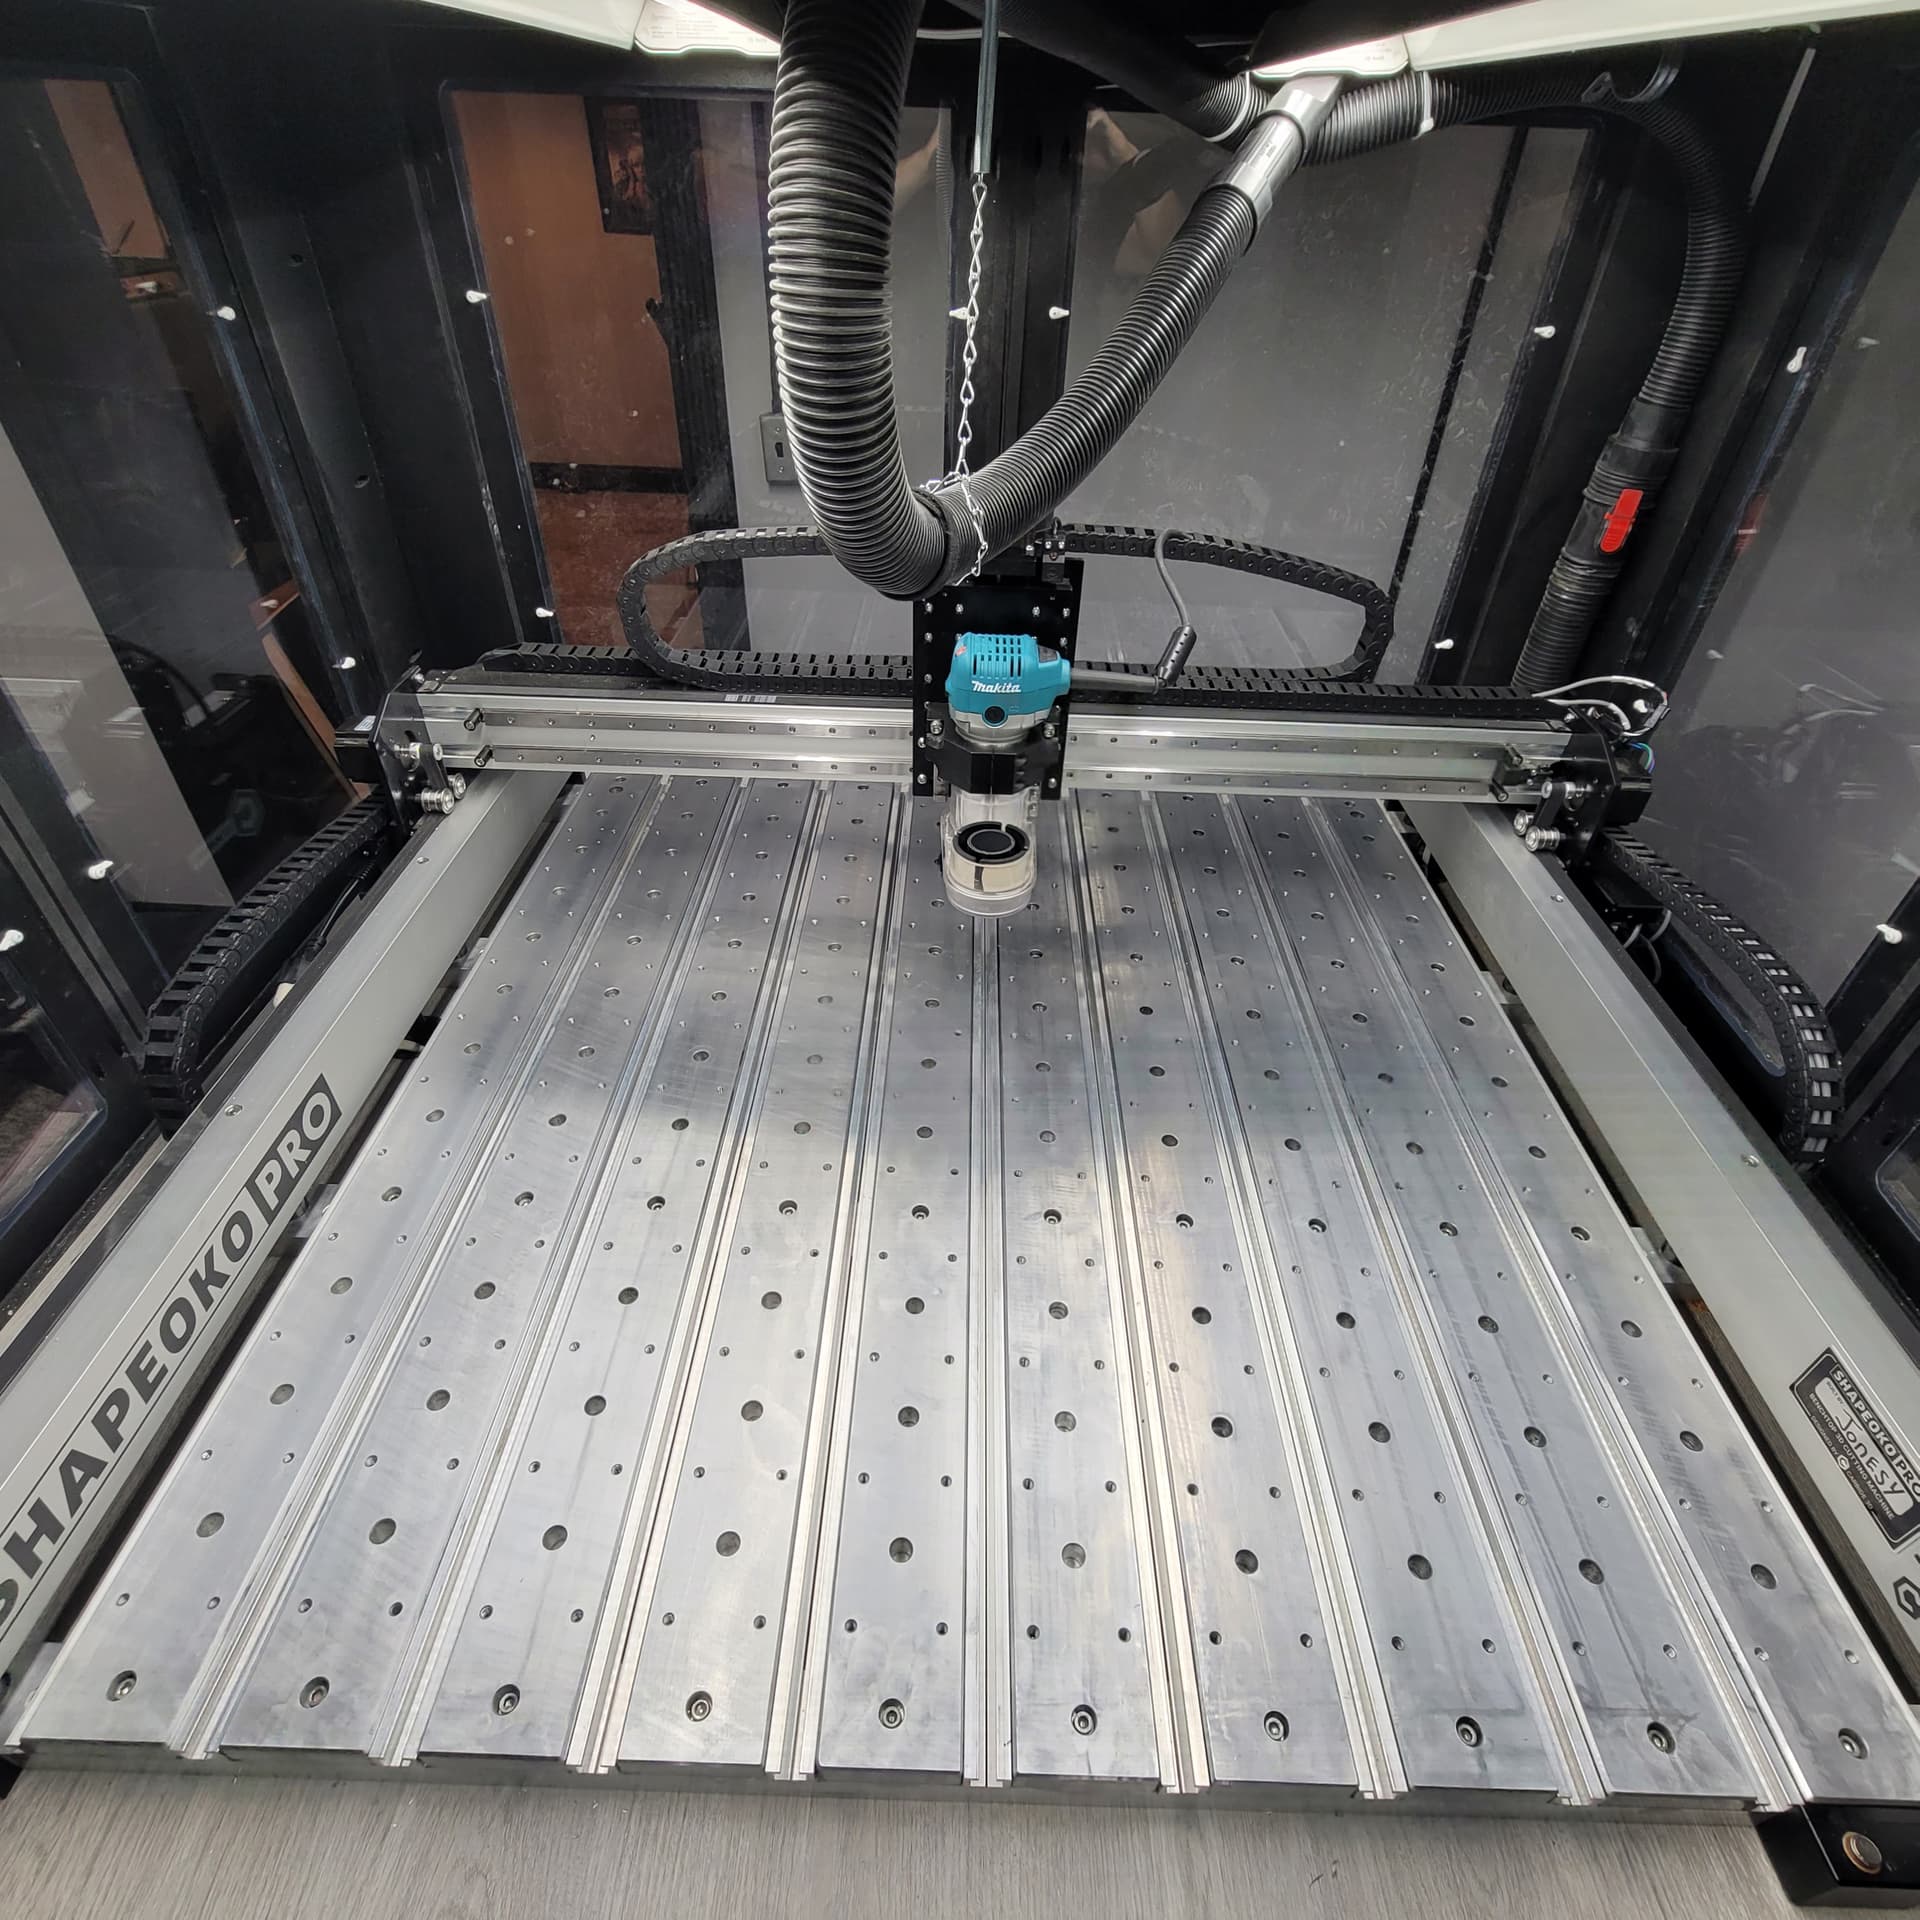
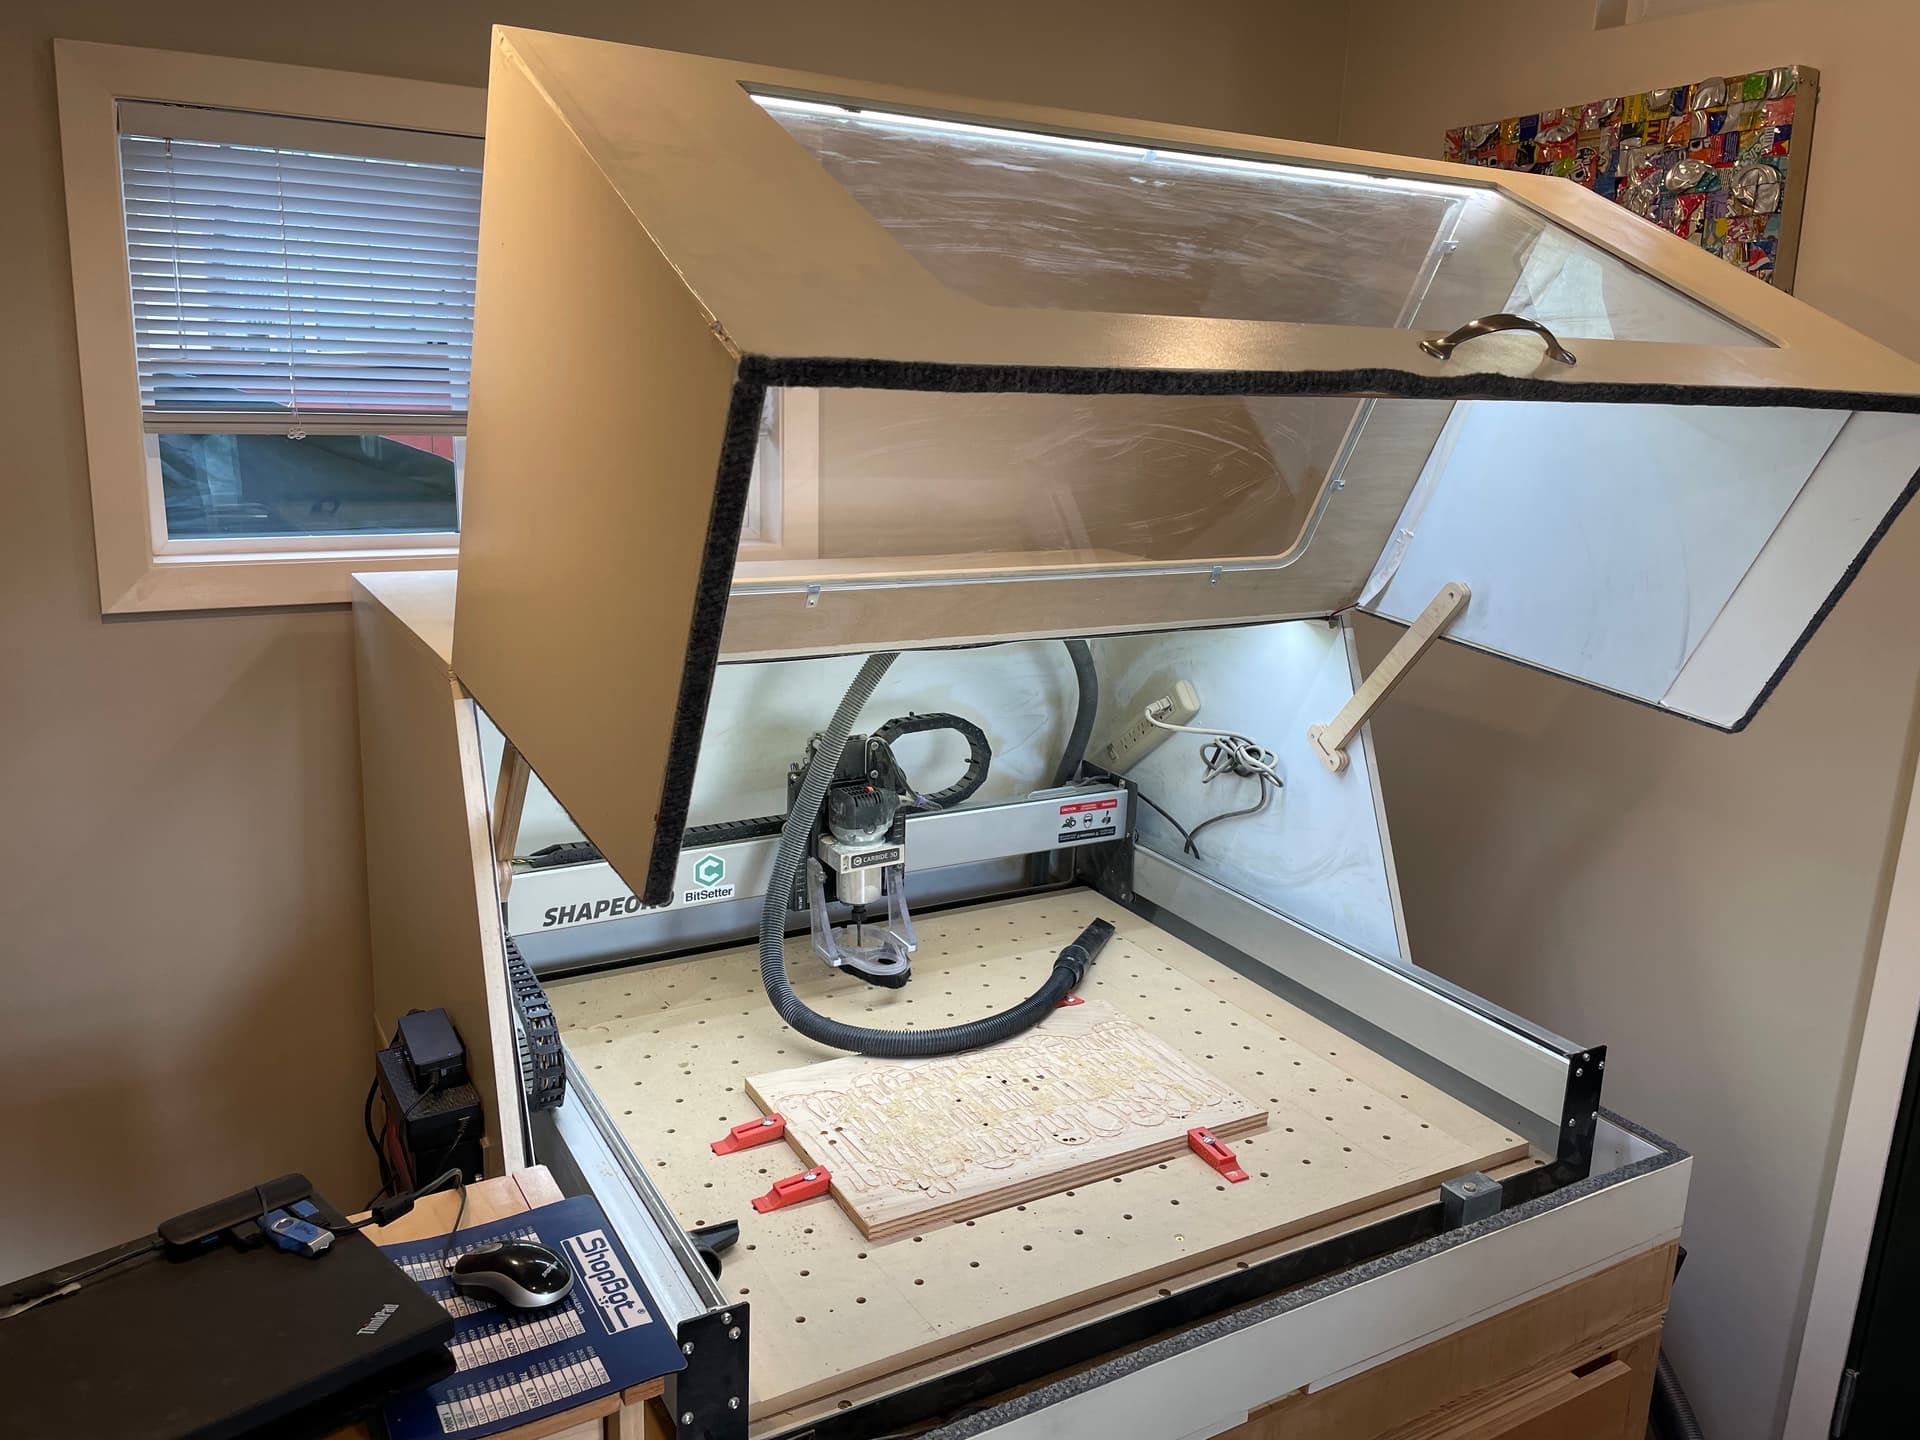
of the doors seem like binding might be a problem. Here is the one I built, when opened I can get my head and shoulders inside ( with just a bit of stooping) to access the part and router easily, when in the center of the bed. The height of the torsion table helps to bring all this up to a standing work height. ( note the fold down platform for my PC on the left) ALso the window I cut out at the top and not just the front, I’d recommend that if not too late. The top is mounted w a piano hinge and the braces are very low tech but work well. See the two full width LED strips hidden at the front edge and under the hinge point. I have to admit the 3/4 birch ply clamshell top is rather heavy, other than that it’s working well. Be sure to allow some air intake for your vaccuum to draw from, mine is right at the front.
Best of luck with your enclosure.
Mostly 3/4 birch ply. I used 1/16" thk mass loaded vinyl to line the interior for sound dampening, it works really well, except for the plex windows of course.