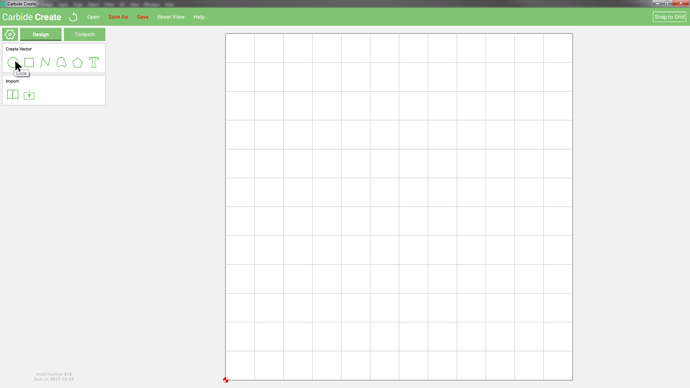
The prototypical first job for a Shapeoko is to cut a coaster — here we do this using Carbide Create, trying to make the job as simple as possible, but adding a bit of interest with an inlay, and increasing the utility of the object by rounding off the corners.
Before any real setup it will be best to go into Job Setup and Clear the drawing, and set the measurement units — please use mm (metric) for this tutorial. Note that the feeds and speeds in the Carbide 3D charts are given in Imperial inches, for metric please see:
First, Job Setup — we will use a just over 3/4" (19.3mm) thick piece of poplar for this, and a 1mm thick piece of walnut (naturally, you may use any suitable materials, in any reasonable thickness — just measure them and substitute your own measurements throughout). We’ll do this in one file, so we’ll manually need to manage the walnut inlay thickness later. We want the piece to be 78mmx78mm (the actual stock could be larger, but this is what we want to manage/cut), so we will input:
- Stock Size
- Width (X): 78.000 mm
- Height (Y): 78.000 mm
- Stock Thickness
- (Z): 19.000 mm (please adjust this value to match the thickness of your stock)
- Top — we will be registering off the top of the material as zero to begin the cut
- Toolpath Zero
- Lower left — we will leave this at the default, so when zeroing, will need to position the stock so that from the point we set for zero there will be 78mm of material farther into the machine, and to the right, and 19mm (the stock thickness) of material beneath the zero point
Set Material and Machine and retract height to match your setup and workholding situation.
- Units
- mm — please use metric for this tutorial

- Document Background
- please click on the Edit button
I also set the background grid to be 6.5mm, since I prefer things neat, tidy, and integral and it will be necessary to make the rounded corners as described below. Please note that since this tutorial has been done, rounding corners as been added as a fundamental feature in Carbide Create, making this sort of thing much simpler (the tutorial below may still be useful for covering Boolean operations and snapping / aligning parts).

click Ok here
Then, when back to Job Setup, scroll down if necessary and click OK


