Making Shapes and 3D Contours

Hi All,

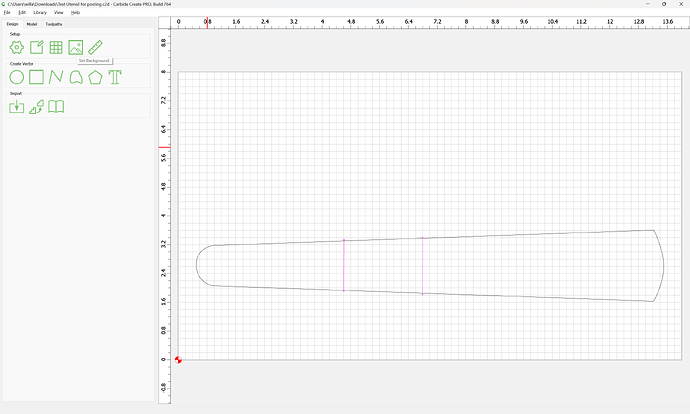
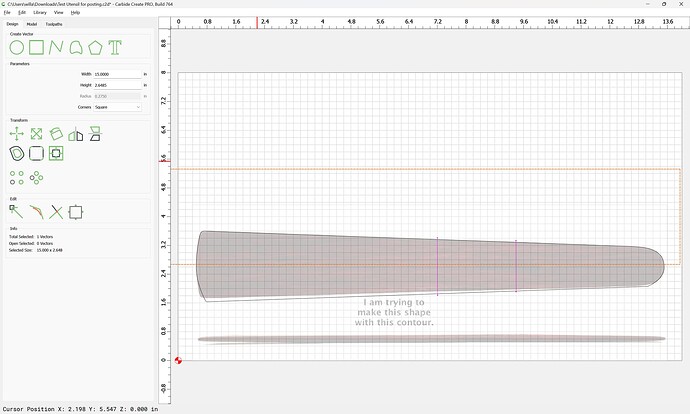
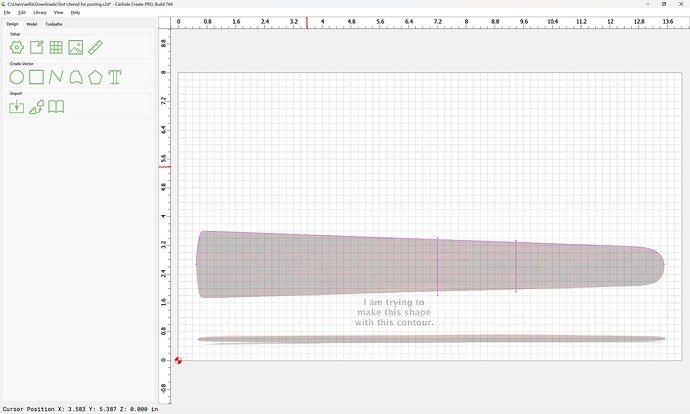
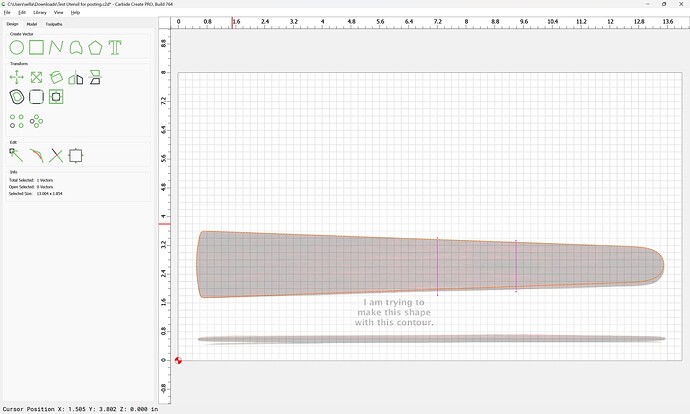
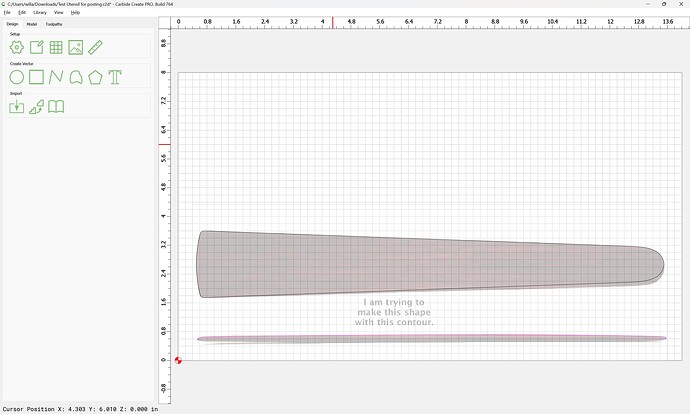
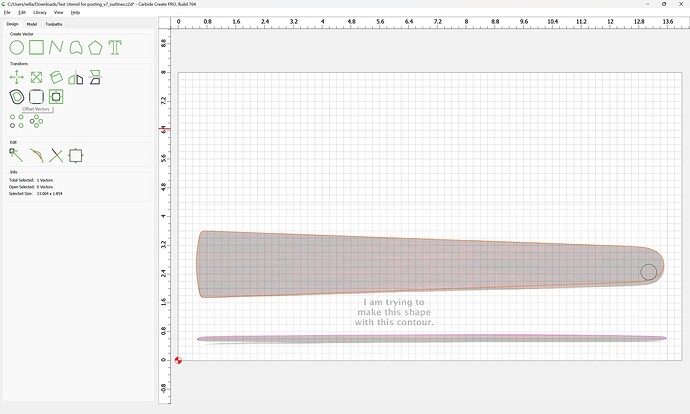
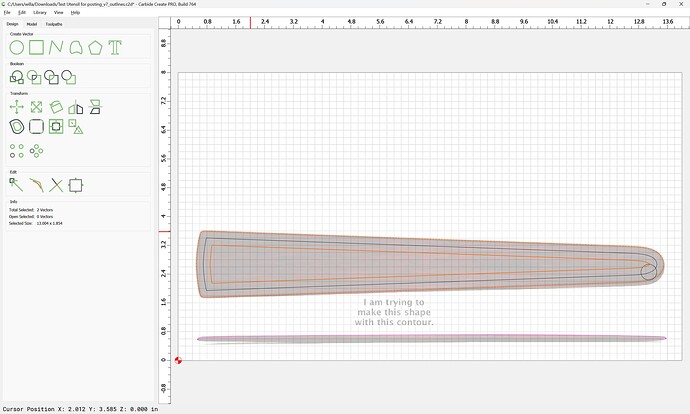
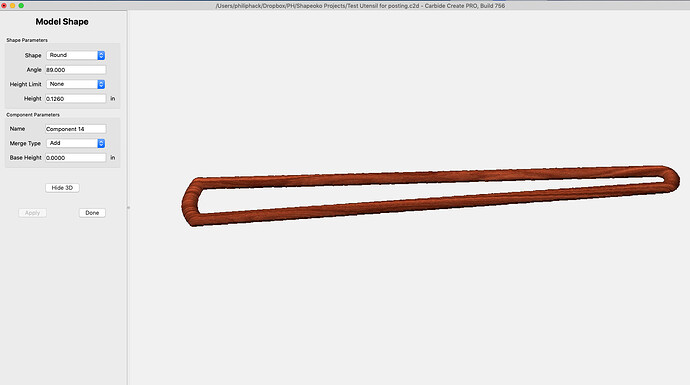
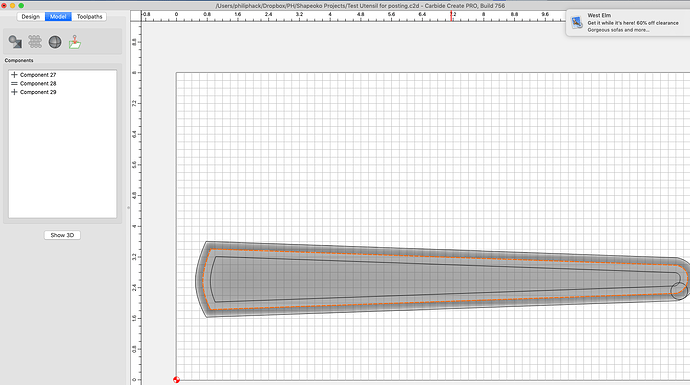
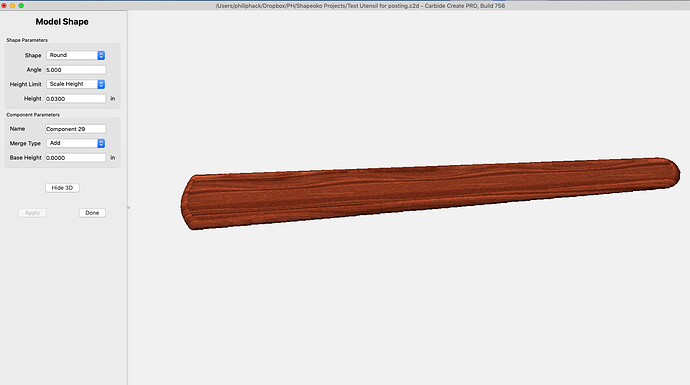
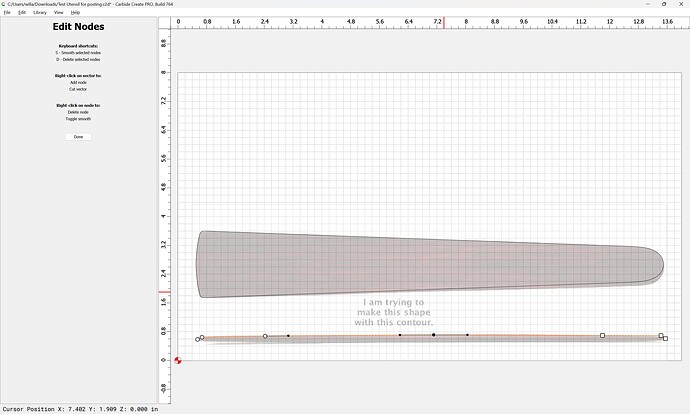
I am trying to make the following shape. I’ll start off by saying I am not really fluent with CC.

My first step is to make a straight line, rotate it, copy it, mirror it and paste it.

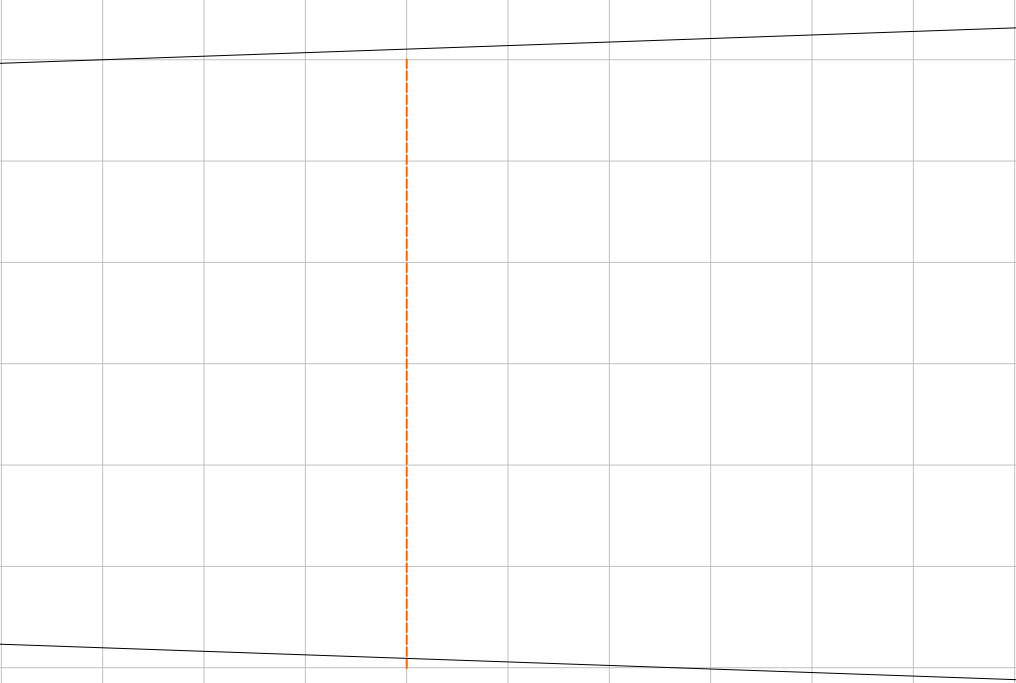
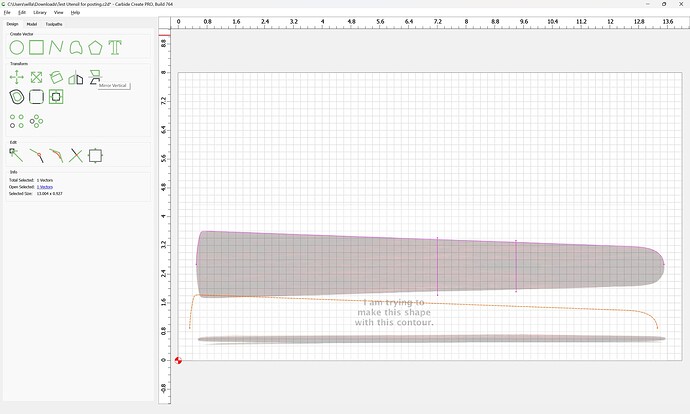
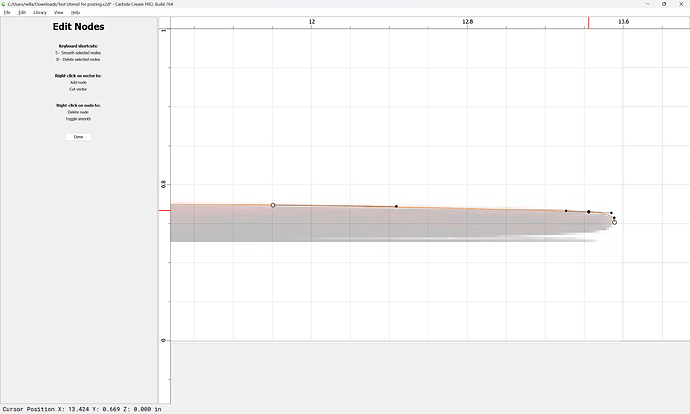
The next thing I want to do is to round the end parts. I can’t find any arc tool in CCPro that will let me make the end be a gentle curve. In lieu of that tool, I try to add a vertical line between the two ends of the line so that I can make add a node and try to pull it out. When I try to add a vertical line, the first thing I notice is that CC won’t snap the end of the new vertical line to the end of the angled line. Here’s my first question:
How can you make sure that your lines are actually meeting at their ends?
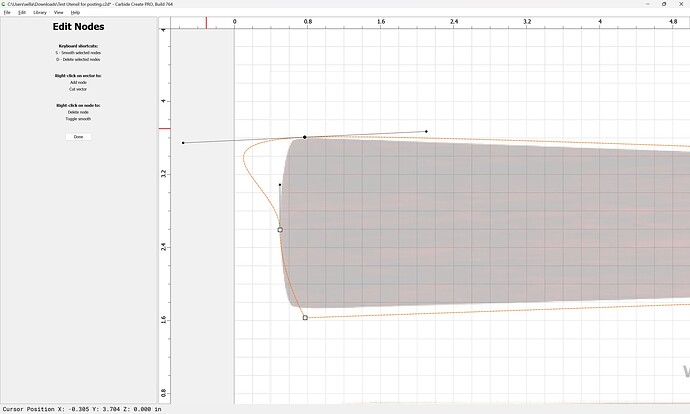
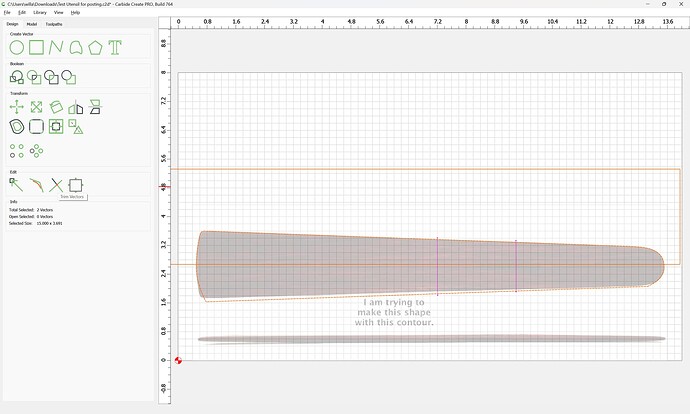
When I draw the line, I have to zoom in all the way and hope that the lines meet. After doing this, I am left with something that looks like this:


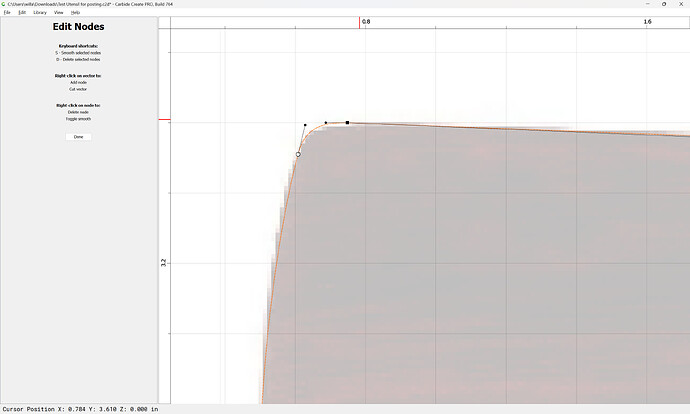
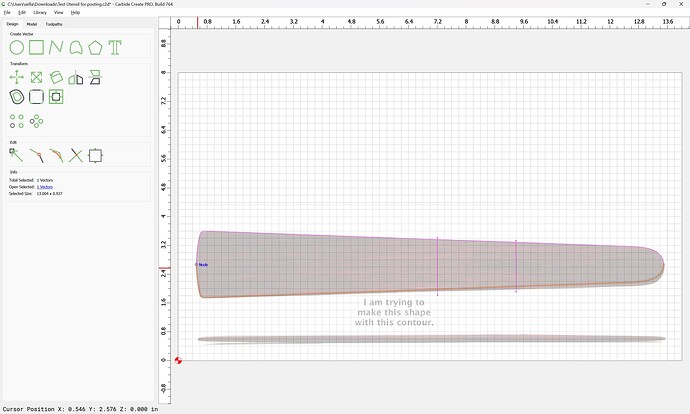
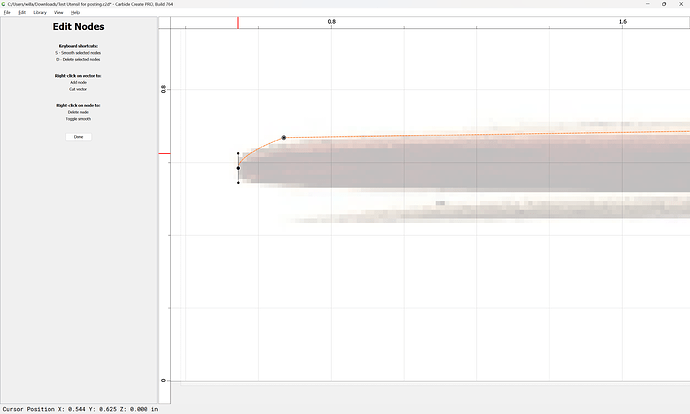
I notice that the two nodes are different shapes, though ostensibly the are both corners. Why is this?
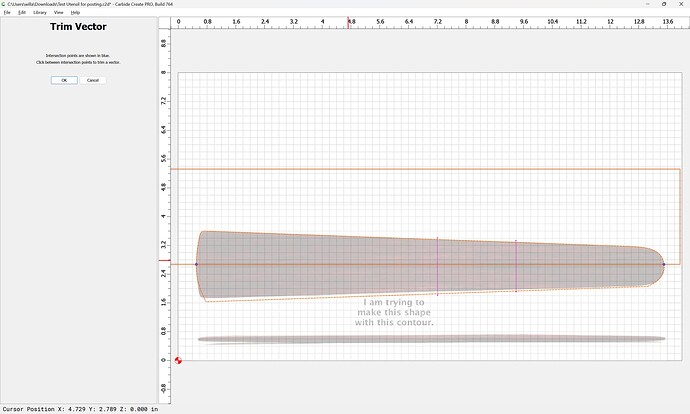
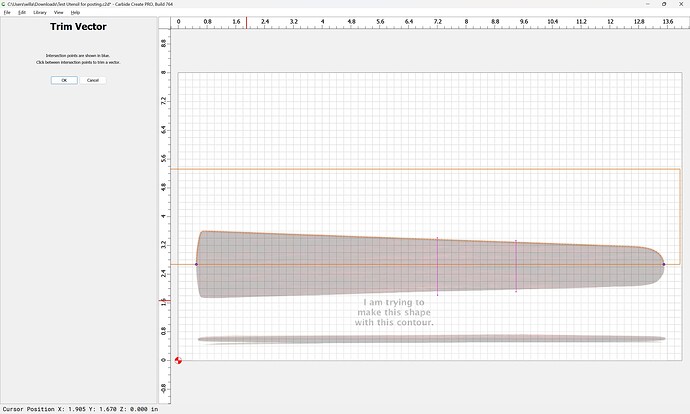
Next I try to add a node in the middle of the vertical line. In my CC there is nothing to tell me when I am in the middle of the line, so I cannot place the node accurately. I end up with this. Close to the middle, but no cigar. Is there a way that shows the midpoint of a line so you can accurately place a node in the center?
.
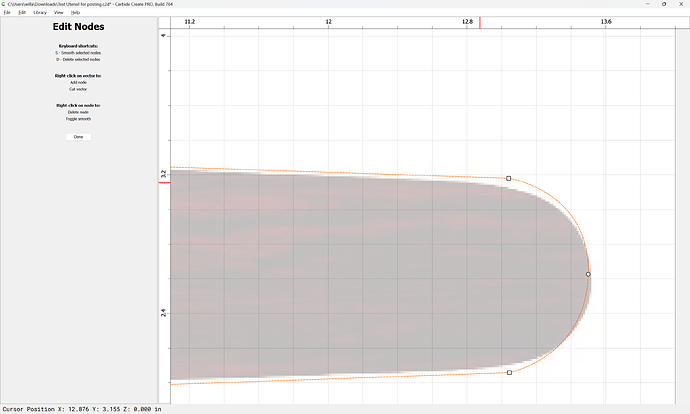
Now I go to pull the center node out to form a rounded end. It looks OK to the eye, but I have no way to tell if it is really symmetrical.

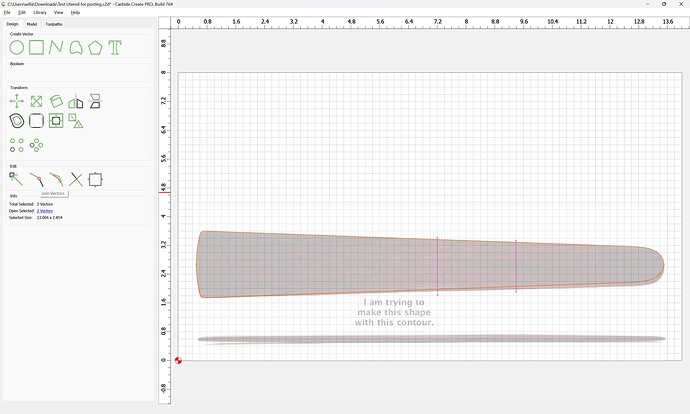
Now I go to try the same thing on the other end and CC won’t let me insert a node to do what I have just done on the first end. I found that if i select the whole shape and that If I join all the vectors, I am then allowed to put a node in and continue on.
Now I have to completed outline, though not really as exact as I’d like it. I’d also like to make the edges rounded in the wide end. I chose “smooth nodes”, but that just returned me a crazy shape. It didn’t actually smooth those corners.

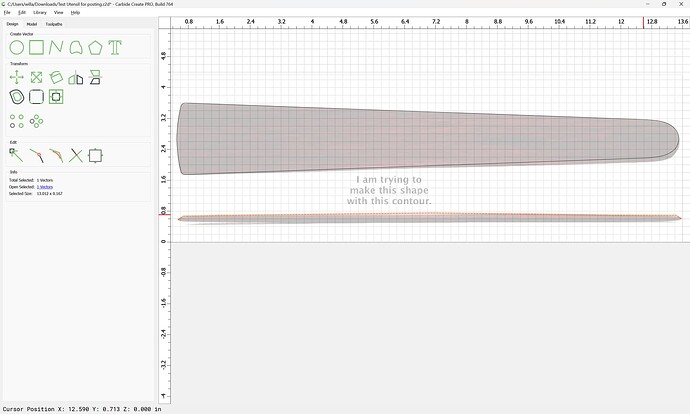
Now comes the hard part. If you look at profile of the figure, you can see that it tapers from two different points to either end.

I think I need to create another shape or layer, but I am back to my original problem as described above. If I try to drop a vertical line in the middle, there is no way to make it snap to the object.


Upon closer inspection, I can see that this vertical line is nowhere near the horizontal one.

How do you ensure that these vertices actually meet? Also, I tried holding down the shift key, but I can’t that doesn’t seem to ensure that the line is vertical.
Now I’ll go in by hand and try to join the lines.

I’ll repeat the process for the second vertical. This time I try with snapping on, but that doesn’t seem to work either.

I’ll go fix it by hand. Now I have two verticals, though they are pink.

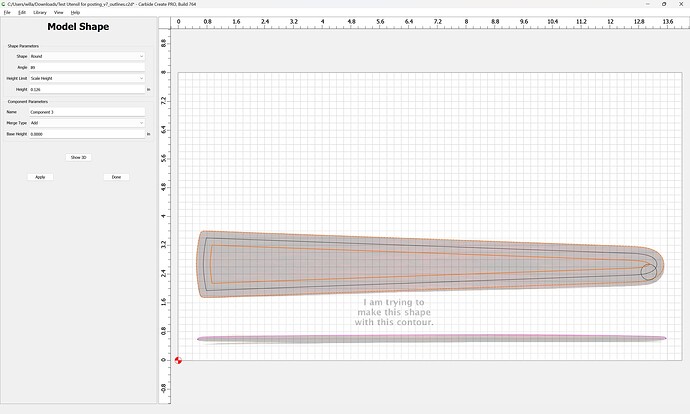
Now comes the part where I am completely lost. How do I taper this shape out towards the ends starting from those pink lines, so I am left with a thicker center and thinner ends? Do I need to use layers? Do I need to copy the whole shape and somehow use boolean arguments to create three new shapes (left, middle, right)? I’ve tried a few things in CCPro using the modeling function, but I know I’m missing out on the concept. It seems like a fairly simple operation, “start at this line and taper out to certain height”, but I can’t seem to figure it out. Does anyone have any suggestions as to how I should proceed from this point?

Thanks in advance and sorry if this is something obvious that I just don’t get!

Attached is the file if anyone wants to see it.
Test Utensil for posting.c2d (44 KB)

Please see:

and

Is cutting this out and shaping it with a rasp or on a disc sander not an option?

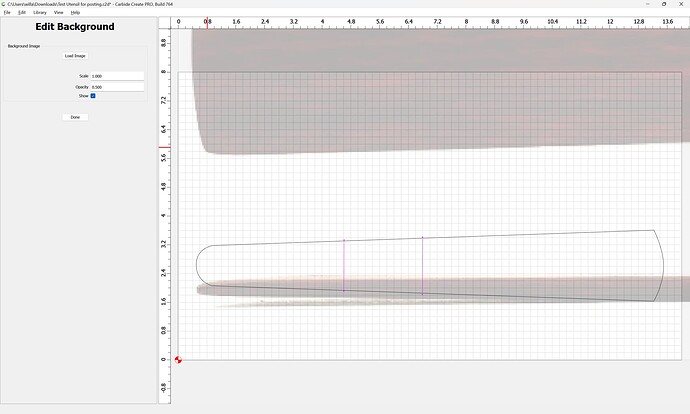
First import the photo as a background:

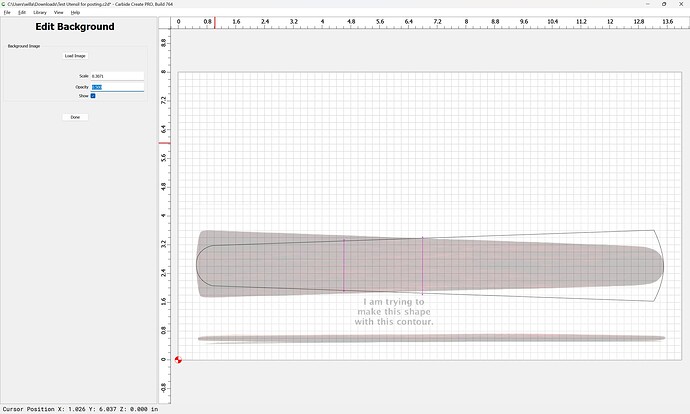
Then orient things to match:

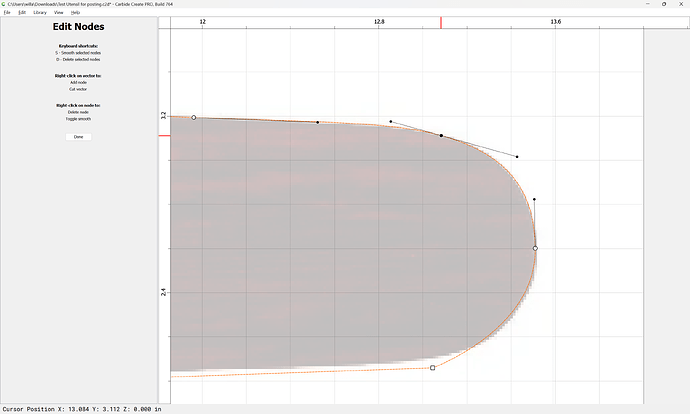
and use Node Editing to adjust the outline to match the pixel image:

Use a rectangle to halve the geometry:

duplicate,

Mirror Vertical:

position in alignment with the original:

Select both and use Join Vectors:

Yes

Then draw the side profile.

Rough in the profile using the Curve or Polyline tool:

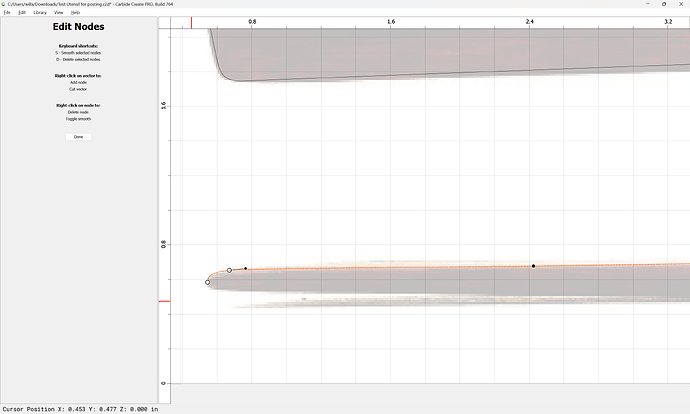
and then go into Node edit mode and adjust the outline (we will assume the part is supposed to be symmetrical)

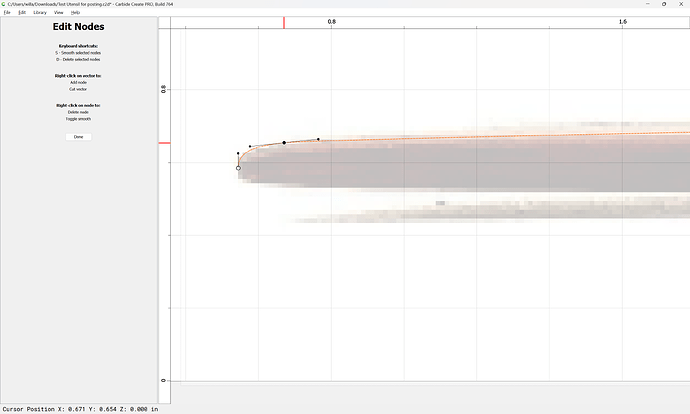
zoom in:

and adjust

arriving at:

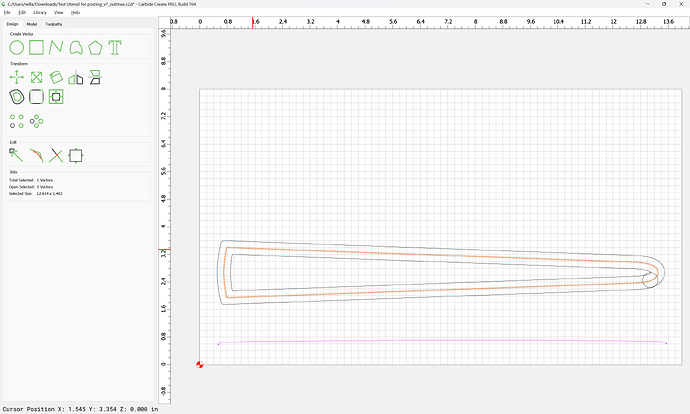
Test Utensil for posting_v7_outlines.c2d (248 KB)

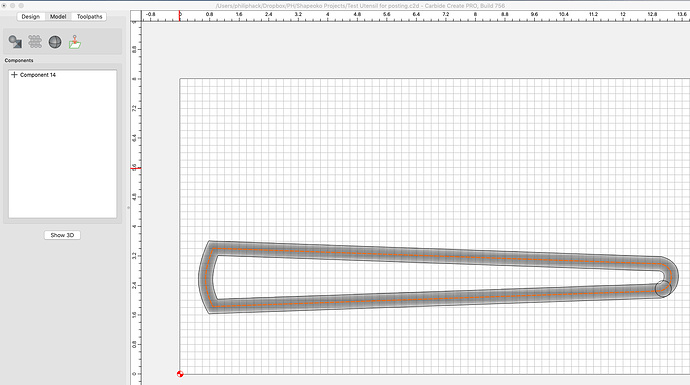
Modeling in Carbide Create Pro doesn’t quite work:

Because the wider section is thicker than the narrower, and we want a more consistent thickness.

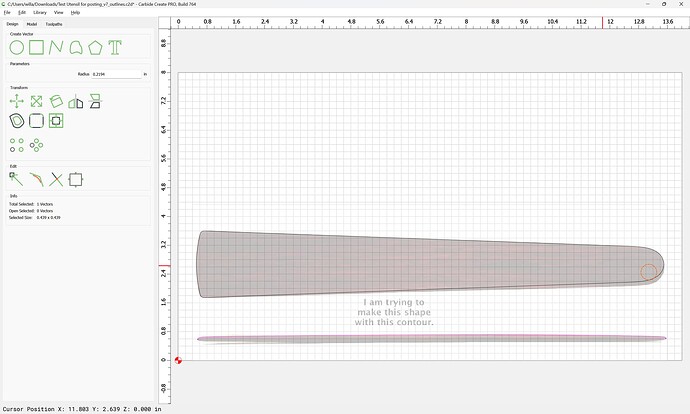
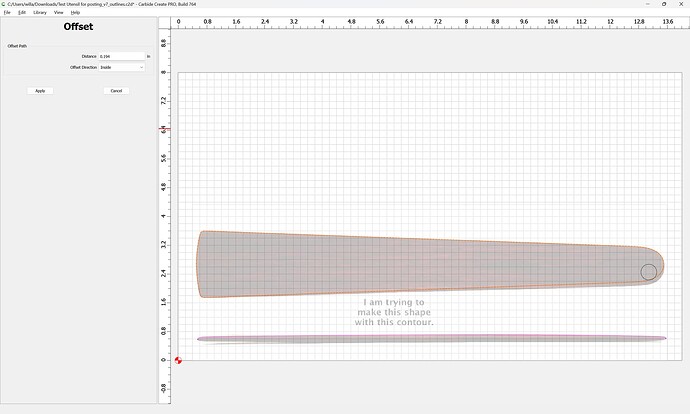
To work around this, we inset twice — we draw in a circle to get a reasonable/workable dimension:

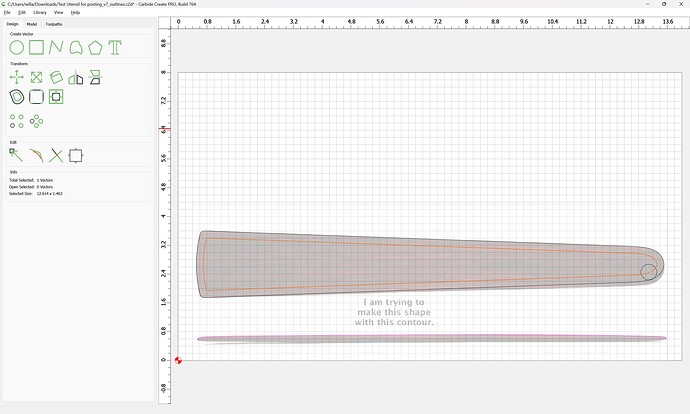
and inset by that radius twice:

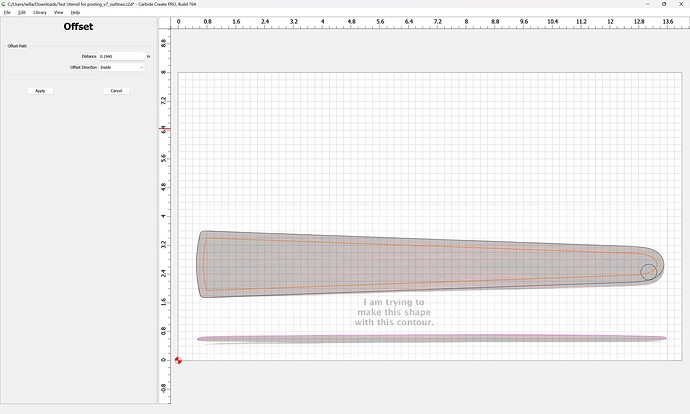
repeat

Then select the original and innermost geometry:

Then select the middle geometry:

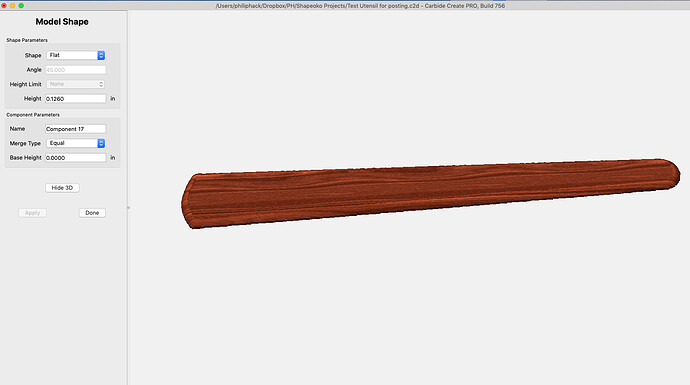
which once evened out to be equal to the centerline of the previous geometry may be rounded a bit:

which with a bit of adjustment to the thickness dimensions and to be cut as a two-sided flip job should work well. This is left as an exercise for the reader — let us know if you get stuck and we’ll walk through it with you.

Hi Will,

Thanks for this! I don’t really understand what the point of the profile is or how the profile works in conjunction with the top view and how you model from there (even though you pointed out that it didn’t model correctly). I don’t understand this part at all.
If it’s too much to explain, I understand. I’m just not getting the concept, sorry.
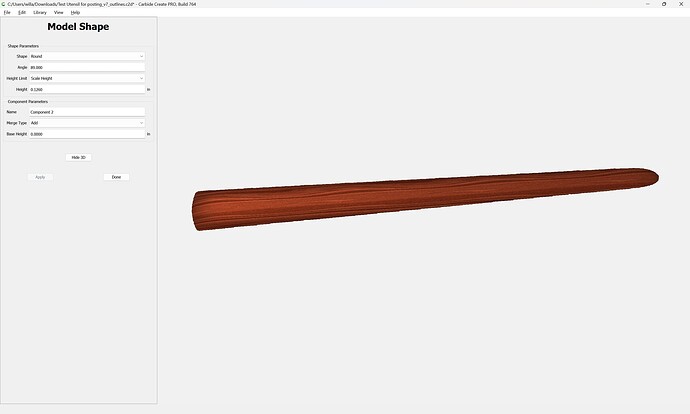
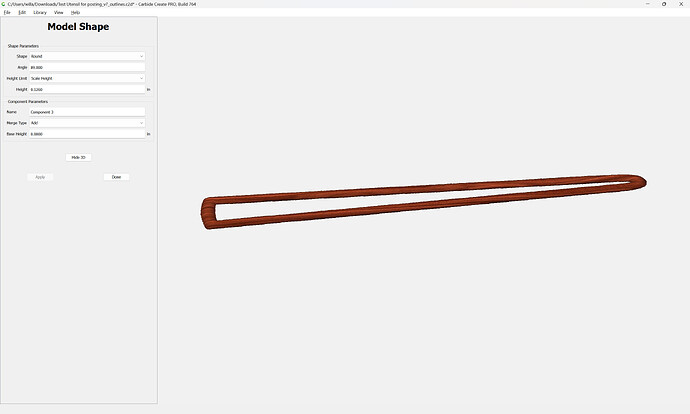
I can follow the second set of directions, but the resulting model doesn’t end up looking like the profile.

I can get up to here and it looks like yours

The profile was drawn as a reference and because it was there, and I was considering closing it, exporting to SVG, importing it, and then extruding it using a 3rd party program as was done for:

I also was considering cutting it with a series of blended geometries as was done for:

or

but it seemed workable enough to do in CC Pro, and my understanding was that that was okay.

Do you have the middle contour?

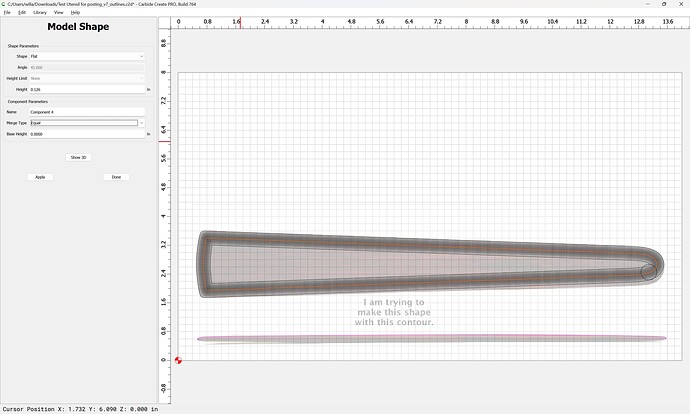
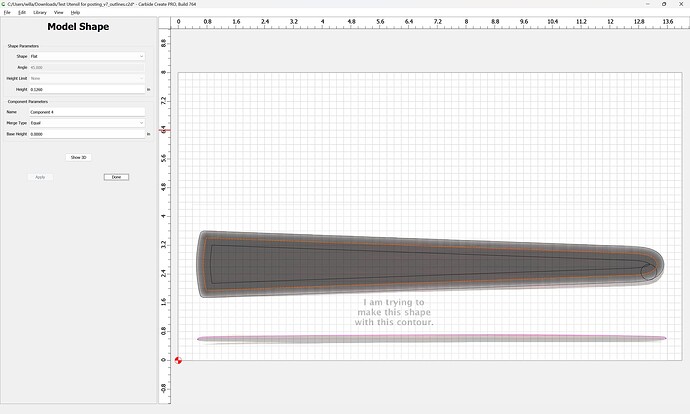
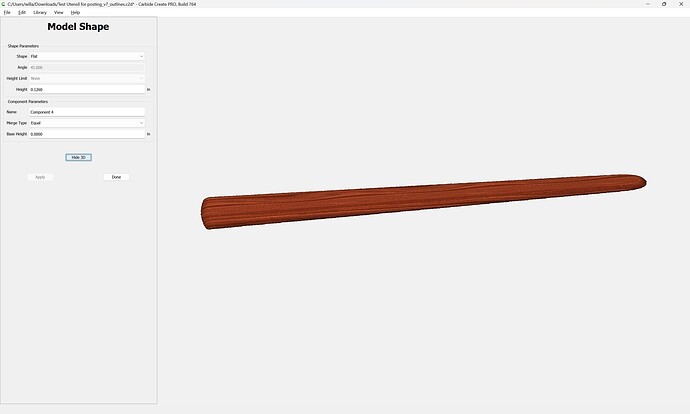
Select that and model it as shown above with the two different settings. Be sure to choose “Equal” for the initial leveling.

Yes, here’s the middle, as you’ve shown and then after I use the settings you’ve shown.


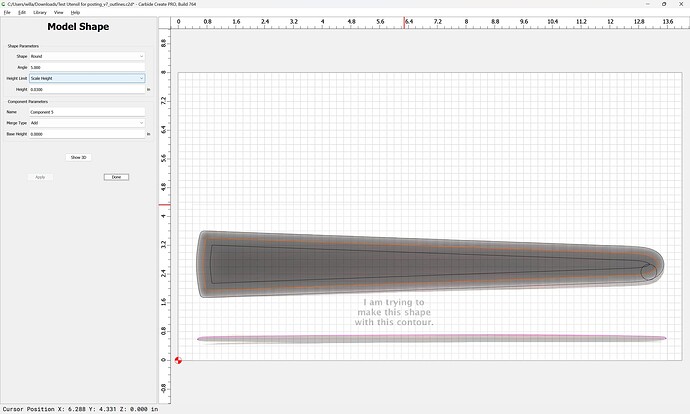
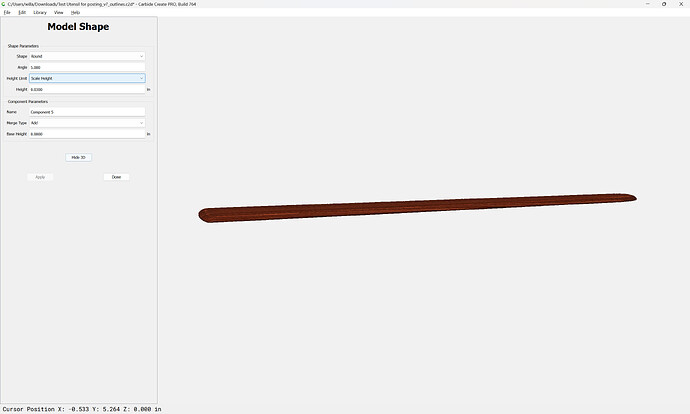
Steps — you need to model it a second time to add the further rounding.

See the attached.

Test Utensil for posting_v7_3Dmodel.c2d (472 KB)

I still get the depression after doing 3 models


When I open yours, it looks like your image. Clearly this is cockpit error on my part.
No way to go back in and see the modeling parameters after hitting DONE?

Unfortunately no, but you can see the settings I used by clicking on the relevant image above.

Ok. Finally got it. I’m going to give it a whirl on the machine and see what happens. I thought this would be easy. Yikes. I do see what you mean about putting it somewhere else, push/pulling the faces and exporting as an STL file.

I wish that OpenSCAD was better at organic modeling (or more precisely, that my grasp of math was such that I could make use of it so as to do that sort of thing).

I bought a license for:

but haven’t found much occasion for working with it.

Arguably, I should put more effort into Alibre, but it’s not convenient for me, since the only machines I have connected to mice are my MacBook, which is in my basement den and at which I have to work for my day job, and a Raspberry Pi which is running a copy of the Shapeko wiki/forum.

“that my grasp of math was such that I could make use of it so as to do that sort of thing”

I’m drinking tea and it just came shooting out my nose. YOUR grasp of math? LOL. You’ve got a better grip on math than anyone else I know! :slight_smile:

1 Like

Unfortunately, my high school couldn’t find anyone to teach calculus for my junior year of high school, instead there was an “Advanced Math” class which was essentially me hanging out in the computer room writing and playing games, so Stanford wasn’t an option, and my math tops out at HS trigonometry.

I’ve been working to address this — there’s a series of books which have helped:

which I’m a bit over two-thirds of the way through — but it’s quite amazing what some folks can do w/ OpenSCAD:

https://www.raphaelluckom.com/posts/bezier_curves.html

and I’m hoping to eventually arrive at a point where folks can do similar things with:

Of course, I’d probably drop all that like a hot rock if a certain integrated CAD/CAM program got scripting… (or if I could wrap my mind around using Alibre and make use of its scripting)

Hi Will. Made some progress. I modeled it in Vectorworks and saved it as an STL file. When I import it into CCP, nothing shows up. If I look at the file in Preview, it shows as a 3D model. Any thoughts? Is there something special about CCP and STL files? Admittedly, I know nothing about them. LOL.

Utensil Outline FInal Extrude test.stl (63.4 KB)
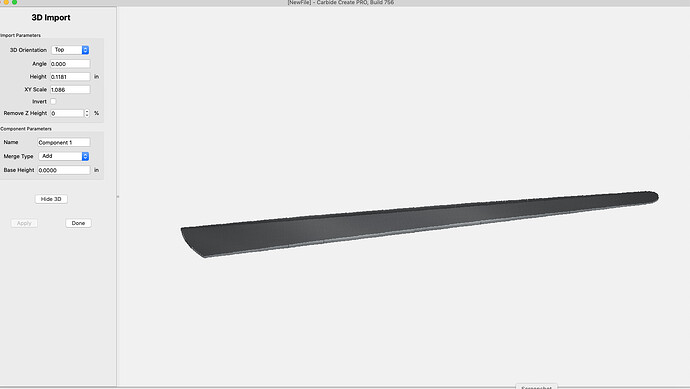
Update: There are two kinds of STL. CCP likes Binary, it seems. This one worked to import.
Utensil Outline FInal Extrude test binary.stl (10.8 KB)
The first file also had to be repaired by Microsoft 3D Builder.