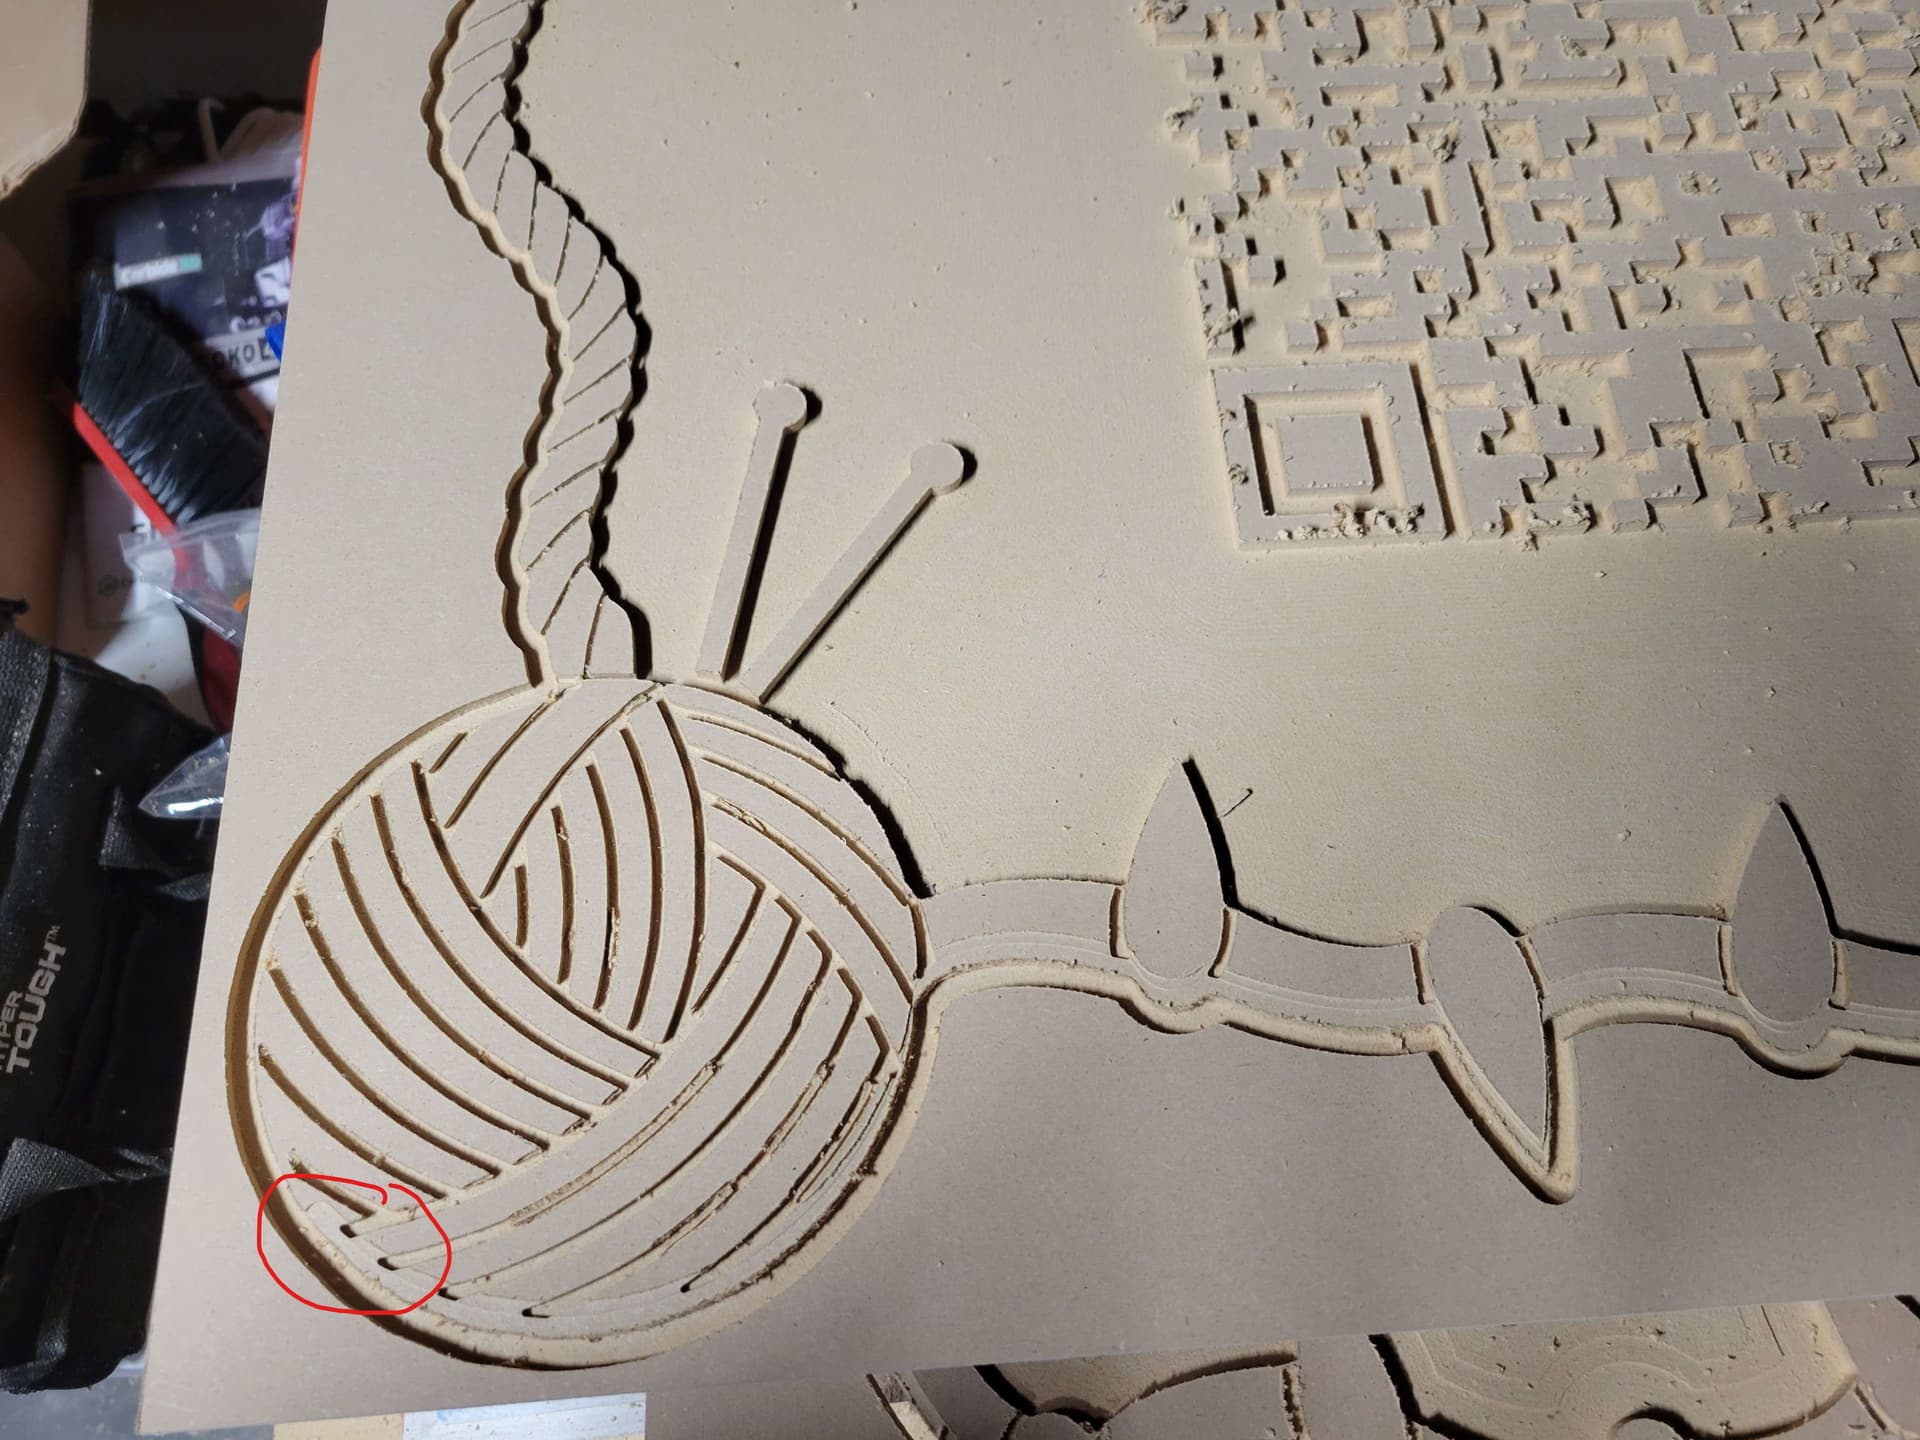
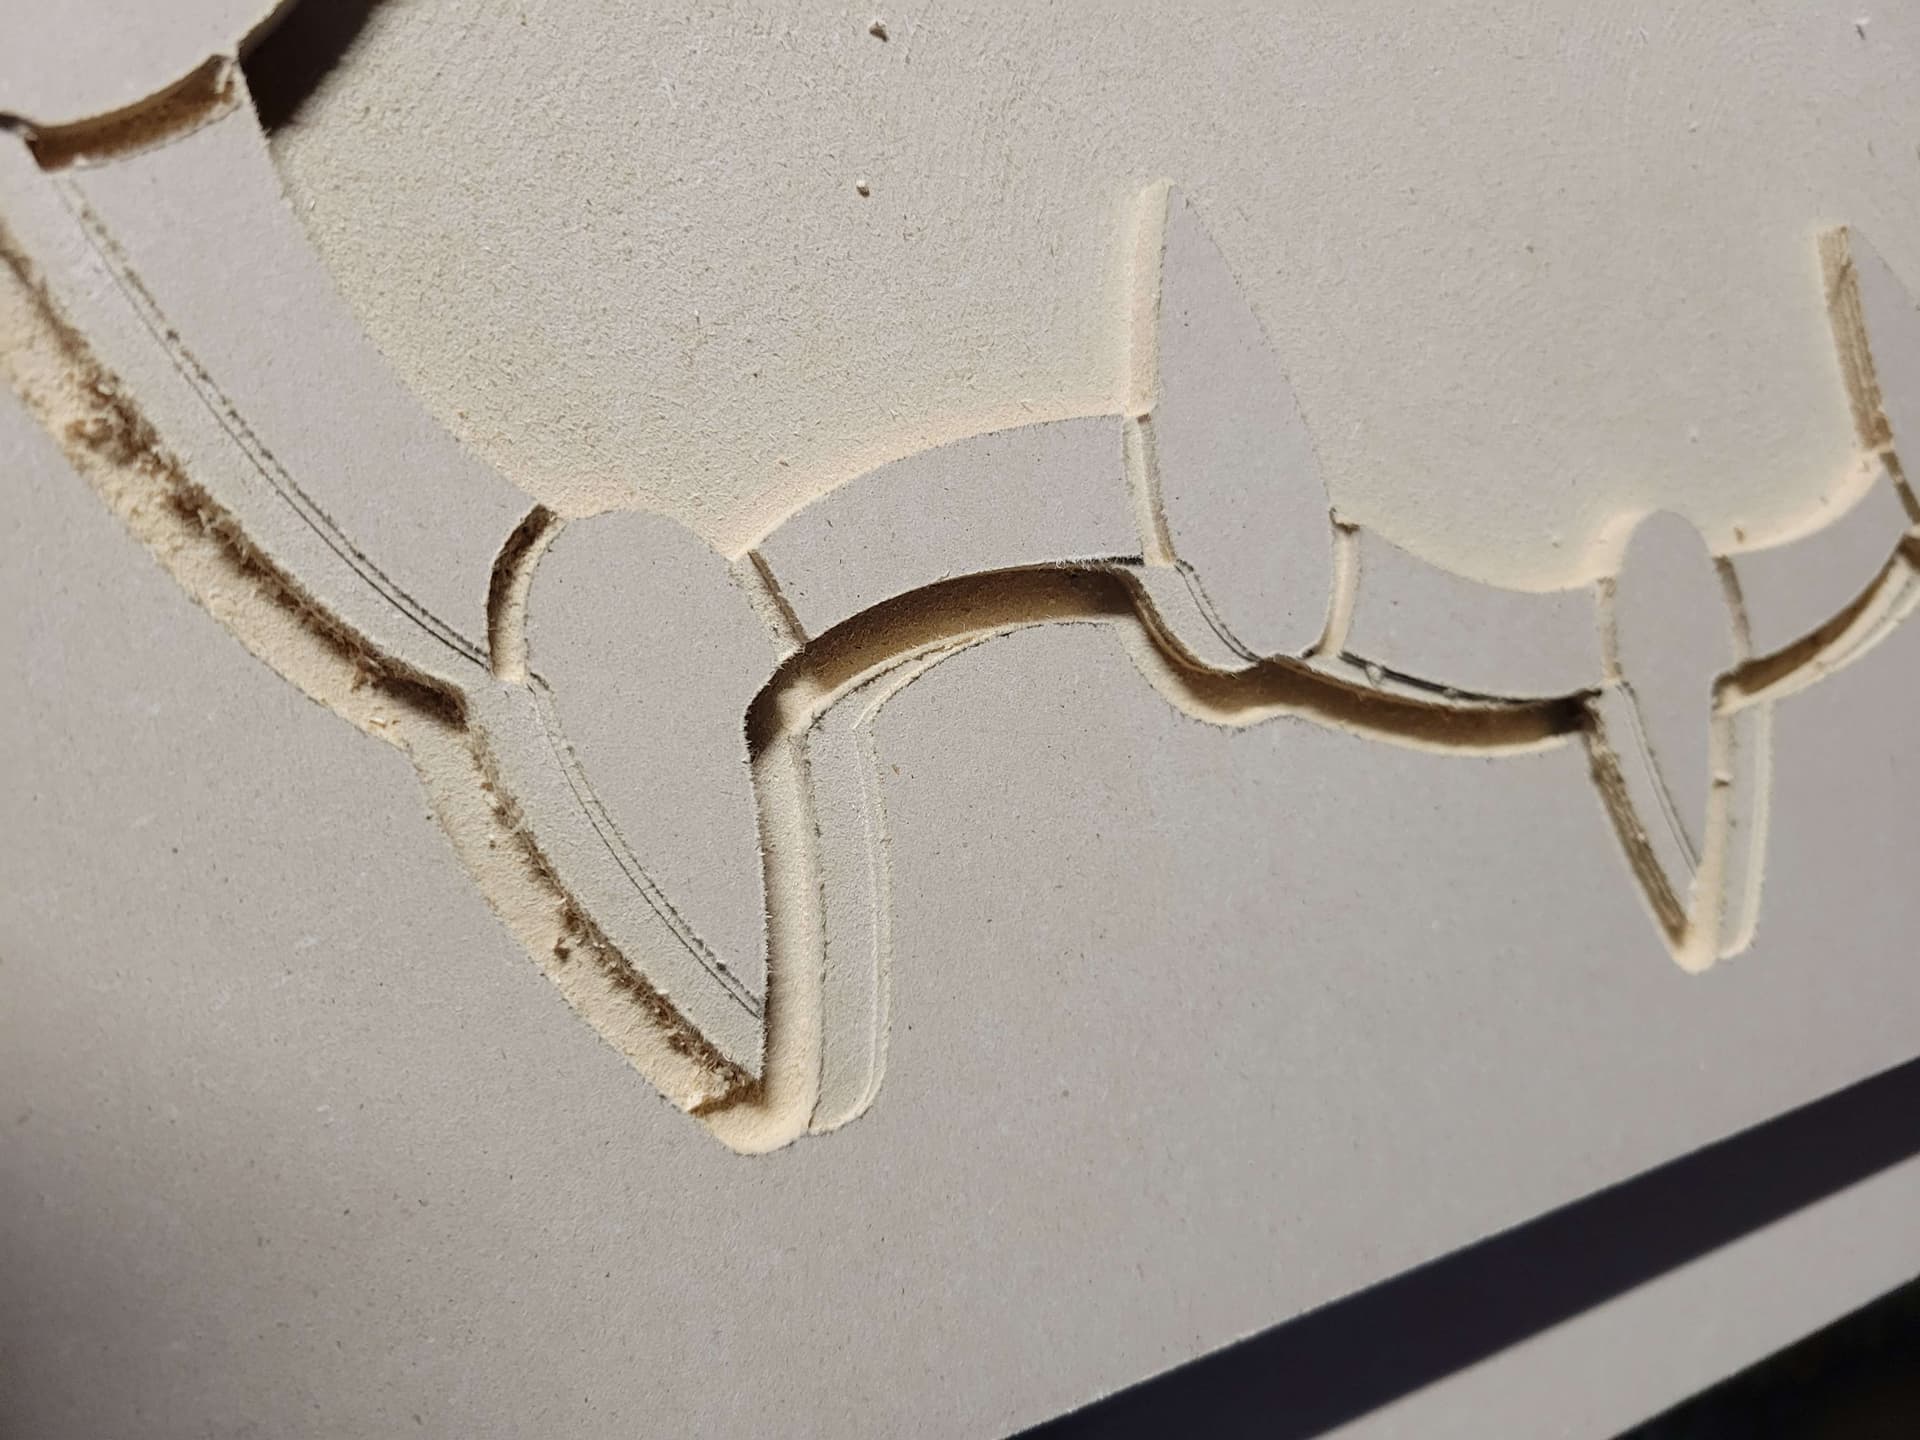
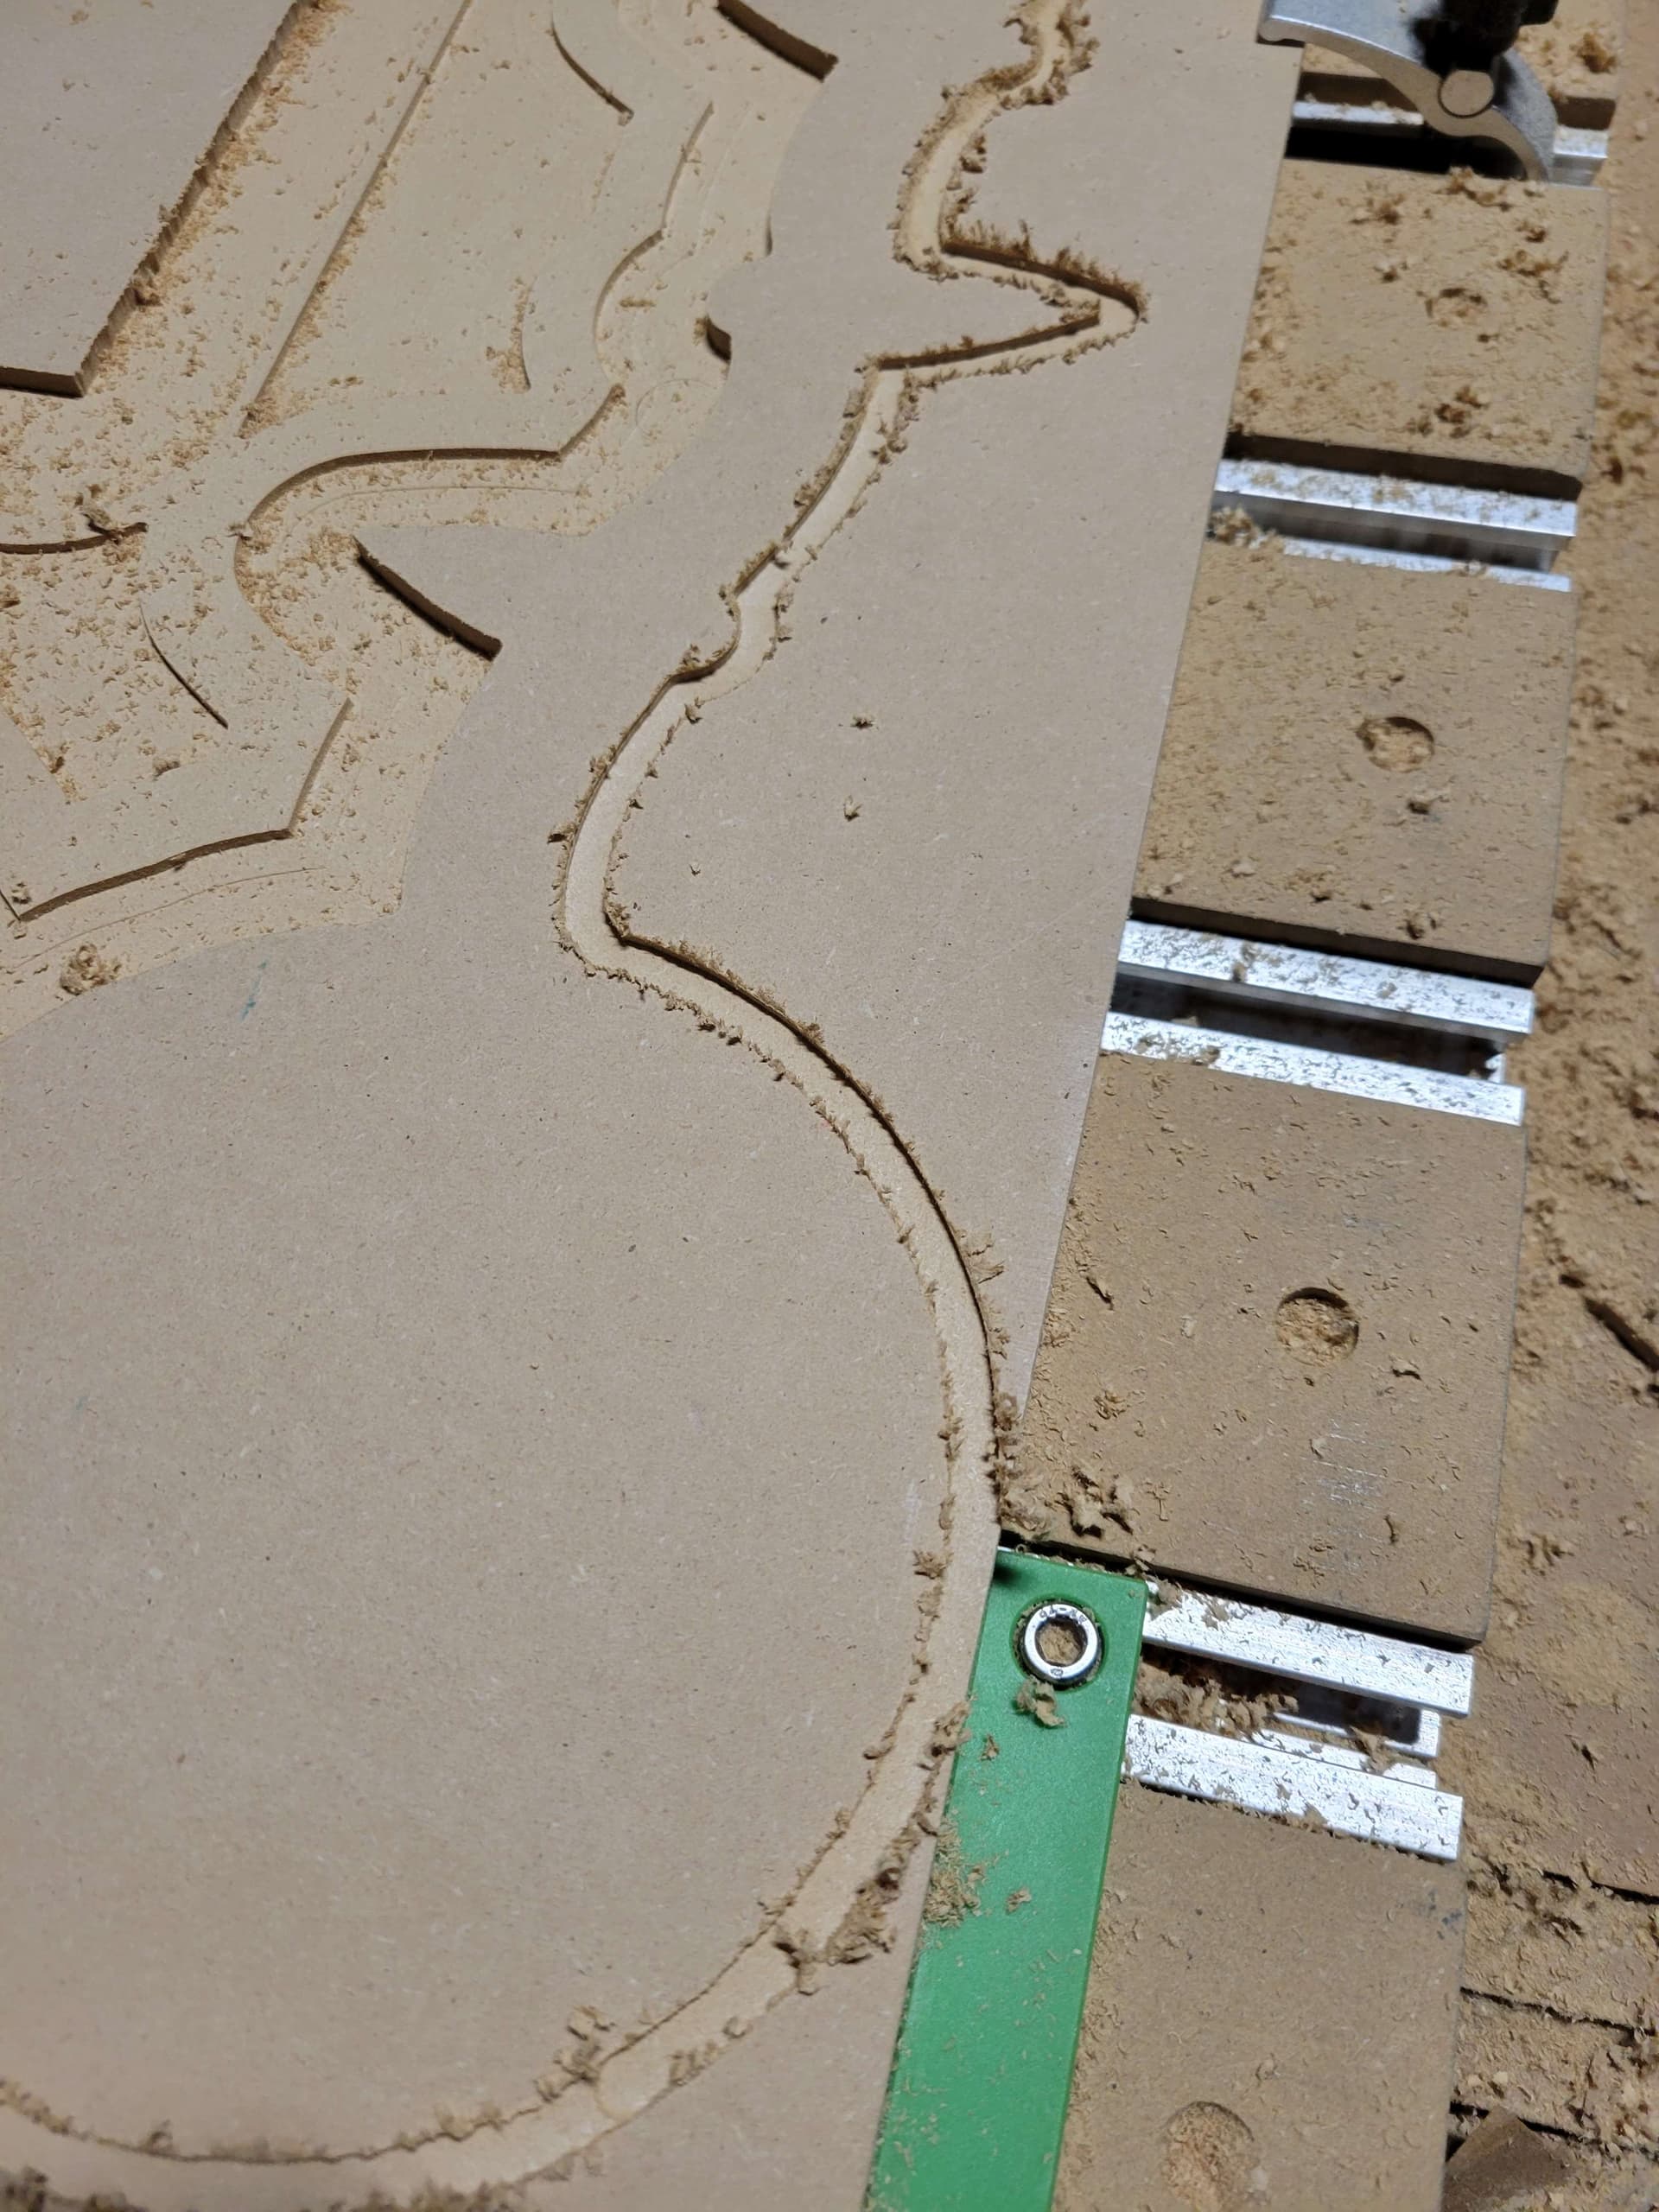
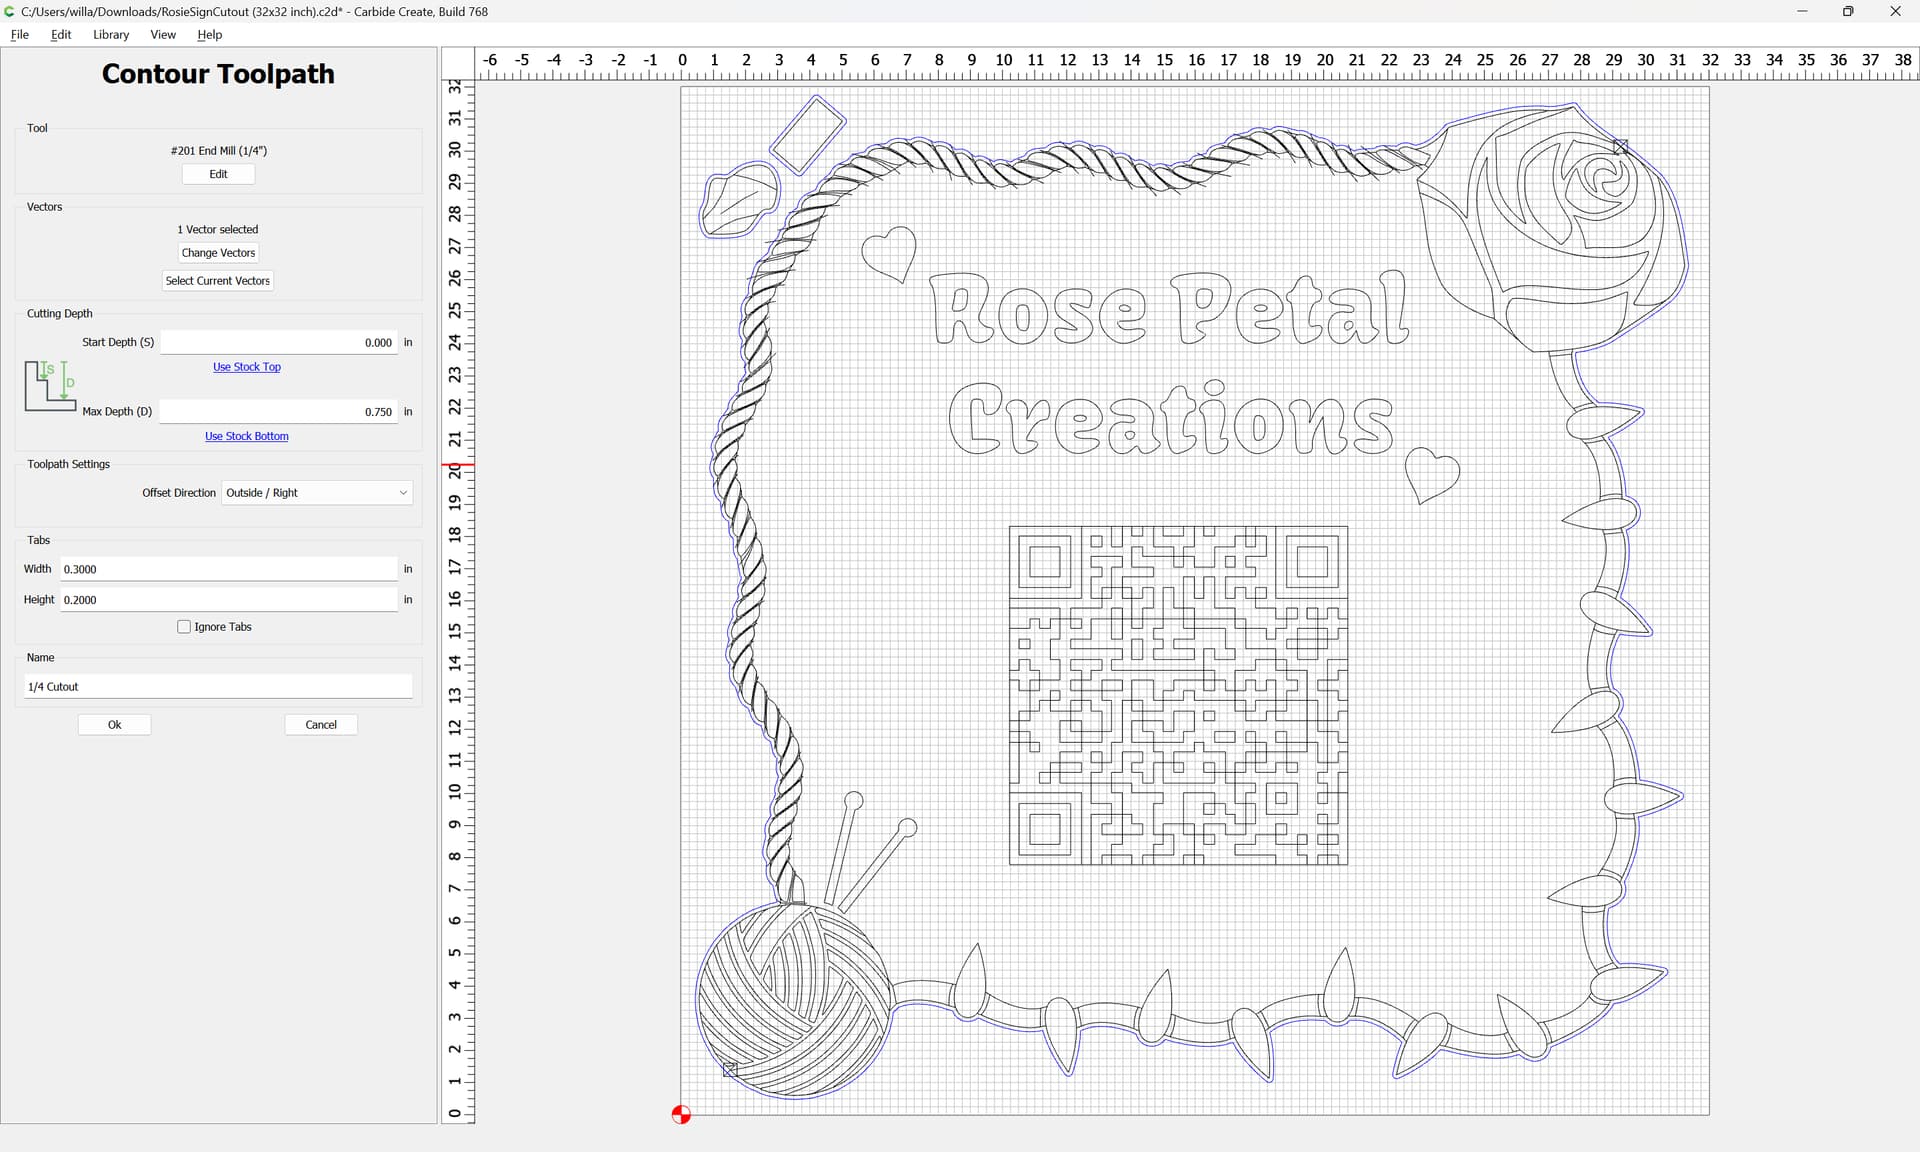
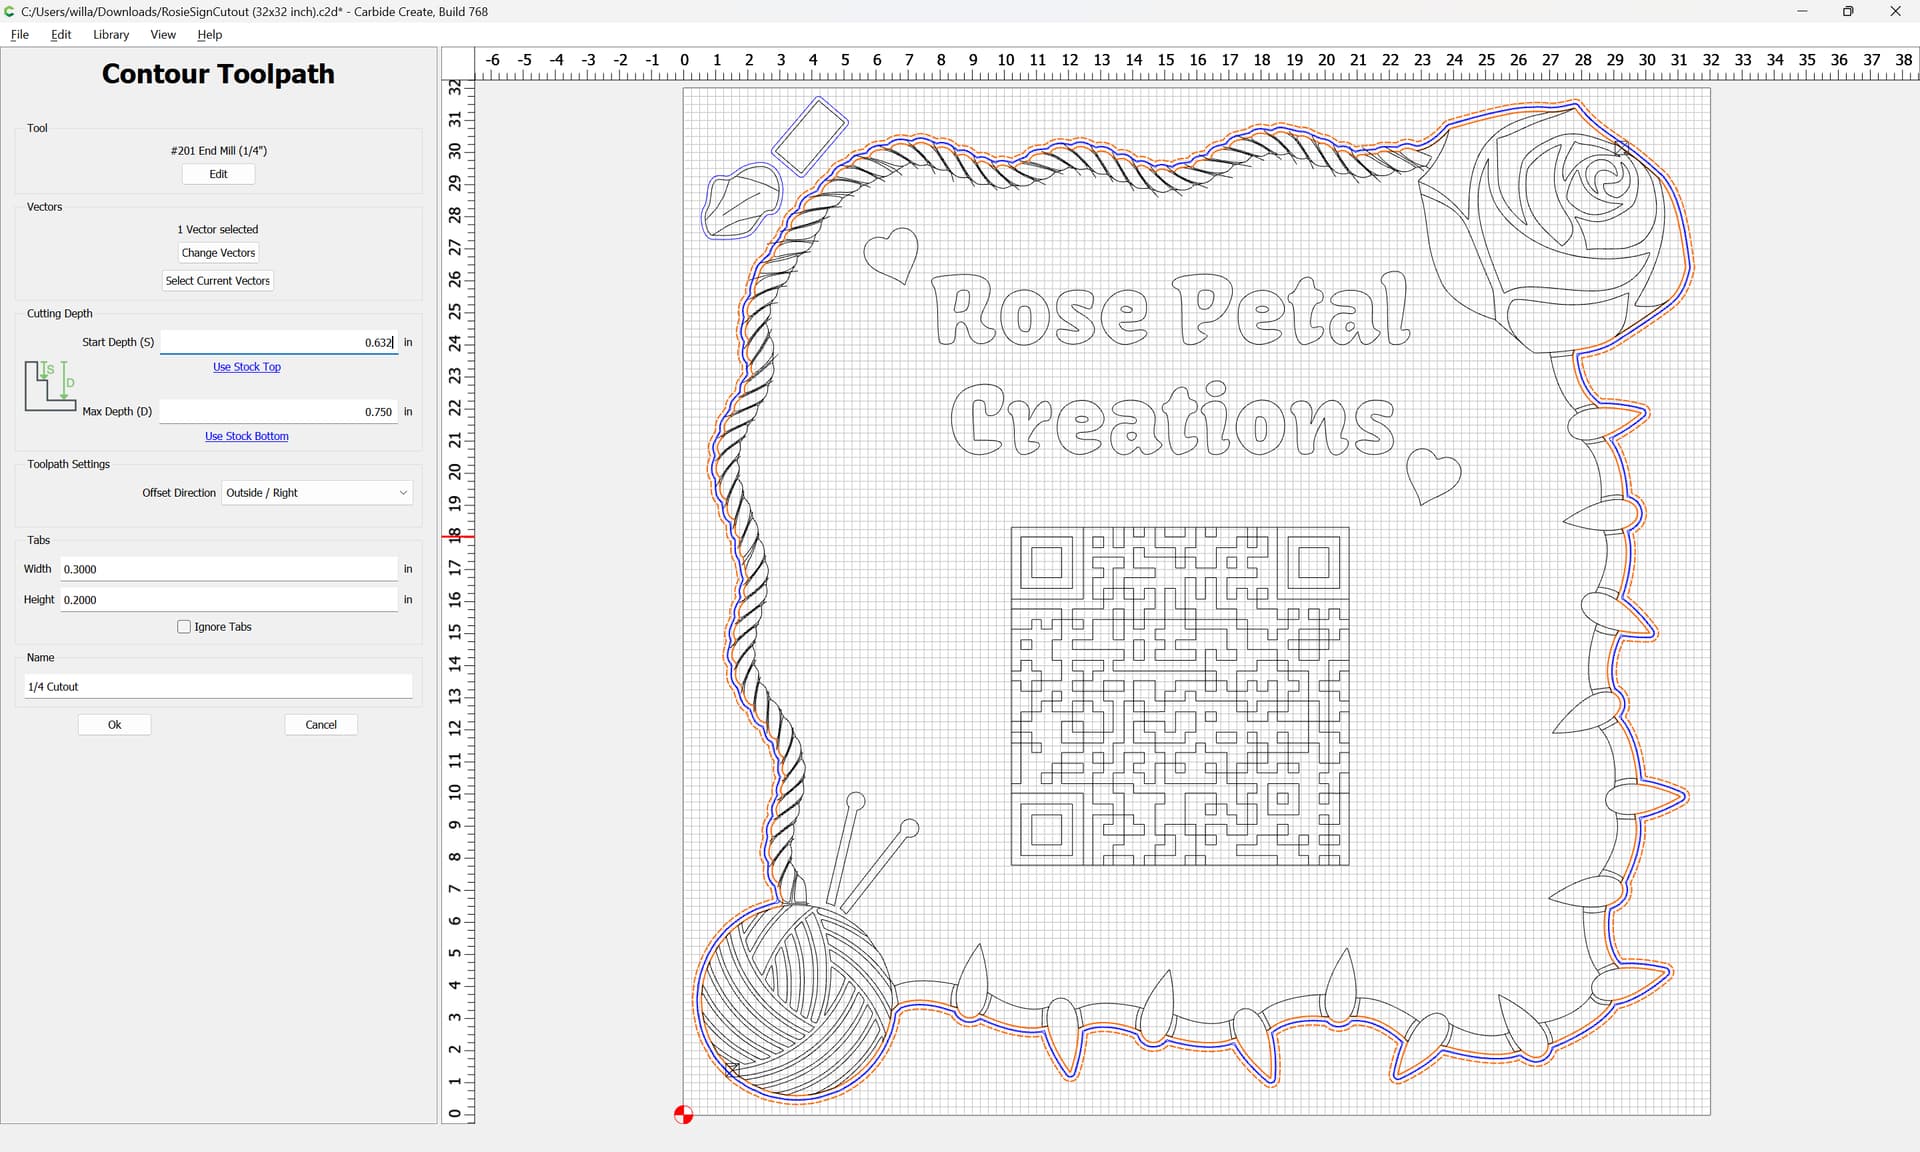
The problem I am encountering is what is happening in this post but instead it’s the first layer cut that’s having issues. I am on attempt #6 of a 14 hour project. Every step is perfectly aligned and as expected until the first layer of the final cutout contour step. What’s even stranger, the first half of the first layer is off but it returns to the correct path on the last half.
Any help pointing me in the right direction would be much appreciated
Per the machine operating checklist: Machine Operating Checklist , the basic points of adjustment for a machine are:
(for belt drive machines) Pulley set screws — verify that these are in-place and secure — be sure to check all axes/pulleys (including Z on machines w/ belt-drive Z-axis, for an HDZ, check both coupler screws).
(for the SO3/4, X- and Y-axes, and the belt-drive Z-axis on Launch and summer 2016 SO3s) V wheels / eccentric nuts (per assembly instructions)
(for HDZs, and HDMs, and SO5 Pros) check that couplers between the motor and ball screw are secure, for the SO5 check that the DAC which transfers the rotary motion of the ball screw to linear machine motion is secure on the carriage/gantry. See: https://youtu.be/cb9RR2KZTHM?si=gDWPF-ZHFfHAEuQo
(for belt drive machines) Belt tension (see the relevant step in your instruction manual, Note that the X-axis motor is held in place on standoffs and if those bolts are loose this can cause belt tension issues. Also, belt tension for the Y-axis stepper motors needs to be even/equivalent on each side — a significant difference can cause skipping on one side eventually resulting in lost steps on both. Measuring belt tension, squaring and calibration
Naturally, this assumes that all the wiring is in good condition and all connectors secure per the Machine Operating Checklist. Verify that all wiring is in good condition and all connectors are secure, and that all wiring leading into connectors are properly in place and are secured so that the wiring leading into and away from connectors will not shift.
Ensure that all screws are in place and secure, esp. on the linear rails on a Pro.
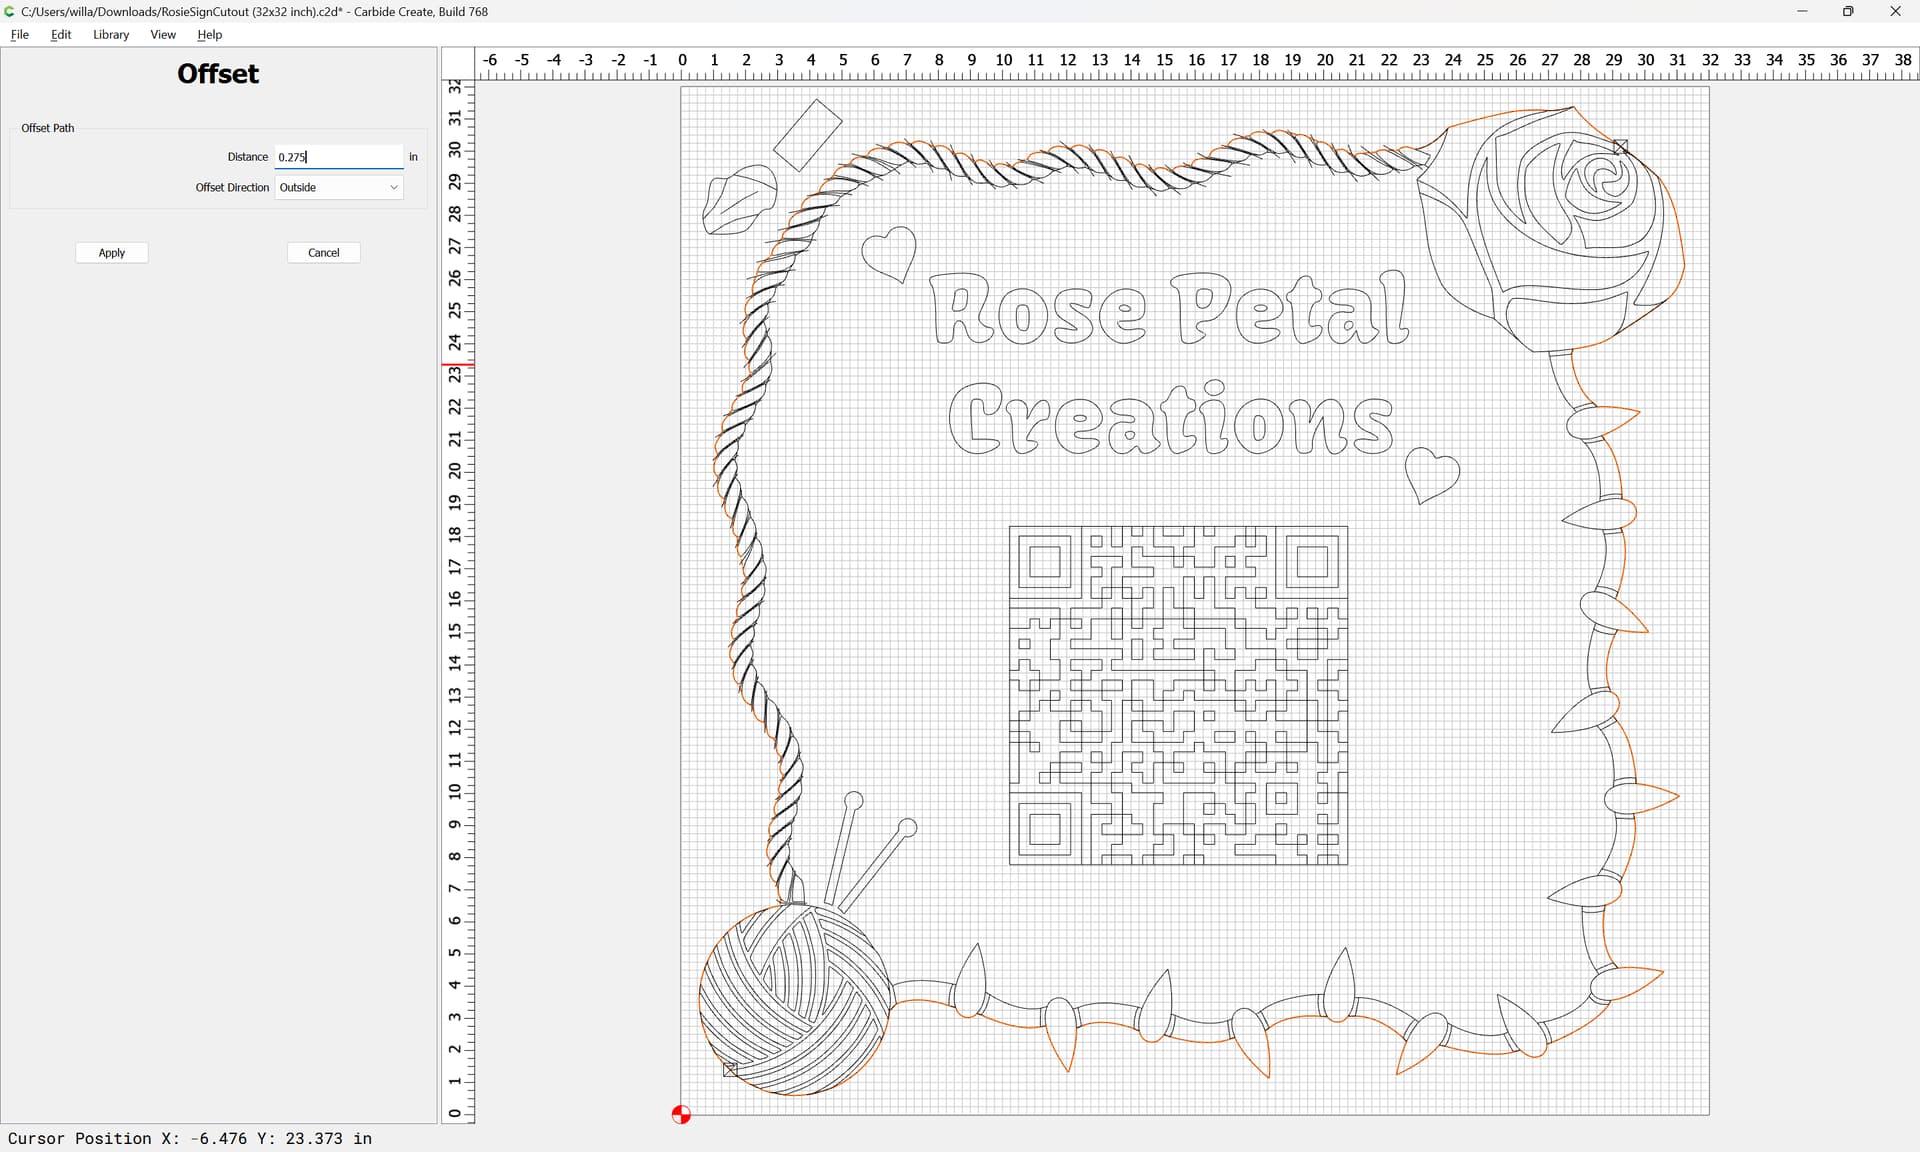
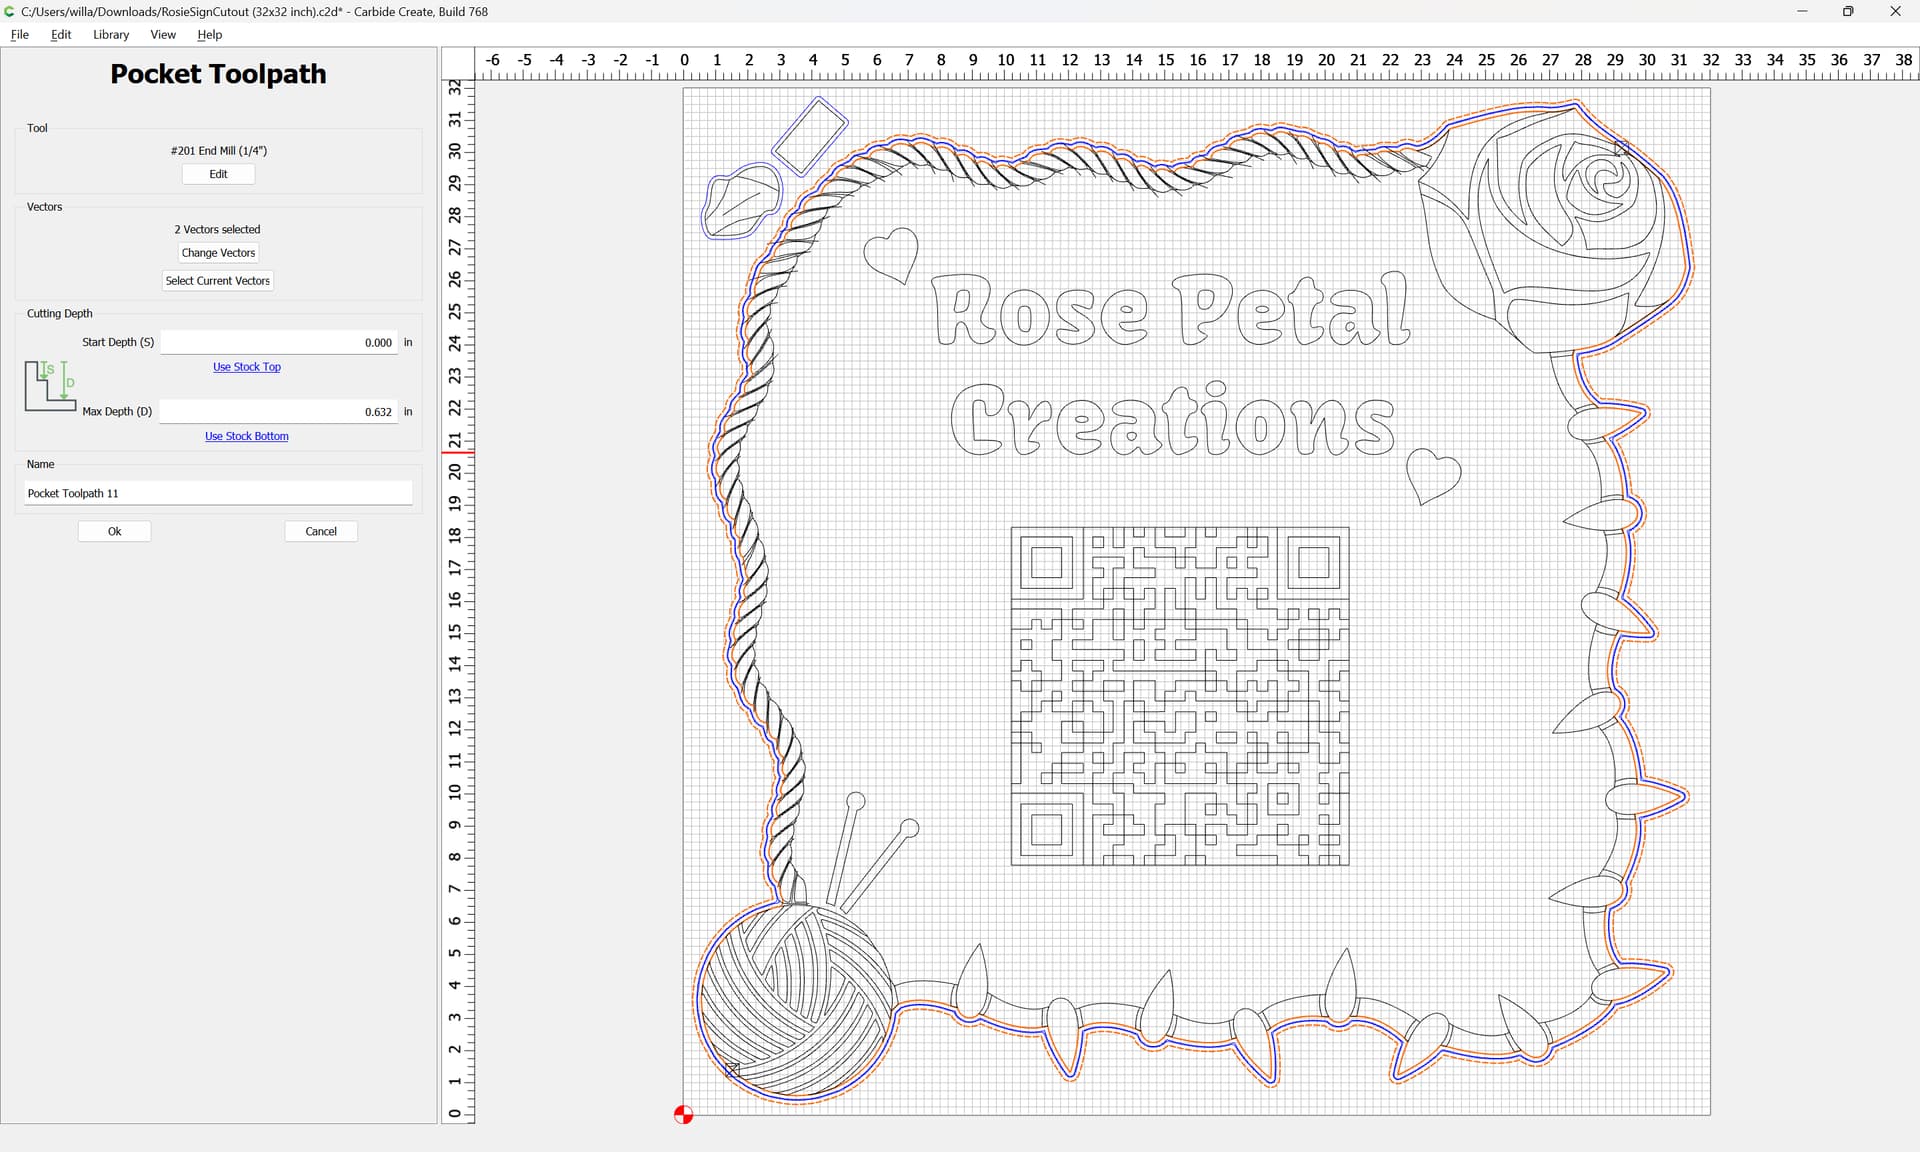
If everything checks out electro-mechanically, then it’s a matter of toolpaths and tooling engagement — where possible avoid slotting and add geometry and cut as a pocket (Making vacuum hose adapters and/or Adding geometry to cut as a pocket with a finishing pass ) and consider leaving a roughing clearance and taking a finishing pass.
@Primatechallenge this was a follow up to my original post you mentioned:
Even though I thought the set screws were tight, they just weren’t grabbing enough and slipping causing erratic cuts just like yours. Switching set screws to the ones I show in the post solved all my issues.
Also had this happen with a bad belt. The belts that came with the machine were the wire reinforced and the wires inside stretched and broke, but the belt looked fine. That little area caused a gear skip and showed very similar symptoms to this. (I switched to kevlar belts and like them much better).
Hm ok, Im going to head out today and see if I can get this fixed. I started another cut trying a different fix so I wont be able to switch them out without risking a complete failure so I’ll have to try it after.
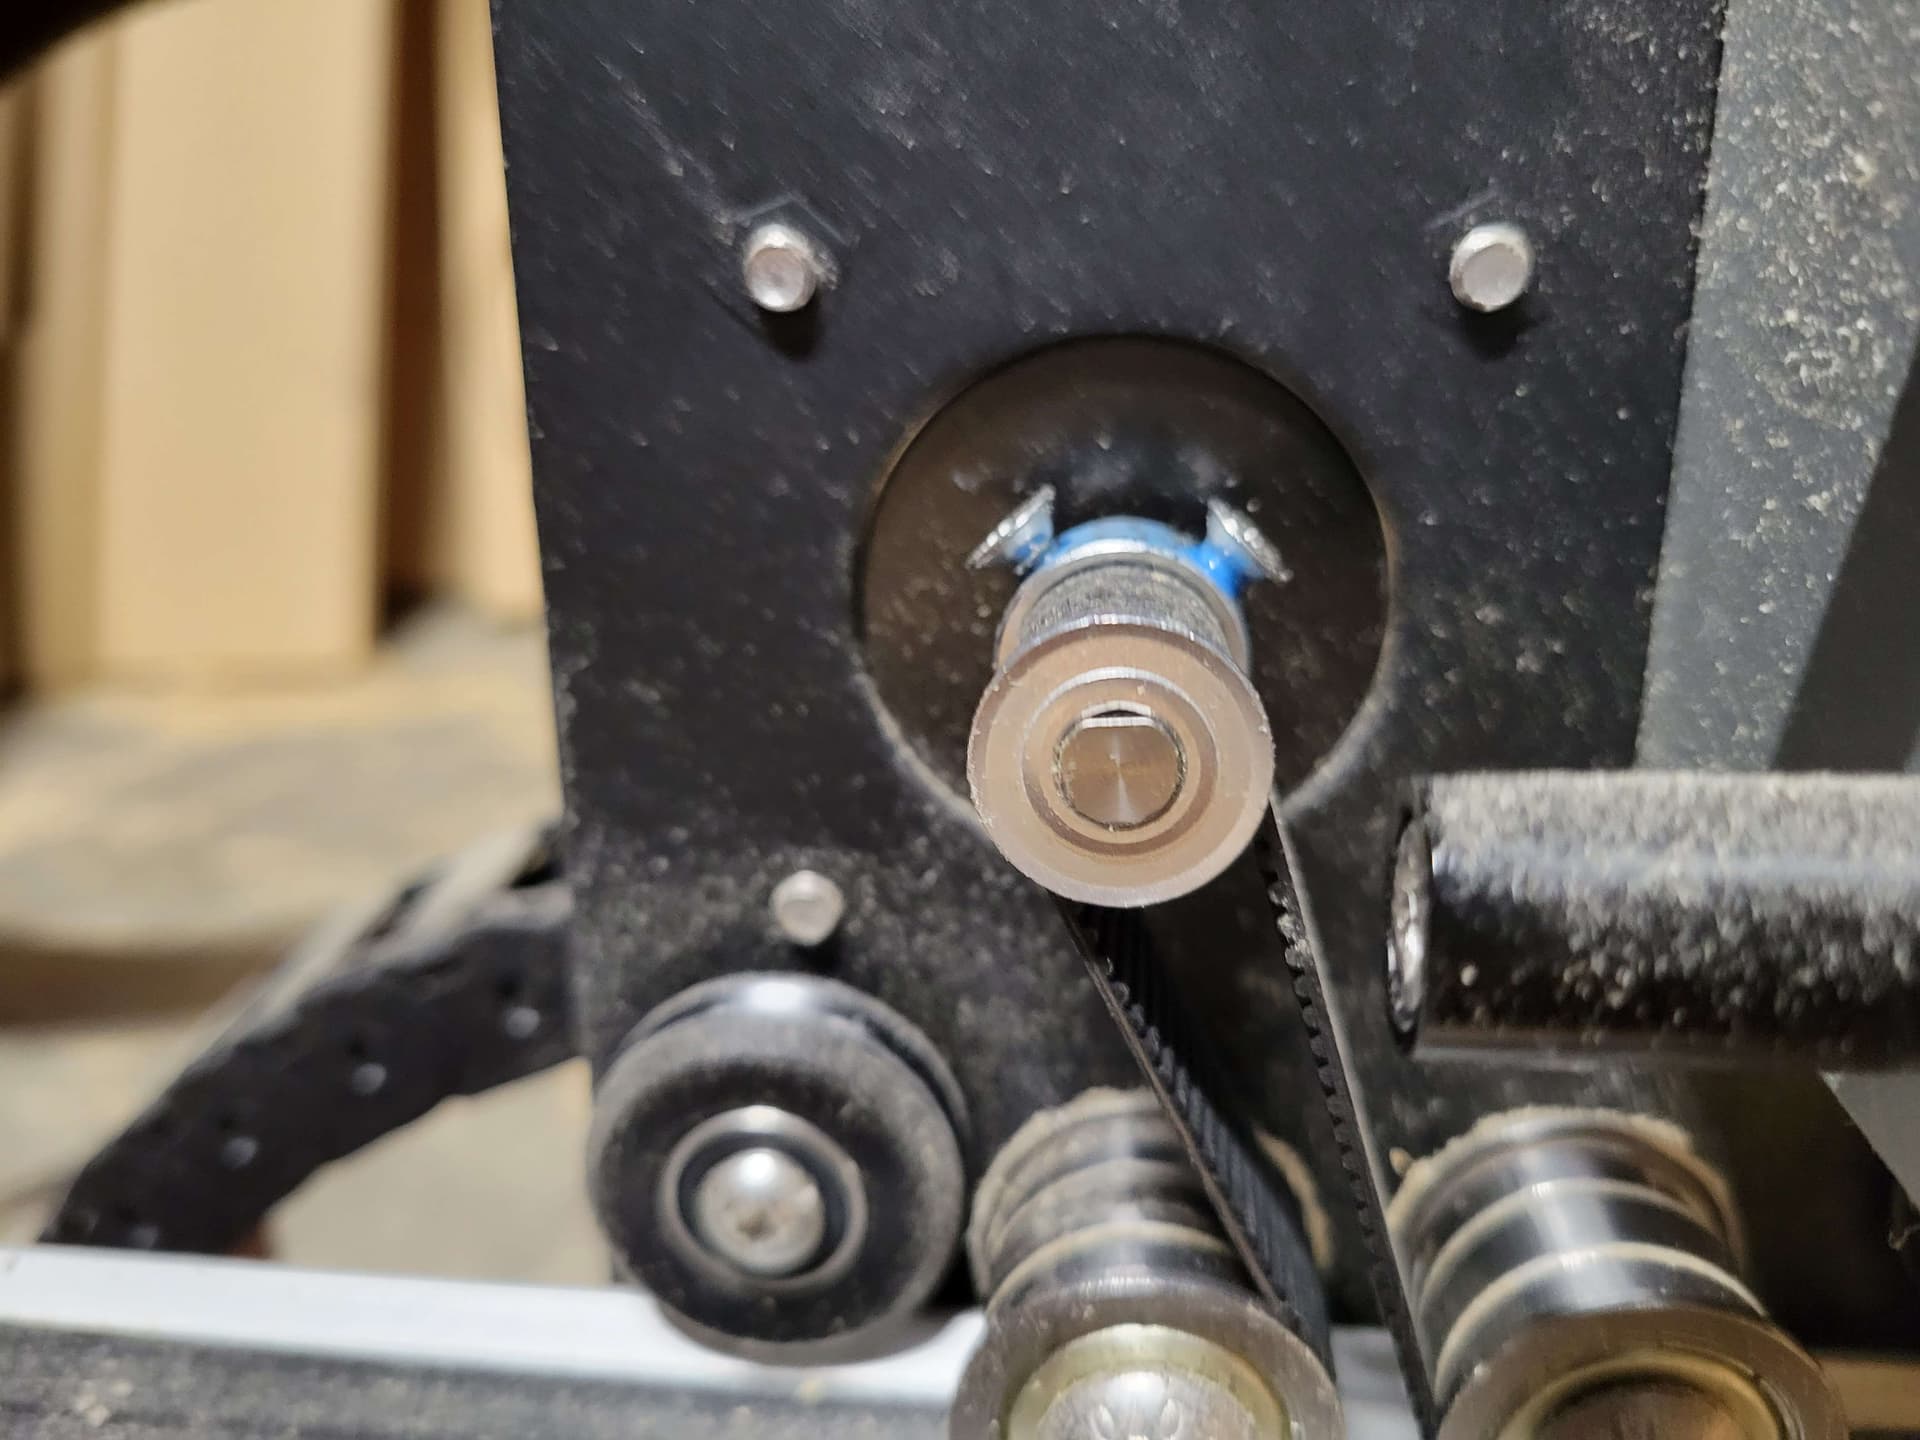
I thought the same thing, that’s what took so long to diagnose. What I noticed on mine was on some moves it would be fine, kind of jammed into place, then others it would slip. If you can see the end of the spindle shafts, draw a line like this (courtesy @Zman):
You can probably do that while it’s running your current job if you’re quick. You’ll know pretty fast if that’s the problem.
And all the other things @WillAdams mentions above… I’ve probably run into every one of them. What I’ve learned is issues like this are a mechanical problem 98% of the time, just have to figure out where. Very rare, if ever, to see a problem like this related to a software/file issue.
Turns out the Shapeoko4 uses M4 so I got them switched out, threadlock in, and it still messes up that first pass on the contour step. I guess the next step is replacing the belts. Which belts would you recommend @dandangerous?
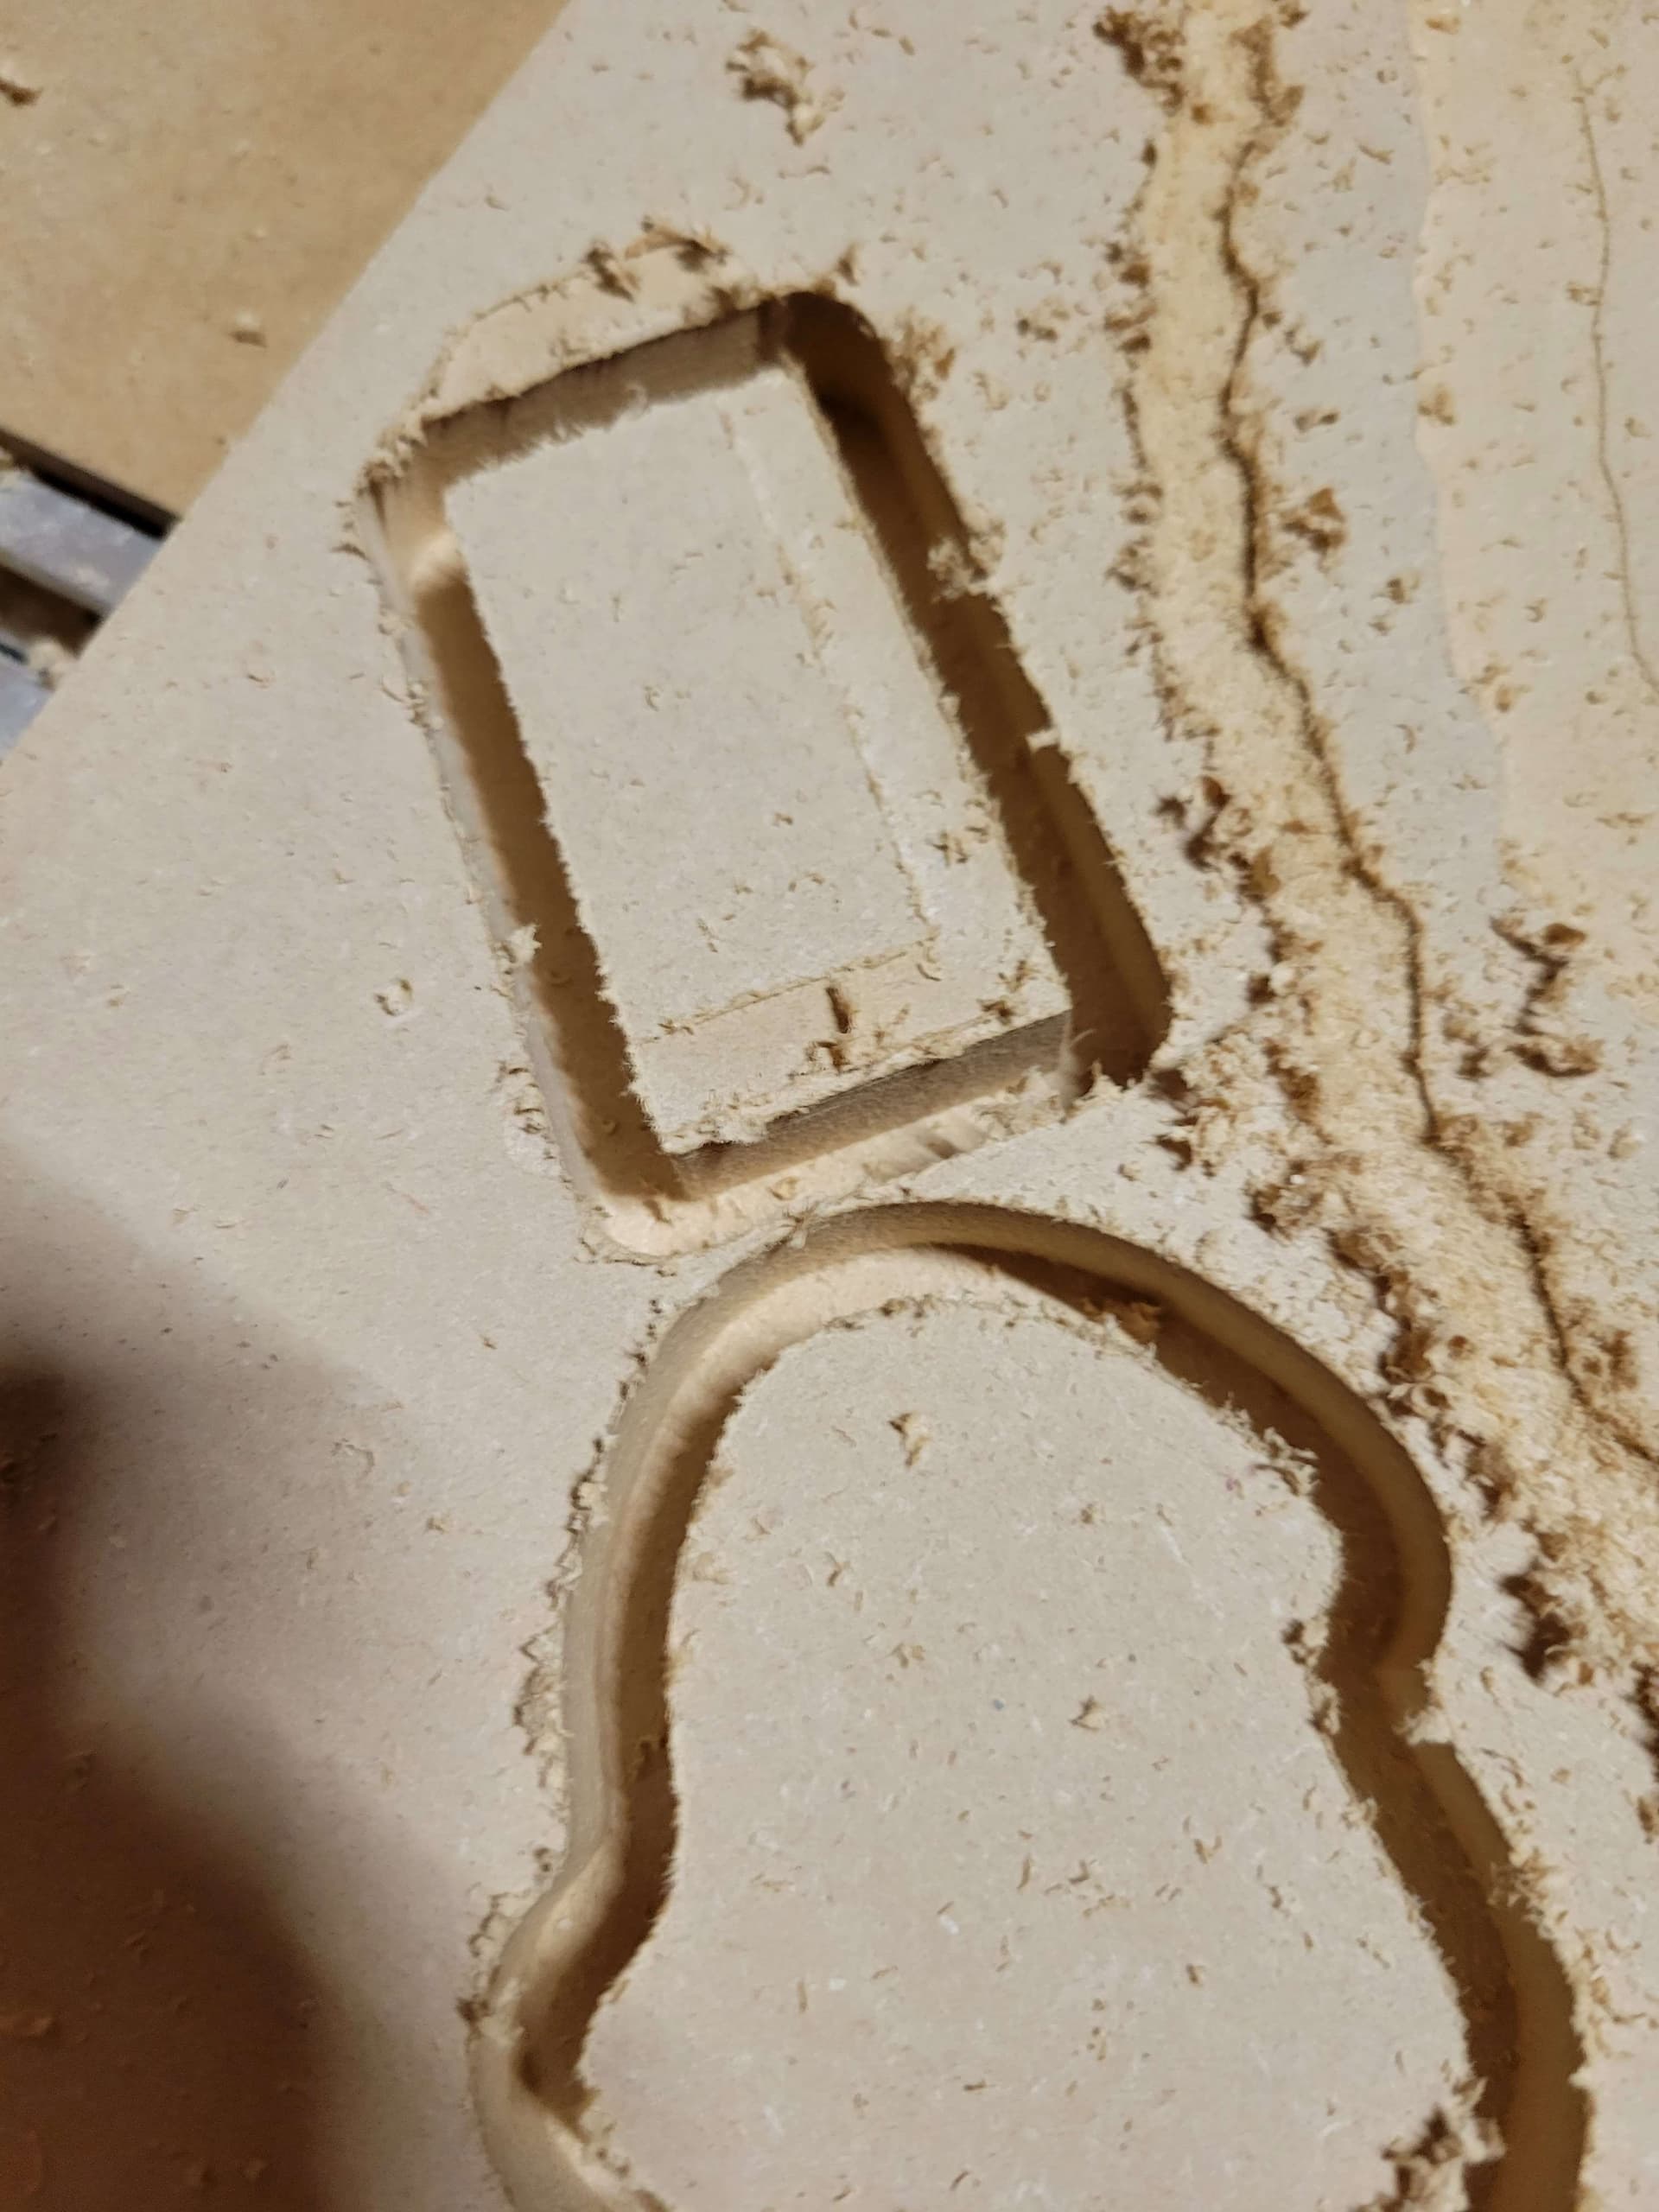
Update: Testing a random idea, I had it cut two shapes before cutting out the main shape. It messed up the first shape it cut, the second shape was perfect, and the final contour cut (the one that was giving me issues) was perfect.
Dont mind how off everything is, I’ve been reusing old fails as tests
What machine do you have and how old is it/how much use has it seen? Can you post your file or gcode? The self correction aspect really suggests a slipping pulley. I am not so sure a loose belt could do only what you indicate. Scrutinizing the toolpaths / code in conjunction with your pictures should enable isolation of the problem to X or Y. It is unlikely to be a problem in both axes. Are there any other issues at all during the cut and does it always happen in the same place ? Always the beginning of the contour or sometimes part way into it, etc.
When it messes up a cut, is it always off the same distance? How far off is the cut? Is is always off in X or Y ? Sorry for the questions, I sense a puzzle and need some clues.
No issues with any other cut, the only issue that occurs is the beginning part of the final contour step and it self corrects about halfway through the first pass, no other issues if allowed to go to completion
From what ive seen, from the previous attempts when I was dealing with some other issues, the cut was off by about the same amount of distance
It seems to be a combination of both x and y, maybe more emphasis on y
I’ve dialed back on feeds and speeds periodically as ive tested which is why some of those feeds and speeds might seem a bit slow/low
I always follow Will’s advice on contours but if that were the main problem here it would not self correct. Slotting in my experience causes lost steps which are unlikely to self correct.
The self correcting aspect eliminates lost steps as a cause. (unless when it changes direction it loses the same number of steps in the opposite direction)…
Where would you suggest I start looking? Could this be an issue of different belt tightnesses for my y track? I did recently retighten them and it’s possible they might be off.
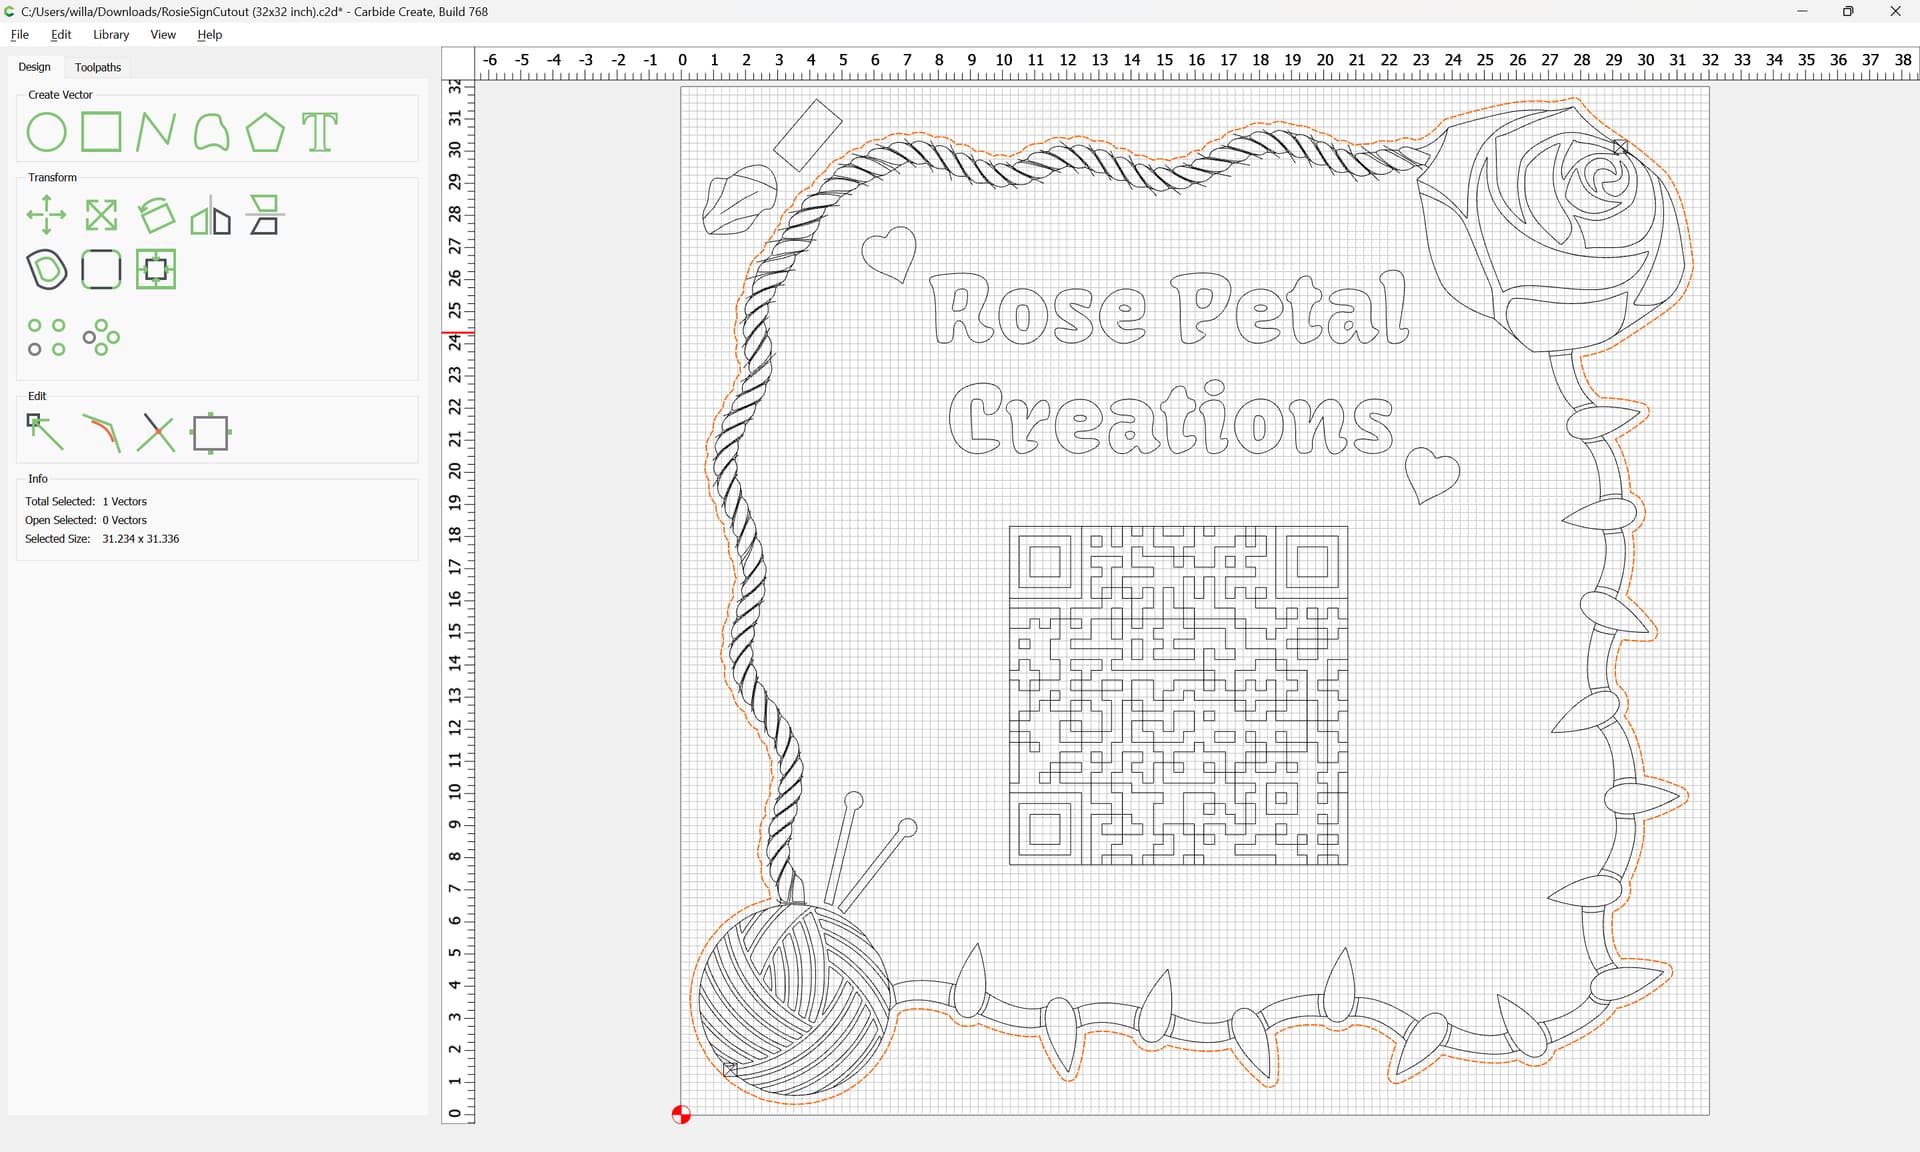
It looks like something may be slipping during rapids in Y. This would explain the first contour pass if it is always preceded by a long rapid. (It is in the paths in your file but you have the two test shapes at the top). Since the toolpaths in your file are not exactly like your problem cuts, it is difficult to be sure.
I know you have looked there, but double check tightness of the set screws on both Y motors and ensure the set screws are aligned with the flats on the shafts.
In my experience in wood, belt tightness is pretty forgiving. Mine are easy to move around up/down and side to side. If both sides are not flopping around, I don’t think it is a belt problem.
It might seem counterintuitive, but if the problem started after tightening the belts, loosen them up a bit and see if that has any impact.
Aramid is the generic term for kevlar. Uncertain if the belt widths are the same on on 4XXL. Either way - been really happy with them.
A good test just on mechanics - power the machine on and let everything lock up. Then give a pretty solid push on all the components. Everything should be locked solid. If you get movement, rocking, etc, start looking for where. Move to a different position (front left, back left, etc) and try again. I’ve found soooo many loose parts this way…
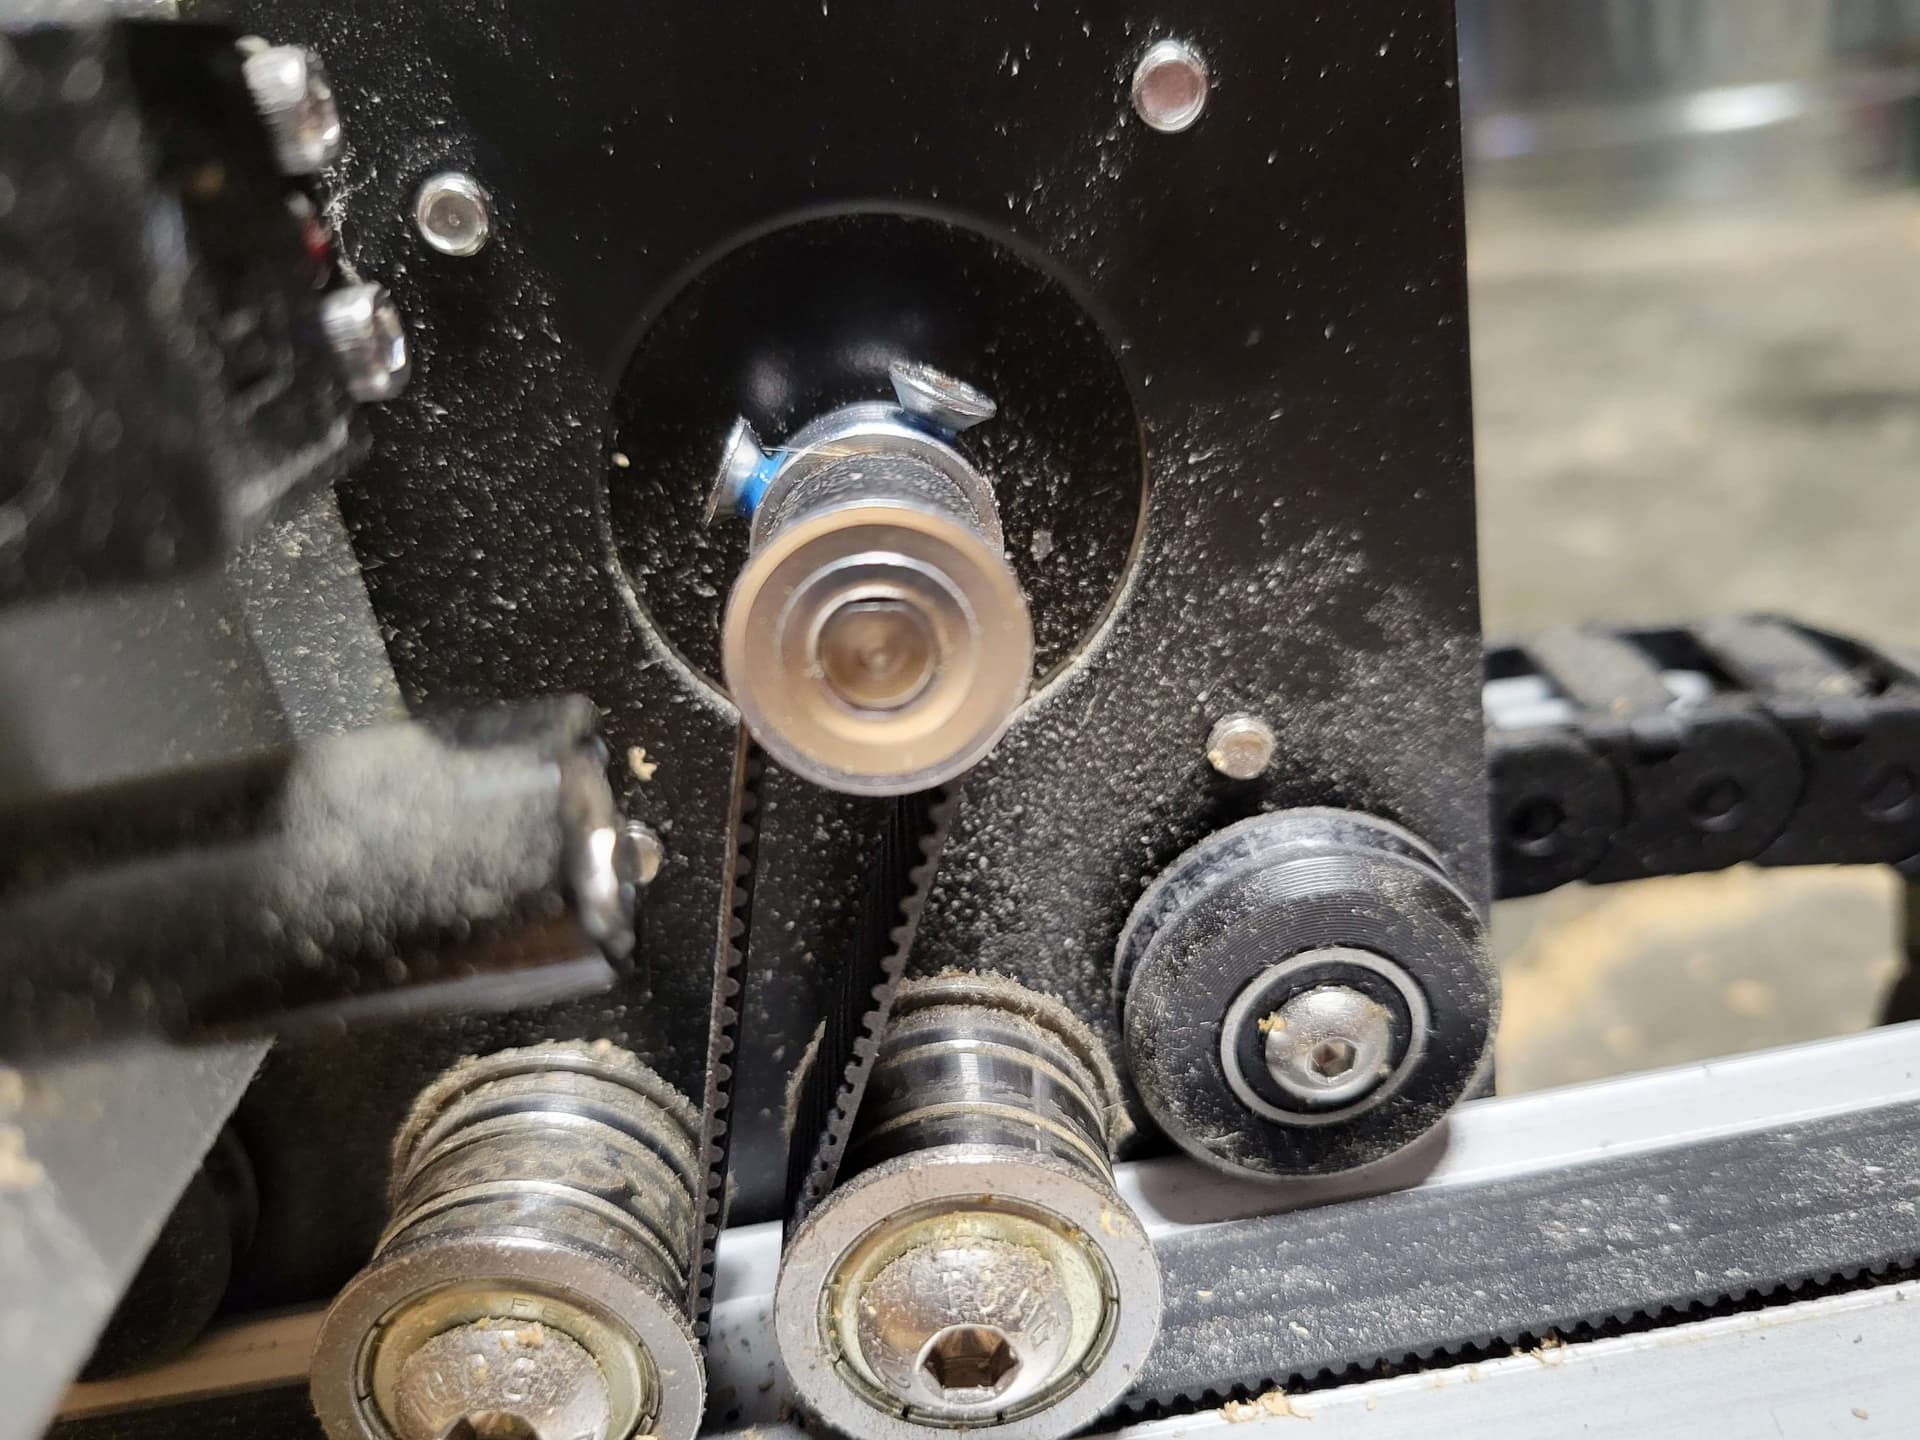
@Bozo I think you might’ve found my issue. The original screws were aligned properly with the flats but I assume they were just too small to stop the slipping. I put new screws in and didn’t double check the flats (because I let myself get excited/I was impatient)
Here are the flats now, completely out of wack (unless I am mistaken)
Thats looks a bit foreign. I dont have an S4 but I dont see any set screws from the picture angle. The set screws are normally recessed threaded pieces that take an Allen wrench.
I just saw some on an S4 picture. I suspect the heads on your set screws are preventing tightening to the shaft. Those screws may work but would have to be longer. I recommend replacing them with Allen head bolts with heads that do not bottom out on the pulley.