We just uploaded a new release of Carbide Create, Build 750, that include a new Inlay mode for Advanced V-carve. Normally, we’d do more internal testing, but there are so many edge cases for this that we want to get it out in public now. Get it at Carbide Create Beta Downloads
This is available in both the Free and Pro version of CC. Please give it a shot and let us know how it works for you.
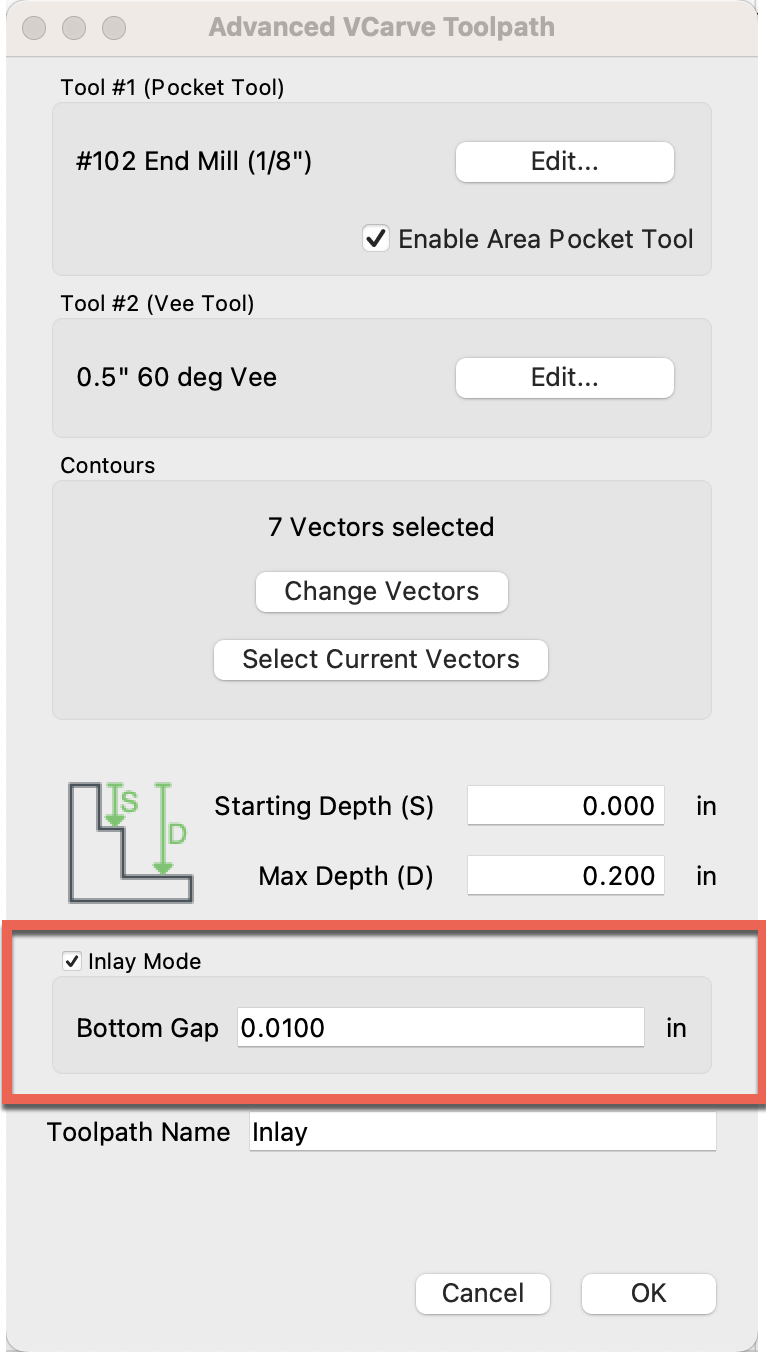
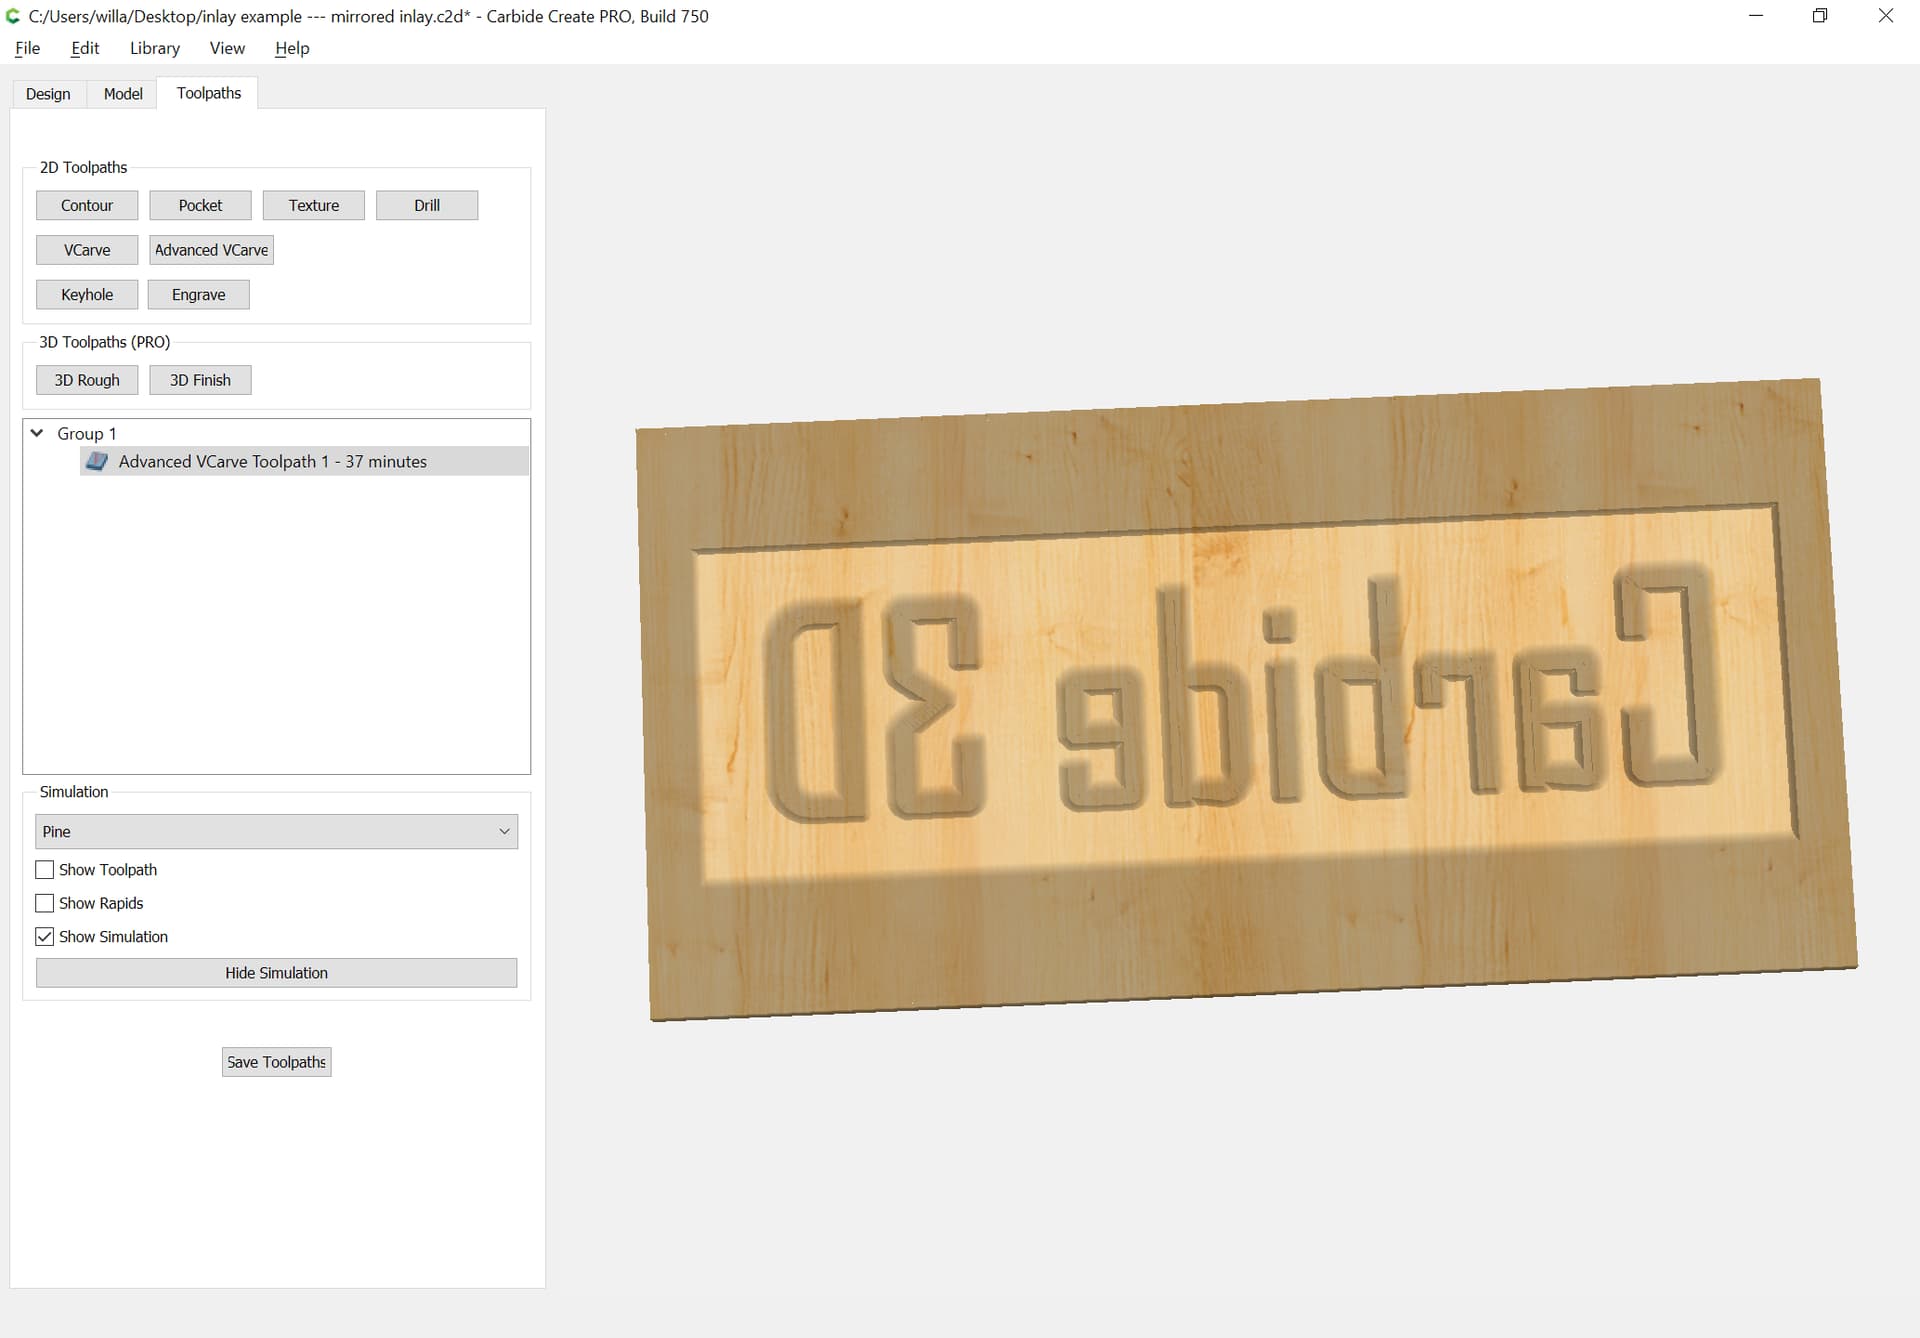
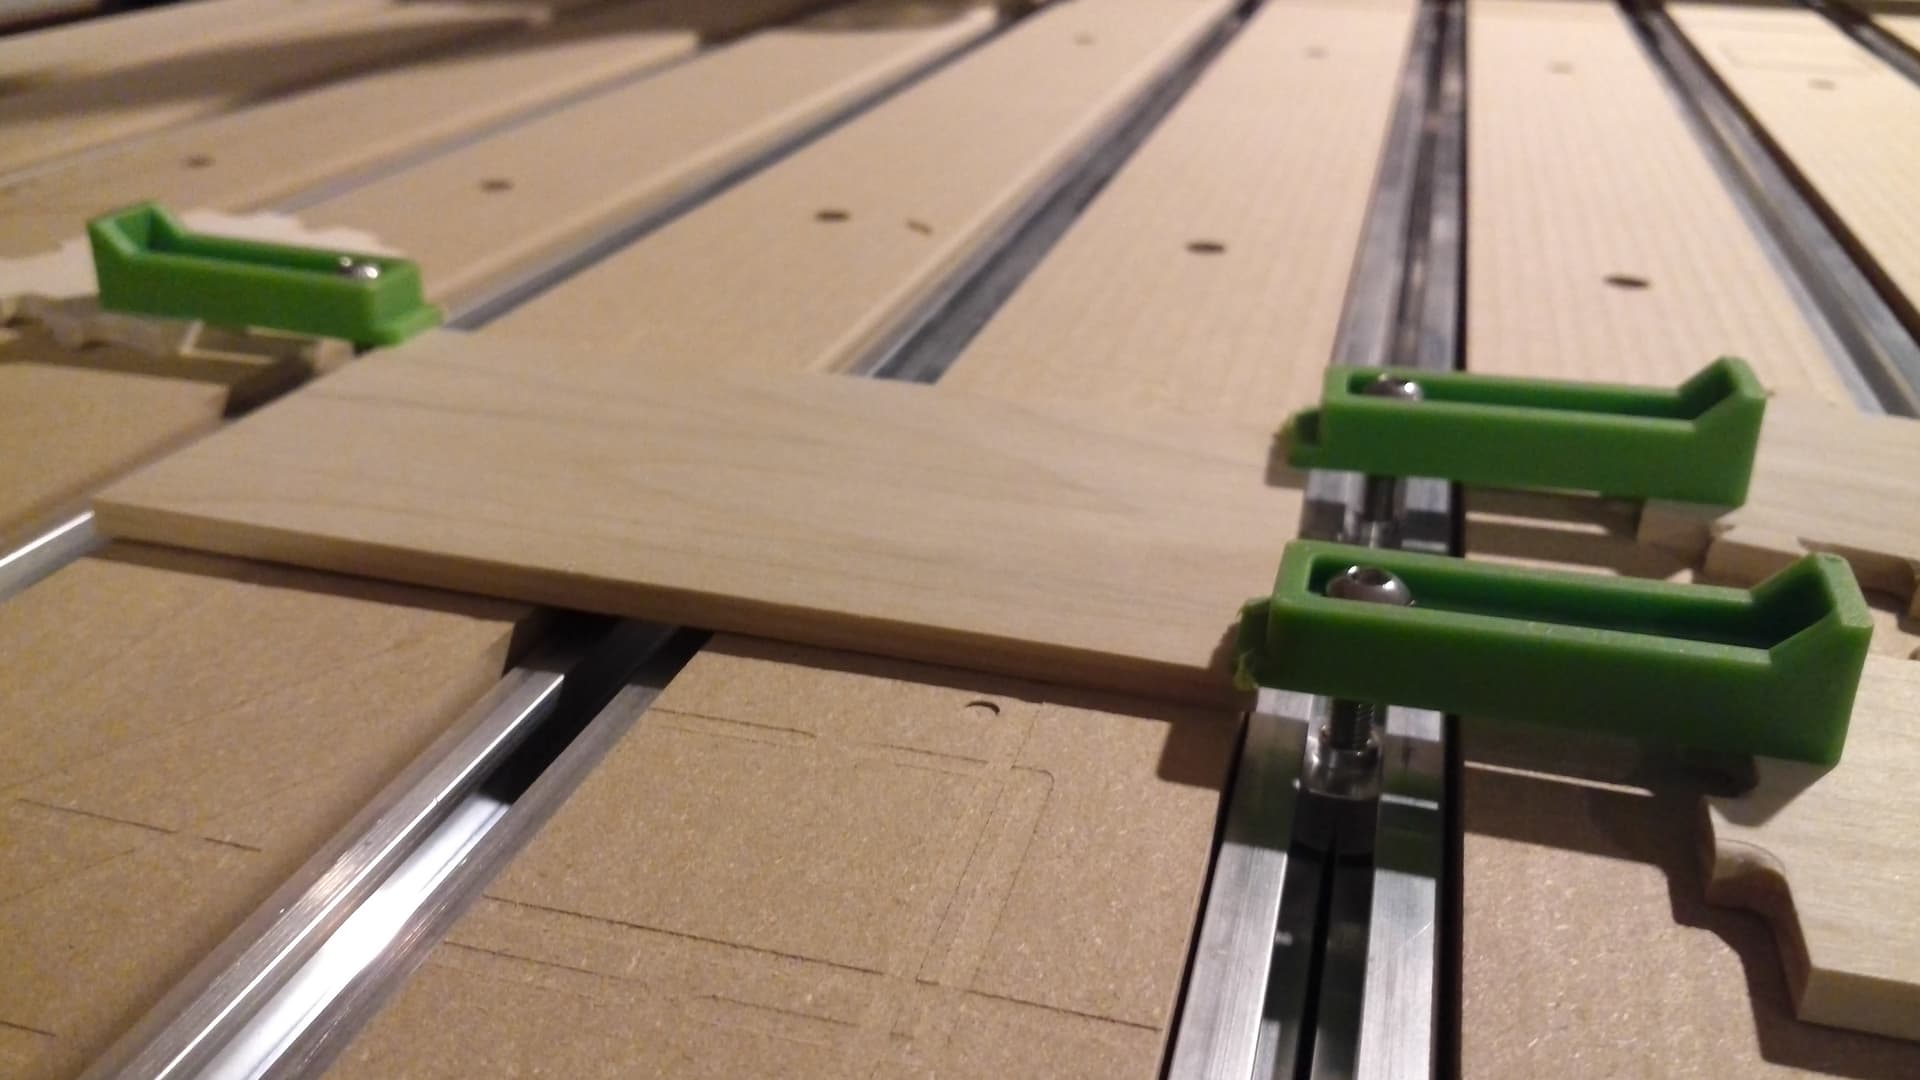
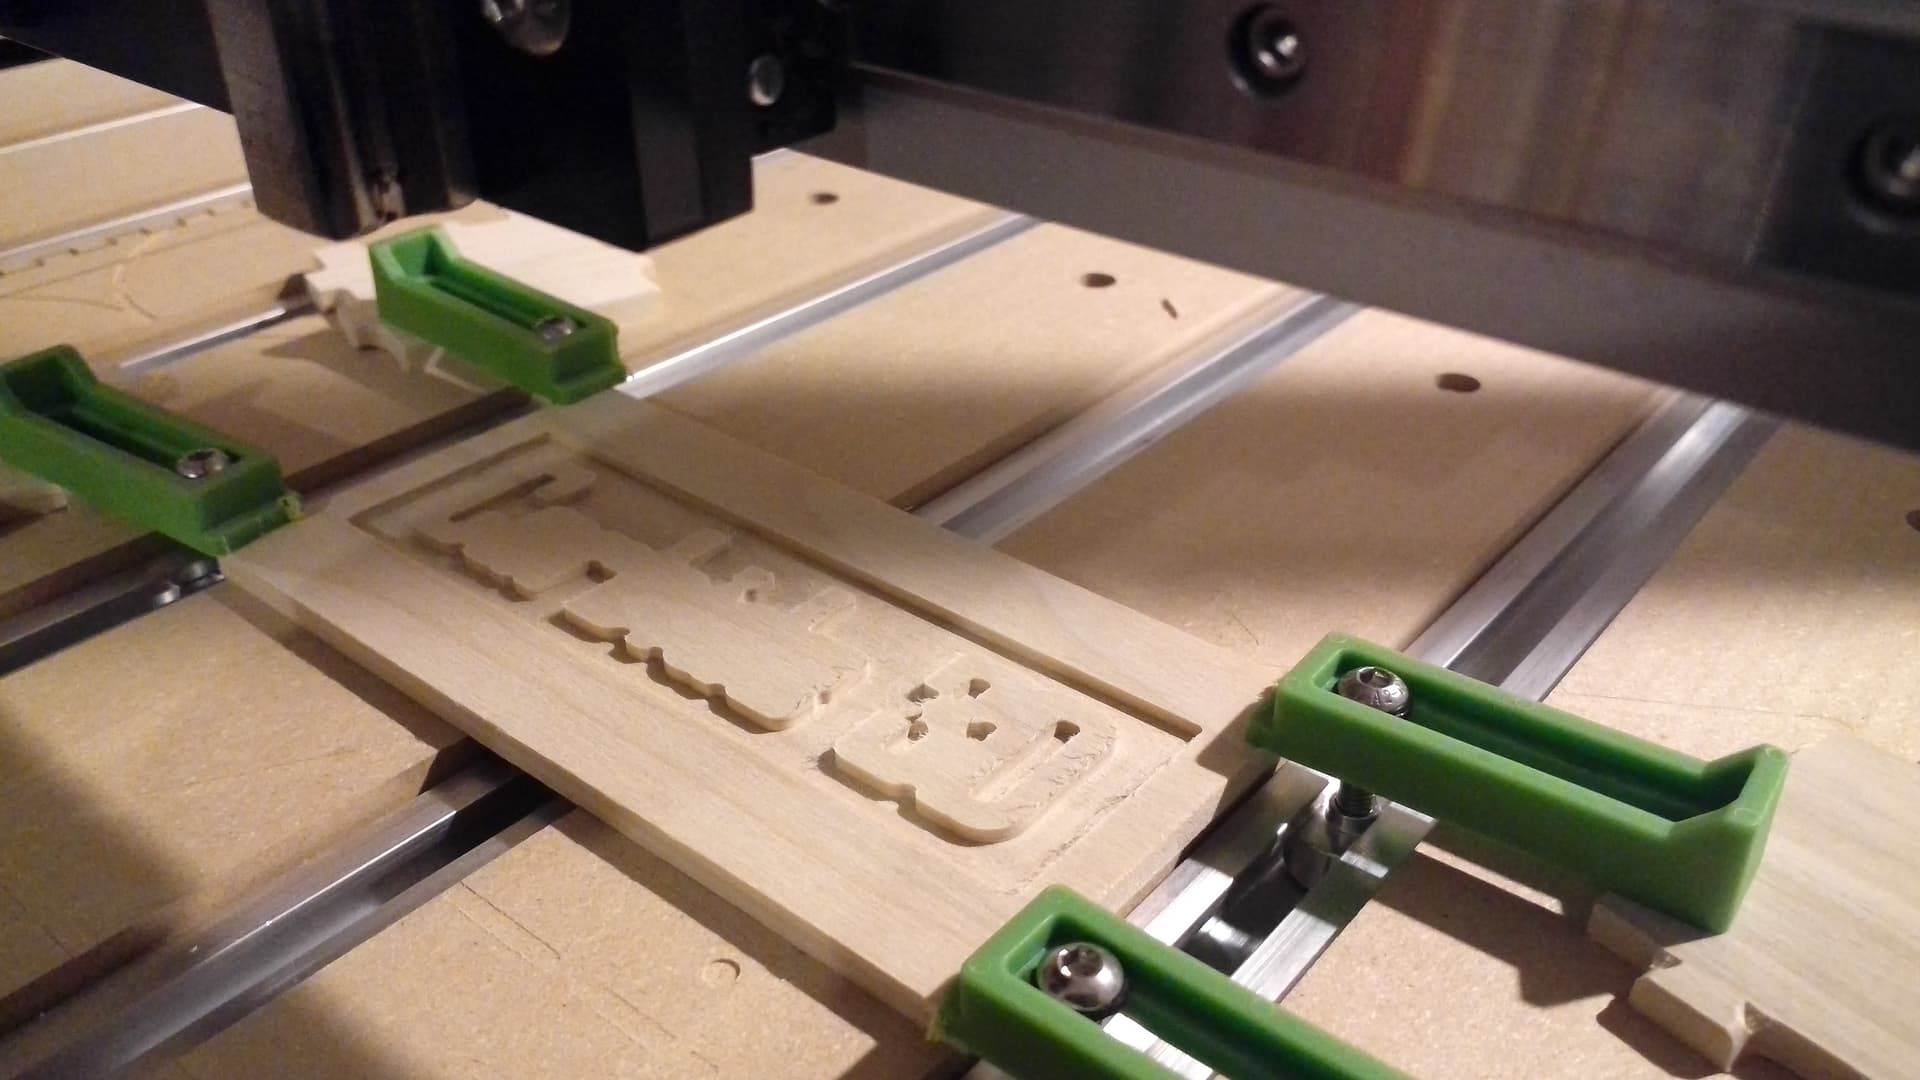
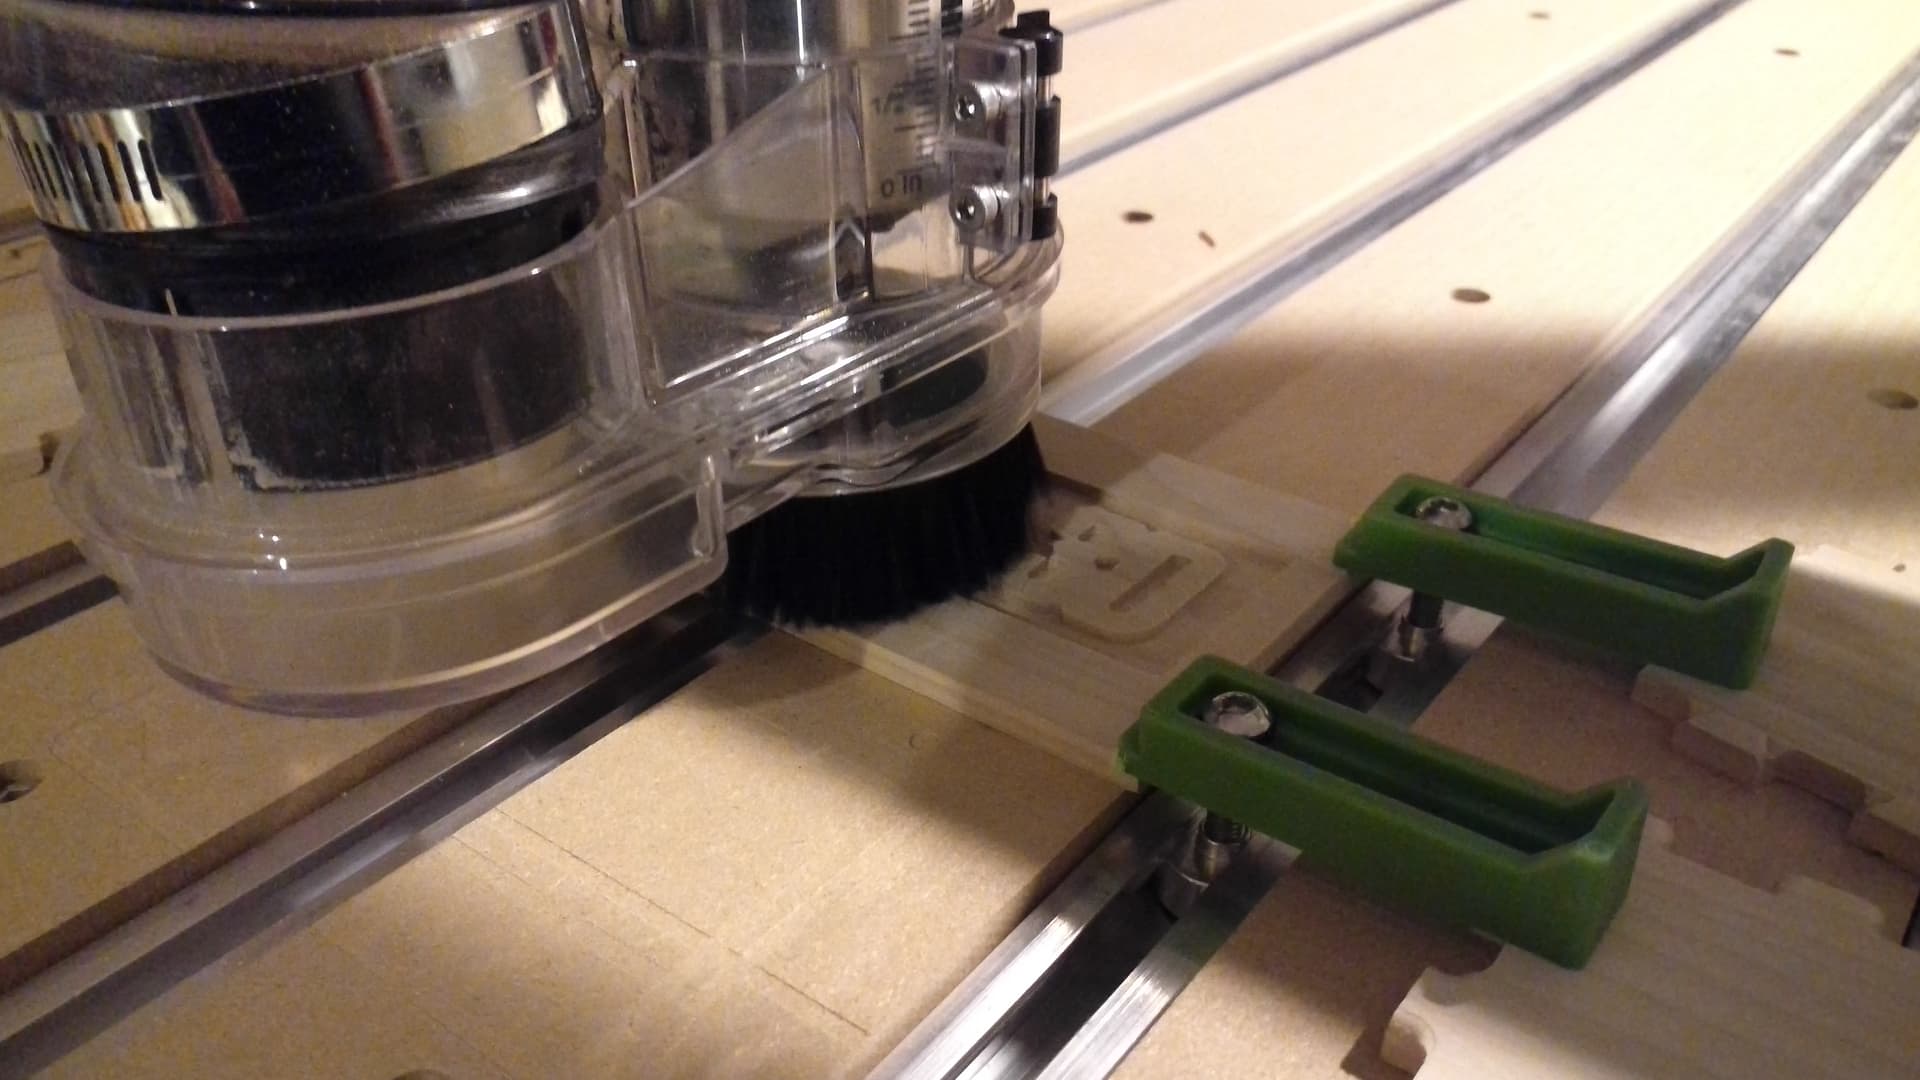
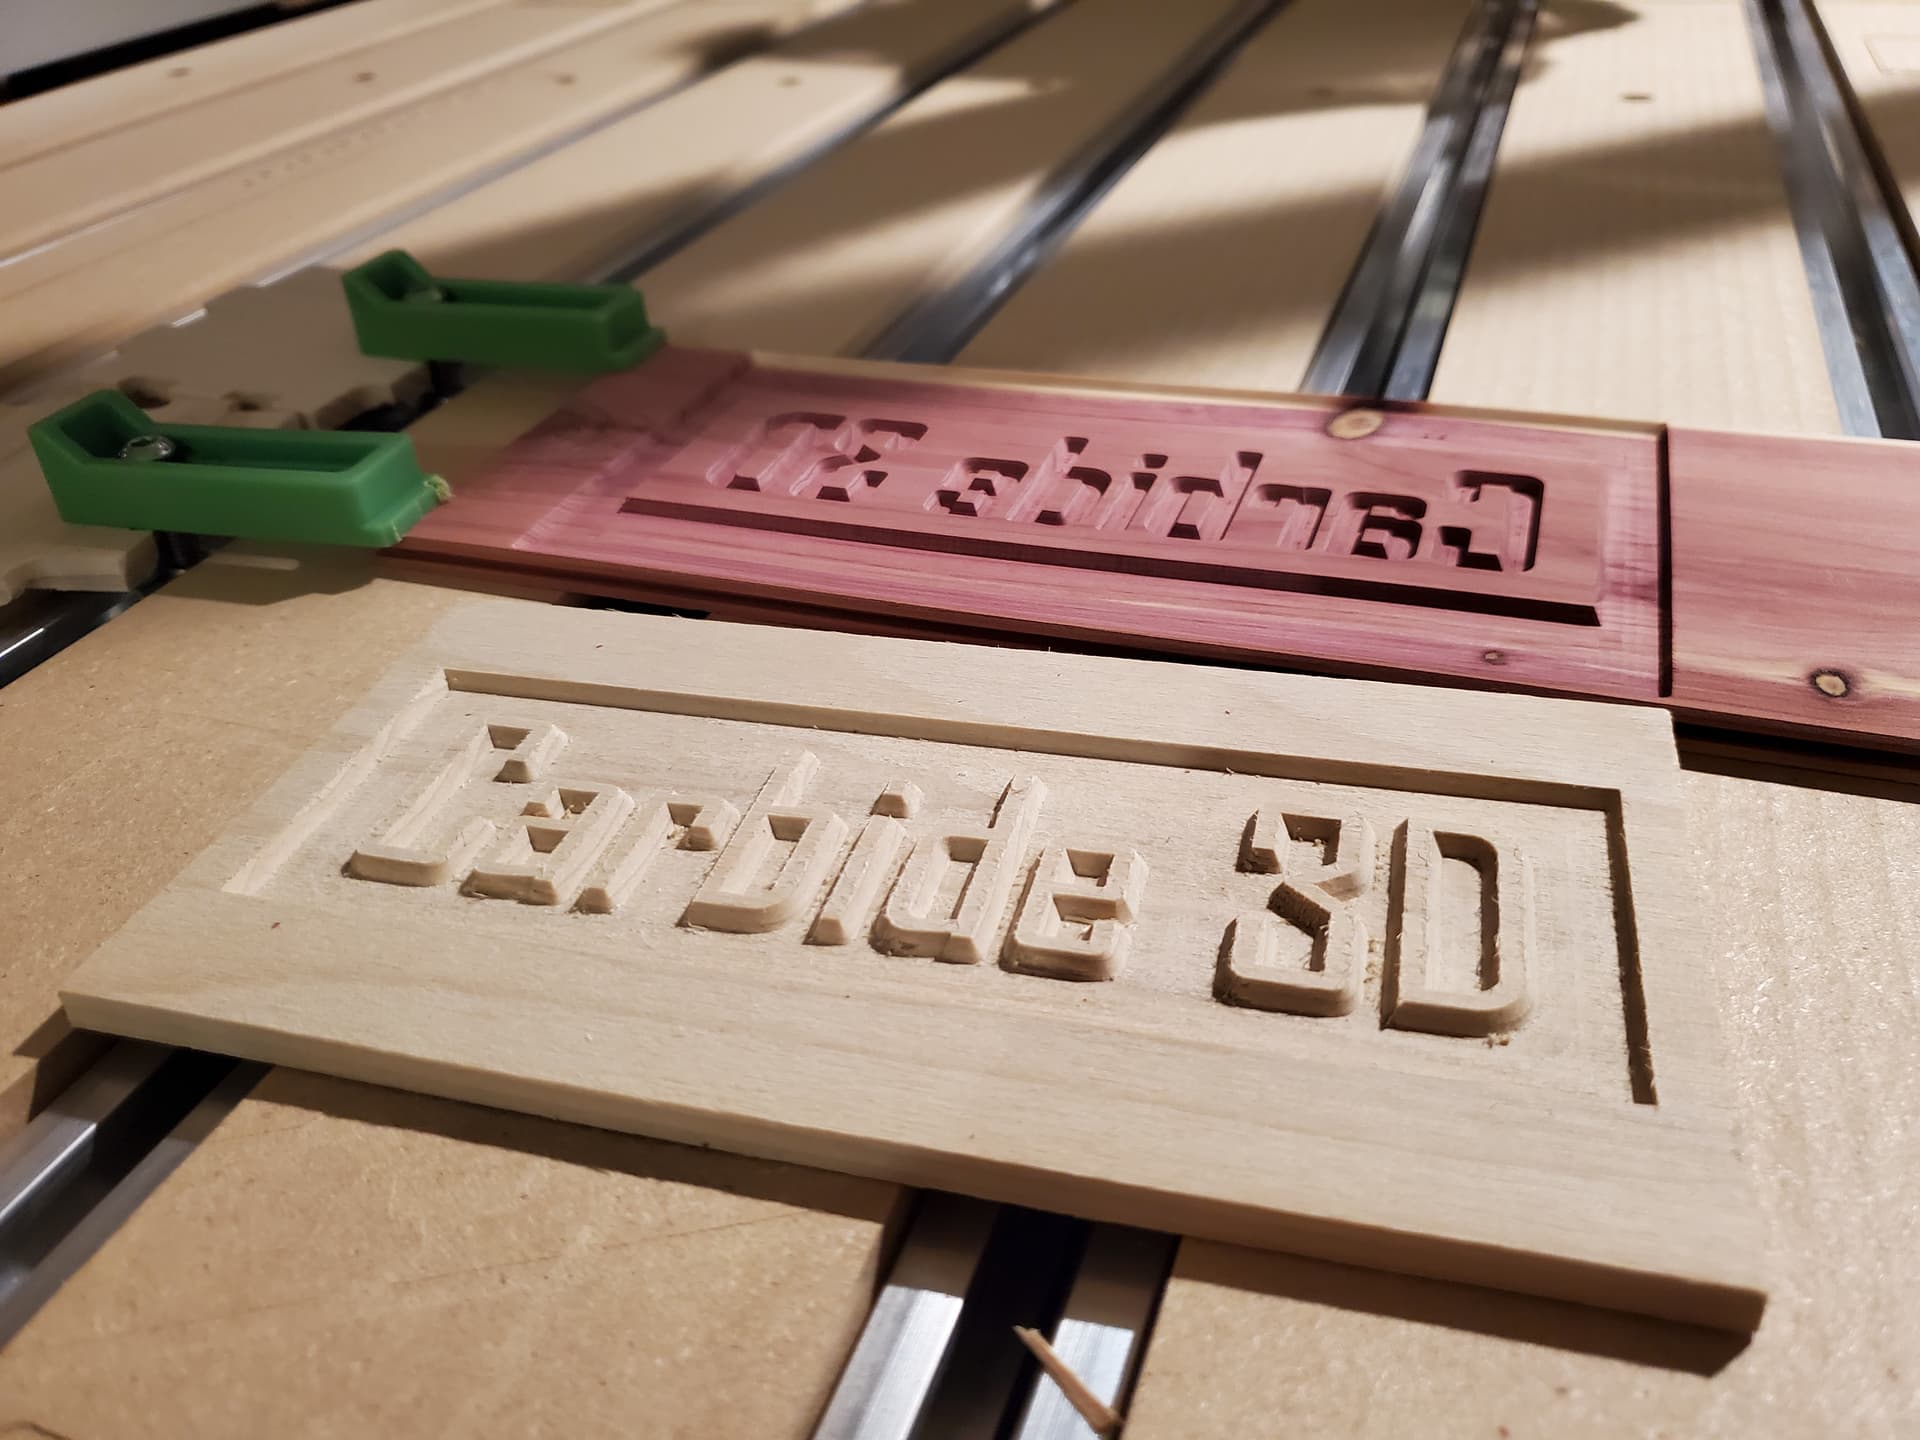
Create a pocket for your inlay using the normal Advanced V-carve toolpath. Pick a reasonable depth- maybe something like .2" or so.
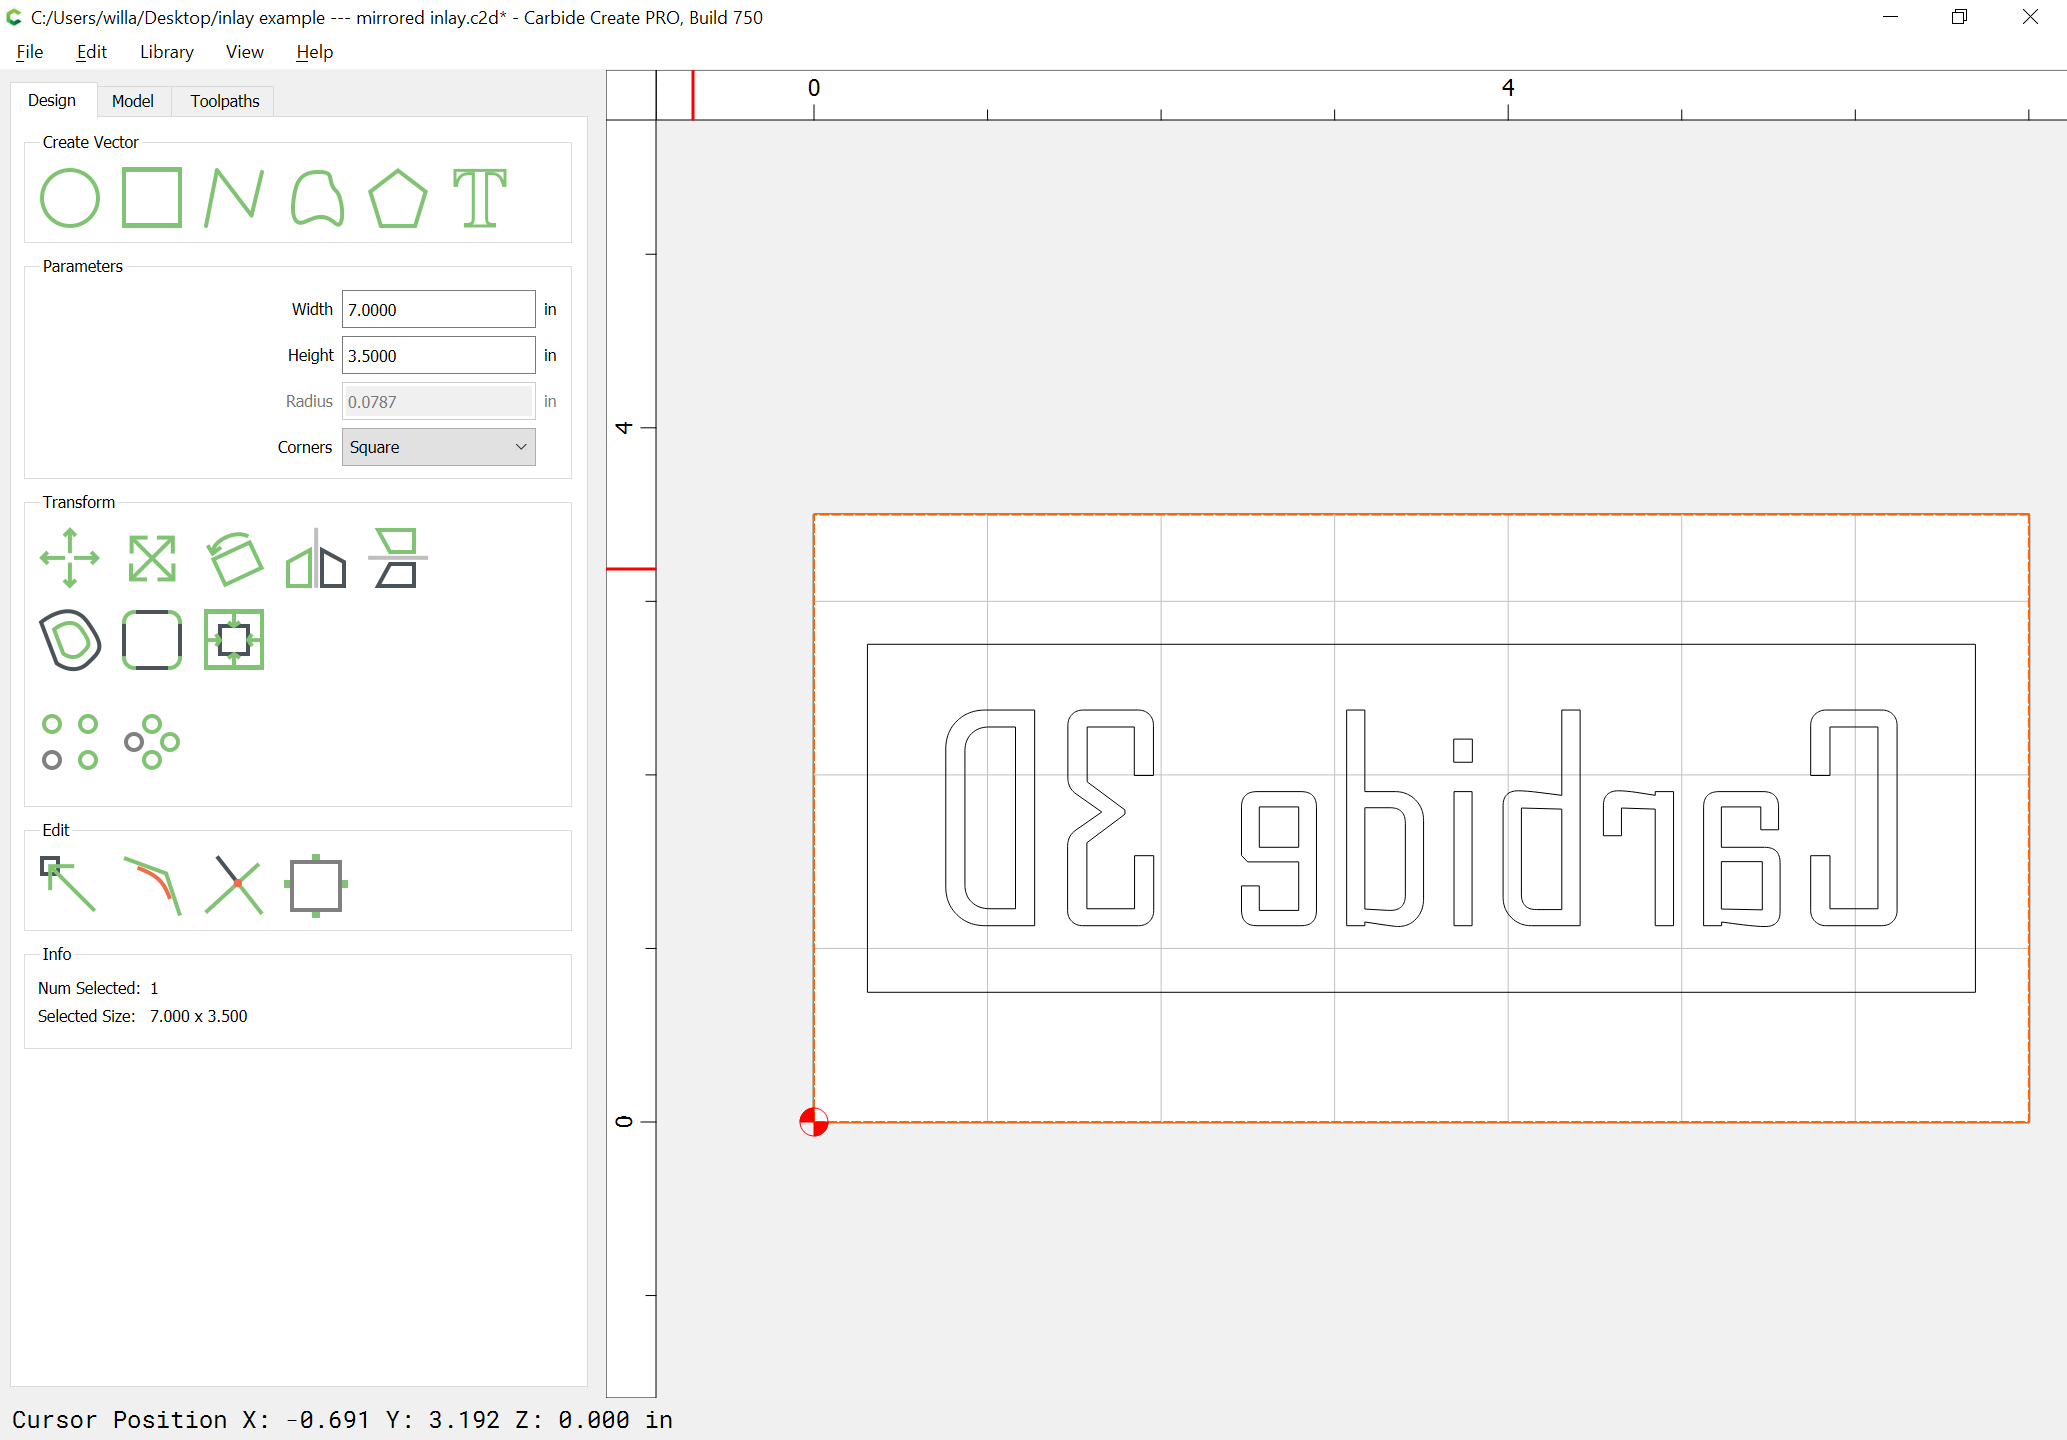
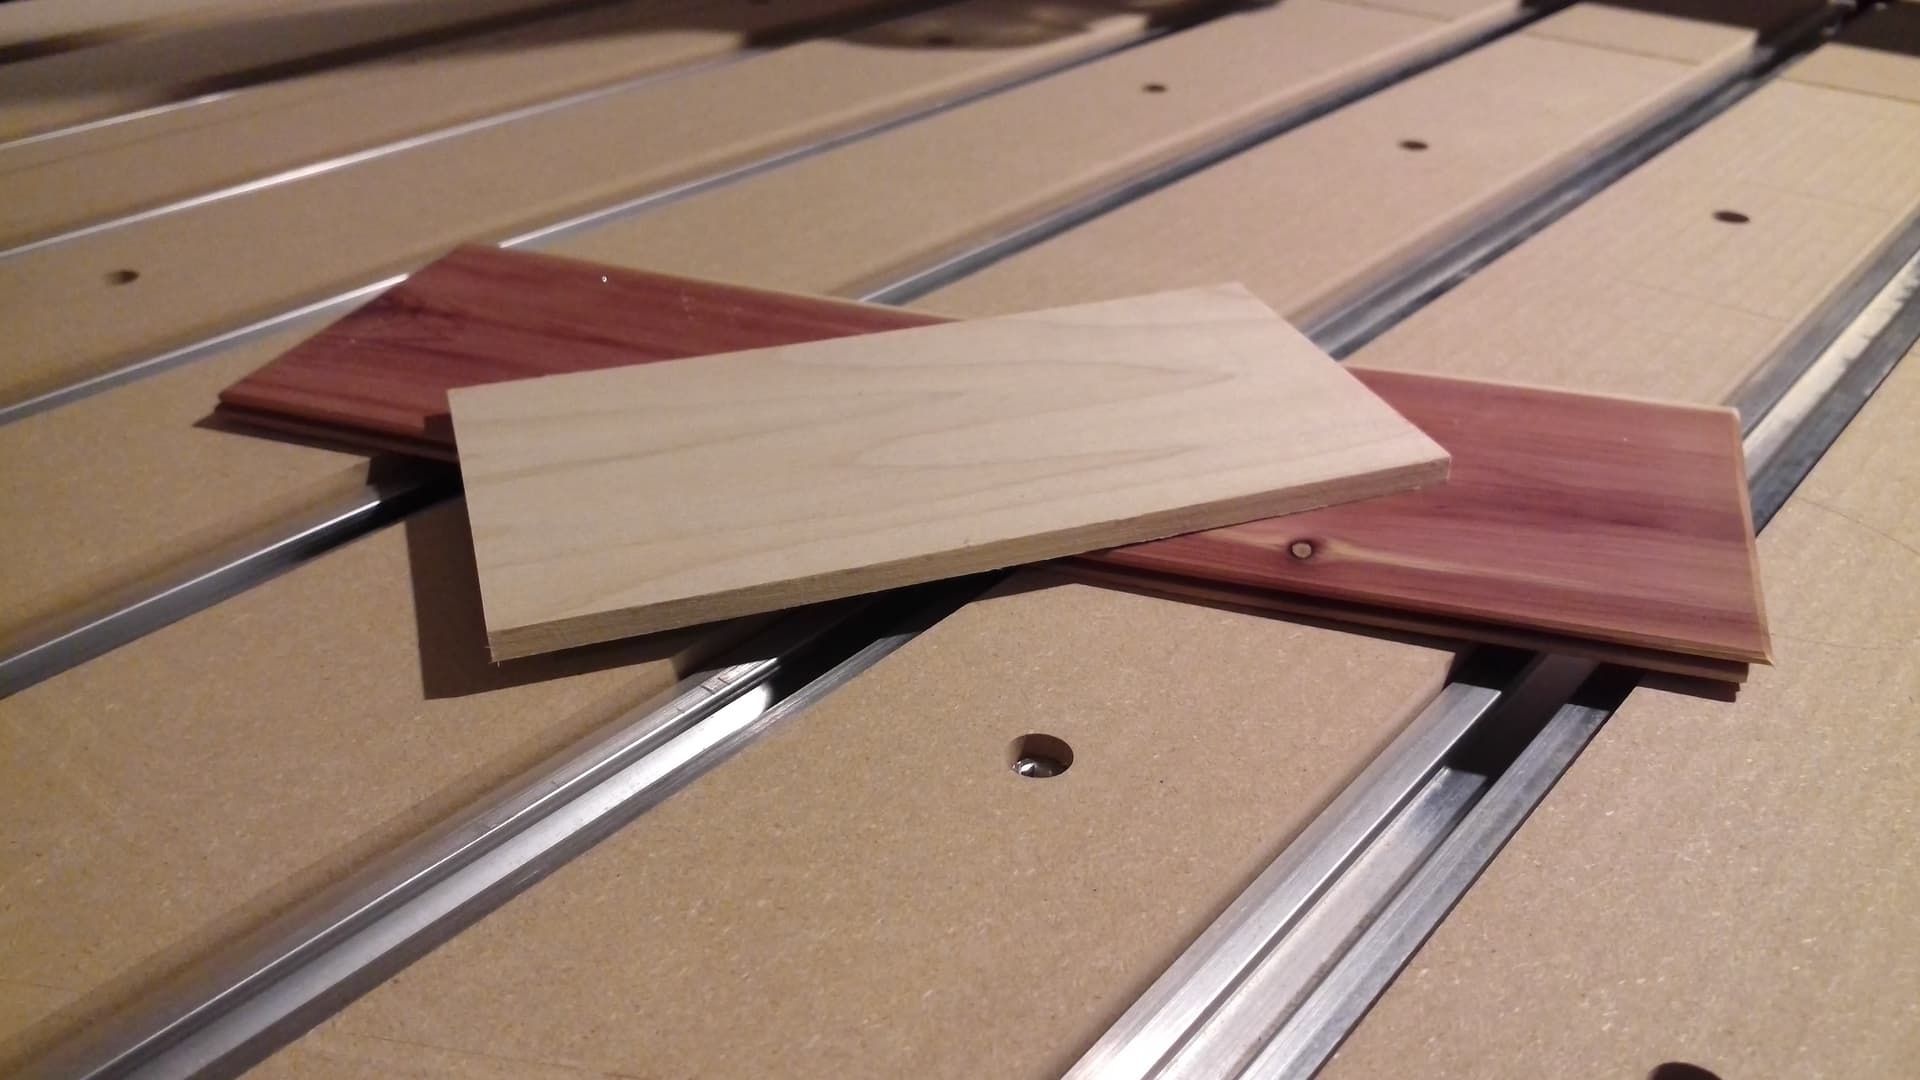
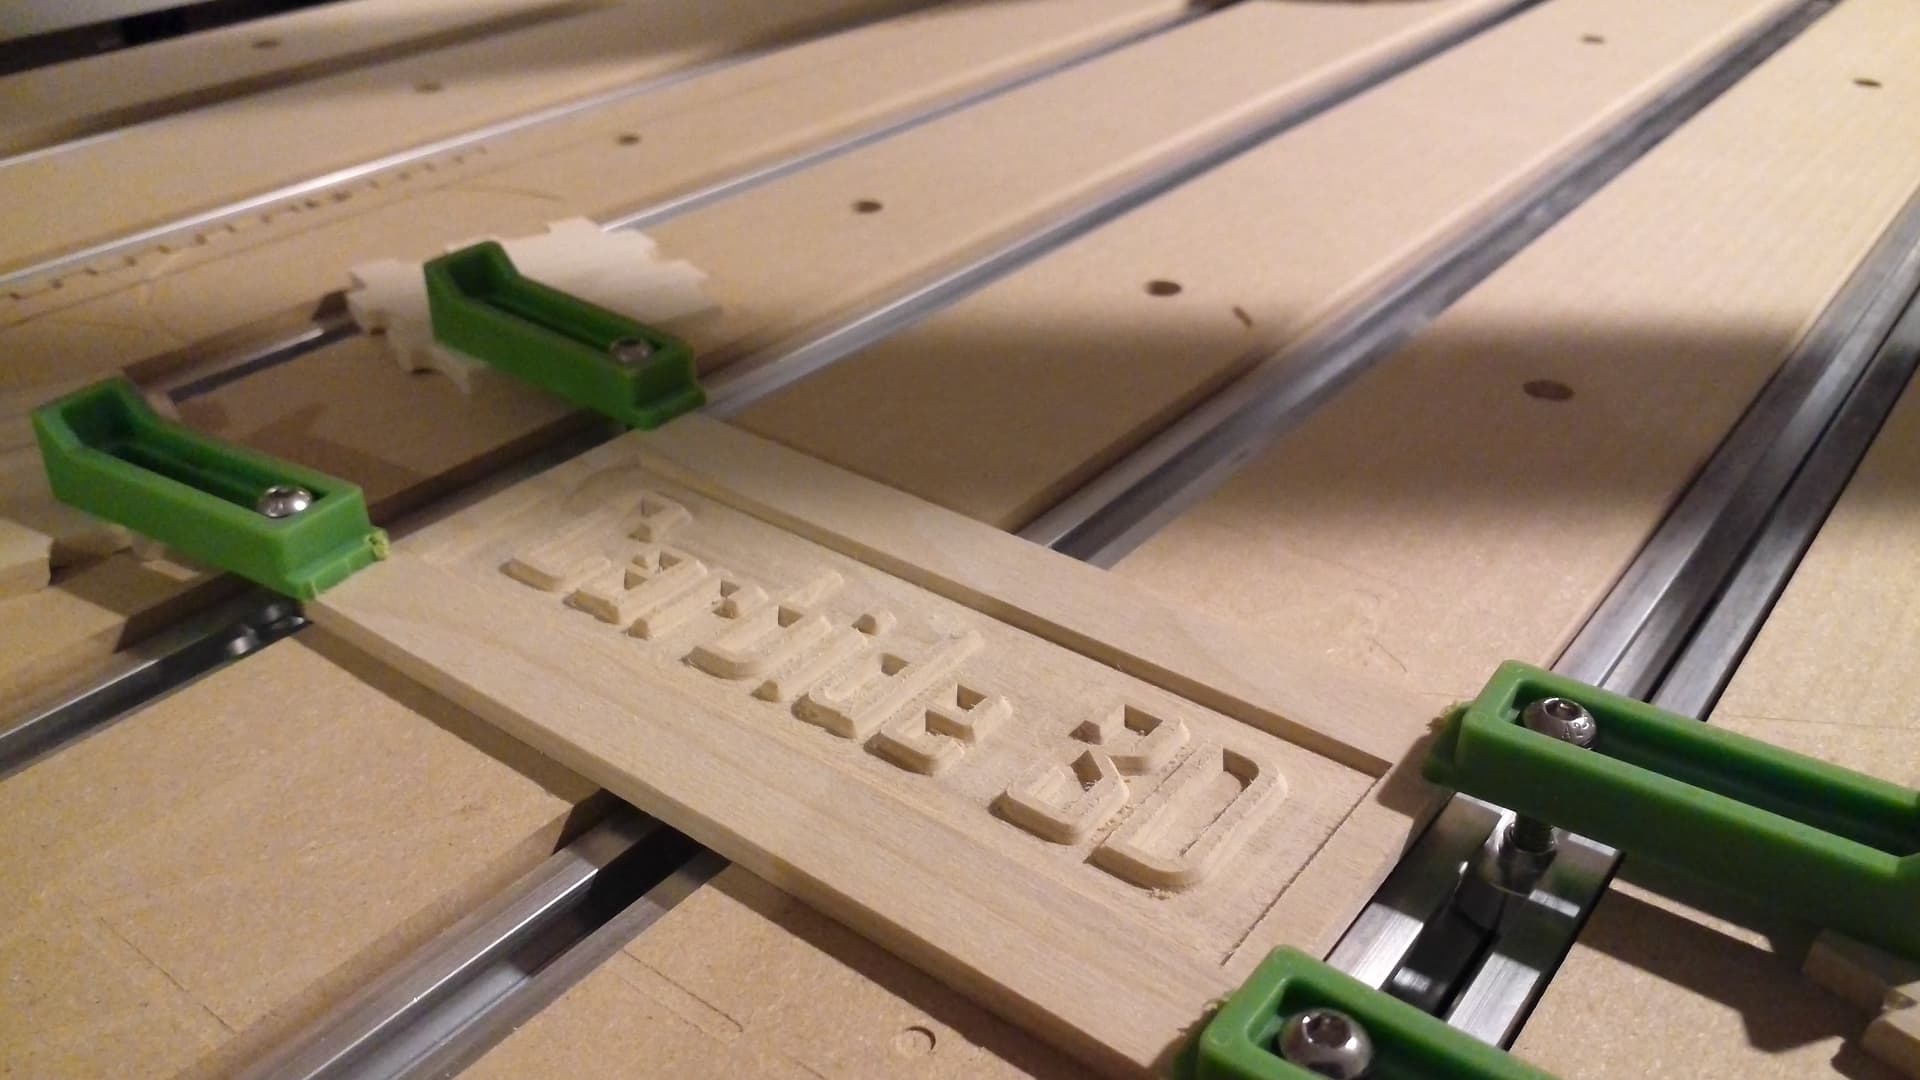
For the inlay, create a copy of your vectors and mirror them horizontally or vertically and create some kind of border around them. (Bonus points for the first user to cut an inlay from a very expensive chunk of wood without flipping the vectors)
Select that whole thing and create an Advanced V-carve toolpath with with the same depth.
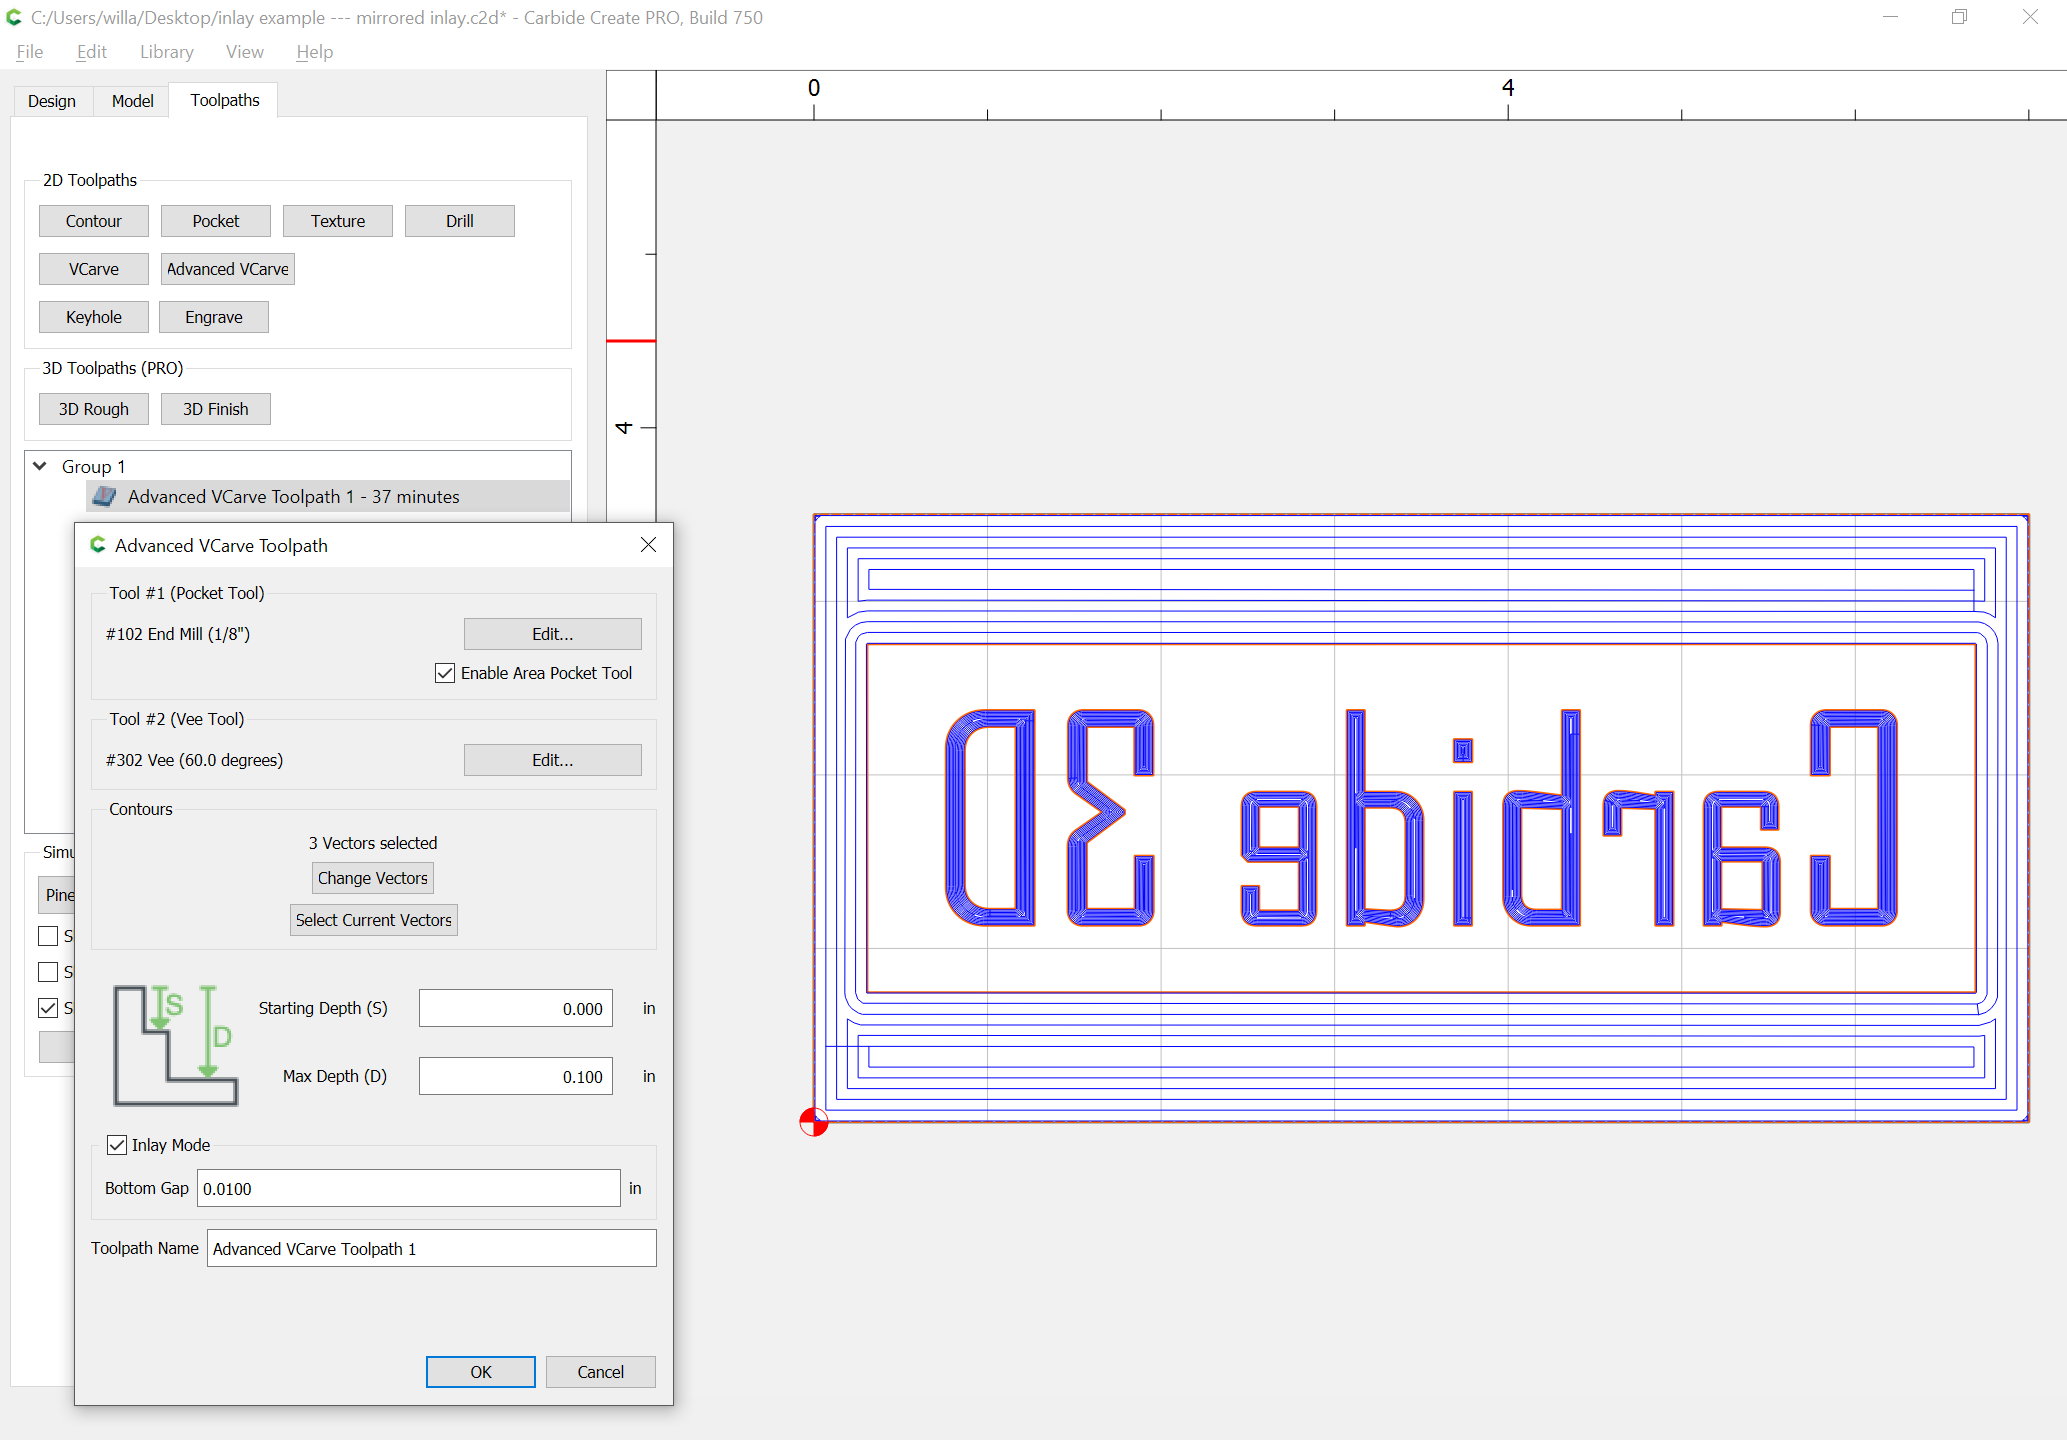
Enable Inlay mode.
Enter a small Inlay gap, maybe .01" or so. This will offset the vectors to create that big a gap when the inlay is put into the pocket so you can tap it into place to create a tight fit… You cannot achieve the same thing by adjusting the V-carve depth, this modifies the geometry internally.
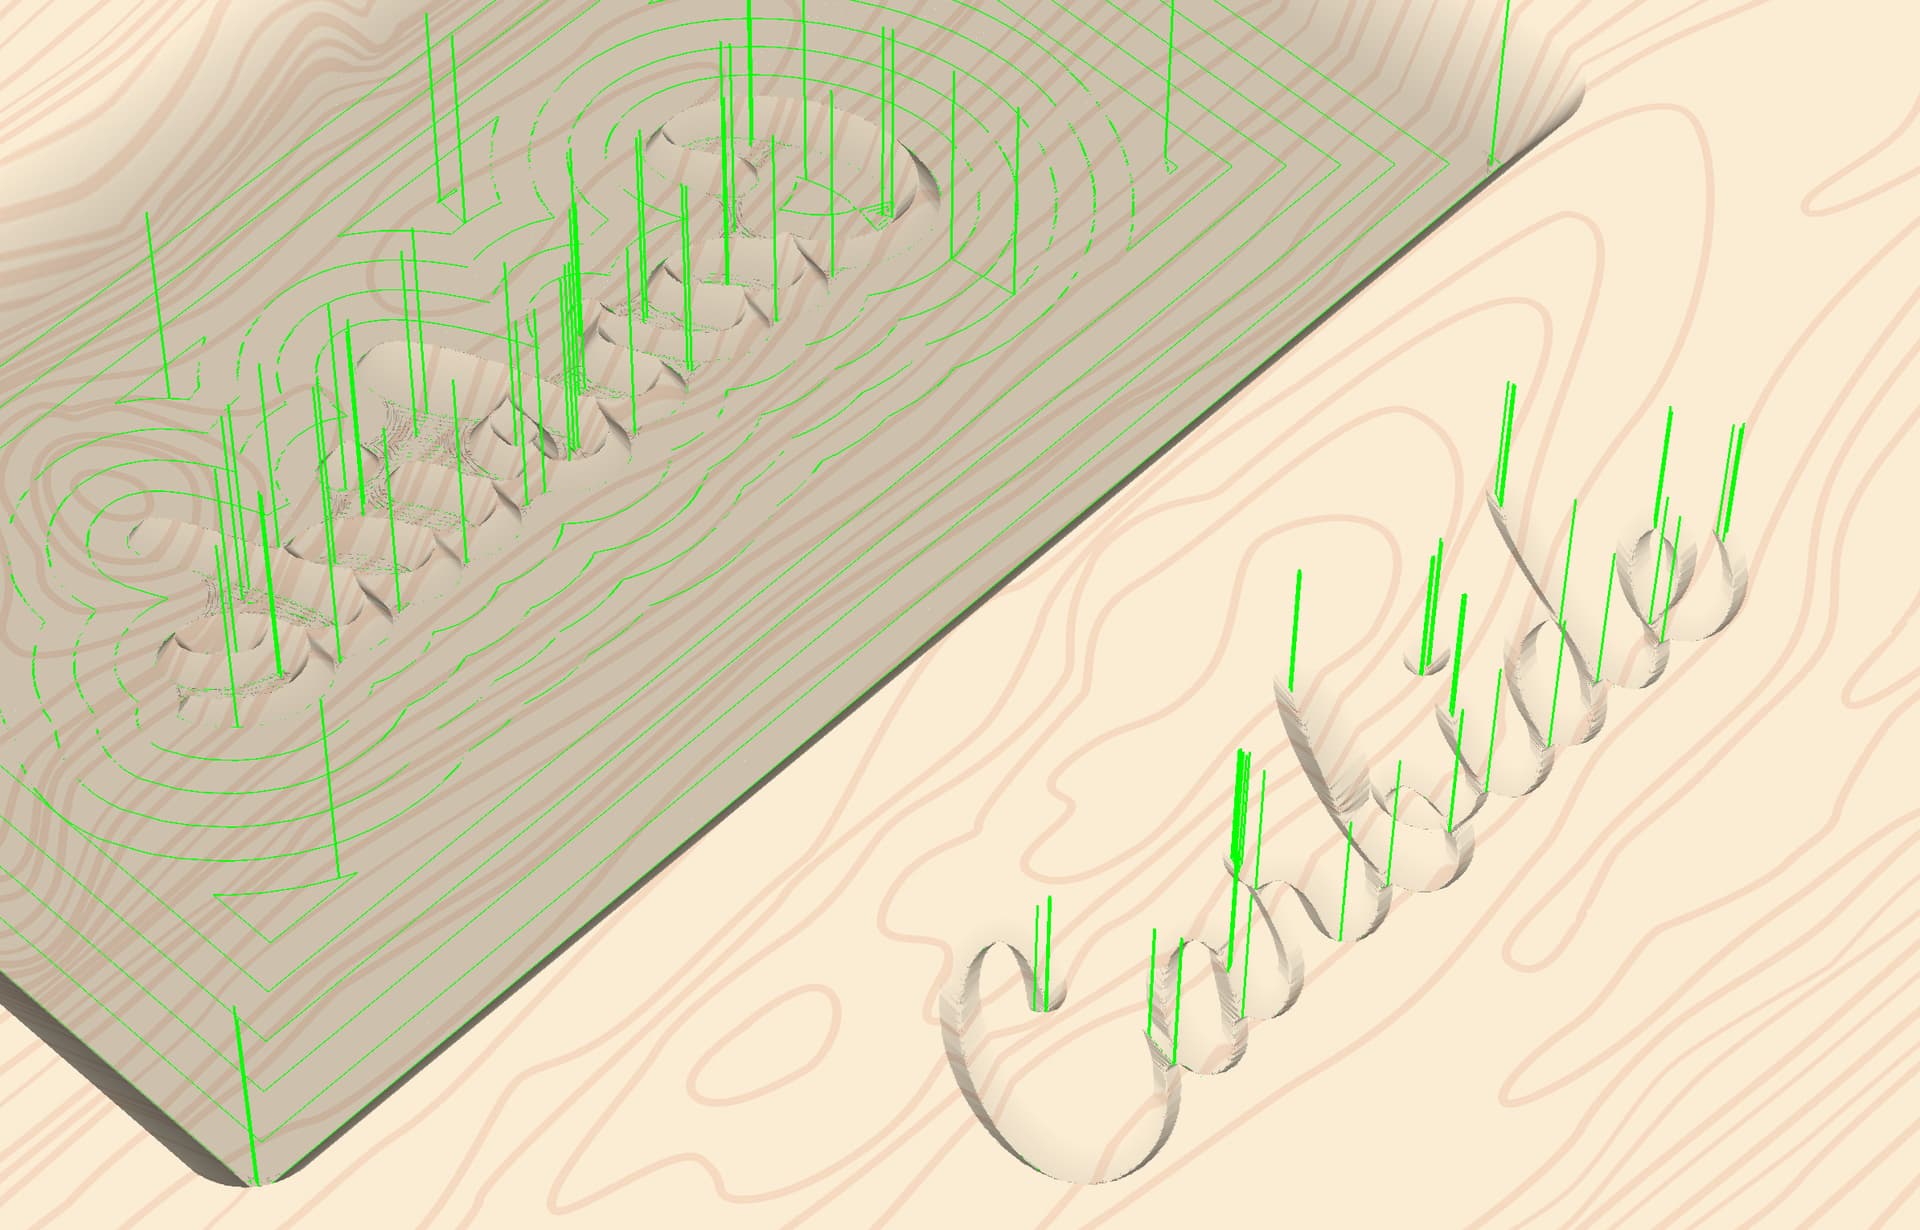
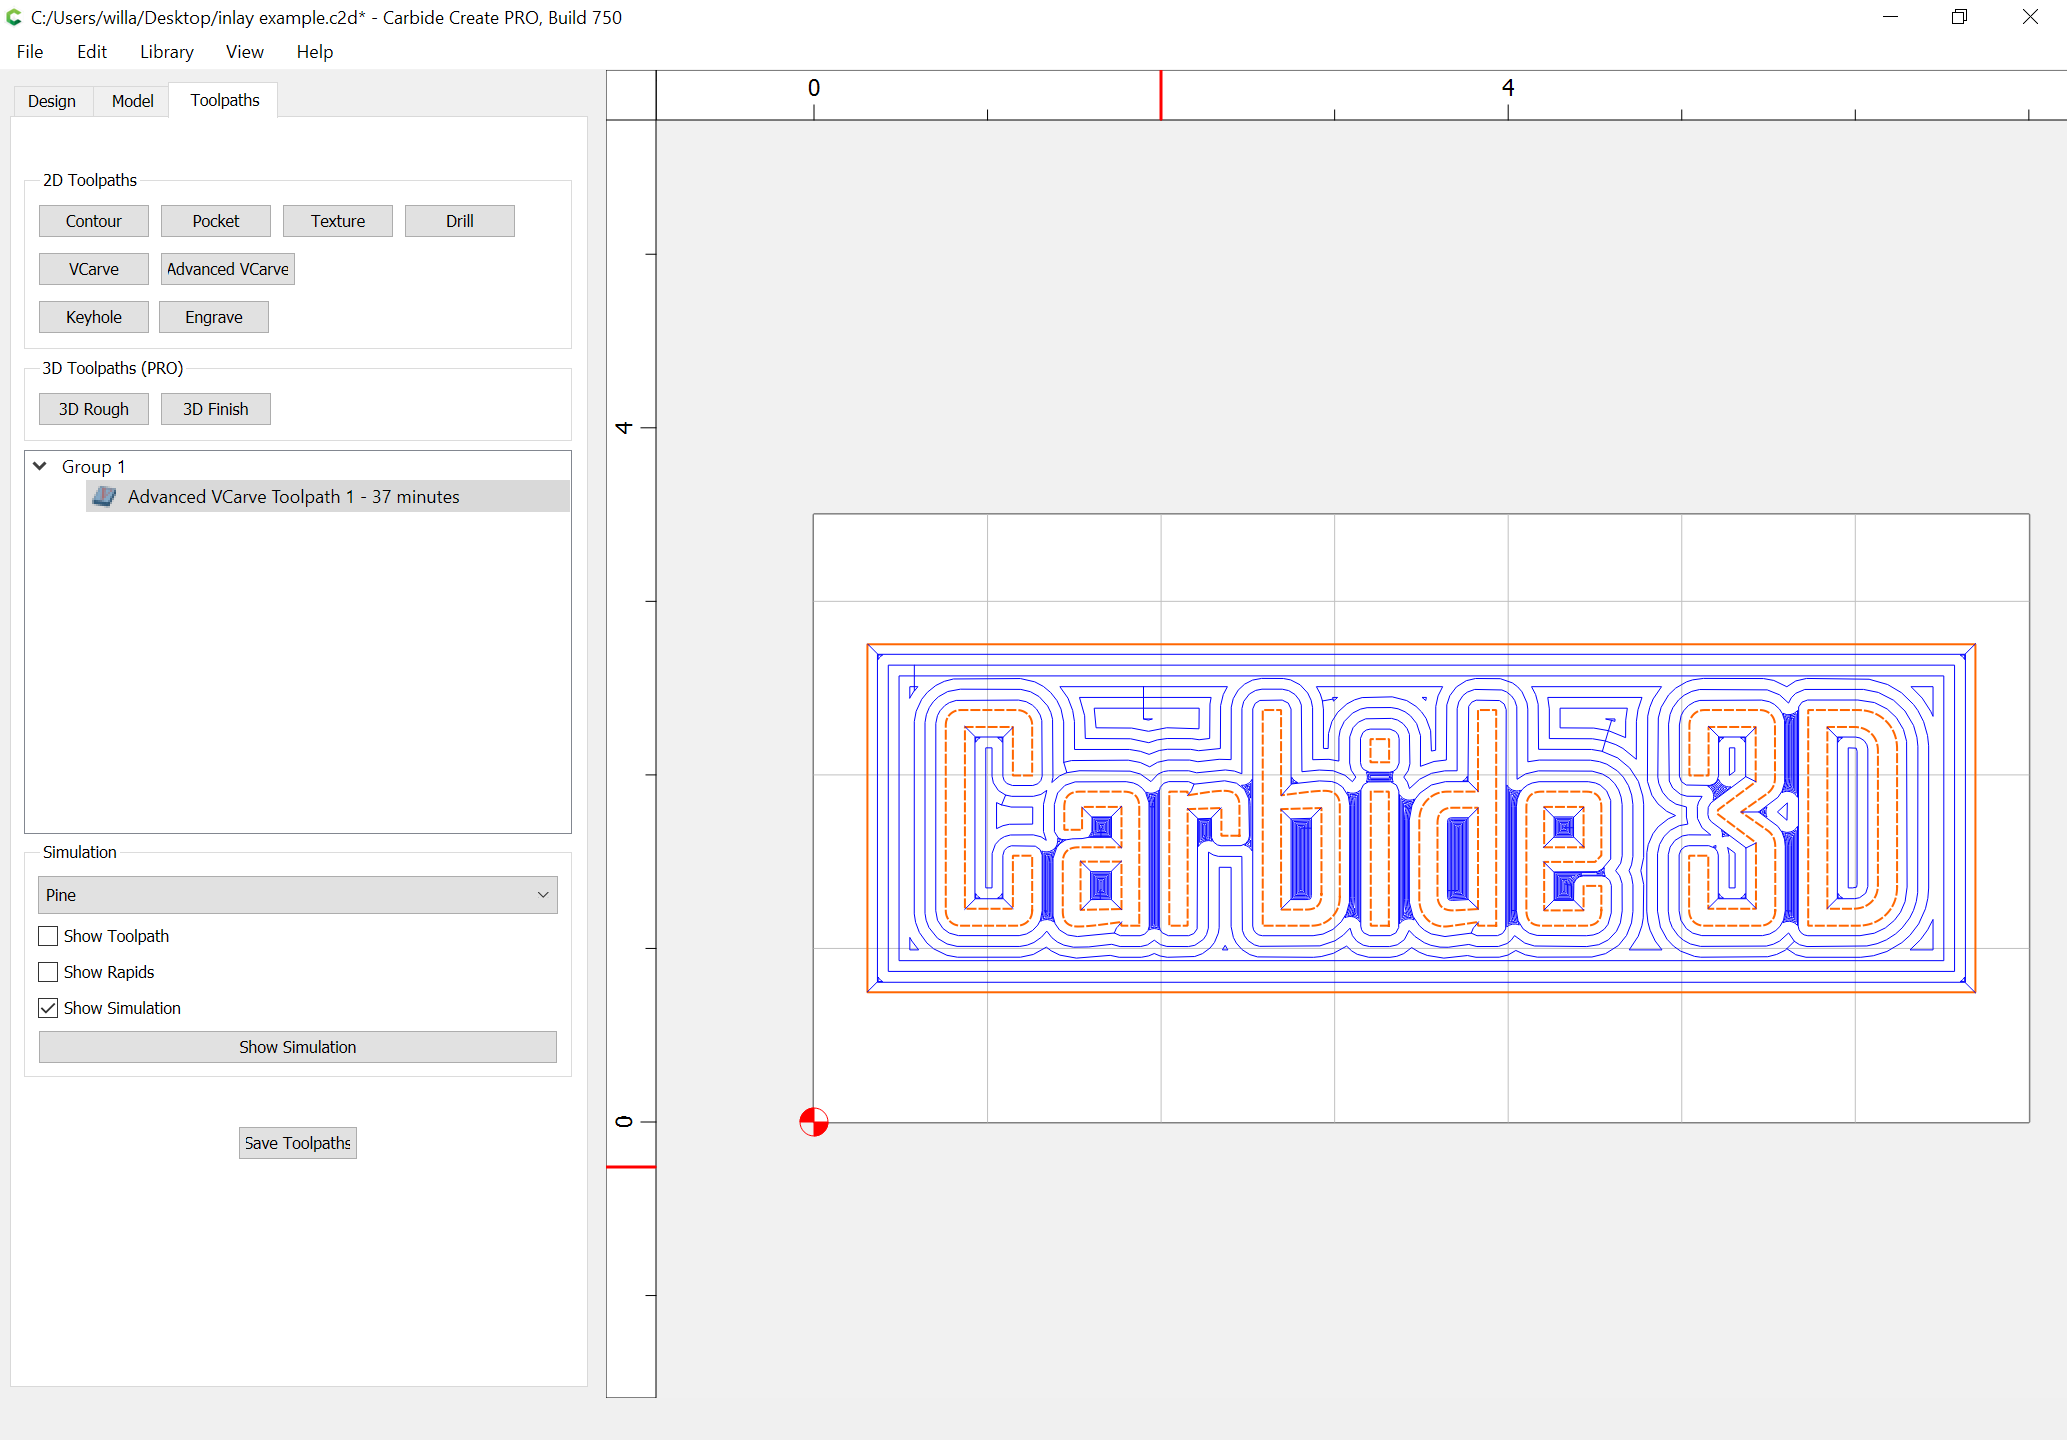
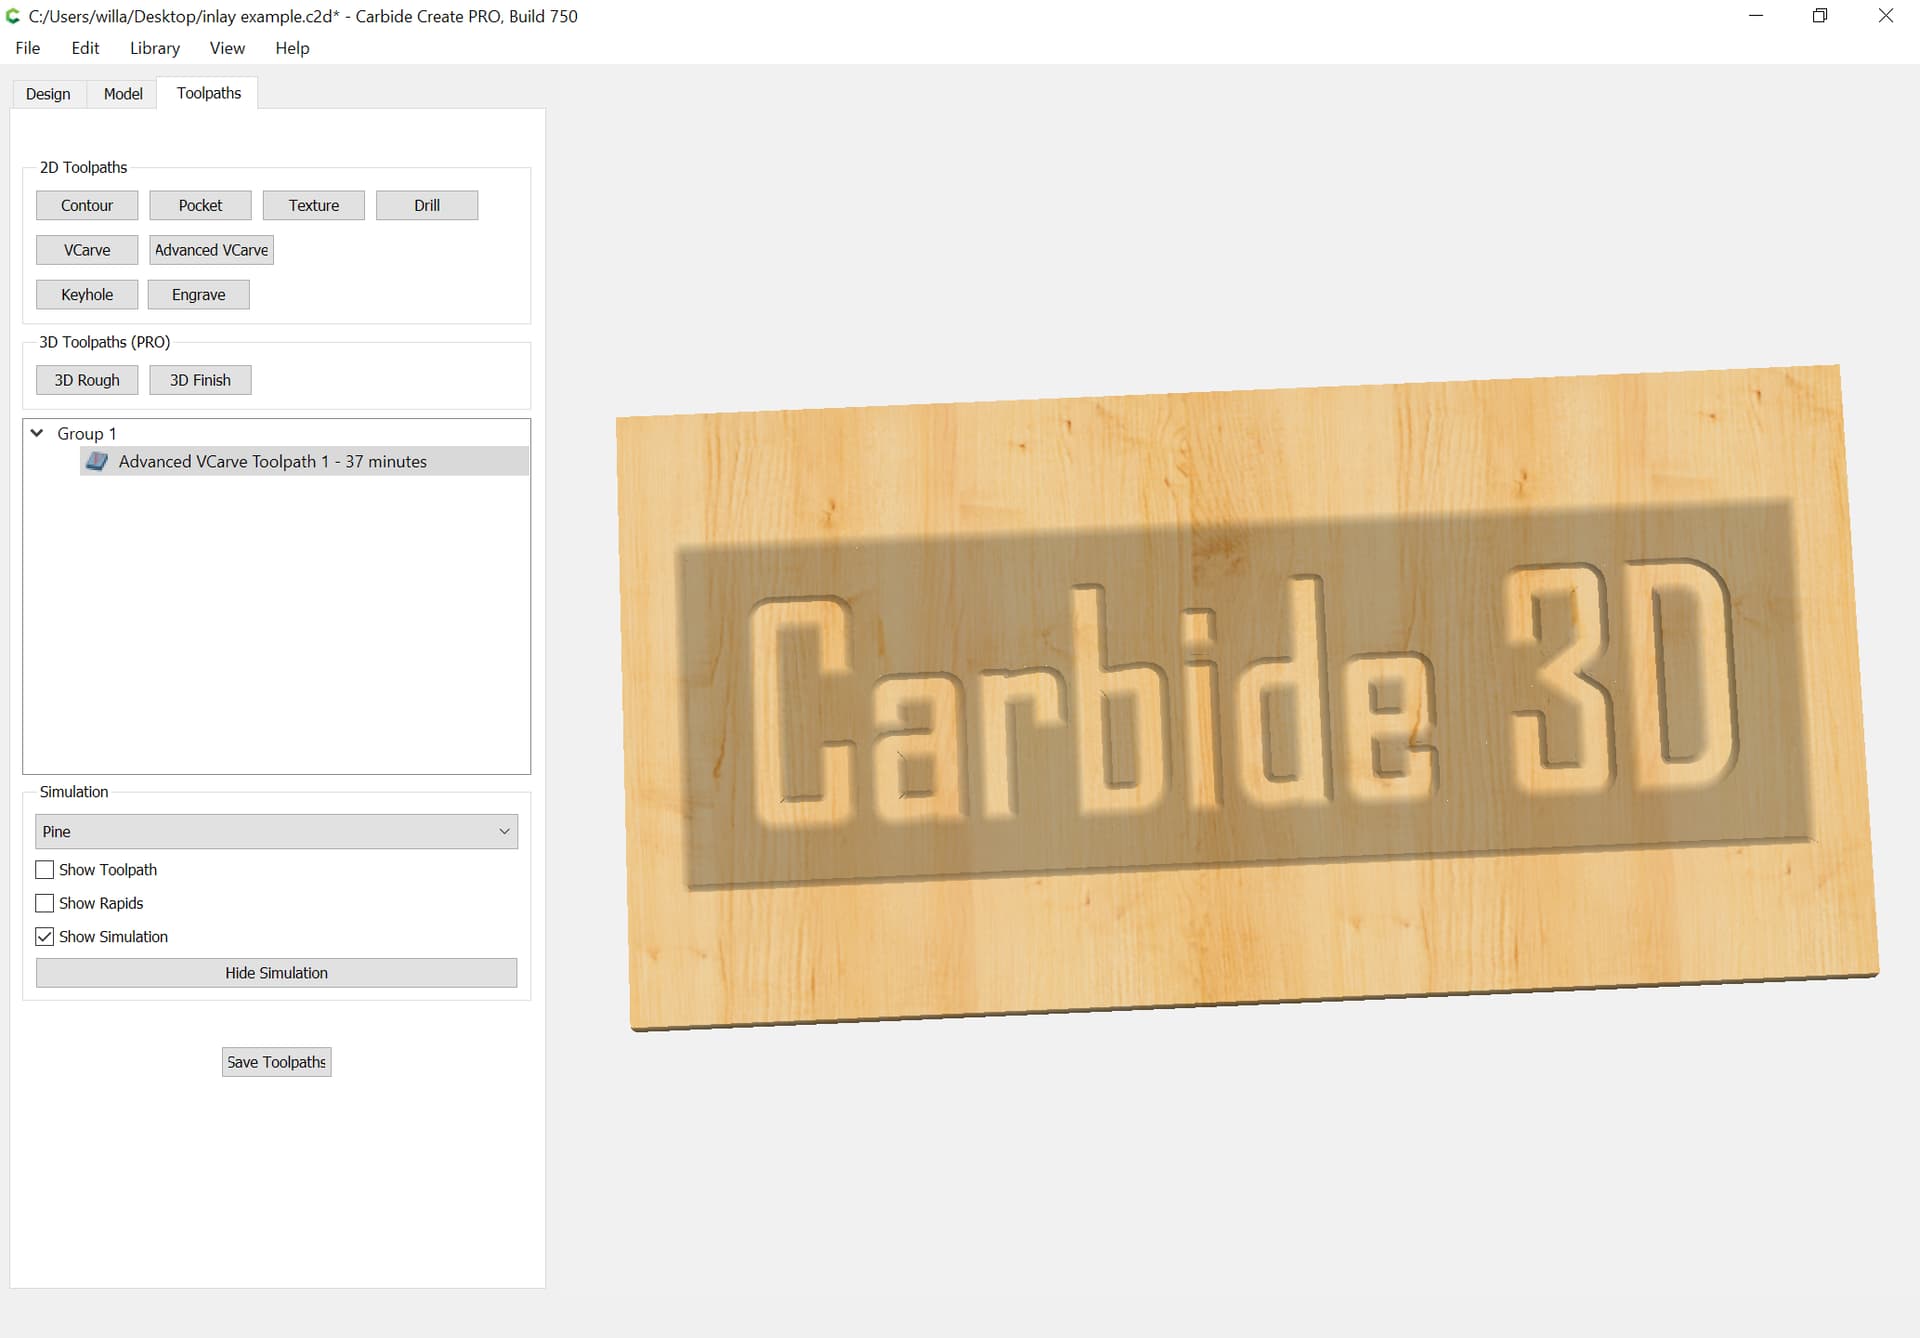
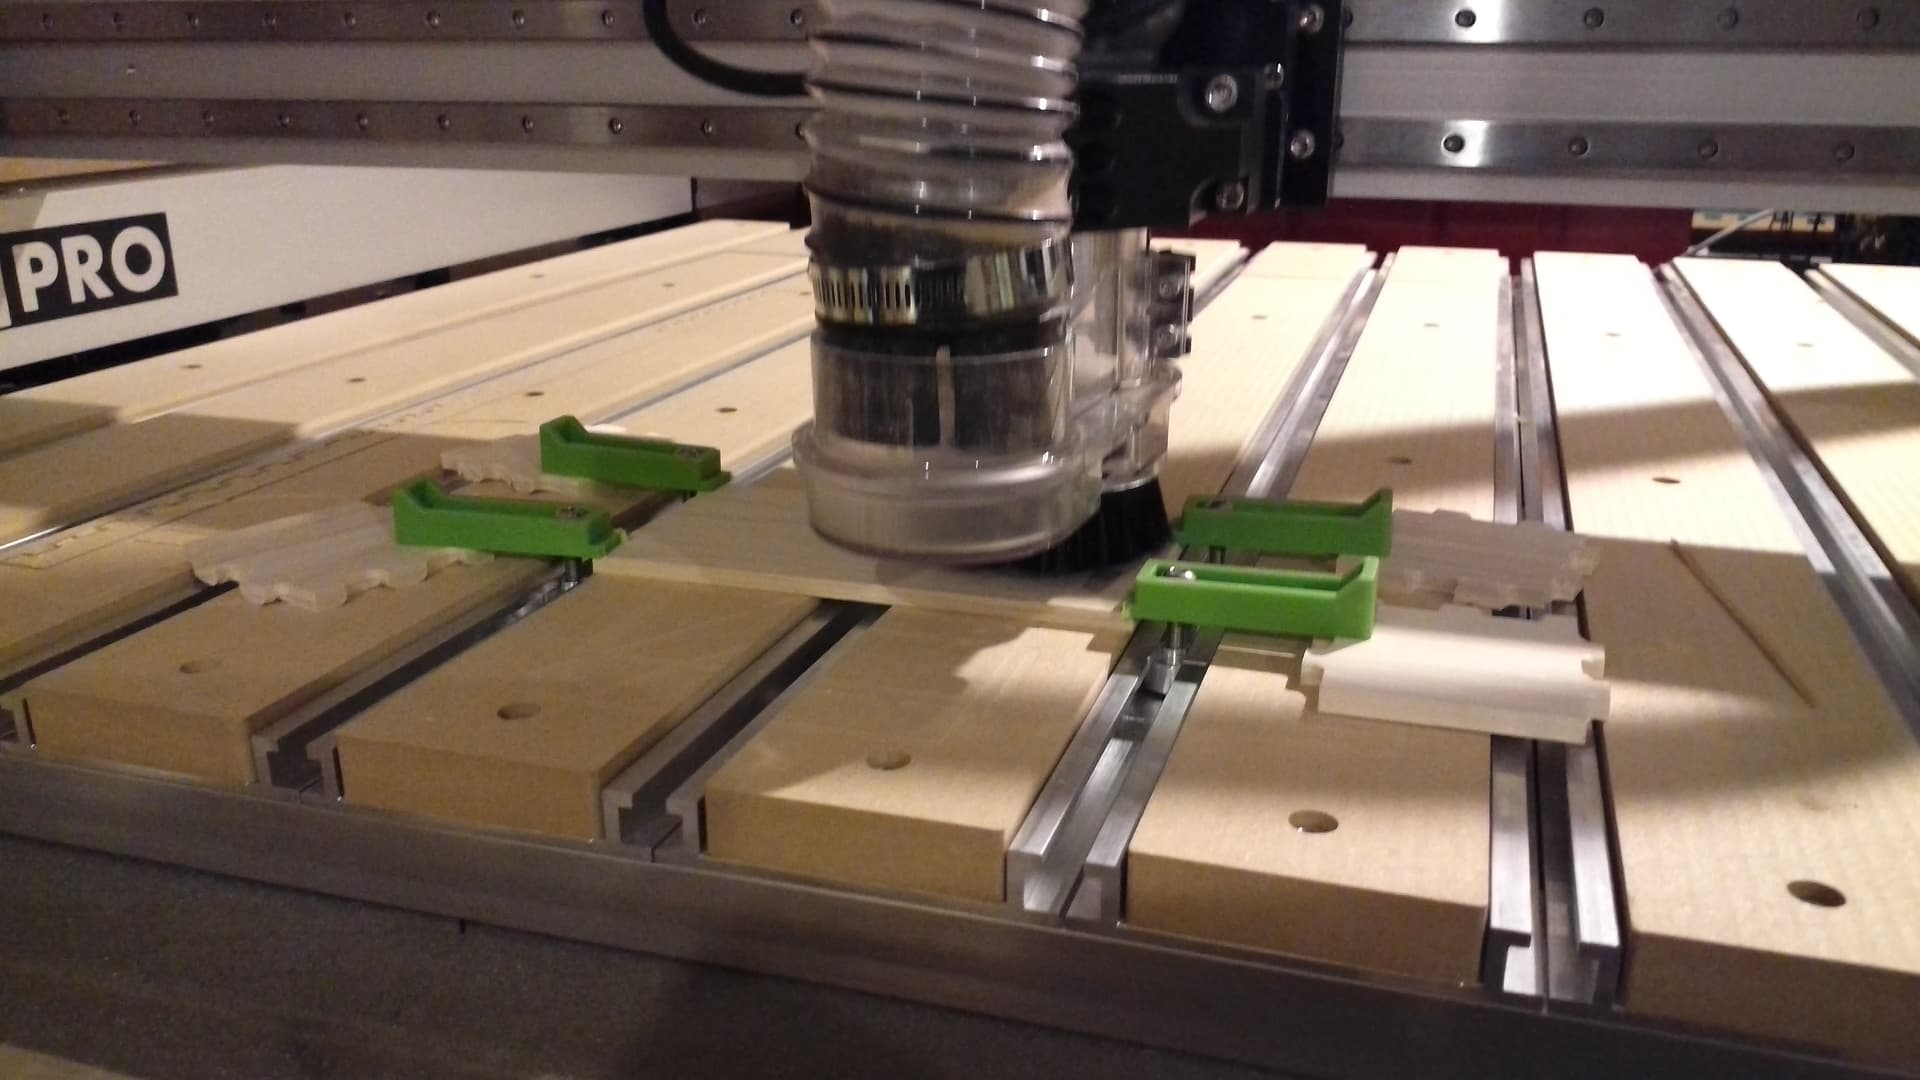
In order to carve around the letters/ whatever (i.e., the inlay part), you need a surrounding shape to indicate how far to carve away from the inlay. Usually just put a rectangle around the inlay, then CC will remove everything inside the rectangle except the actual inlay.
It might be helpful to some people to think of it as the border that creates the “backing” for the inlays, assuming there are multiple pieces. (Or that will just add confusion- we’ll get Kevin to make a video once it’s “done”)
Am I correct in assuming that the vector gets projected to the “Bottom Gap” distance above the max depth? (Rather than the Start Depth) So we can how use a starting depth of 0.0, and get multiple passes if the depth per cut is smaller than the max depth?
I am very excited to try this as well. I had the same fitting problem that a lot of others had and then saw the post about start depth. I still have the base for my coaster just need to cut a new insert with this to see if it works.
Slight side trip: why do CC and CM disagree about the timing? Which one is typically right? Also, I am pretty sure when I cut my first few jobs CM (on raspberry PI) was showing me time to the next tool change and now it only shows total time remaining. Did I imagine that or is there a configuration setting for that somewhere?
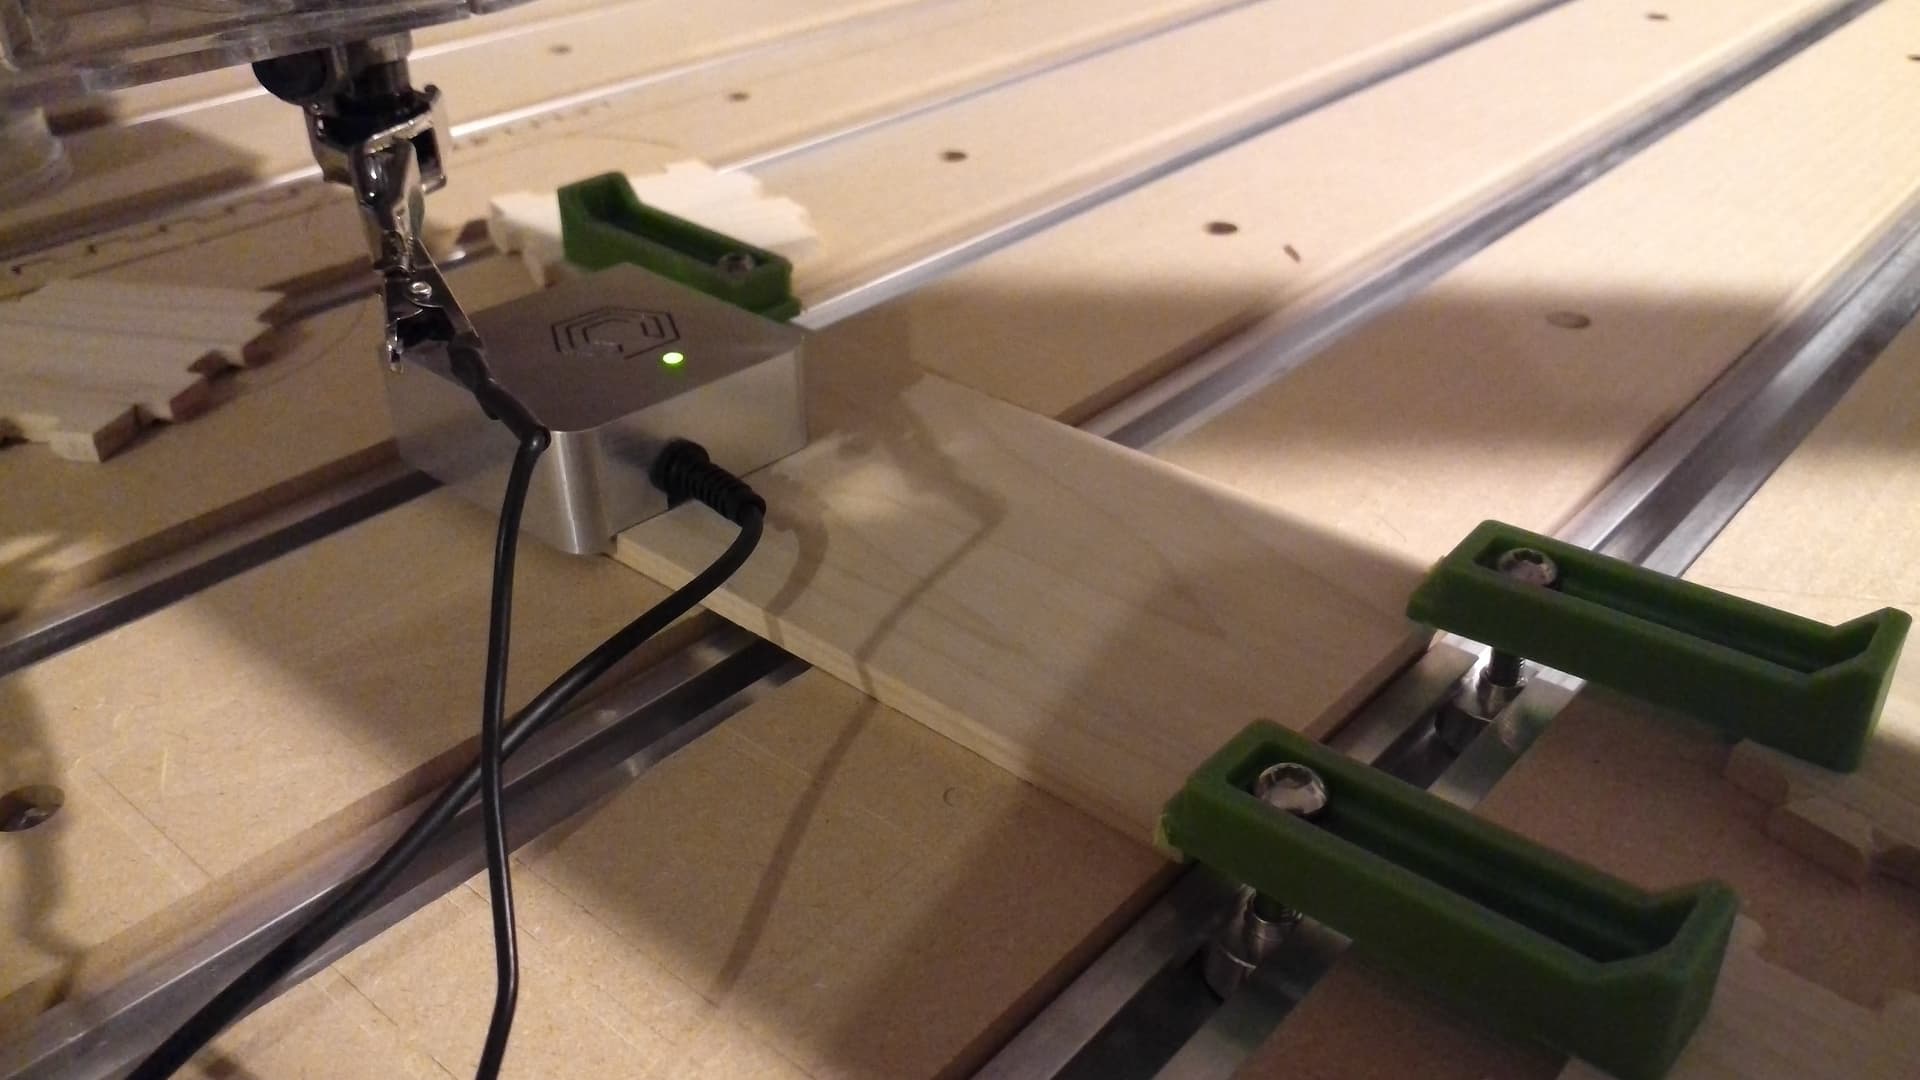
As @robgrz said create a box around your male inlay. I usually take the completed male inlay and cut out on a bandsaw or scroll saw the box around the male inlay. This makes it a little easier to glue the male plug in place on the female socket.