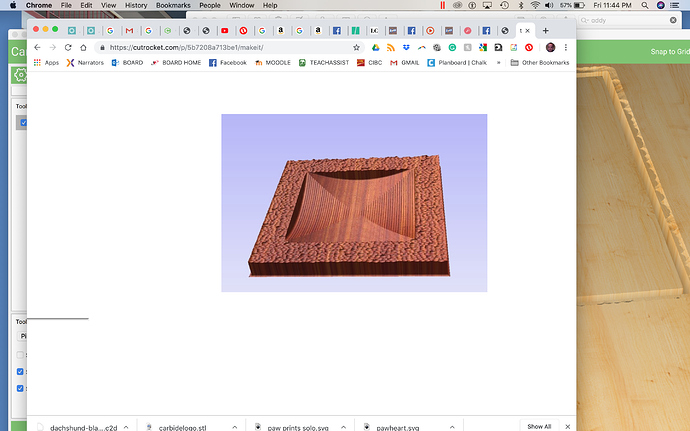
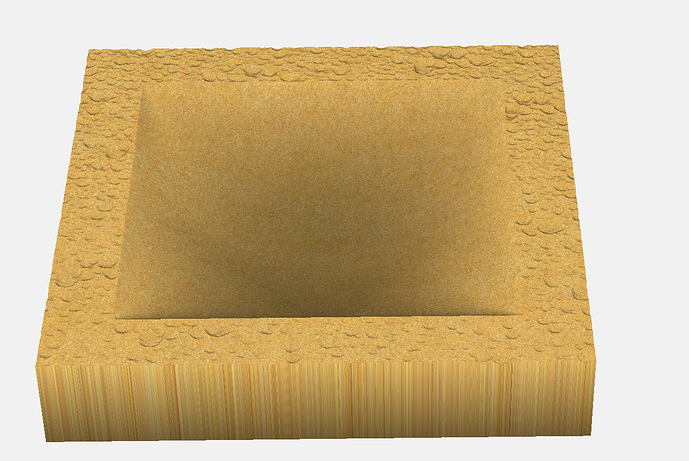
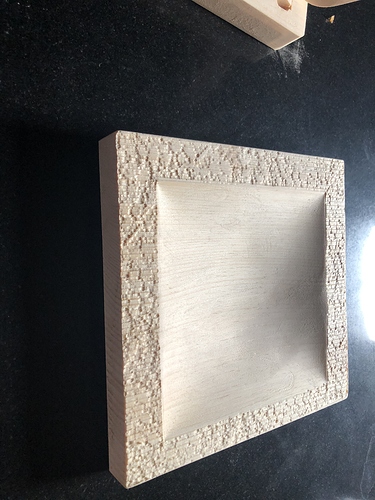
Hi all. I would like try to make something like this tray. Is this possible to do on Carbide Create? I have a file for it, but it is for vectric software and I won’t be shelling out for that anytime soon. Or if anyone has a link to a simple 2.5 d file that I can mess around with that would be awesome. I have fusion 360 but am only just starting to figure that one out. Thanks!
We’ve just begun to add a “Pro” set of 3D features to Carbide Create, please see:
It surely can be done in CC 413 with pro turned on.
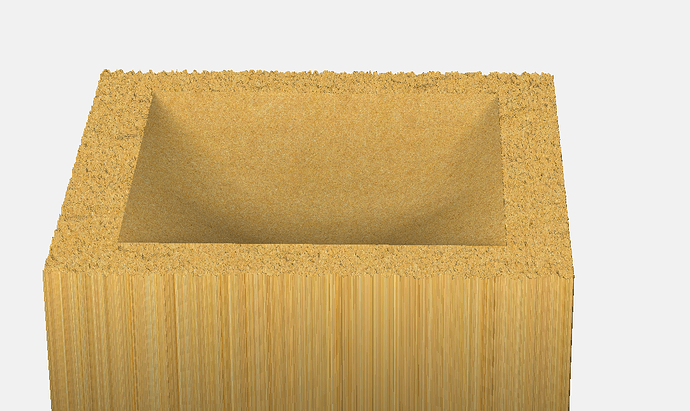
Here’s a similar sample done in just a few minutes.
While not an exact match, just a quick pebble texture pulled, you can play around with your textures.
A 4x4 square, with a 3x3 square set inside.
One model component set for outer square to establish base of material.
One model component set for inner square to set pocket.
One model component set for Outer and Inner square select at same time to establish texture.
That’s not quite the same shape — my understanding of the drawing is that it’s a pair of partial cylinders (one vertical, one horizontal) and the triangles define that one sees only the horizontal cylinder on the left and right, and only the vertical cylinder at top/bottom.
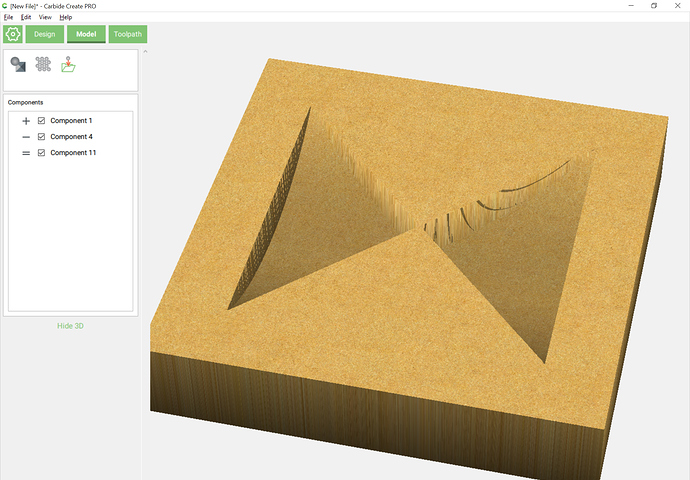
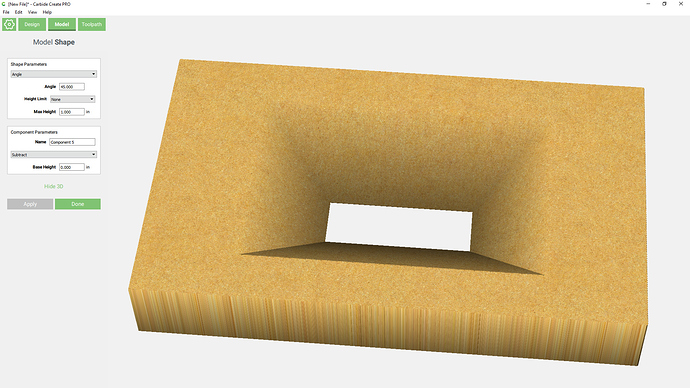
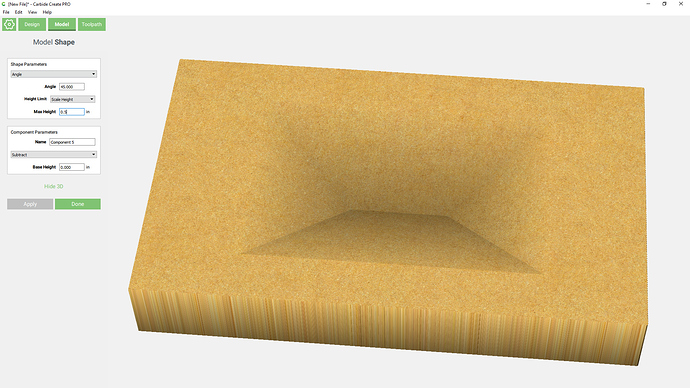
I’ve been trying to work out how to do it in Carbide Create Pro — here’s half of it:
but AFAICT you’d have to repeat that oriented 90 degrees in a separate file and use a 3rd file for the texture to create the depicted shape in Carbide Create given how it currently handles overlapping geometry when creating 3D components.
This is really cool. Will probably spend the day mucking about with it. Thanks!
Here’s the file I was working on.
quadrant.c2d (46.2 KB)
One feature which hasn’t been discussed much — Carbide Create allows one to export a pixel image depth map — one would think it would then be possible to reimport the file after editing.
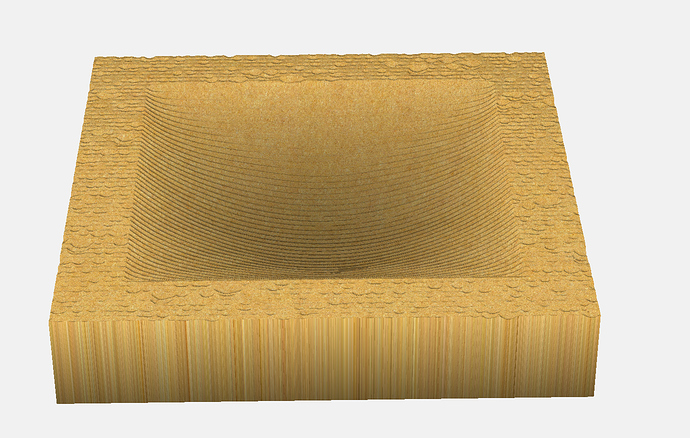
Made:
which I believe is a depth map representation of the inner portion of the design in question, but I can’t find a set of settings which results in that.
So when I look at the individual components, on my version, there are no visual highlights on the canvas of what is included in the component.
Yeah, it’s confusing how Carbide 3D allows things to interact. I started on a step-by-step tutorial, but then got stuck and deleted the text/screengrabs.
Hey Michael, could you send me the file for this?
Thanks
Andrew
It’s available on Cutrocket:
Hey Will. That’s where I got it from, but it’s a vectric file and CC won’t open it.
Hope this helps
Step by step video up to tool path setting
with Outer Box selected. - click 3d toolpath.
stepover set to .063 for roughing
same process but stepover st to .015 for smoother detail.
I tried recording this but everytime I set toolpath or simulate the windows screen capture times out.
link to .c2d file
https://drive.google.com/file/d/1krtS2t2n26dpKm8c7yRLlRGlg9fVKzic/view?usp=sharing
This was very helpful! Thanks so much for taking the time, really appreciate it.
It was my pleasure.
And thank you for thanking me…
Here’s another quick video on a different version.
Just adds two components,
But the order inwhich you add 3D profiles really matters in determining the final outcome.
So we deleted the rounded pocket and went from there.
If we just try adding angled pockets to file above the outcome is totally different even though all components are identical.
This can be addressed without deleting components but for simplicty we will just delete for now
Again, really cool. I managed to carve the tray based on what
you sent me yesterday, and I’ll probably do a thicker one. But I also like this one you did with the shape at the bottom.Thanks!
Andrew
Nice, that looks great.
If you go thicker for the base, you can increase the degree of the angle of the round pocket.
Same for the angled pockets in the second tray.
It was at 45- A higher number will scoop it out more.
If we went to 50 with the stock at .75" it would have eaten through the bottom according to the rendering.
Again that looks awesome.
Glad it’s working out for you.
Just to have an idea of the toolpaths, how long did it take for this? Do toolpaths look efficient or kind of random?
yes, your right, was reaaly out of it. still am. theyve got me on crazy meds in here.
thanks
EDIT
I suppose one should stay off Internet for atleast a few hours after General Anesthesia
