Importing a file or a backgound image

I’ve searched, honestly, but I still can’t find out if the importing of images is fixed, or I’m just doing it wrong.

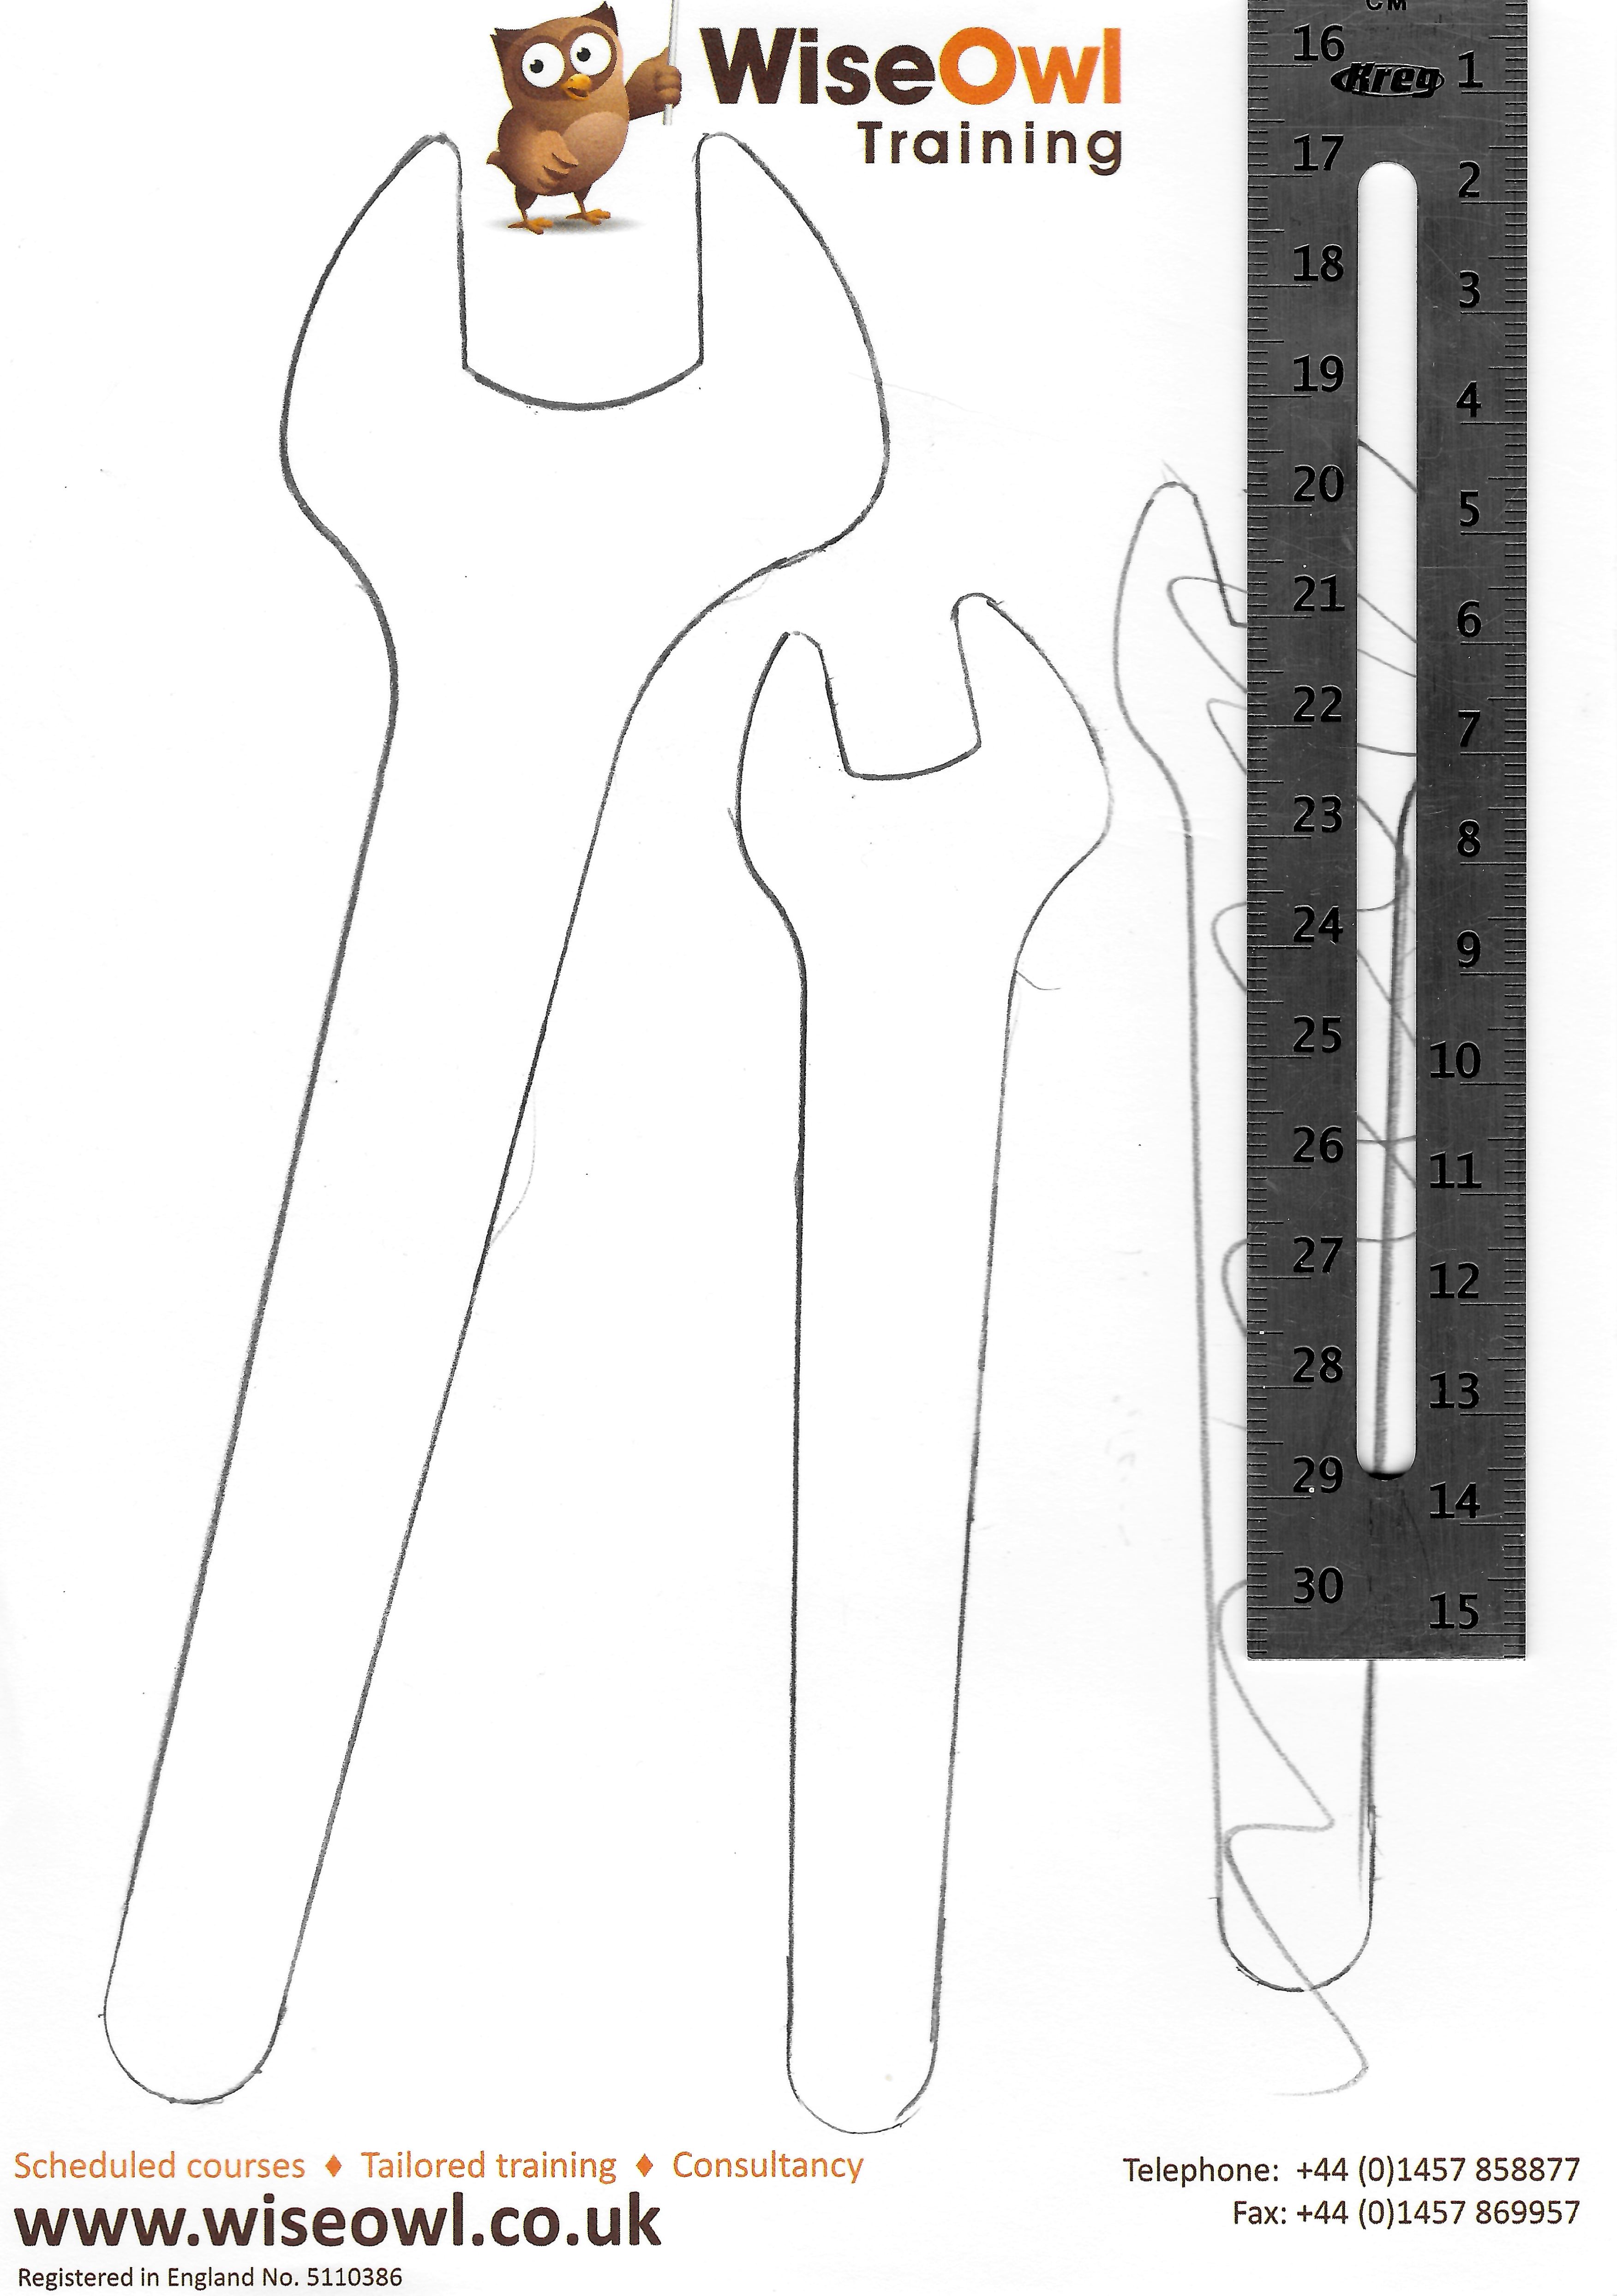
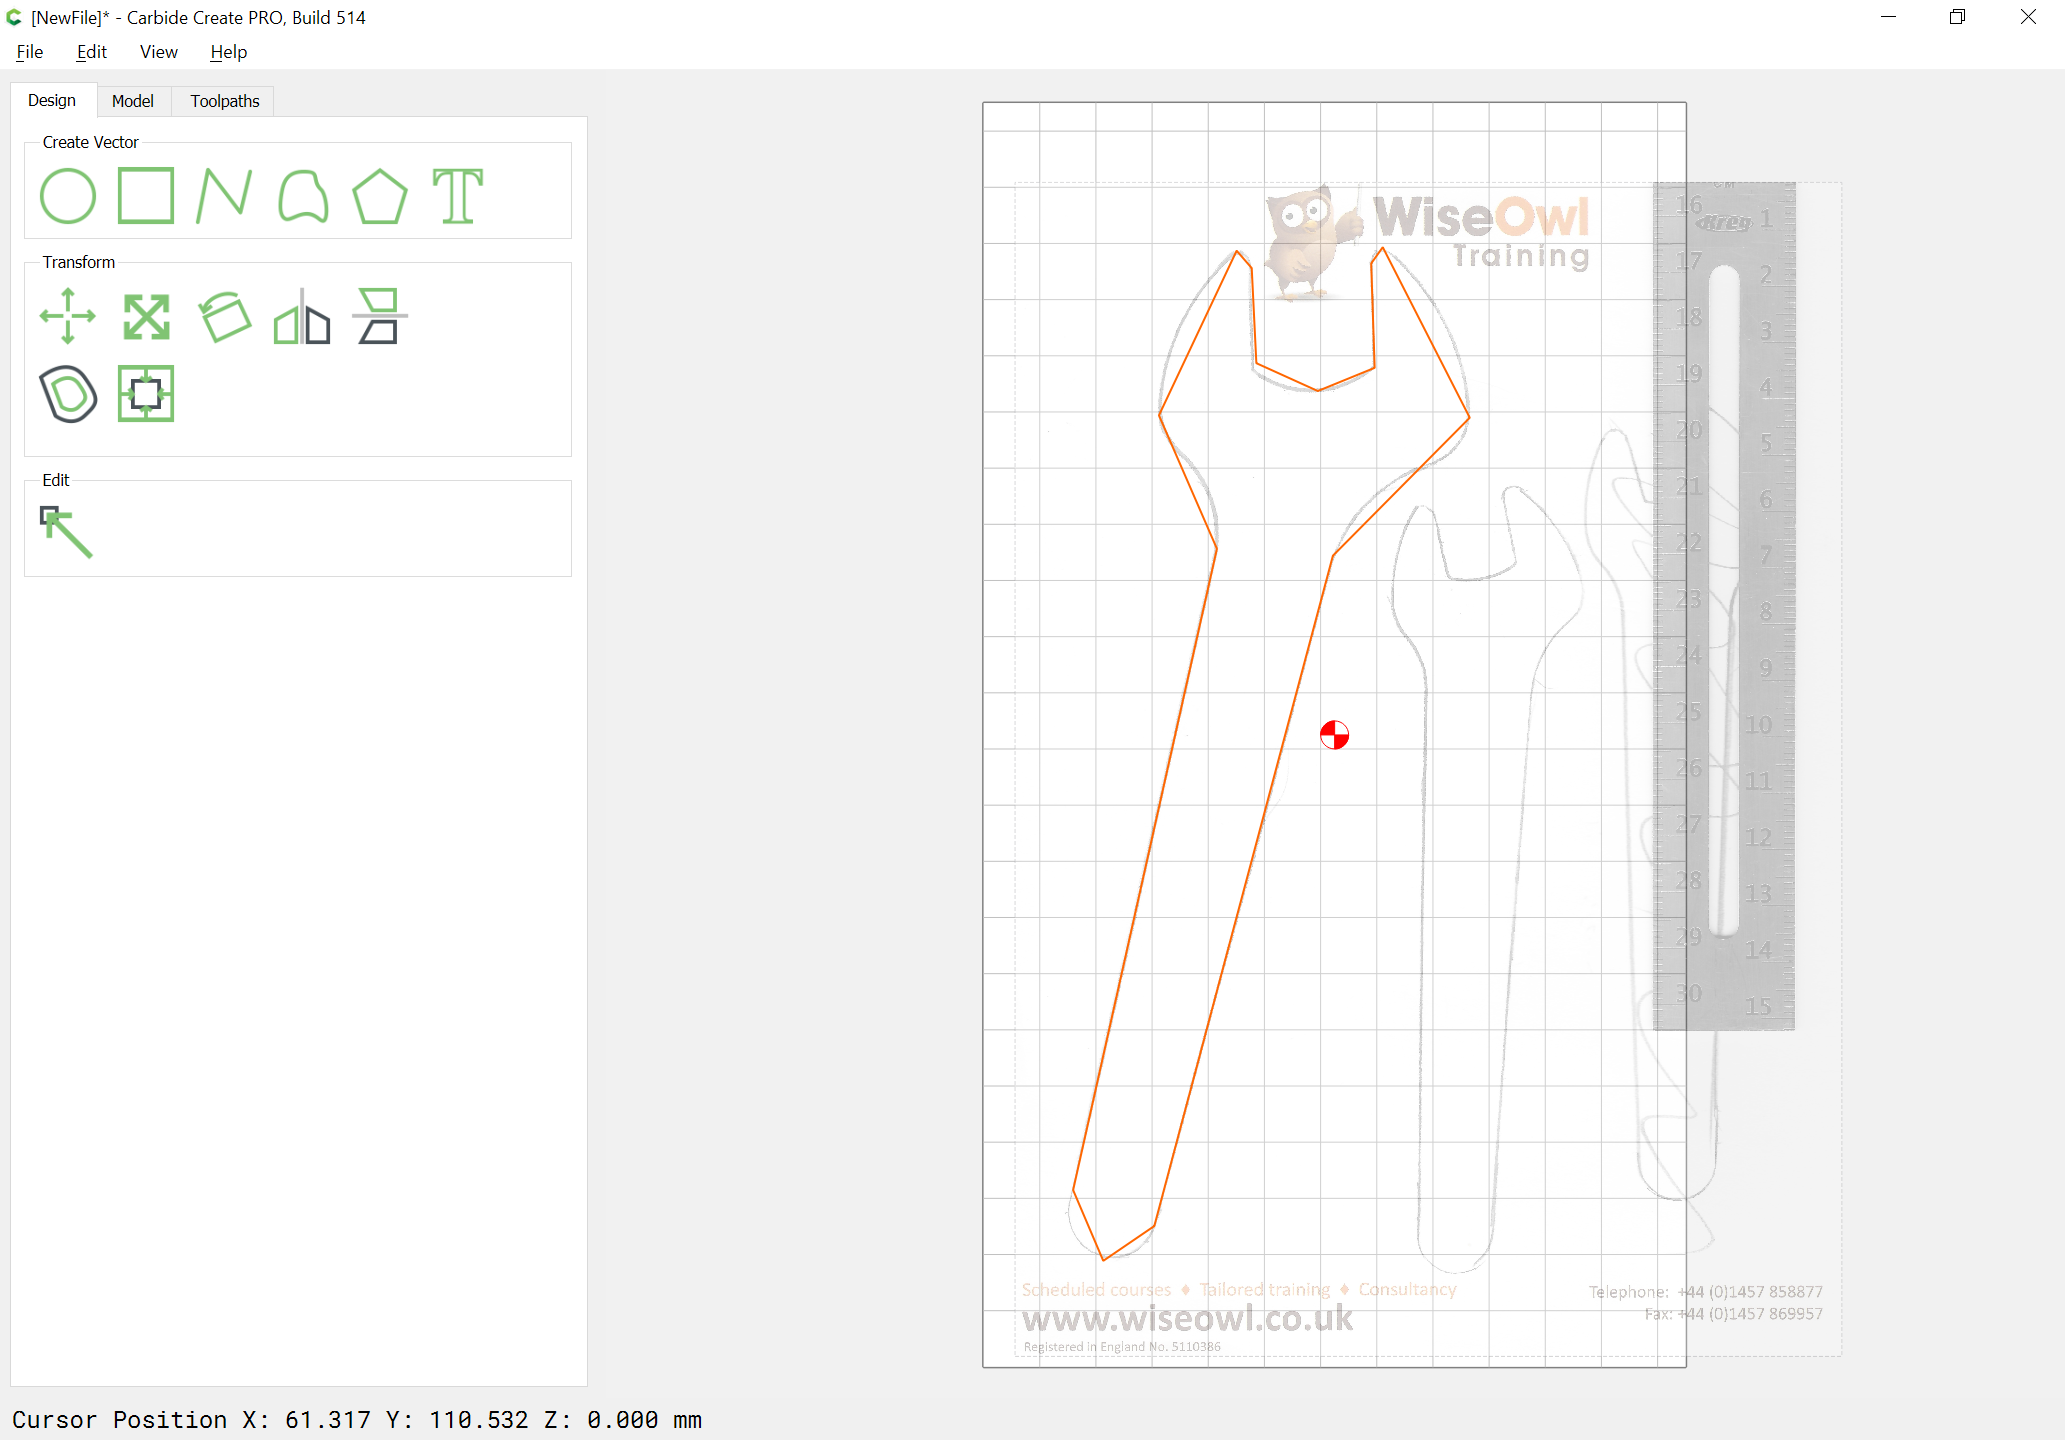
Essentially, I drew around a spanner (wrench) with the intention of scanning it, editing the image in Affinity Photo, and then importing it as a background, to draw a vector over it, or as a vector.

Except, it’s either the size of the Eiffel Tower:

or the CN Tower in Toronto:

Oh, and the stock size is 150x300mm, to give you an idea how big the imported image is, in comparison!

I don’t know if this is an issue with Affinity Photo (or even if I should be using it), but I’m not in the market for new software just yet!

I’m importing a *.jpg into the background and an *.svg as a vector.

Thanks

Unfortunately, Serif’s Affinity Designer doesn’t have auto-tracing — not sure if Affinity Photo has a path option or no (it should, but I suspect like Photoshop it would be a matter of exporting and then importing into Affinity Designer (in lieu of Adobe Illustrator).

I did a tutorial on this sort of thing at:

c.f.,

or

I think I’m being a bit stupid here, because I have no idea what I’m doing wrong (sorry :anguished:)

To me, this should be simple. Draw around an object, scan the image, import the *.jpg into CC. What’s difficult about that?

I downloaded Inkscape and had a play around, and it is very easy to play with, but simple things I can do. but not this.

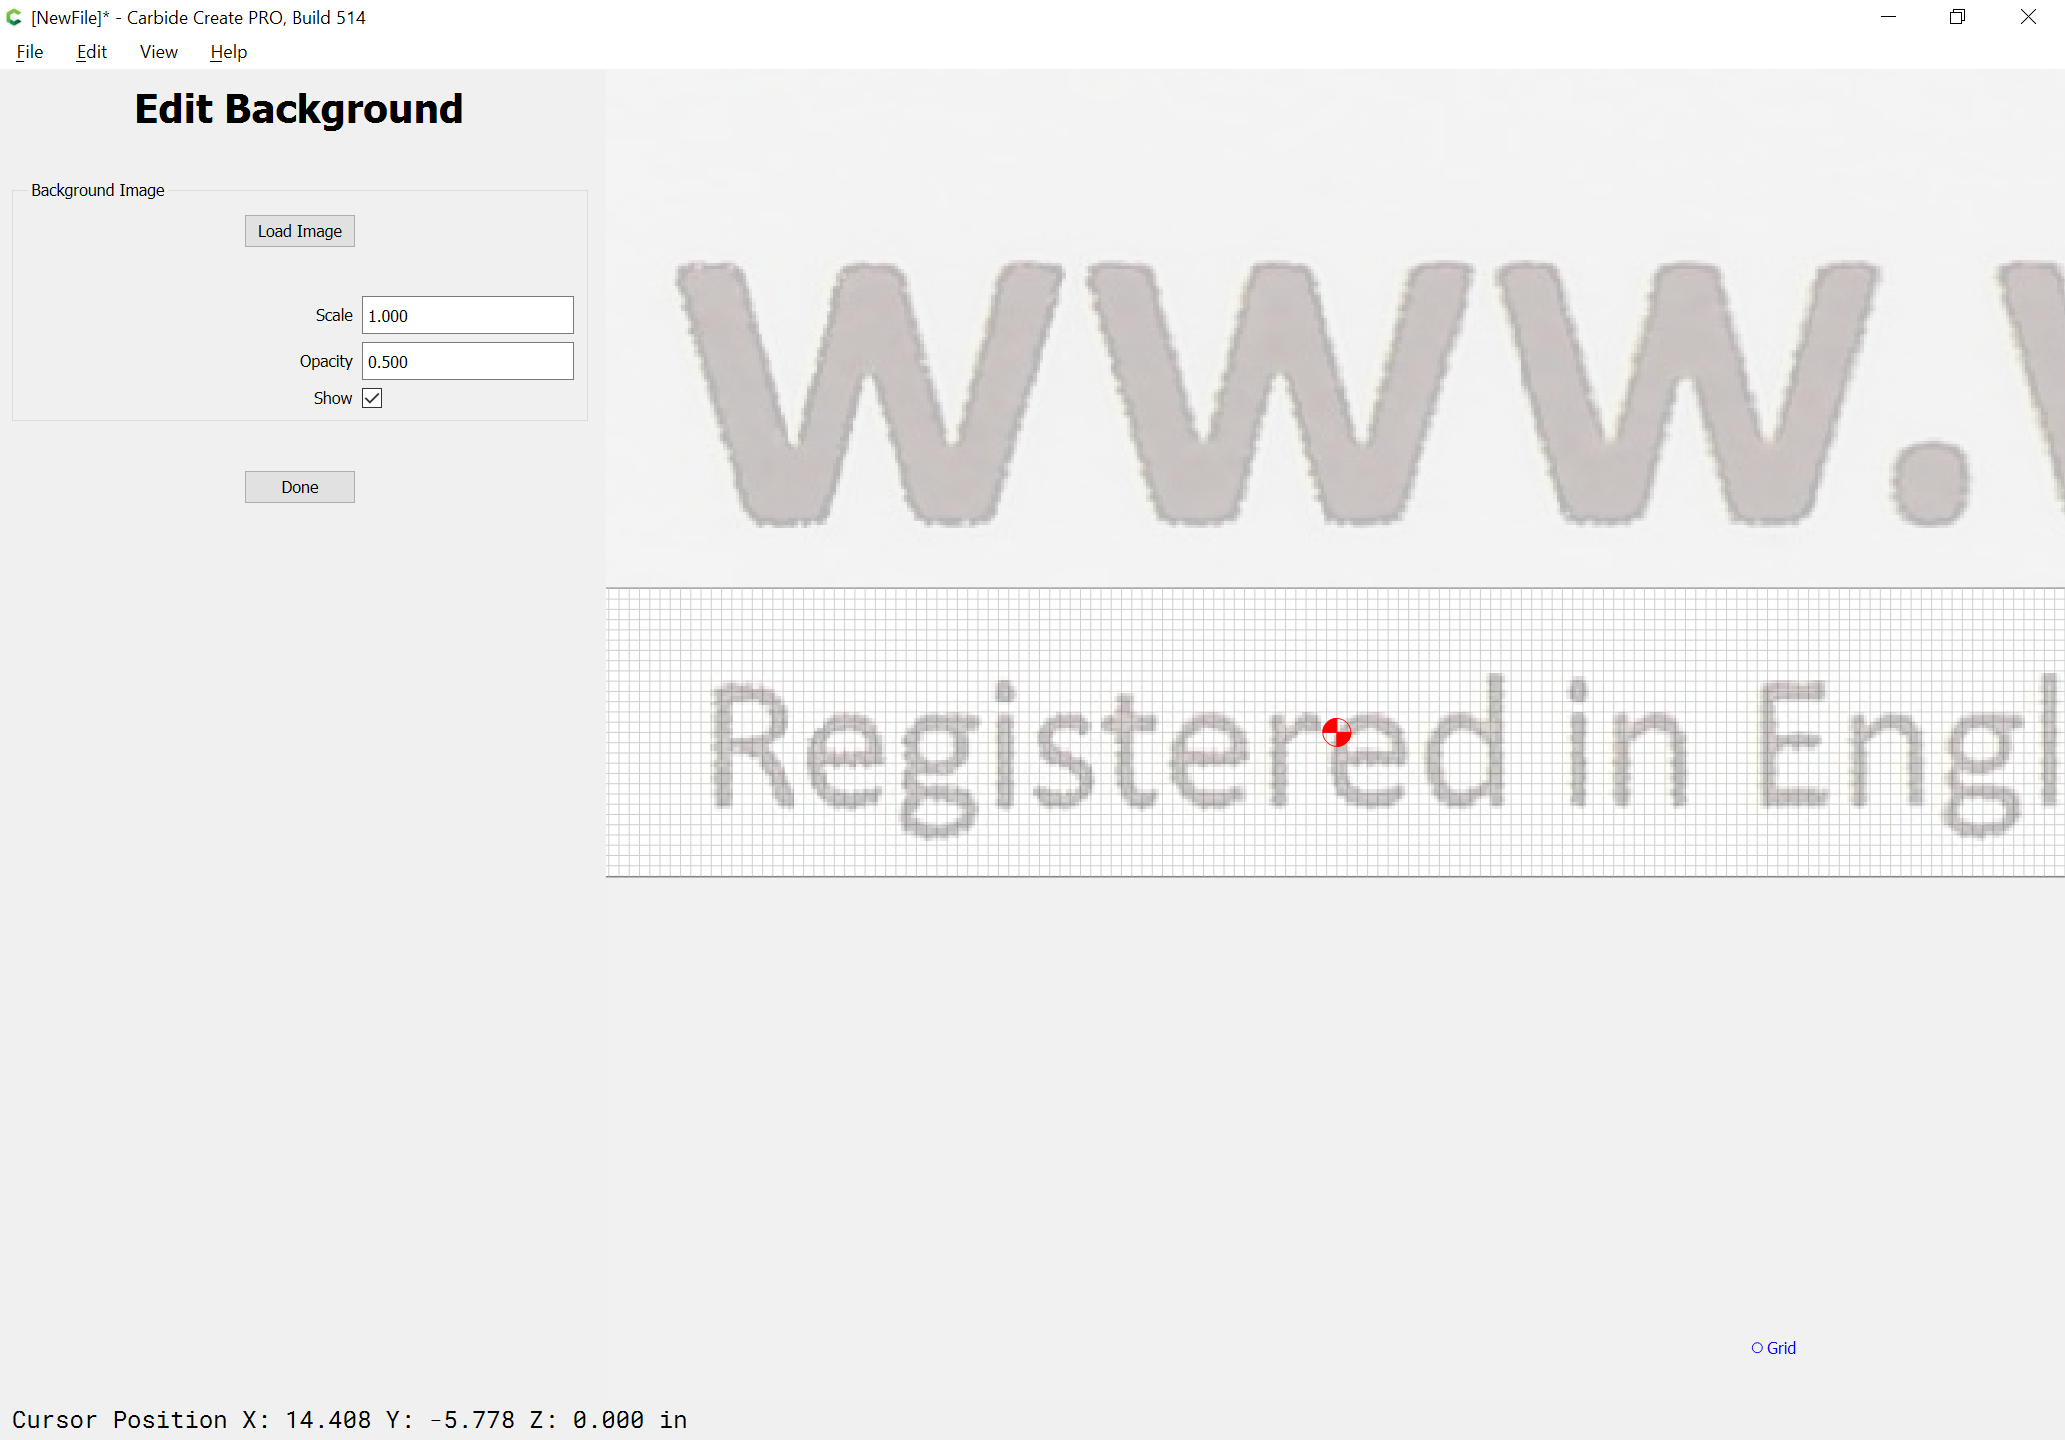
However I do it, the image is giant-sized. Essentially, I’ve followed the first step in the tutorial you did for photo tracing, using a scanned drawing rather than a photo, but the second step where you say to resize the image in an editor? Why would that be necessary? Surely it’s been scanned at the actual size?

Sorry if I sound grumpy; I’m a bit tired and finding this a bit irritating.

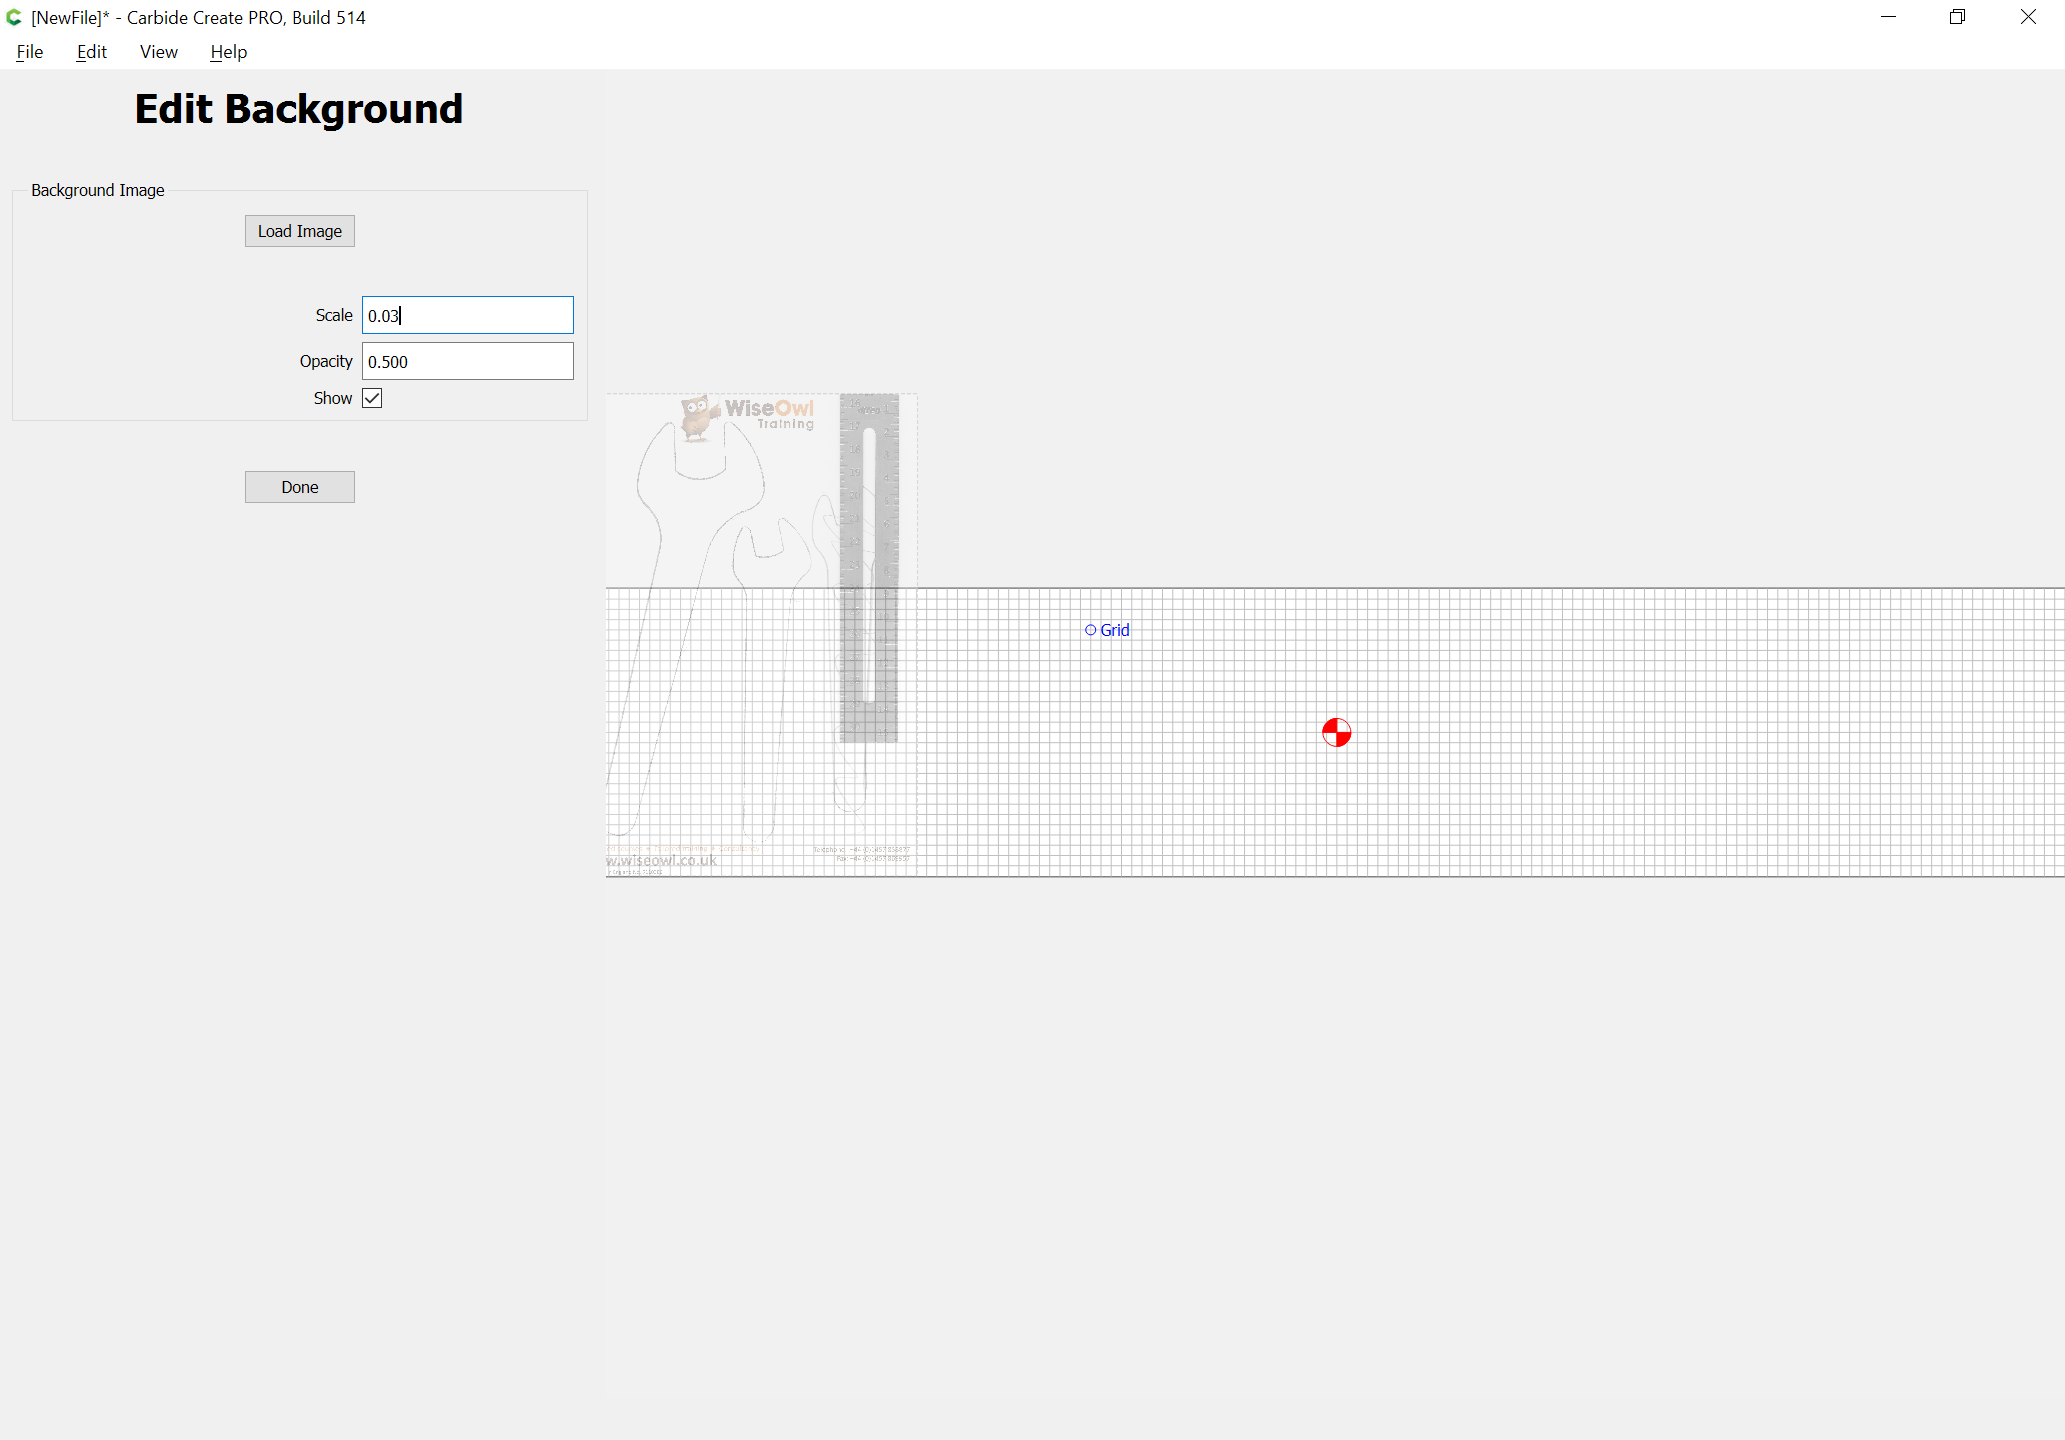
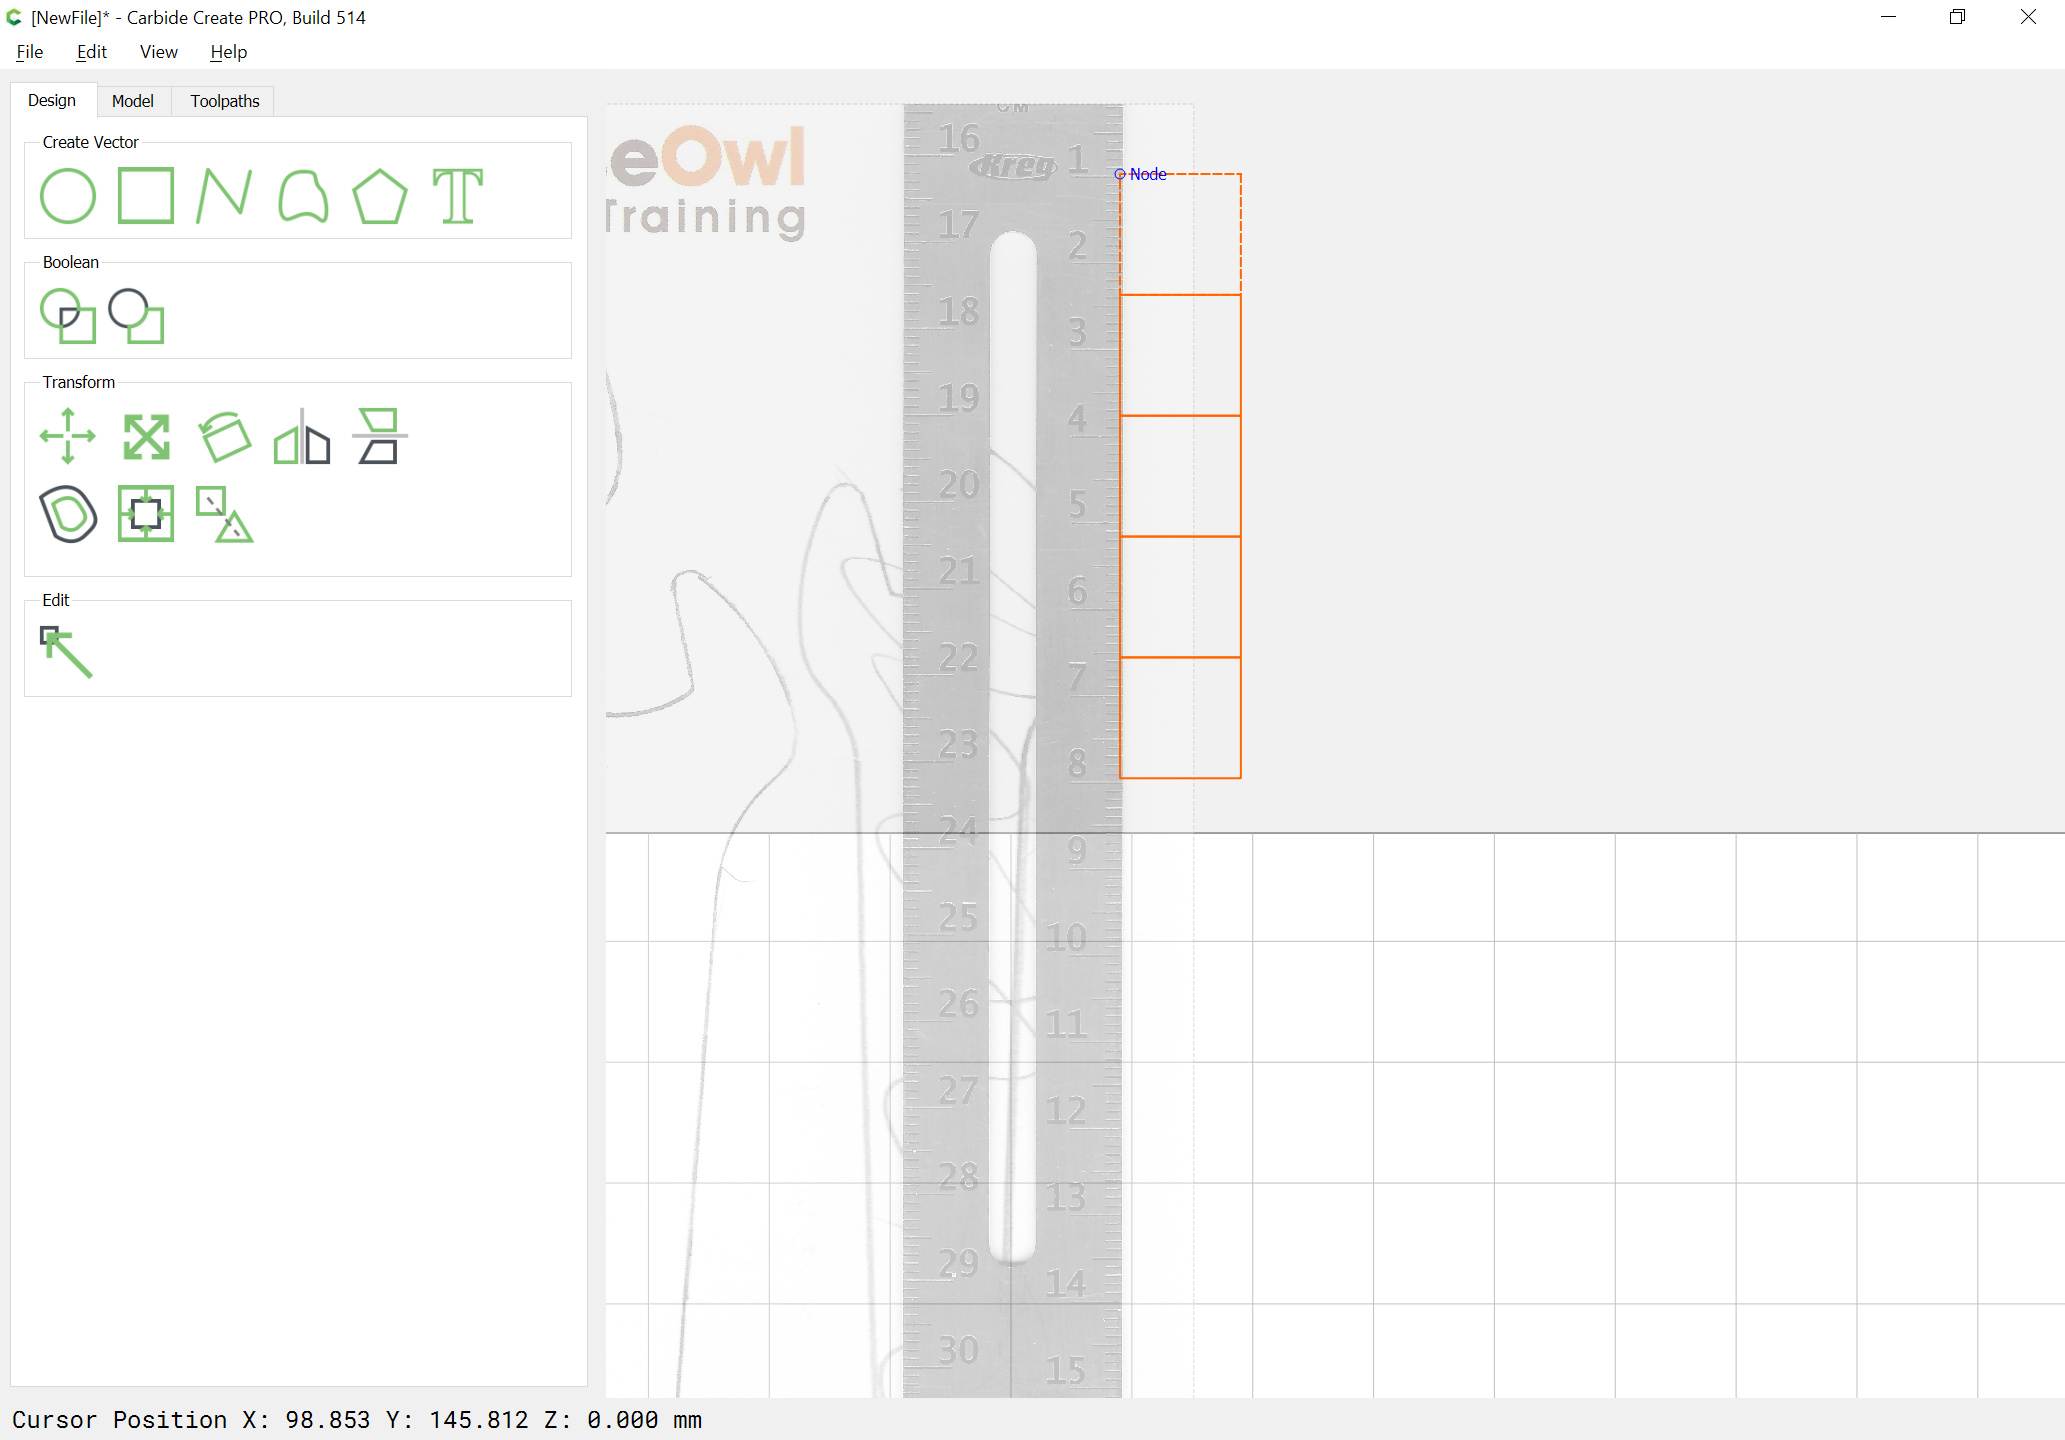
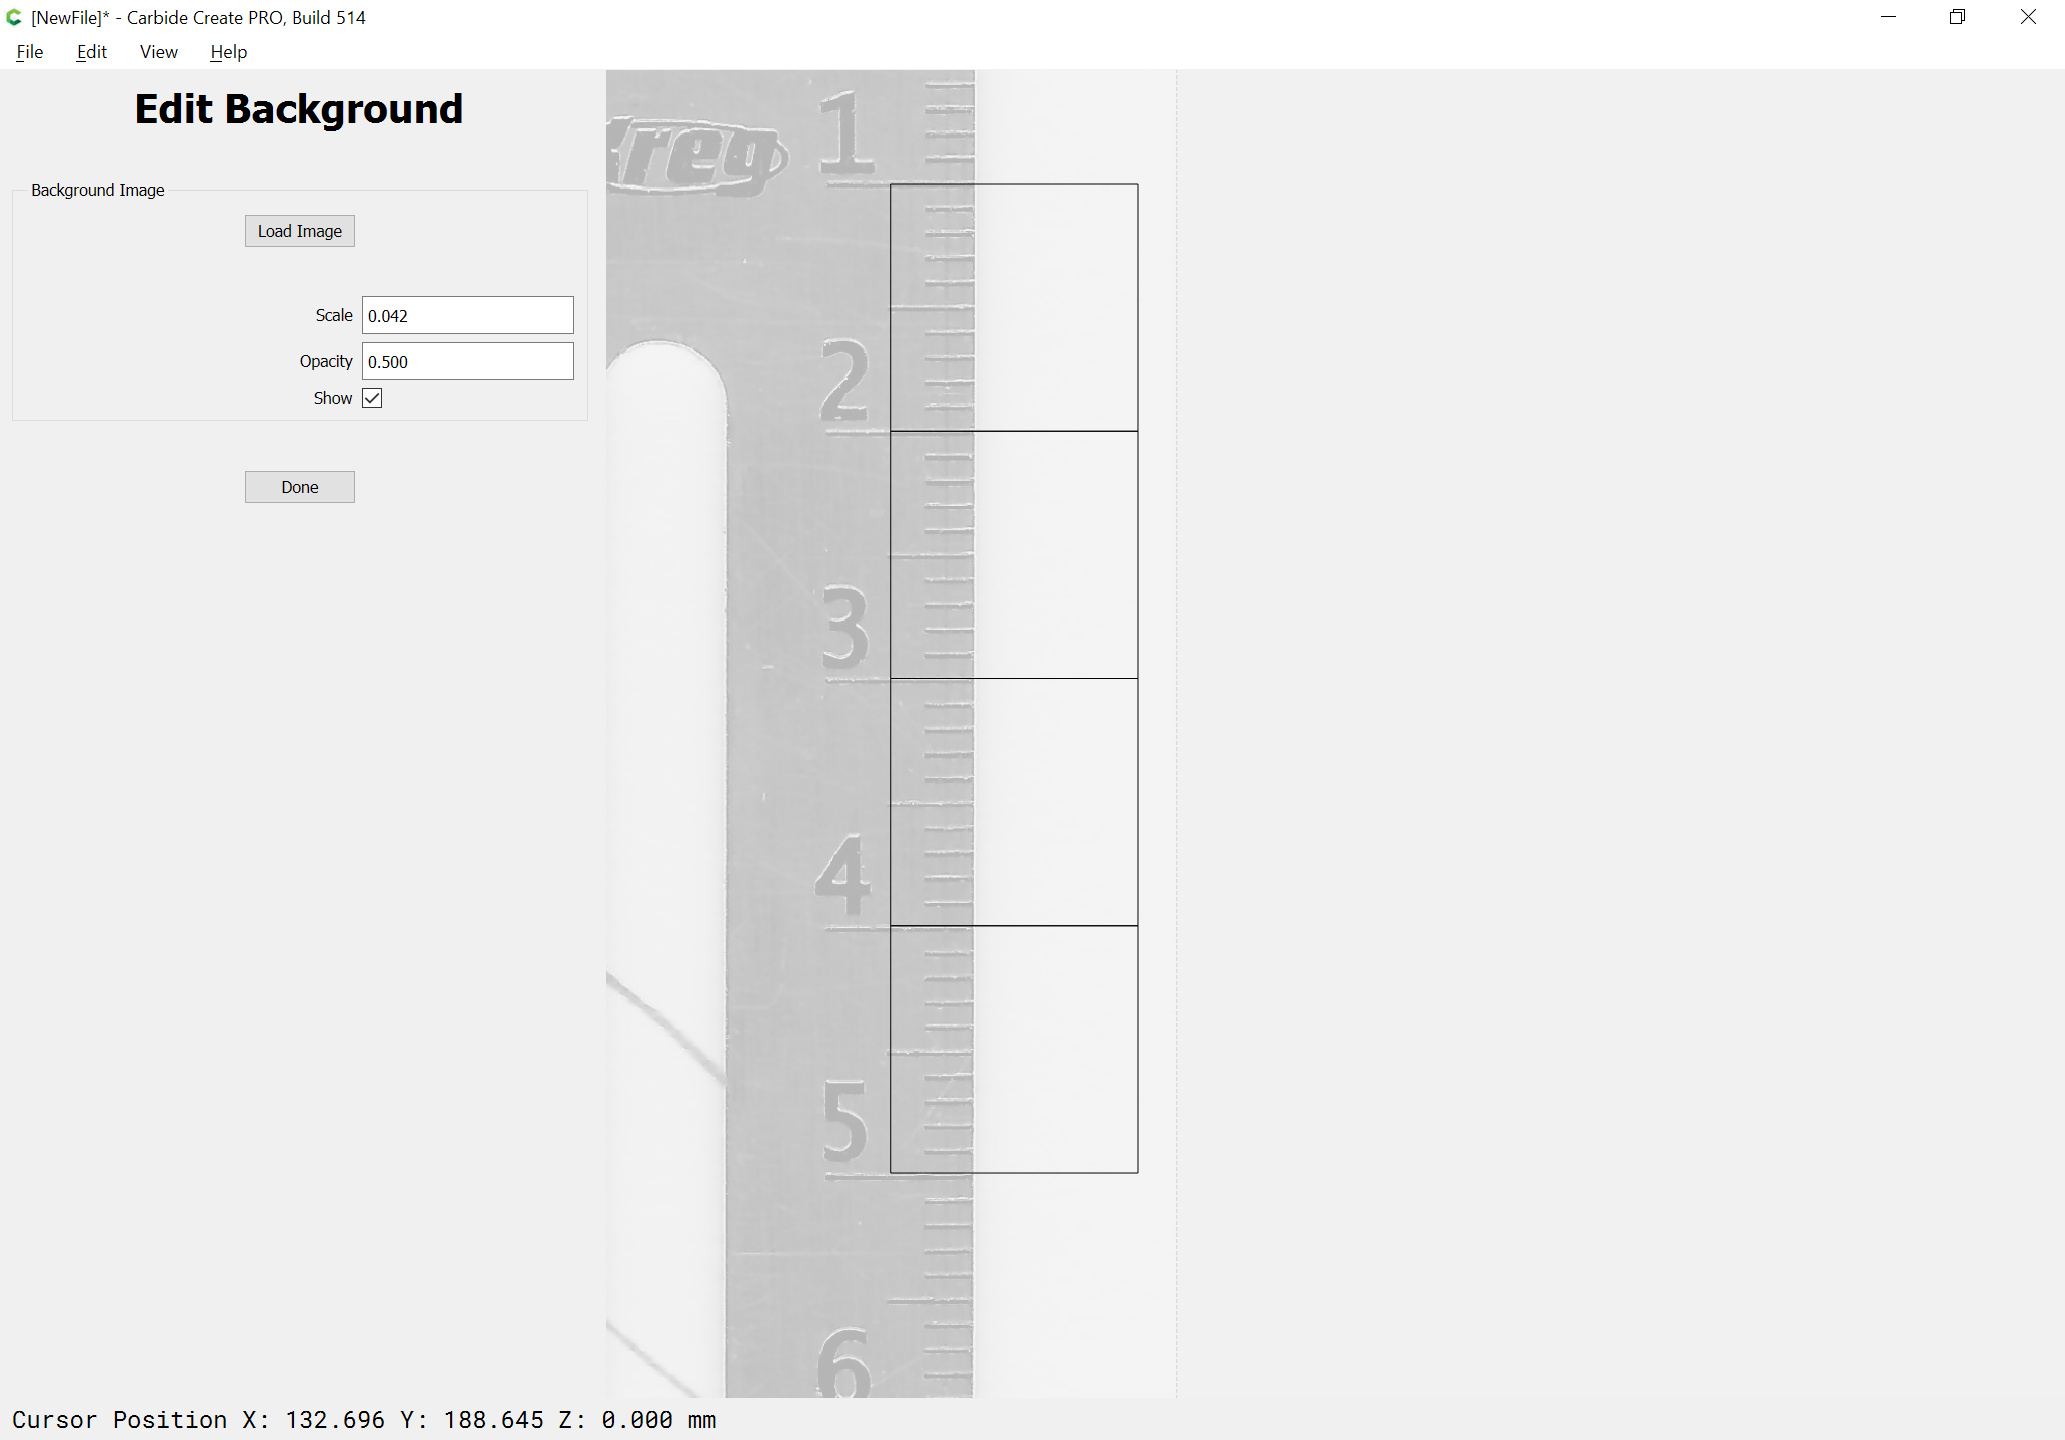
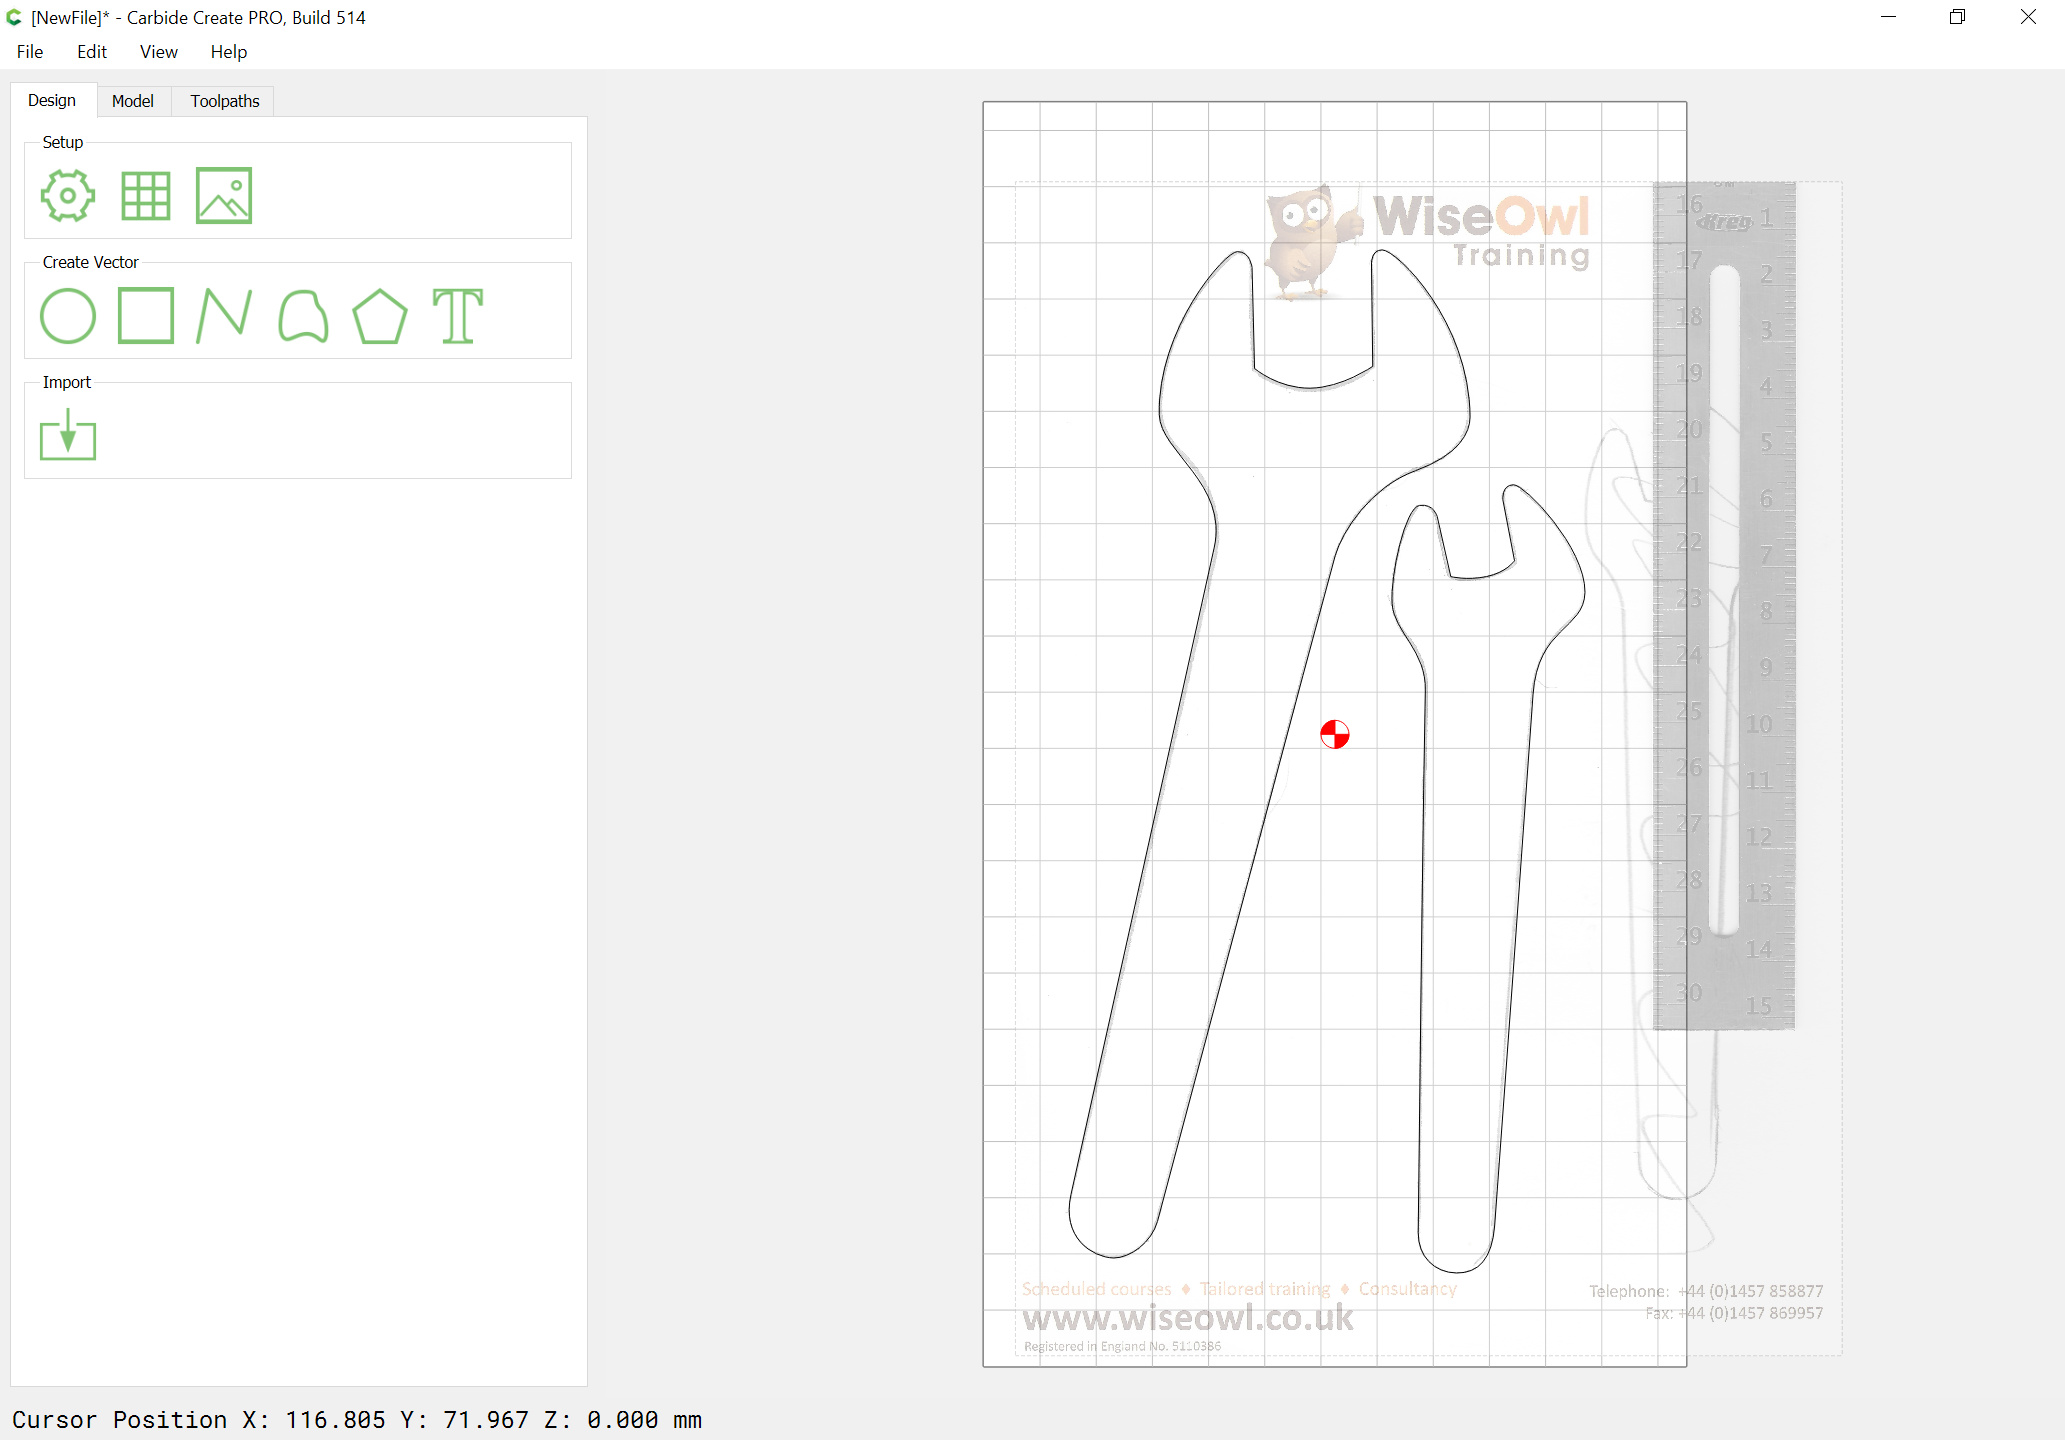
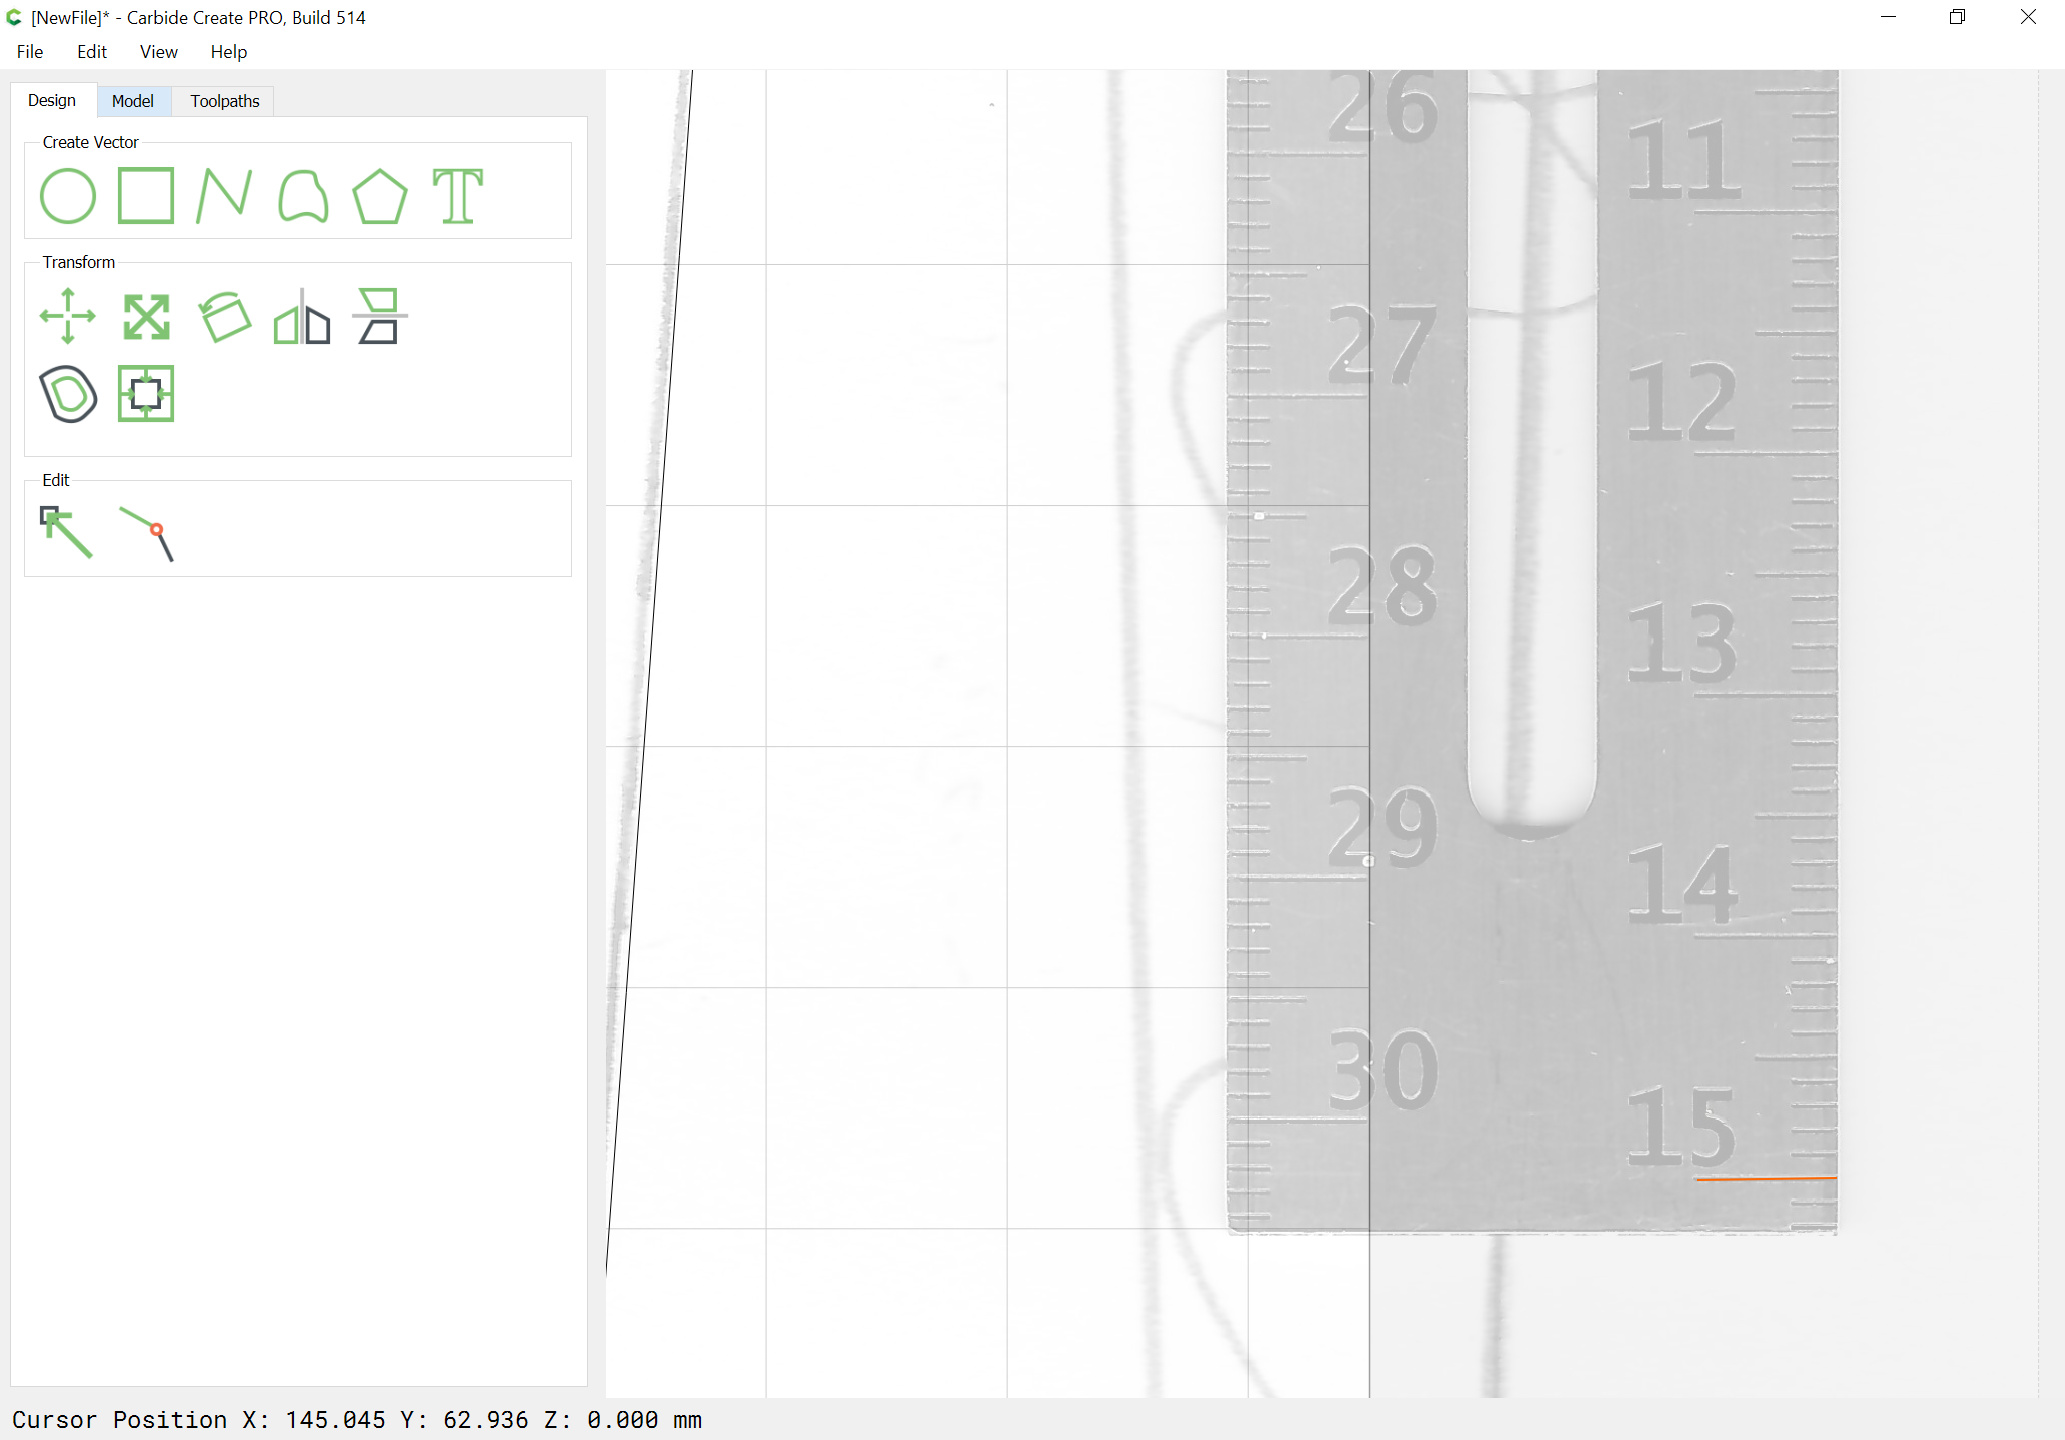
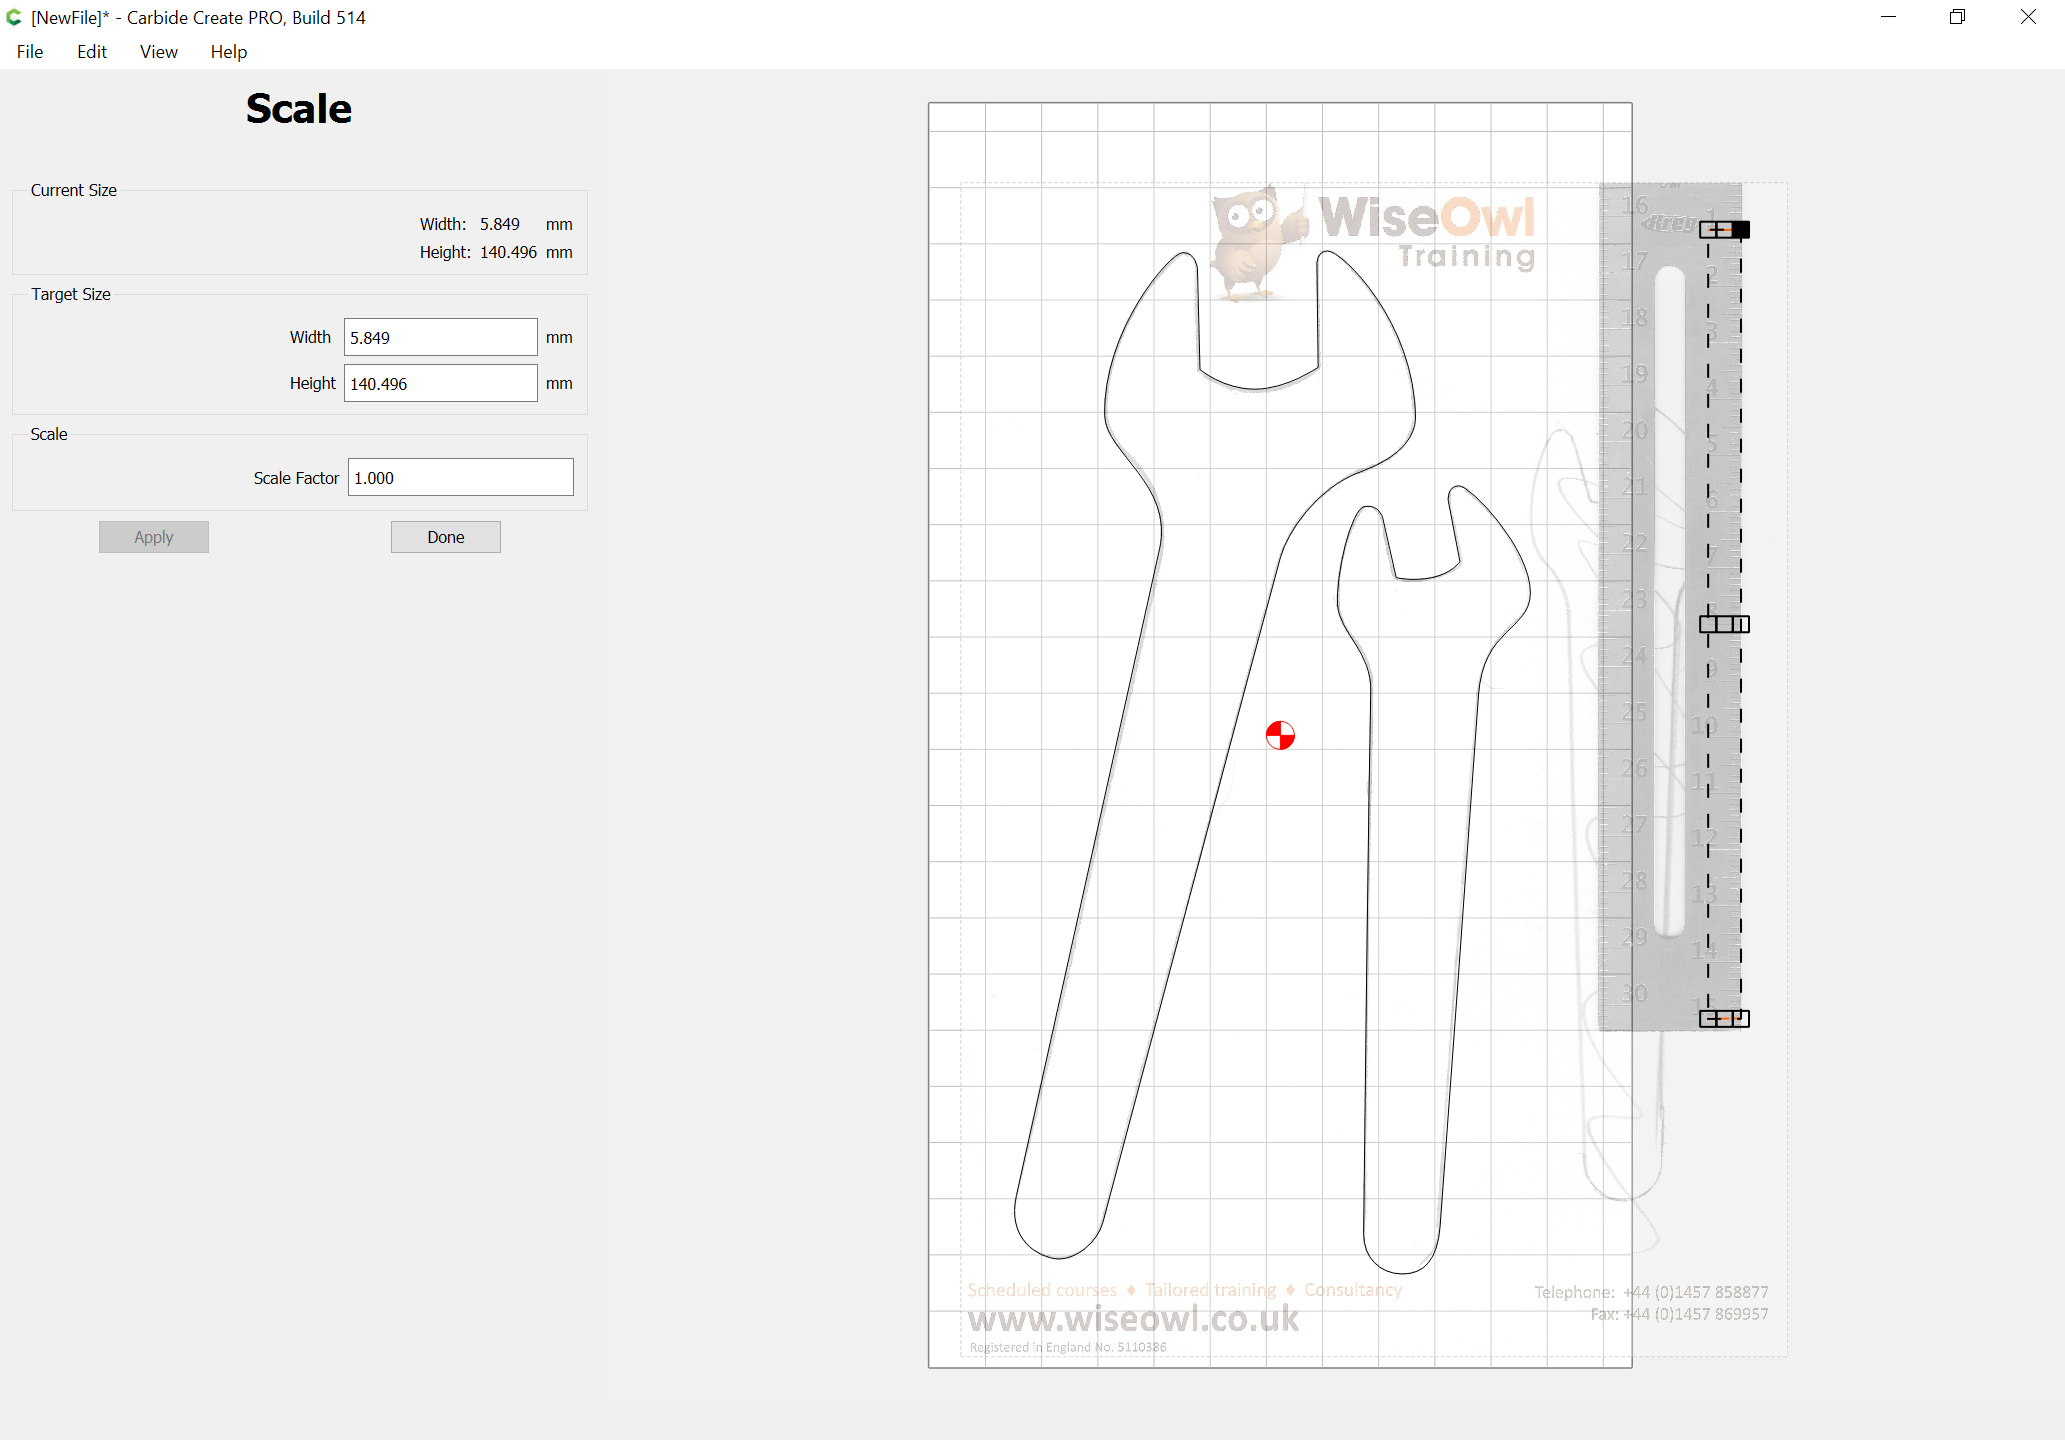
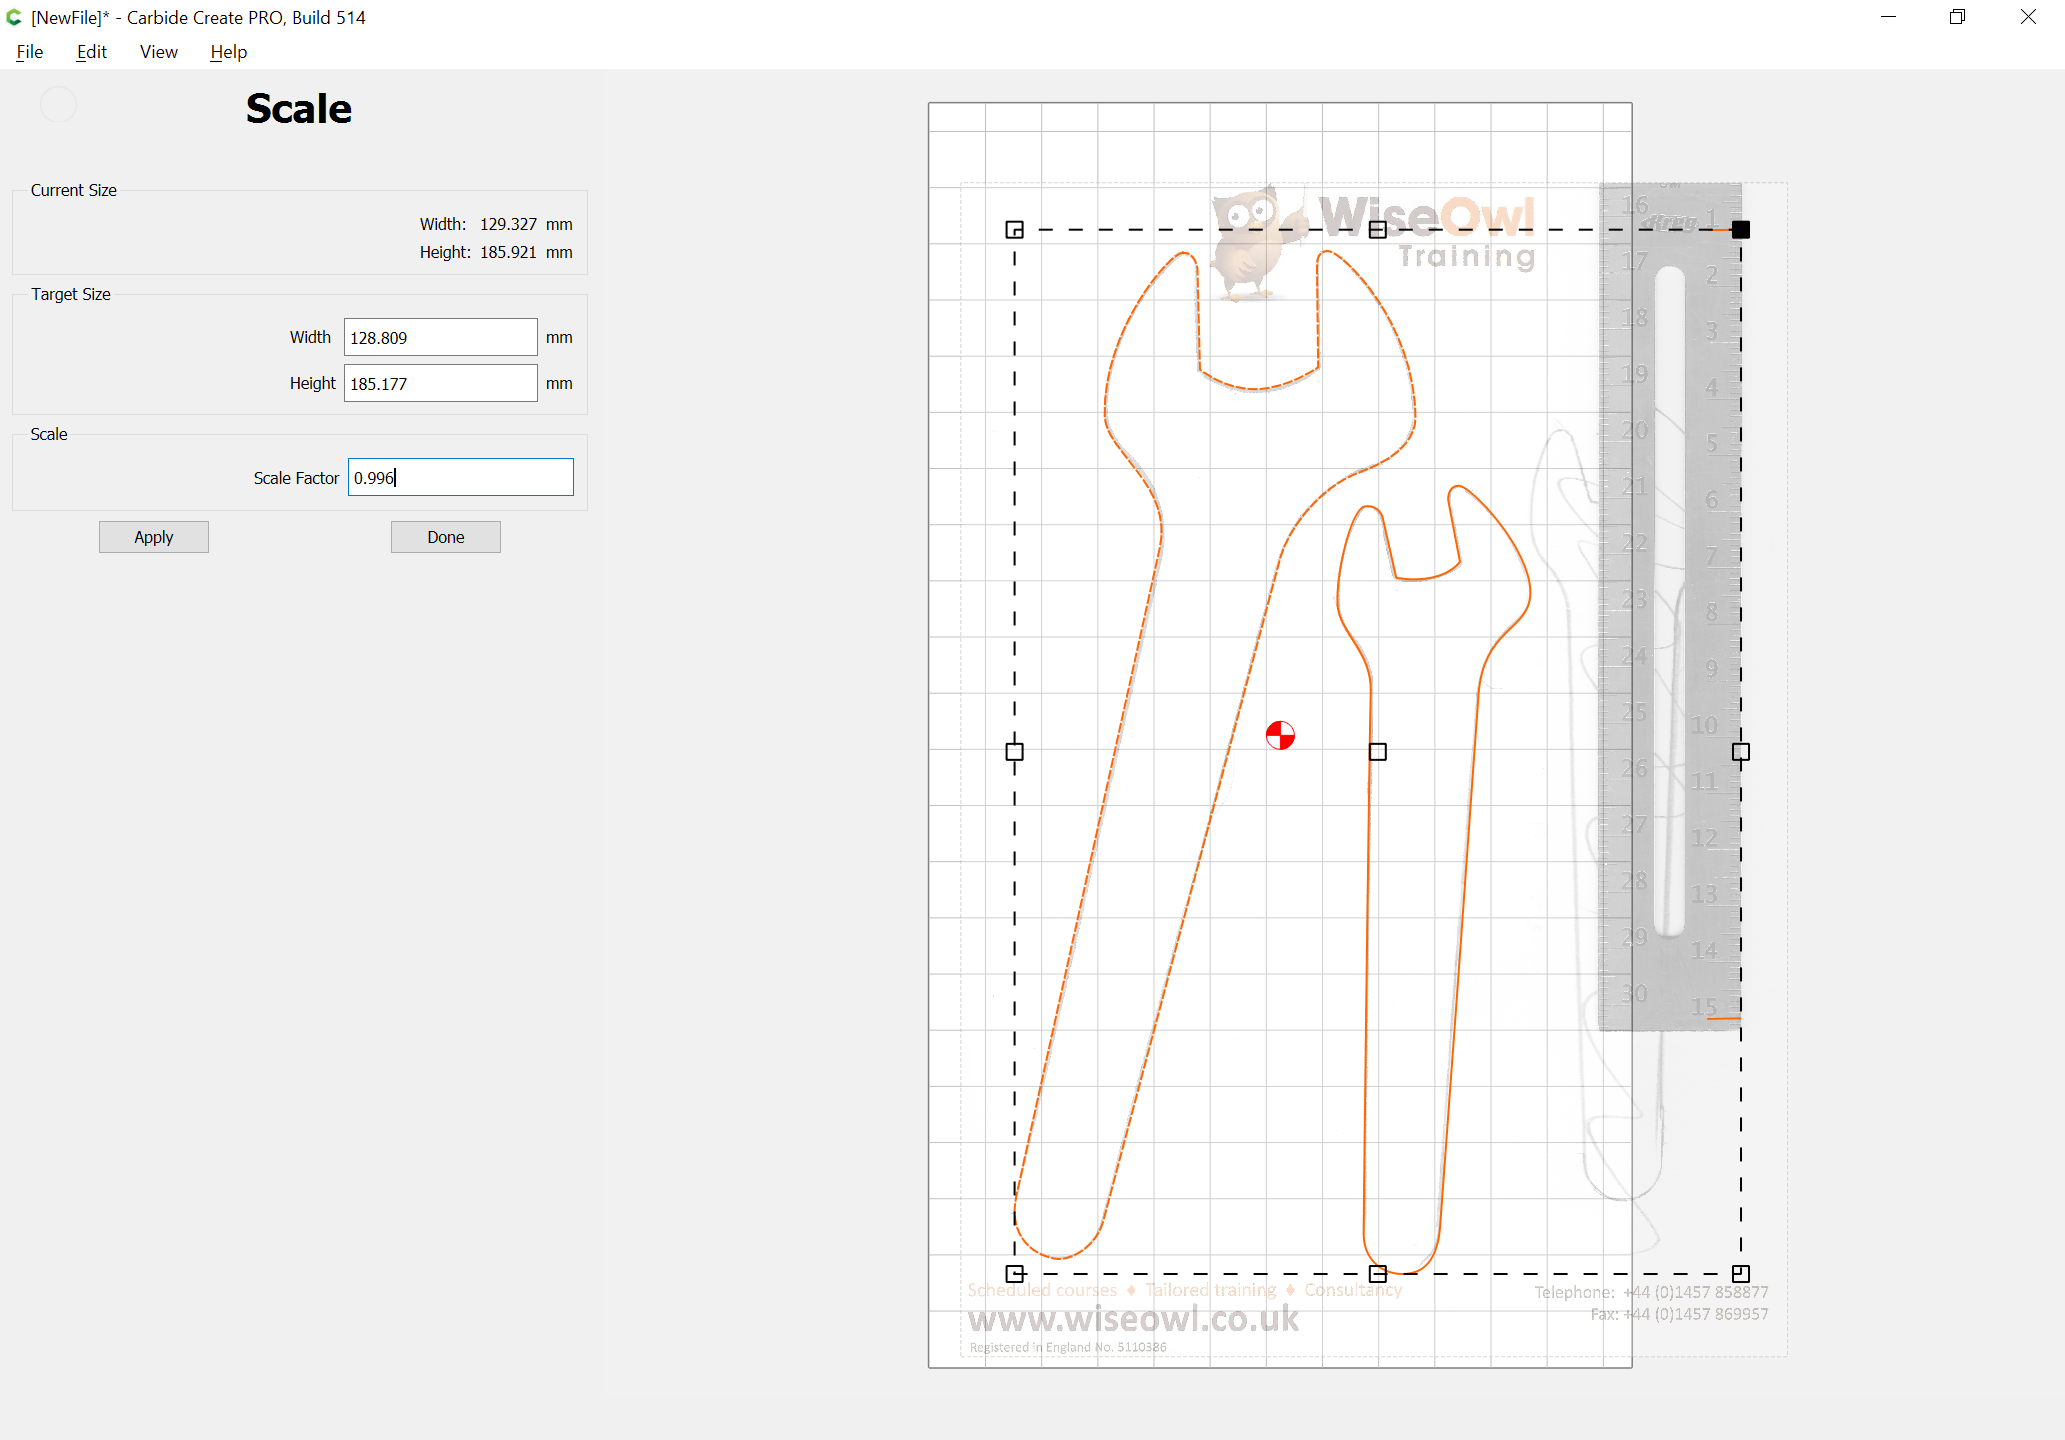
For any pixel image you need to establish the DPI — yes, it’s scanned at actual size, but other software may not properly use the DPI as set in the file — this is why I recommend including a ruler or an object of known dimension.

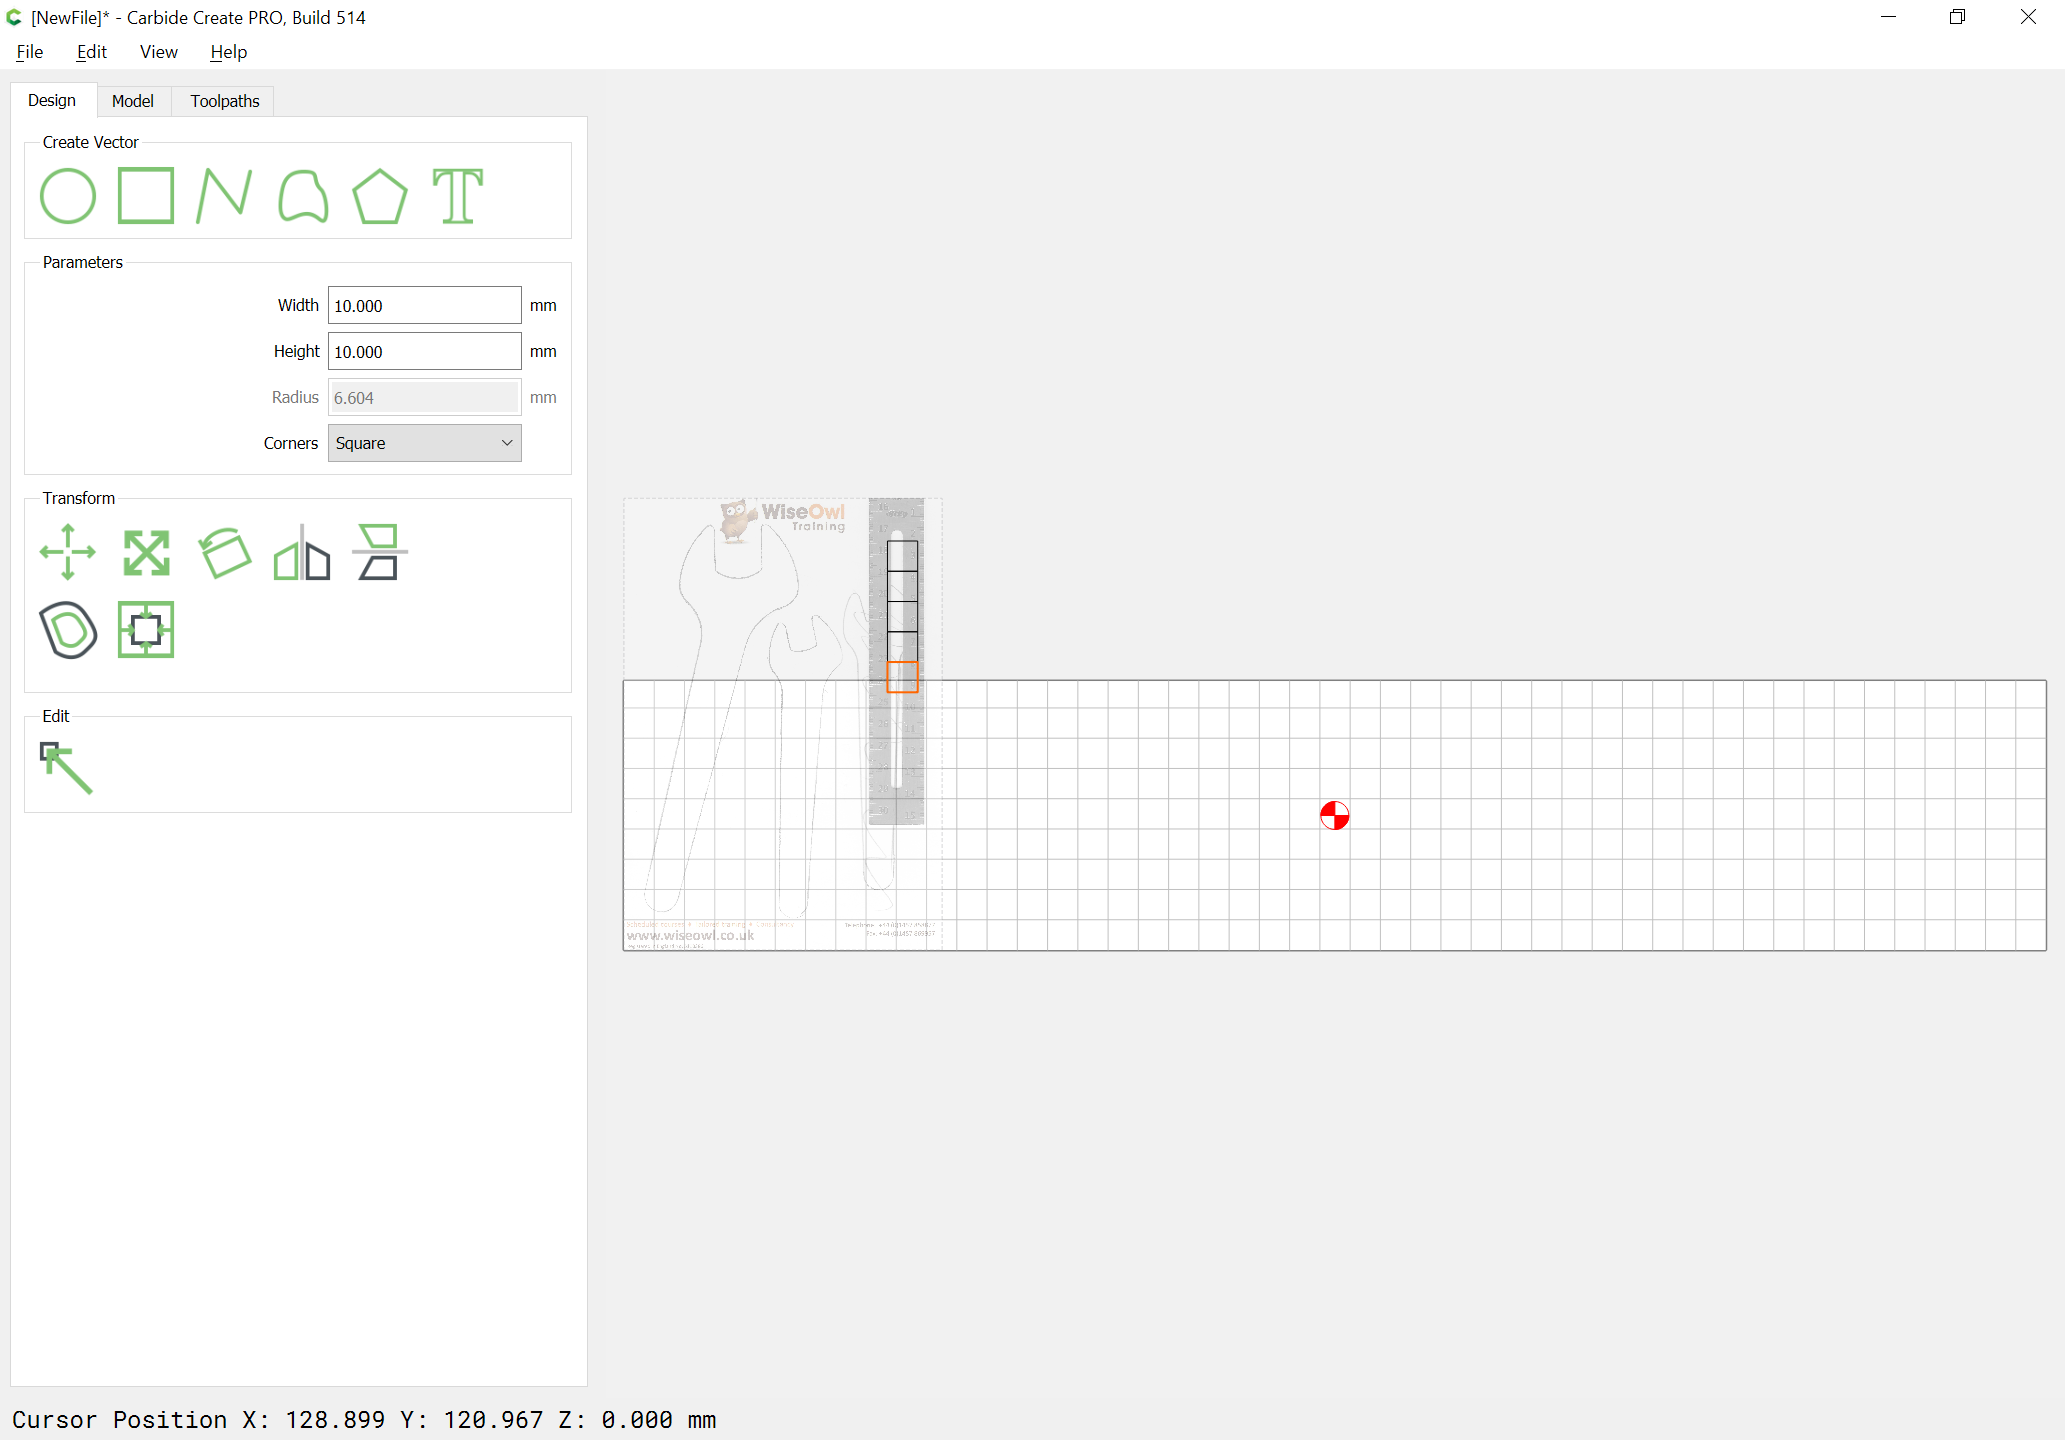
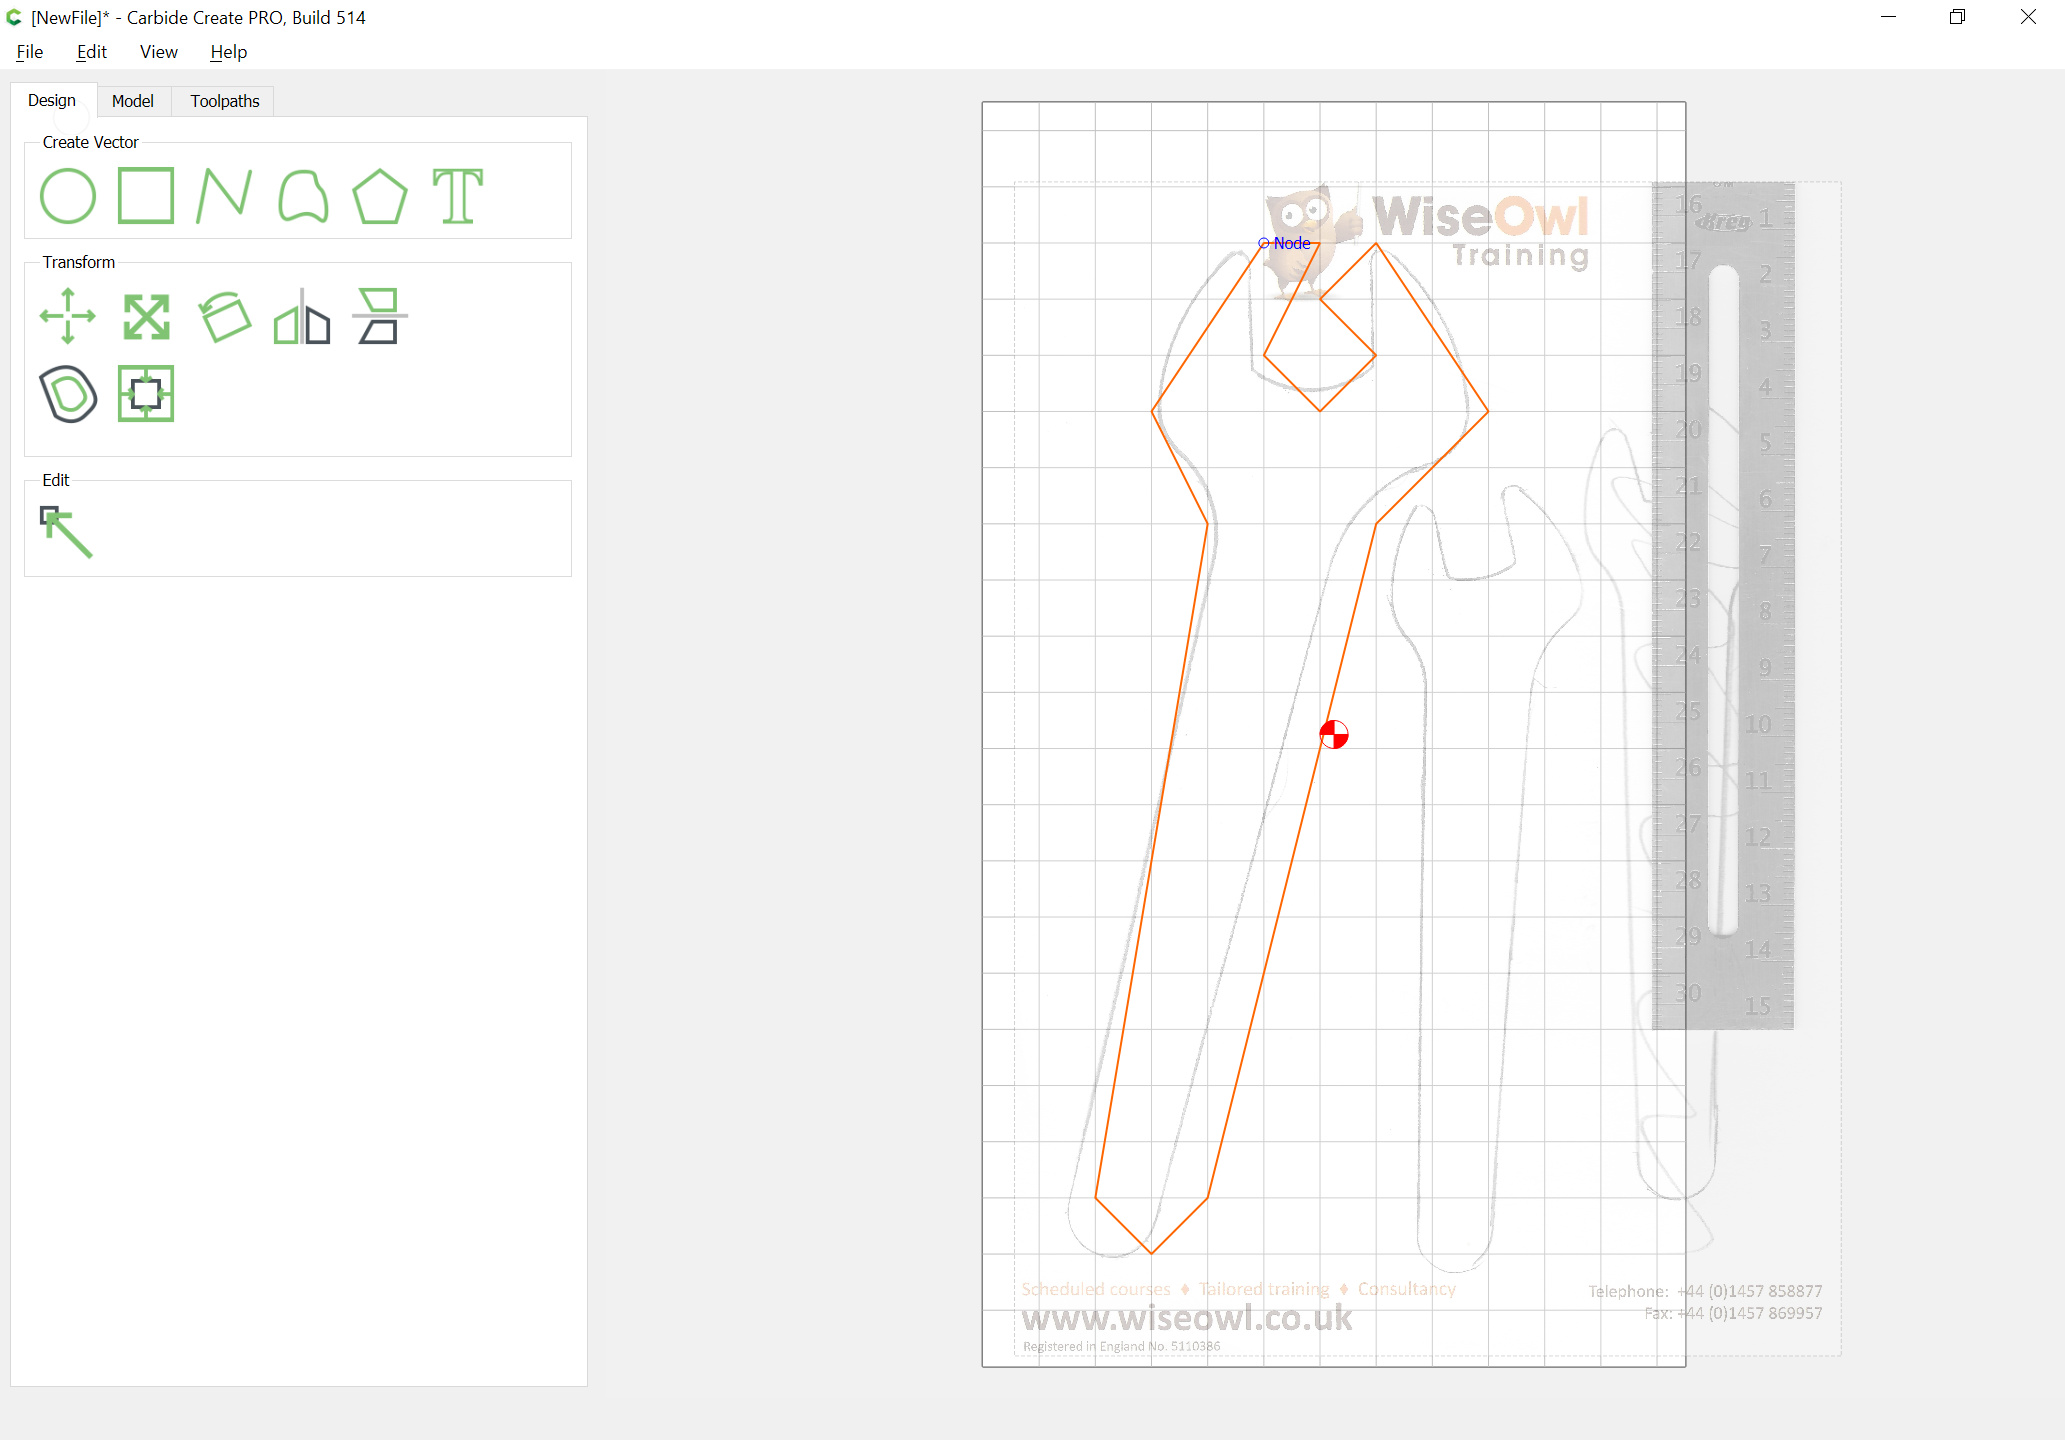
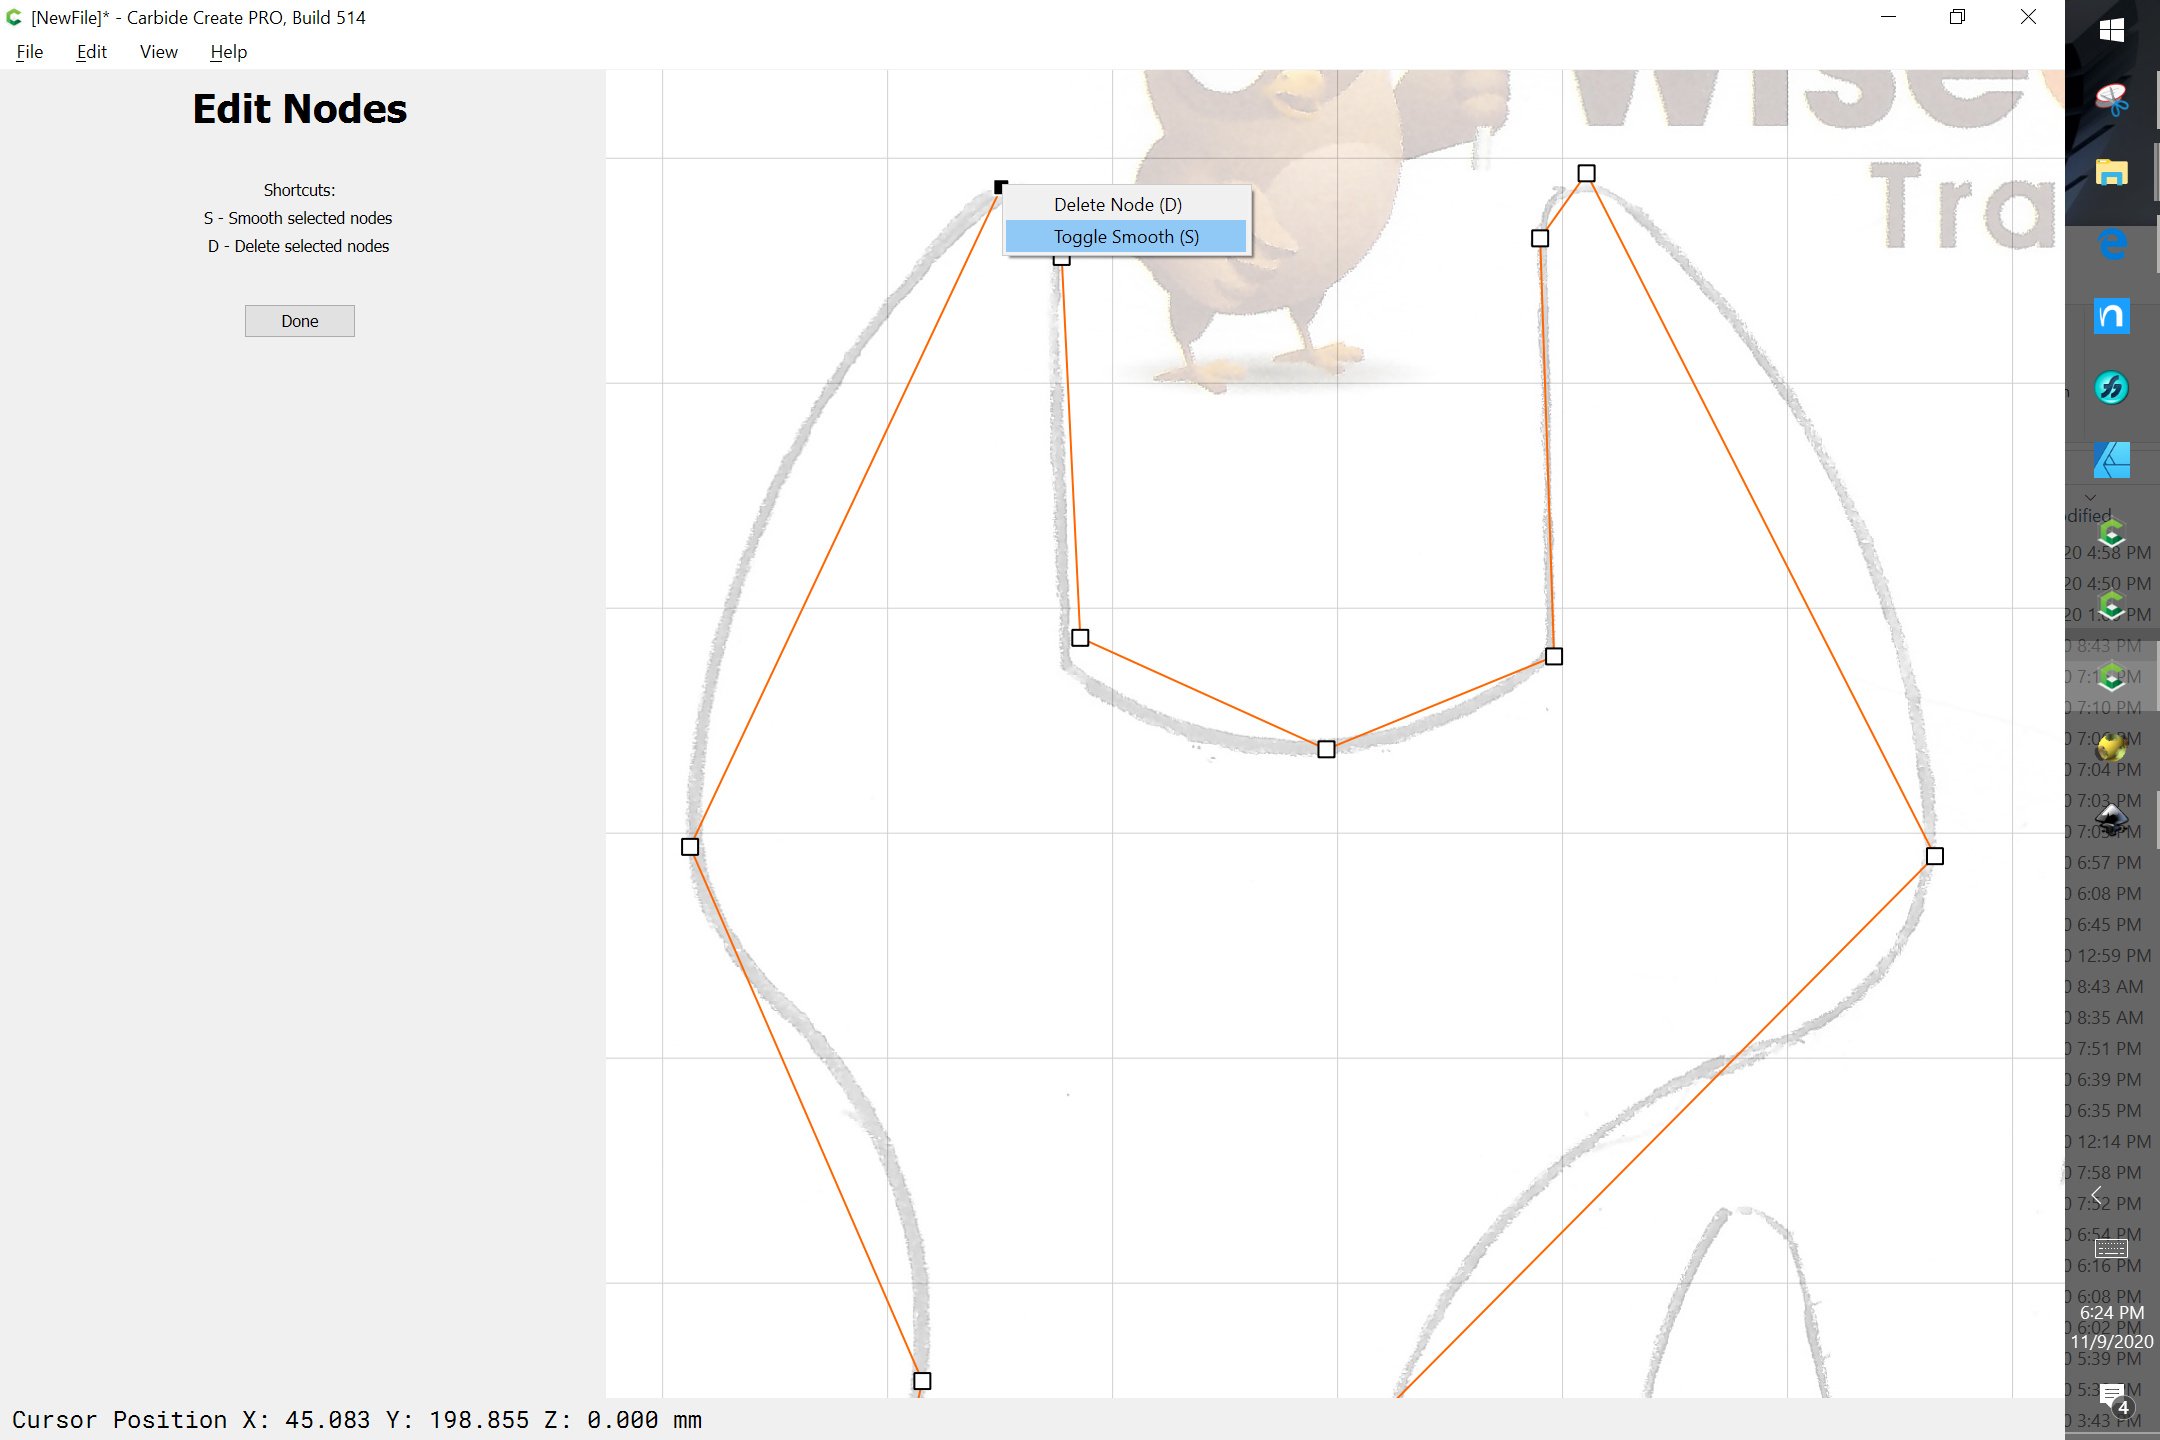
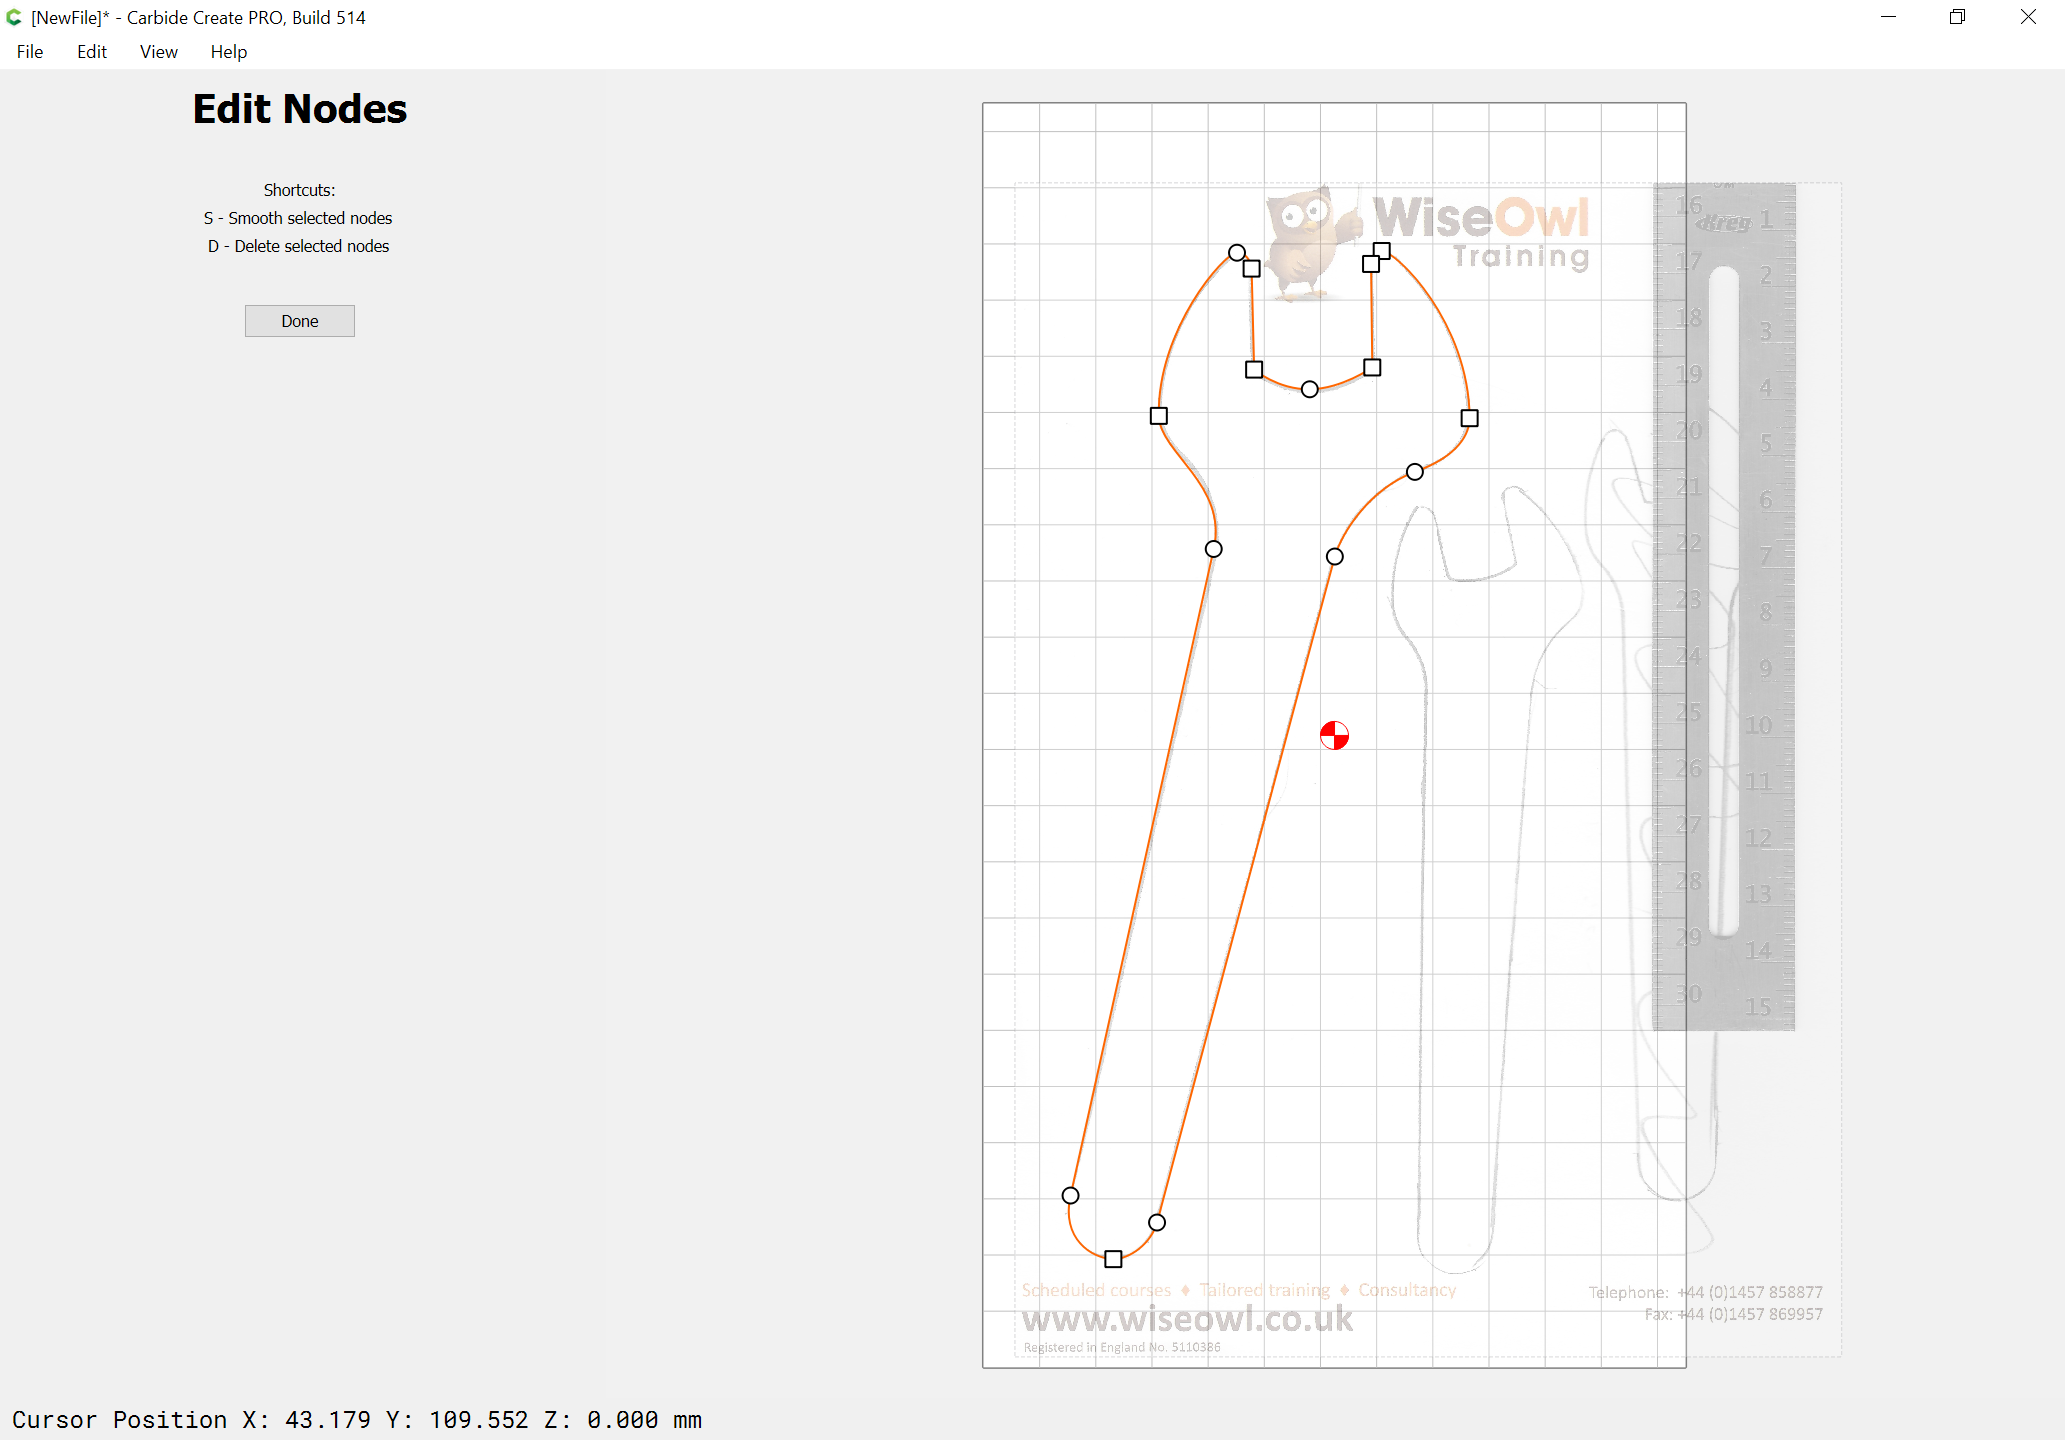
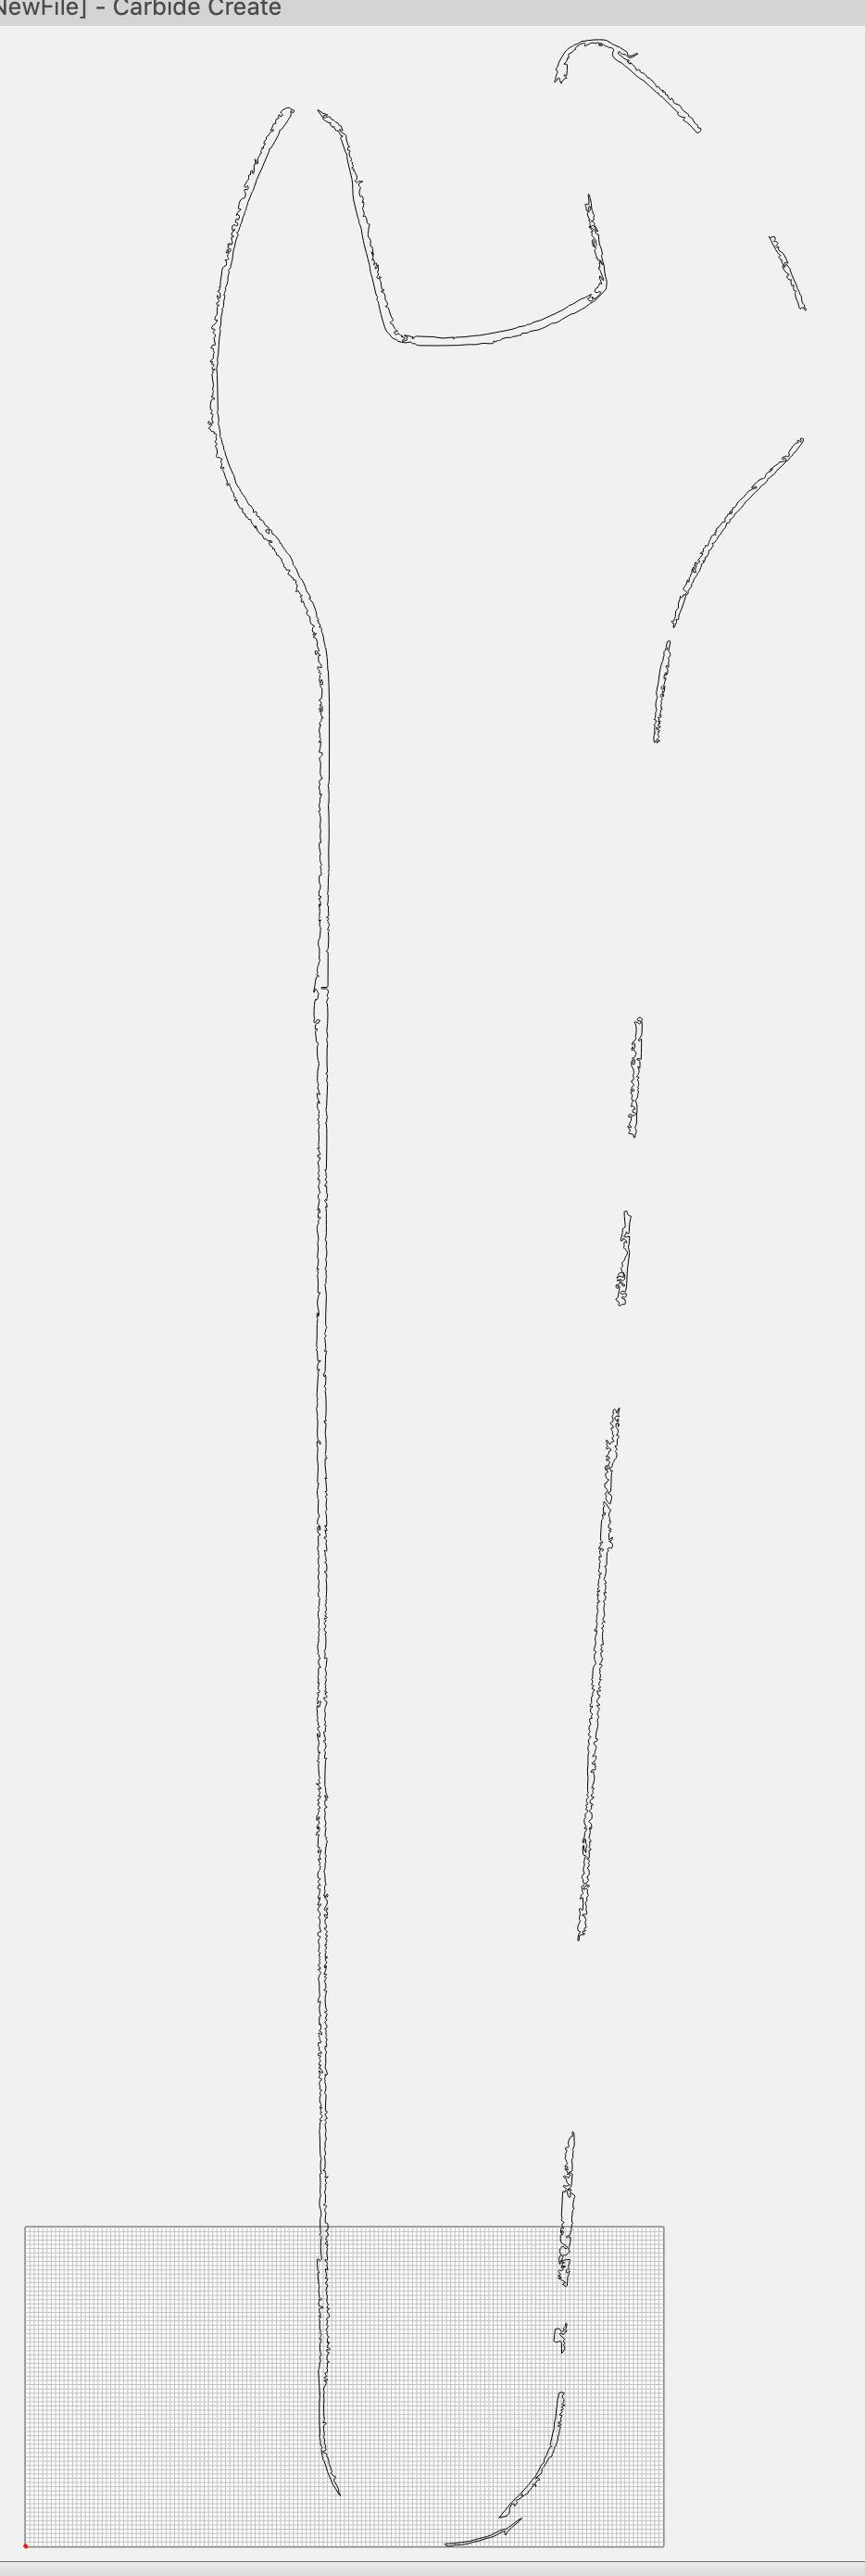
Once you have things scaled you should be able to auto-trace:

https://inkscape.org/en/doc/tutorials/tracing/tutorial-tracing.html/

and then import the vectors at the proper size (but I’d still recommend putting a rectangle of known dimension around things to check against).

If you’ll post an image which includes a ruler or largish object of known size we’ll gladly work up a step-by-step tutorial.

Here you go…

Okay, launch Carbide Create (I’ll be using the new v5 beta: https://carbide3d.com/carbidecreate/beta/ but the techniques should be the same in any version):

Click on “Set Background”:

Load Image, select Scanned%20Image.jpg, Okay

Reduce the scale until you can see everything:

Draw some 1cm squares:

Zoom in and compare the size of the squares to the ruler:

Adjust the scaling until things line up:

(only 3 digits of precision here, so may not be possible to get things perfect)

Select the curve tool and click at points of inflection and extrema to get a beginning to the geometry around the first wrench:

(I would suggest making the grid a bit finer)

Turn off snap to grid.

Go into Node Edit mode:

and drag the nodes around to position them as desired:

Zoom in on a section, go back into Node Edit and right-click on a node and choose “Toggle Smooth”:

drag the off-curve nodes to reshape the curve as desired:

and repeat:

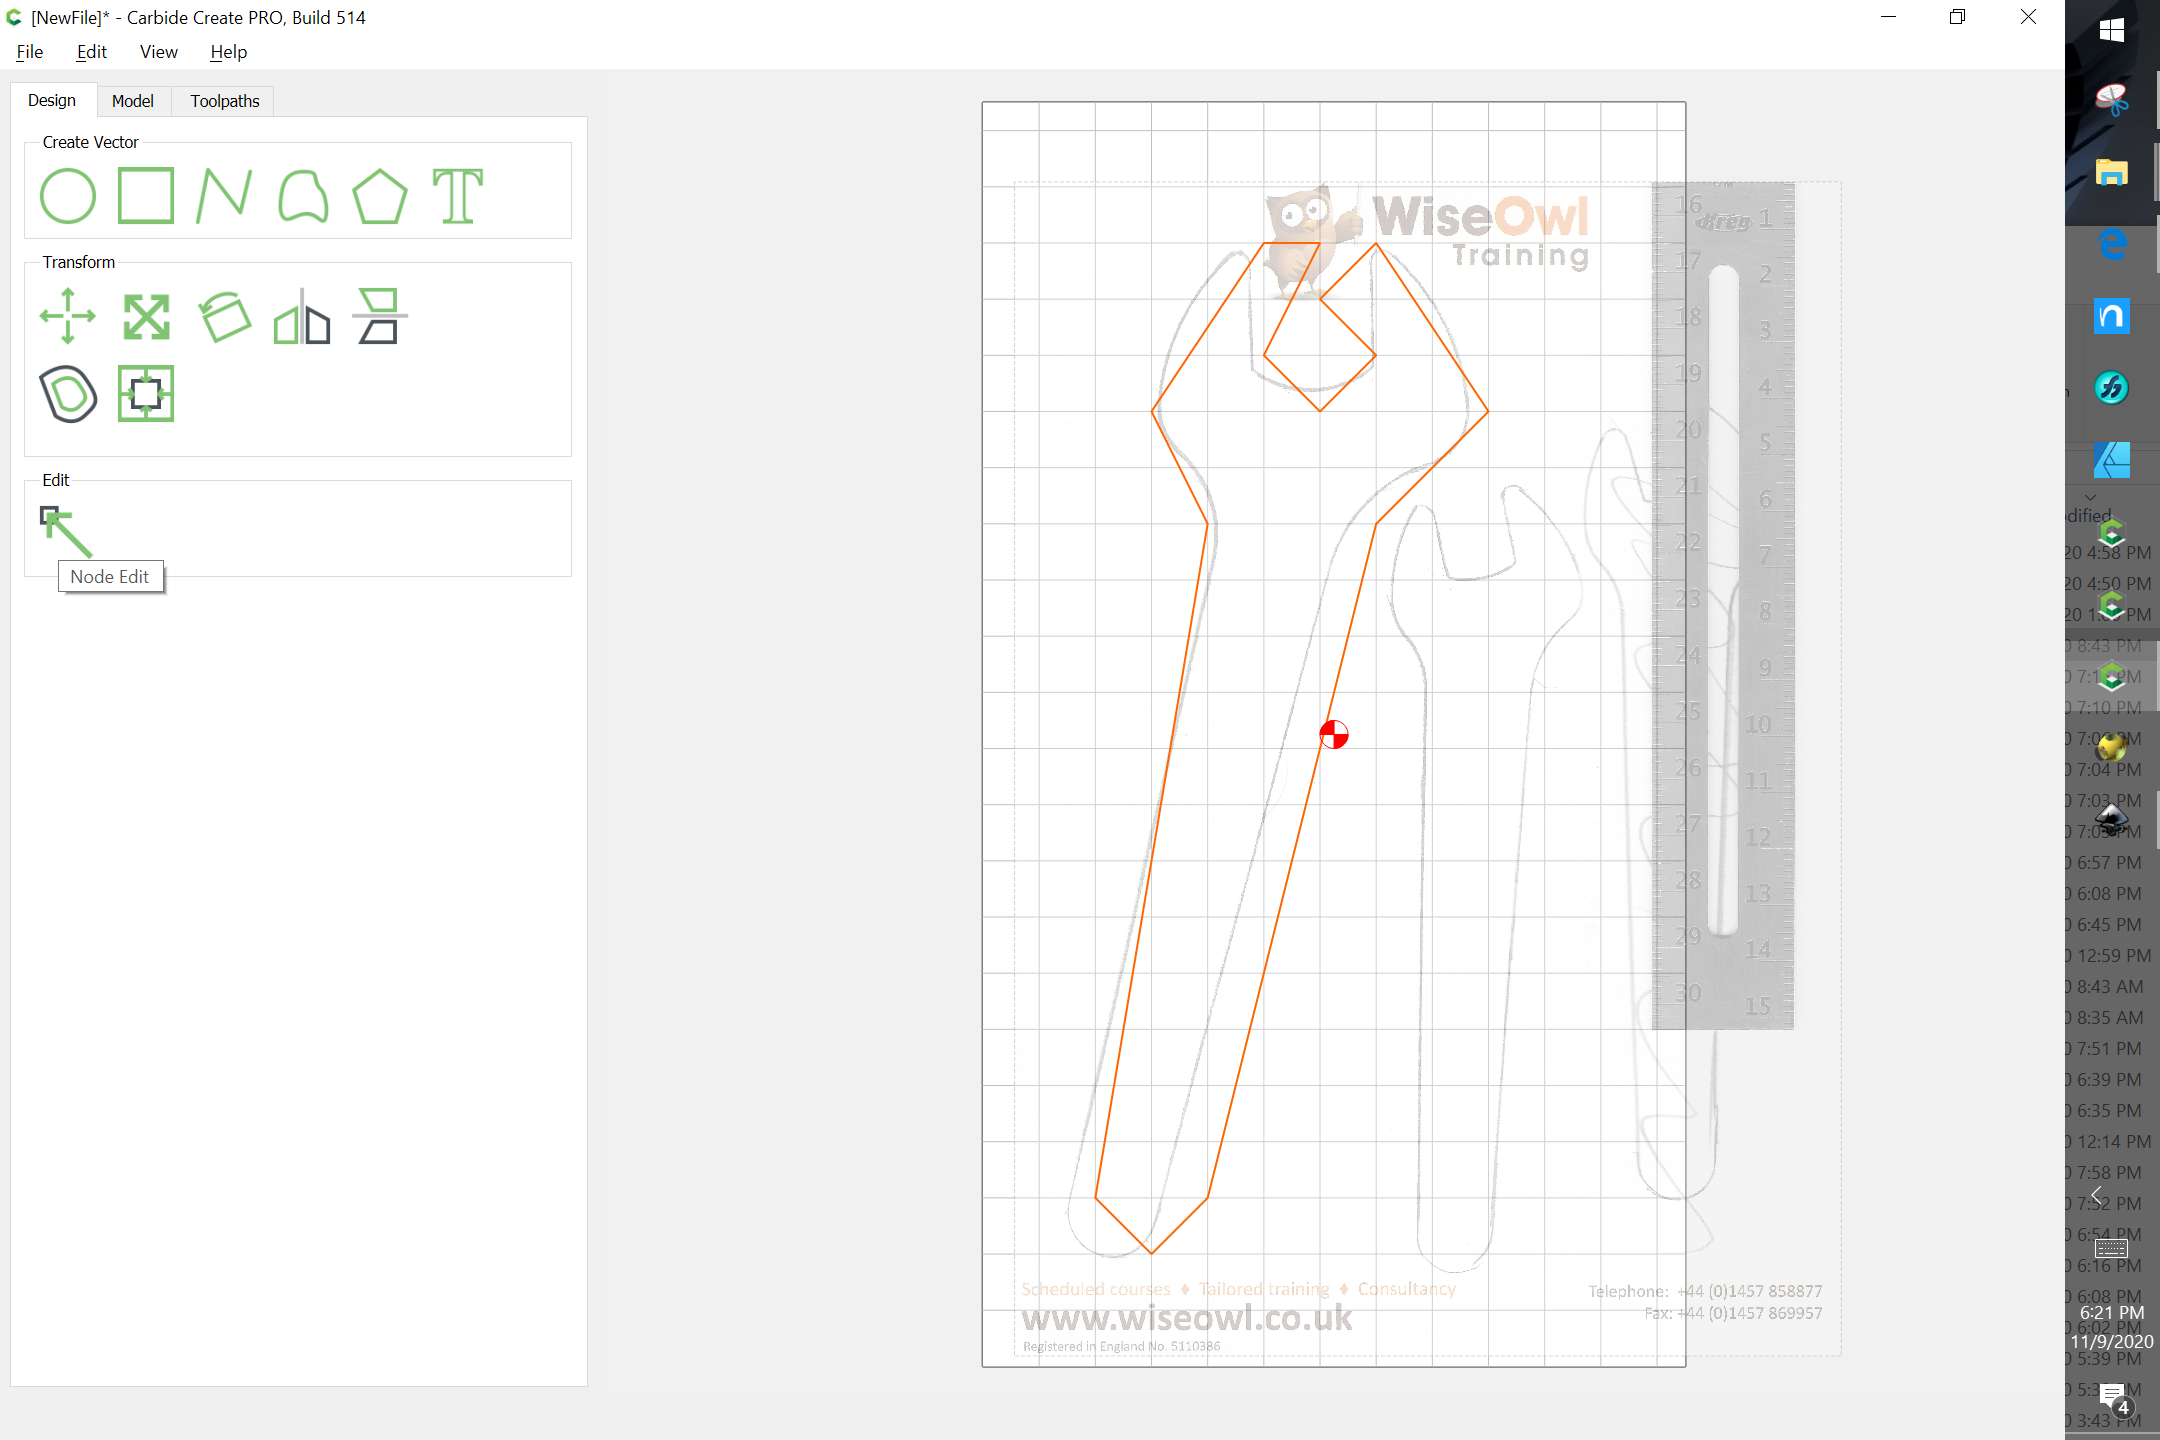
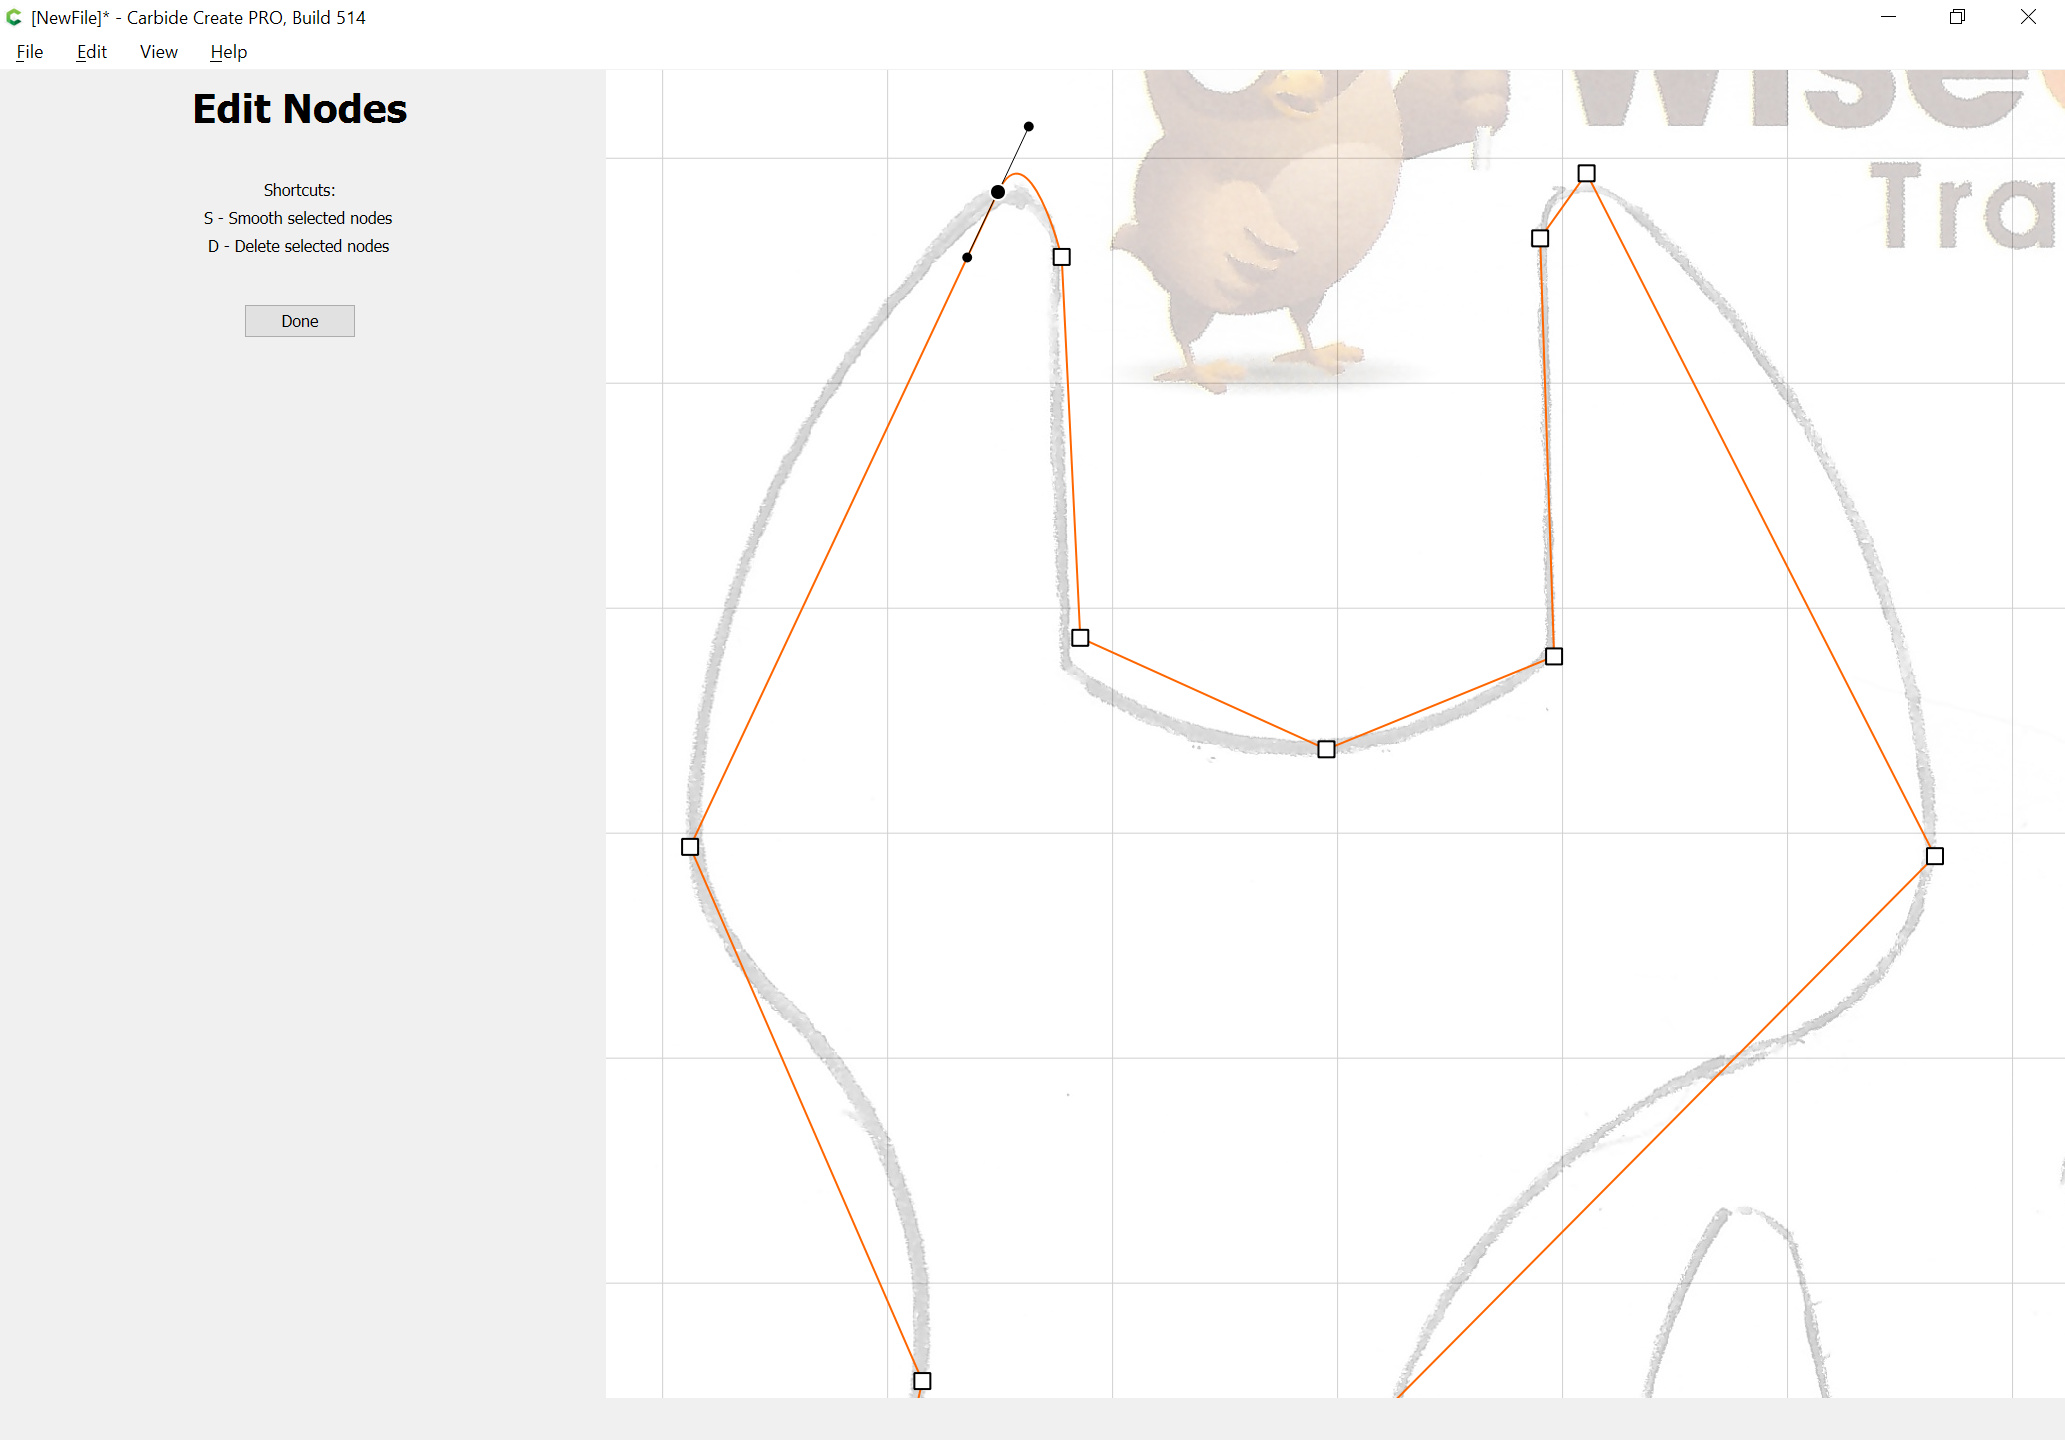
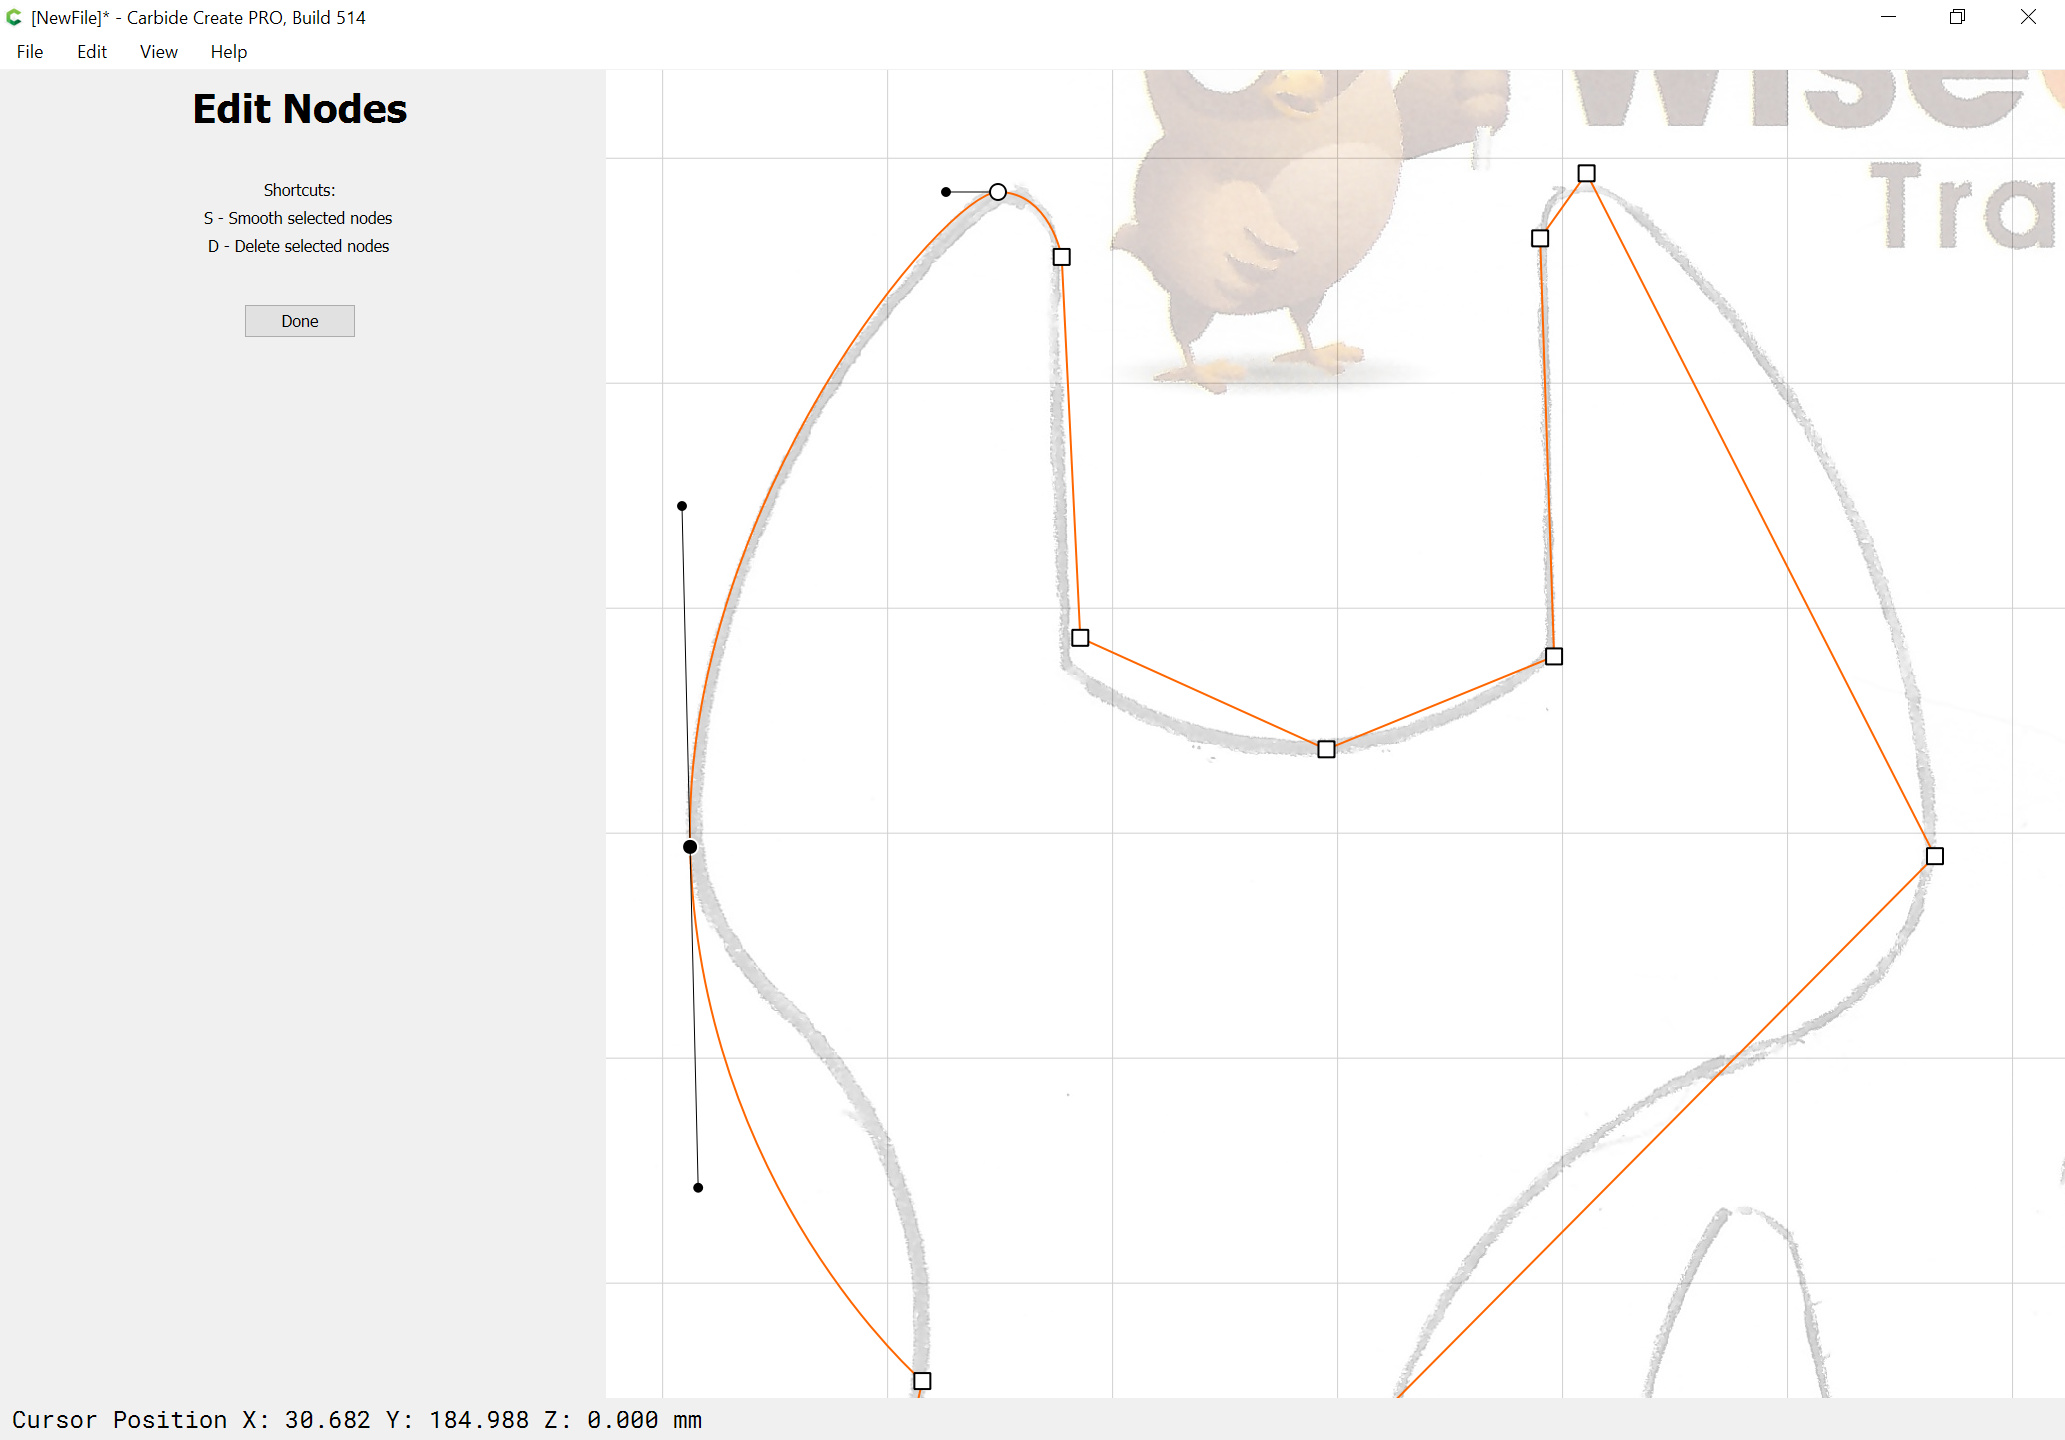
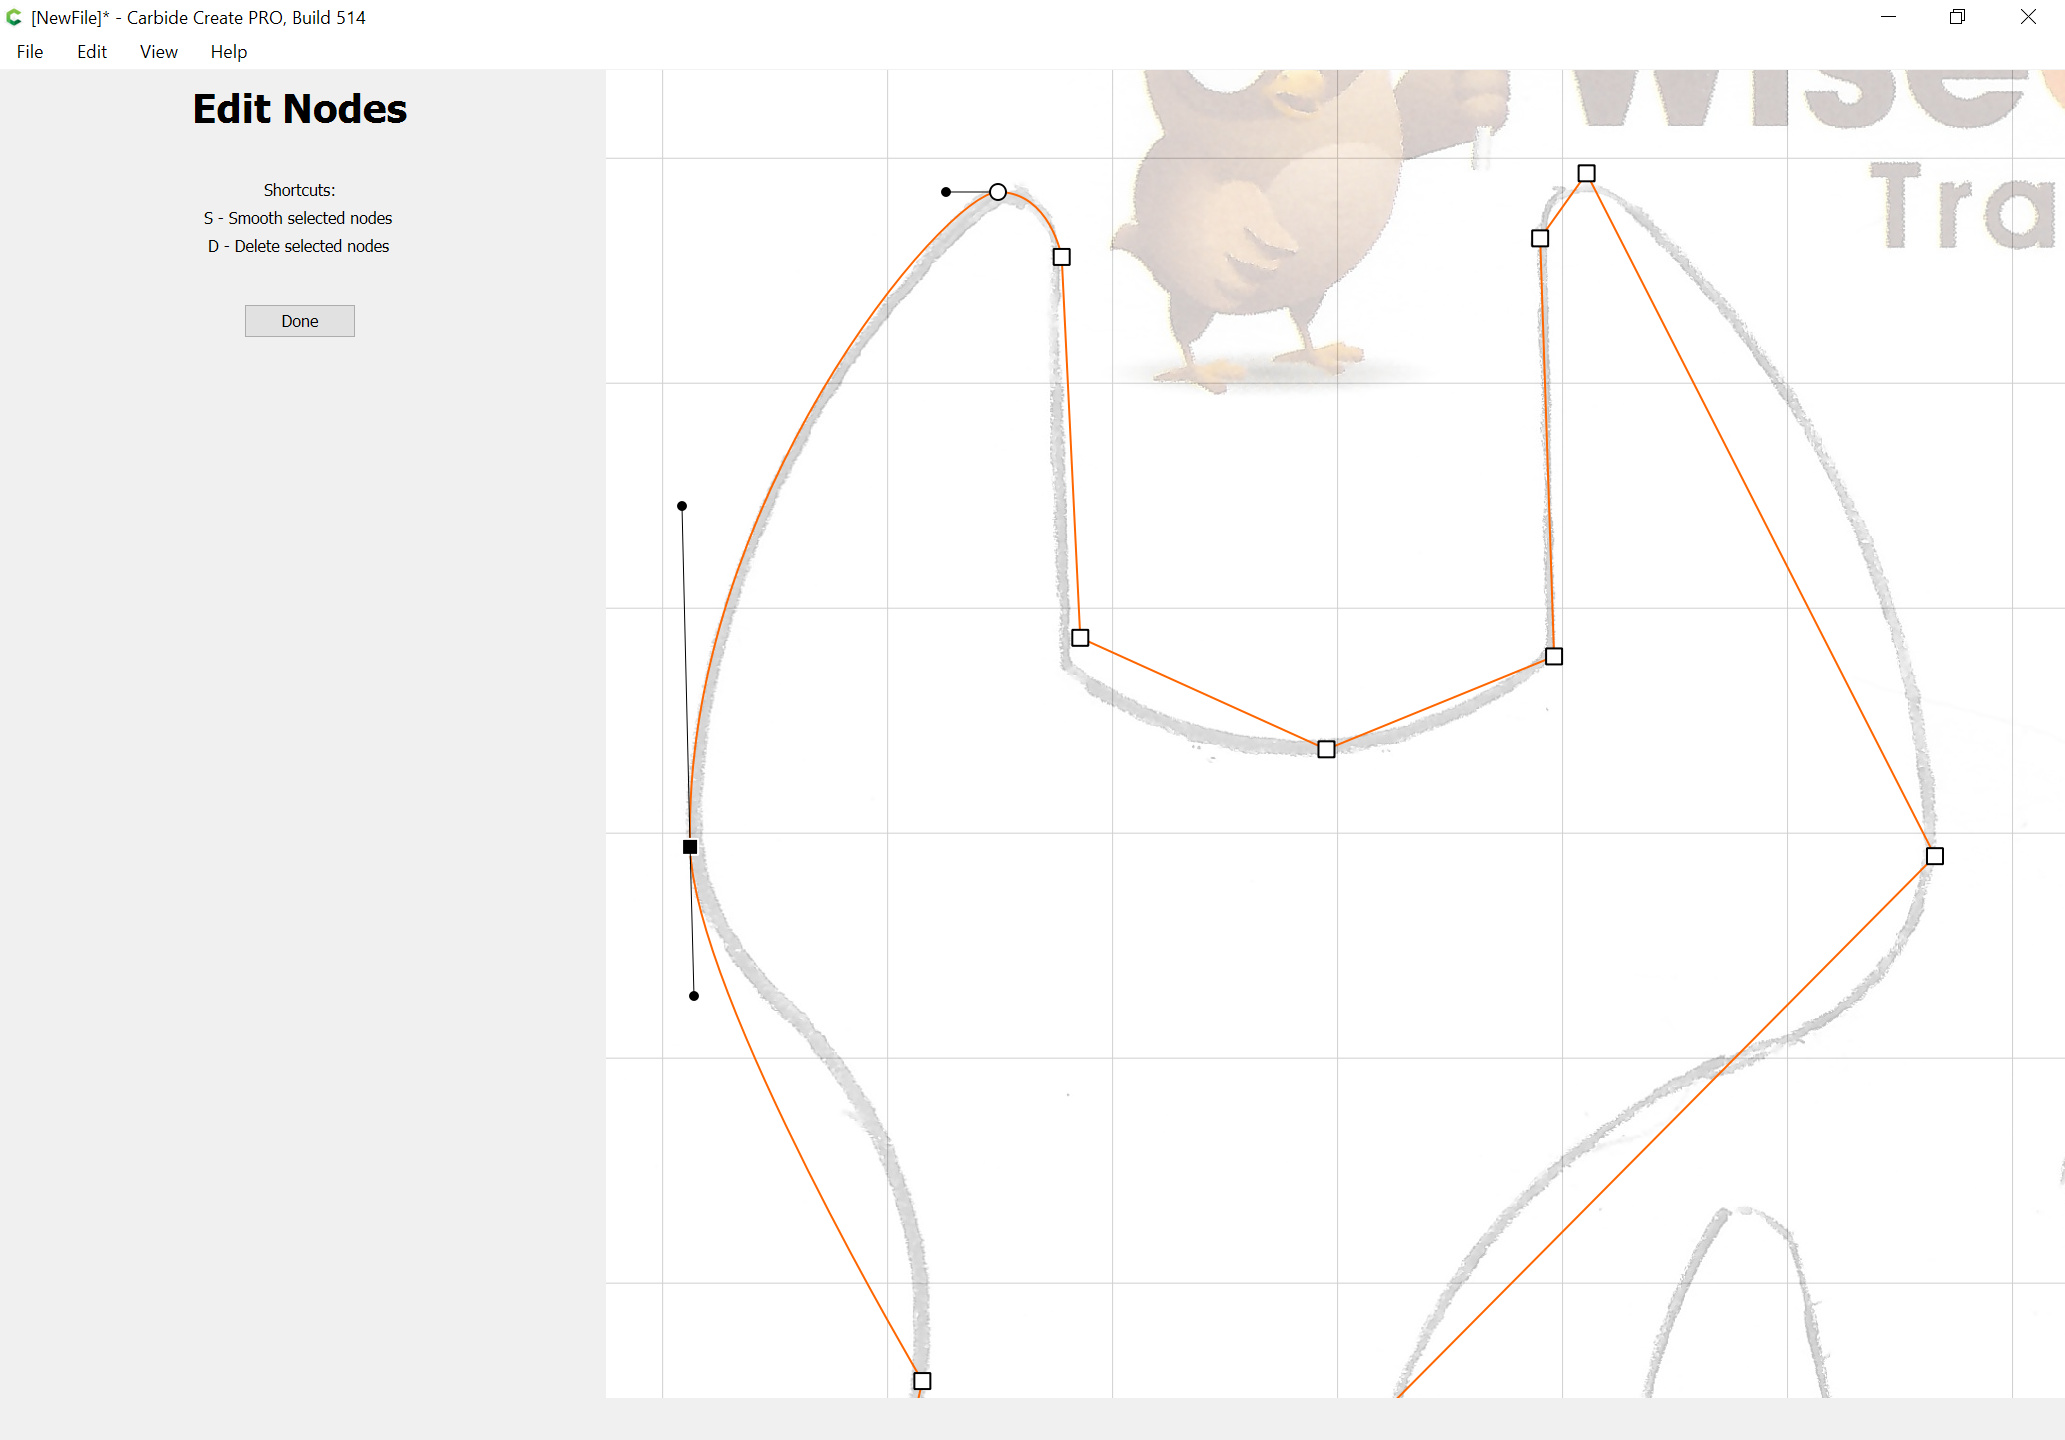
If the smooth default of equally spaced off-curve nodes for a given on-curve point interfere with shaping the curve hold down the alt (or option) key and drag to convert it into a sharp node which is not so constrained (but which is still smooth):

Repeat, working all the way around.

1 Like

If you miss a point of inflection right-click and choose “Insert Node”:

1 Like

Until one arrives at:

Repeat for the other wrench.

1 Like

When you are done drawing the wrenches, draw in lines for the ruler and check the scale of the drawing:

Doing the math we get:

140/140.496 == 0.99646965

So select everything and scale thus:

and the size is pretty much as desired:

Attached. wrenches_redrawn.c2d (15.2 KB)

and the SVG: wrenches_redrawn.zip (953 Bytes)

5 Likes

My hat is off to you on this Will.
I know the members of this community do go above and beyond to be helpful, but, Damn…
mc

3 Likes

@WillAdams, I really do appreciate the time and effort you’ve put in to help me with this. Thank you :+1: :smile: :smile:

I’ll work through the instructions over the next couple of days (work’s getting in the way!), but once again: Thank you

(I won’t cheat and use the finished files, as I need to learn by doing!)

1 Like

Anytime!

Please let us know if there’s anything else which you might need!

This topic was automatically closed after 30 days. New replies are no longer allowed.